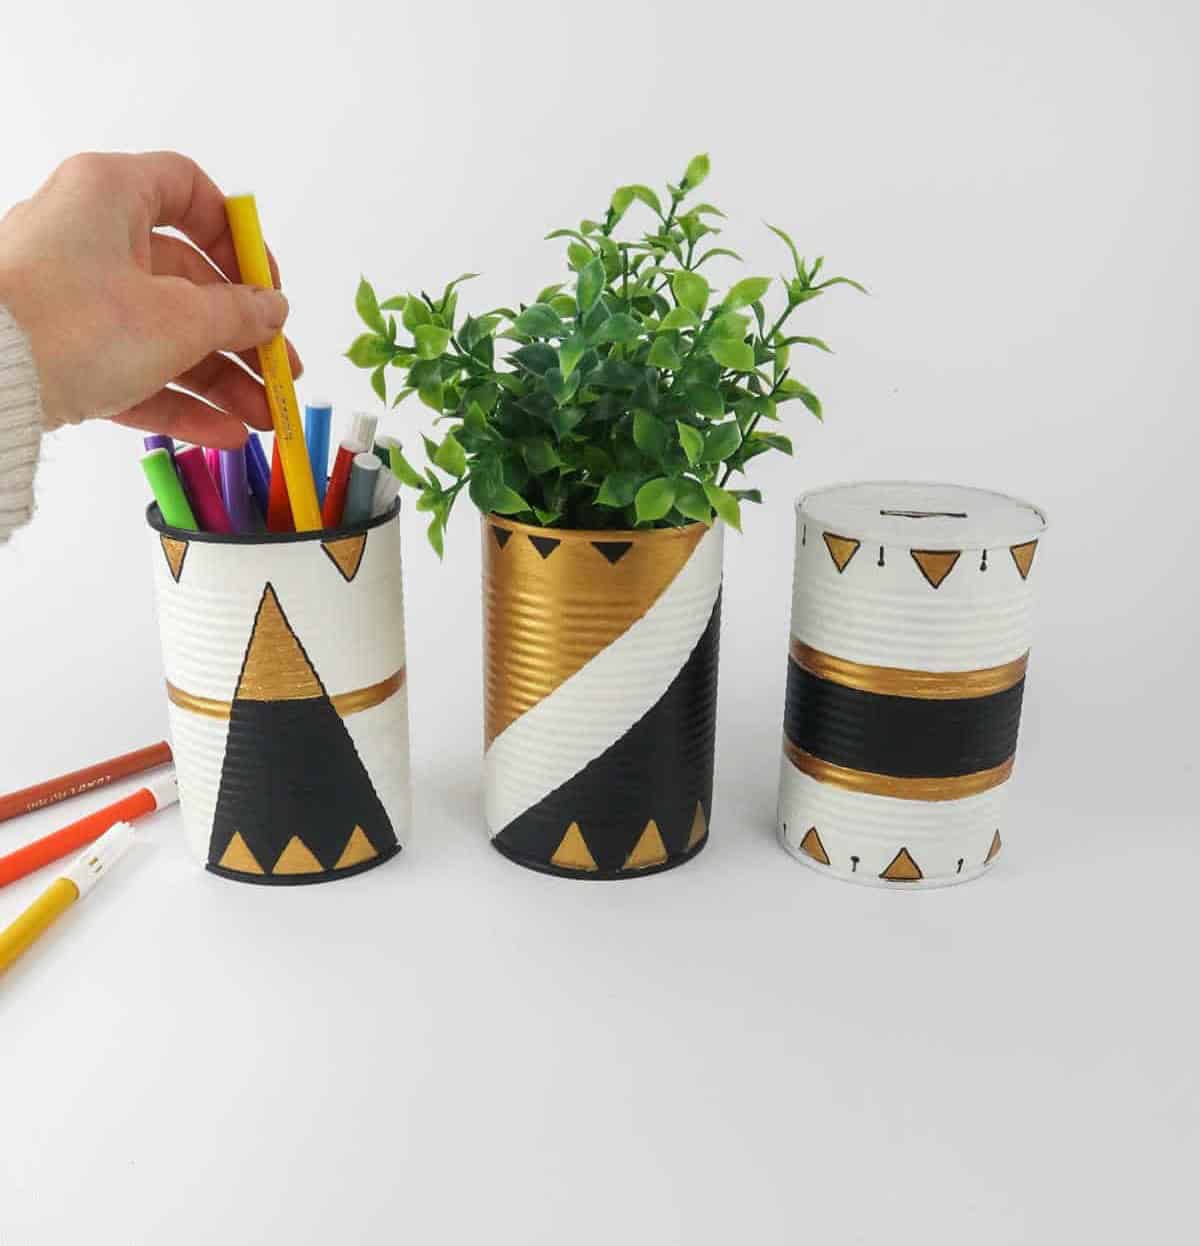
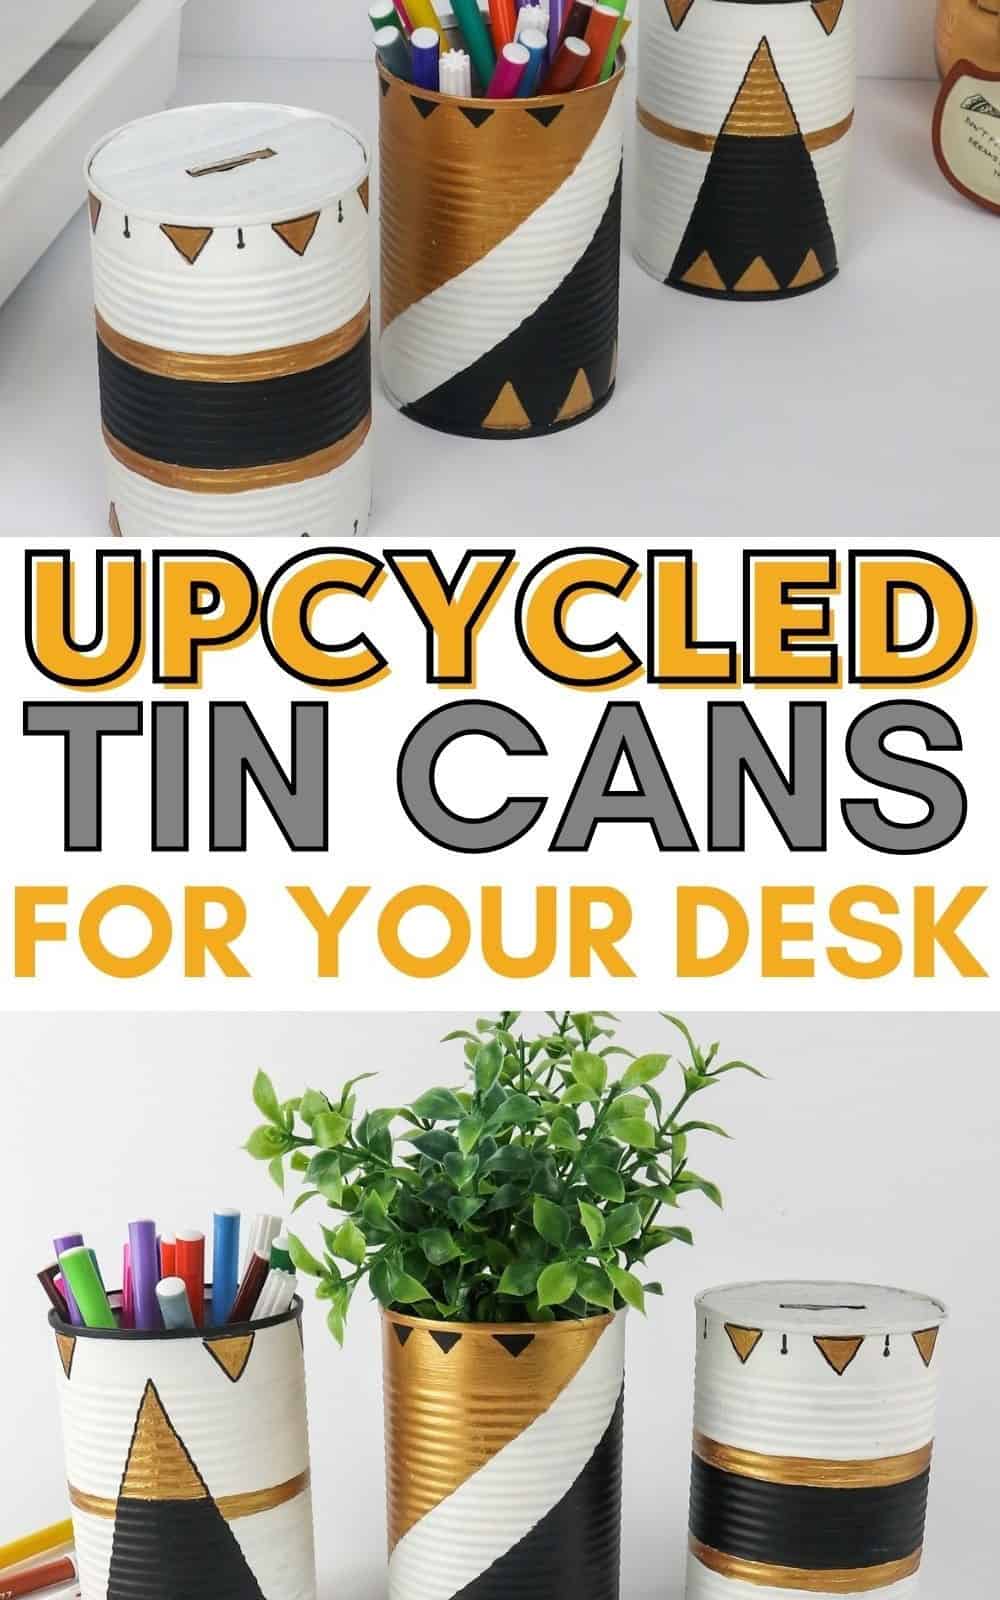
Want to create an easy and affordable storage solution for your desk? Look no further than these charming upcycled tin can pencil holders! Office supply storage solutions can be expensive, but with a little creativity and some basic crafting materials, you can turn plain old tin cans into stylish organizers. With the freedom to customize with paint and embellishments, these holders can be tailored to fit your personal style.
And if you’re feeling green-thumbed, they can even double as tiny desktop planters! Before we dive into the DIY process, let’s take a look at the essential supplies needed to get started.
Supplies You’ll Need
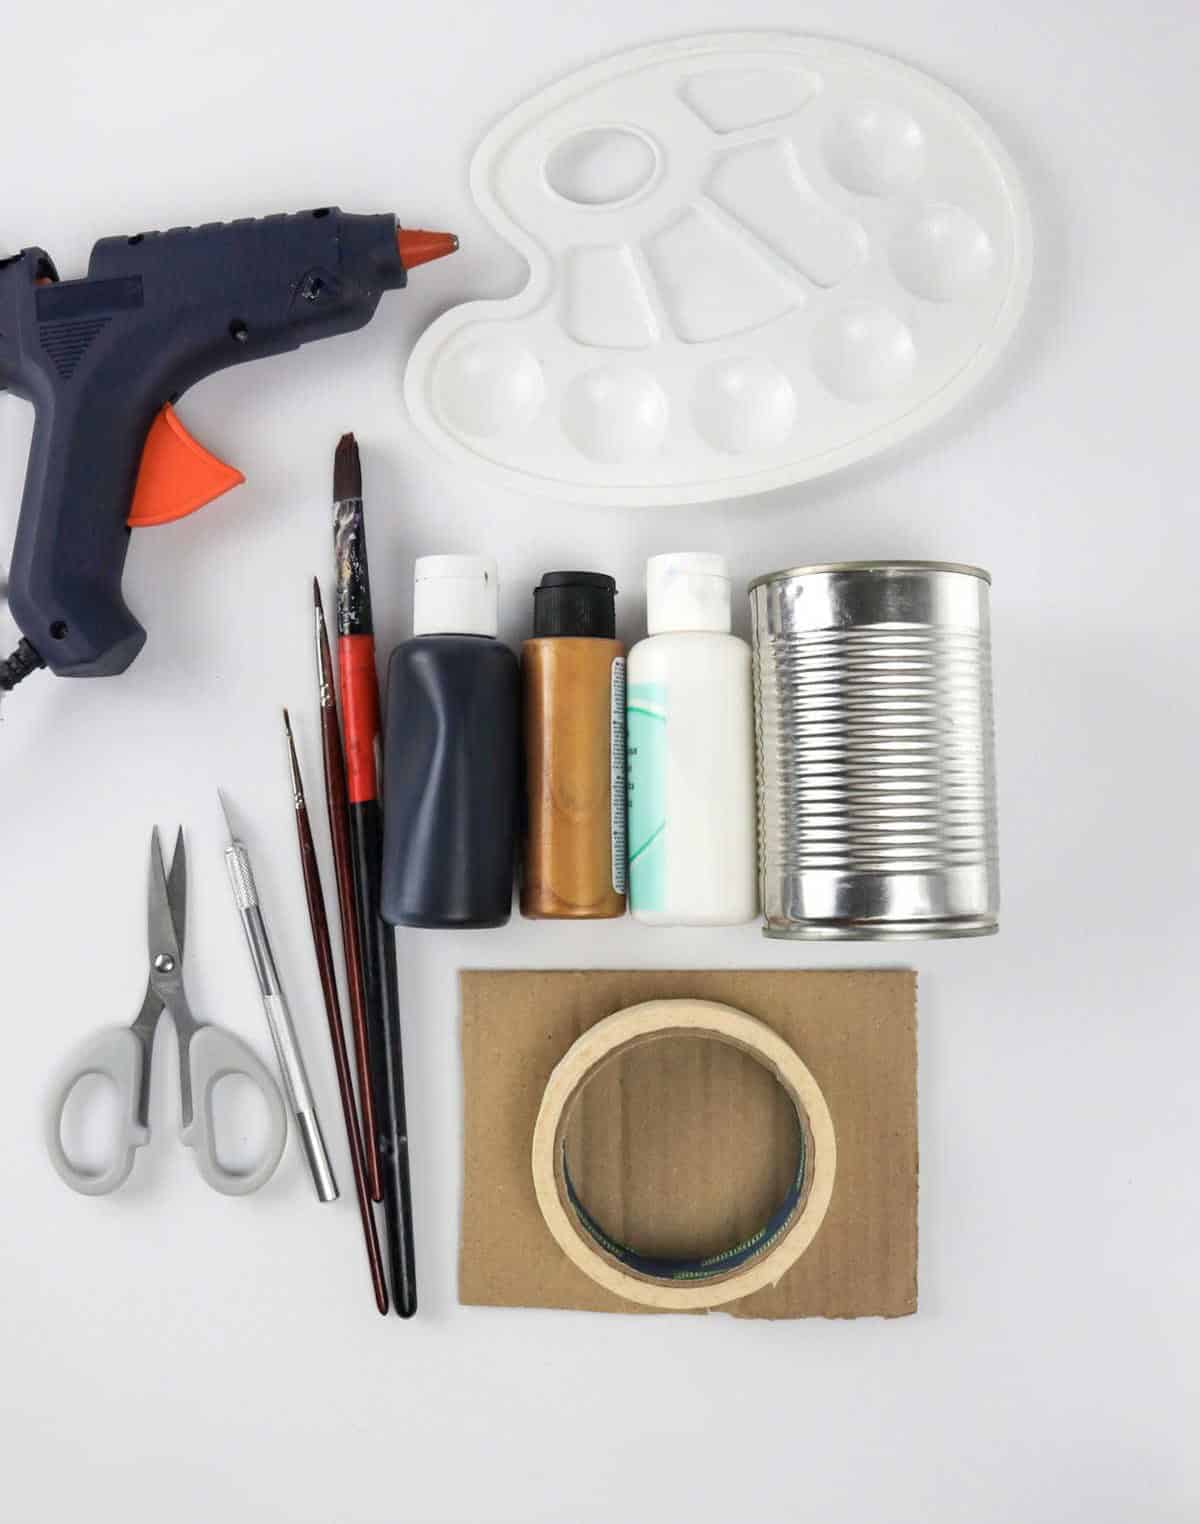
Before diving into the creative process, make sure to gather all the necessary materials. A comprehensive list of supplies includes acrylic paint, a versatile medium that can be used to create unique textures and effects. To get started, prepare your paints by pouring them onto a palette or even an empty jar lid. This will provide easy access to the colors you need.
Additionally, have ready a set of paintbrushes in various sizes and shapes, which will allow for intricate details and bold strokes. When it comes to cutting and shaping, scissors will be your trusty sidekicks. For more precise work, consider keeping a hobby knife on hand. If you’re planning on creating a 3D element or attaching items together, don’t forget the glue gun (though this is optional). Finally, have some cardboard on standby if you need to create a base or add depth to your project.
To ensure a mess-free workspace, lay out newspapers around your work area.
How to Upcycle Tin Cans
Step 1
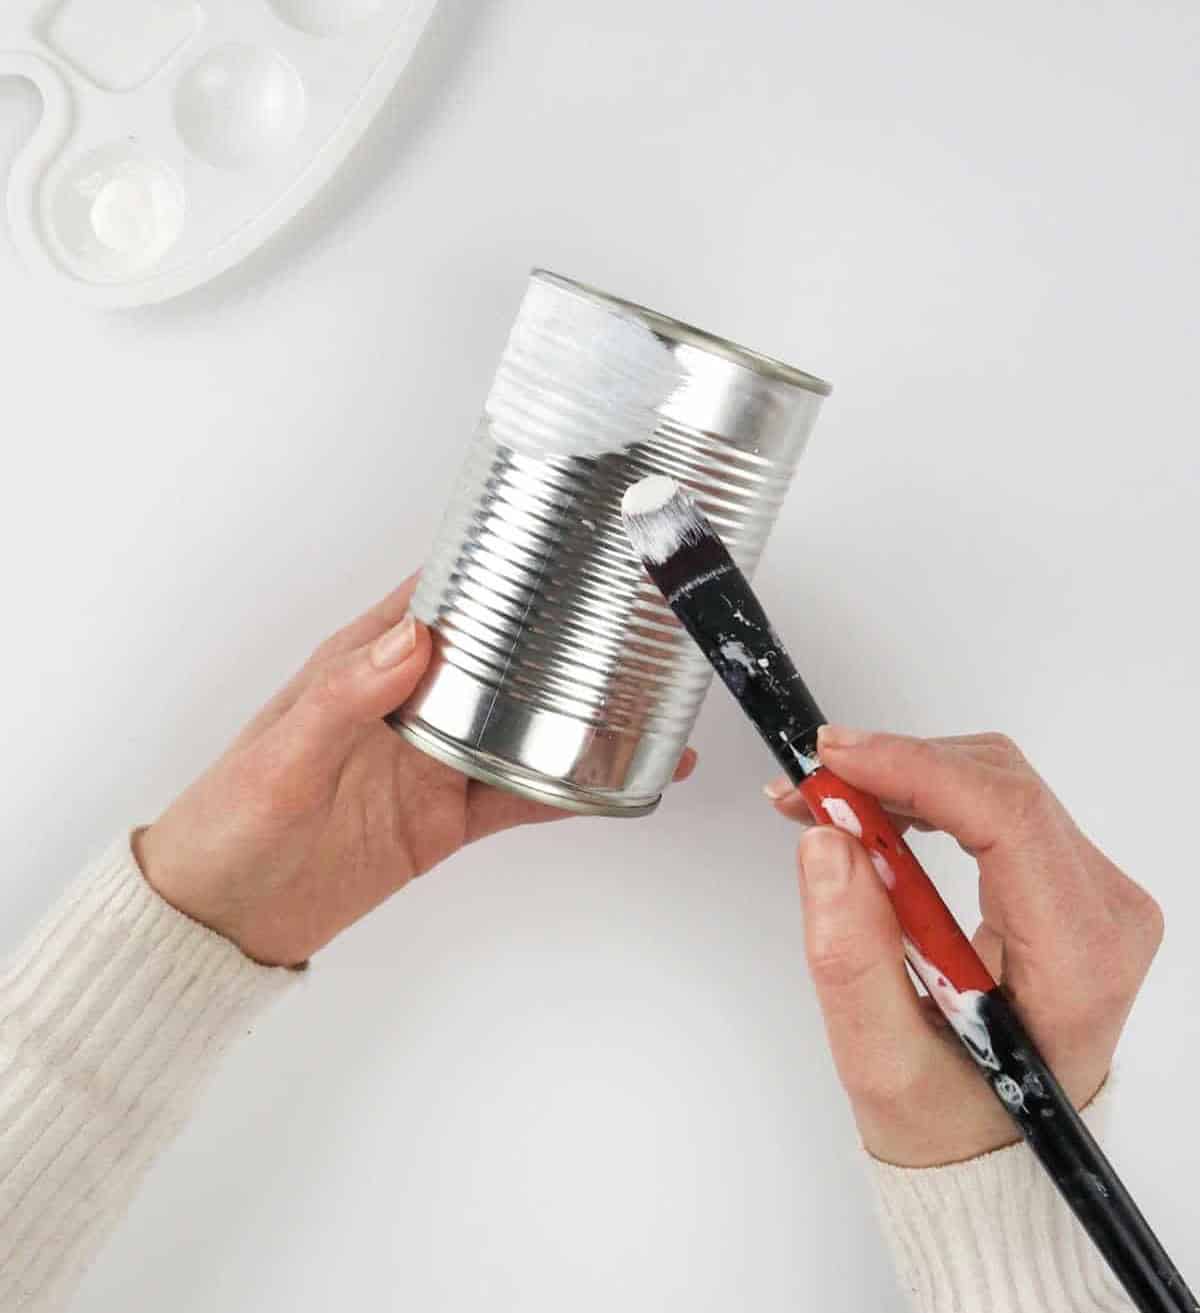
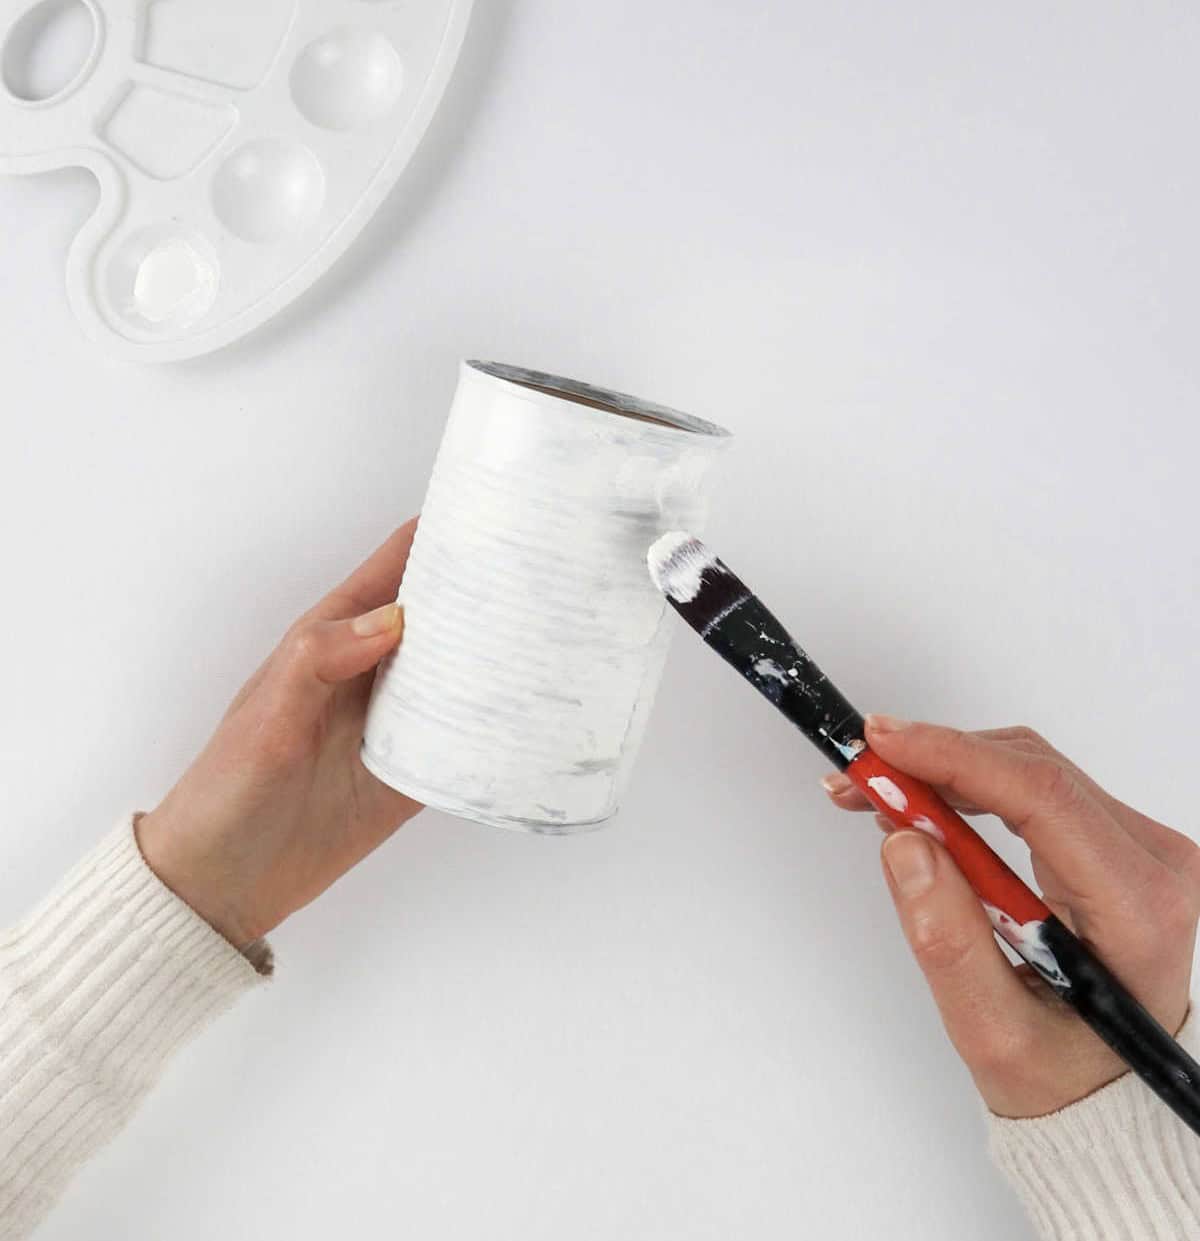
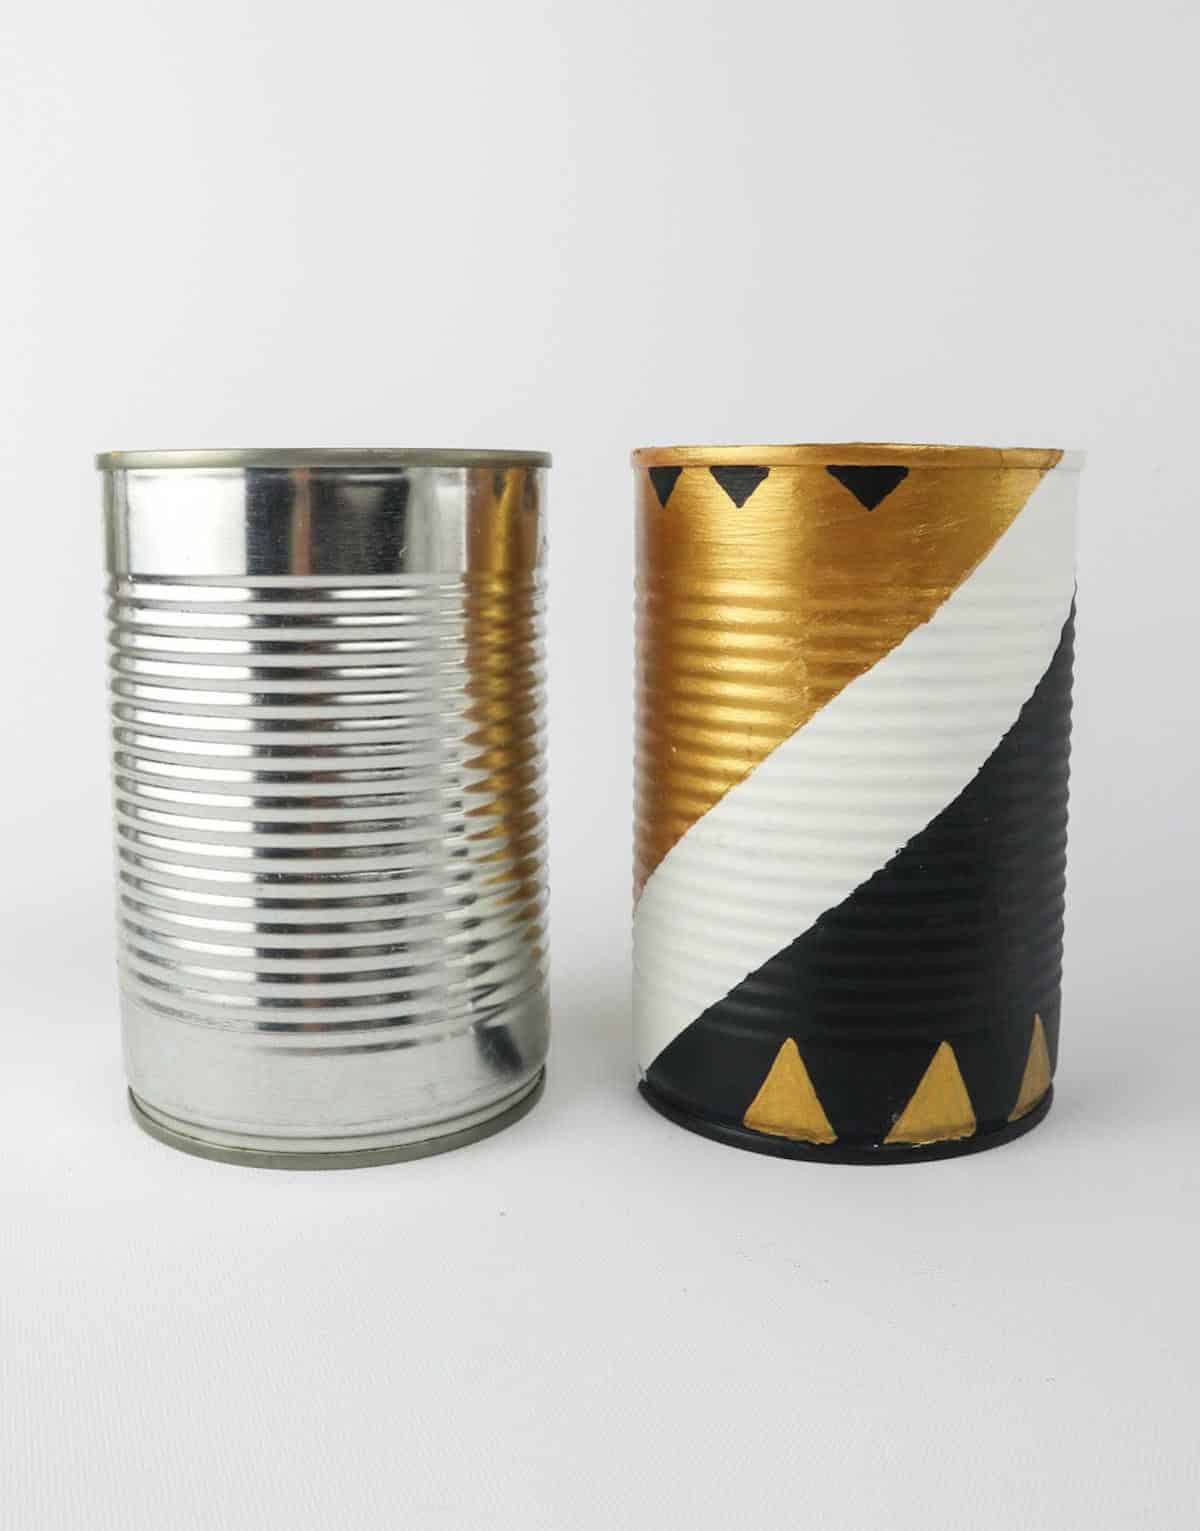
As you prepare to transform your tin cans, take a moment to lay out some newspapers nearby. This will provide a protective barrier in case any paint spills during the process. With your workspace prepared, it’s time to get creative! Grab your paintbrush and begin applying a base layer of white paint to each tin can. You can opt for acrylic paint or a similar type that’s suitable for metal surfaces like tin.
Allow the initial coat to dry completely before adding additional layers for enhanced coverage.
Step 2
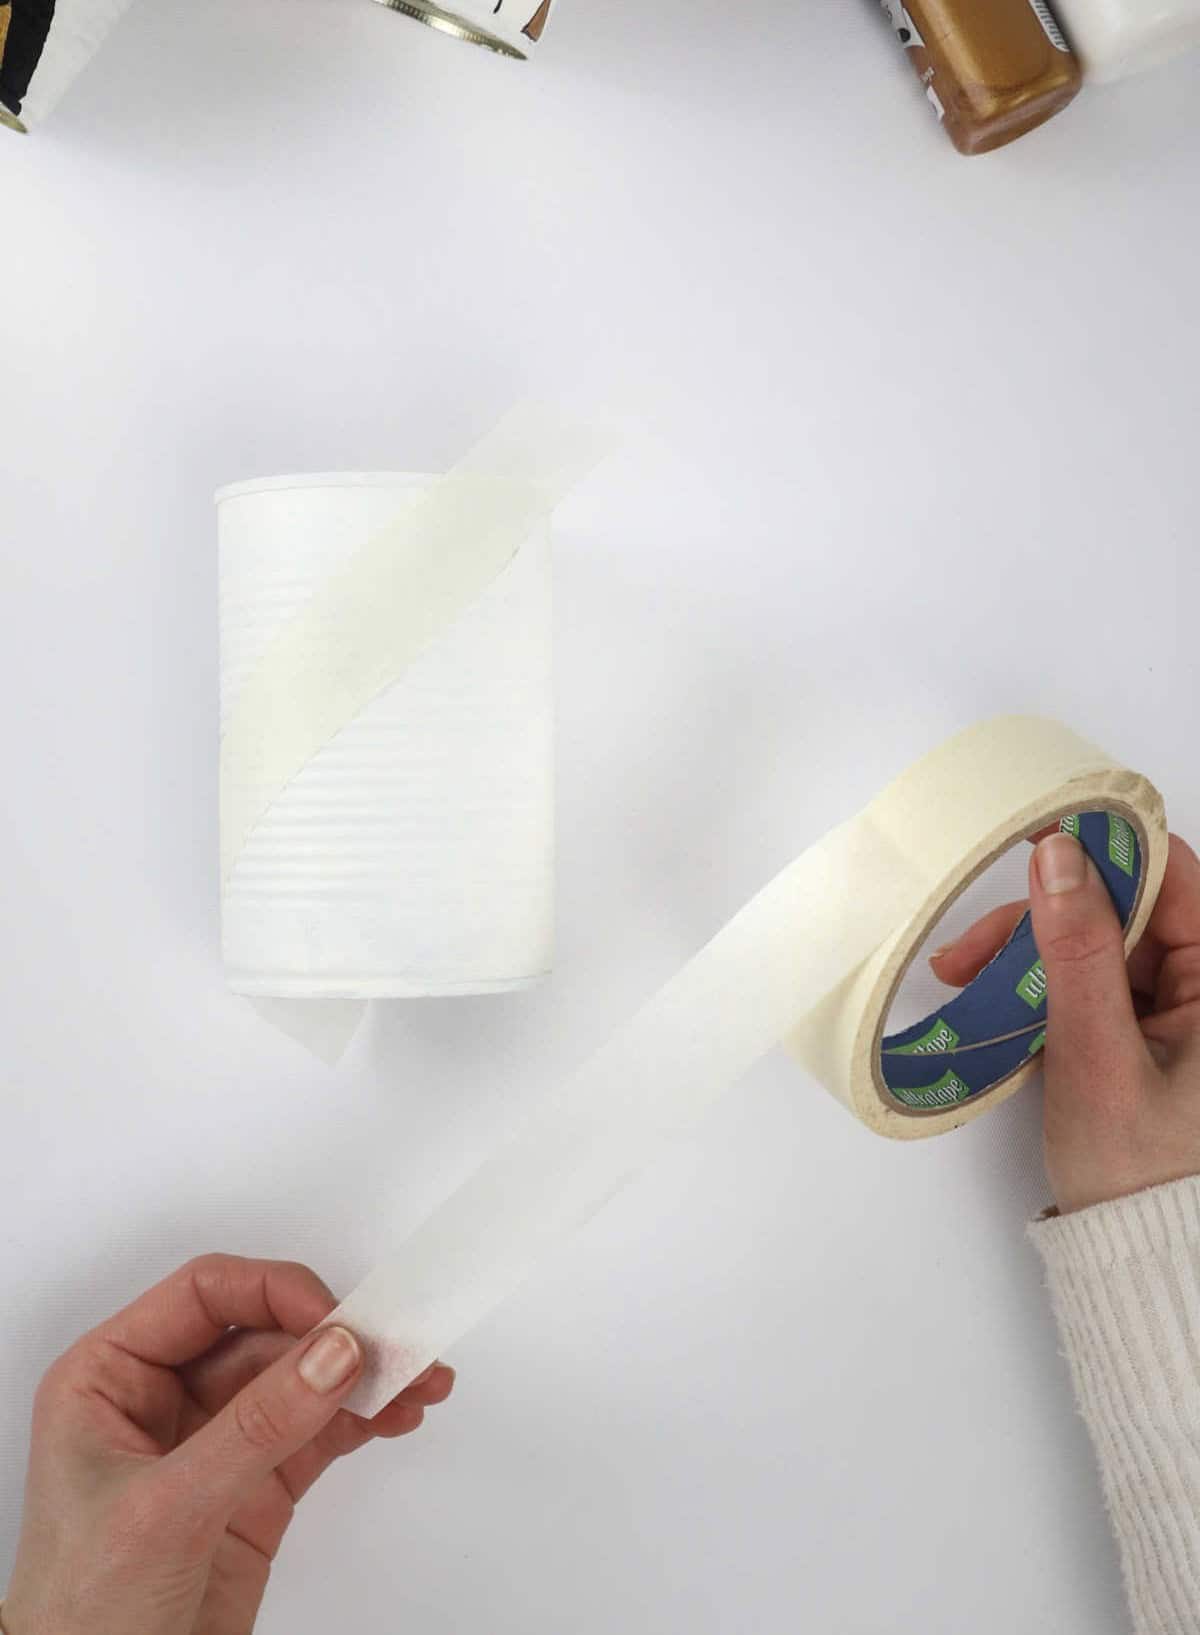
To ensure a neat and precise design, begin by partitioning your canvas using masking tape or painter’s tape. This strategic separation of the painting surface allows you to focus on one section at a time, preventing unwanted color bleed or smudging as you work on creating a pattern. By dividing your canvas into distinct areas, you’ll be able to maintain control and achieve a more refined overall appearance.
Step 3
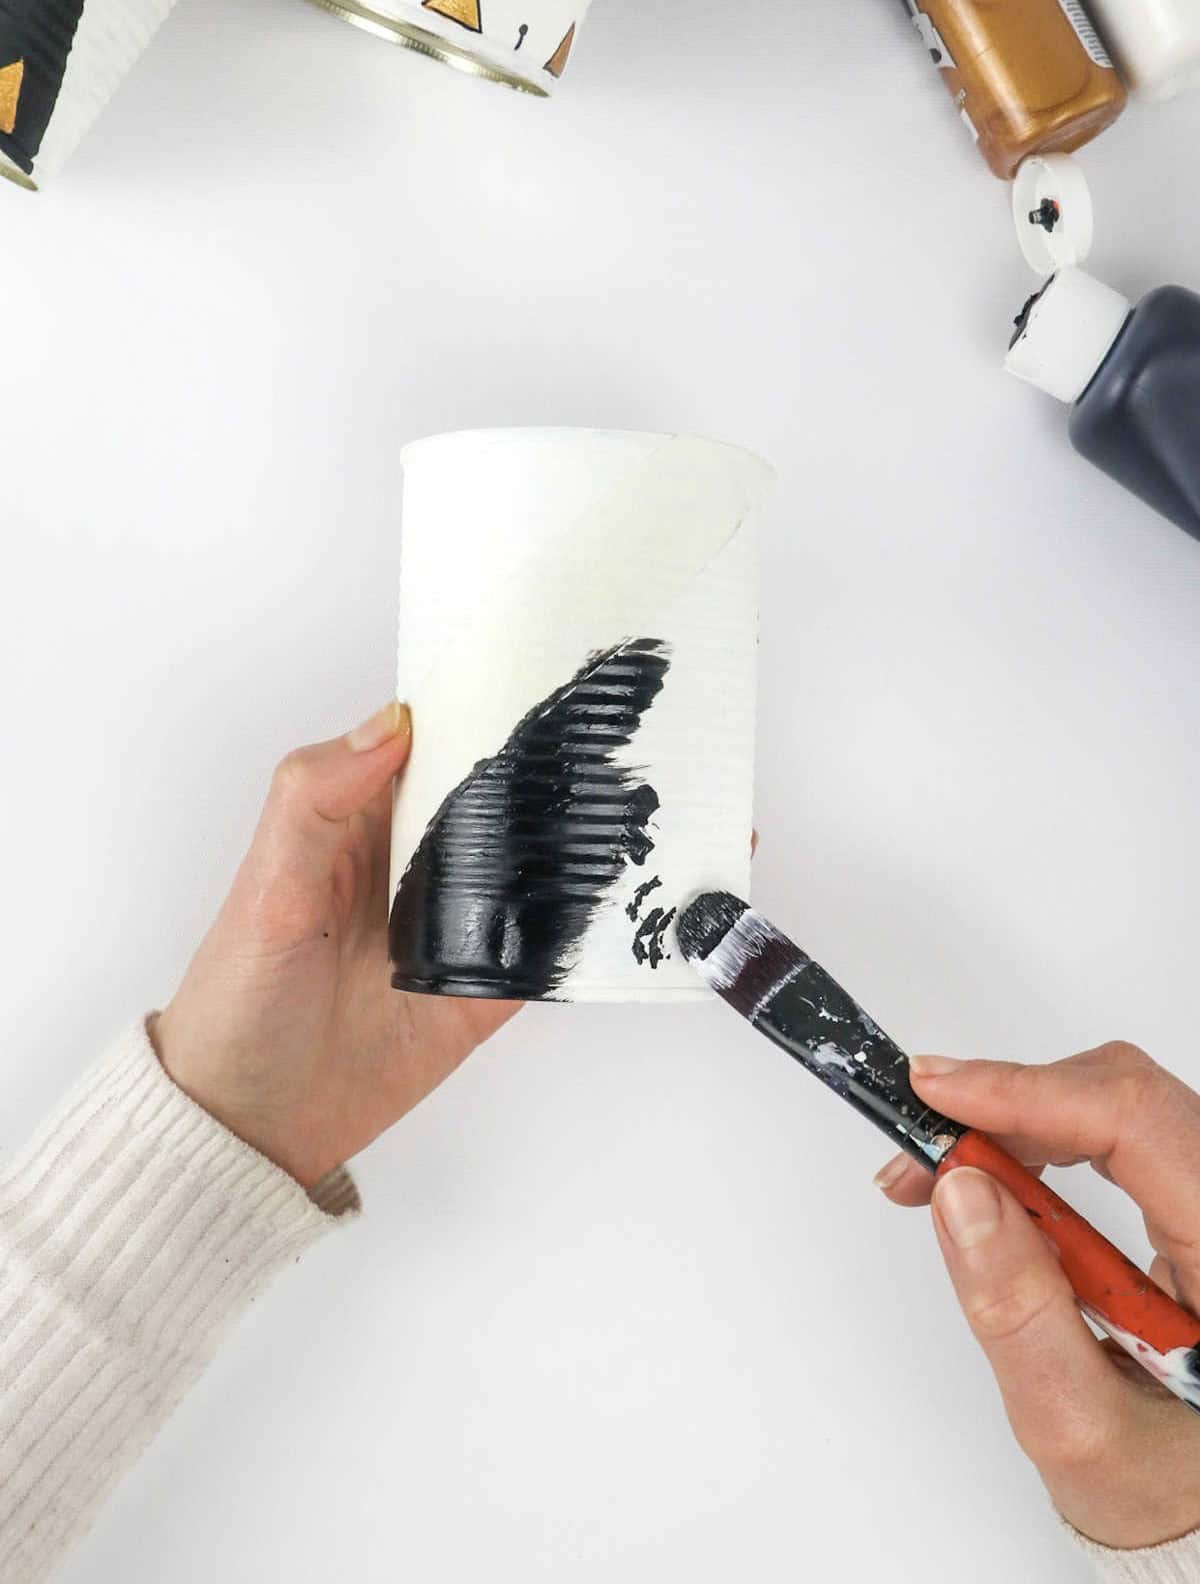
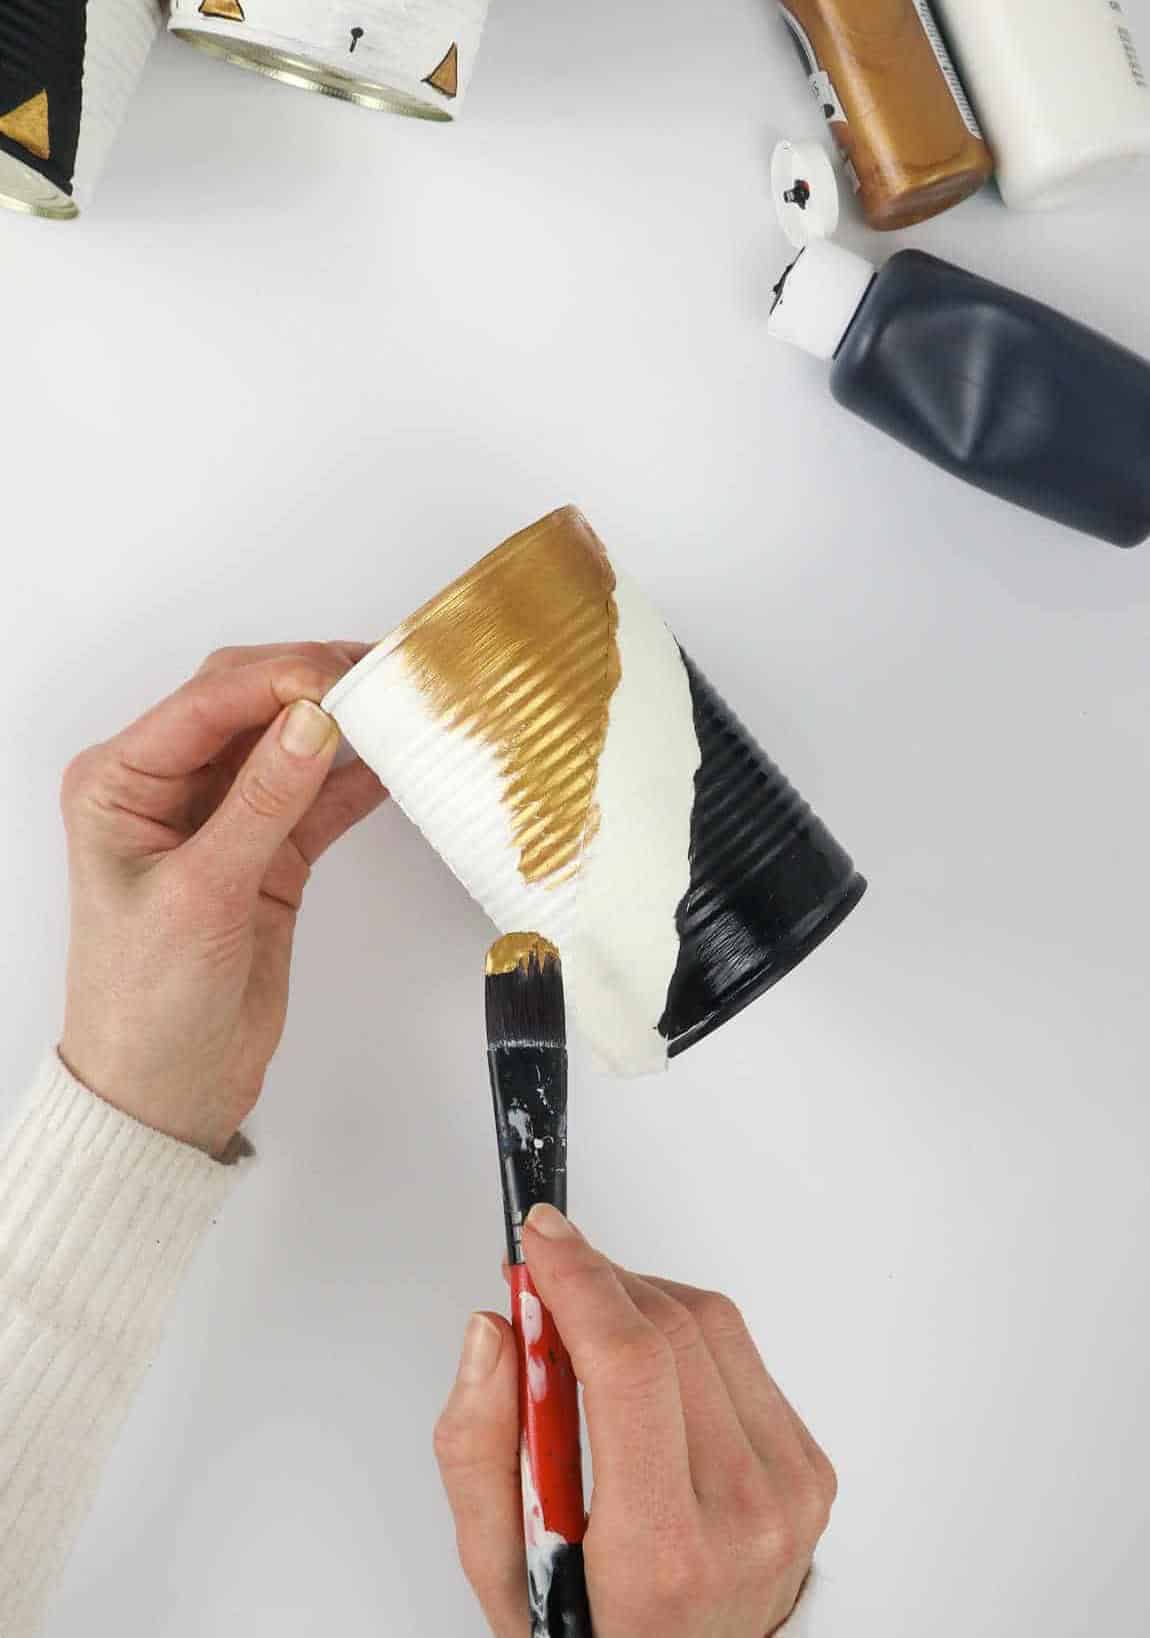
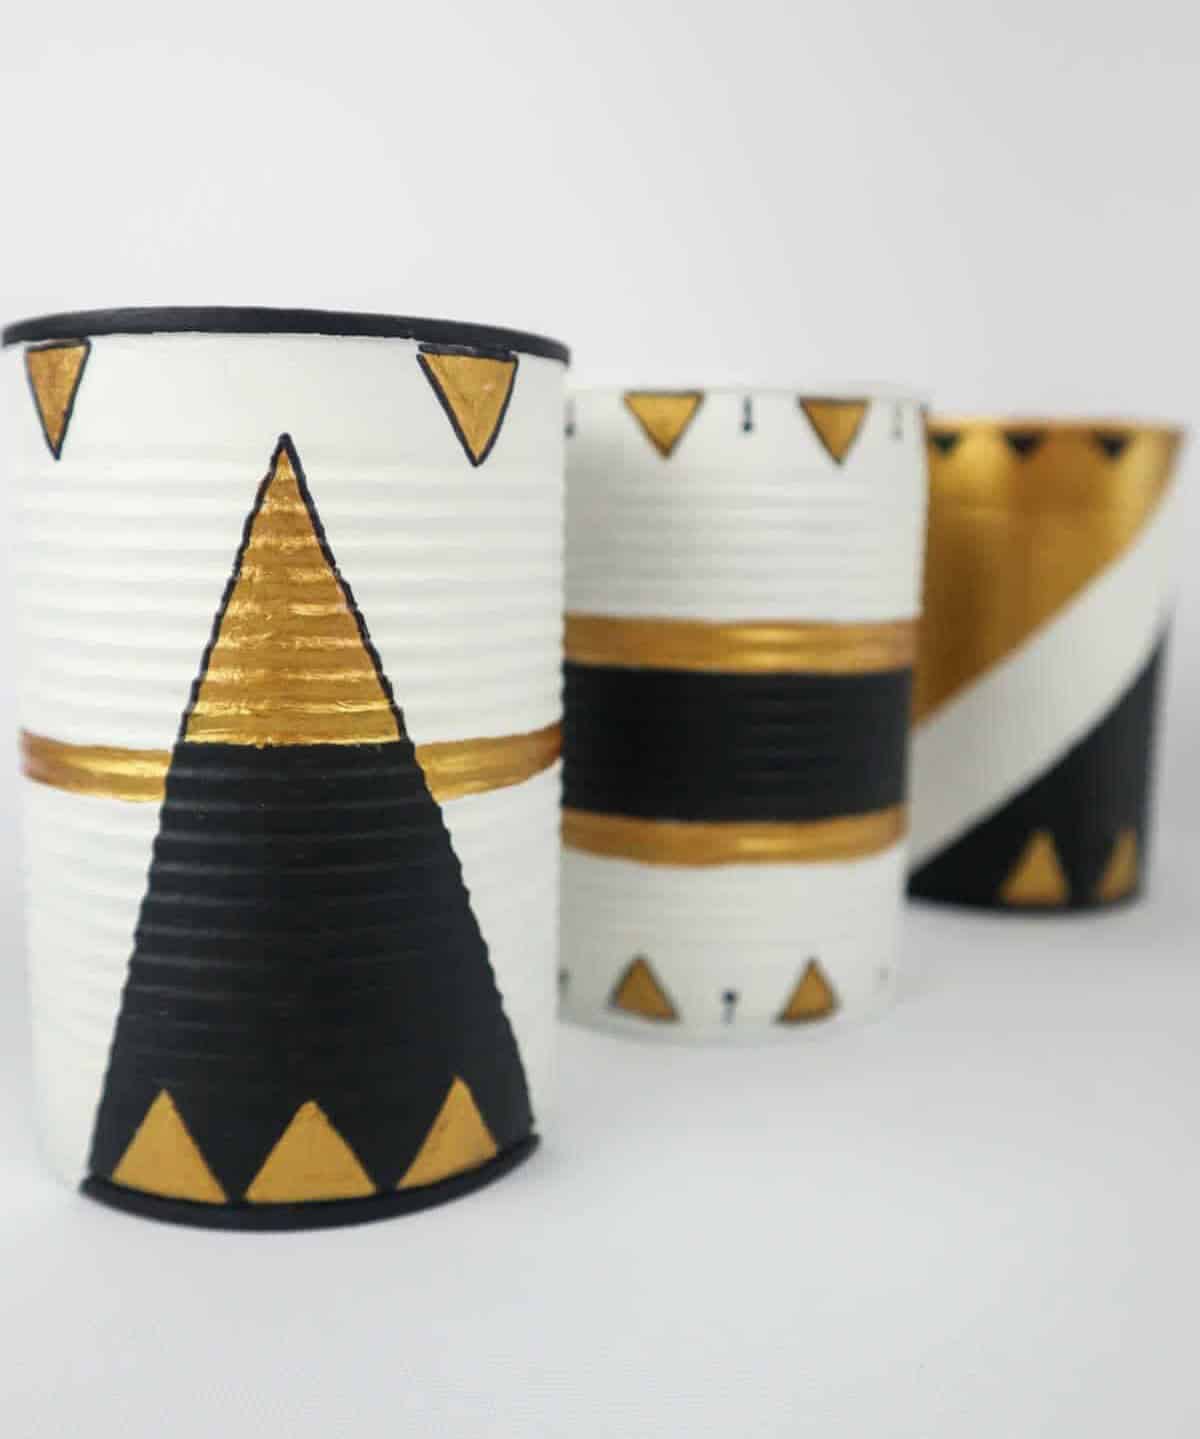
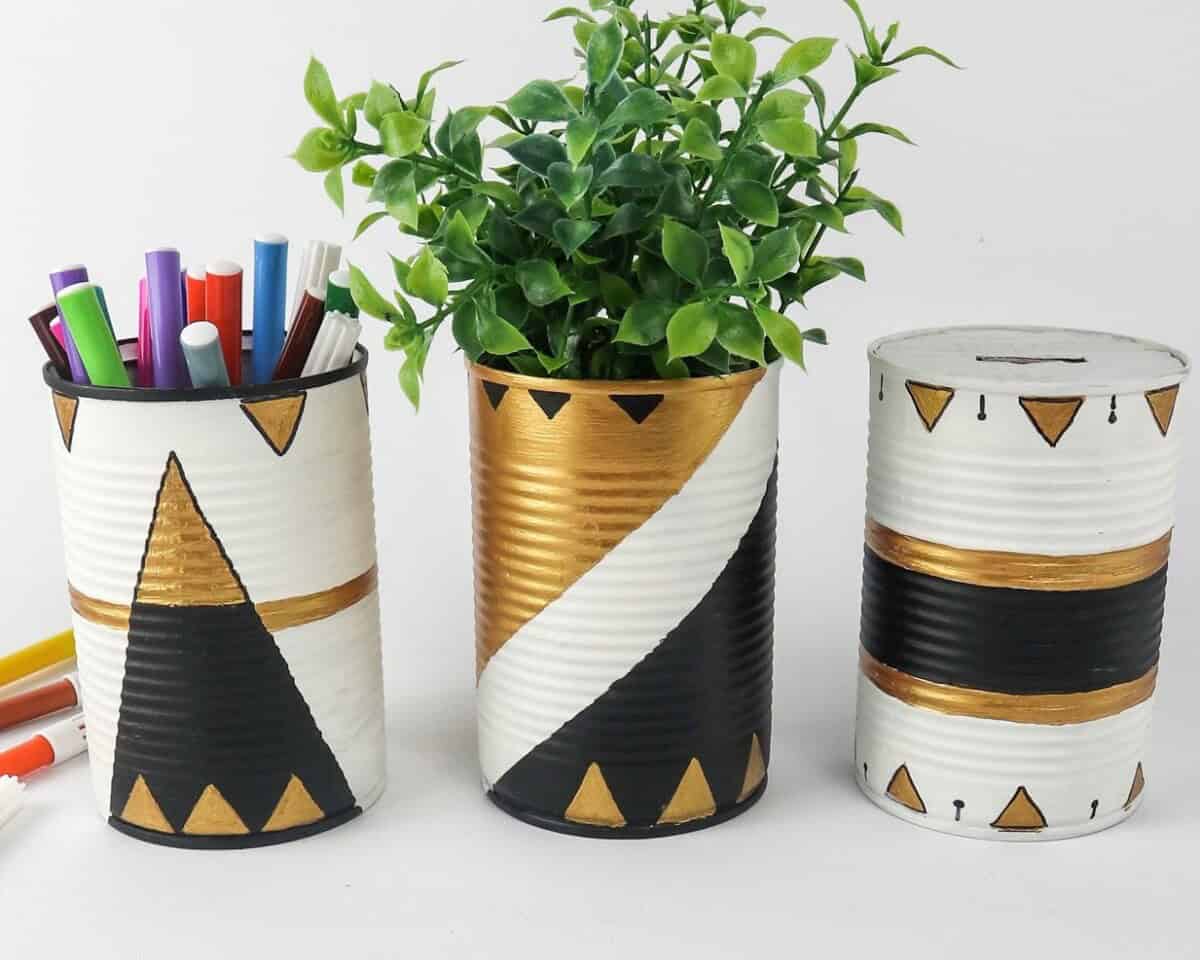
Unleash your creativity by painting the canvas with a personalized touch. For this specific project, we’re opting for a striking combination of black and gold, inspired by Aztec patterns. However, feel free to experiment with other metallic hues or opt for understated elegance with muted florals and pastel shades.
Step 4

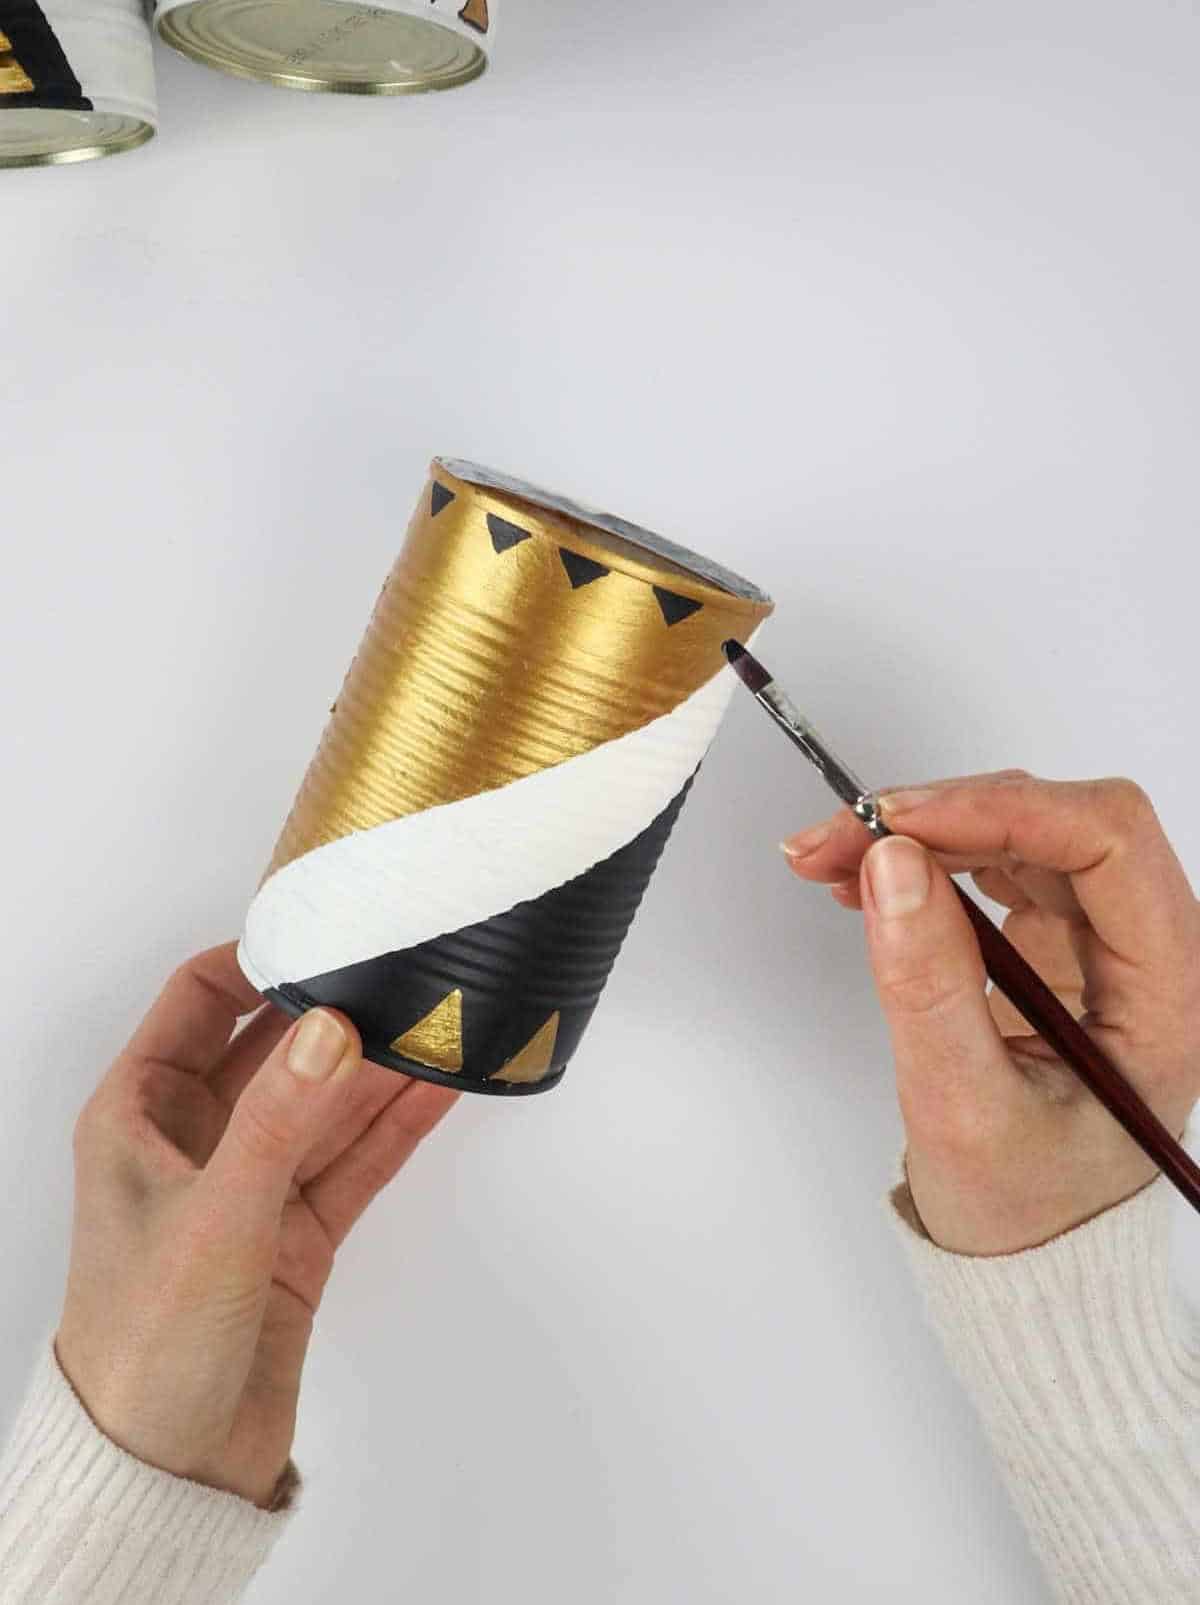
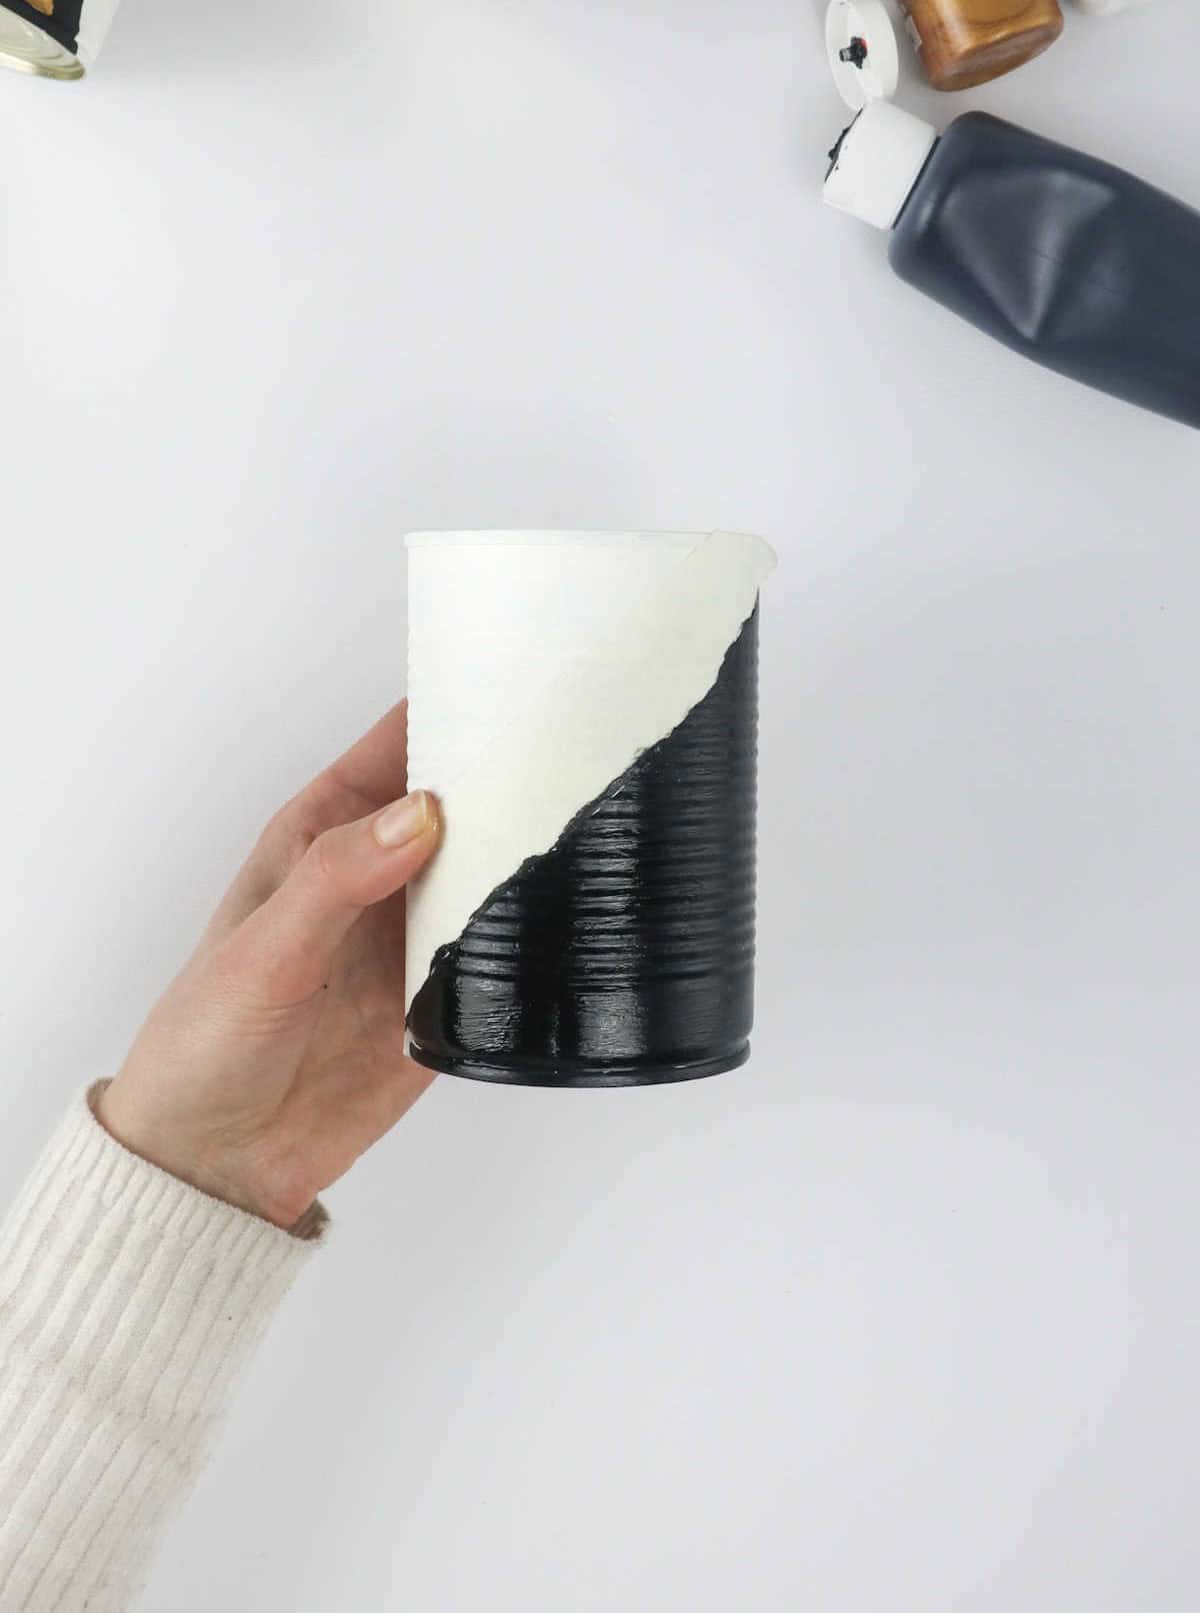
After completing the base coat, it’s time to remove the tape and inspect your work. Ensure the can is thoroughly dry before proceeding with detailing and embellishments, if applicable. To add finer details, employ a thin-bristle paintbrush, detailing brush, or even a permanent marker. As always, allow the surface to fully dry to prevent smudges from ruining your design.
Step 5
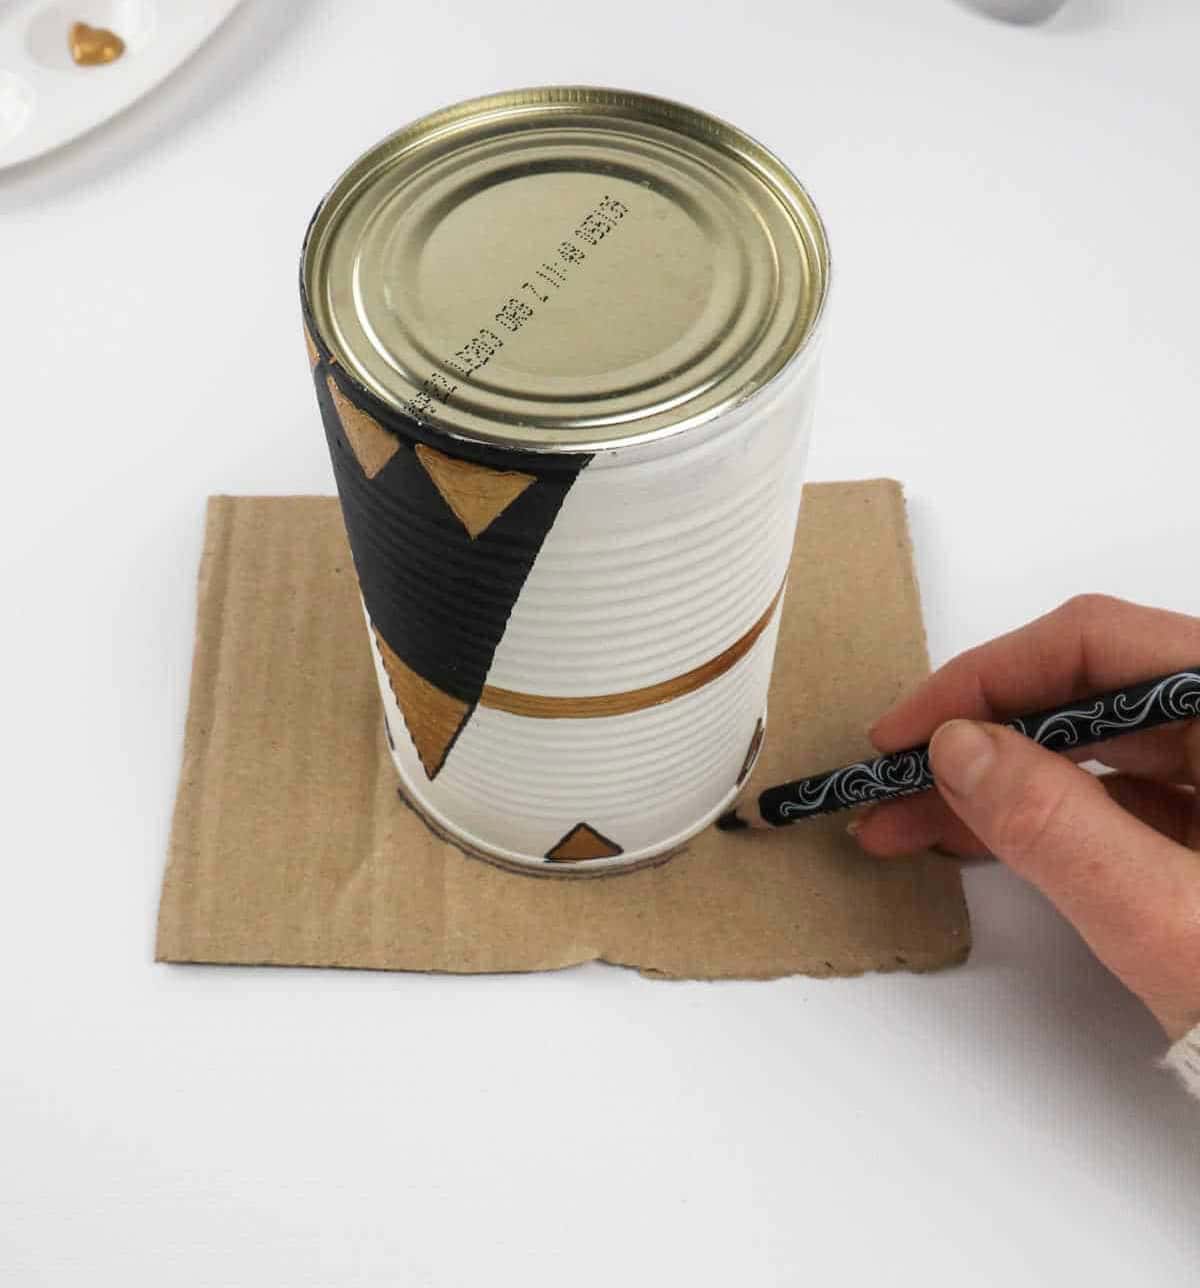
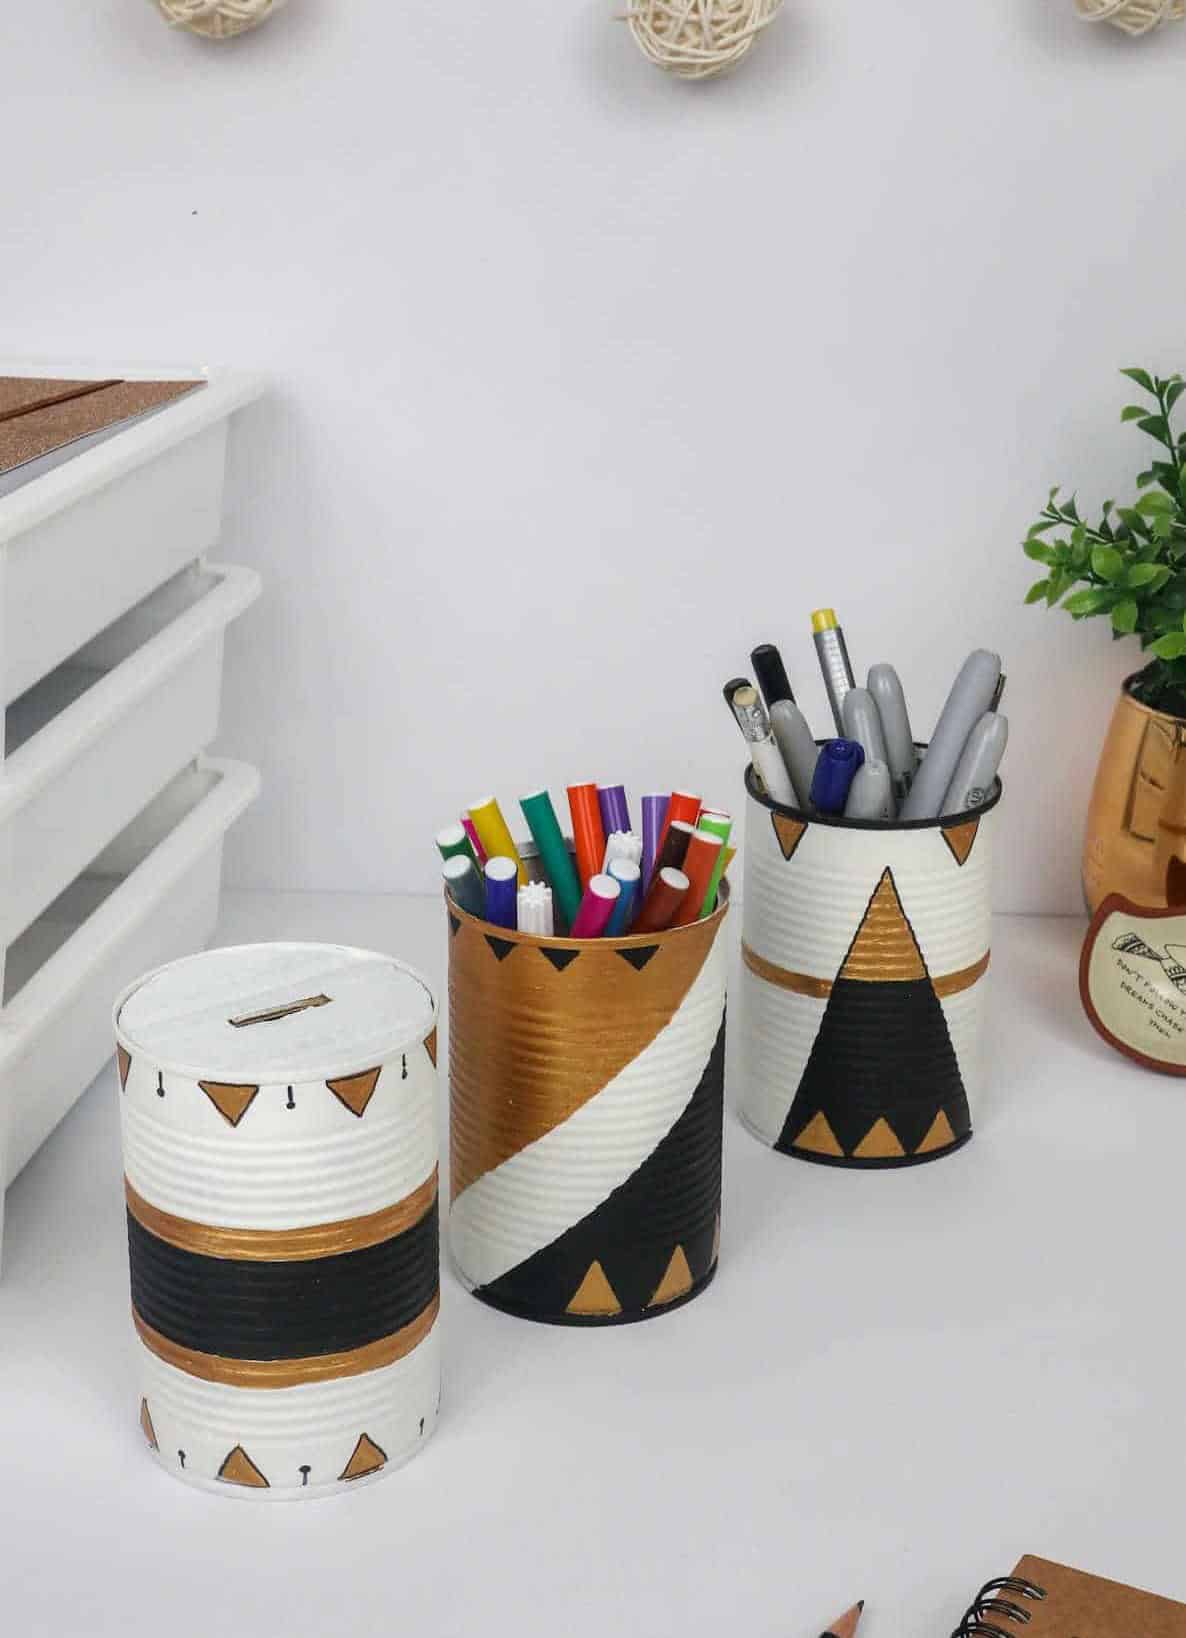
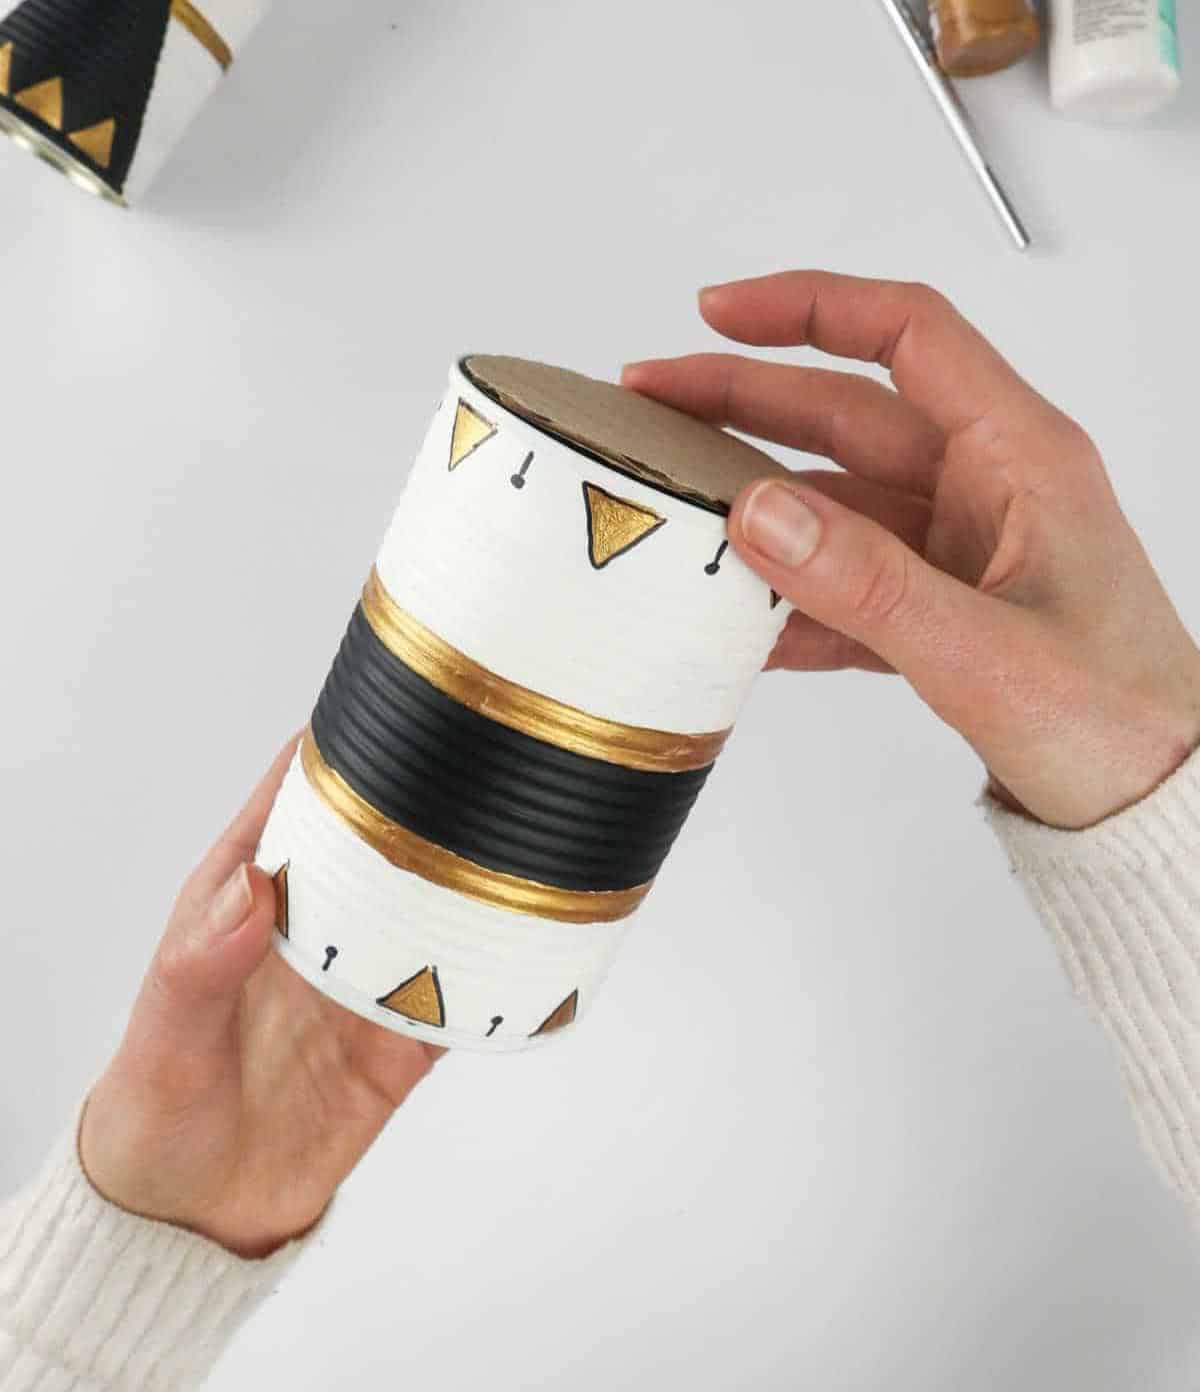
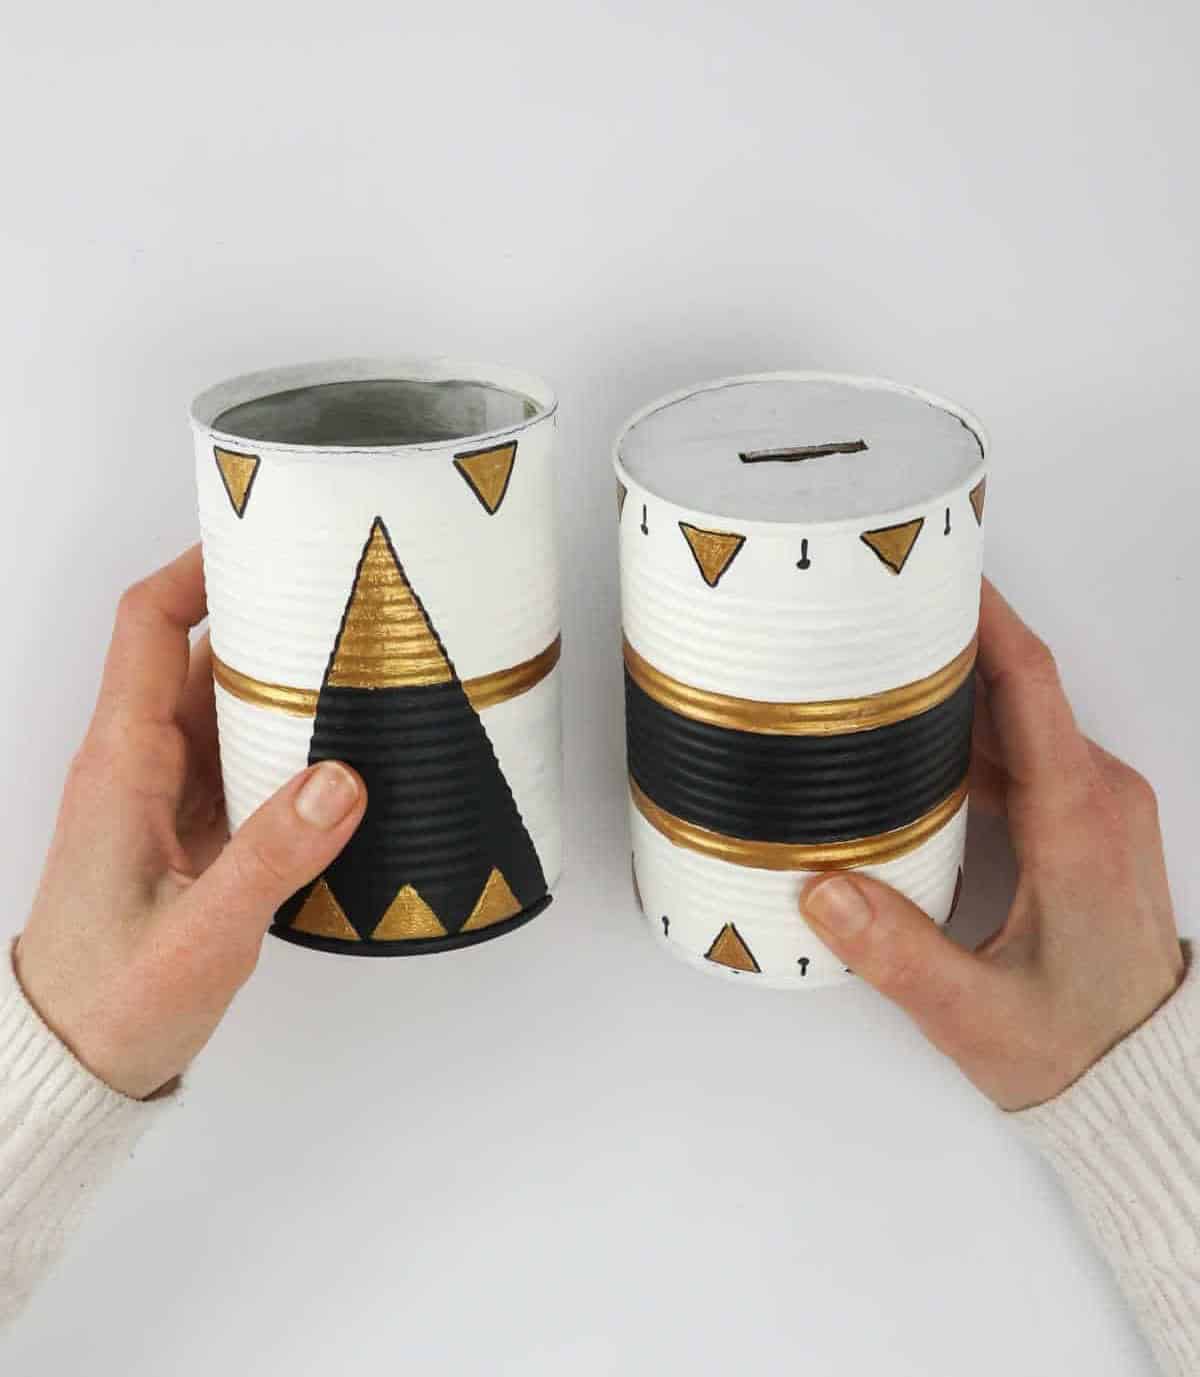
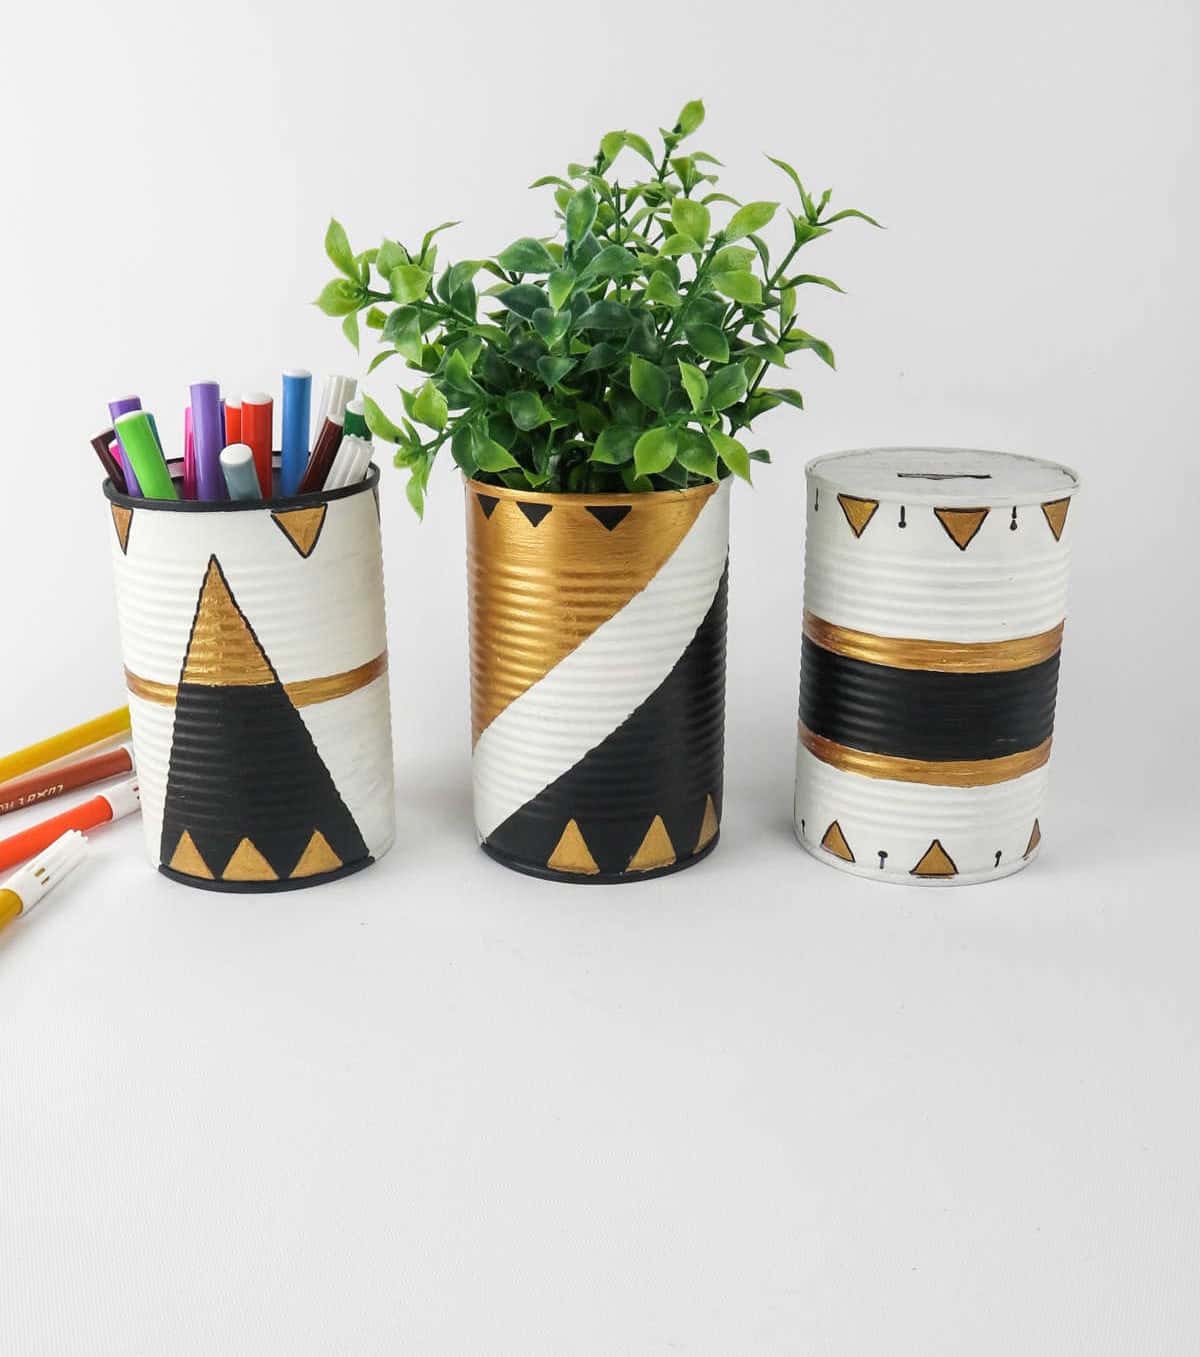
With the tin now dry and ready, it’s time to put your creative spin on things. Not only can you store your stationery within its newly transformed pencil holders, but this DIY project also offers endless possibilities for repurposing. Consider turning the tin into a miniature planter, perfect for small herbs or succulents, or even transform it into a charming piggy bank or money box.
To get started, grab a piece of cardboard and measure the diameter of the can’s mouth – a simple yet crucial step in unlocking its full potential.
Step 6
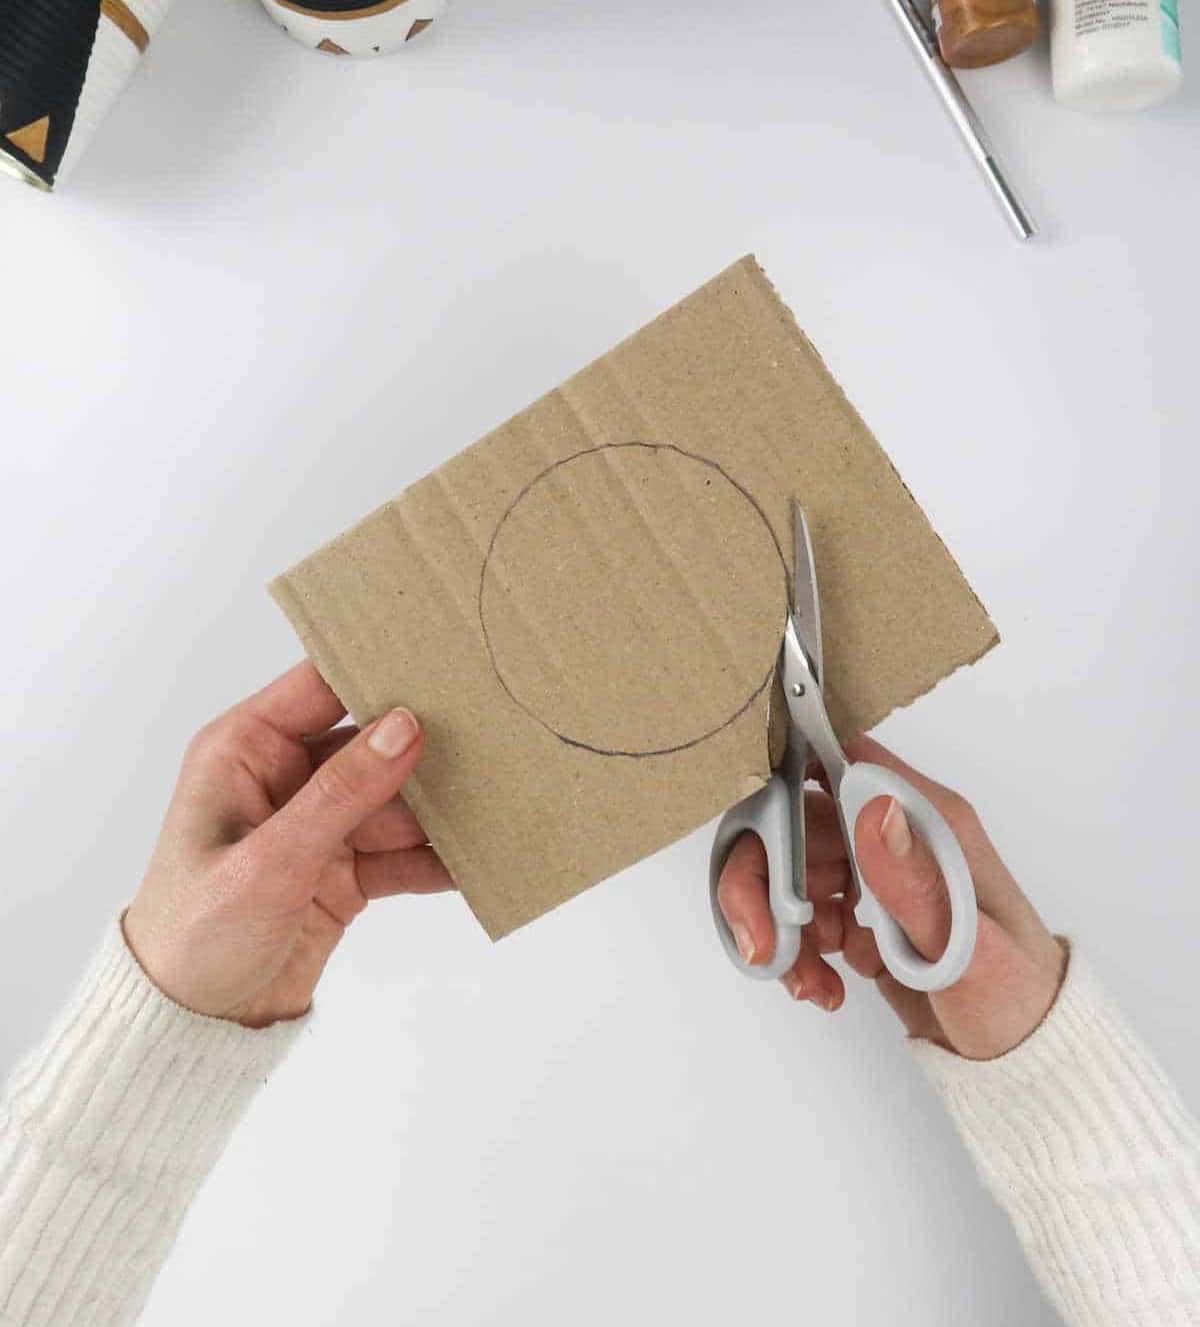
When ready to create the lid for your money box, take a sturdy pair of scissors and carefully cut out the traced shape. Ensure a precise fit by double-checking its dimensions to guarantee it slides effortlessly into position, providing a secure seal for your monetary stash.
Step 7
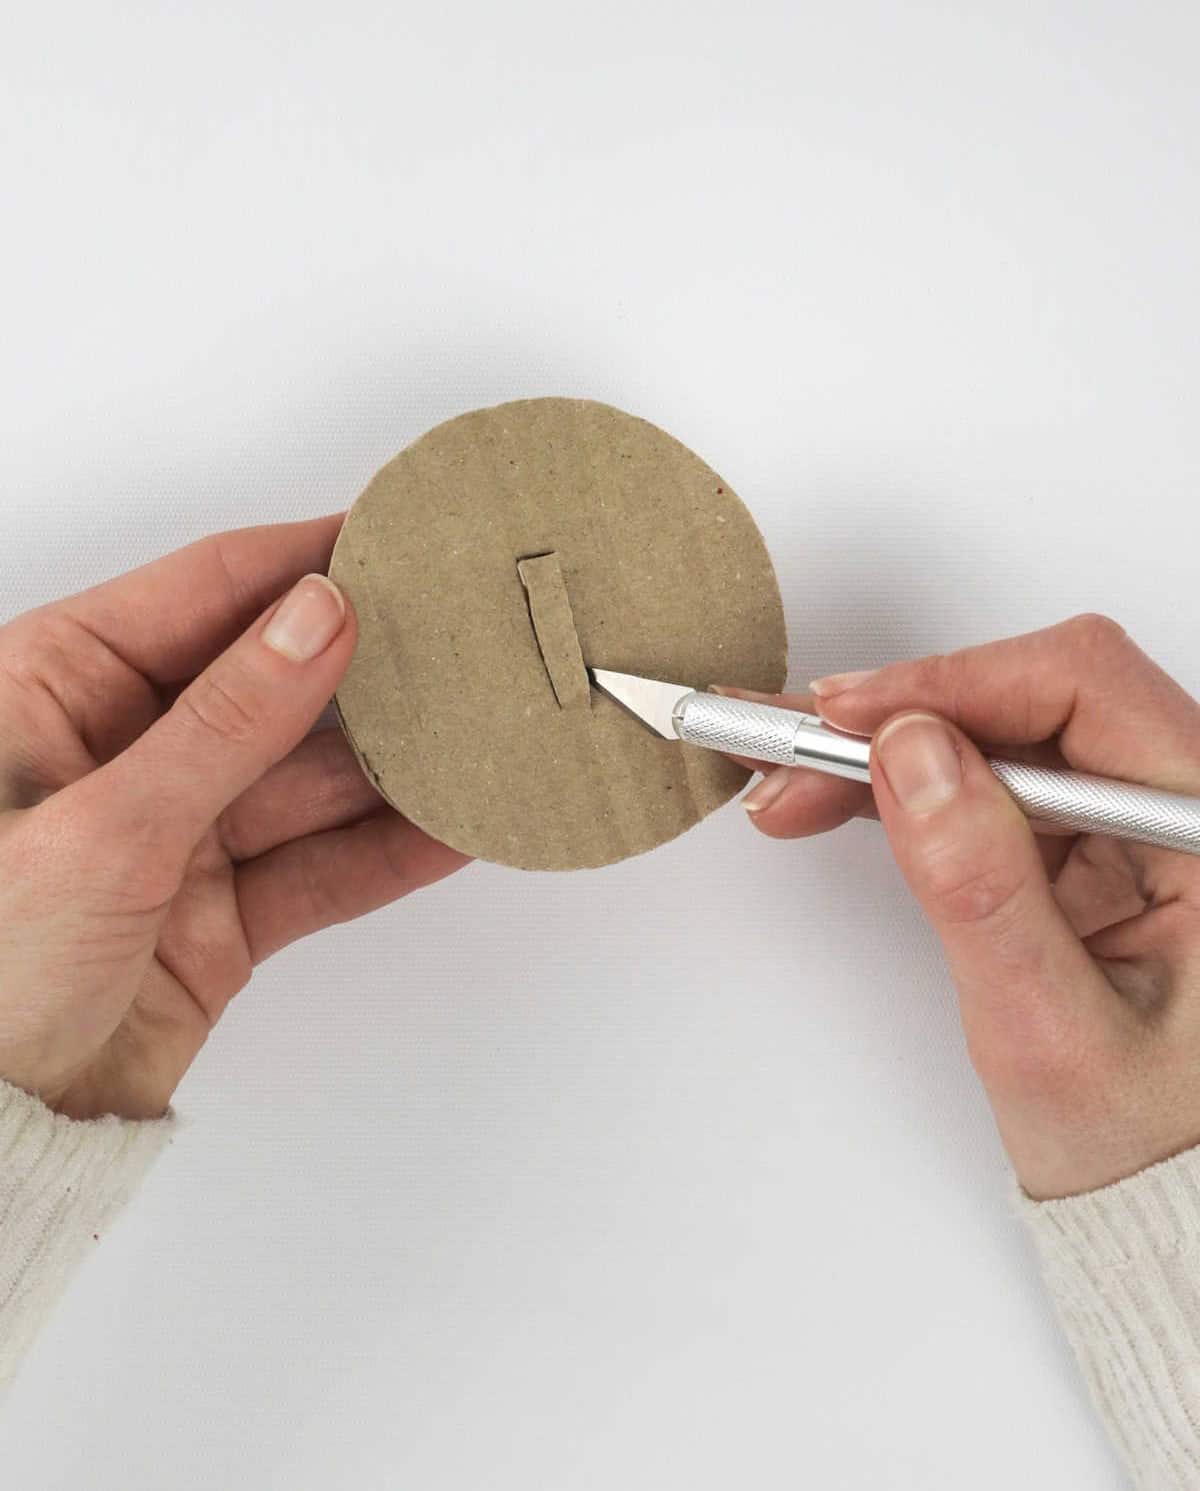
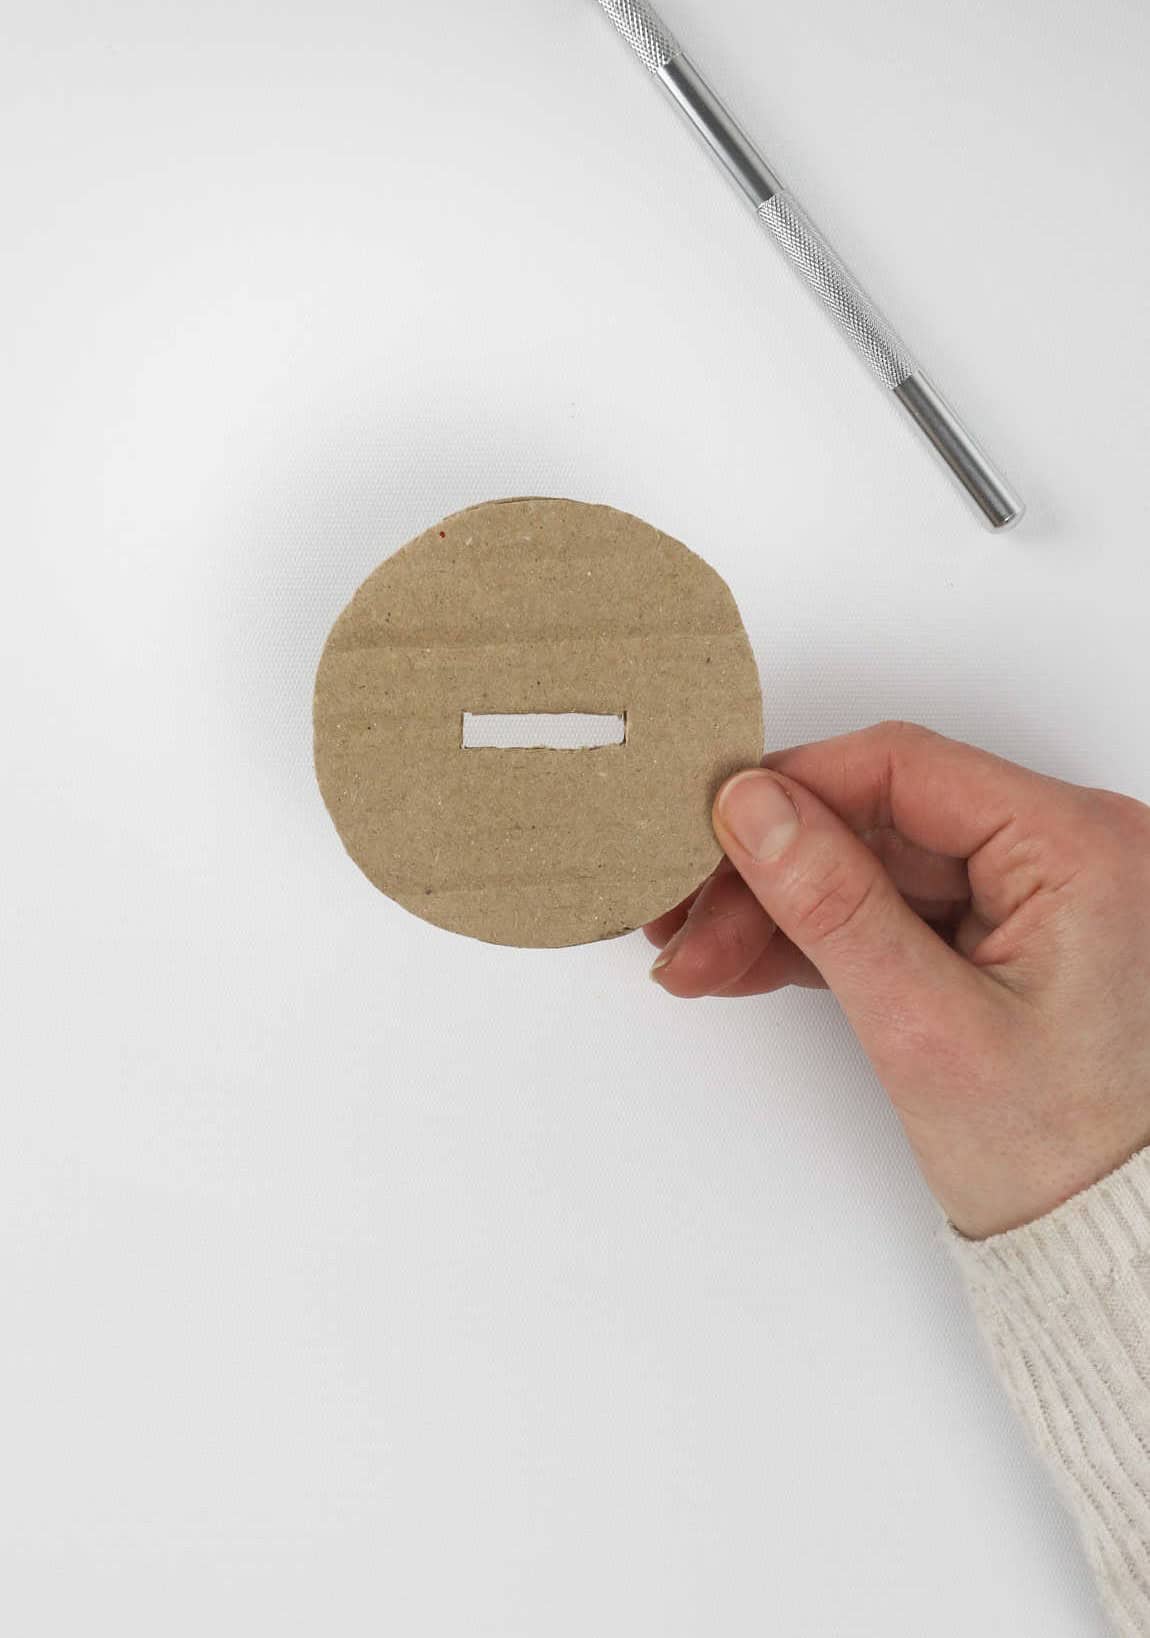
To create the coin insertion slit, start by placing a marker in the center of the cardboard cutout to draw a rectangular shape. This will serve as the guide for your cutting tool. Using either a craft knife or hobby knife, carefully cut along the marked lines, taking care not to press too hard and risk creating rough edges. Pay particular attention to the corners, which can be tricky to navigate. If desired, you can also opt to round off these corners for a smoother finish.
Step 8
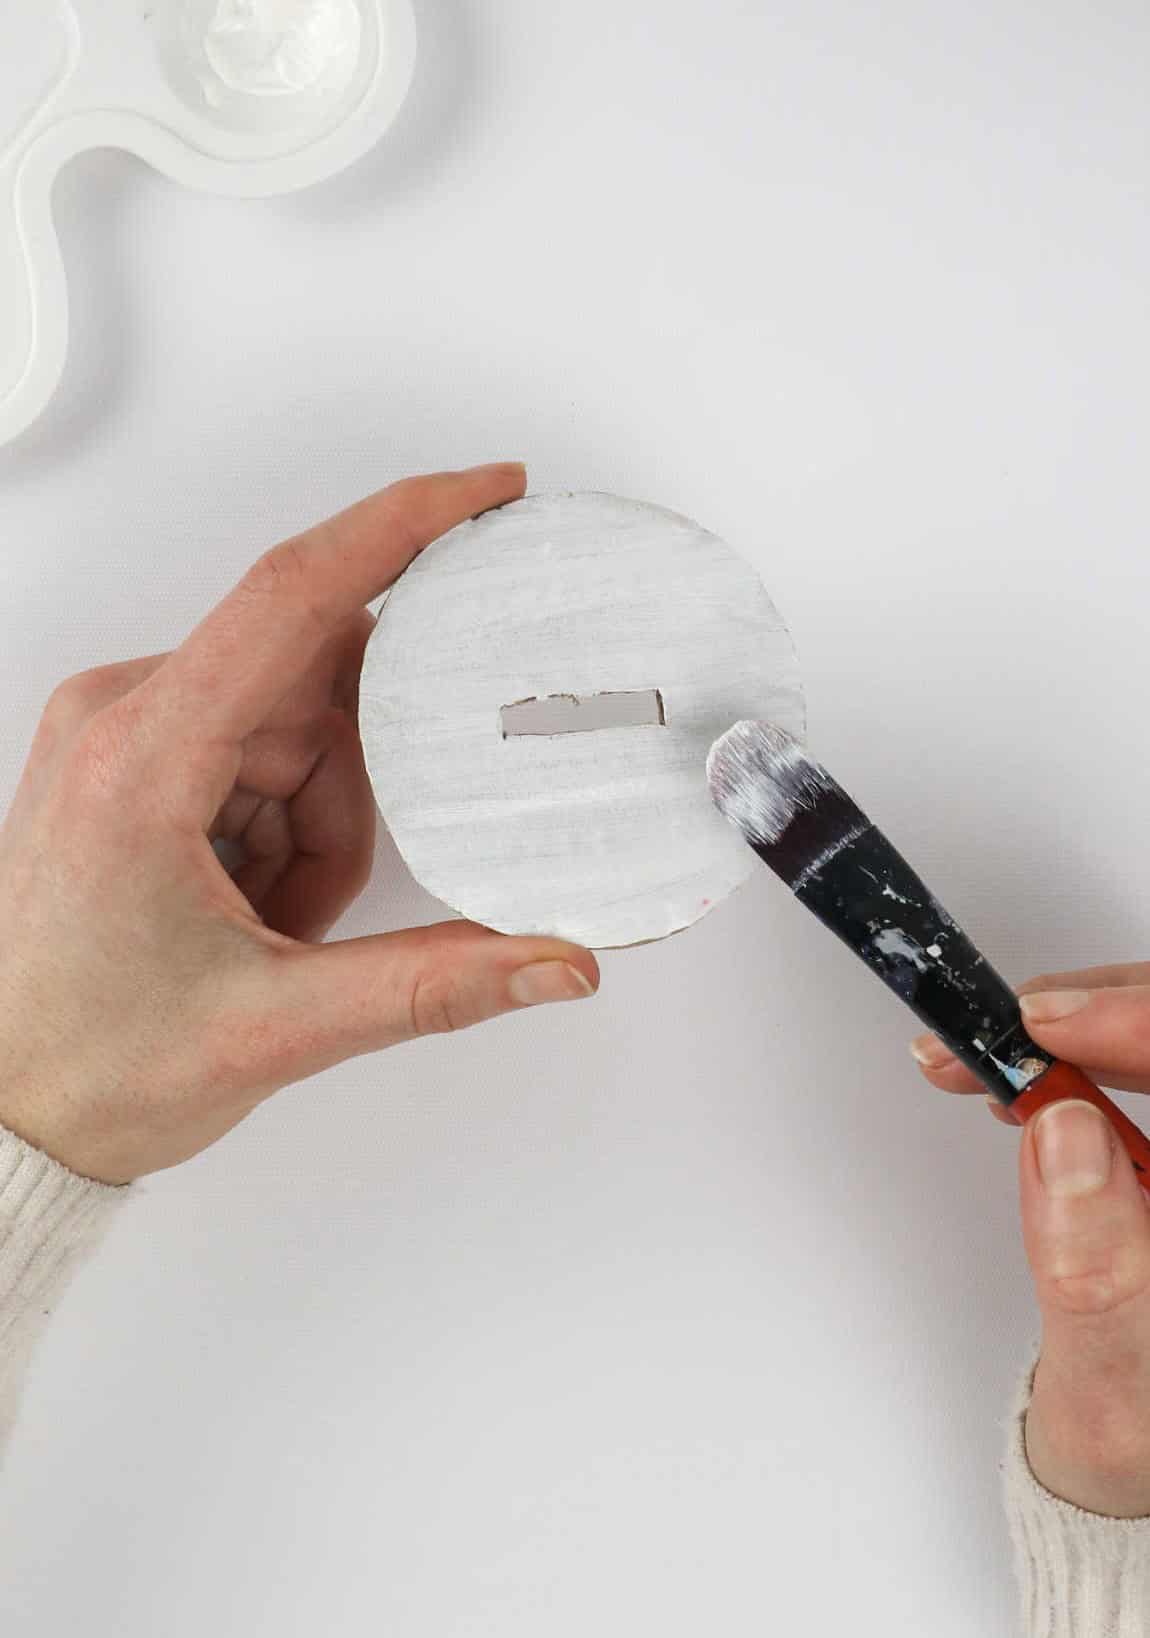
As you prepare to bring your cardboard creation to life, begin by applying a sturdy base coat with your trusty paintbrush. To ensure optimal coverage, consider adding an additional layer or two, allowing each successive application to dry before building upon it.
Step 9
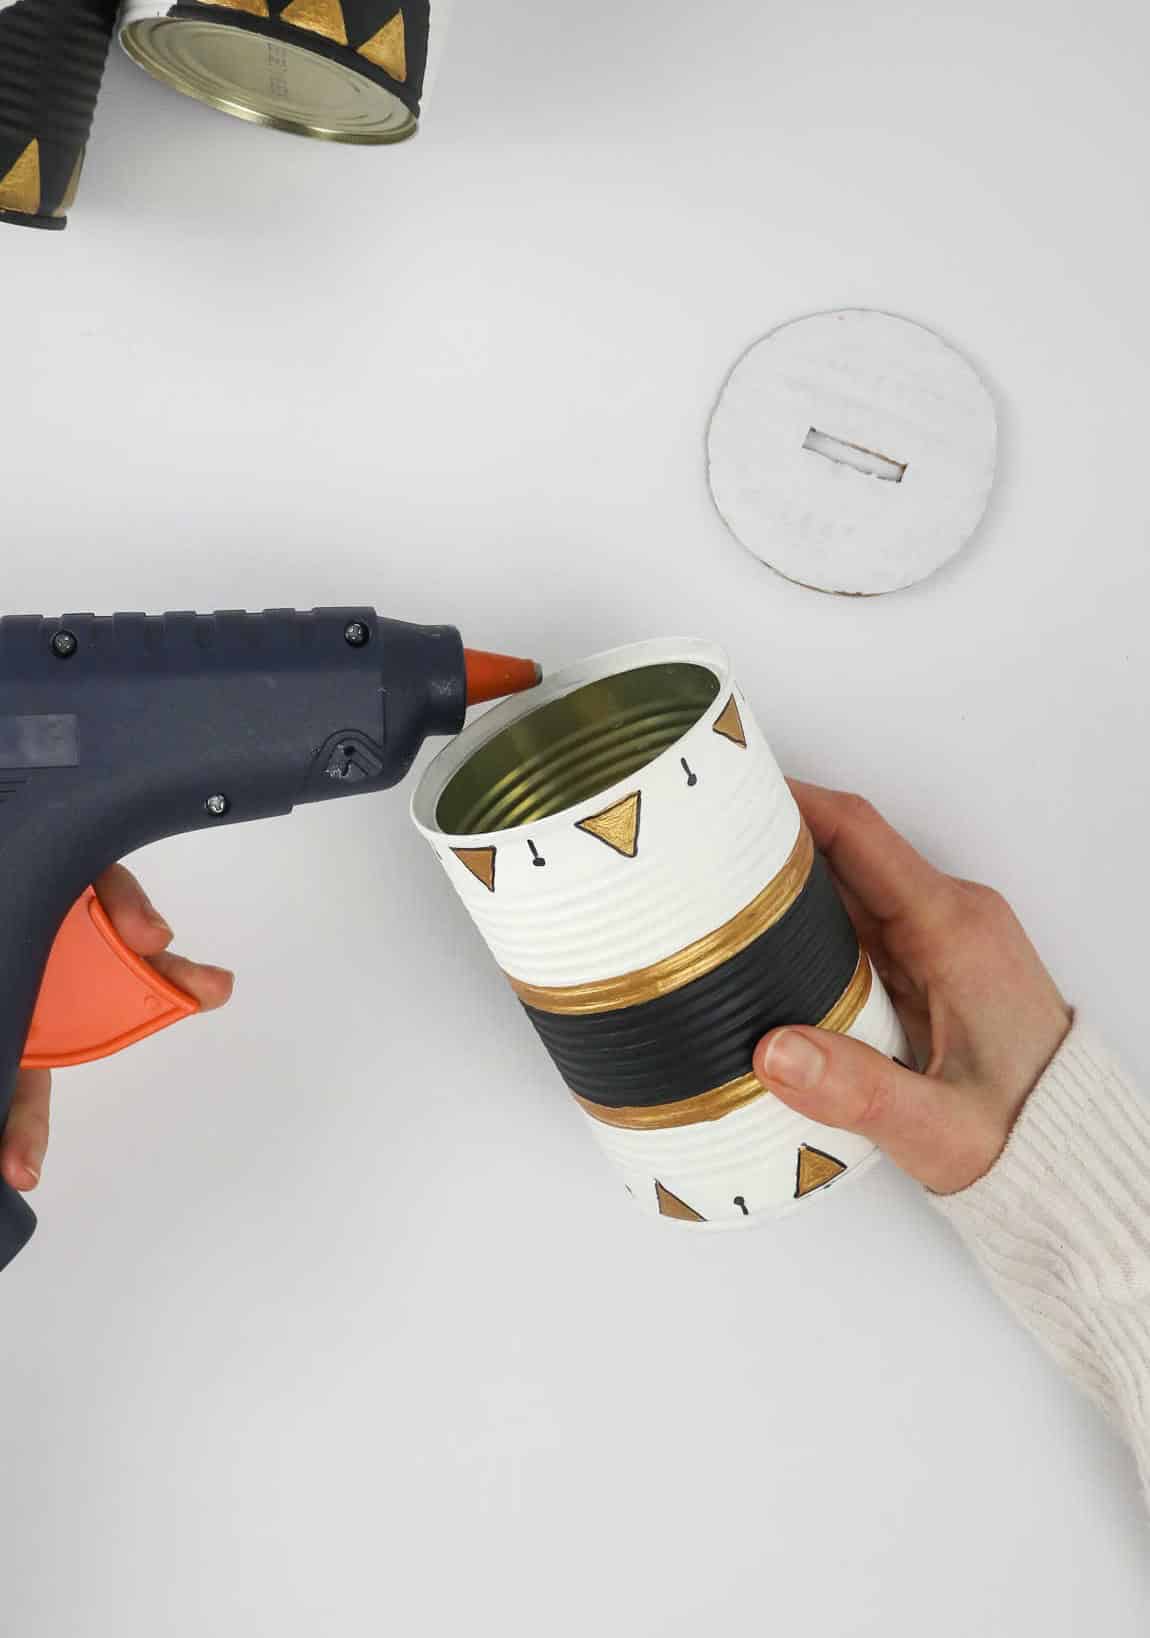
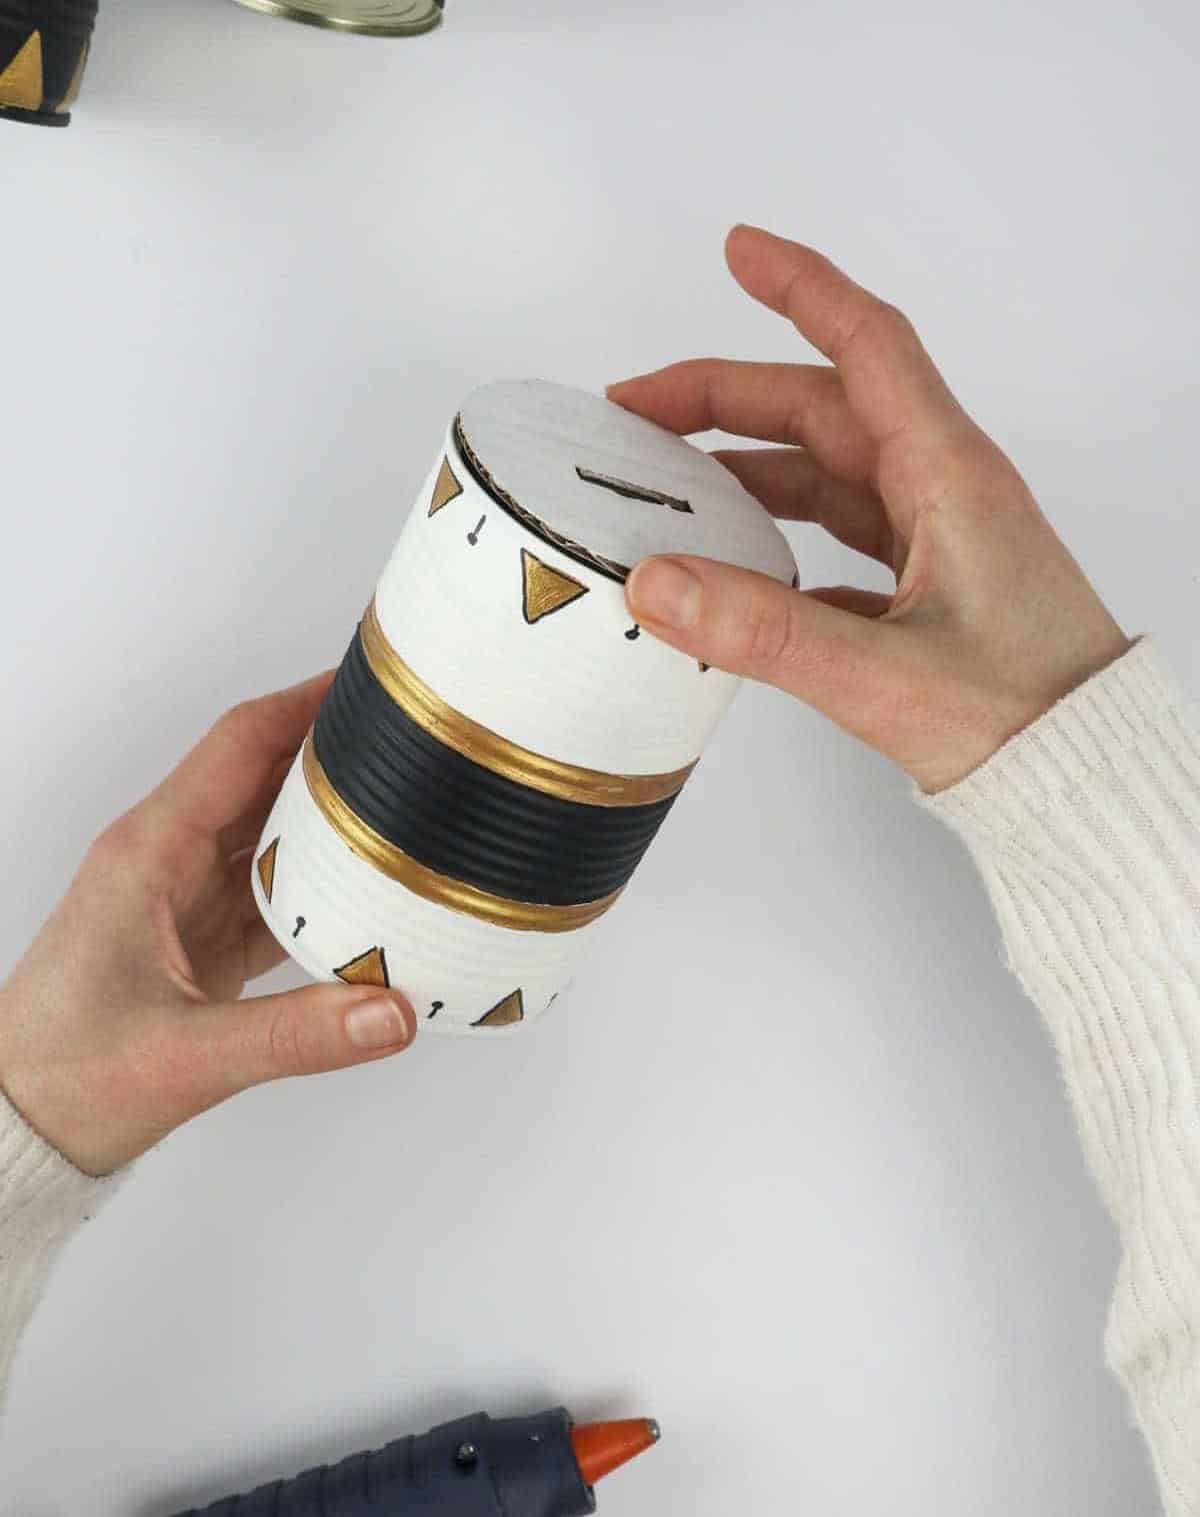
To complete the transformation of your tin cans into functional vessels, it’s crucial to attach the lid securely. Grab your hot glue gun and carefully adhere the lid to the mouth of each can, ensuring a snug fit. Allow the glue sufficient time to air dry before handling the cans further.
Once the glue has fully dried, your upcycled tins are ready for use. Moreover, they make fantastic gifts for fellow eco-conscious enthusiasts who appreciate creative reuse and sustainable living.
Other DIY’s You Might Like
When it comes to creative pursuits, there’s nothing quite like finding a craft that can be both enjoyable and profitable. From youthful endeavors to adult hobbies, we’ve curated a selection of 37 projects that fit the bill. Whether you’re looking to spruce up your space with budget-friendly decor or create something truly unique, our list has got you covered. Get started with dollar store decorating ideas, perfect for giving your home a fresh new look without breaking the bank.
Then, explore projects designed specifically for teens and adults, from fun and creative endeavors to opportunities to earn some extra cash. Whatever your interest or skill level, we’ve got a craft that’s sure to inspire you.
Where Can You Use These Upcycled Tin Cans?
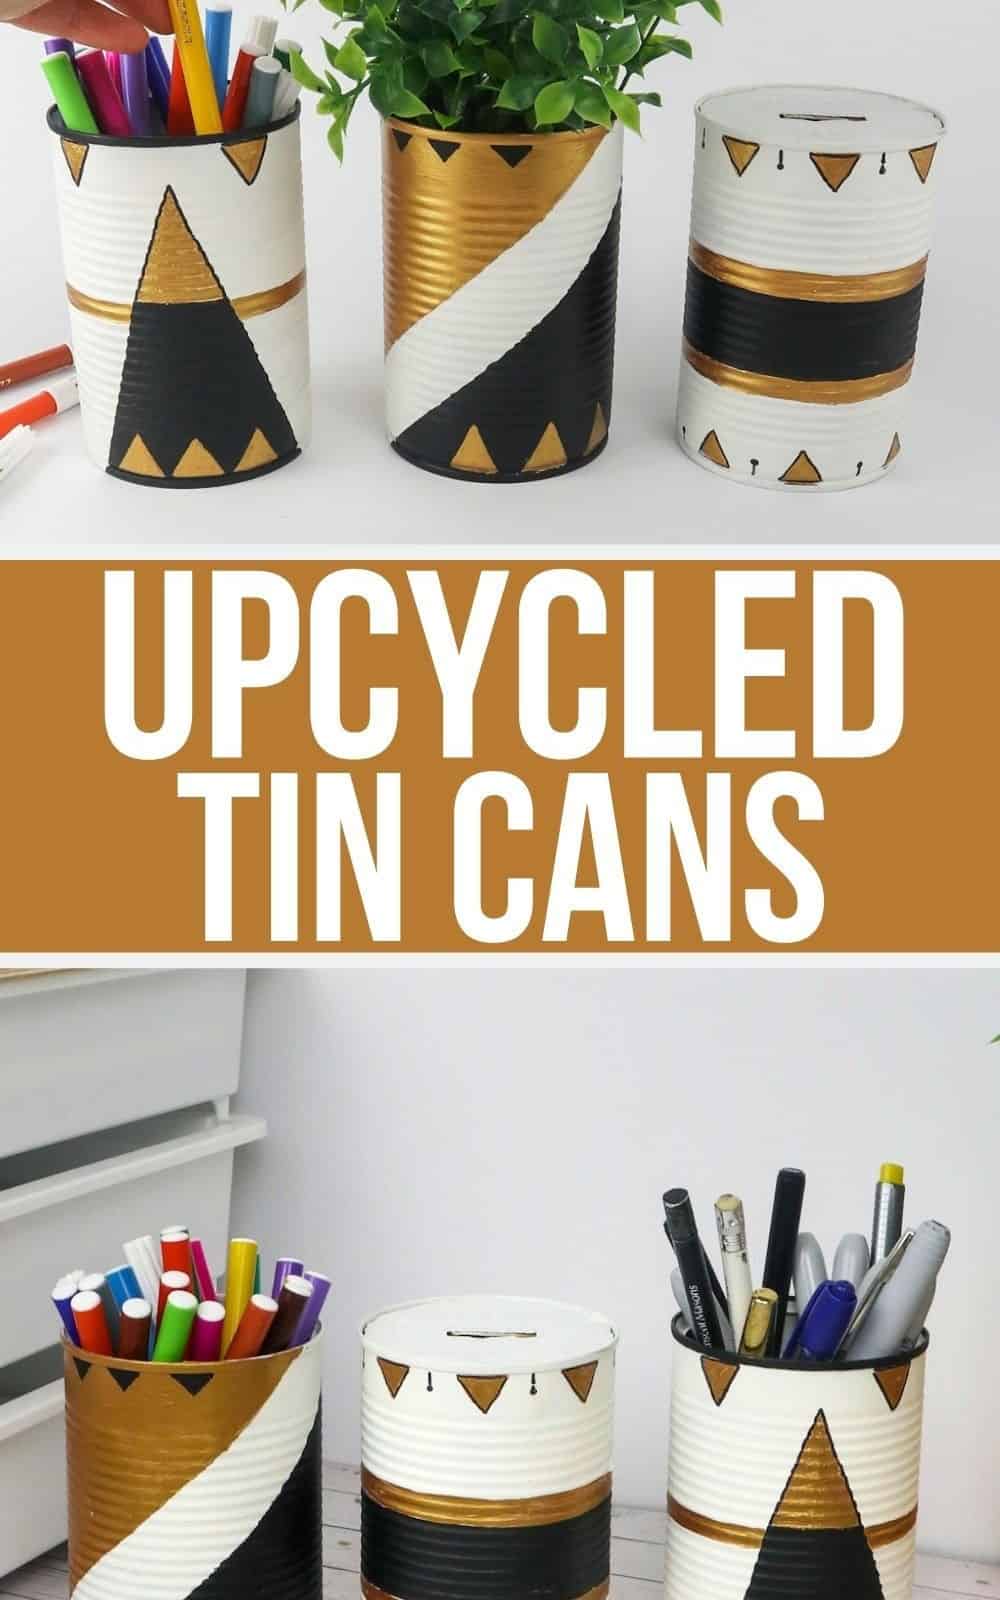
Transforming old tin cans into unique storage containers is a great way to add some personality to your workspace. Not only do they provide a functional spot to stash small items like paper clips, pens, and pencils, but they can also serve as decorative accents on your desk or shelves. The best part? You can customize them to fit your personal style by decorating with paint, stickers, or other embellishments.
One example of this upcycling magic is the tin planter.
By punching a few small holes in the bottom of the can for drainage and adding some soil and a small plant, you can create a charming little garden that adds a touch of greenery to any room. And if you’re feeling extra creative, why not check out our list of 20 genius dollar store planter ideas for more inspiration?
Upcycled Tin Cans
Transforming tin cans into functional desk organizers is a simple yet creative way to repurpose household items. With just 30 minutes of active time and an additional 20 minutes for preparation, you can upcycle these cans to keep your pens and pencils organized and within reach. No crafting experience necessary, this project is perfect for those looking to add a touch of DIY flair to their workspace.
Equipment
To ensure uninterrupted creativity, it’s essential to have the right tools by your side. A paint palette or even an old jar lid can serve as a makeshift mixing station for your artistic endeavors. For precision and detail-oriented work, a set of high-quality paintbrushes is vital. Additionally, having a pair of scissors and a hobby knife on hand can come in handy when trimming, shaping, or manipulating various materials.
Meanwhile, to prevent your screen from going dark mid-creation, take the initiative to adjust your screen settings to keep it lit for as long as you need it.
Materials
When crafting a unique and eye-catching art piece, the starting point is often the foundation – literally. Begin by gathering a few essential materials: a sturdy base, such as a piece of cardboard or even a tin plate, to provide structure for your creation. This base can be as simple as a sheet of cardboard or as elaborate as an old metal container, depending on the desired texture and aesthetic you wish to achieve.
Next, consider adding some visual interest with acrylic paint, carefully applied using brushes or other tools to create bold patterns, vibrant colors, and intricate designs. To add an extra layer of depth and dimensionality, incorporate masking tape, which can be used to create crisp lines, geometric shapes, or even delicate textures.
Finally, for added stability and durability, consider utilizing a glue gun to secure your components in place, creating a piece that is not only visually striking but also remarkably resilient.
Instructions
To begin, gather all necessary materials and lay down newspapers to contain any potential paint splatters. Next, apply multiple coats of vibrant acrylic paint to the tin can, utilizing masking tape to create crisp edges and prevent smudges from forming. Once the paint has dried, use a permanent marker or detailing brush to add your desired design or pattern to the can. Allow the can to fully dry before moving on to the next step.
If you’re looking to transform your tin can into a pen holder, you’ll be done once it’s completely dry. However, if you’d like to create a money holder or piggy bank instead, simply cut out a rectangular slit in some cardboard for inserting coins. Ensure the lid fits properly and adjust as needed.
To secure the lid in place, employ a hot glue gun and allow the adhesive to fully set before handling.
If you’re opting to turn your tin can into a planter, puncture a couple of holes at the bottom of the container to serve as a drainage system.