
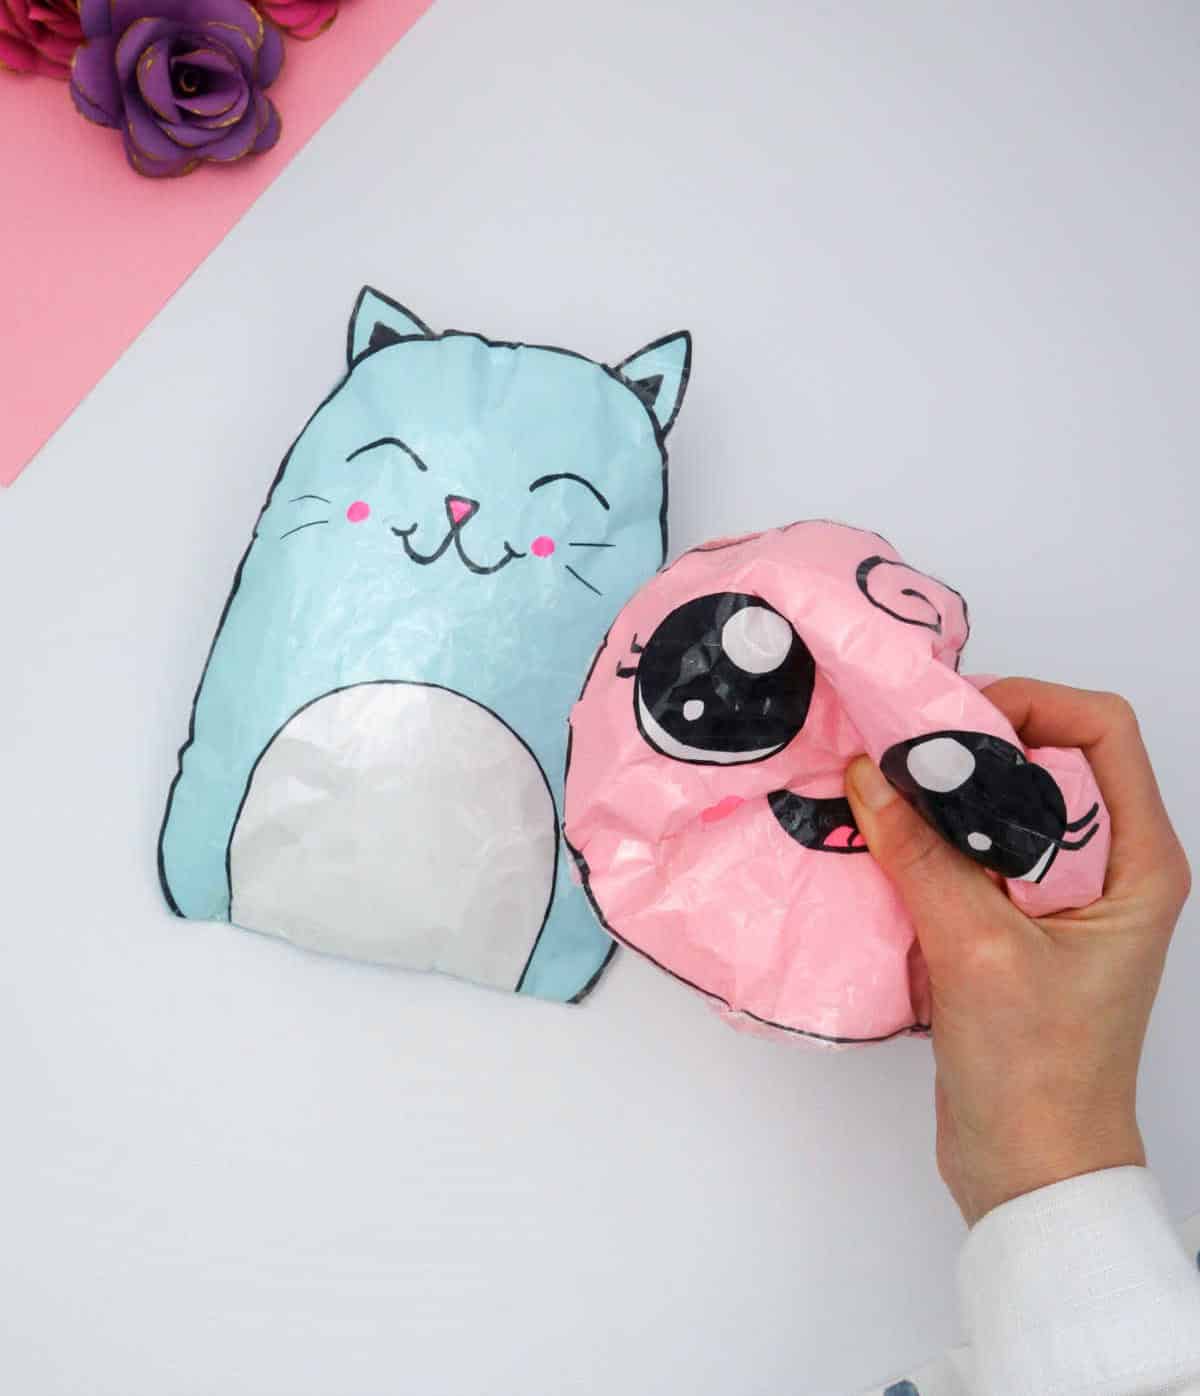
If you’re looking for a fun and engaging craft project to do with your kids, look no further than making paper squishies! This tutorial will walk you through the process of creating these adorable little creations from scratch. And trust us, it’s worth putting aside any other projects on your list – paper squishies are that good. Not only are they ridiculously cute and entertaining to play with, but they’re also surprisingly easy to make.
Whether you’re a parent looking for a fun activity to keep the kids occupied or simply someone who loves crafting, this DIY project is sure to delight. So why not give it a try? With just a few simple materials, you can create an endless supply of squishy fun!
Supplies You’ll Need for Paper Squishies
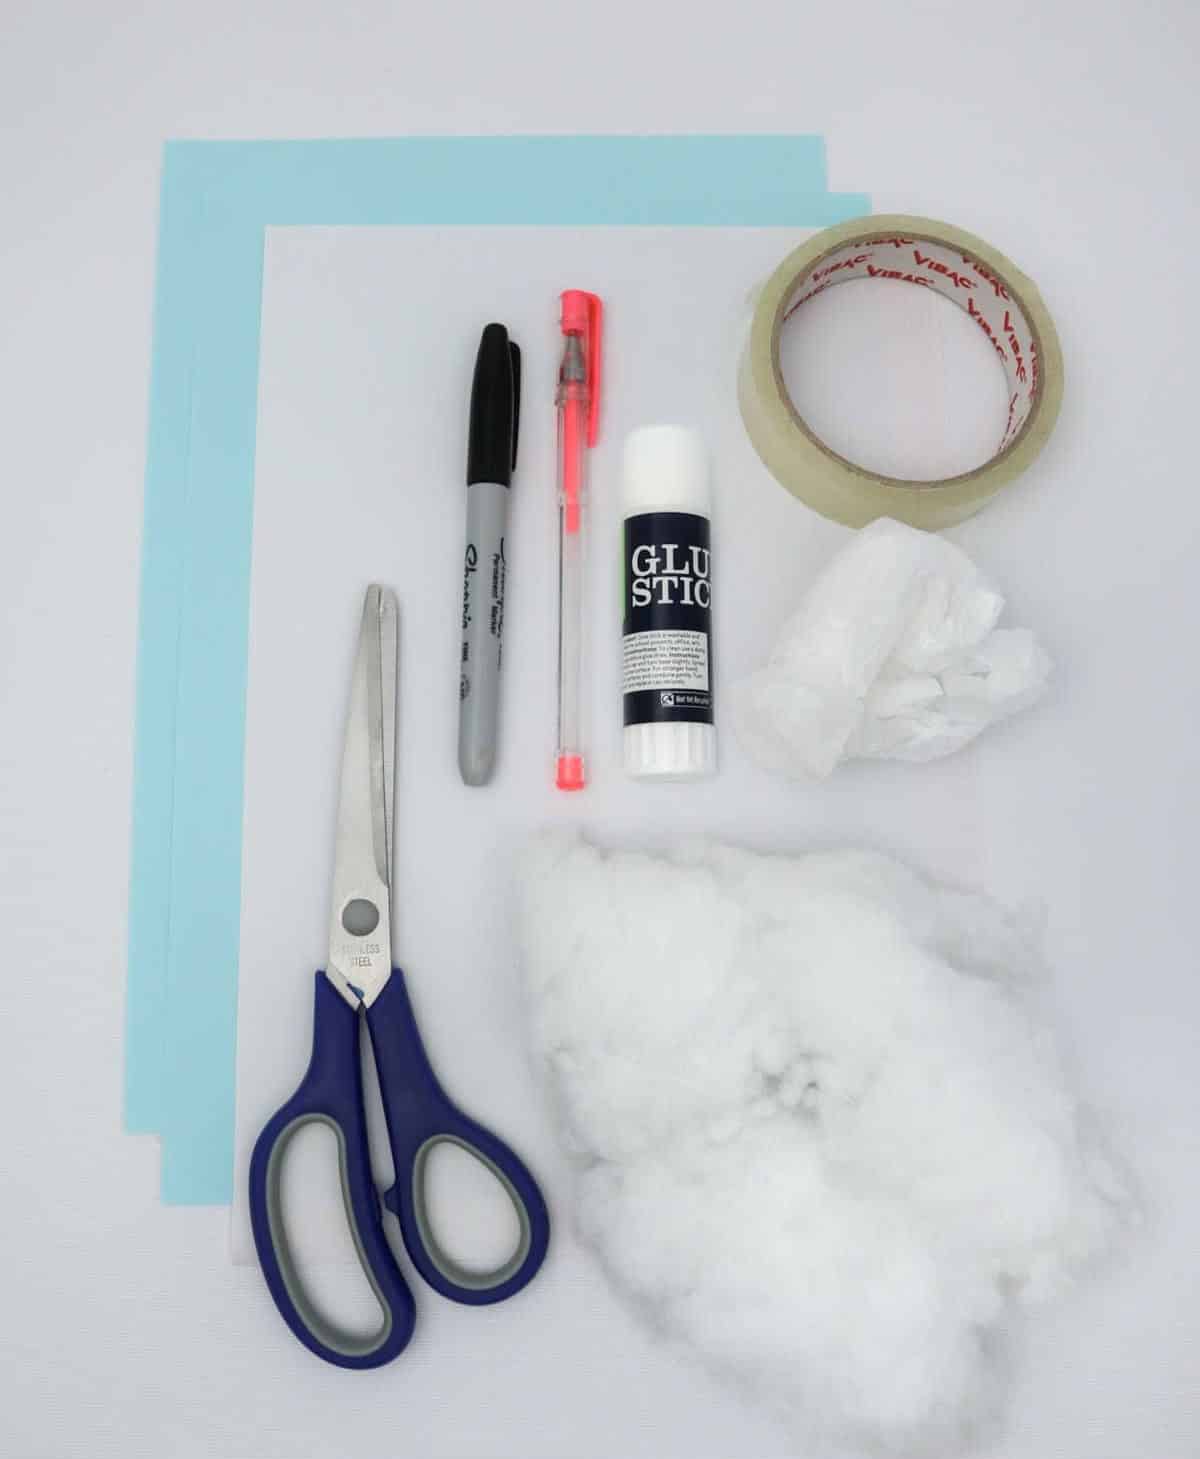
To embark on the creative journey of making paper squishies, it’s essential to have a list of necessary supplies readily available. Start by gathering the following materials: a free printable template specifically designed for this project, two sheets of colored paper, white paper, a black marker, transparent tape, a glue stick, scissors, and toy filling. You may also want to prepare a small plastic bag, though it’s not strictly necessary.
Once you’ve collected all these supplies, lay them out on your workspace and get ready to learn the step-by-step process of crafting paper squishies.
How Do You Make Paper Squishies
One of the most daunting aspects of creating DIY squishies is selecting the perfect design. The abundance of cute cartoon characters available can be overwhelming, making it a tough decision to make. Alternatively, you can opt for something more straightforward and choose an inanimate object as the inspiration for your creation.
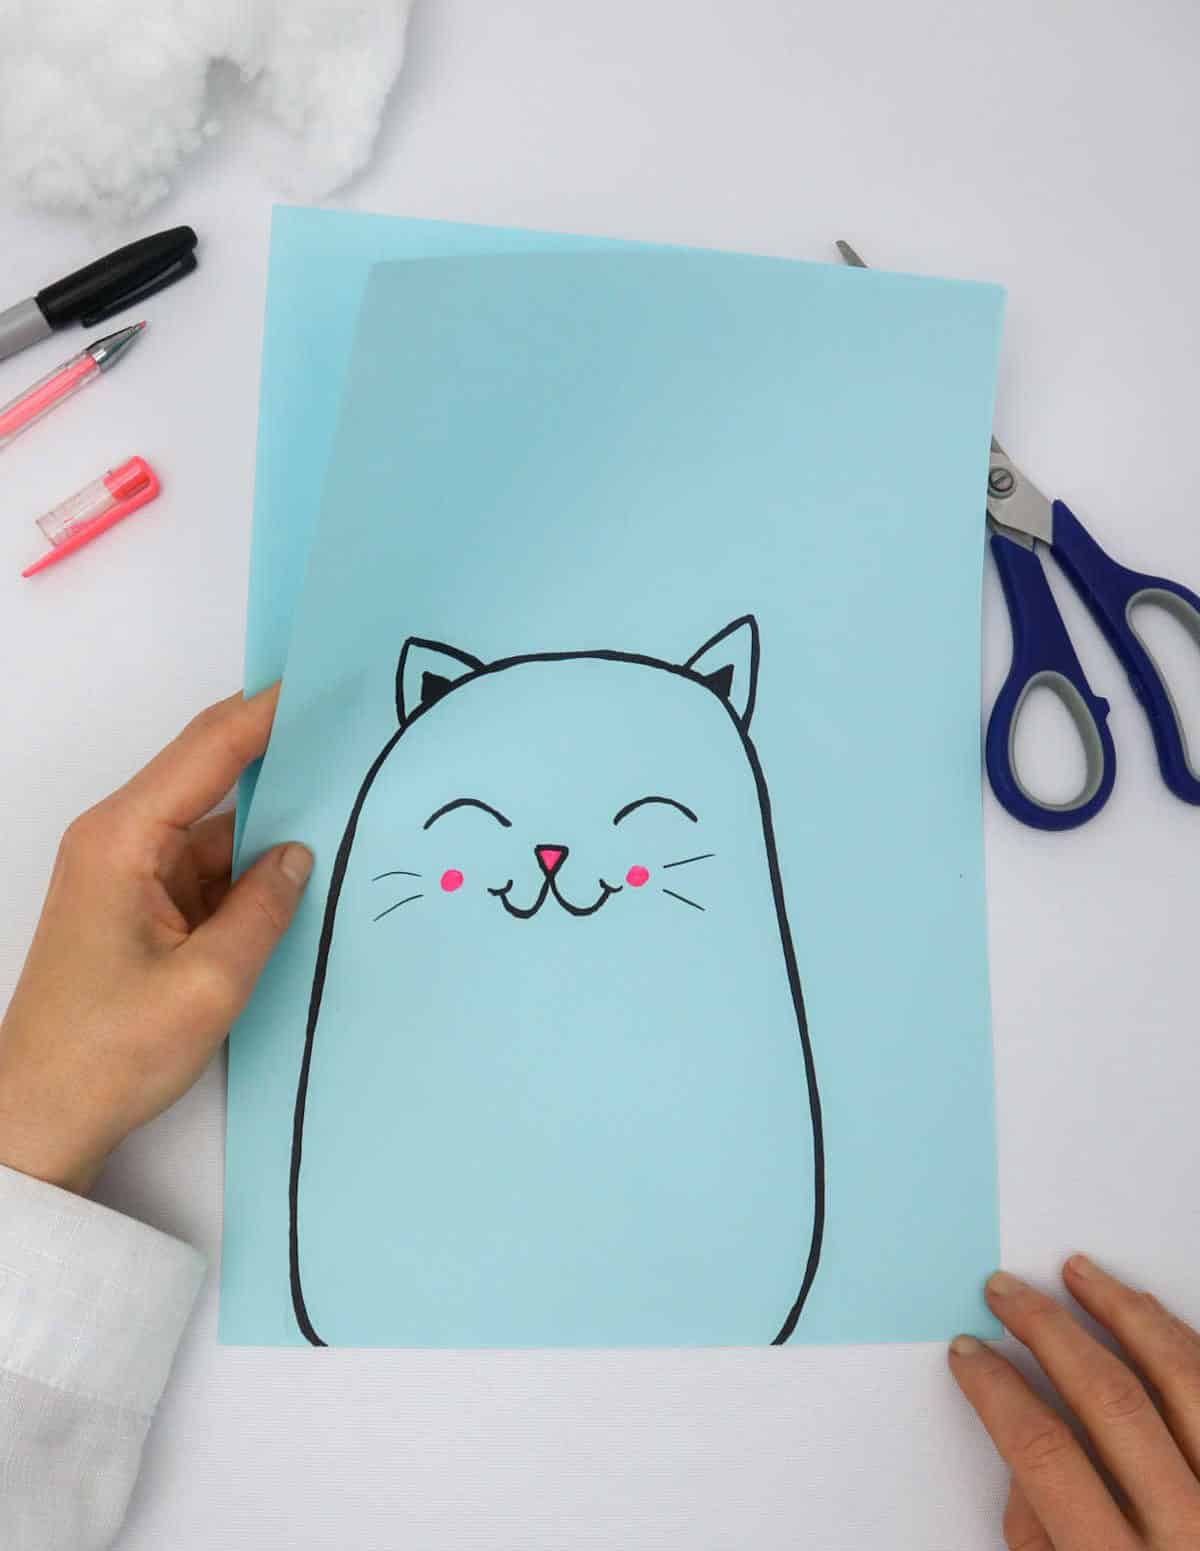
Step 1
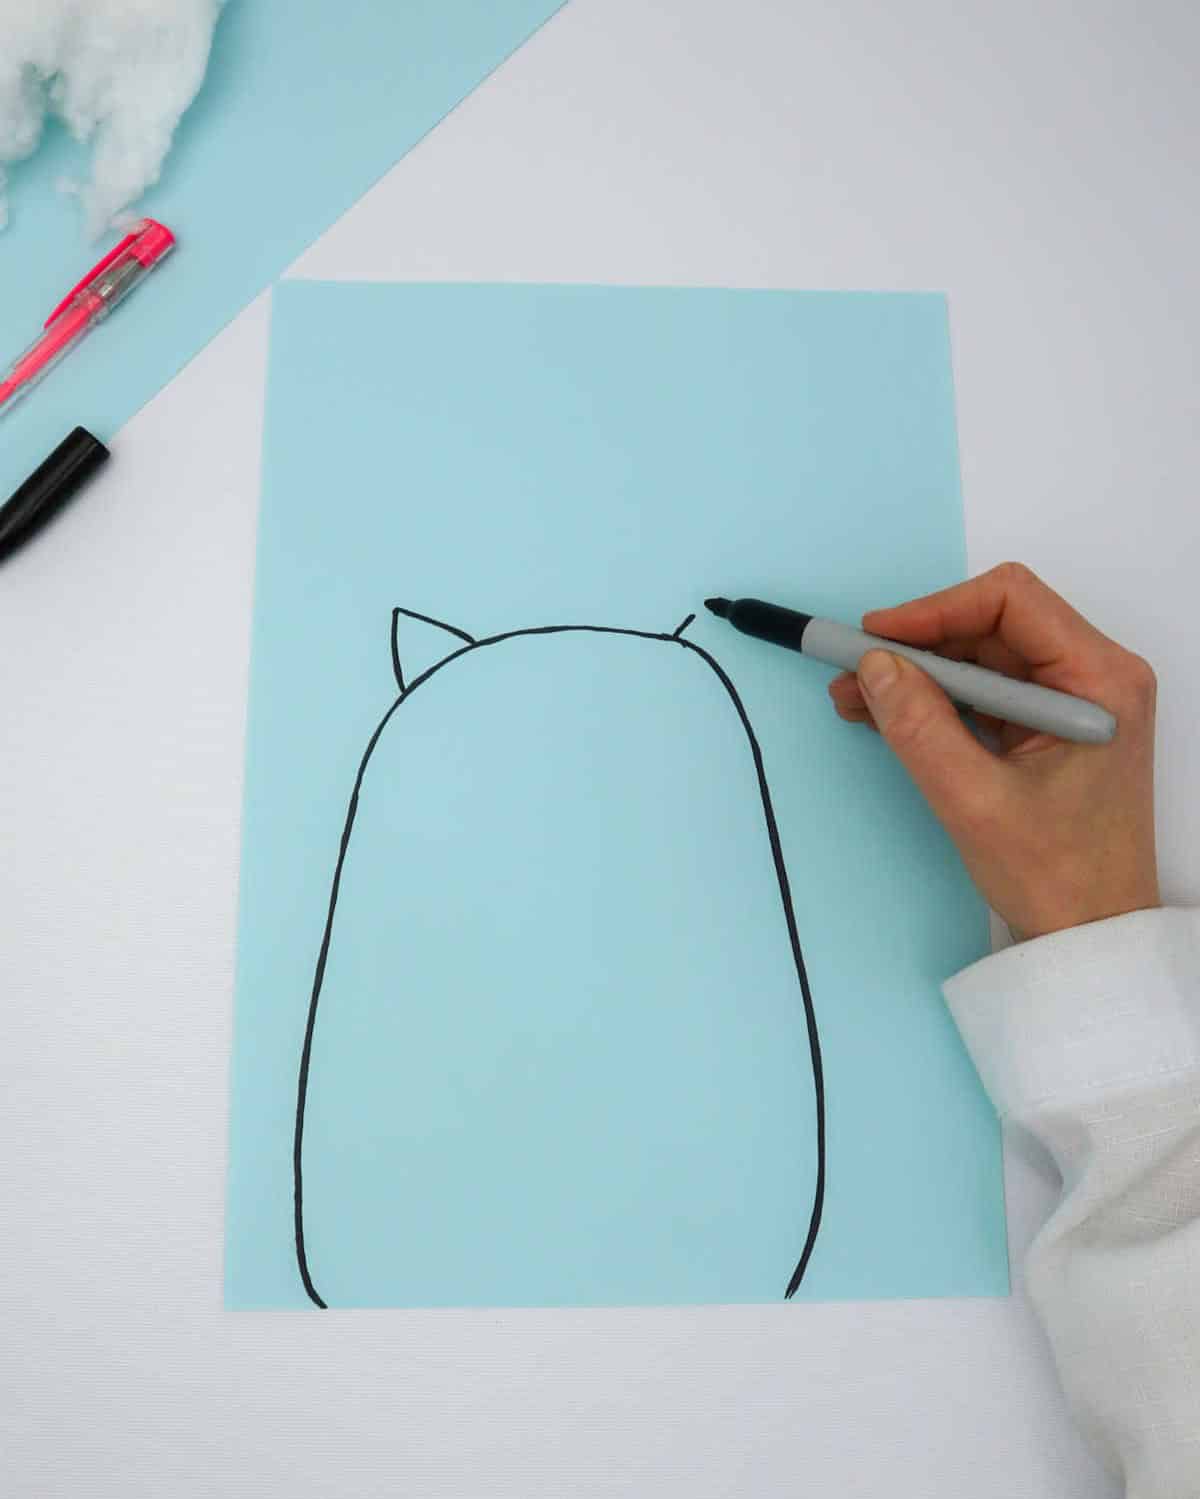
To get started, take out your colored paper and use a marker to bring your design to life by drawing or tracing it. Alternatively, if you’d rather focus on crafting rather than creating from scratch, simply download the pattern provided and print it out for easy reference.
Step 2
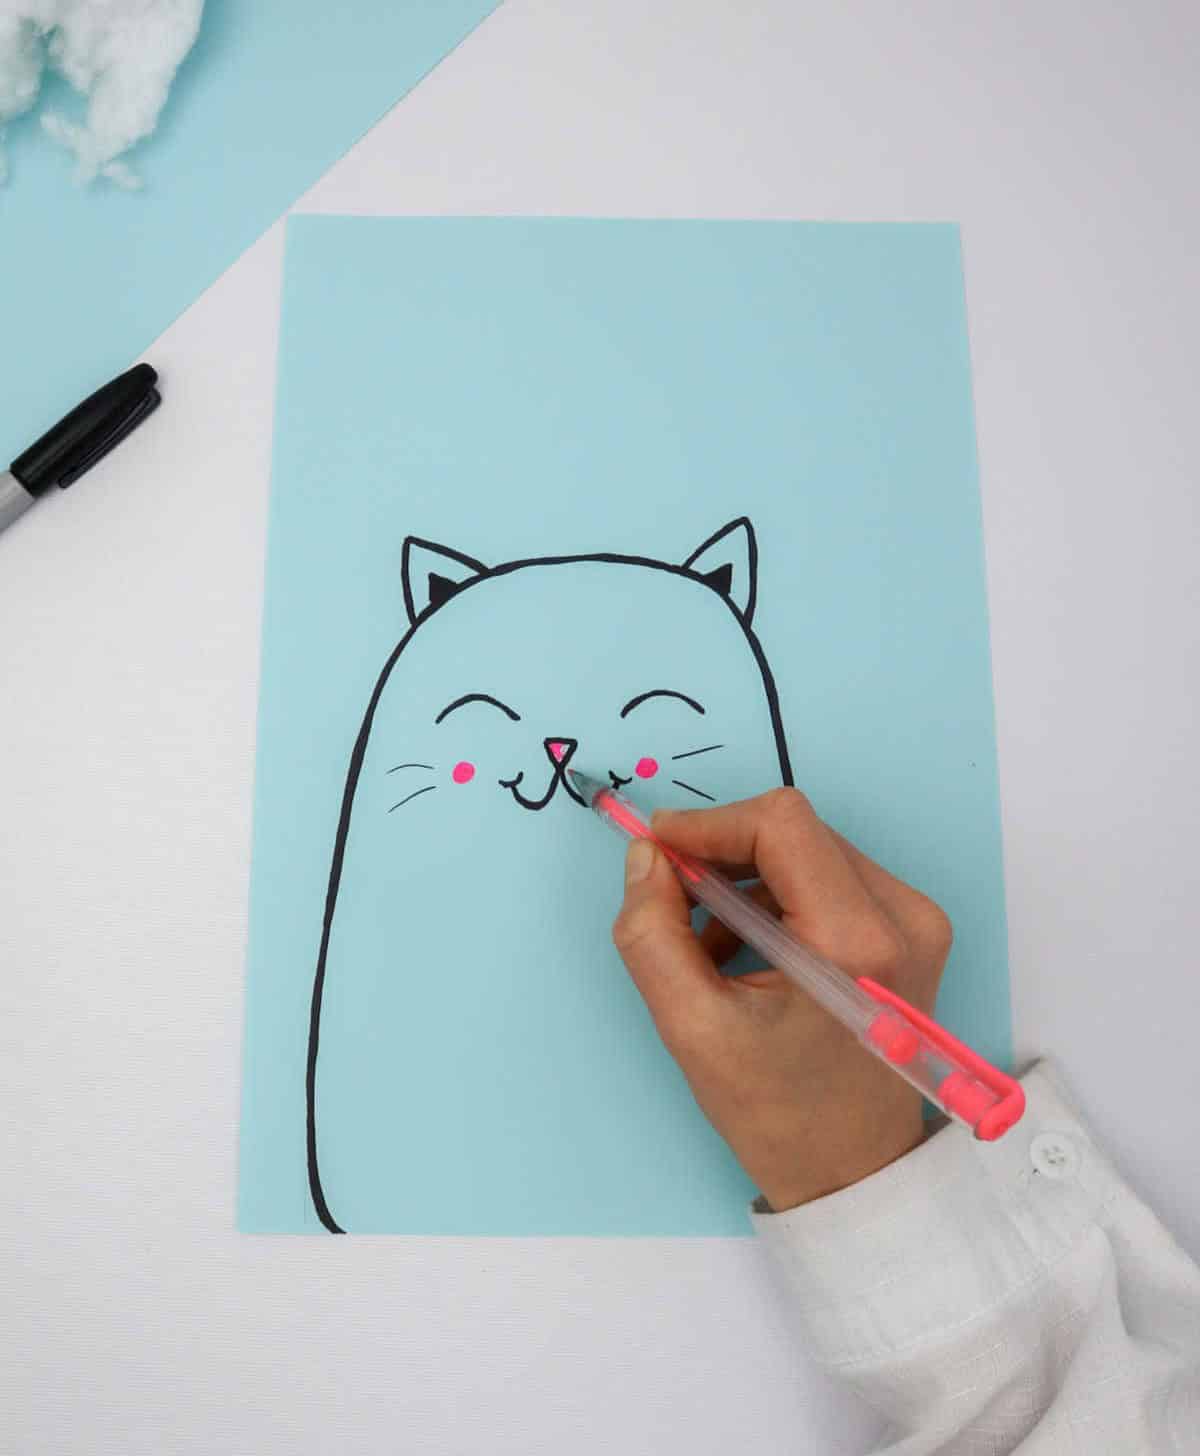
When taking on the task of coloring inside the lines, there’s ample opportunity for self-expression. Feel free to let your imagination run wild by incorporating various colored writing utensils into your masterpiece. The end result will be a visually stunning representation of your creativity, with vibrant colors bringing your drawing to life.
Step 3
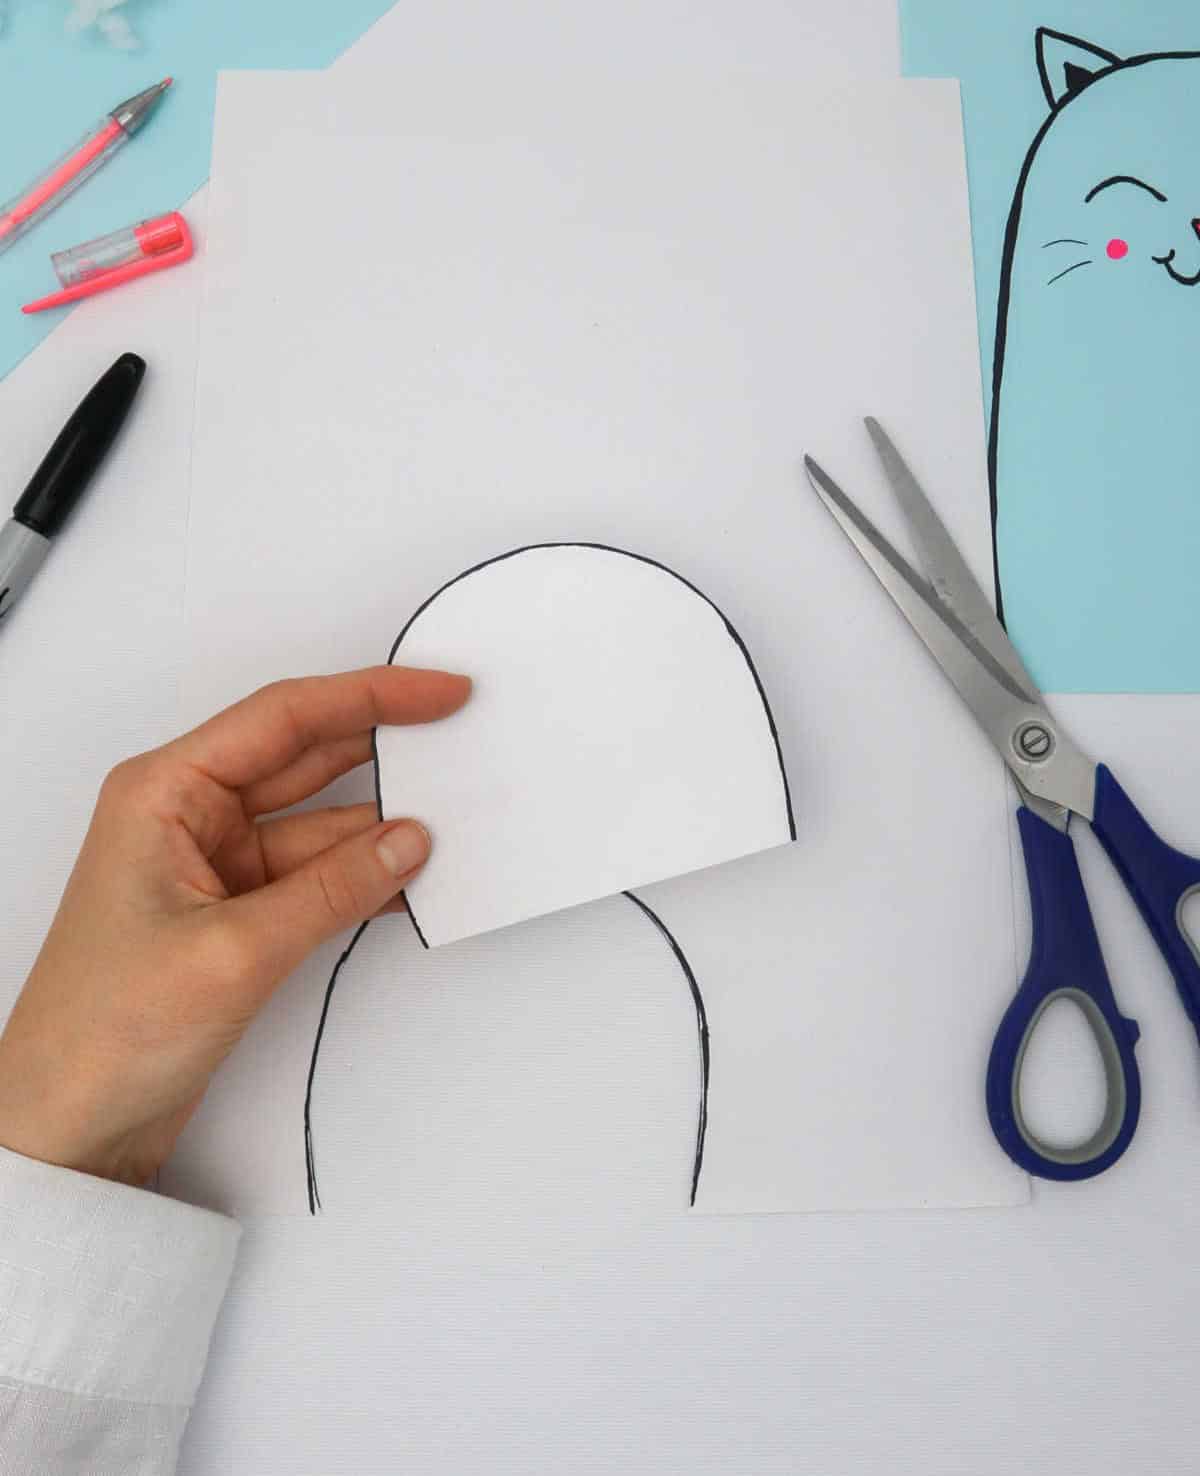
To bring your cartoon character to life, start by creating an outline template on a separate piece of paper. Sketch the shape of the body and ears, paying attention to the proportions and details that define your character’s unique personality. Once you’re satisfied with your drawing, carefully cut out the pattern using scissors. Set it aside for now, as we’ll be returning to this template later in the creative process.
Step 4
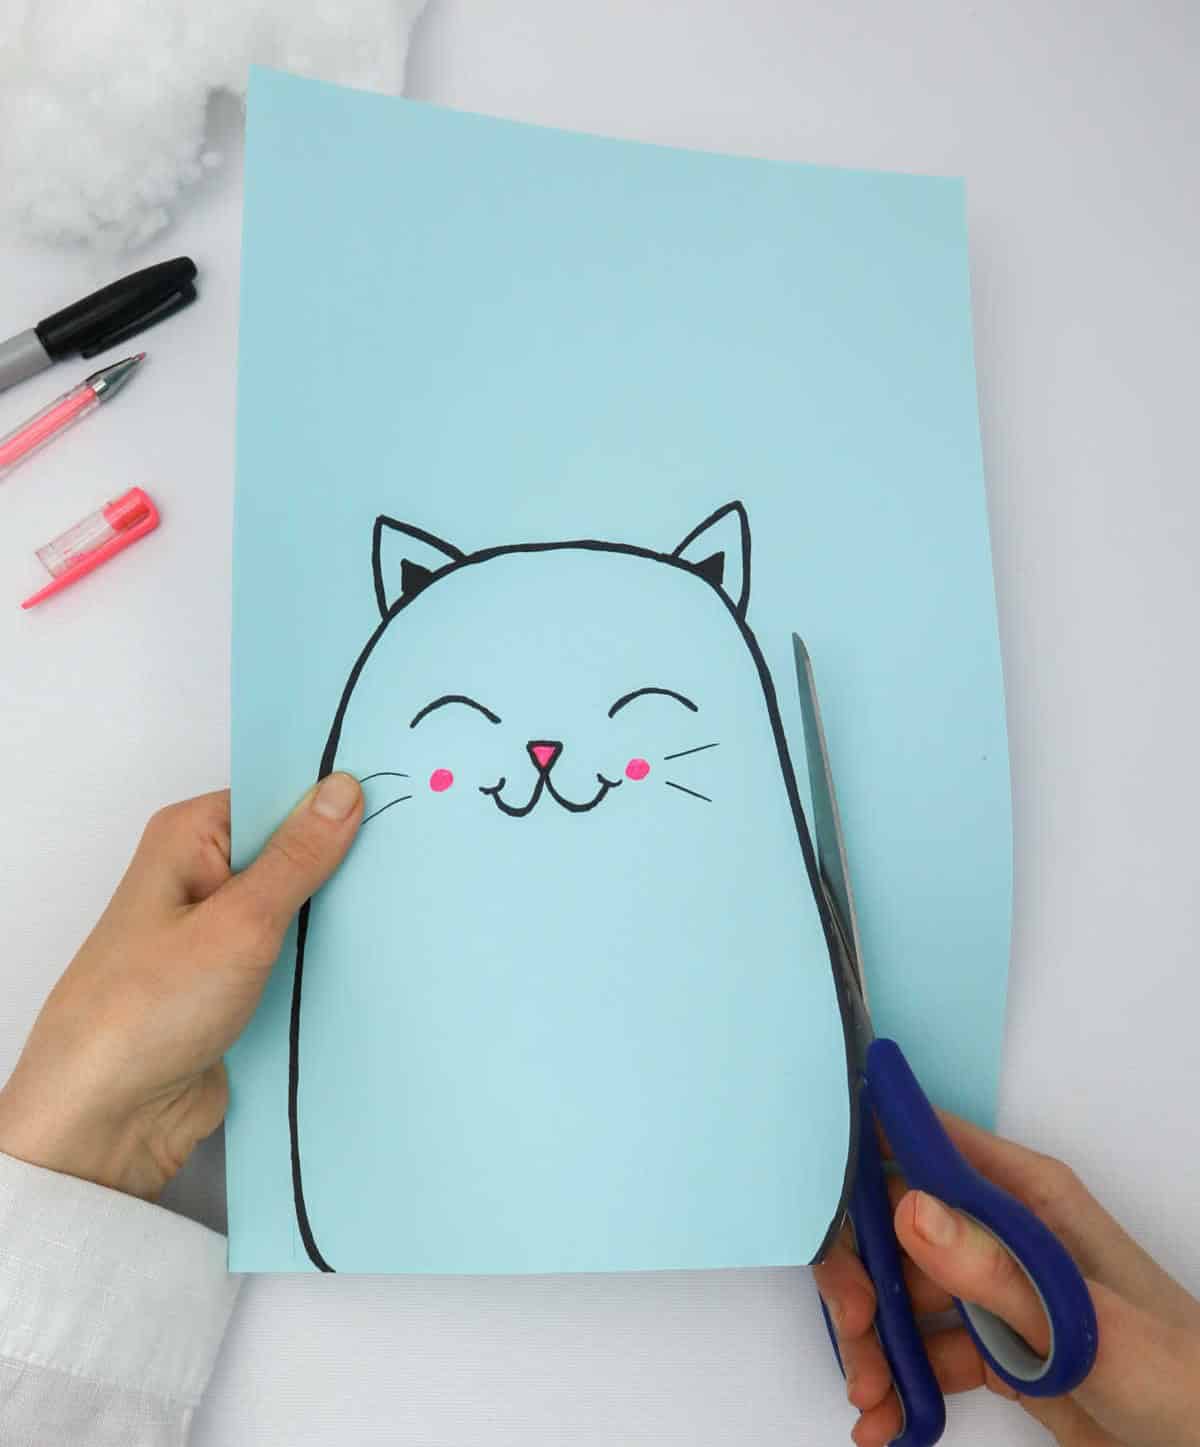
As the final step in creating your cartoon drawing, take the time to carefully cut out the outline with precision. Additionally, meticulously remove the backing from the pattern, setting it aside for future use.
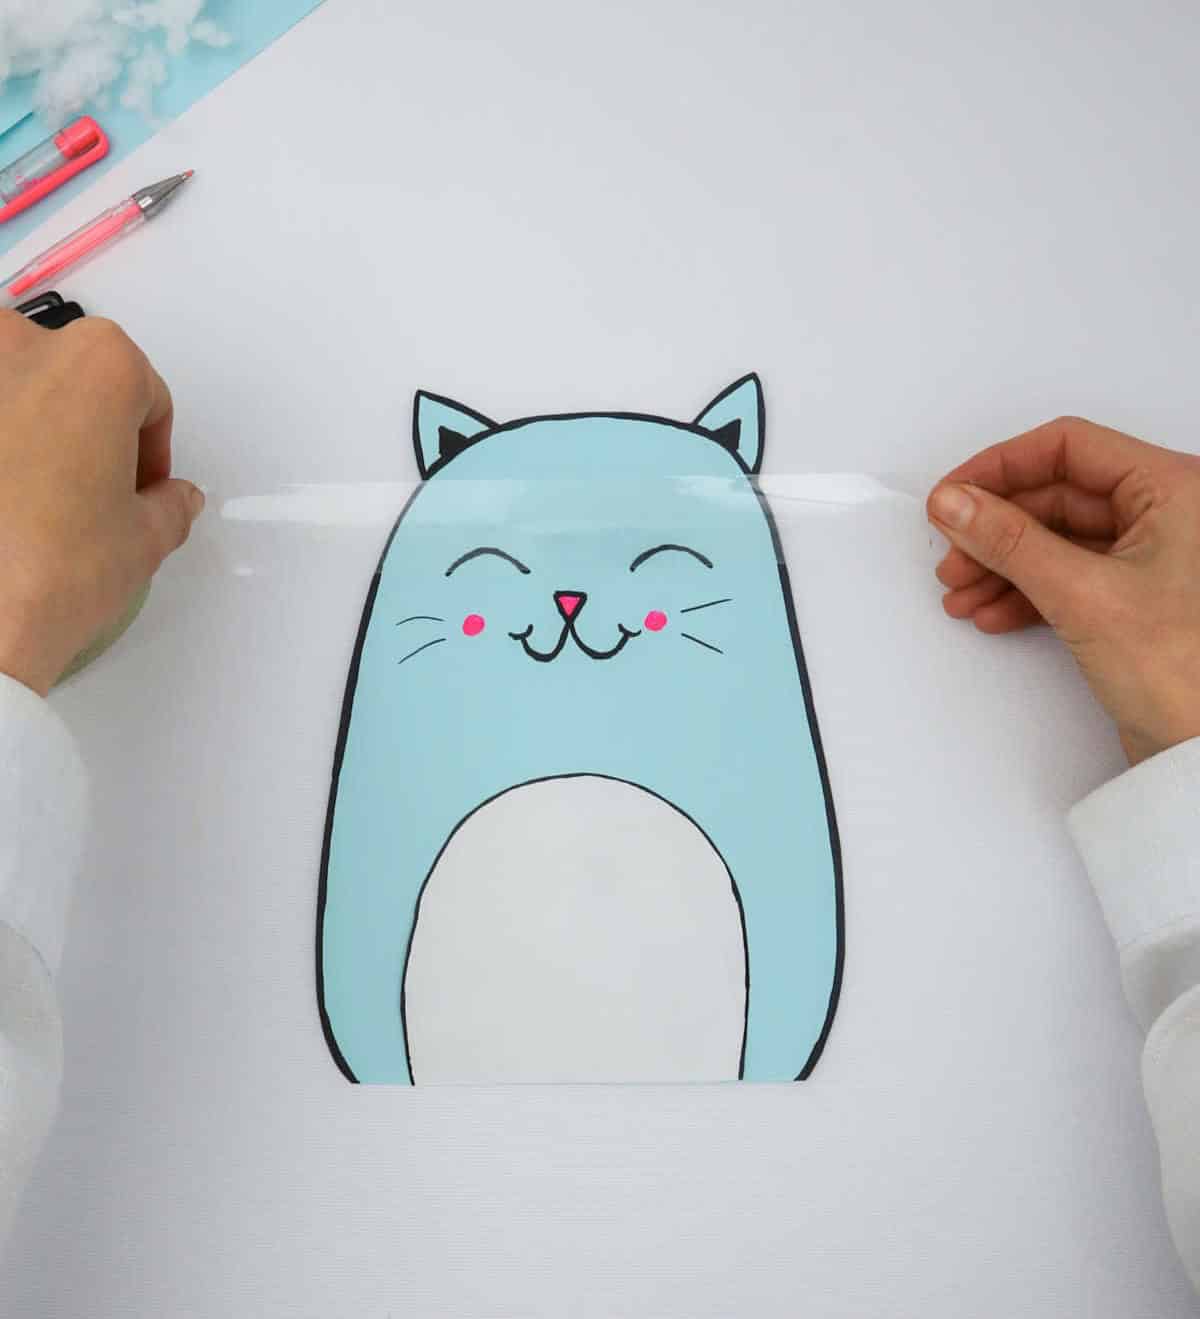
Step 5

Assemble the project by attaching the previously set-aside details to the primary structure. Visualize this process through the example provided:
Step 6
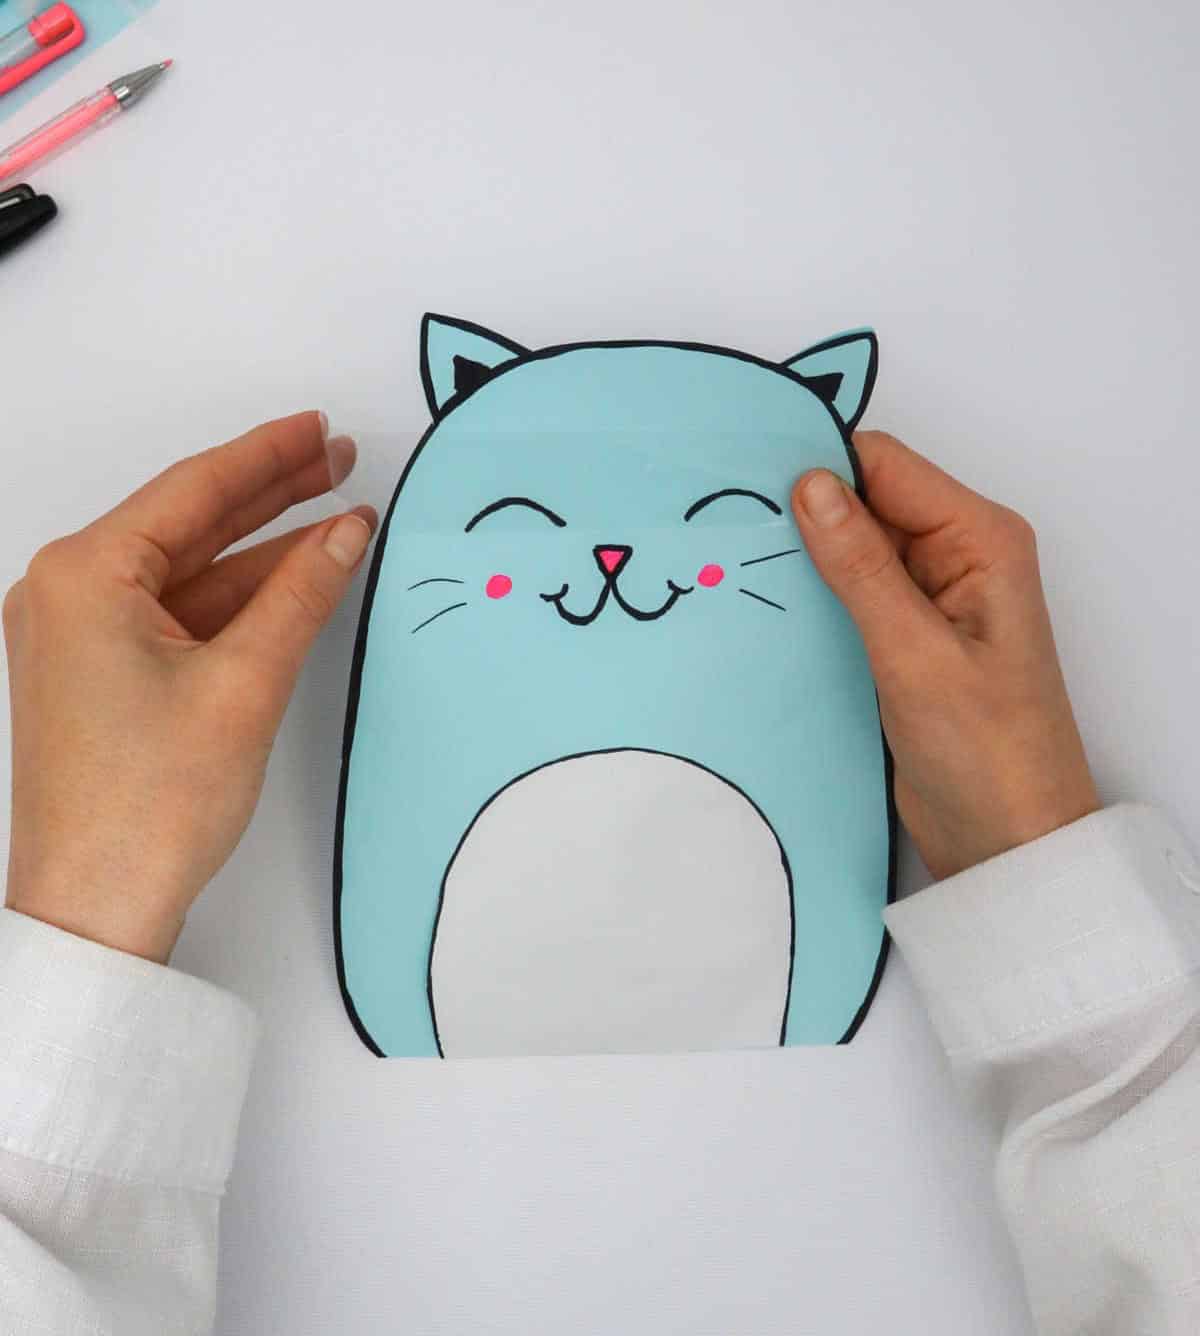
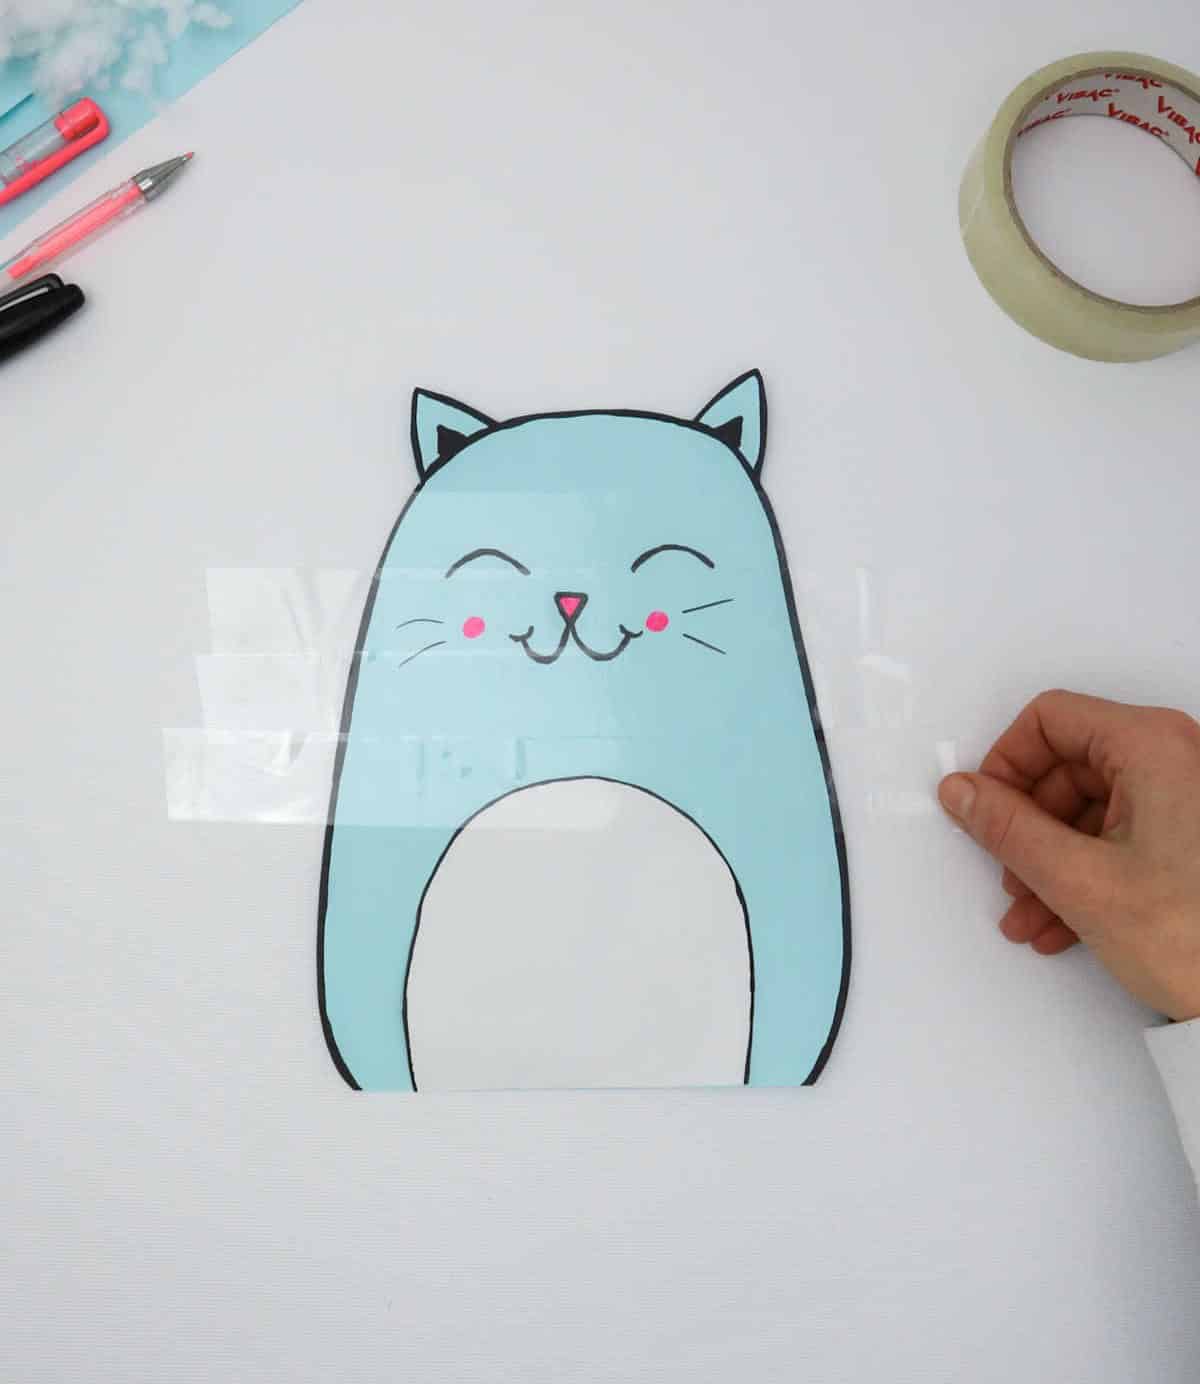
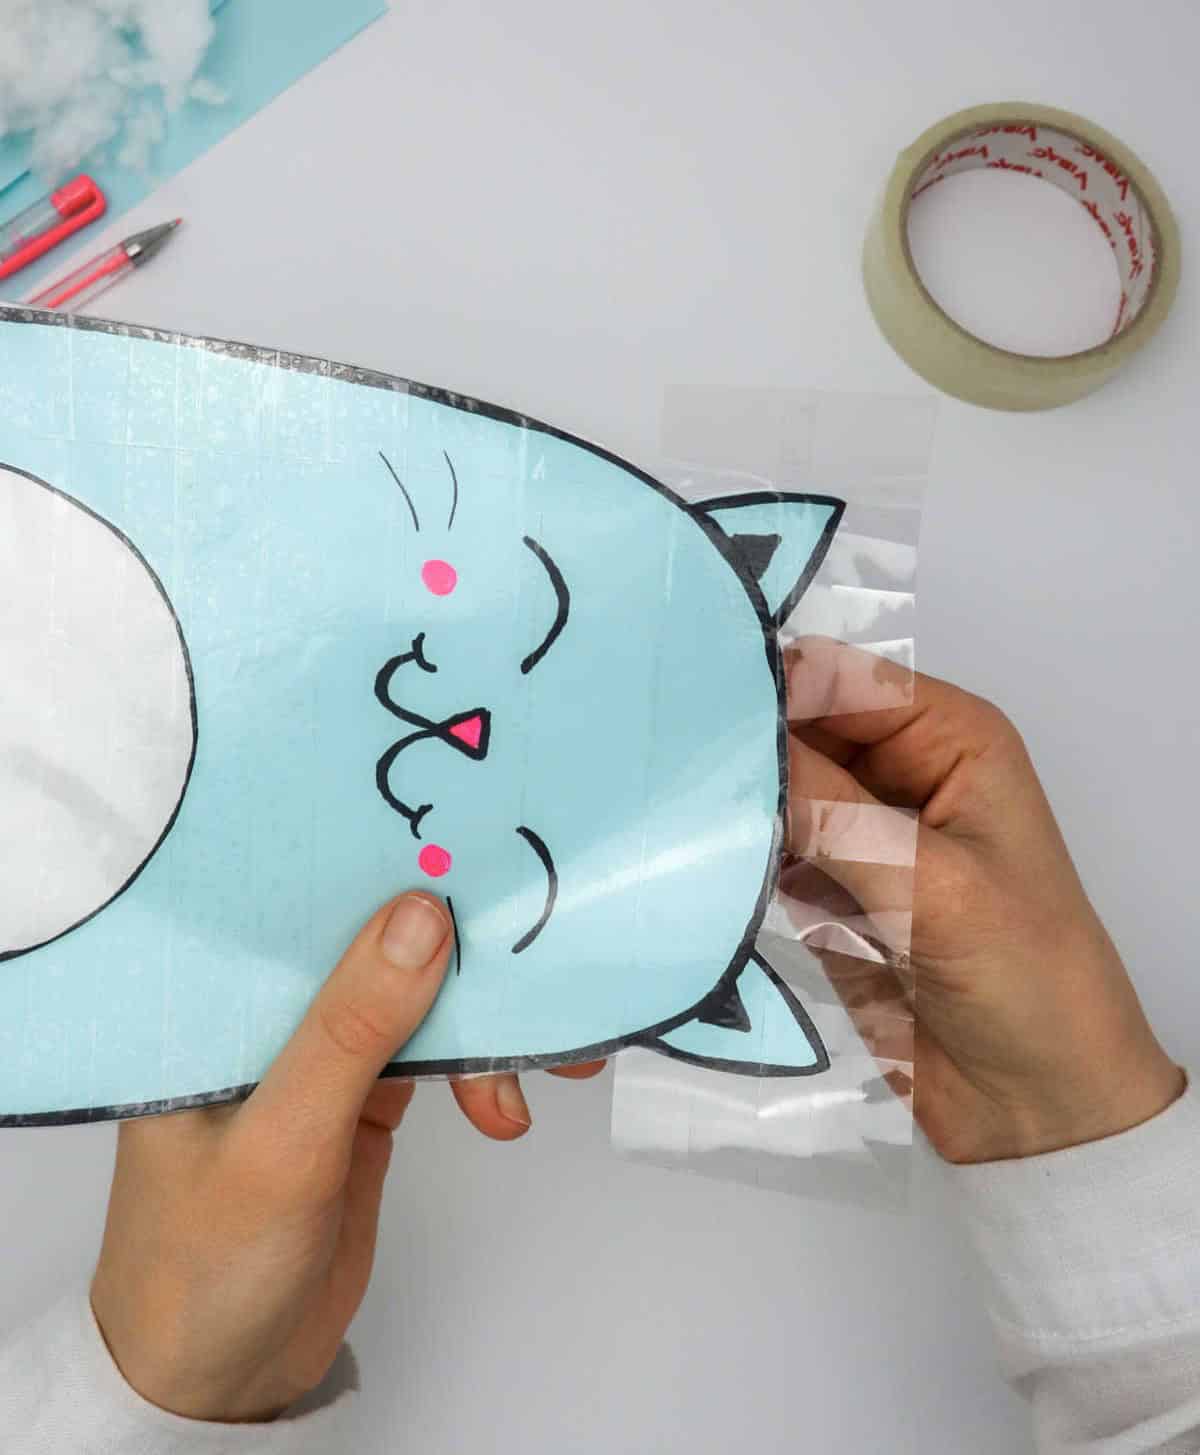
While this step may require a bit more effort, it’s still an enjoyable process! To cover your cutout, start by grabbing a roll of scotch tape and applying strips from head to toe. Don’t worry too much about the ends – you can always adjust them later. What’s more crucial is maintaining consistent spacing between each strip, as this will prevent wrinkles and tears in the paper. As you work, keep an eye out for any gaps or creases forming under the tape.
To minimize these issues, lay the cutout flat on a surface and smooth out any air bubbles or folds while taping it into place.
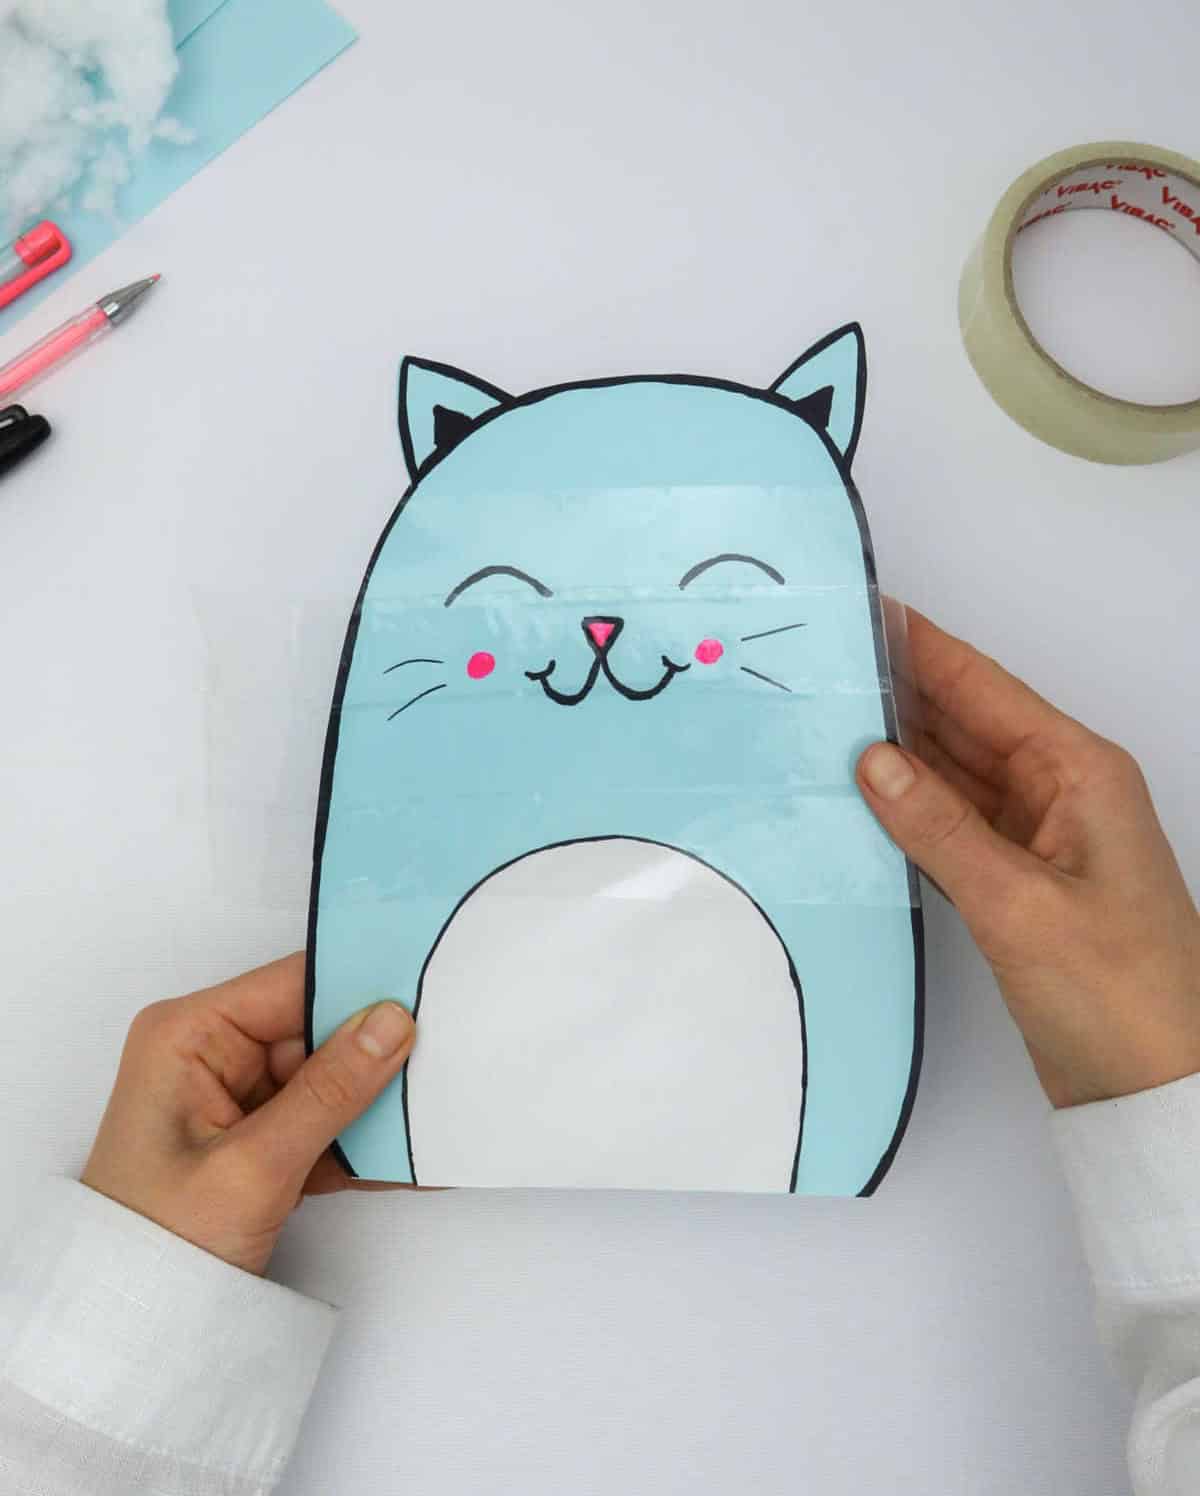
Step 7
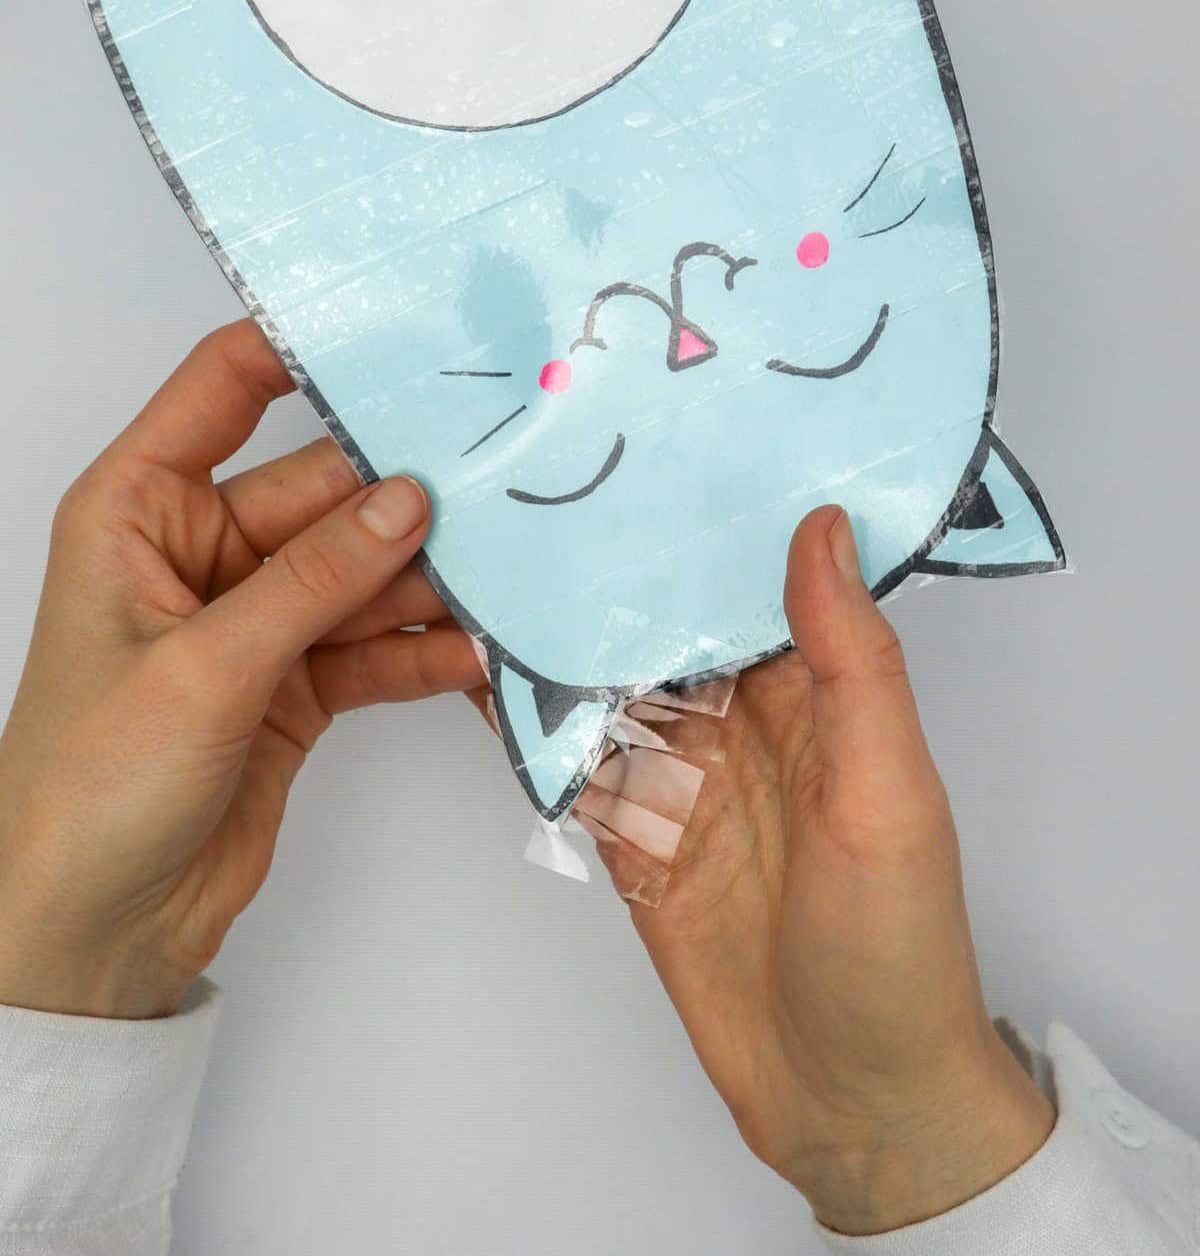
As you prepare to complete the paper craft project, don’t forget to reserve a small section at the bottom of the paper for inserting the toy filling later on. This open area will provide the necessary space for accommodating the filling within the finished product.
To secure the edges around the ears with tape, exercise caution and gently push the adhesive into the crevices as close to the paper’s surface as you can.
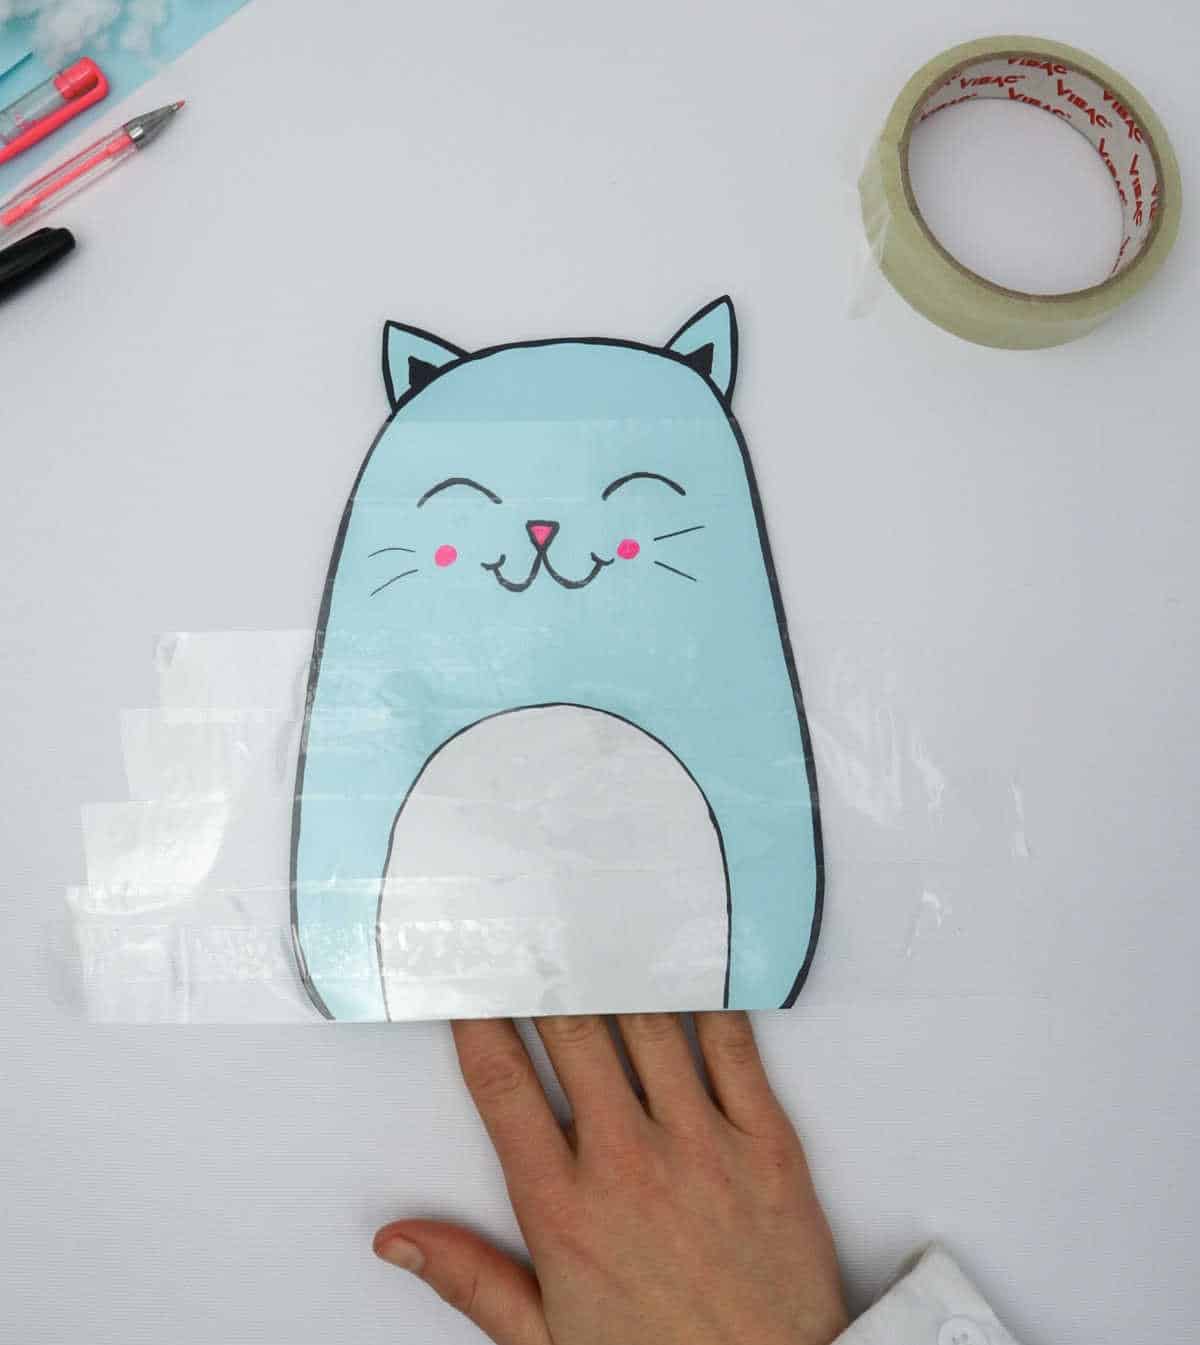
Step 8
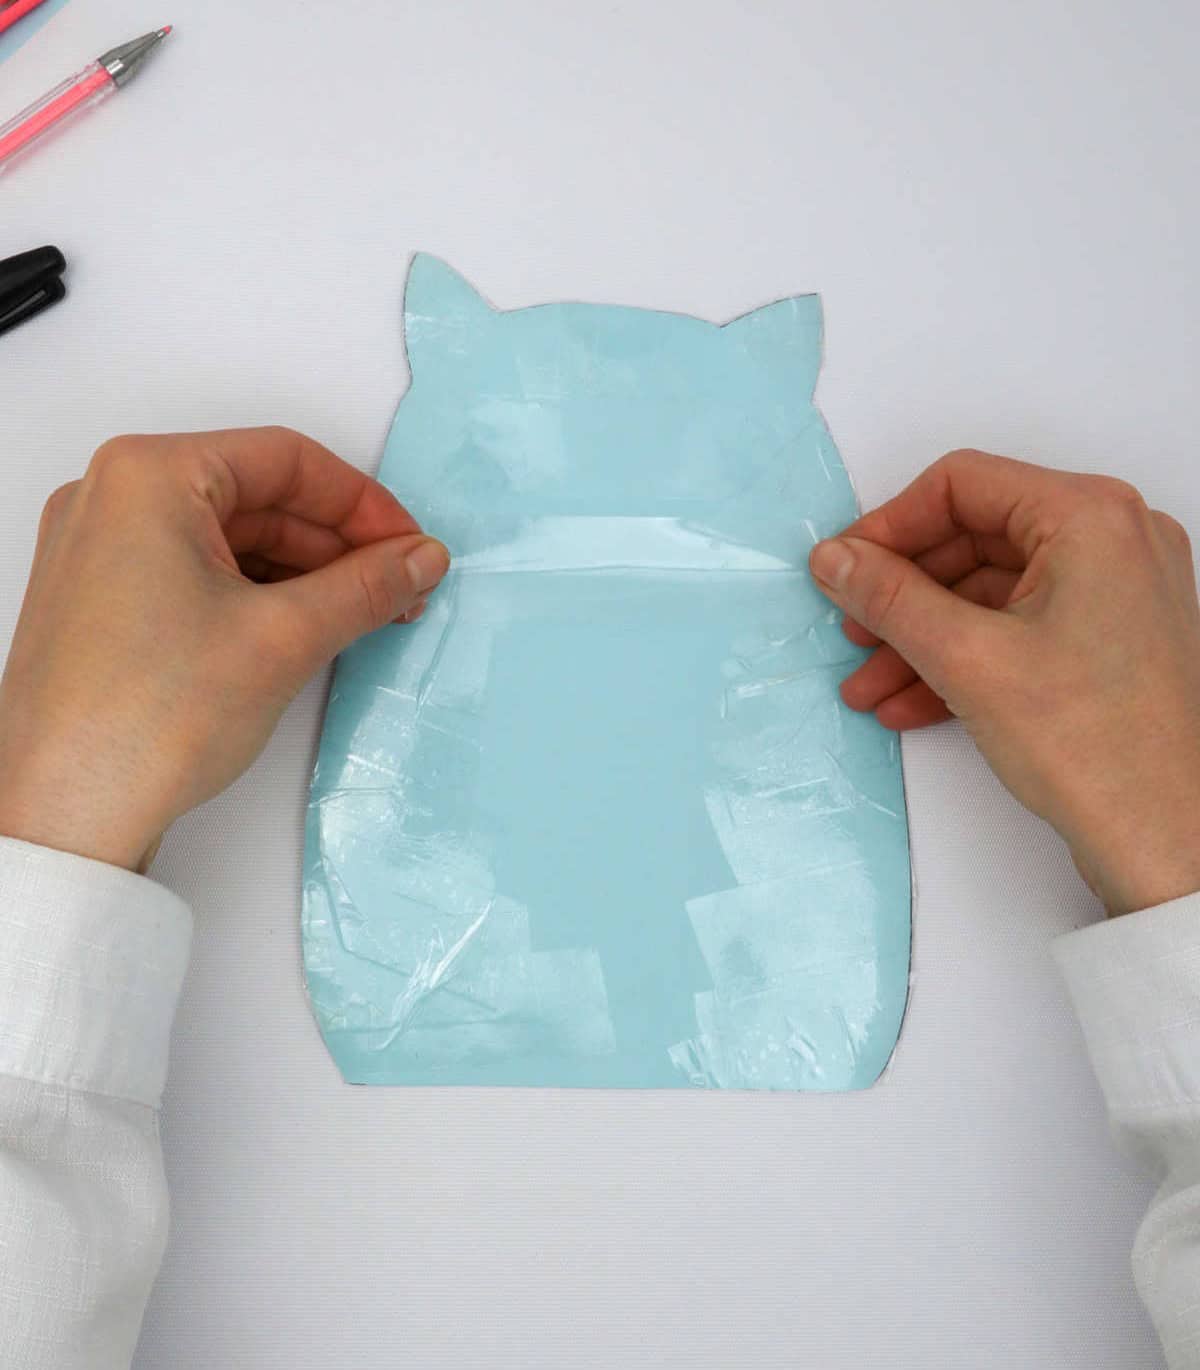
To complete the transformation of your squishy’s rear end, revisit the initially set-aside cutout and secure it in place by repeating the same process for the front. As you work with the tape, be mindful to tuck the edges as you progress, ensuring a seamless finish.
Step 9
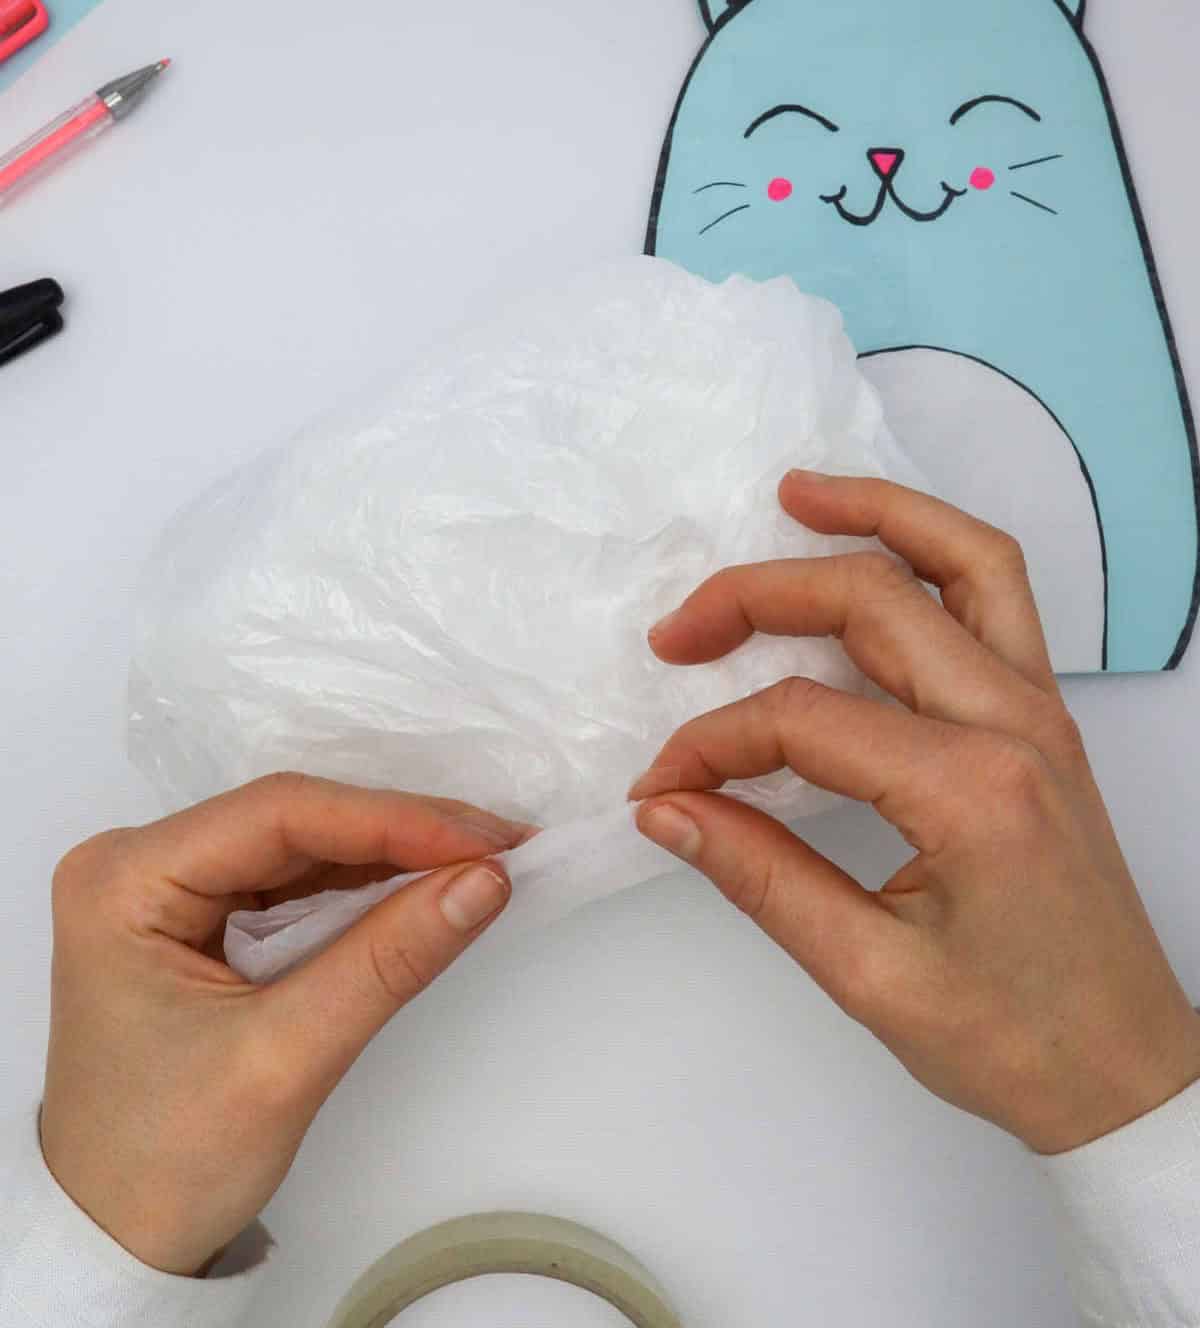

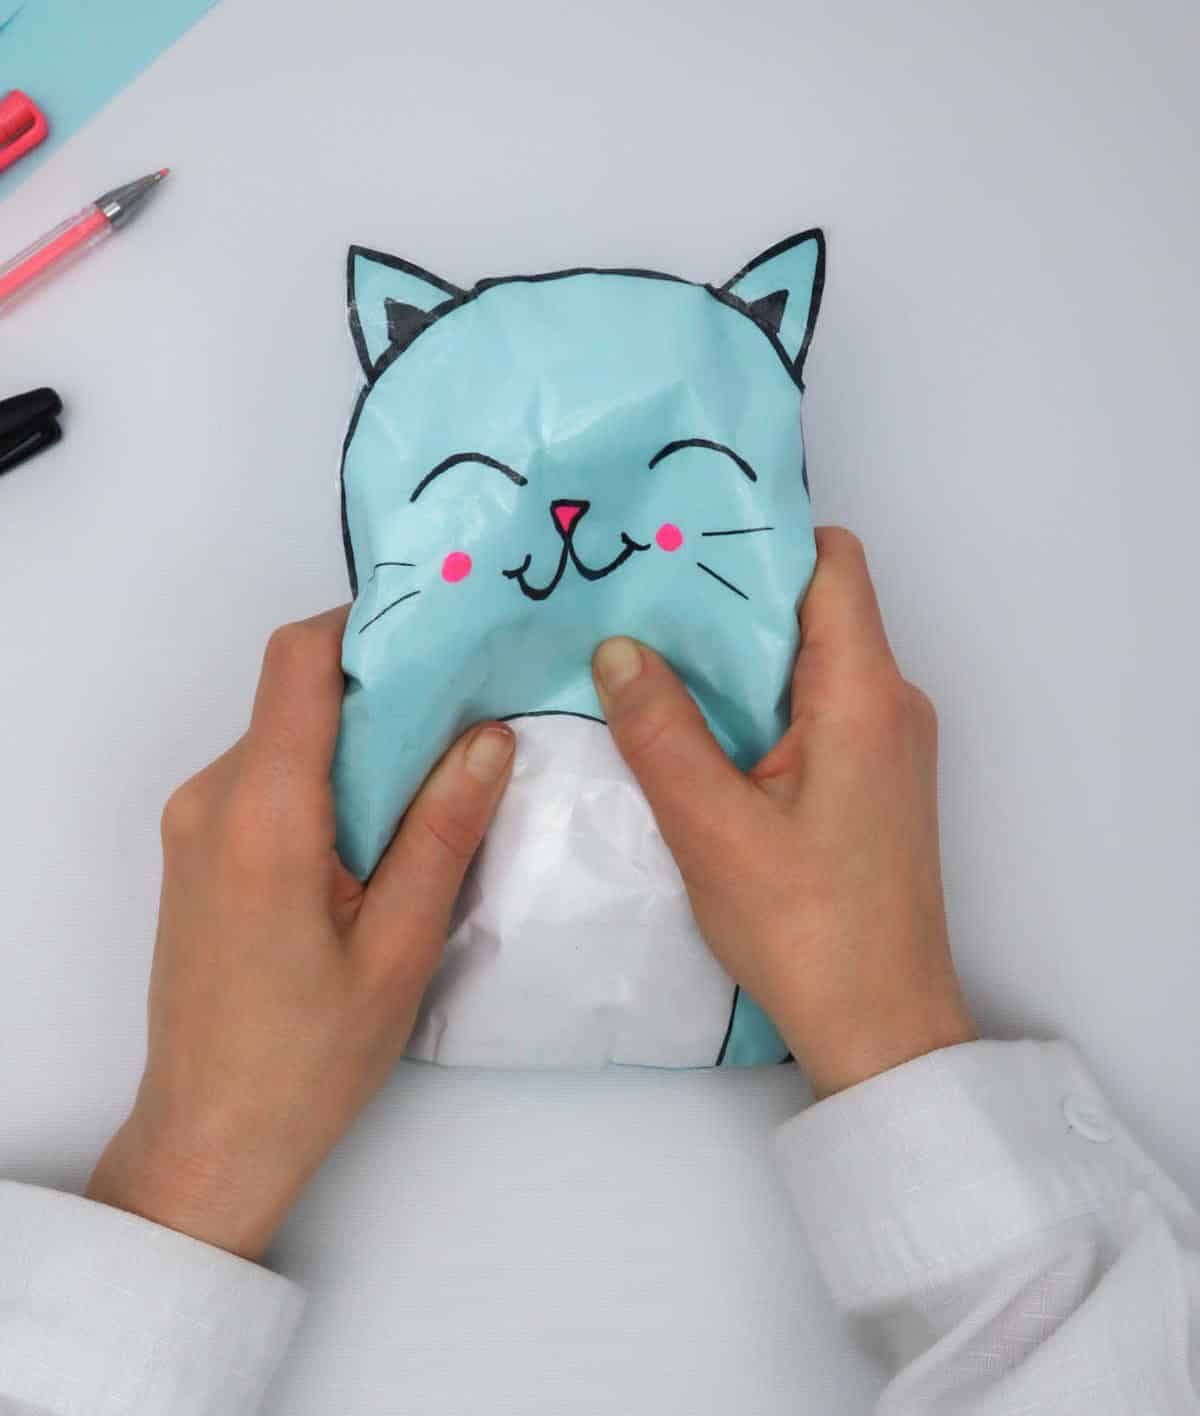
As you complete step 8, retrieve your bag of stuffing and prepare it for the final assembly. You can portion out the fluff into a separate container or directly into the squishy mold. The key to success lies in achieving a balanced fill, without overstuffing the DIY squishy toy.
While it may be tempting to create a plush and cuddly companion, it’s essential to remember that this handmade creation is crafted from paper-based materials, which inherently lack the durability of synthetic materials like plastic.
Step 10

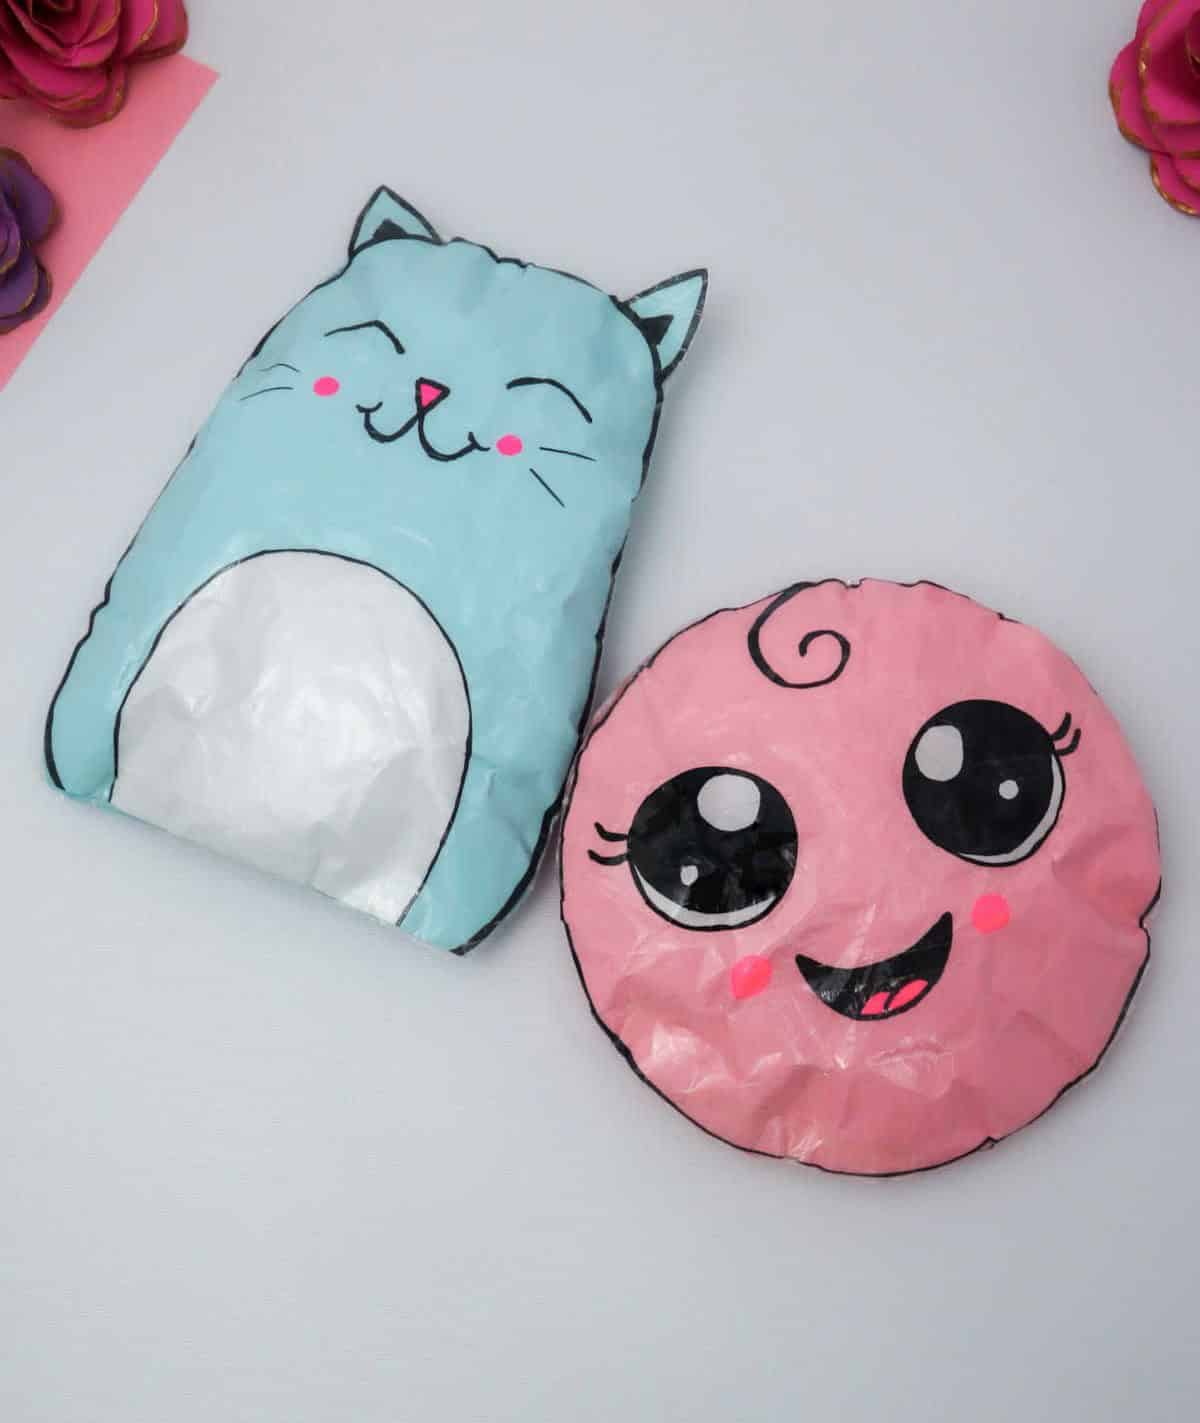
With the squishy now filled, it’s time to secure the ends. Begin by lining the edge of the paper with scotch tape, leaving a small portion exposed beyond the end of the paper. Next, carefully tuck the two edges together and fold the tape inward to create a neat seal. And just like that, your squishy is complete! I’m confident it will bring hours of joy to your little ones. Plus, this DIY project makes for a great opportunity to involve them in the creative process.
If you find yourself with extra paper after completing this craft, be sure to check out our collection of 36 construction paper craft ideas for inspiration and new ways to get creative.
Other DIY Ideas You Might Want to See
Get creative with these fun and engaging crafts perfect for toddlers! From summer-inspired projects to unique duct tape creations, we’ve got you covered. For the little ladies in your life, try our delightful crafts for girls. Or, get started with some essential skills by learning how to make a paper envelope or create DIY bookmarks. Bring the outdoors in with fish-themed crafts or get crafty with paper plate flowers.
And don’t forget to add some whimsy with tissue paper pom poms and unicorn-inspired projects. With these diverse and imaginative activities, you’ll never be short on ideas to keep your tiny tots entertained and creative.
How to Make Paper Squishies
Craftsy Hacks brings you a delightful DIY project that’s sure to bring joy to both kids and adults! With only 25 minutes of active time required, these adorable paper squishies are the perfect way to spend quality time with little ones or take a creative break for yourself. So why not get started and unleash your inner crafter?
Equipment
To ensure uninterrupted creativity, there are a few simple steps you can take to prevent your computer or device’s screen from going dark. First, make sure your display settings are set to ‘never turn off’ or ‘do not dim’. If you’re using a laptop, consider investing in an external monitor or a portable keyboard and mouse for more comfortable working sessions. Additionally, consider adjusting your power settings to prioritize performance over battery life, if necessary.
By taking these precautions, you can maintain a consistent work flow without the hassle of frequent screen wake-ups.
Materials
To create a visually appealing and effective DIY sensory bin, you’ll need the following materials: two sheets of colored paper, regular white paper, a black marker, transparent tape, toy filling, and an optional small plastic bag. These simple yet versatile components can be combined in various ways to provide a stimulating experience for individuals with sensory processing disorders or simply as a fun and creative outlet.
Instructions
To create your cartoon squishy, gather the following materials: craft or construction paper, a marker, clear scotch tape, scissors, and potentially an online pattern or template to draw from. Begin by drawing the outline of your squishy, either freehand or using a printed template. Next, cut out the entire design, including the back portion, along the same lines as the front. Then, divide the squishy into its various components, such as ears, belly, eyes, nose, and mouth.
Be meticulous when cutting out these parts, leaving small openings for stuffing later. Once you’ve prepared all the pieces, use clear tape to assemble the squishy, taking care around delicate areas like the ears. Leave the ends of each cut-out open, as you’ll be inserting the stuffing through these gaps. You can fill the squishy with its own material or place a small plastic bag filled with it into one of the openings.
Finally, secure the opening with tape and carefully fasten off to complete your cartoon squishy.