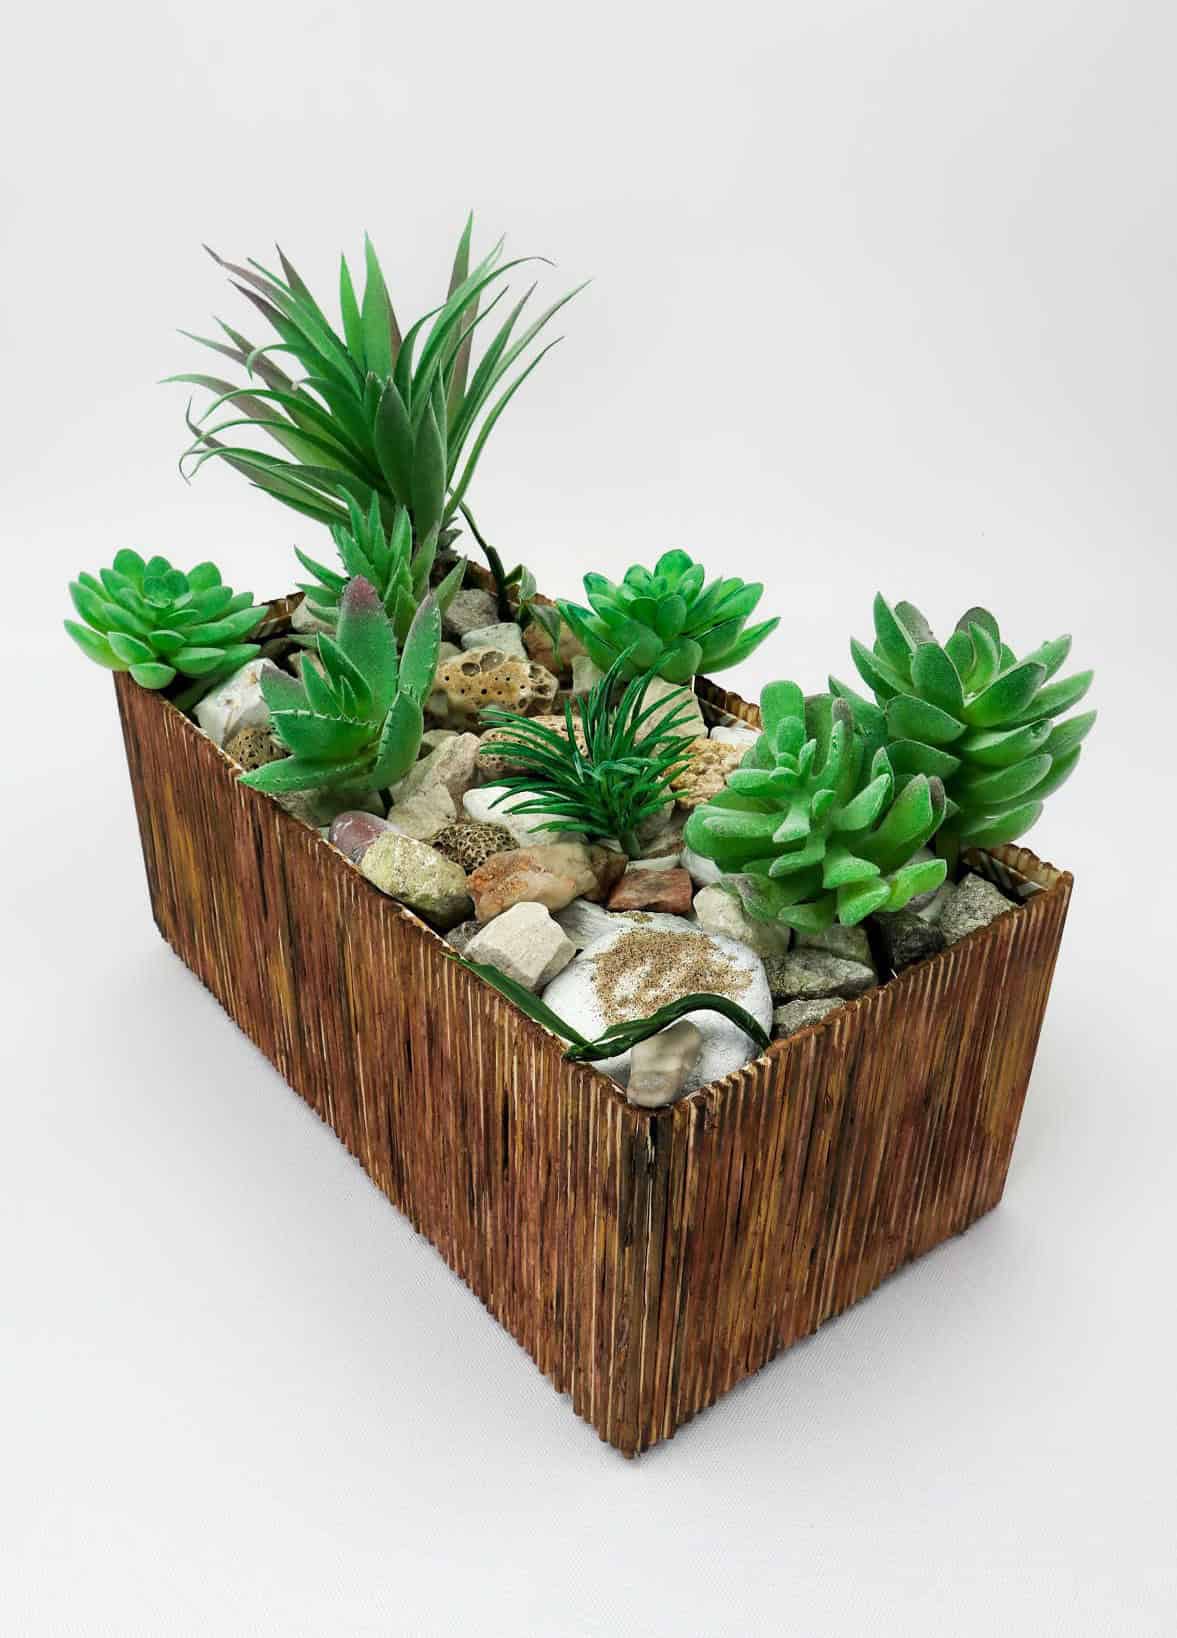
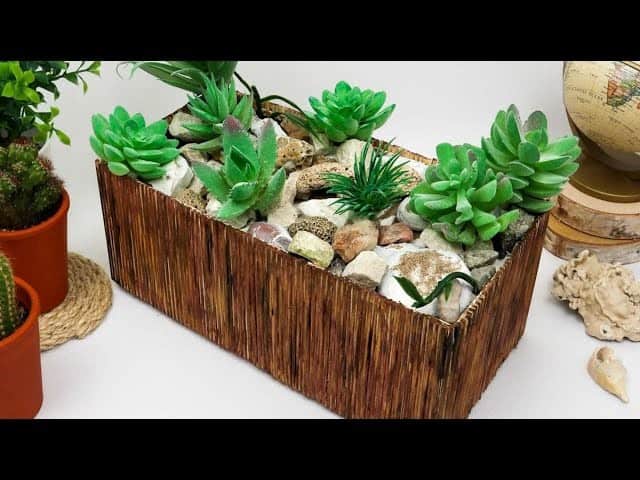
Transform your home with a one-of-a-kind DIY boho succulent planter that exudes rustic charm and earthy sophistication. This stunning centerpiece is perfect for teens and adults looking to express their creativity. Imagine a pot filled to the brim with lush greenery, textured rocks, and vibrant succulents – it’s like having your own mini-garden indoors! What sets this planter apart is its effortless bohemian vibe, which adds a touch of laid-back elegance to any room.
But here’s the best part: making one is incredibly easy. With just a few simple supplies, you can create your very own DIY boho succulent planter that reflects your personal style. So why not get creative and give it a try?
Supplies and Tools You’ll Need
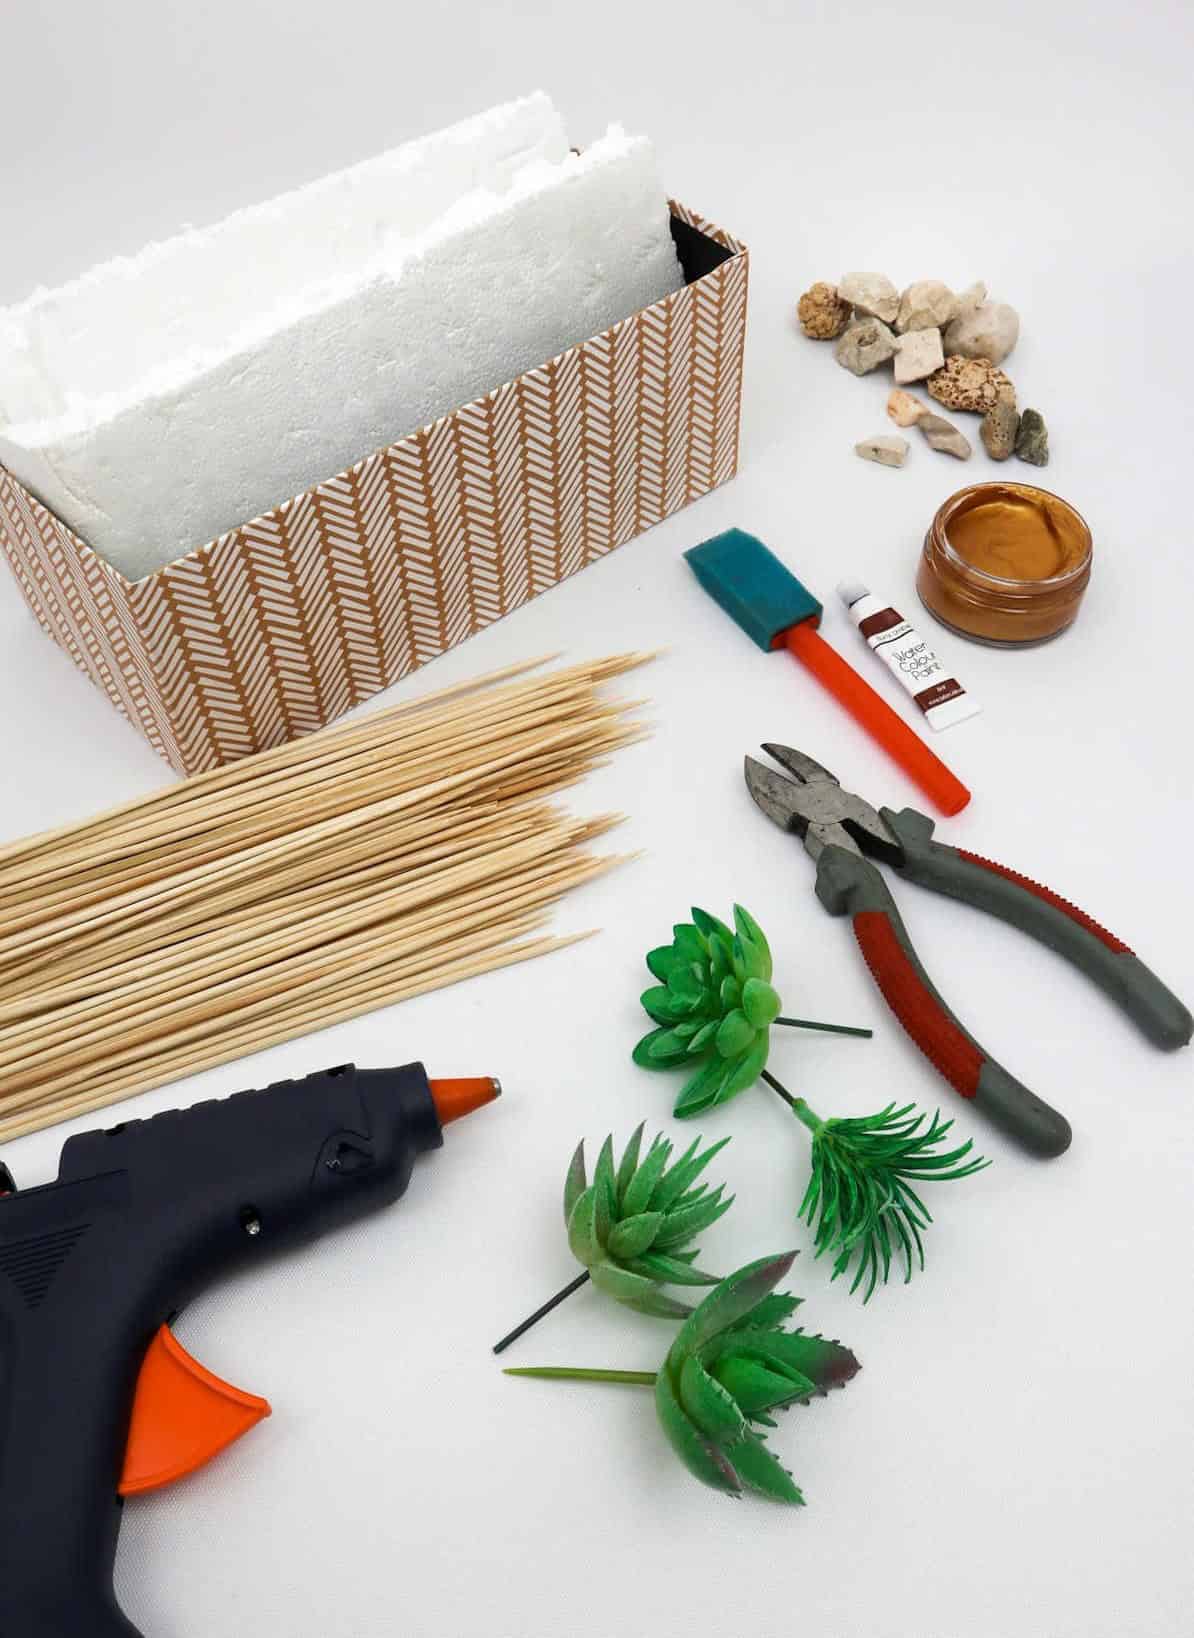
To embark on this creative project, you’ll need to gather the following essential items: A single cardboard box will serve as the foundation. You’ll also require Styrofoam sheets for added dimension, a white napkin for cleanliness, pliers for adjusting any necessary adjustments, and artificial succulents to bring life to your design. The addition of stones will provide texture and visual interest.
To assemble everything, you’ll need 100 skewers – the number may vary depending on the size of your box. For the finishing touches, a hot glue gun, paintbrush, and acrylic paints in brown and metallic gold hues will be necessary. Finally, a foam brush will come in handy for any final details.
Watch: DIY Boho Succulent
If you’re more of a visual learner, why not take a few minutes to check out the comprehensive video tutorial on this topic? Click here to access the full, step-by-step guide and get a better understanding of the process.
How to Make a Boho Succulent
At this point, it’s essential to prepare all necessary components. As you’ve likely surmised, we won’t be incorporating actual succulents into our design. Instead, the focus will be on creating a visually appealing display piece.
Step 1
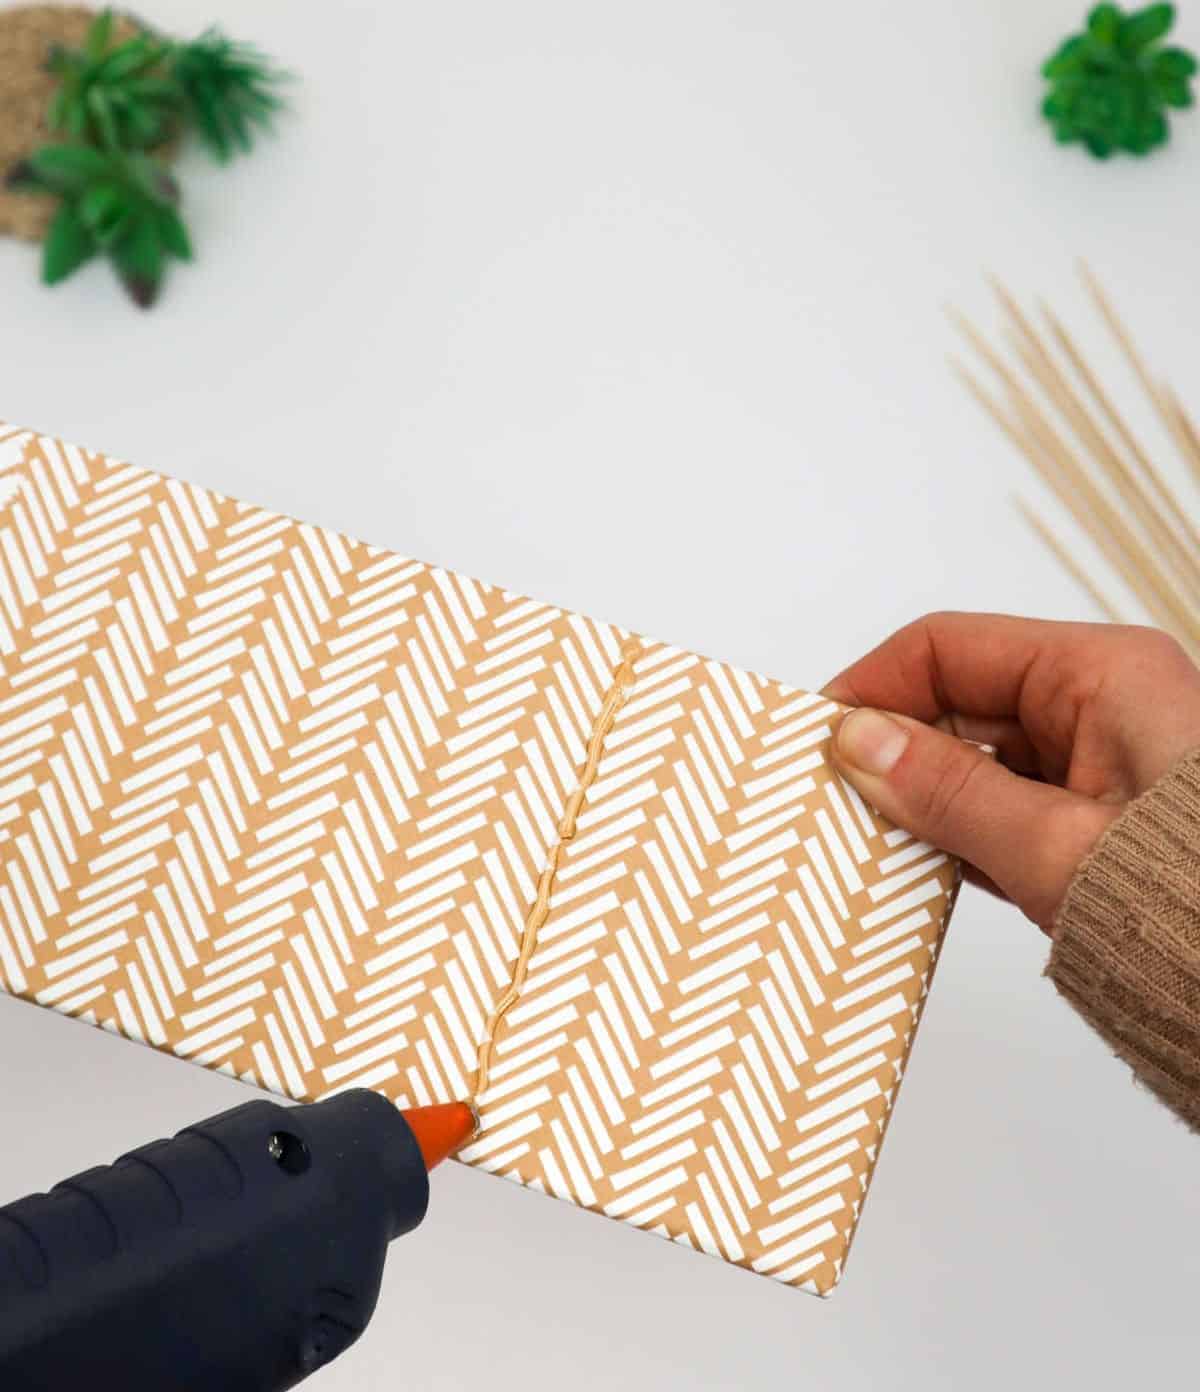
While it may seem like a waste to cover up a visually appealing cardboard box, a simple transformation can elevate its functionality. The same principle applies to plastic or metal containers. To give your packaging a makeover, grab your hot glue gun and start by applying a thin layer of adhesive along the bottom edge of the container, working from one end to the other.
Step 2
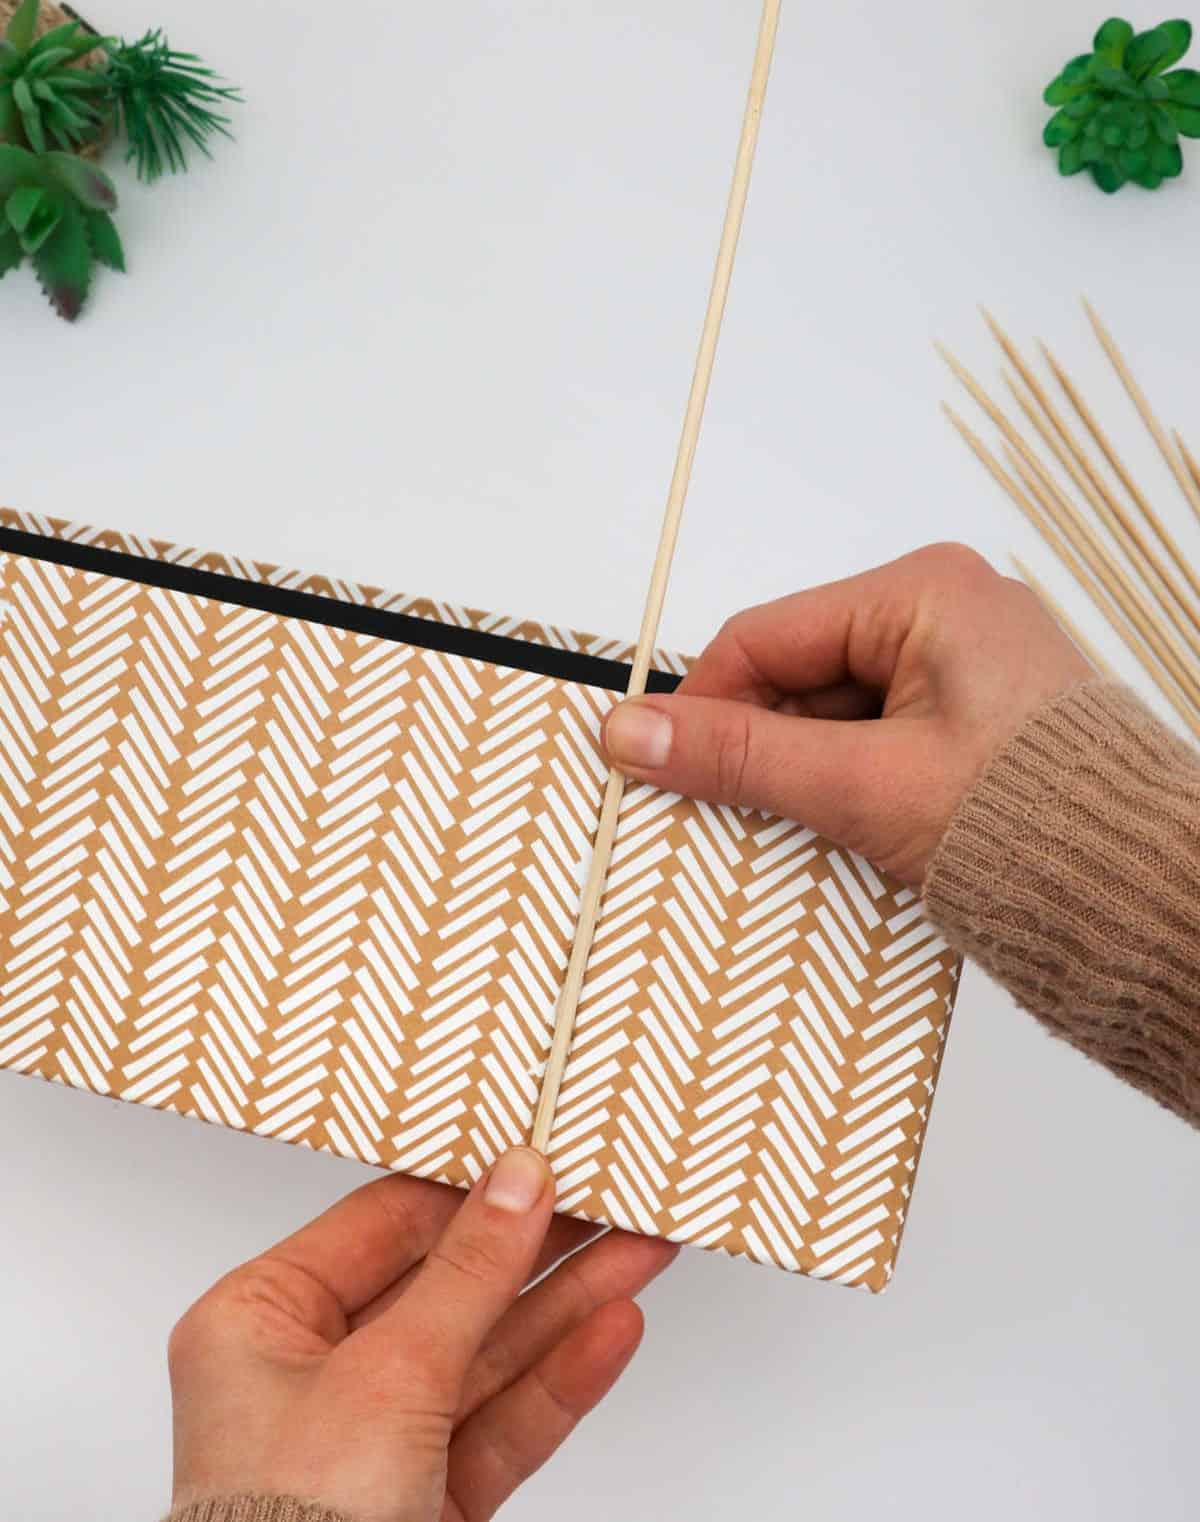
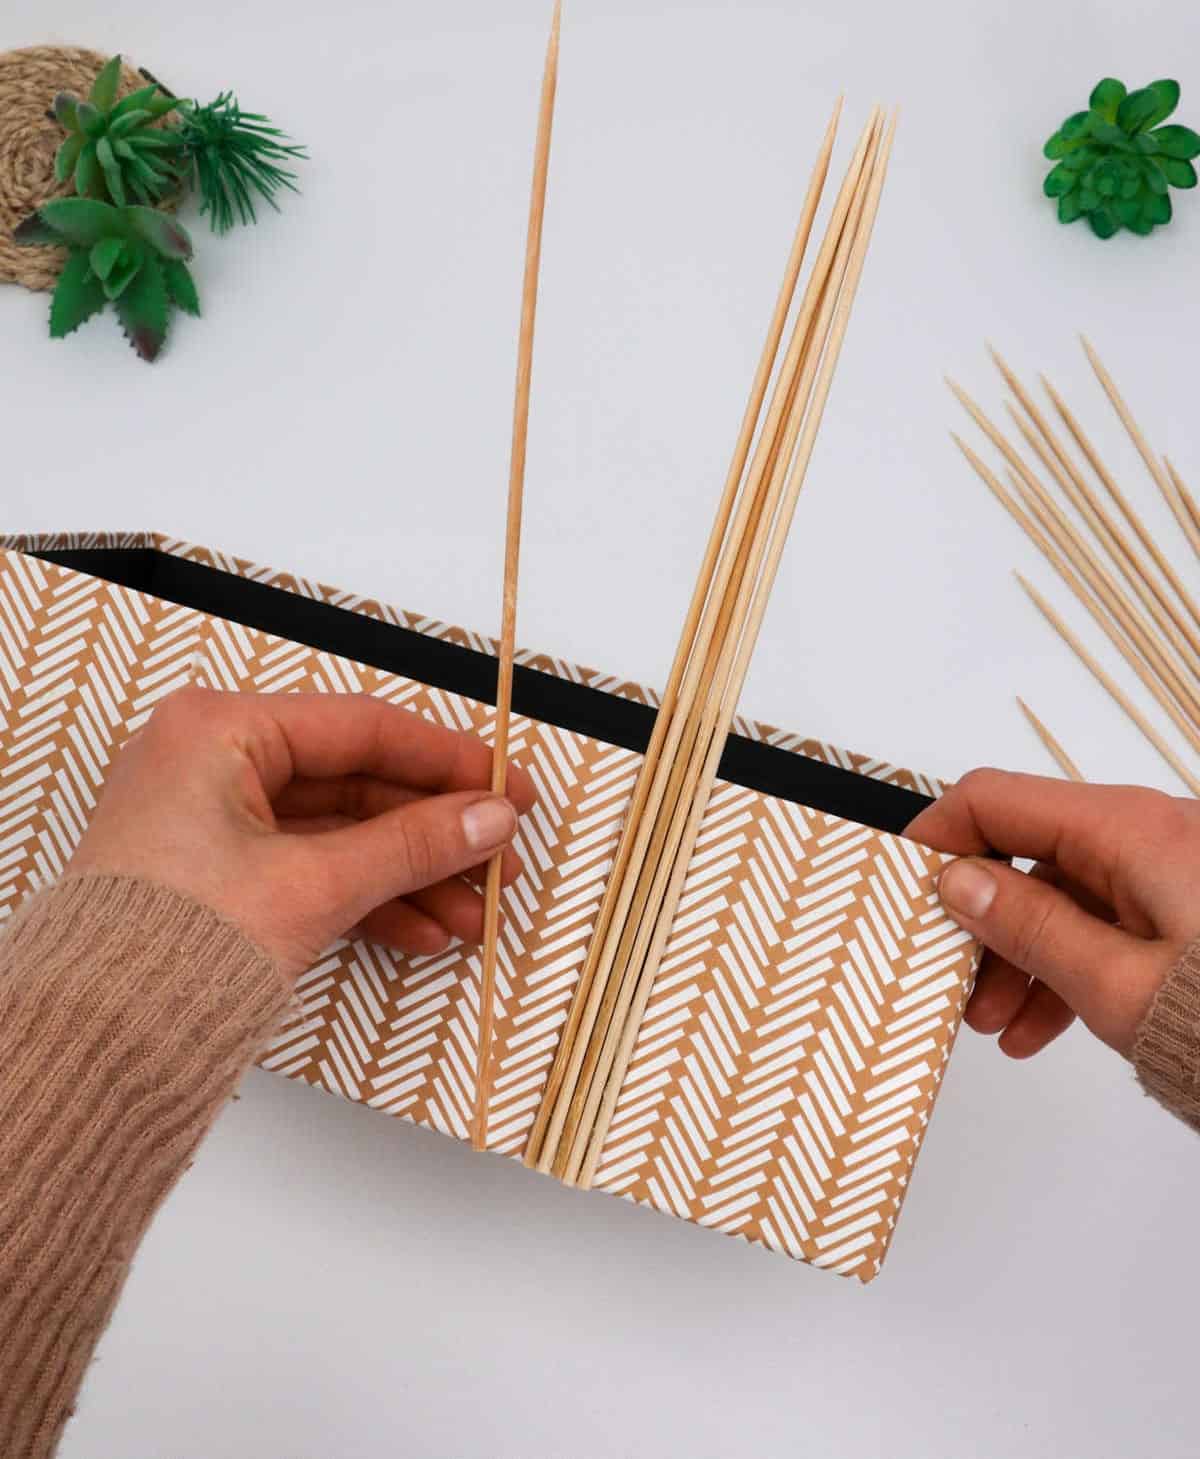
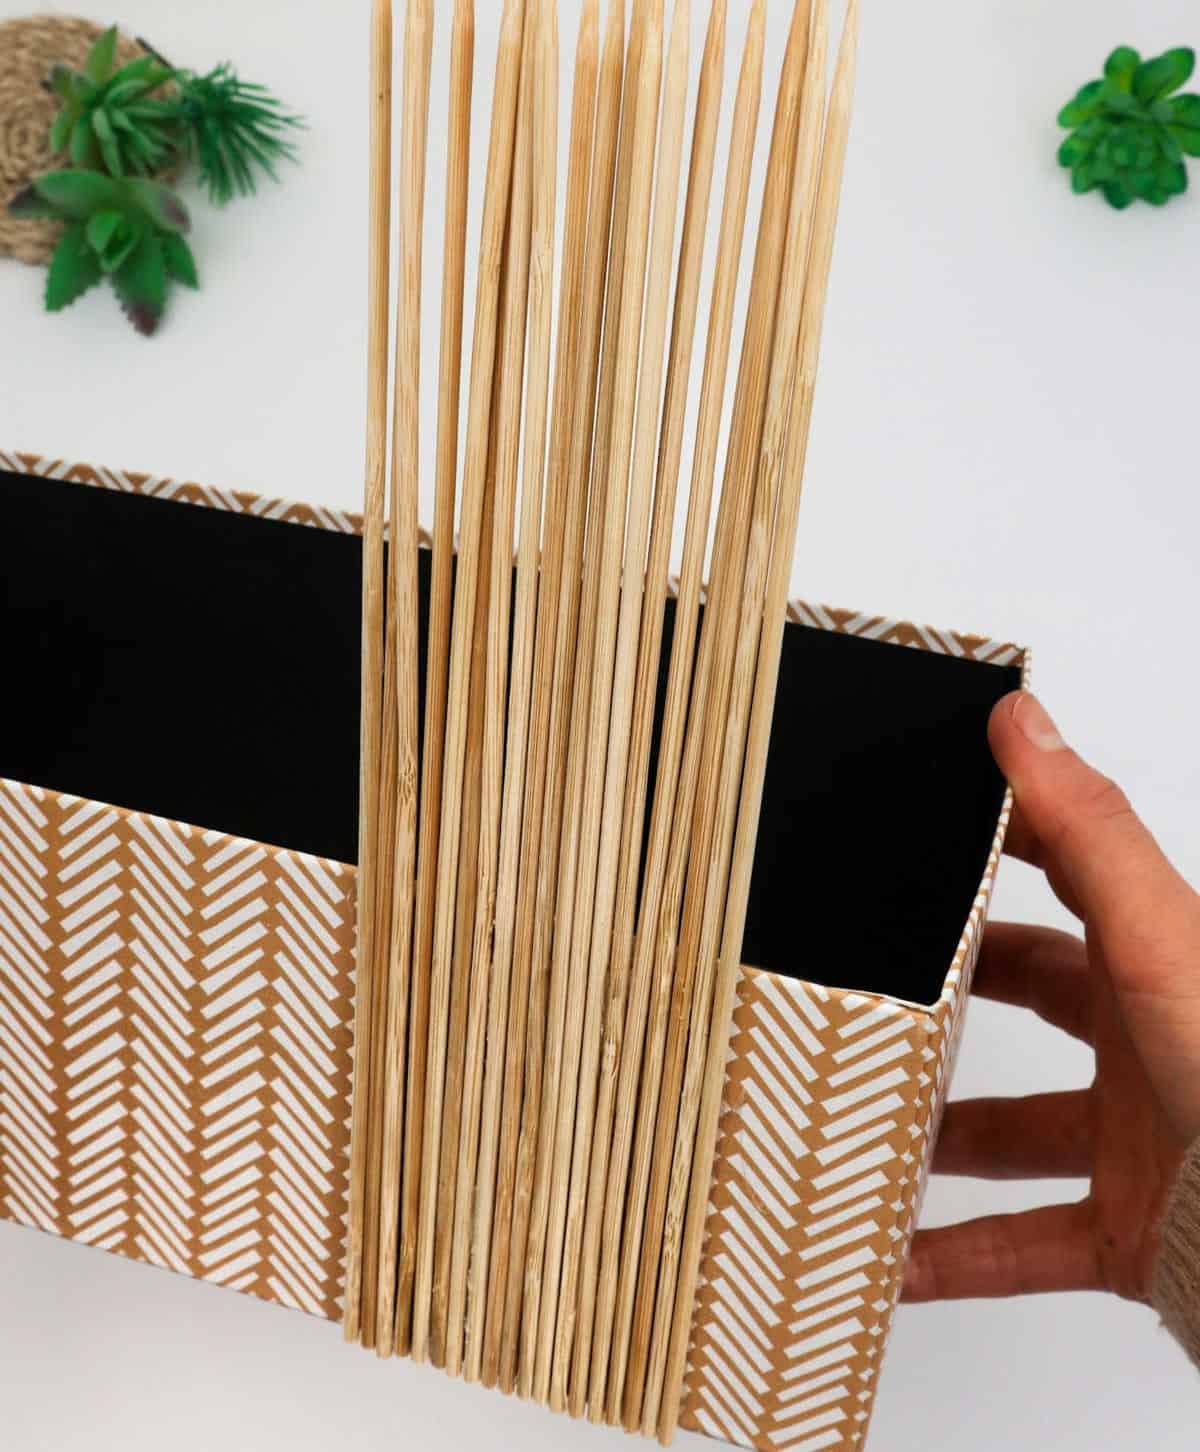
To secure the skewers, press one into the line of glue and hold it in position for a few moments until the adhesive sets. Repeat this process for each skewer, applying multiple lines of glue at once if desired to streamline the process. However, be mindful of the glue’s drying time, ensuring you don’t let it cool before moving on to the next skewer.
Step 3
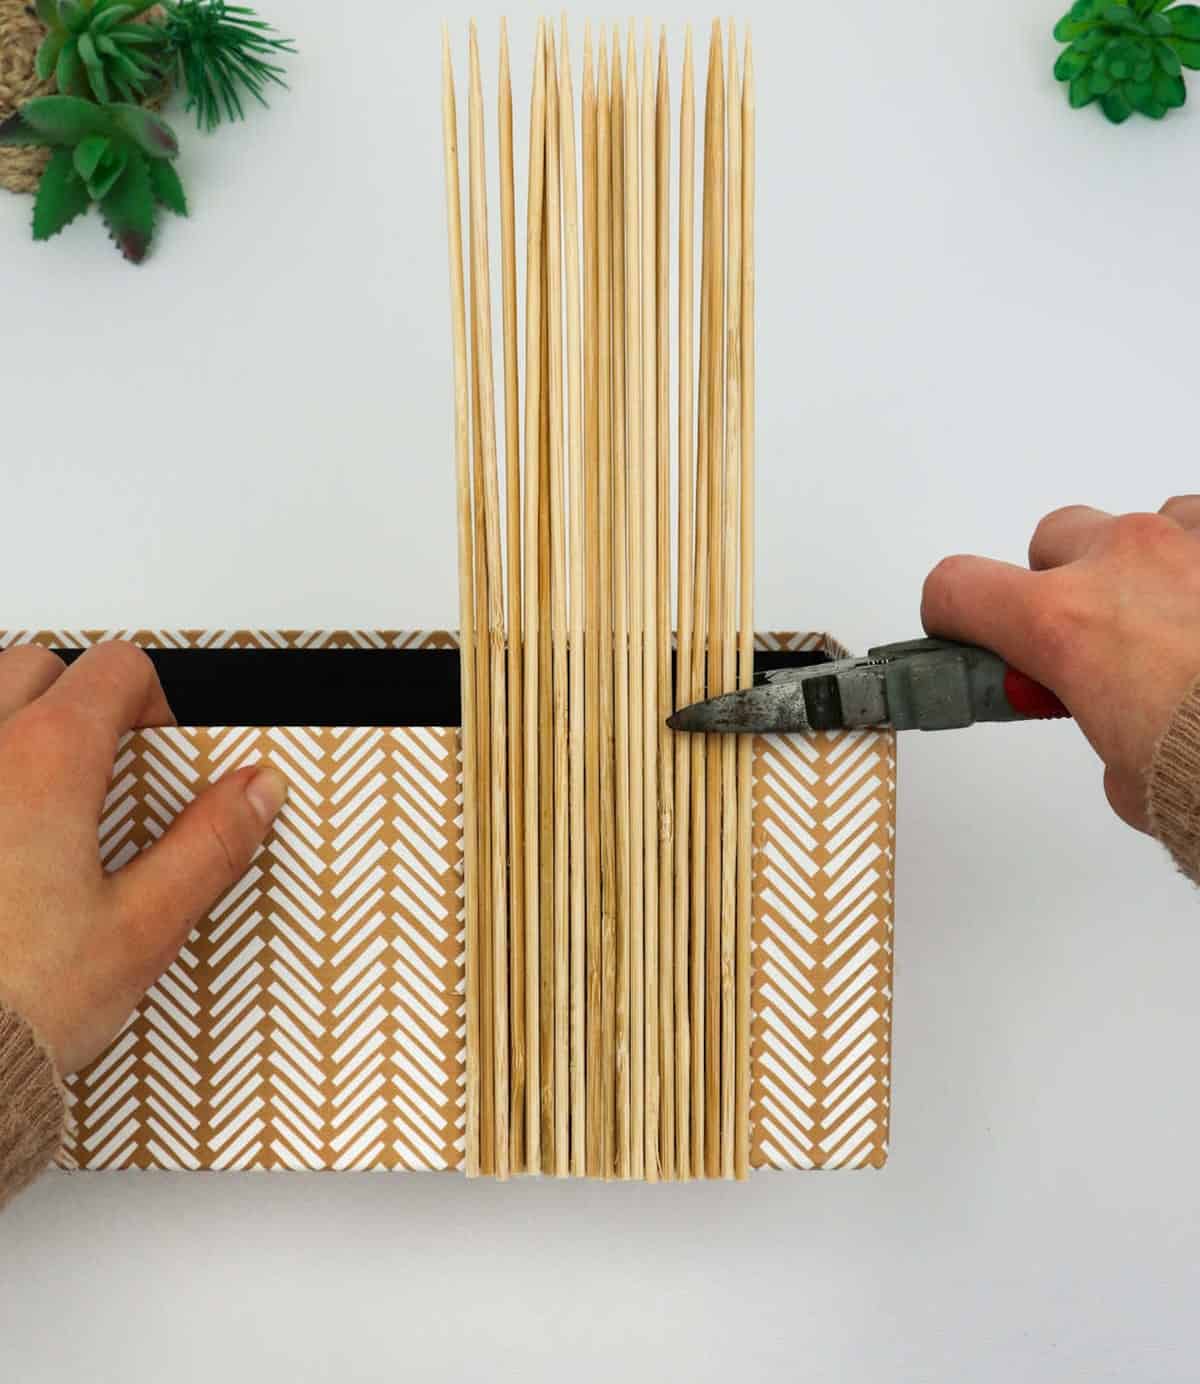

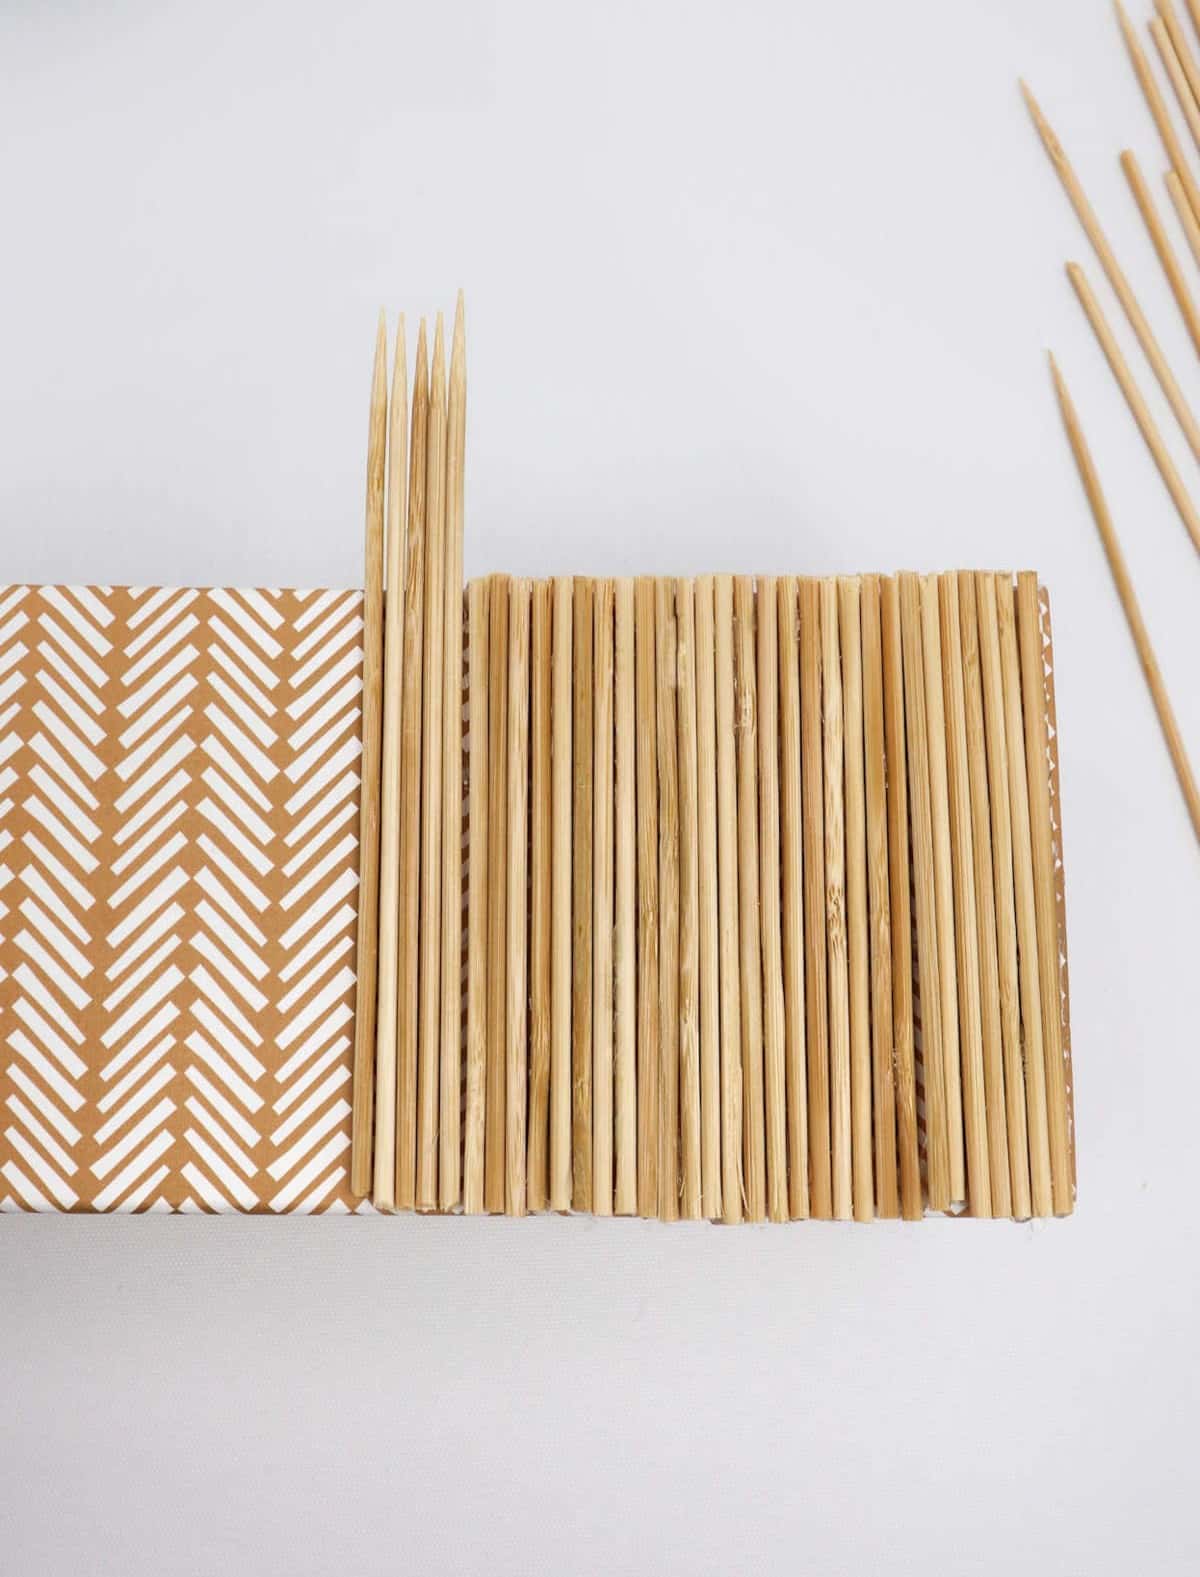
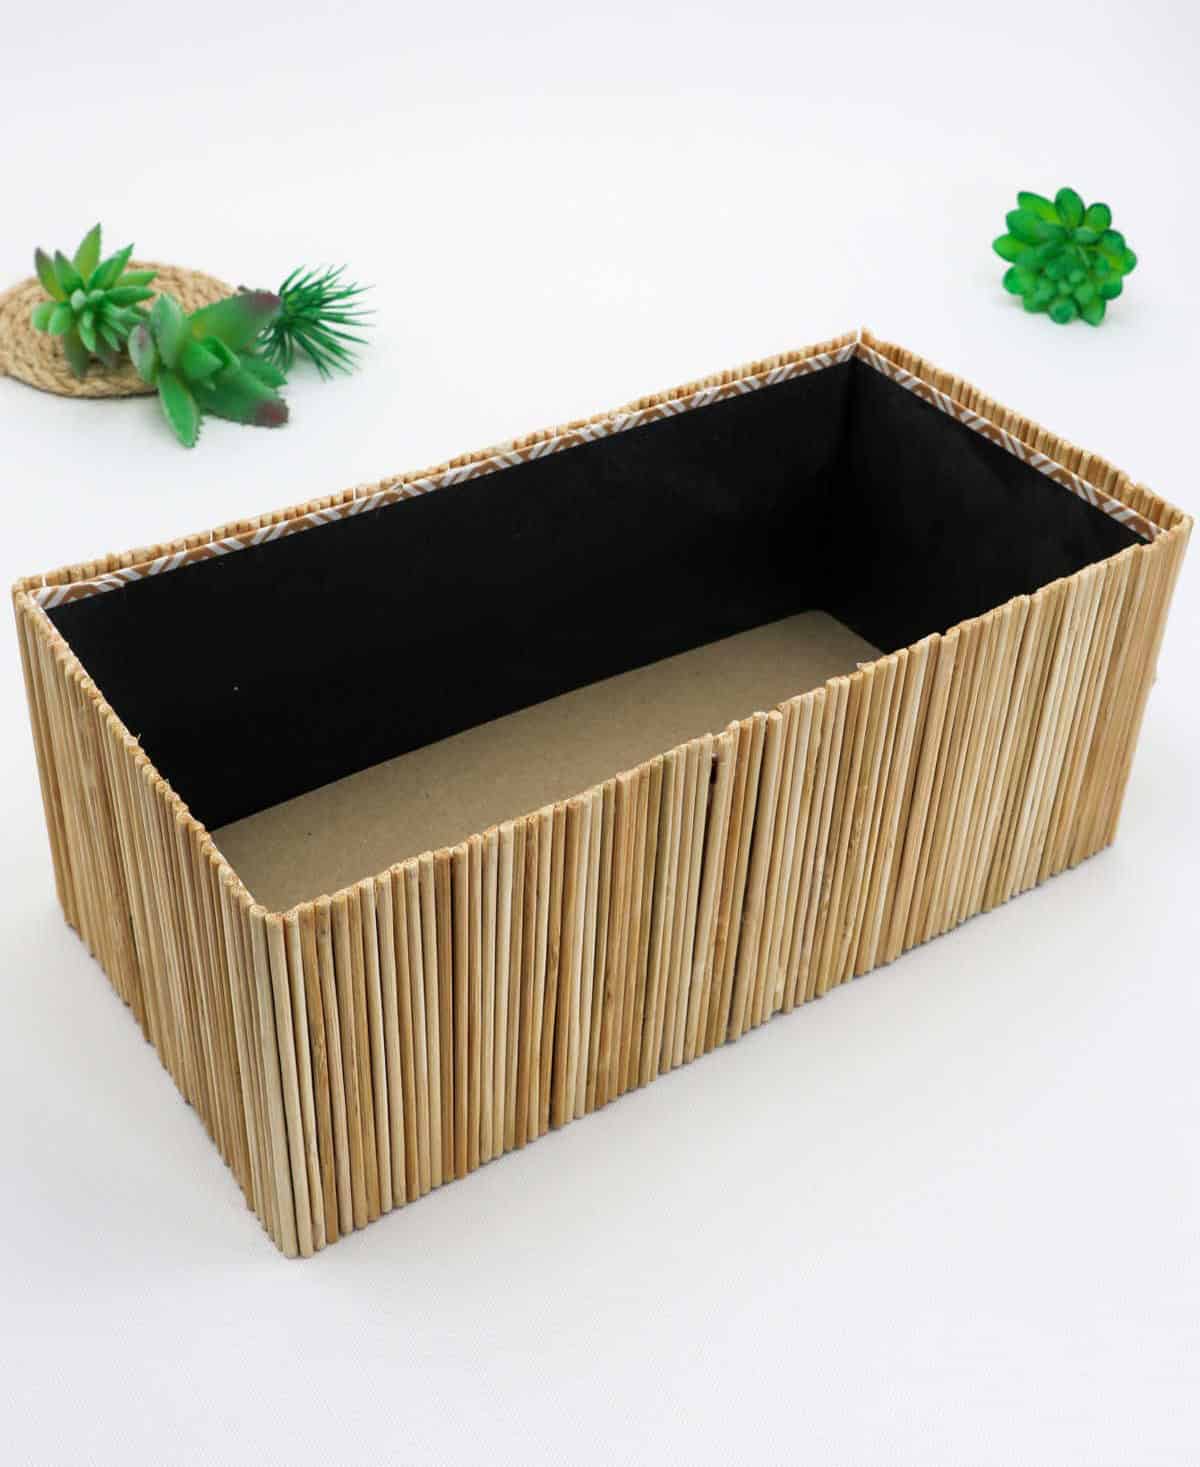
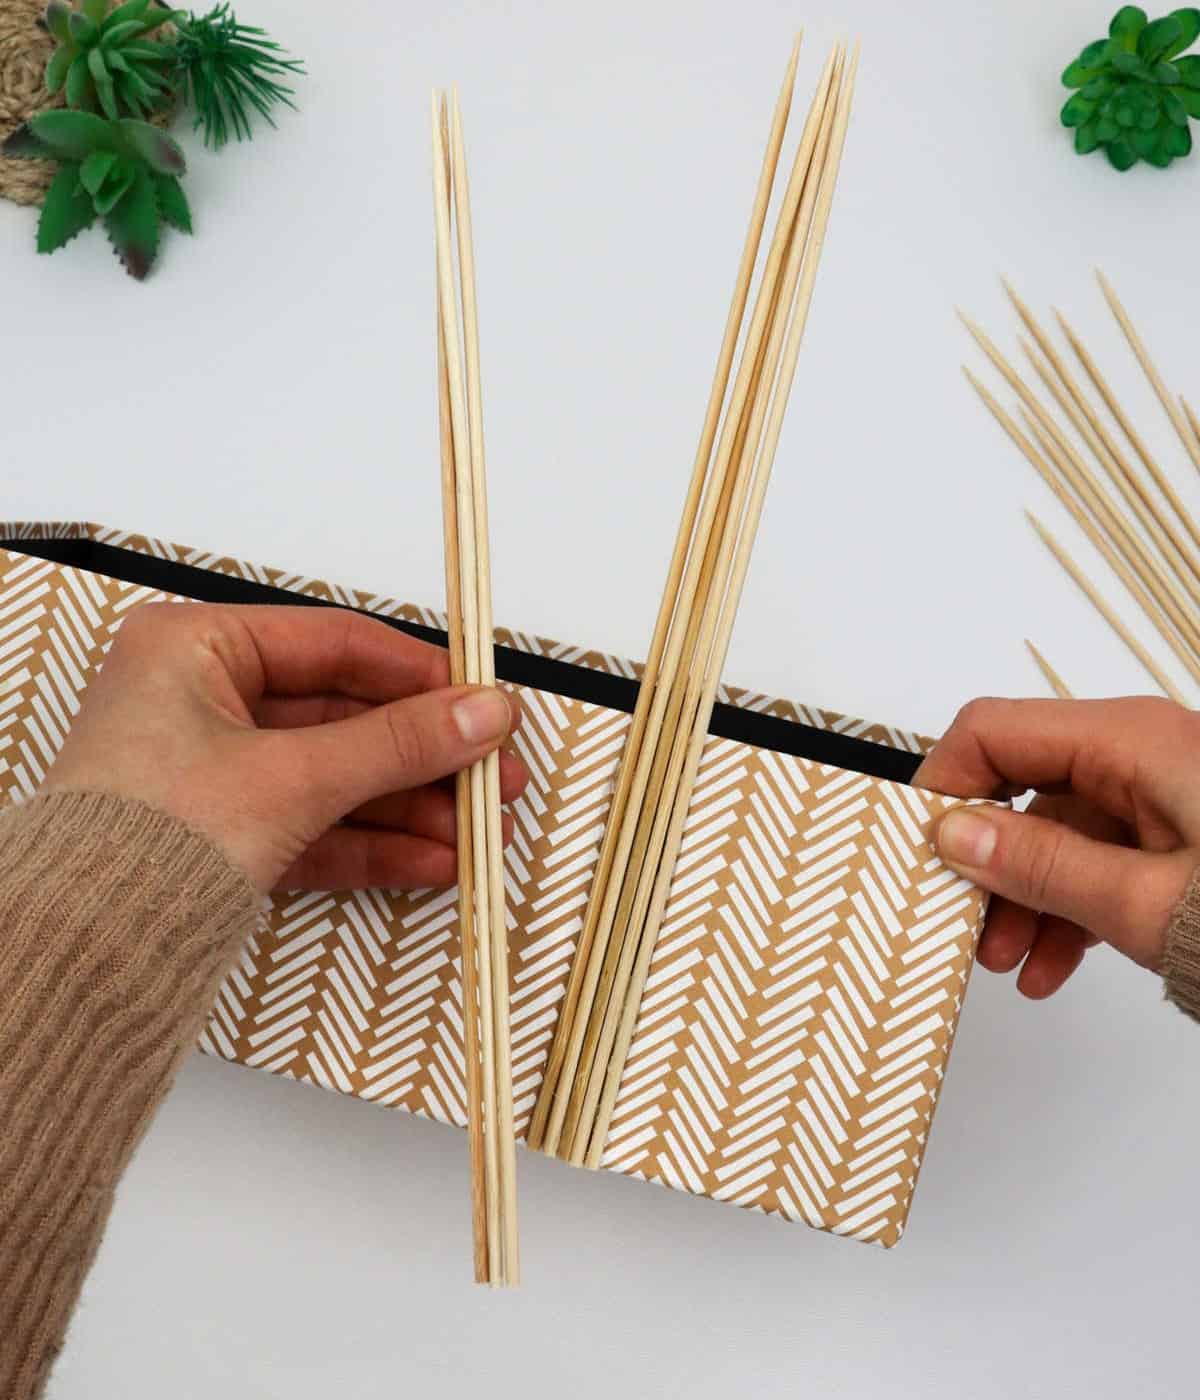
Using pliers, carefully trim the skewers to uniform lengths, ensuring that no single end exceeds the height of the box. This step is crucial in maintaining a visually appealing structure. As you work your way through the entire box, alternate between gluing and clipping the skewers to create a seamless and harmonious design. Once complete, admire your handiwork – the finished product should already be aesthetically pleasing.
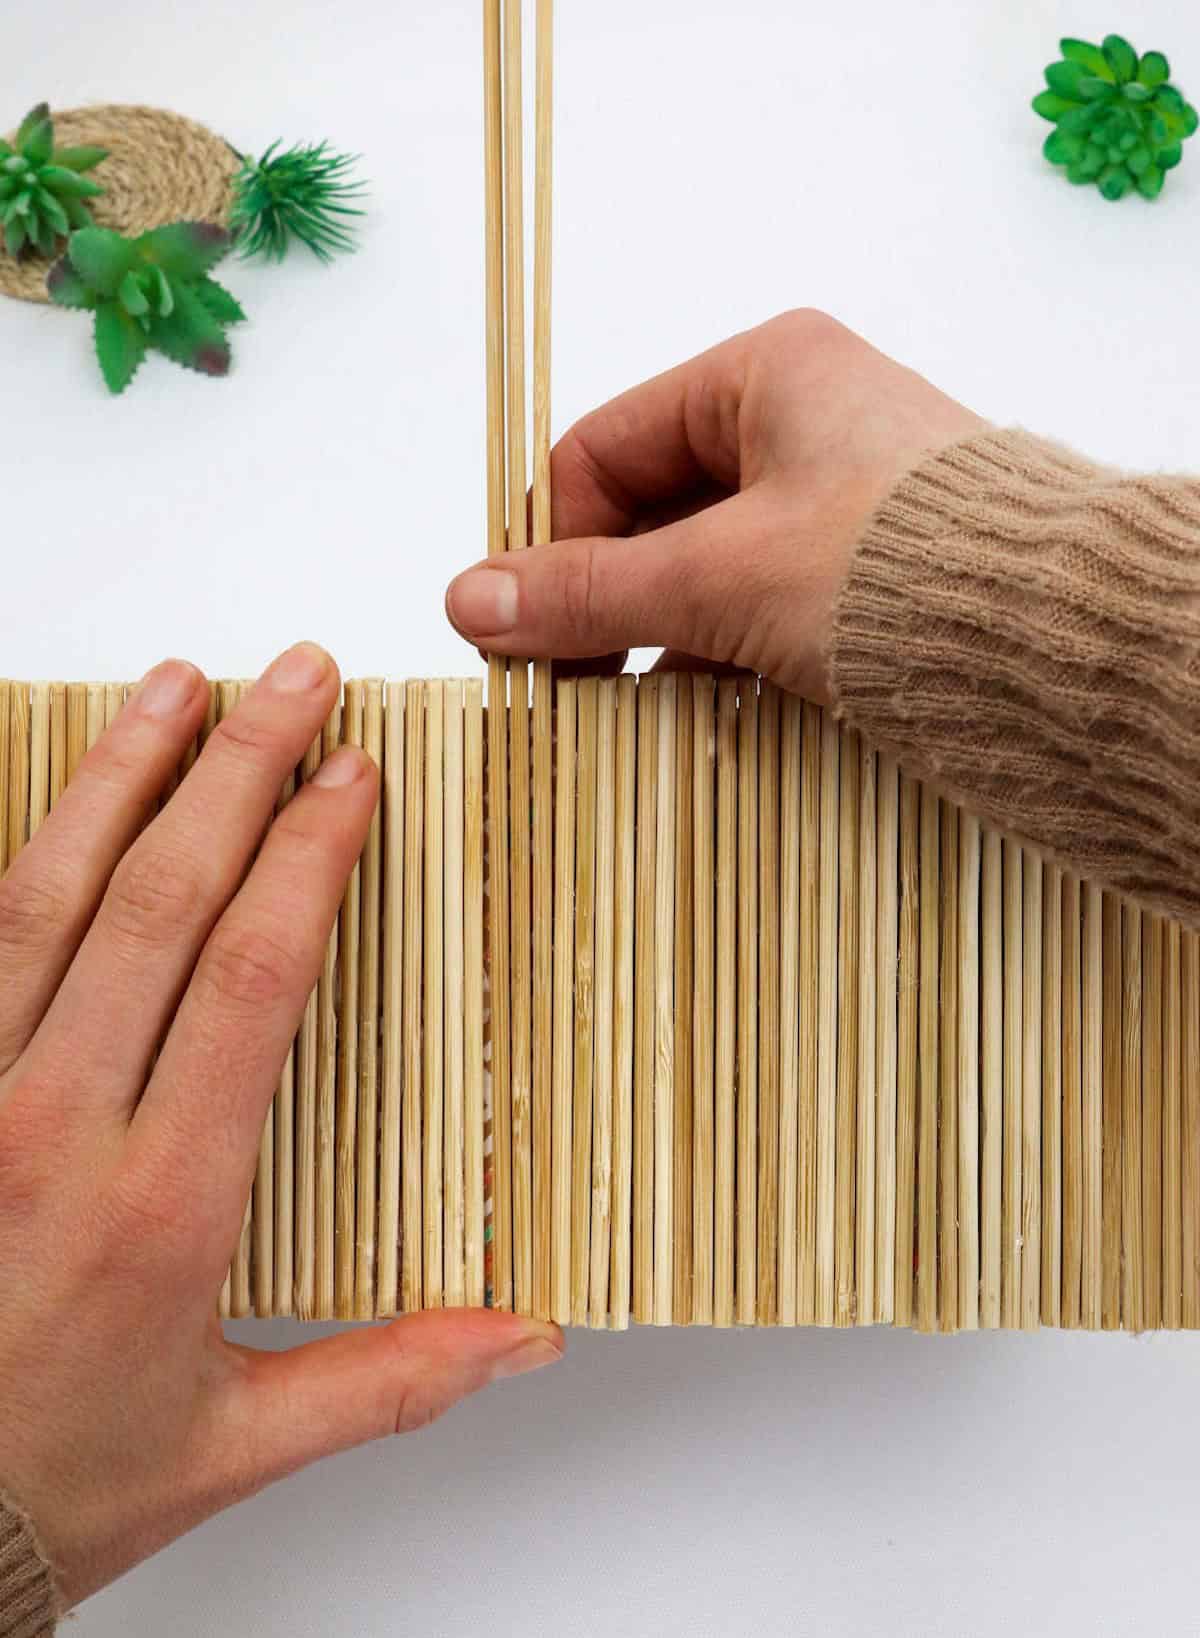
Step 4
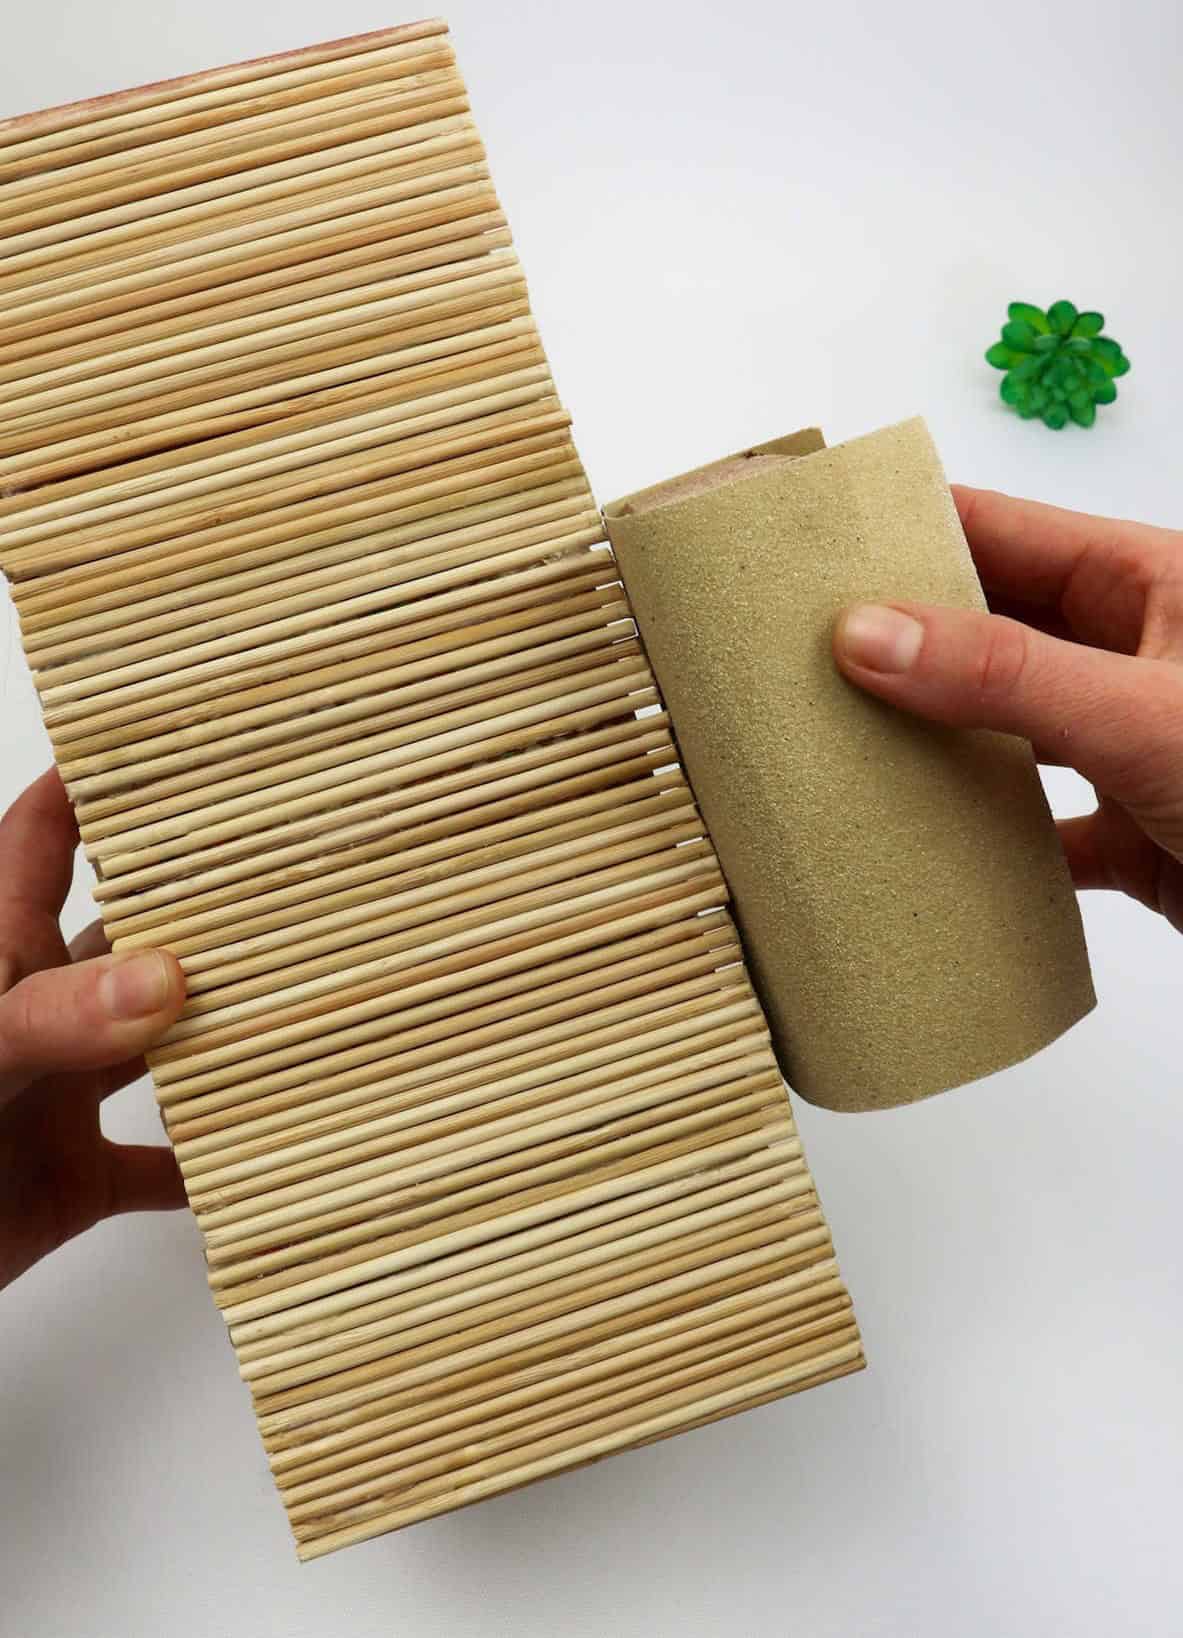
Now it’s time to refine the skewers’ edges using sandpaper. Remember how we previously clipped them? The goal is to smooth out any jaggedness and achieve a more polished finish. While this step is optional, it can help create a visually appealing box with neatly trimmed ends. If you prefer the rustic look that uneven edges provide, feel free to skip this step altogether.
Step 5
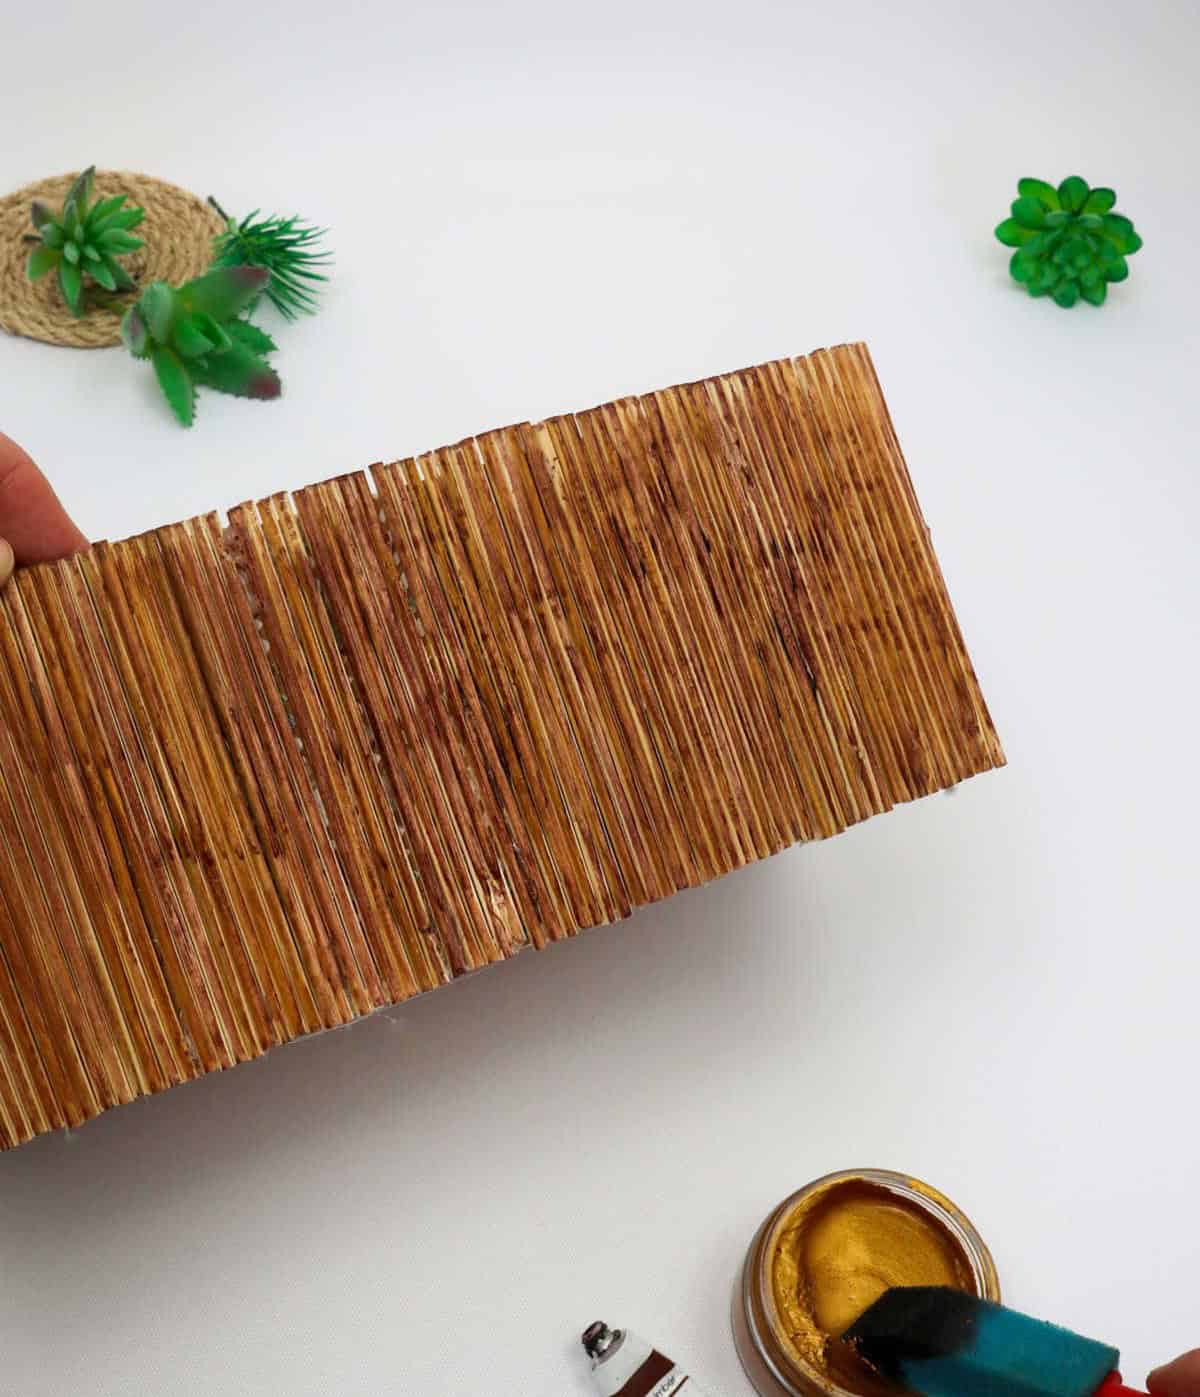
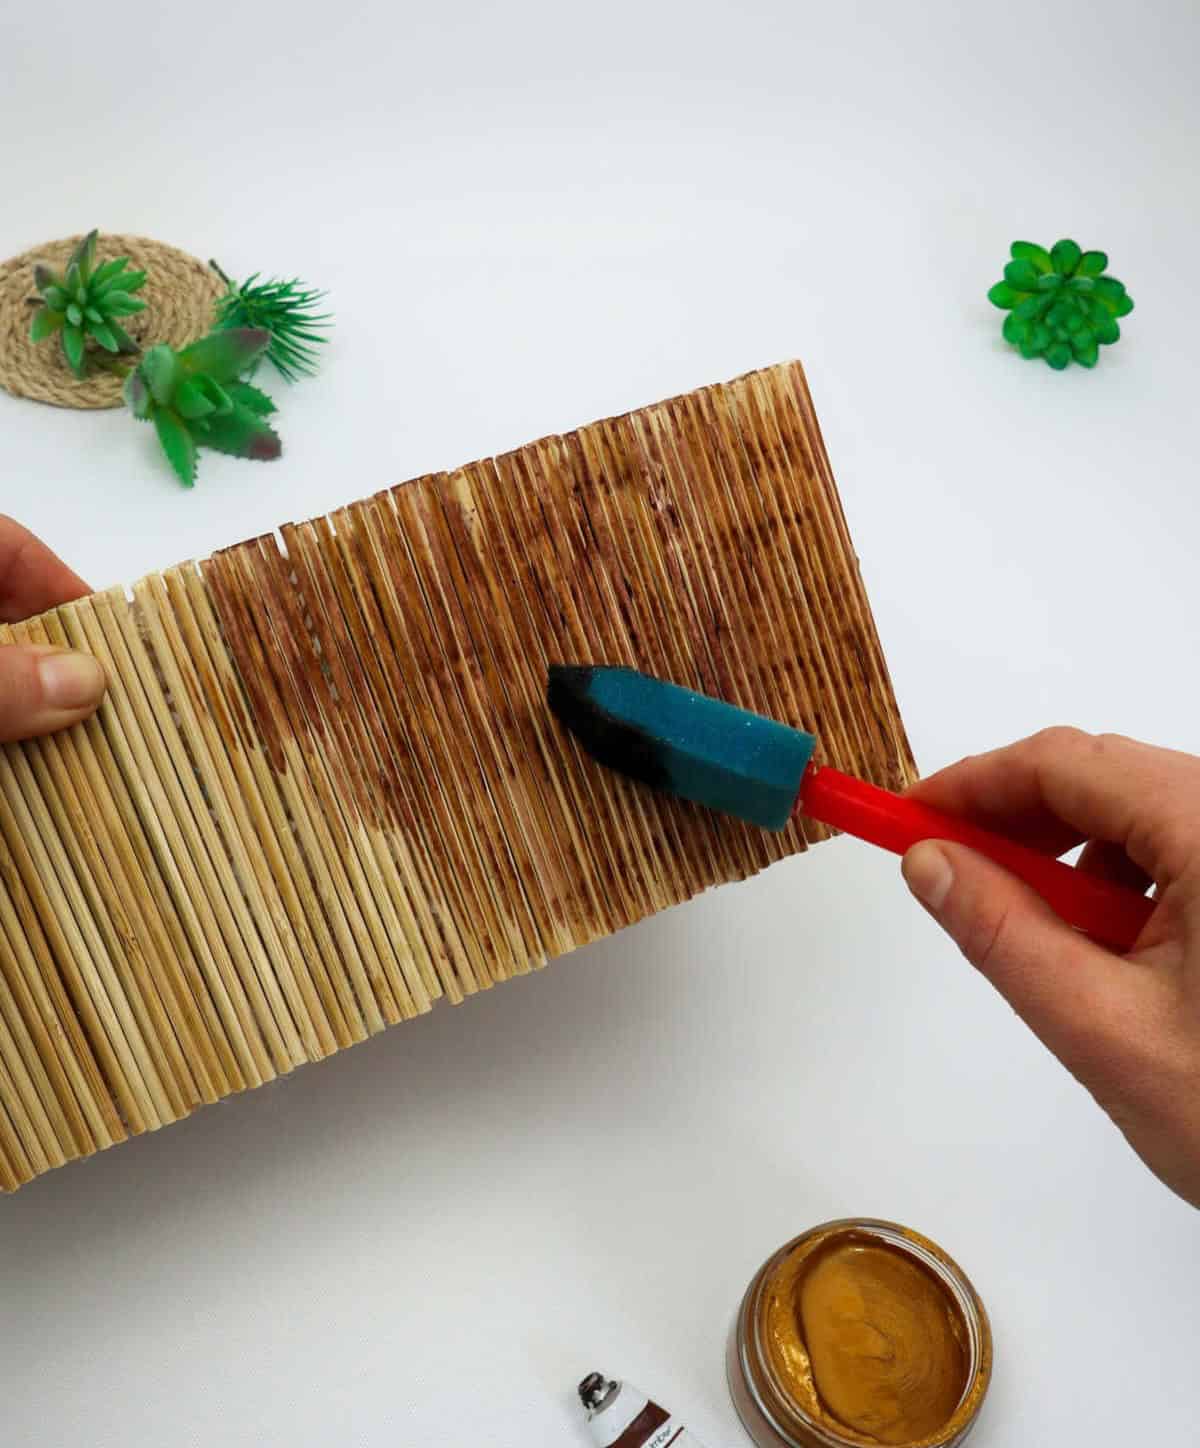
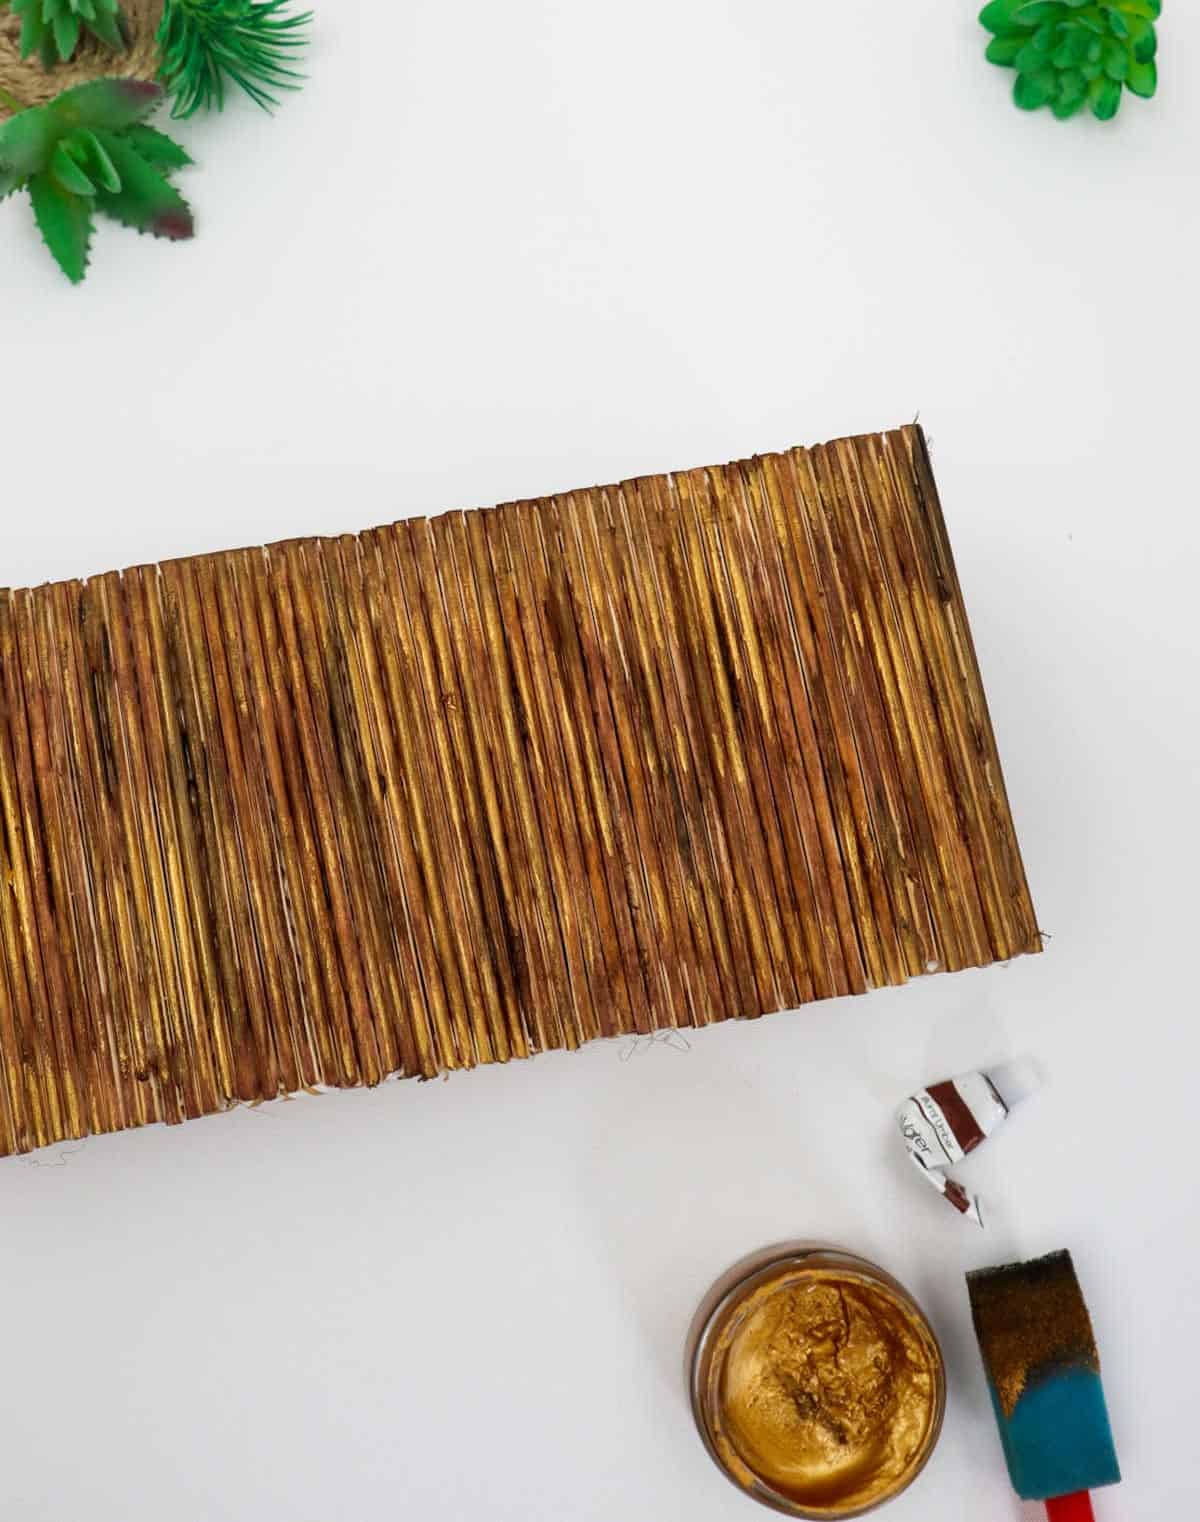
Begin by picking up your paints and brushes, then start bringing your skewers to life. Start by applying a solid base coat, allowing it to dry thoroughly before adding additional layers. Repeat the process until you’re satisfied with the final appearance.
Step 6
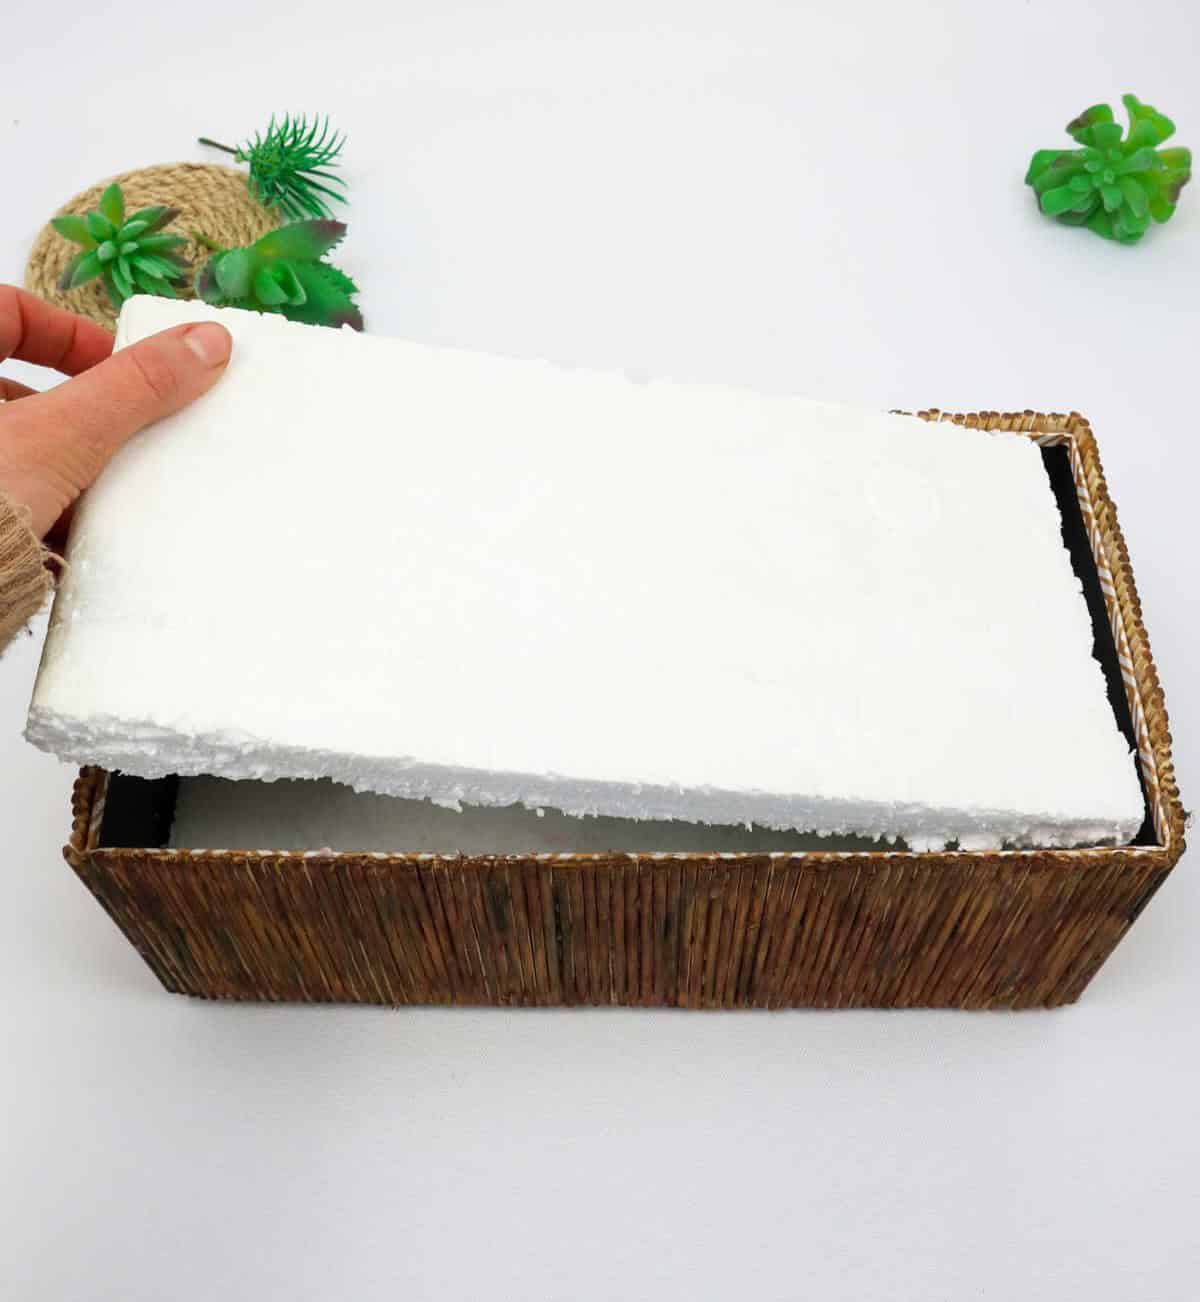
To add extra protection and prevent scratching at the base of your box, begin by lining the floor with a sheet of styrofoam. If you prefer convenience, opt for pre-cut sheets or purchase a larger block that can be trimmed to fit. Once you’ve selected your preferred material, carefully cut it to size, ensuring a snug fit within the box’s bottom. Finally, gently tuck the styrofoam into place, just as illustrated.
Step 7
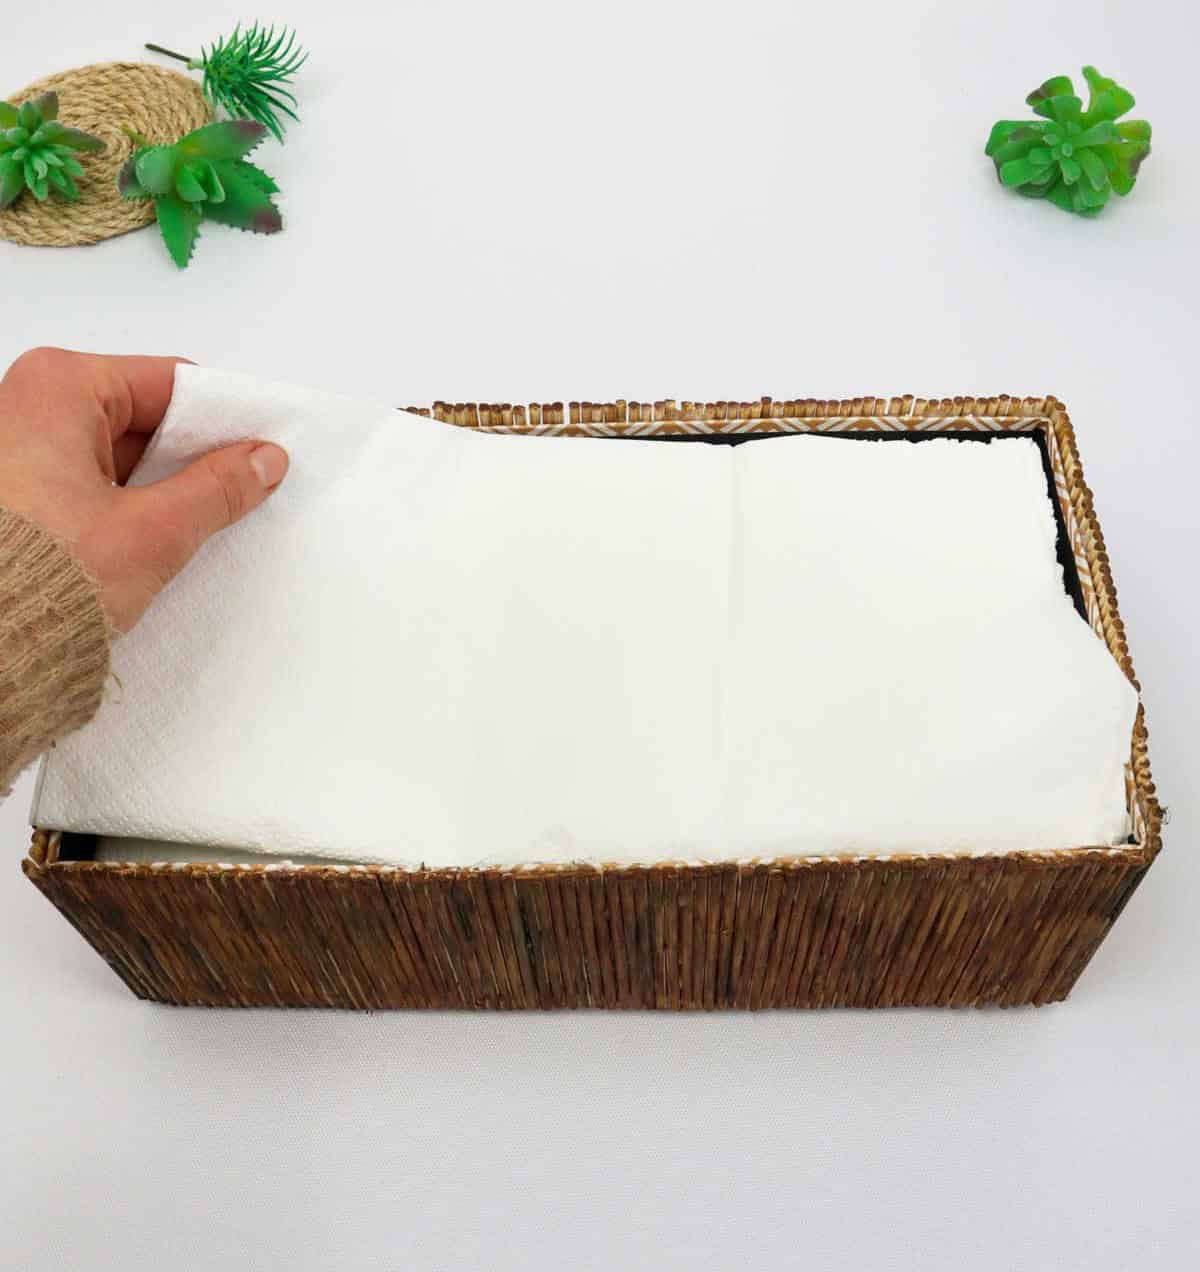
To create the base layer, start by placing the box on its side and then wrapping it in a white paper towel or napkin. Alternatively, you can choose to line the styrofoam sheet with the same material for added texture. If you prefer a more rustic look, consider using a piece of fabric instead.
Step 8
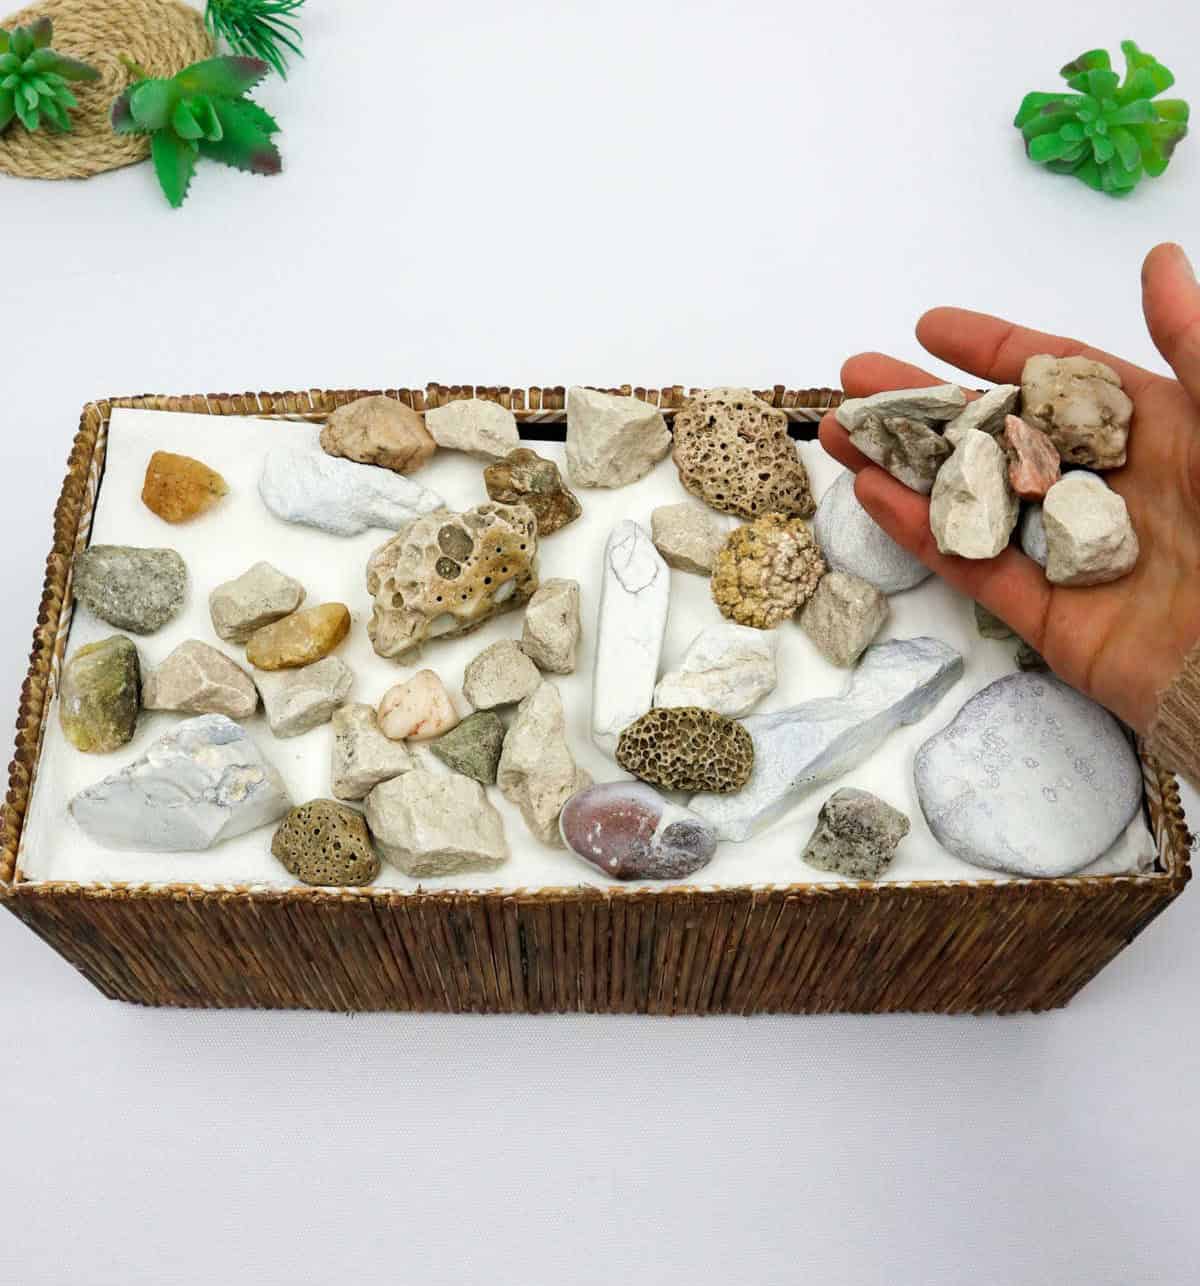
Transform the interior of the box by incorporating an assortment of natural elements such as stones, pebbles, and rocks. To add depth and visual interest, consider including a mix of smooth and textured materials, like pumice stone, to create a visually appealing contrast.
Step 9
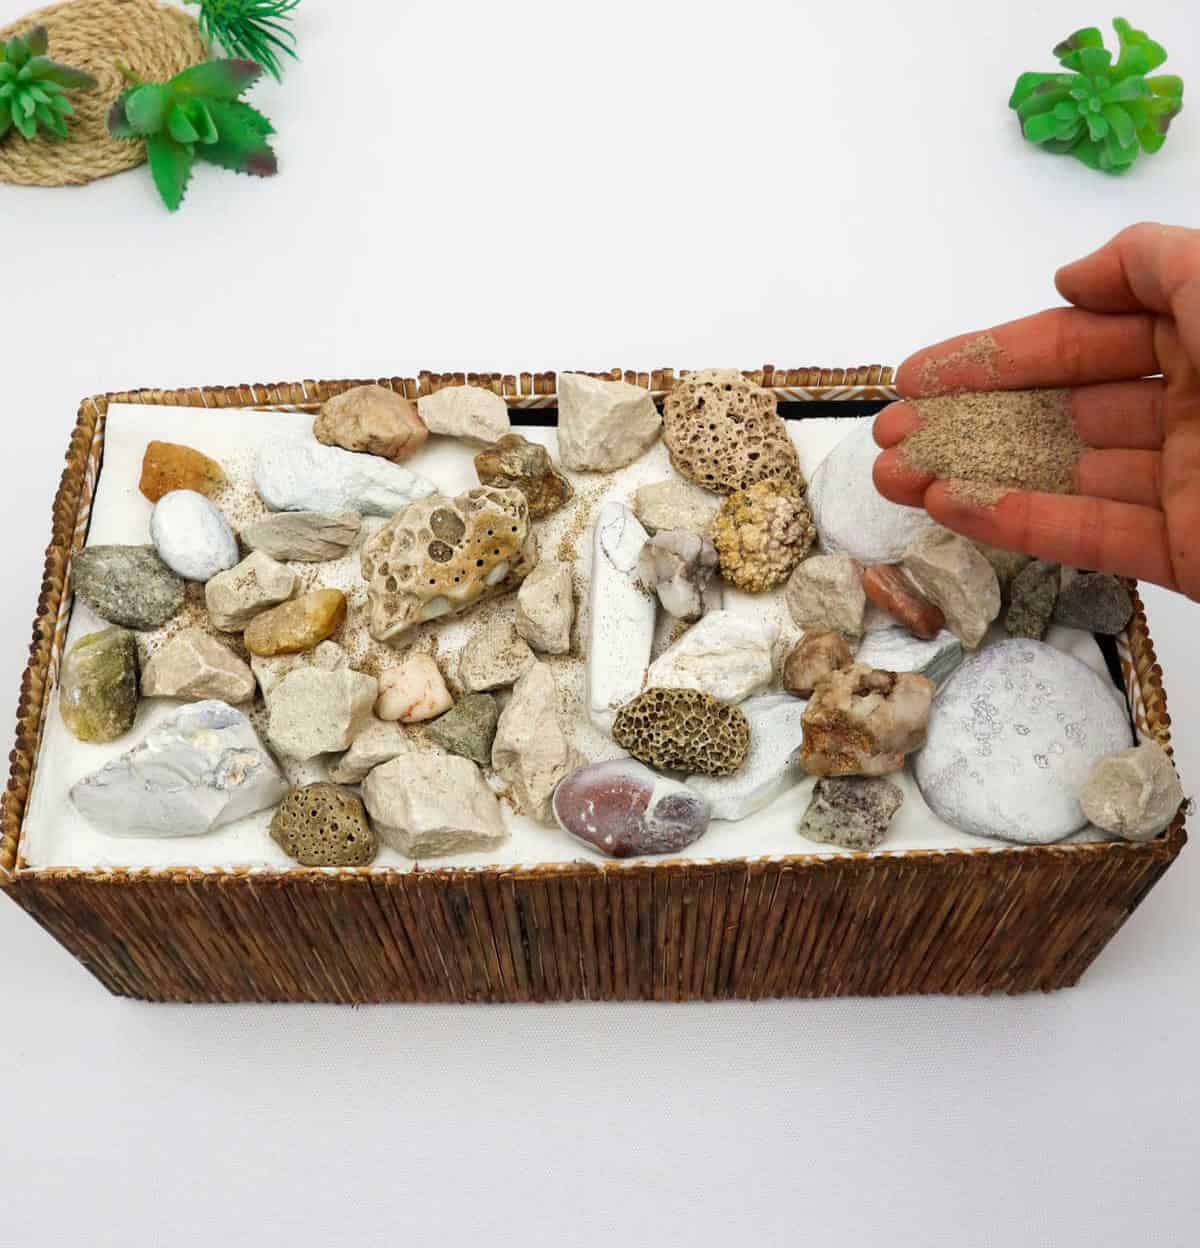
To complete the coastal-inspired look, fill any gaps between the decorative elements with a thin layer of sand. This will not only conceal any unsightly white napkin residue but also create a visually appealing texture. To further enhance the beachy ambiance, consider incorporating seashells and other natural embellishments into your design. These organic accents will seamlessly integrate with the surrounding decor, imbuing your bohemian box with an effortlessly laid-back charm.
Step 10
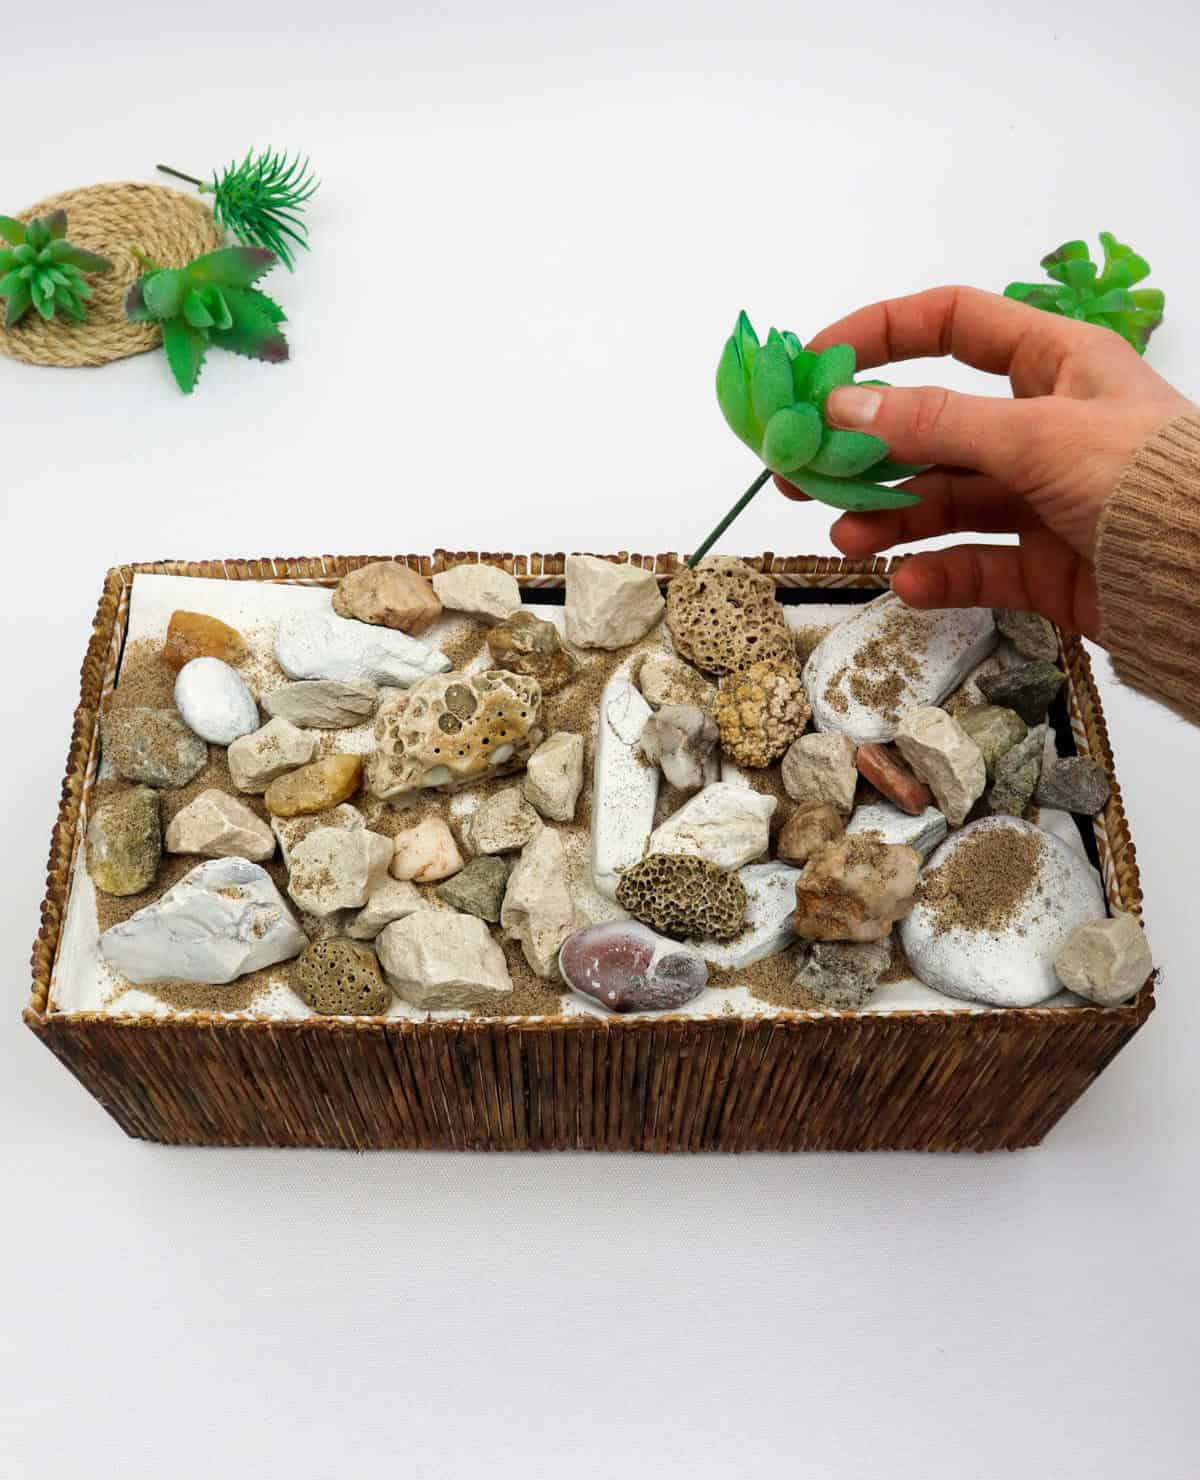
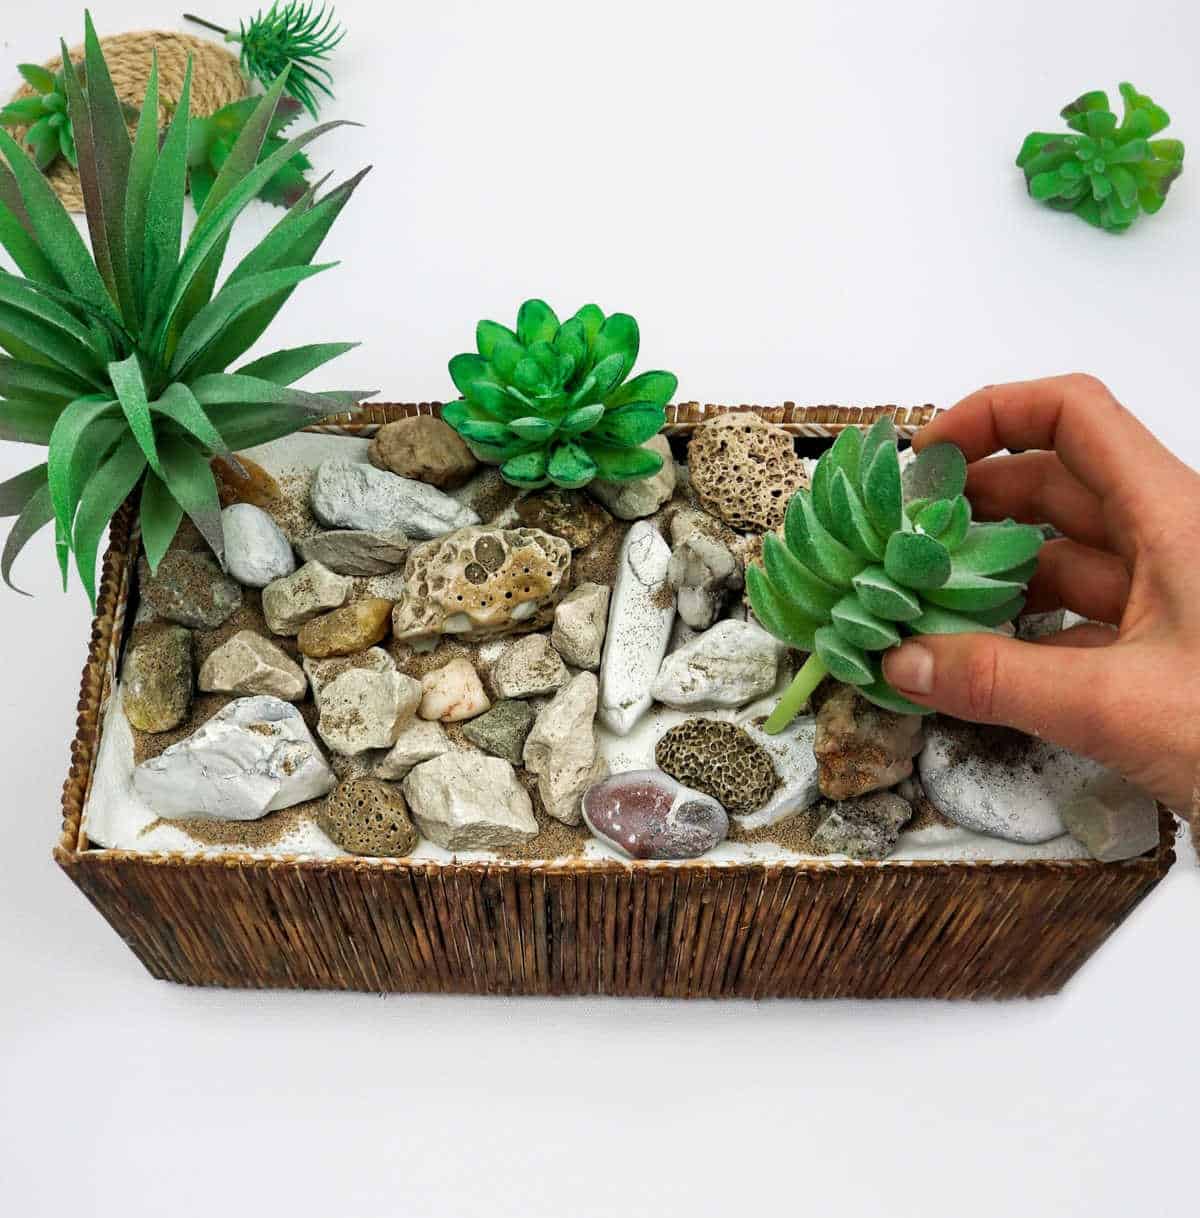
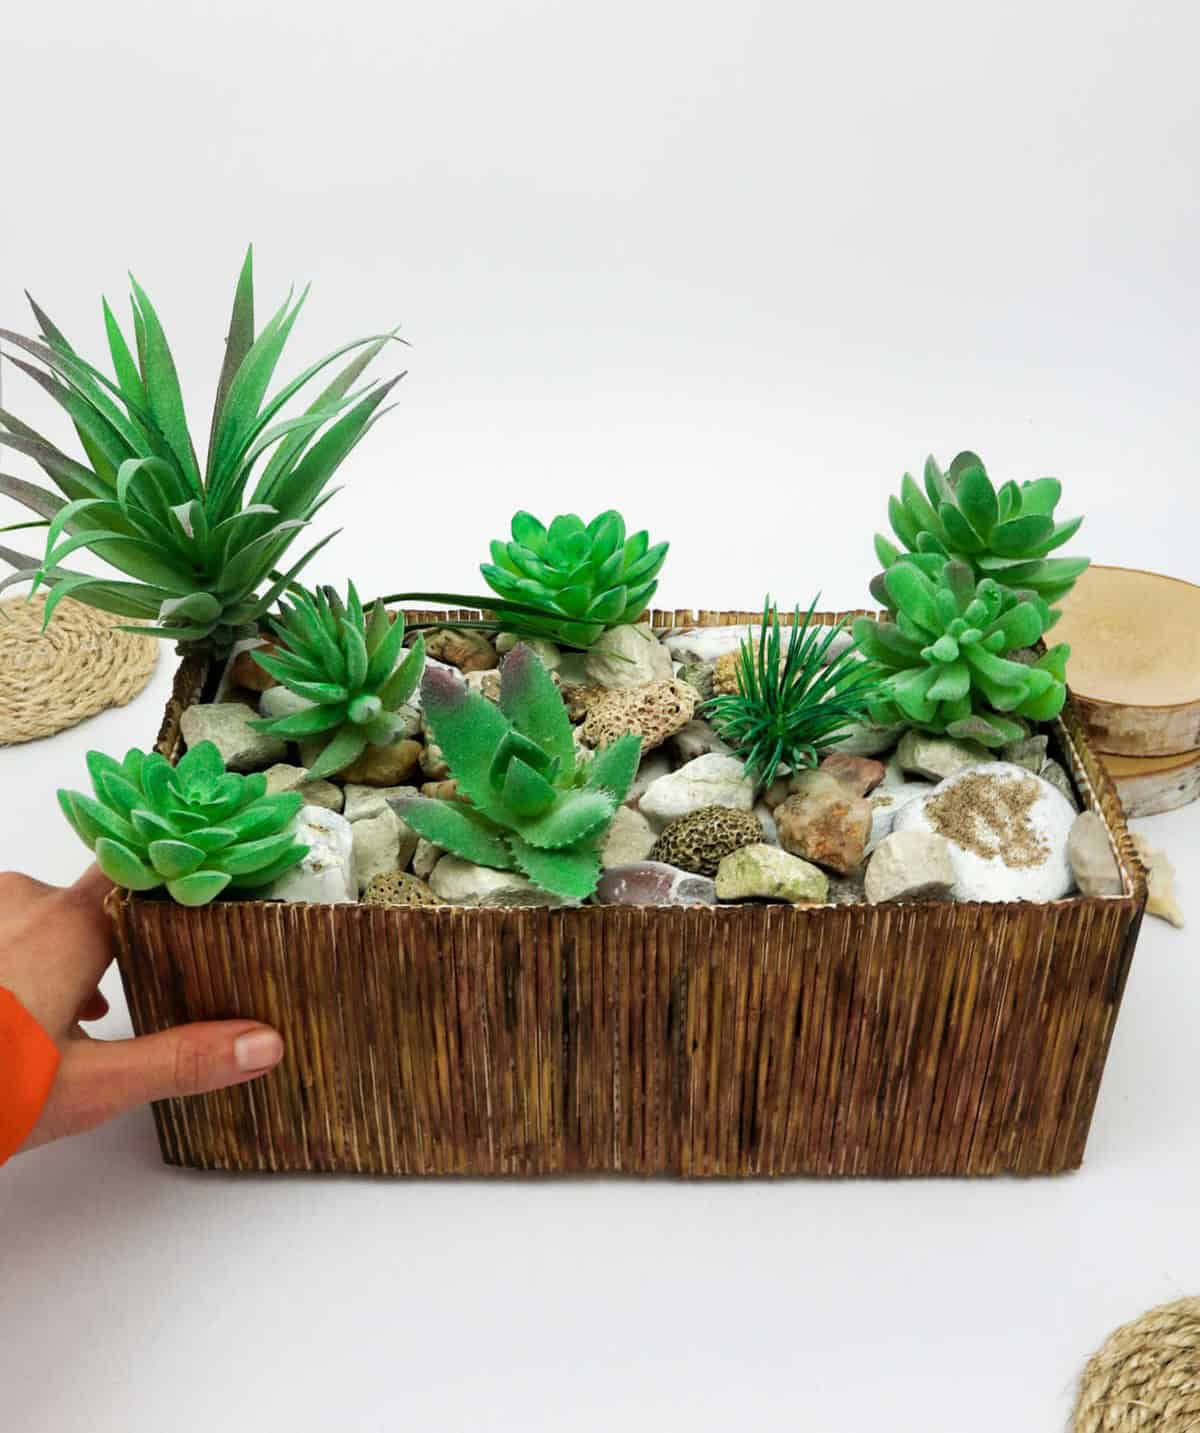
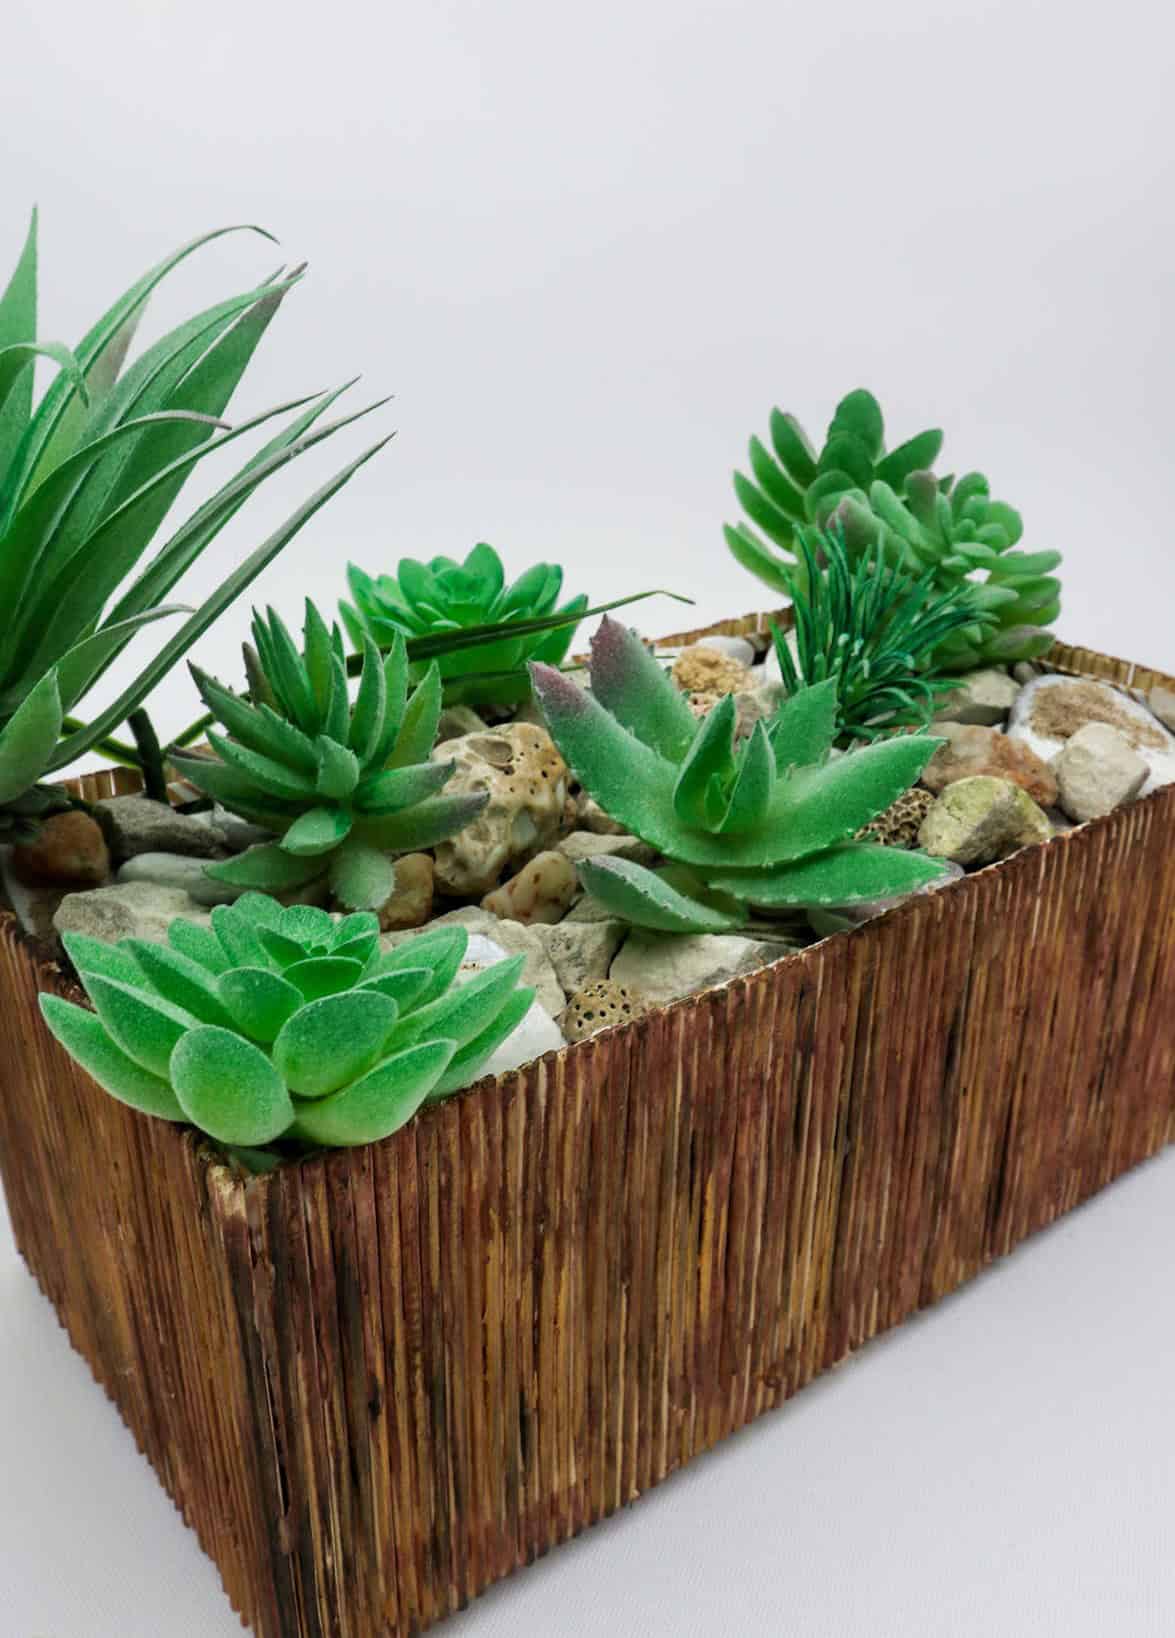
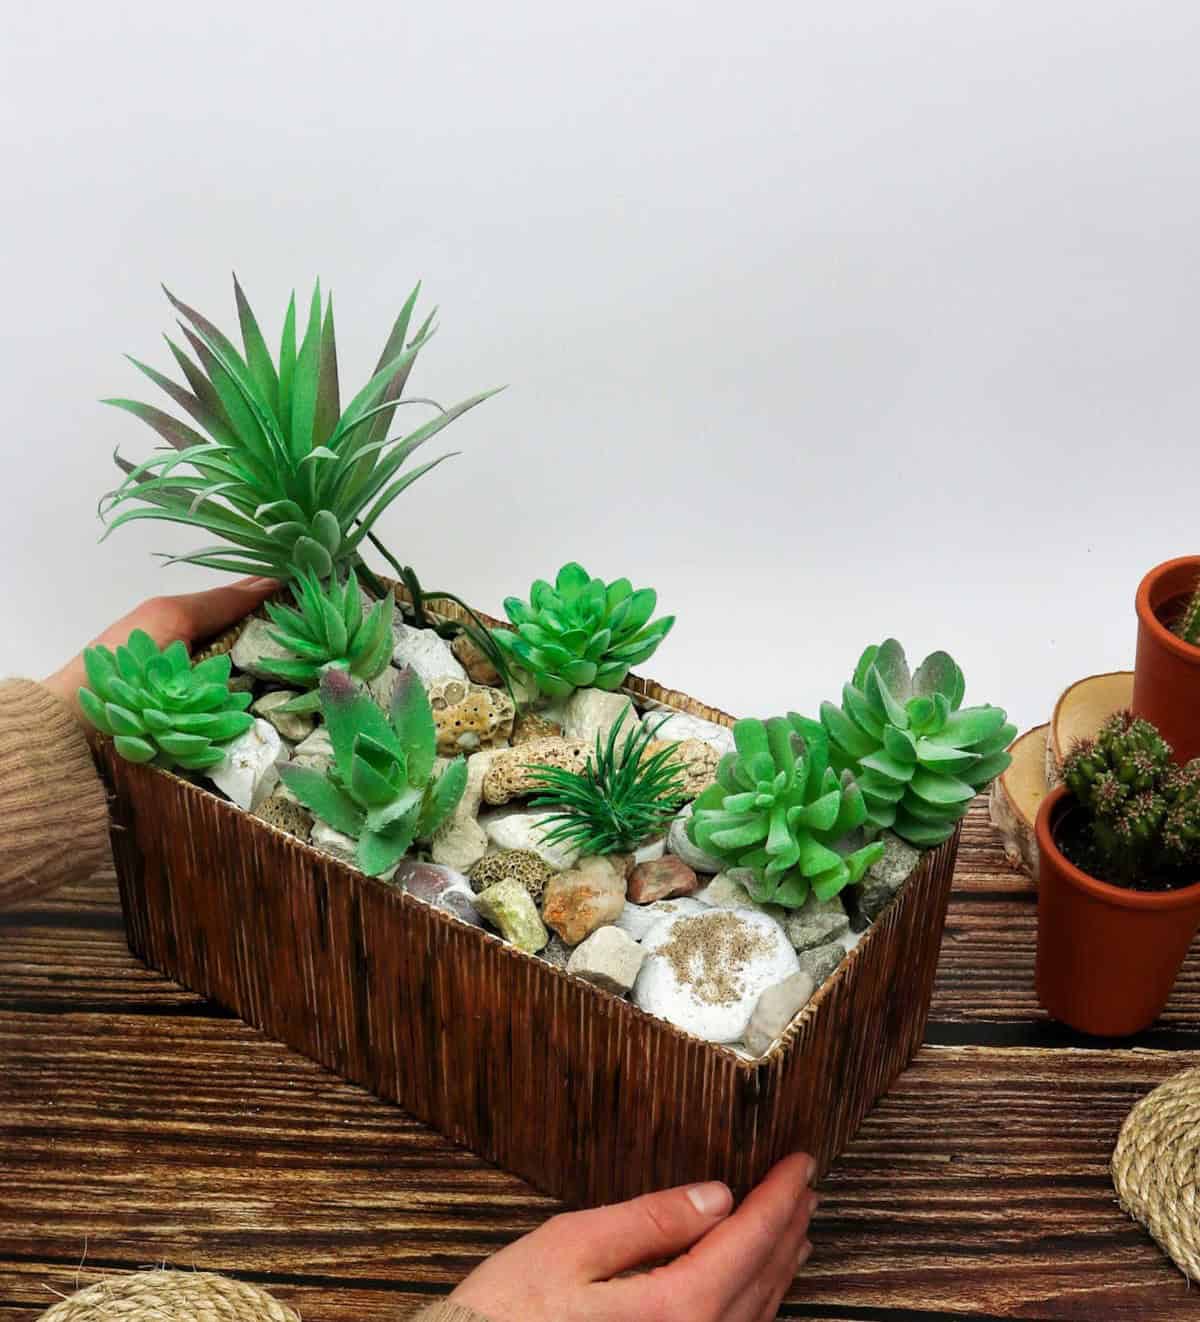
Finish off the arrangement by carefully placing your fake succulent plants among the stones. As you arrange them, make sure to tuck them snugly into position, creating a visually appealing display that resembles a professionally curated product from a store shelf.
Who Can Make This Boho Succulent?
While the planter decoration project can be enjoyed by kids of all ages, it may be more suitable for older children due to the slight risk involved with working with skewers. If you’re involving younger kids, make sure they have adult supervision and guidance to ensure their safety. On the other hand, older kids will likely enjoy the process of filling the planter box with sand and shells, making this a fun and engaging activity for all.
Where Could I Place the Succulent Planter?
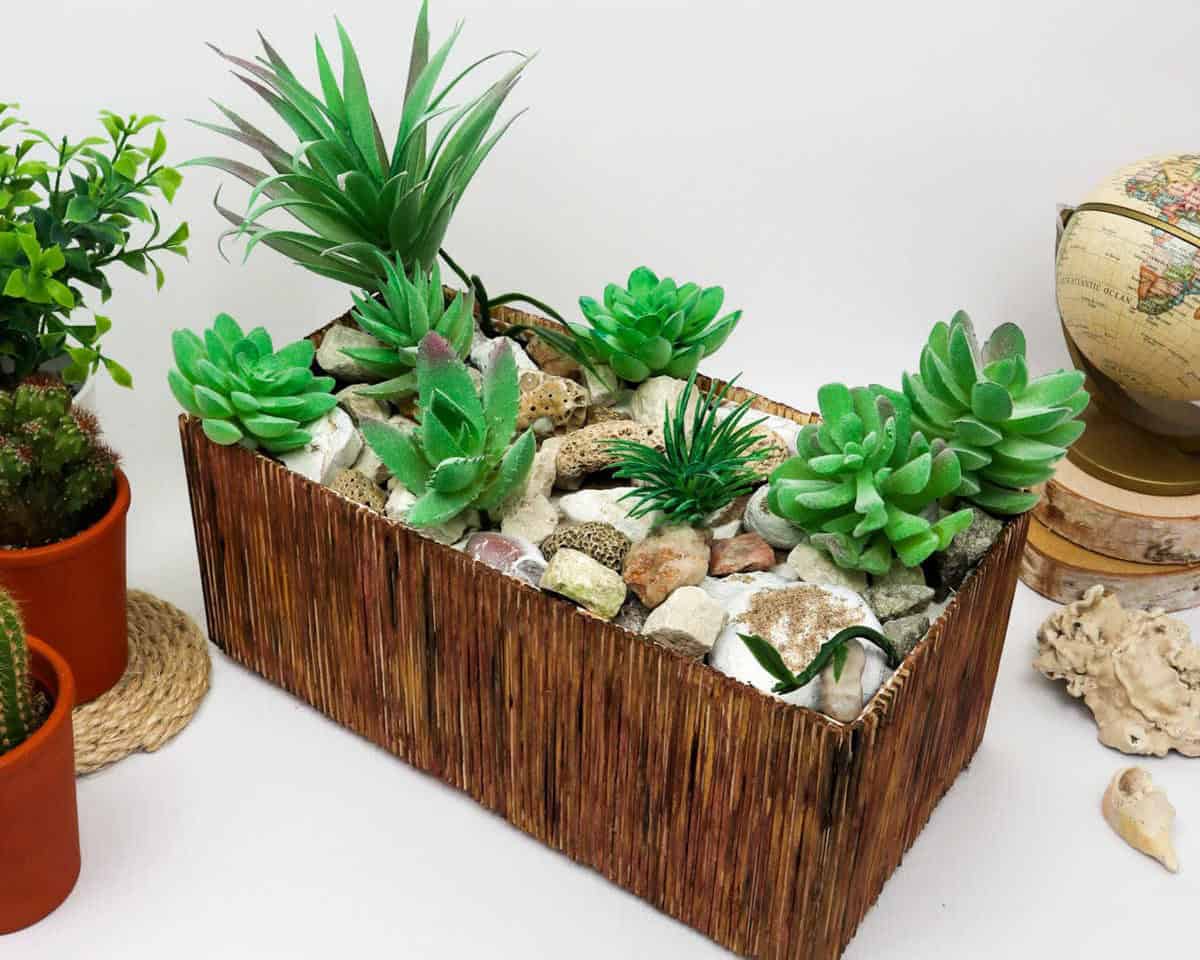
Whether indoors or outdoors, this captivating bohemian planter has the potential to add a touch of personality and charm to any space. Consider placing it in spots where you want to create a cozy ambiance, such as on your deck, patio, or front porch. Alternatively, you could place it as a centerpiece on your dining table, coffee table, or sideboard, allowing its unique design to take center stage.
For a more whimsical approach, try situating it along the garden path or up the steps leading to your home’s entrance.
Other Crafts You’ll Love
This holiday season, get ready to deck the halls with a plethora of creative and budget-friendly ideas. Whether you’re looking to craft, decorate, or simply add some festive flair to your home, we’ve got you covered. With over 47 DIY projects to choose from, including farmhouse-inspired Christmas decorations that can be made for just a few dollars, you’ll be spoiled for choice.
And if you’re feeling crafty, why not try making hair bows for the little ones or upcycling tin cans into unique decorative pieces? If woodworking is more your thing, we’ve got 30 wood crafts to get you started. But don’t stop there! Take a peek at our DIY rope coasters, leaf candle holder, and dollar tree lantern tutorials for some seriously impressive and easy-to-make decor.
And if you’re looking to monetize your crafting skills, be sure to check out our list of 37 crafts to make and sell or 37 crafts perfect for girls. With so many options at your fingertips, the possibilities are endless this holiday season.
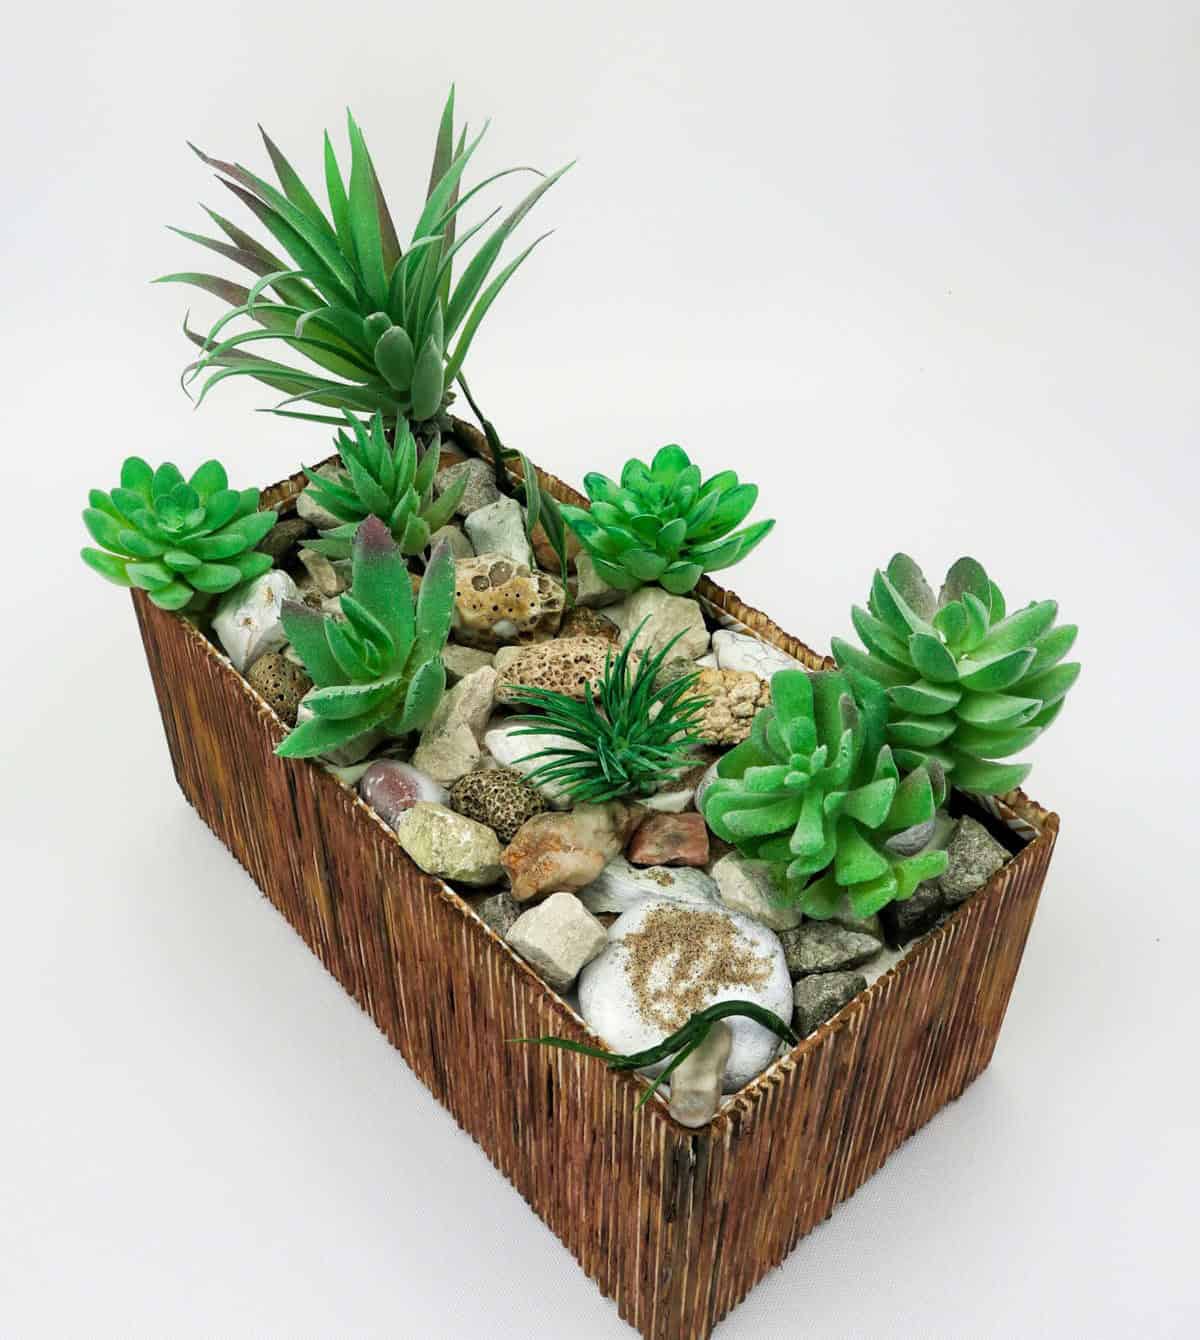
DIY Boho Succulent Planter
Transforming everyday materials into stunning decorations is an art form, and with just a few simple steps, you can create your own unique centerpiece using a cardboard box and skewers. This DIY decoration project is perfect for anyone looking to add a personal touch to their space without breaking the bank.
The best part? It’s surprisingly easy to make!
With only an hour of active time and 30 minutes of additional time, you can have your very own masterpiece ready to impress your friends and family. So, grab some cardboard boxes and skewers, and get ready to unleash your creativity!
Equipment
To prevent your screen from going dark, keep these essential tools within arm’s reach: pliers for those pesky battery compartments, a hot glue gun to repair any broken gadgets, and a paintbrush or foam brush for when you need to get creative with some electronics TLC.
Materials
To create this visually appealing terrarium, you’ll need the following materials: a single cardboard box, Styrofoam sheets, a white napkin, artificial succulents, stones, and 100 skewers – depending on the size of your box. Additionally, have some acrylic paints in brown and metallic gold at the ready to add the finishing touches.