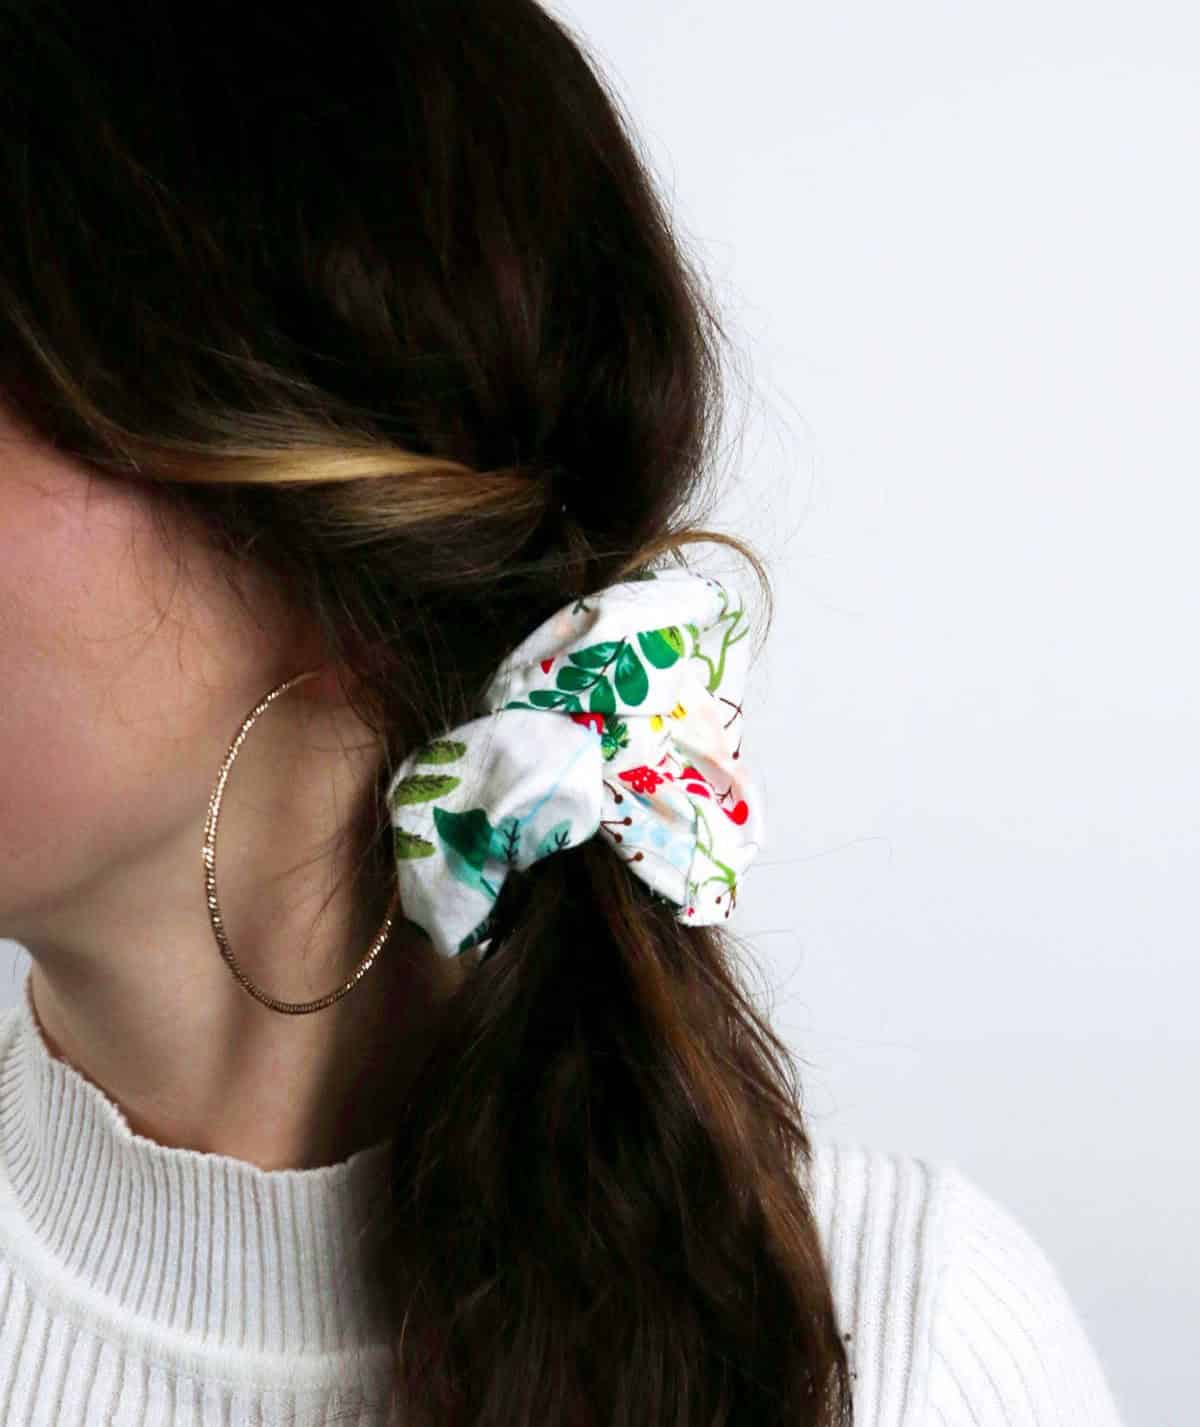
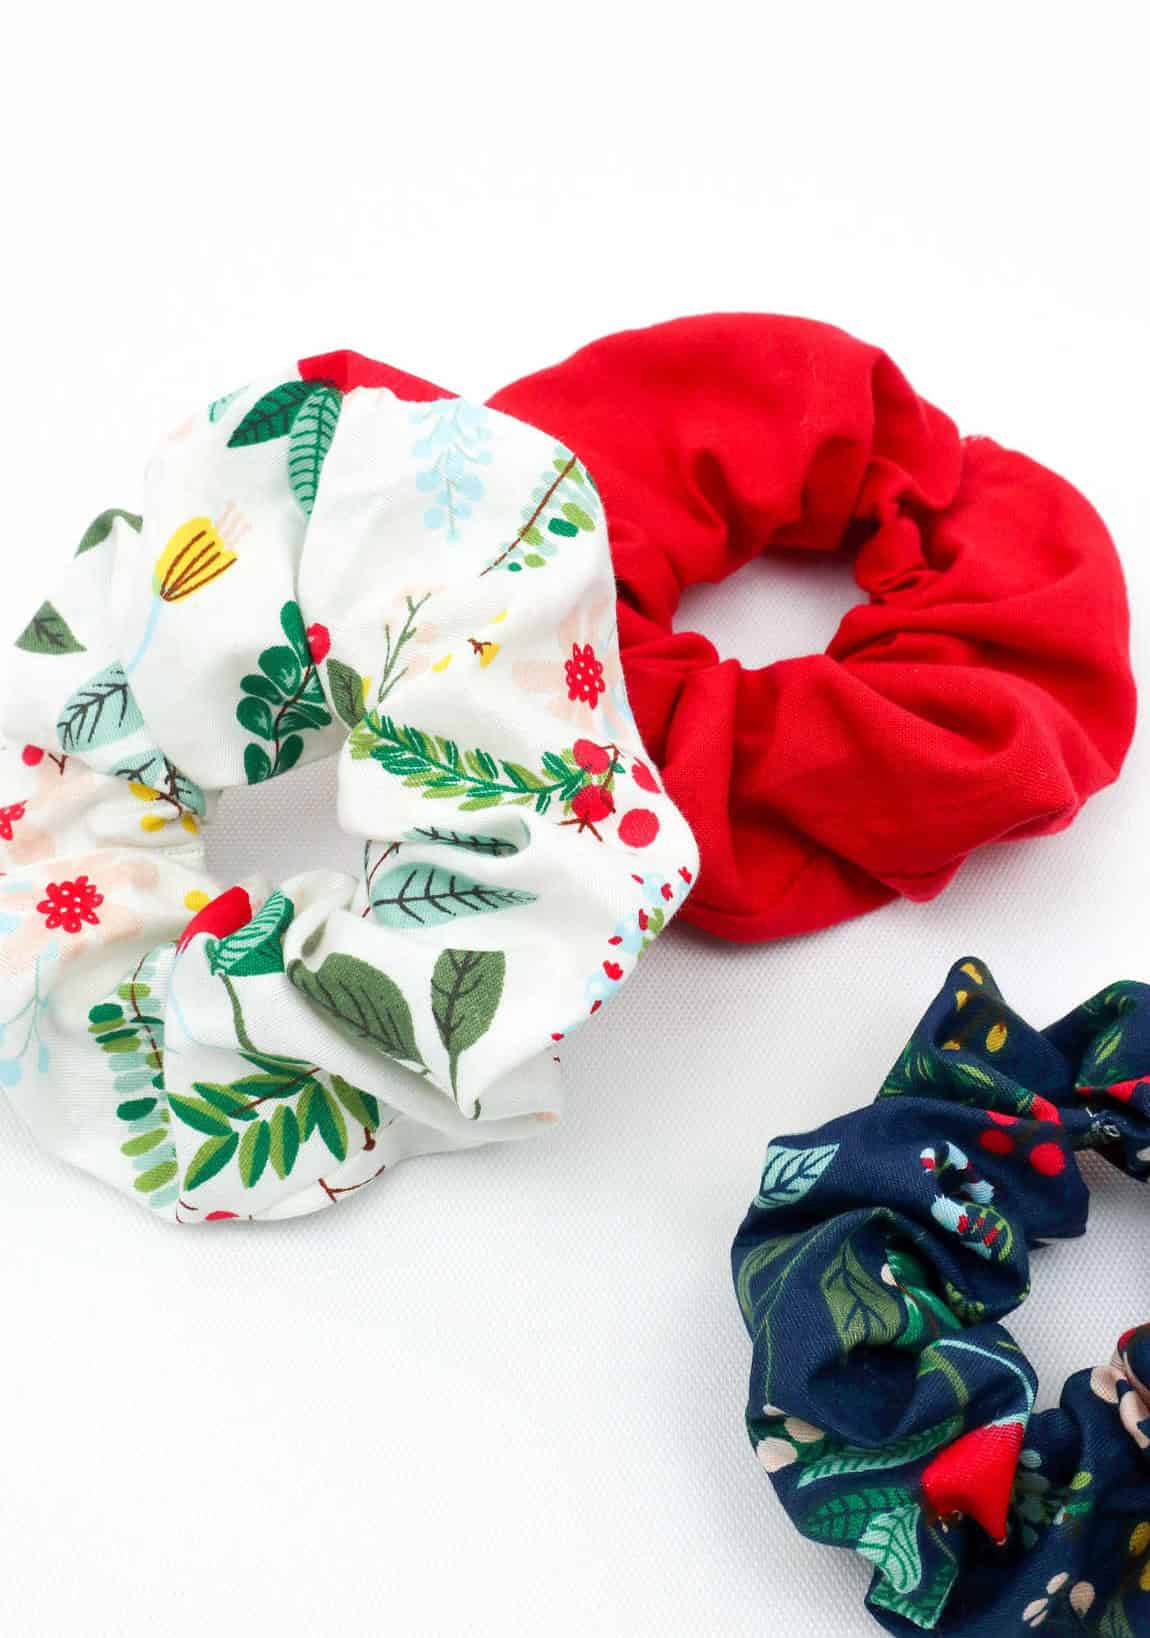
If you’ve got leftover fabric, don’t toss it! Instead, use it to create your own custom scrunchies that can be worn, gifted, or simply enjoyed. Every woman knows the importance of a good scrunchie – they’re the perfect finishing touch for any outfit. But let’s face it, misplacing them is all too easy. A well-chosen scrunchie can elevate an entire look, while a mismatched one can quickly bring it down.
Just think about pairing a bold red and white polka dot top with a purple scrunchie – nope, that’s just not going to work. But what if you had the perfect scrunchies on hand for every occasion? No more worrying about whether your stash matches your outfit or breaking the bank to buy a new one. With a little fabric and some basic crafting skills, you can create a collection of scrunchies that are uniquely yours.
Supplies and Tools You’ll Need
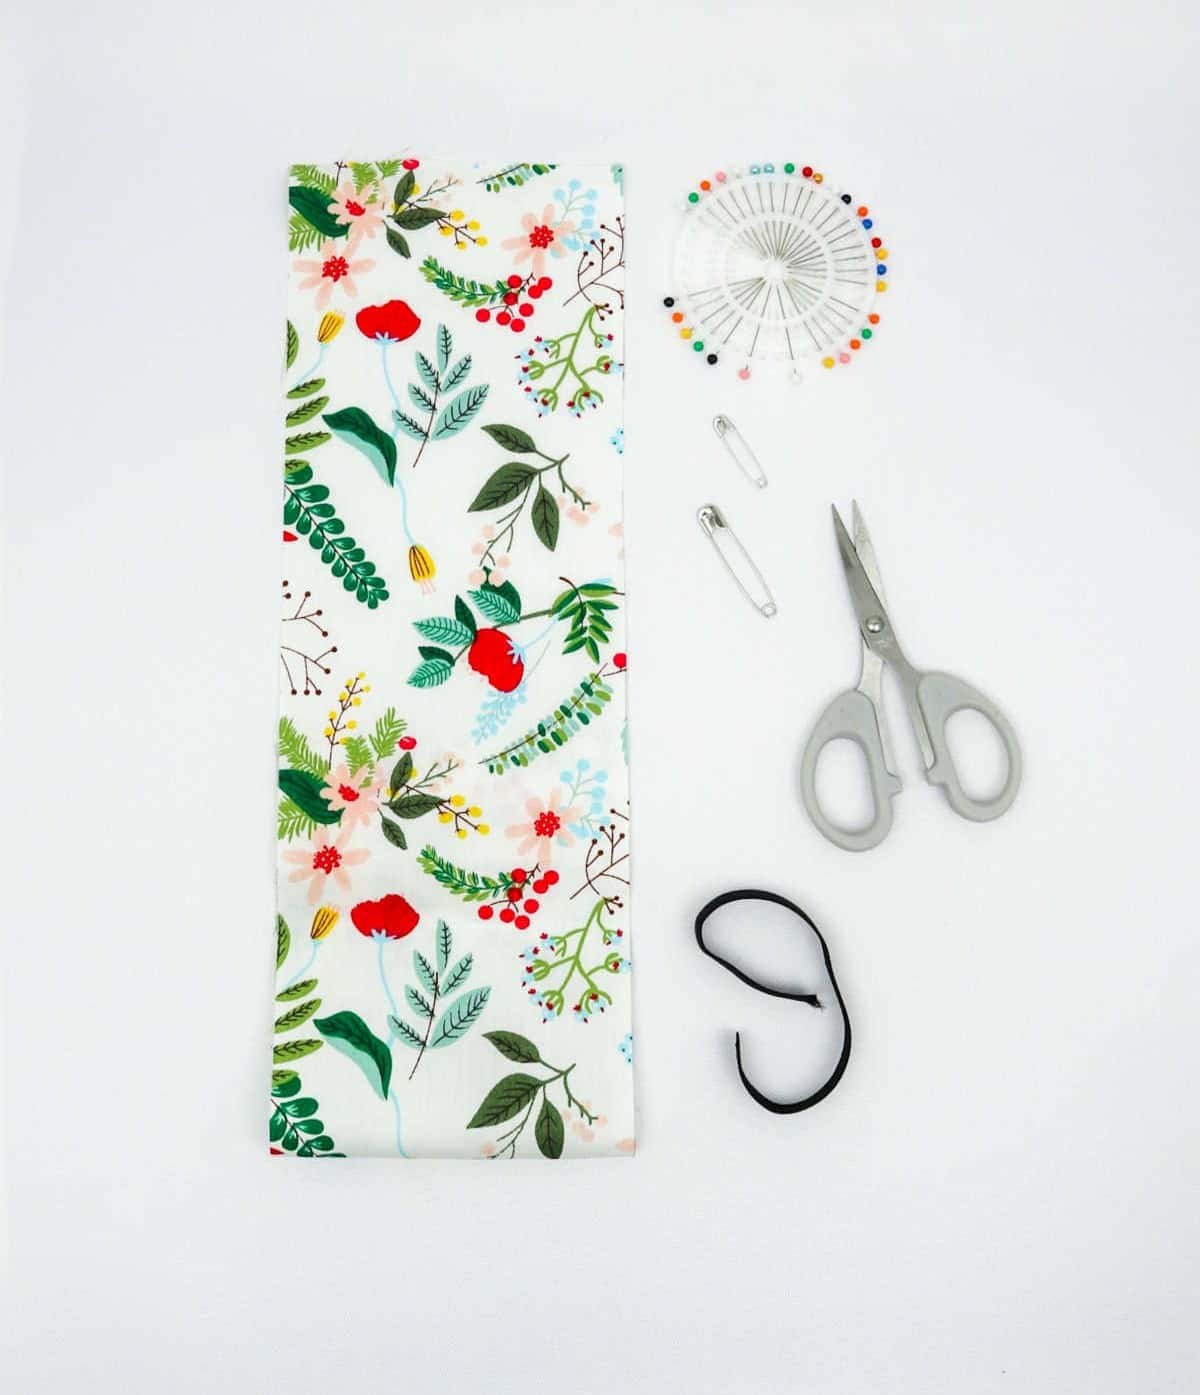
To start creating an abundance of scrunchies, you’ll need to collect the following basic supplies. Here’s what you’ll require:A selection of fabric measuring 5 inches by 24 inches.Elastic ribbon with a length of 8 inches.Pins for sewingTwo safety pinsA good pair of scissorsAn optional sewing machine
How to Make a Scrunchie
While sewing machines are incredibly convenient, sometimes a small project like a scrunchie doesn’t warrant the setup and hassle. For those who prefer a more low-tech approach, hand-sewing is a great option that allows for greater control over stitches and fabric placement. Plus, it’s a fantastic way to utilize those precious scraps of fabric in your stash that are too lovely to go unnoticed. With this approach, you can dive right into the project without any extra preparation required.
Step 1
Begin by laying your fabric on a flat work surface with the wrong side facing upwards. Next, grasp the edge of the fabric and gently pull it downwards, folding it by just one centimeter. This initial fold creates your seam allowance, which is crucial for ensuring accurate seams in your finished project. Secure this fold in place using a couple of pins, taking care to pin them precisely to maintain a precise seam.
Step 2
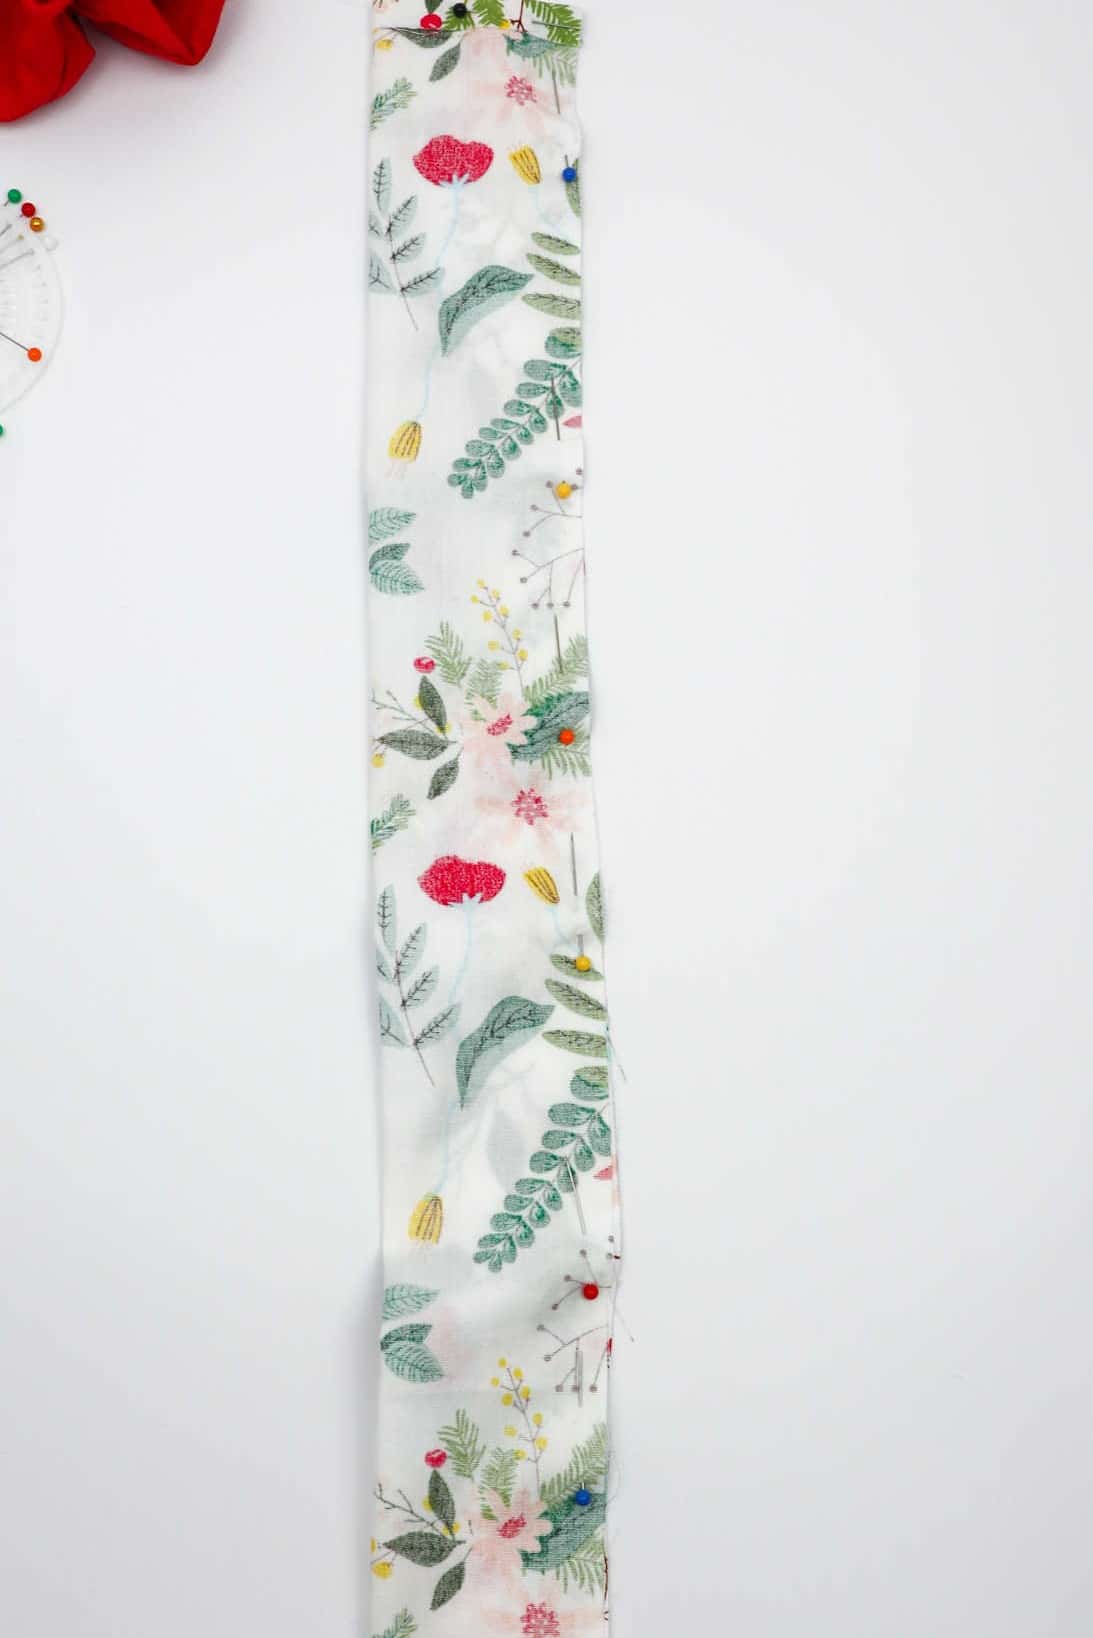
To achieve a precise fold, bring the fabric together along its longest edge, folding it in half. This will enable you to align the edges perfectly and secure them with pins. As you pin the edges in place, you’ll eliminate the risk of the fabric shifting or becoming uneven during the sewing process, ensuring a smooth and even finish.
Step 3
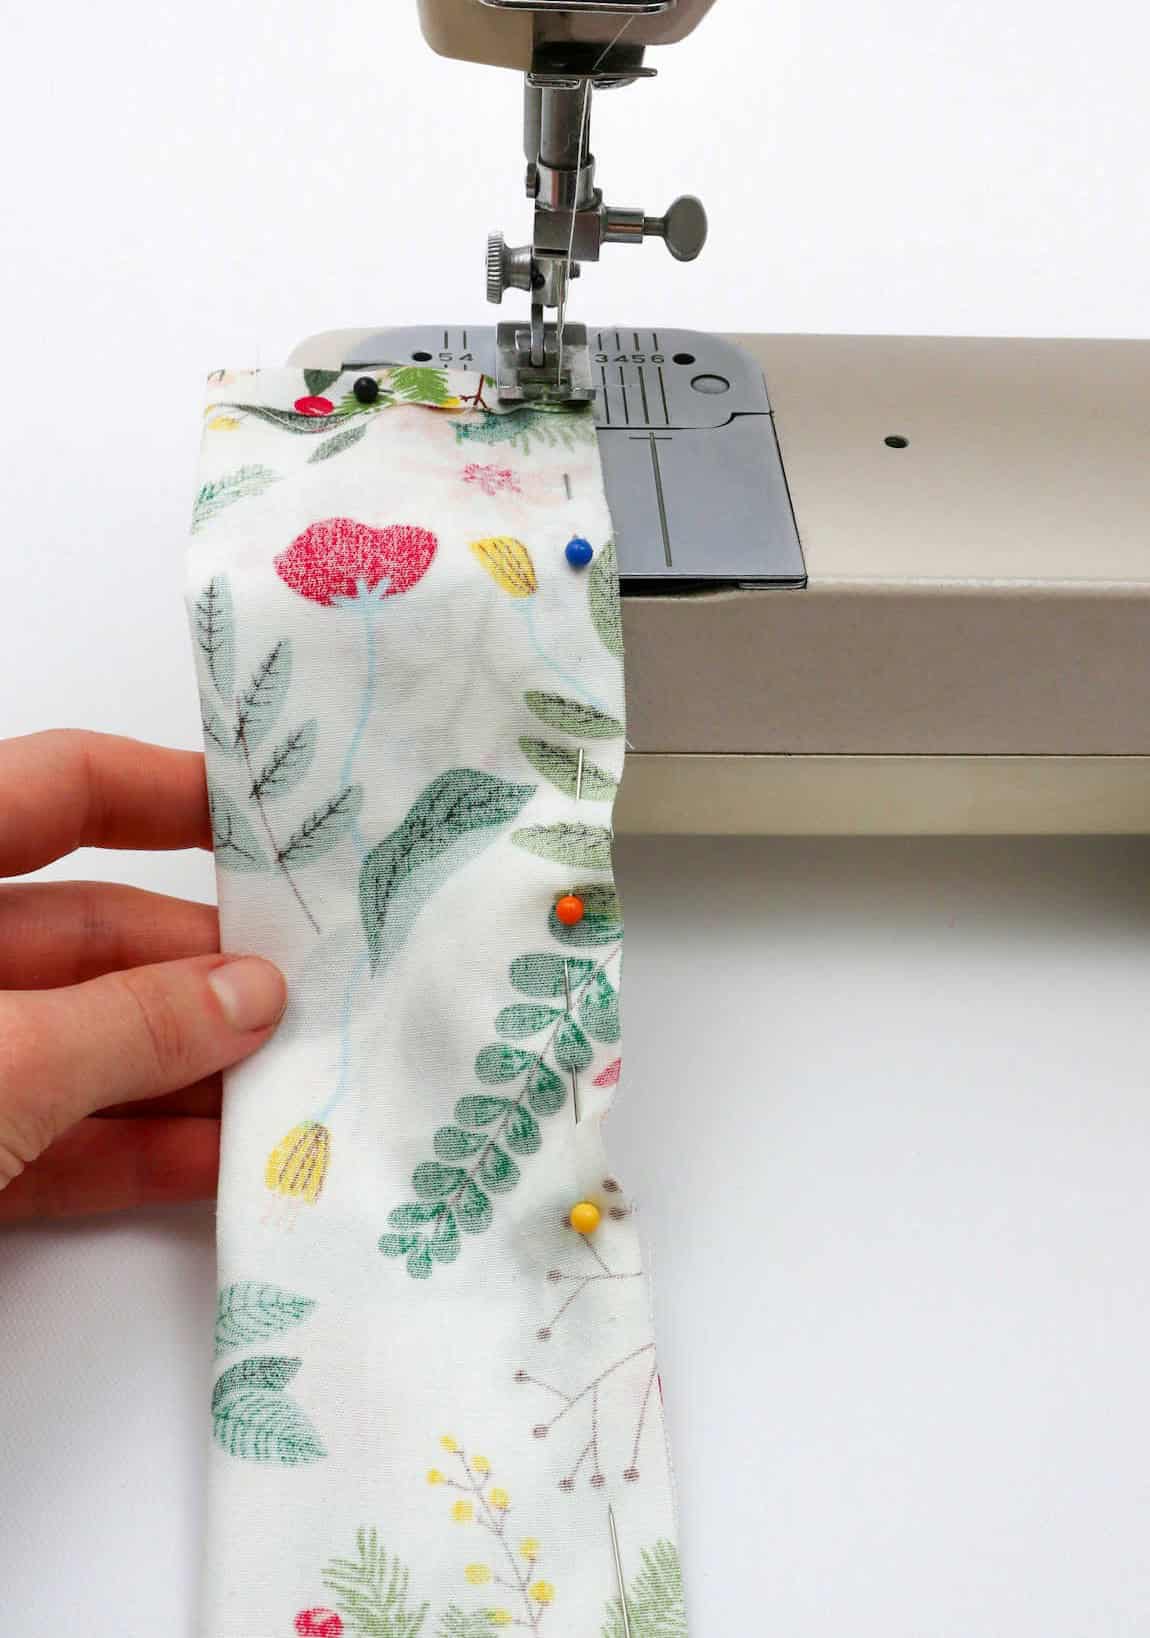
With your needle and thread or trusty sewing machine ready, begin by sewing along the length of the fabric, working from one end to the other. Be sure to stop just shy of the short edges on each side, leaving them open for future use.
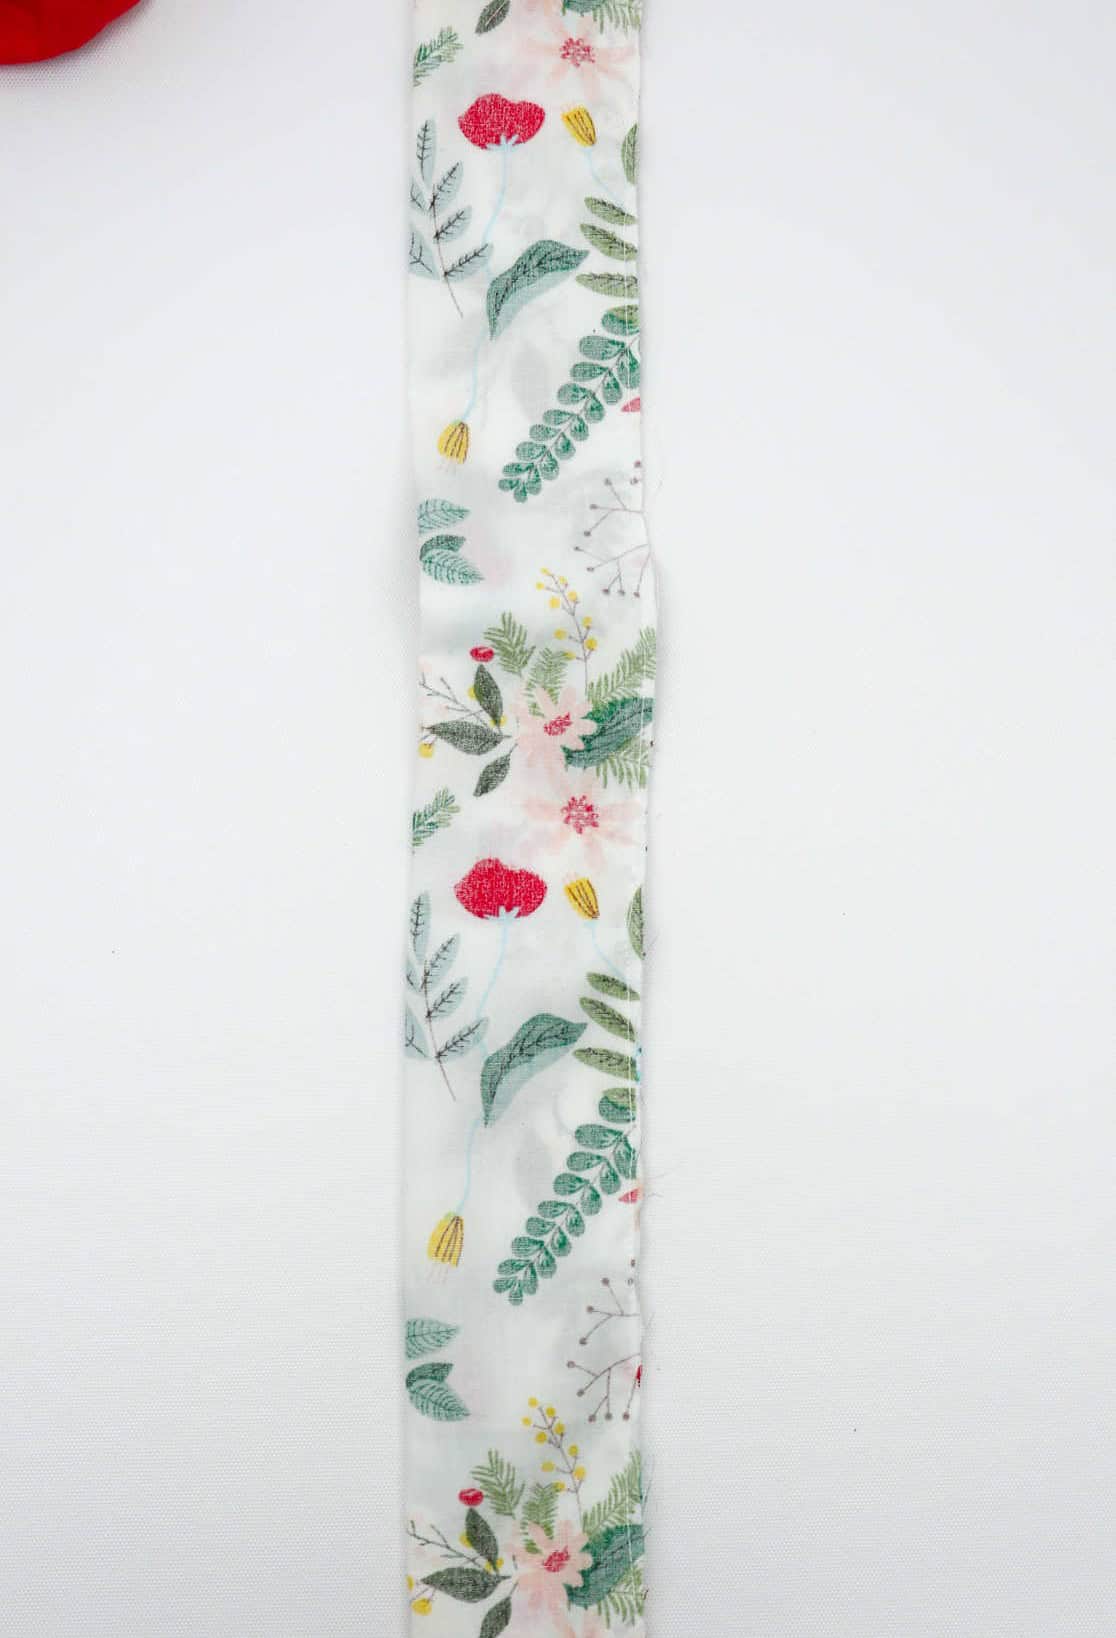
Step 4
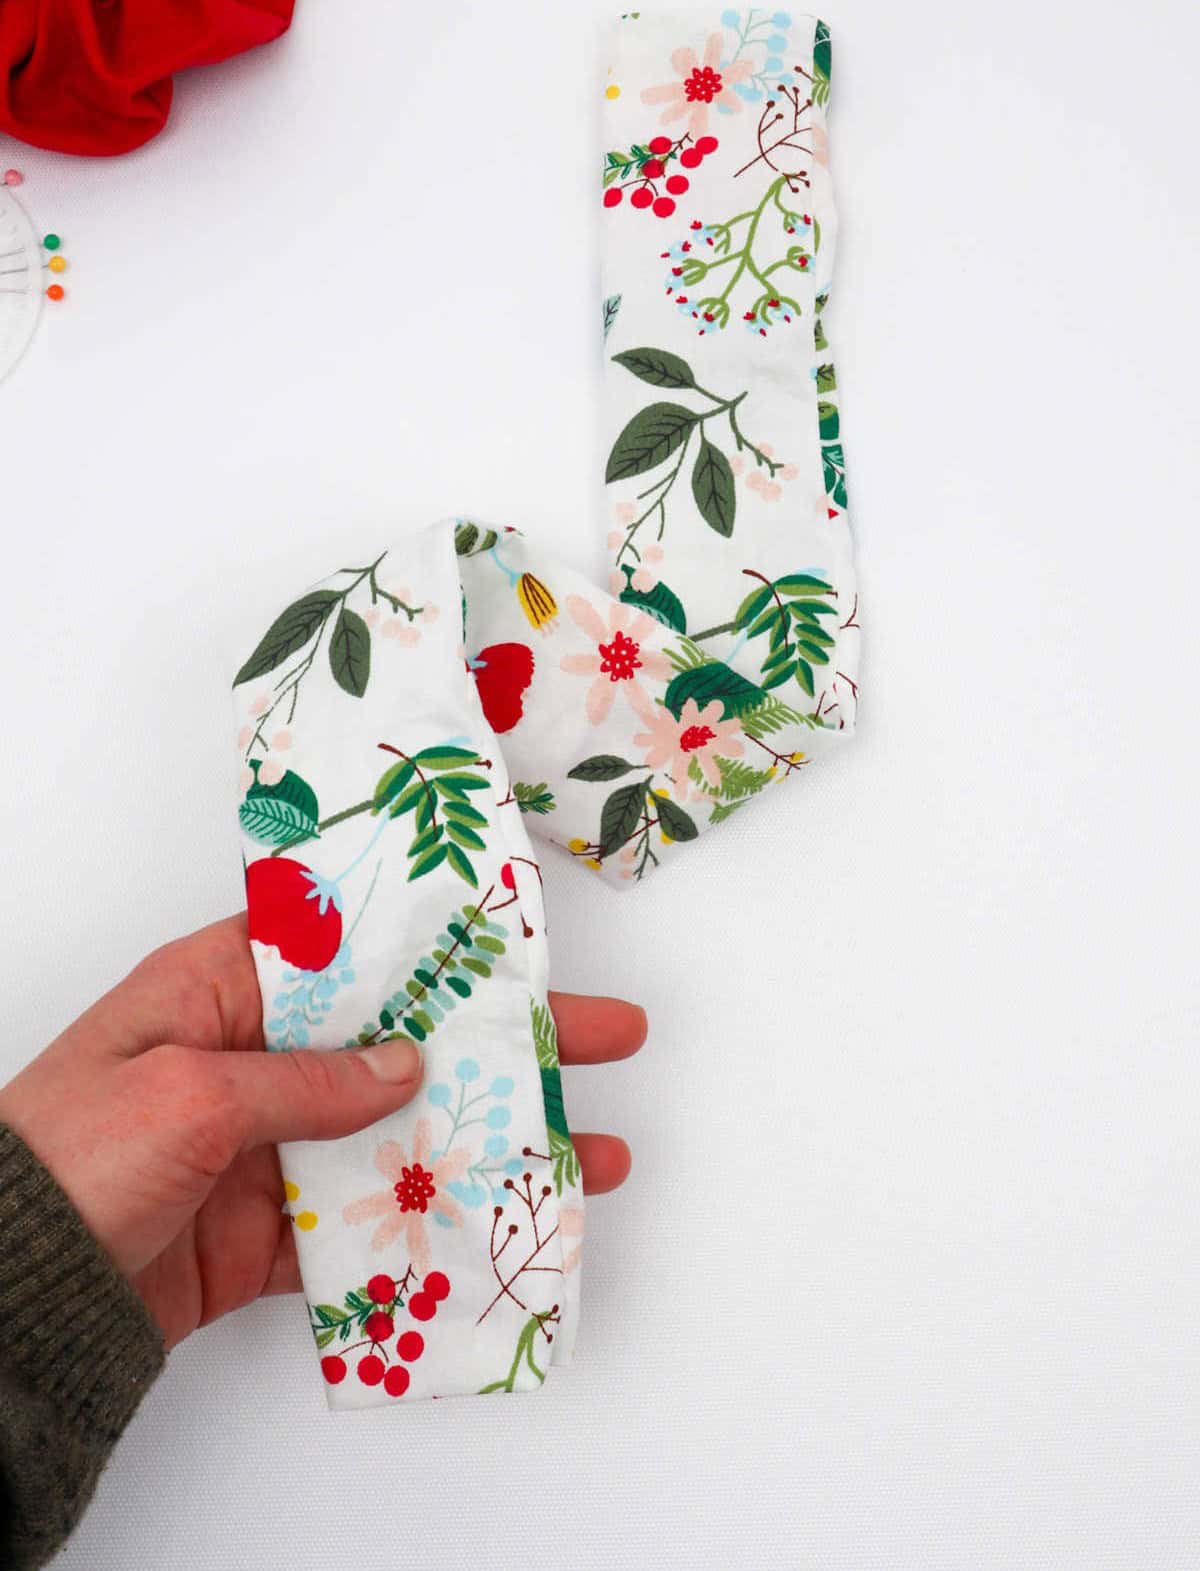
To complete the scrunchie, begin by finishing the seam allowance on all four sides. Once this step is complete, carefully turn the fabric inside out, ensuring the correct side is now facing externally.
Step 5
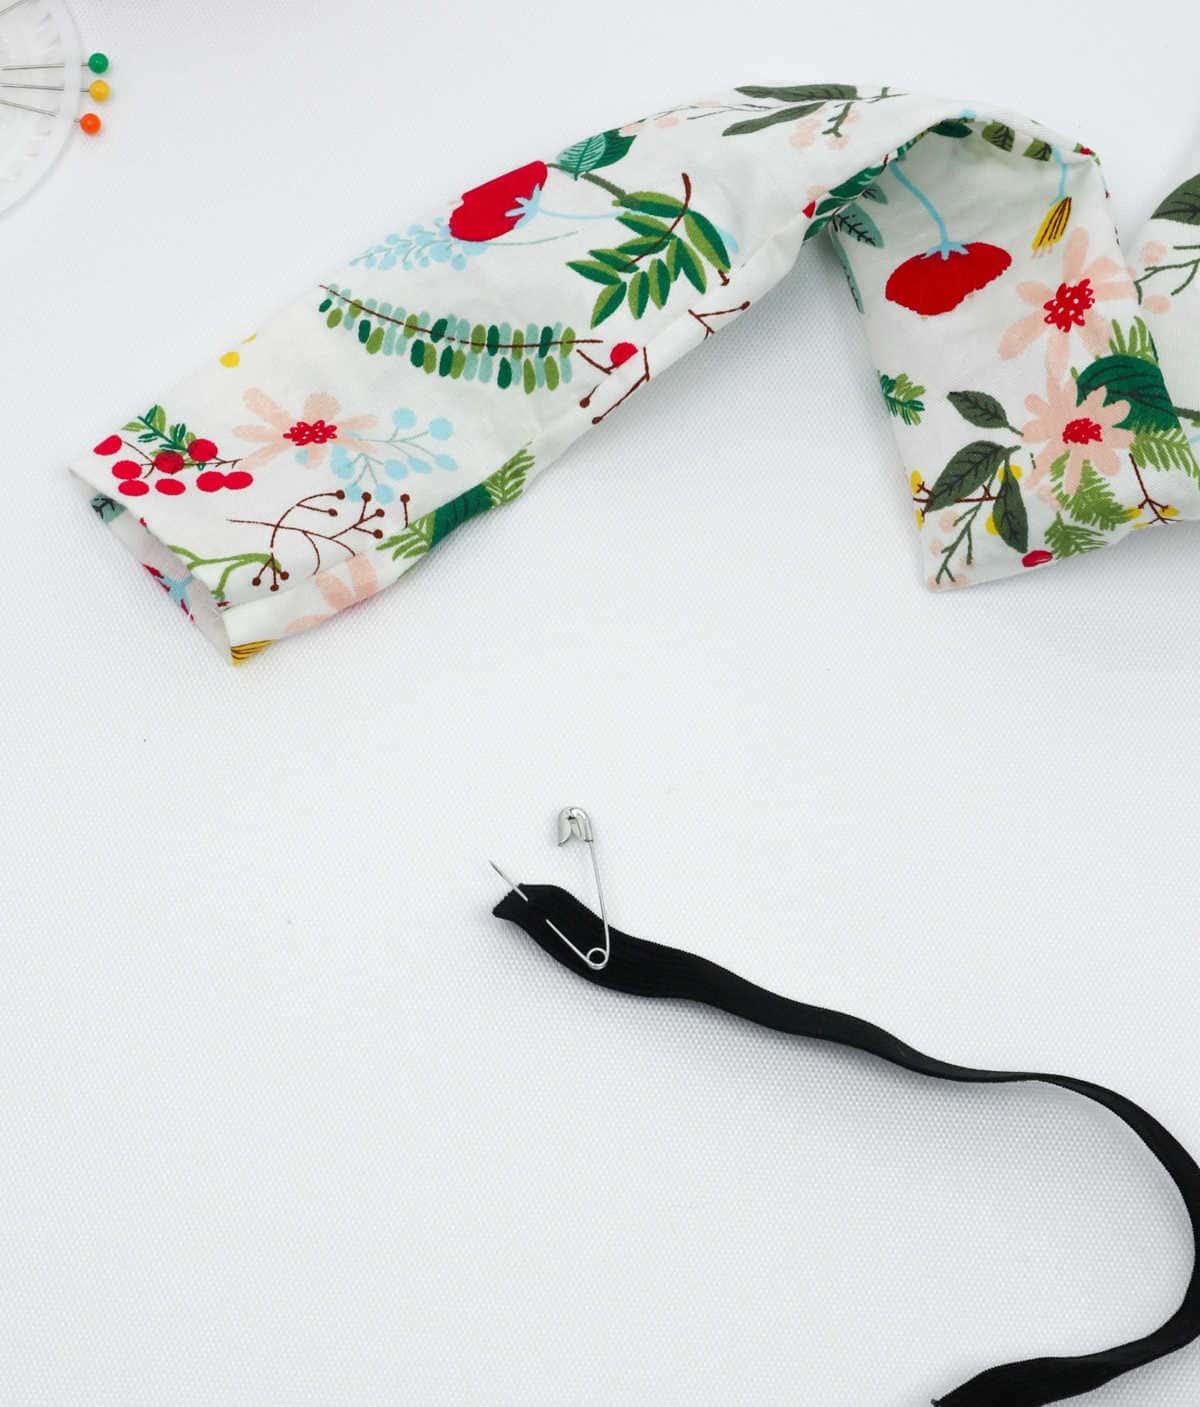
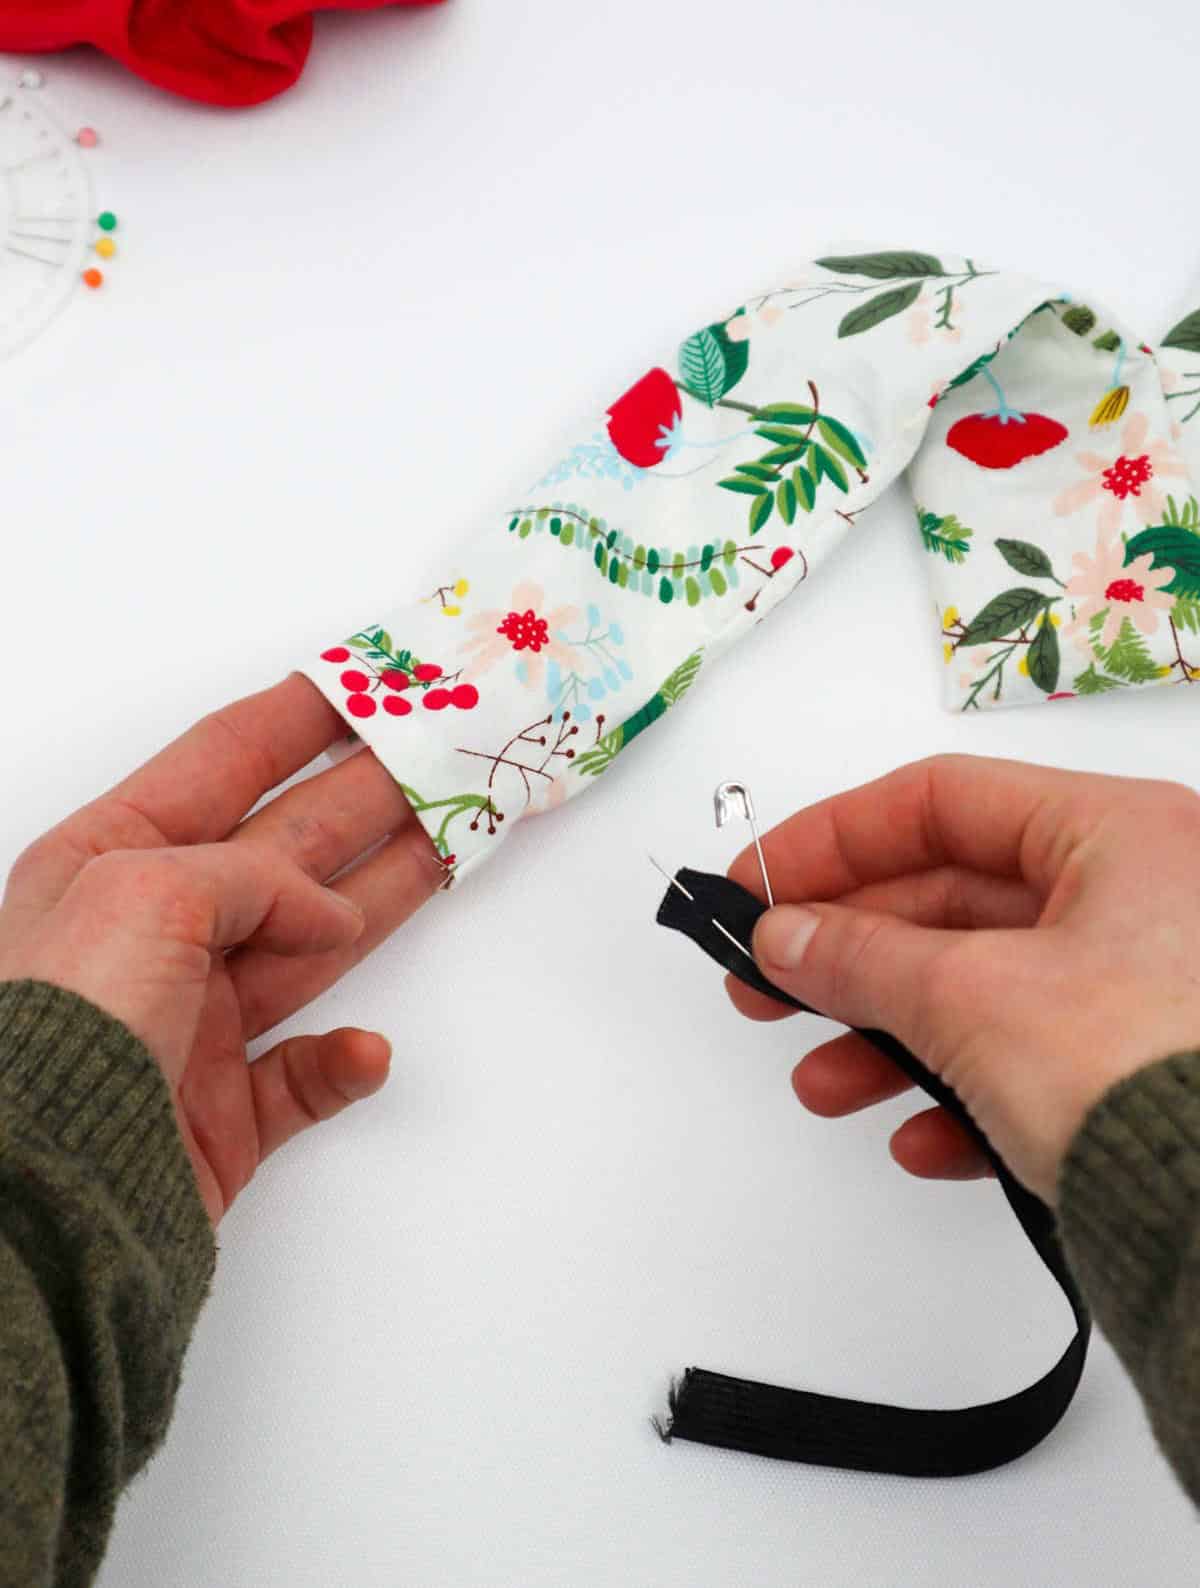
To secure the elastic inside the scrunchie, start by attaching one end of the elastic strip to a safety pin. Fasten the pin firmly to one end of the scrunchie, ensuring a sturdy hold. Next, repeat the process by attaching the other end of the elastic strip to another safety pin, which you’ll then secure to the opposite end of the scrunchie.
Step 6
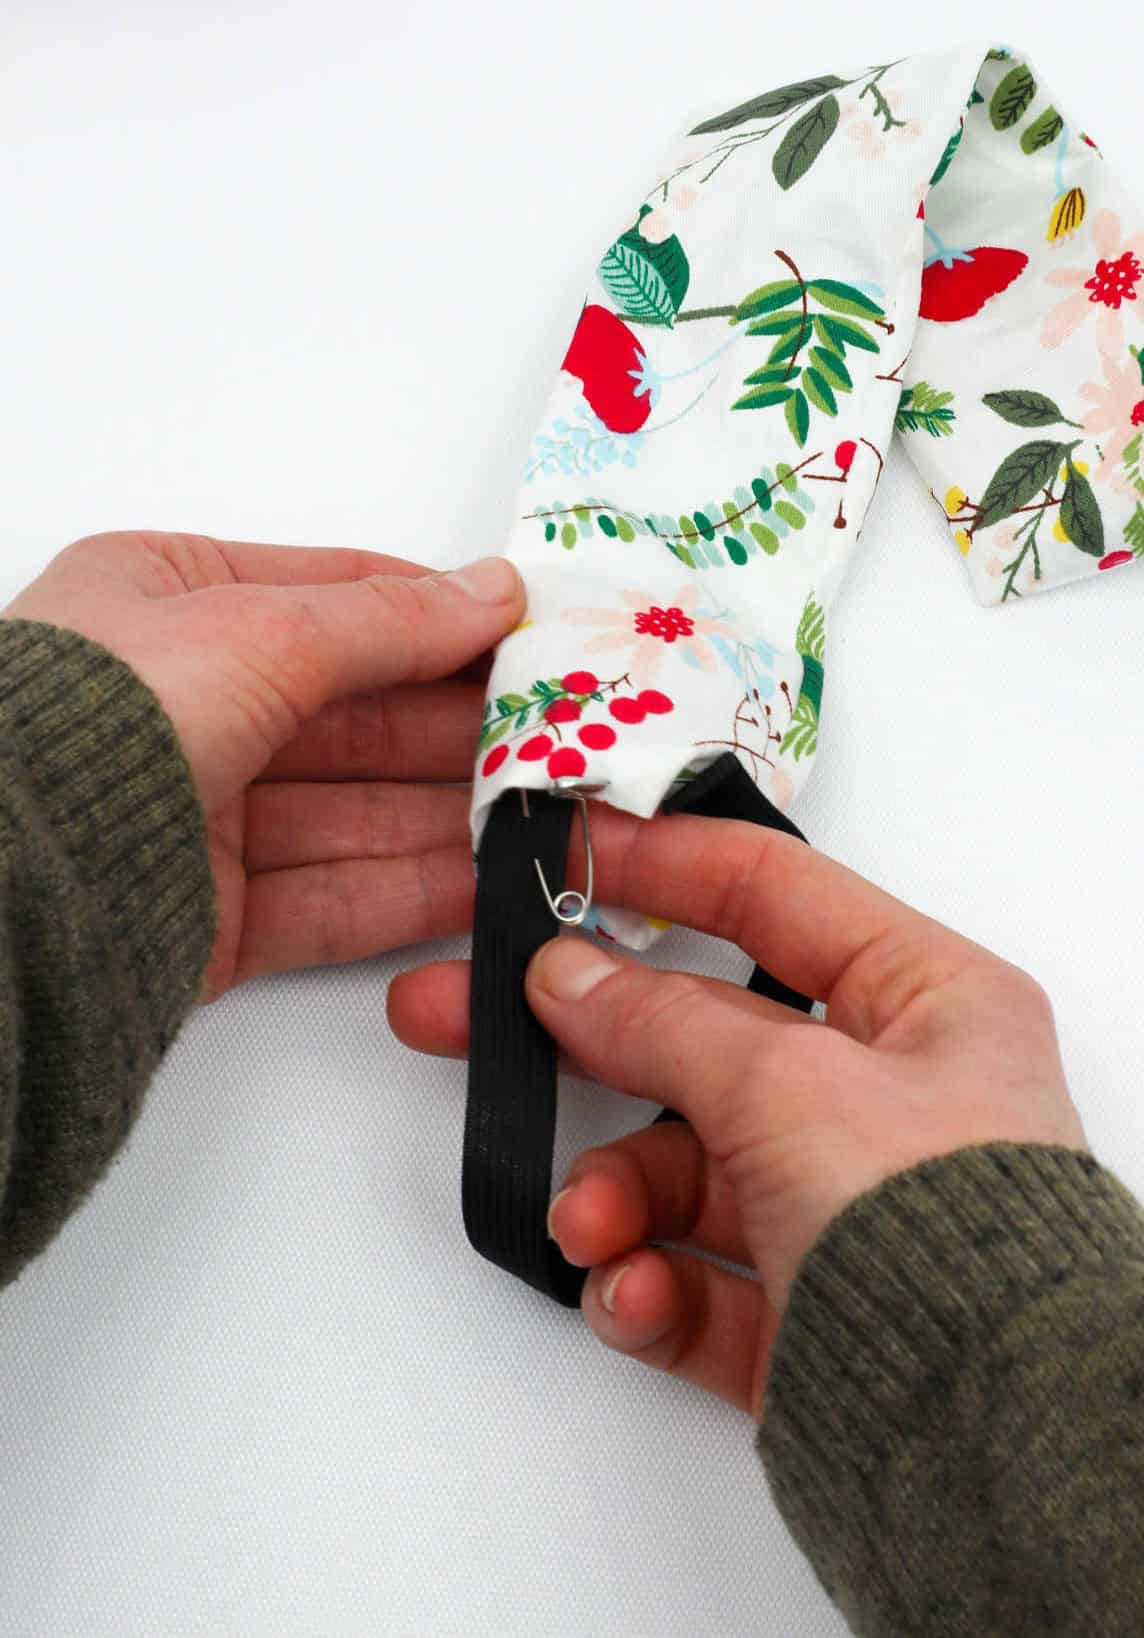
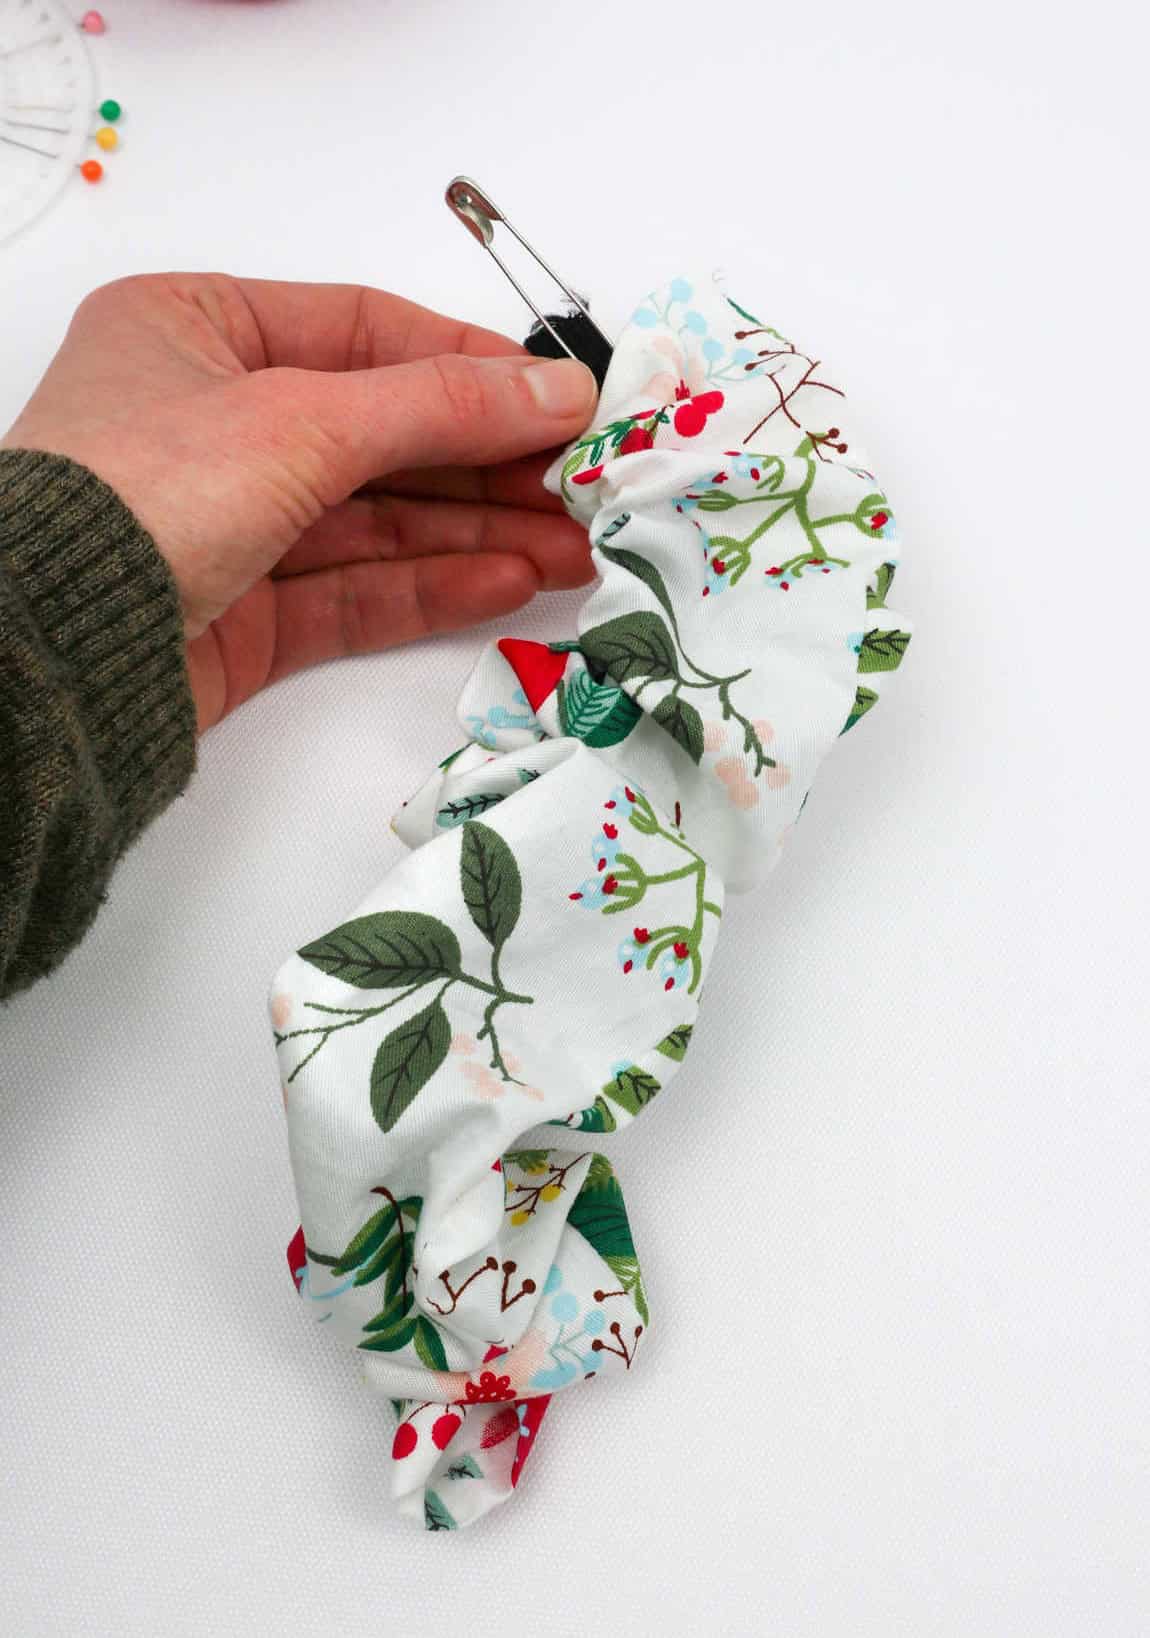

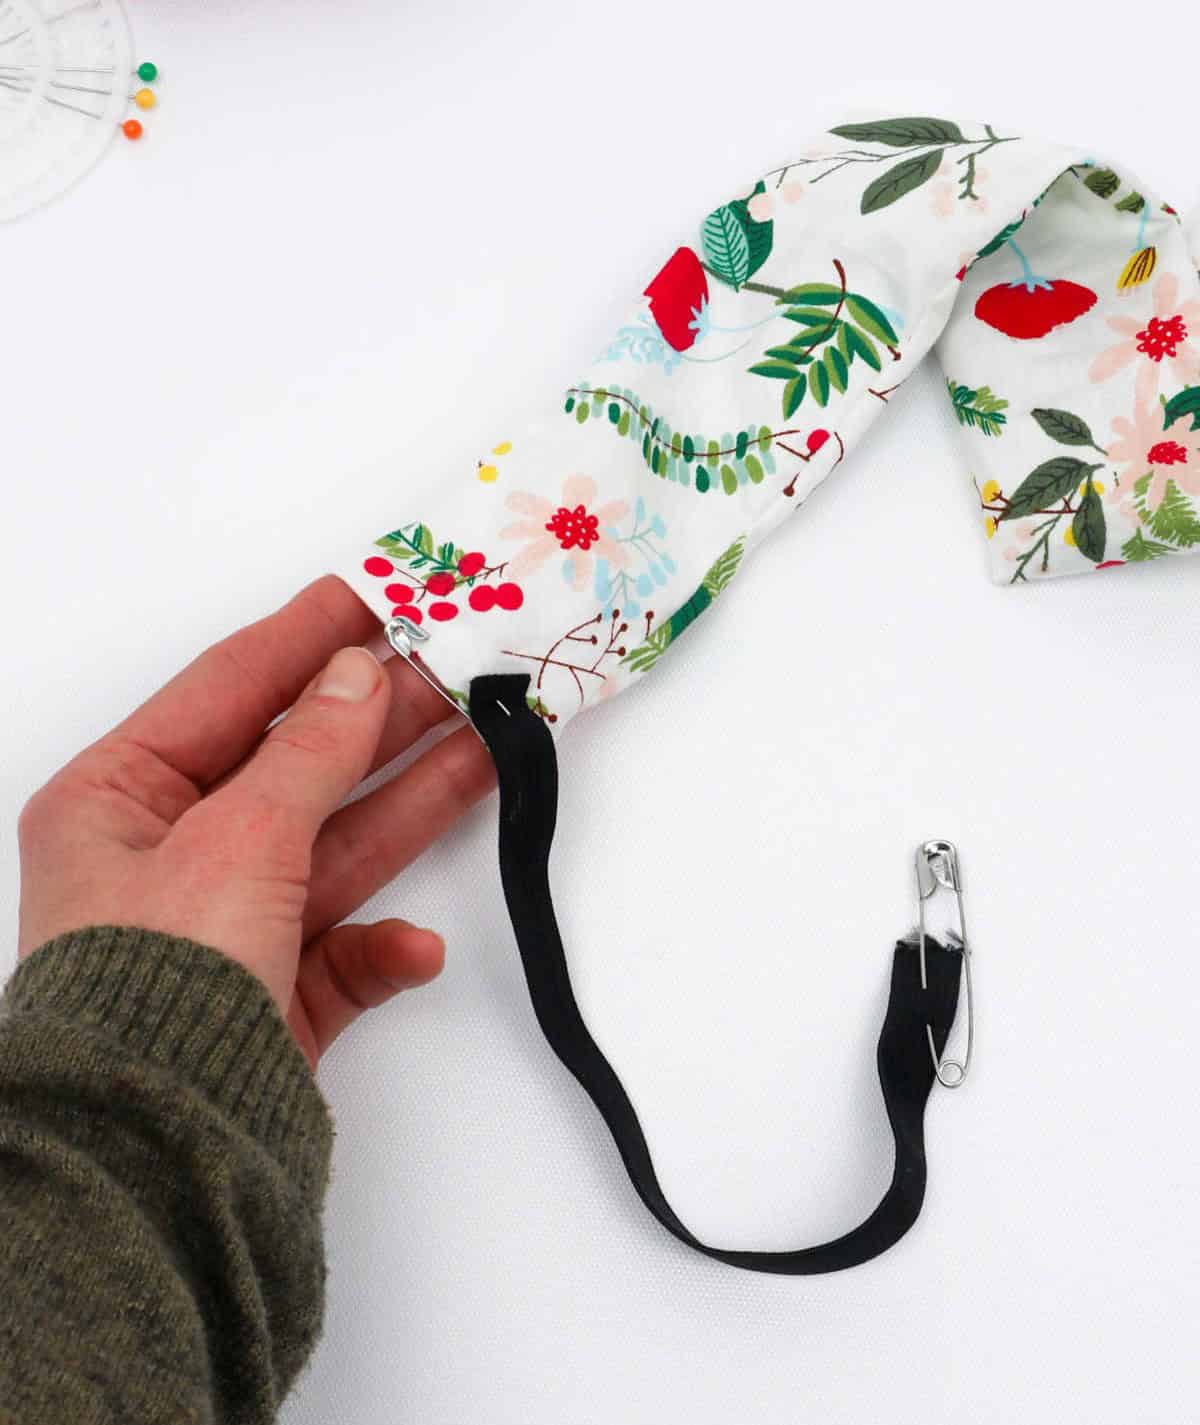
To complete this step, start by using the initial safety pin as an anchor to guide the second safety pin and the attached elastic through the fabric’s opening, working your way from one end to the other. As you maneuver the pins through the fabric folds, be mindful of scrunching the elastic in place as it stretches. Once the second safety pin has been pulled all the way out, along with the elastic band, remove both pins from the fabric.
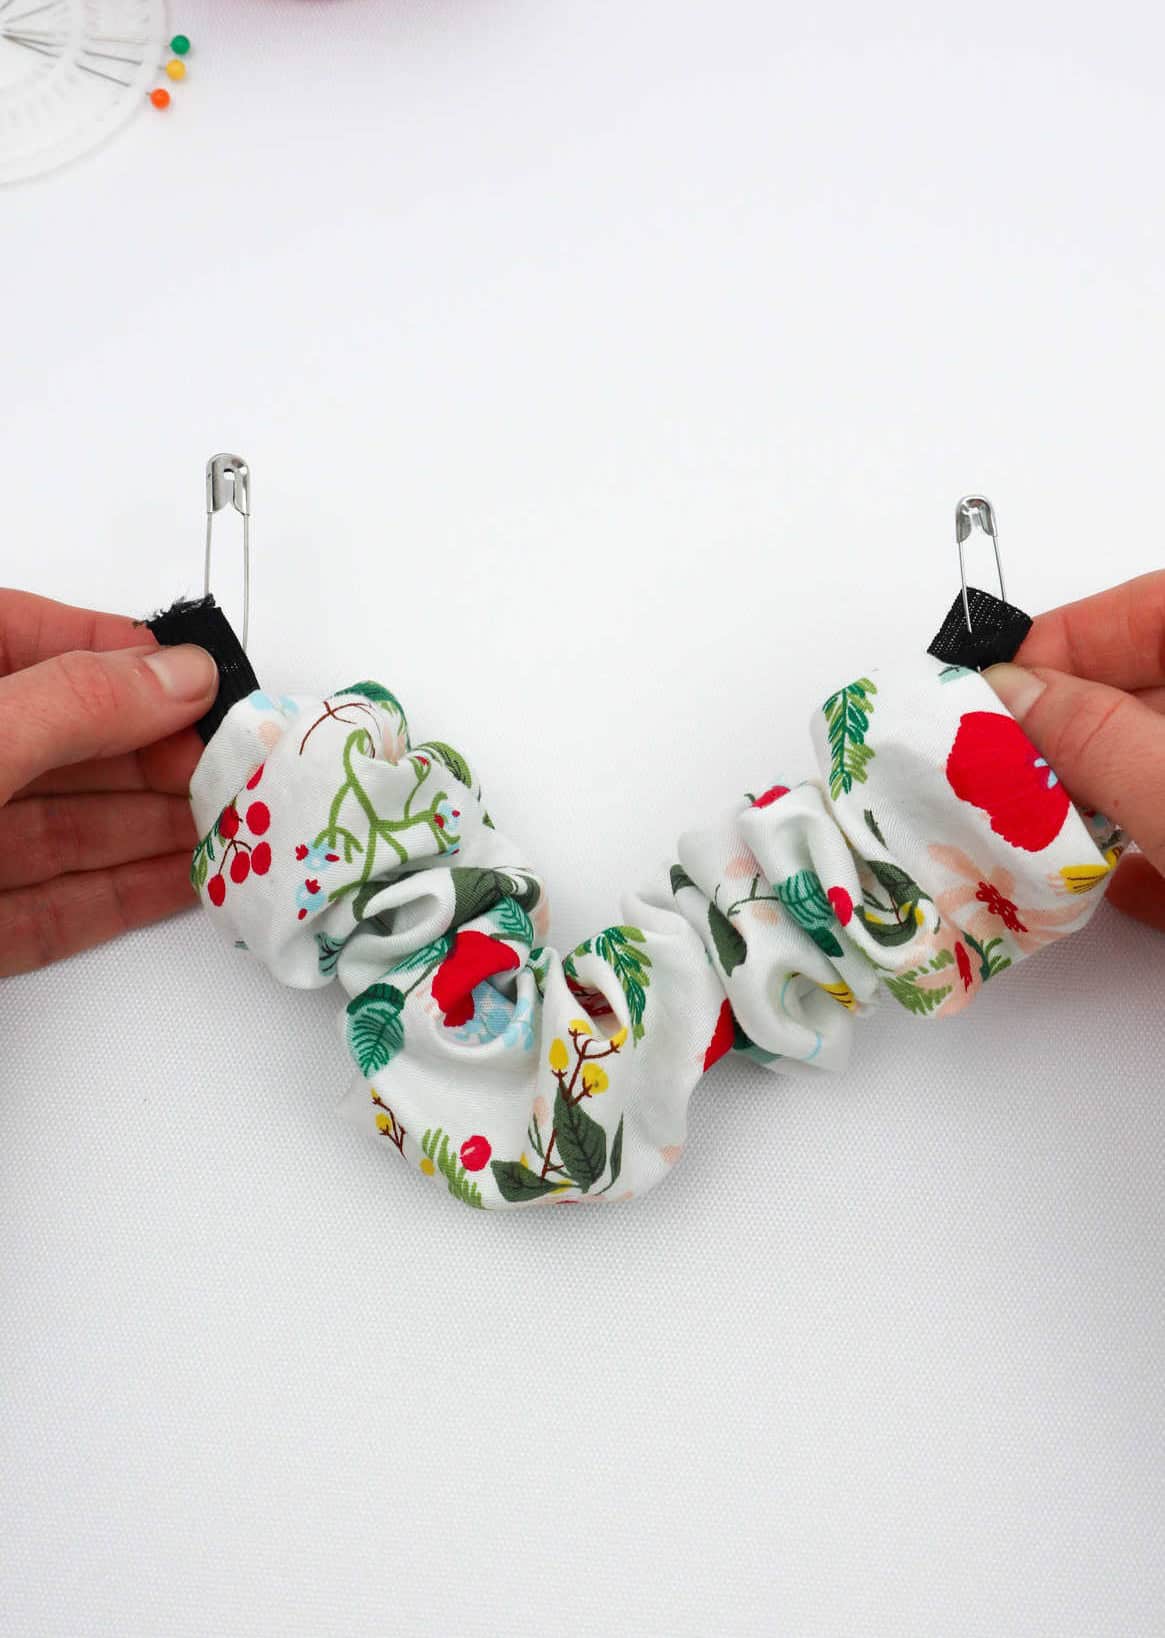
To keep the elastic secure and prevent it from snapping back or releasing the fabric, use a pin to hold it in place.
Step 7
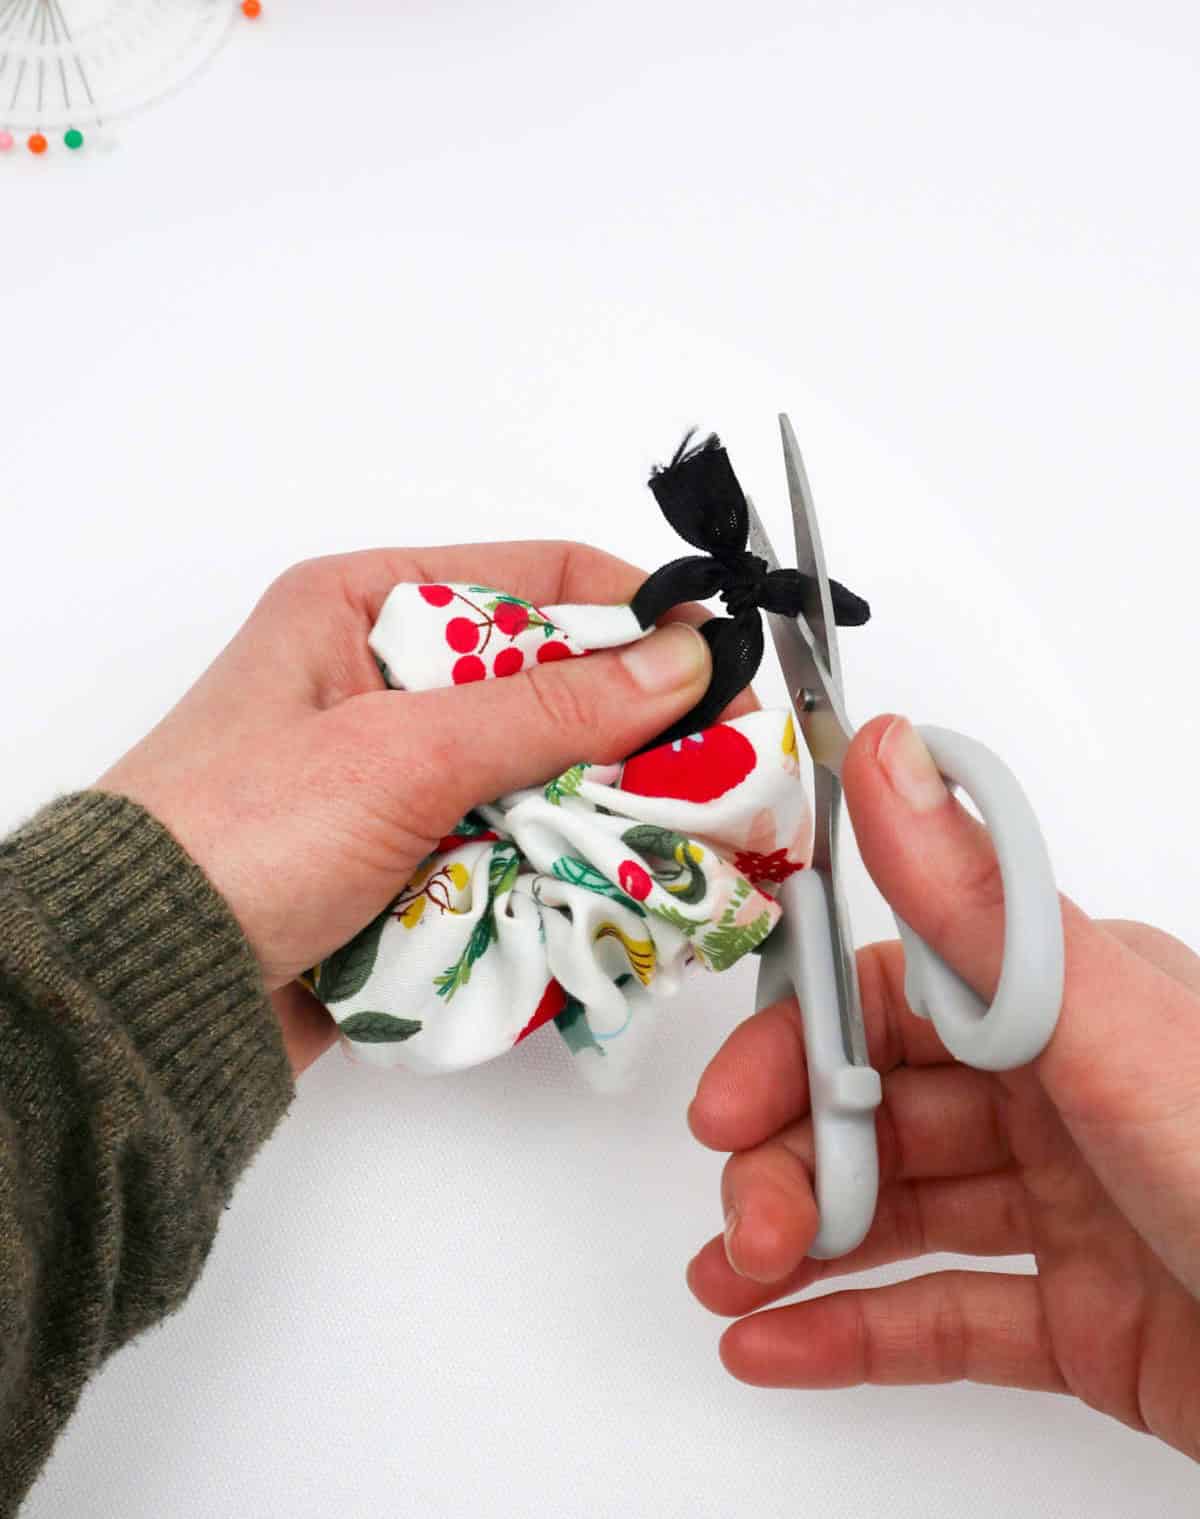
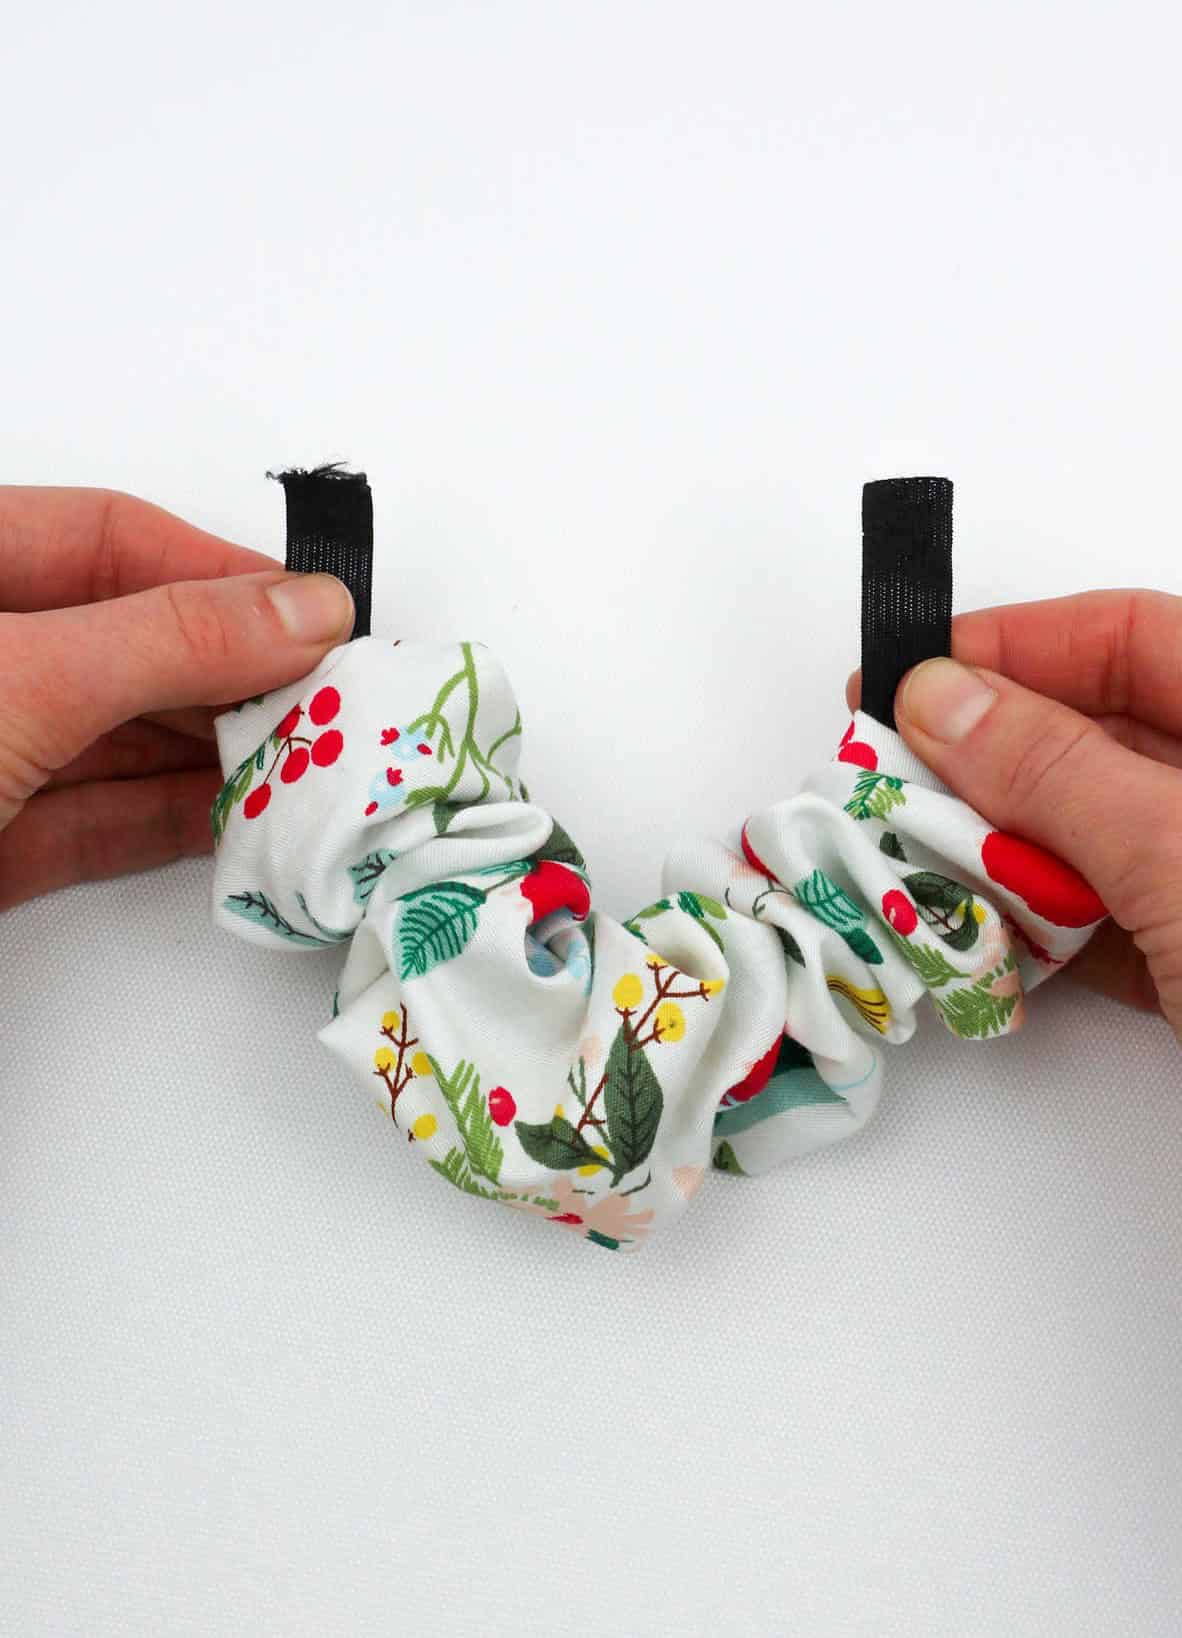
As the final step in preparing your elastic, it’s time to join both ends together. You have two options: securing a knot that won’t come undone or opting for a more permanent solution by sewing the ends together. Regardless of which method you choose, make sure the connection is secure and won’t compromise the integrity of the elastic band. If you’ve opted for a knot, take out your scissors and carefully trim away any excess material to prevent it from getting in the way.
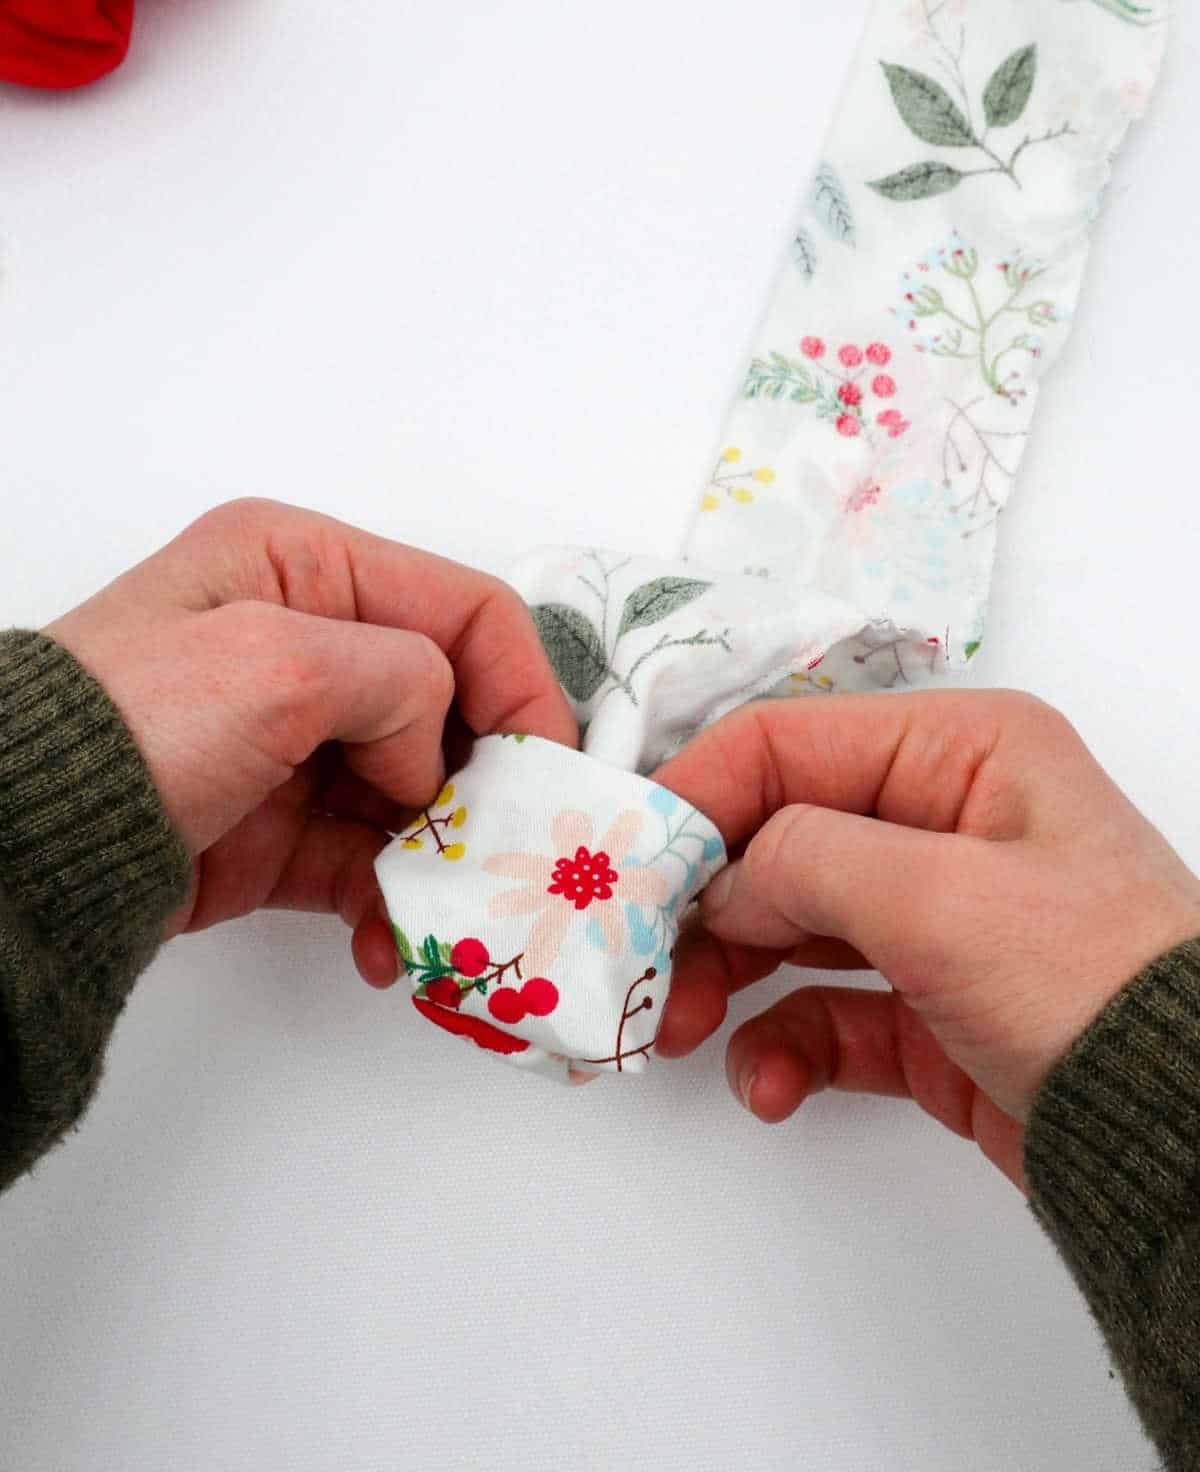
Step 8
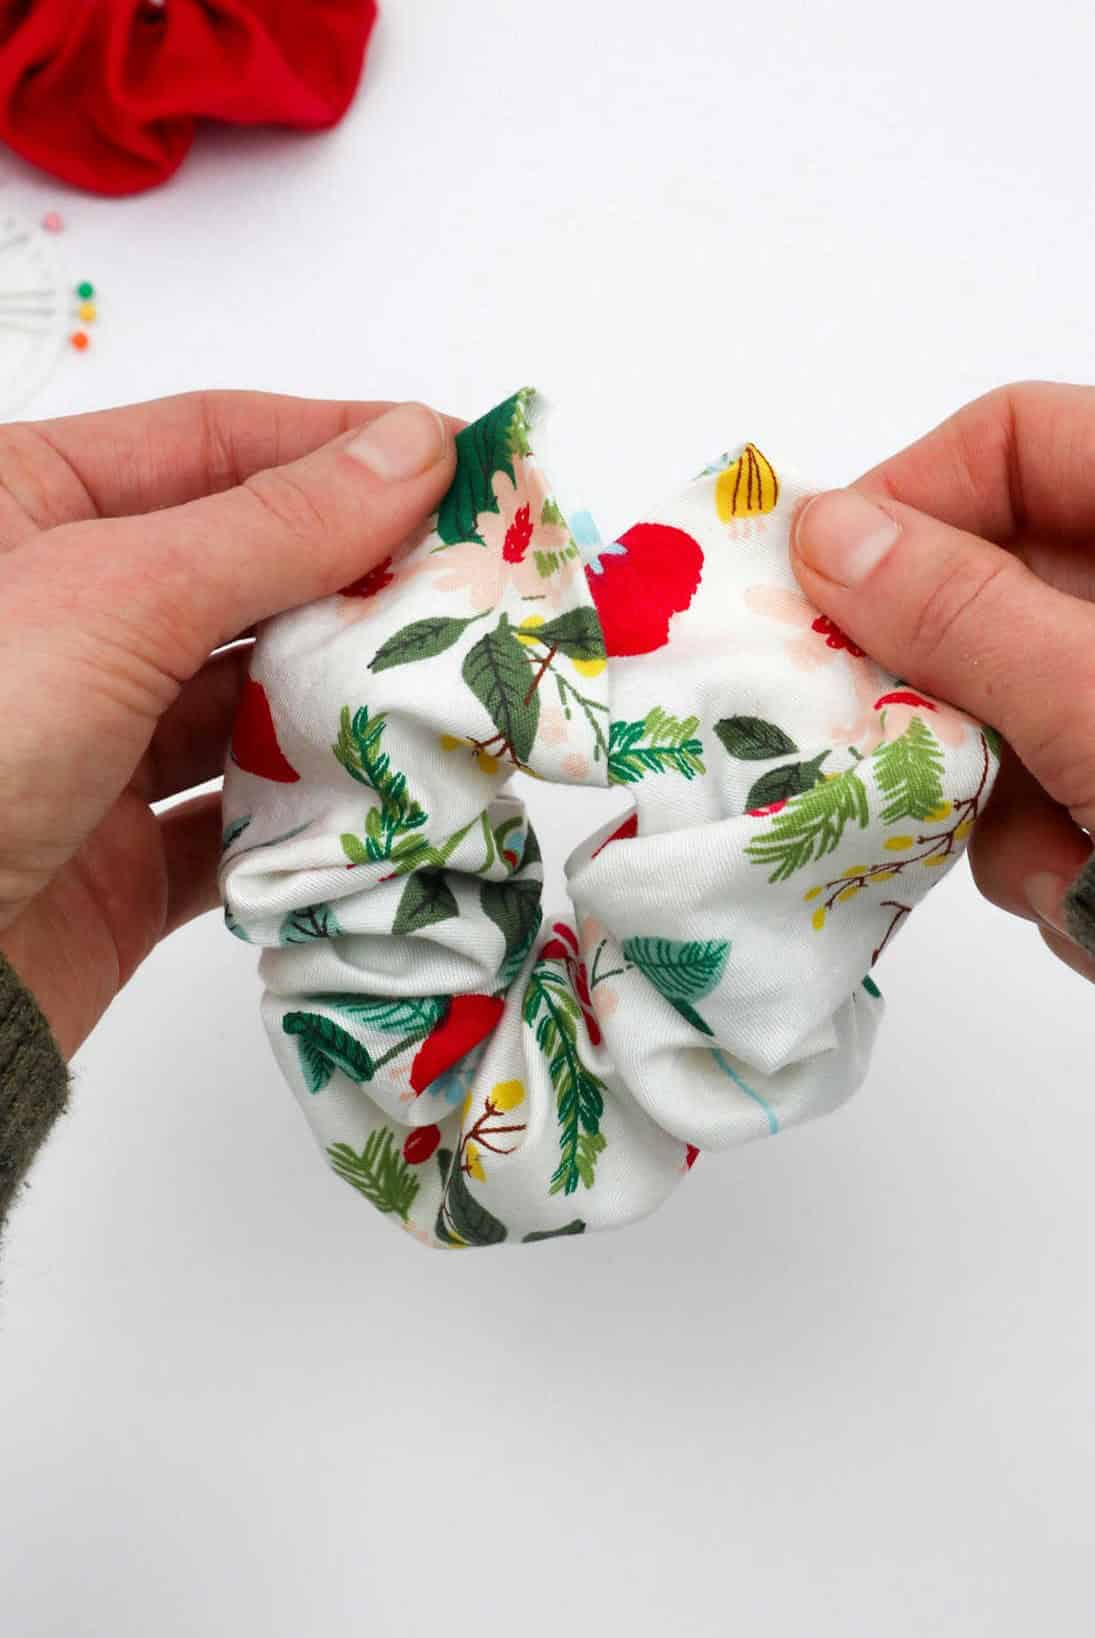
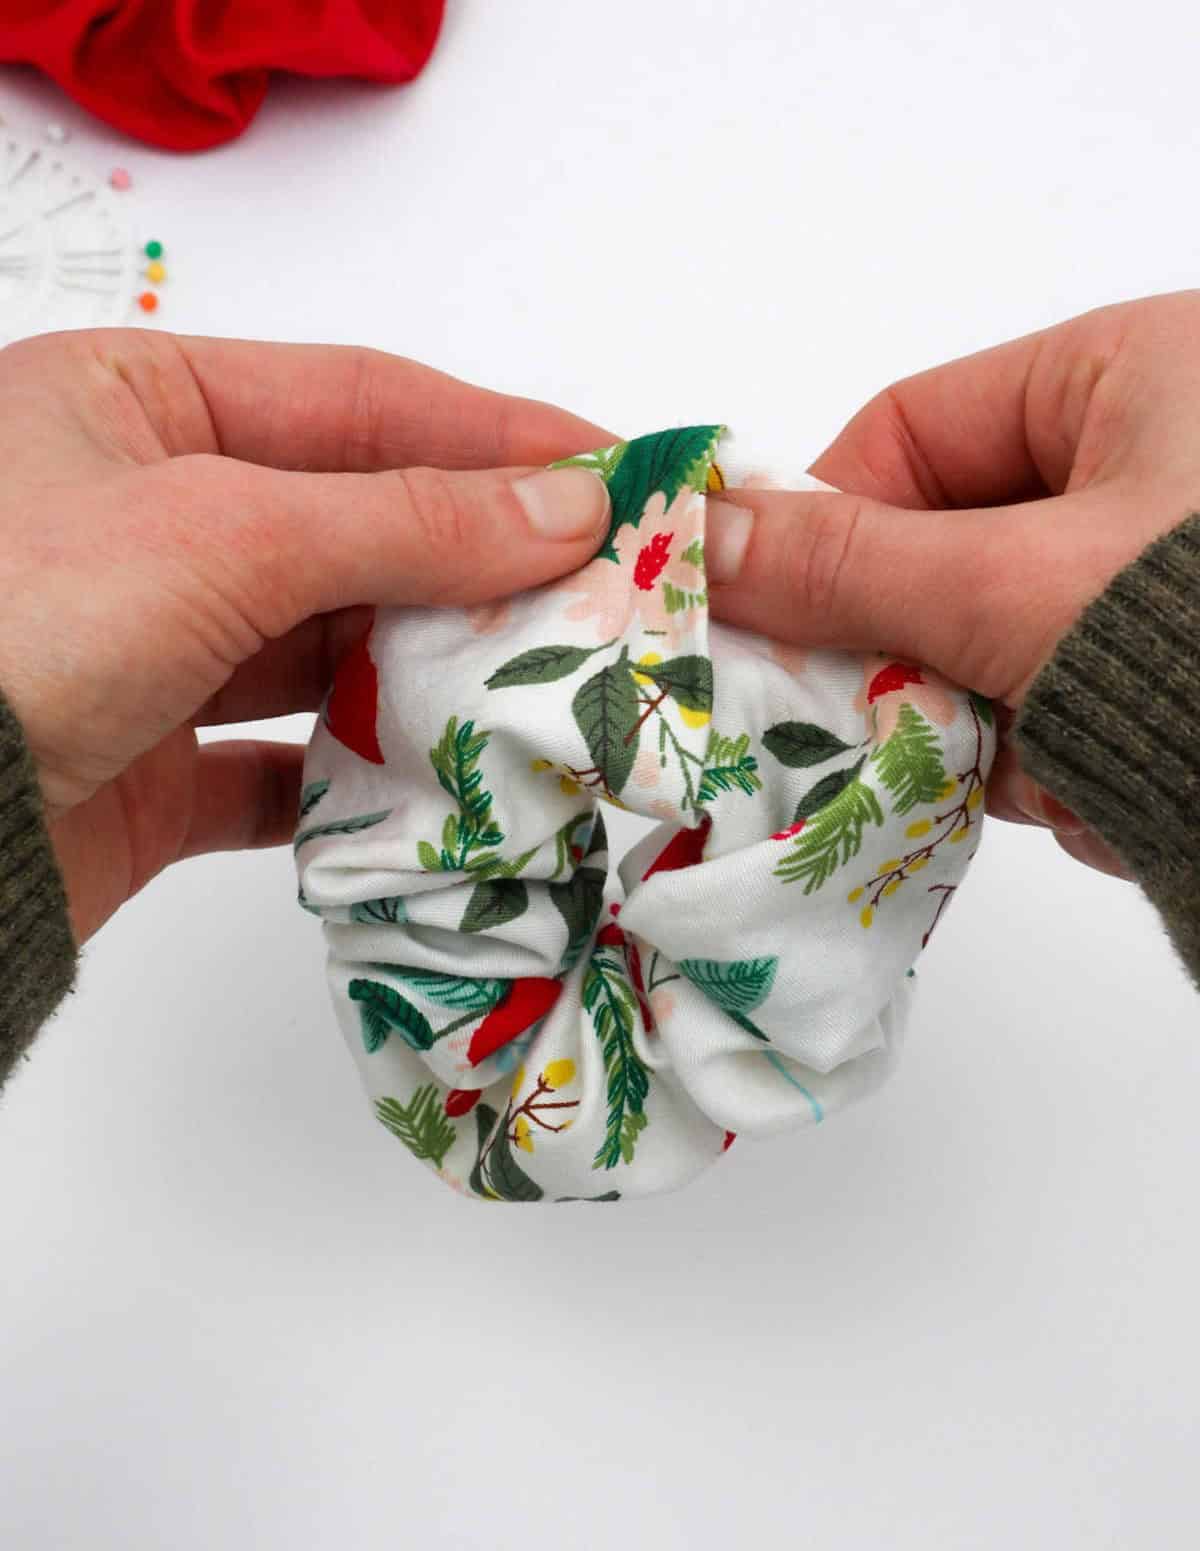

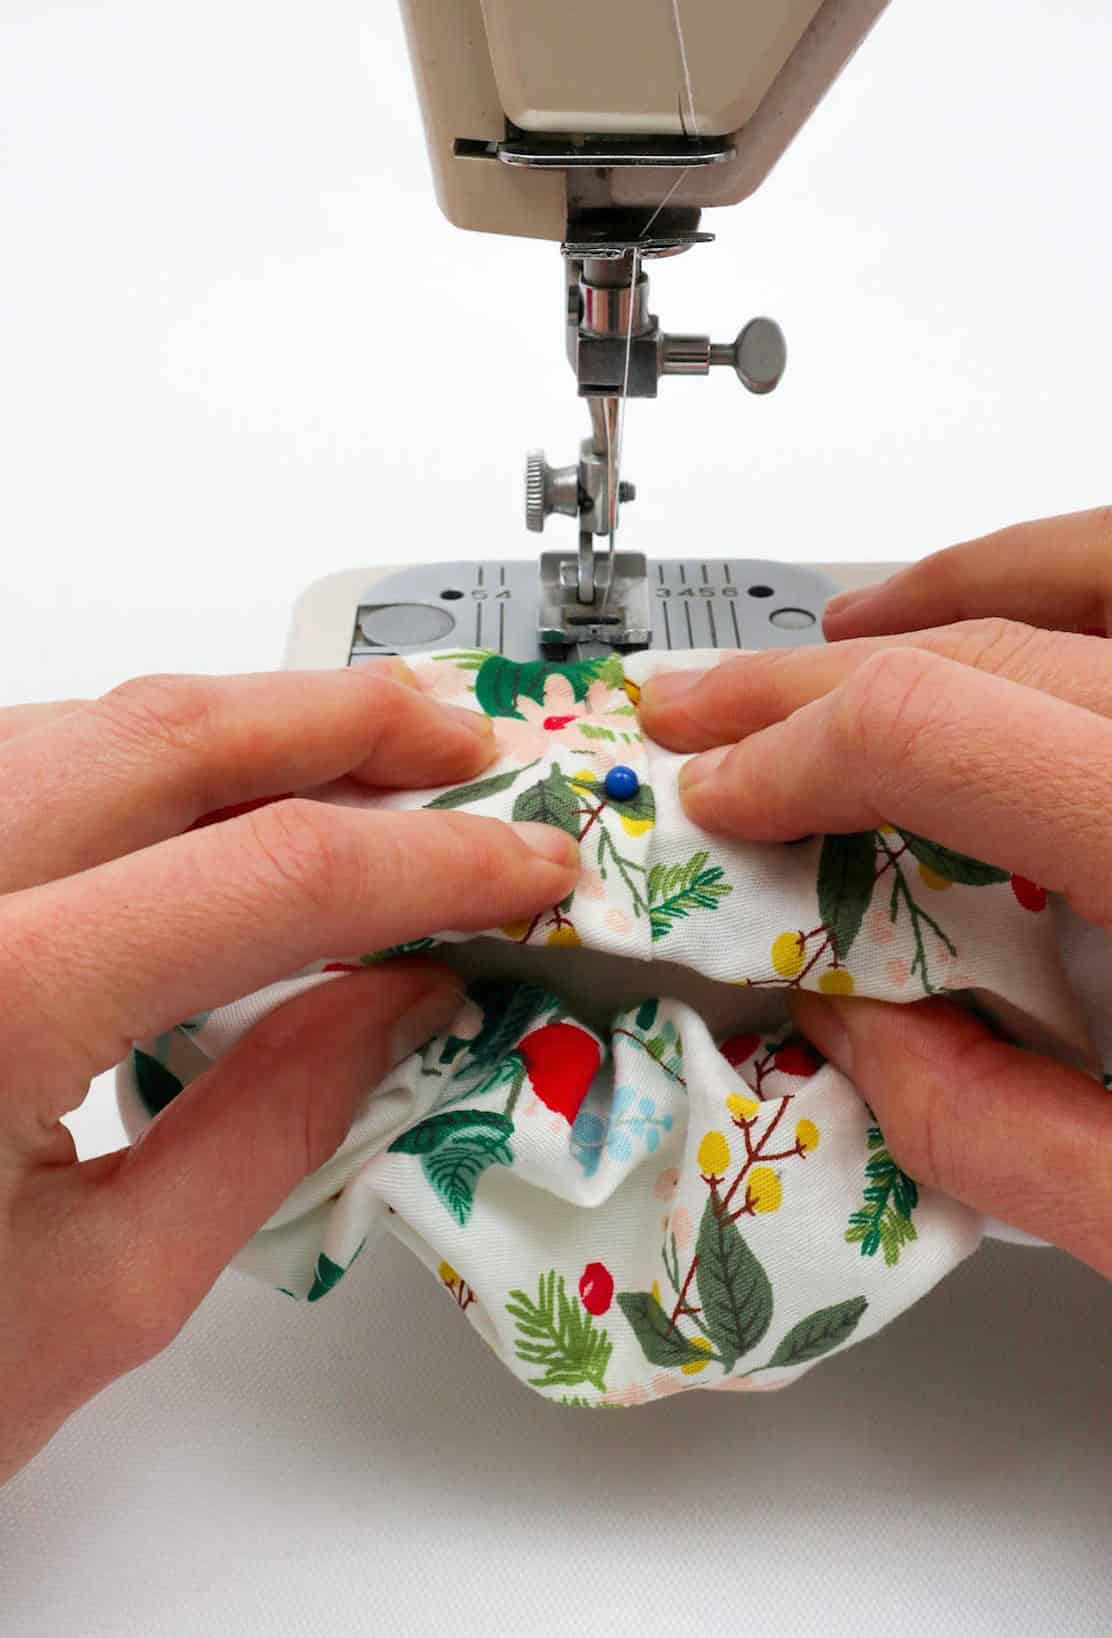
As you near the final stage of creating your scrunchie, it’s time to bring together the fabric ends and secure them with pins. To ensure a smooth sewing process and a professional-looking finish, take a moment to fold or align the edges neatly before pinning them in place. With this step complete, you’ll be left with a beautifully crafted scrunchie that’s sure to inspire a newfound passion for DIY crafting – I can already envision the dozen or so scrunchies you’ll be making next!
What is the Best Material to Make Scrunchies?
When it comes to crafting the perfect scrunchie, the type of fabric you choose can greatly impact its performance and comfort. While most fabrics can be used to create scrunchies, silk, satin, or velvet are ideal options due to their smooth texture and ability to gently slide off hair without causing tangles or breakage. These luxurious materials ensure a comfortable and stylish accessory that won’t compromise your locks.
However, cotton is also an excellent choice for making scrunchies, particularly for those new to the craft. Its ease of handling makes it a popular option among beginners, offering a great balance between quality and usability.
How to Make Different Sized Scrunchies?
When it comes to scrunchie sizes, there’s no one-size-fits-all solution. The dimensions of your scrunchie will depend on a few key factors, including the thickness of your hair, the number of twists you prefer, and the number of ruffles in the design. As a general guideline, if your scrunchie fits comfortably around your wrist, it’s likely to be suitable for use in your hair as well.
But for those who want a more precise approach, here are seven different size options to consider, each with its own unique fabric and elastic requirements: Skinny scrunchies measure 18 inches by 3 inches, with a corresponding length of 6 inches. Regular scrunchies come in at 18 inches by 4 inches, with a length of 6 inches as well. For those with thicker hair or a more voluminous style, fluffy scrunchies offer a larger size option: 18 inches by 5 inches, with a length of 6 inches.
Super Fluffy scrunchies take this to the next level, measuring 20 inches by 5 inches, with a corresponding length of 7 inches. For younger users or those with shorter hair, Kid-Sized scrunchies are available in a smaller size: 14 inches by 3 inches, with a length of 5 inches. Jumbo scrunchies offer an even larger option, measuring 35 inches by 5 inches, with a corresponding length of 15 inches.
And finally, for those with particularly thick or curly hair, Thick Hair Regular scrunchies provide an extra-large size: 20 inches by 4 inches, with a length of 8 inches.
Other Crafts to Make

With a treasure trove of creative possibilities at your fingertips, it’s no wonder that the world of crafting has become increasingly popular. From visually stunning rock paintings to functional DIY jewelry, this collection of projects is sure to spark your imagination and inspire you to try something new. Whether you’re looking for a fun activity to enjoy with friends or a way to express yourself creatively, these ideas are perfect for crafty individuals of all skill levels.
Take a look at some of the inspiring projects below: 41 rock painting ideas that will make you want to get creative; 37 yarn projects that will keep your hands busy and your heart warm; learn how to make hair bows in just a few simple steps; discover 47 upcycling ideas that will breathe new life into old items; create a DIY bracelet out of shoelaces for a unique accessory; explore 37 DIY T-shirt ideas that will help you transform plain tees into one-of-a-kind fashion statements; and find inspiration in 47 sewing gifts that make perfect presents.
And if you’re looking to take your crafting skills to the next level, don’t miss our guides on brilliant crafts to make and sell, as well as easy sewing projects for beginners. Whether you’re a seasoned crafter or just starting out, there’s something here for everyone.
How to Make a Scrunchie (Step-by-Step)
With a mere 20 minutes of your time, you can create a delightful scrunchie that will keep your hair out of your face while adding a touch of personalized flair to your outfit. To start, set aside 5 minutes for preparation and gathering the necessary materials. Once you’ve got everything in order, spend the next 15 minutes actively crafting your scrunchie. The end result is a unique accessory that showcases your creativity and attention to detail.
Equipment
When preparing for a sewing session, it’s essential to have the right tools and equipment. A well-stocked sewing kit should include basic items like sewing pins – including safety pins for added security – as well as scissors that are sharp enough to cut through various fabrics. While not always necessary, having a sewing machine on hand can also be useful for completing tasks more efficiently.
Meanwhile, when working on your computer or other digital device, it’s easy to get caught up in the work and forget about screen settings. To prevent your screen from going dark unexpectedly, make sure to adjust your settings accordingly.
Materials 1x2x3x
Instructions
To begin making this scrunchie, gather all the necessary materials and lay the fabric on a flat surface with the right side facing down. Create a seam allowance by folding the edge of the fabric about 0.4 inches and secure it with pins. Repeat this process for the opposite end as well.
Using either a sewing machine or manual needle and thread, sew the pinned edges together to create a foundation for the scrunchie. Turn the fabric right side out and proceed to the next step.
Thread an elastic piece through one safety pin, securing it with another safety pin to the edge of one of the fabric openings. Then, attach the other end of the elastic to a separate safety pin, using the initial anchor point as a reference.
Pull the second safety pin through the opening and out the opposite side, effectively looping the elastic through the fabric. Secure the ends together with pins to prevent them from snapping back into place.
As the fabric stretches over the elastic, you should notice it developing a ruffled texture.
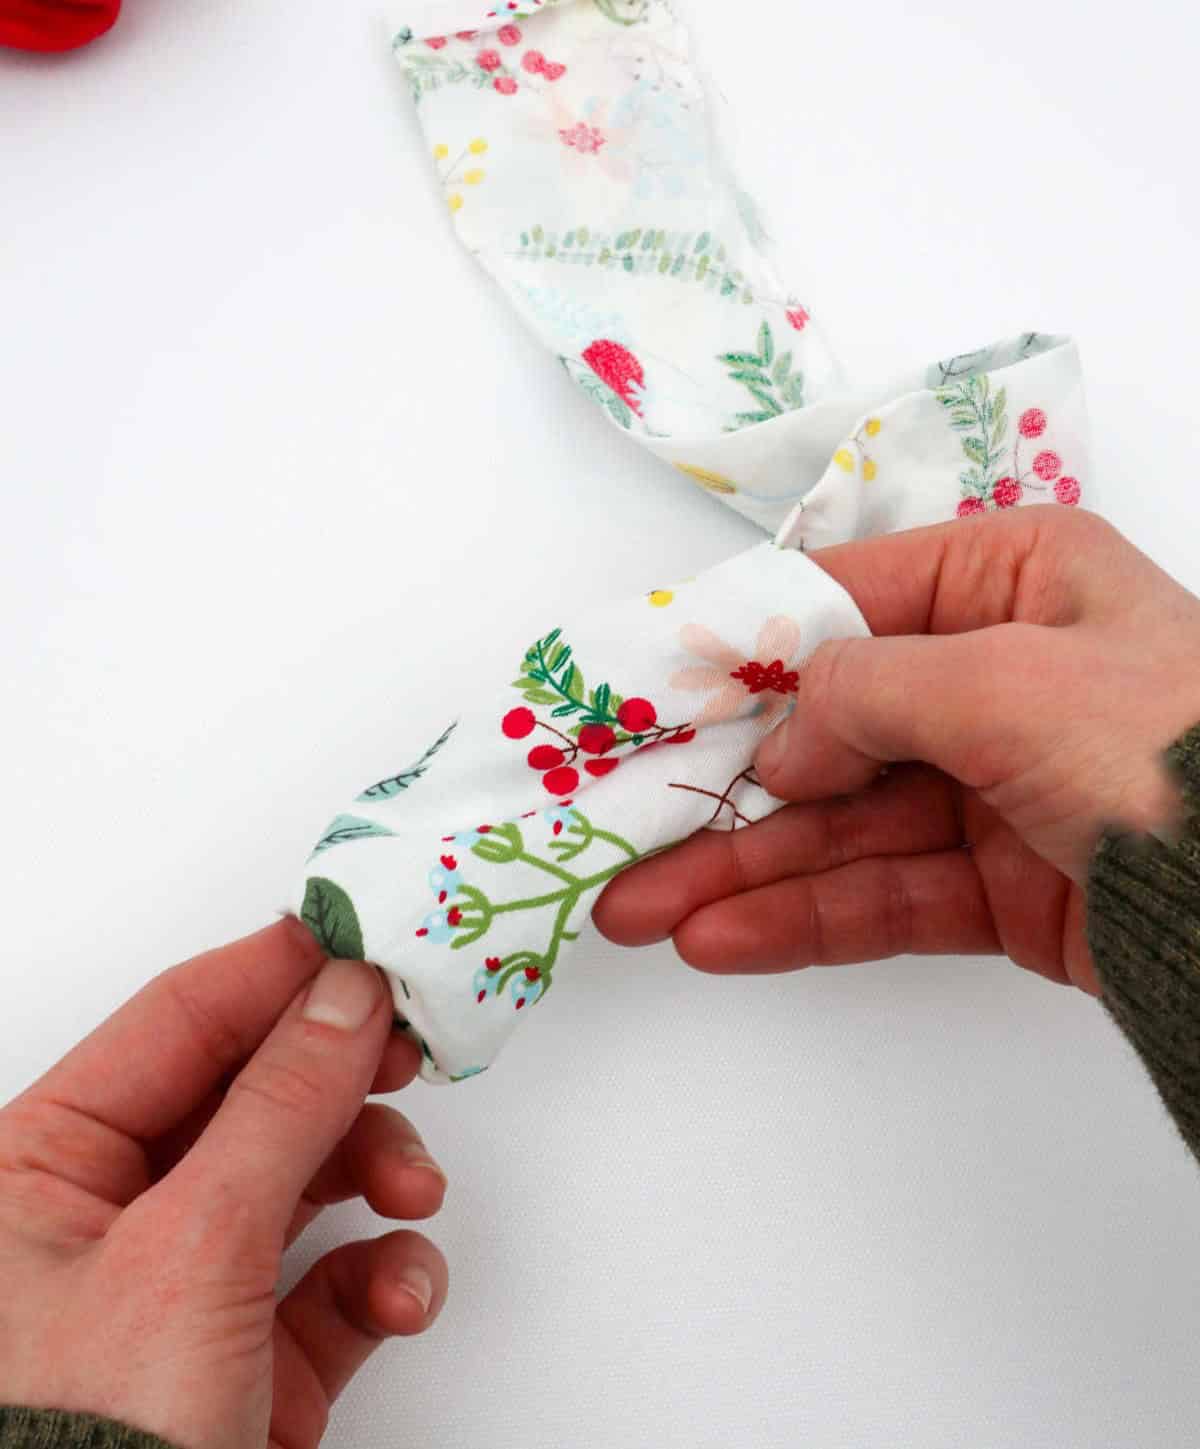
To finalize the scrunchie’s construction, either sew both elastic ends together or knot them before trimming any excess material. Next, bring the fabric edges together, folding and aligning them to ensure a neat overlap and concealment of the elastic.
Finally, secure the fabric ends together with a few stitches, and your scrunchie is now complete.