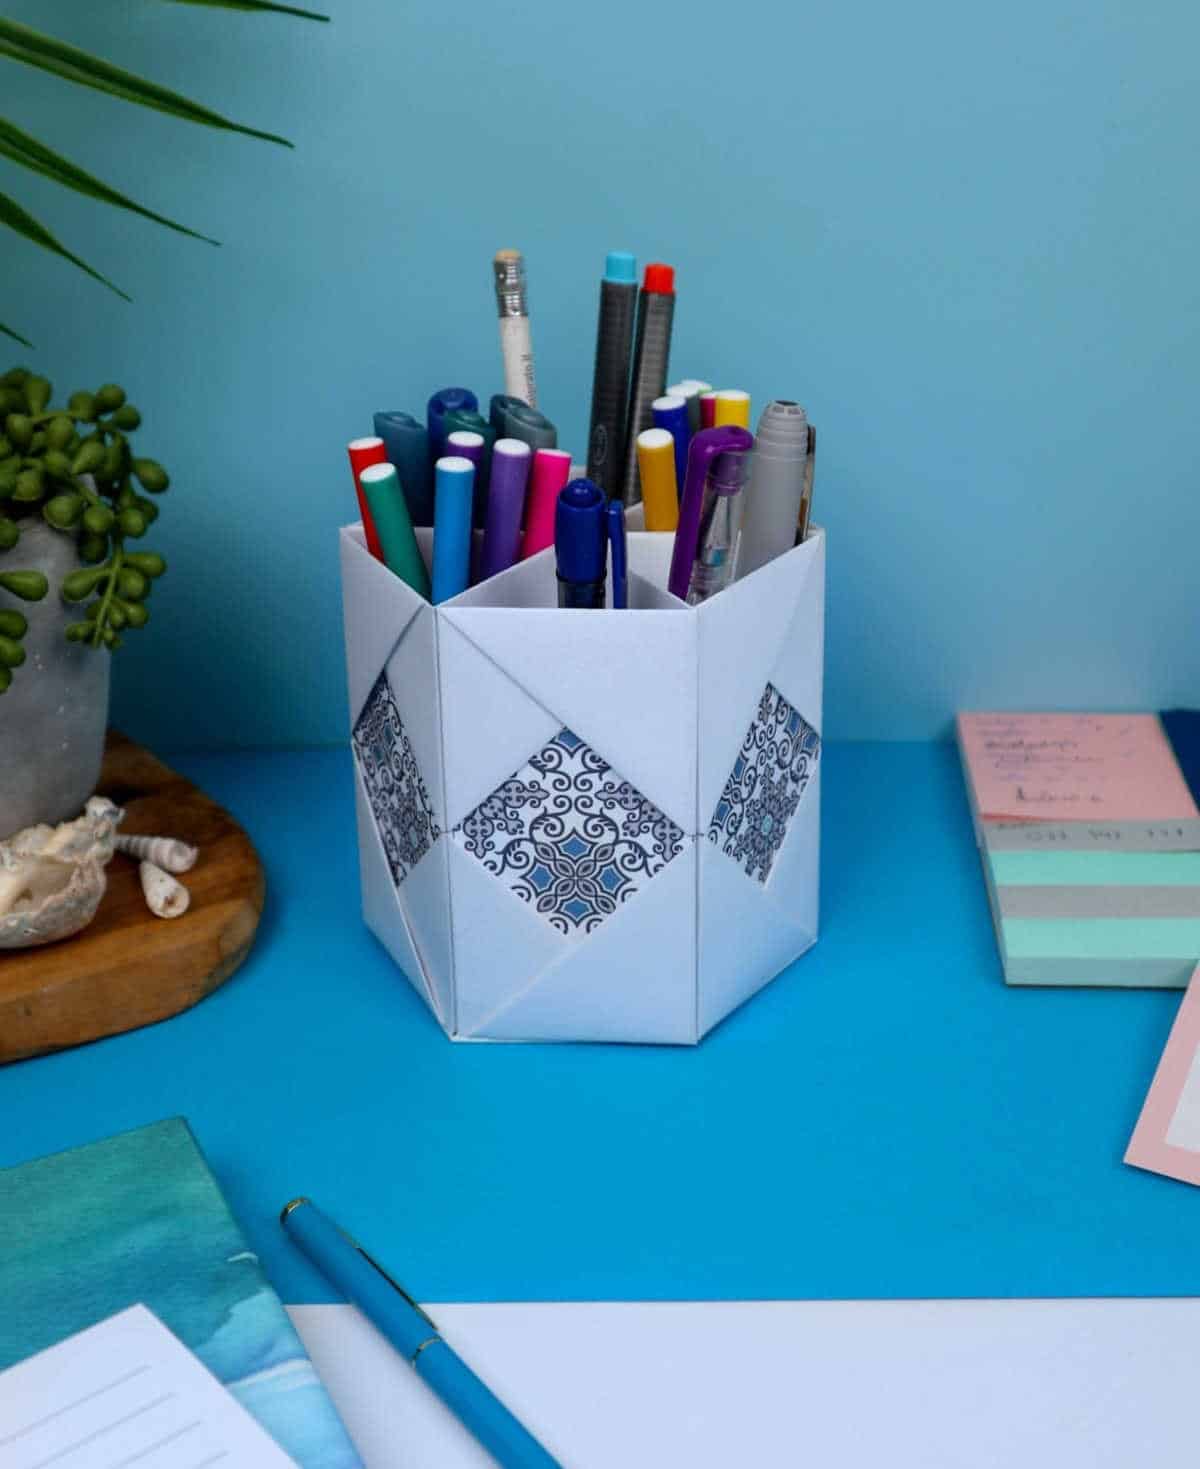
Transforming everyday paper into a functional masterpiece has never been easier! Turn scraps of paper lying around into a one-of-a-kind DIY pencil holder that will elevate your workspace. The result is a stunning container that looks like it belongs on the shelves of a high-end office supply store – but with a personal touch, courtesy of its handmade nature.
Supplies for Pencil Holder
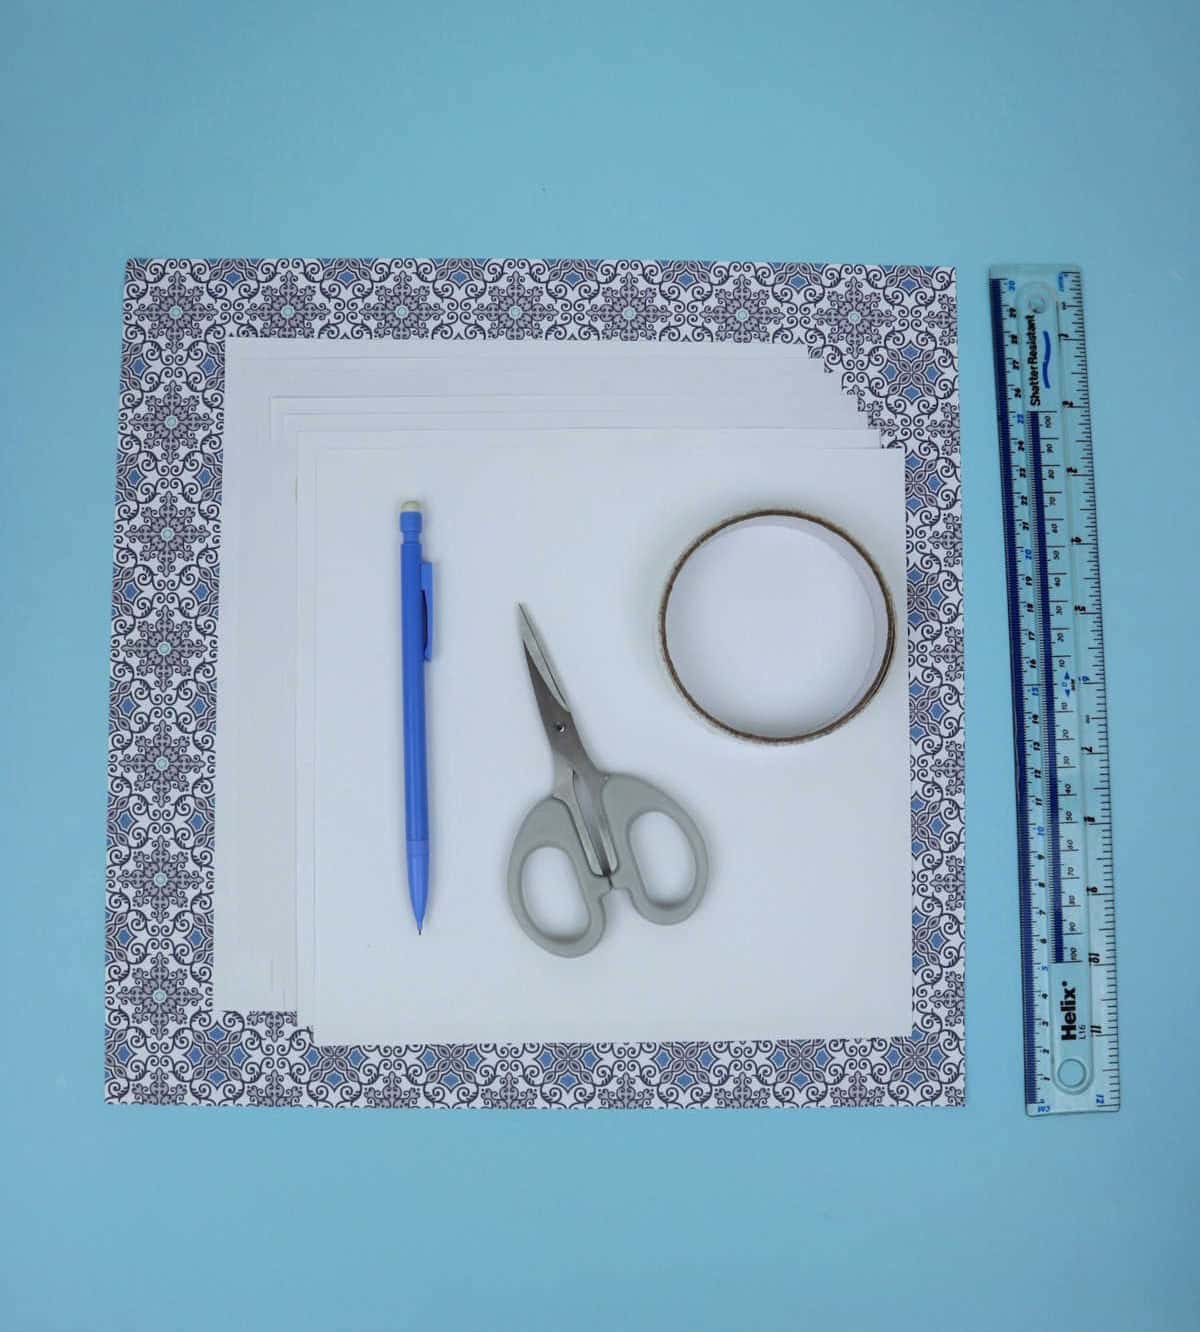
To create your project, you’ll need the following supplies. Chances are, you already have most of these items on hand. If not, they’re easily accessible. Here’s what you’ll need: five thick square paper sheets, which can be cut from a standard A4 sheet. You’ll also require one additional sheet for the base, also cut from an A4 sheet. Additionally, make sure you have glue or double-sided tape on hand for bonding purposes. Scissors will come in handy for trimming and shaping your papers.
A ruler will help you achieve precise cuts, while a pencil is necessary for any sketching or drawing you might want to do. If you’re feeling extra creative, you can also use decorative paper to add some flair.
How to Make a Paper Pencil Holder
Imagine transforming a simple sheet of paper into a functional and practical item that will become an integral part of your daily life. This DIY project combines the art of origami with the satisfaction of creating something useful, blurring the lines between creative expression and problem-solving. Just as you would fold and manipulate paper to create intricate designs, you’ll apply these same techniques to craft a versatile tool that will serve you well in various situations.
Step 1

Prepare a plain sheet of paper for the creative process by folding it in half to create a vertical crease. This simple yet effective technique will help you get started on your artistic journey.
Step 2

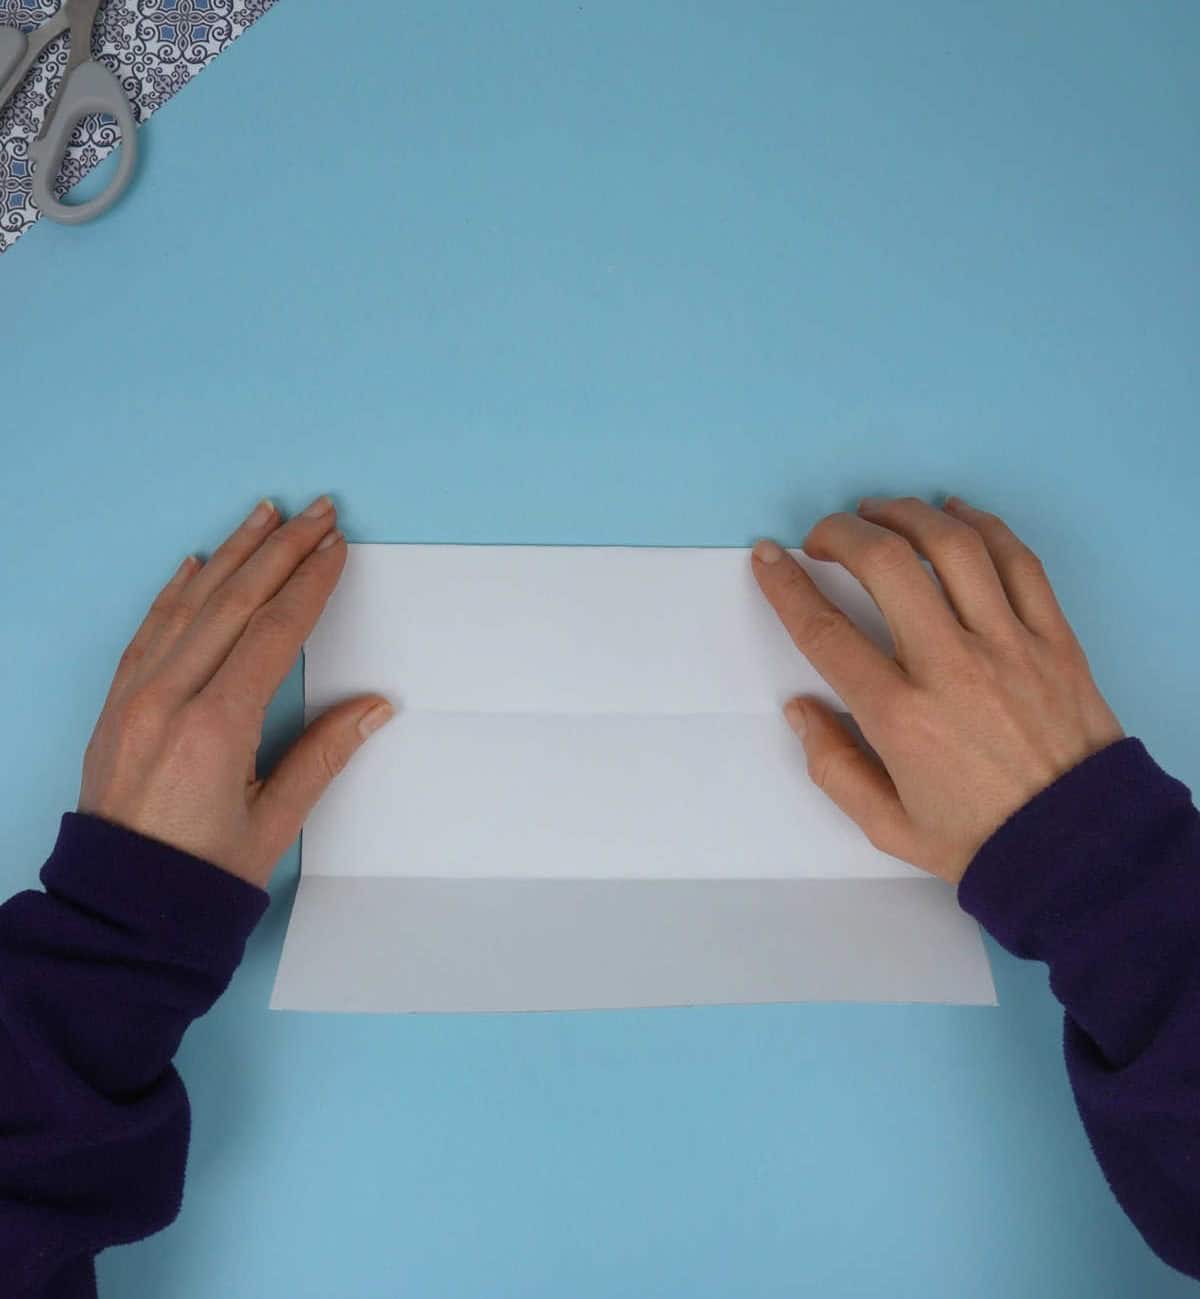
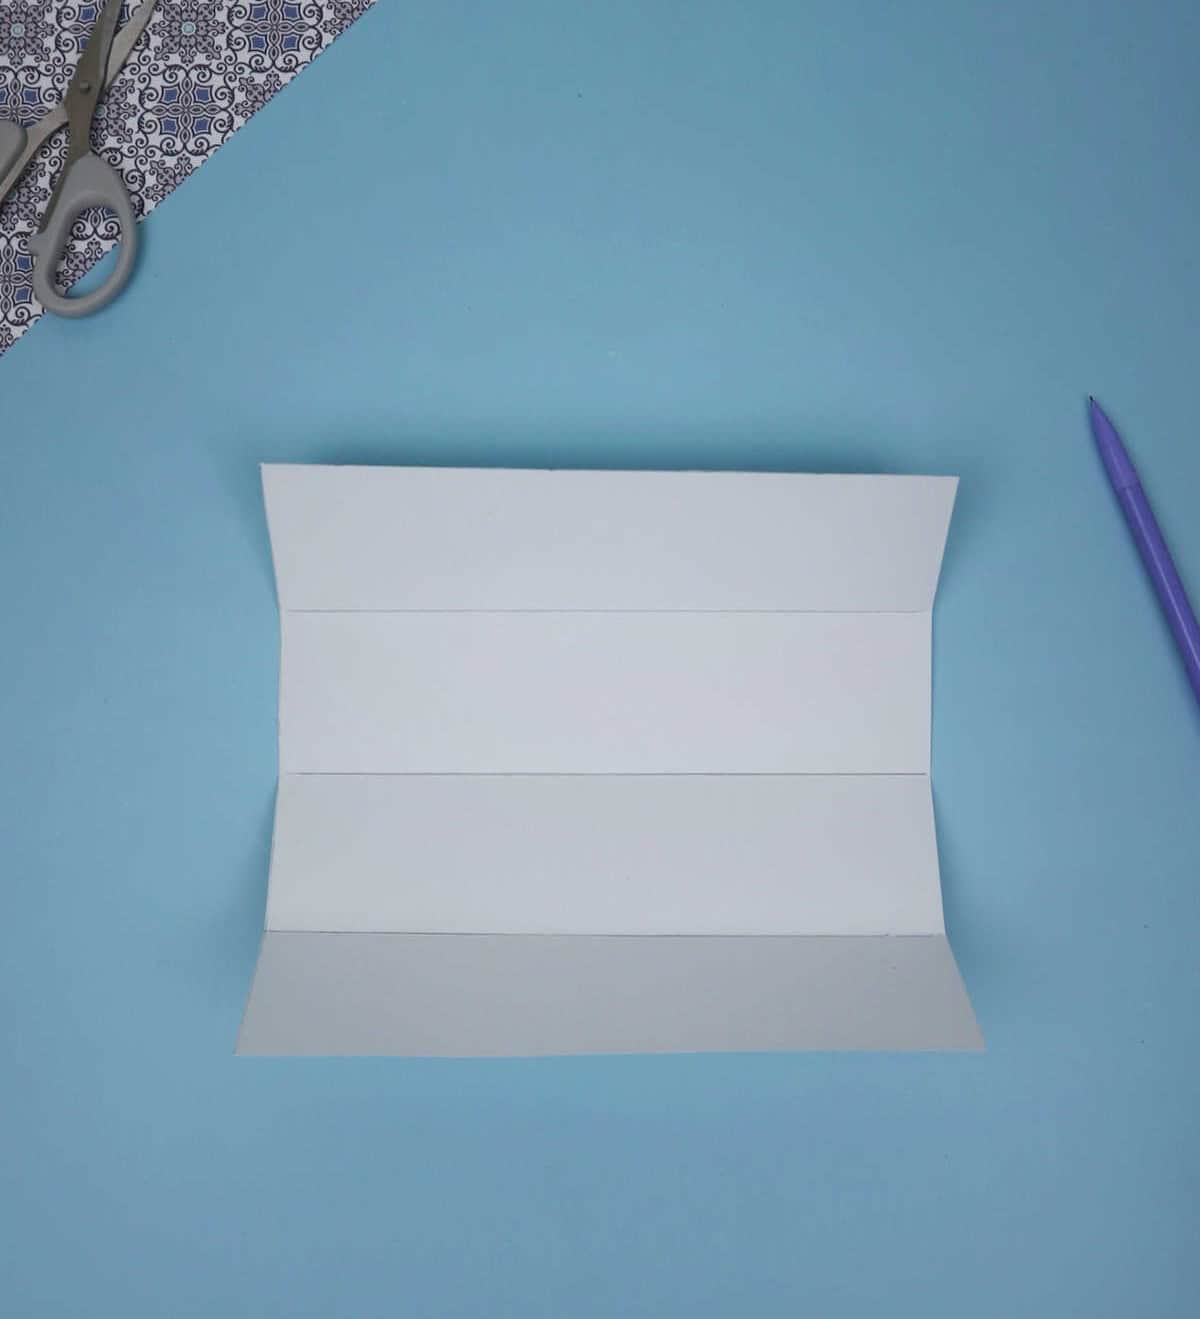
The first step in creating a precise fold is to lay out the paper and identify the central crease. Next, fold the lower half of the sheet upwards towards this central point, applying gentle pressure to ensure a crisp fold. Repeat this process with the top half of the paper, folding it downwards towards the center and pressing firmly to create a sharp crease. Upon unfolding the paper, you’ll notice that three distinct folds have formed, effectively dividing the sheet into four equal sections.
Step 3
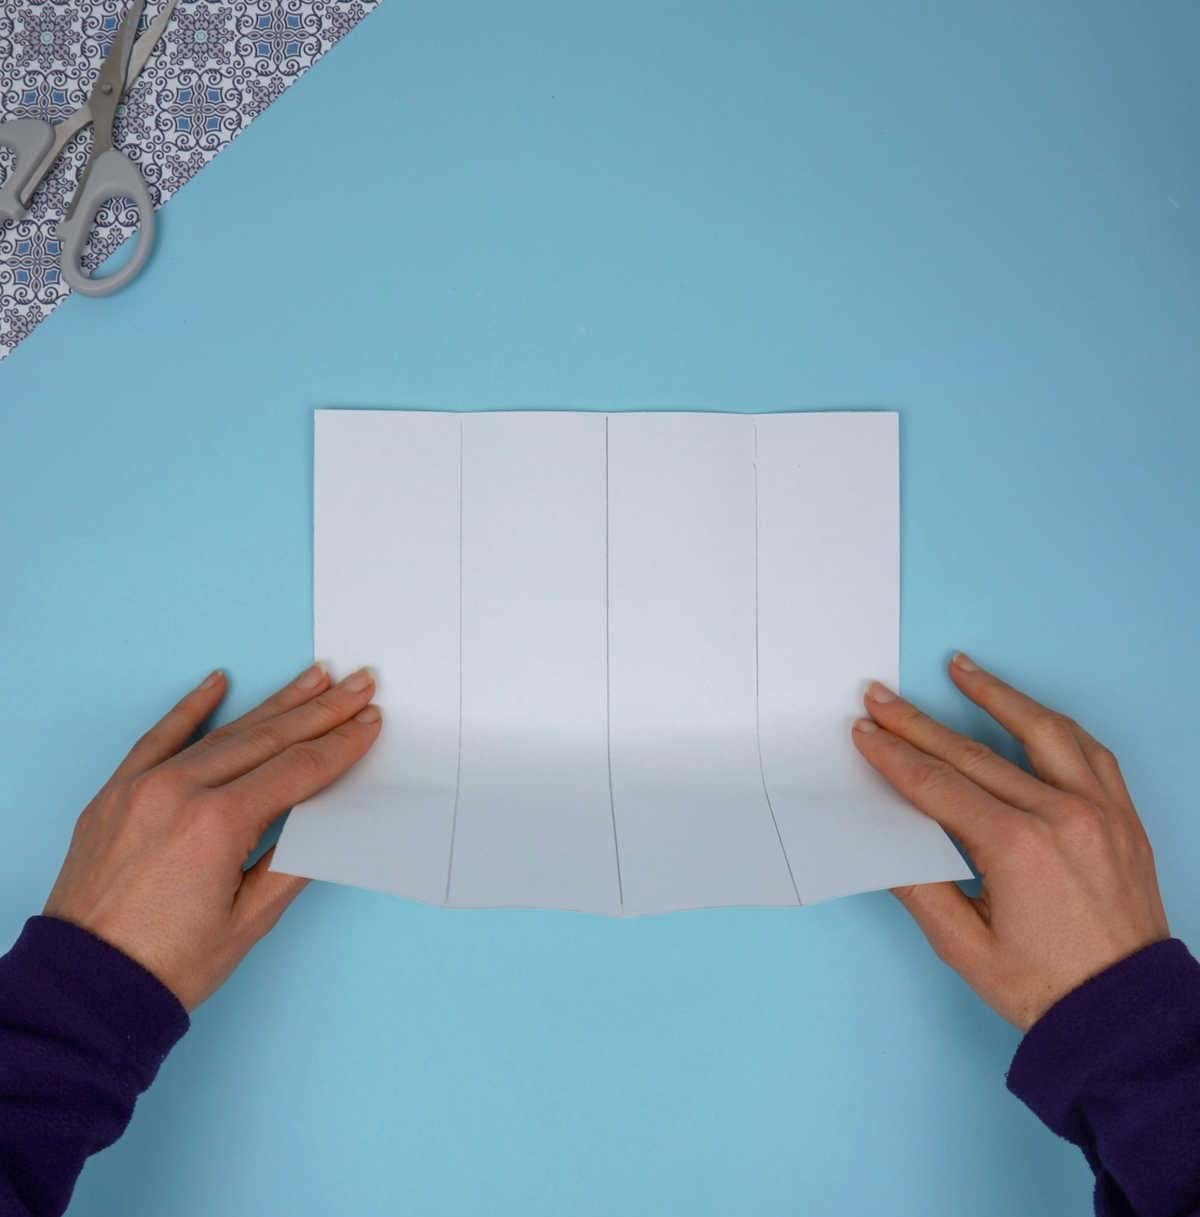
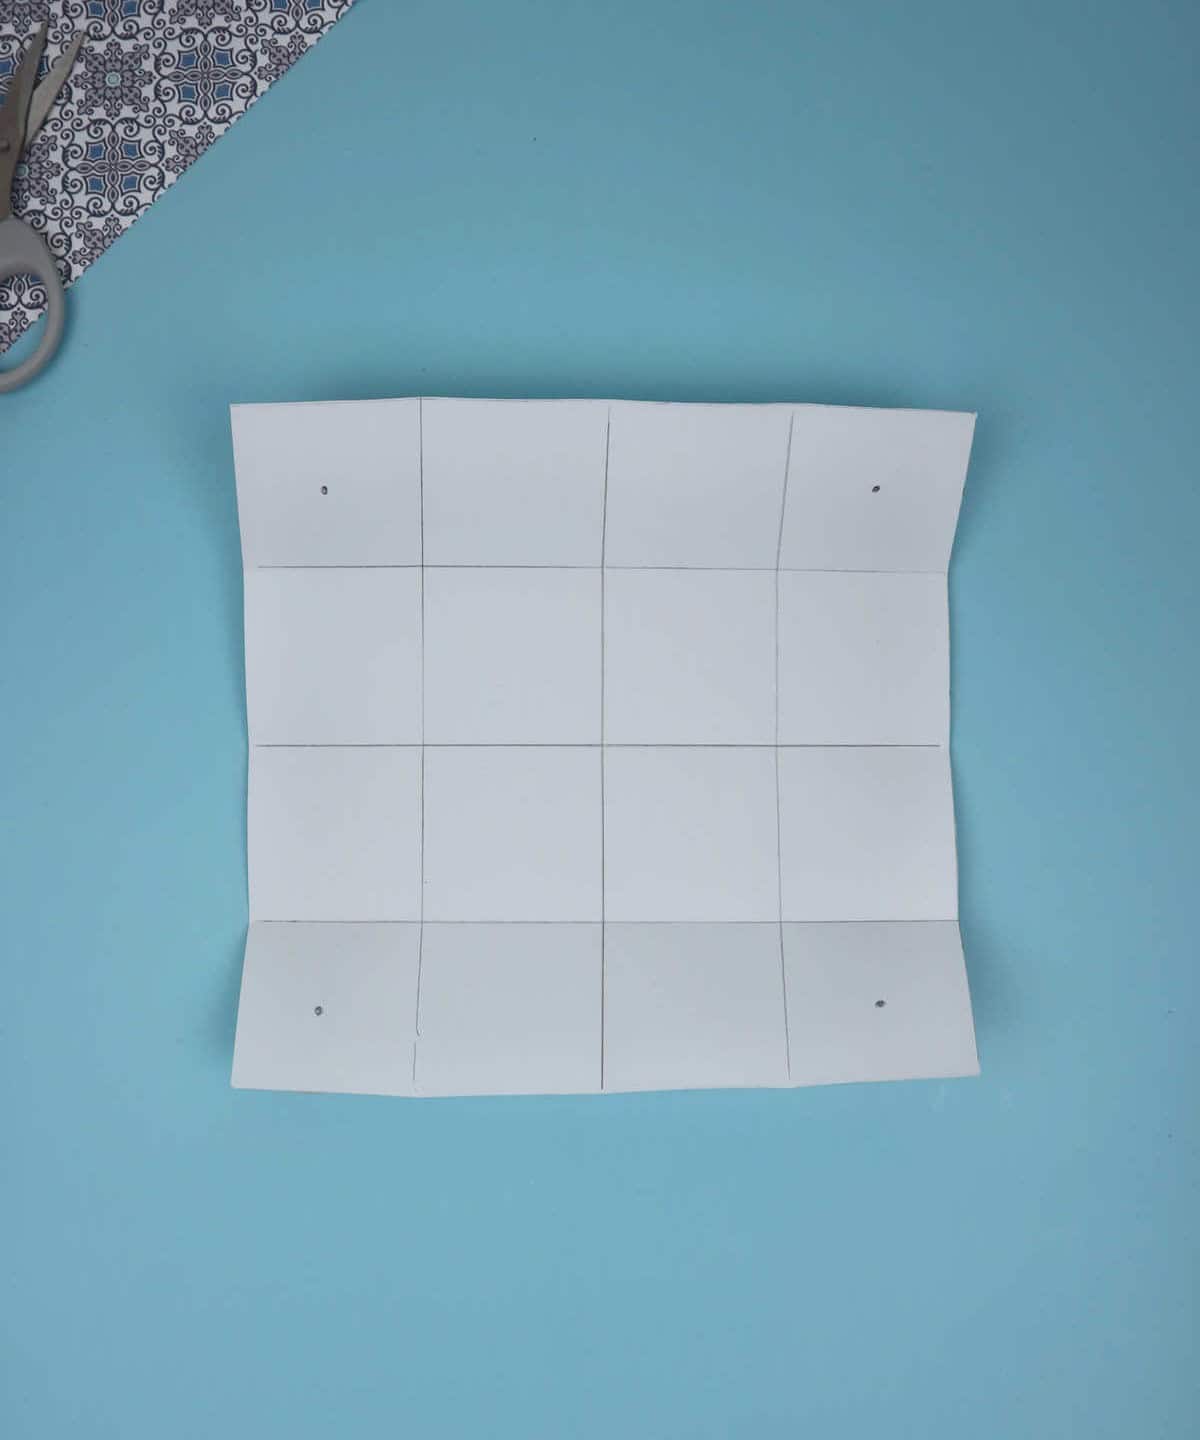
To begin, flip the sheet so that the creases run vertically. Next, fold the paper in half and press down to create another central crease, effectively dividing the sheet into two halves. This process should be repeated until you’ve achieved four identical quadrants, resulting in a 4×4 grid comprising 16 uniform squares.
Step 4
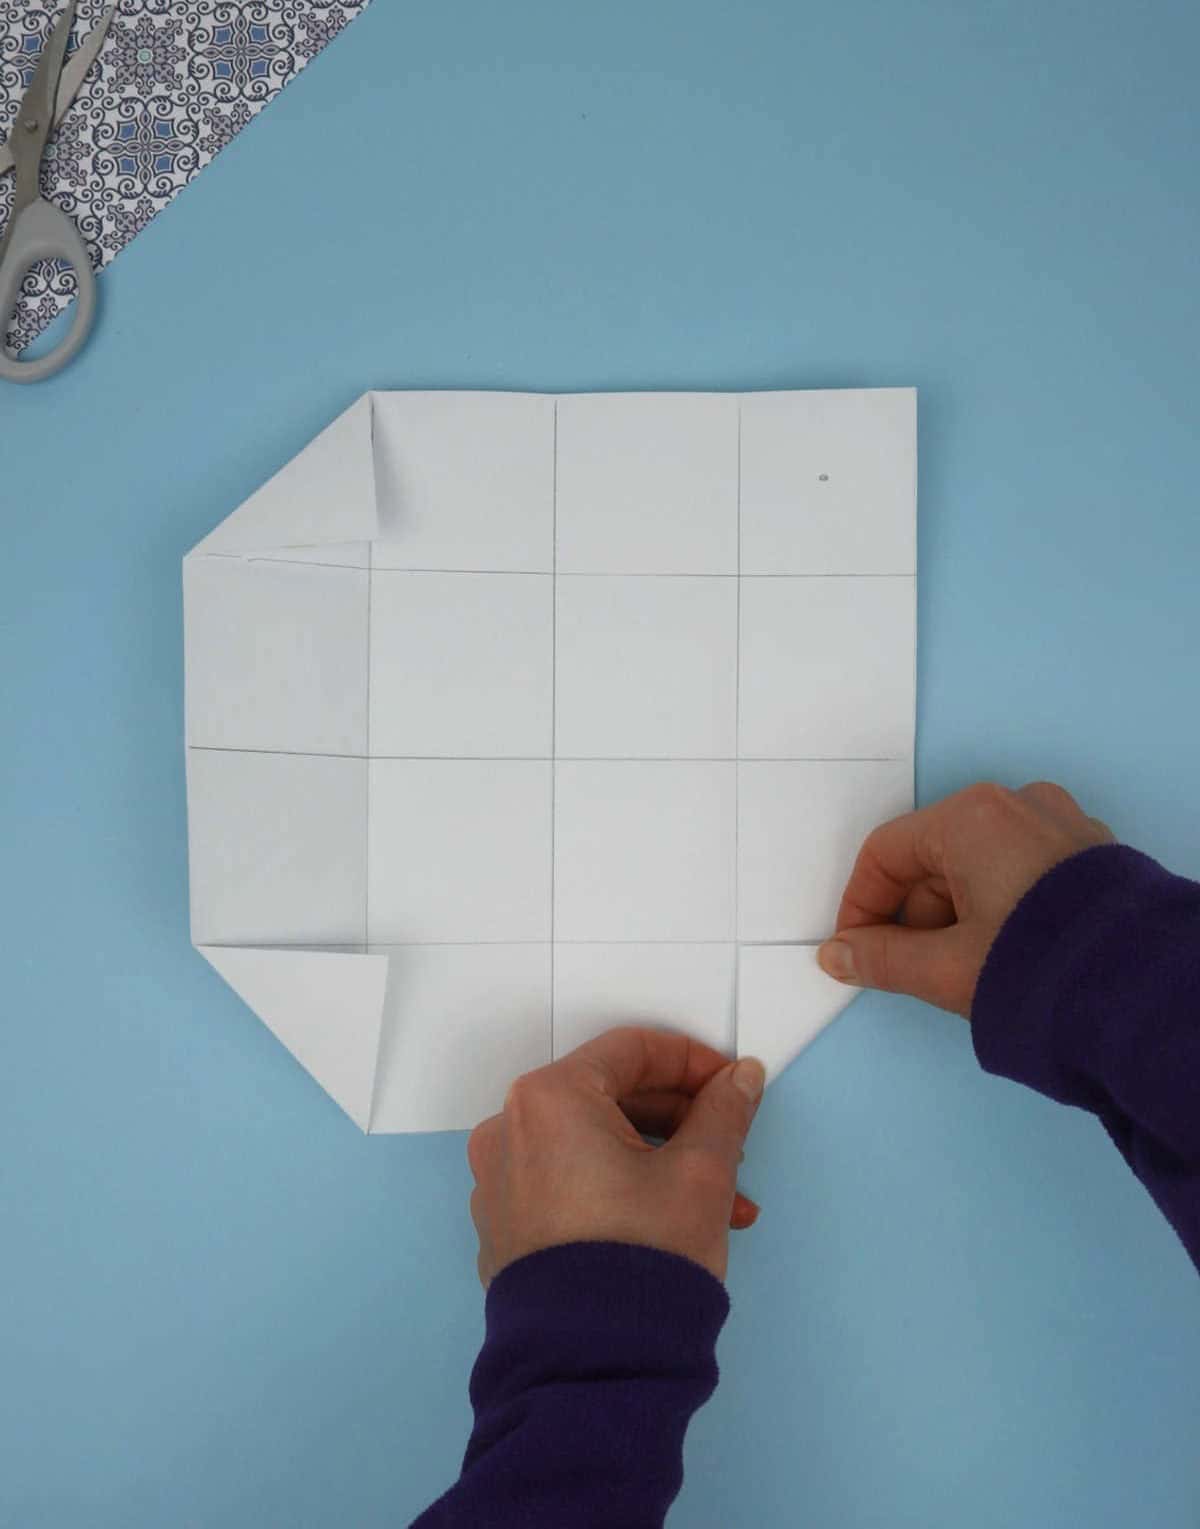
To create half-folds in your paper, start by folding one corner square inward to form a triangular shape. This will help you establish the foundation for the rest of your folds. Continue this process with each of the remaining three corners, ensuring that they are all aligned and uniform.
Step 5

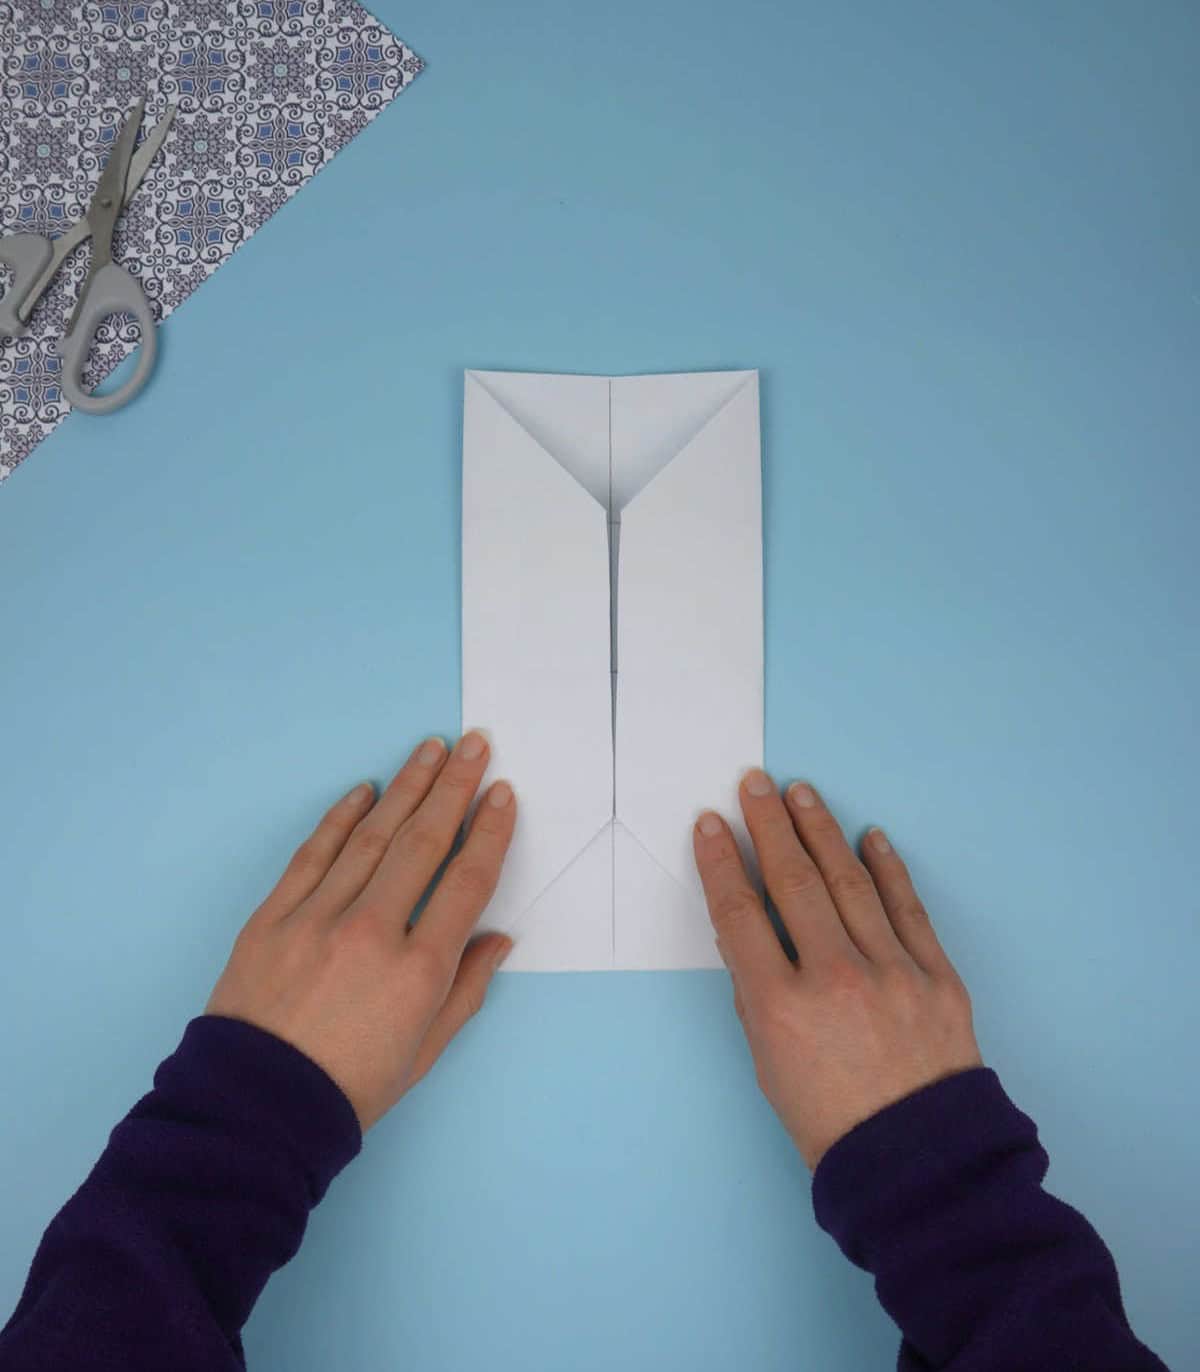
To begin the process of folding your paper into a neat square shape, start by grasping the left half of the sheet firmly while keeping the pre-existing half-folds intact. Gently bring this section towards the center crease, ensuring it aligns smoothly. Next, perform the same action with the right side of the paper, repeating the motion until your sheet resembles the illustration below.
Step 6
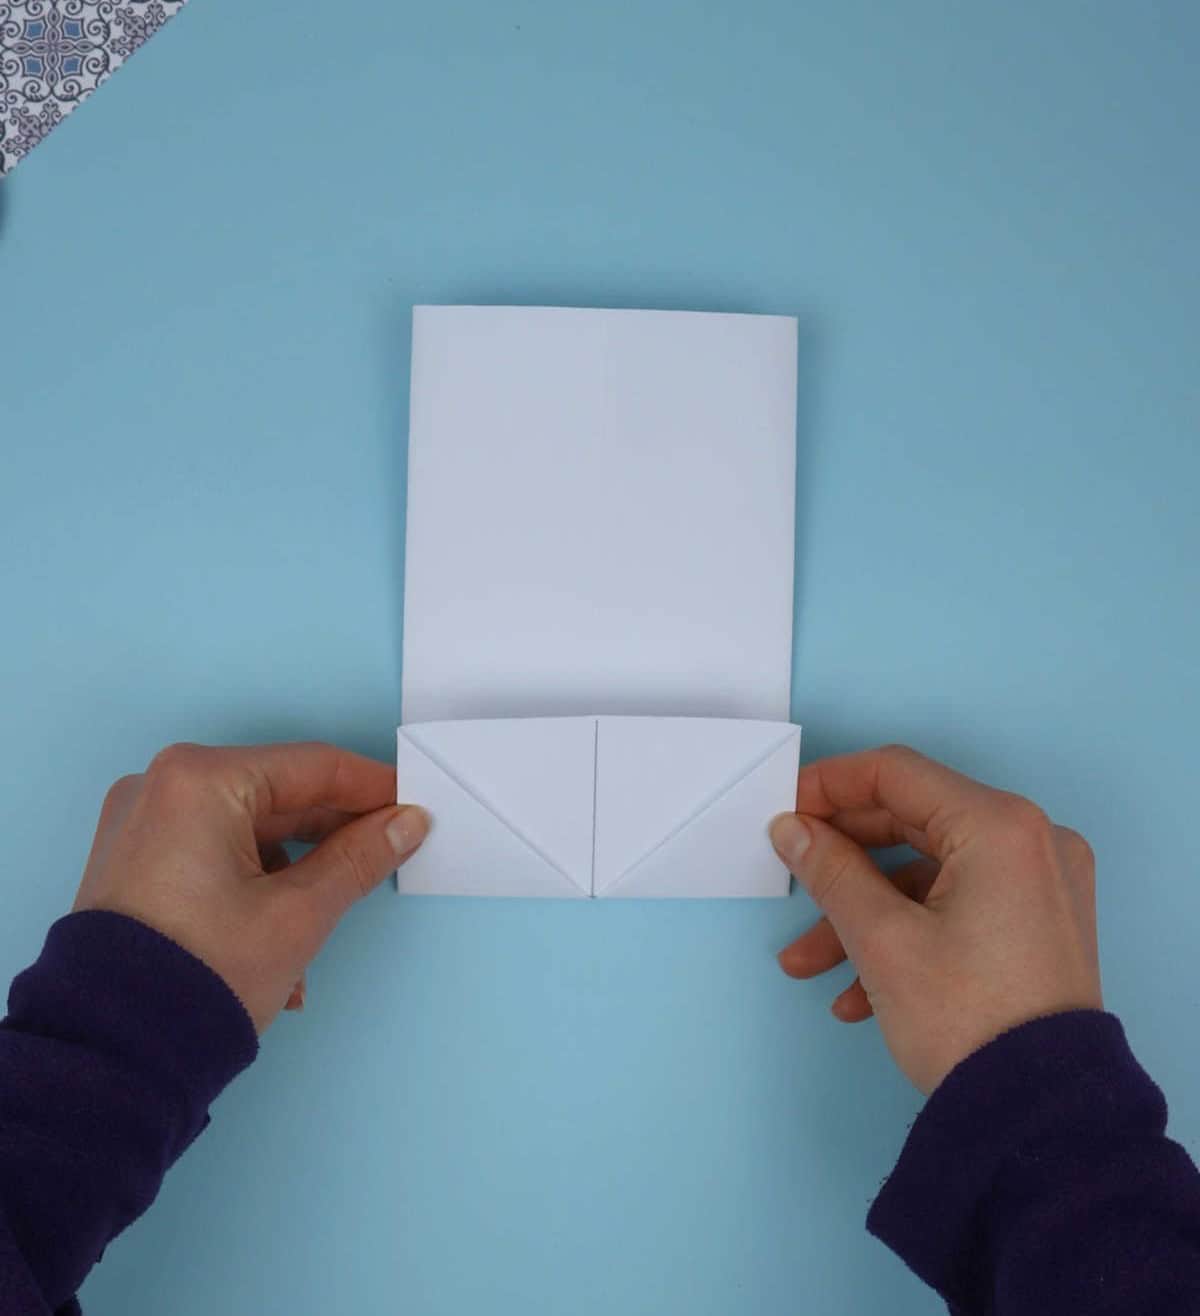
To complete the paper folding process, you’ll need to maintain the integrity of your previous folds. Start by grasping the bottom edge and fold it up by one square width, just as demonstrated previously. Next, replicate this step with the top half, ensuring that the ends of both folds meet at the center, much like shown earlier.
Step 7
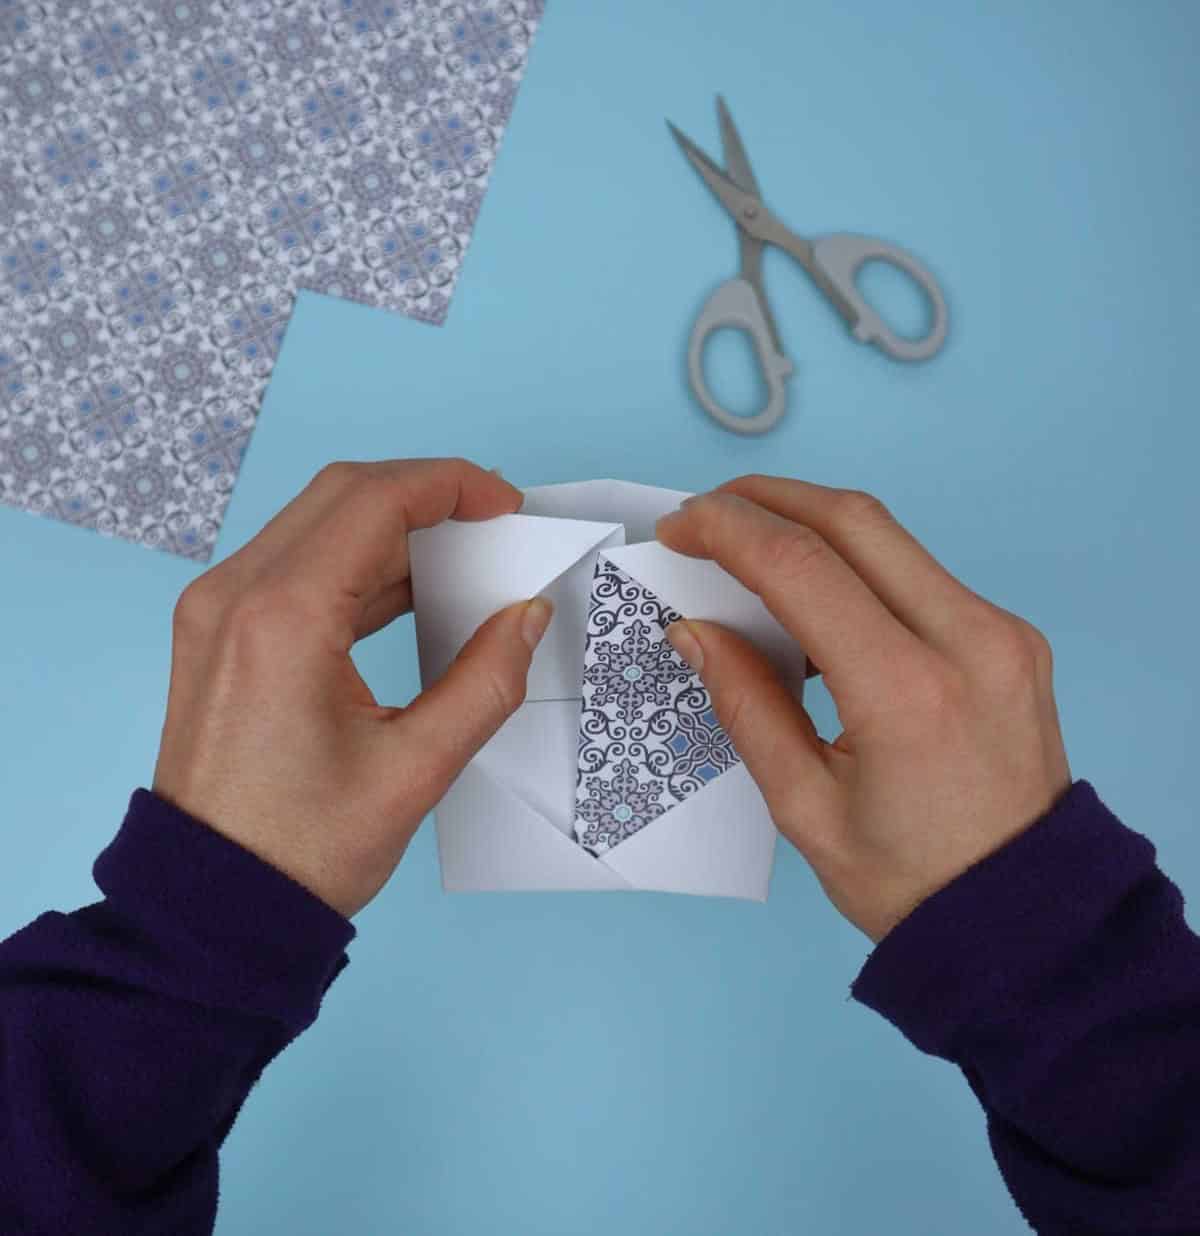
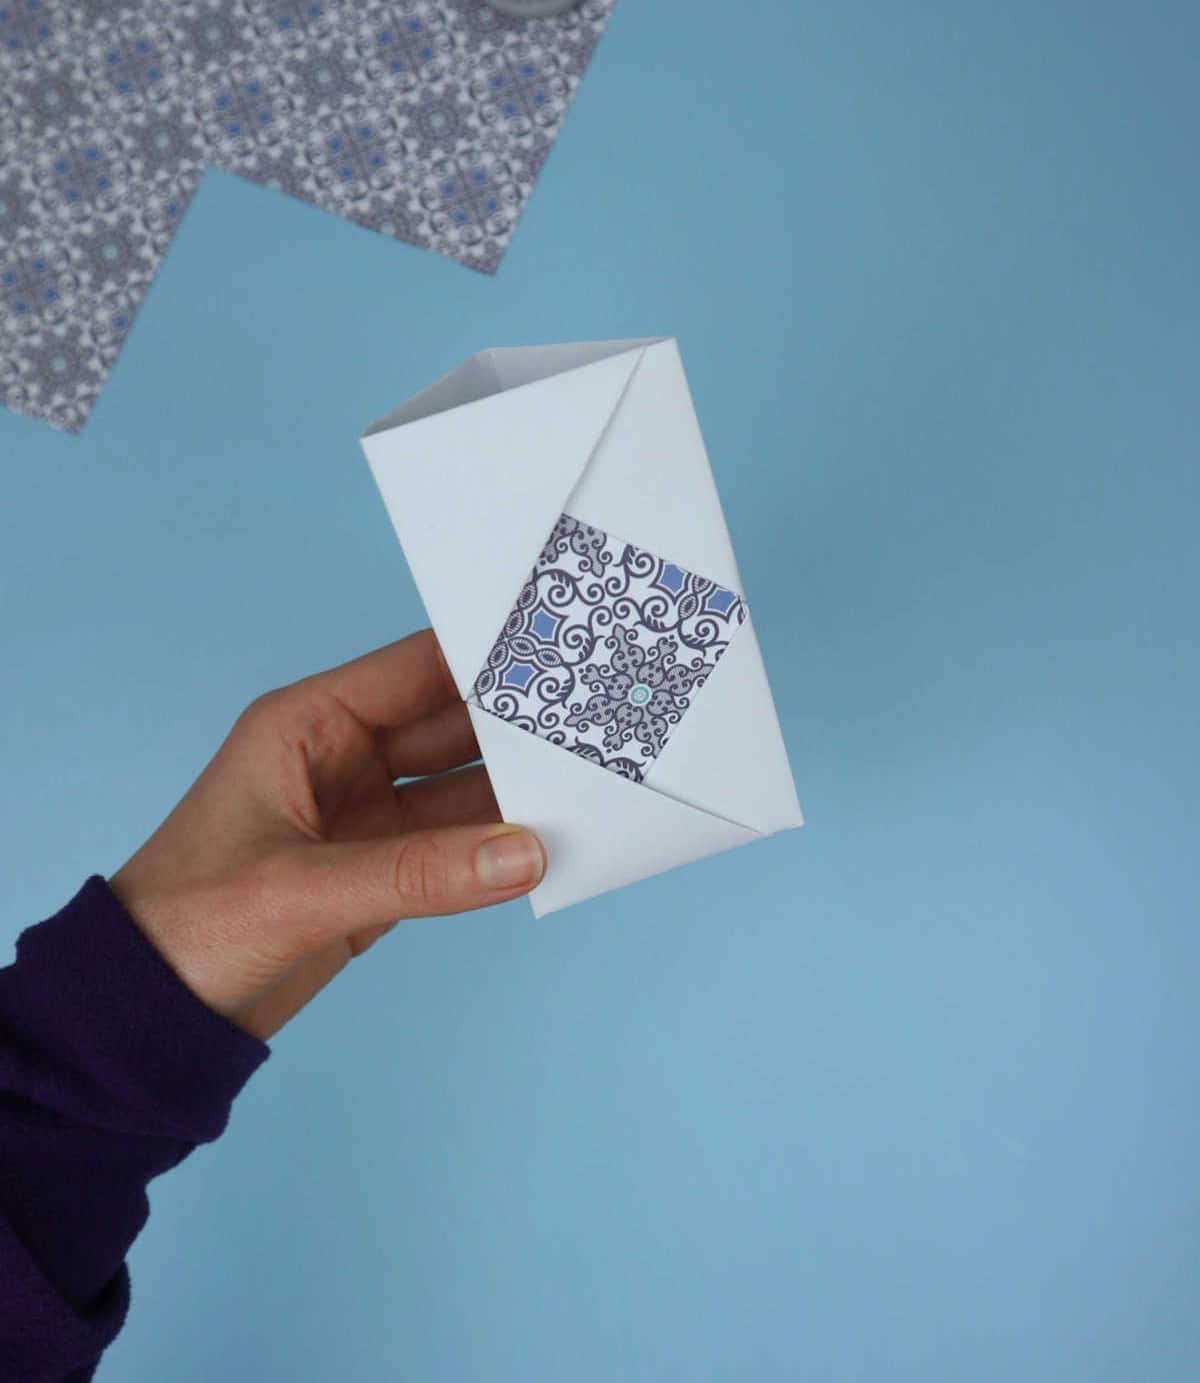
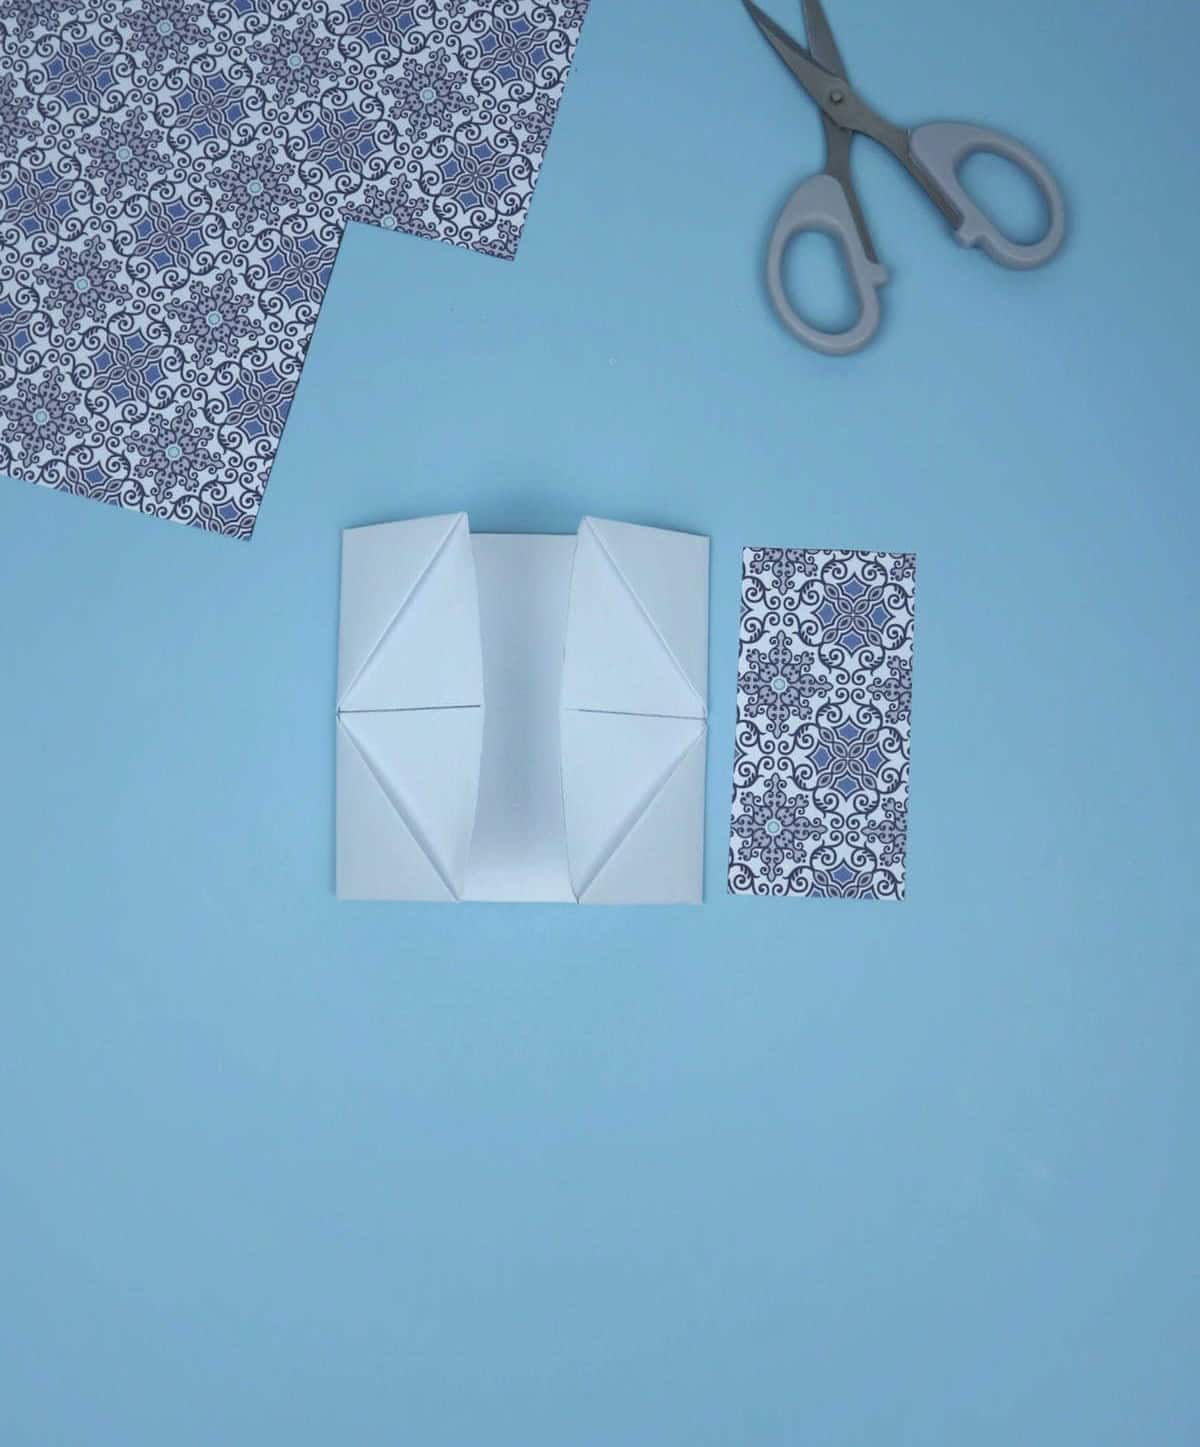
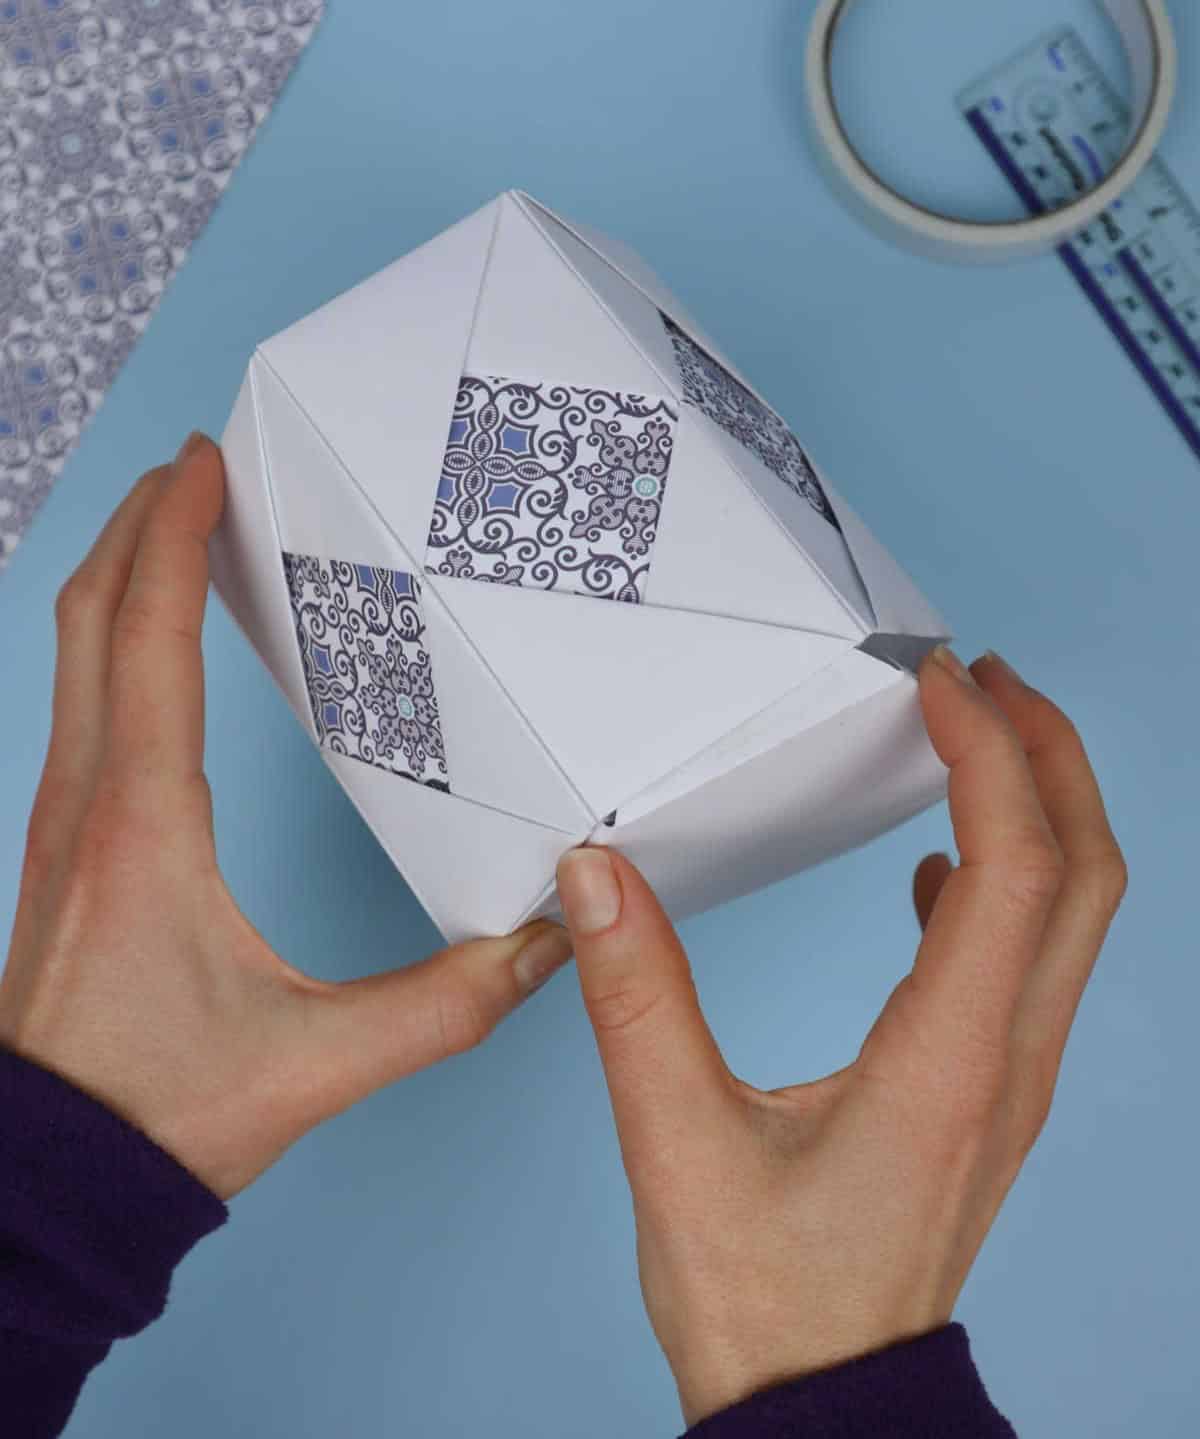
To add a pop of color and personality to your paper pencil holder, now’s the perfect time! Simply cut out a diamond-shaped piece from a vibrant, decorative, or sparkly paper that matches your style. Next, carefully tuck this colorful addition into the folds to secure it in place. Once you’ve achieved this, one portion of your unique pencil stand is now complete and ready for the rest of the creative process to unfold.
Step 8
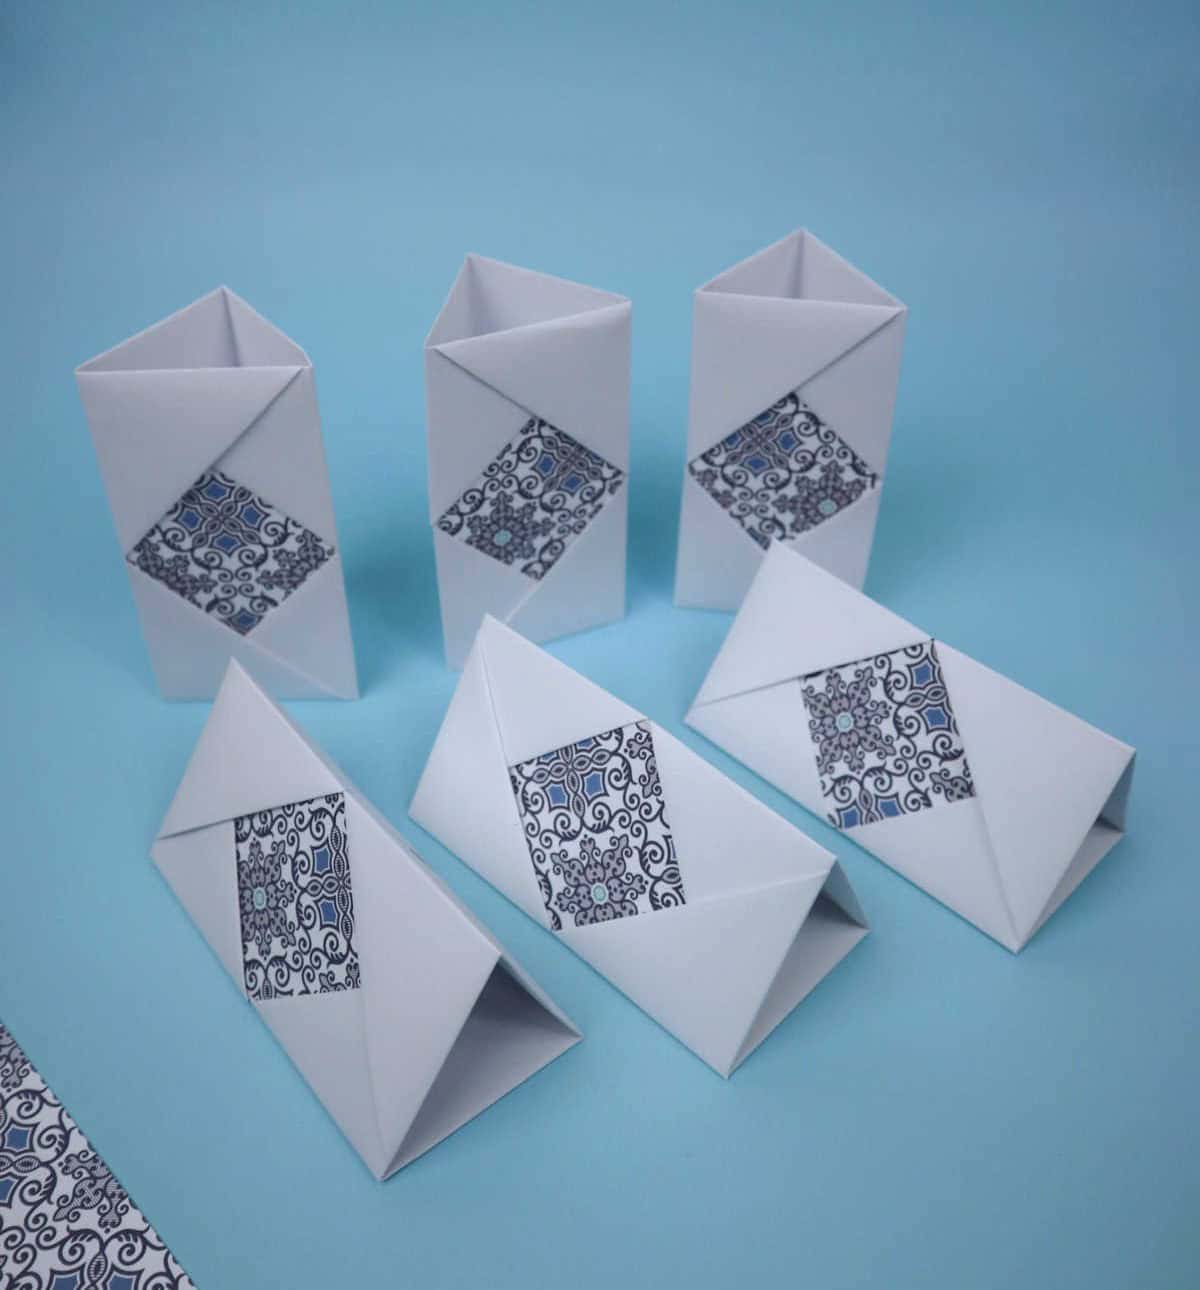
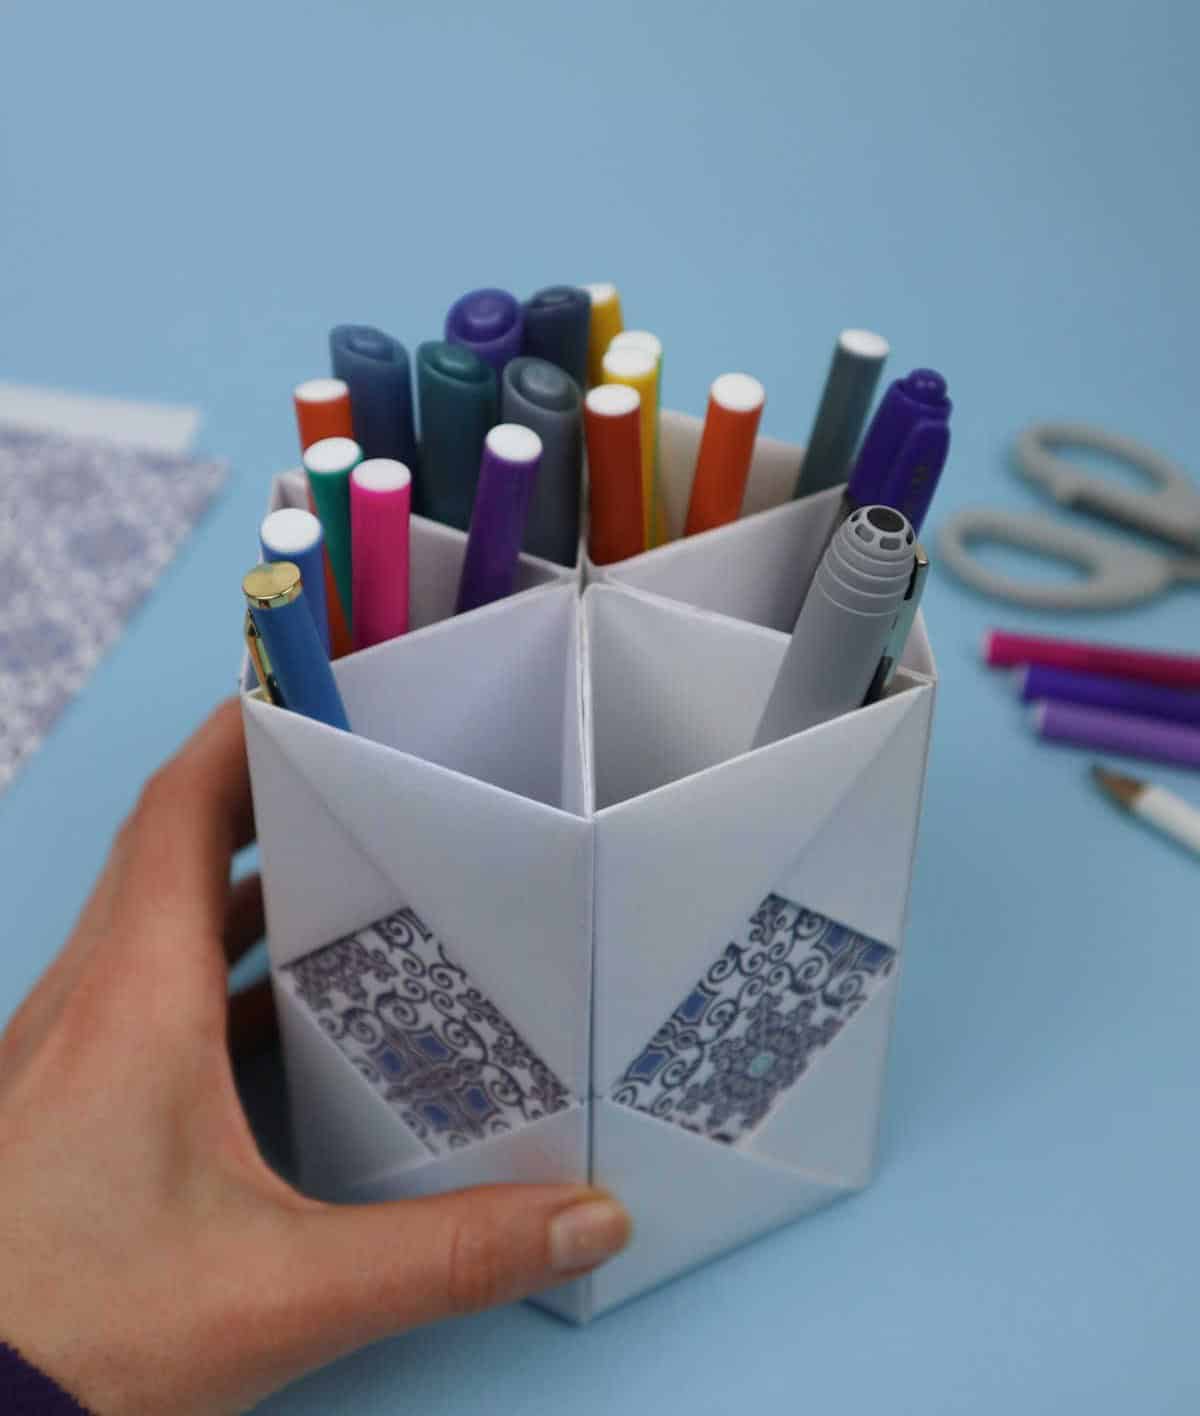
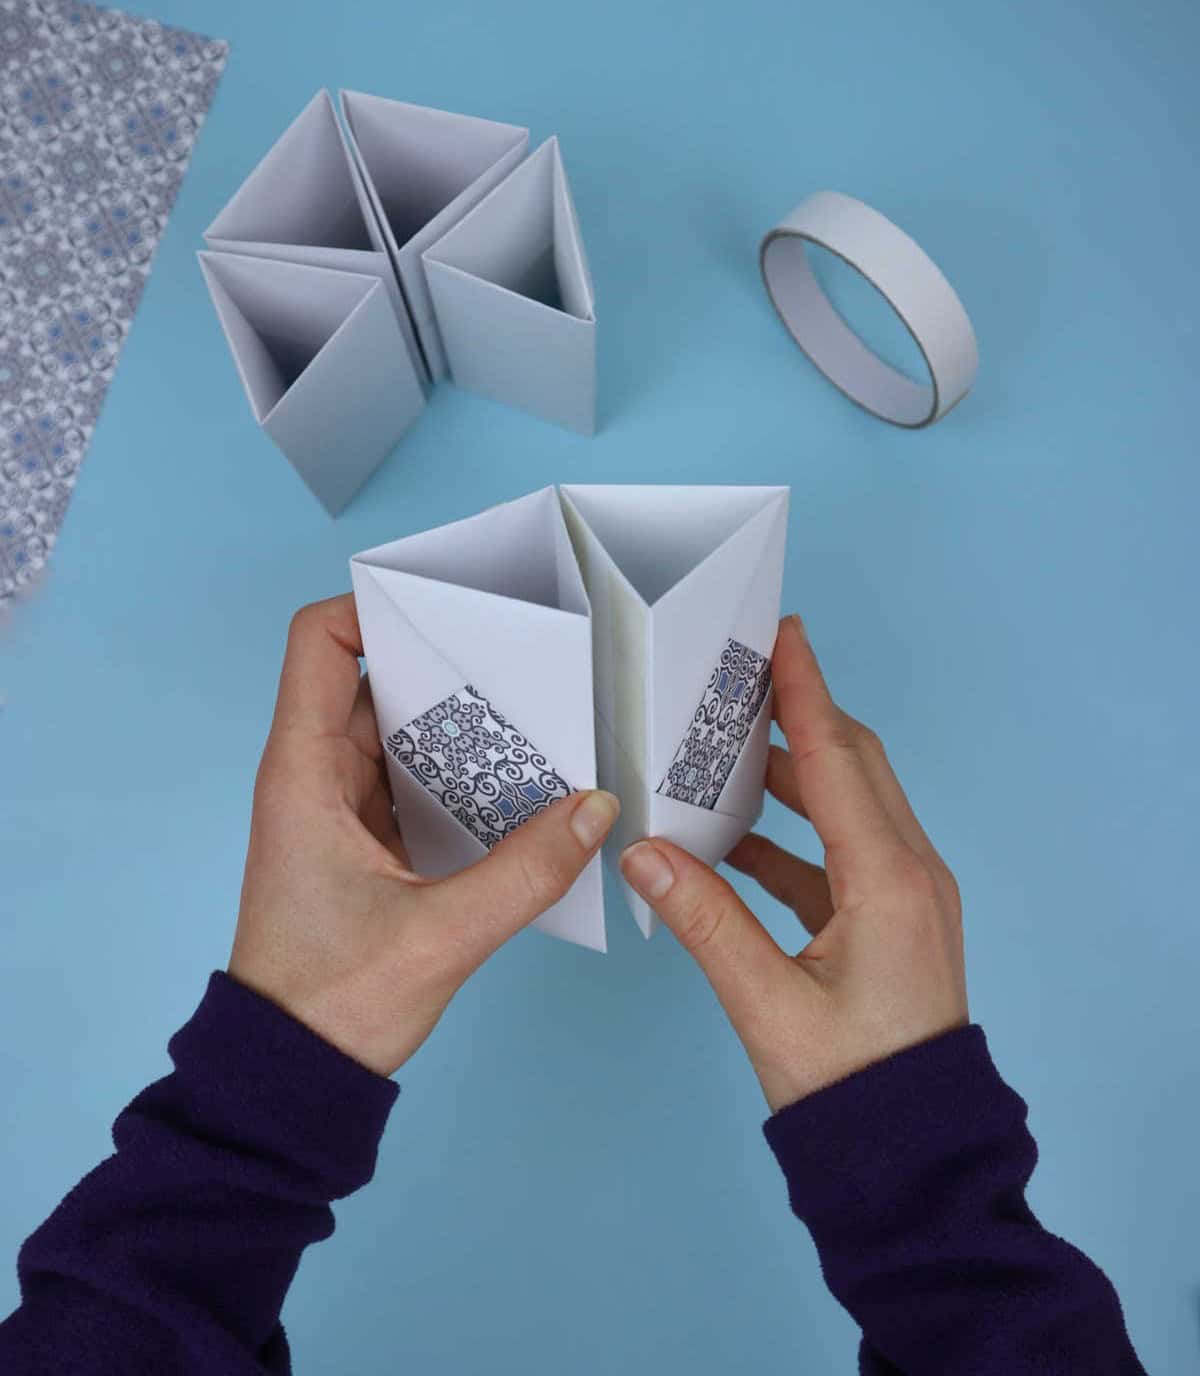
To create this unique pencil holder, simply repeat the process six times to produce a total of six individual compartments. While these mini-holders are delightful on their own, if you’re seeking a larger solution for storing your entire pencil collection, feel free to combine all six parts into a single, cohesive unit. As you assemble the components, ensure that the decorated side is facing outward, which will facilitate the correct ordering of the pieces.
Step 9
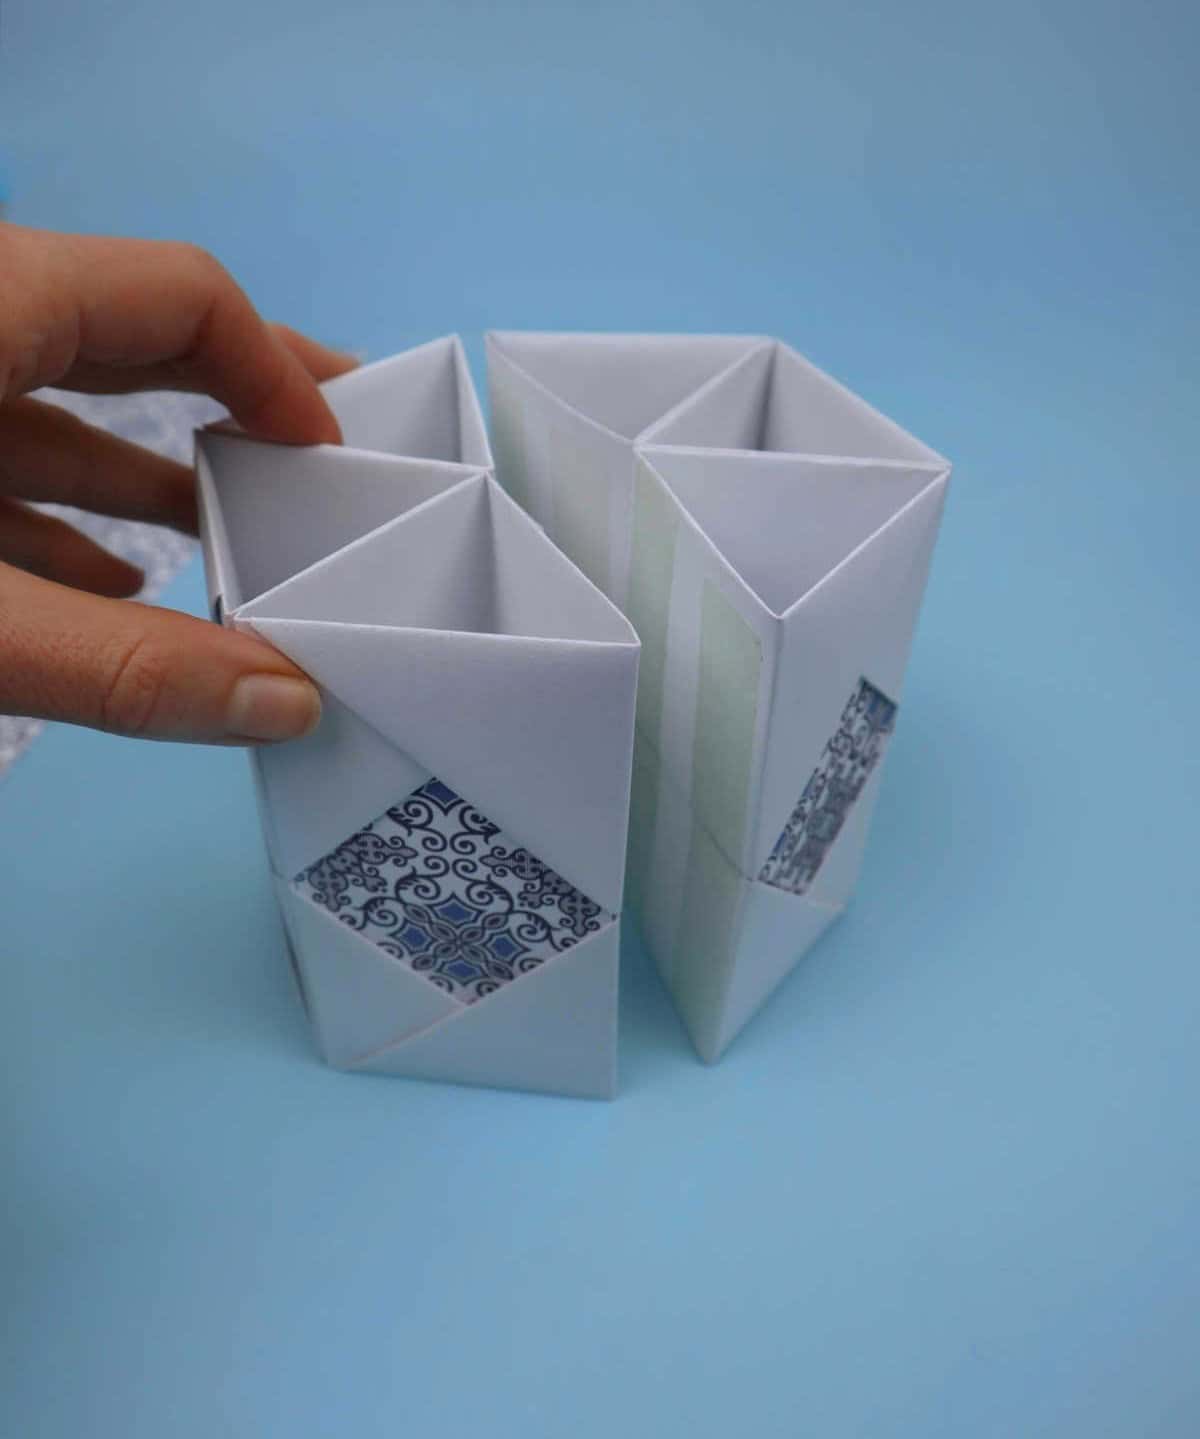
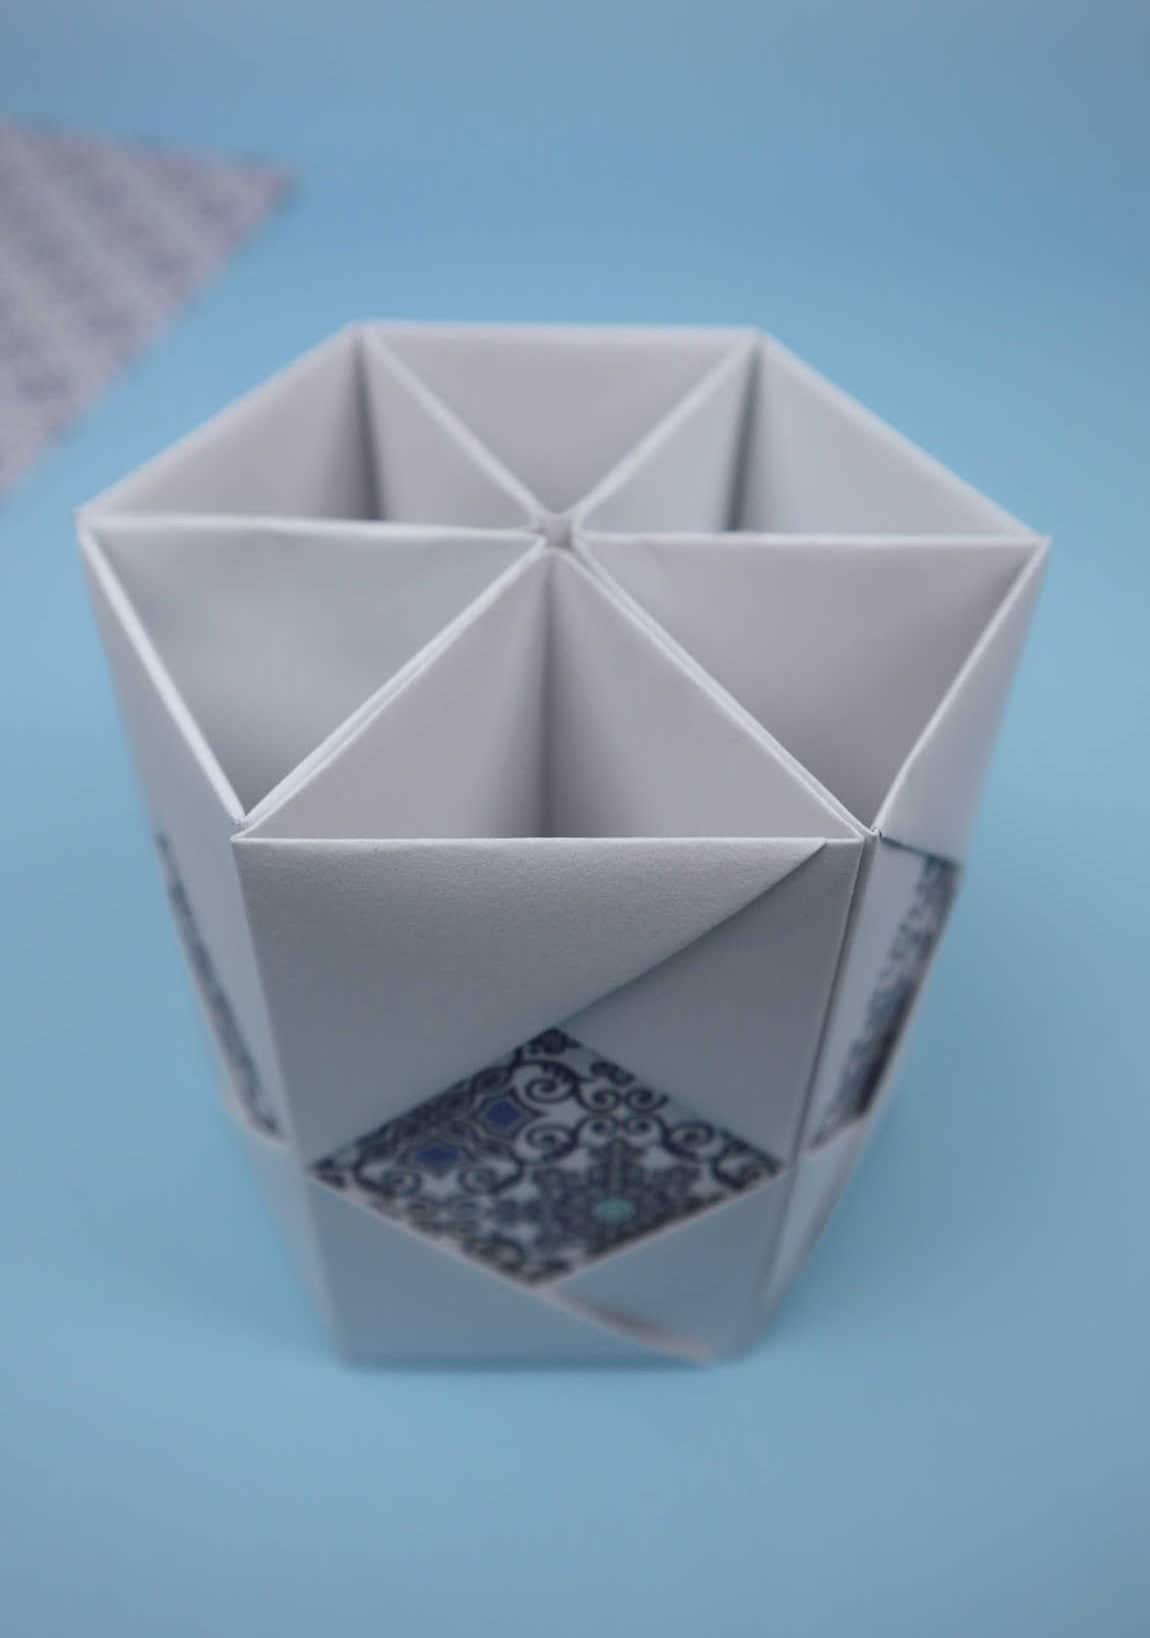
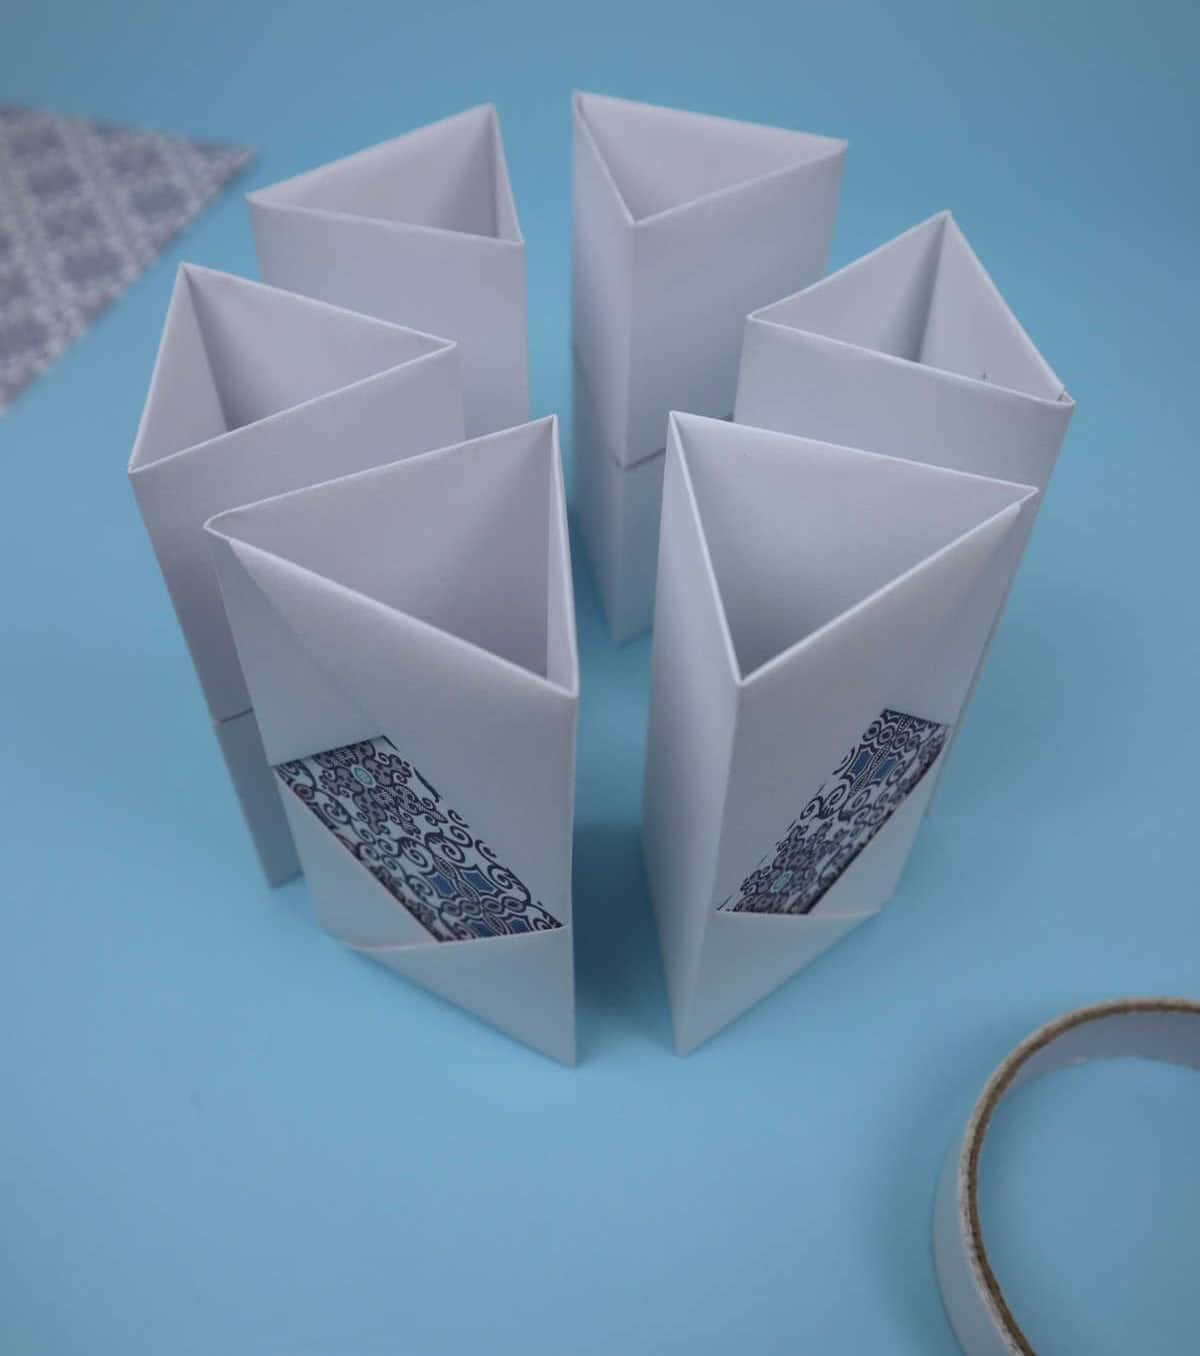
Before commencing the assembly process, it’s essential to have all the necessary components in order. This approach minimizes the risk of mistakes occurring during the construction phase, as you’ll be working with a cohesive and organized set of parts.
Step 10

As we near the end of this DIY project, there’s one crucial step remaining. Take out the thicker paper sheet and get your pencil ready along with a ruler. Sketch an outline of the contour shape, making sure to maintain precision in your measurements. This will serve as the foundation for your pencil holder, so accuracy is key to ensure a snug and sturdy fit.
Step 11
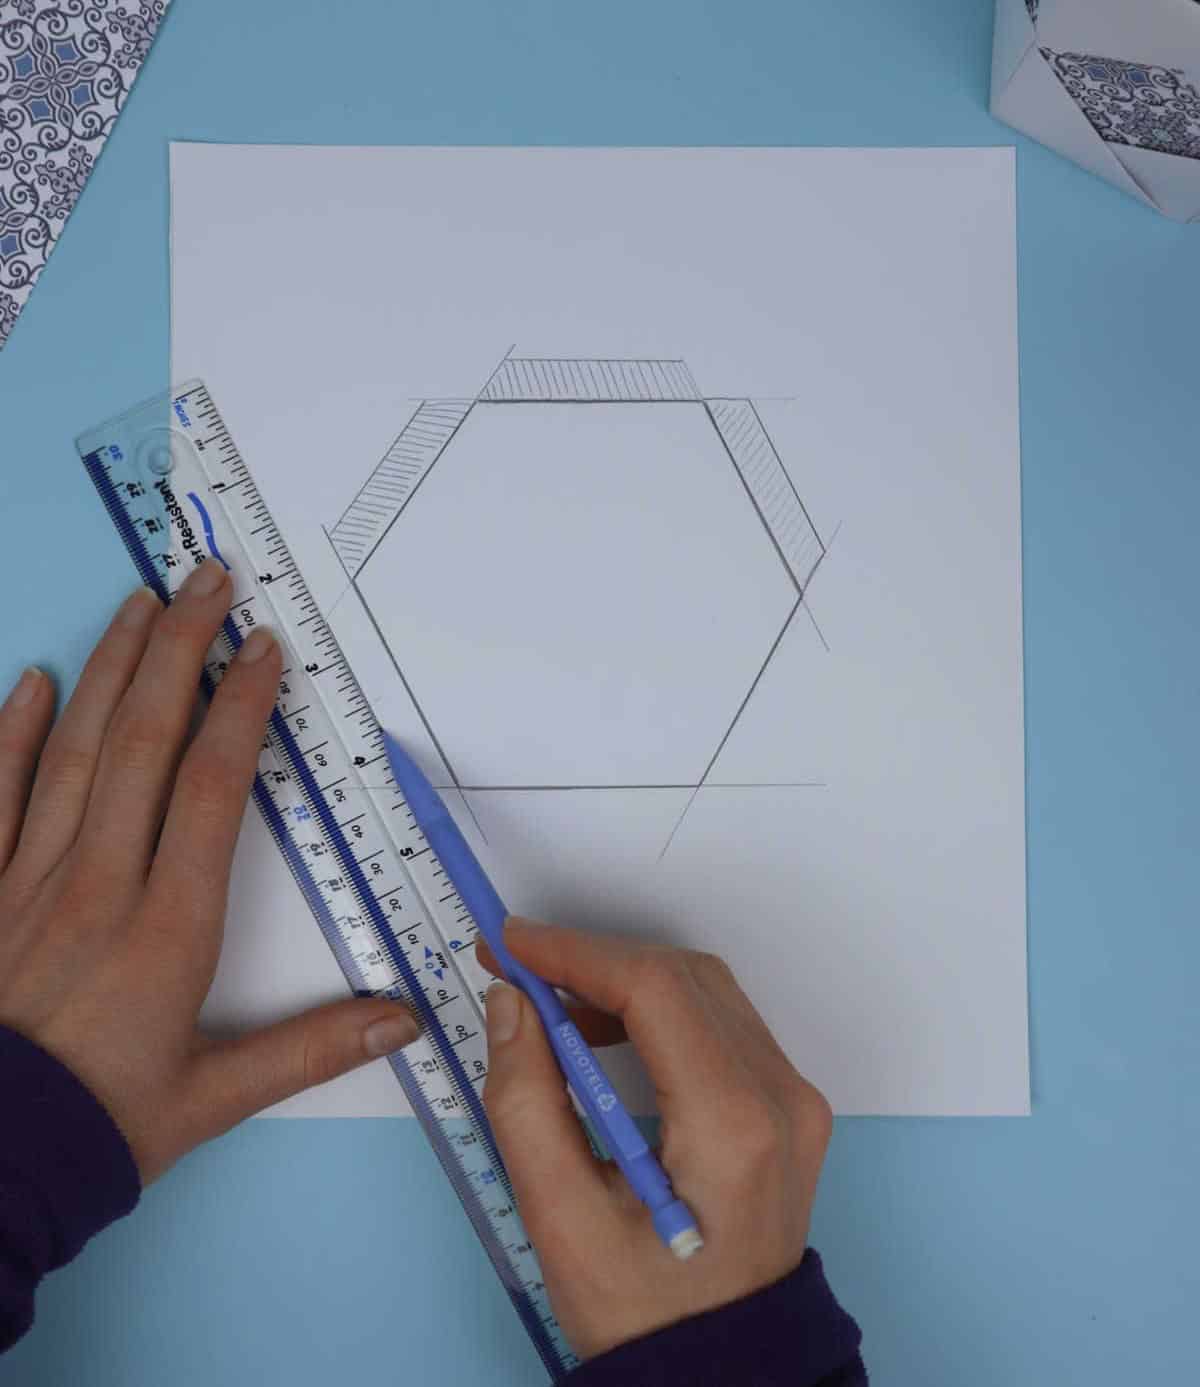
When crafting the outline for your cutout’s shape, don’t overlook the importance of overlap flaps. By incorporating these flaps, you’ll be able to effortlessly tuck the bottom edge into the pencil holder, resulting in a more secure and stable overall structure.
Step 12
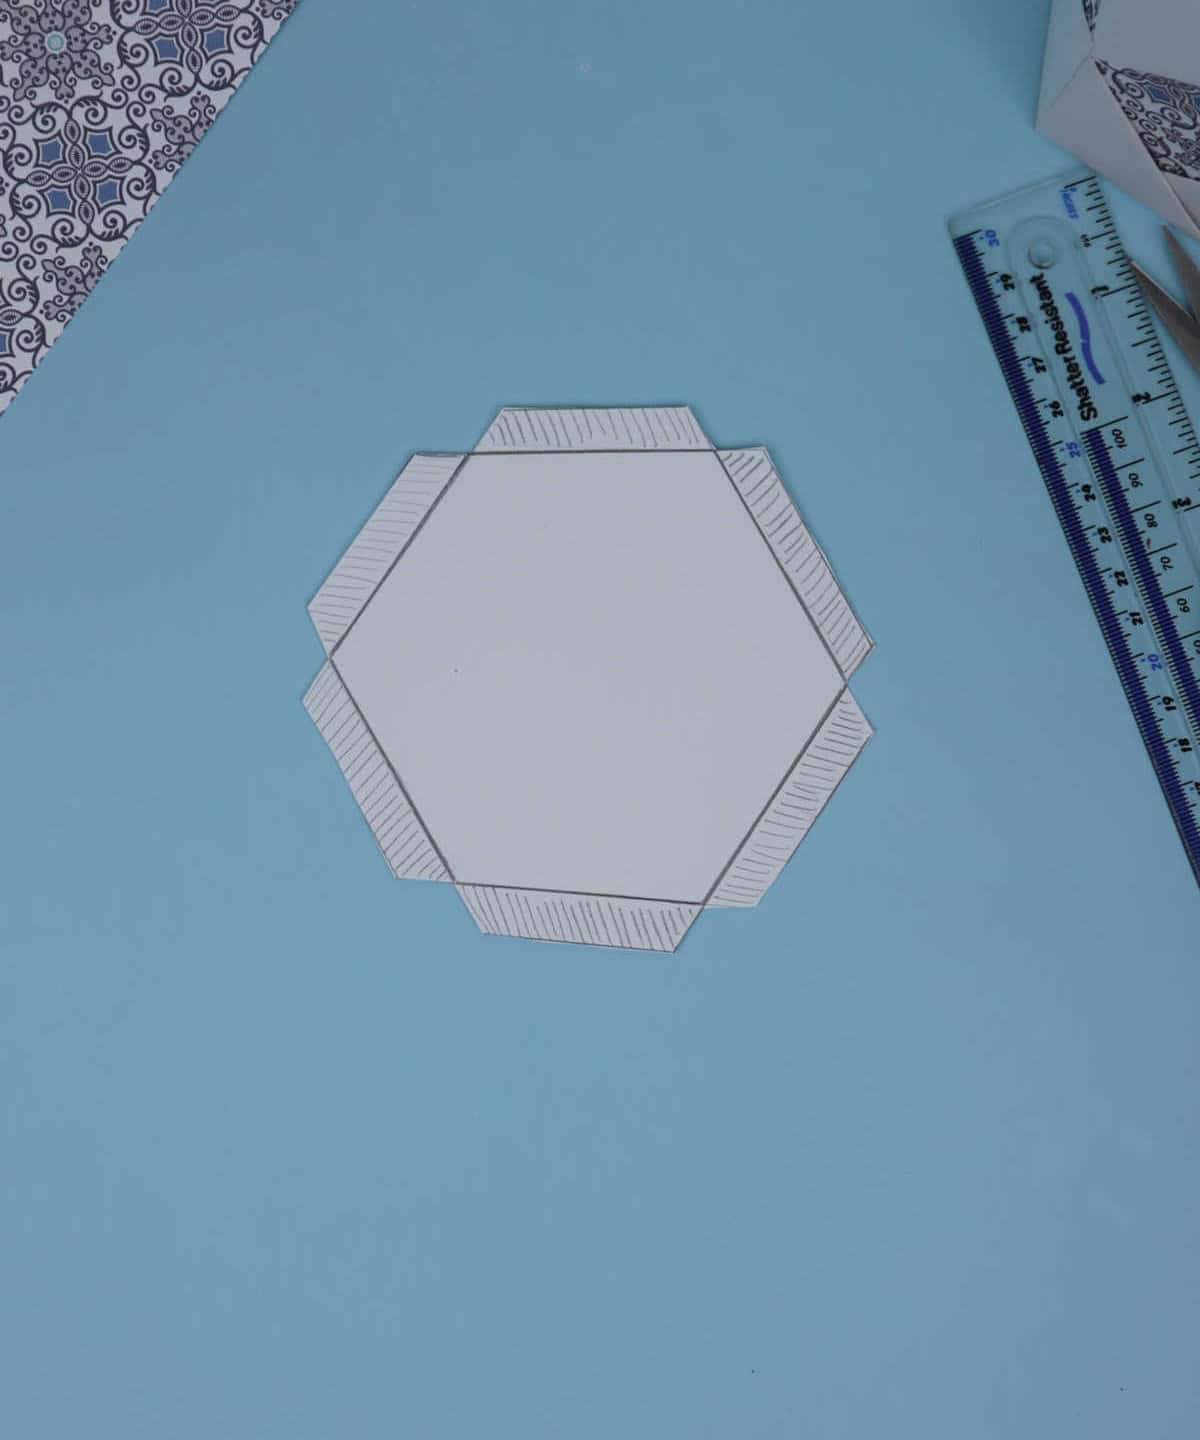

Eliminate any excess material by folding the flaps inward towards the box’s center, ensuring they are flush with the edges. This subtle adjustment will provide a more defined shape to your packaging, much like the protruding ends you’re currently seeing.
Step 13

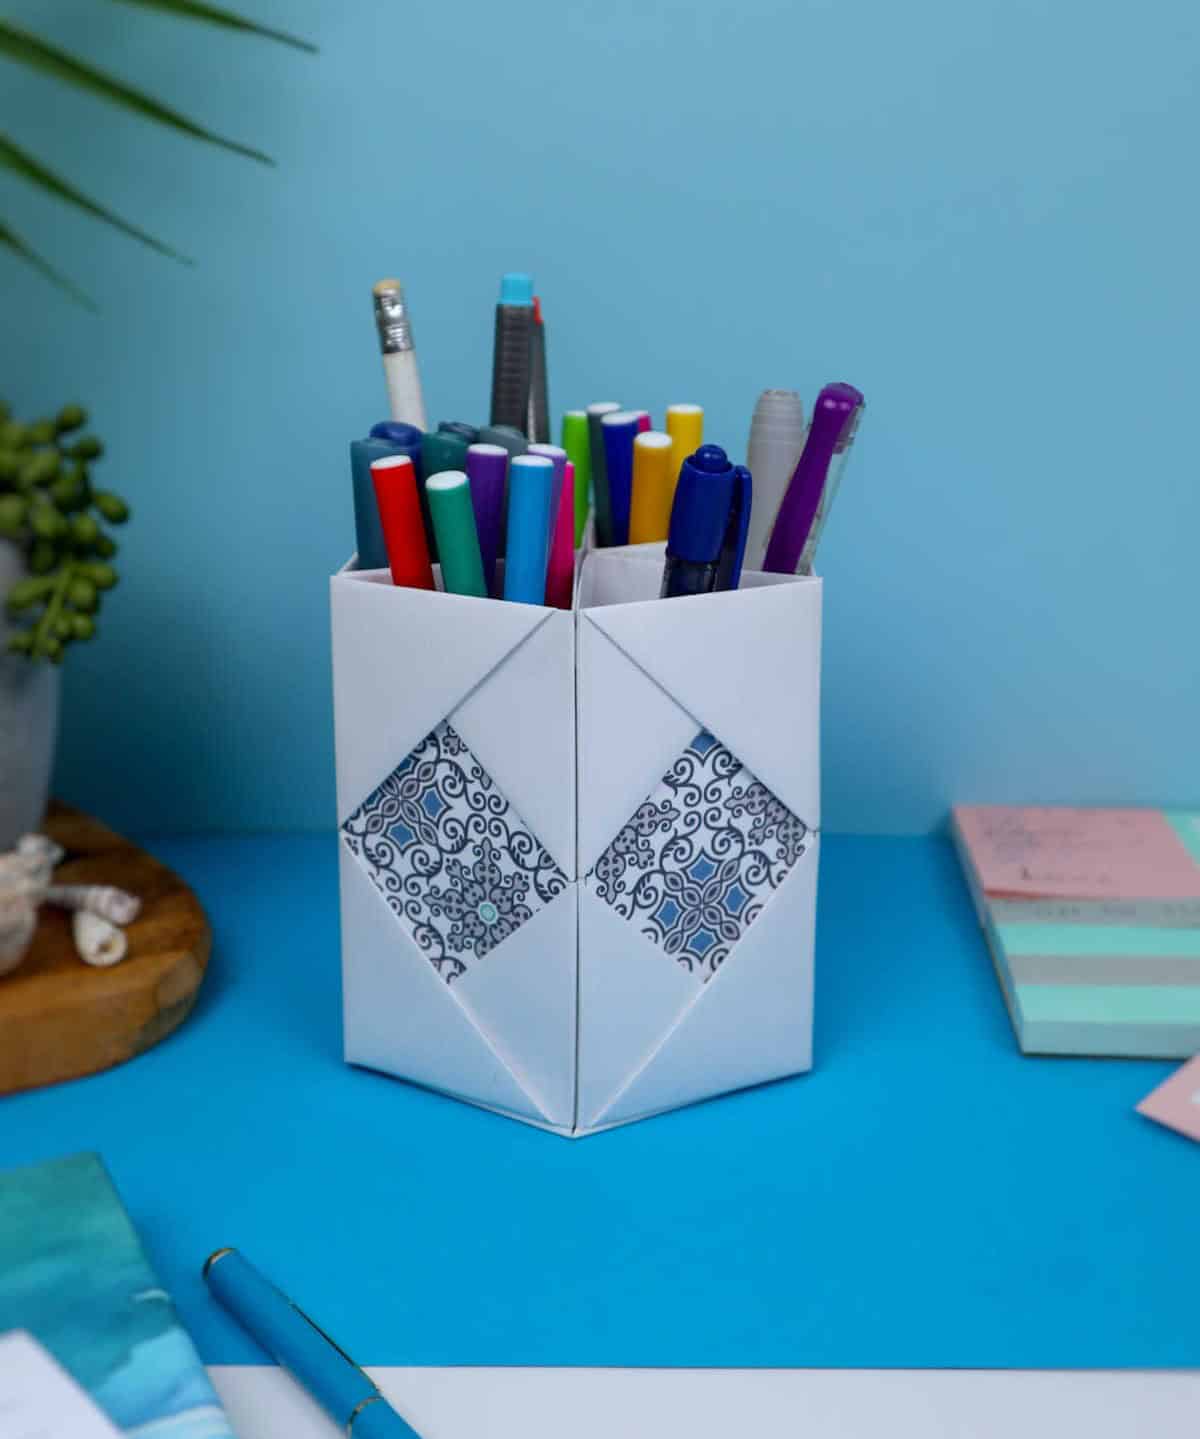
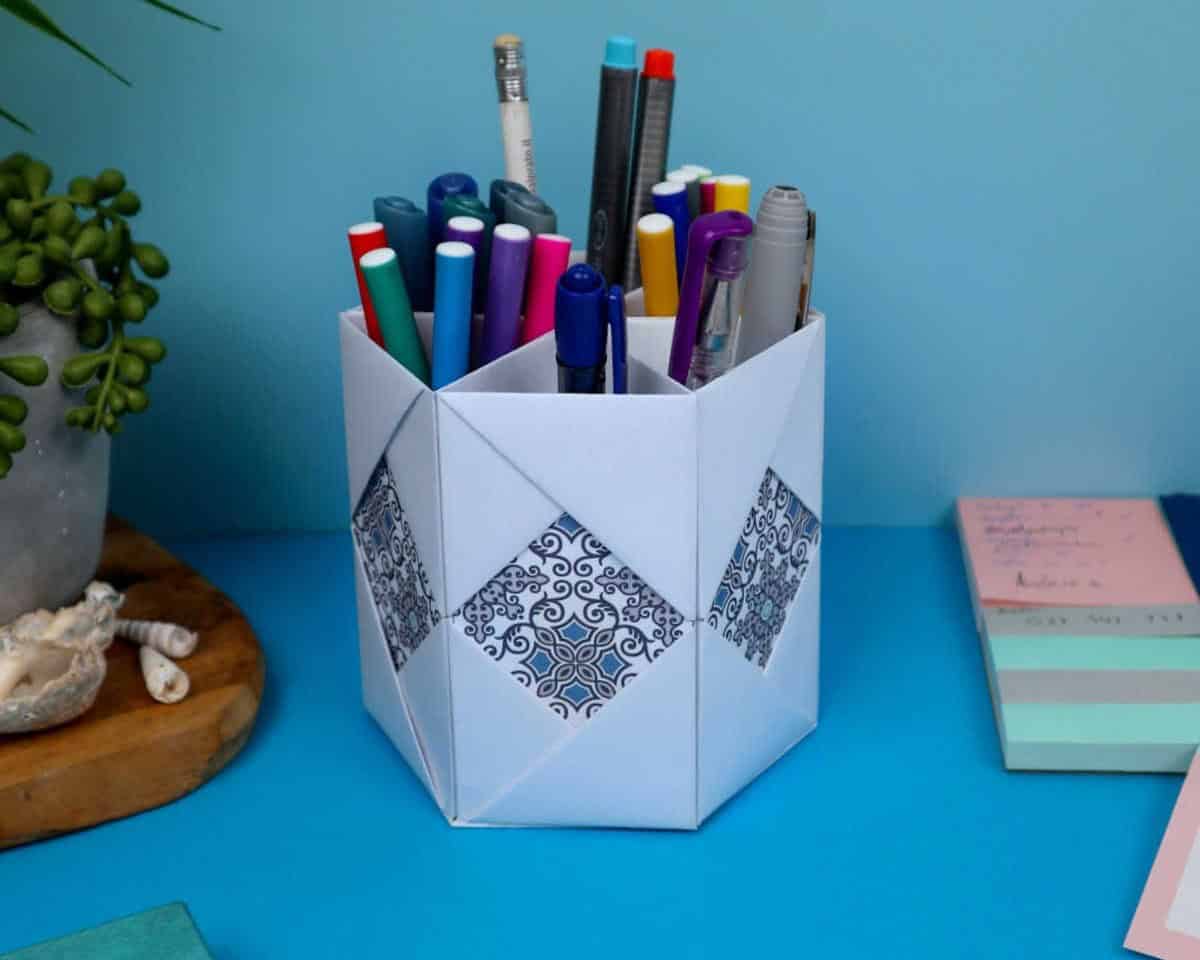
To complete your handmade paper pencil holder, simply attach the base to the holder and meticulously guide the flaps into place. As long as you’ve accurately measured your materials, the fit should be seamless. With these final steps, you’ll have a functional and eco-friendly pencil holder that’s uniquely yours!
Other Organizers You Can Make
To boost productivity and create a more efficient workspace, consider implementing some creative organization ideas. For instance, transform cereal boxes into DIY desk organizers to keep frequently used items within easy reach. Alternatively, utilize hanging organizers to maximize vertical space in your office or craft room. When it comes to drawers, dividers can help maintain order and prevent clutter from building up.
Additionally, explore innovative storage solutions for small spaces, such as repurposing rope to create a customizable organizer. Furthermore, focus on organizing small items like paper clips, pushpins, and other miscellaneous supplies to save time searching for what you need. By implementing these clever organization strategies, you’ll be able to streamline your workspace and achieve more in less time.
DIY Pencil Holder Out of Paper
Transform your workspace into a haven of organization with this simple yet effective DIY pencil holder. Made from just some paper, this clever craft is perfect for teens and adults looking to tame the chaos on their desk. With an active time of just 30 minutes, you can have a functional and aesthetically pleasing storage solution in no time. Try it out and enjoy the satisfaction of crafting something useful!
Equipment
To avoid the frustration of having to repeatedly wake up your computer or device, it’s a good idea to take control and prevent the screen from dimming in the first place. This can be achieved by making a few simple adjustments to your system settings.
Materials 1x2x3x
To create a unique and personalized journal cover, you’ll need a few basic materials. Start by preparing five square sheets of paper, each measuring the same as an A4 sheet. You’ll also need one additional thick paper sheet, again cut to the same size as an A4. To bring everything together, have some glue or double-sided tape on hand. If you want to add a touch of personality to your design, consider incorporating decorative paper into your project.
Instructions
To embark on this DIY pencil holder project, gather all the necessary materials. Begin by folding a sheet of paper in half and dividing it into two equal halves. Next, fold both the top and bottom halves inward toward the center, resulting in four equal parts. Unfold the paper and rotate it so that the creases are vertical. Repeat the previous step, this time dividing the paper into four equal parts in the new direction.
This process should yield a sheet of paper with 16 equal parts, resembling 4×4 squares. Fold all four corners inward, then fold the left and right sides toward the center. Reverse the paper and repeat the same folding motion to bring the left and right corners inward once more. Slide one end into the opposite end and secure it in place. This marks the completion of a single component – you’ll need to create six more of these.
As you build each piece, feel free to add decorative elements by tucking in small pieces of colorful paper. Once all six components are complete, arrange them so that the decorated side faces outward. Secure the components together using double-sided tape or glue. To finish the base of your pencil holder, trace a hexagonal outline with a 1.5-2 cm gap for flaps and cut it out using scissors. Insert this bottom into the pencil holder and secure it in place.
Finally, fill your new stationery holder with your favorite writing supplies – you’re now ready to get creative!