Don’t let a limited budget get in the way of your love for jewelry! If you’re eager to create beautiful beaded bracelets without breaking the bank, you’re in luck. By making your own, you can enjoy endless customization options and even create thoughtful gifts for loved ones. Plus, with minimal time investment required, it’s an accessible craft perfect for beginners or those looking to spice up their jewelry collection.
This post offers a straightforward guide to getting started with beaded bracelets, but don’t worry if you’re feeling adventurous – there are bonus materials below that can help you take your creations to the next level!
Supplies You’ll Need

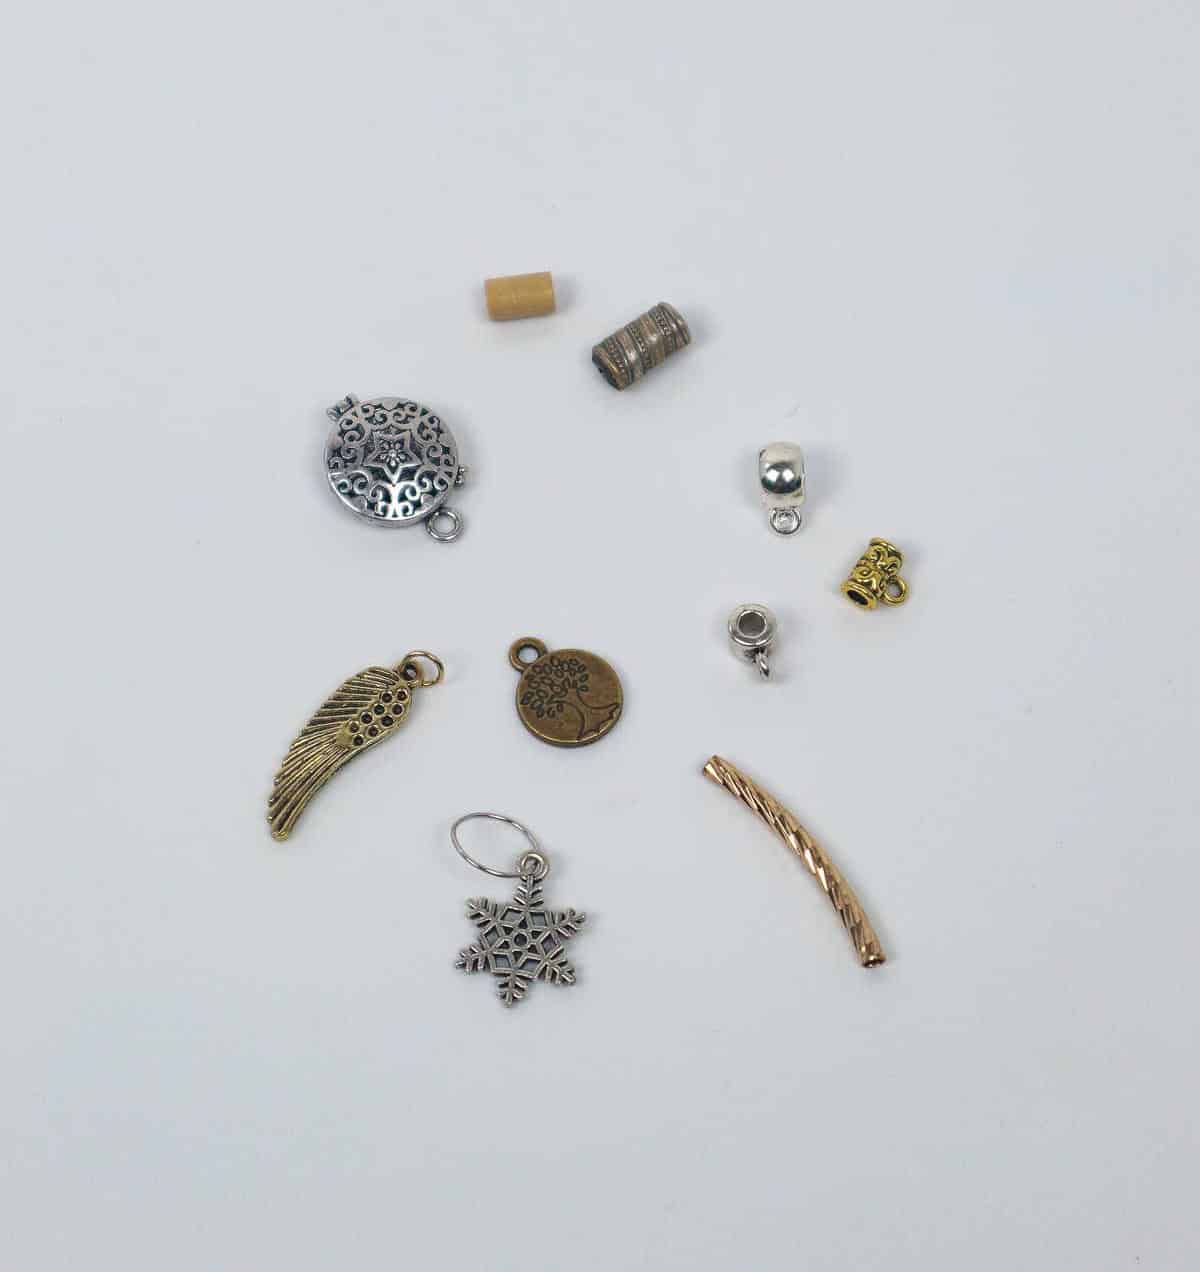
To create your unique beaded bracelet, you’ll need a few essential materials: beads with holes greater than 1mm in diameter, elastic cord measuring approximately 0.8mm, E6000 glue for bonding, a toothpick for precision, and scissors for trimming excess material. Optional add-ins include bail beads, charms, curved tube beads, or traditional tube beads. Some artisans find it helpful to initially sketch out their design, including the bead pattern, to plan their creation more effectively.
How to Make Beaded Bracelet
When it comes to working with beads and string, there are a few key factors to keep in mind. Specifically, the diameter of the hole in your beads will have a significant impact on the success of your project. For this particular craft, I recommend using beads with a minimum hole size of 1mm. This will provide a sturdy base for your bracelet. As an example, I’m currently working with a 0.8 mm cord, which is slightly thicker than my bead holes and allows for an easier, more manageable project.
It’s also important to note that going too thin – such as using a 0.5mm cord – can result in a fragile or even broken piece. By choosing the right string thickness, you’ll be able to create a beautiful and durable bracelet.
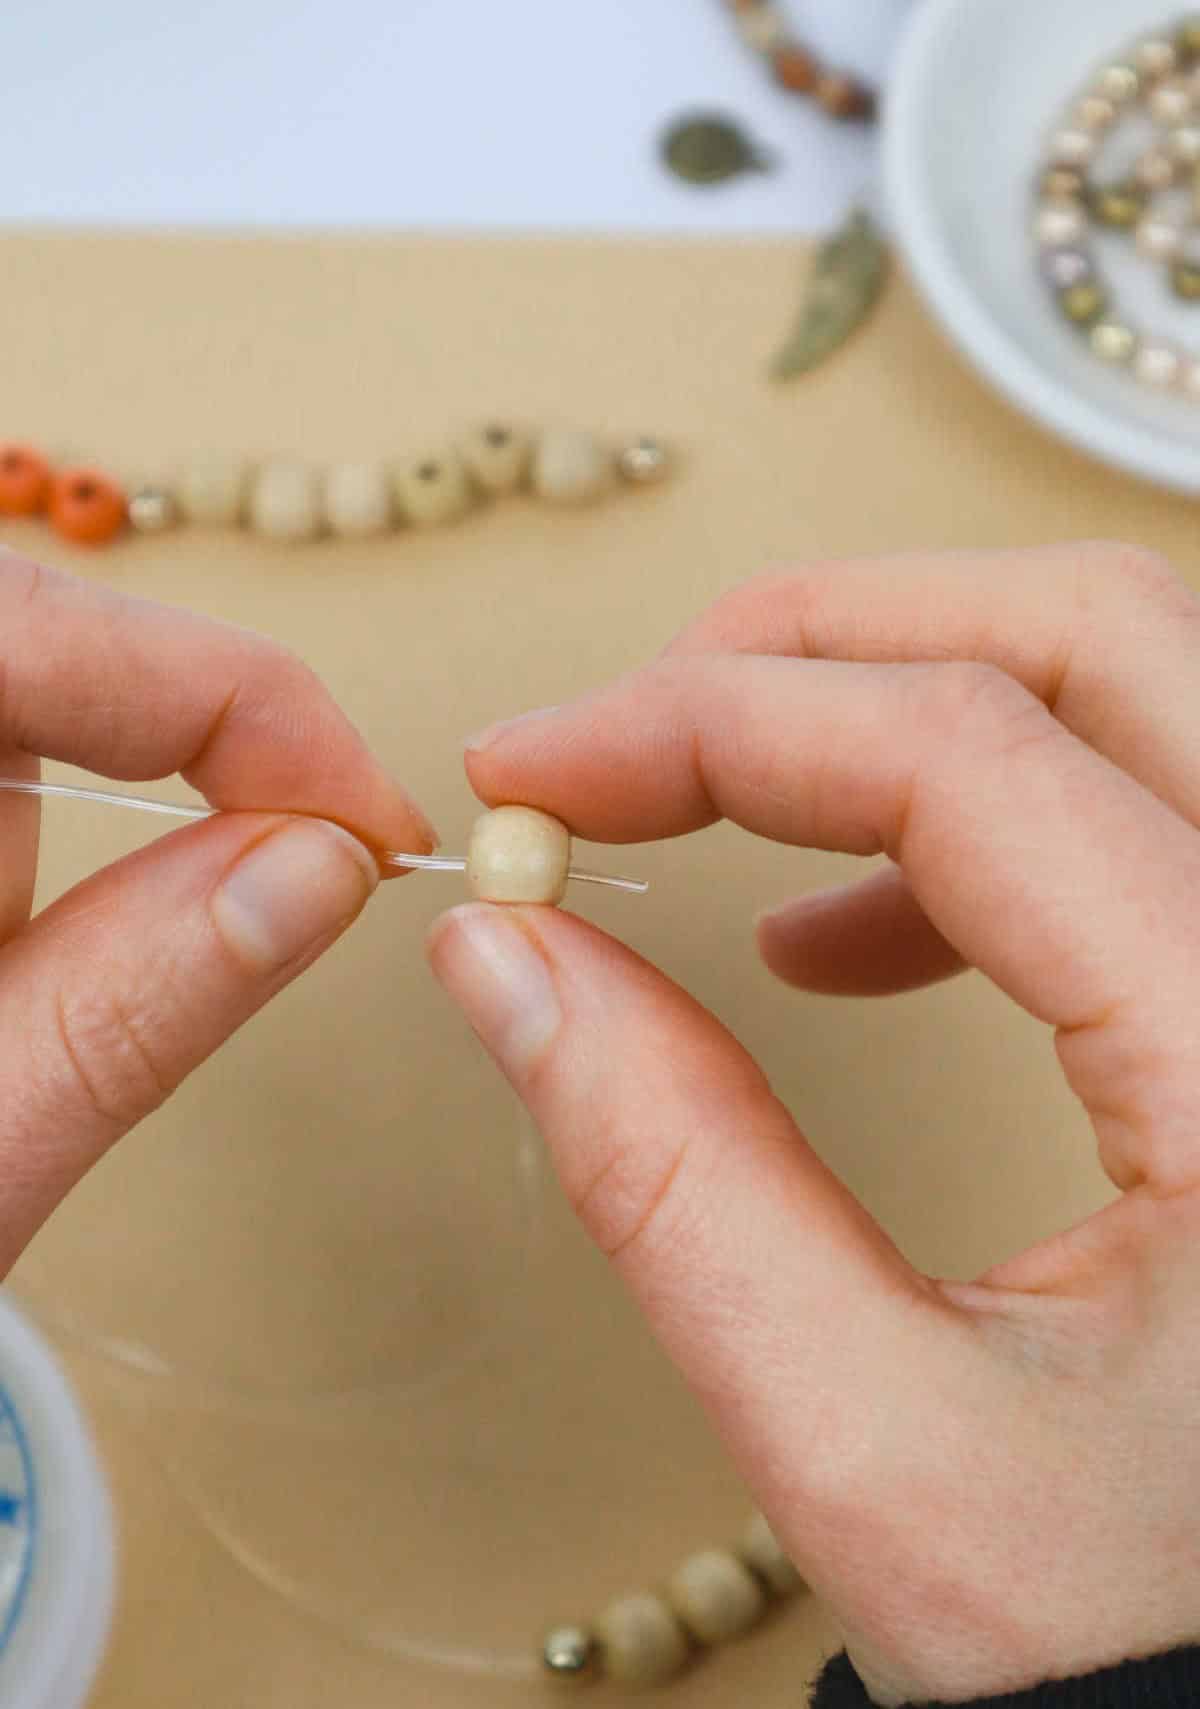
Step 1
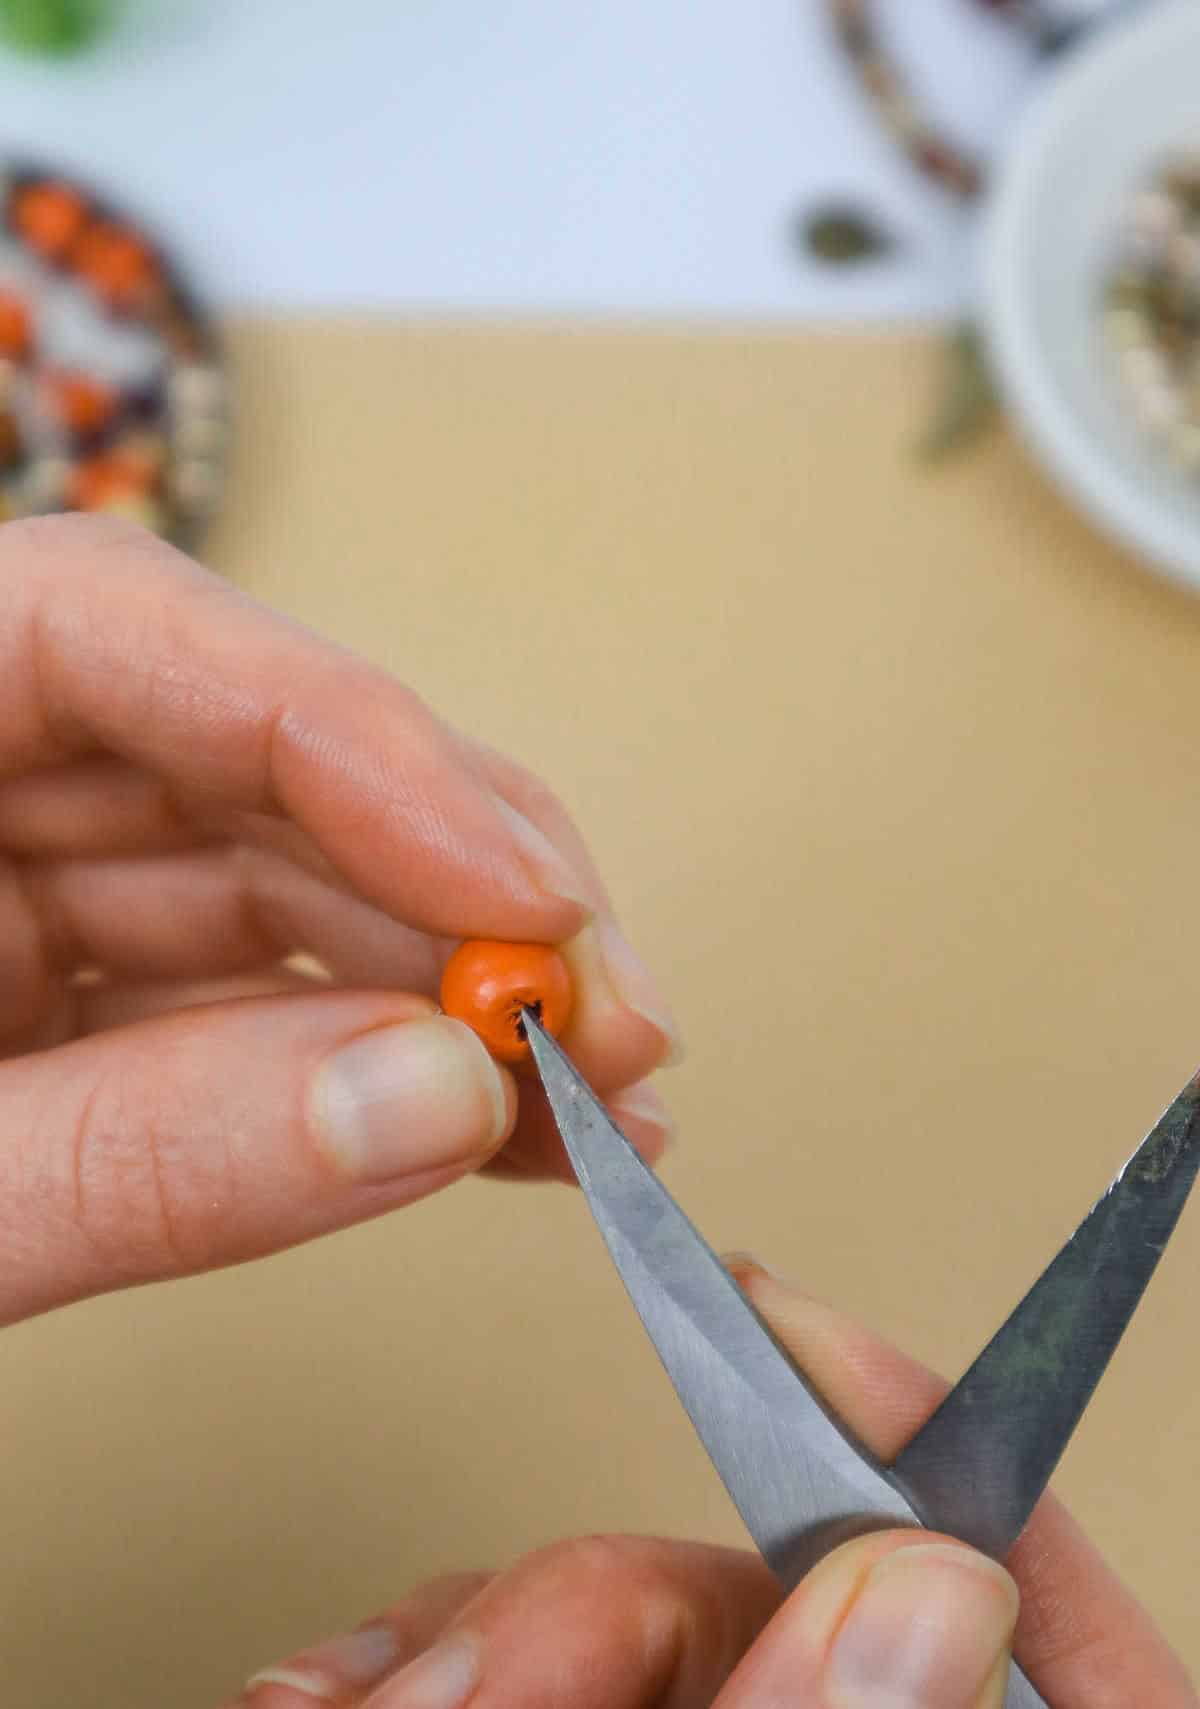
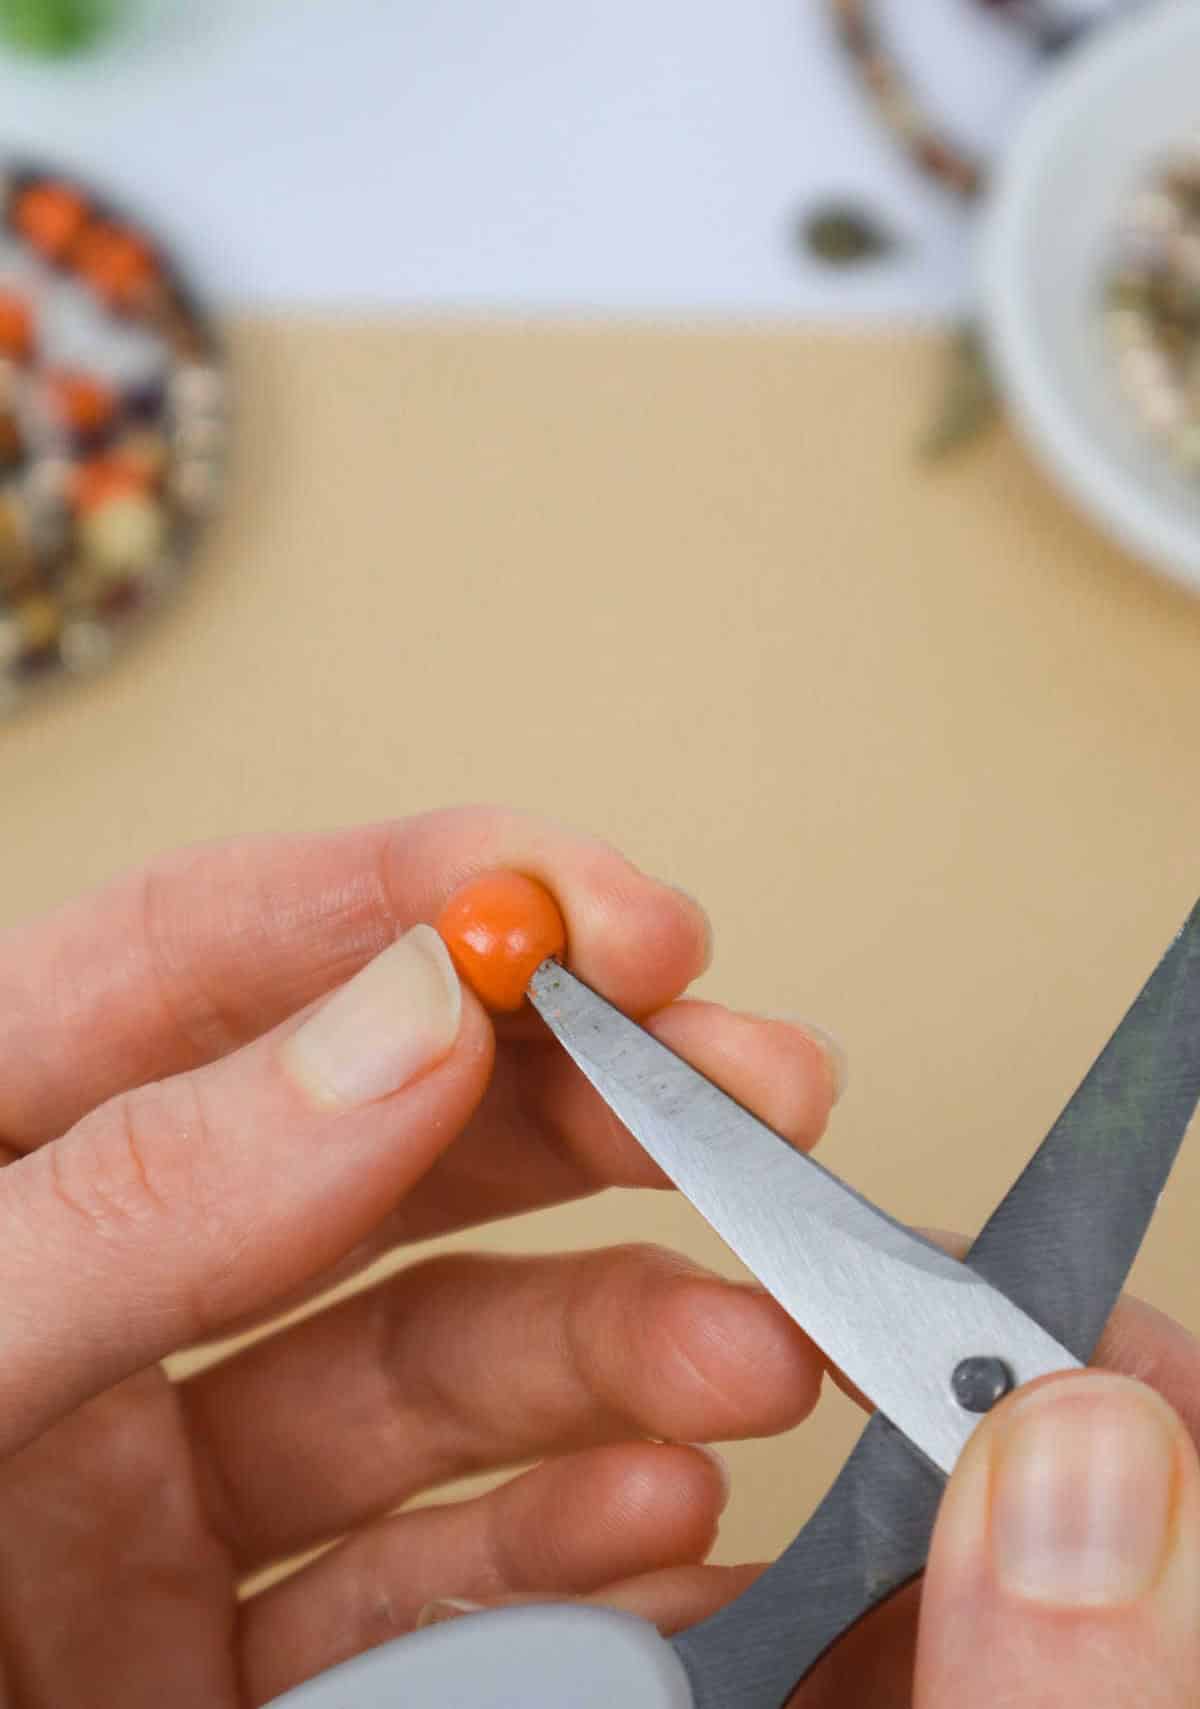
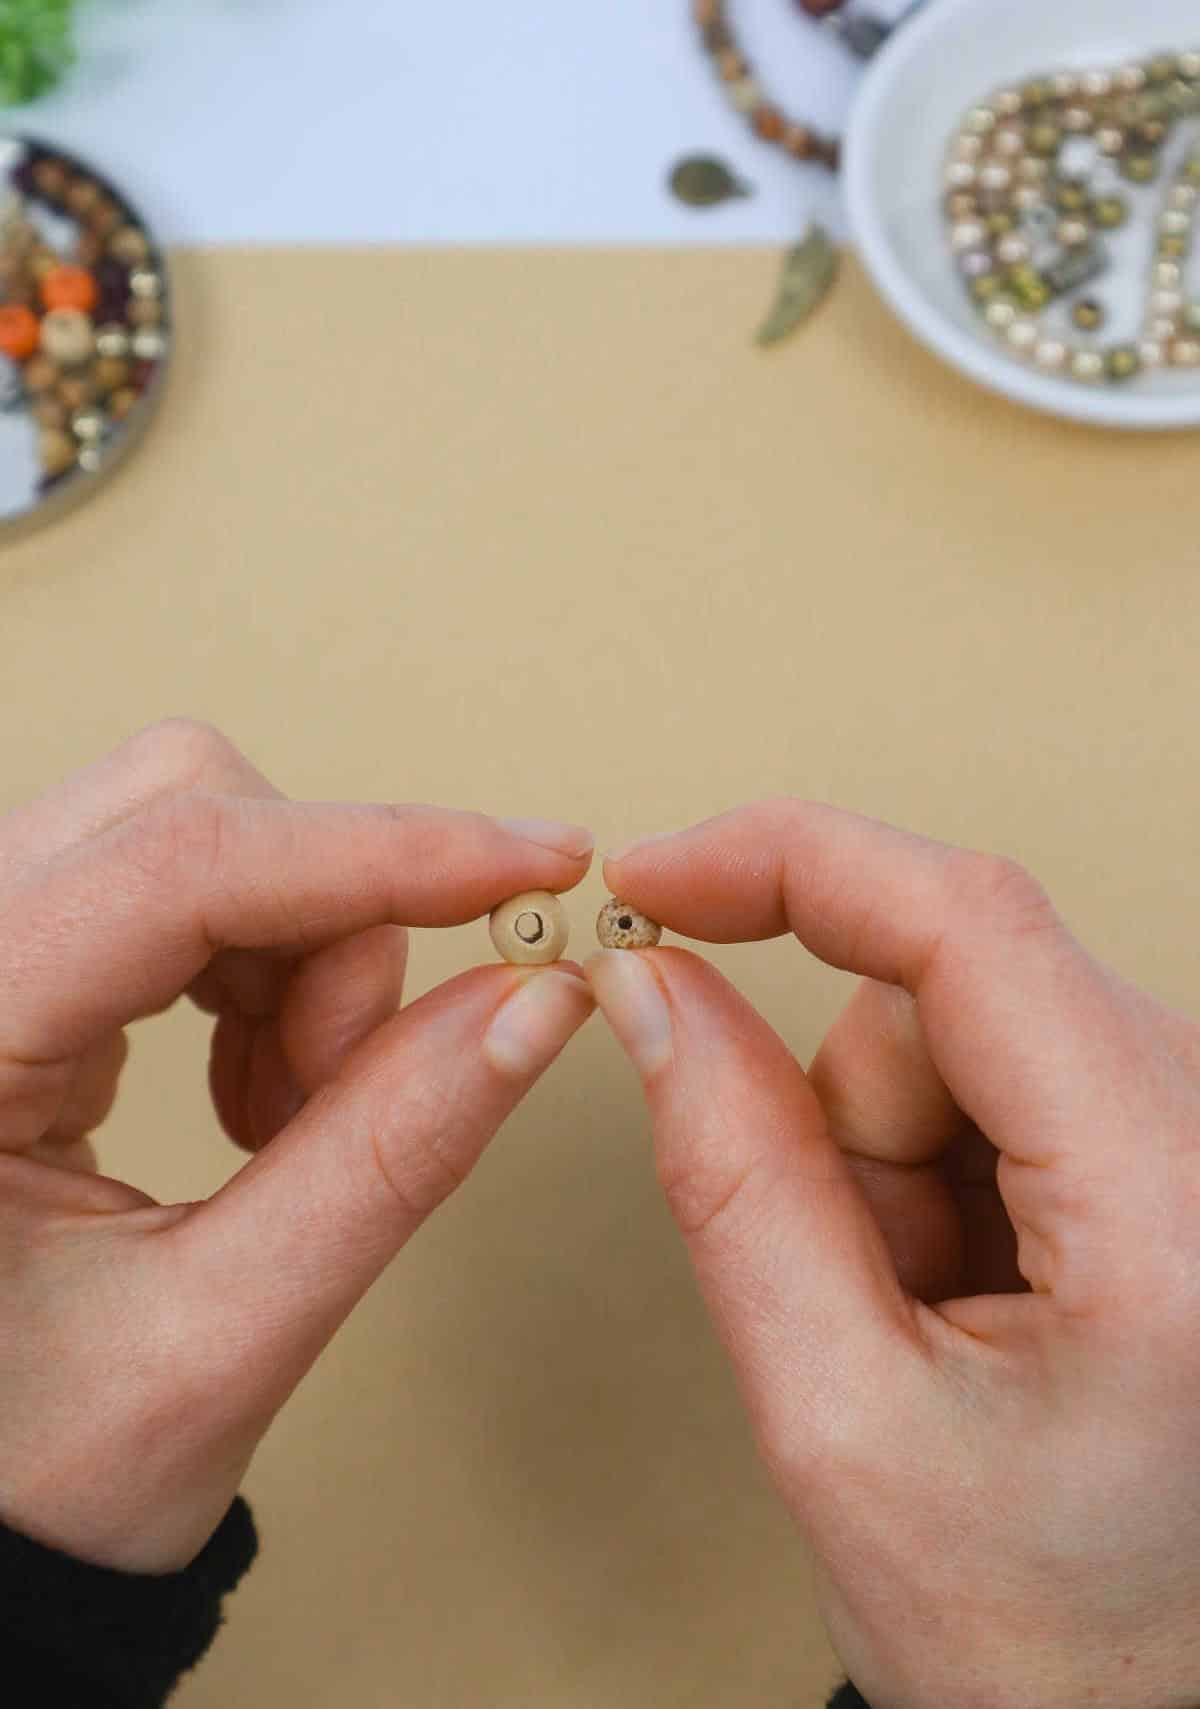
When crafting with wooden beads, don’t hesitate to employ scissors to expand the openings if needed. However, exercise caution when doing so, as it’s easy to accidentally damage the beads or create uneven holes.
With precision and control, I carefully insert the tip of the blade into the circumference of each bead and then twist it back and forth until I’m satisfied with the resulting gap. This process is repeated for any additional wooden beads requiring this adjustment.
Step 2
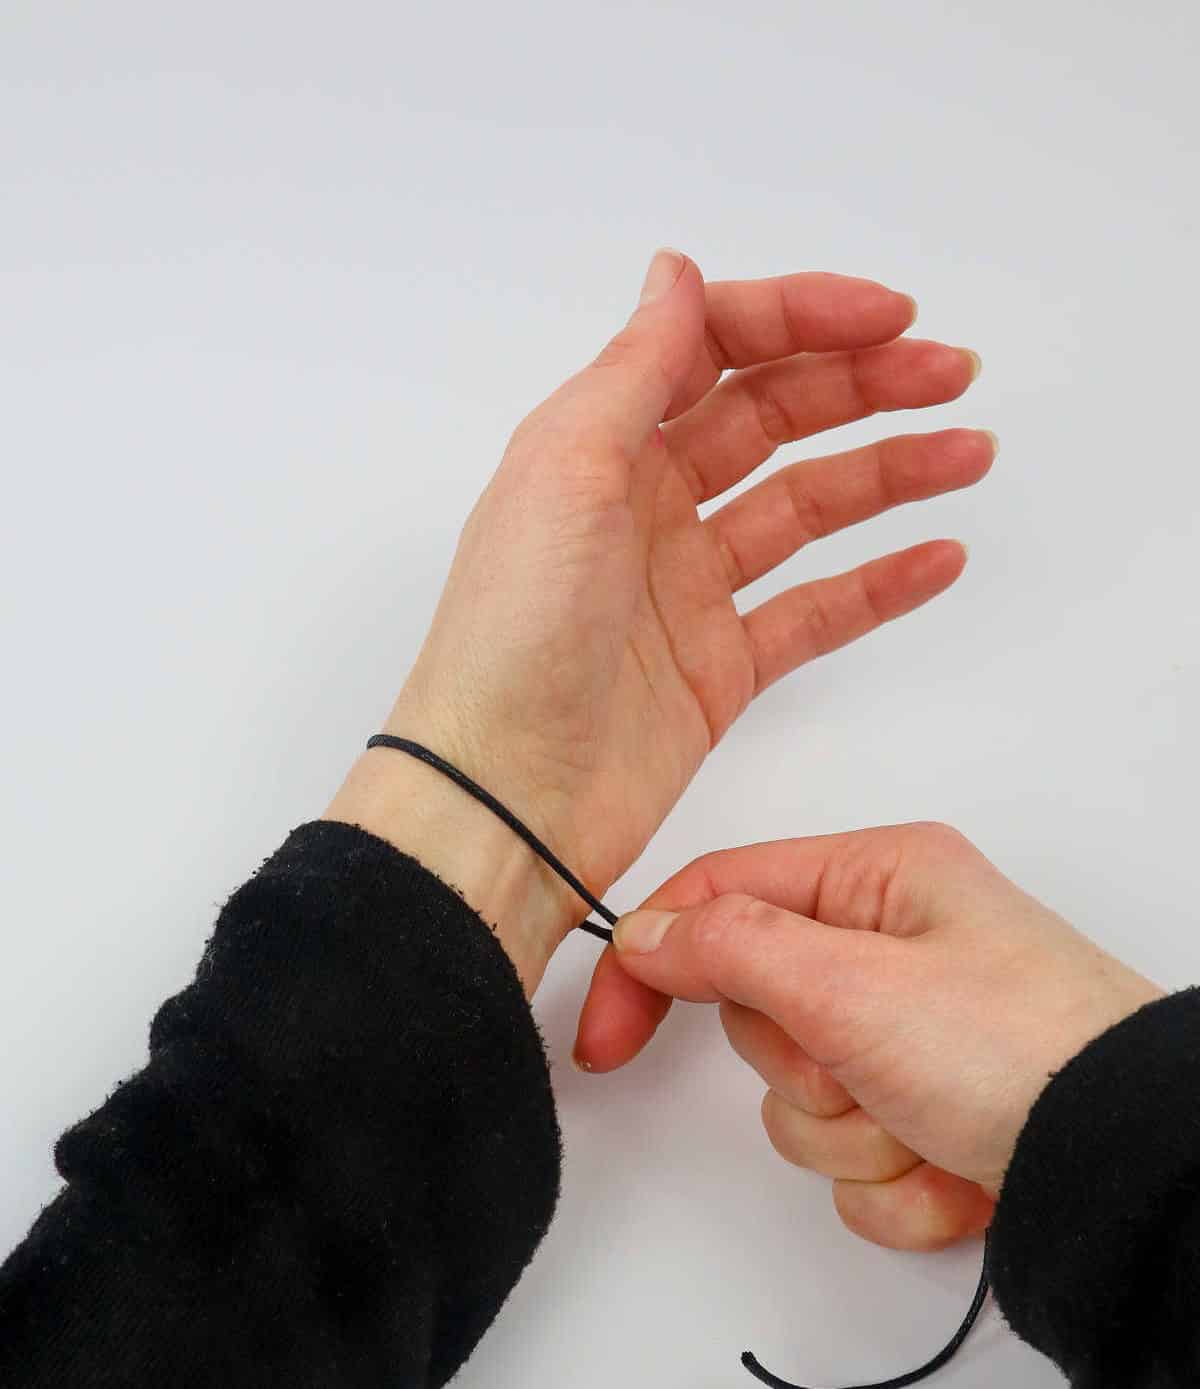
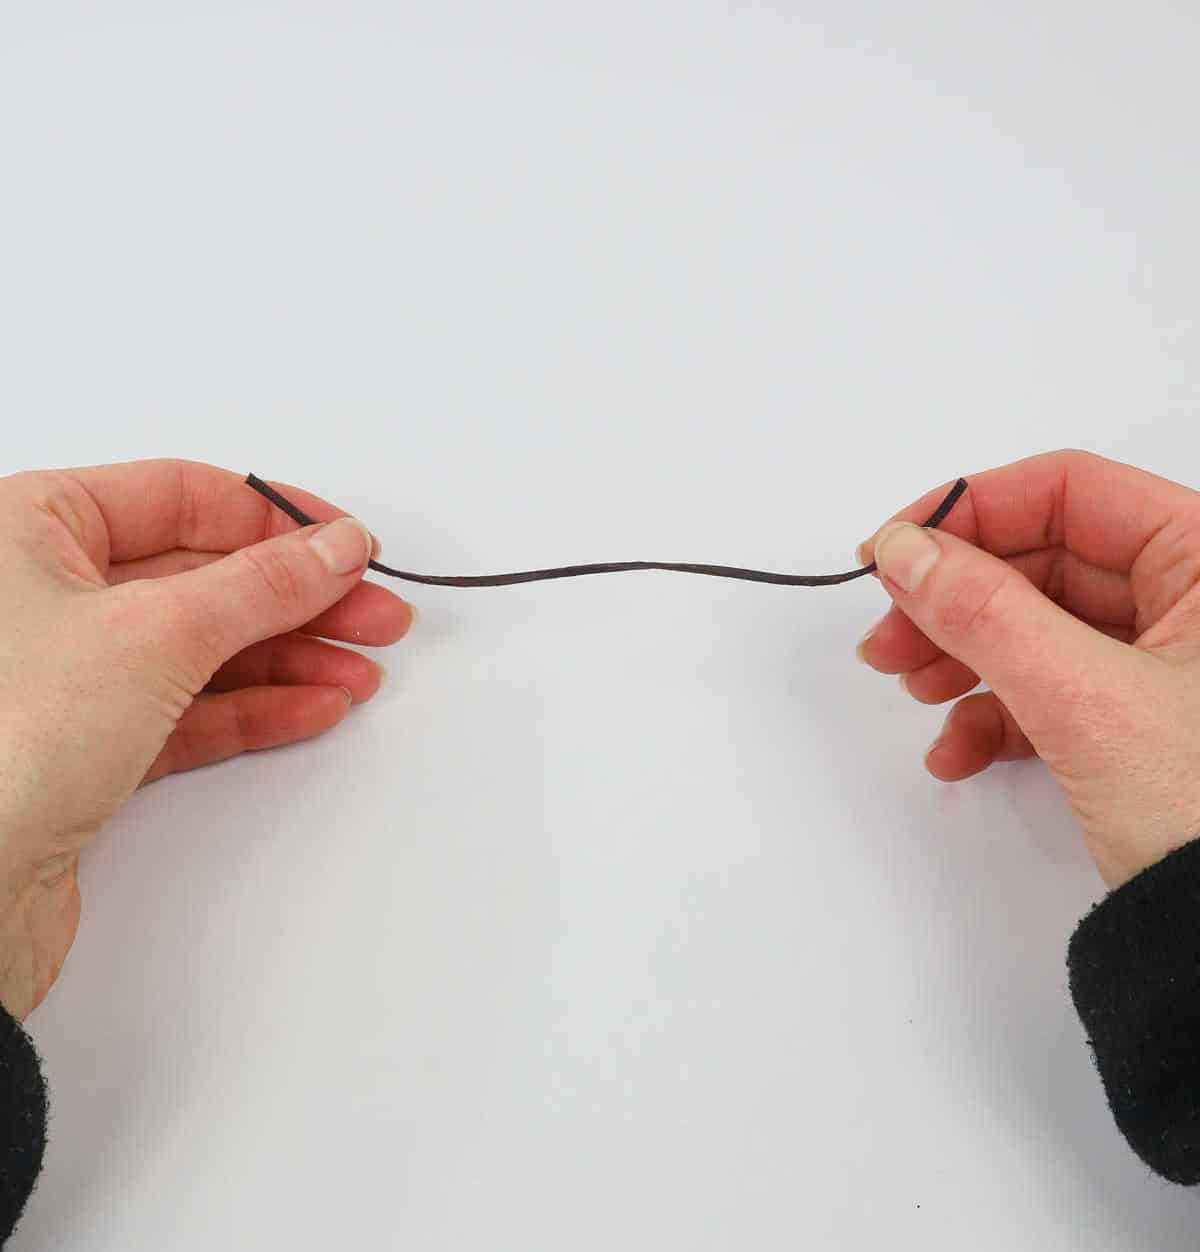
To create your beaded bracelet, start by wrapping any string around your wrist for the desired length. Be sure to leave some extra room for easy on and off wear – a tight fit can lead to premature breakage over time. Once you’re satisfied with the length, lay the strand flat and set it aside for now. The size of the wrapped string can serve as a helpful guide for mapping out your beadwork pattern or design, helping you visualize the final product.
Step 3
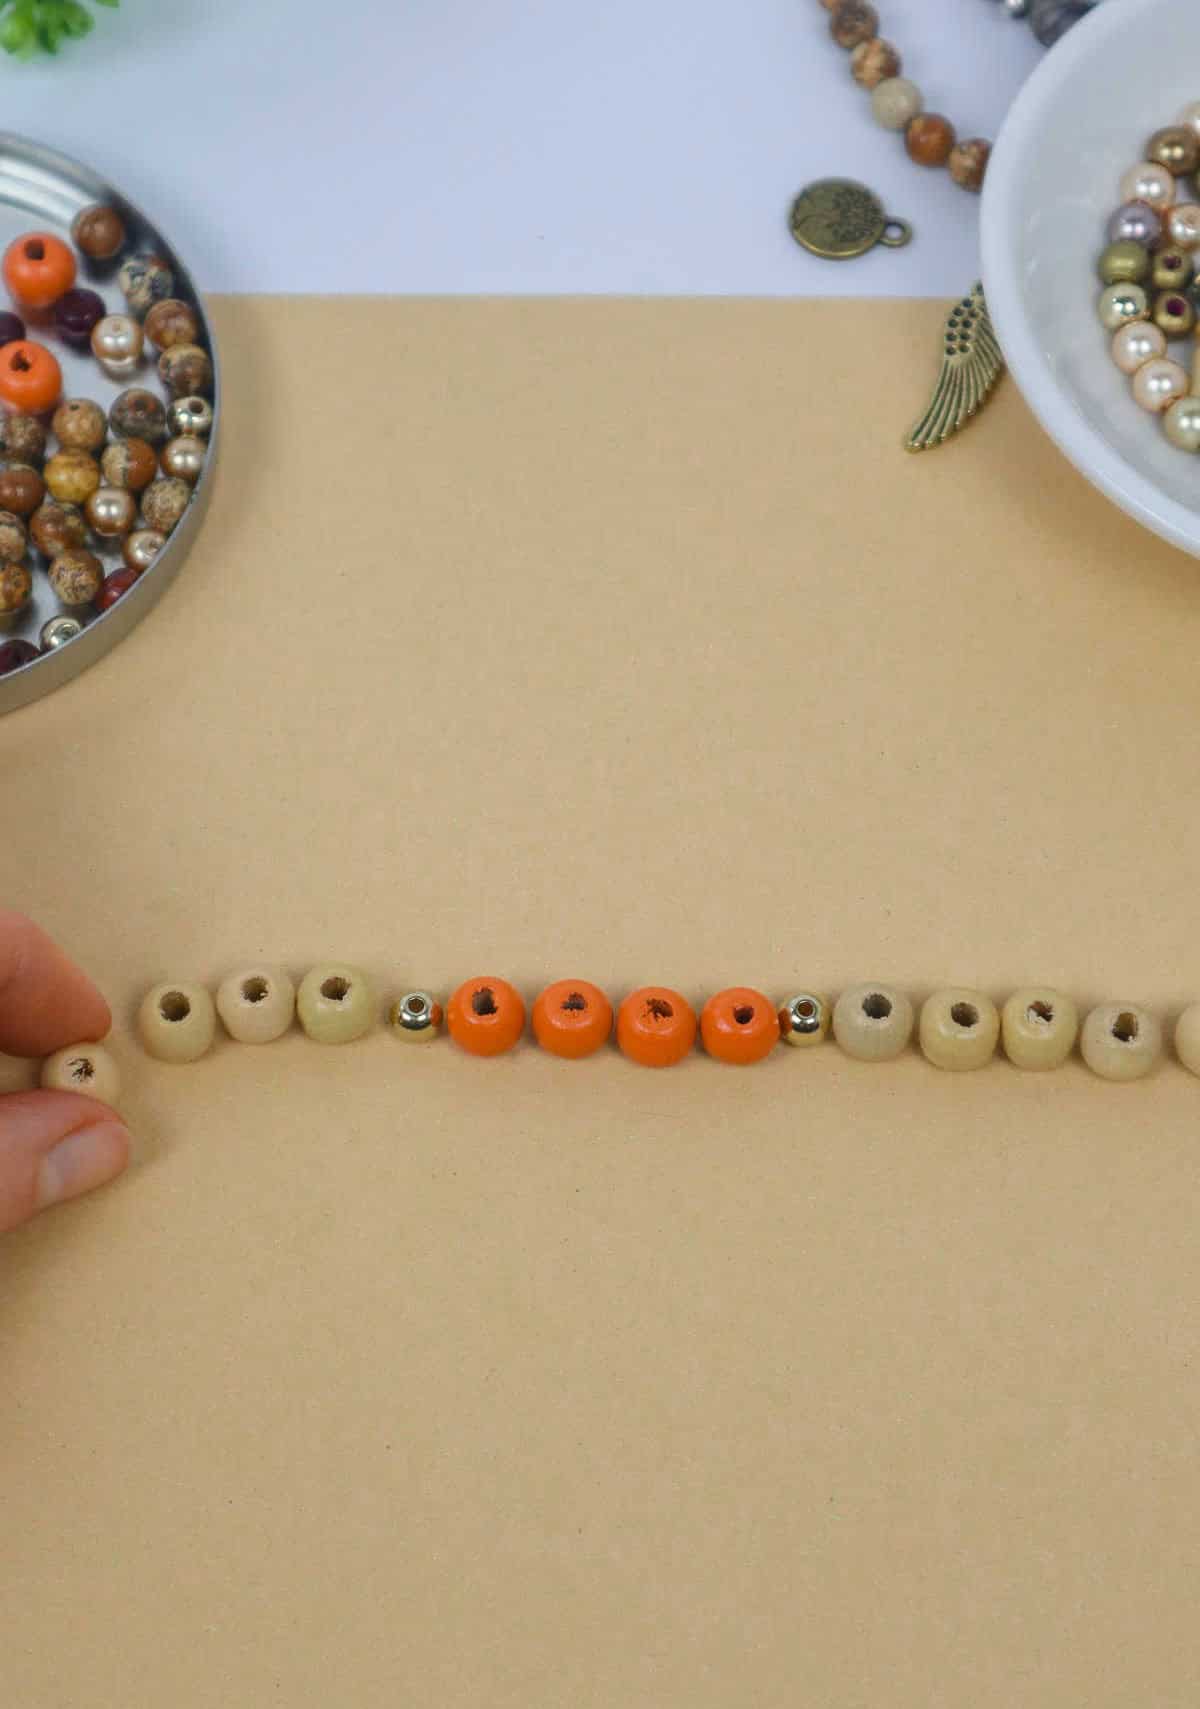
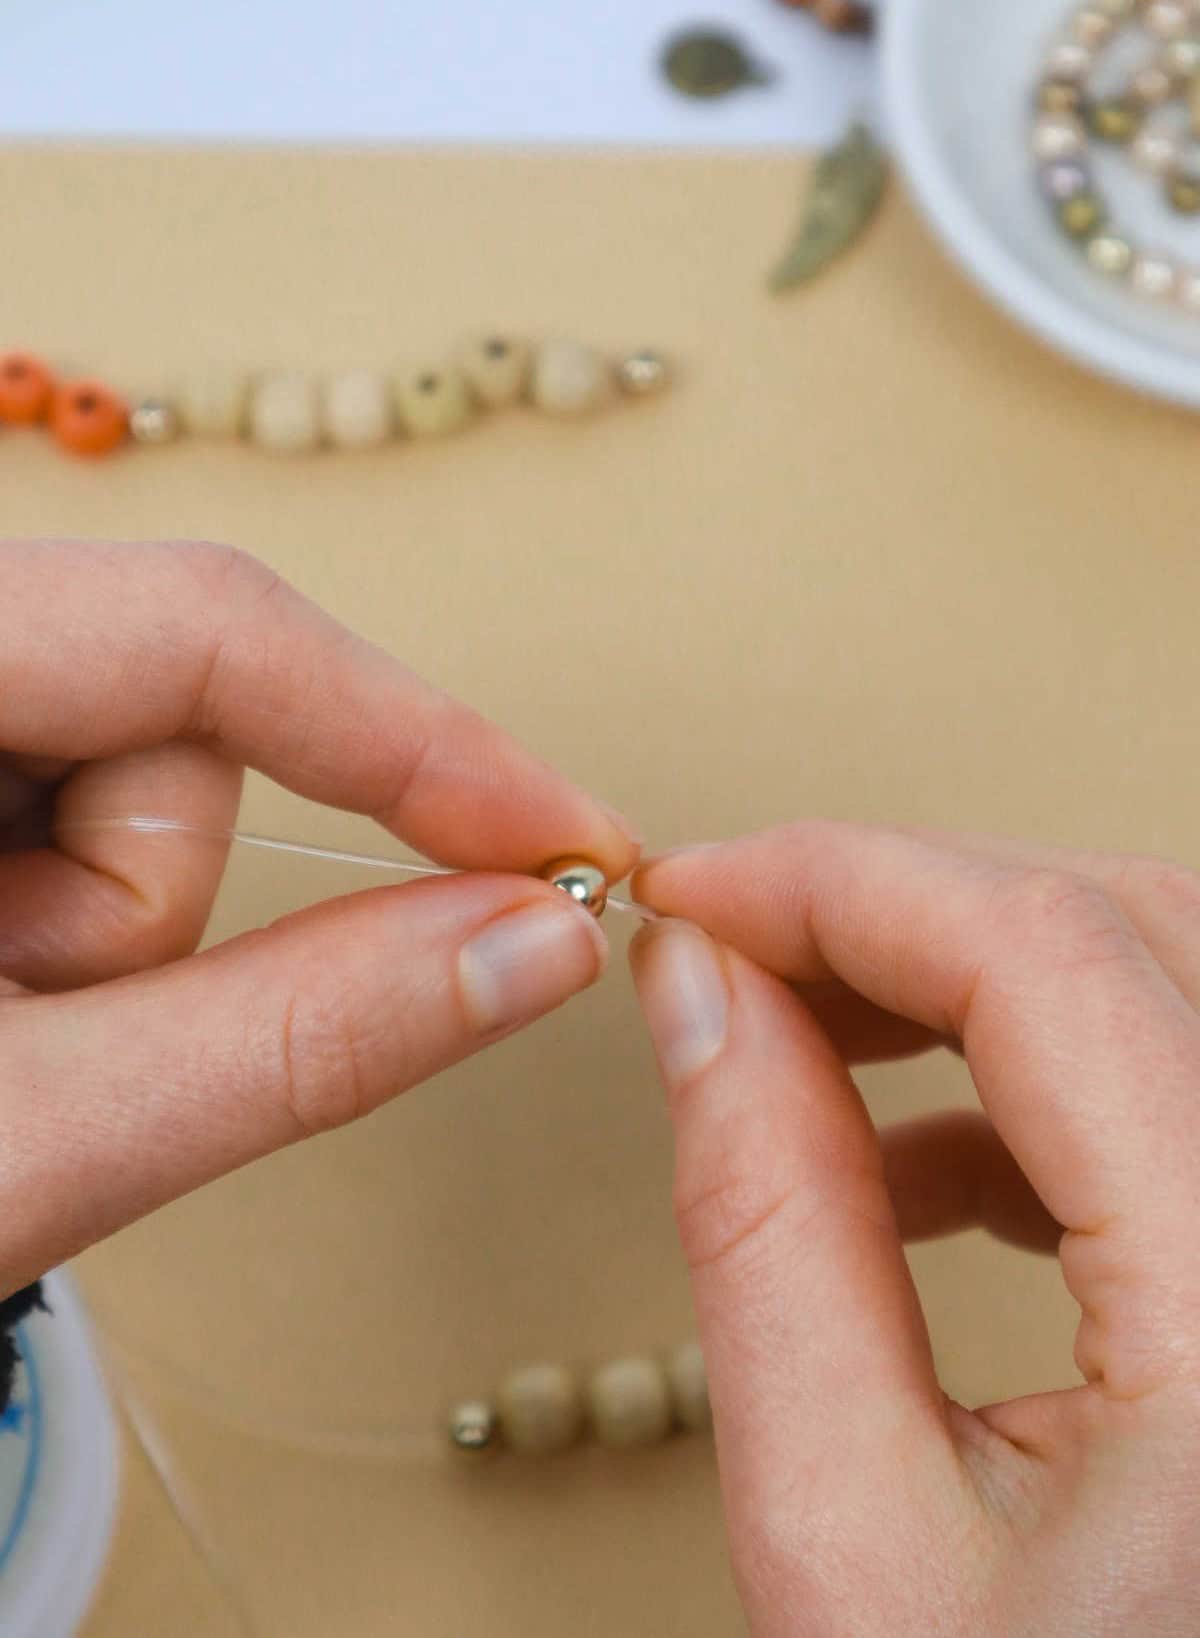
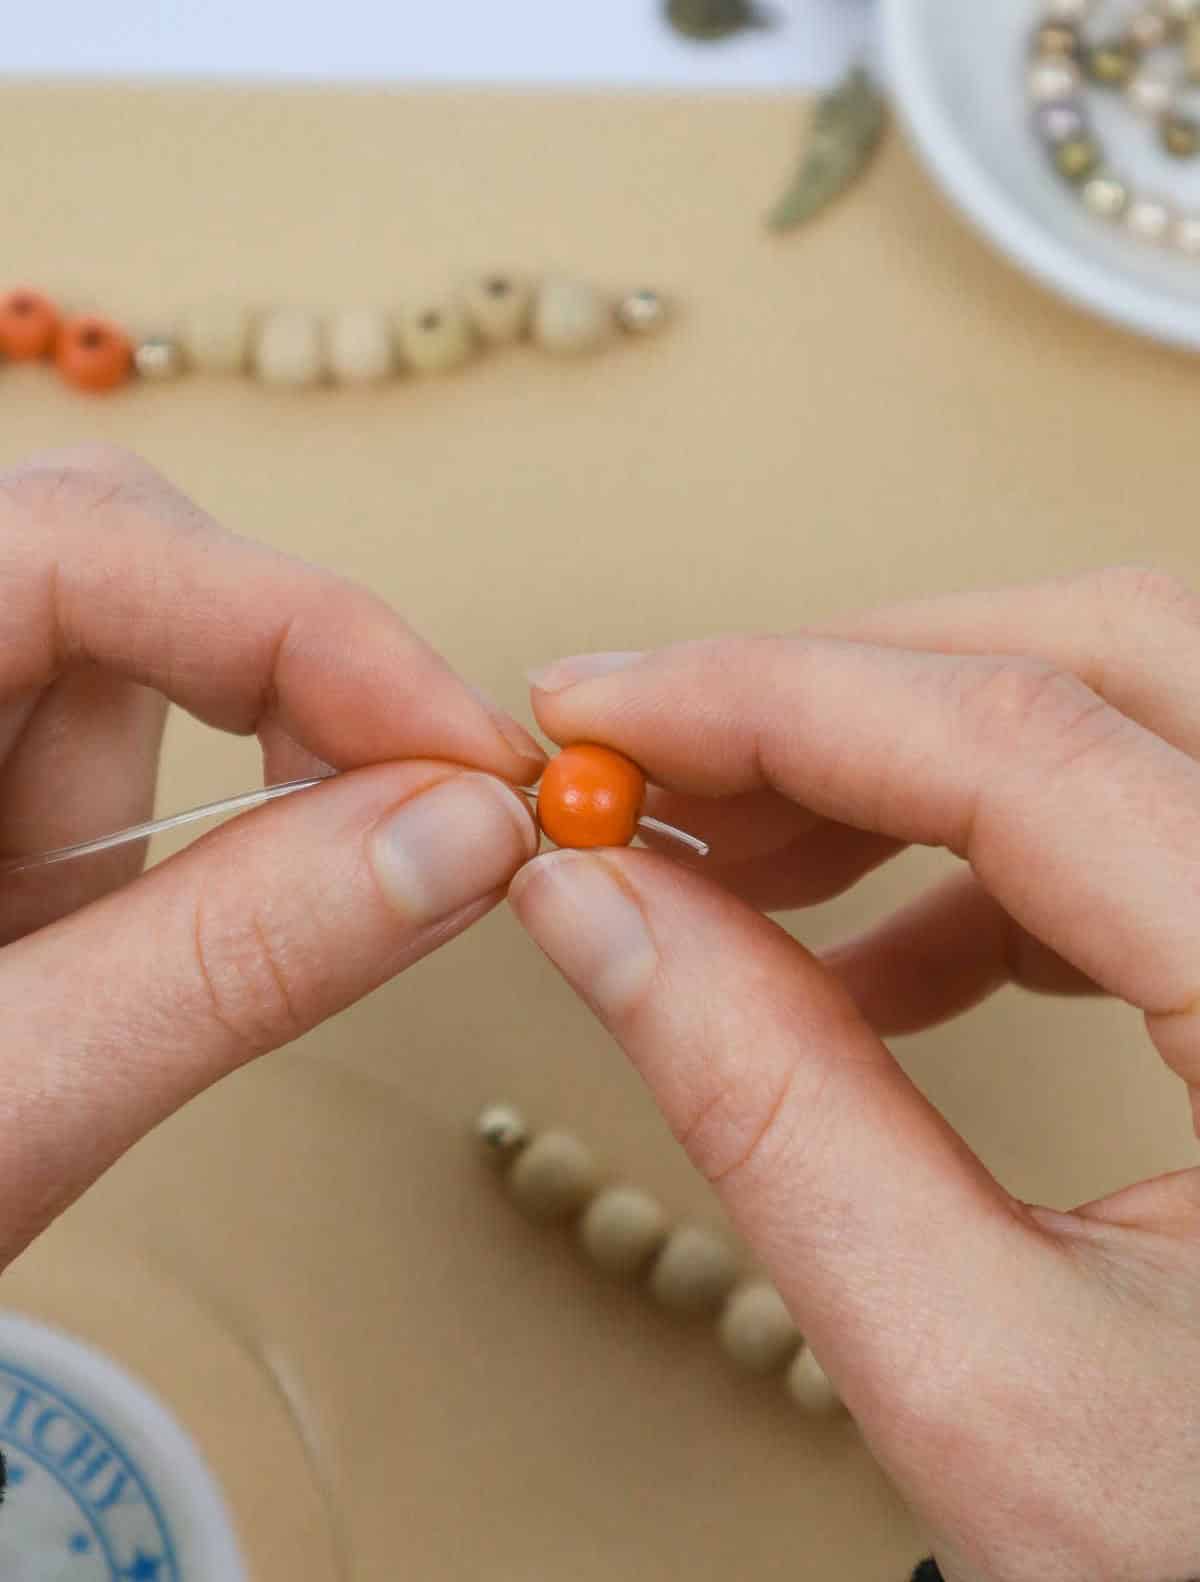
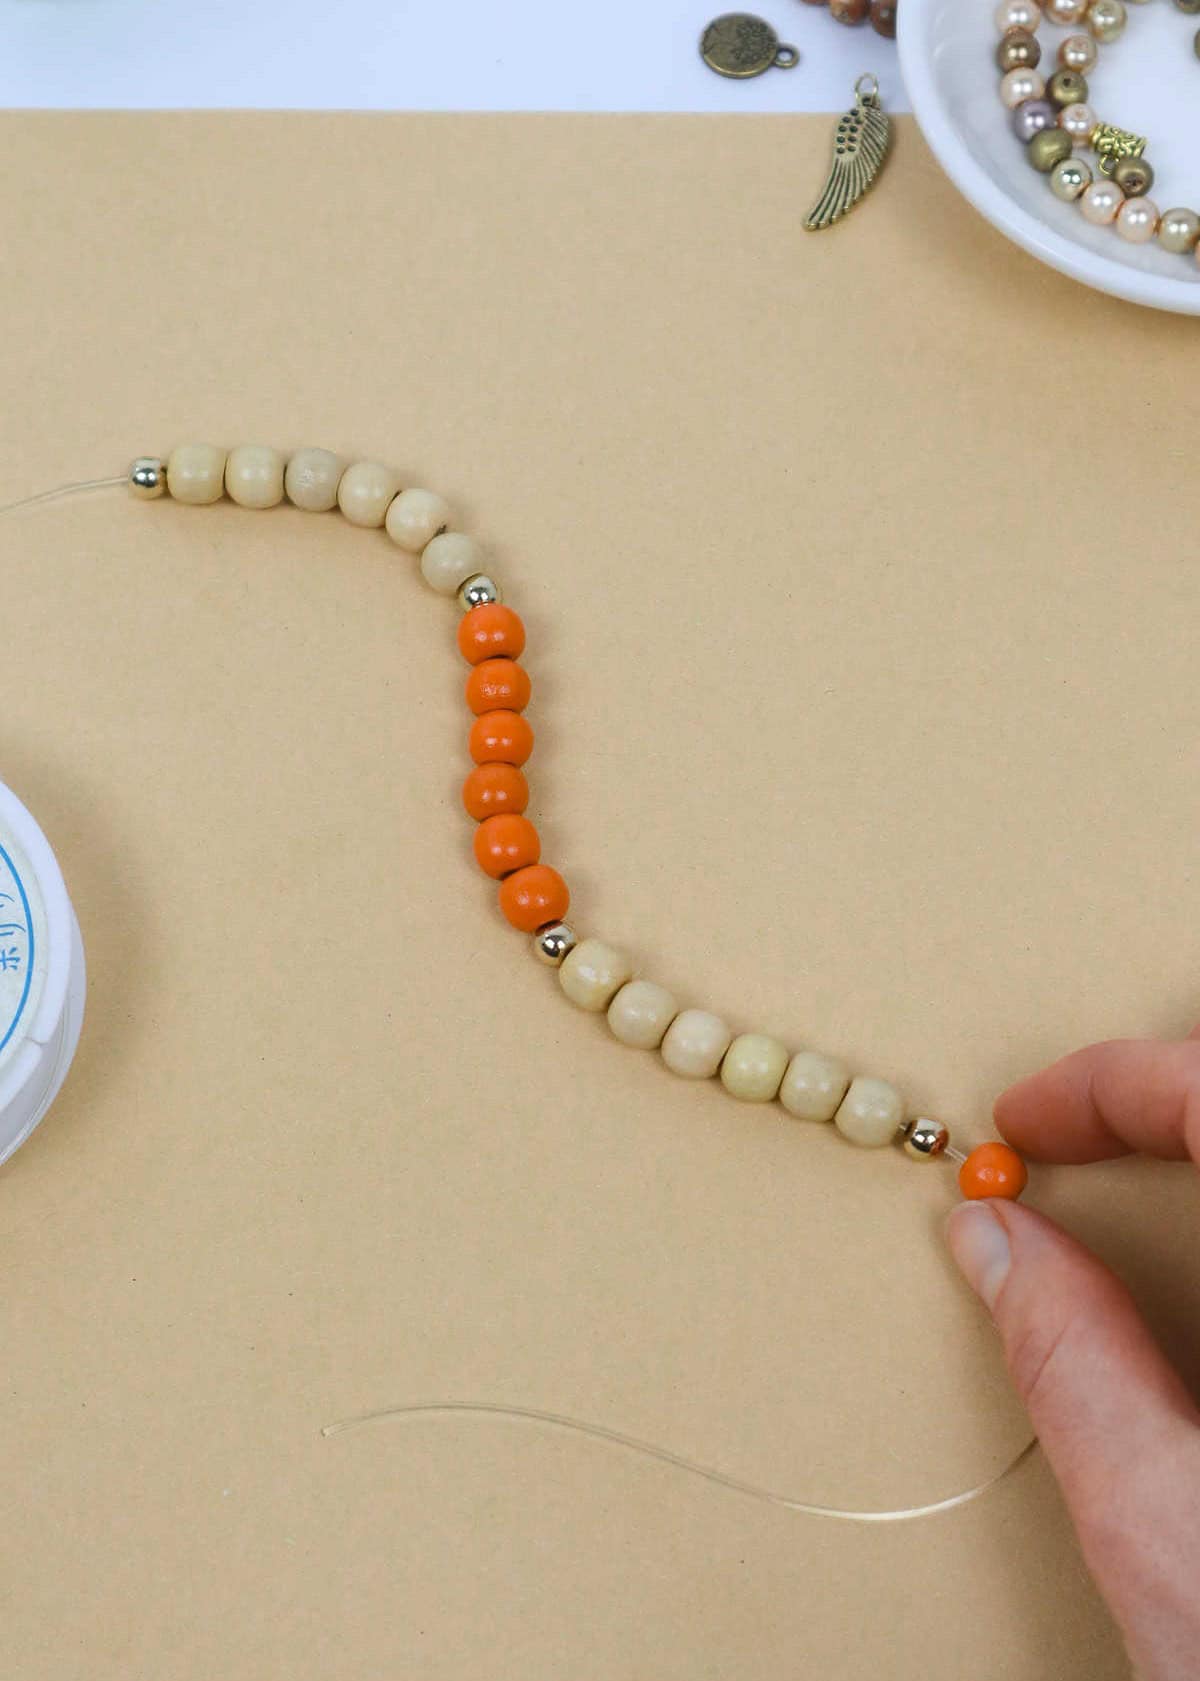
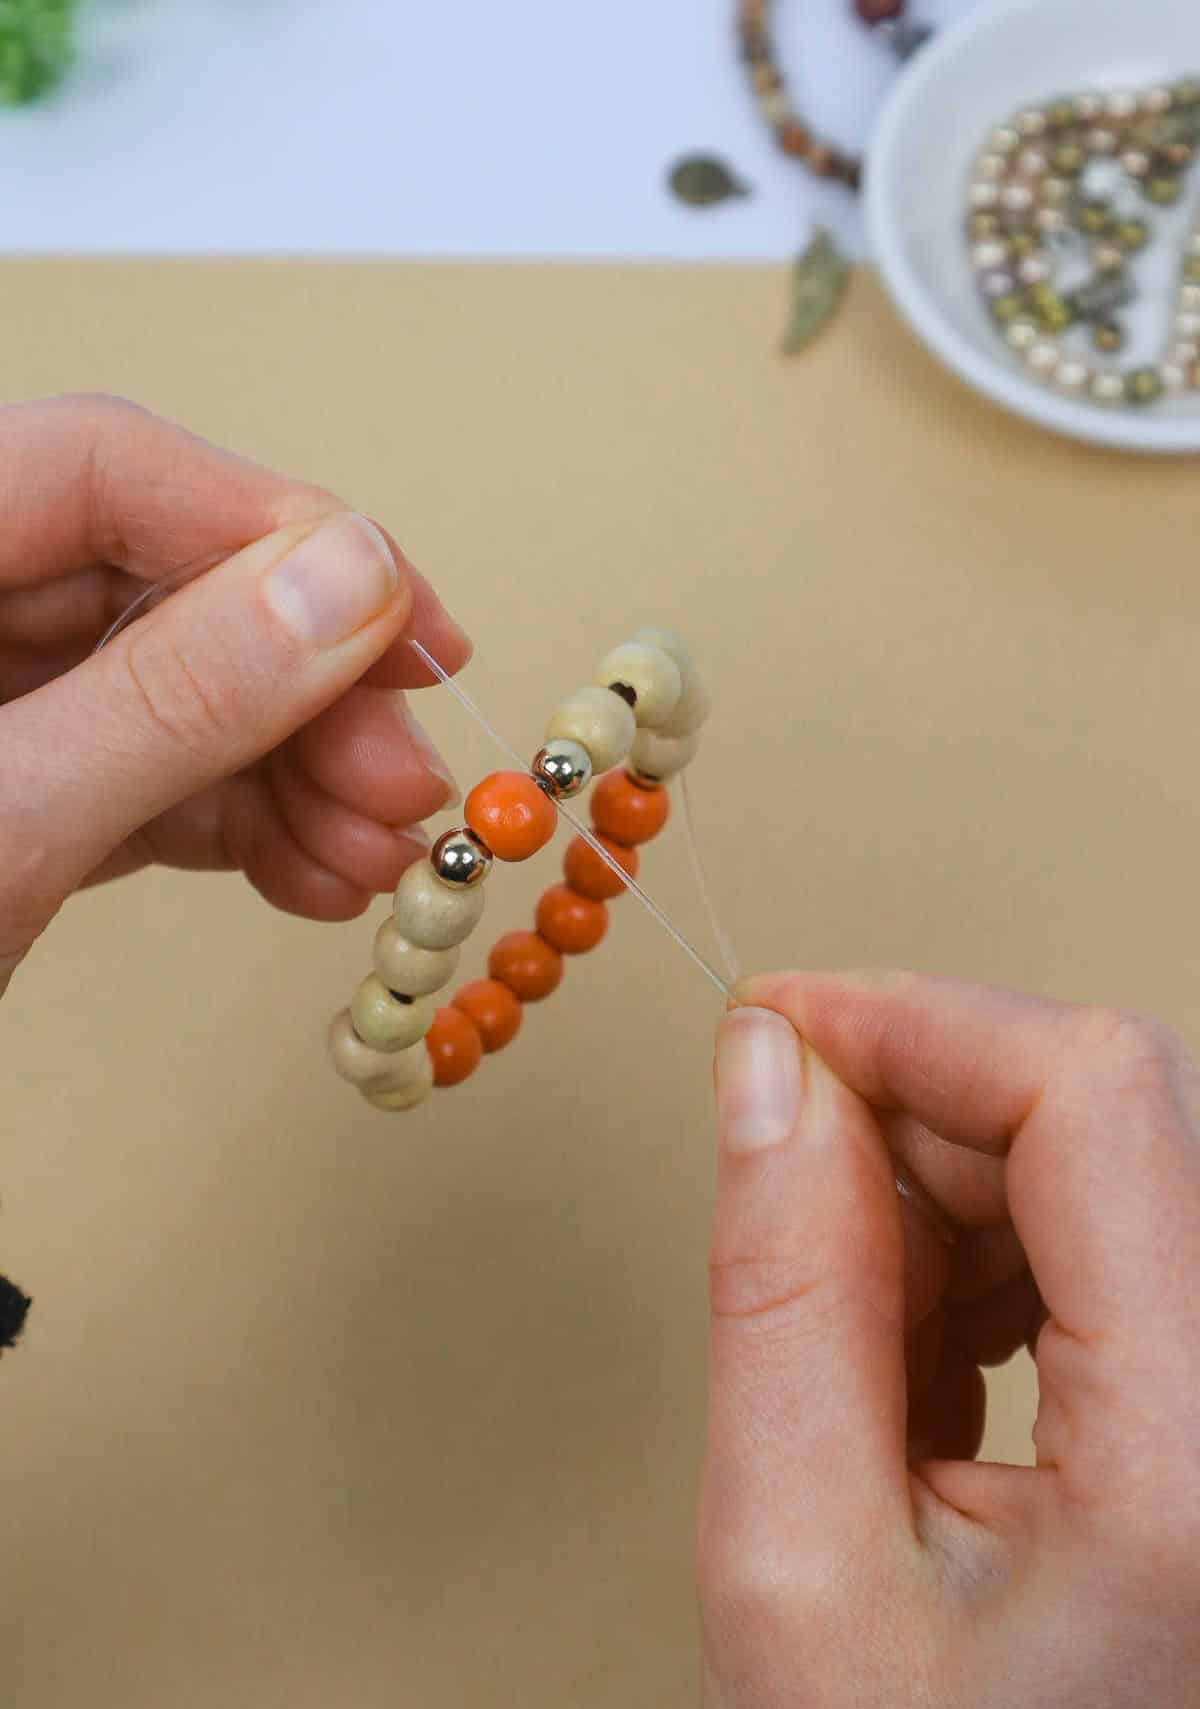
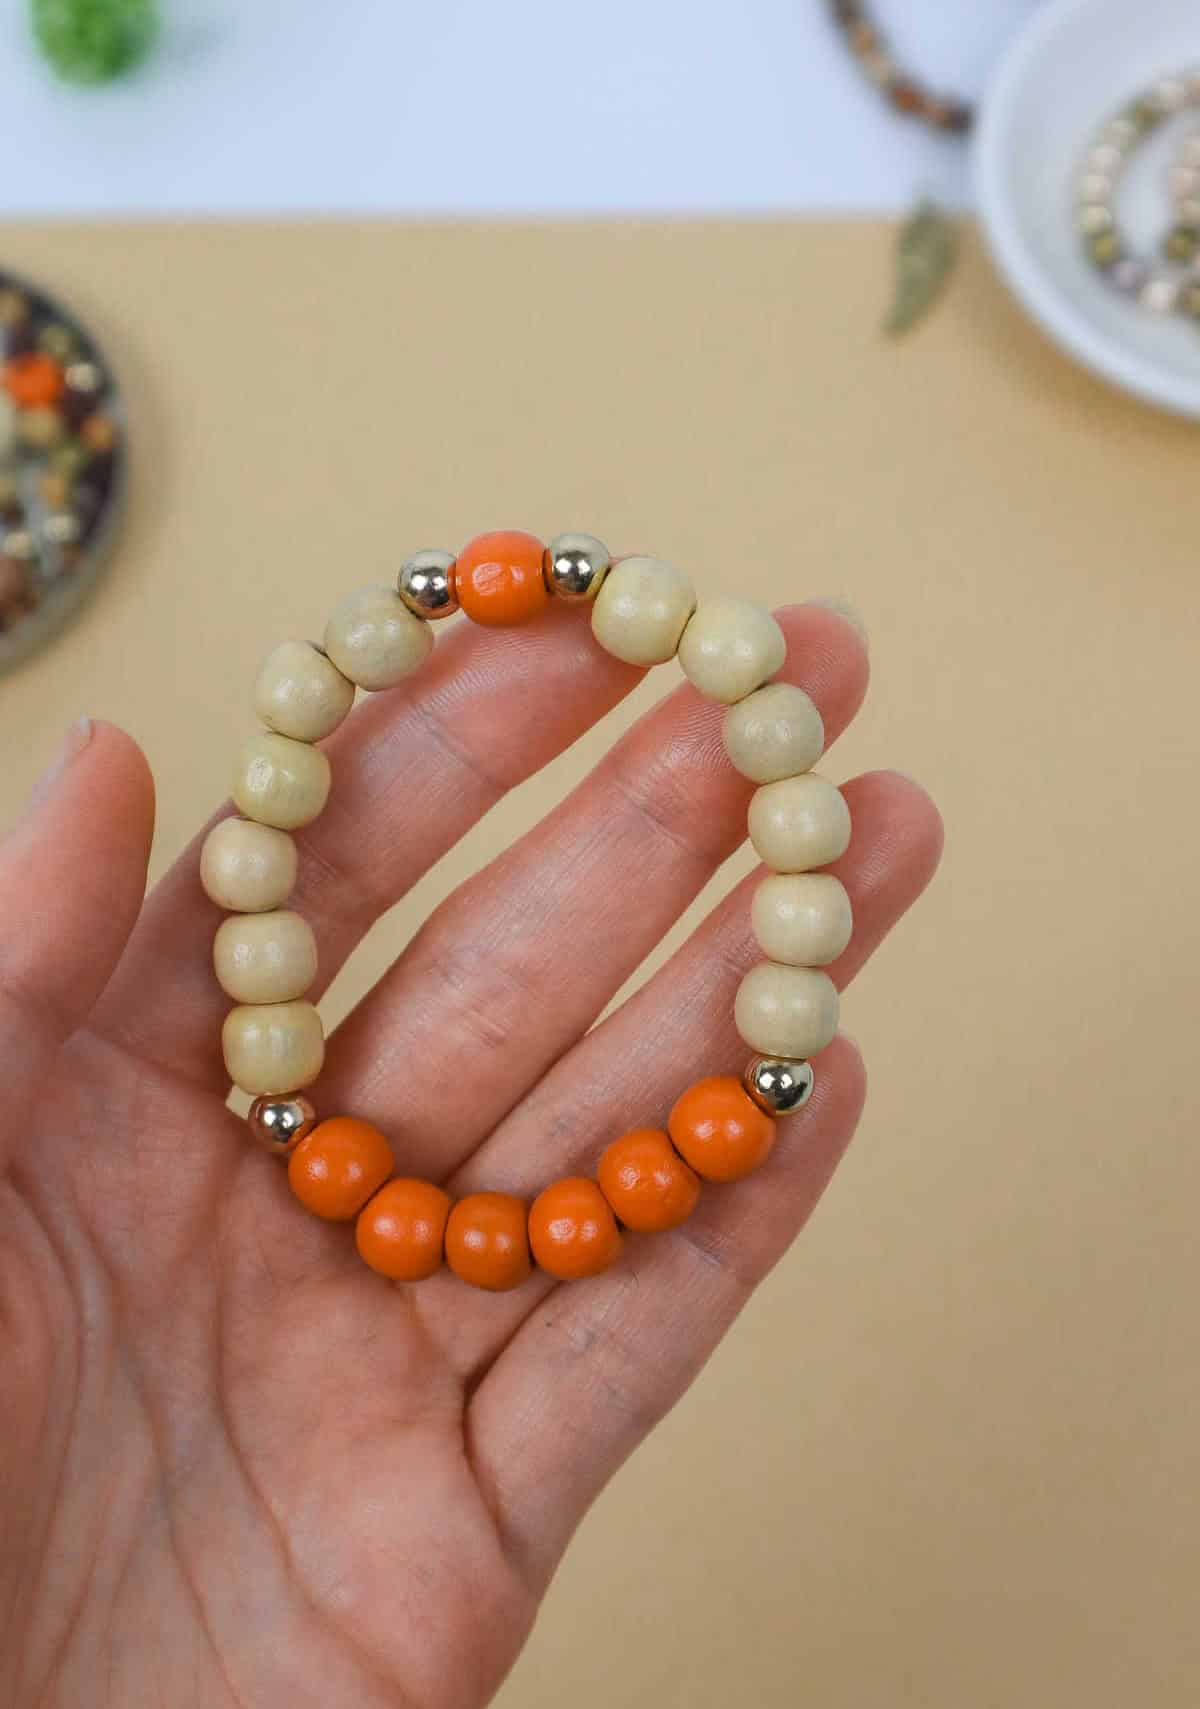
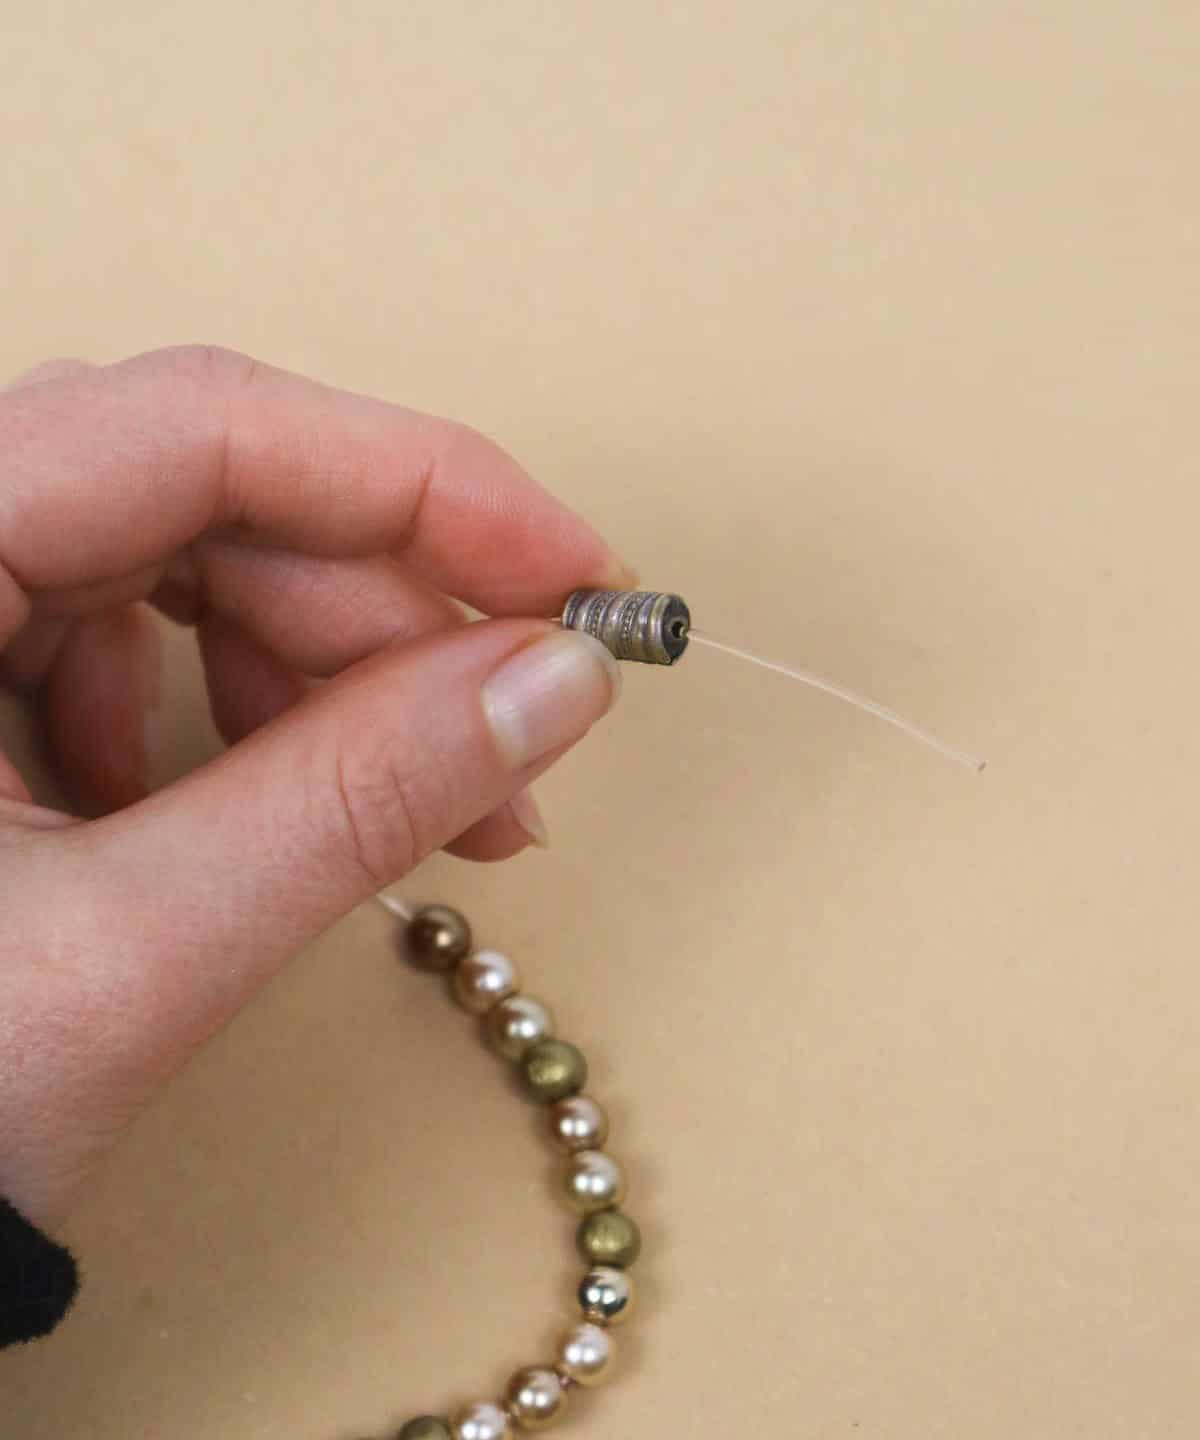
As you embark on the creative journey, it’s time to bring all the beads into play. Begin by arranging the beads in a layout that reflects their intended sequence on your final piece. This visual representation will serve as a guide as you thread each bead onto its designated spot.
Step 4
Before diving into the actual stringing process, take a moment to prepare your space and get comfortable. As you start working on the bracelet, it’s essential to wait until the end to cut it from the rest of the string. The base serves as a reliable anchor point that helps keep everything in place while you focus on the task at hand.
Take advantage of the prep work you’ve done earlier to inform your approach.
By following the pattern or patterns you’ve established, you’ll find that the payoff is well worth the effort.
Step 5
As you progress with the stringing process, revisit your original sketches and notes to ensure consistency and accuracy. Although these bracelets may seem straightforward, it’s crucial to maintain a steady pace by referencing any previous work or plans.
Step 6
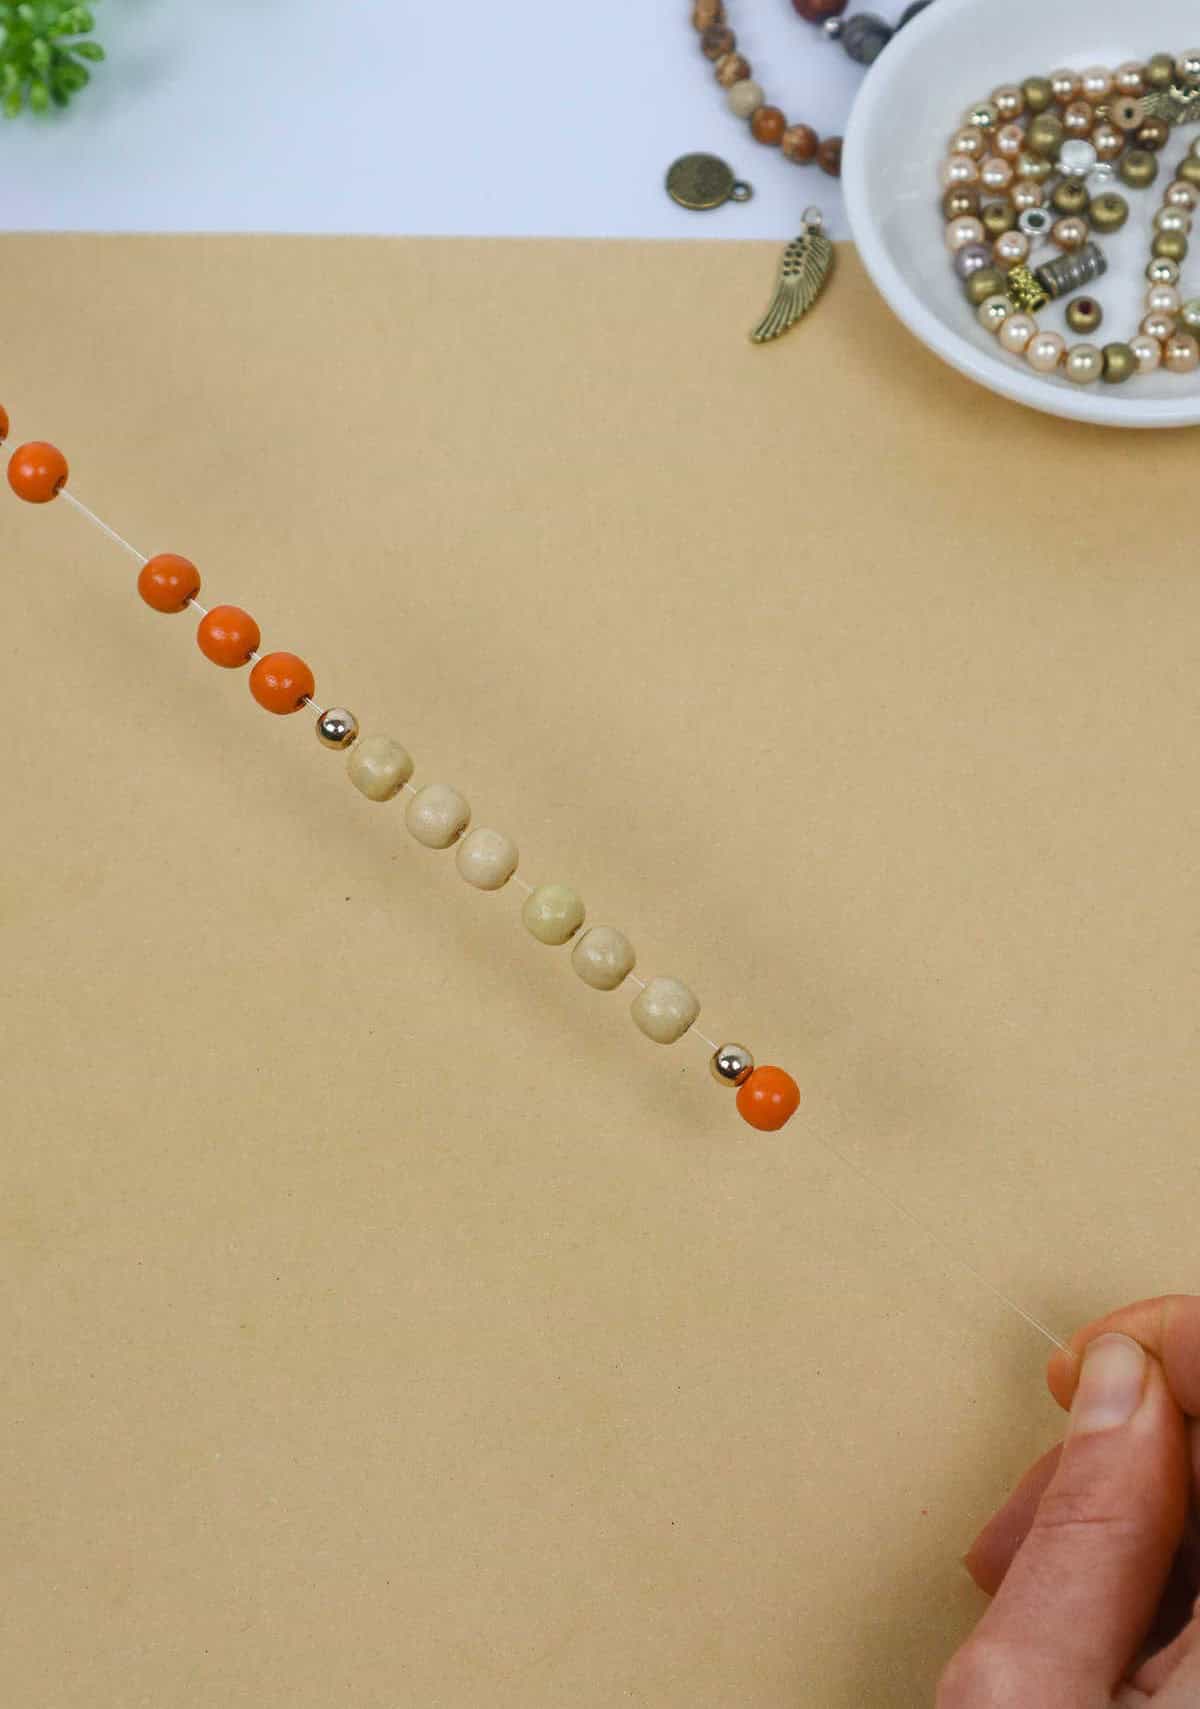
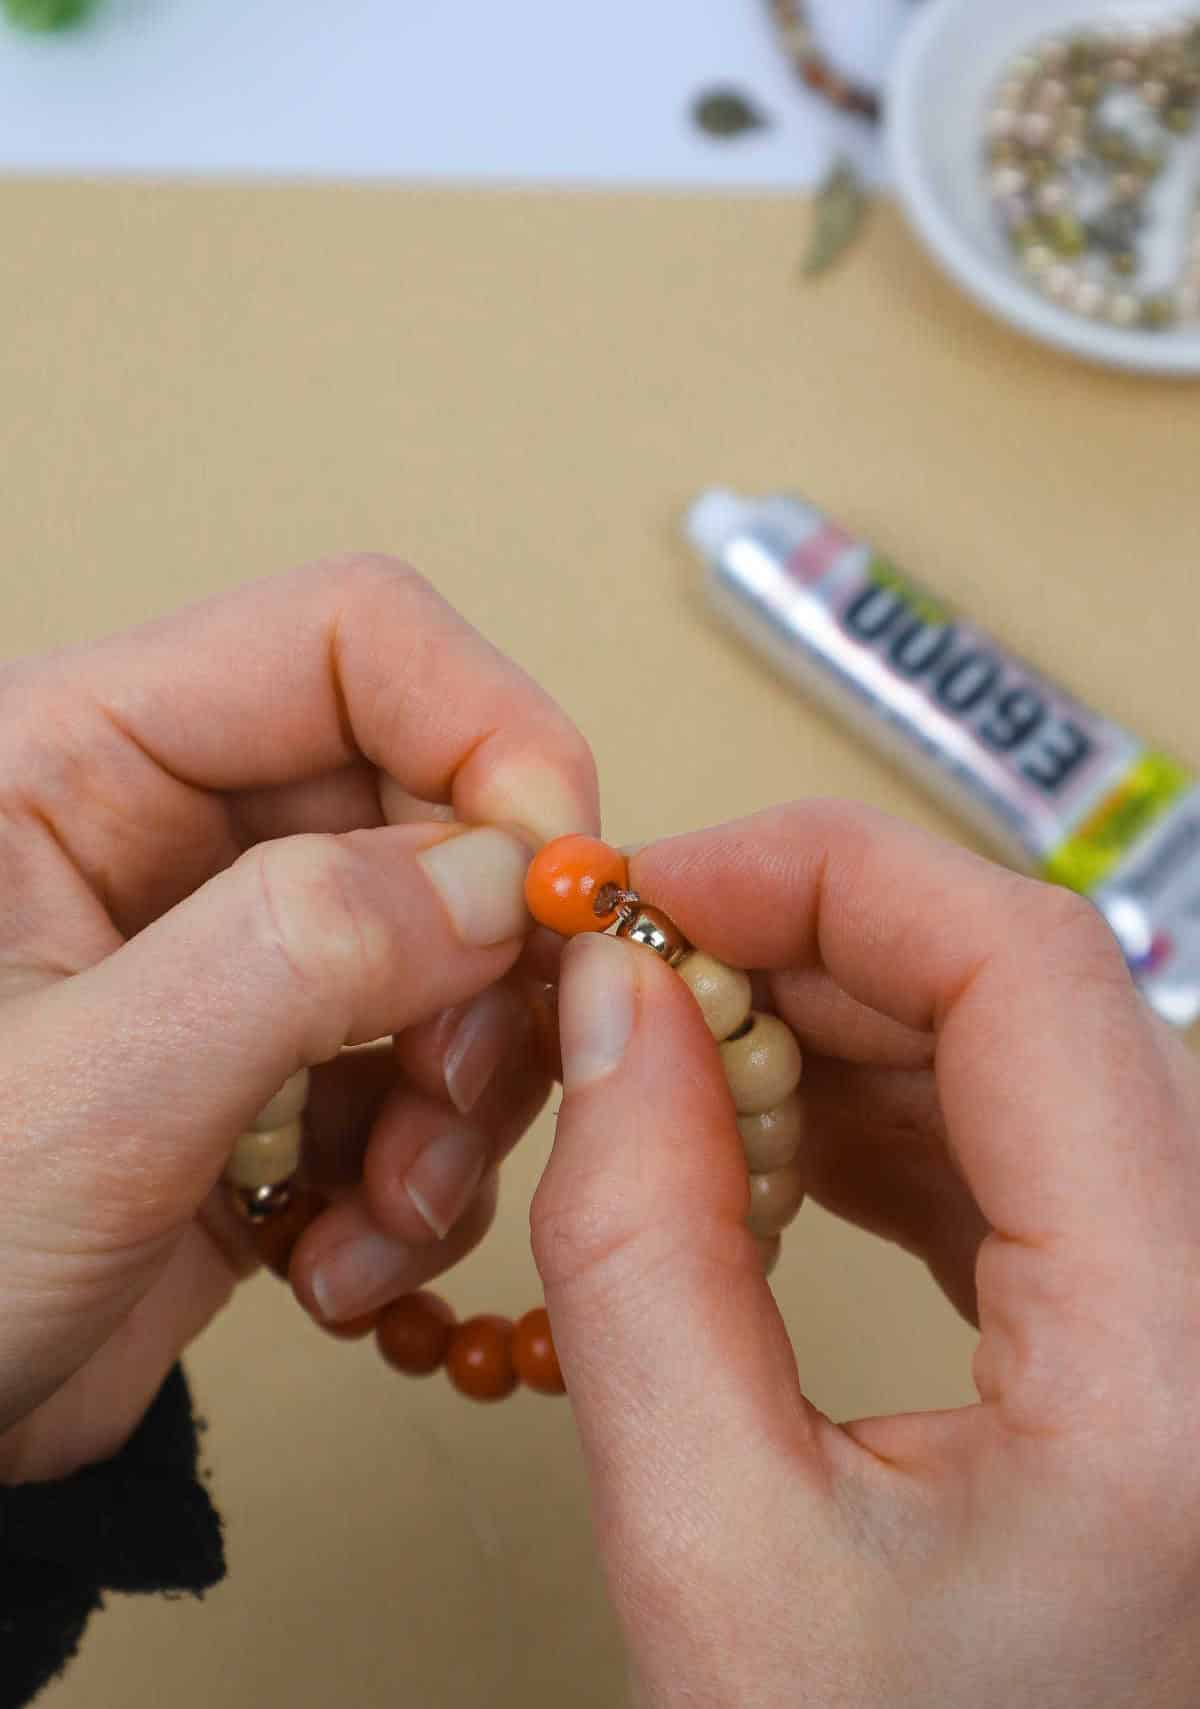
When completing your bracelet, the final bead plays a crucial role in effectively concealing the hole. It’s essential to select a larger bead that can adequately cover the opening, ensuring a seamless and polished finish.
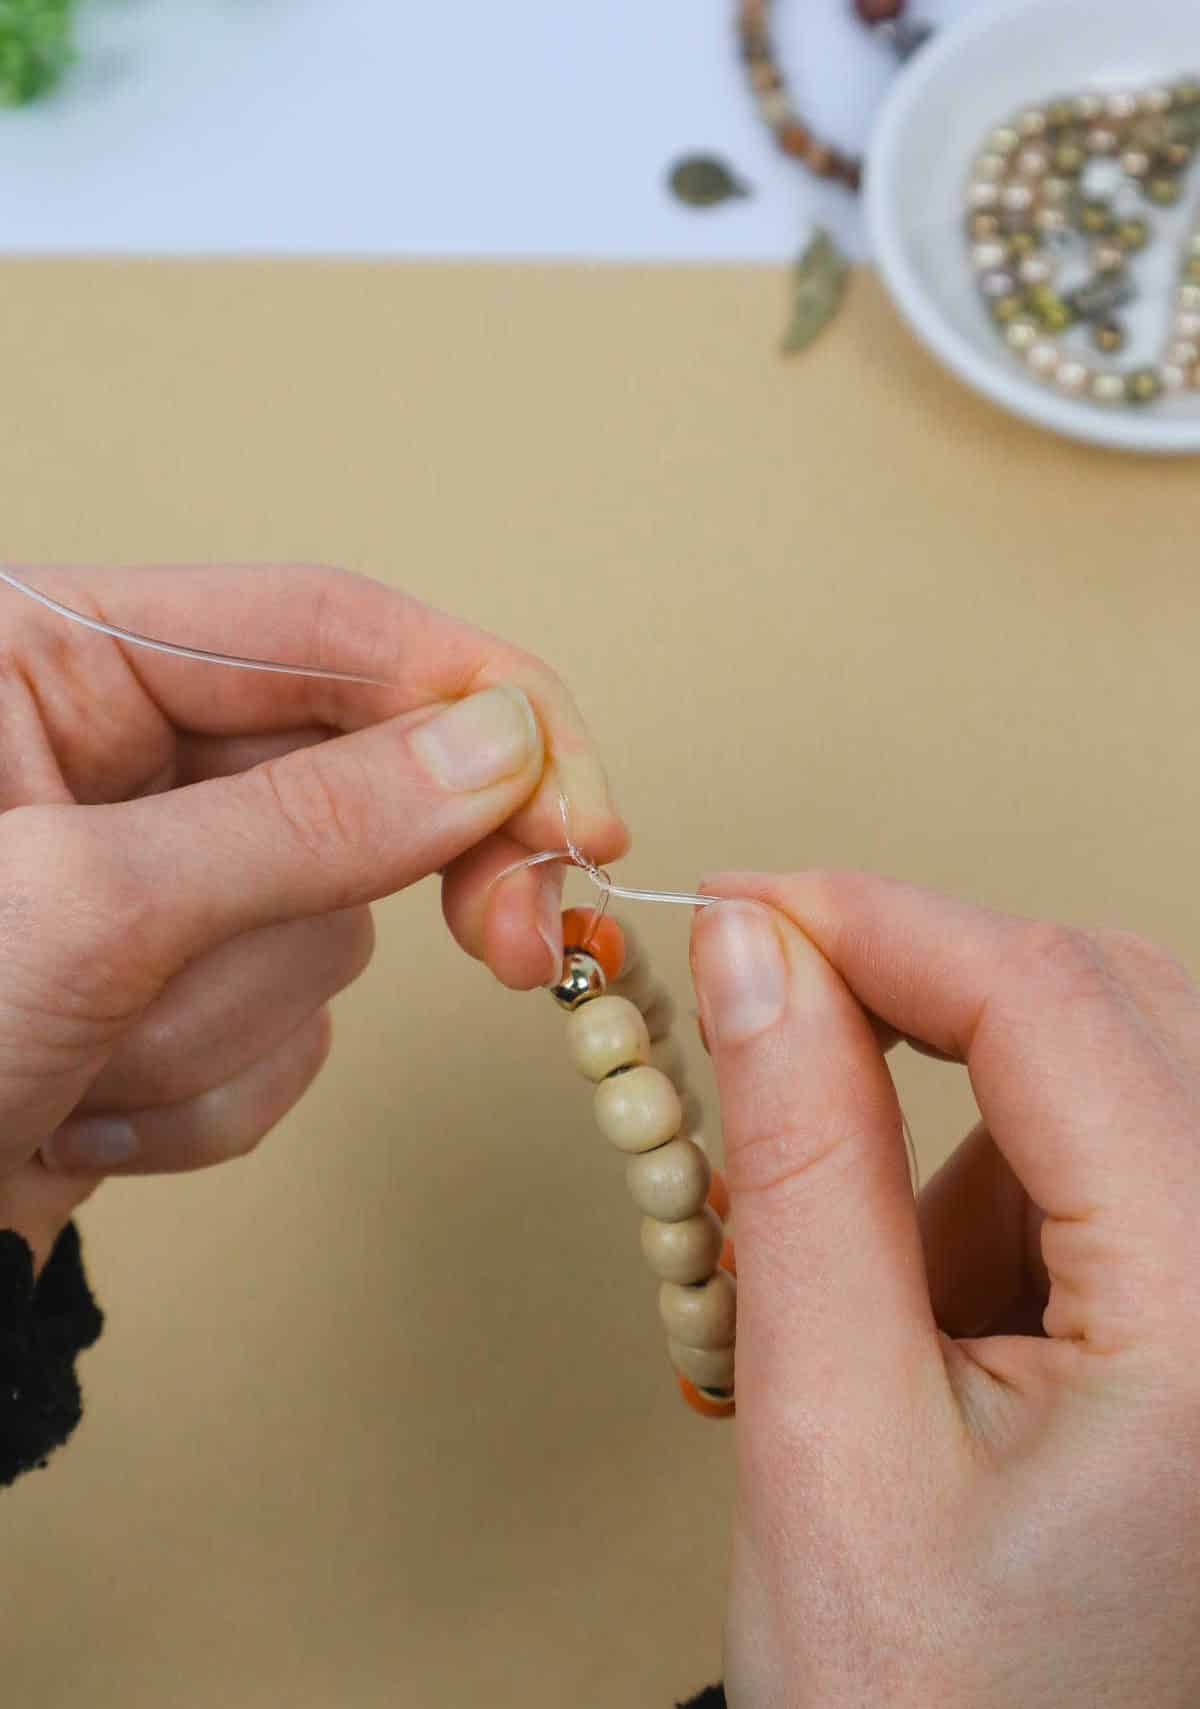
Step 7
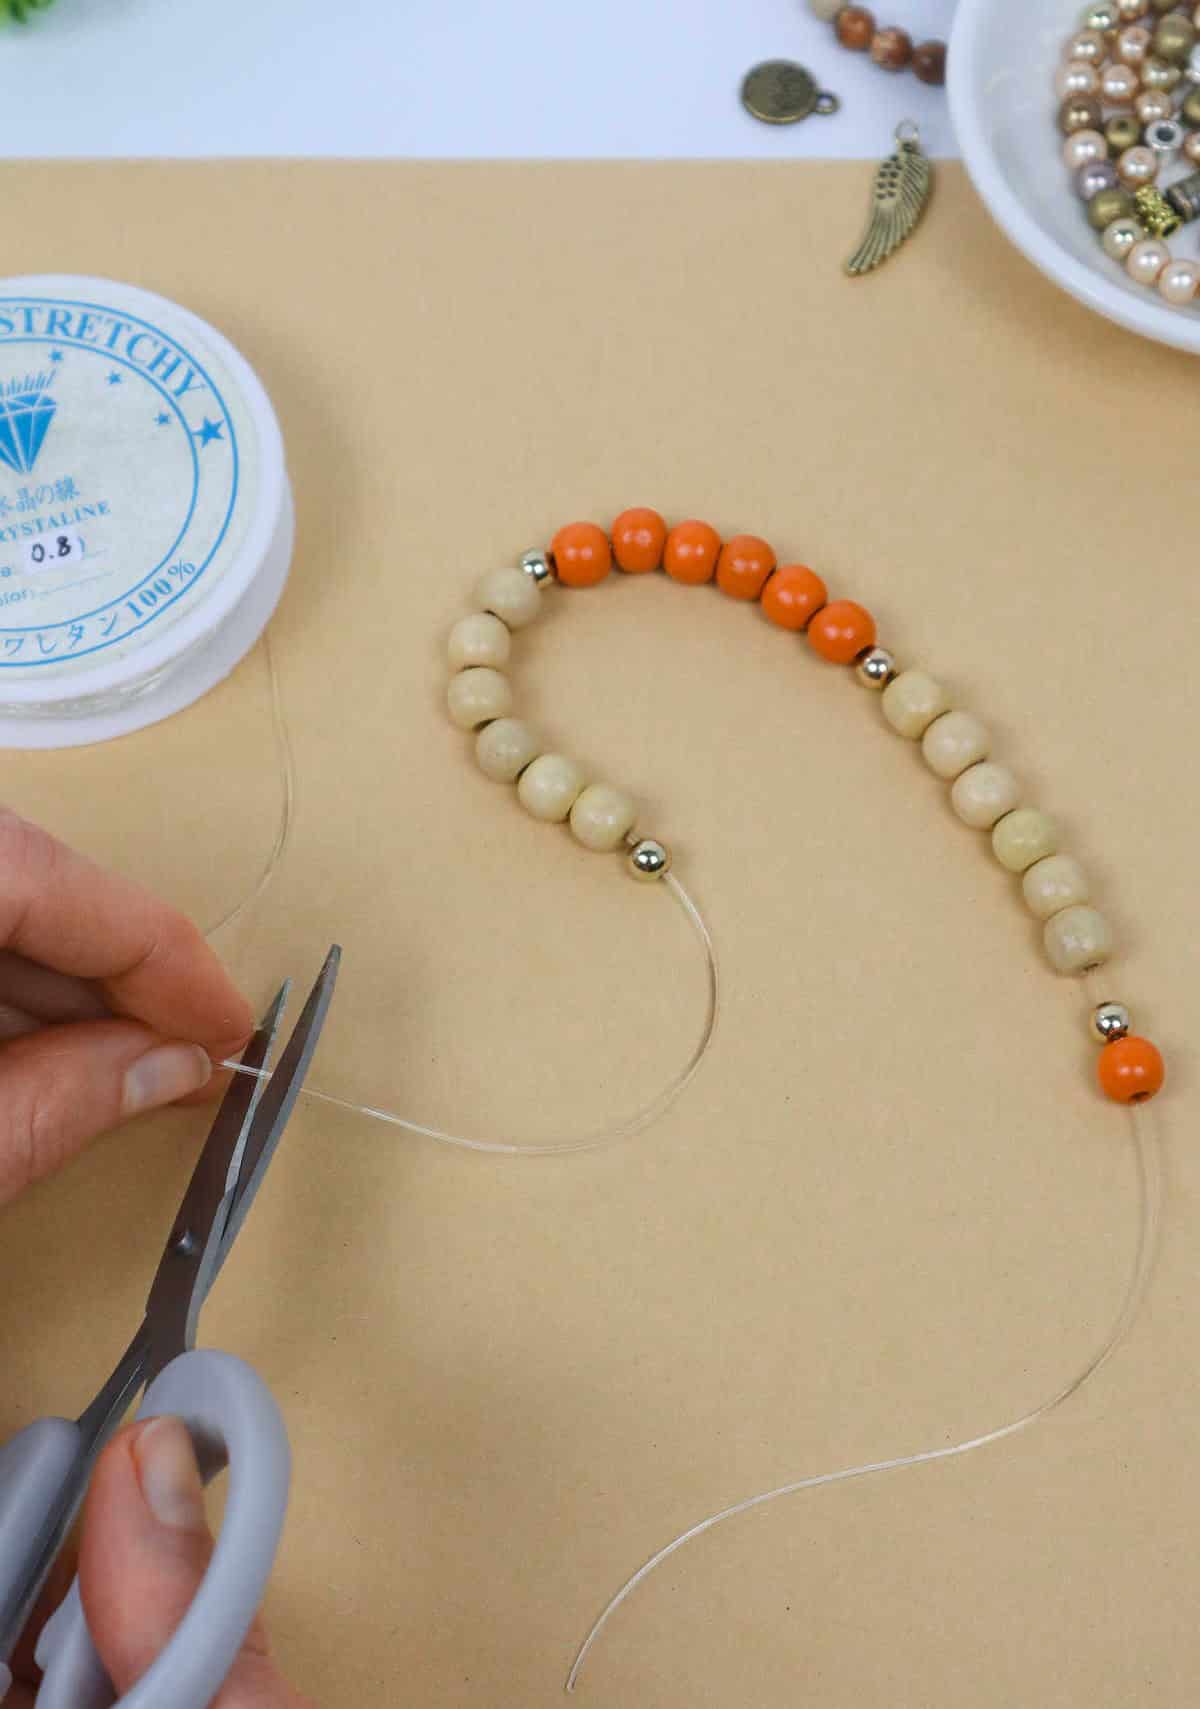
Once you’ve threaded each bead onto its designated line, it’s time to separate the completed bracelet from the excess string. To ensure a comfortable fit and prevent the beads from becoming too rigid, trim the string to 4 inches on either side of the beads. This will give your finished piece a pleasant degree of flexibility.
Step 8
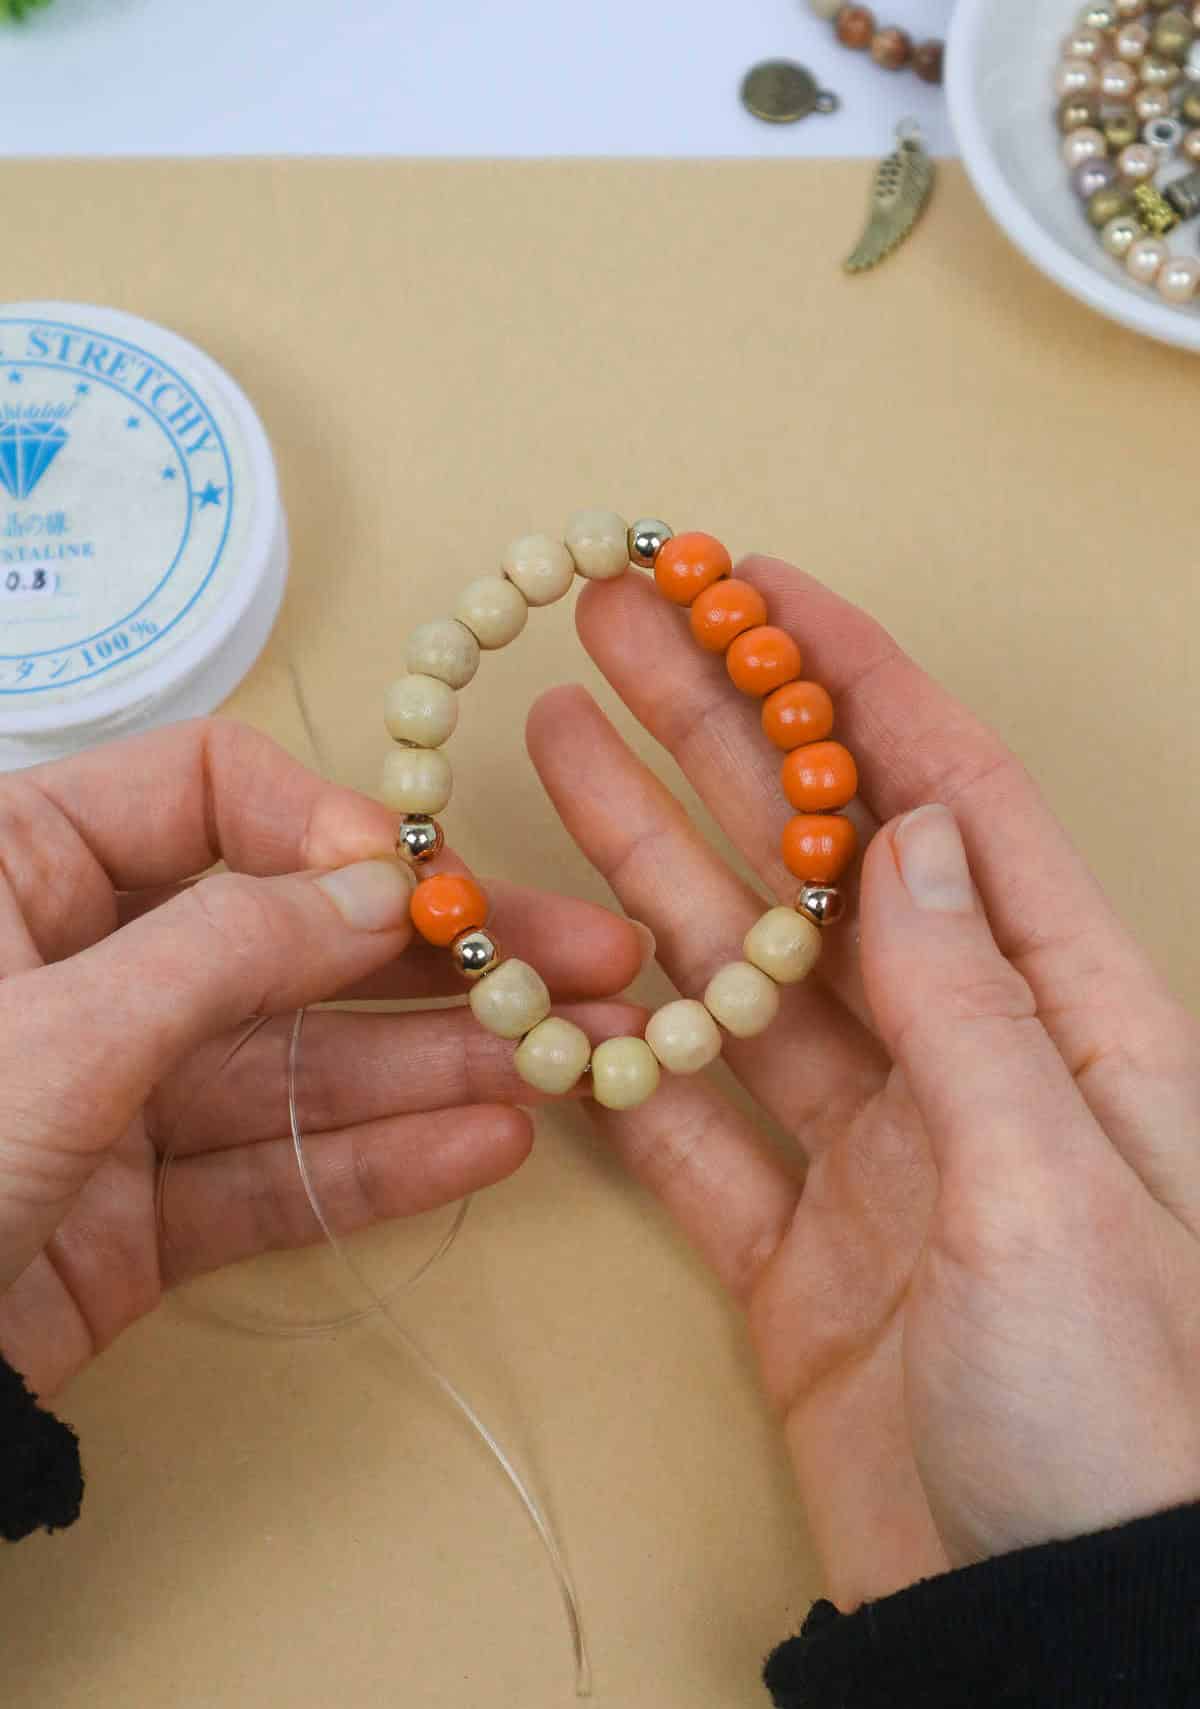
To achieve a secure and comfortable knot, first wrap the piece around your wrist to gauge its fit. Make any necessary adjustments to the length. Then, move around freely to ensure the final position feels snug and natural.
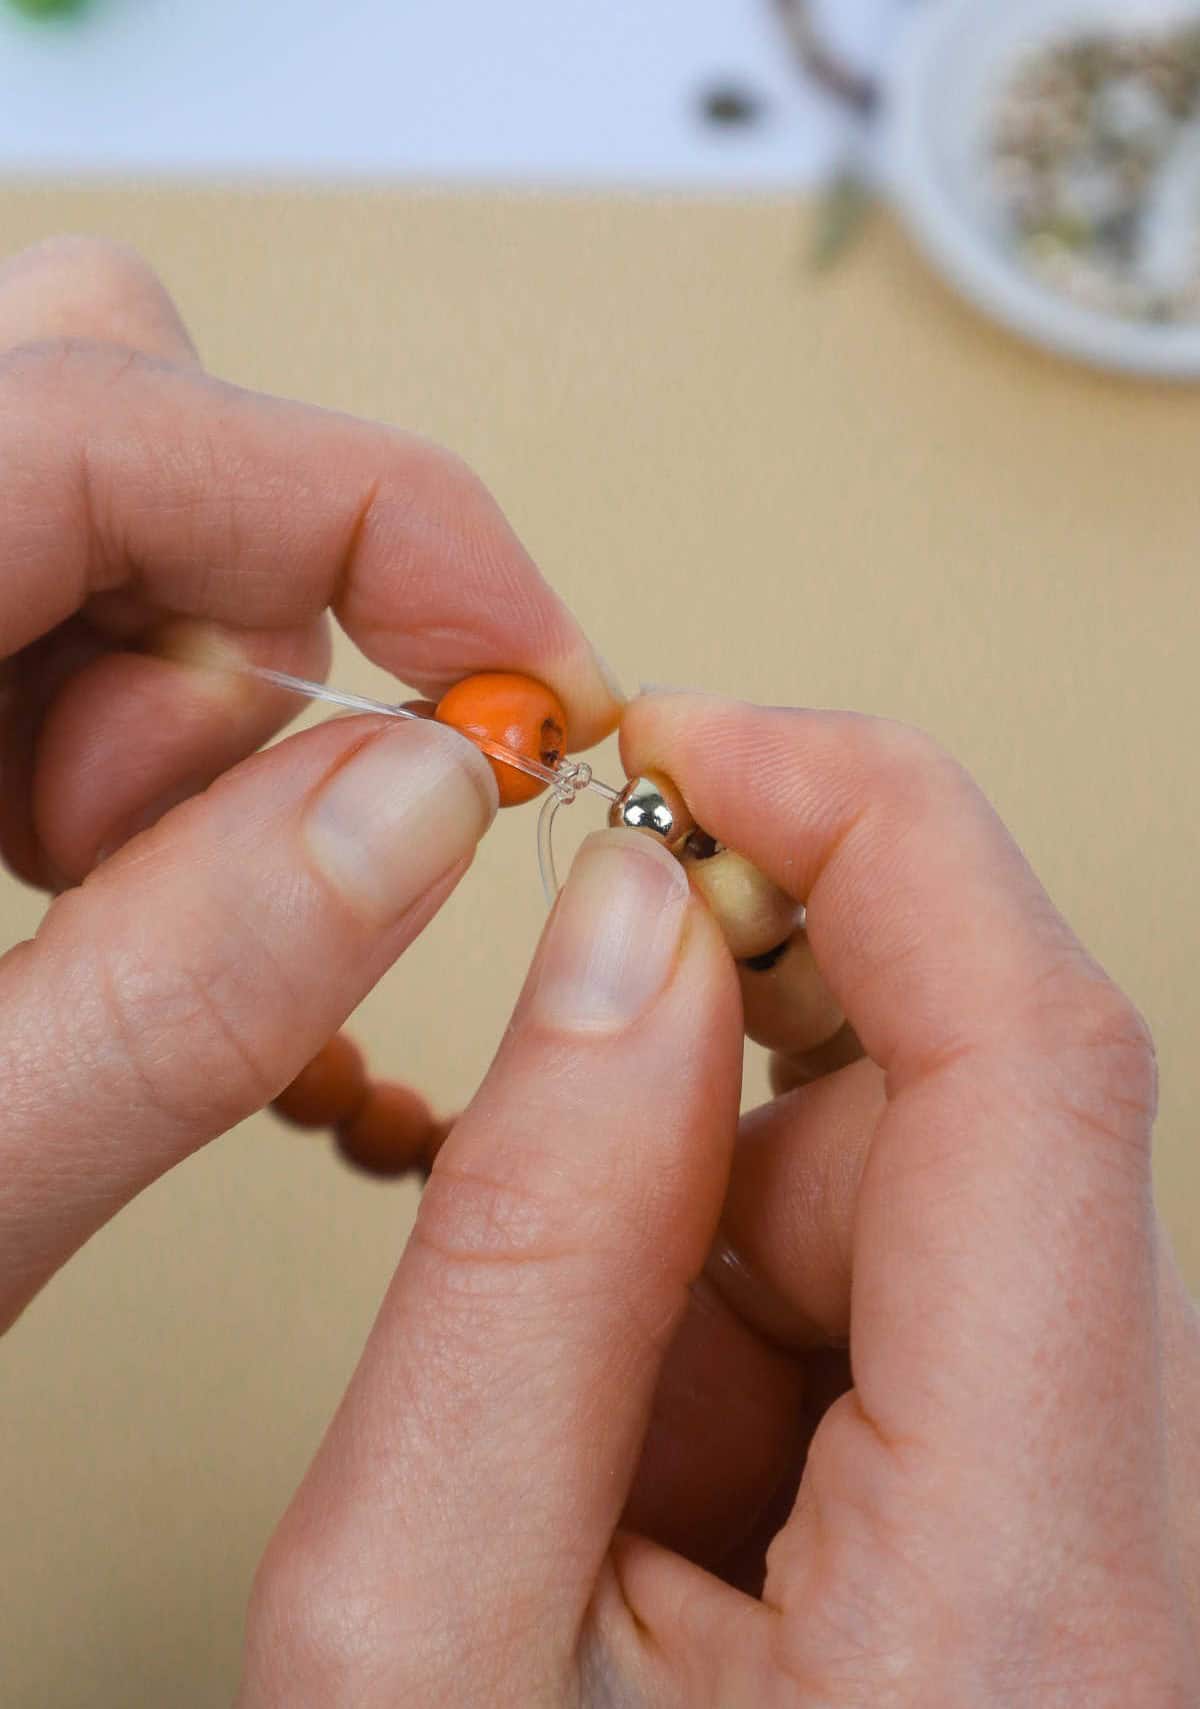
Step 9
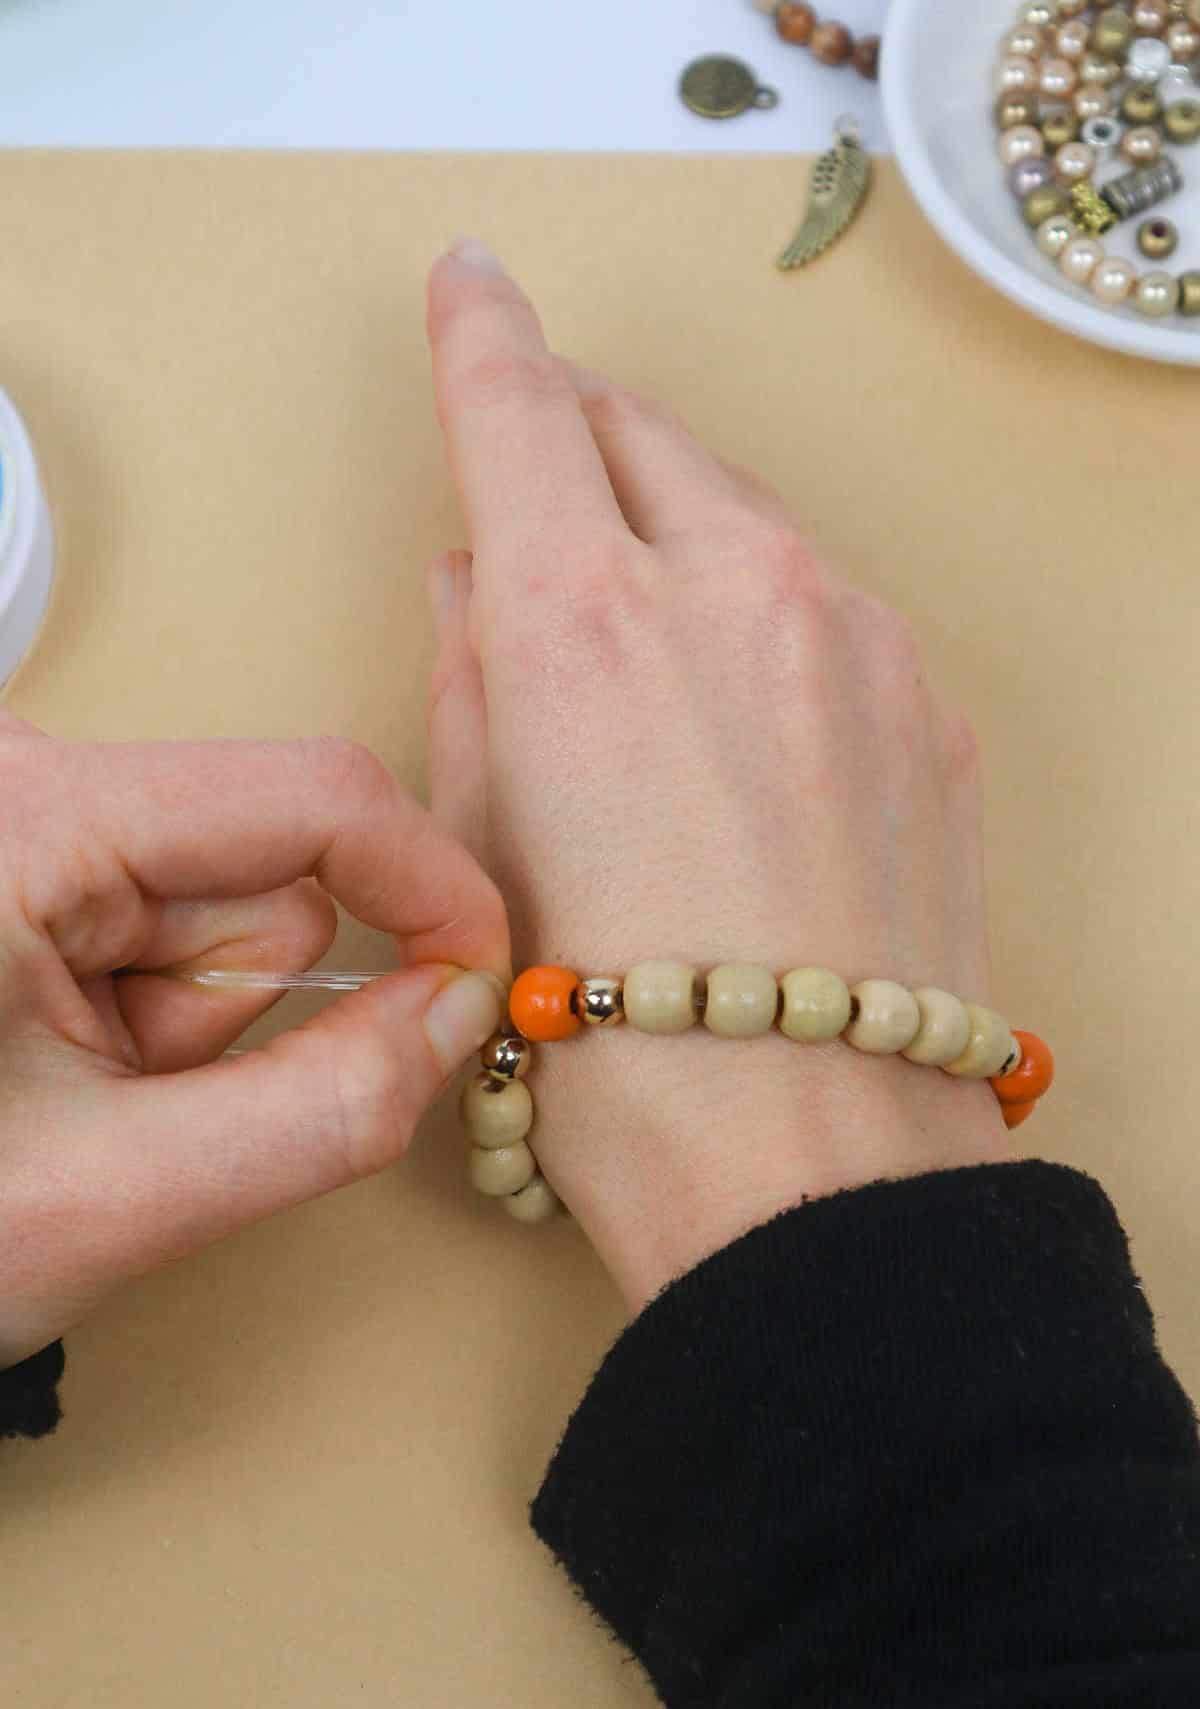
When preparing to tie off your bracelet, take a crucial step beforehand: prestretching the line. This simple action serves two vital purposes. Firstly, it prevents unexpected breakage caused by excessive tension, which can occur if you try to knot the bracelet with an already stretched cord. Secondly, prestretching helps maintain the optimal length of your finished bracelet, ensuring it doesn’t become too loose or misshapen over time.
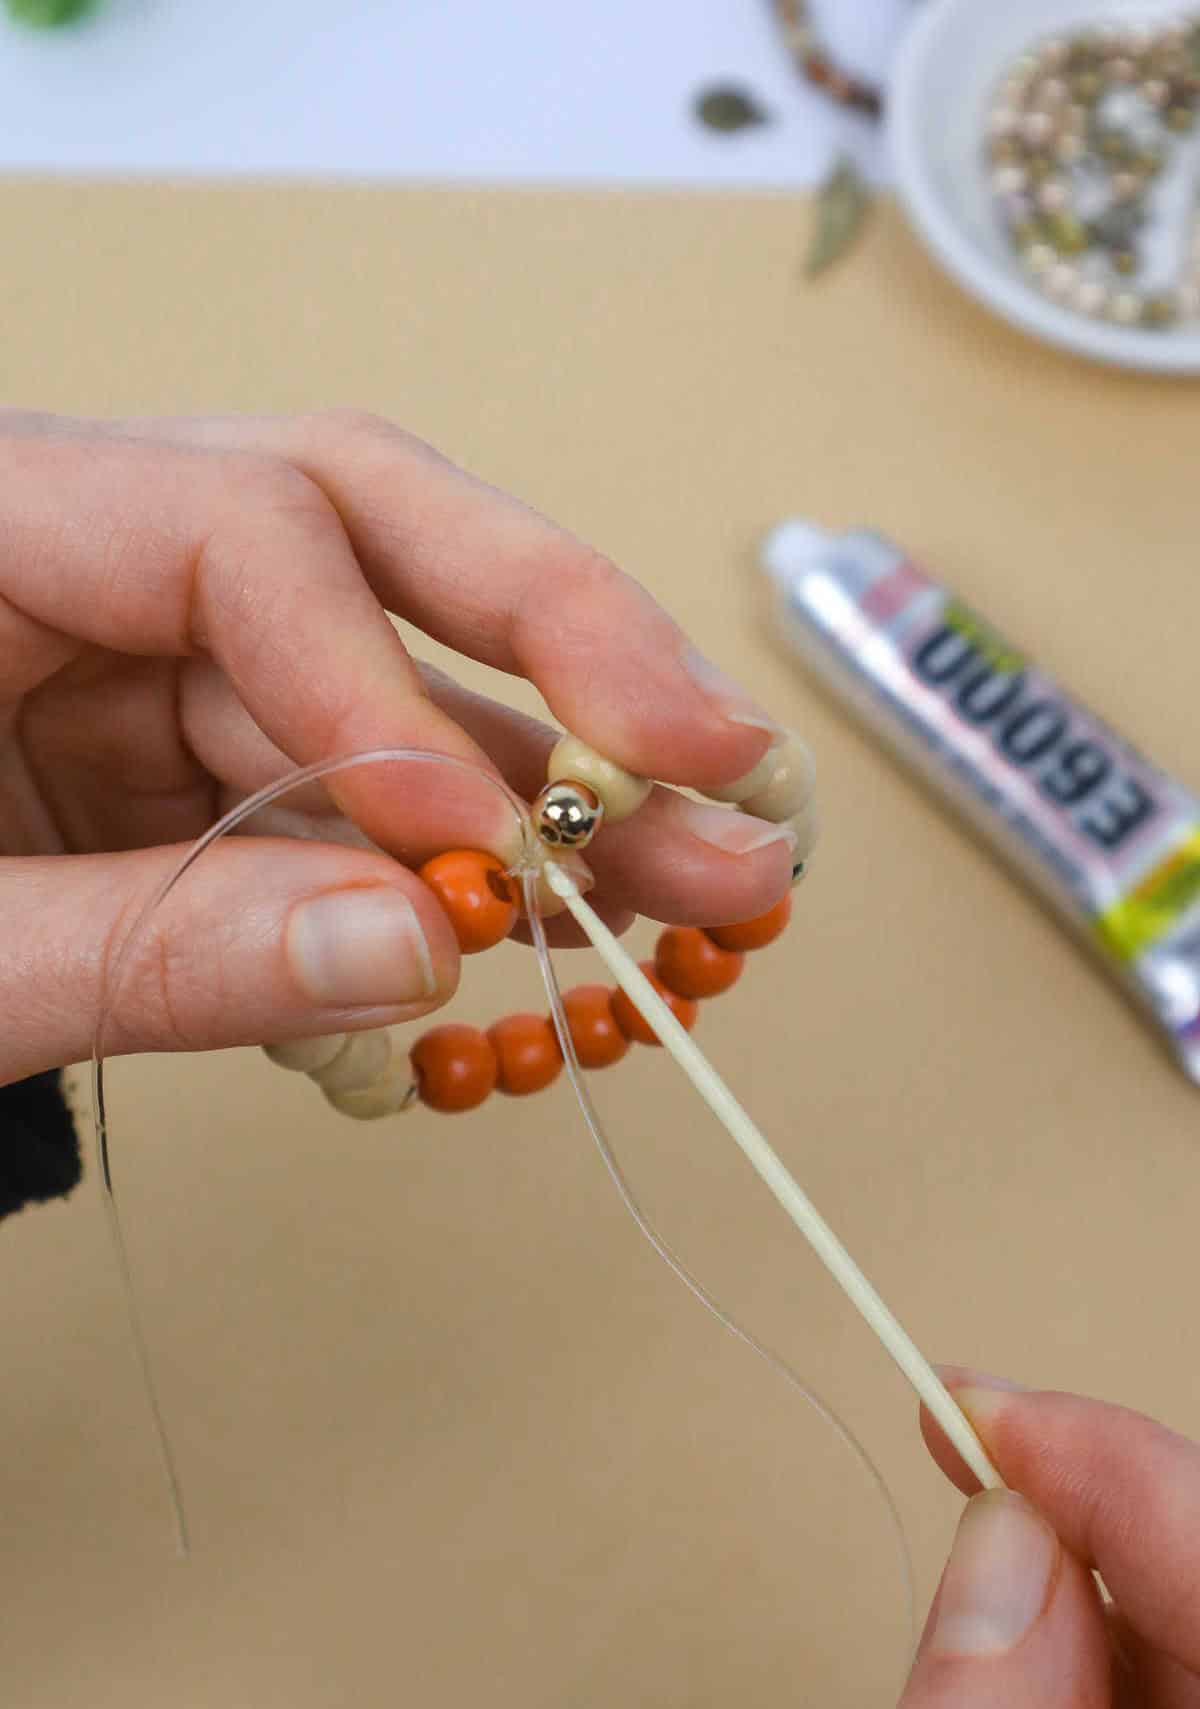
Step 10
When securing the bracelet, take a moment to tighten the strings around the beads, ensuring a secure knot forms. As you work, gently pull on the strings to prevent the beads from becoming misaligned or rubbing against one another. If necessary, give the beads an extra gentle tug to achieve a smooth, even appearance.
Step 11
To secure the bracelet, tie two overhand knots, then pull the ends to ensure they’re snug and won’t come undone. You can also take an added precaution by tying a third knot on the underside of the first two for double the security.
Step 12
To further enhance the overall appearance, I recommend securing the final bead with a knot that adds a touch of sophistication to the finished product.
Step 13
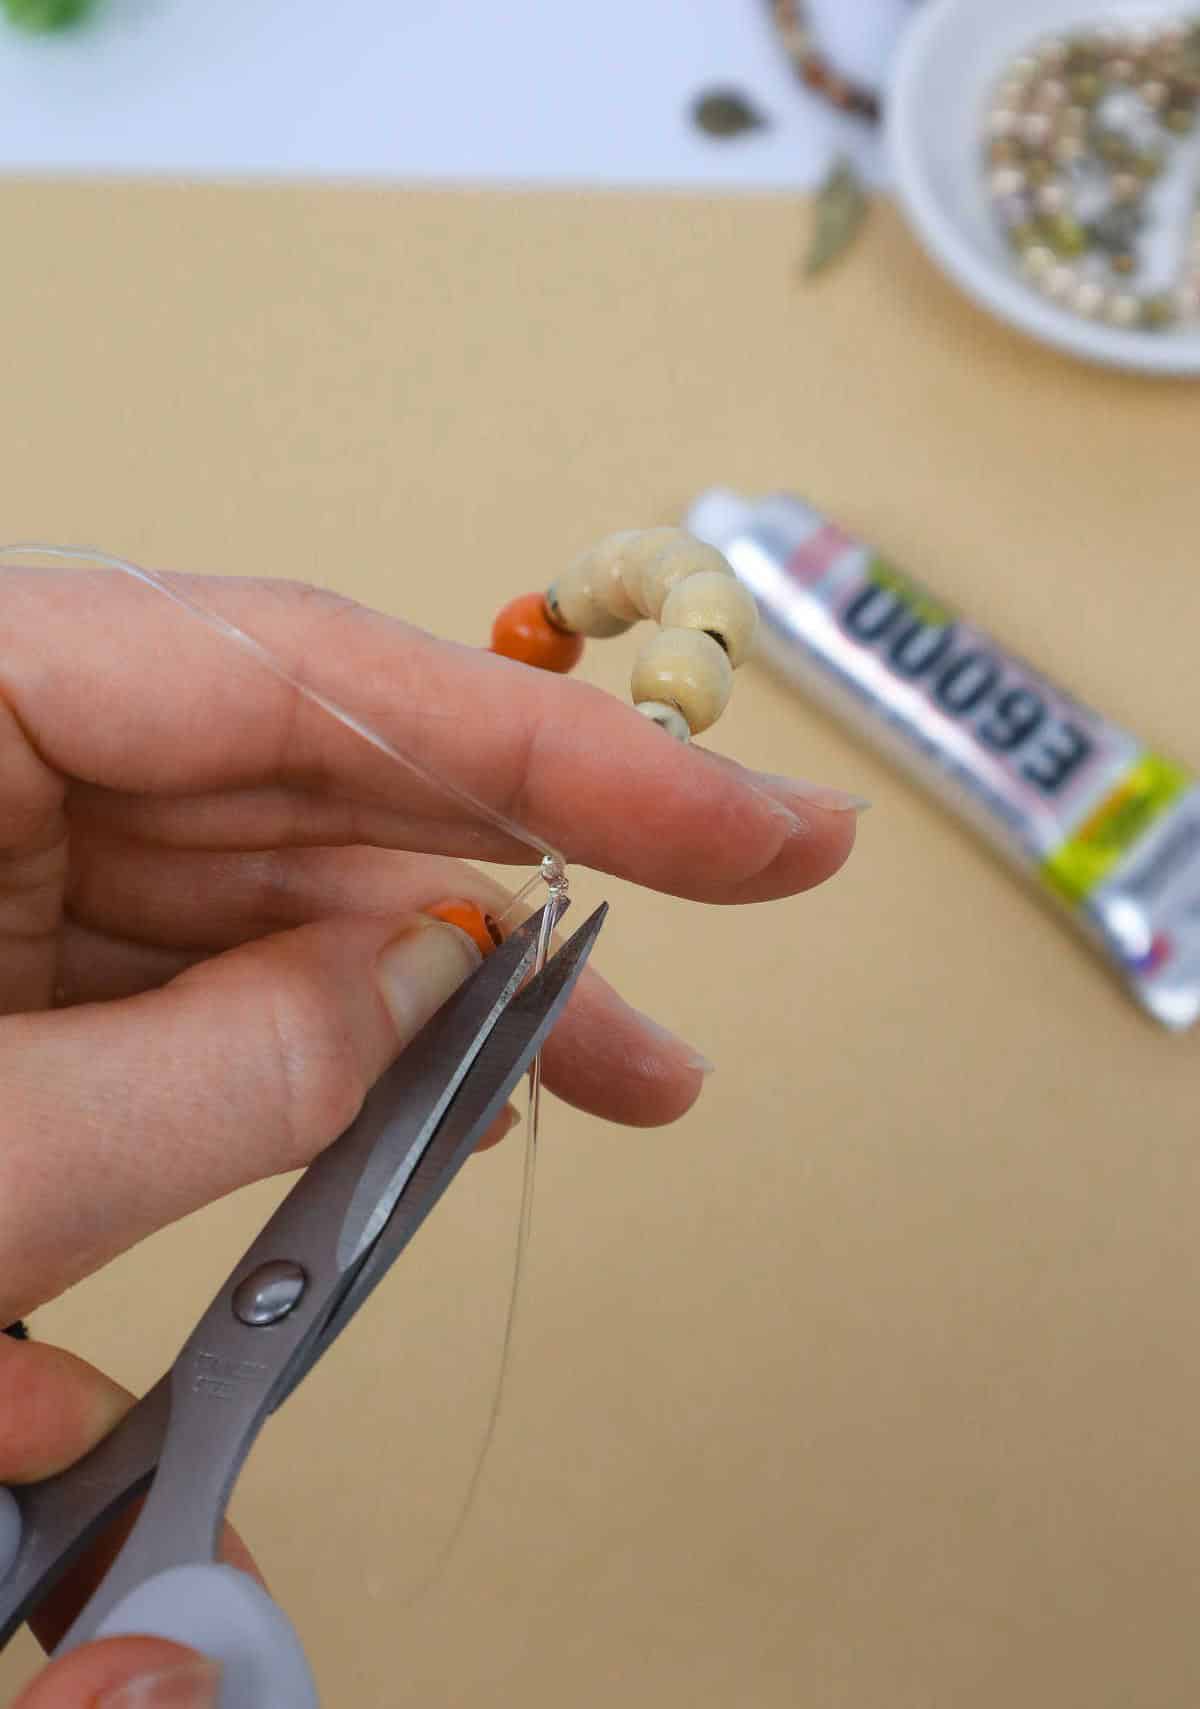
As you near the completion of your beadwork, take a moment to tidy up the loose ends. Trim the tail fibers close to the knot, making sure to leave just enough slack so the knot won’t come undone over time. This attention to detail will ensure your finished piece looks polished and professional.
Step 14
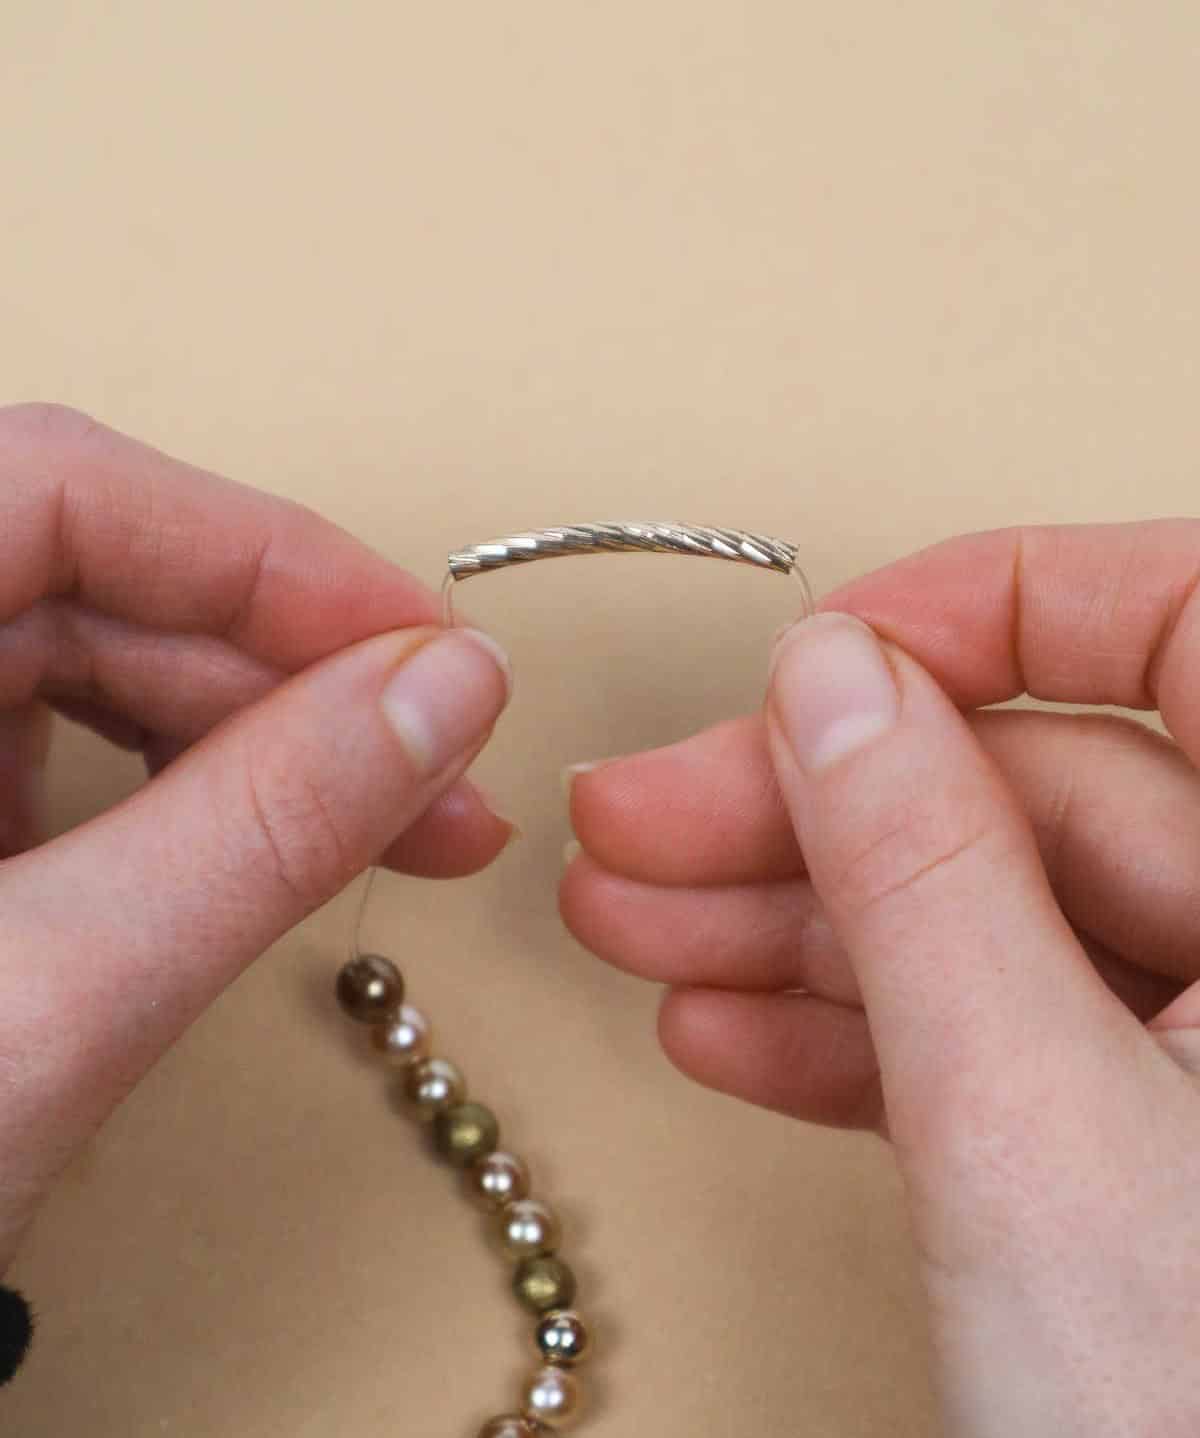
To conceal the knot, I recommend holding the bead in your non-dominant hand while manipulating the knot with your dominant hand. Gently slide the knot into place and press it upward until it securely connects with the inner surface. If necessary, use a crimp bead to cover any imperfections and ensure a seamless finish. After allowing the bracelet to rest with wet glue for several hours or overnight, it will be ready to wear.
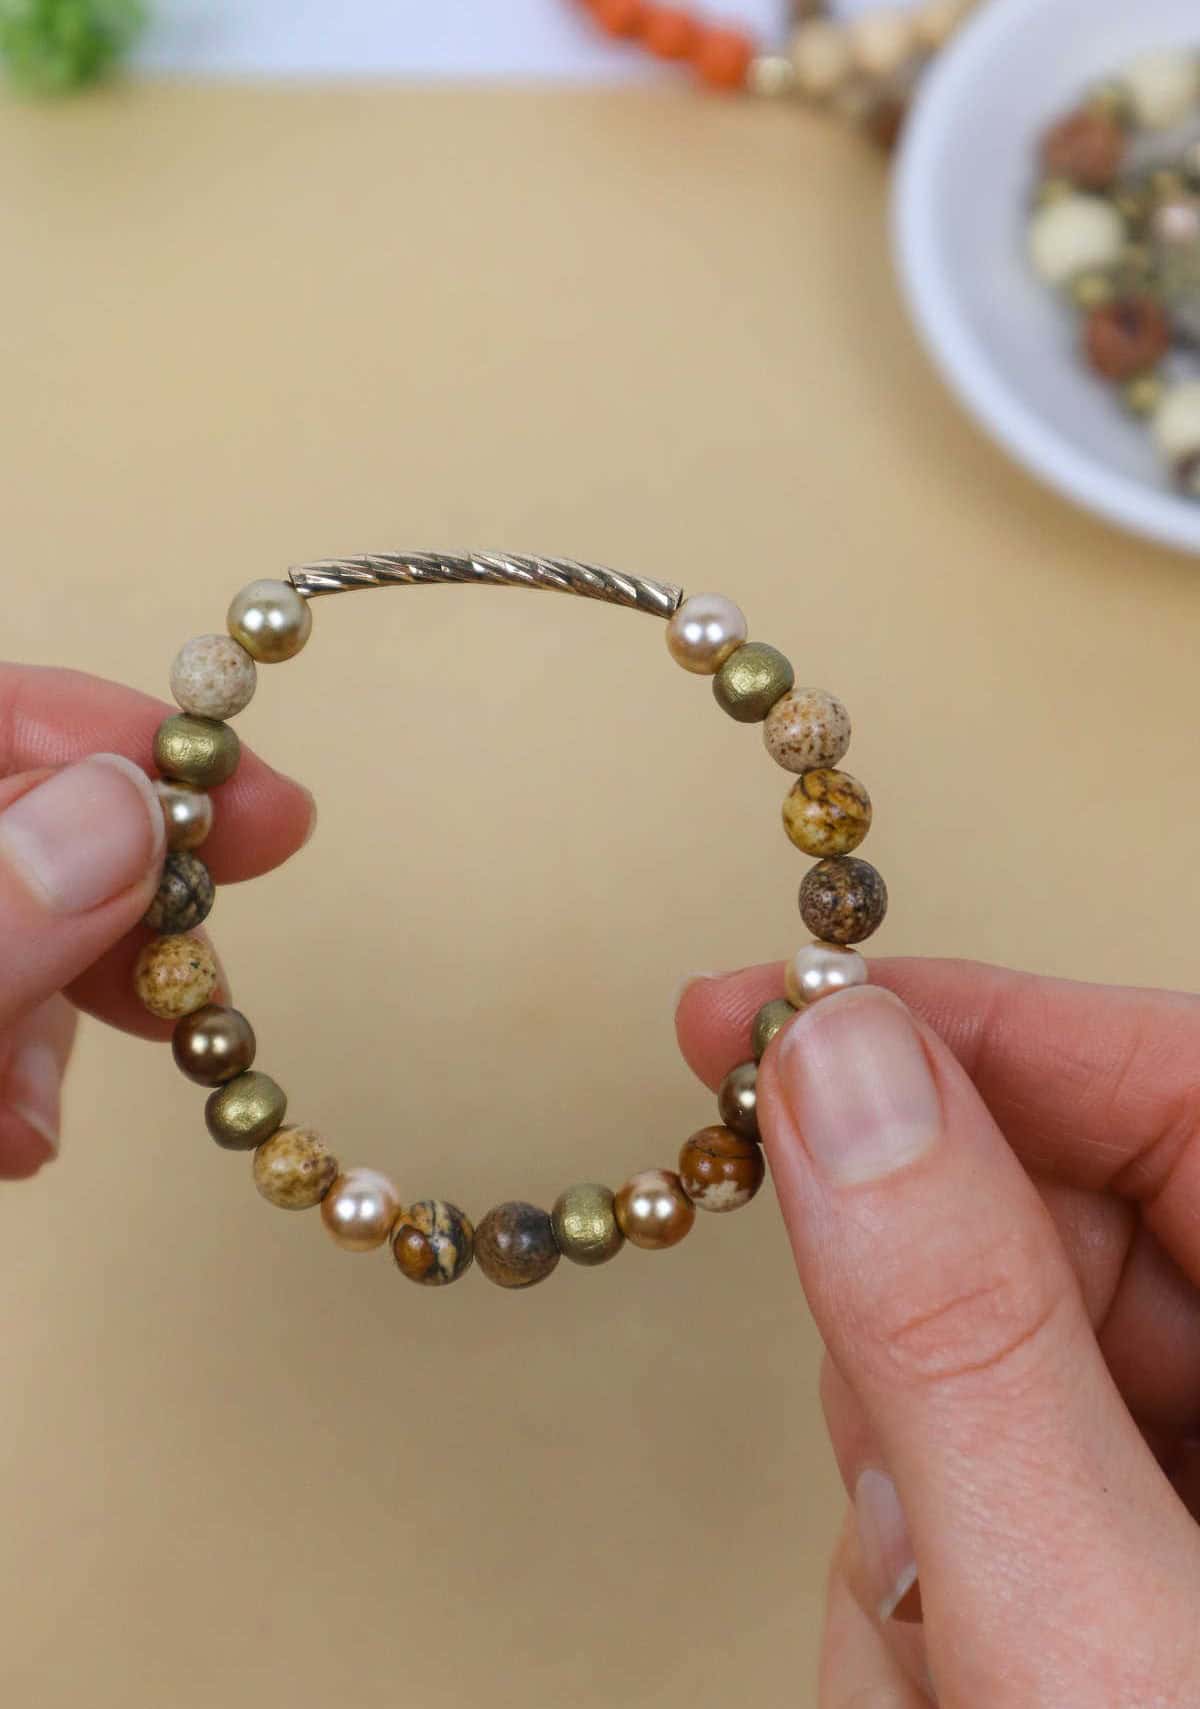
Feel free to experiment with various types of beads to add unique flair to your piece – the more creative, the better! When working with tube beads, be sure to account for their increased length in your original design. These beads can significantly alter the overall appearance and functionality of your bracelet. To complete the knot, follow a similar process to tying off your bracelet. However, when using tube beads, ensure that the knot is proportionate to the bead’s size to avoid any issues.
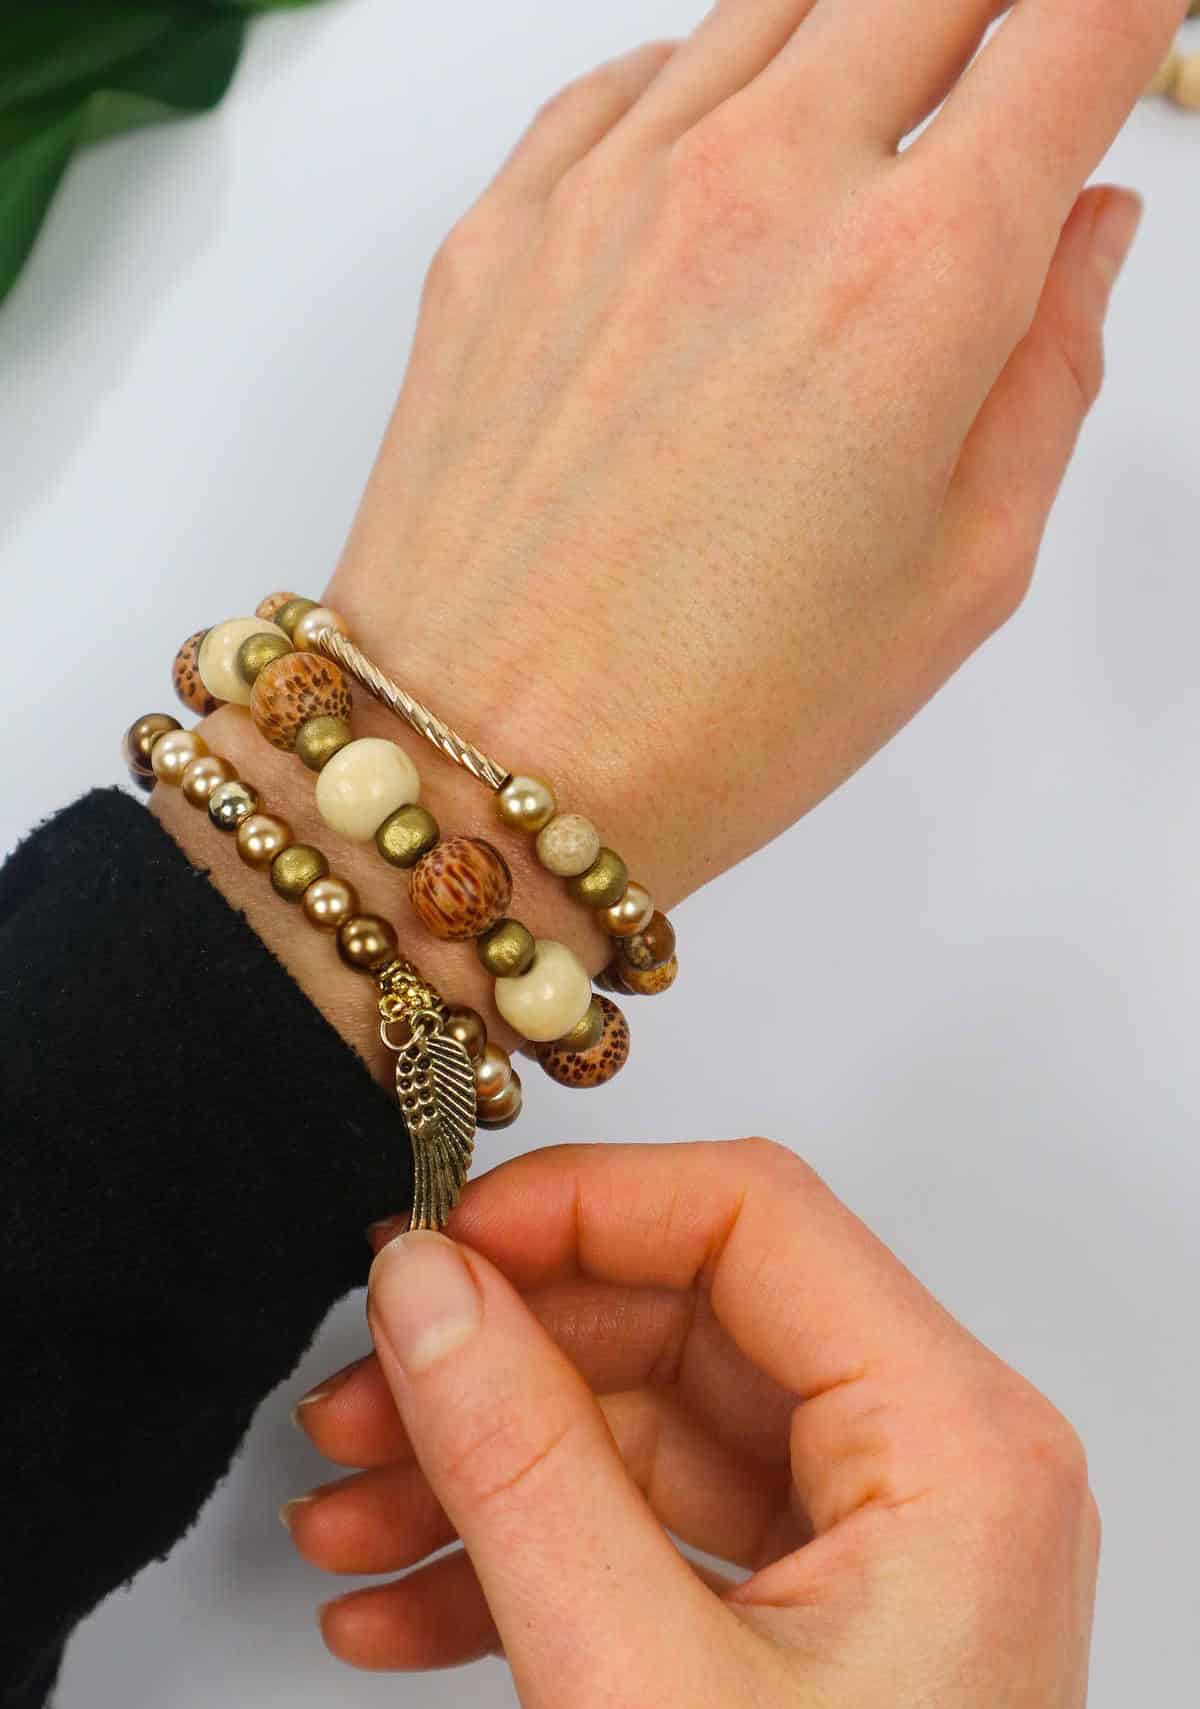
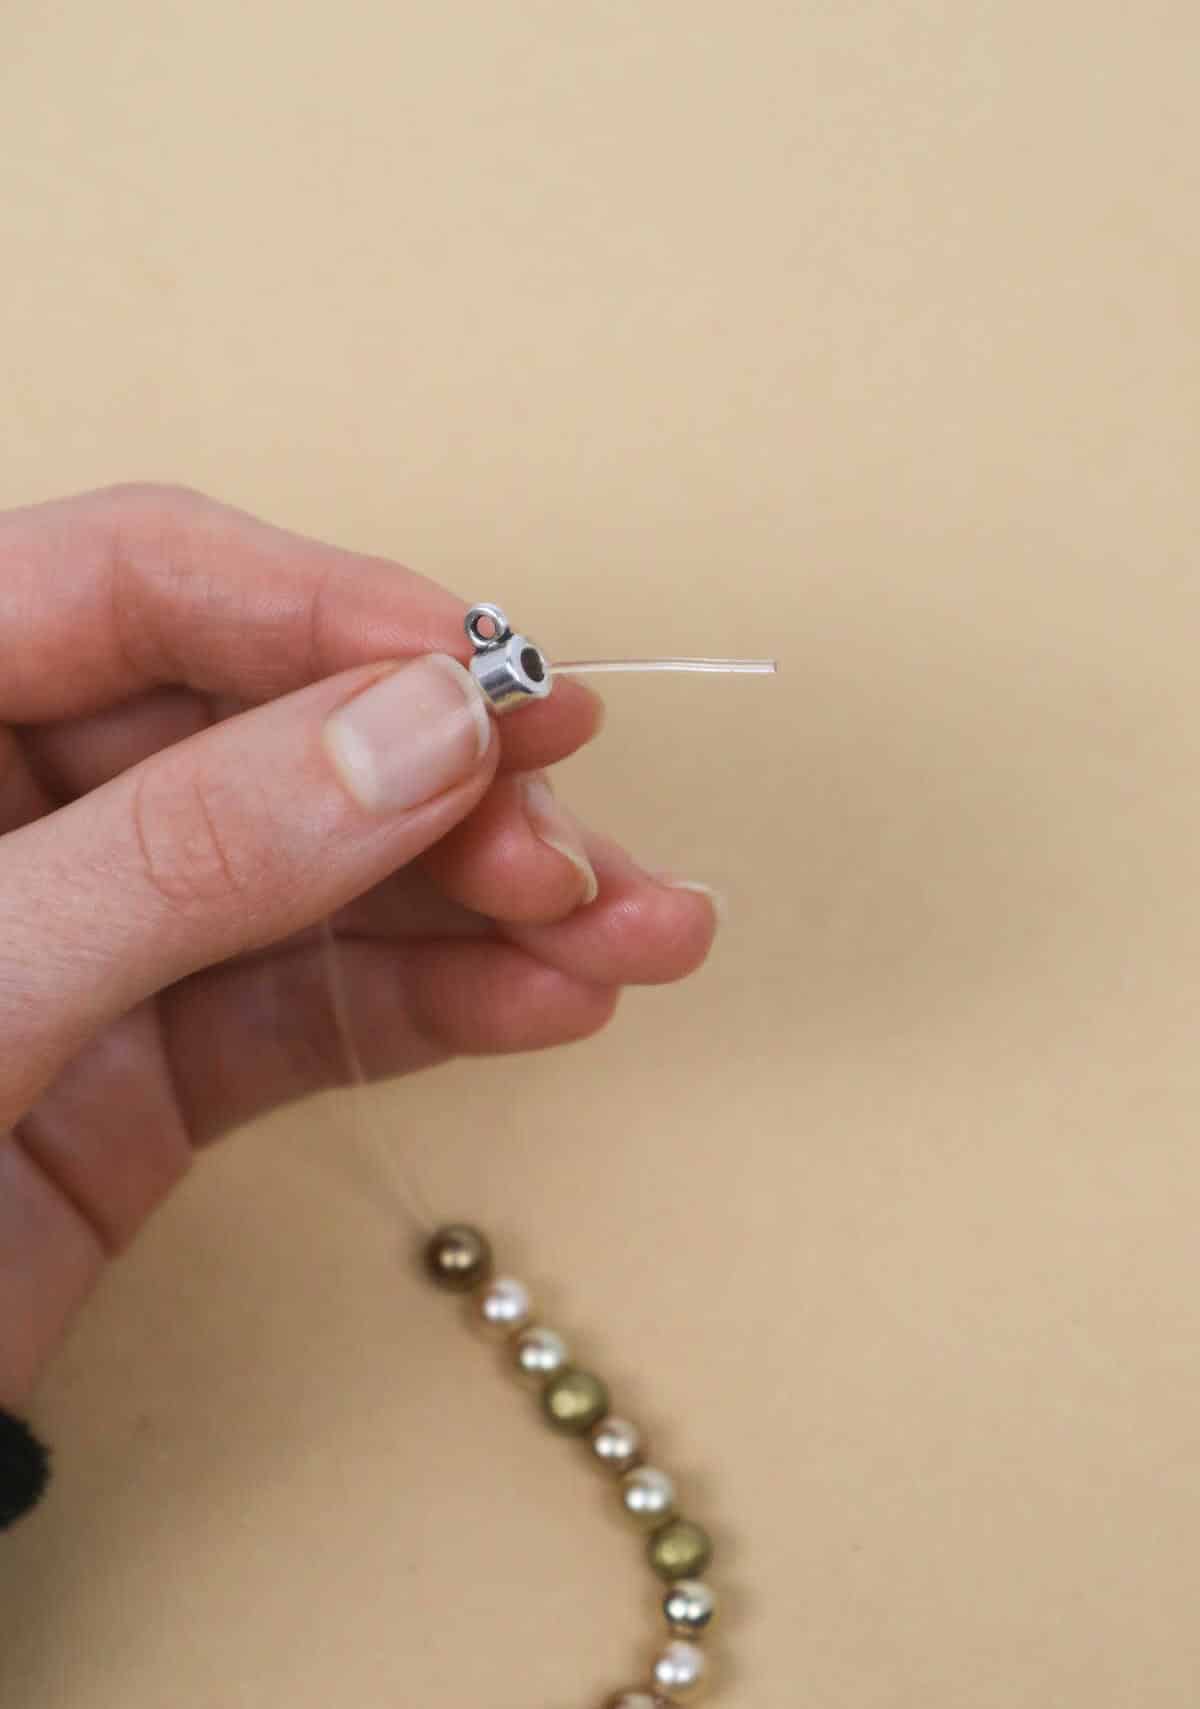
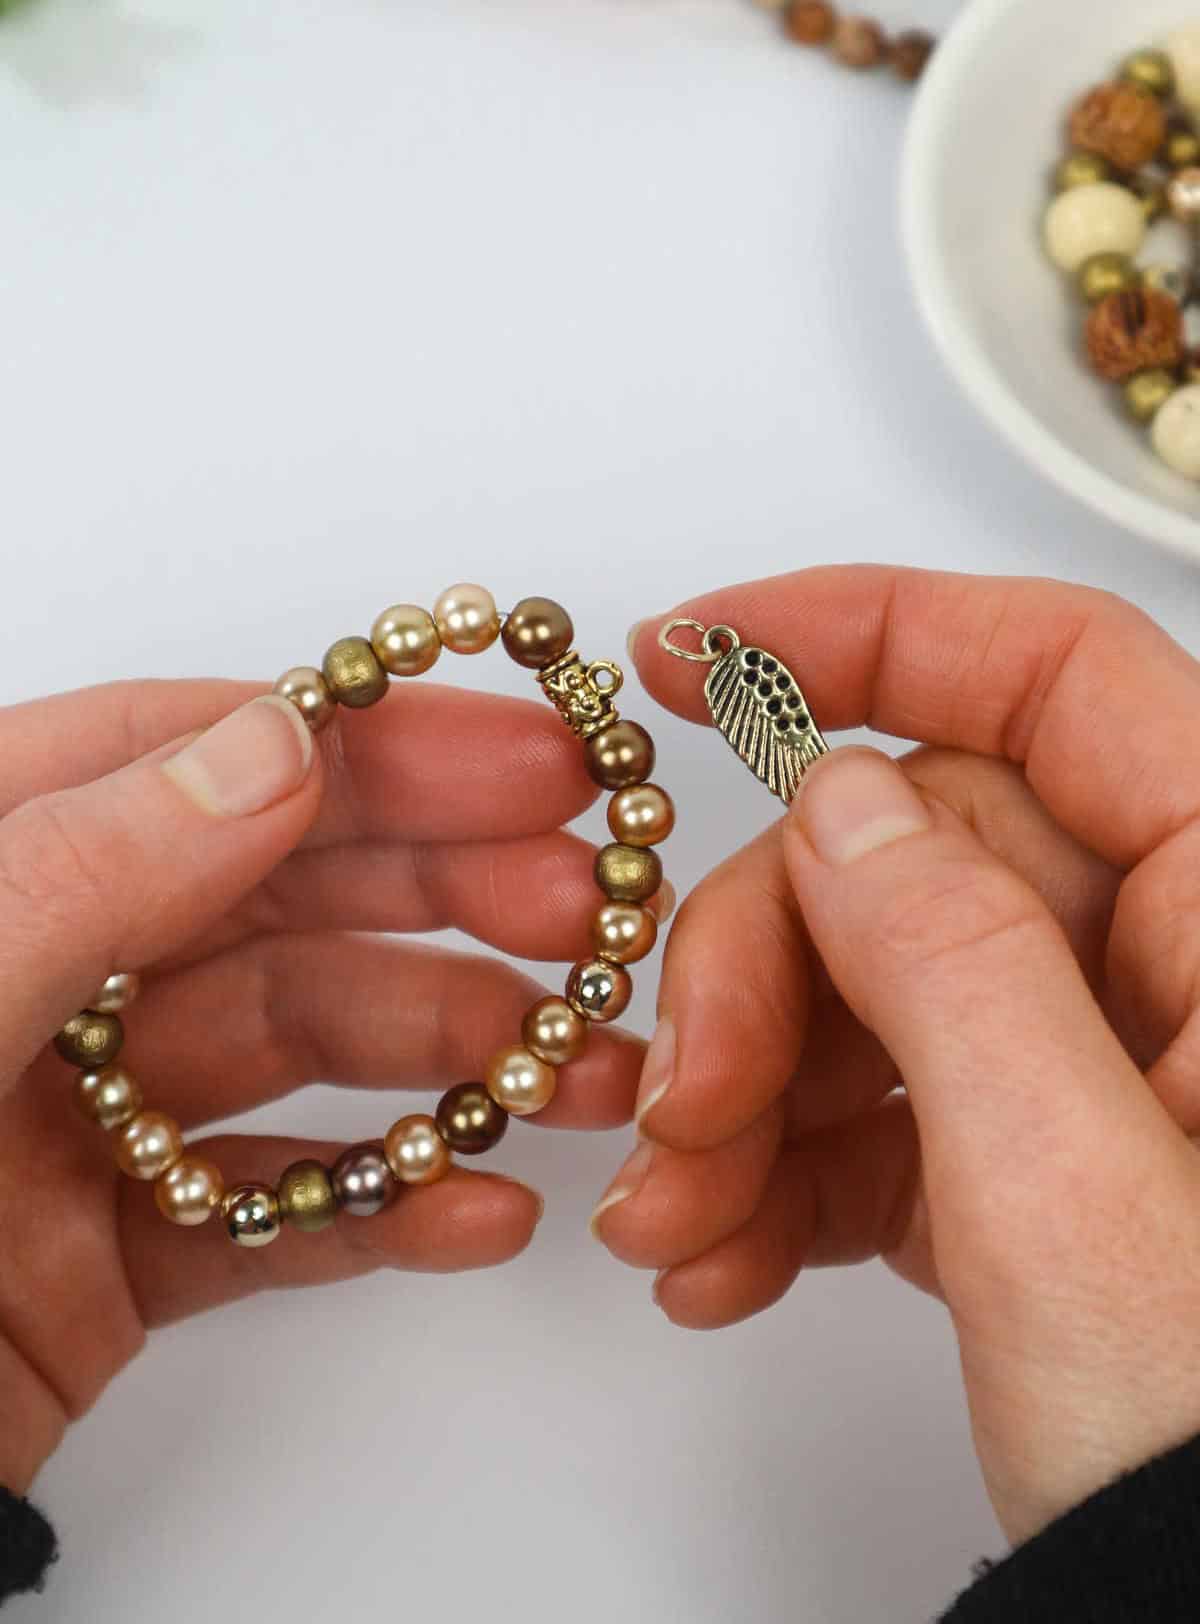
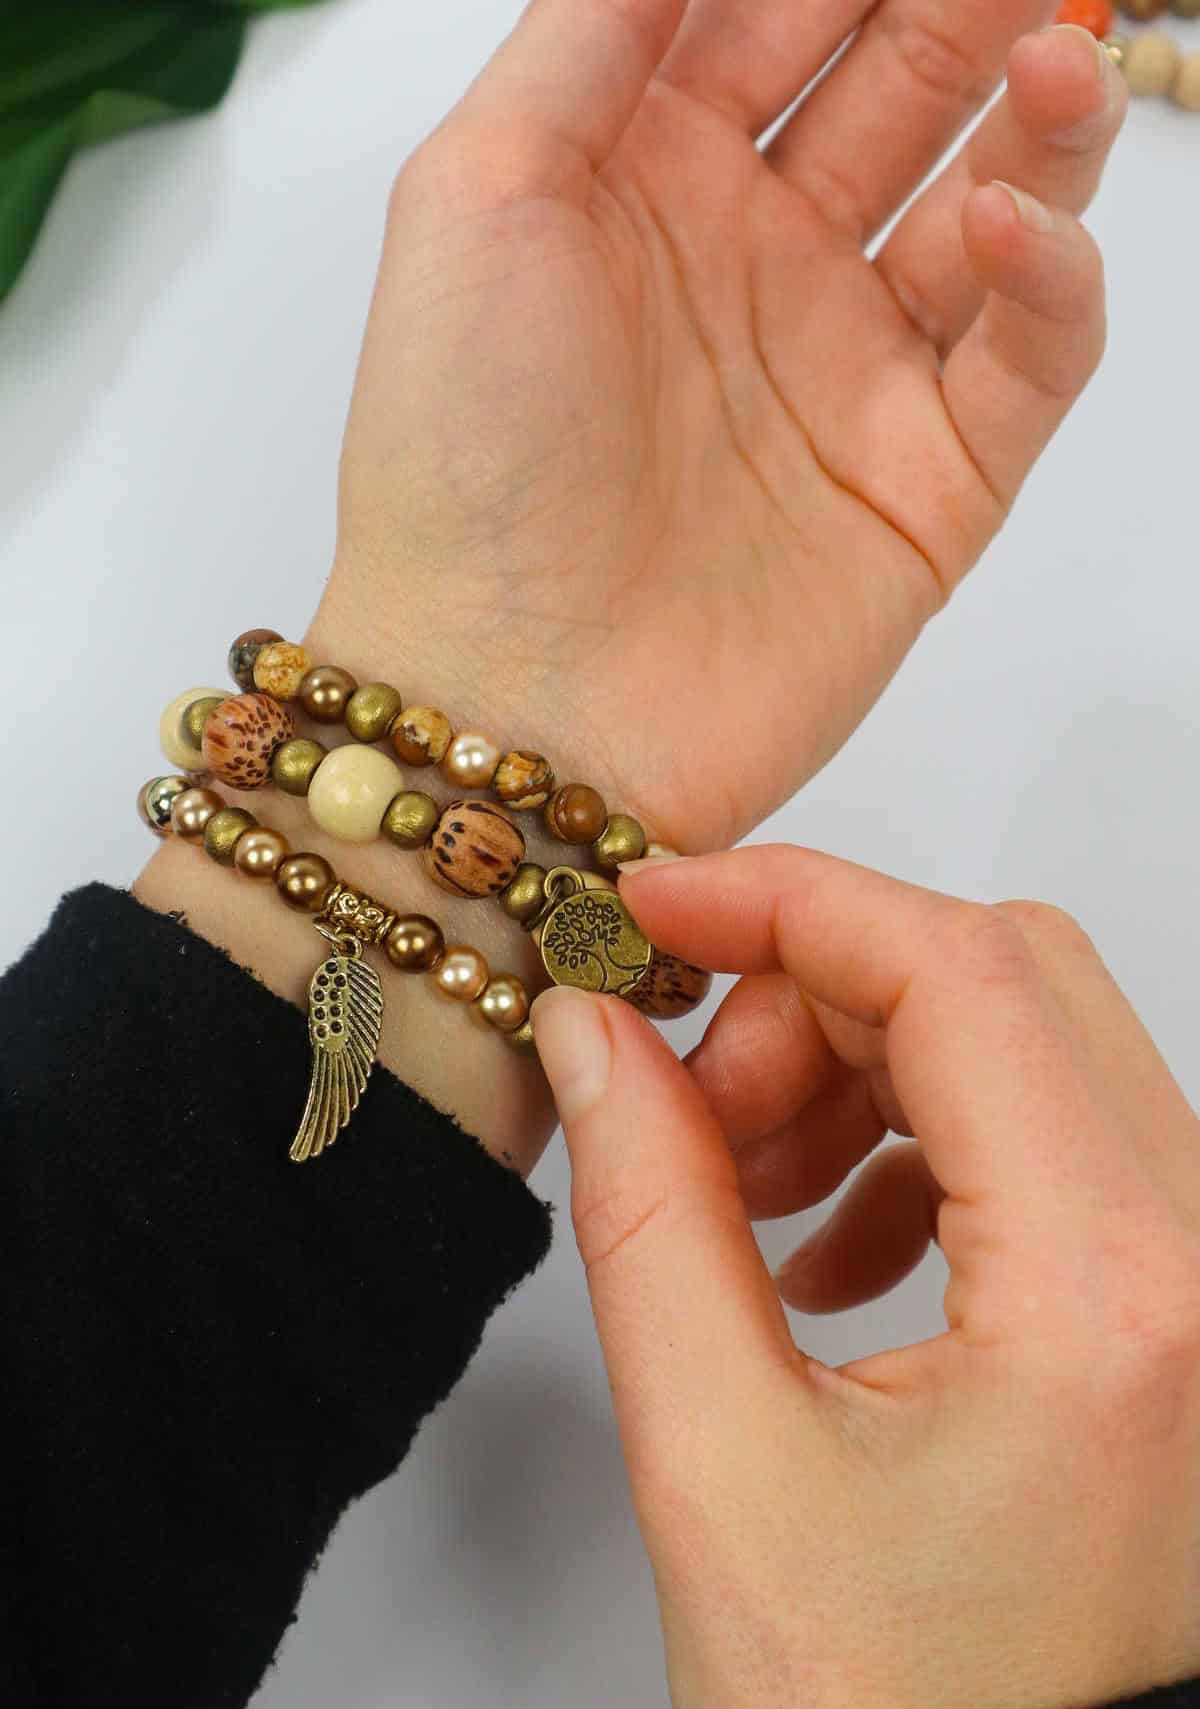
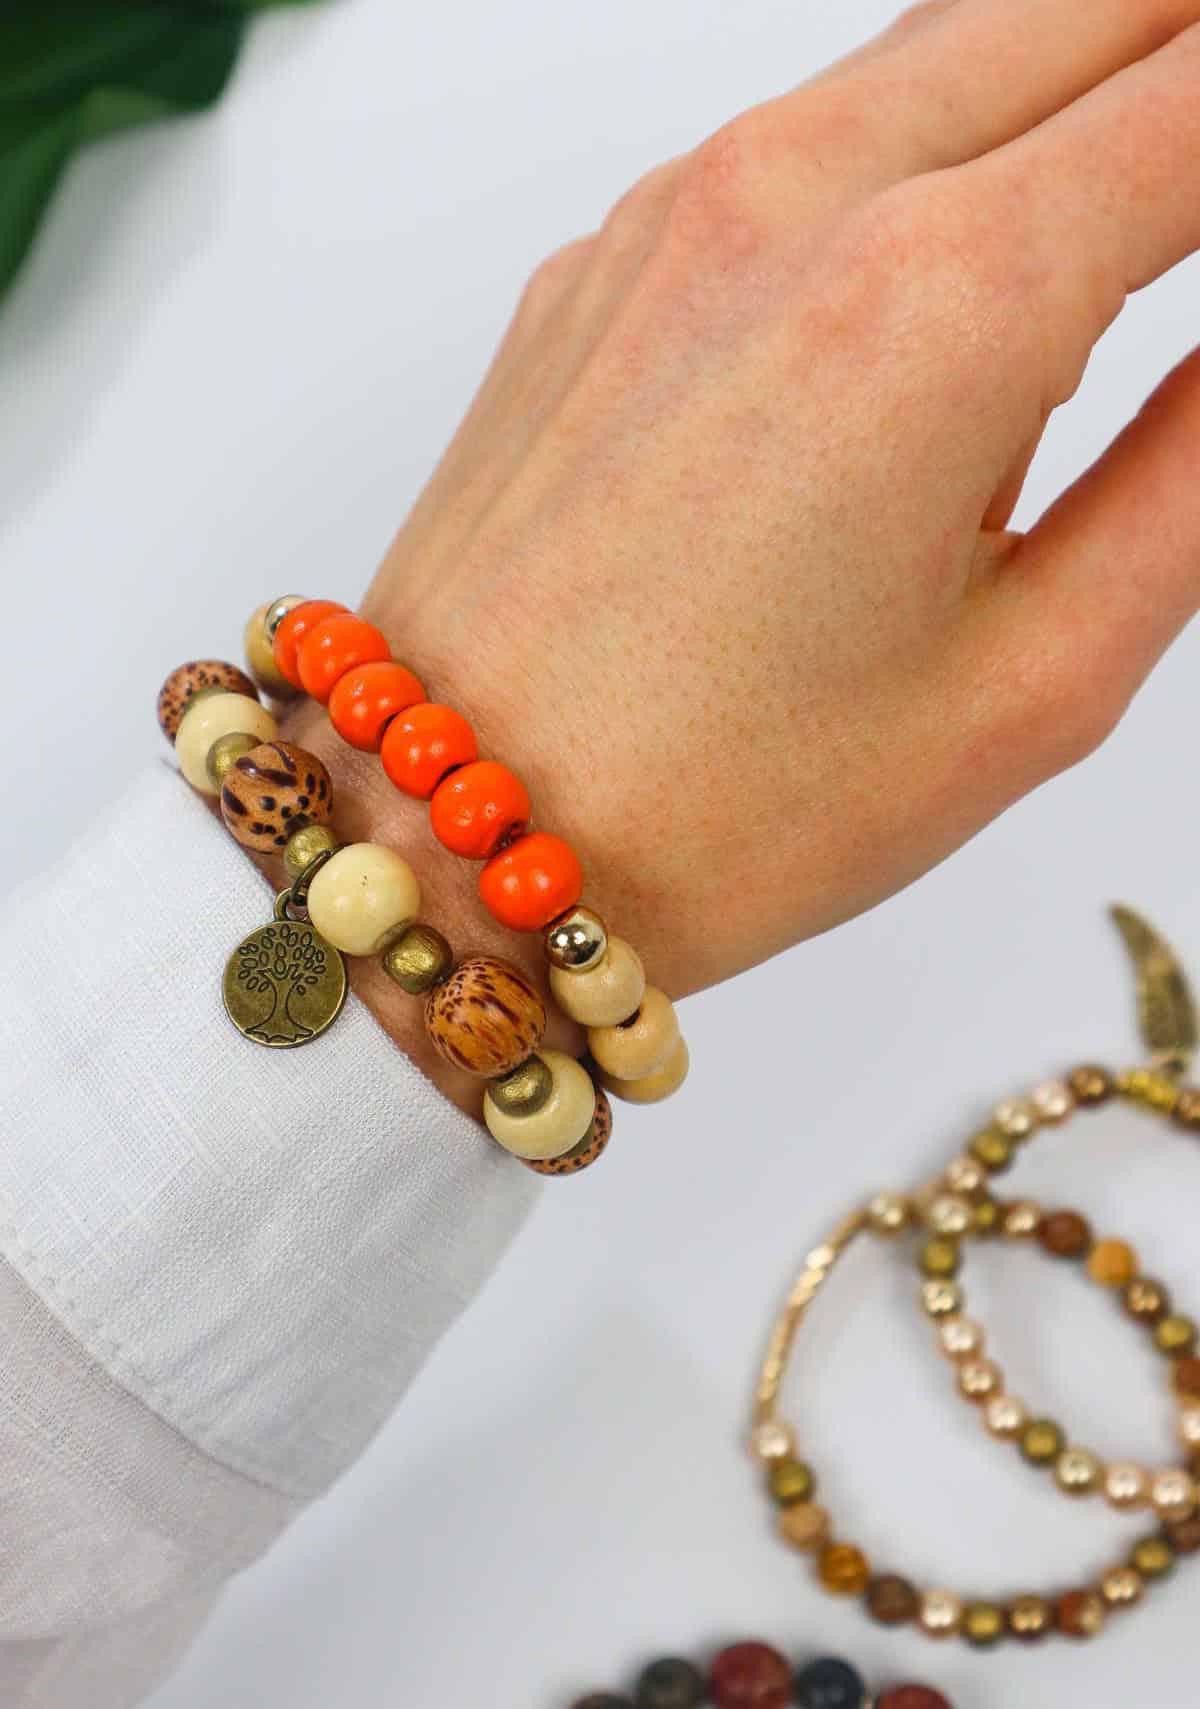
Alternatively, consider using bail beads as a fun way to conceal the knot. You can glue the knot inside or outside of the bail and even add a charm for added visual interest. Adding charms to your completed project is generally a straightforward process. Simply follow the instructions provided with your charm kit for optimal results. Some charms may require more finesse than others, so be patient when applying them – I’ve had my share of broken charms over the years!
There you have it – the fundamental steps involved in bracelet making! I hope this guide has inspired you to try your hand at creating a few and sharing them with friends – happy bracelet making!
More DIY Jewelry You’ll Love:
Get creative and make your own unique accessories with these easy-to-follow tutorials on making clay rings, macrame bracelets, necklaces, tassel earrings, polymer clay earrings, and stone necklaces. Whether you’re a seasoned crafter or just starting out, these DIY projects are sure to inspire you to try something new. With step-by-step guides and simple instructions, you can create beautiful pieces that reflect your personal style.