When it comes to gifts, there’s nothing quite like the thrill of unwrapping a present or diving into a colorful gift bag filled with goodies inside. The best part is that feeling of excitement and discovery. But what if you want to add an extra layer of thoughtfulness and personal touch to your gifting experience? Make your own DIY gift bags, that’s what! It’s a fun and easy project that can be tailored to fit any occasion or recipient’s style. And the best part is that it won’t break the bank.
Good-quality gift bags can be pricey, but with this DIY project, you can create your own unique and special packaging without sacrificing quality or aesthetics. So why not give it a try? With just a few simple materials and some creativity, you can turn plain old wrapping paper into stunning gift bags that will make any present feel extra special.
Supplies for Gift Bags

To begin crafting your unique gift box, gather the following essential supplies: a roll of patterned paper or gift wrapping paper, a smaller piece for the top, a ruler to ensure straight lines, a pencil for marking and tracing, a hobby knife for precision cuts, scissors for larger cuts, double-sided tape or glue for secure adhesion, glitter glue for added flair, and stickers to add personality. These materials will serve as the foundation for creating your one-of-a-kind gift box.
How to Make Gift Bags
As you’ve collected all the necessary materials, it’s time to get started on your creative journey! Imagine yourself in an origami workshop, where you’ll be skillfully manipulating and shaping paper into a beautiful piece of art. The process is surprisingly similar to traditional origami, as you’ll be folding, tucking and creasing the paper to bring your design to life.
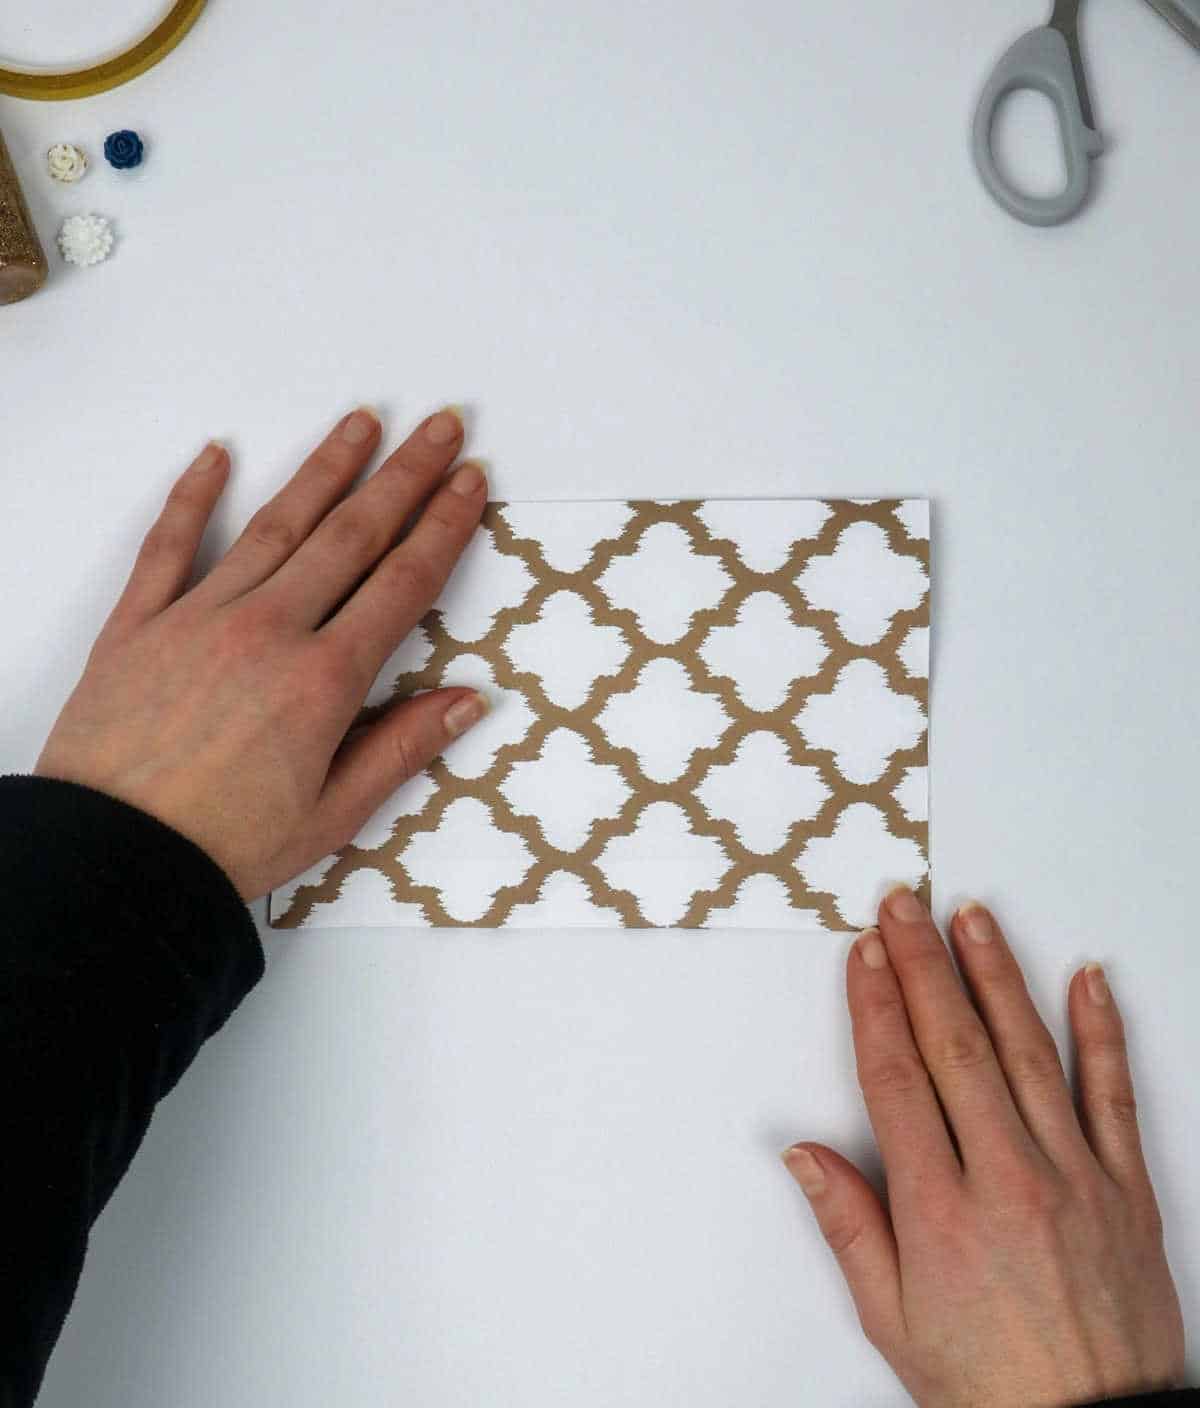
Step 1
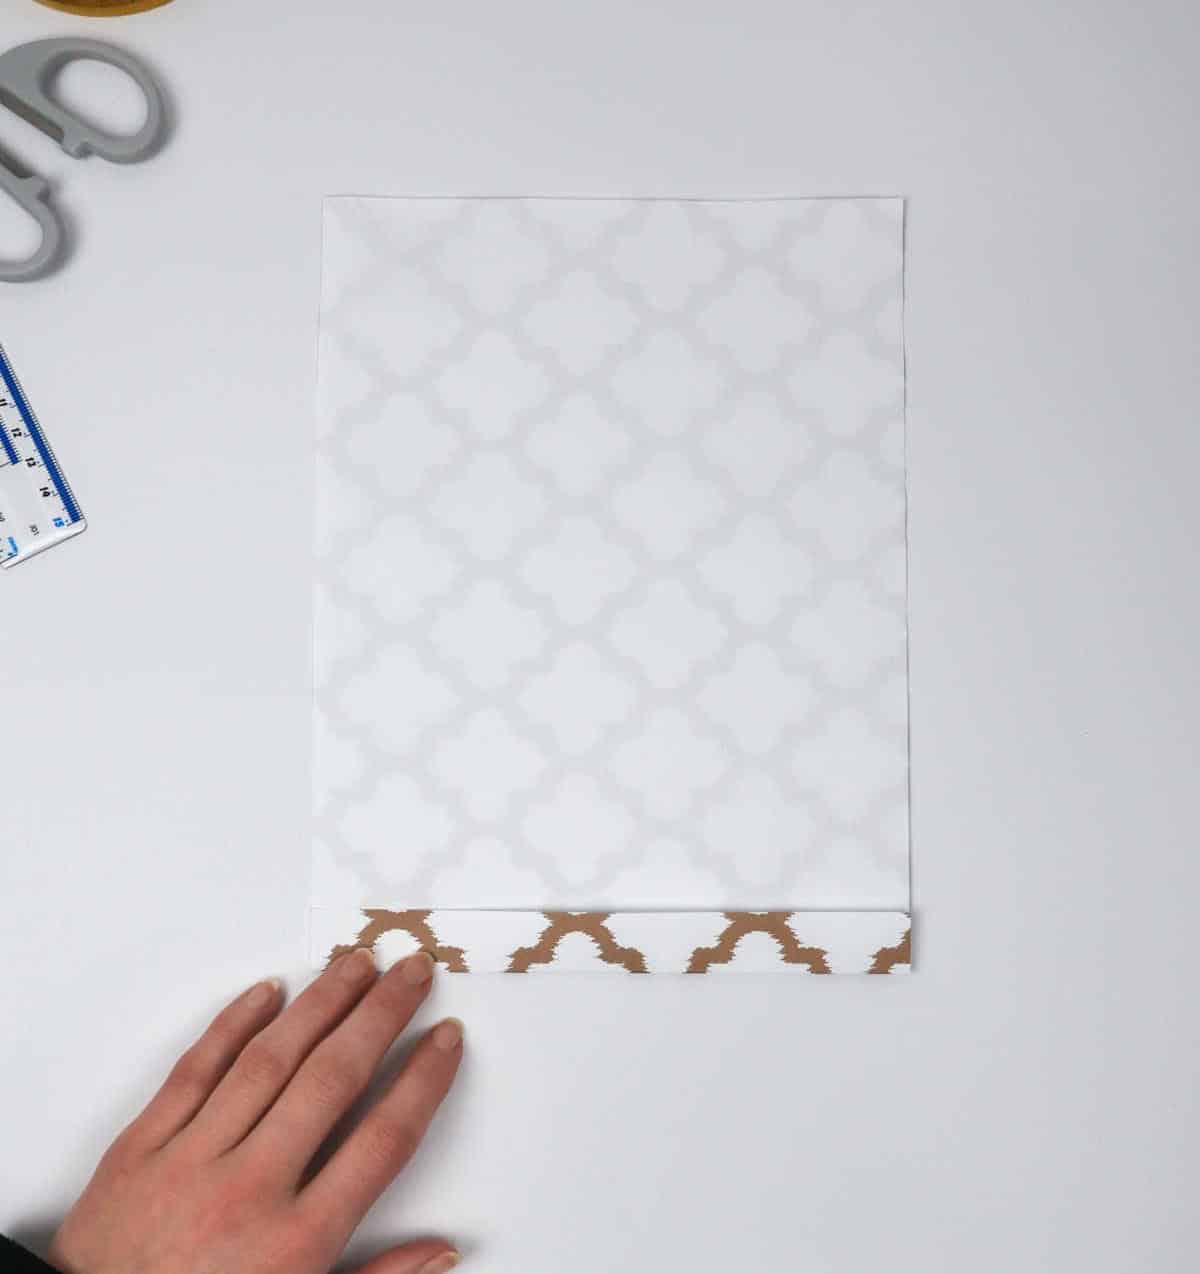
Start by positioning the paper with the patterned side facing downwards and the plain side upwards. Then, create a crease at the bottom of the paper by folding it up roughly an inch. Press the fold firmly to ensure it’s crisp. Next, apply double-sided tape along the folded edge, making sure it adheres securely.
Step 2
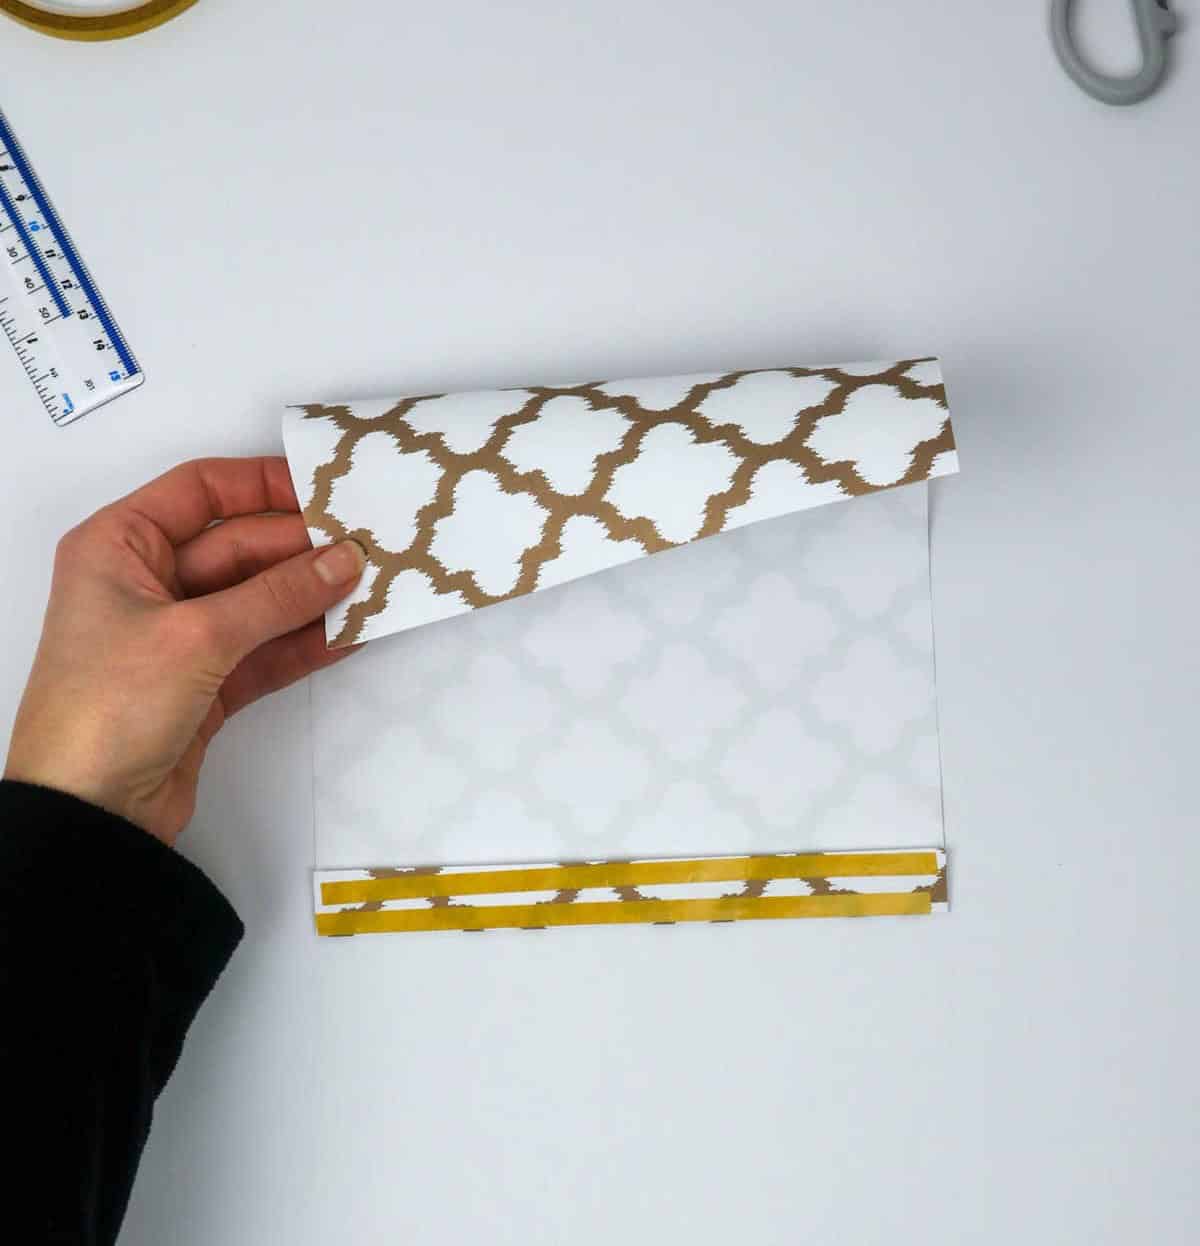
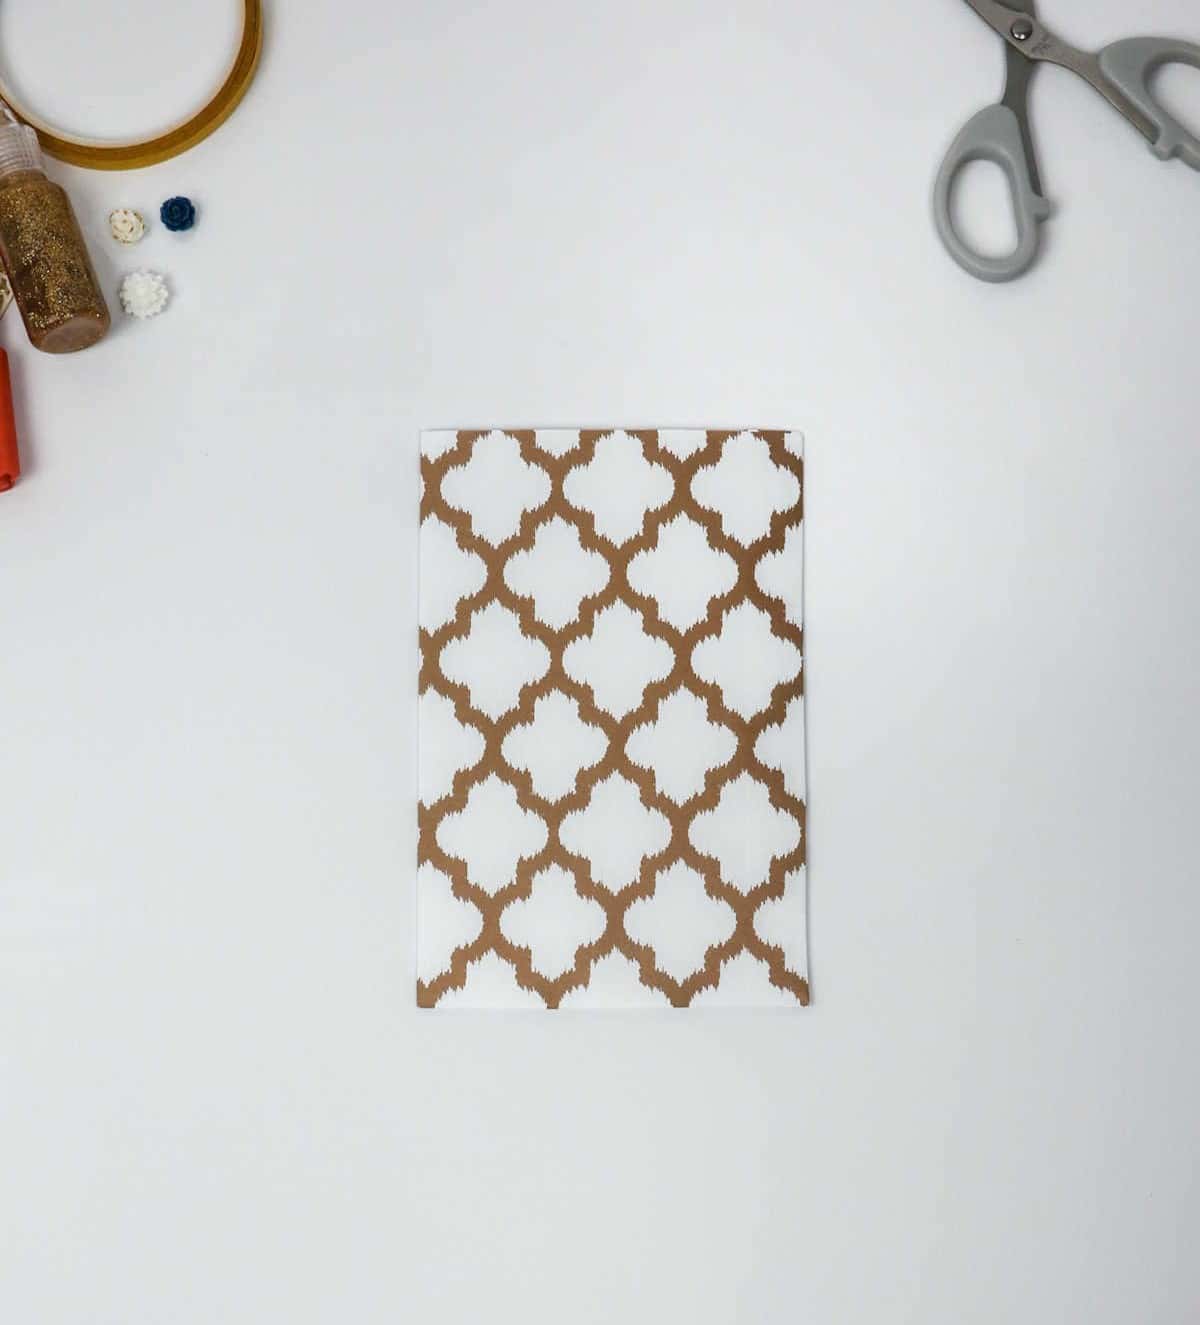
To complete the transformation, start by grasping the uppermost part of the paper and gently draw it downwards to the bottom edge. Ensure precise alignment as you press down carefully. The double-sided tape will do its job, securely fastening the paper in place. At this point, your original sheet will have morphed into a compact rectangle with a reduced size. Next, rotate the new shape vertically to reveal its updated form.
Step 3
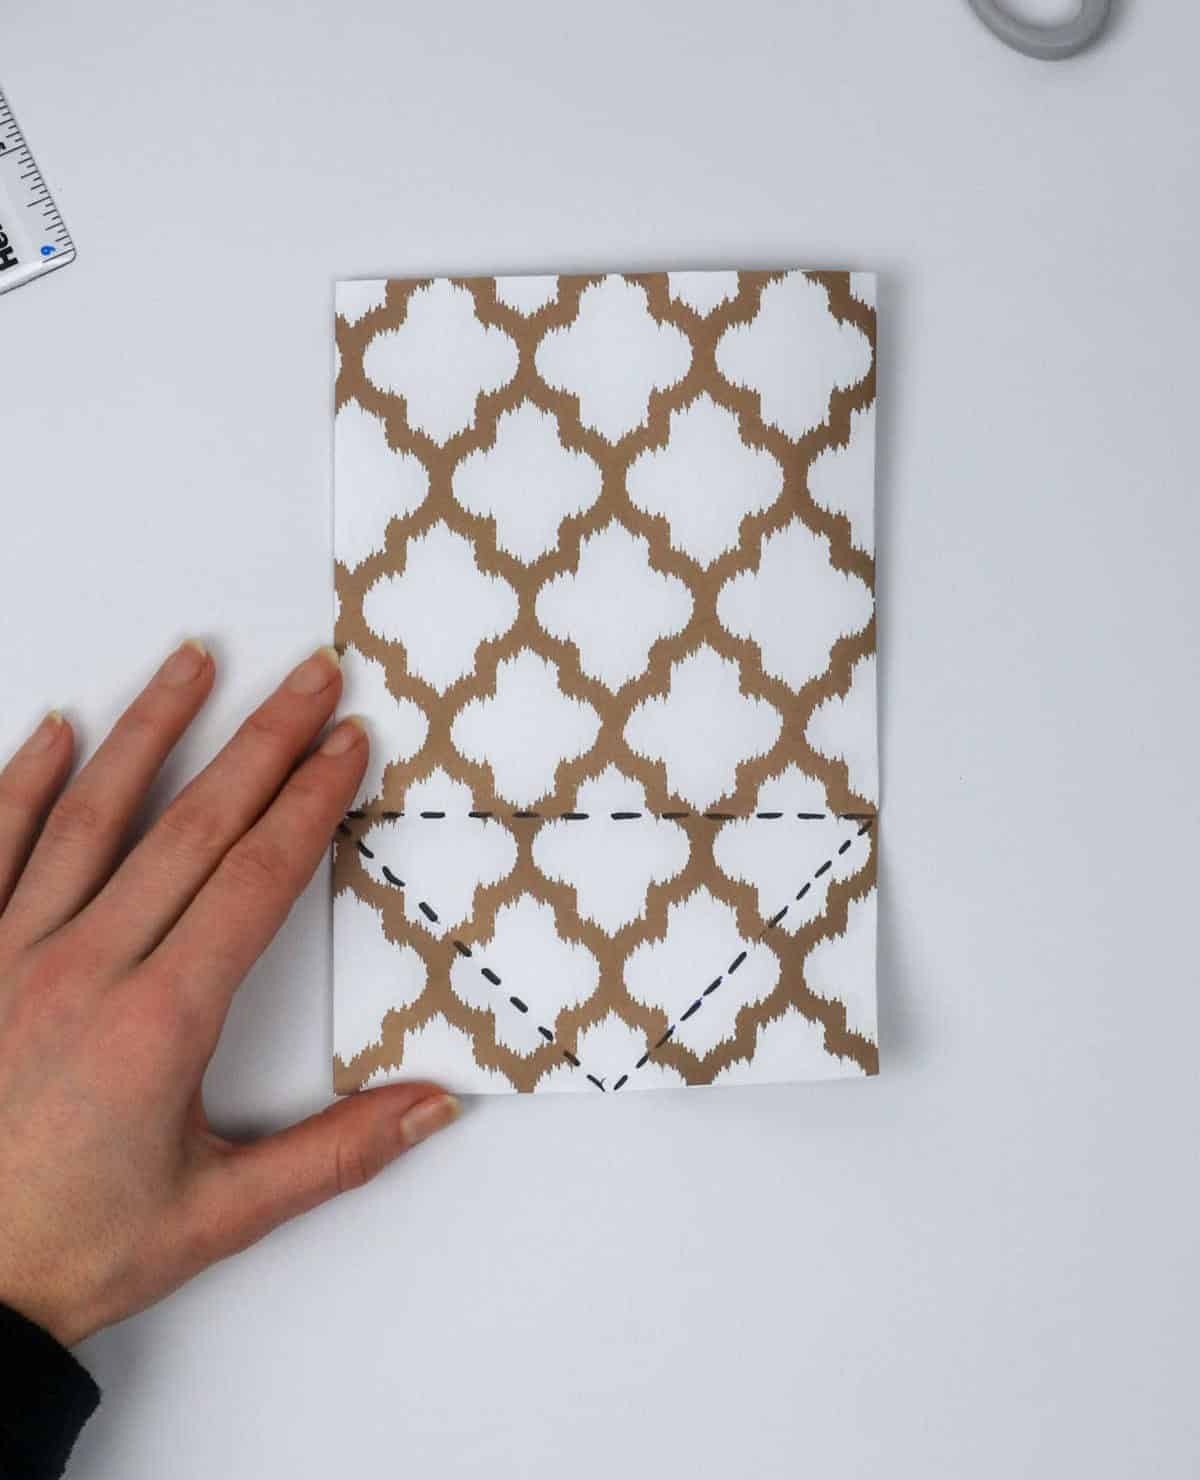
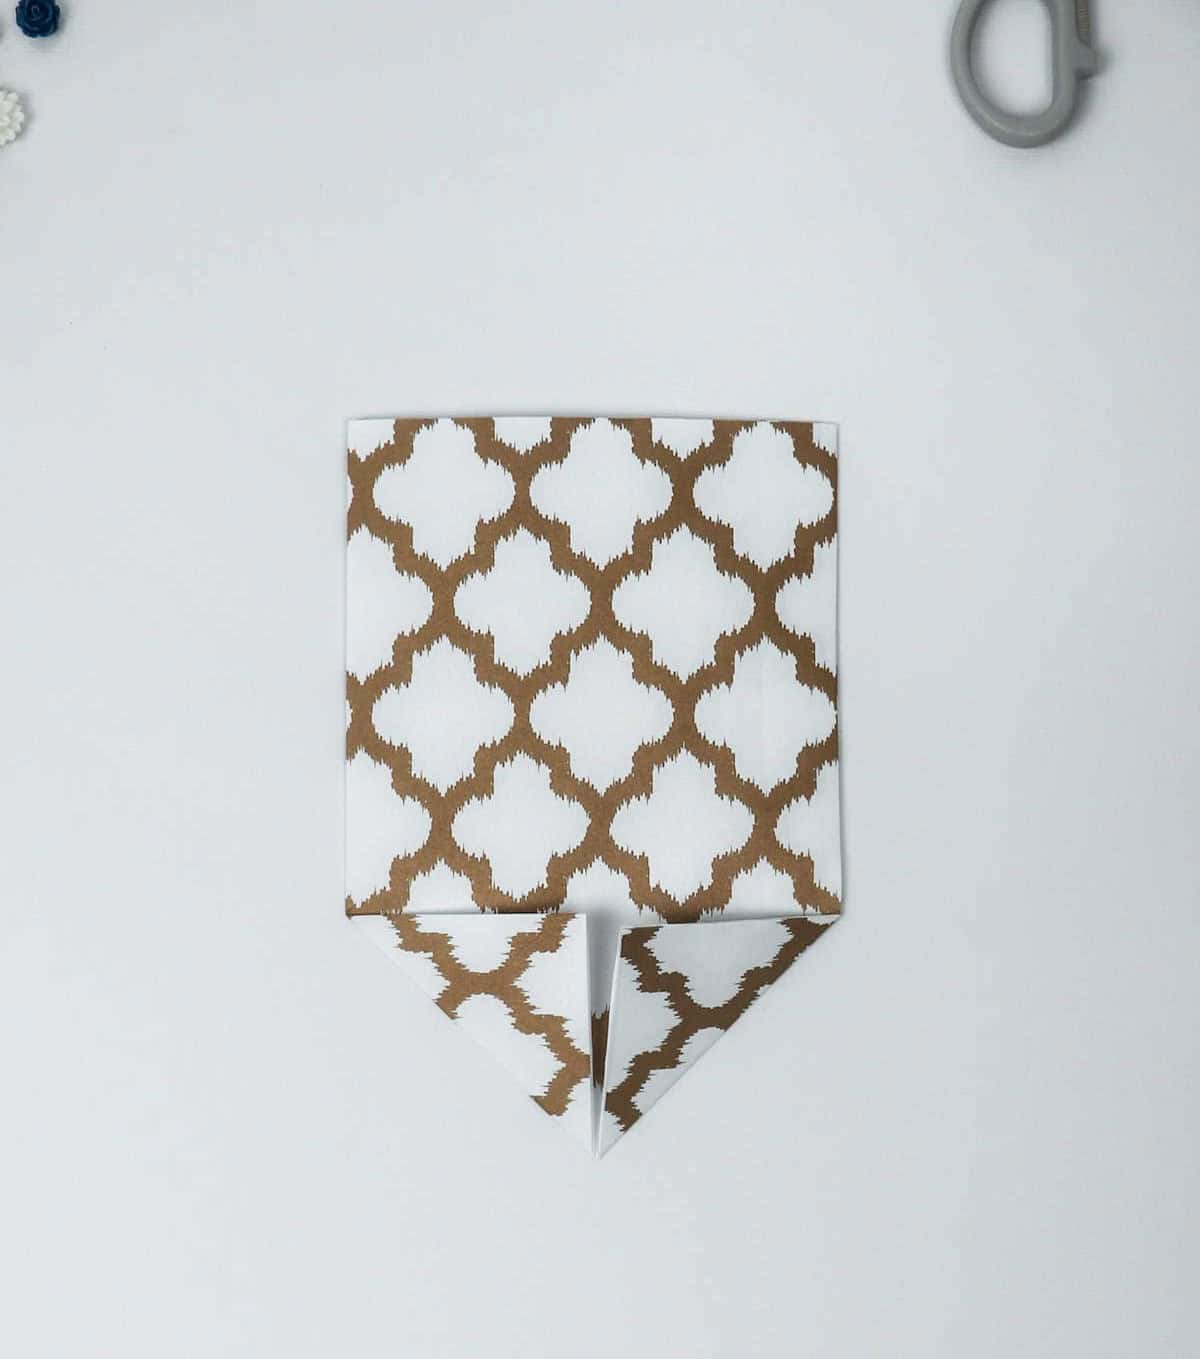
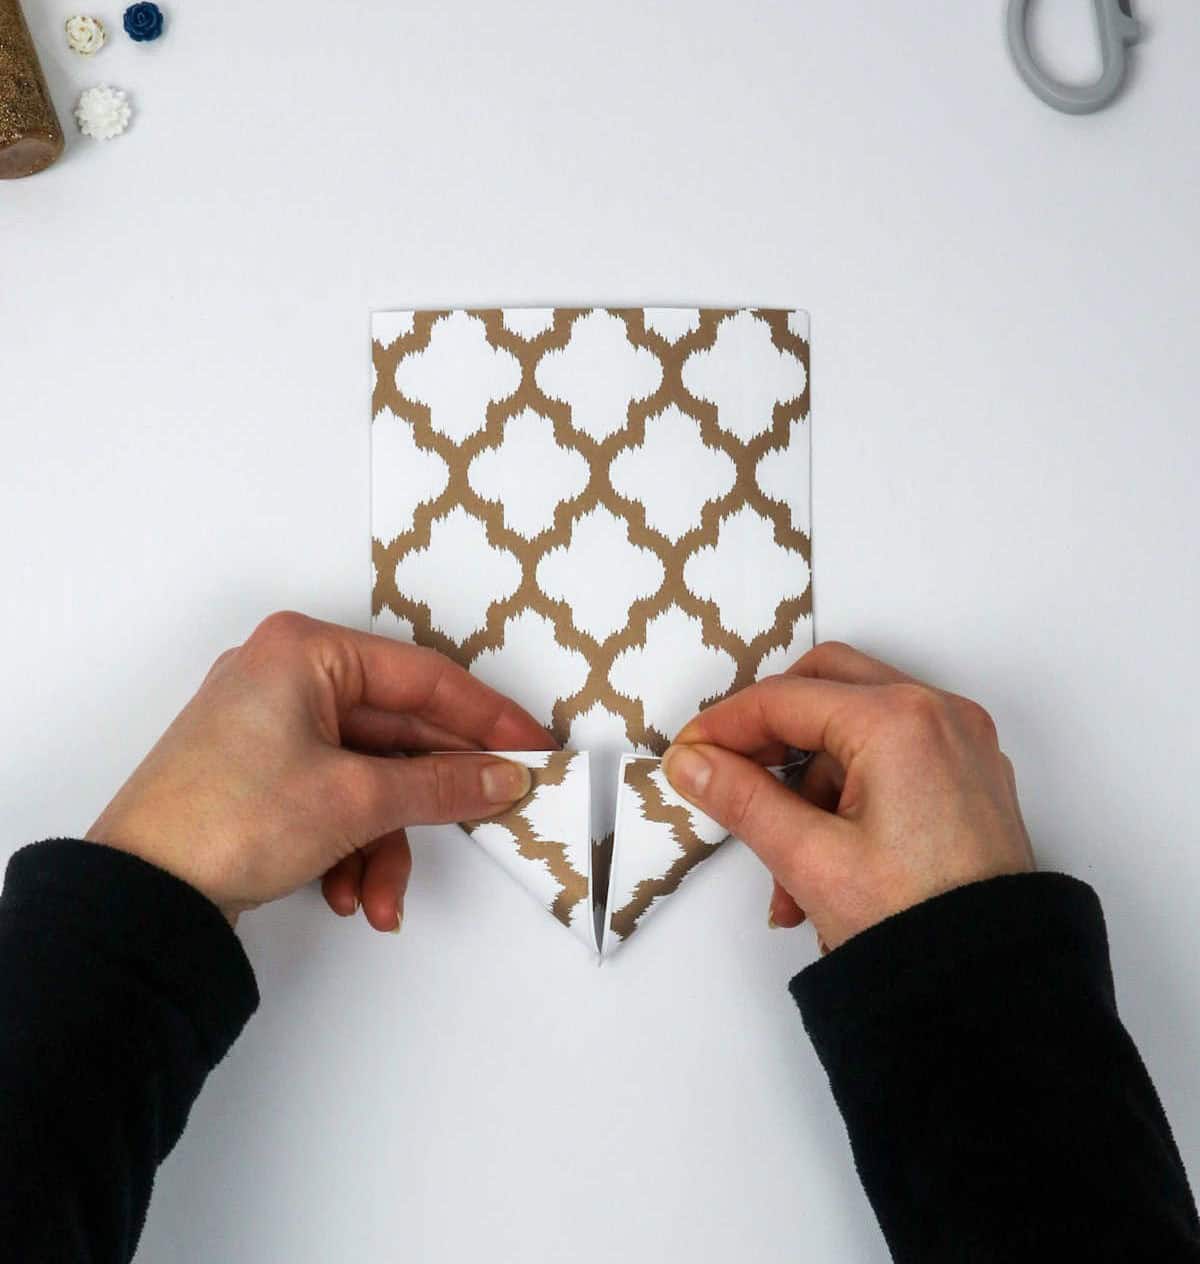
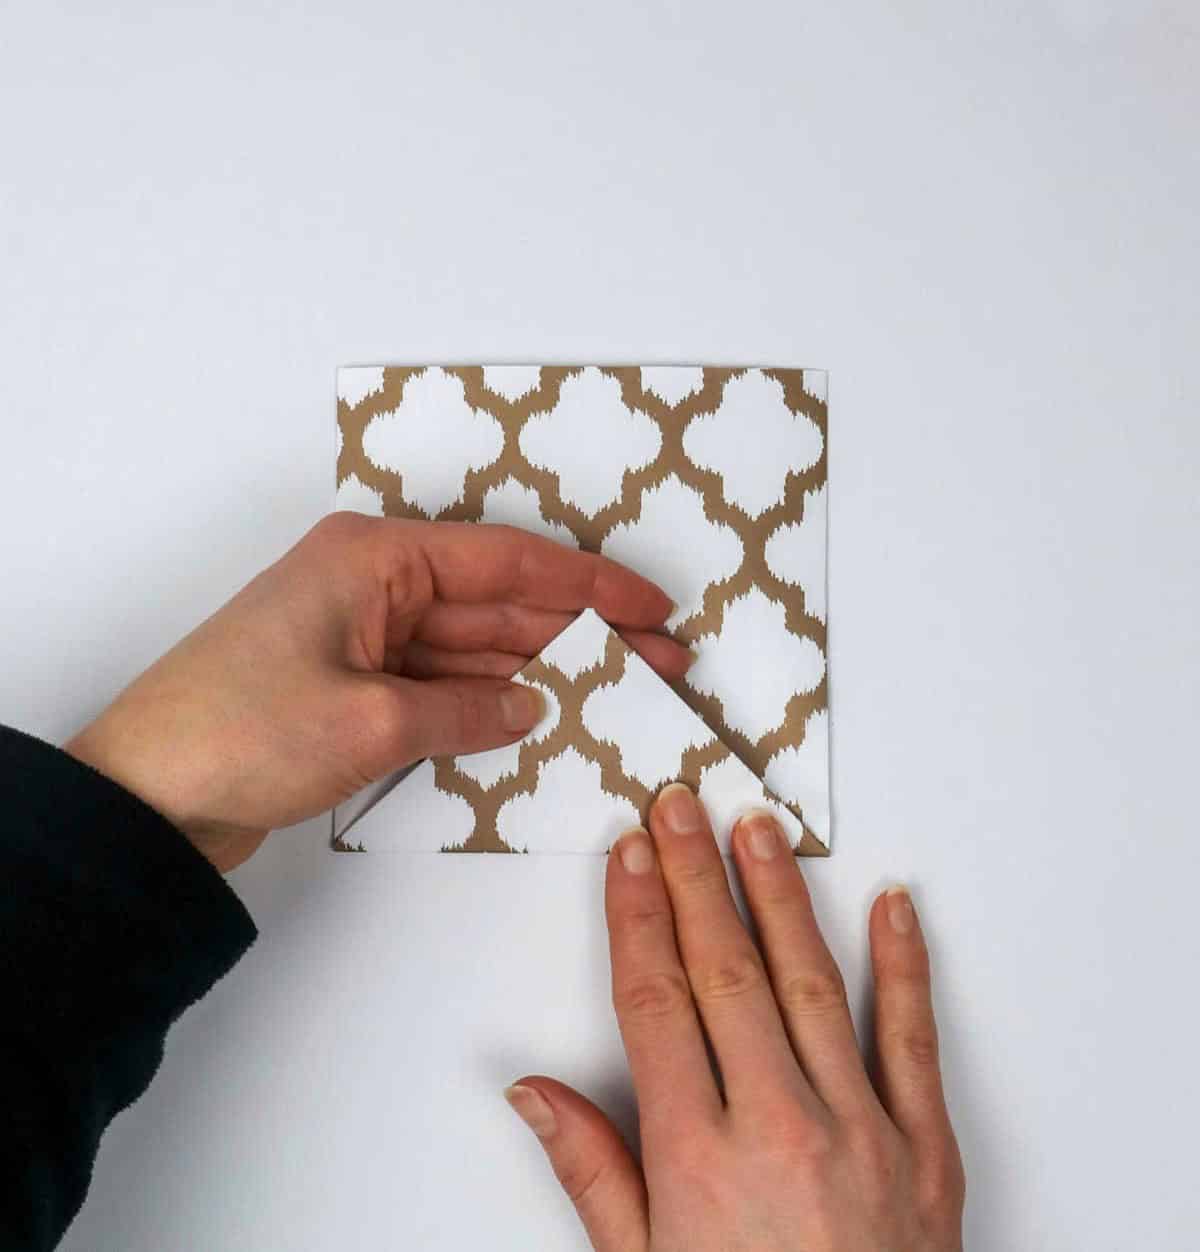
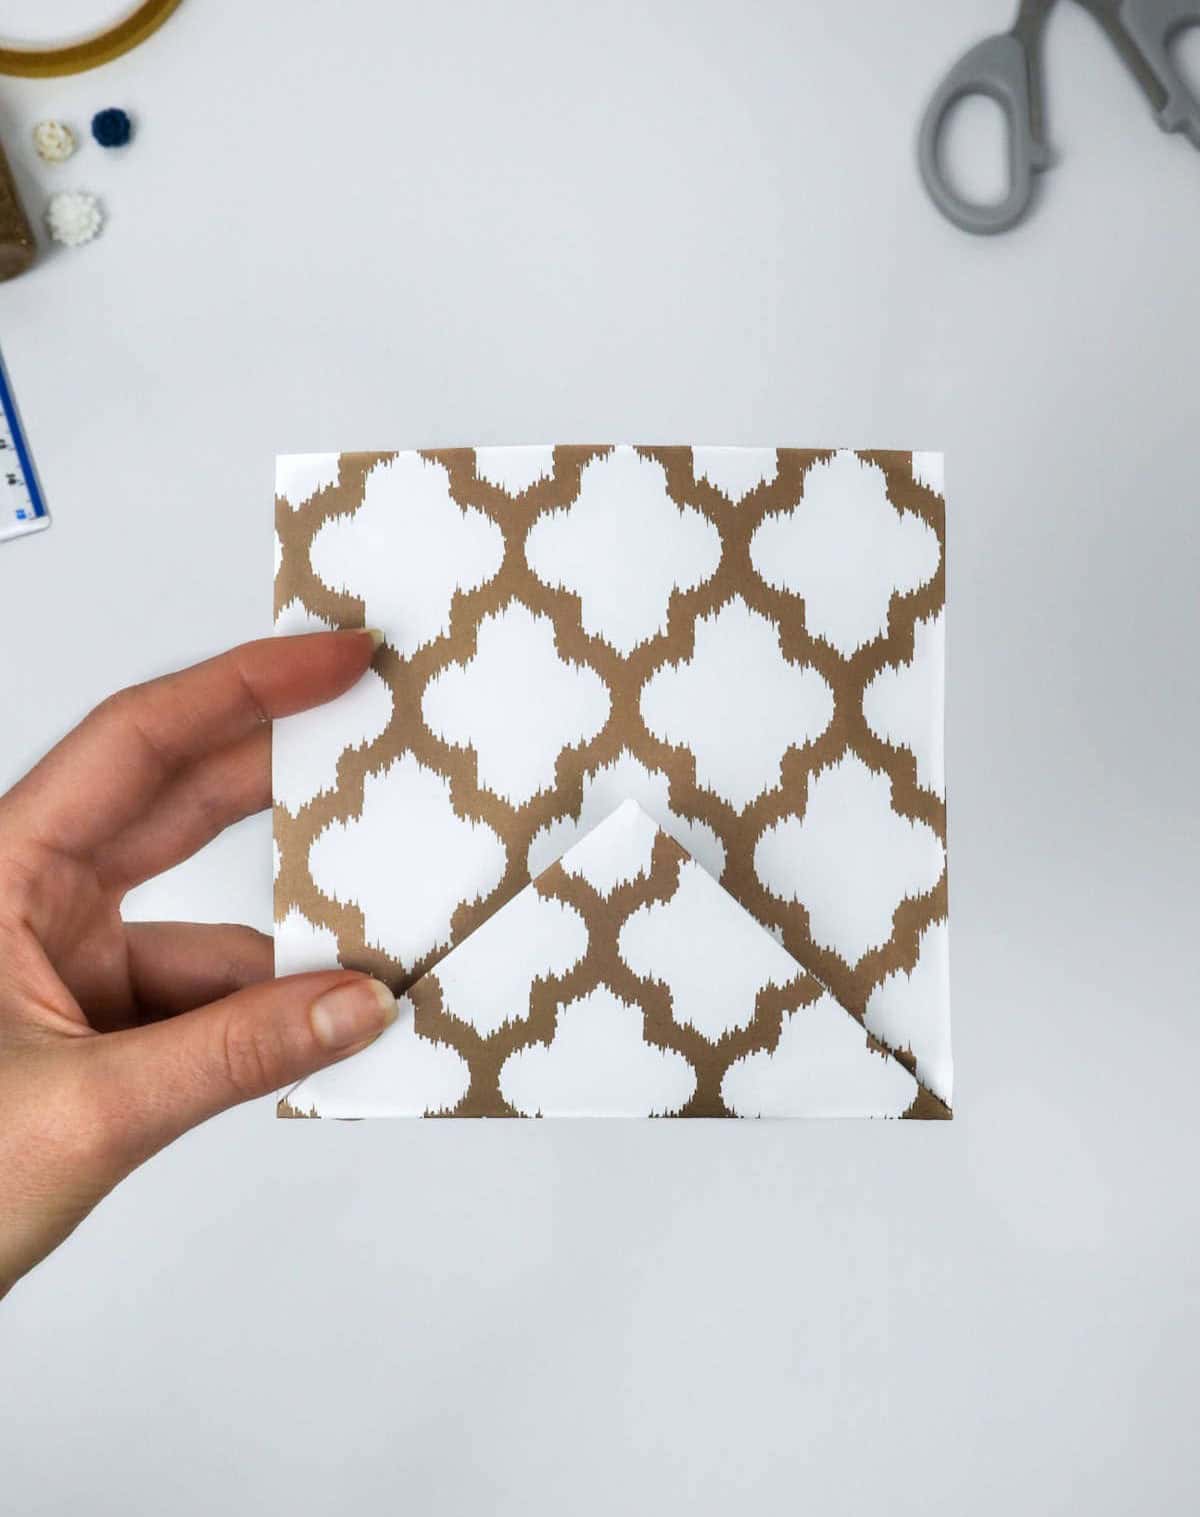
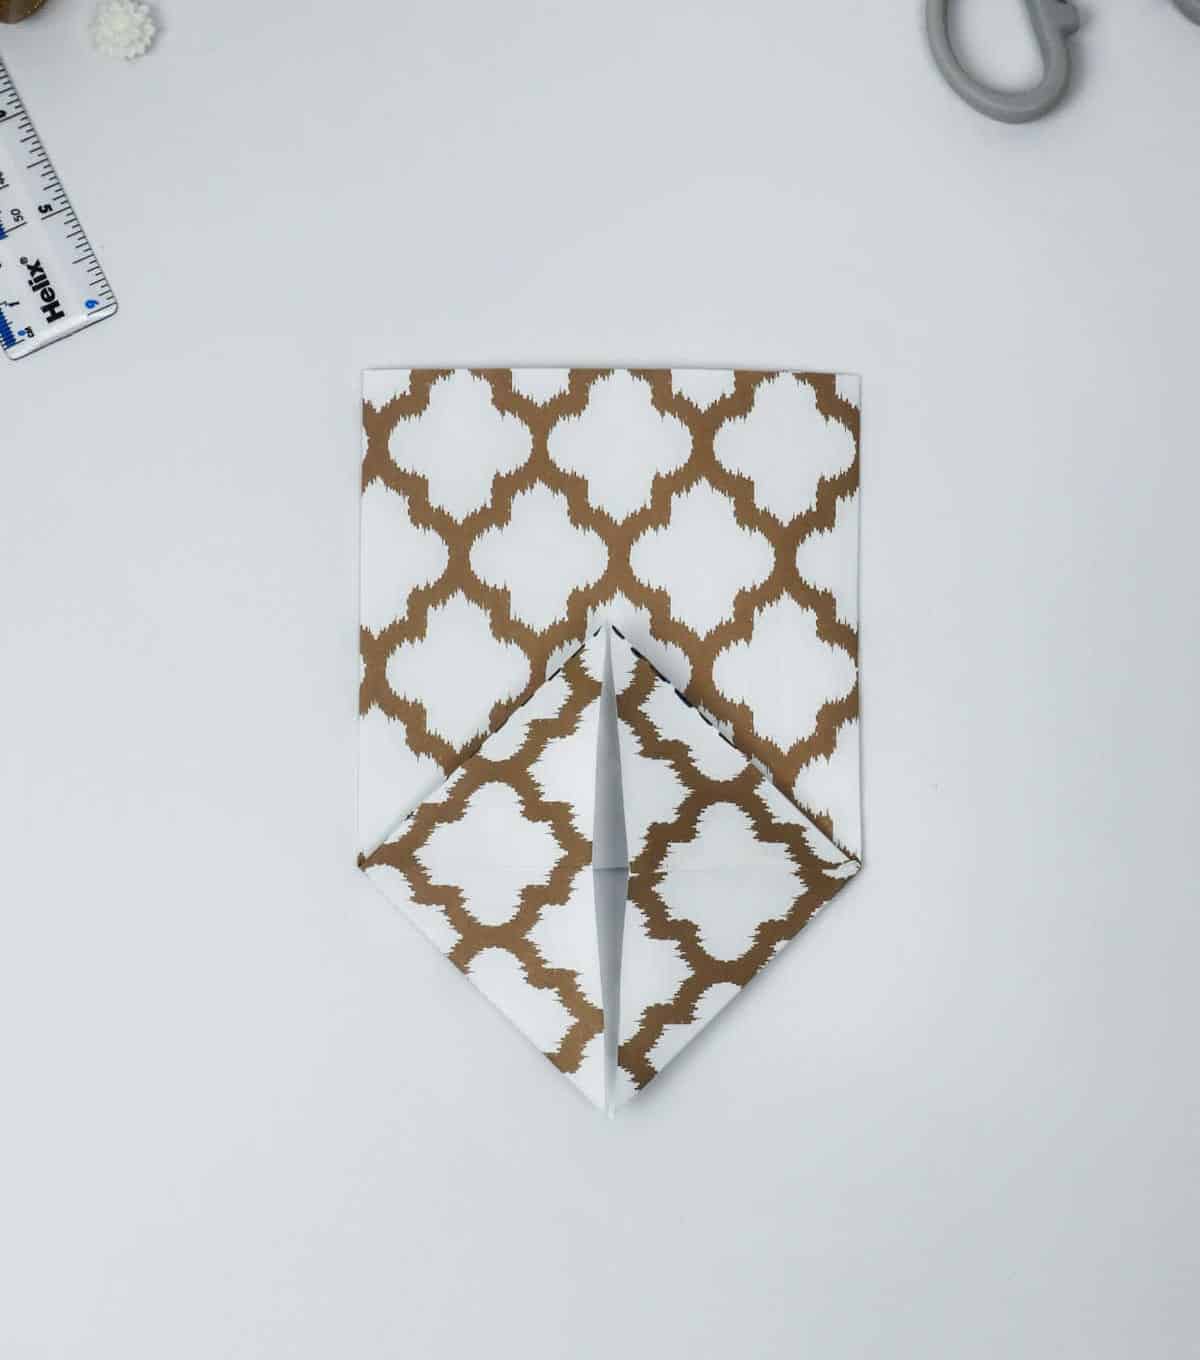
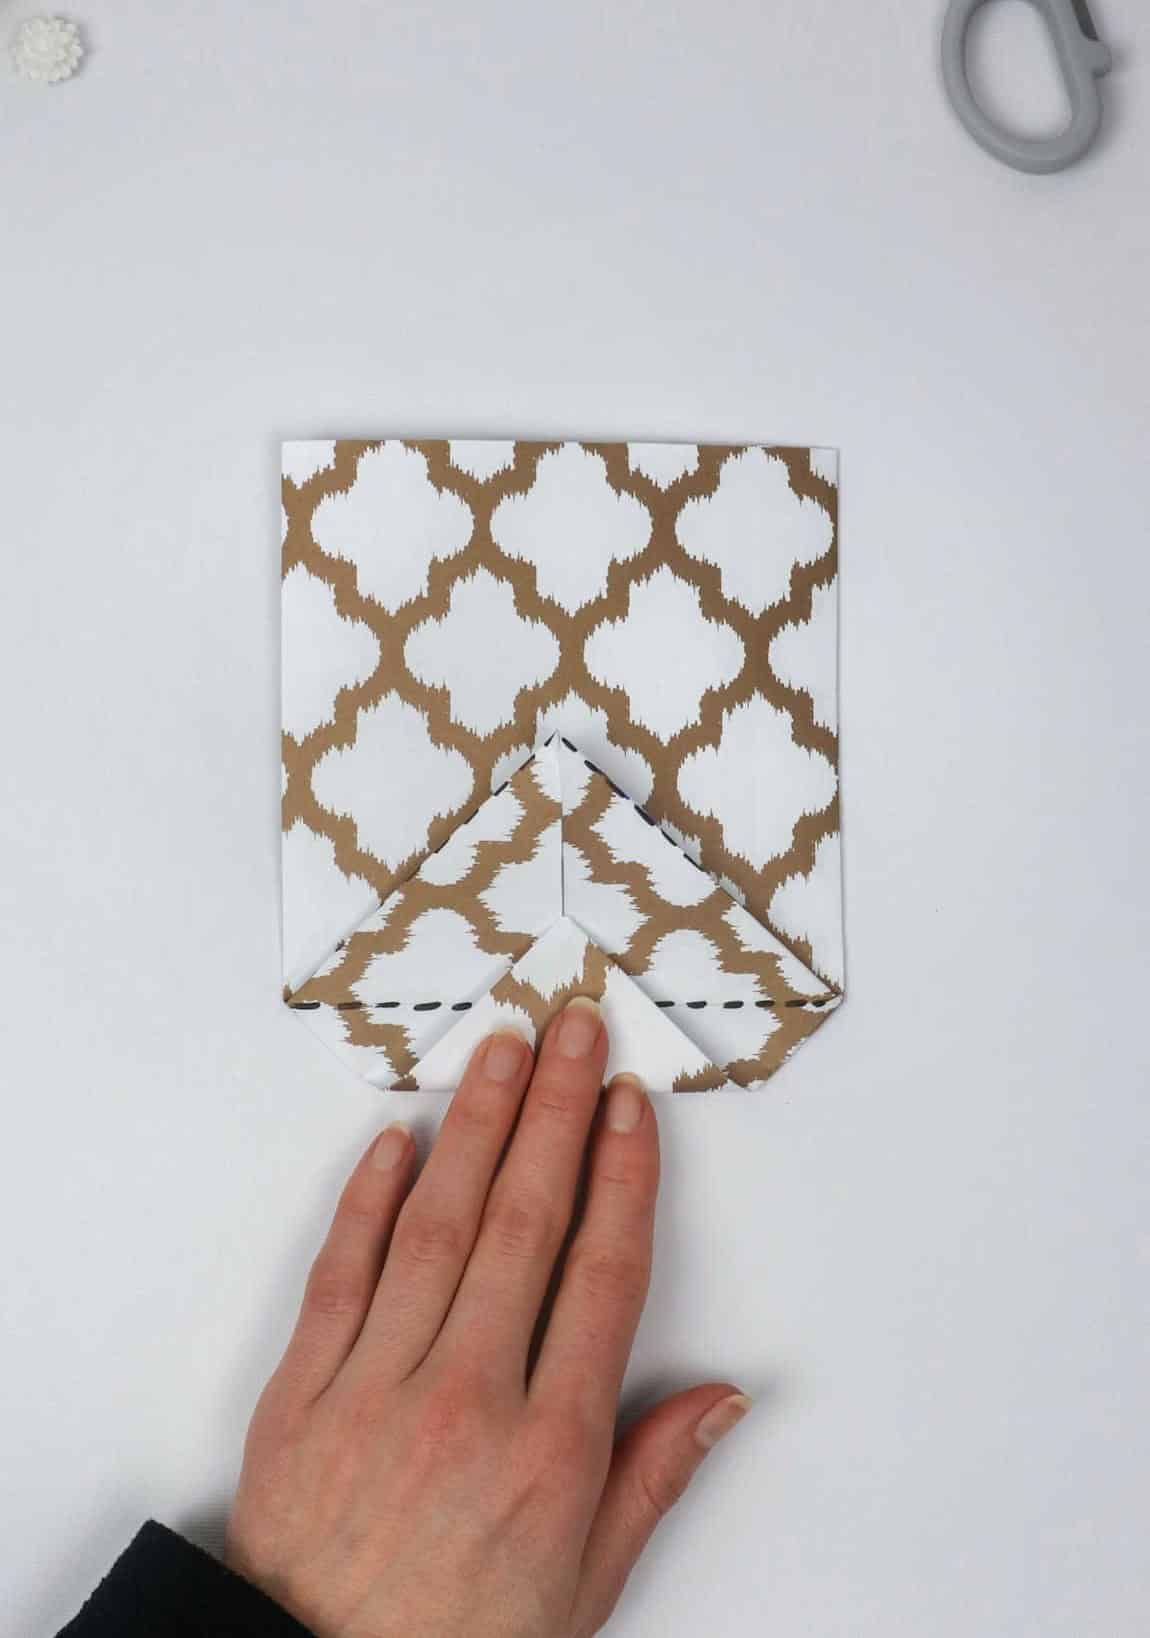
To proceed with the next step, you have a choice: use black dotted lines to guide your folding or skip them altogether. The goal is to fold the two edges inward, toward the center, as indicated. This should result in a formation similar to what’s depicted below. Ensure that both triangular flaps are aligned evenly with each other before moving forward. But don’t get too comfortable – there’s more to do! Take hold of the triangle’s tip and fold it upward.
Along the longest line, where the black dotted line was, create a crease in the paper. Finally, press down gently on the paper to indent the edge, mirroring the illustration provided.
Step 4

As you prepare to transform your ordinary paper into a unique gift bag, take a moment to unfurl the sheet. Although it may still bear the creases from its recent fold, don’t worry – with these simple steps, you’ll soon be holding a charming and personalized present in a matter of minutes.
Step 5
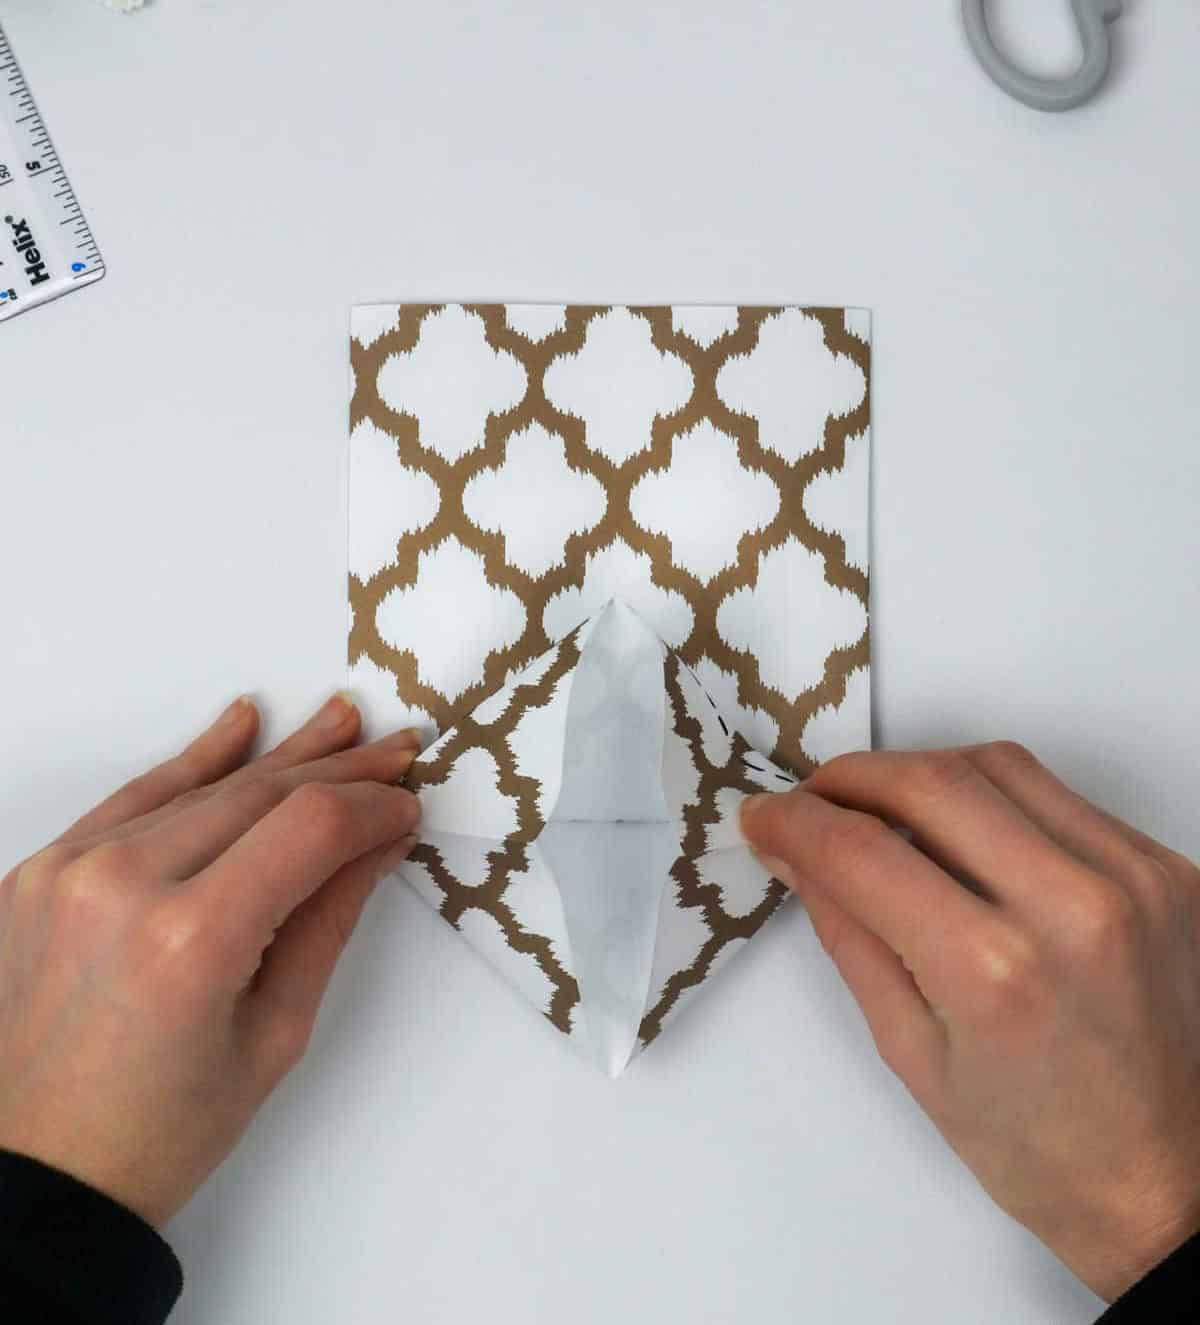
The challenging aspect of this step is understanding the technique, which can be intimidating at first. To facilitate the process, I’ll use an analogy that involves folding a piece of paper into a square shape. Imagine unfolding the paper and then carefully tucking its edges inward to create a flat, symmetrical surface. This approach helps to clarify the objective: creating a precise square by manipulating the paper’s edges.
Step 6
To create a stable foundation for your paper bag, start by folding the paper into a small square and press it firmly to eliminate any wrinkles or creases. This initial fold will serve as the base of your gift bag, providing a solid platform for the rest of the construction process. As you work through the steps, be patient and take your time, allowing yourself to create a sturdy little package that’s perfect for presenting small gifts.
Step 7
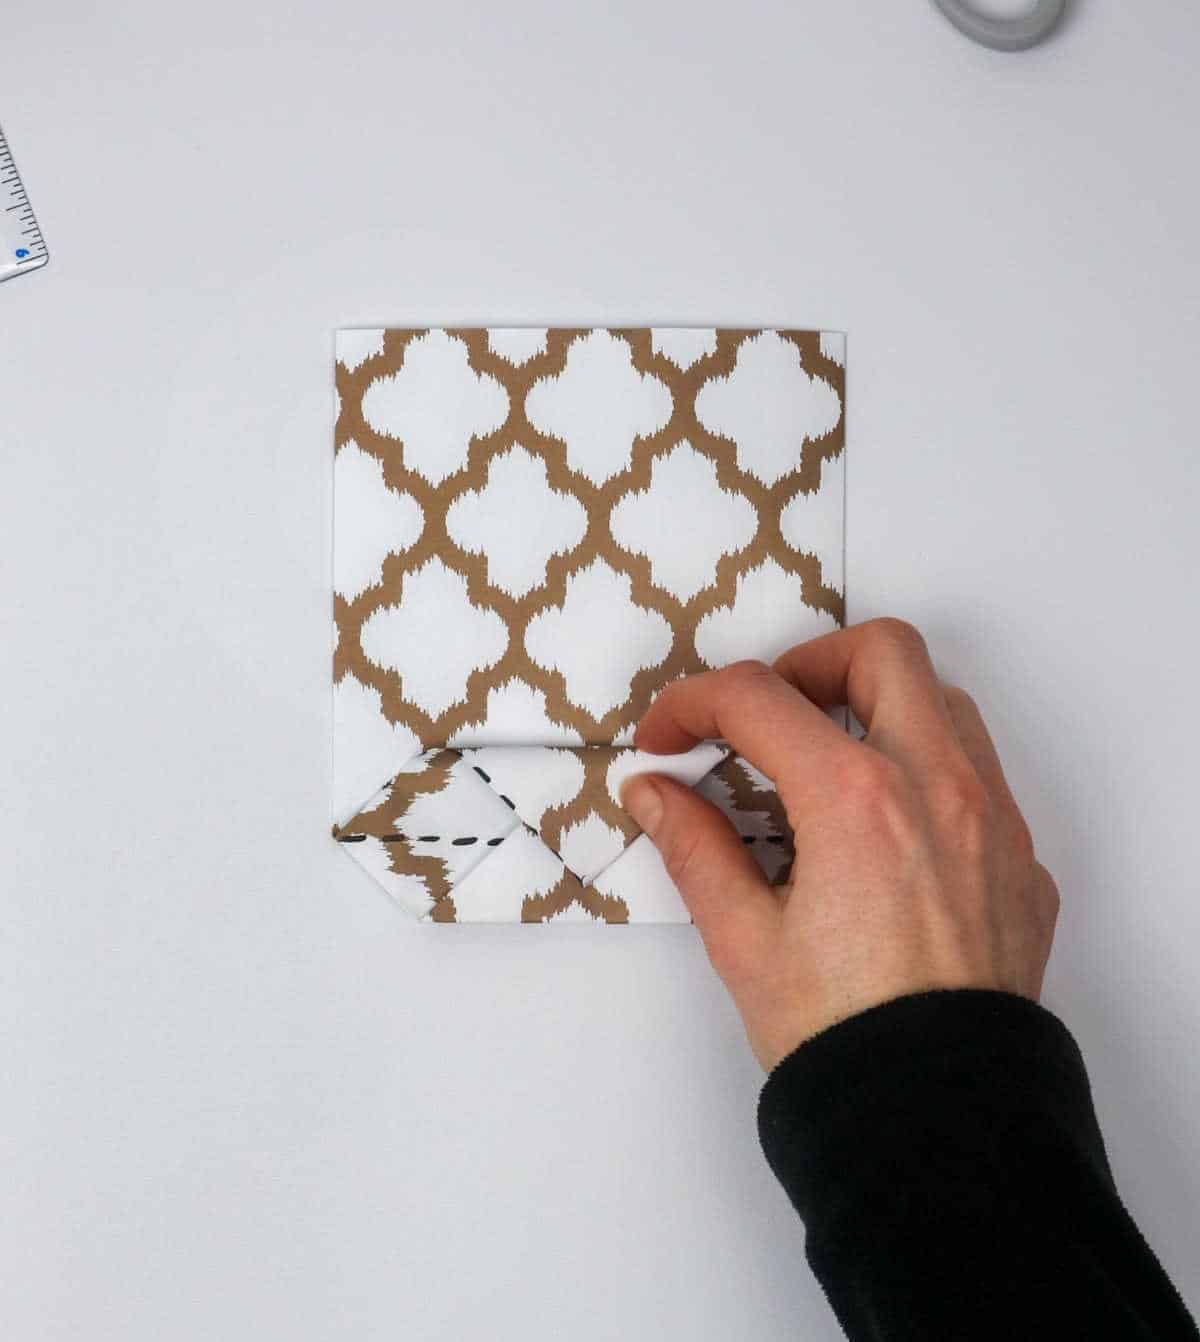
As you move forward with your project, the next step is to bring the northern and southern edges of the square towards its center. To achieve this, fold these ends inwards, ensuring they overlap each other slightly. The order in which you place one on top of the other doesn’t matter, so feel free to create a flap as you see fit—just make sure it’s secure and even.
Step 8
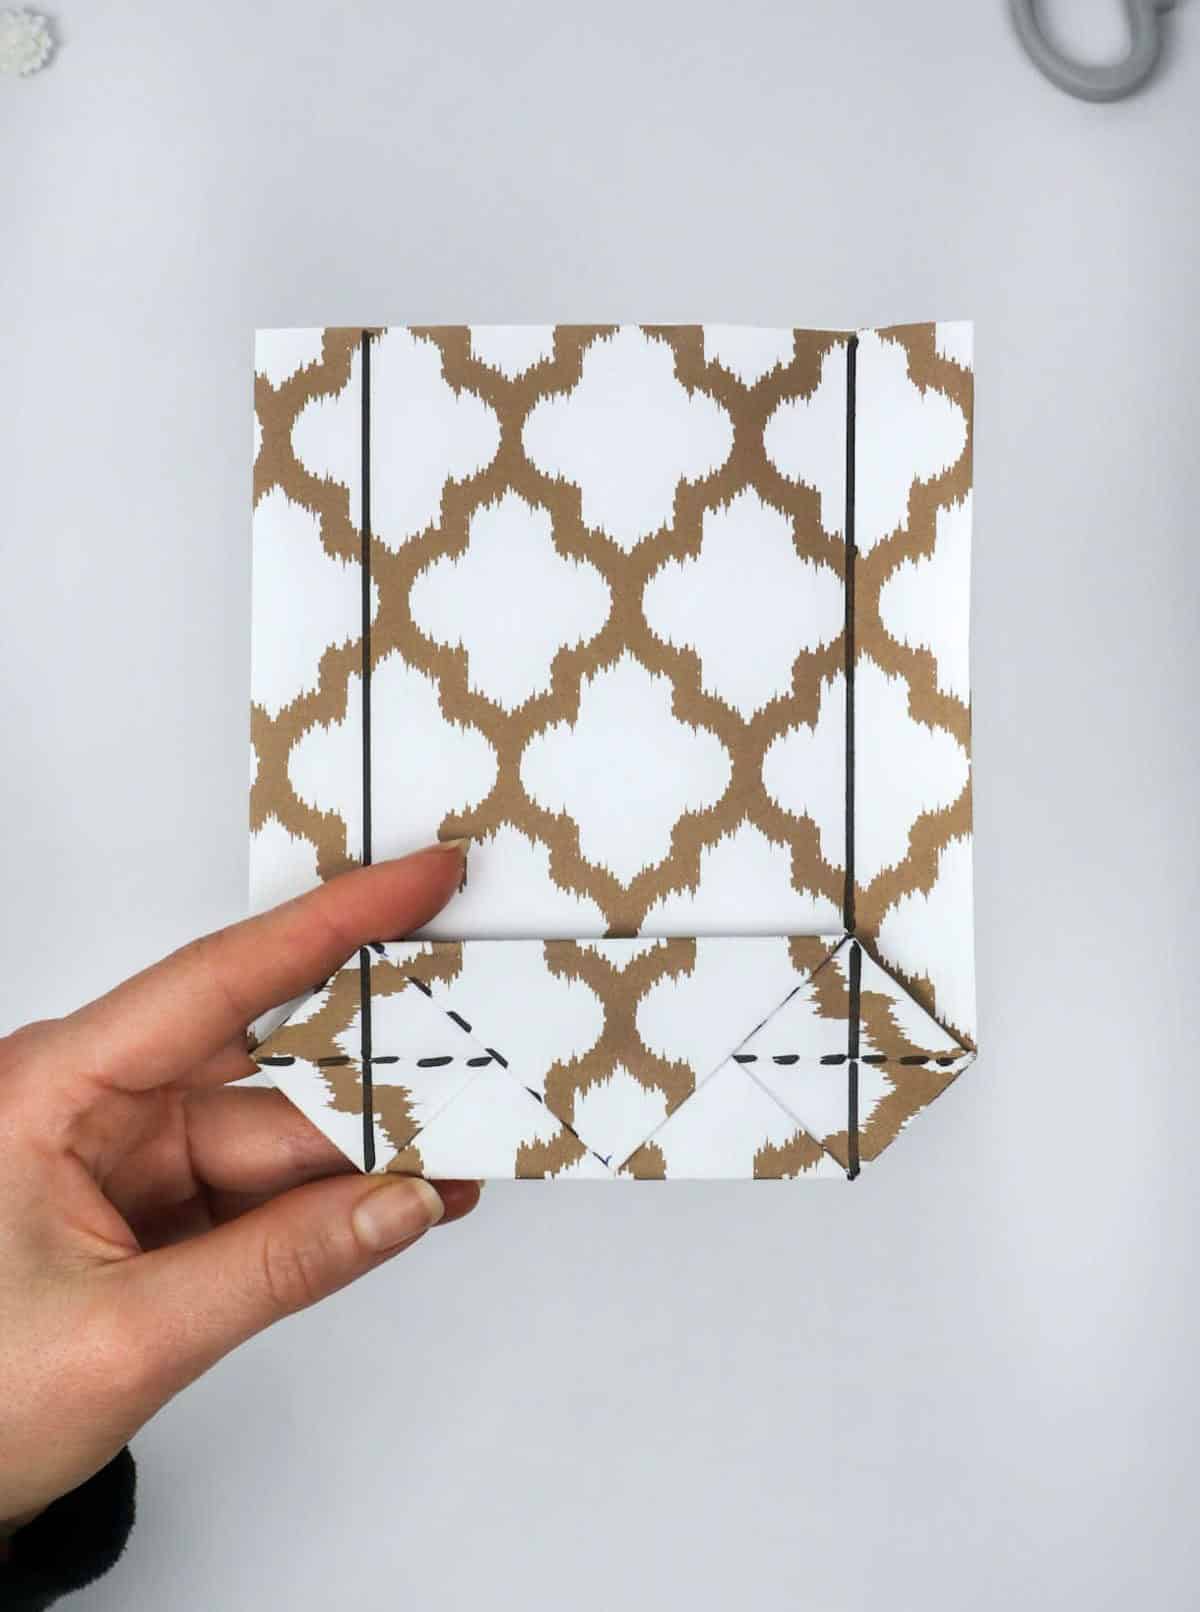

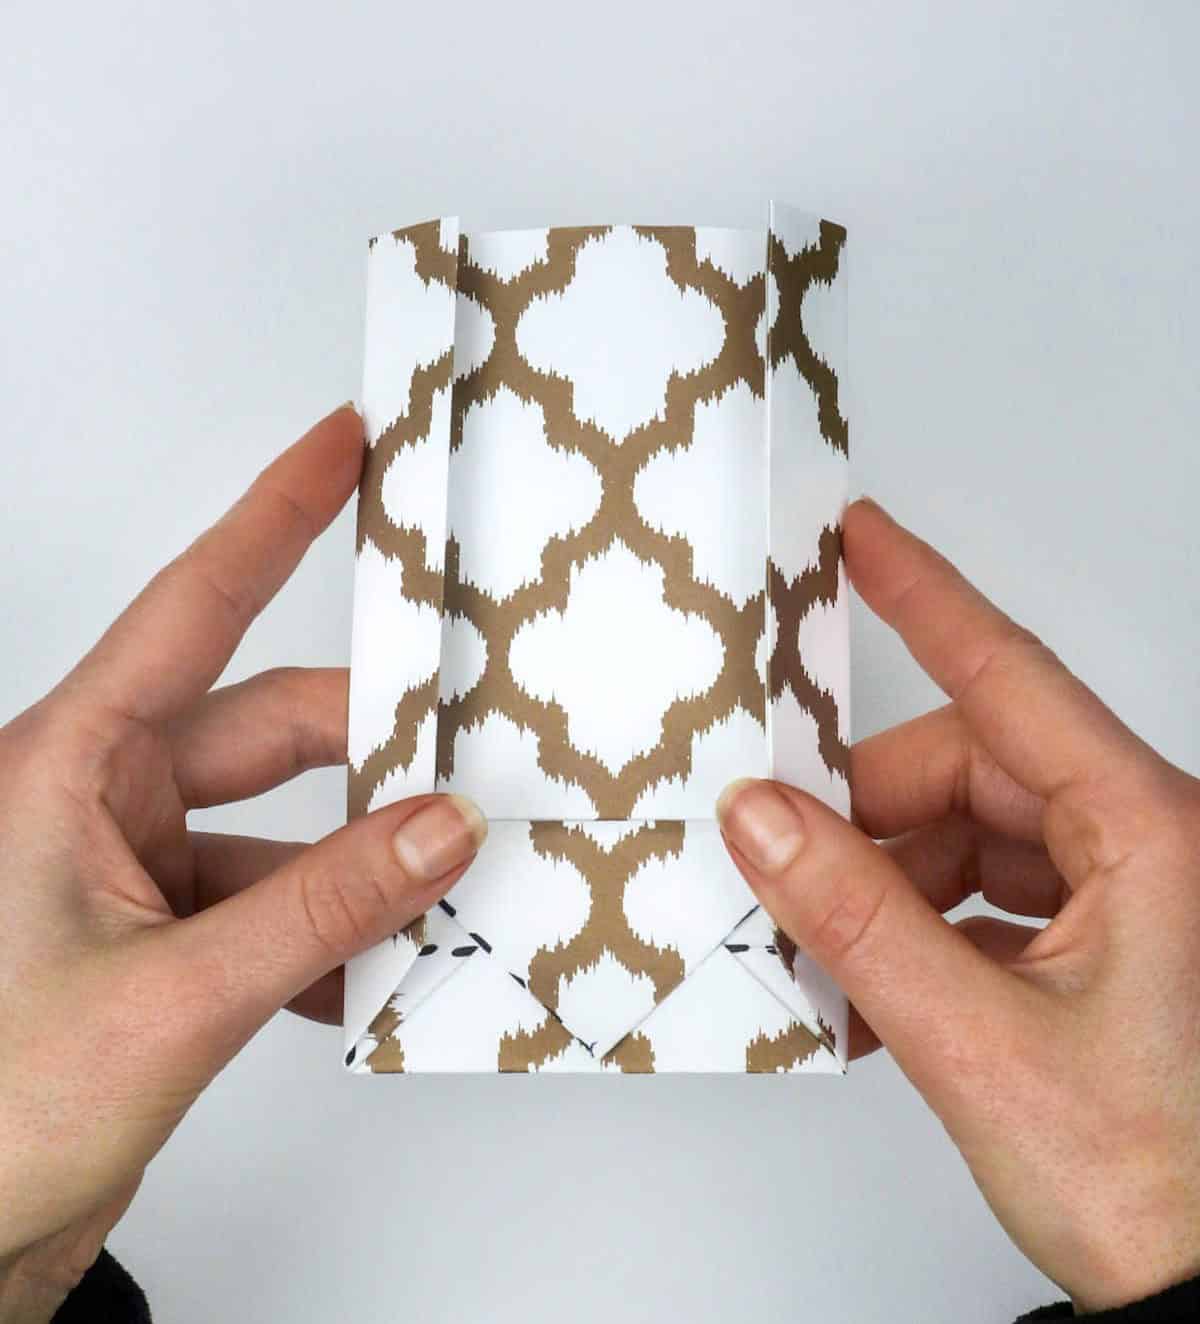
As you gaze upon the illustration, take note of the black lines that serve as a visual guide for where to make each subsequent fold. The more time you spend studying these lines, the cleaner your edges will be once you’ve made the folds.
To ensure precise and crisp folds, consider using a ruler to help you indent the paper. This simple trick will grant you a straight line that’s easy on the eyes.
As we near the end of step 7, take a moment to admire your handiwork – your bag is really starting to take shape, isn’t it?
Step 9
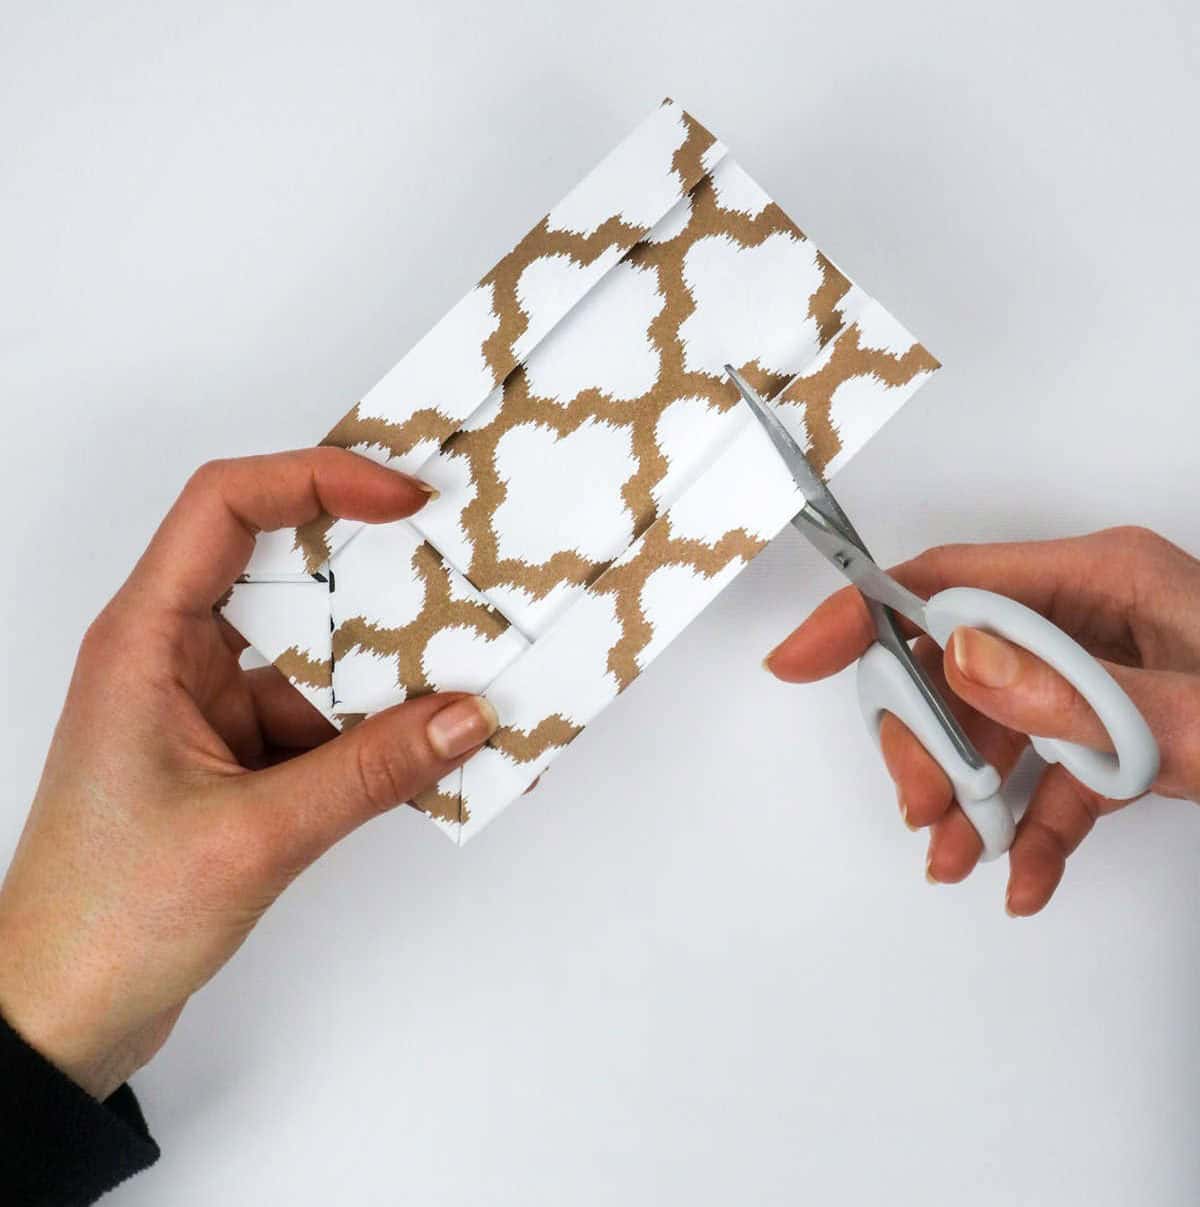
When it comes to crafting the perfect gift bag, one of the most crucial steps is determining its overall size. While a standard size might suffice for some, others may prefer a more customized fit. To achieve this, simply trim the paper to the desired dimensions, allowing you to create a unique and personalized container that perfectly complements your gift.
Step 10
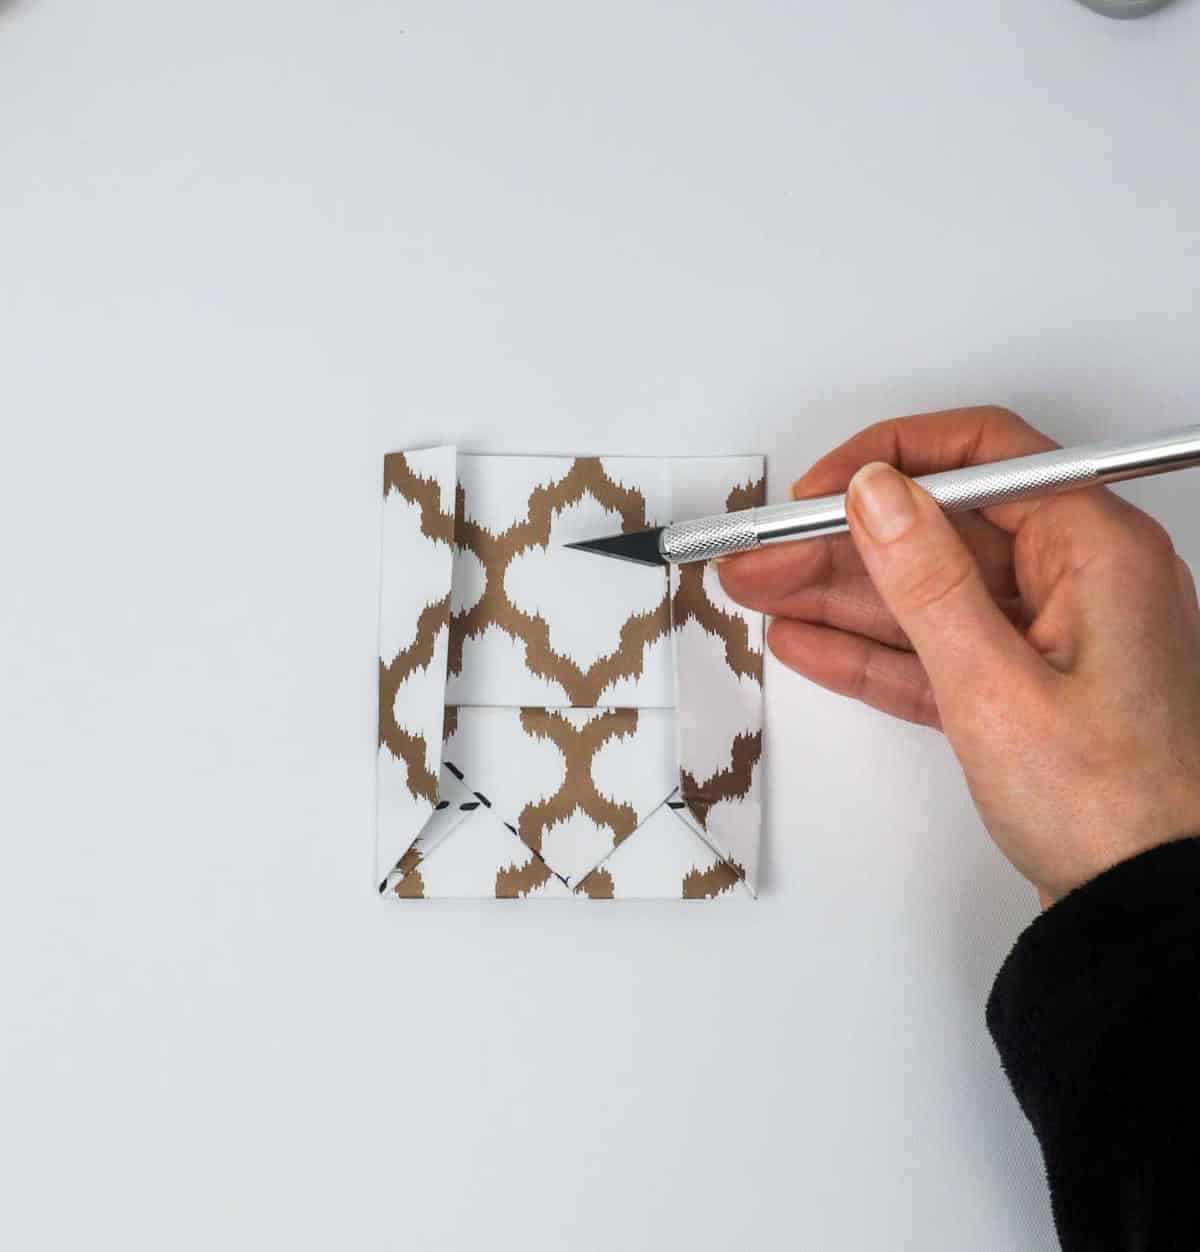
To create the necessary opening for your lid, start by measuring down the centre of the paper bag 2 centimeters from the top. Using a craft knife, carefully cut a slit that is approximately 2 cm wide along this mark. This precision-cut opening will ensure that the tongue or flap of the lid slides seamlessly into place when it’s inserted.
Step 11

To unroll the paper bag, gently press your palm or fingers against its center, gradually coaxing it into a cubic form without applying too much pressure. As you do so, be mindful of maintaining its overall integrity, avoiding any unnecessary creases or wrinkles.
Step 12
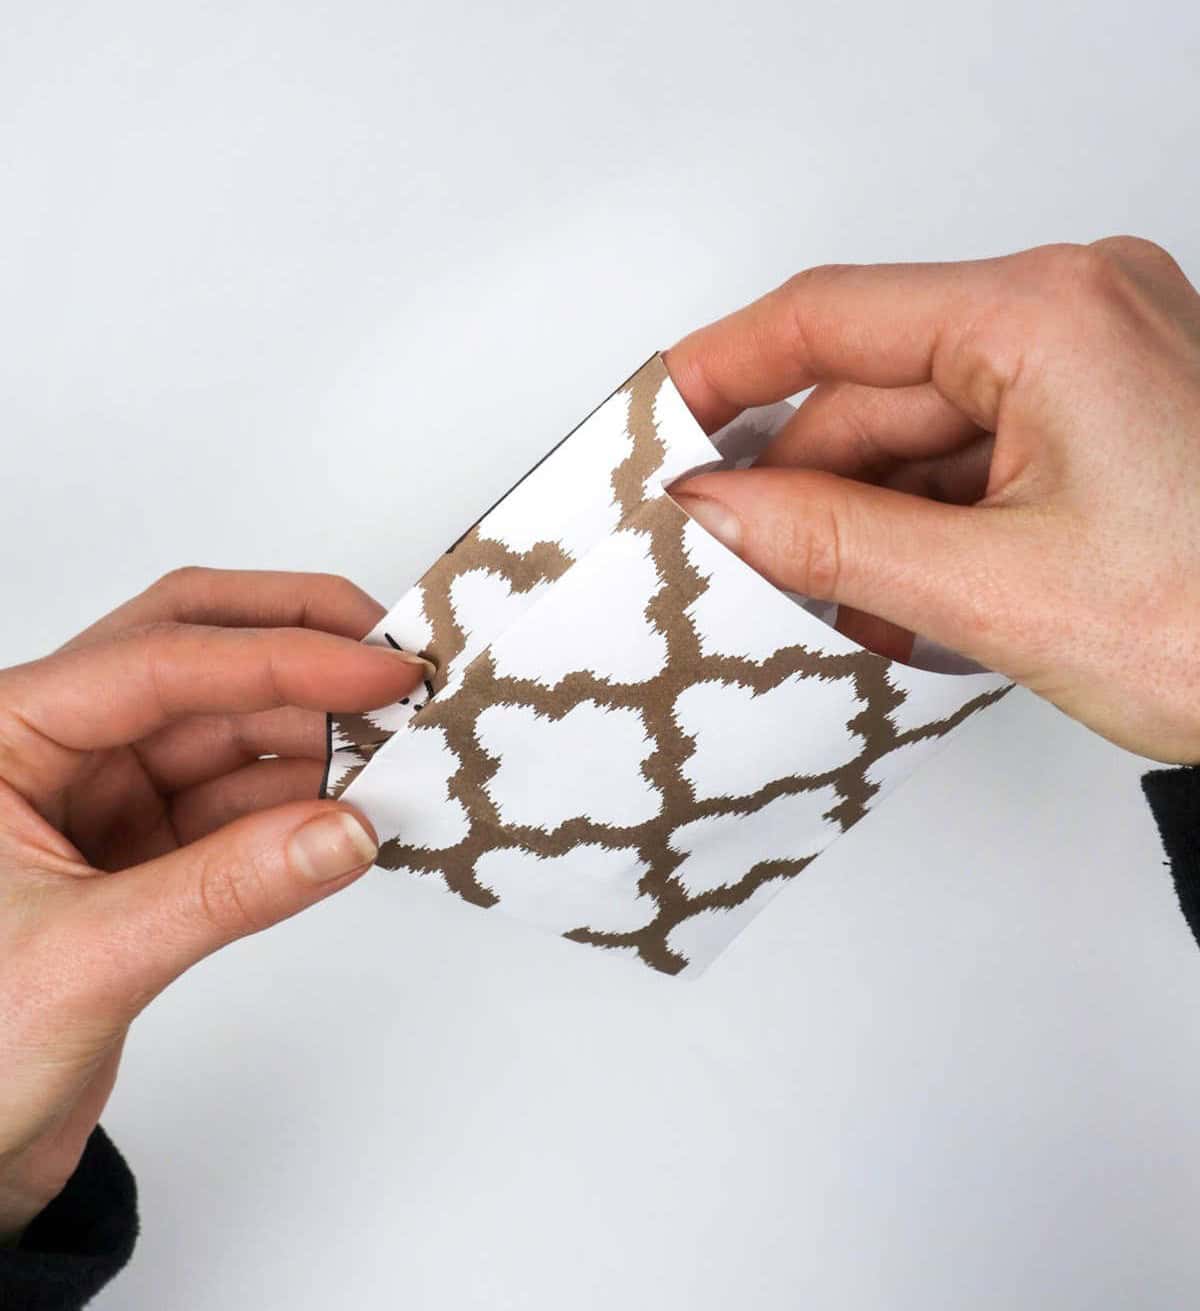

To achieve a crisp fold, simply use your fingers to gently push in the sides of the bag, focusing on the top edge where the folds meet. As you do so, be sure to apply gentle pressure to create a precise crease along the edges.
Step 13
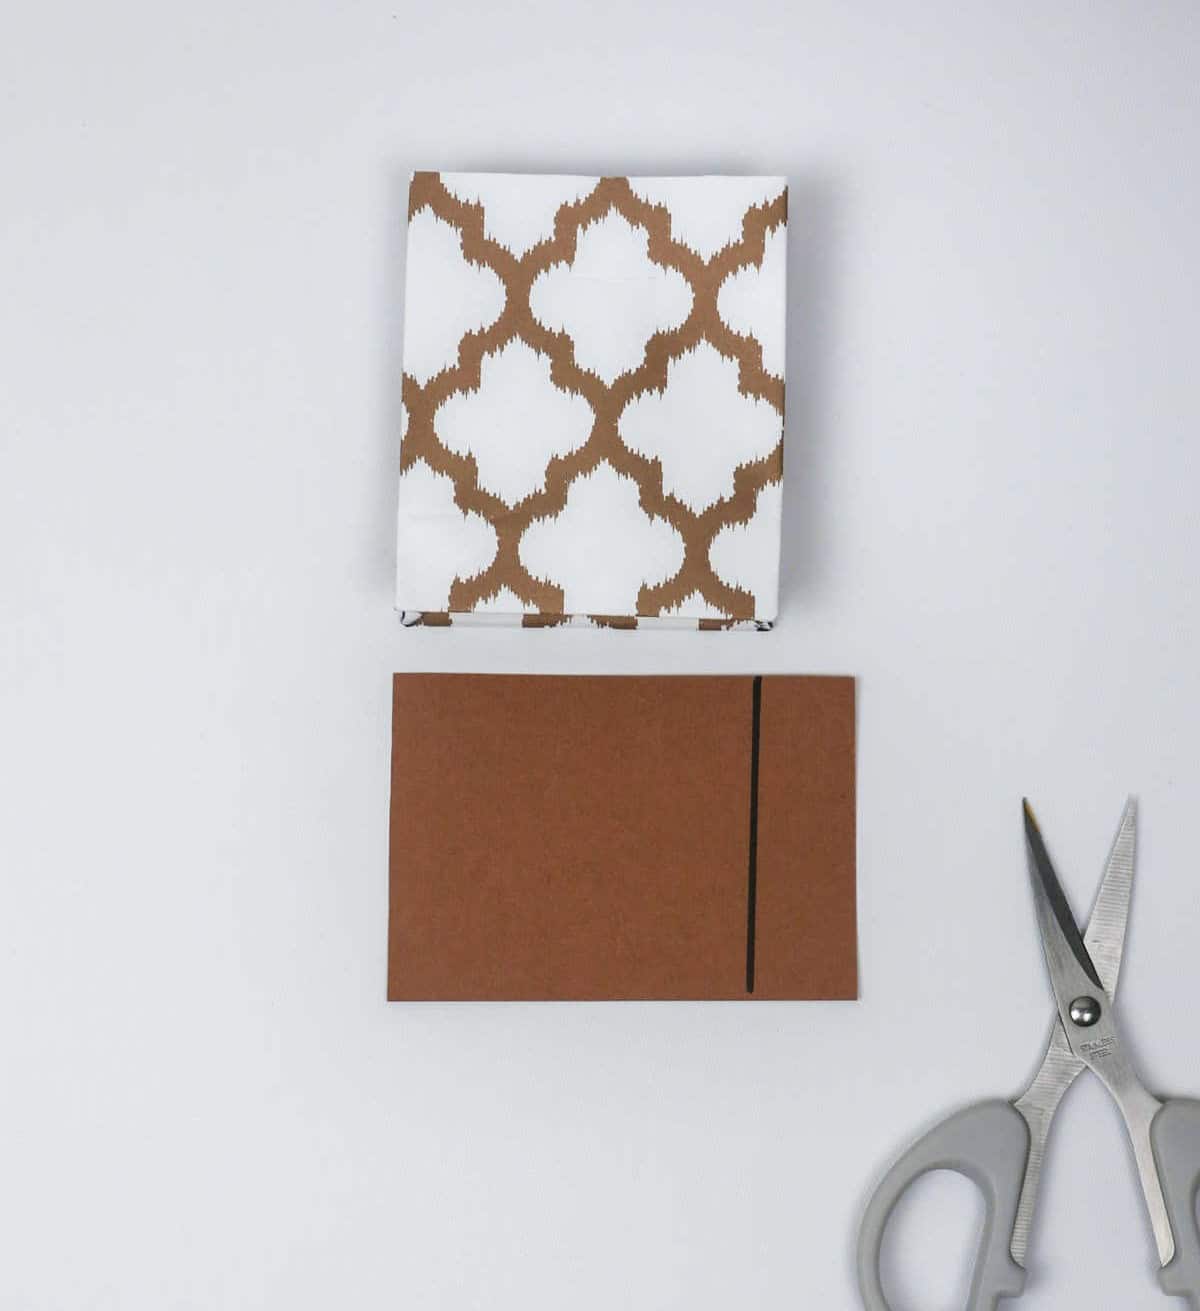
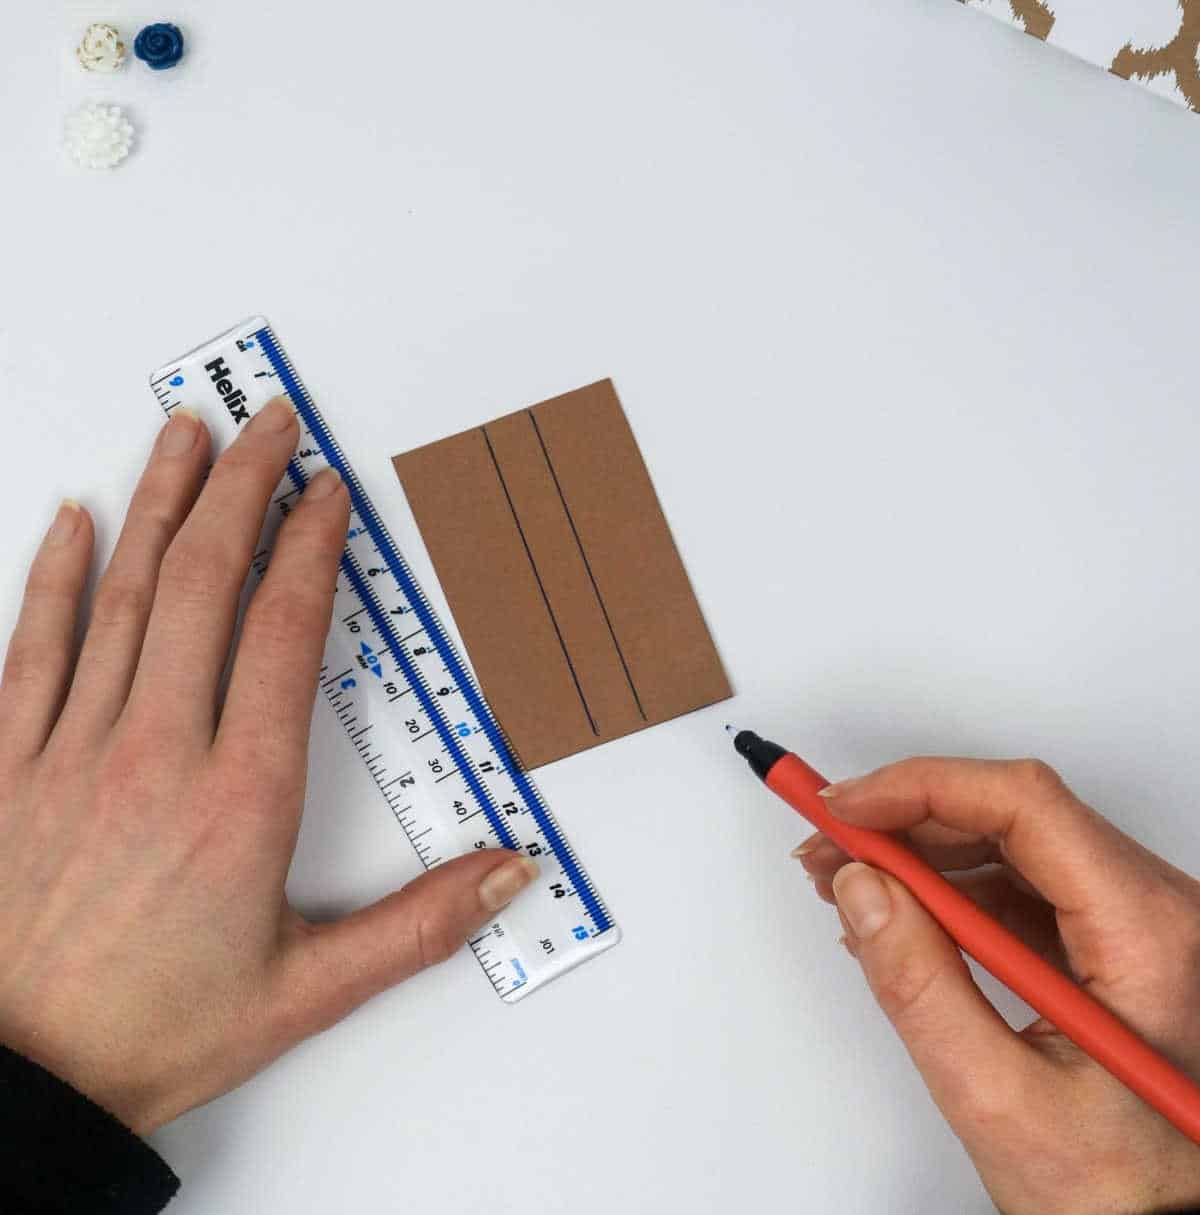
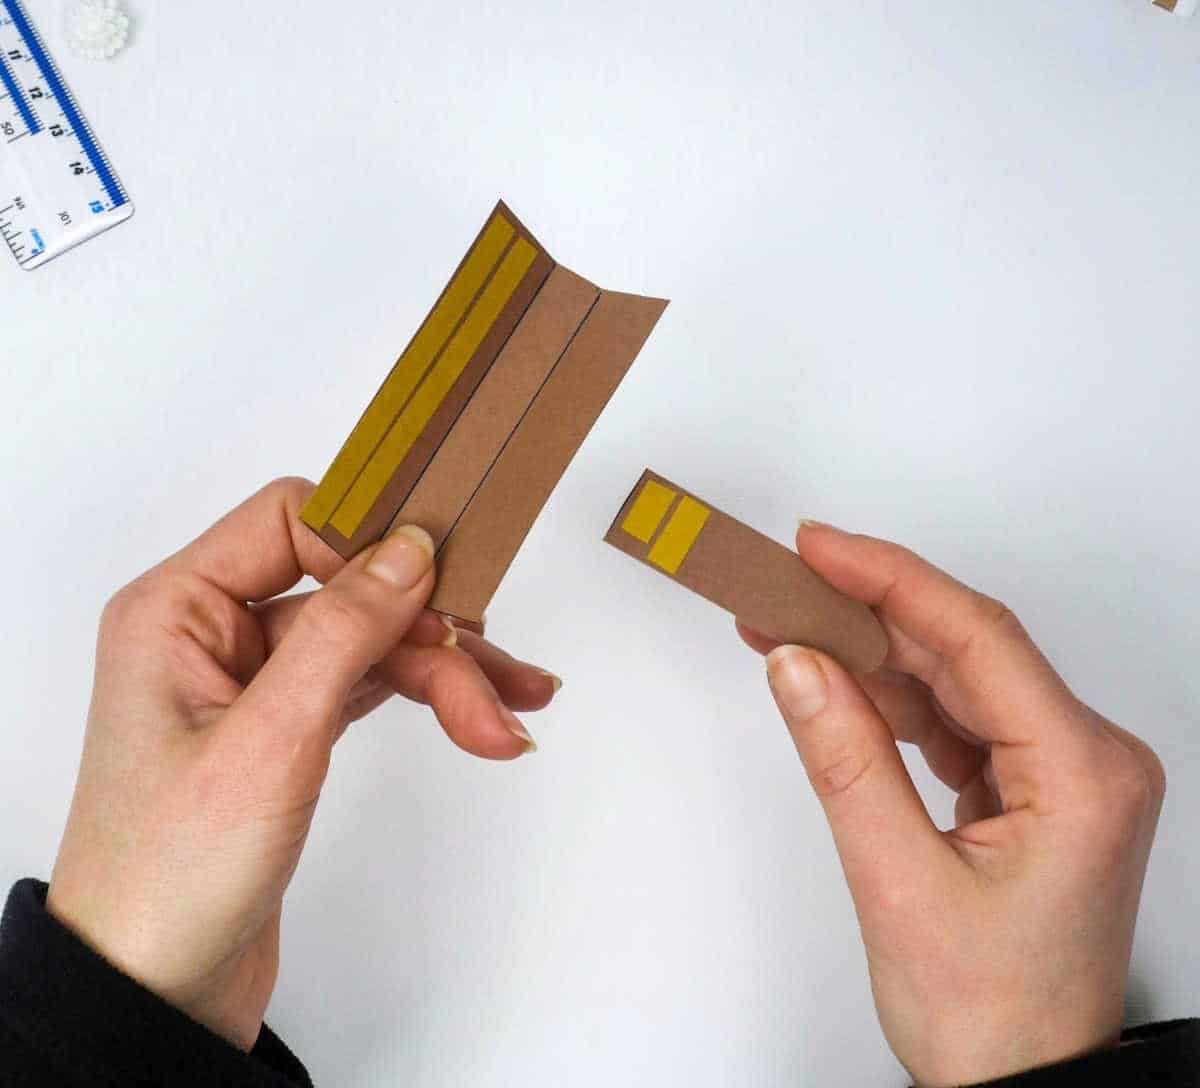
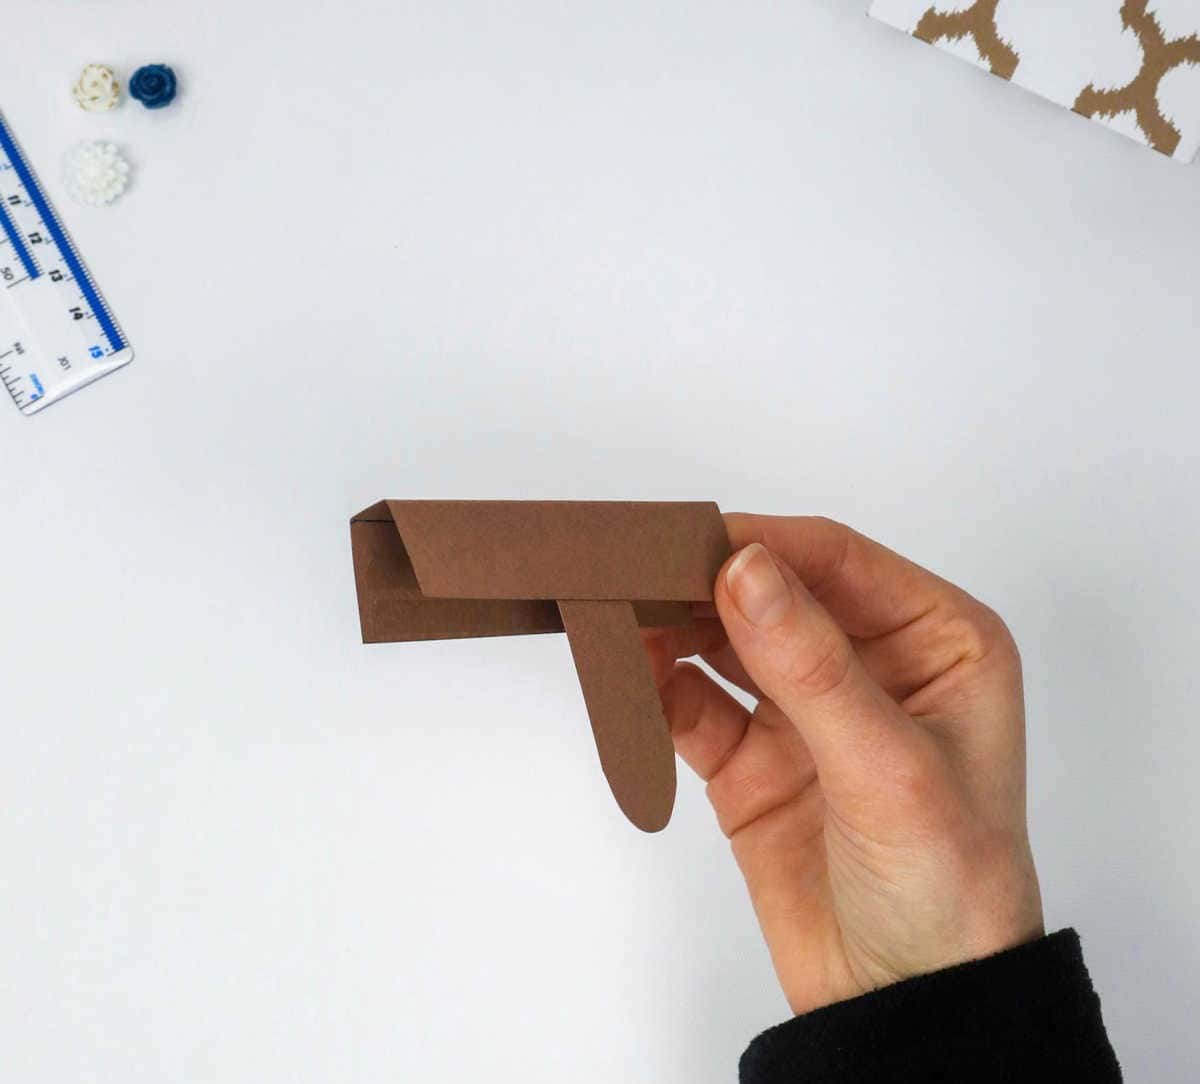
As we near the end of our gift bag creation, let’s not forget to add the finishing touch – the lid! Grab the remaining paper from your original sheet and carefully trim away any excess until you’re left with a rectangle that matches the opening of your bag. To create the lid, divide this paper into three equal parts, using a 2:1:2 ratio as your guide. Then, fold the paper along those lines to create a sturdy foundation for your lid.
You can see exactly how to do this by looking at the visual reference below.
Step 14
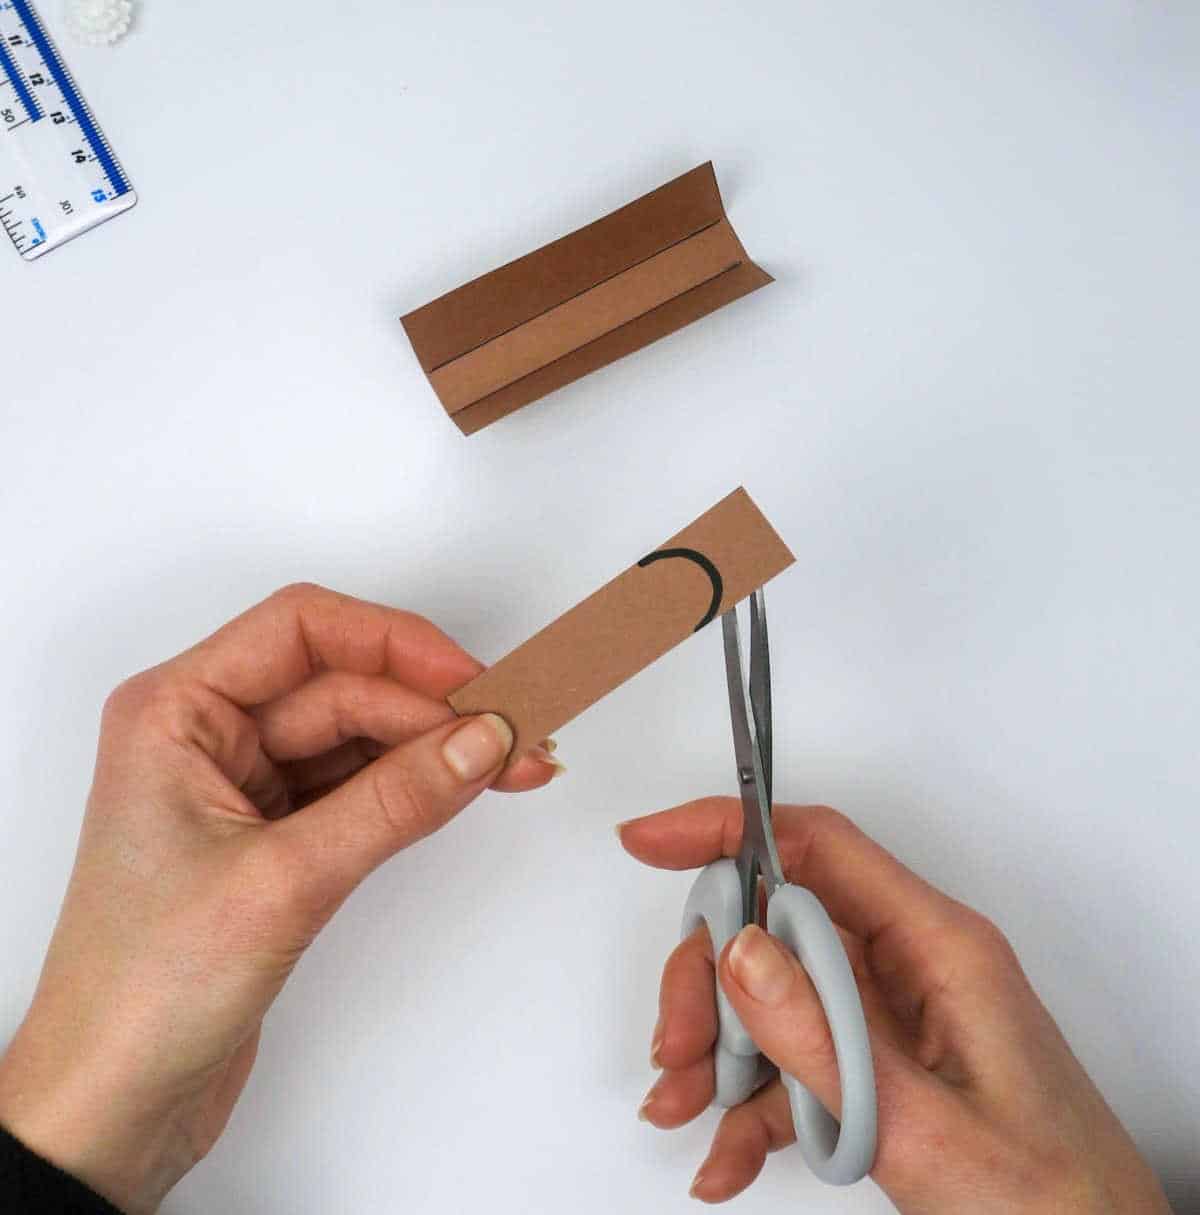
As we’ve reached the point where the lid’s flap or tongue needs to be fitted, it’s essential to create this crucial component. Take a piece of paper and carefully cut its edges into a curved arc shape. The size of your flap can be adjusted to suit your specific requirements, so feel free to measure out the desired dimensions as needed.
Step 15
Secure the tongue to its corresponding flap using a double-sided adhesive strip. As you near the final stages of creating your paper gift bag, you’re likely experiencing a sense of excitement and anticipation at the thought of the finished product.
Step 16
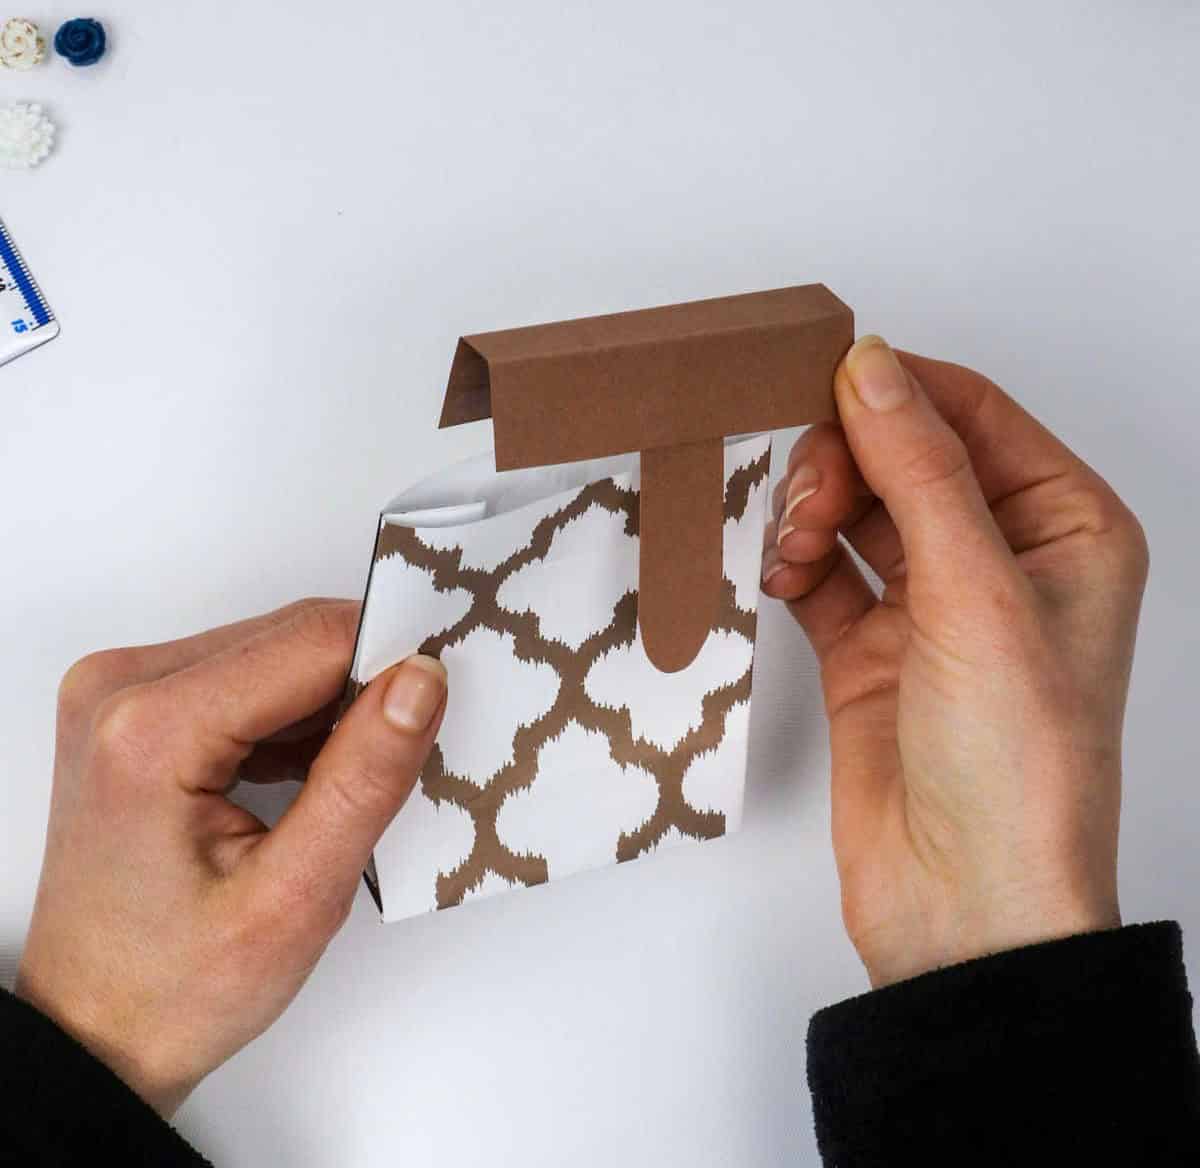
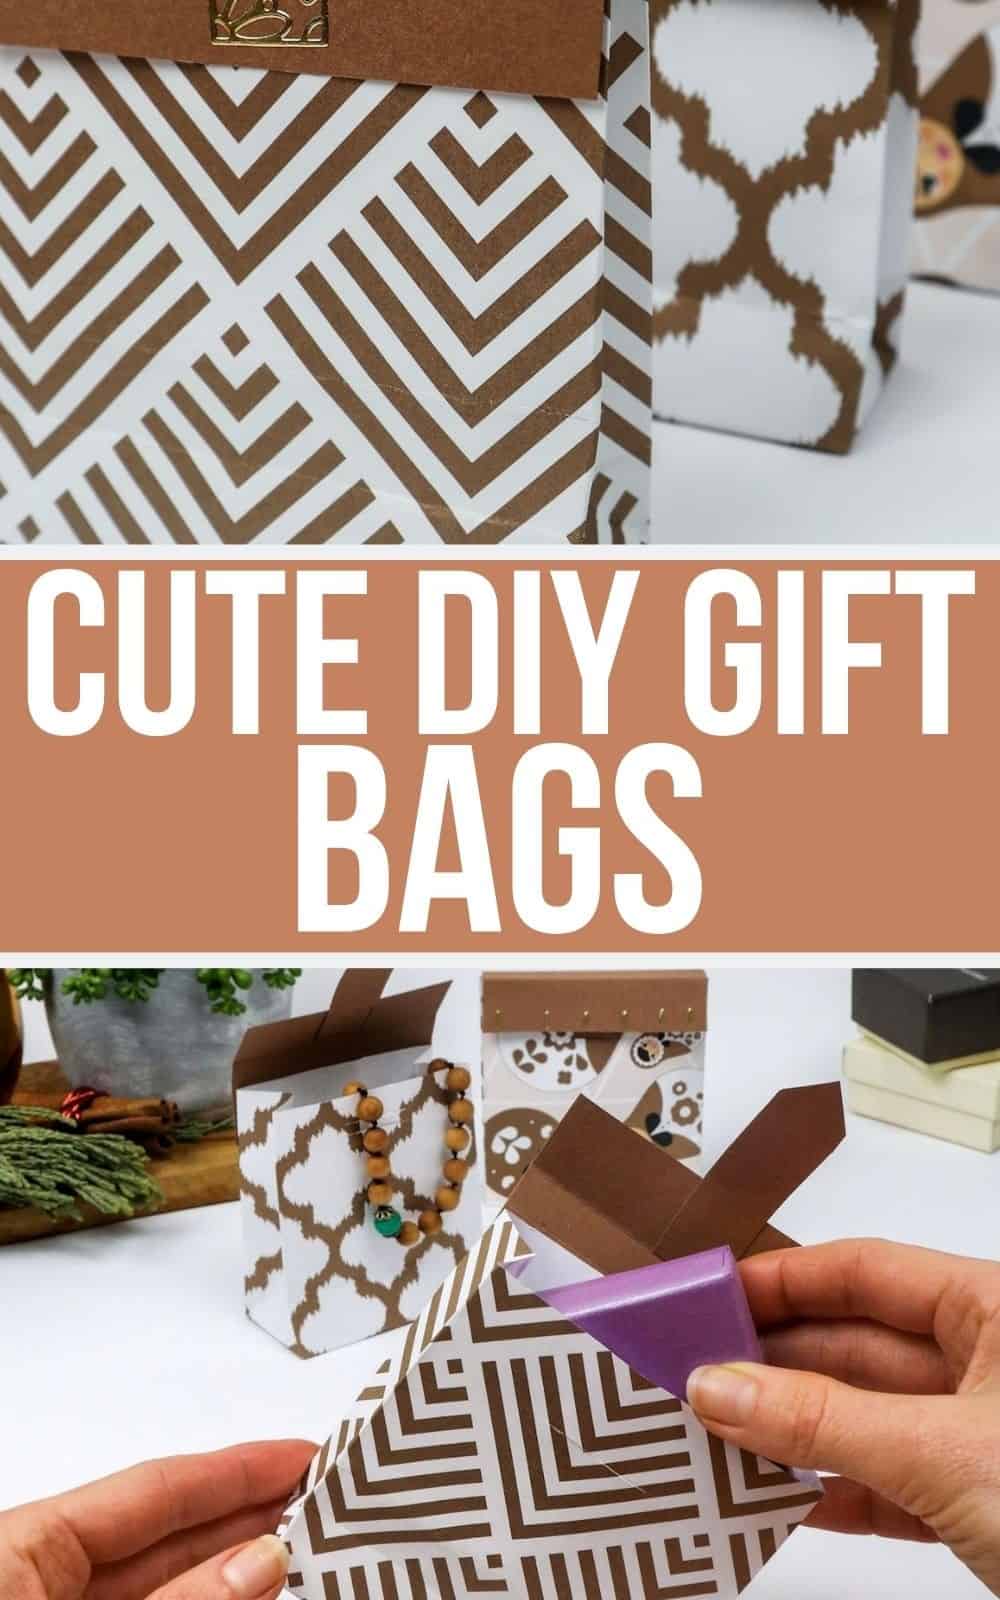
Securely fasten the gift bag’s lid by applying the double-sided sticky tape along one edge of the flap. As you do this, make sure the tongue slides smoothly into its designated slit, effectively locking the lid in position.
Step 17
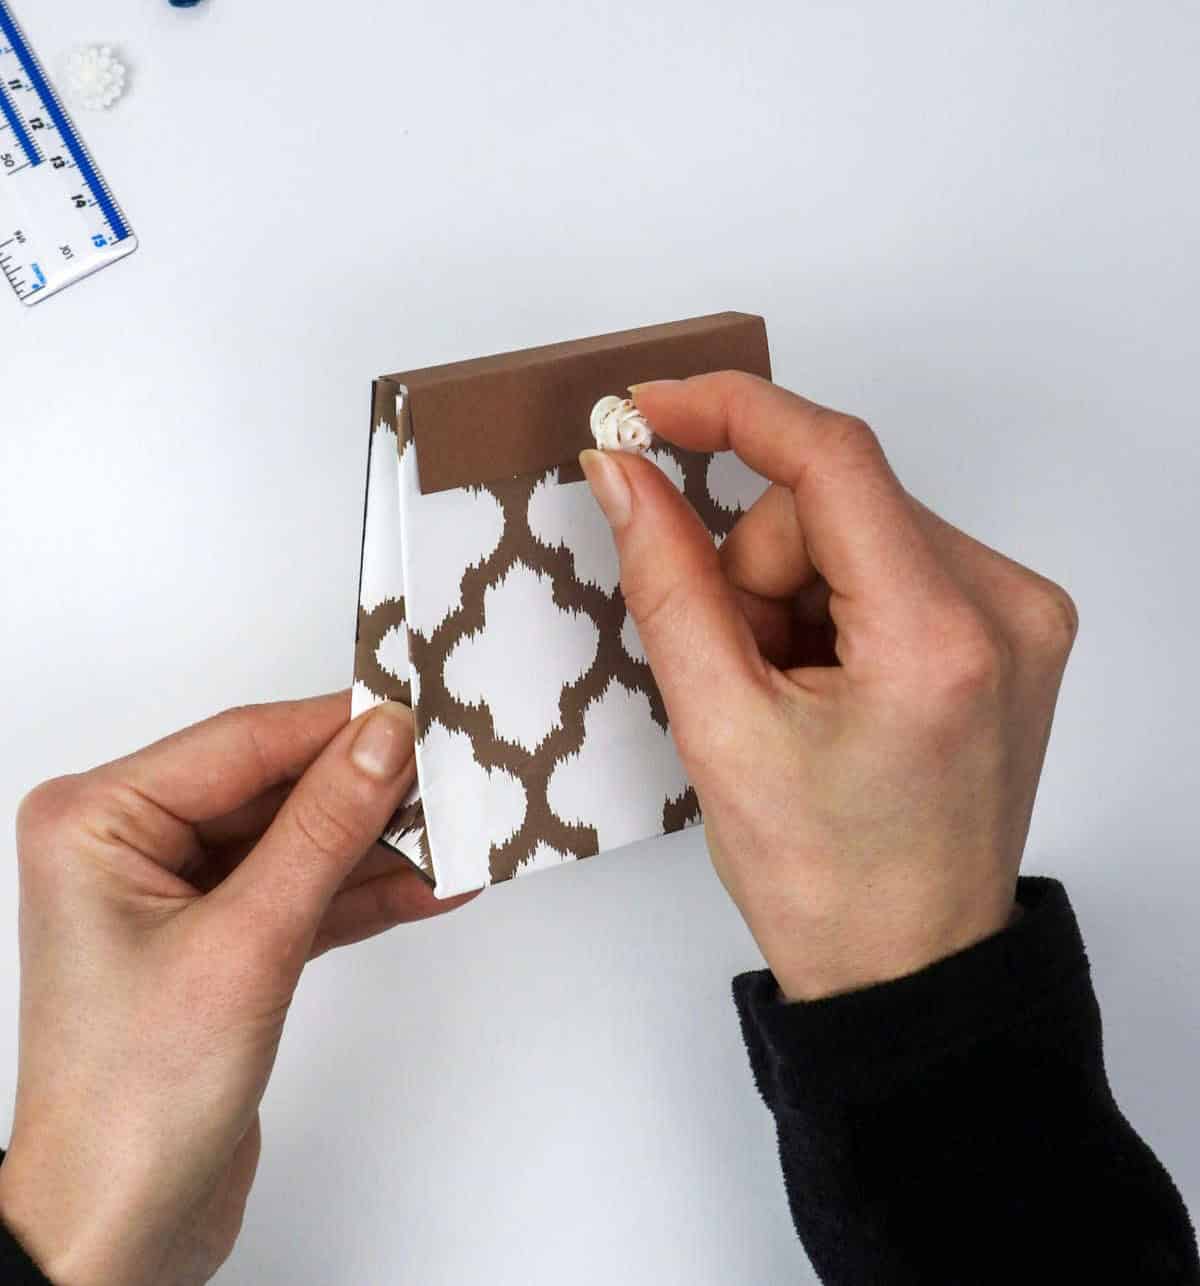
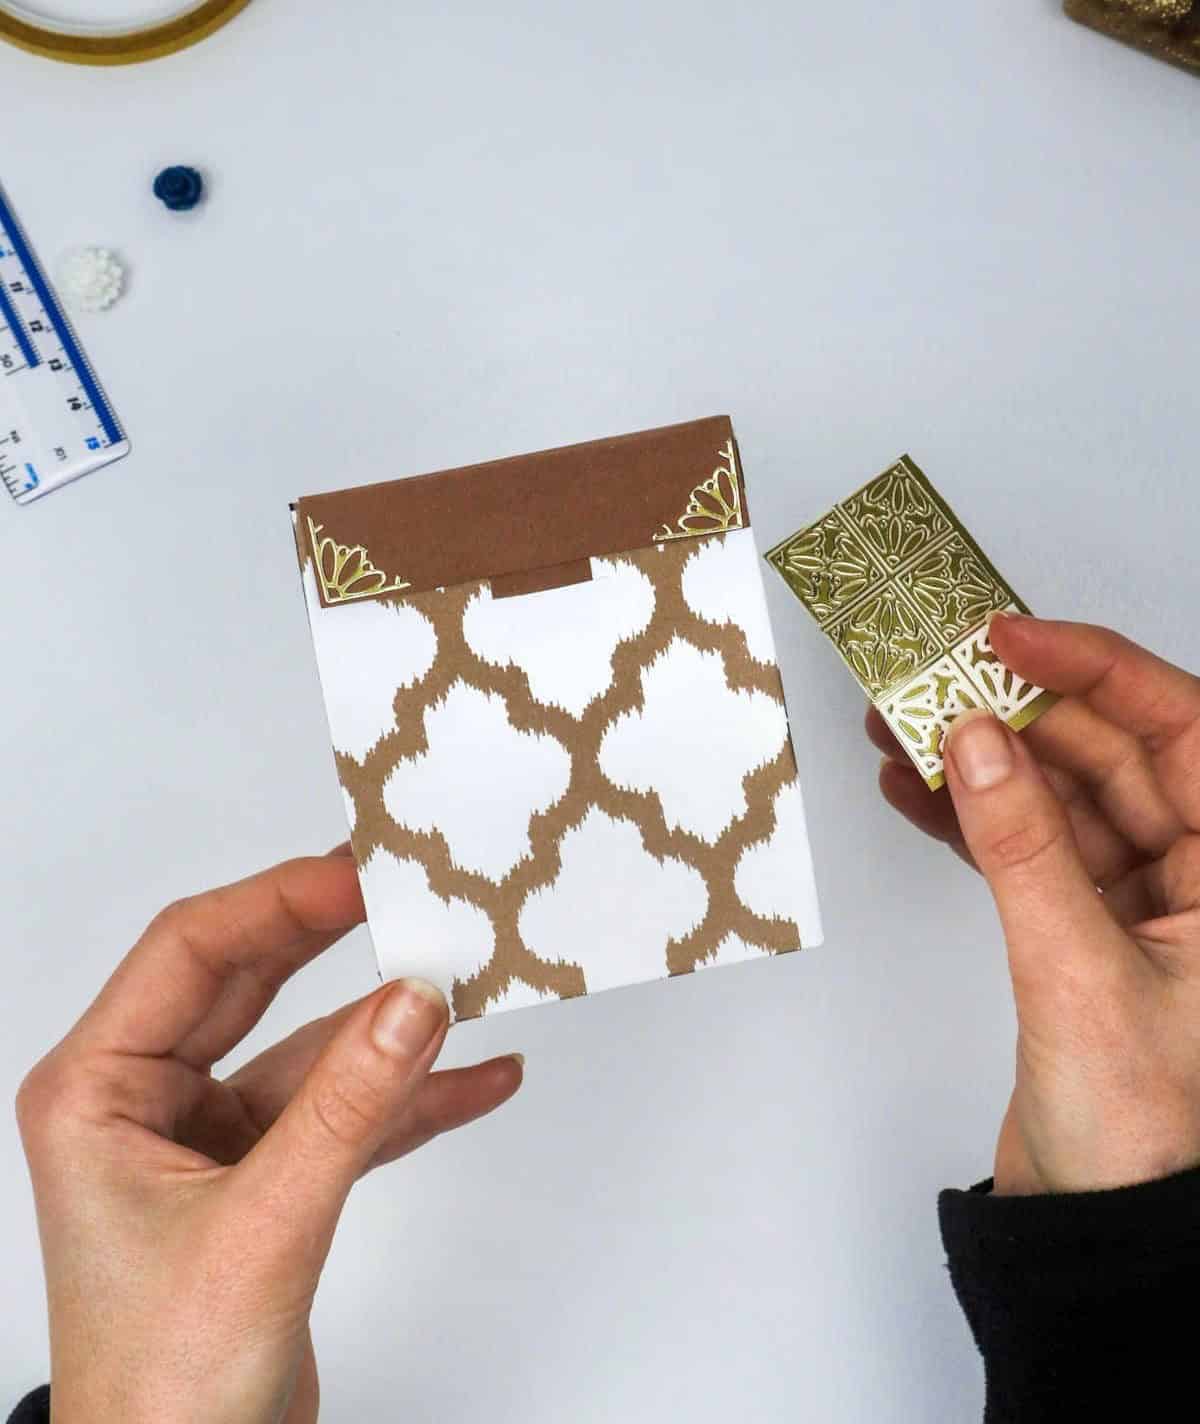

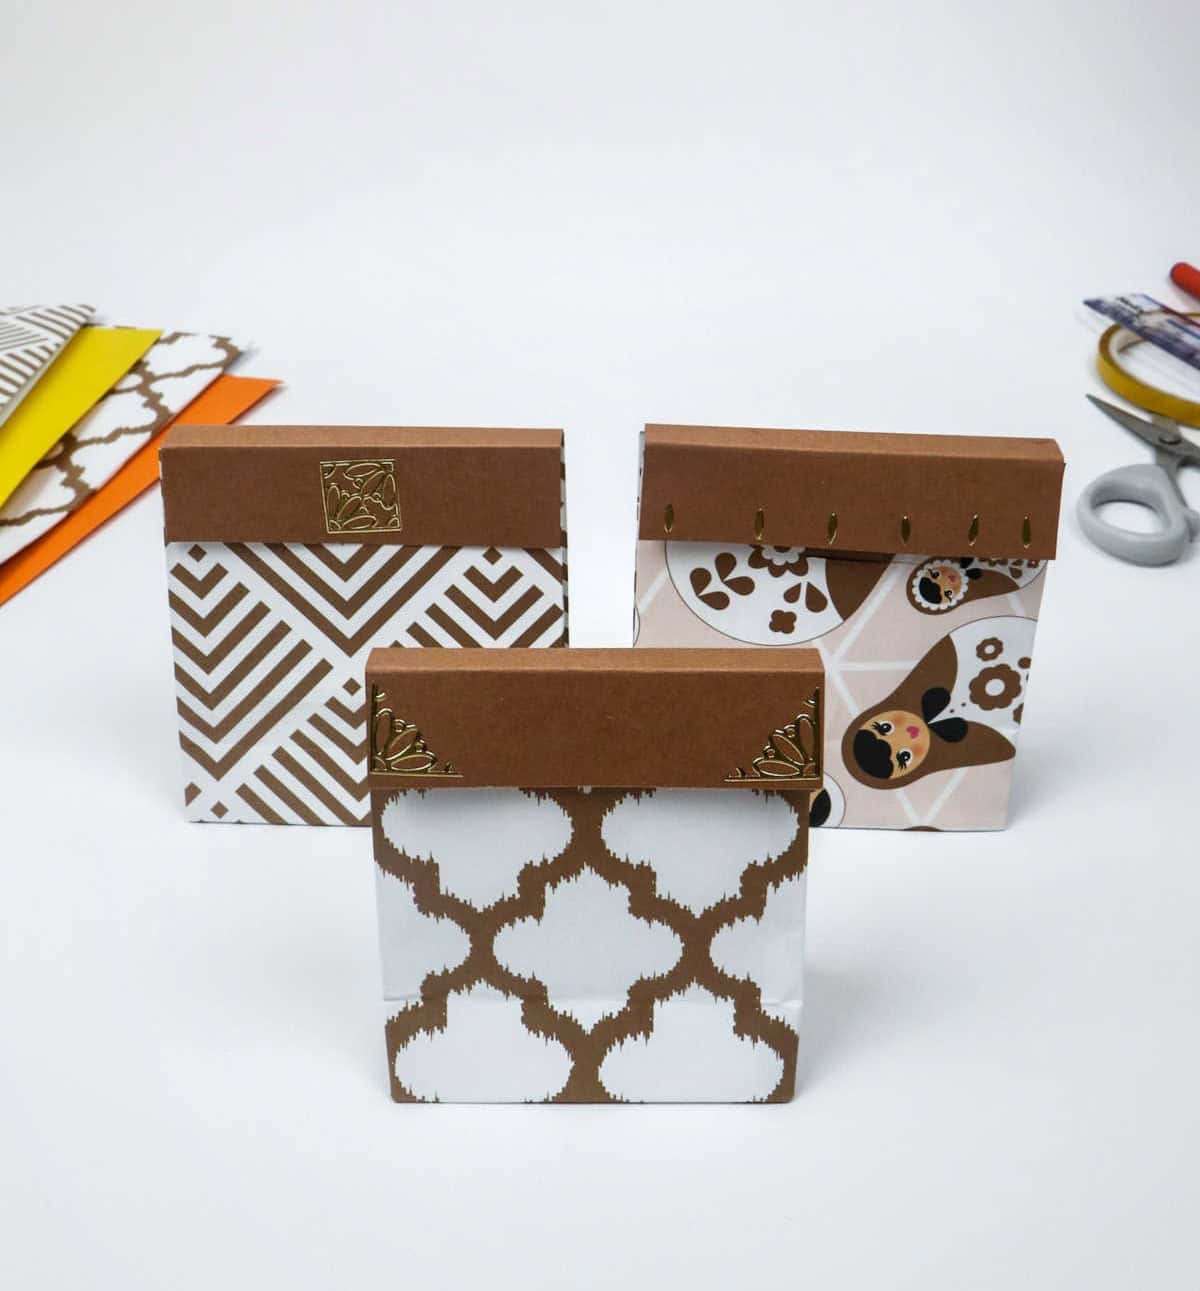
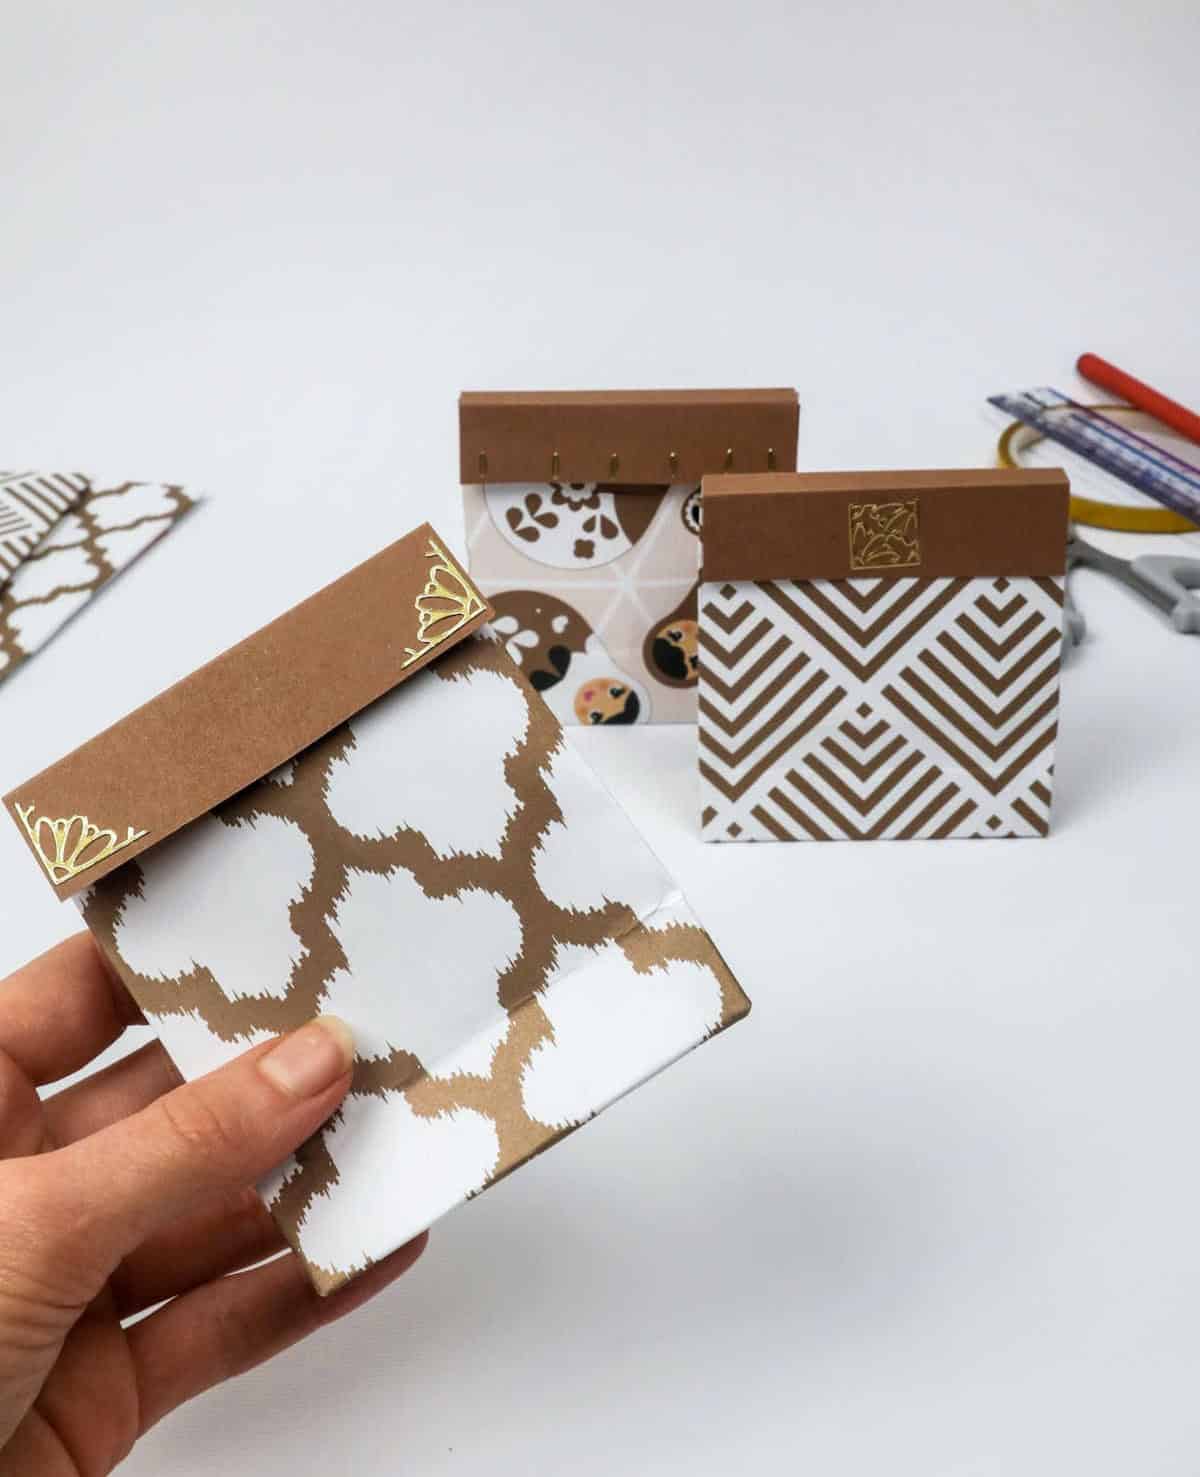
Transforming the ordinary gift bag into an extraordinary masterpiece is perhaps the most thrilling part of this project. Feel free to unleash your creativity and adorn the bag with a medley of decorations – paper flowers, rhinestones, sparkles, or any other embellishments that strike your fancy! For added flair, you can line the flaps with vibrant washi tape or unleash your inner artist by doodling intricate patterns on the flap with metallic markers.
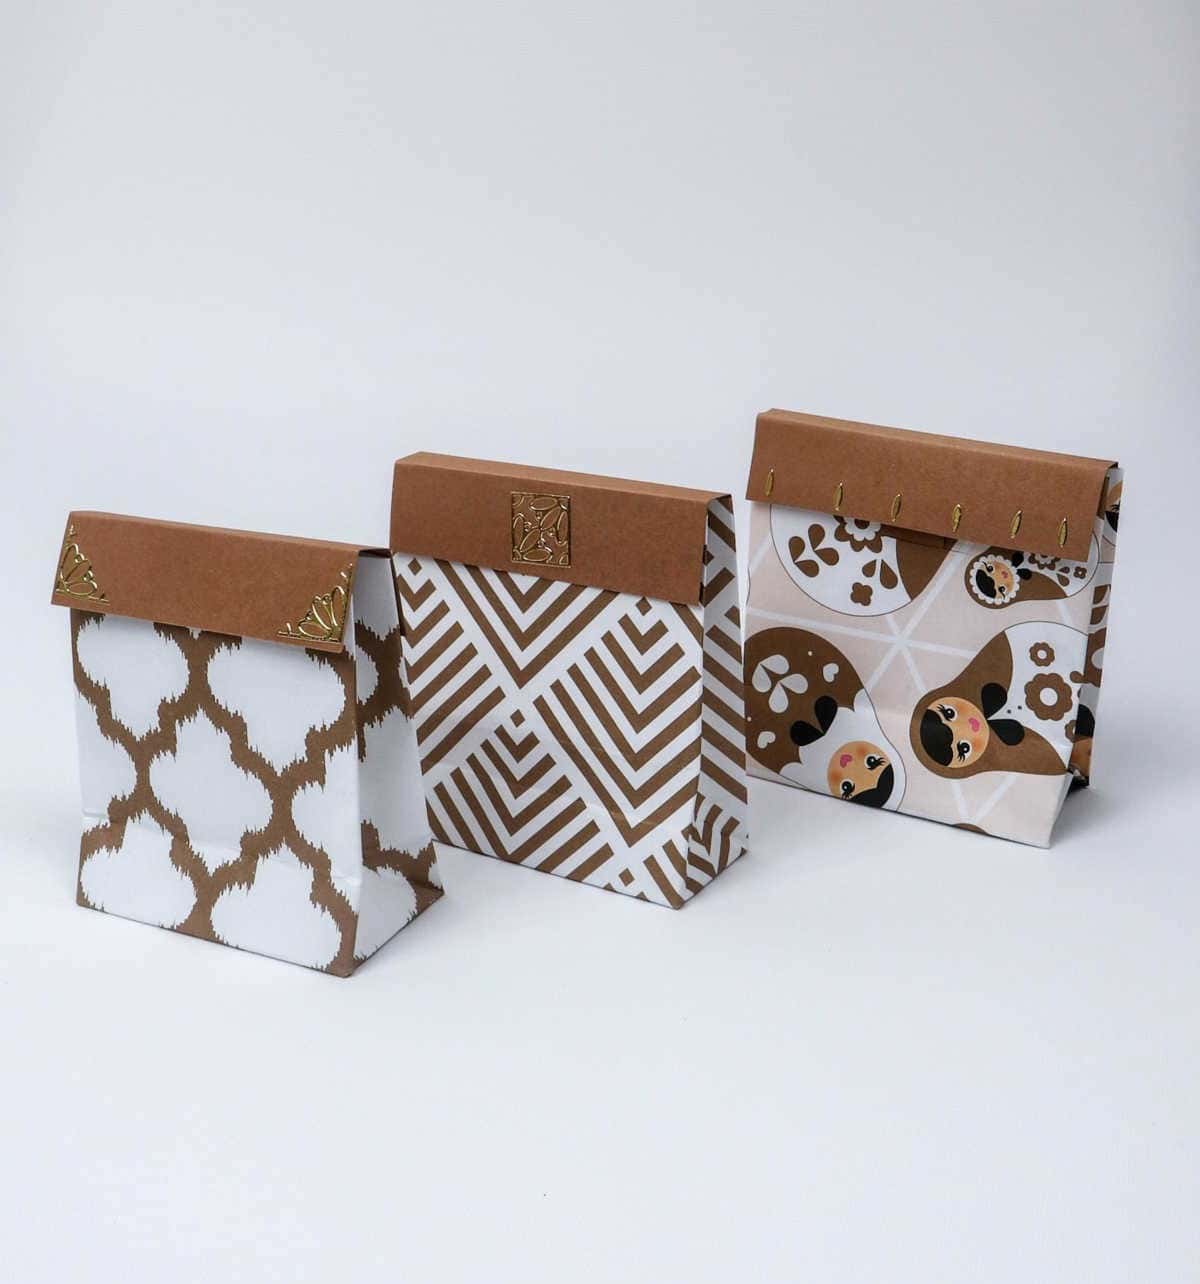
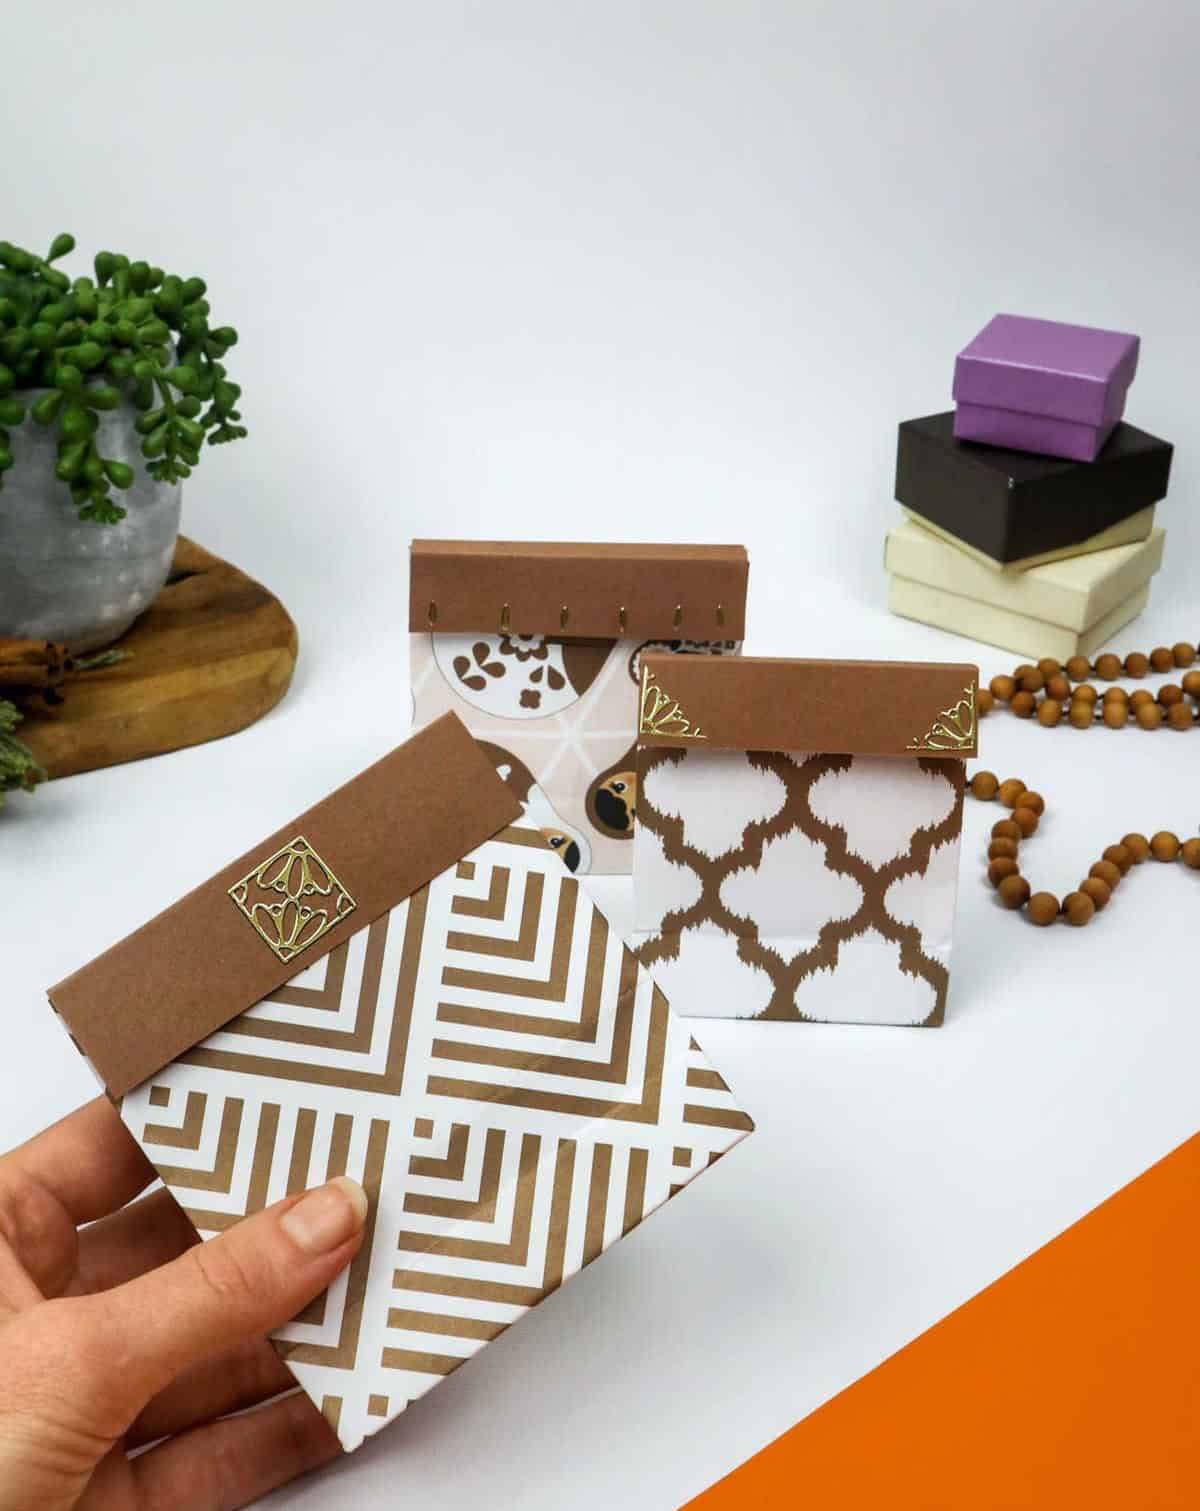
The result is nothing short of breathtakingly beautiful! Simply place your gift or party favor inside, secure the flap, and voila! Your DIY masterpiece is ready to impress!
Other Gift Ideas You Might Want to See

When it comes to finding the perfect gift, whether it’s a birthday, anniversary, or holiday celebration, we often find ourselves stuck on what to get for that special someone. To help you out, I’ve curated some of the best gift ideas for him, covering birthdays, Christmas, and even college graduation. From romantic gestures to thoughtful keepsakes, here are 41 gifts for him, including 20 Christmas gifts for dads and 20 for moms.
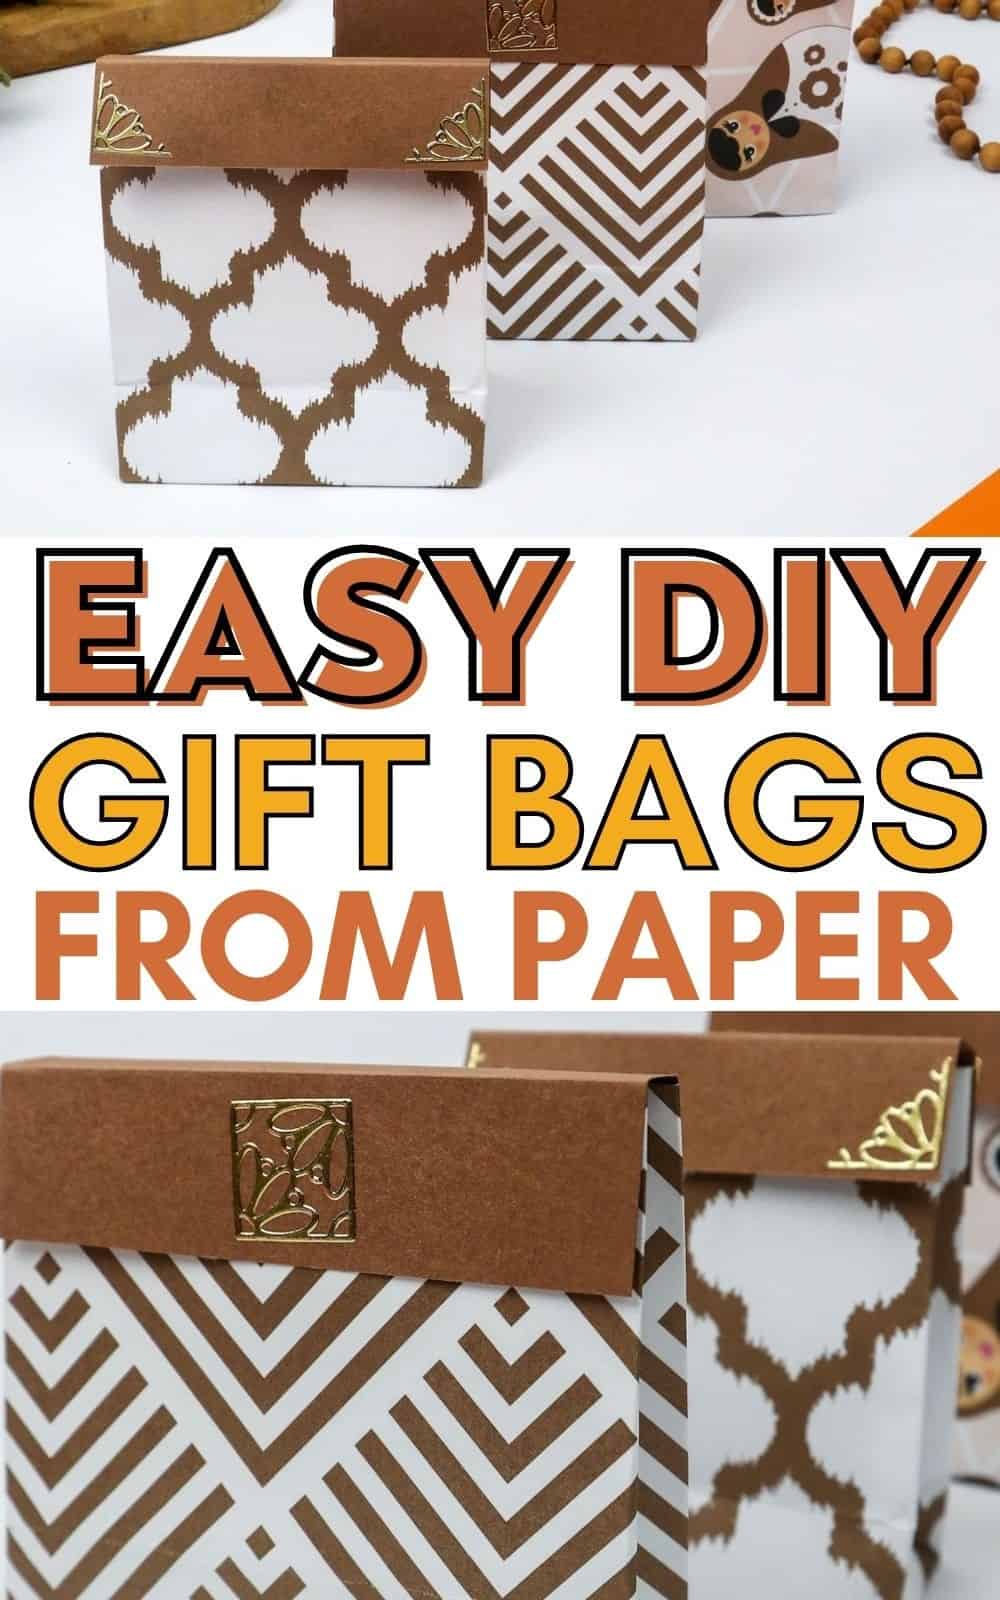
DIY Gift Bags
Transform ordinary gifts into extraordinary ones by crafting your own DIY gift bags. Not only will they add a personal touch, but the process is surprisingly straightforward and requires minimal time commitment. With just 20 minutes of active time, you can create a unique and thoughtful present for your loved ones.
Equipment
When it comes to crafting and creating, having the right tools at hand is crucial. A well-stocked arsenal includes a trusty ruler for precision measurements, a pencil for jotting down notes or sketching out designs, and a hobby knife or scissors for making precise cuts. These humble heroes are often overlooked but play a vital role in bringing your creative vision to life. Meanwhile, it’s equally important to prevent sleep mode from taking over, keeping your screen bright and your ideas flowing.
Materials
To create a beautiful and unique gift, you’ll need a few basic supplies. Start by gathering some patterned paper or gift wrapping paper that catches your eye. Next, grab a small piece of plain paper to use as the top layer. For added stability and adhesion, make sure you have some double-sided tape or glue on hand. If you want to add an extra touch of sparkle, glitter glue can be used to create intricate designs. Finally, don’t forget to include some fun stickers to personalize your gift.
Instructions
To create a sturdy and attractive DIY gift bag, start by preparing all your necessary materials. Begin with the main bag, folding one edge upwards around an inch or so, ensuring it’s even and symmetrical. Secure this fold with double-sided sticky tape, then repeat the process for the opposite edge. Next, fold both edges inward to create a triangular shape, pressing firmly to create a crease.
Open up the folds and proceed to create the bag’s base by folding the paper inwards towards the center, making sure to align the edges carefully. Once you have a square shape, fold the paper upwards along the longest side to create a foundation for your bag. Trim the excess paper to achieve the desired length. To allow for the lid to slide into place, make a small incision using a craft knife. For the lid itself, cut out a piece of paper to match the dimensions you want your lid to be.
Fold this paper inward in a 2:1:2 ratio to create a sturdy and even surface. Next, prepare the flap or tongue by cutting a strip of paper with an arc shape at one end. Apply double-sided sticky tape along the inner edge of the flap and attach it to the tongue. Carefully place the lid onto the bag, sliding the flap into the incision you made earlier. Press the edges firmly to ensure they stick in place. Finally, decorate your bag as desired and your DIY gift bag is complete.