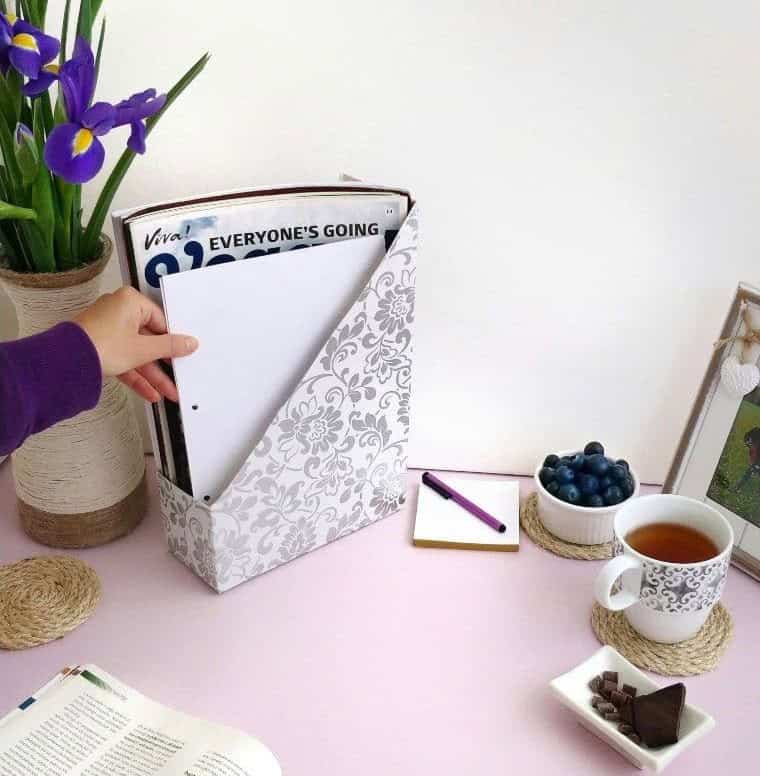
Magazines can be a fantastic source of inspiration and entertainment, making them a staple in my home office. When I need a mental break or a creative boost, flipping through their pages is just what I need. However, finding a way to display them efficiently has always been a challenge for me.
Rather than investing in commercial magazine organizers that can be quite pricey, I decided to tap into my resourcefulness and came up with a DIY solution using recycled cereal boxes. The best part?
It’s not only budget-friendly but also helps reduce waste.
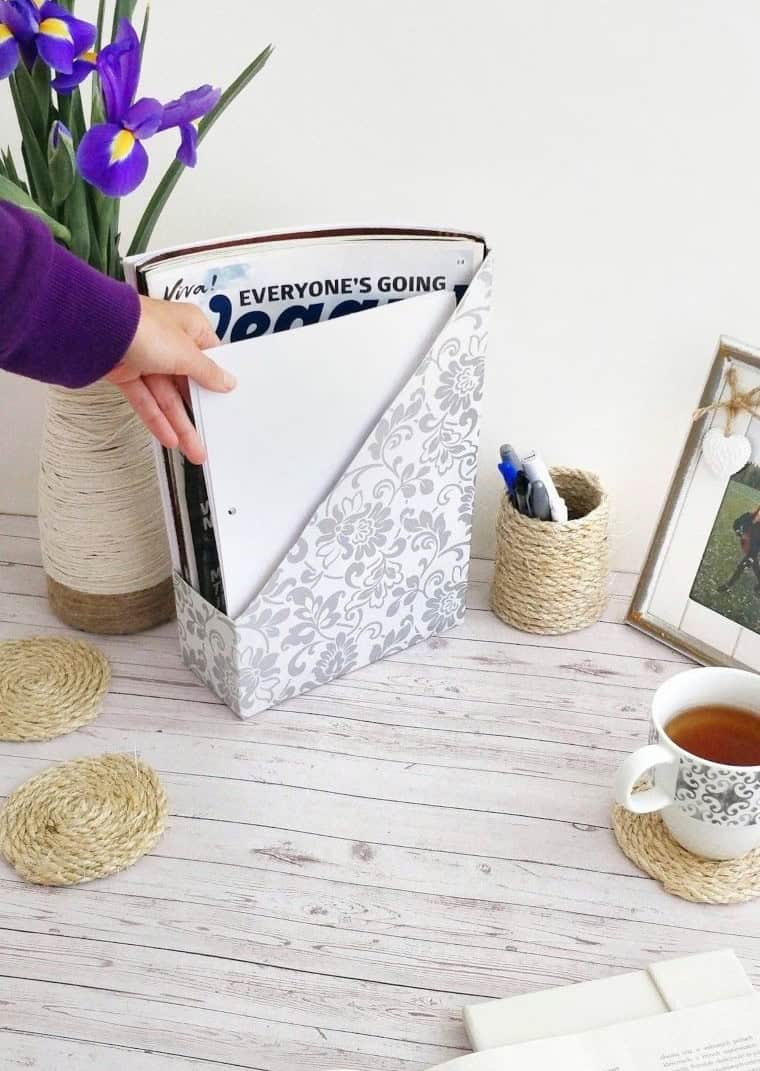
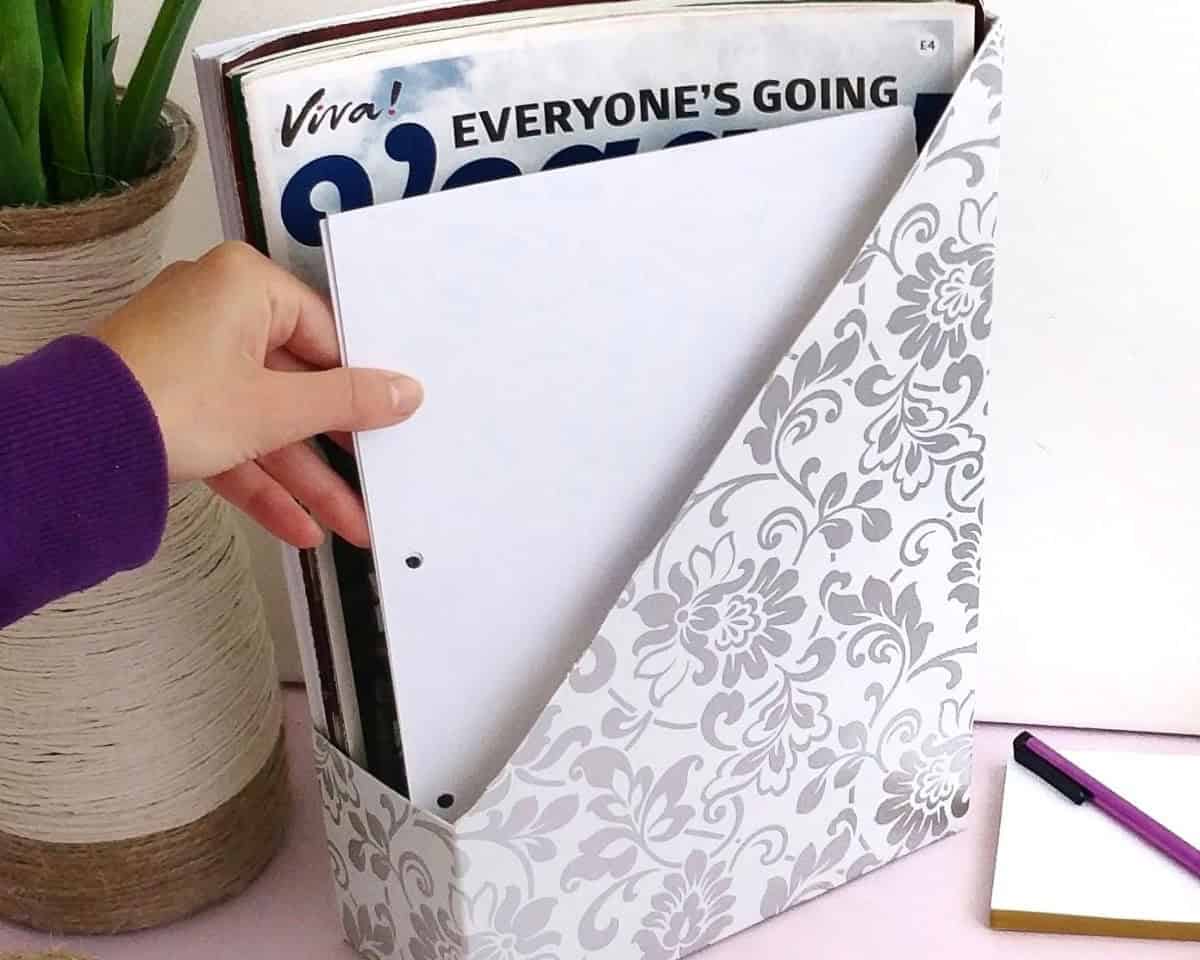
What I love about this project is the freedom it gives me to customize it according to my personal style. Unlike store-bought options, which often come with limited design choices, I can create something that perfectly complements my home office decor. For this particular DIY magazine holder, I opted for a floral silver design that ties in nicely with my favorite teacup.
Supplies for the Organizer
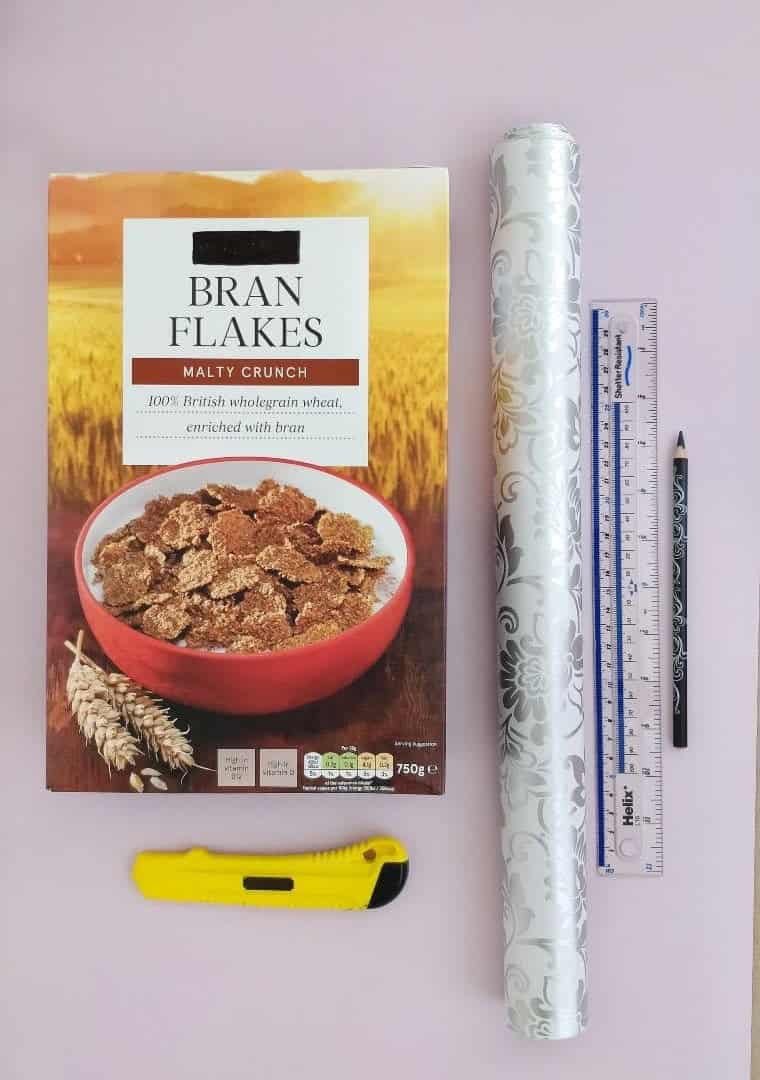
For a DIY enthusiast, the right tools can make all the difference. Take for instance, a simple craft project that requires precision and creativity. You’ll need something as mundane as a cereal box to serve as a base, but also more specialized items like a ruler to ensure straight lines, a pencil for marking and sketching, self-adhesive fablon for added texture and dimension, and a craft knife for cutting and shaping with ease.
How to Make a Magazine Organizers Out of Cereal Boxes
With minimal crafting expertise required, creating a magazine organizer from a cereal box is a fun and accessible DIY project for the whole family. Whether you’re an experienced crafter or a beginner, cutting and drawing simple lines are all you need to get started. This project is perfect for kids to tackle on their own or with adult supervision, making it a great way to spend quality time together and develop some valuable skills.
STEP 1
To begin crafting your paper plane, initiate by flipping the cereal box over, positioning one of its shorter edges towards you. Next, utilize your pencil and ruler to create a straight line, approximately 0.5 inches away from the top edge of the box, serving as a guide for your subsequent design steps.
STEP 2
To begin the next step, carefully rotate the box to ensure the narrower side is now facing towards you. Next, draw a new line on the box, positioned precisely four inches from the bottom edge.
STEP 3
To create the iconic cereal box shape, take the box and turn it so that the wider sides are facing towards you. Next, draw a diagonal line along the front of the box, connecting the top and bottom lines you’ve already drawn on the sides. Perform the same action on the back of the box to achieve a symmetrical design.
STEP 4
As you prepare to shape your project, take out your trusty craft knife and carefully follow the path marked by your pre-drawn guidelines. With deliberate precision, make a clean cut along these designated lines.
STEP 5
As you prepare your gift box, remember to remove the excess flap from one of its shorter edges. This small but crucial step ensures a clean and professional finish.
STEP 6
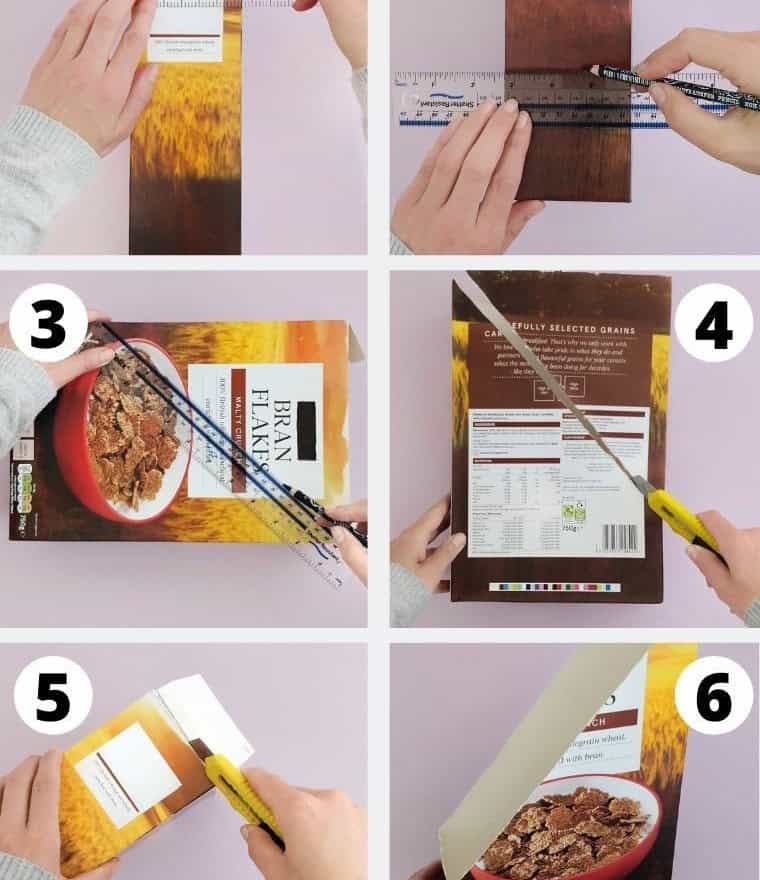
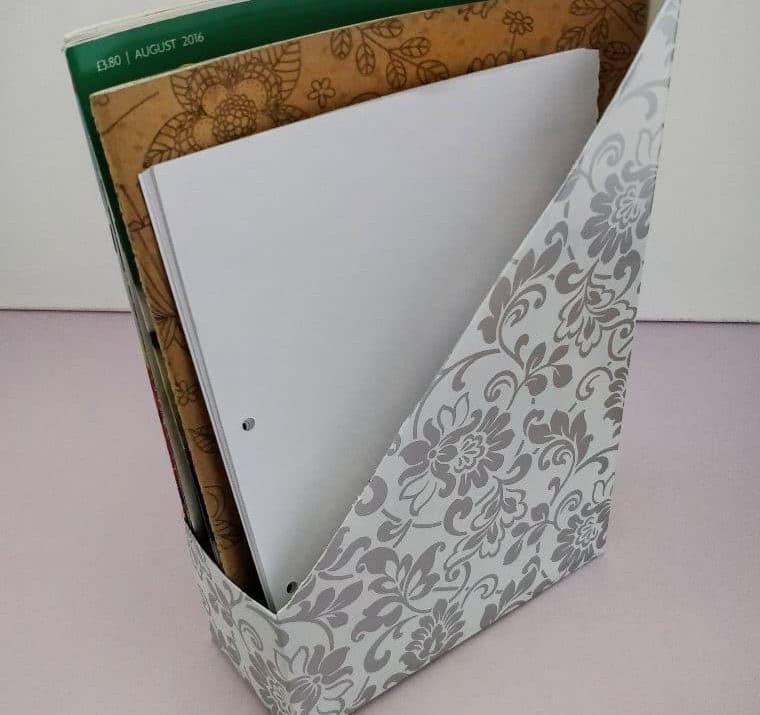
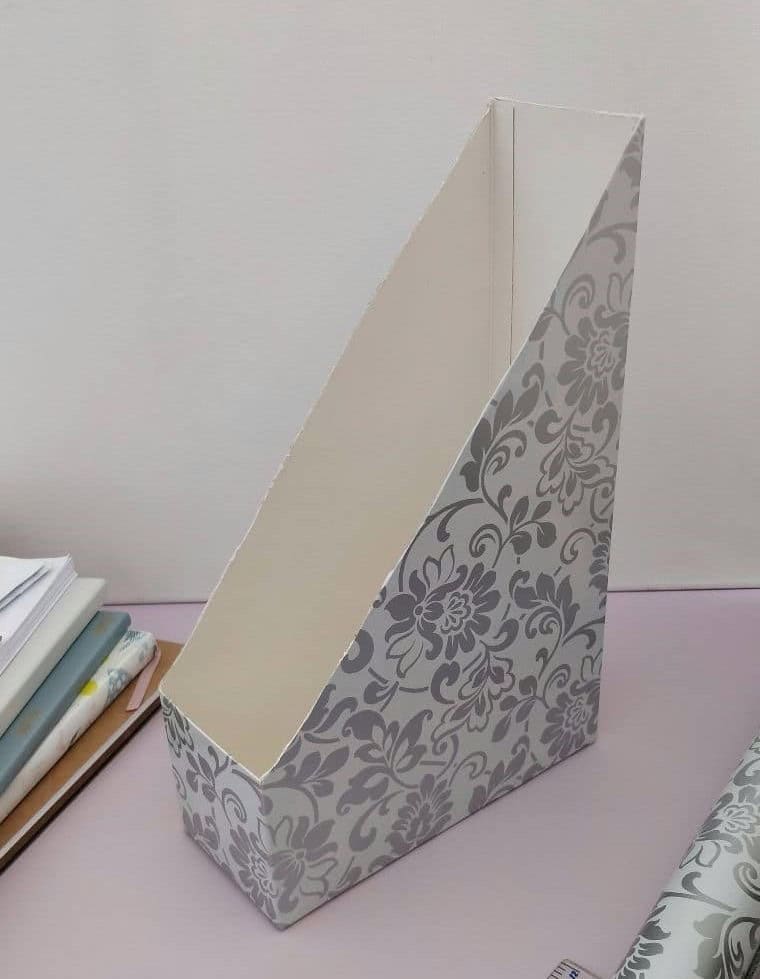
Transform your DIY magazine organizer into a polished piece that complements any room’s décor. As it stands, you’ve created a functional box that can serve its purpose without further modifications. Alternatively, take the extra step to refine and elevate its aesthetic appeal, resulting in a unique and stylish magazine holder.
STEP 7
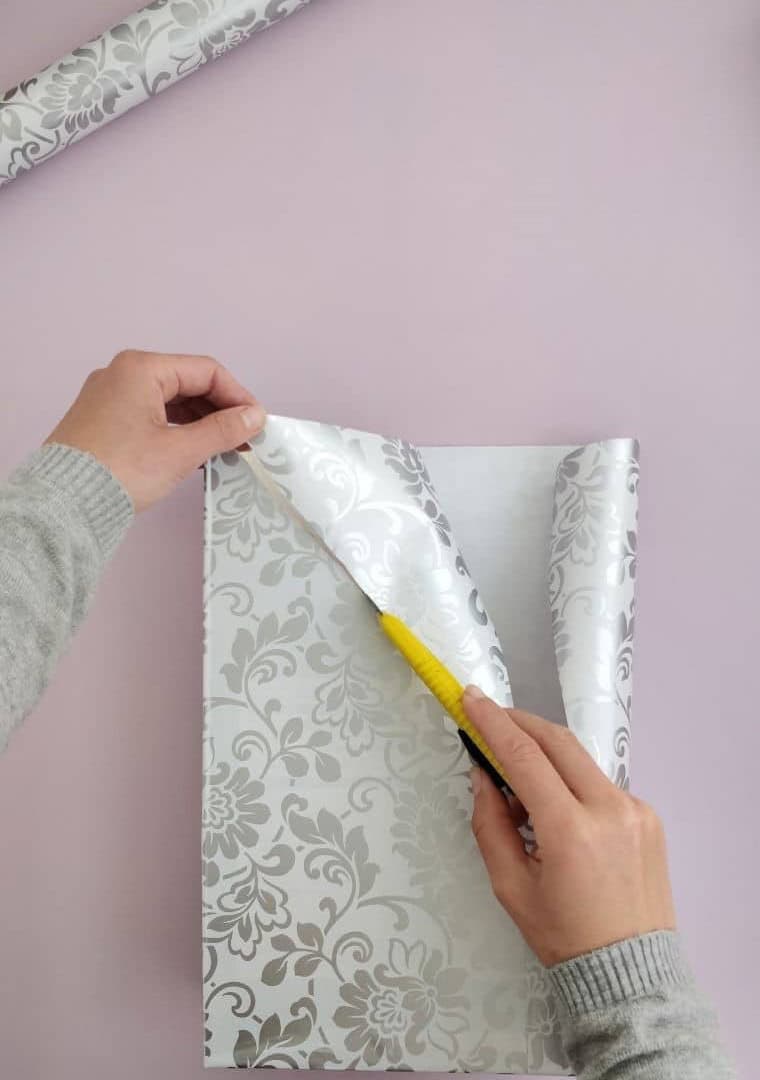
To begin, carefully unroll your self-adhesive fablon with the inner side facing towards you. If it starts to roll back, consider using a heavy object to keep it in place. Next, position the cereal box on top of the fablon, making sure it is centered and even.
STEP 8
When preparing your Fablon for the cereal box makeover, it’s crucial to ensure you have a sufficient amount of material. A minimum of 2 inches from the bottom of the box is recommended to guarantee adequate coverage. Next, measure and cut the Fablon to a width and length that allows for seamless, full-coverage wrapping of the box.
STEP 9
Begin by removing the backing from a piece of adhesive paper, cutting it to a size that matches the width of the cereal box with about an inch of excess to allow for coverage of the narrower side plus some extra overlap. Next, grasp the cereal box and apply gentle yet firm pressure onto the adhesive fablon, ensuring a secure bond.
STEP 10
As you work with your fabric, focus on covering the box’s sides. Ensure that the Fablon overlaps by roughly half an inch along the wider edge of the box, which is now facing you.
STEP 11
To complete the wrapping process, start by removing any residual backing from the adhesive paper. Once this is done, you can then carefully apply the paper to the box, ensuring a seamless coverage as you wrap it around the entire surface.
STEP 12
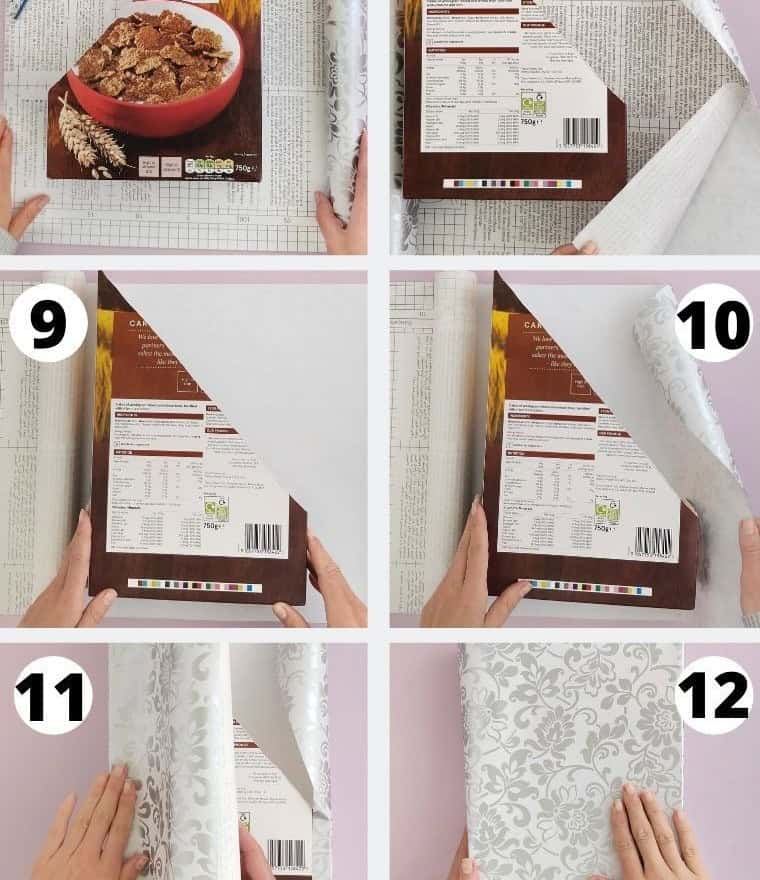
To achieve a polished and refined appearance, attention to detail is crucial when wrapping your item. The goal is to create a smooth, even surface that visually resembles a rectangular box. This requires careful consideration of every fold and crease, ensuring a seamless finish with no rough edges or jagged lines.
STEP 13
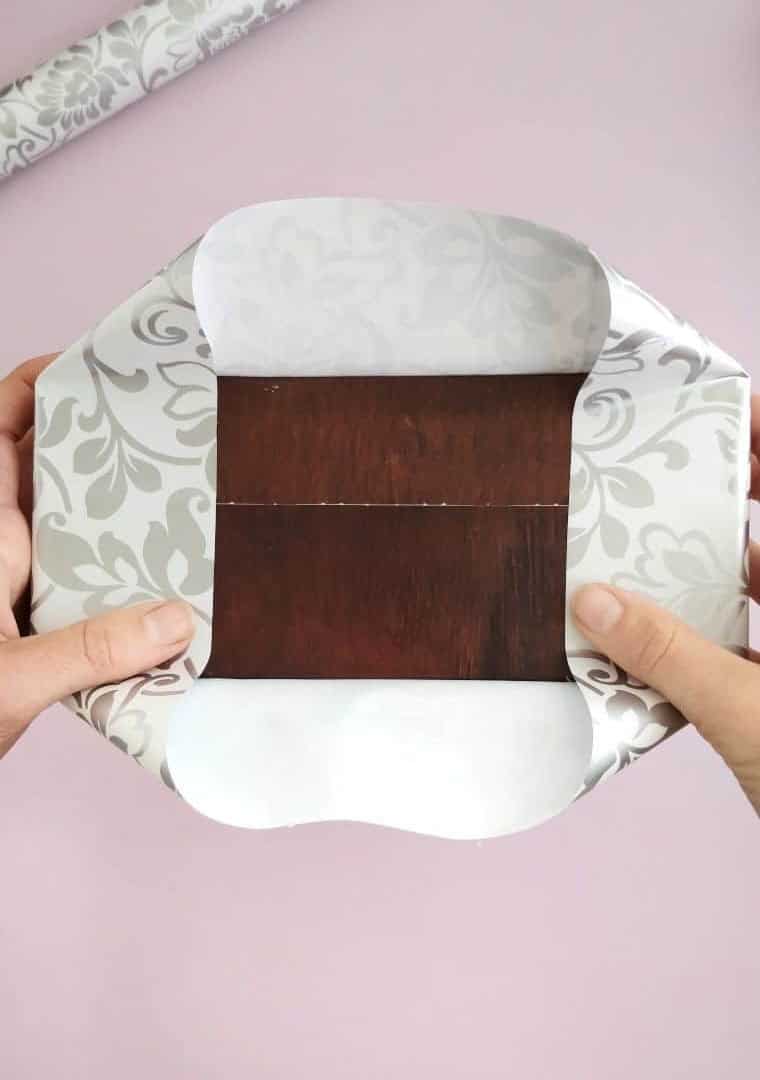
To progress with the wrapping process, turn the box upside down and proceed to cover it with the remaining material. Begin by securing the narrower edge first, ensuring a snug fit as you work your way around the container.
STEP 14
To initiate the wrapping process, begin by tackling the larger flaps at the bottom of the package. This approach helps prevent any potential wrinkles or creases that might occur if you start with the smaller side panels.
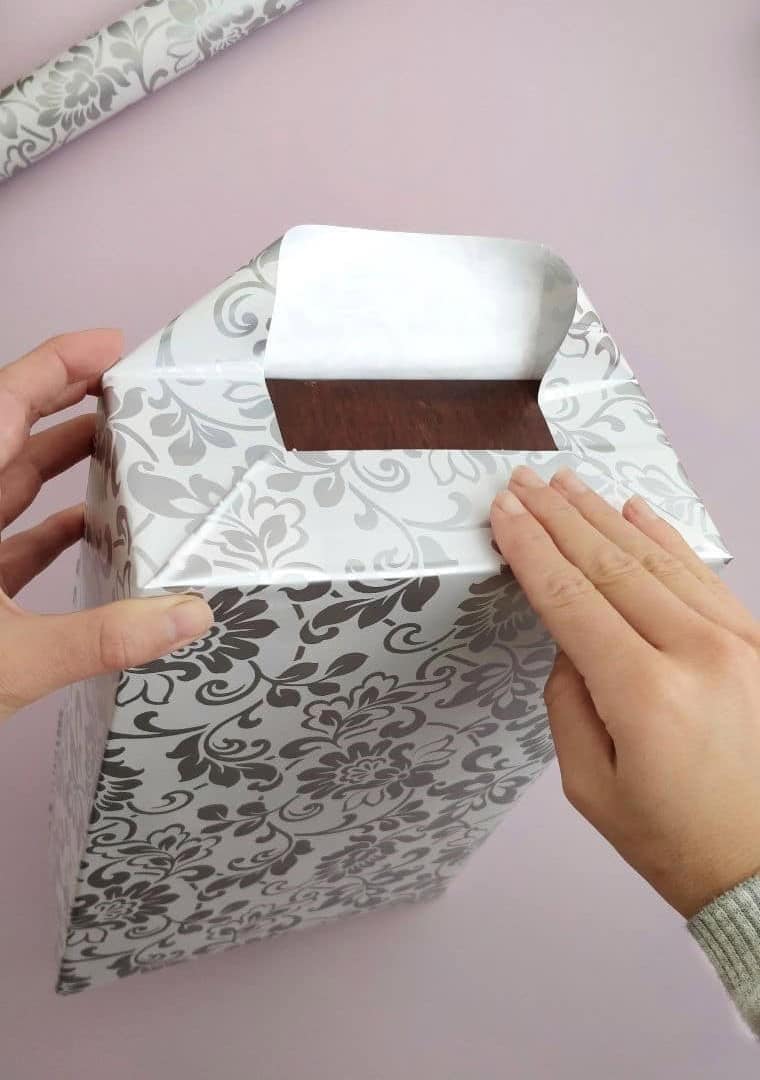
STEP 15
To complete the wrap, fold the top layer of the material over the bottom layer, ensuring a secure and snug fit.
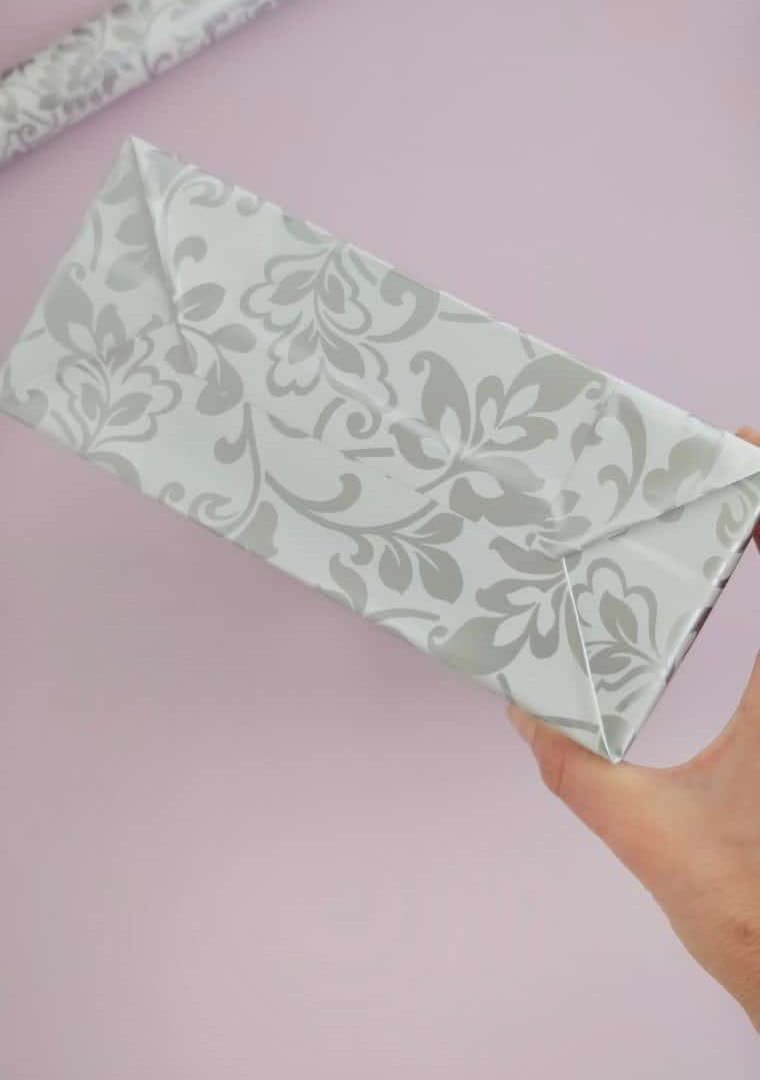
STEP 16
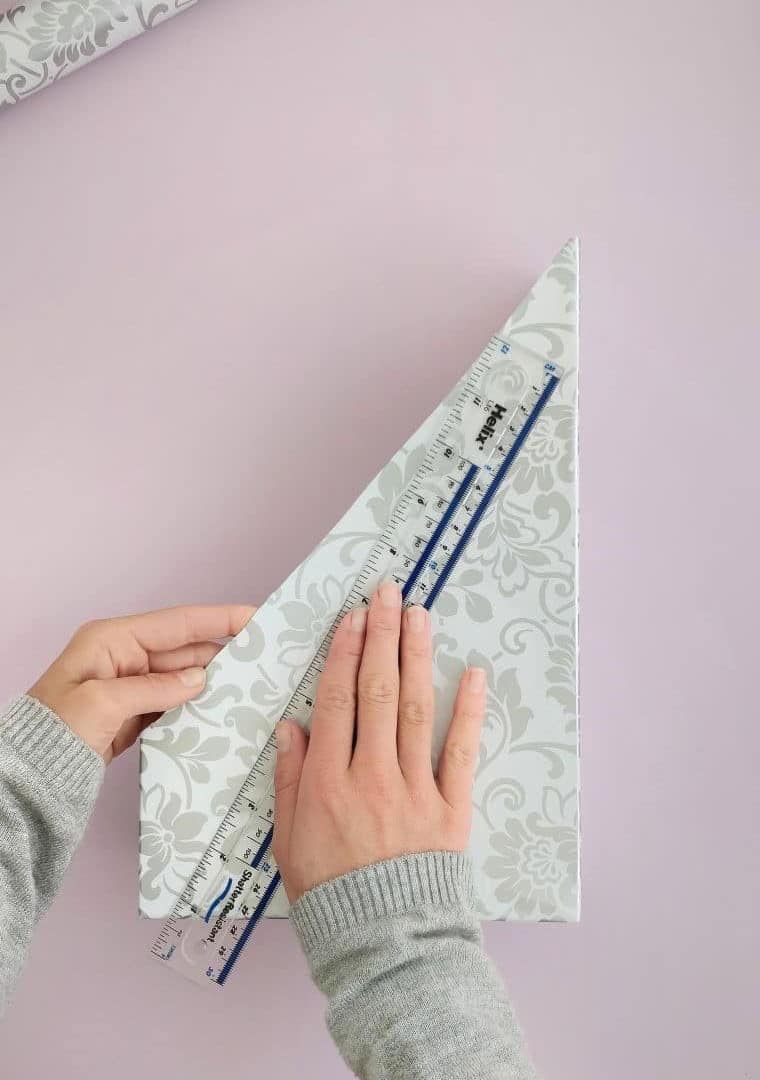
To ensure a seamless finish, start by trimming the excess fablon from the sides of the box using your preferred cutting tool. A crucial step in achieving a tight wrap is to eliminate any air pockets that may form when working with self-adhesive paper. To do this, use a ruler to gently push out any trapped air as you wrap the fablon around the box. While not always necessary, this technique can significantly improve the overall appearance of your finished project.
If, despite your best efforts, air bubbles still manage to form during or after the wrapping process, a small pin or needle can be used to carefully pierce the bubble and release the trapped air.
Where Can You Use These Organizers?
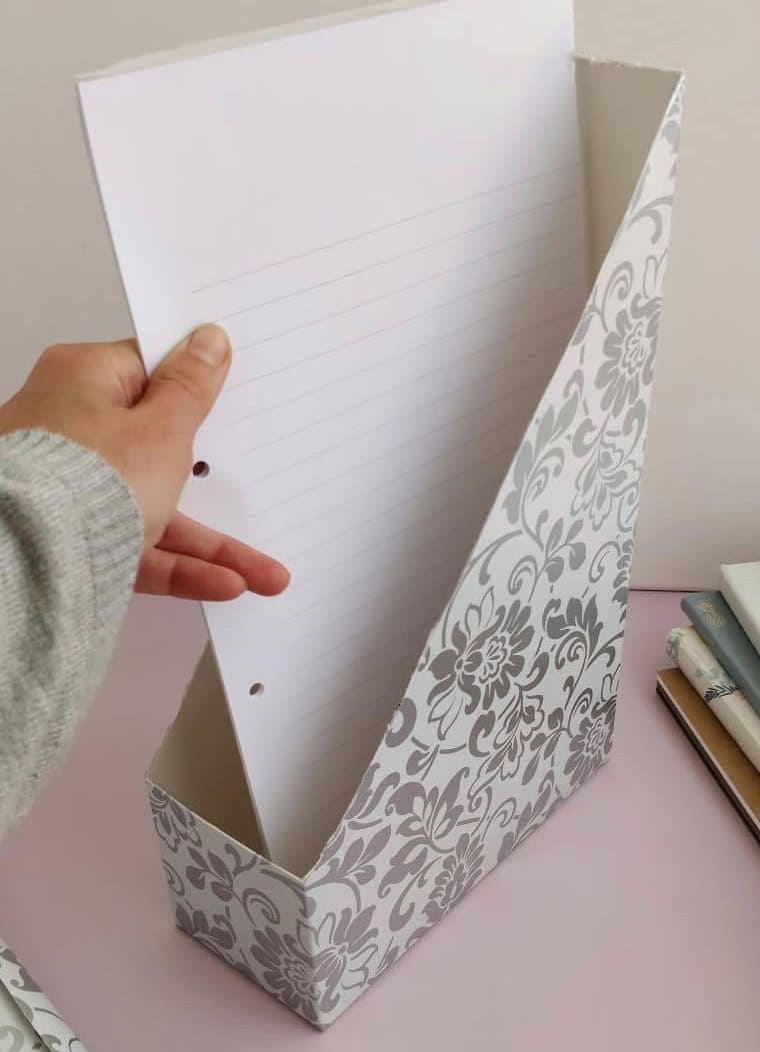
When it comes to managing paper clutter, these versatile organizers offer more than just magazine storage. They’re perfect for corralling loose papers on your desktop, keeping your workspace tidy. For the office, consider setting up two separate stations: one labeled ‘In’ and the other ‘Out’, to streamline incoming and outgoing mail. But that’s not all – these DIY wonders can be used to categorize and sort a vast array of documents from both home and office.
Simply create as many organizers as you need, add your own custom labels, such as ‘bills’, ‘receipts’, ‘manuals’ or ‘school notices’, and enjoy the benefits of organized document management. And, if you’re looking for another creative use, consider applying this upcycled cereal box solution to a craft room, where it can help keep supplies and projects in check.
Other Organizers You Can Make
Transforming a humble cardboard box into a functional and visually appealing rope basket is an innovative DIY project that can add a touch of rustic charm to any space. Furthermore, creating a rope organizer for your desk can help keep essential items tidy and within reach. With these two projects in mind, you may also appreciate exploring the realm of office organization, where creativity knows no bounds.
From clever uses of cardboard tubes to repurposing dollar store magazine holders, the possibilities are endless.
DIY Desk Magazine Organizer Out of a Cereal Box
Transform a humble cereal box into a functional and budget-friendly magazine organizer with this simple DIY project. In just 20 minutes, you can create a tidy space to keep your paperwork in check. Here’s how:
Equipment
When working on a project that requires focus and precision, it’s essential to have the right tools by your side. A ruler, pencil, and craft knife are must-haves for any creative individual. Not only do they allow you to accurately measure and mark materials, but they also enable you to fine-tune your work with precision cuts and subtle shading. But what about those times when you’re in the zone and don’t want your screen to go dark?
That’s where preventing sleep comes in – a simple yet crucial step to ensure you can stay focused for hours on end without interruption.
Materials 1x2x3x
Instructions
To create a unique and budget-friendly magazine holder, start by transforming an ordinary cereal box into a functional storage solution. Begin by drawing two parallel lines along the narrow sides of the box, one at the top edge and another 4 inches from the bottom. Next, draw a diagonal line that connects these two marks on both sides of the box. Use a craft knife to carefully cut along these lines, shaping the box into a magazine holder form.
Once you have your desired shape, measure and cut a piece of self-adhesive fablon to cover the entire box. Remove the backing adhesive and wrap the fablon around the box, ensuring all surfaces are fully covered. If necessary, use a ruler to smooth out any air bubbles that may have formed during gluing. Finally, trim any excess wrapping paper from the box using a cutter or scissors. To eliminate any remaining small air pockets, use a small pin or needle to gently pop them out.
With these simple steps, you’ll have a one-of-a-kind, inexpensive magazine holder in no time.