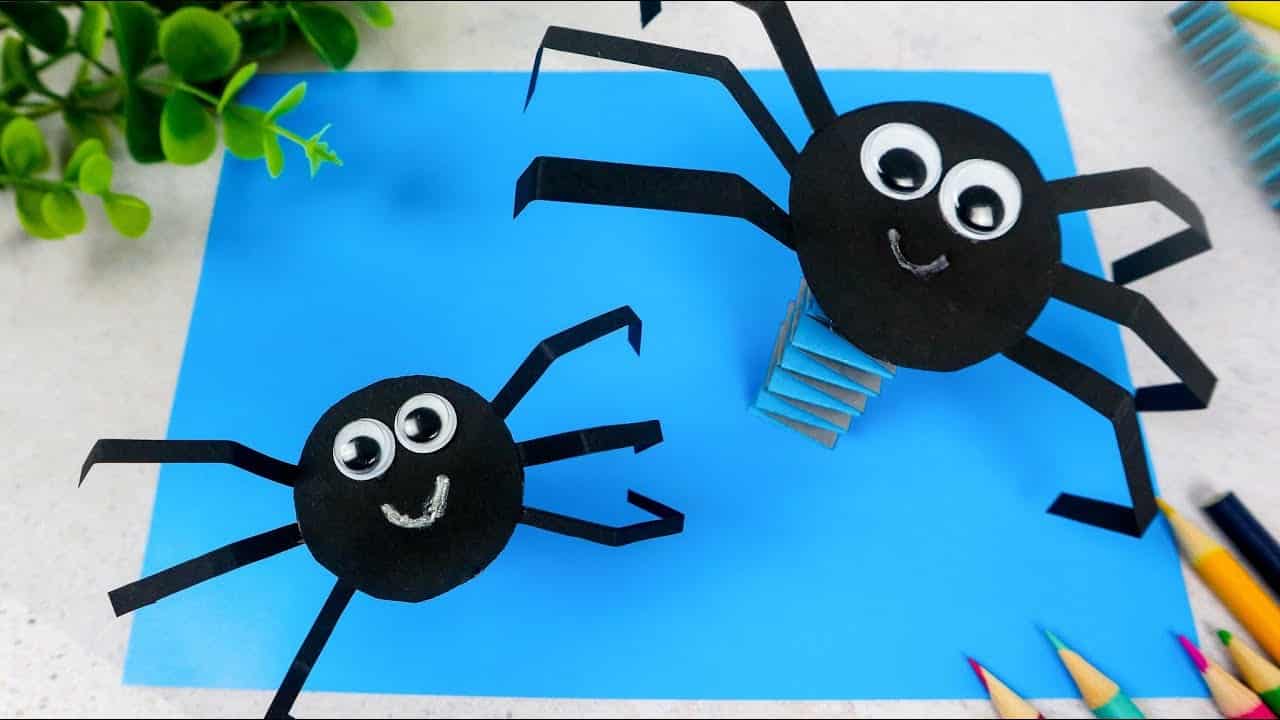
Are rainy afternoons getting you down? Look no further! A fun DIY paper spider craft is the perfect way to spend quality time with your kids. This easy-to-follow tutorial is suitable for children of all ages and requires minimal materials that you might already have at home. The only challenge lies in mastering the accordion fold, but once you get the hang of it, the end result is a delightful bouncing spider that’s sure to bring smiles to everyone’s faces.
If you’re having trouble getting started, I’ve got you covered with my YouTube video tutorial on DIY Bouncy Spiders Out of Paper. With just a few simple folds and some patience, you’ll be creating your own family of bouncy spiders in no time. Whether it’s a quiet afternoon or Halloween season, this craft is sure to bring joy and excitement to both kids and adults.
And if you’re not feeling the spider vibe, feel free to swap it out with another simple insect like a ladybug, bumble bee, or butterfly – I’d love to see your creations!
Supplies You’ll Need
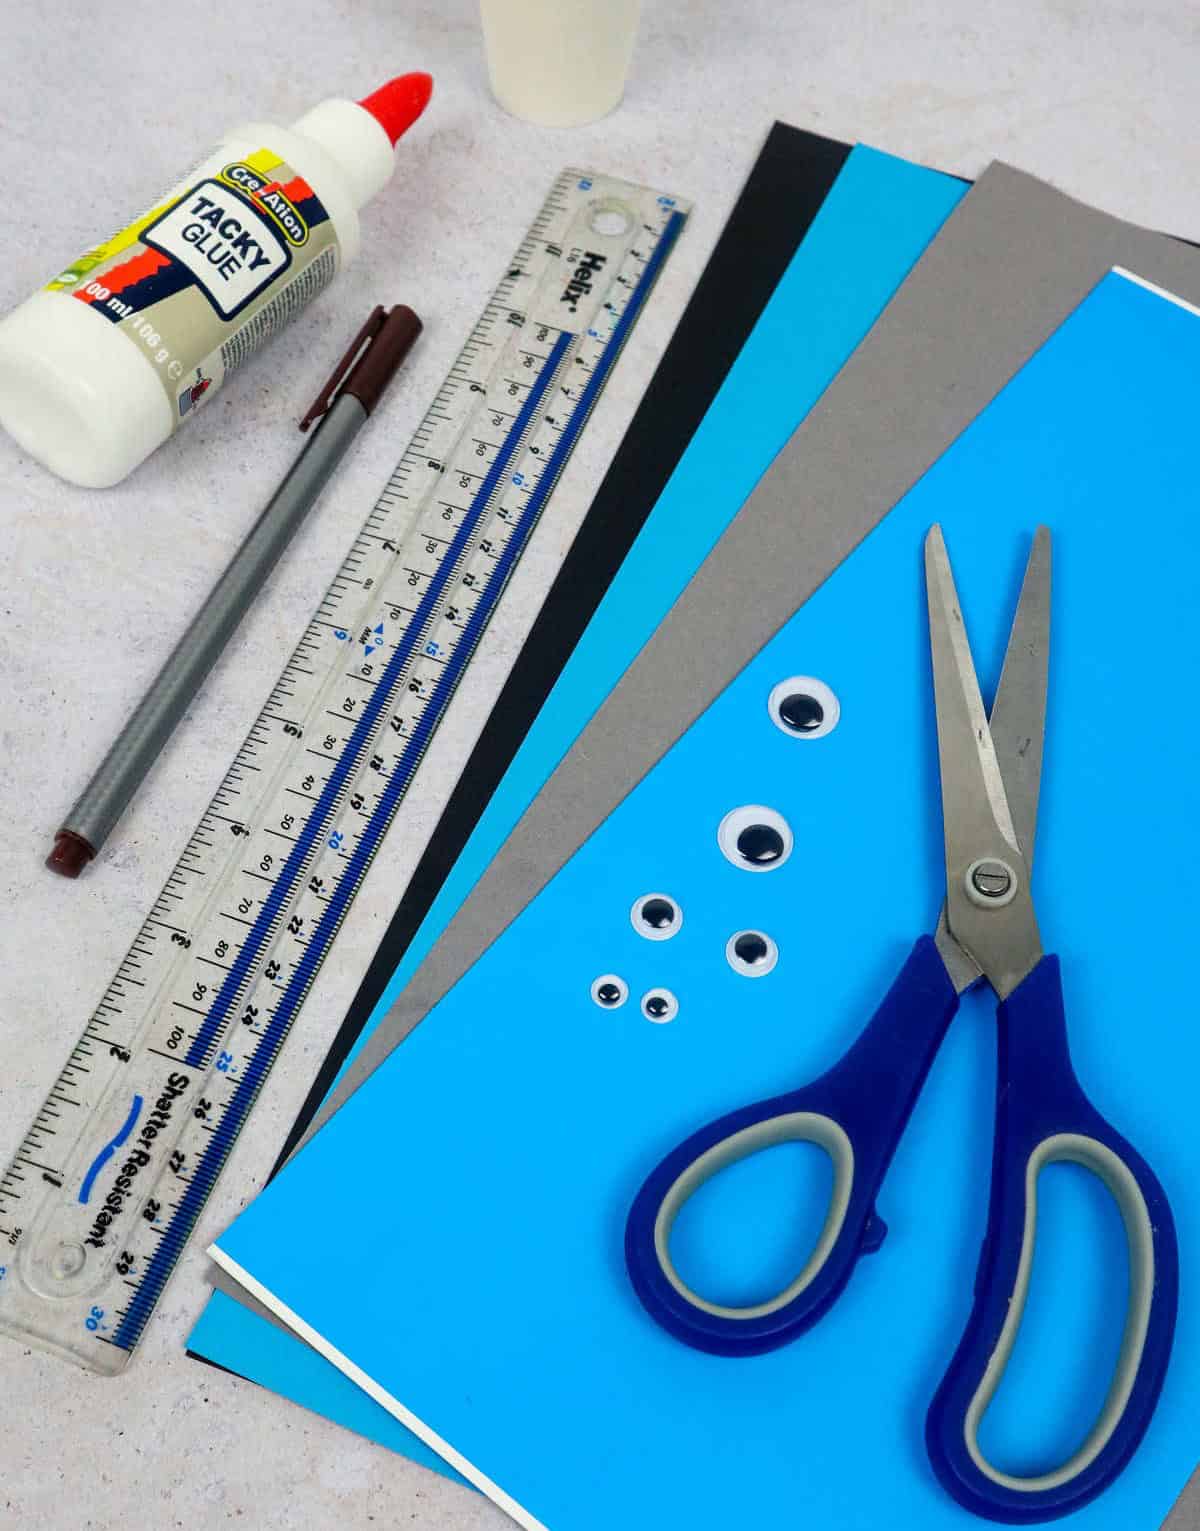
Crafting with kids just got a whole lot more exciting! With these essential supplies, you’ll be well on your way to creating a treasure trove of fun and creative projects. From vibrant A4 construction papers in an array of colours to wiggle eyes that add an extra layer of personality to any craft, we’ve got the basics covered.
And let’s not forget about the kid-friendly tools – scissors designed with little hands in mind, a trusty ruler for measuring and marking, and a marker that’s both safe and easy to use. Of course, no crafting session would be complete without a reliable paper glue to hold everything together. And finally, a small paper cup or sippy cup is the perfect tool for tracing and creating those all-important lines.
With these must-haves at your disposal, get ready to unleash your inner child and let your creativity shine!
How to Make a DIY Spider
Before diving into the project, keep in mind that using A4 paper will not only enhance the stability of the spiders but also prolong their bounce over time. Additionally, resist the temptation to test out the wiggly walkers as soon as you’ve completed the project, and instead, encourage your kids to wait until the spiders are entirely dry and securely attached to the page. This patience will ultimately yield better results.
Now that we’ve covered the essential tips and gathered the necessary materials, it’s time to bring our creepy crawlers to life!
Step 1
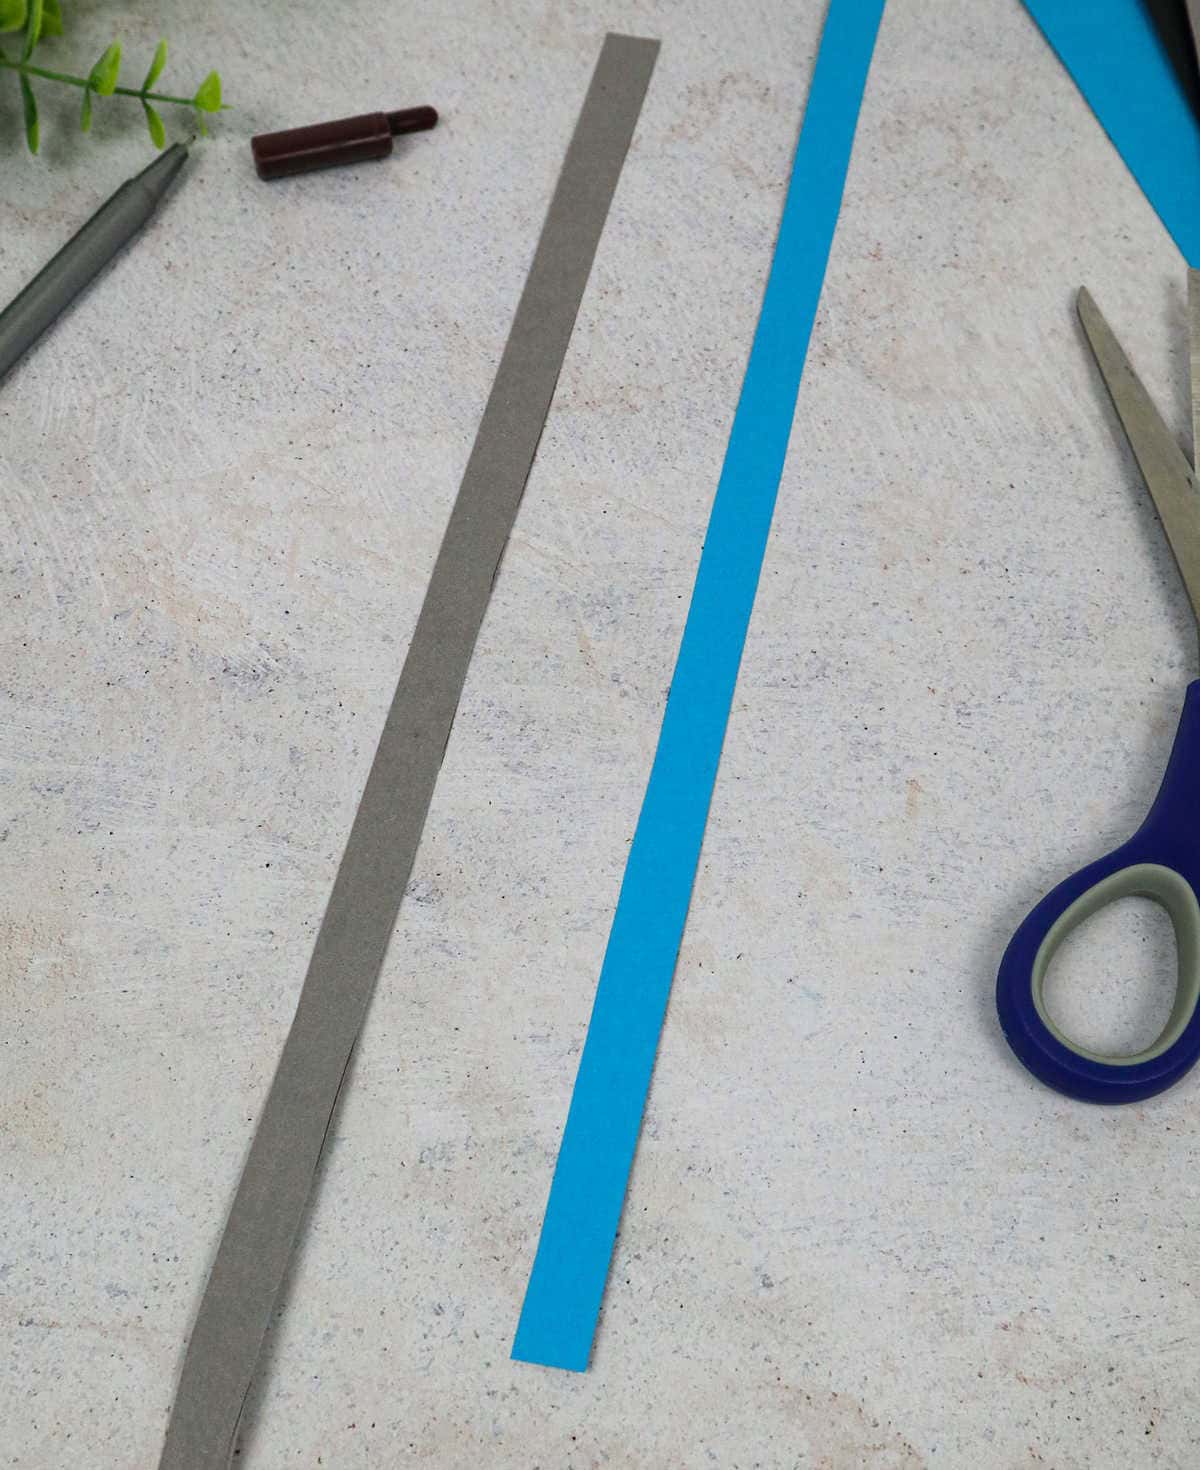
To begin crafting your spider toy, start by preparing two strips measuring 10 inches by ¾ inch. You can choose any colors you like for these strips, but I opted for neutral hues that would blend seamlessly with the body and accentuate the spider’s bouncy movements. If the child participating is young or not confident in their measurement skills, it may be helpful to provide some assistance during this step.
The accuracy of the measurements is crucial as these strips will form the springy core of your project. Aim to keep them as close to the recommended size as possible for optimal results.
Step 2
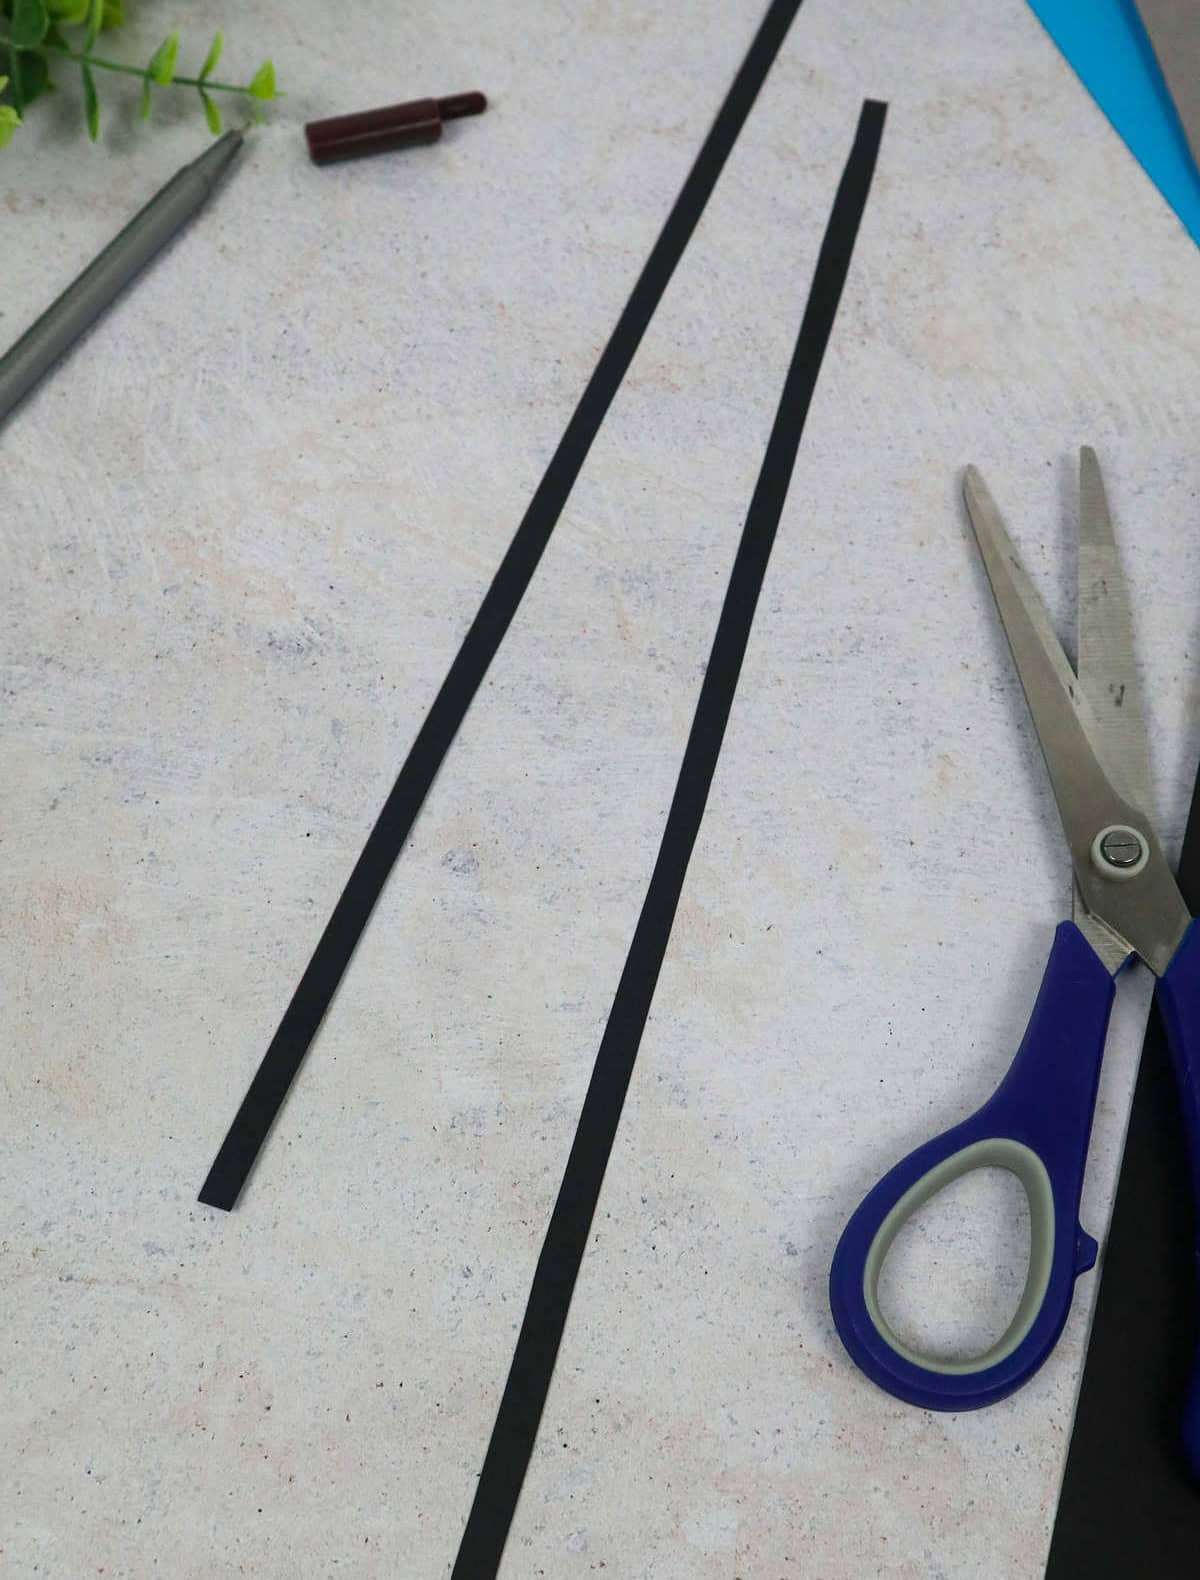
Commence by securing a black sheet of paper and cutting two lengthy strips, measuring approximately 13 inches by 1 inch in length. These strips will serve as the legs for your bouncy project. While precision is important, it’s also essential to remember that minor variations won’t significantly impact the overall outcome. Proceed with confidence, knowing that any slight discrepancies can be easily accommodated.
Step 3
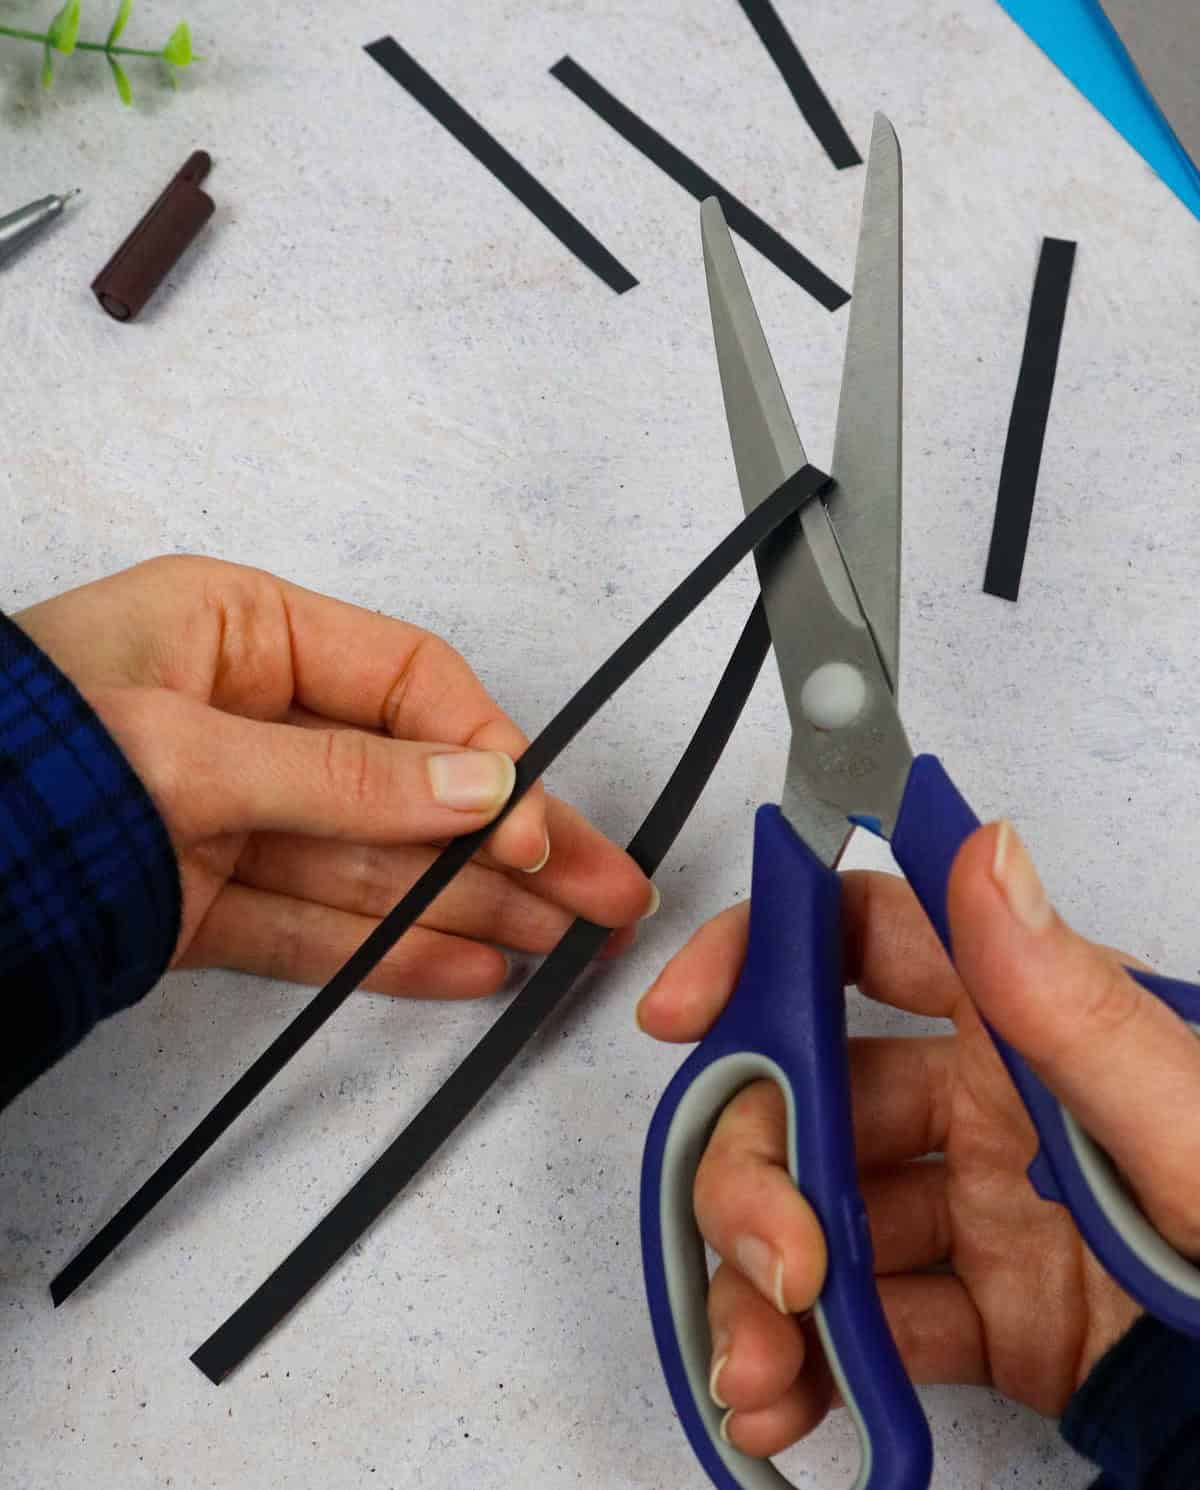
To streamline the crafting process, consider halving each of the black stripe pieces, resulting in four identical sections. This will not only simplify your task but also that of any collaborator. Next, apply this same technique to the second set of legs, ultimately yielding a total of eight limbs for your spider. Once you’ve completed these steps, carefully set aside the prepared components and revisit your spring design.
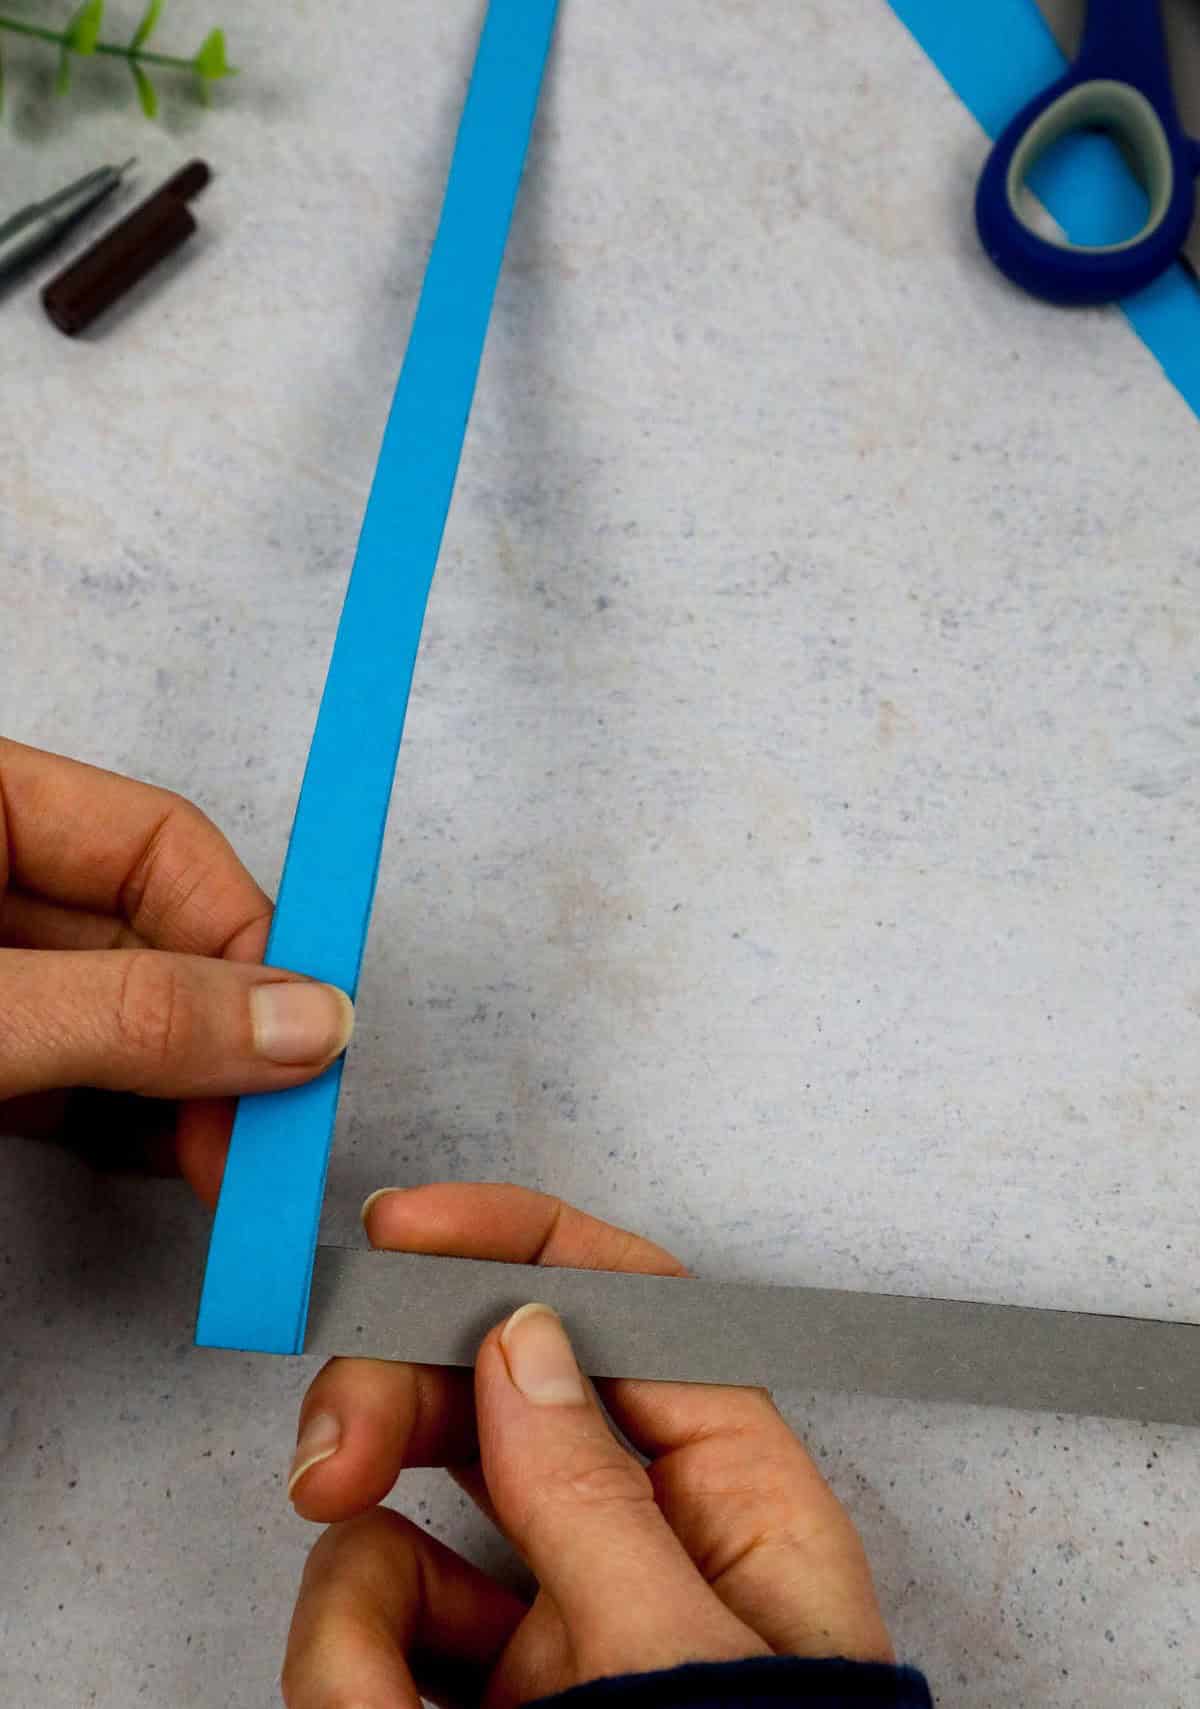
Step 4
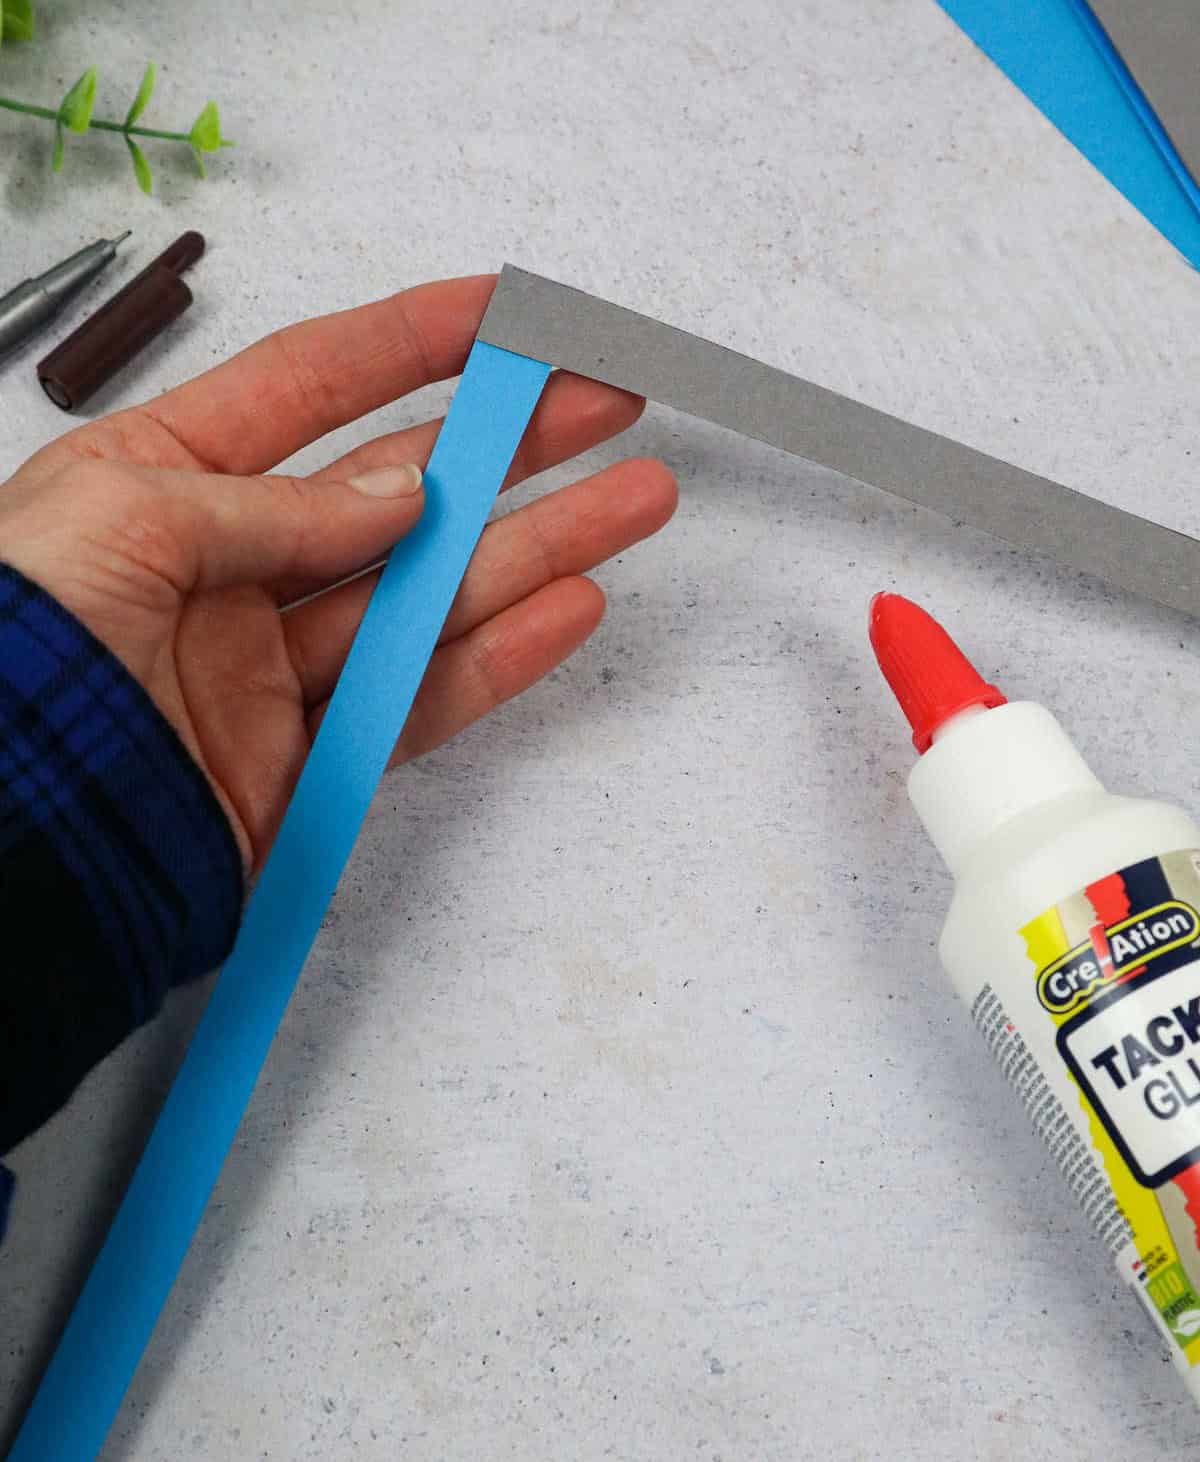
To create a stable foundation for your paper strips, form an ‘L’ shape by joining them together using a suitable adhesive. Once bonded, pinch the joined edges to ensure a secure fit. For added peace of mind, consider reinforcing the union with a paper clip, carefully attaching it to the end of the joined strip.
Step 5
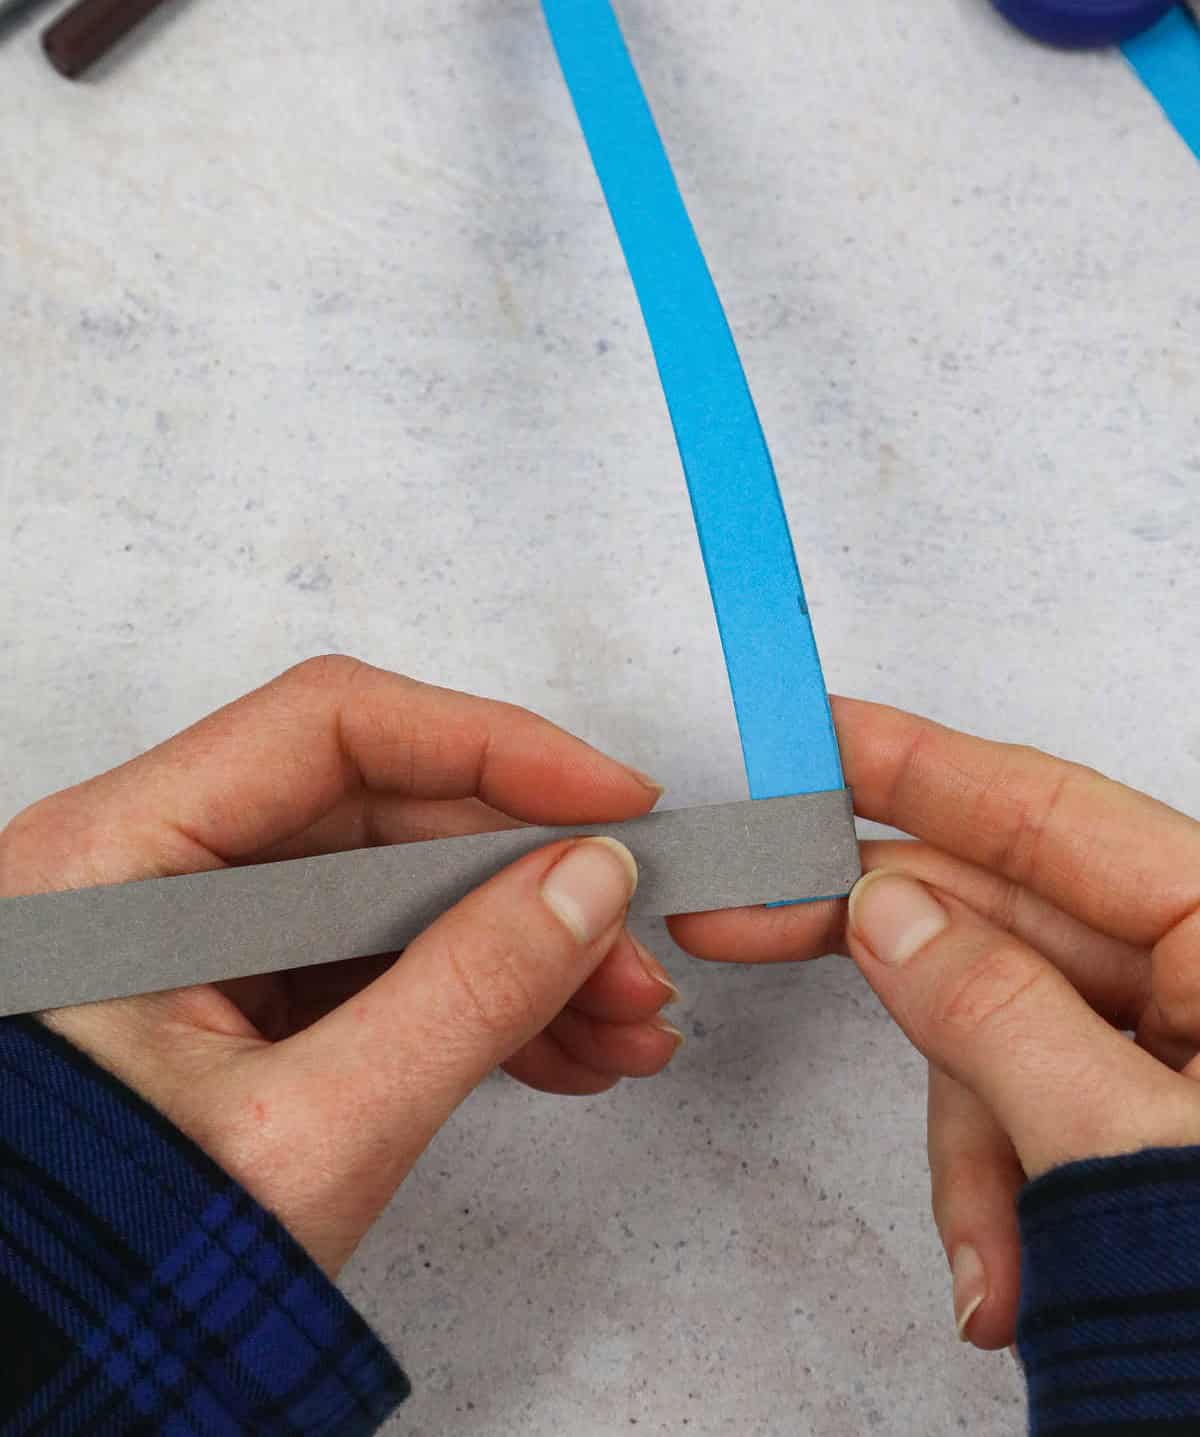
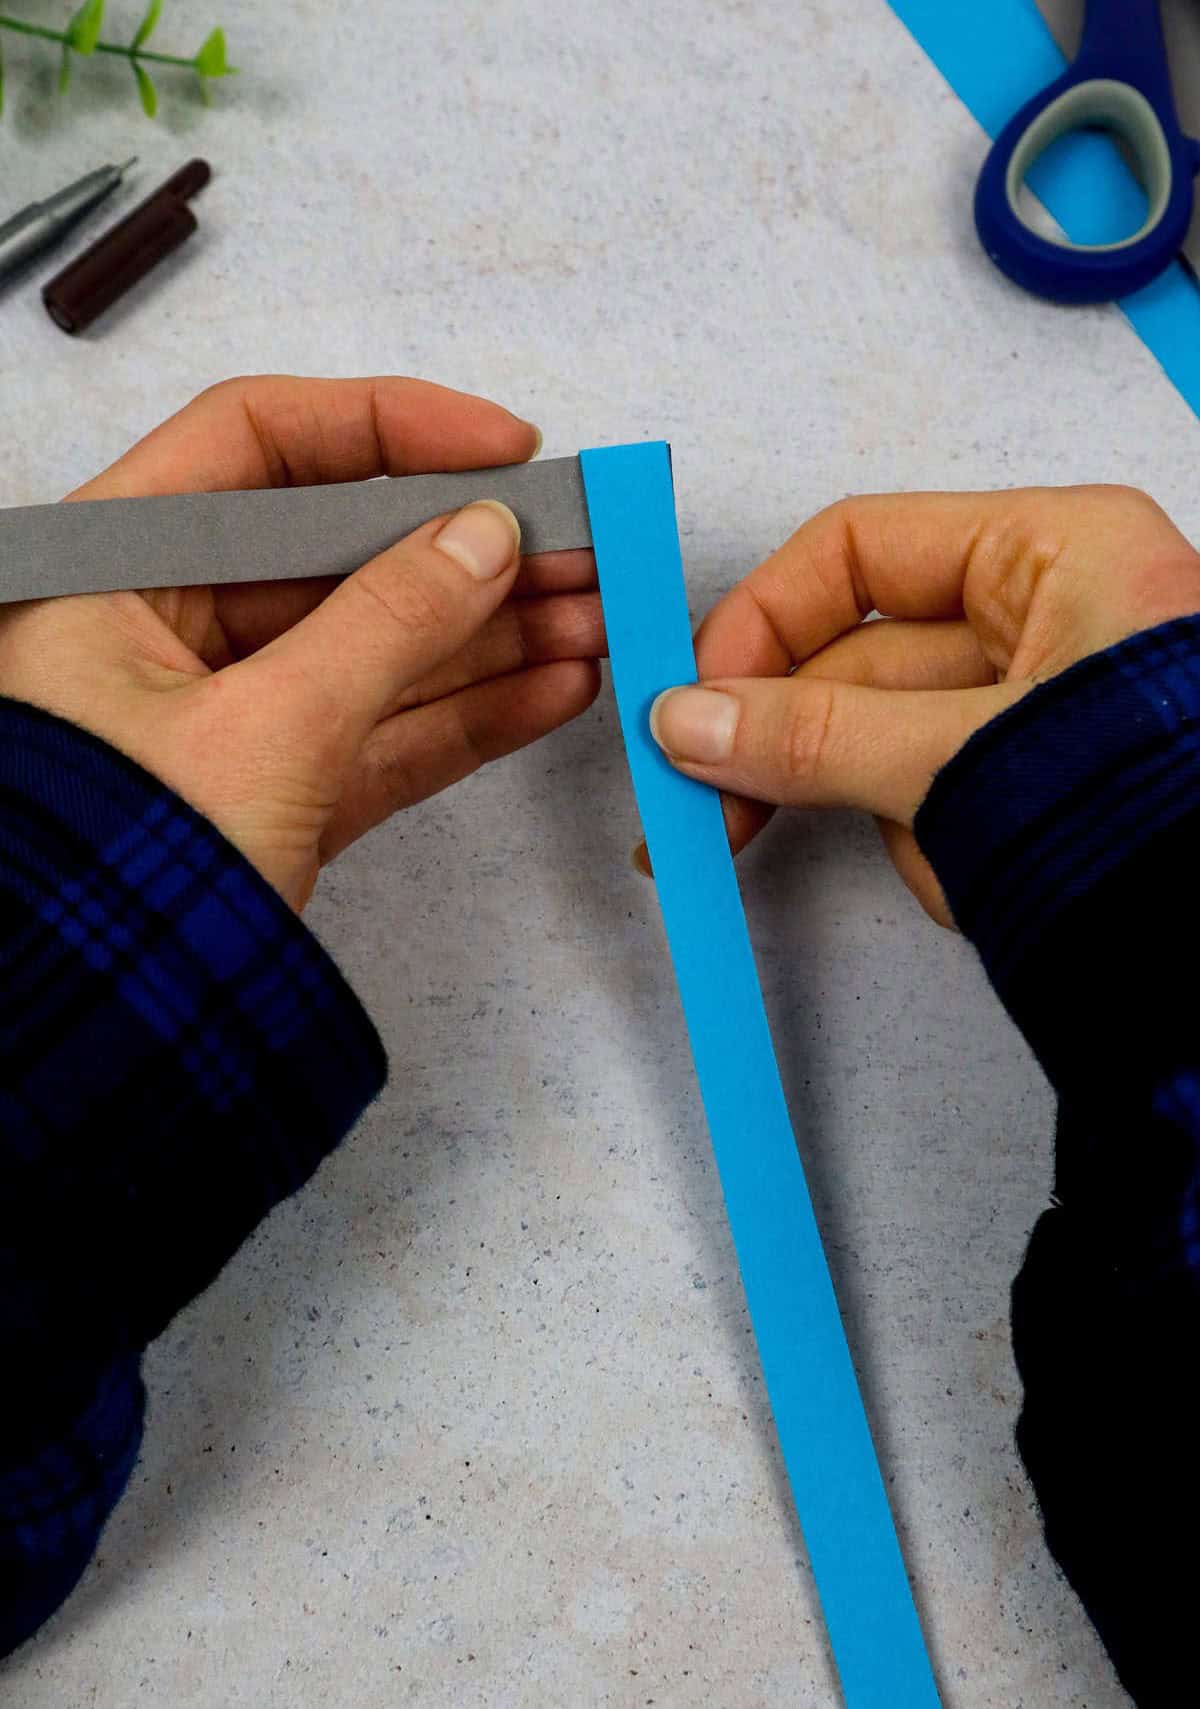
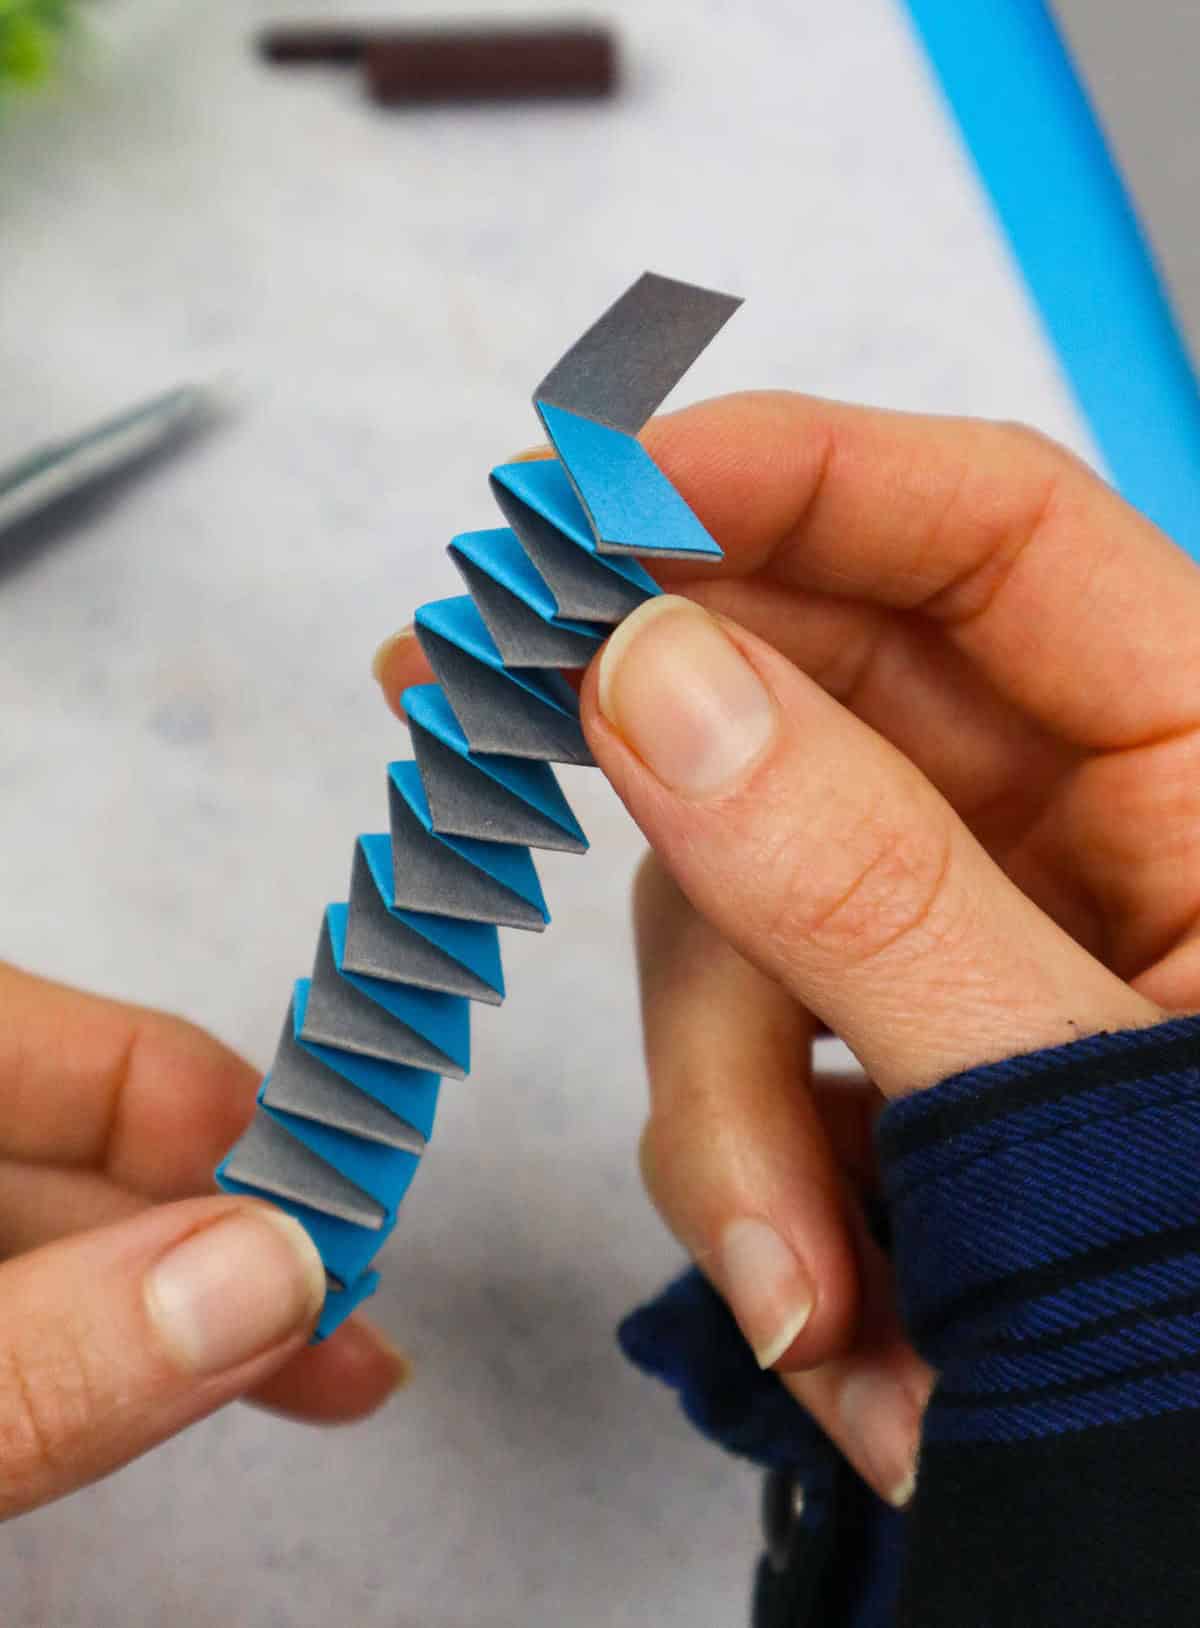
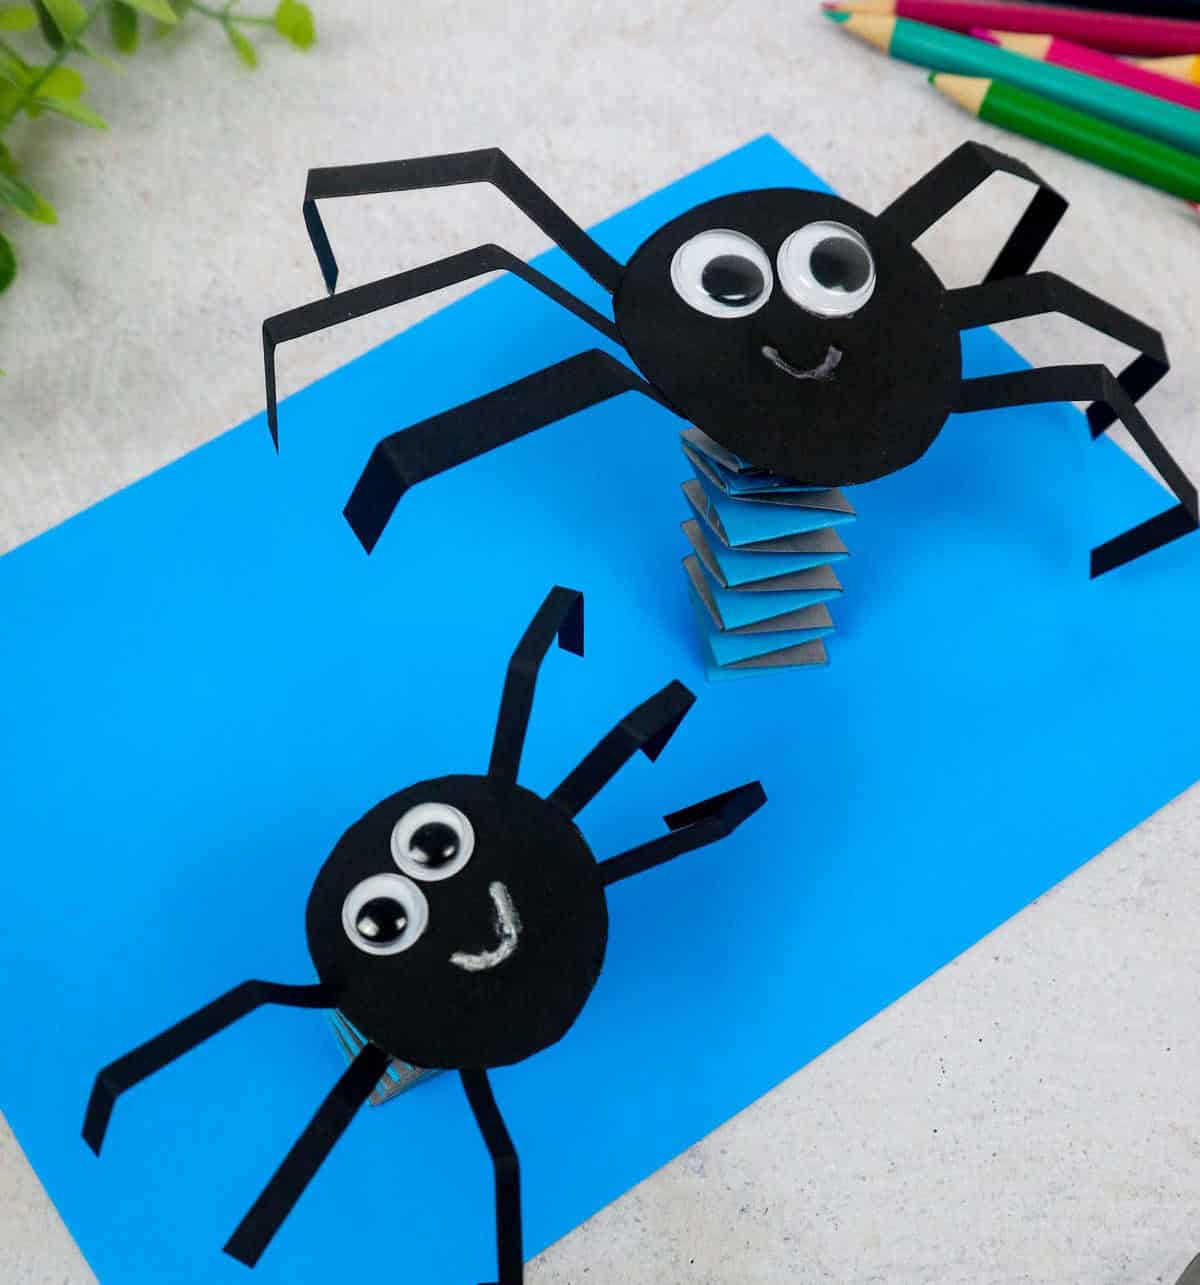
Begin by folding the bottom color over the top, using blue as an example. As you can see from my demonstration, I started with a blue base that I folded over a gray strip. Next, alternate between the two colors, repeating this process until almost to the end of your paper. You should start to notice a pattern emerging as the blue and gray strips alternate. Continue folding and alternating until you reach the top of your paper, leaving the second color exposed at the very end.
Set this aside for now, as we’ll revisit it when building the spider’s details.
Step 6
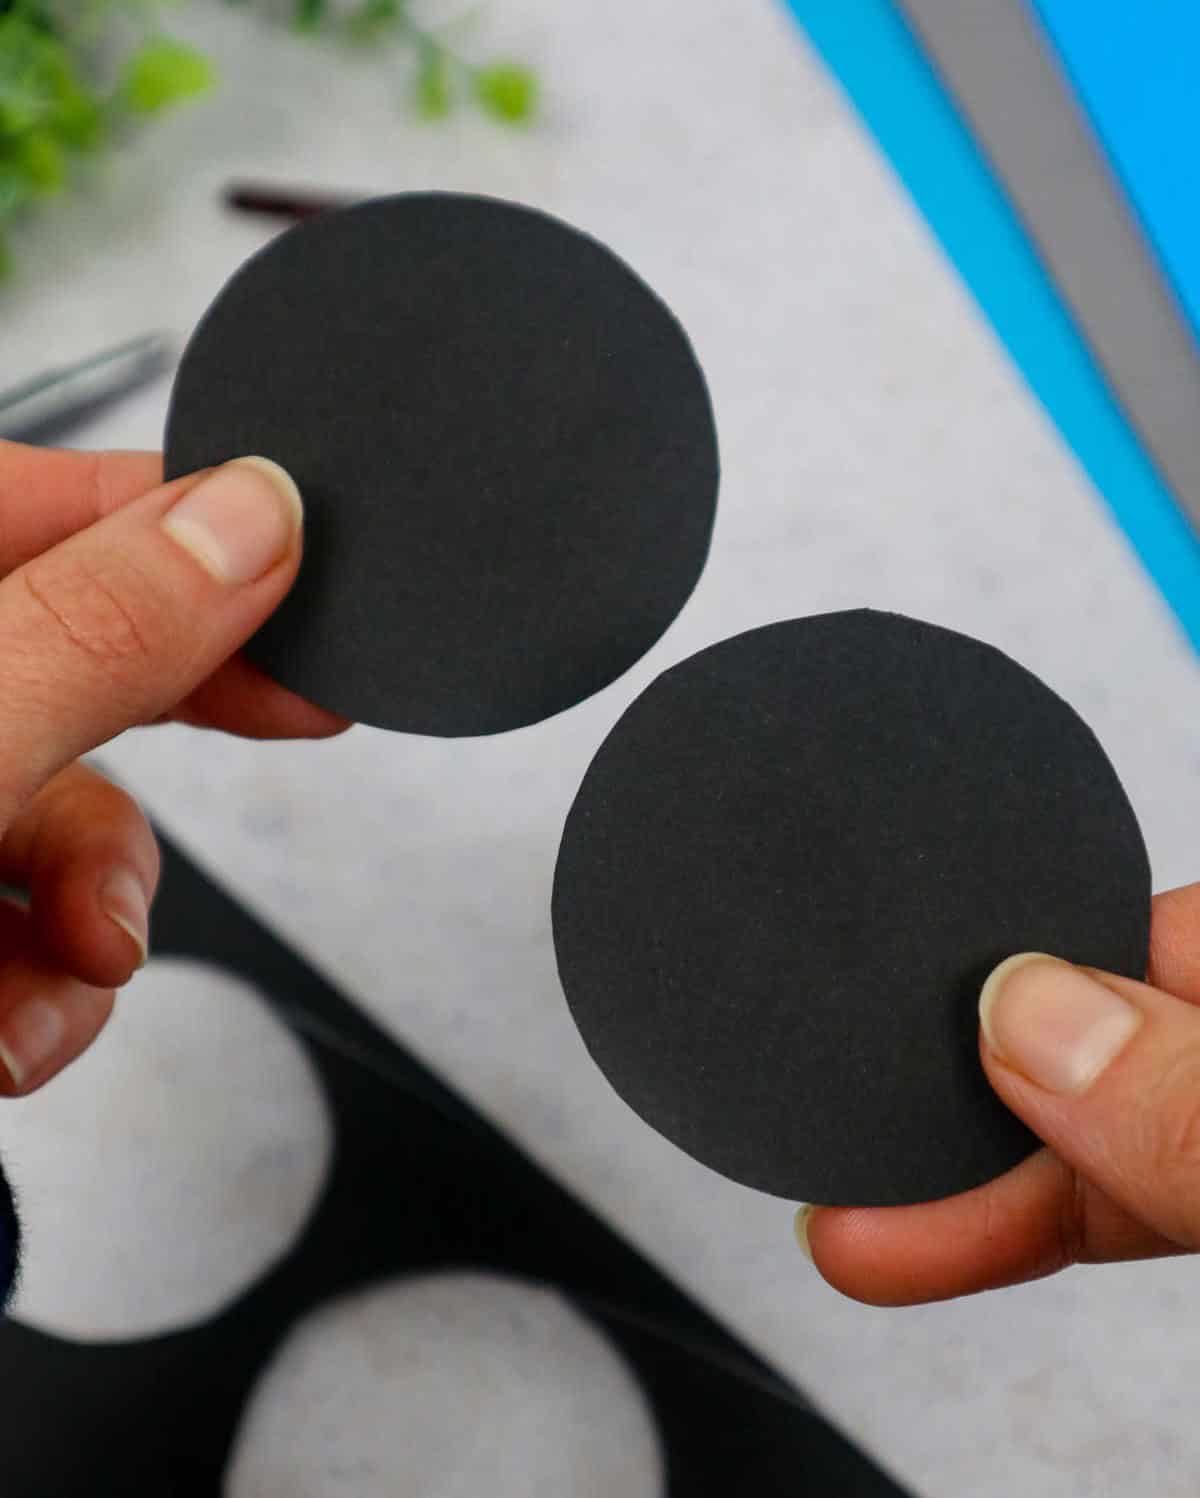
To begin crafting the spider’s body, start by drawing two circular shapes using a paper cup. If you don’t have access to paper cups, you can substitute with any object that has a similar circumference. Alternatively, if you’re feeling ambitious, you can scale up this project and create larger spiders.
Step 7
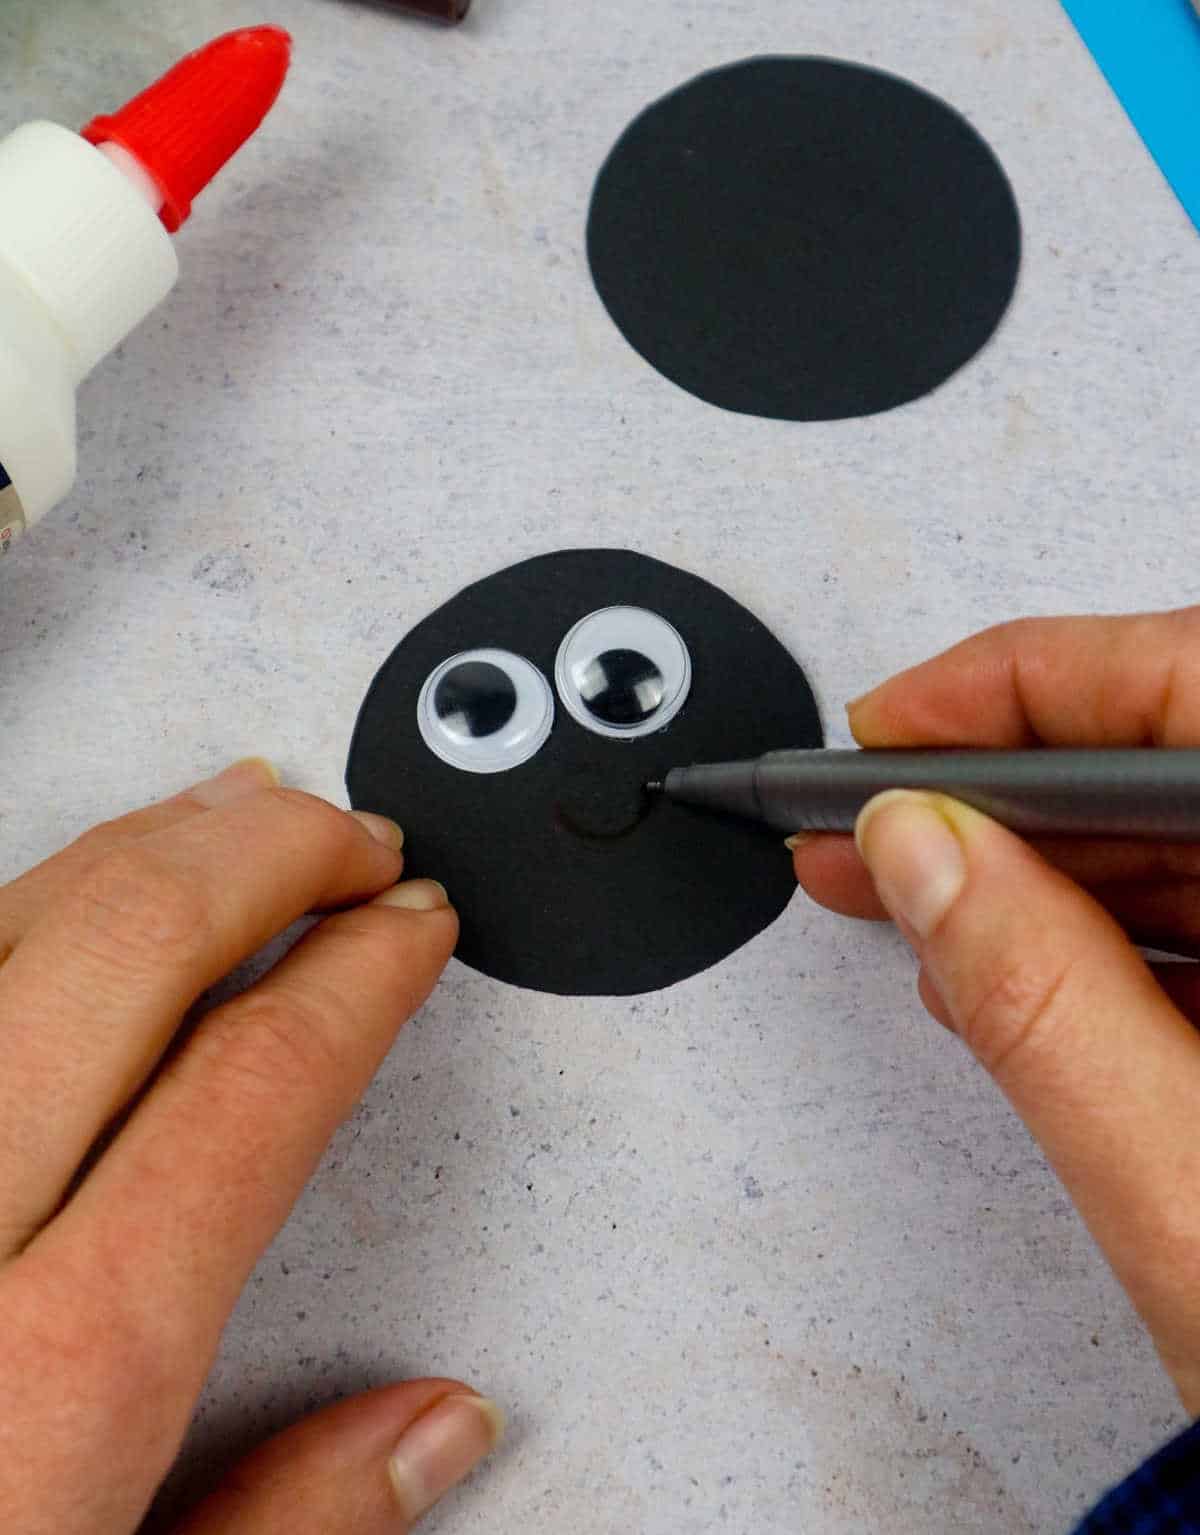
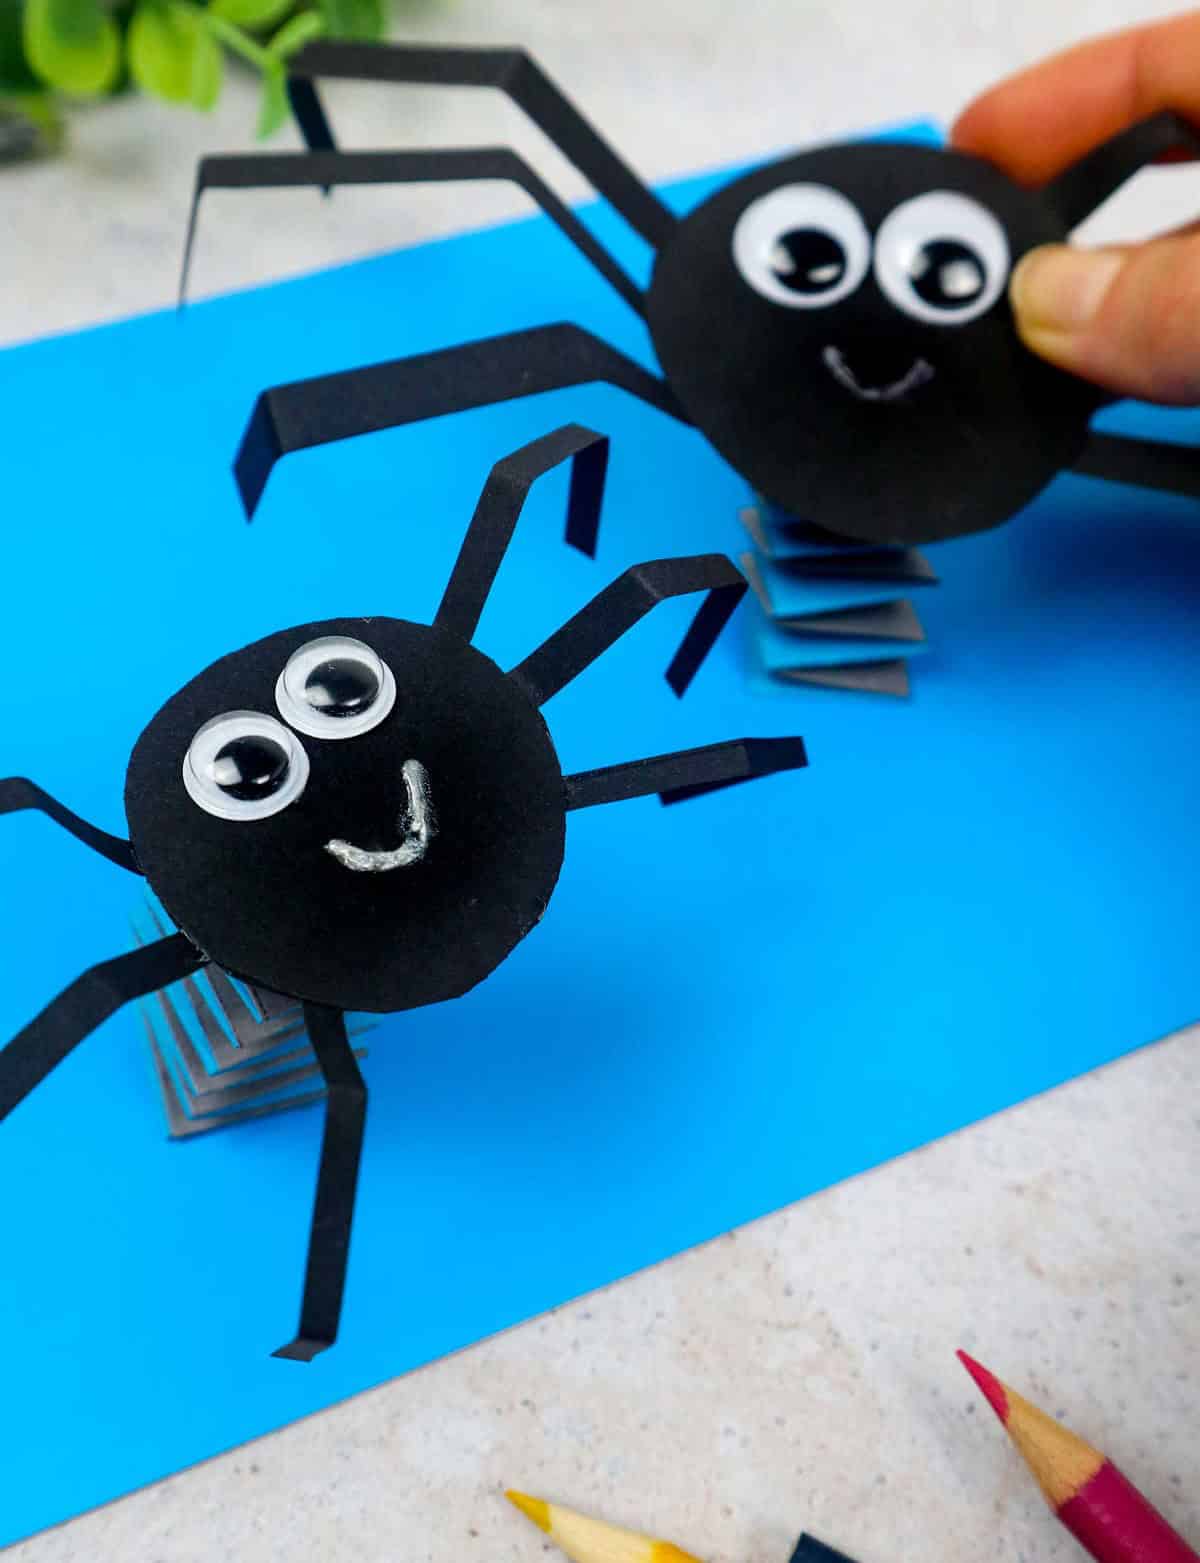
As we embark on this creative adventure, I’m thrilled to kick things off with the head – the crowning glory of our beloved project. Begin by attaching both eyes, taking care to imbue them with a playful essence. If your muse strikes and inspiration takes hold, don’t be afraid to add a dash of whimsy with a friendly smile or even a mischievous face – let your imagination run wild!
Step 8
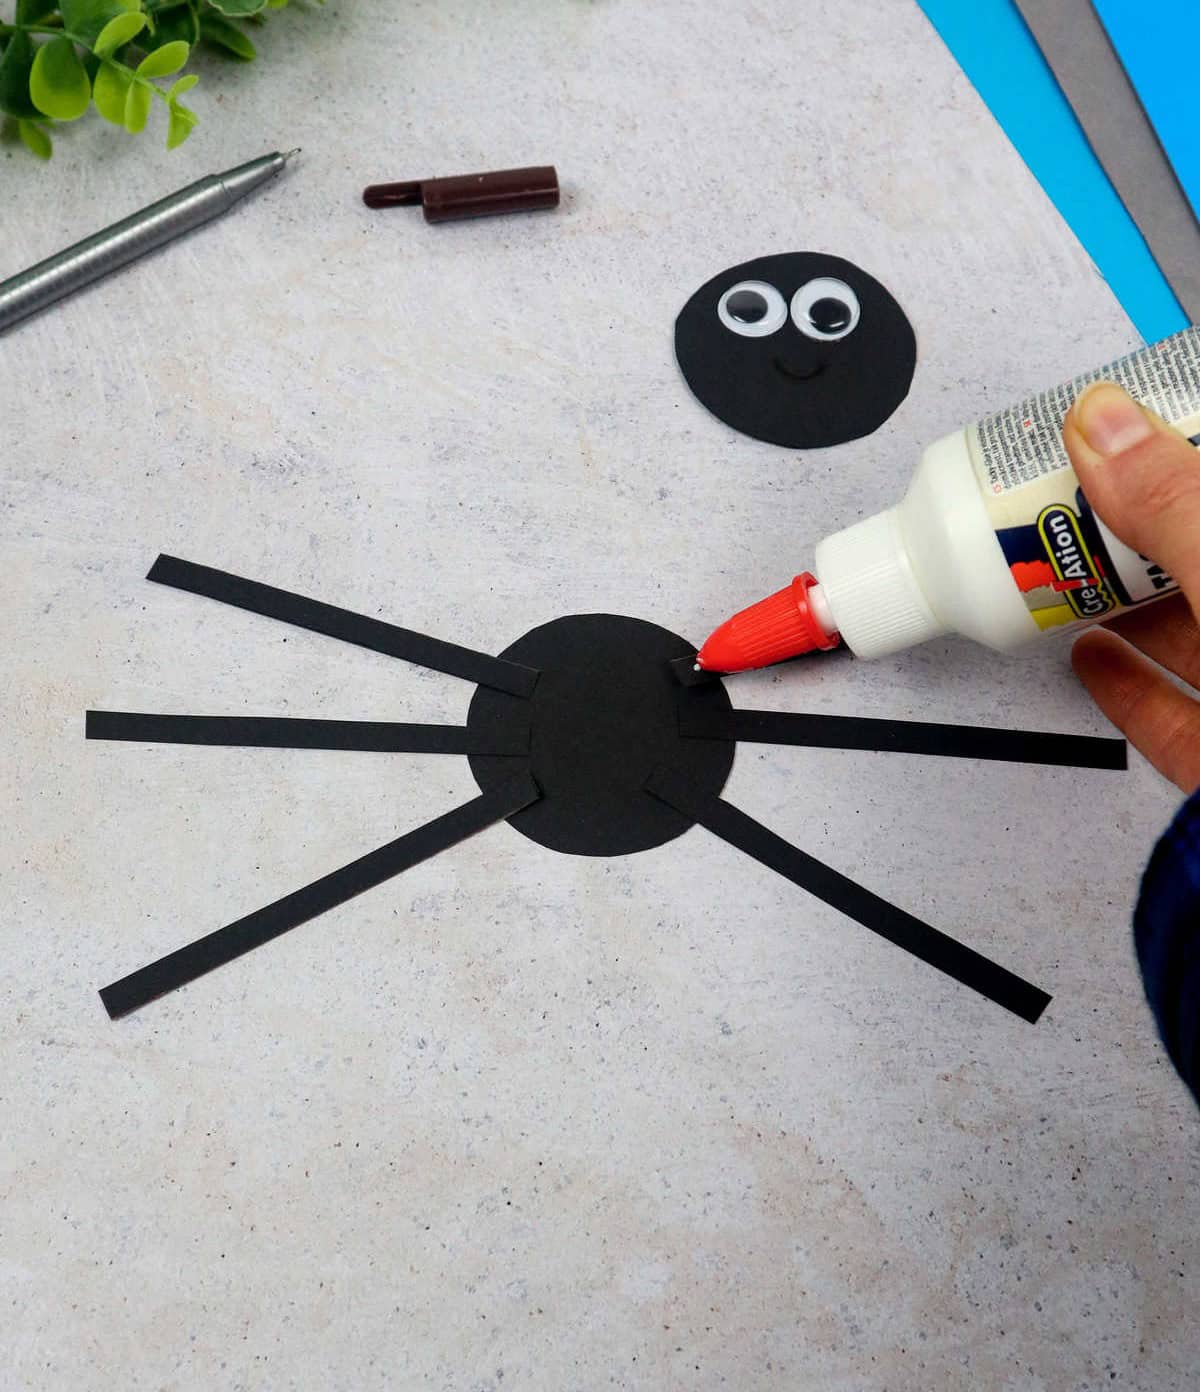
As you progress with your insect craft project, it’s now time to focus on attaching the legs to the body. A crucial step in bringing your creation to life is ensuring the legs are spaced out consistently around both sides of the body. To achieve this, carefully apply a small amount of glue to each leg and attach them evenly, spacing out the total eight pieces across the body.
Step 9

As you’ve successfully assembled the initial component, it’s time to move forward with attaching the second circular piece on top. The goal is to cleverly conceal the base of the structure by sandwiching it between the two layers of paper.
Step 10
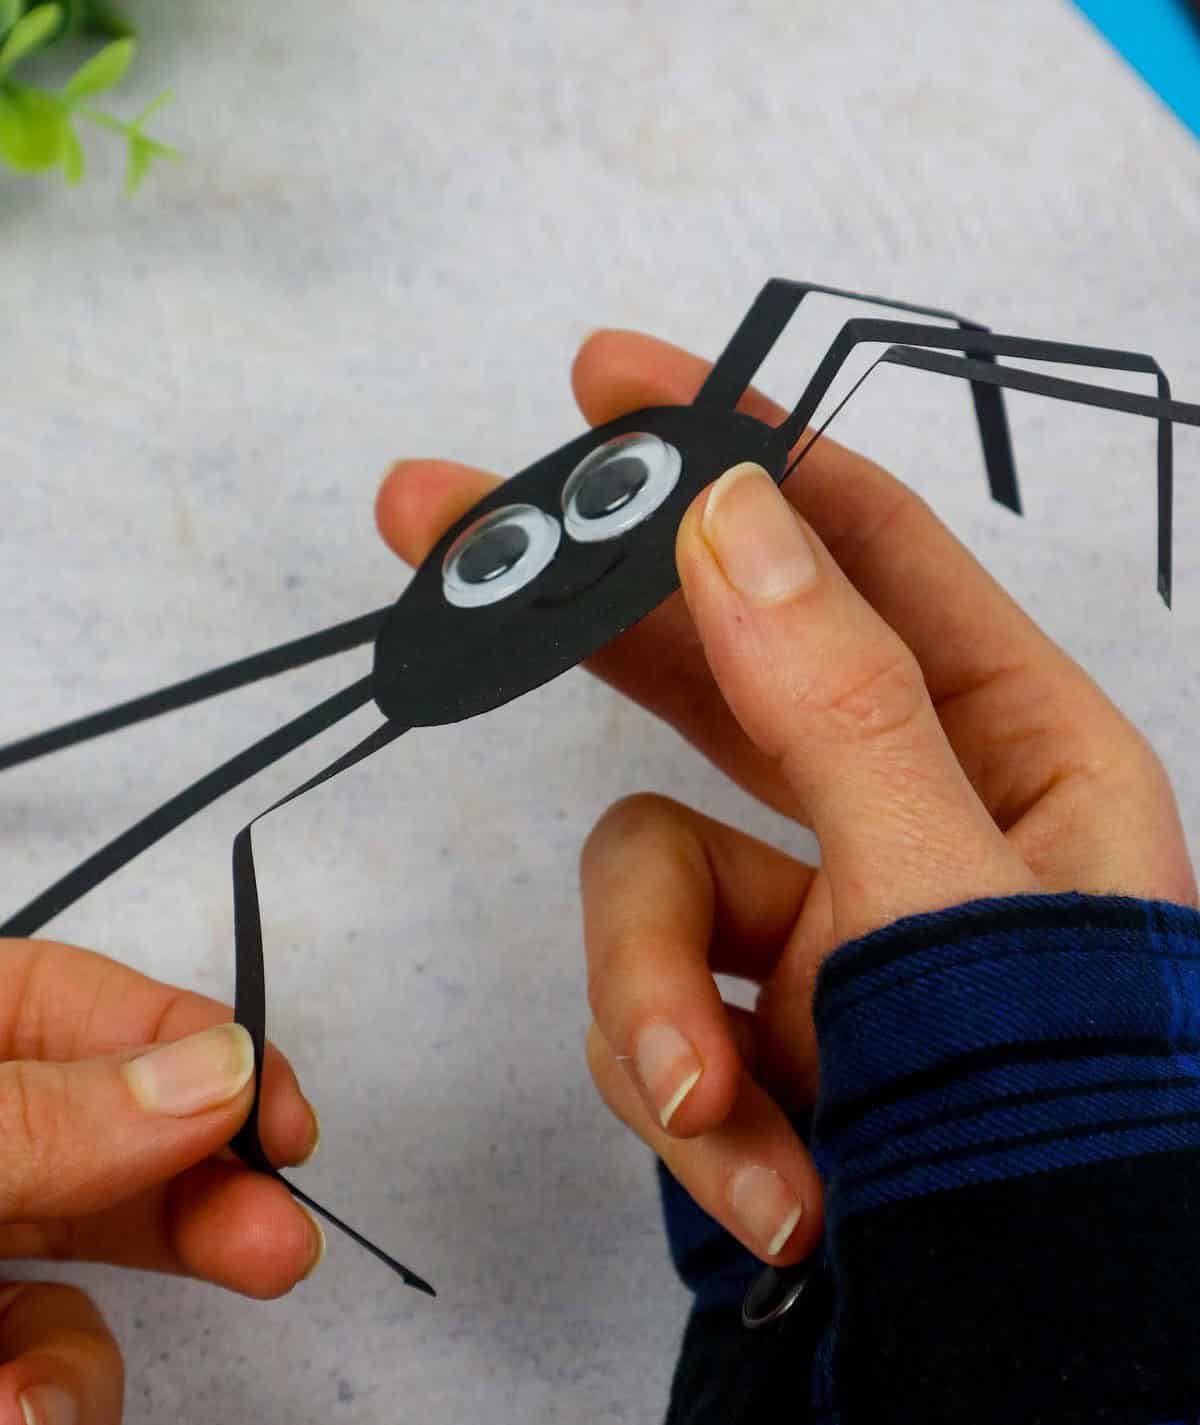
As you near the end of crafting the spider’s body, take some time to carefully crimp the legs in two distinct areas. Position these marks roughly one-third from the leg’s starting point, aiming for soft, subtle bends rather than sharp creases.
Step 11
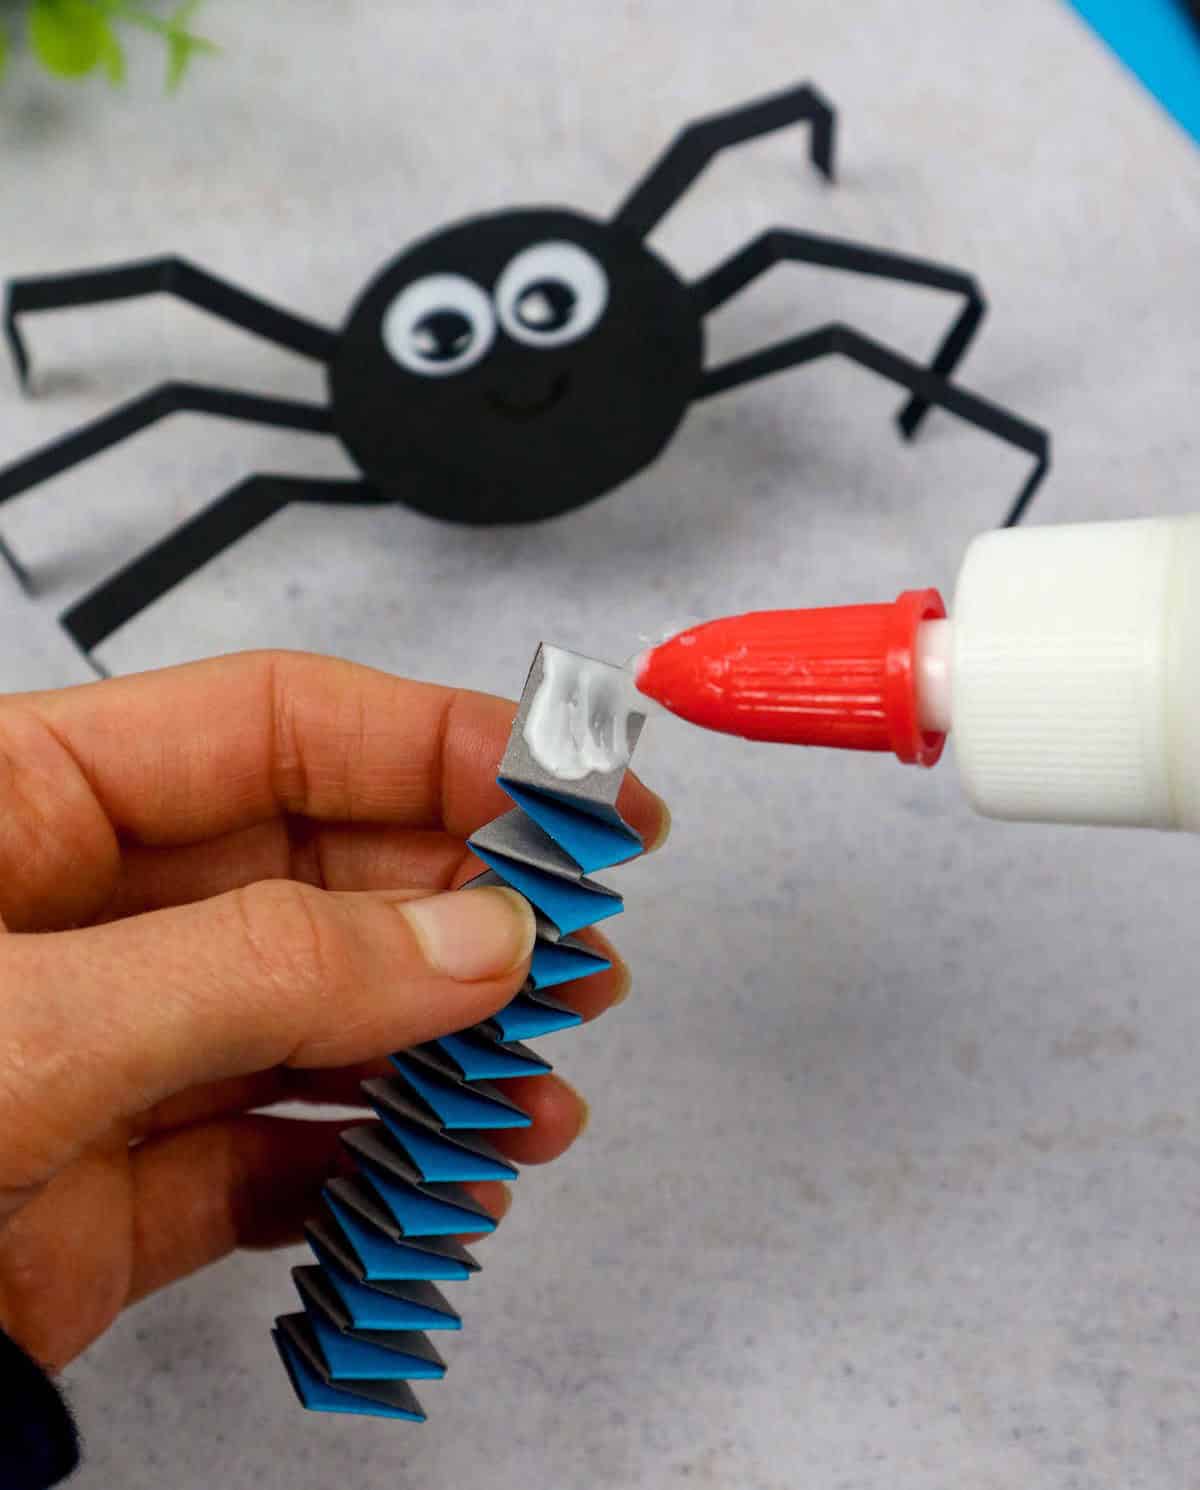
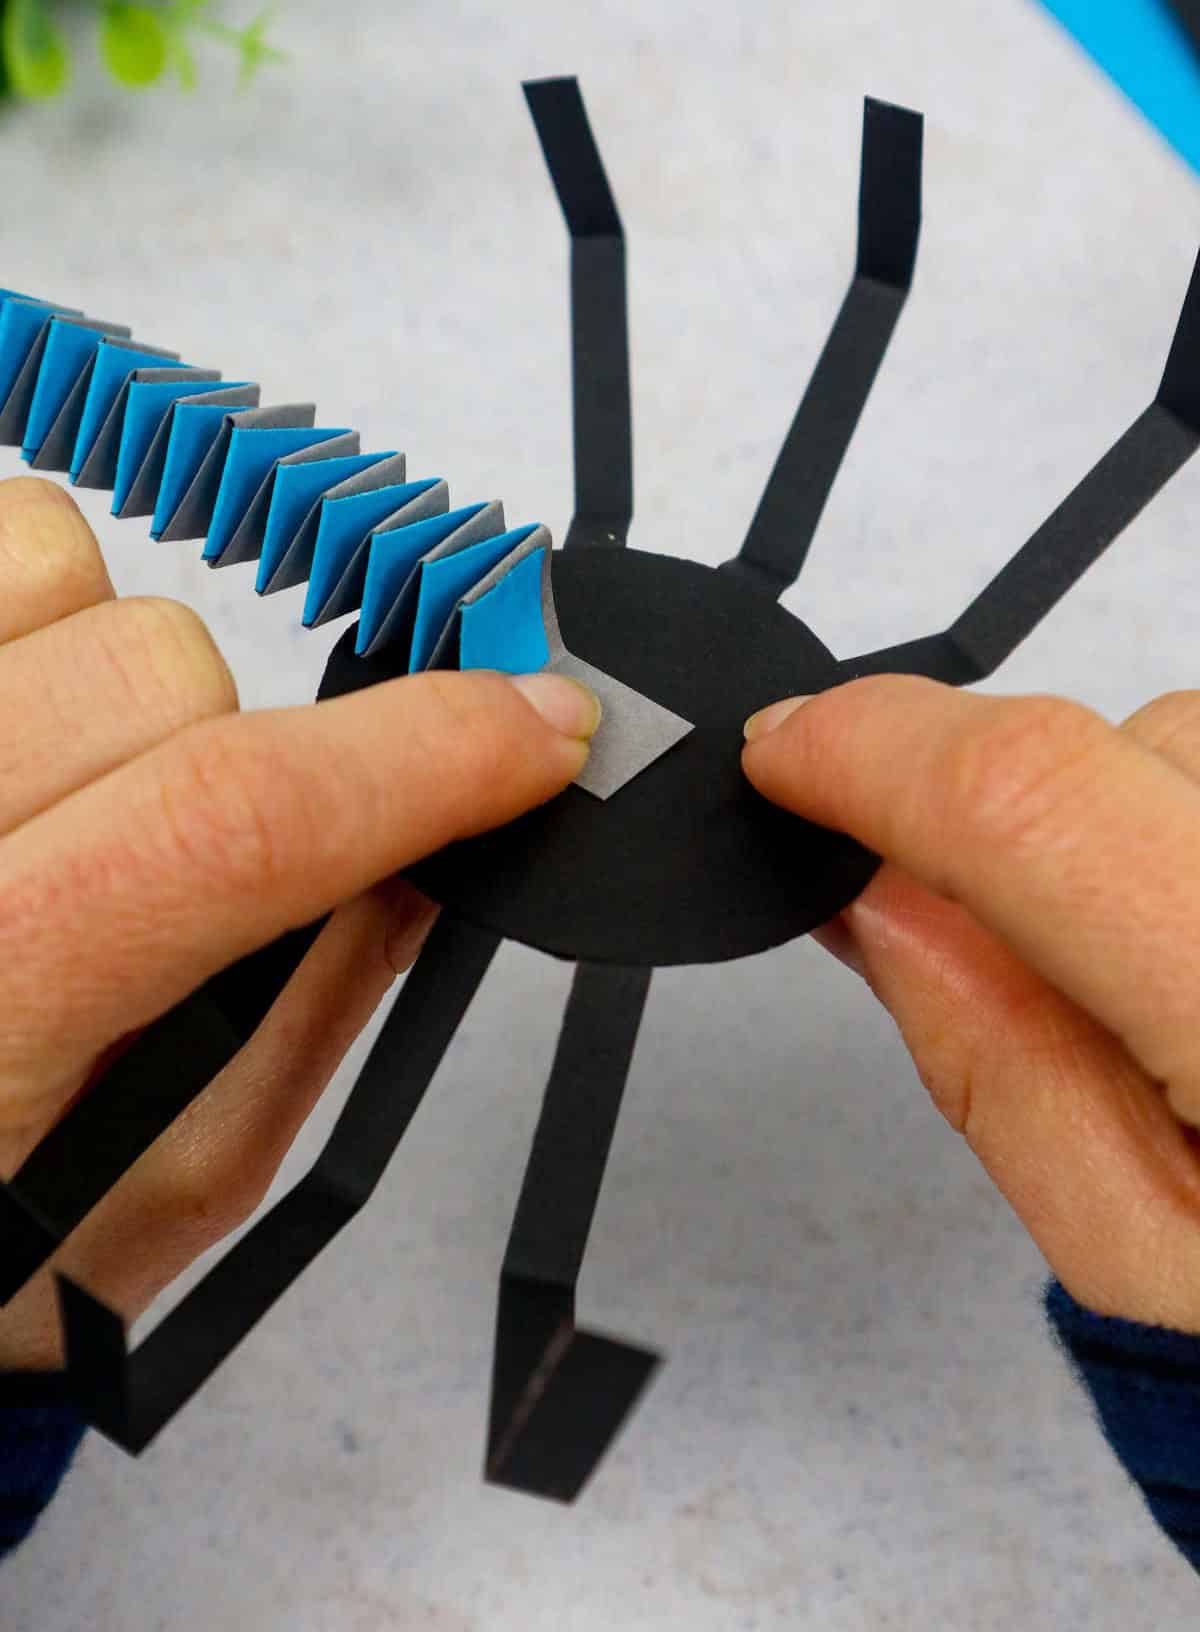
Once your eight-legged friend is assembled, it’s time to secure the spring to its backing. To do this, apply a small amount of glue to the top square of the spring and gently press it onto the backside of the spider, allowing it to dry completely. Next, attach the spider to the remaining unfolded tab of the spring, then affix the other end to a sturdy sheet of construction paper. Allow everything to set before attempting to use your spiders.
Other Paper Crafts:
To unleash your creativity and create something truly unique, explore the world of paper crafting. You can start by learning how to make intricate paper roses with our step-by-step guide, or try your hand at designing a stylish paper hat that reflects your personal style. For those who love cuddly toys, we also offer a simple tutorial on making adorable paper squishies.
Paper lanterns are another great way to add some color and charm to any space, and our step-by-step guide makes it easy for anyone to create their own masterpiece. And if you’re feeling more adventurous, why not try your hand at creating one of the many other fascinating paper crafts out there? From DIY paper wallets and picture frames to making a beautiful paper envelope, the possibilities are truly endless.