Combine fun and functionality with this delightful DIY craft perfect for bonding with the little ones! Transforming glass magnets into personalized fridge decorations is an excellent way to preserve cherished memories. Who wouldn’t love displaying their child’s unique fingerprint artwork on the fridge, a constant reminder of special moments? The joy of creating something together that will remain long after the project is finished makes this activity truly priceless.
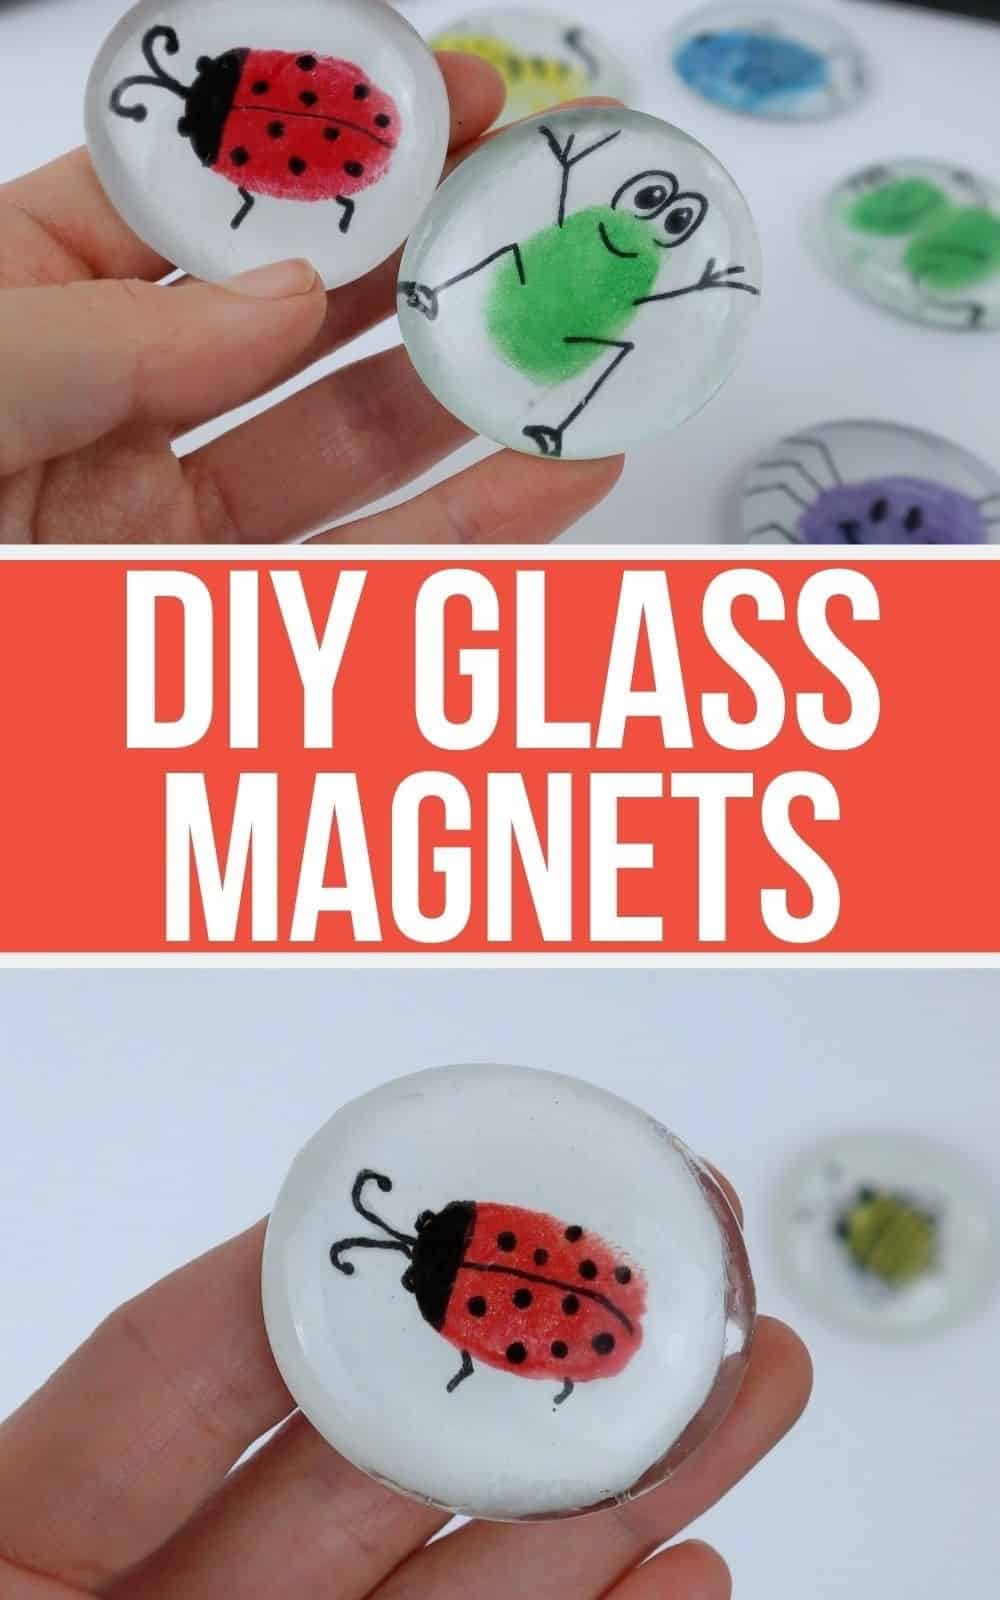
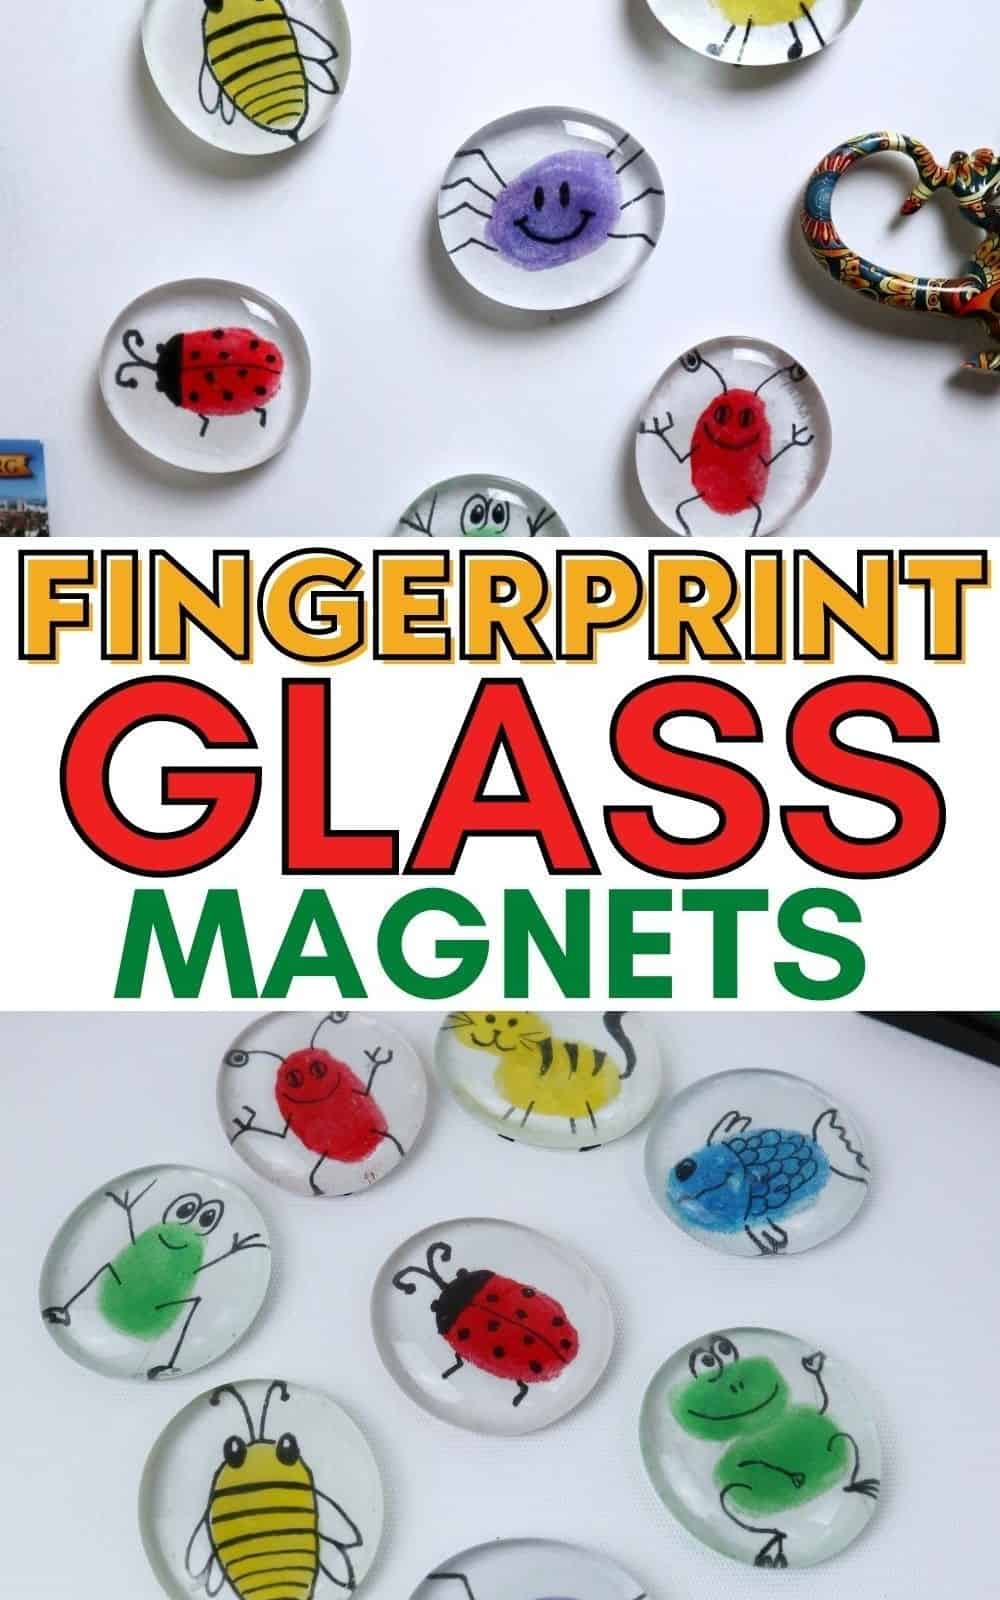
DIY Fingerprint Glass Magnets – A Fun Family Activity
While traditional family activities can be enjoyable, they often require specific ages or skill levels. Fortunately, this project is an exception – even toddlers can participate, making it a fantastic bonding experience. For educators, the end result provides a special memento for young students to take home and share with their parents. The finished product is not only adorable but also functional, as it transforms into a colorful magnet that can be displayed on any refrigerator.
Supplies for Magnets
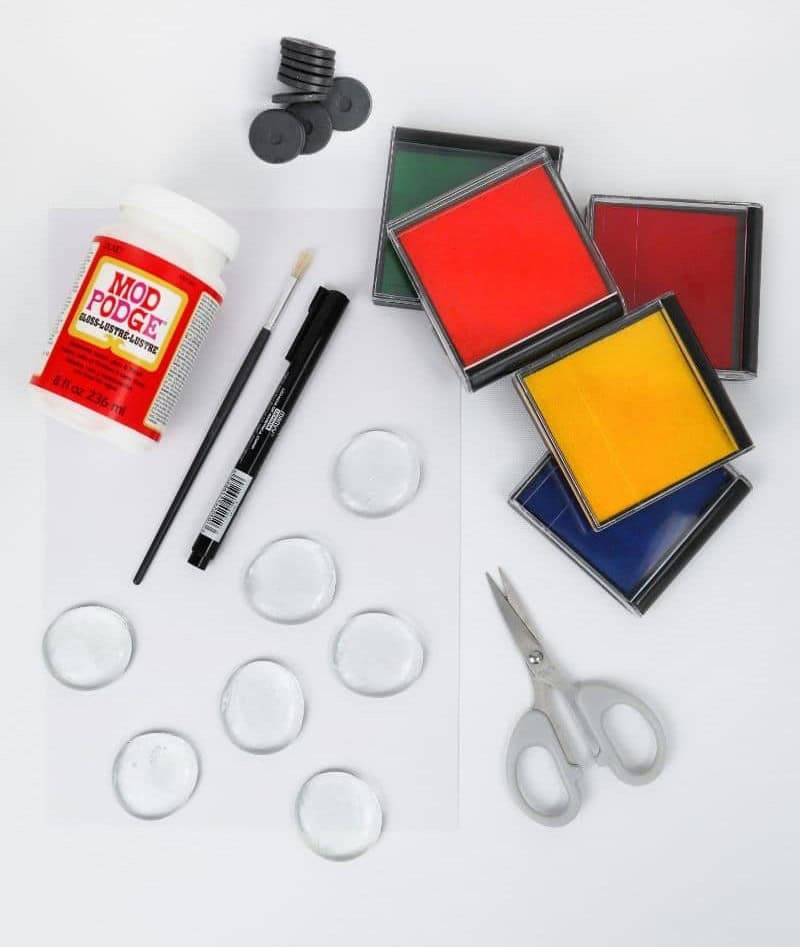
The art of crafting a unique piece requires a selection of essential materials. To begin, you’ll need magnets, which will serve as the foundation for your design. Next, gather large glass cabochons to add an element of depth and dimensionality. Thick white paper is also necessary for providing a sturdy base upon which to build your creation. A permanent marker will allow you to add precise details and lines, while ink pads offer a means of creating subtle textures and shading.
To seal your masterpiece, have on hand Mod Podge or another clear-drying glue, along with a brush for smooth application. Finally, don’t forget the humble scissors, which will be instrumental in trimming and shaping various components to fit your vision.
How to Make Glass Magnets
To breathe new life into your glass magnets, follow this easy-to-follow guide that will walk you through the process from start to finish.
Step 1
Before diving into this creative activity with your little ones, take some time to gather all the necessary supplies and make sure everyone is on board. While you don’t need an extensive list of materials, the few items you do require may get messy, so it’s a good idea to have a plan in place for containing any chaos that ensues.
One way to minimize the mess is to take your kids outside for a finger-painting session, where they can express their creativity while keeping your living room safe and tidy.
Step 2
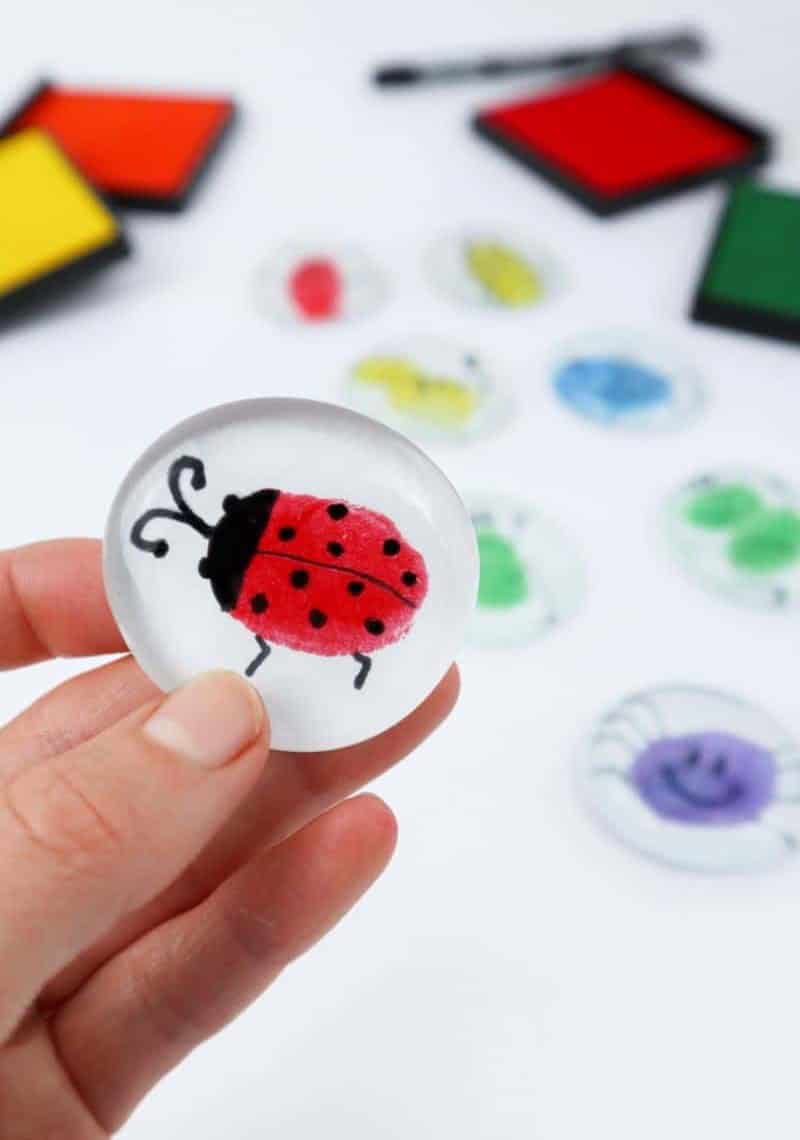
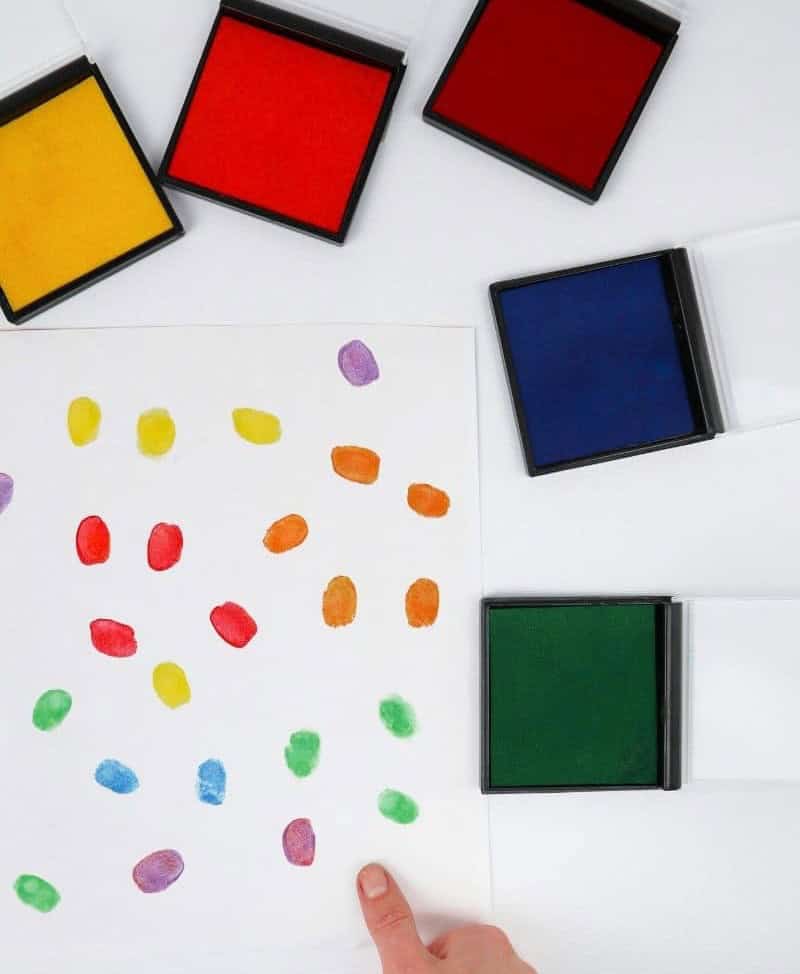
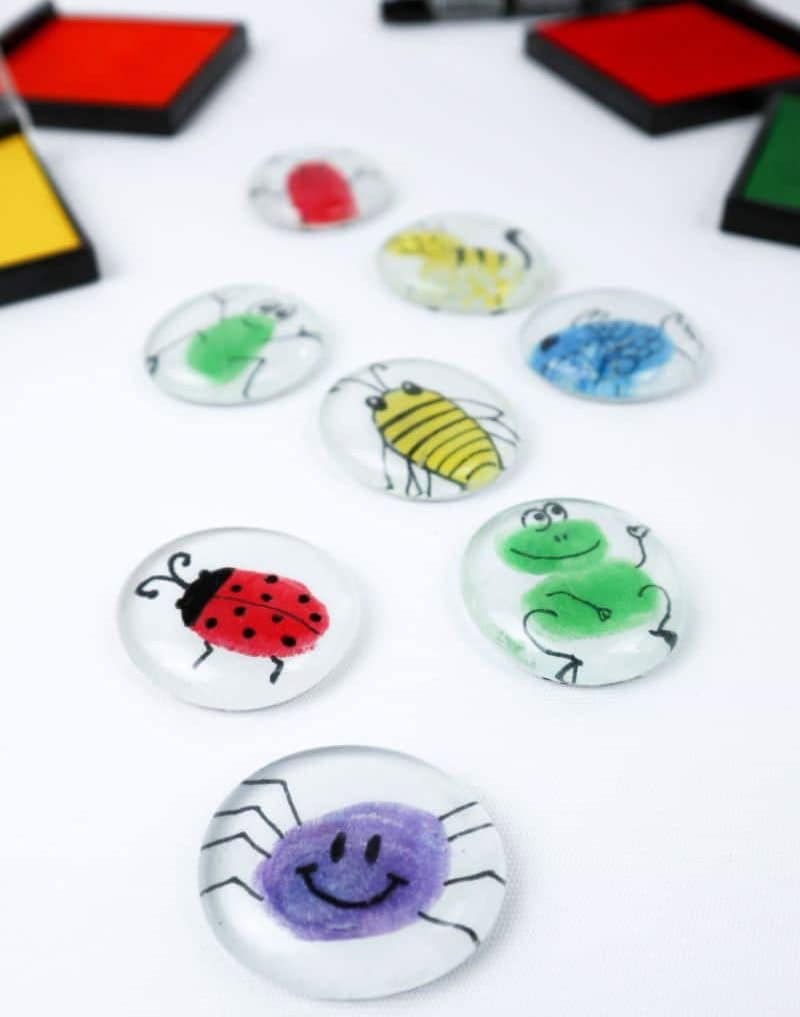
Get ready for a creative explosion as we dive into the world of fingerpainting… or should I say, finger inking! The beauty lies in its simplicity – just let your little ones loose and have fun with the ink. Encourage them to experiment with different shapes, color combinations, and even try using multiple fingers at once. The more creative and varied their strokes, the more unique and personalized magnets they’ll be able to create later on.
Step 3
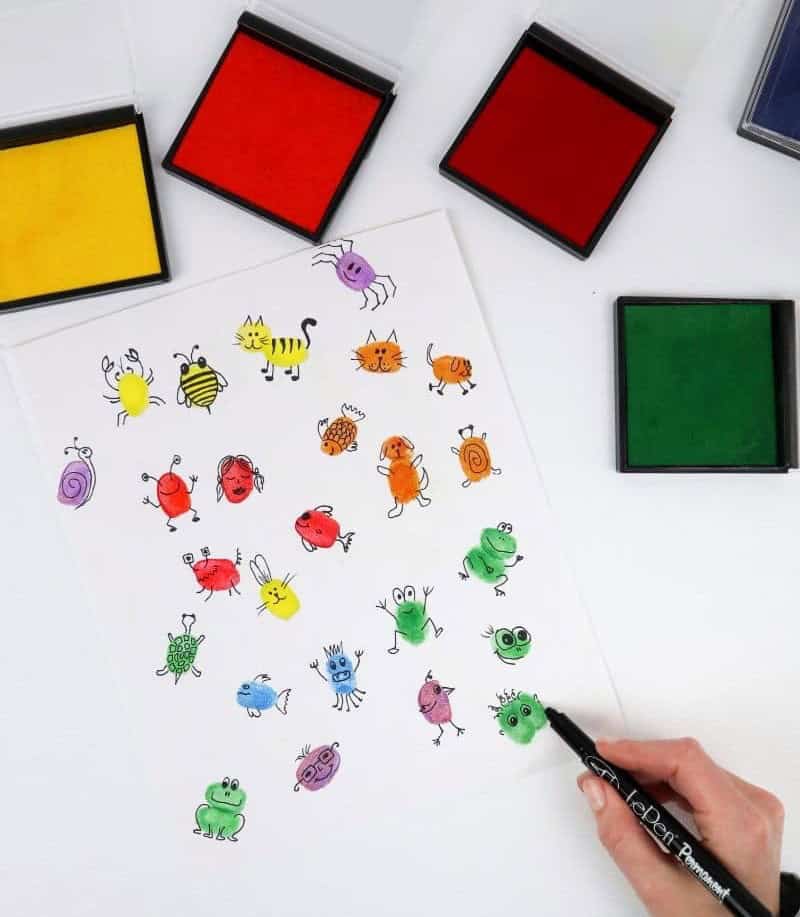
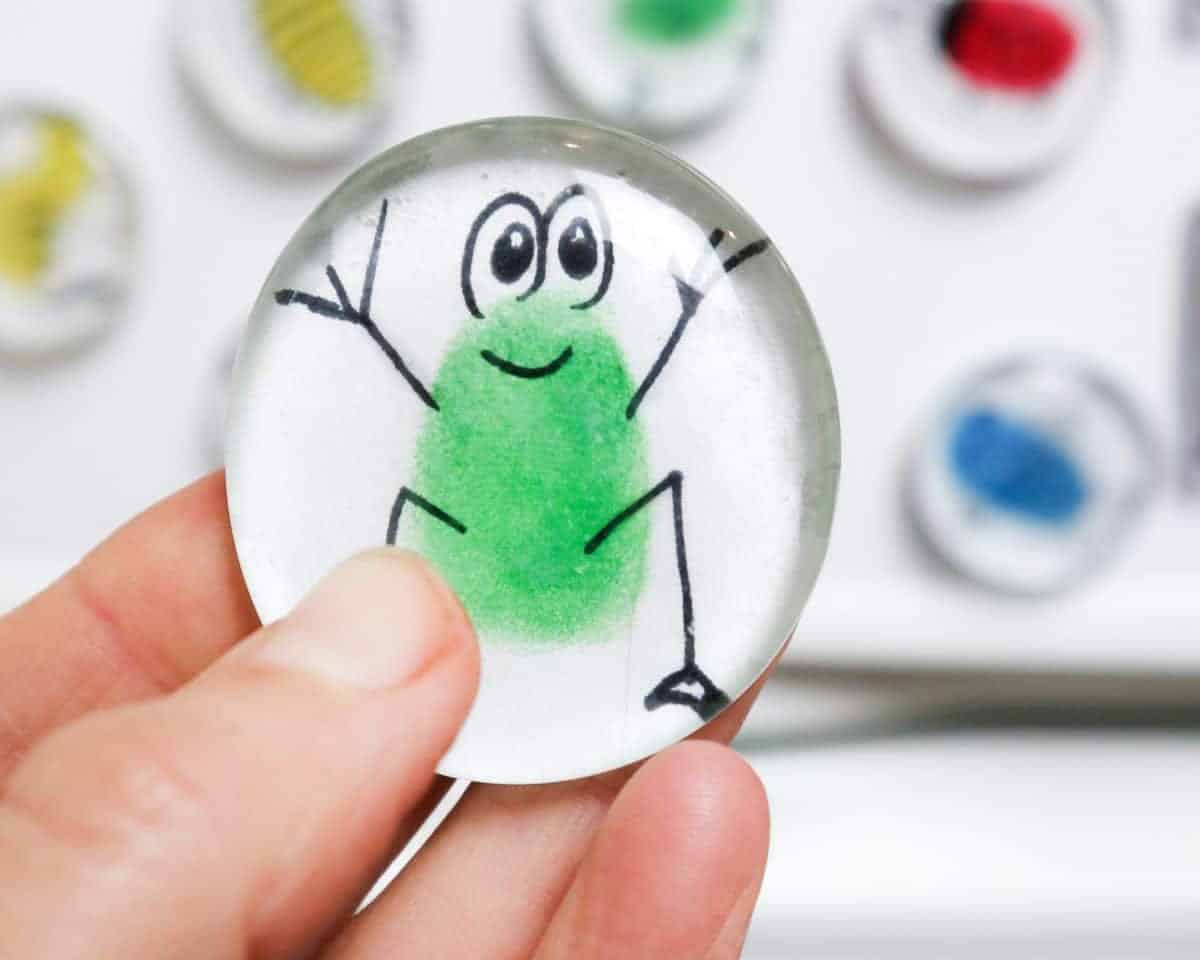
To breathe life into these basic fingerprints, you’ll only need one simple tool: a high-quality black marker. Although you’re free to choose any color that sparks your creativity, it’s essential to select an ink that won’t smudge or fade easily. By transforming the fingerprint shapes into animals, aliens, and other whimsical creations, you can encourage children to think outside the box and let their imagination run wild.
Step 4
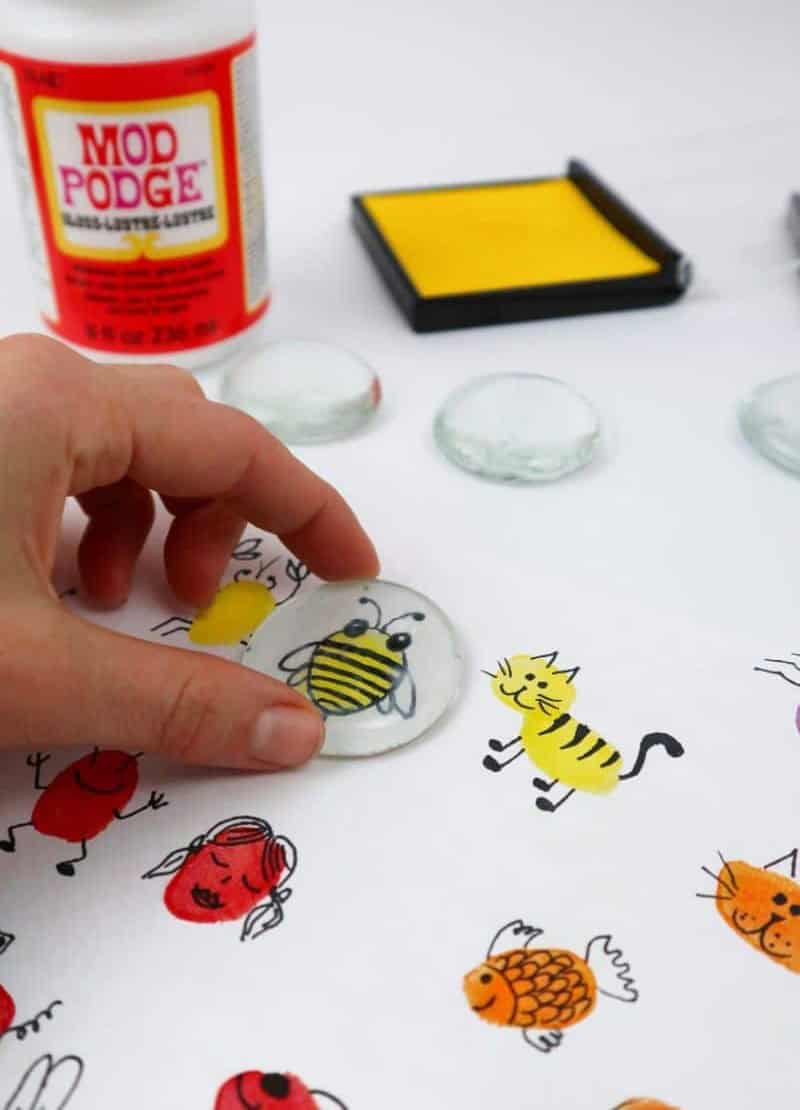
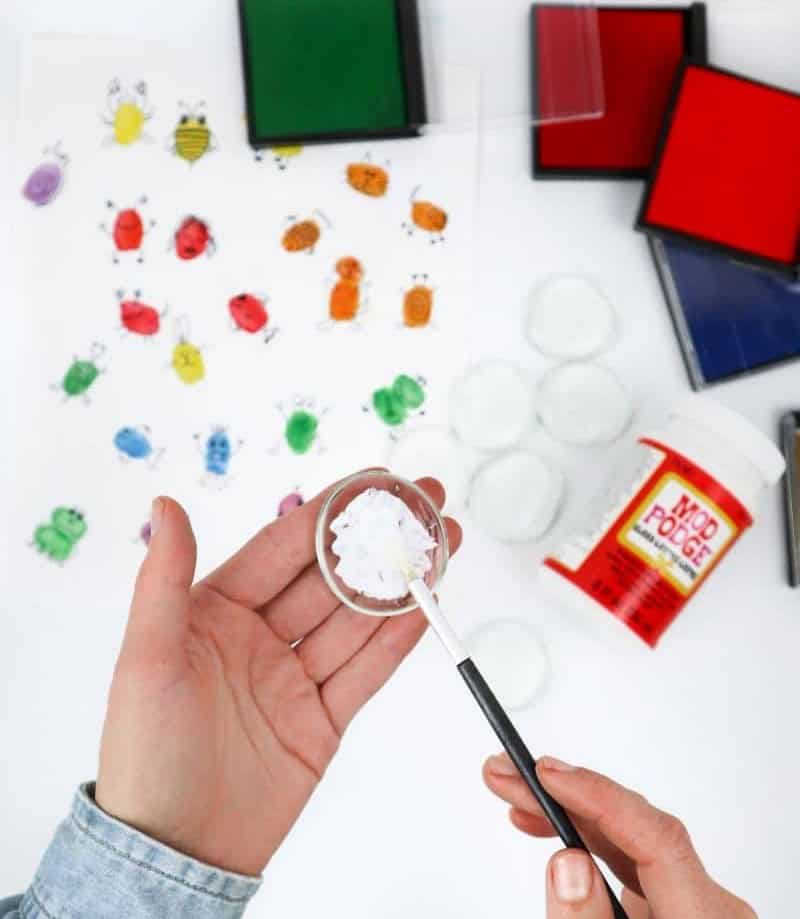
With the sketches complete and prints dry, you’re ready to assemble the magnets. To start, apply a thin layer of Mod Podge to the base of each glass gem using a brush, making sure to cover it evenly.
Step 5

To secure your glass gem, place it in the center of the page and press down firmly. Allow the Mod Podge to dry completely; this should take some time, until the glue has reached its transparent state. It’s crucial to use a high-quality permanent marker for this process, as inferior pens may bleed or smear due to the adhesive properties of the Mod Podge.
Step 6
As the glue dries and sets, it’s now time to carefully extract the desired shapes from the composite material. To achieve this, carefully trace around the perimeter of each glass gem’s base with a sharp edge or tool, taking care not to leave behind any residual paper fragments.
Step 7
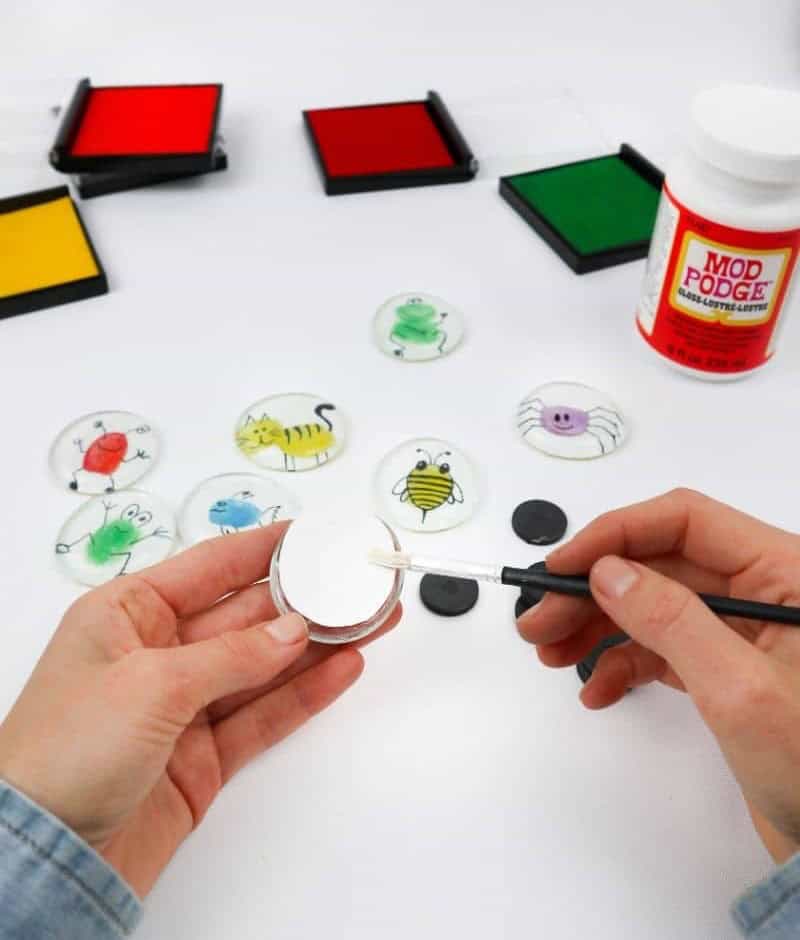
To transform your tiny animal artworks into functional magnets, start by preparing the adhesive side of each piece. Simply regrasp your trusty paintbrush and apply a thin layer of Mod Podge to the rear of each paper-backed design, forming a small circular border around the glued area.
Step 8
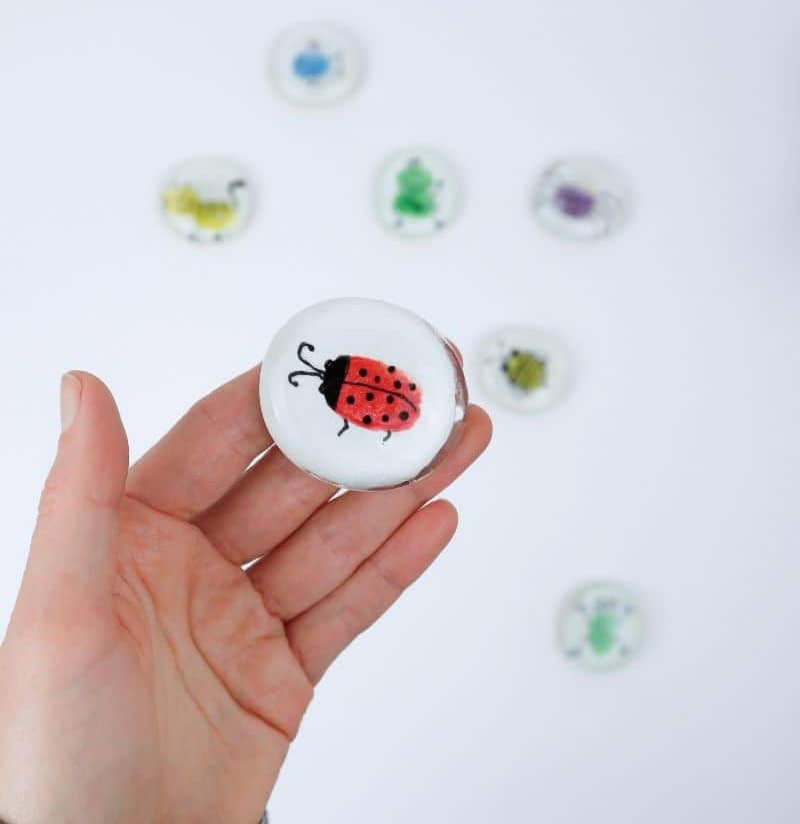
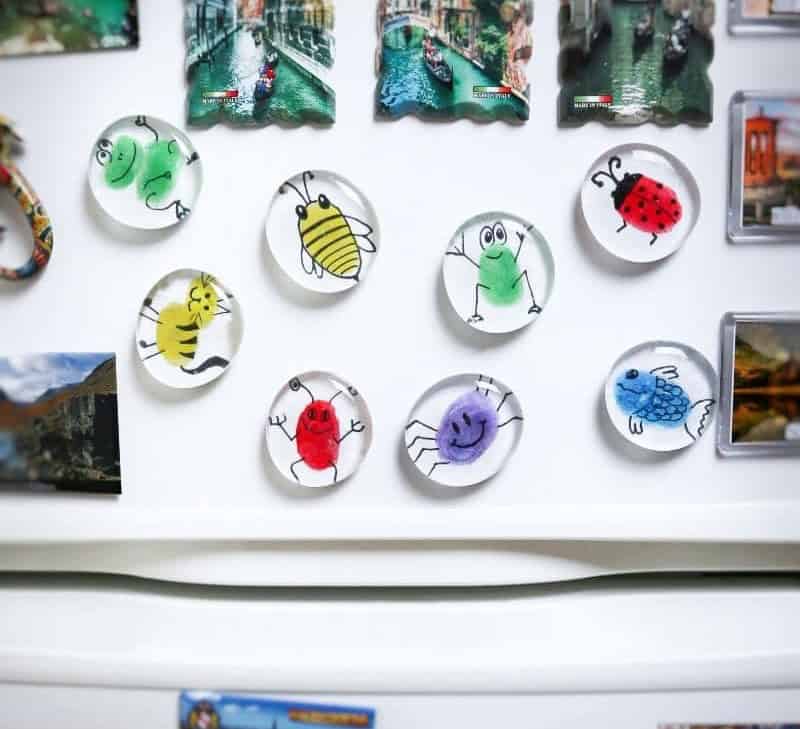
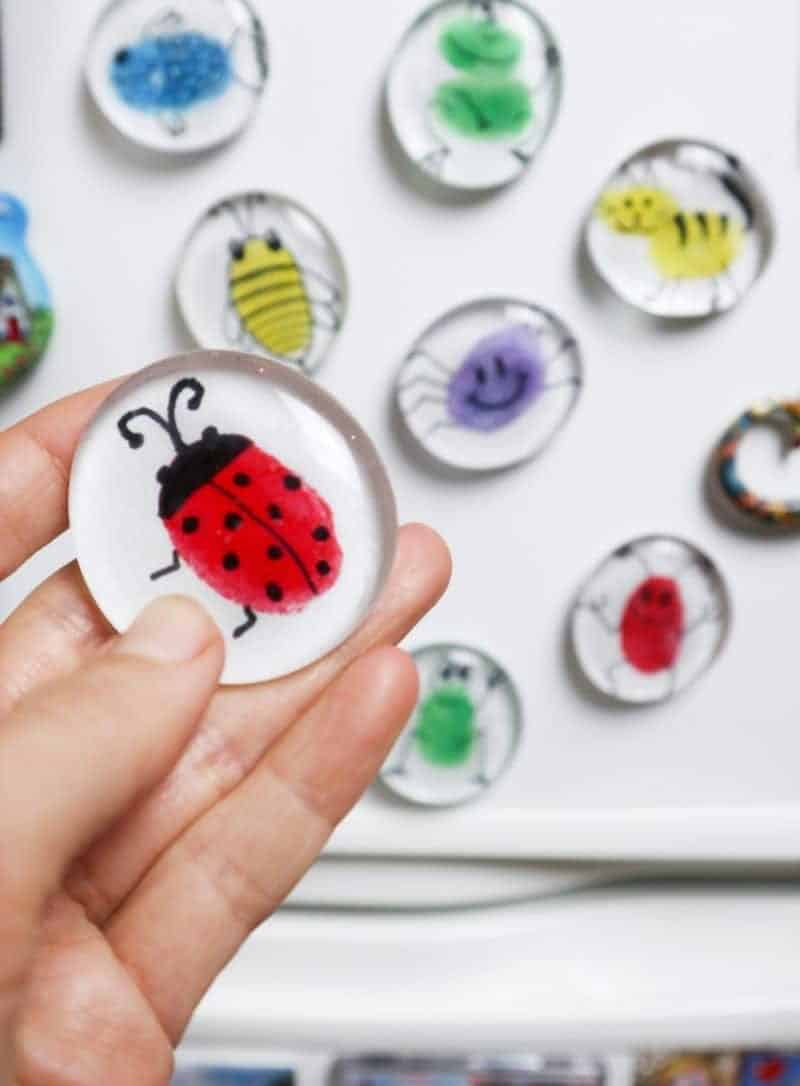
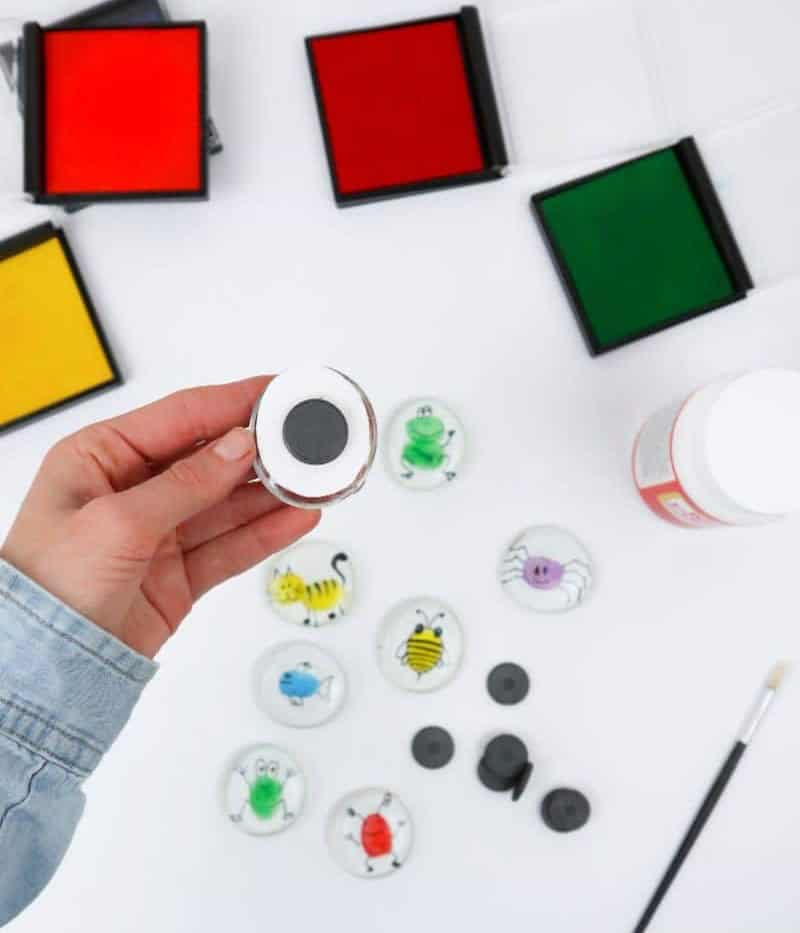
Once the Mod Podge has fully dried and secured the magnet in place, it’s time to attach the paper artwork to the fridge. Ensure the chosen paper is substantial enough to effectively conceal the magnet. With your masterpiece complete, you’ll be left with a cherished keepsake that can remain on display for years to come. Not only do these make thoughtful gifts, particularly for grandparents who will treasure the sentimental value, but they’re also surprisingly easy to create.
The beauty of this craft lies in its ability to preserve your child’s fingerprints behind glass, allowing you to hold onto a tangible piece of their childhood innocence. It’s truly a special way to commemorate the memories made during these cherished family moments.
Ideas for Decorating These Glass Magnets
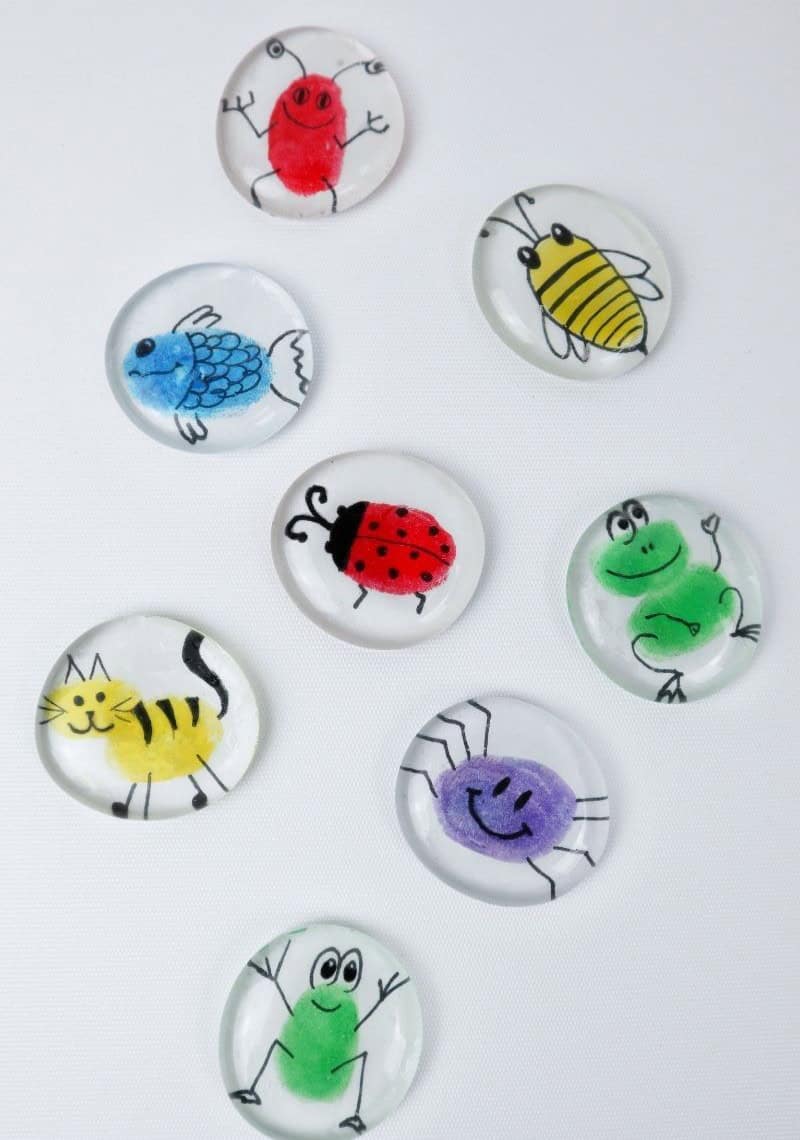
When it comes to finger painting with your child, the key is to encourage creativity by offering a wide range of shapes and forms for them to explore. This can include everything from animals and insects to emojis and more. By doing so, you’re giving your child the opportunity to develop their fine motor skills while also fostering their imagination and artistic expression. But why stop at just finger painting?
You can take this same concept and apply it to a DIY magnet project that’s perfect for customizing and personalizing. Simply use printed photos, small sketches of your own design, or even patterned tissue paper to create unique magnets that reflect your child’s interests and personality.
Why Make Magnets of Your Own?

When it comes to crafting with kids or teachers, simplicity is key. That’s why making these magnets is an ideal activity – it’s easy, fun, and yields great results.
Here are some creative ways to use your finished magnets:Give a set as a thoughtful gift to a family member or loved oneUse them to add a personal touch to your fridge by holding up favorite photosMake school notices or permission slips stand out in your child’s roomAdd a whimsical flair to metal shelves, frames, and other surfacesCreate a fun fridge chore chart with checkmarks that bring a smileWhatever the use, one thing is certain: the joy and memories you create along the way will be cherished for years to come.
Other DIY Crafts You Might Like
Unleash your child’s creativity with these fun and easy craft projects. From adorable penguin creations to imaginative DIY sock plushies, there’s something for every little crafter. Learn how to make a sturdy paper wallet, or explore the world of furry friends with dog and cat crafts. Even bee enthusiasts will find inspiration in this collection of 24 unique and engaging projects.
DIY Fingerprint Glass Magnets
Crafting with kids has never been more exciting! With these DIY fingerprint glass memory magnets, you can create a fun and personalized decoration for your fridge in just 45 minutes. The best part? You’ll be making memories with your little ones that will last a lifetime.
To get started, set aside 5 minutes to prepare the materials. Then, spend 30 minutes actively crafting with your kids, followed by an additional 10 minutes to let everything dry and set.
It’s a quick and easy activity that yields adorable results.
Equipment
To ensure a seamless writing experience, consider having the following tools at your disposal: scissors for trimming paper edges or cutting out shapes, a permanent marker for adding colorful highlights or underlining important points, and a brush for making artistic flourishes. Meanwhile, to prevent your screen from going dark and disrupting your creative flow, keep in mind that simple settings adjustments can make all the difference.
Materials
To create a beautiful and unique craft project, you’ll need to gather some essential materials. These include powerful magnets that will provide stability and structure to your design. You’ll also need large glass cabochons to add a touch of elegance and sophistication. Thick white paper will serve as the foundation for your project, providing a clean and neutral base for your creative expression. Finally, you’ll need Mod Podge or another clear drying glue to hold everything together securely.
Instructions
Transform a plain piece of paper into a vibrant work of art with this fun and easy DIY project. Begin by having kids fingerprint the paper using ink pads in various colors, allowing the ink to dry completely. Next, use a permanent marker to draw shapes over the prints. Once you’re satisfied with your design, apply an even layer of Mod Podge to the back of a cabochon, then press it onto one of the drawings.
Repeat this process for as many designs as you like, allowing each one to dry before moving on to the next. After all the cabochons have dried, use scissors to carefully cut around their bases. Finally, apply a small amount of Mod Podge to the back of each paper design and attach a magnet, letting it dry completely. Once everything is set, you can place your new magnets anywhere in your home where a pop of color is needed.