
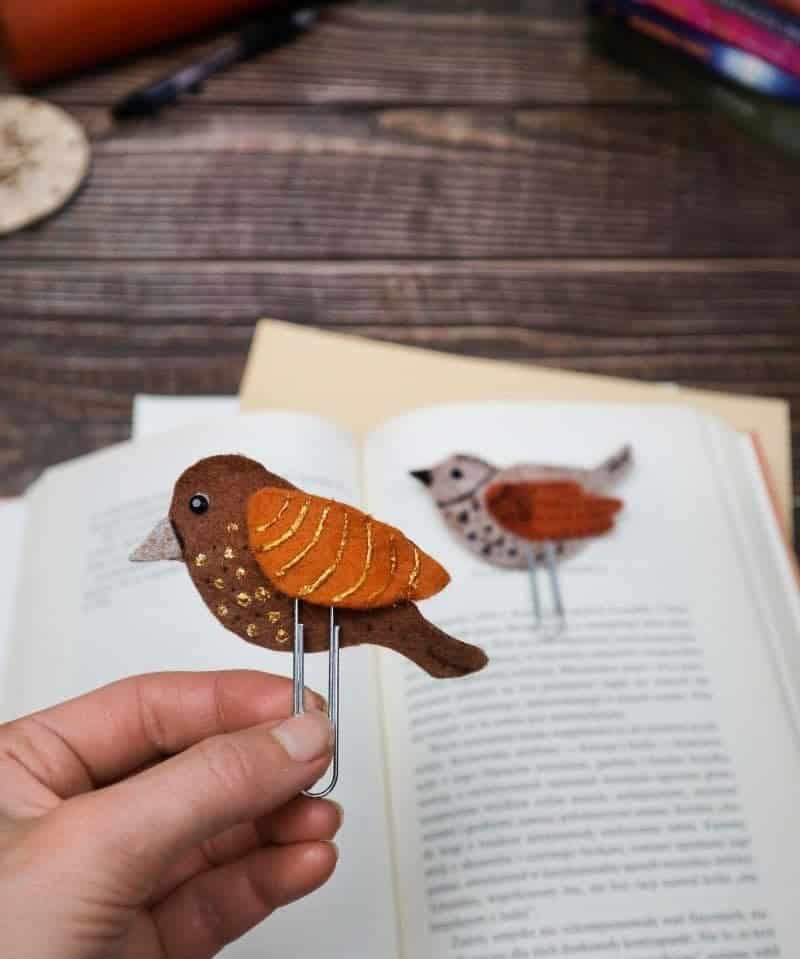
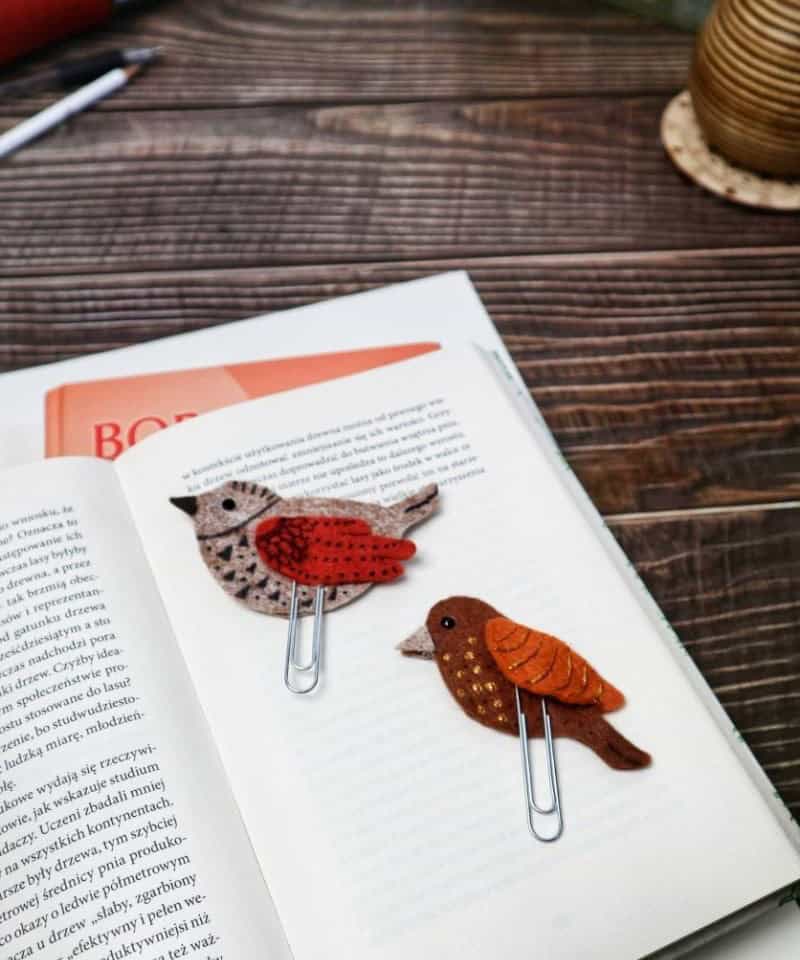
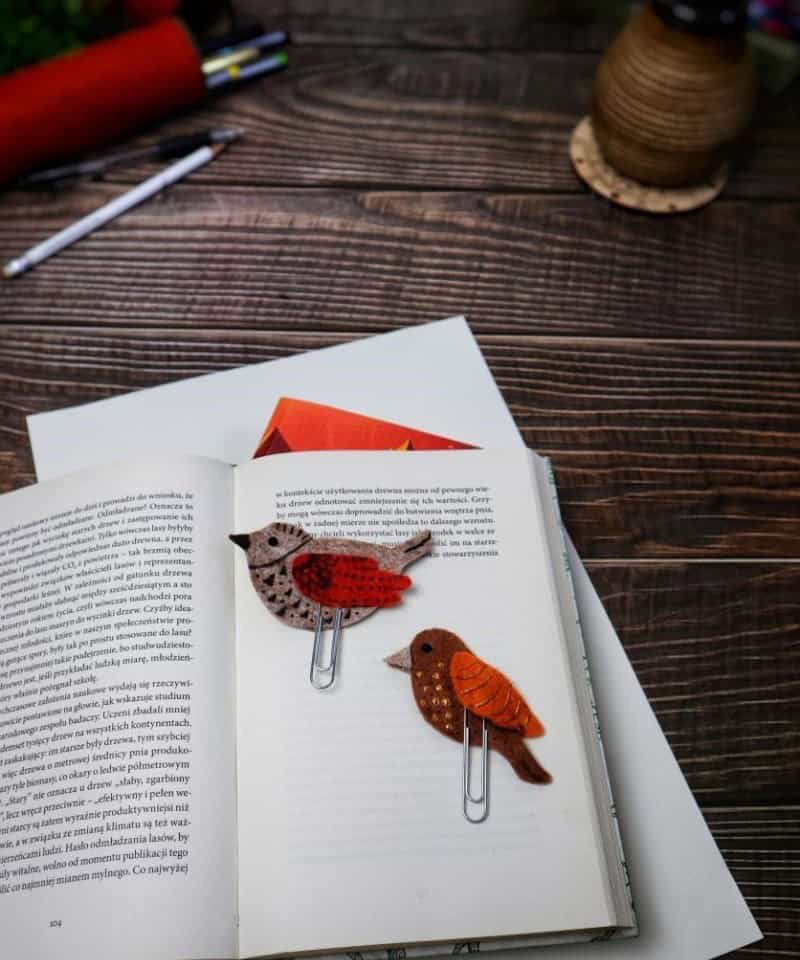
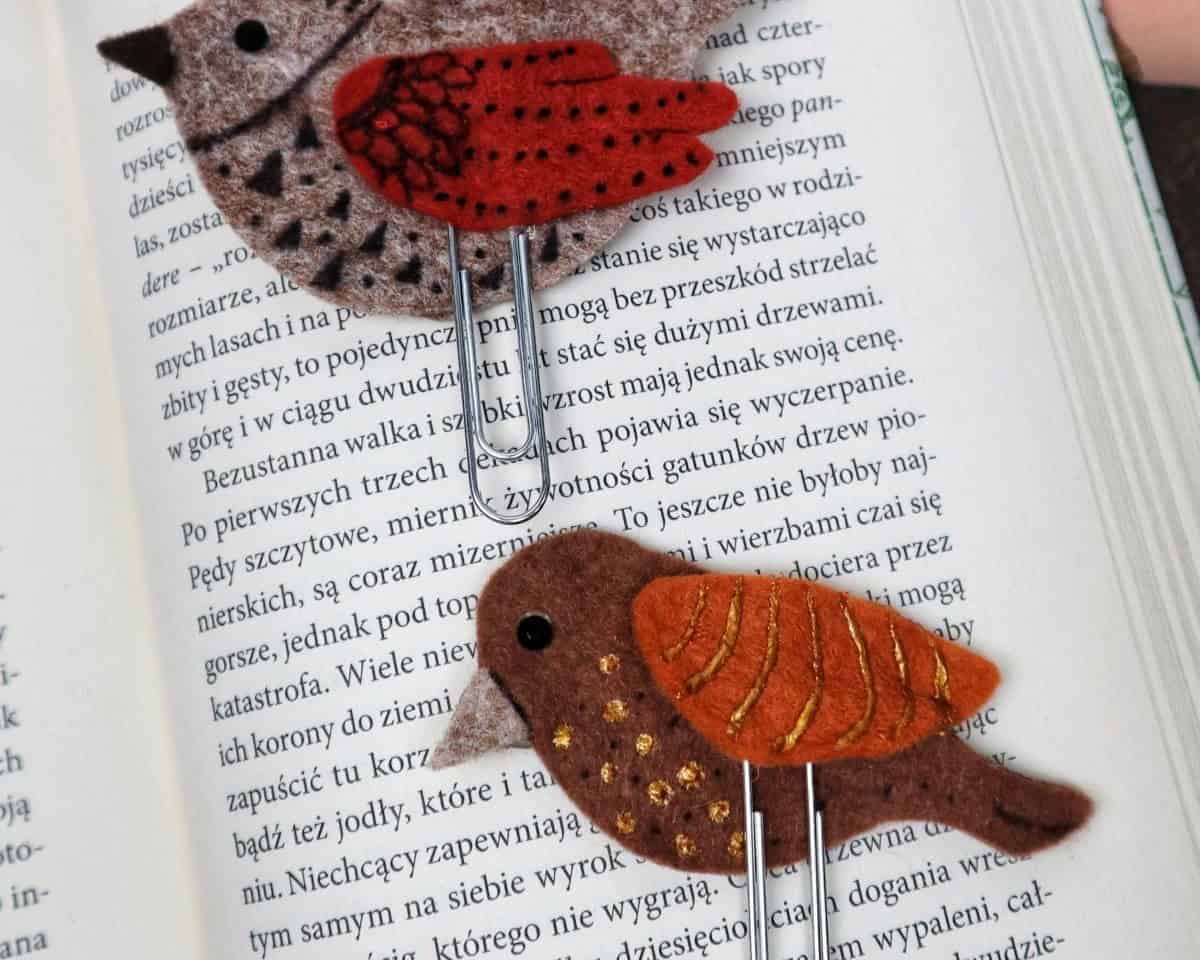
Creating a unique and engaging bookmark can be a fun and creative way to express yourself, regardless of age. But why settle for the ordinary when you can have something truly special? This whimsical bookmark brings the outdoors in by featuring a tiny songbird nesting on the pages. Not only is it a functional way to keep your place in your favorite book, but it’s also a charming conversation starter.
Follow this step-by-step guide to create your very own nature-inspired bookmark, or use it as inspiration to come up with something entirely new.
Supplies for Bookmarks
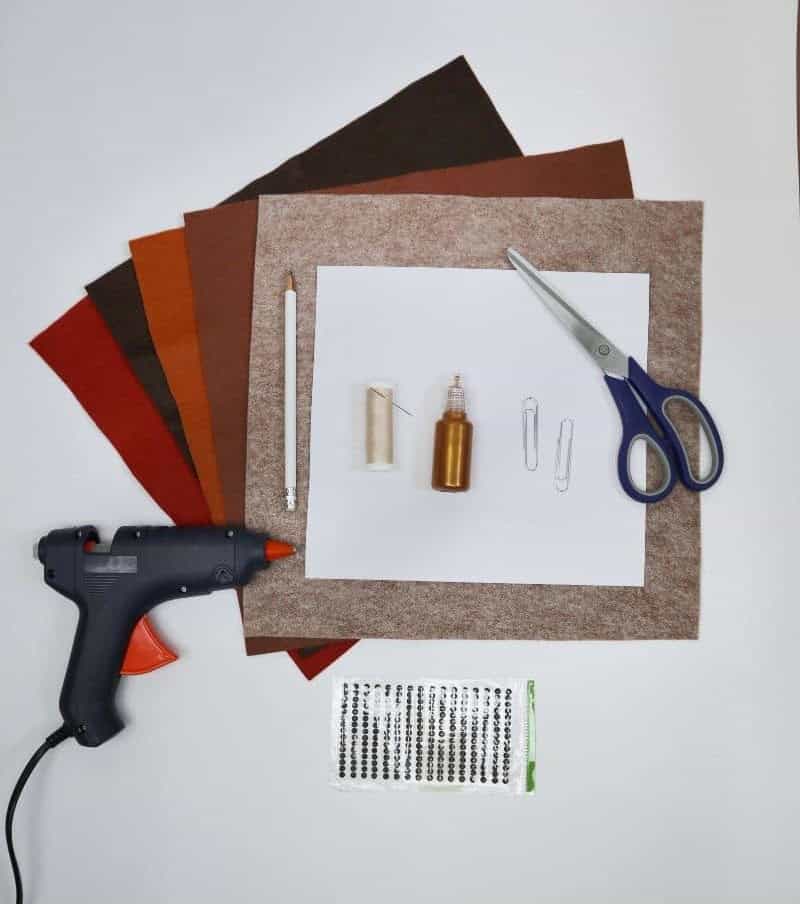
To create a unique and creative project, you will need the following materials: a variety of colored felt sheets for added texture and visual interest, a pair of scissors to cut out shapes or designs from the felt, a pencil to sketch out your ideas beforehand, a piece of paper to use as a base for your design or to practice your cutting skills.
In addition to these basic supplies, you will also need a hot glue gun to adhere the different elements together, jumbo paper clips to add dimension and structure, a needle and thread to create a more textured look, some glitter glue to add an extra touch of sparkle, and finally, a black marker to add any final details or outlines.
How to Make a Bird Bookmark
To create one of these masterpieces, follow along with our easy-to-follow guide. We’ll break down the process into manageable steps, making it simple for you to replicate this beauty in your own space.
Step One
As you begin your crafting project, take a moment to collect your materials and secure a cozy workspace. I find that crafting with an audiobook playing in the background creates a soothing atmosphere, allowing me to focus on the task at hand. To ensure that your bookmark stays in place and doesn’t get misplaced between pages, you’ll need a sturdy large paperclip. You can easily acquire these jumbo paperclips at any local craft store or online.
The added touch of a felt bird perched atop will add an extra layer of whimsy to your finished product.
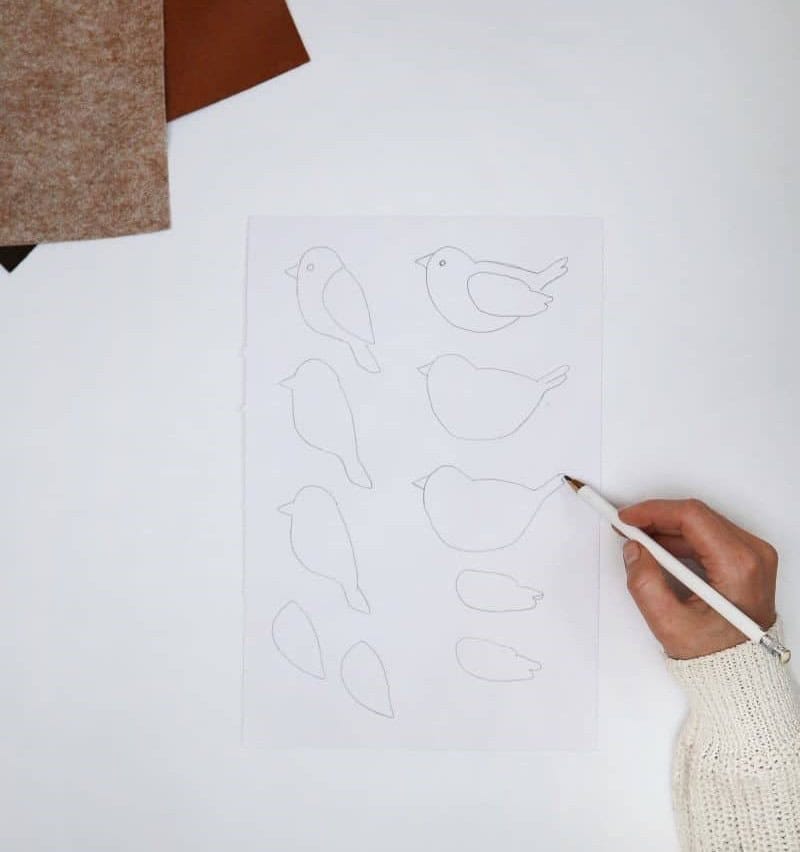
Step Two
To initiate the project, it’s essential to craft a template for your felt bird creations. For this purpose, I’ve sketched out two distinct designs: one featuring a plumper, more compact avian form, and another showcasing a perching sparrow. As you sketch these birds, take note of how I’ve created duplicate templates for each body part, including wings, to streamline the cutting process and minimize any potential difficulties.
Step Three
When working with felt shapes, it’s often tempting to rely on pre-made templates. While these can be useful for ensuring uniformity and saving time, they’re not always necessary. In fact, having multiple copies of each template can actually make things more complicated. Instead, consider cutting out your shapes from scratch, without the aid of pre-printed templates.
This approach may require a bit more effort upfront, but it can also lead to more creative freedom and flexibility in terms of shape design and size.
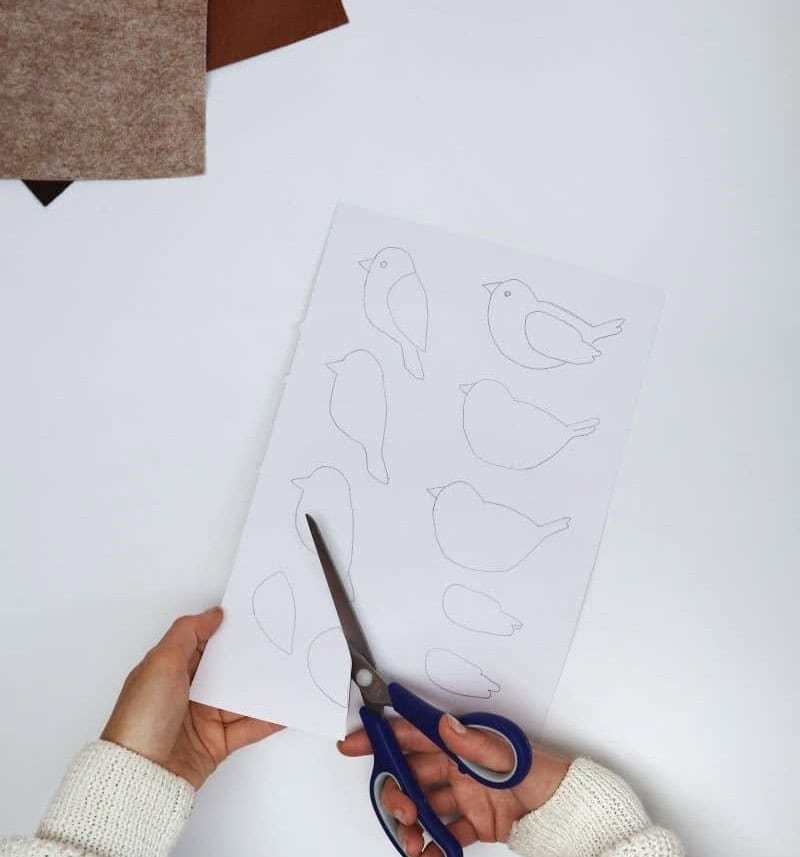
Step Four
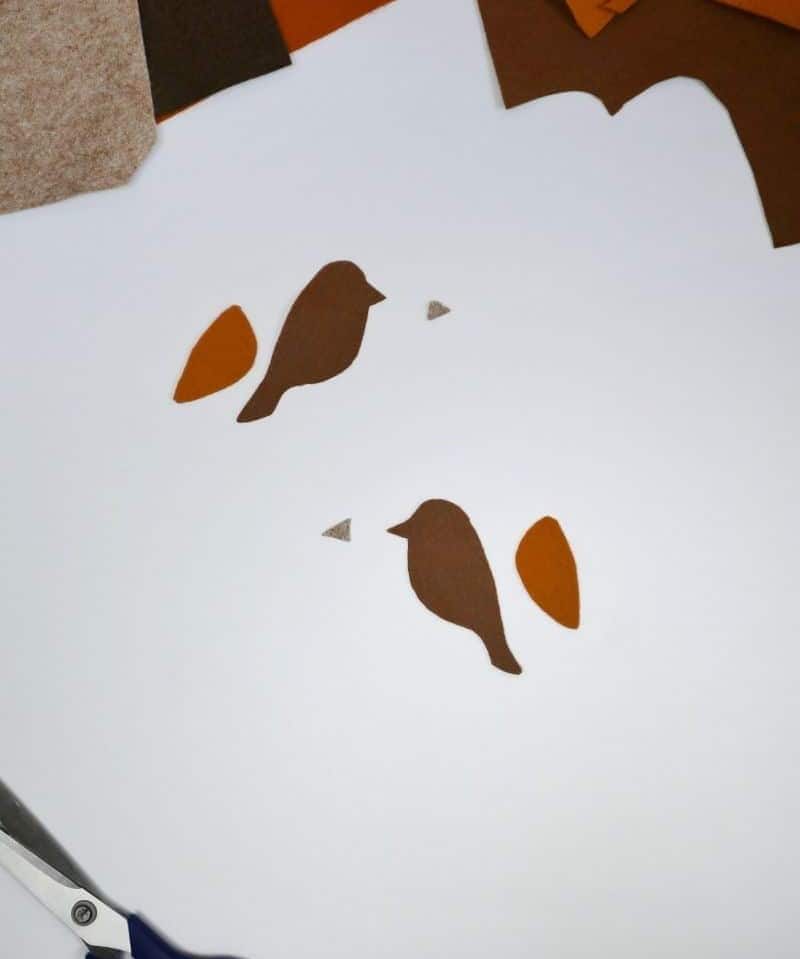
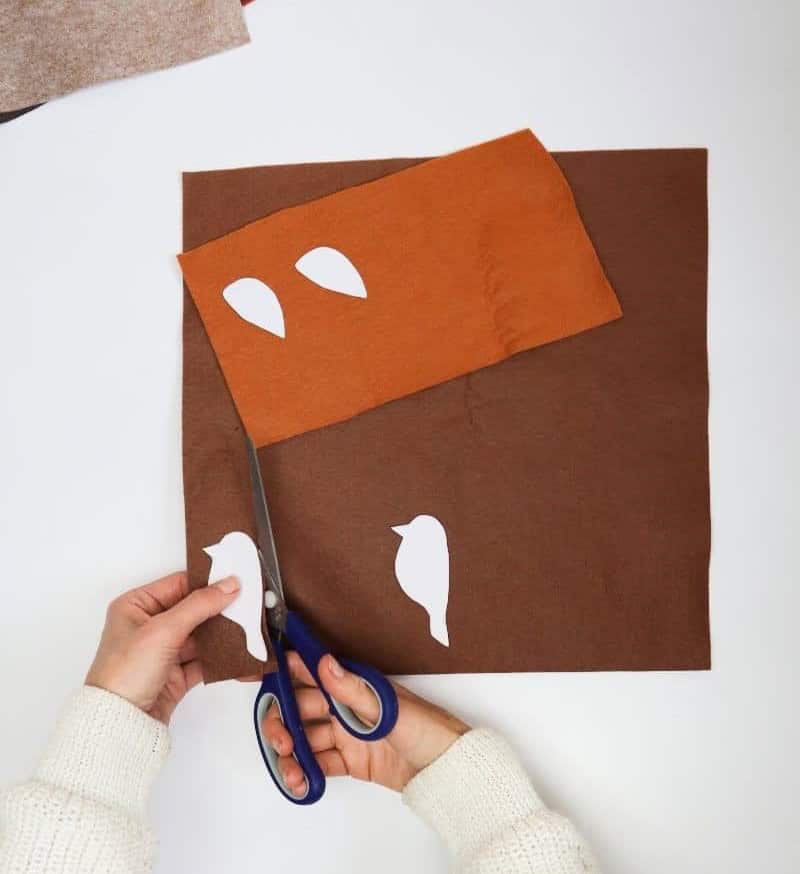
To liberate these birds from their confining felt encasements, begin by carefully cutting along the template edges. A precise cut is crucial, as we won’t be leaving any excess fabric behind. This meticulous approach will yield two pairs of wings and bodies in contrasting colors. Additionally, carve out a small triangular piece from a distinct color to serve as the bird’s beak. As you work through this process, you should eventually accumulate six pieces that roughly resemble the birds-to-be.
Step Five

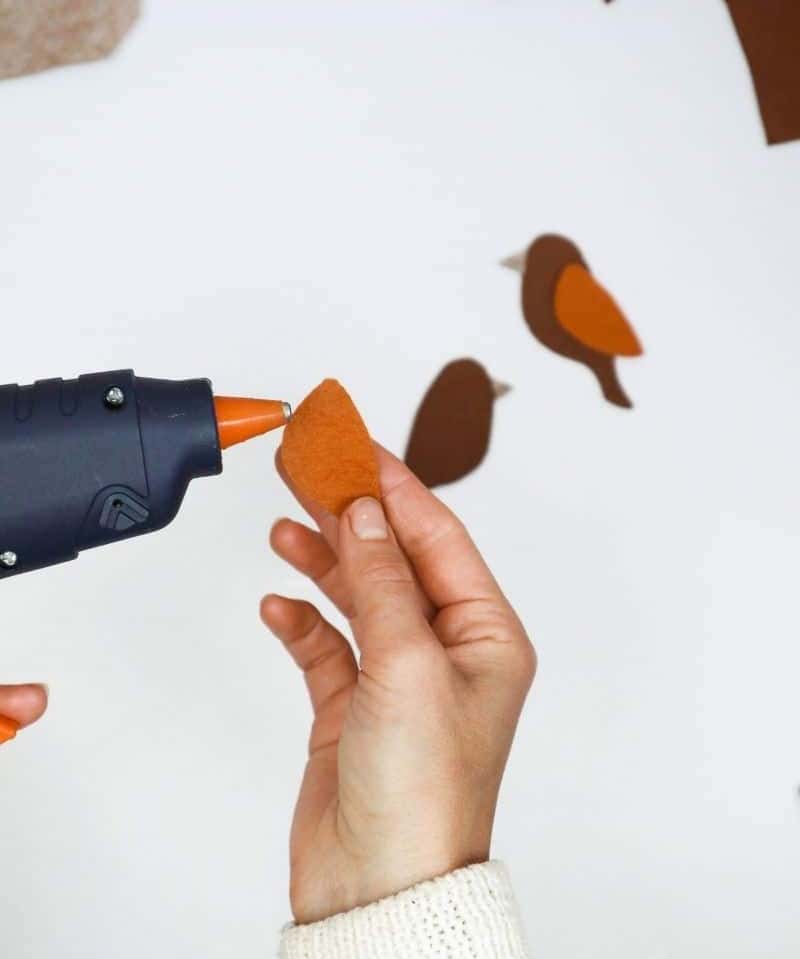
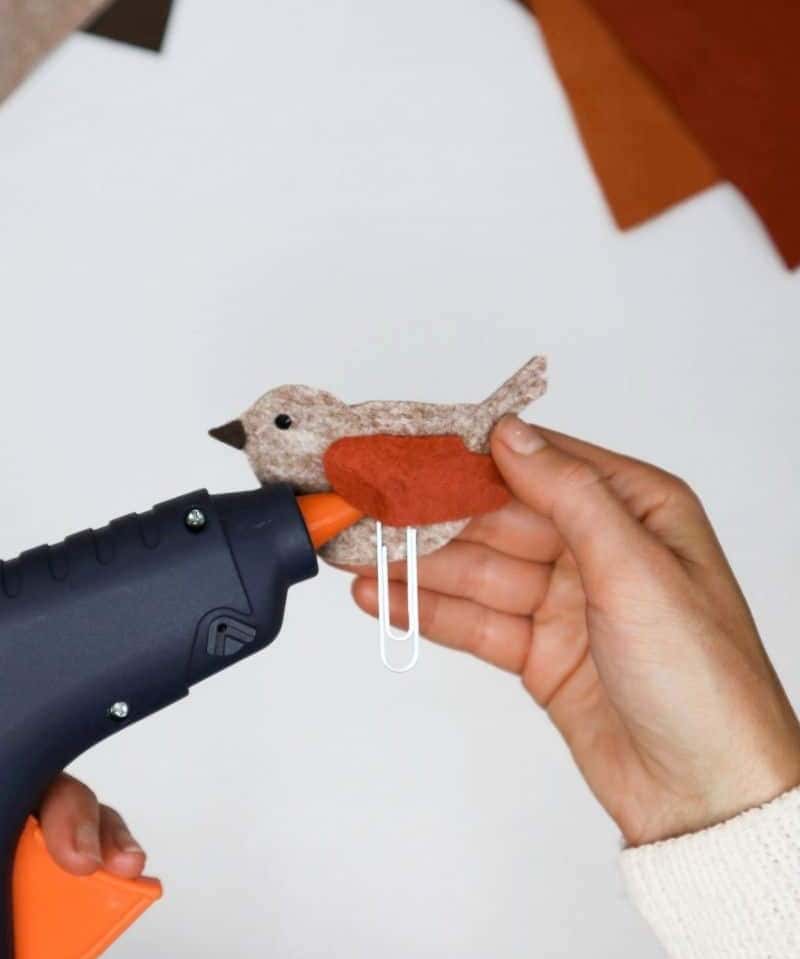
It’s time to bring the birdhouse together. Reach for your trusty glue gun, or feel free to opt for a cold adhesive if you’re crafting with children. This is where the fun of assembly begins!
Step Six
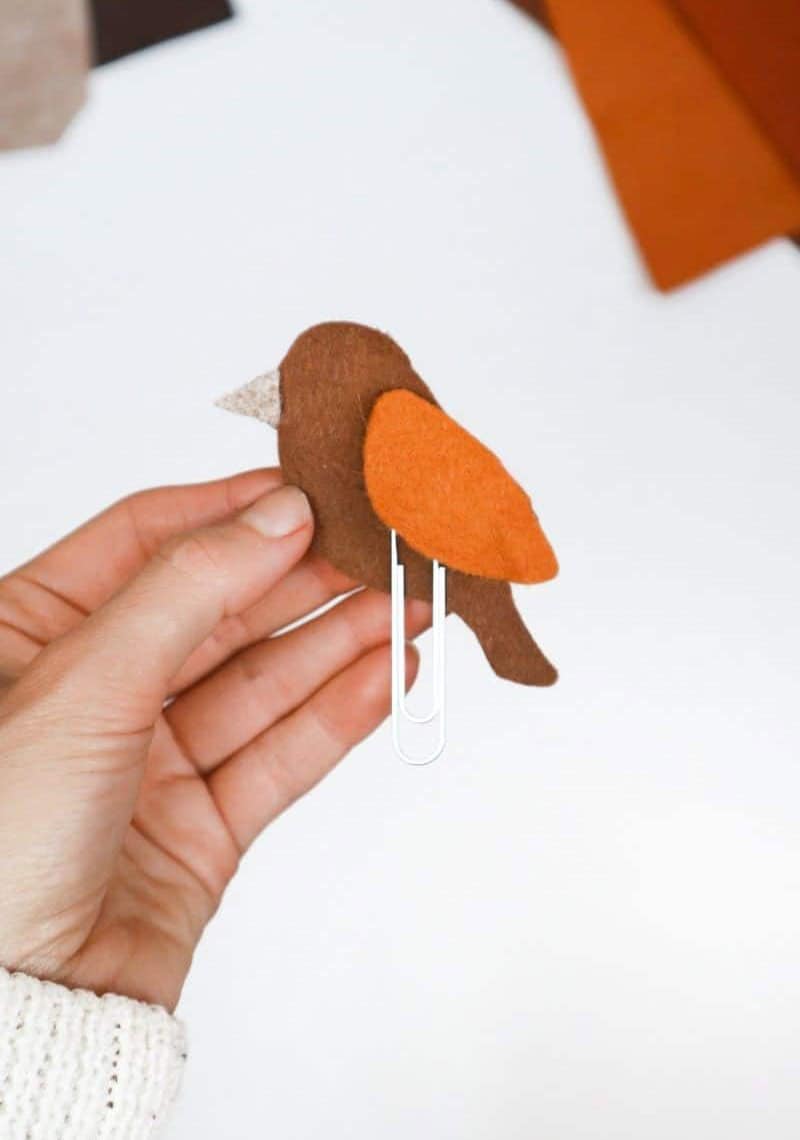

To complete the bird’s anatomy, first secure the beak to its main body. Once this is done, reassemble the two main body pieces and hold them together firmly. Next, attach the wings to either side of your bird, taking care not to obstruct the space reserved for the jumbo paperclip. This component should fit seamlessly underneath each wing, with a small portion protruding outwards to function as a bookmark.
Step Seven
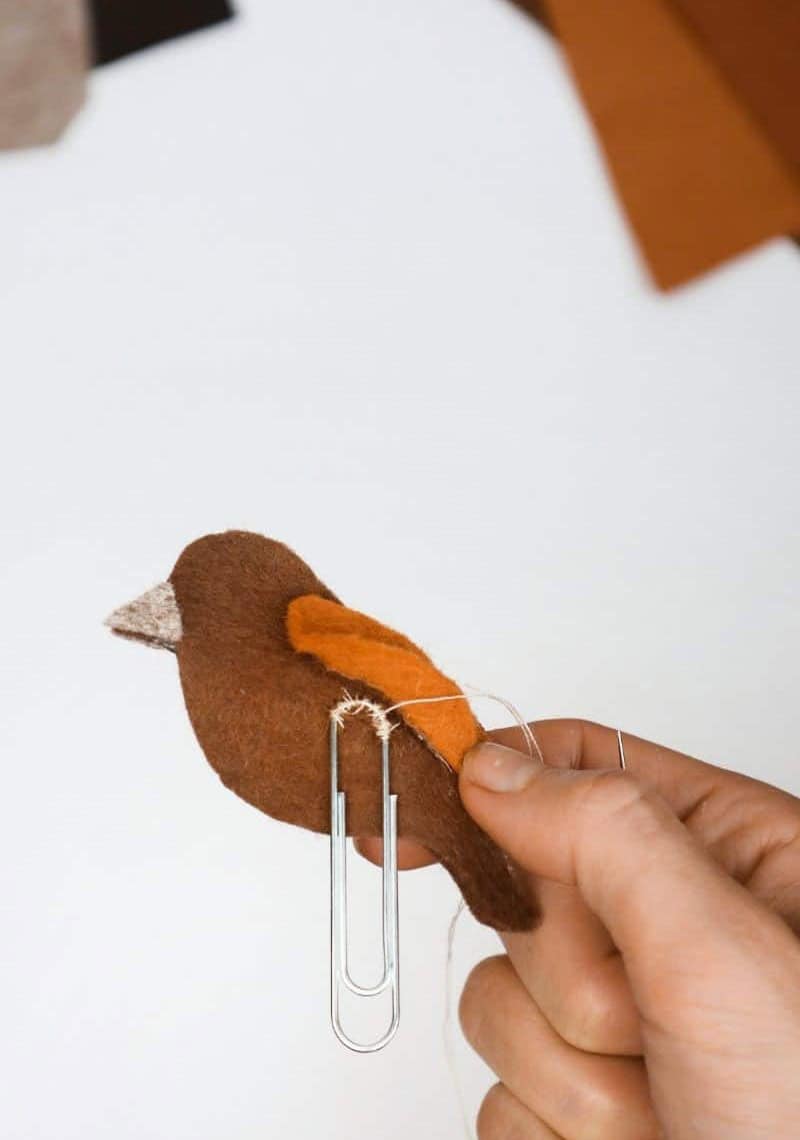
Securing the paperclip to your felted finch is a quick and straightforward process. You can opt for glue or a more permanent solution by sewing it on using a single strand of thread. I chose the latter, as it provides added security against unwanted movement. To achieve this, begin by threading your needle and bringing it up through the top of the paperclip, then gently sew an arch shape onto the bird’s surface.
This approach keeps the paperclip in place while allowing for some flexibility, preventing it from becoming stuck in one spot if you were to use a single stitch.
Step Eight (Optional)
To attach a clip to your model airplane’s wing, simply apply a small amount of glue to the top of the clip and then press it gently onto the wing, making sure not to move it until the glue has dried completely.
Step Nine
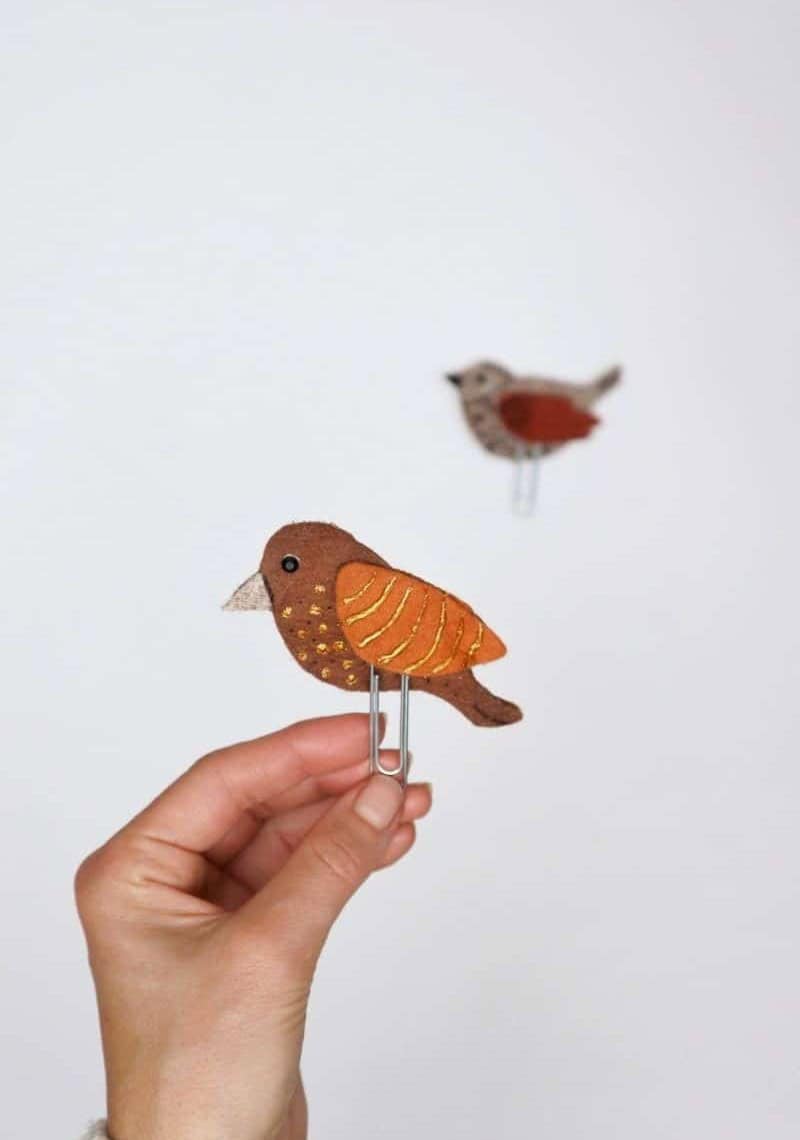
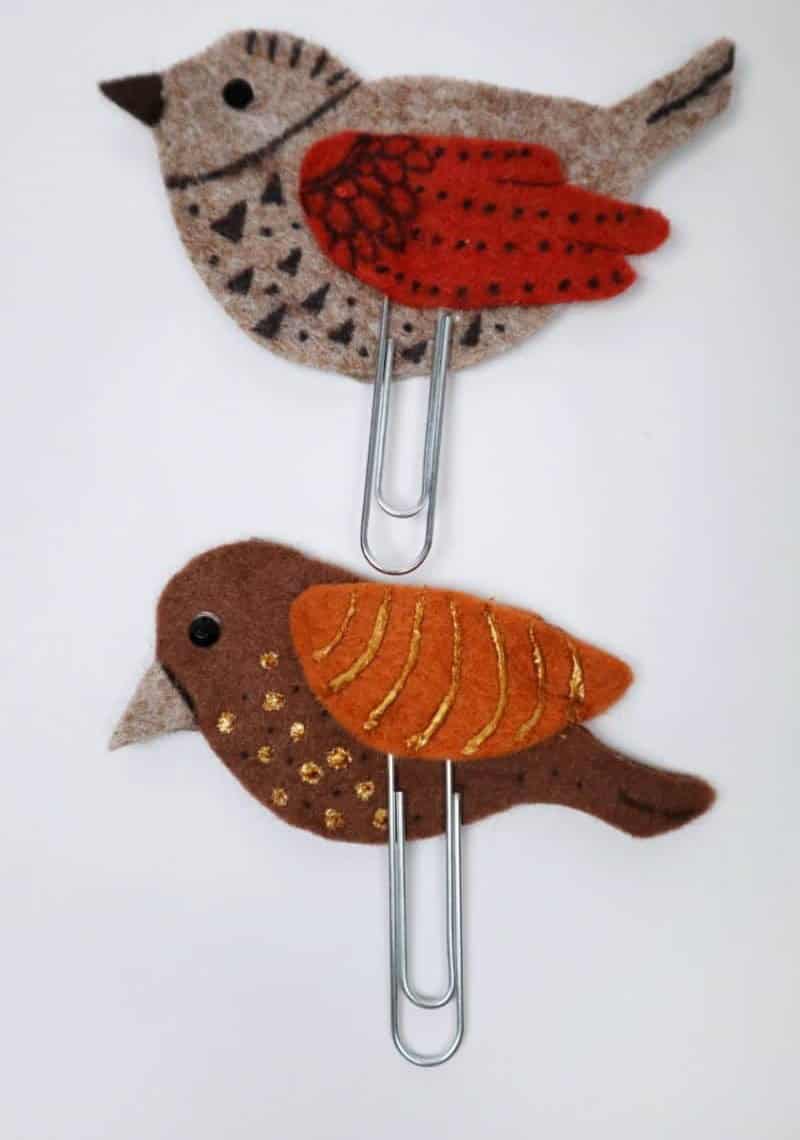
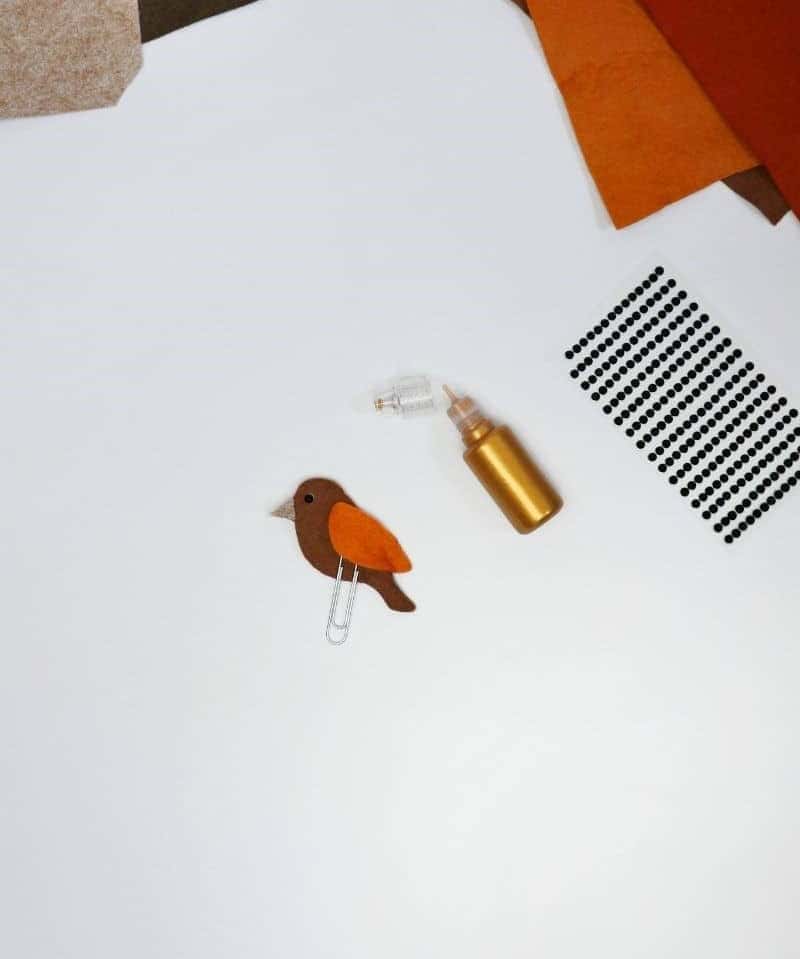
As we’ve established your base bird, it’s now time to unleash your creativity and bring your bookmark to life with decorations. I opted for a dash of glitter glue and a tiny black bead, but the possibilities are truly endless. Consider adding a touch of glamour with sewn-on sequins, or keep things simple with a marker design that perfectly captures your personal style. Whatever approach you choose, it’s sure to make your bookmark a one-of-a-kind masterpiece.
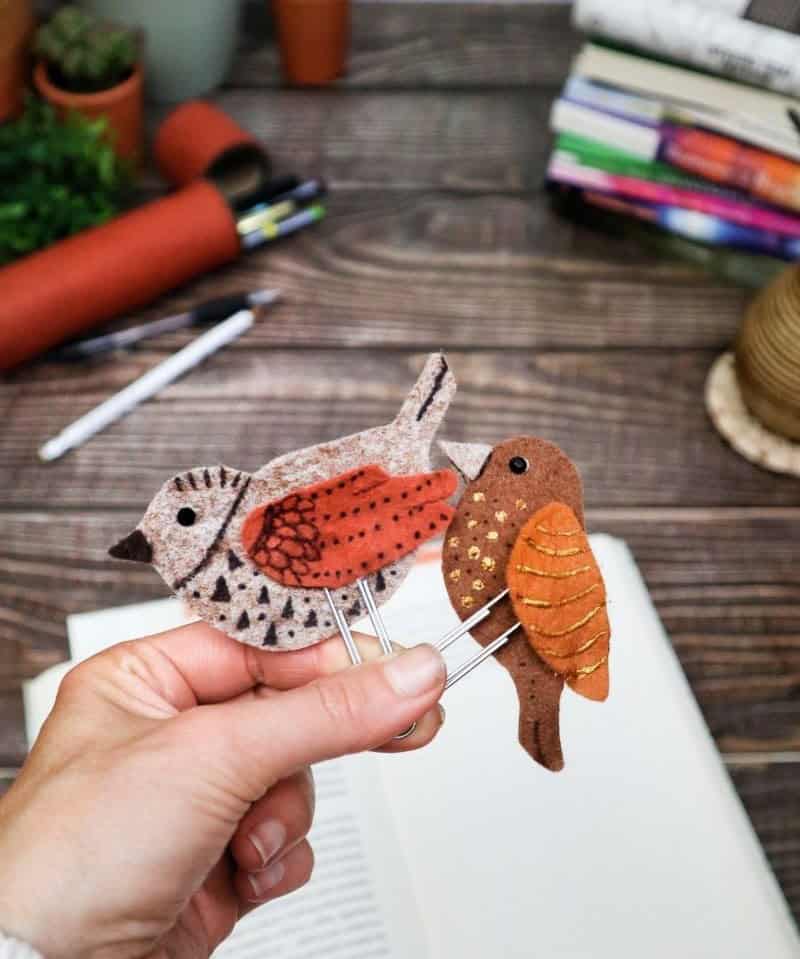
Before you know it, you’ll be holding your very own custom creation in your hands – and I’m confident that others will be clamoring for one just as much as you are! As always, make sure you have some extra felt on hand, just in case.
How Much Will These Bookmarks Cost in Total?
One of the most appealing aspects of creating these decorative items is not only their aesthetic appeal but also their affordability. I find it satisfying to repurpose felt scraps and create something beautiful with them. What’s more, making these from scratch won’t require a significant financial investment. Regardless of where you source your materials, you can expect to spend no more than $10 to achieve a high-quality result.
Other DIY Projects for You
Transform everyday spaces with creative flair! Get inspired by these 15 budget-friendly and creative DIY frame craft ideas using dollar store supplies. Add a touch of elegance to your home decor or give thoughtful gifts without breaking the bank. Next, delight kids with these 23 adorable penguin crafts that are easy to make and perfect for little hands. For more decorating ideas on a dime, check out our collection of 20 dollar store decorating ideas that will impress.
If jewelry is your thing, try making DIY wire rings for a personalized touch. And don’t miss our list of 20 projects for teens that are fun, creative, and easy to complete.
How to Make a Bookmark
Create a thoughtful gift for the bird enthusiast in your life by crafting a personalized bookmark. This DIY project requires only 25 minutes of your time, and you can customize it to fit their unique style. Simply follow these steps: learn how to make a bookmark from scratch, then get creative with colors, bird breeds, and decorations to make it truly special.
Equipment
To ensure uninterrupted workflow, it’s essential to prevent your computer or device screen from dimming automatically. This can be achieved by adjusting the display settings. For instance, you can adjust the auto-lock timer on your MacBook or PC to a reasonable duration that won’t interfere with your work. Additionally, consider keeping a notebook and writing utensils like pencils, scissors, and markers nearby, such as black markers for adding color to your designs.
Hot glue guns, thread, and other crafting supplies can also come in handy when working on creative projects. By having these materials readily available, you’ll be able to focus on your task without interruptions.
Materials
To create a vibrant and engaging sensory bin, you’ll need a few simple materials. Start by gathering colored felt sheets in various hues to add a pop of color to your design. You can also use a plain piece of paper as a base layer or incorporate it into the mixture for added texture. To provide structure and containment, jumbo paper clips can be used to create geometric shapes or patterns. For an extra touch of whimsy, add some glitter glue to give your sensory bin a sparkly finish.
Instructions
To create your birds, start by collecting all necessary supplies. For bookmarking, opt for larger paperclips that won’t get lost between pages. Next, sketch out two identical templates or reuse existing ones to ensure symmetry. Divide your drawing into bird body, wings, and a tiny beak to bring these avian creations to life.
Next, excavate the felt pieces you’ve set aside. Use contrasting colors for the body (dark) and wings to make your birds stand out.
Once you have all the necessary components, it’s time to assemble them.
Start by attaching the beak to the base using a glue gun, then glue both bases together to form the double-sided bird structure. For the wings, apply adhesive to one side, followed by the second wing on the opposite side, leaving enough room for your paperclip bookmark.
Finally, secure the paperclip under the bird’s wing either with glue or a needle and thread, whichever method suits you best.
With these steps complete, you’ve successfully crafted your birds!