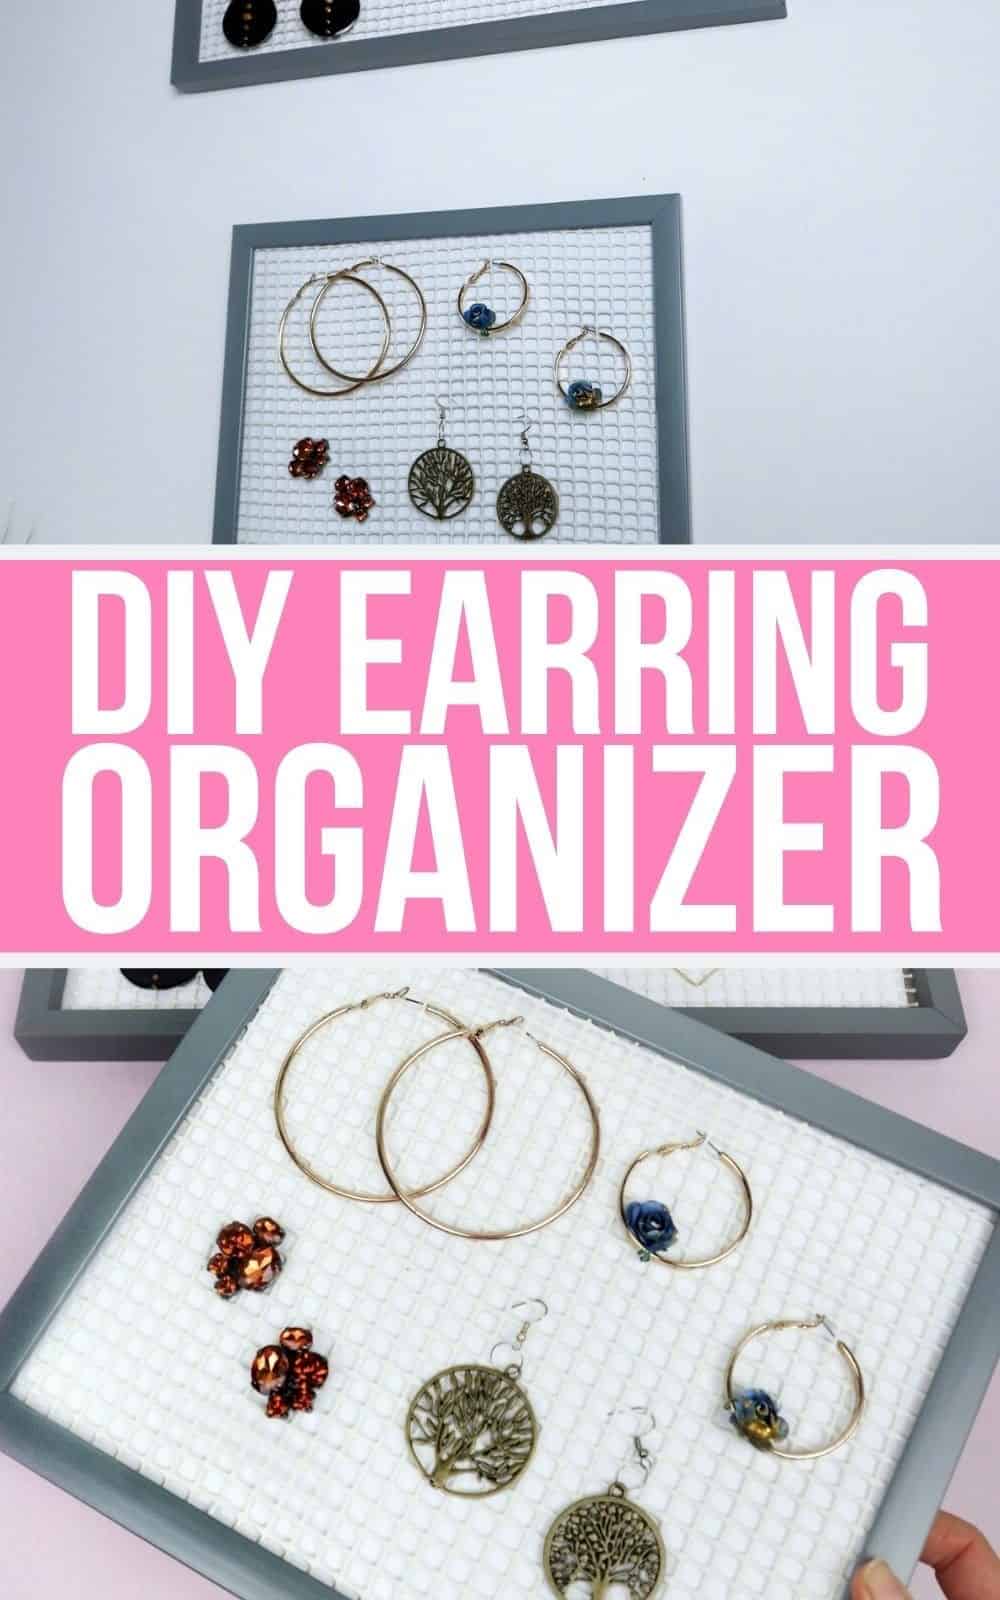
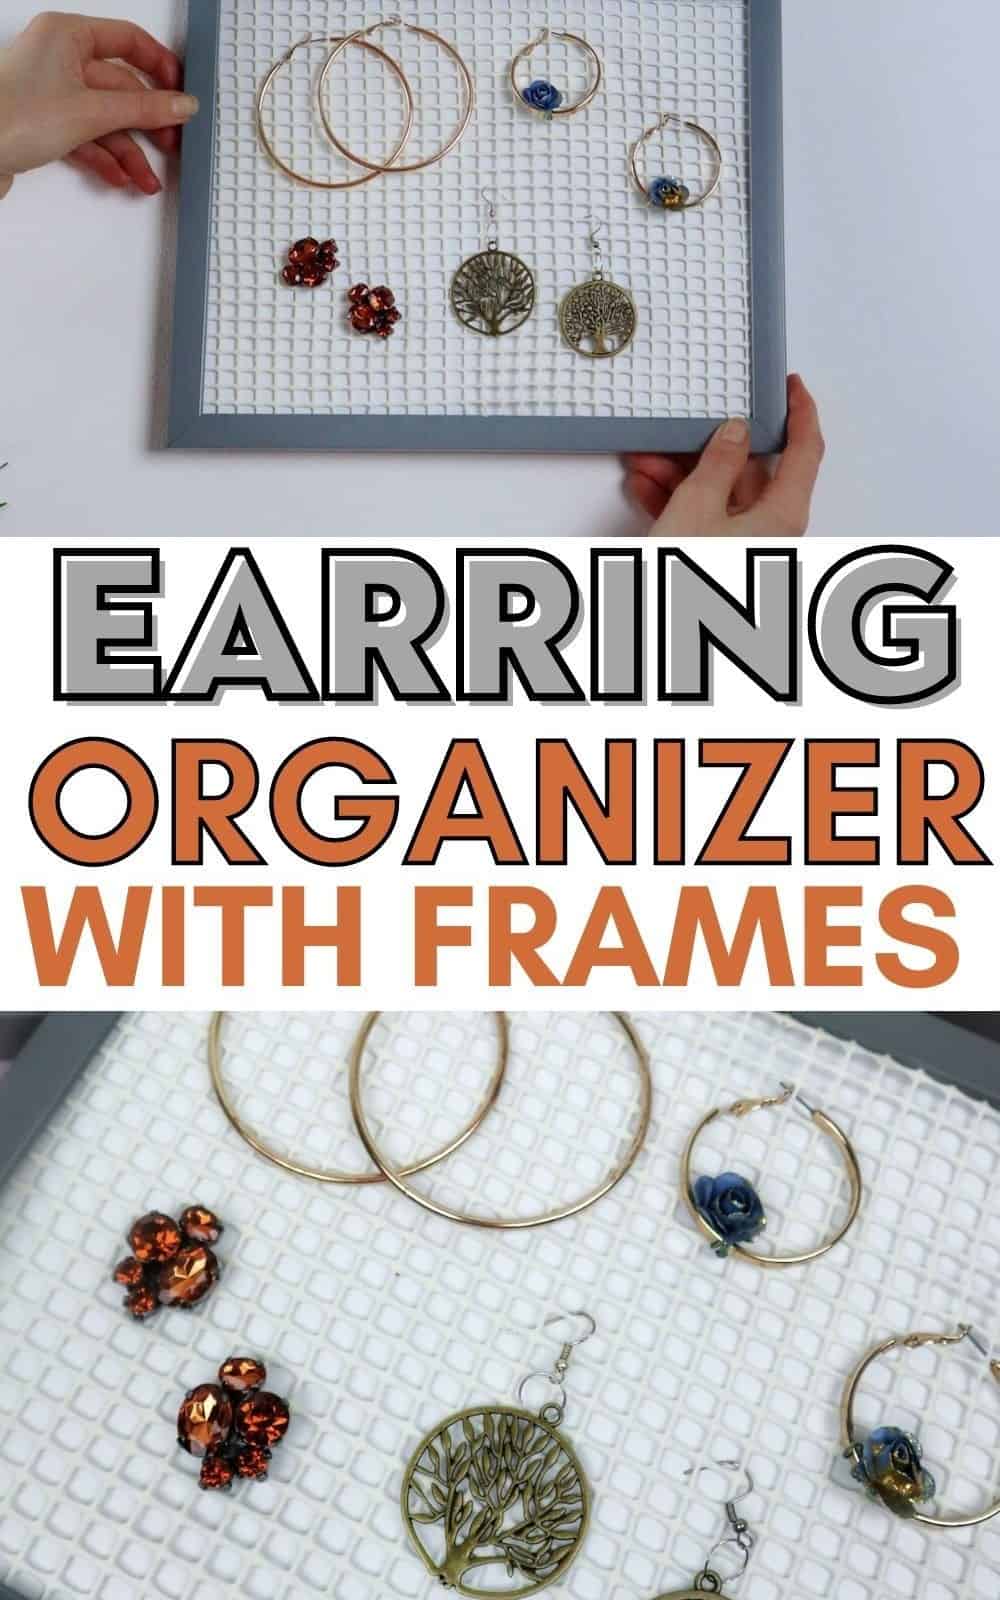
Transform your jewelry game by crafting a DIY earring organizer using photo frames. This easy and creative project will keep your earrings tidy and within reach, saving you time and frustration. No more rummaging through small drawers or searching for that elusive matching pair – simply open the frame and voilà! You’ll be impressed with how effortlessly stylish it is, making it a perfect display piece in addition to keeping your jewelry organized.
Supplies You’ll Need for the Organizer
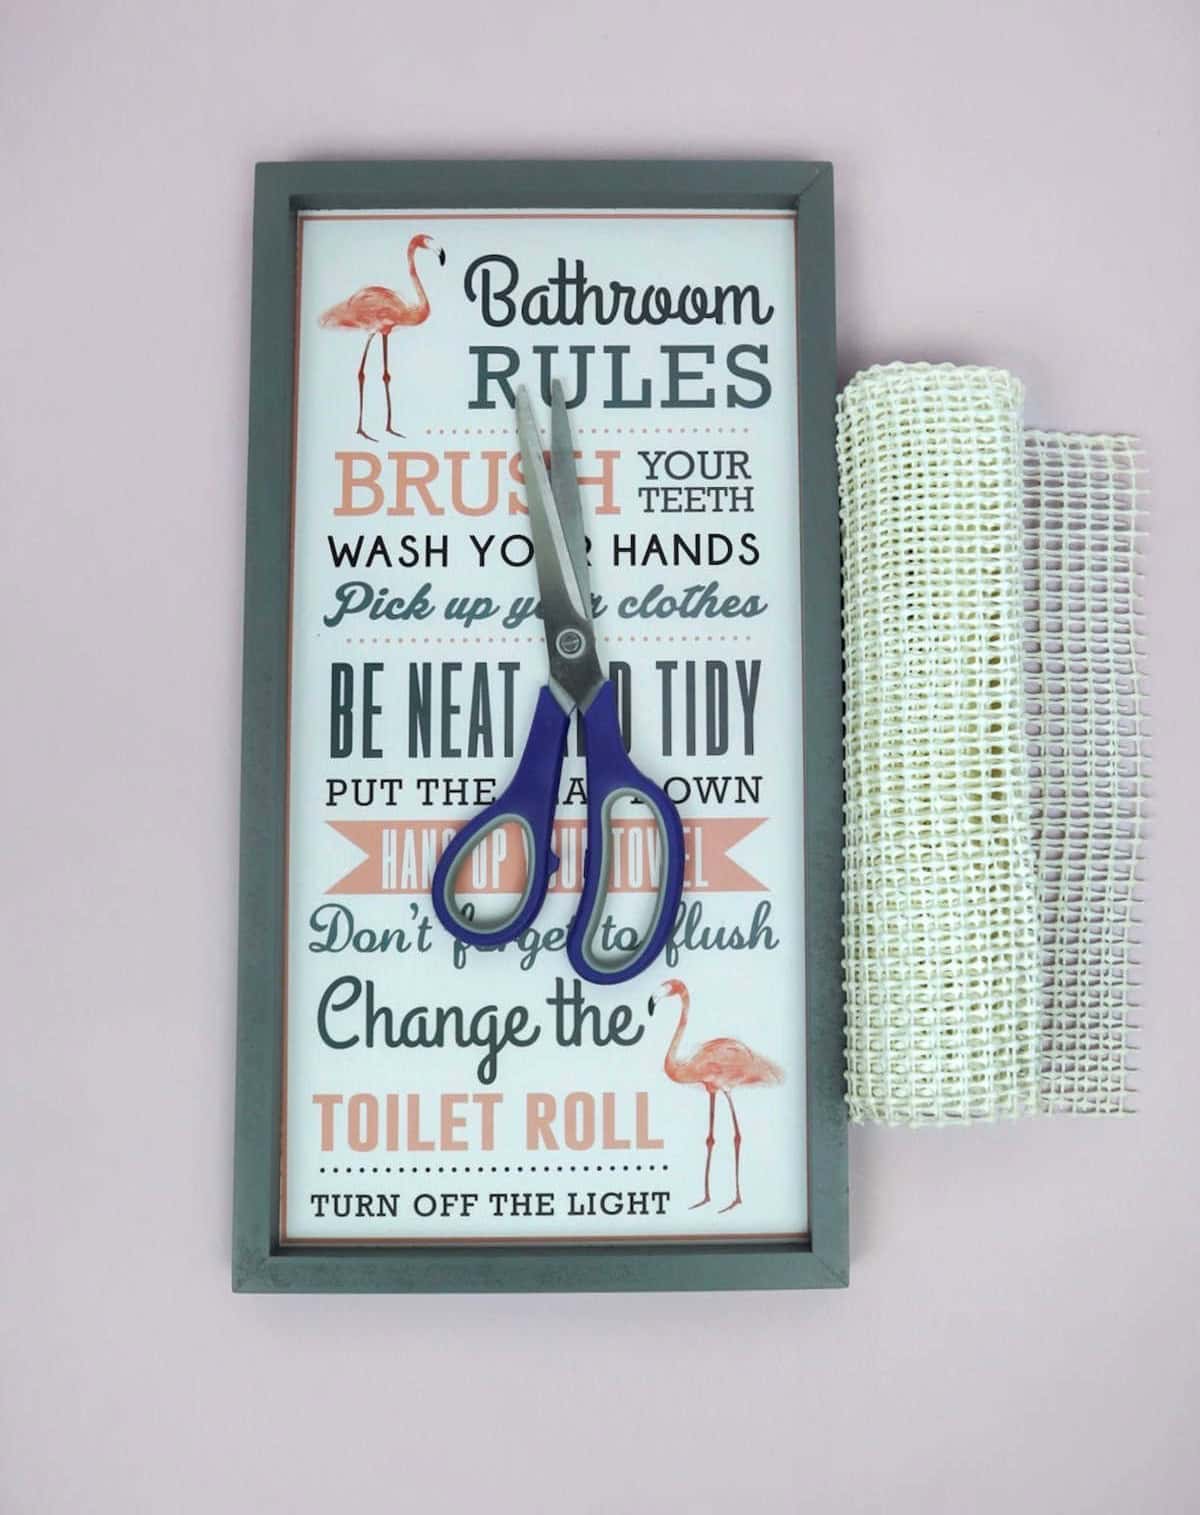
To create this simple yet effective DIY earring organizer, you’ll only need a few basic materials. In fact, you can easily source them from around the house or at a budget-friendly store like Dollar Tree. Specifically, you’ll require a photo frame (which can be had for a steal at Dollar Tree), a pair of scissors, and some shelf liner. Before diving in, take a minute to gather all your supplies to ensure a smooth and enjoyable crafting experience.
How to Make an Earring Organizer
To create this straightforward DIY project, you’ll need just a few basic components that can be easily assembled. In fact, the entire process requires only three pieces to put together before you’re left with a functional jewelry organizer ready to be mounted and utilized in your preferred location.
Step 1
Before diving into the project, take a moment to accurately measure the dimensions of your photo frame. This crucial step ensures you have the precise measurements needed for cutting the shelf liner later on.
Step 2
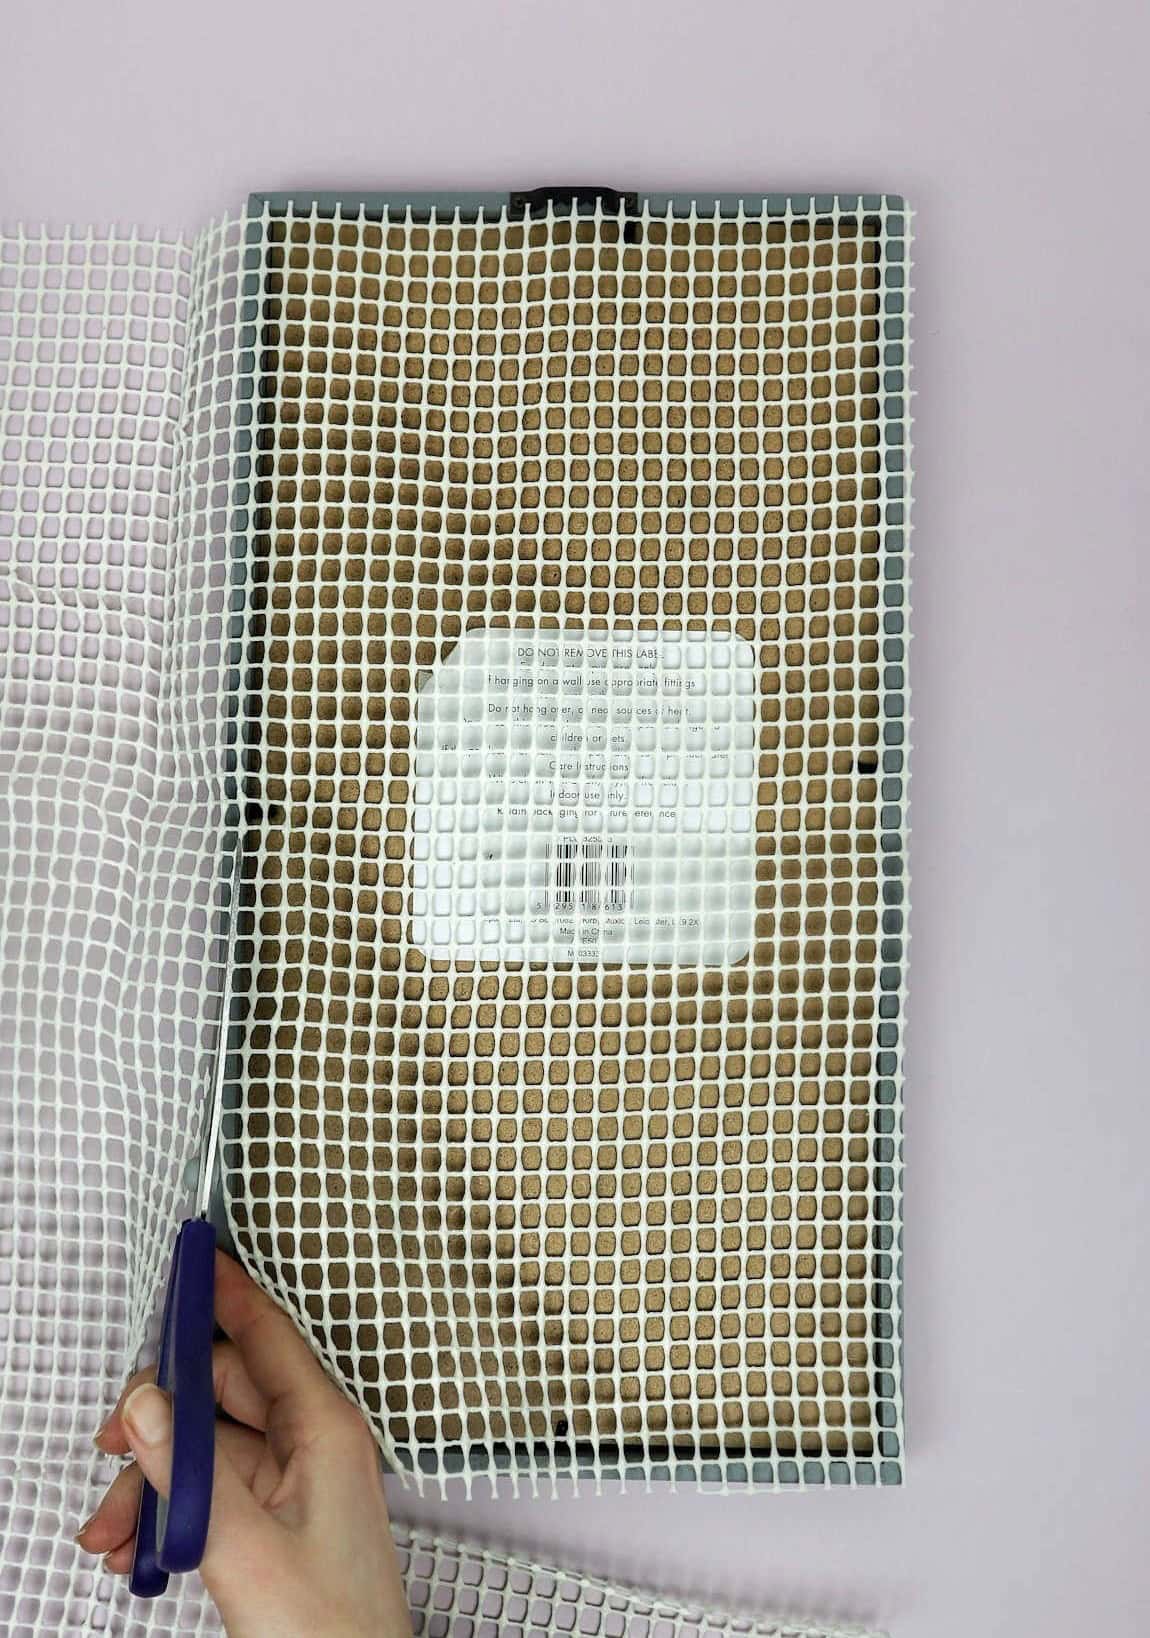
To ensure a smooth installation process, accurately measure and cut the shelf liner along the dimensions you previously recorded. As you prepare to secure the liner to the frame, remember to add a slight margin to your cut – this excess material will provide tension and prevent the liner from sagging or creasing once in place.
Step 3

Transform your picture frames by swapping out the generic photo inserts for a blank canvas. By replacing the standard white background with a plain sheet of paper, you can add a touch of creativity to this everyday item. But why stop there? Take it up a notch and swap out the white paper for colored or patterned paper to create a unique and personalized look.
Whether you’re looking to add some flair to a special occasion or simply want to give your home decor a boost, this simple trick can help you do just that.
Step 4
Position the liner directly on top of the white paper, ensuring it is aligned properly to facilitate a smooth and efficient writing experience.
Step 5
As the final stages of the process unfold, attention turns to reassembling the frame. A crucial aspect is ensuring a proper fit for your liner within the frame’s dimensions. To achieve this, stretch the liner across its entire length, taking care to secure it tightly and evenly to prevent sagging. Failure to do so may result in an imperfect finish.
Step 6
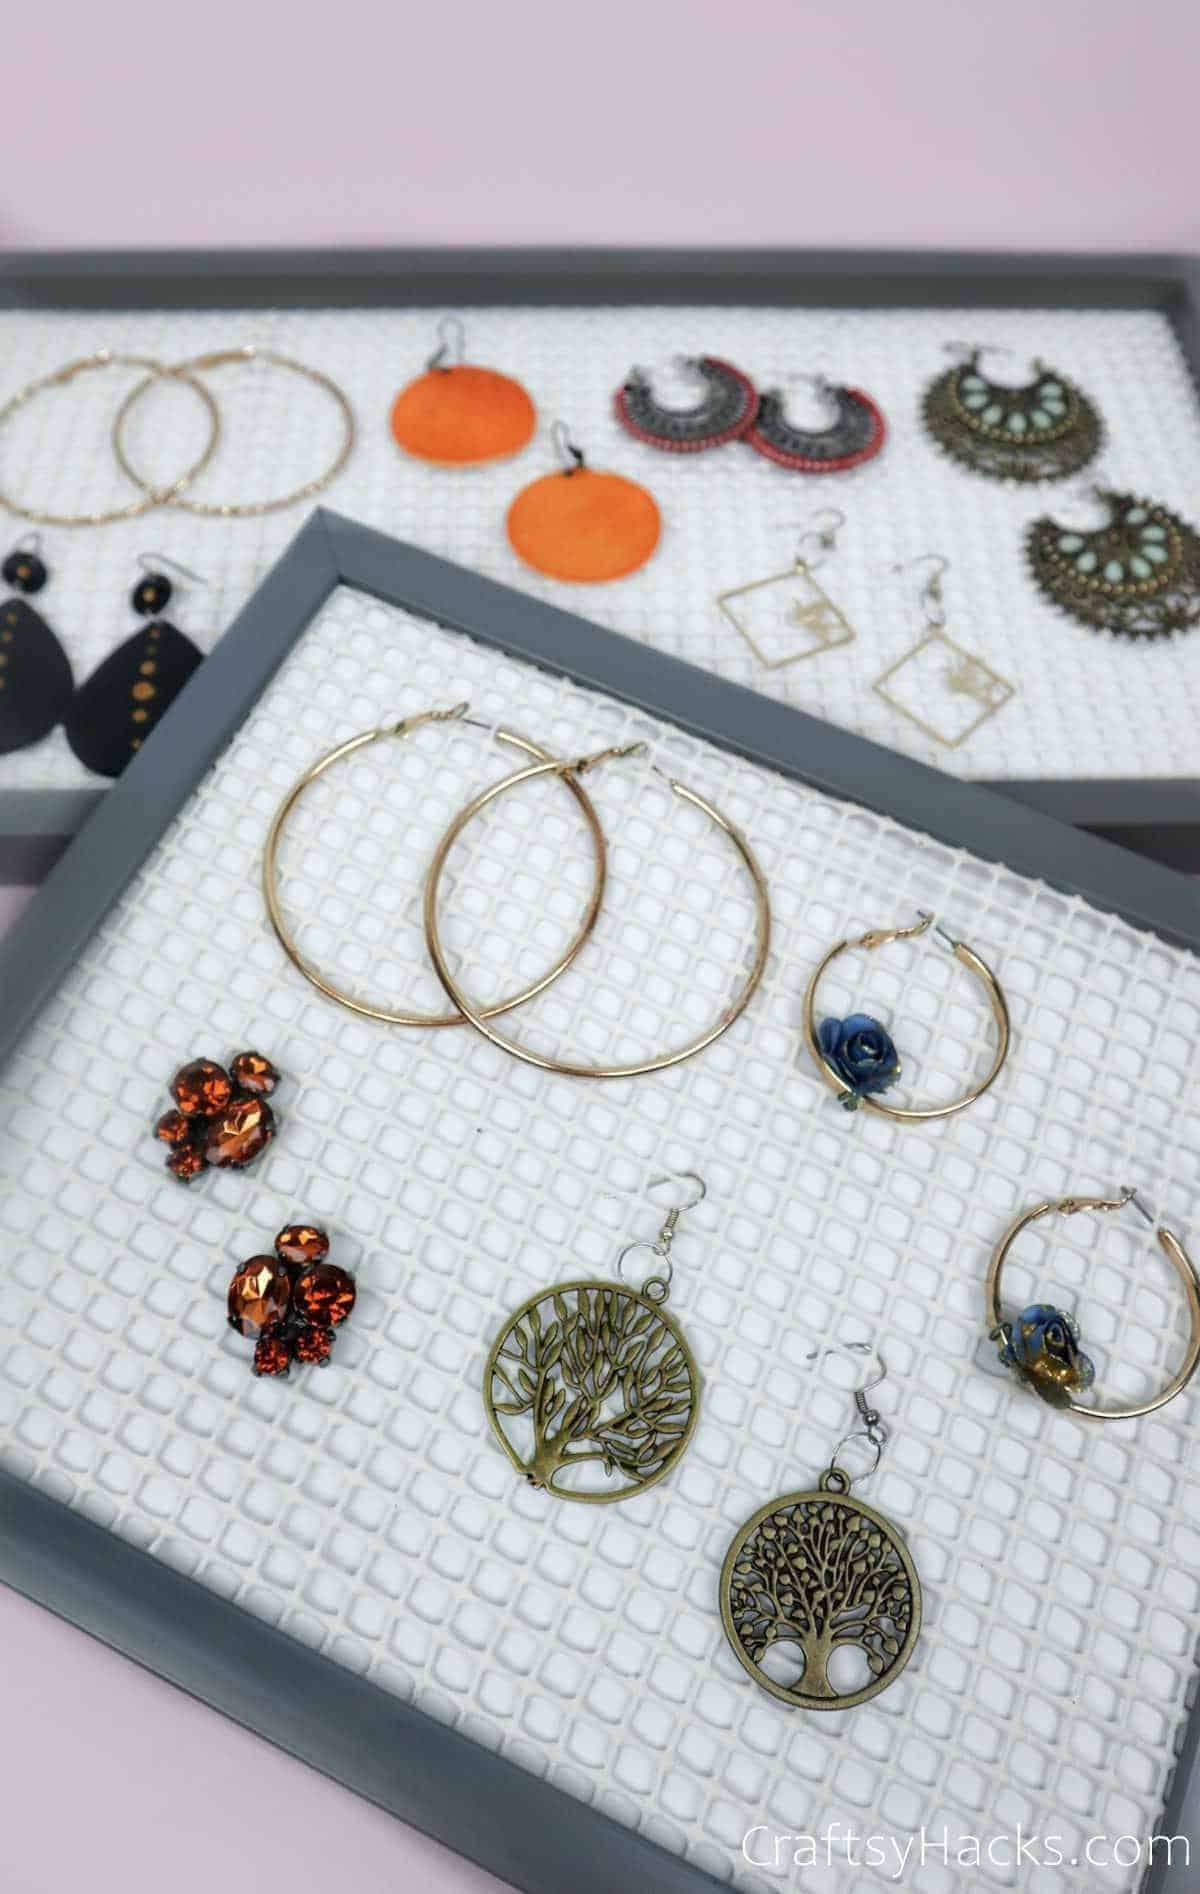
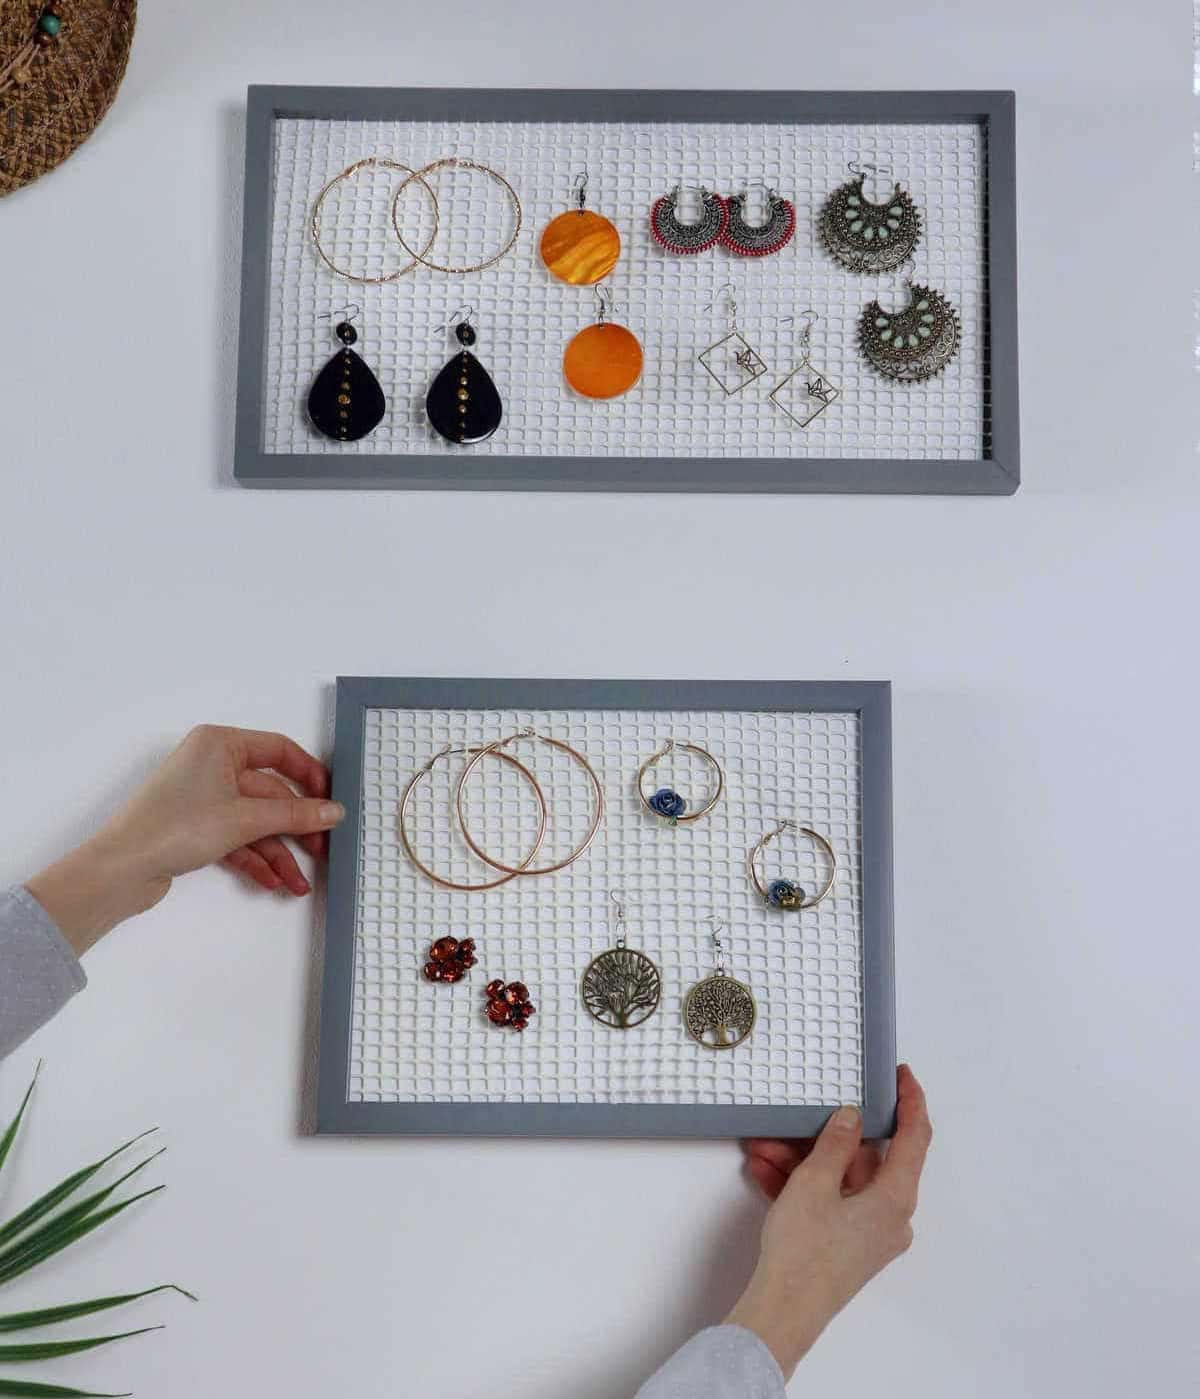
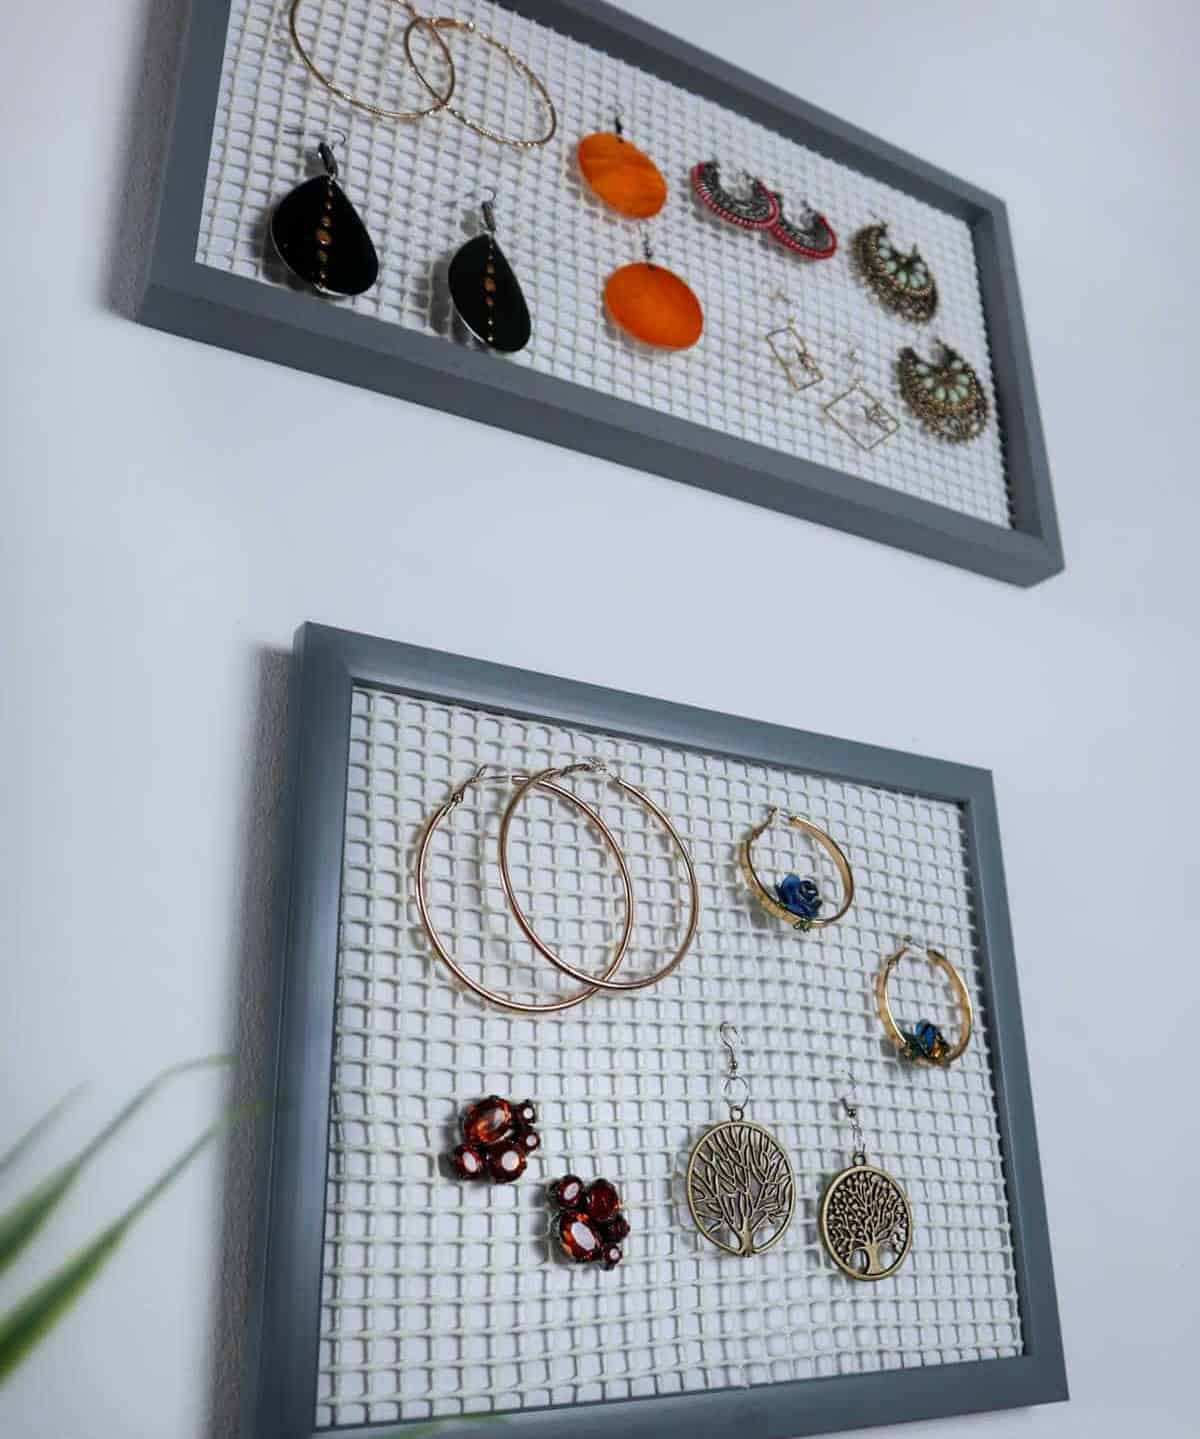
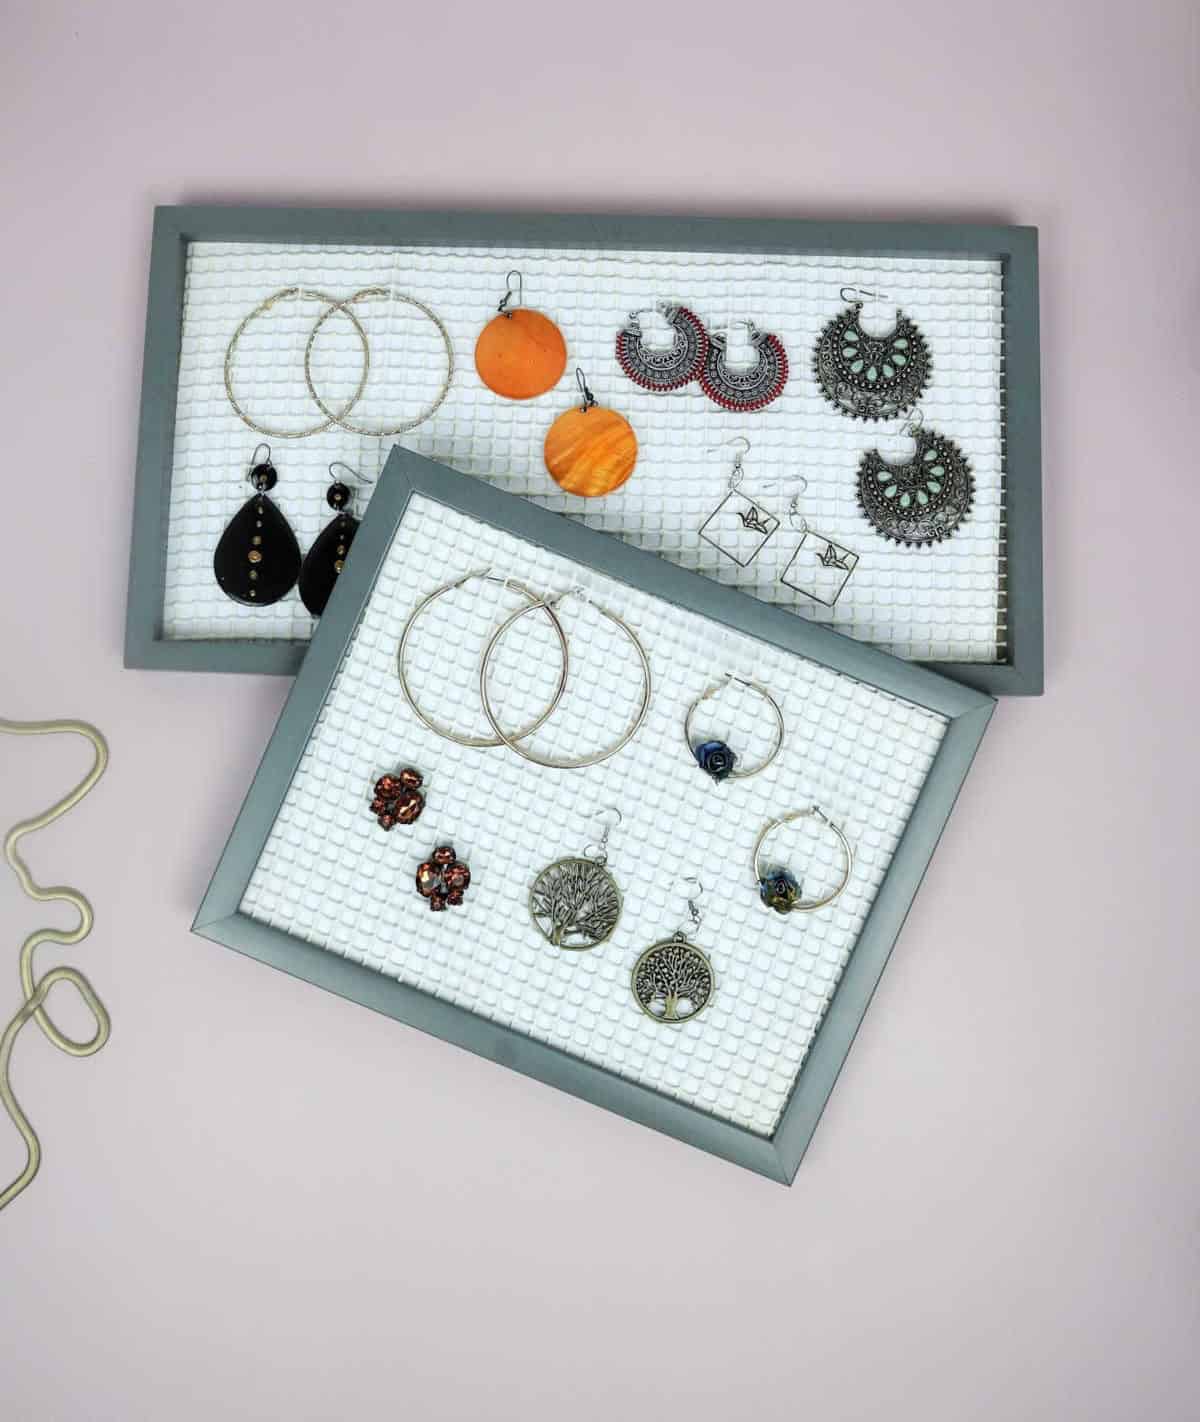
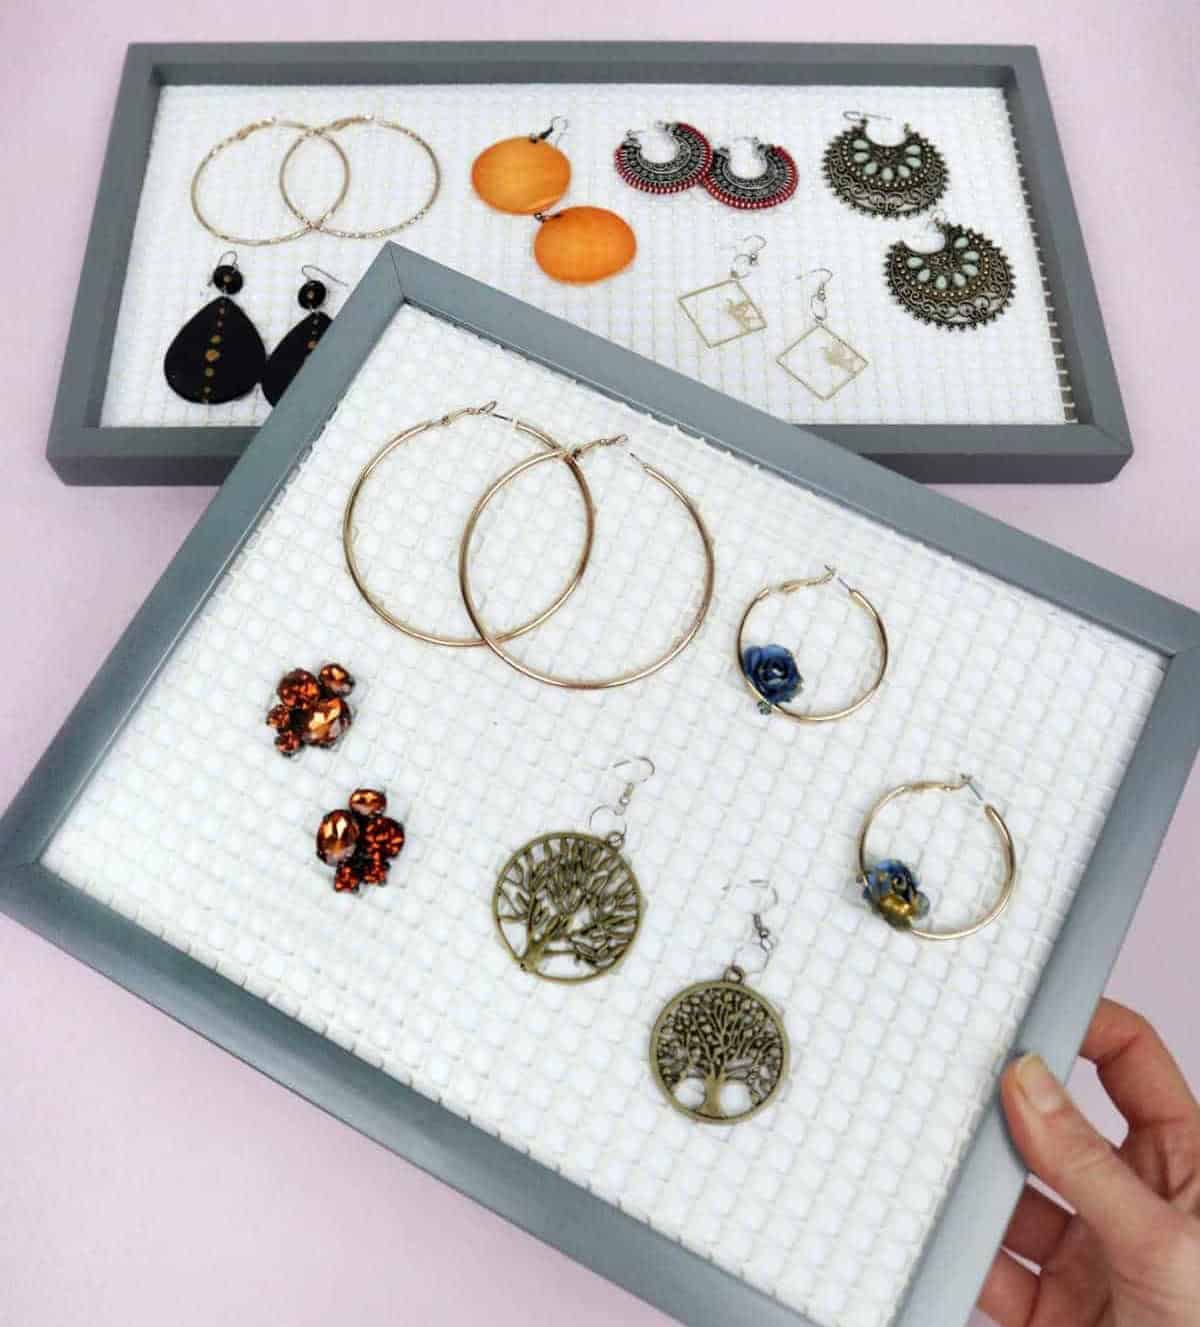
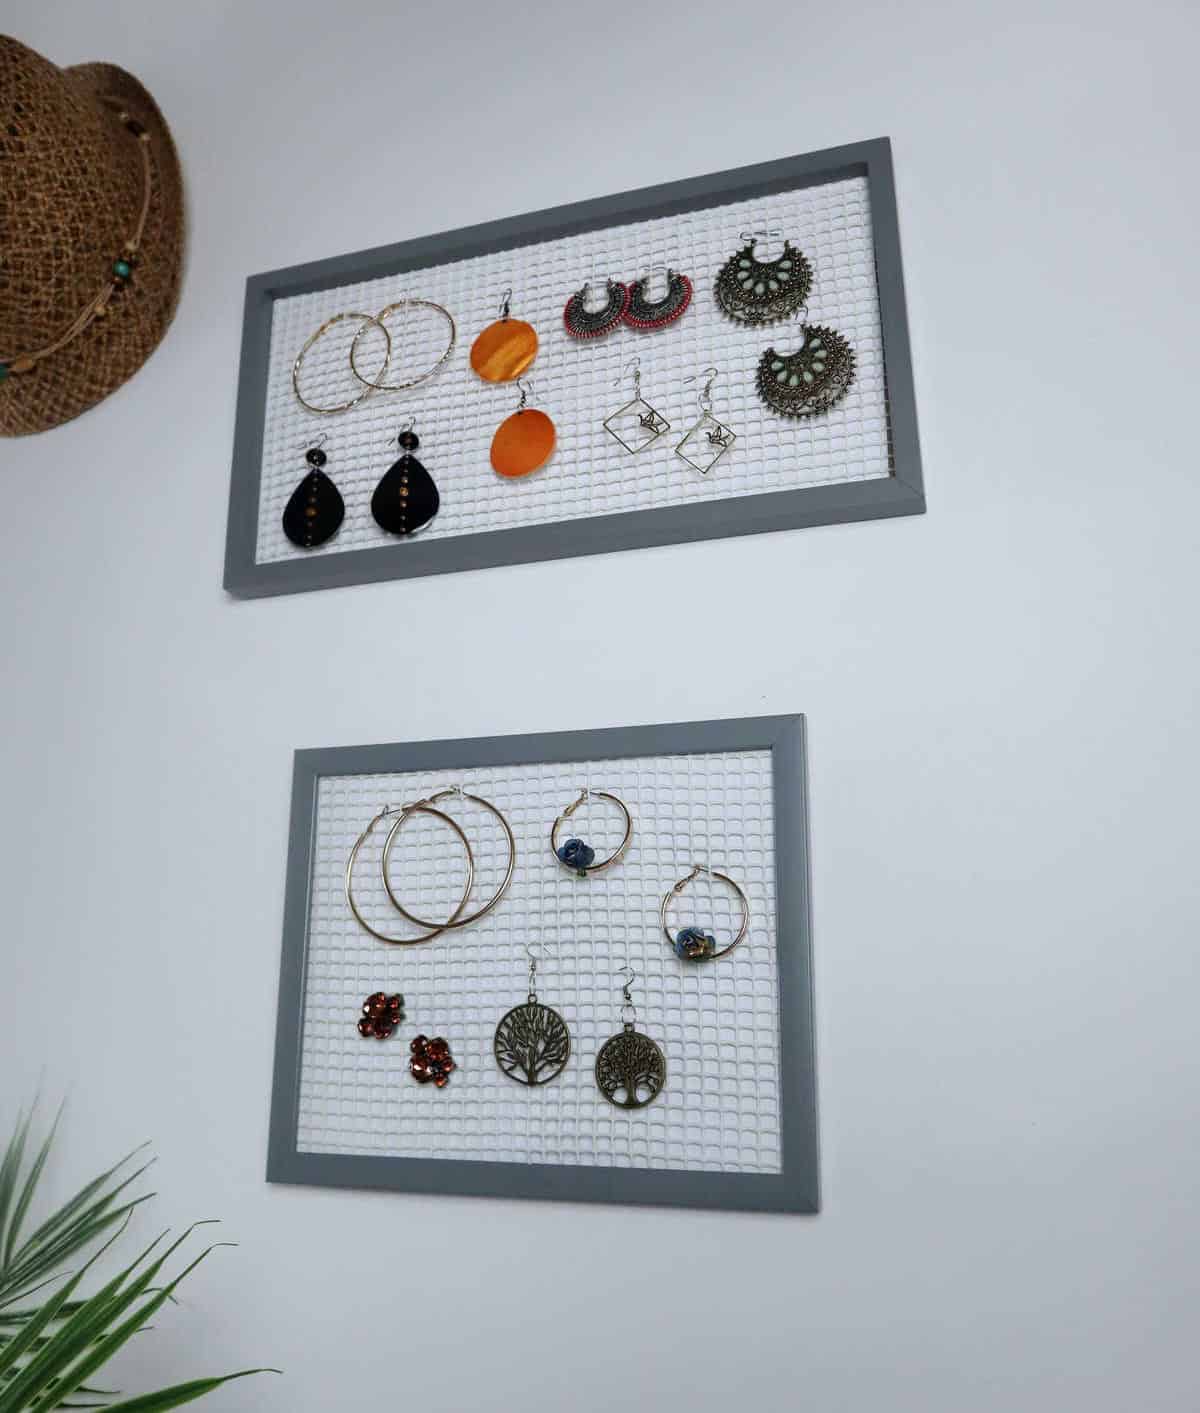
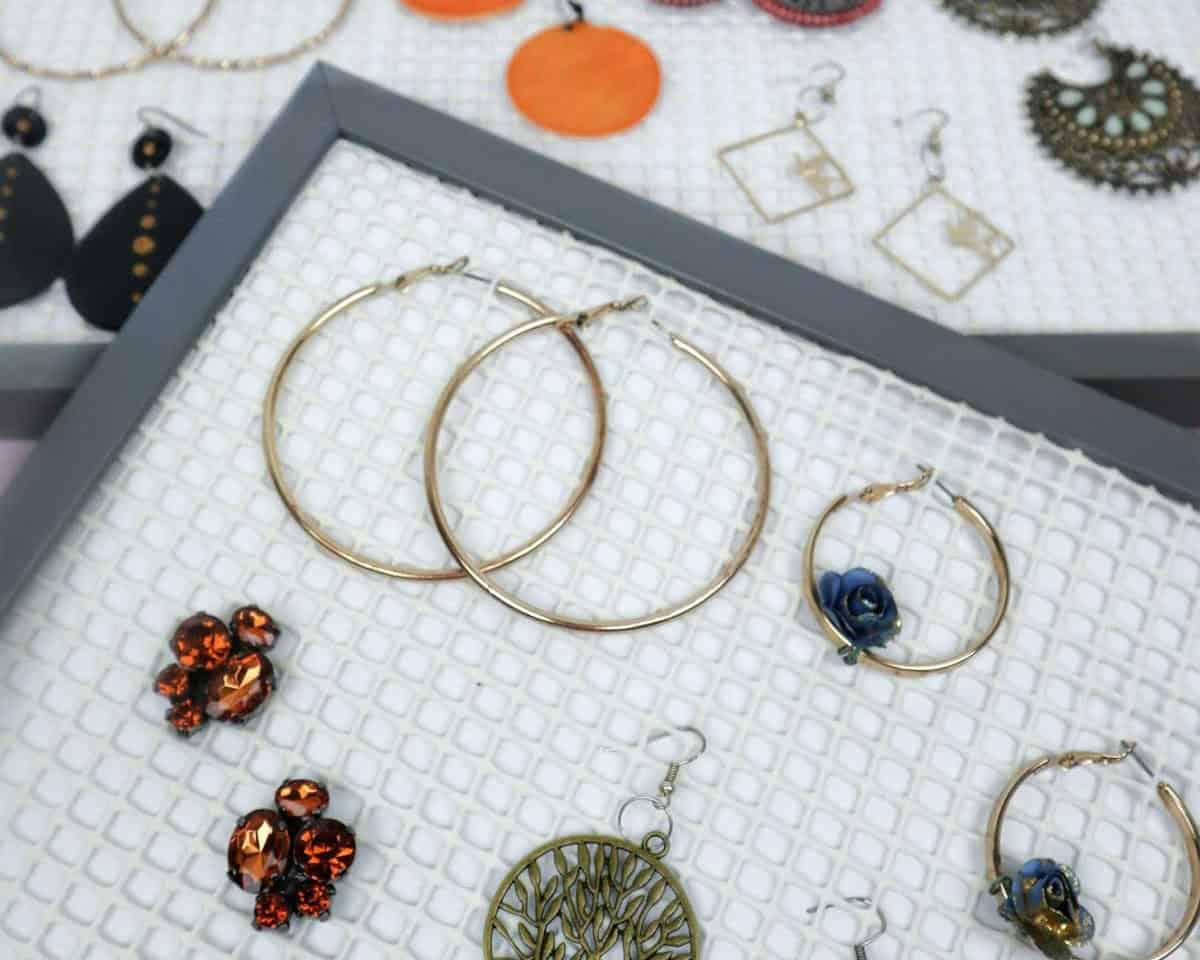
As you complete your DIY earring organizer, the final step is a breeze – simply arrange your jewelry collection in its new home. Once you’ve done so, you can proudly display it on a table or wall, showcasing your newfound organization skills. And if you’re looking for more inspiration to keep your space clutter-free and organized, we’ve got you covered with 47 ingenious organization ideas that will help you achieve just that – not just in your jewelry case, but throughout your entire home!
Other Organizing Ideas You Might Like
Transform your workspace and home with these creative organization ideas! Start by repurposing everyday items like cereal boxes to create a functional desk organizer. For a more extensive storage solution, try Dollar Tree’s affordable options. In the small bedroom, maximize space with clever organizational hacks. Don’t forget about tiny tidbits – organize those little things with ease. And when it comes to crafting, optimize your creative zone with these 25 room-organizing ideas.
DIY Earring Organizer
To elevate your jewelry game, create a functional and stylish earring organizer using simple frames. This DIY project is perfect for anyone looking to keep their earrings neatly organized in one place. With only 15 minutes of active time required, this craft is an excellent way to spend a quick afternoon getting creative.
Equipment
When it comes to staying engaged and focused, one often overlooked but crucial aspect is preventing your screen from going dark. This may seem like a minor detail, but the difference it can make in terms of productivity is substantial. By keeping your screen on, you’re able to maintain a constant flow of ideas and stay on track with your tasks without being interrupted by the need to constantly adjust brightness or wake up from a screen-sleeping slumber.
The simple solution is to use scissors to cut the power cord that connects your computer to the power outlet, ensuring it stays on indefinitely.
Materials
When it comes to decorating your home on a limited budget, there are several clever ways to make the most of affordable materials. For instance, you can repurpose dollar store photo frames to create a unique and cost-effective display solution. Simply select a few frames that match your desired aesthetic and arrange them in a visually appealing way on your shelf or mantle. This DIY hack not only saves you money but also adds a personal touch to your decor.
Additionally, consider using a shelf liner to keep your storage space organized and clutter-free.
Instructions
To begin, collect all necessary materials and disassemble the photo frame to access its internal components. Record the frame’s dimensions, taking note of any unique features or irregular shapes that may affect the placement of the shelf liner. Cut a piece of liner slightly larger than the frame’s proportions to allow for ease of installation later on. This will help ensure a secure fit and prevent wrinkles or creases from forming.
Next, turn the photo frame over to create a white backdrop or use alternative colored paper or photos as desired. Place the liner over the paper, ensuring it is centered and evenly spaced. Reassemble the frame by placing the shelf back into its original position, followed by the cardboard protective cover. Secure both the paper and liner in place using the provided cover, taking care to align everything properly.