Are you surrounded by leftover tissue paper? Why not transform it into beautiful flowers to adorn your home? Working with tissue paper can be a delightful experience, as its texture and flexibility allow for creative experimentation. However, when crafting delicate-looking blooms like those featured here, the process may require some finesse. Fear not, for these tissue paper flowers are surprisingly straightforward to create.
As you work on your first few, you’ll quickly become confident in your abilities, and before long, you’ll find yourself struggling to stop at just a handful!
Supplies and Tools You’ll Need
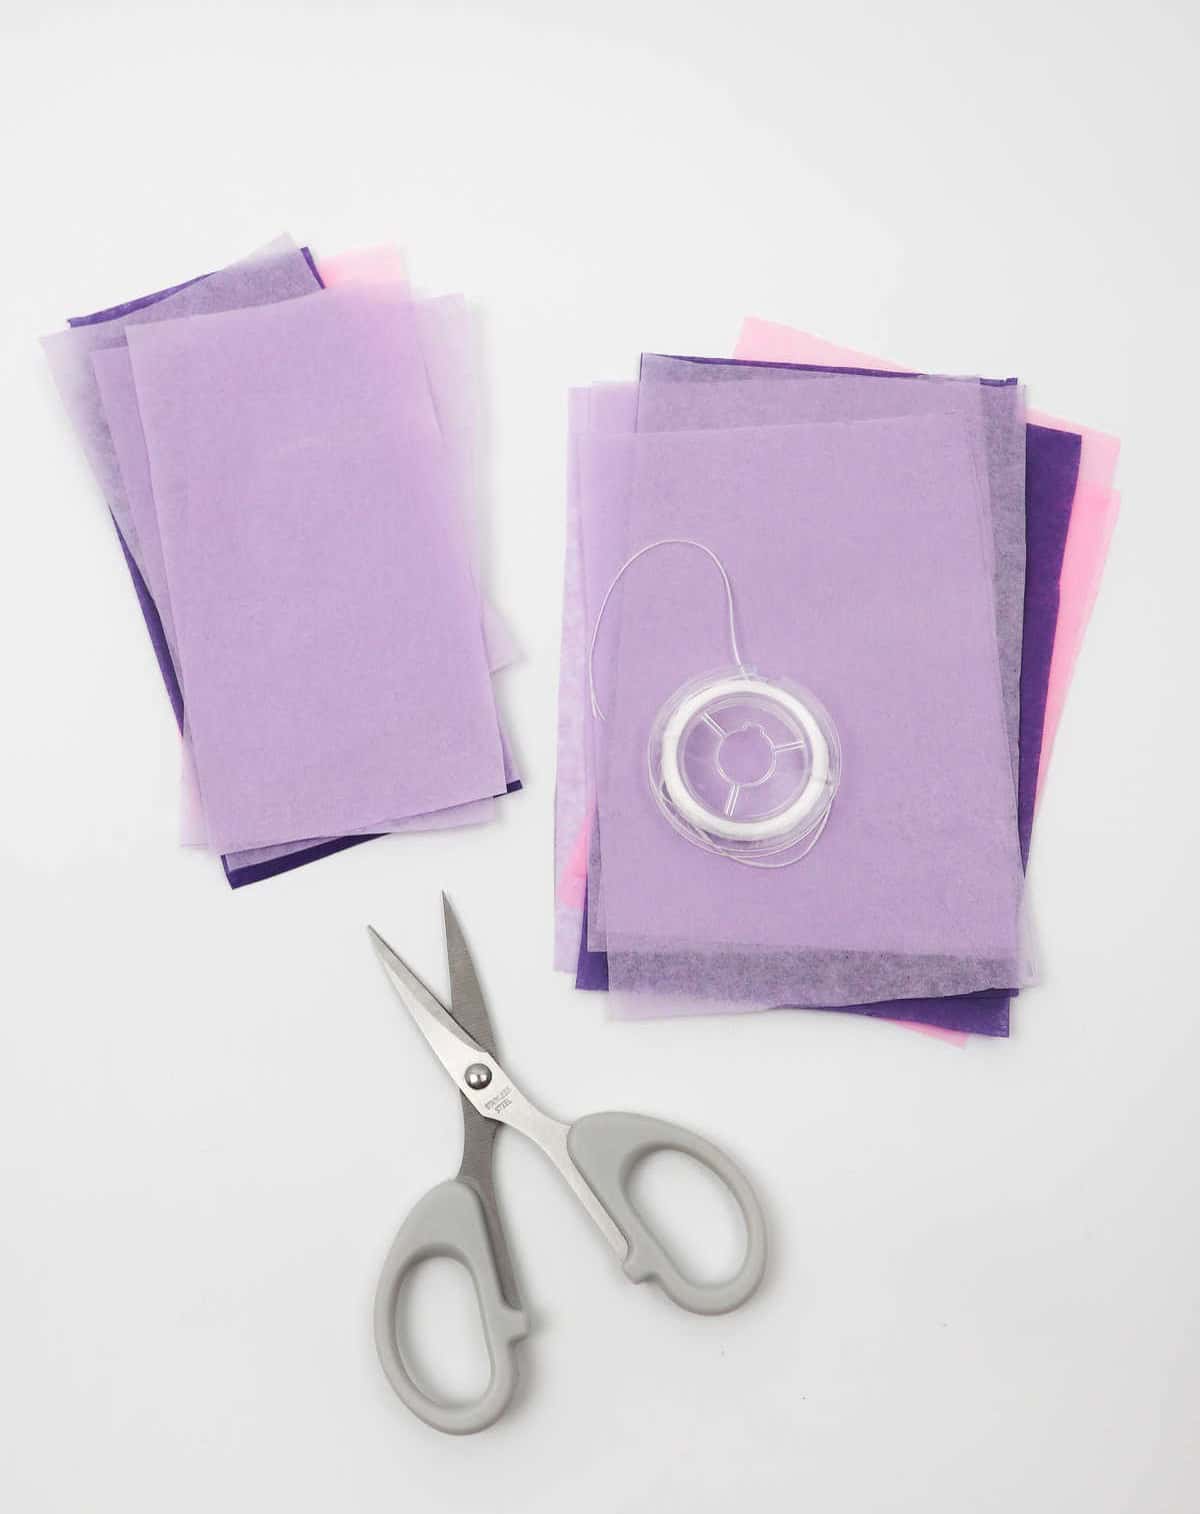
To get started with this project, gather the necessary supplies. For a small flower, you’ll need 7 pieces of tissue paper, each measuring 3 inches by 5 inches. If you’re creating a larger flower, you’ll require 8 pieces, measuring 4 inches by 6 inches. Additionally, make sure to have scissors and thread at your disposal.
How to Make Tissue Paper Flowers
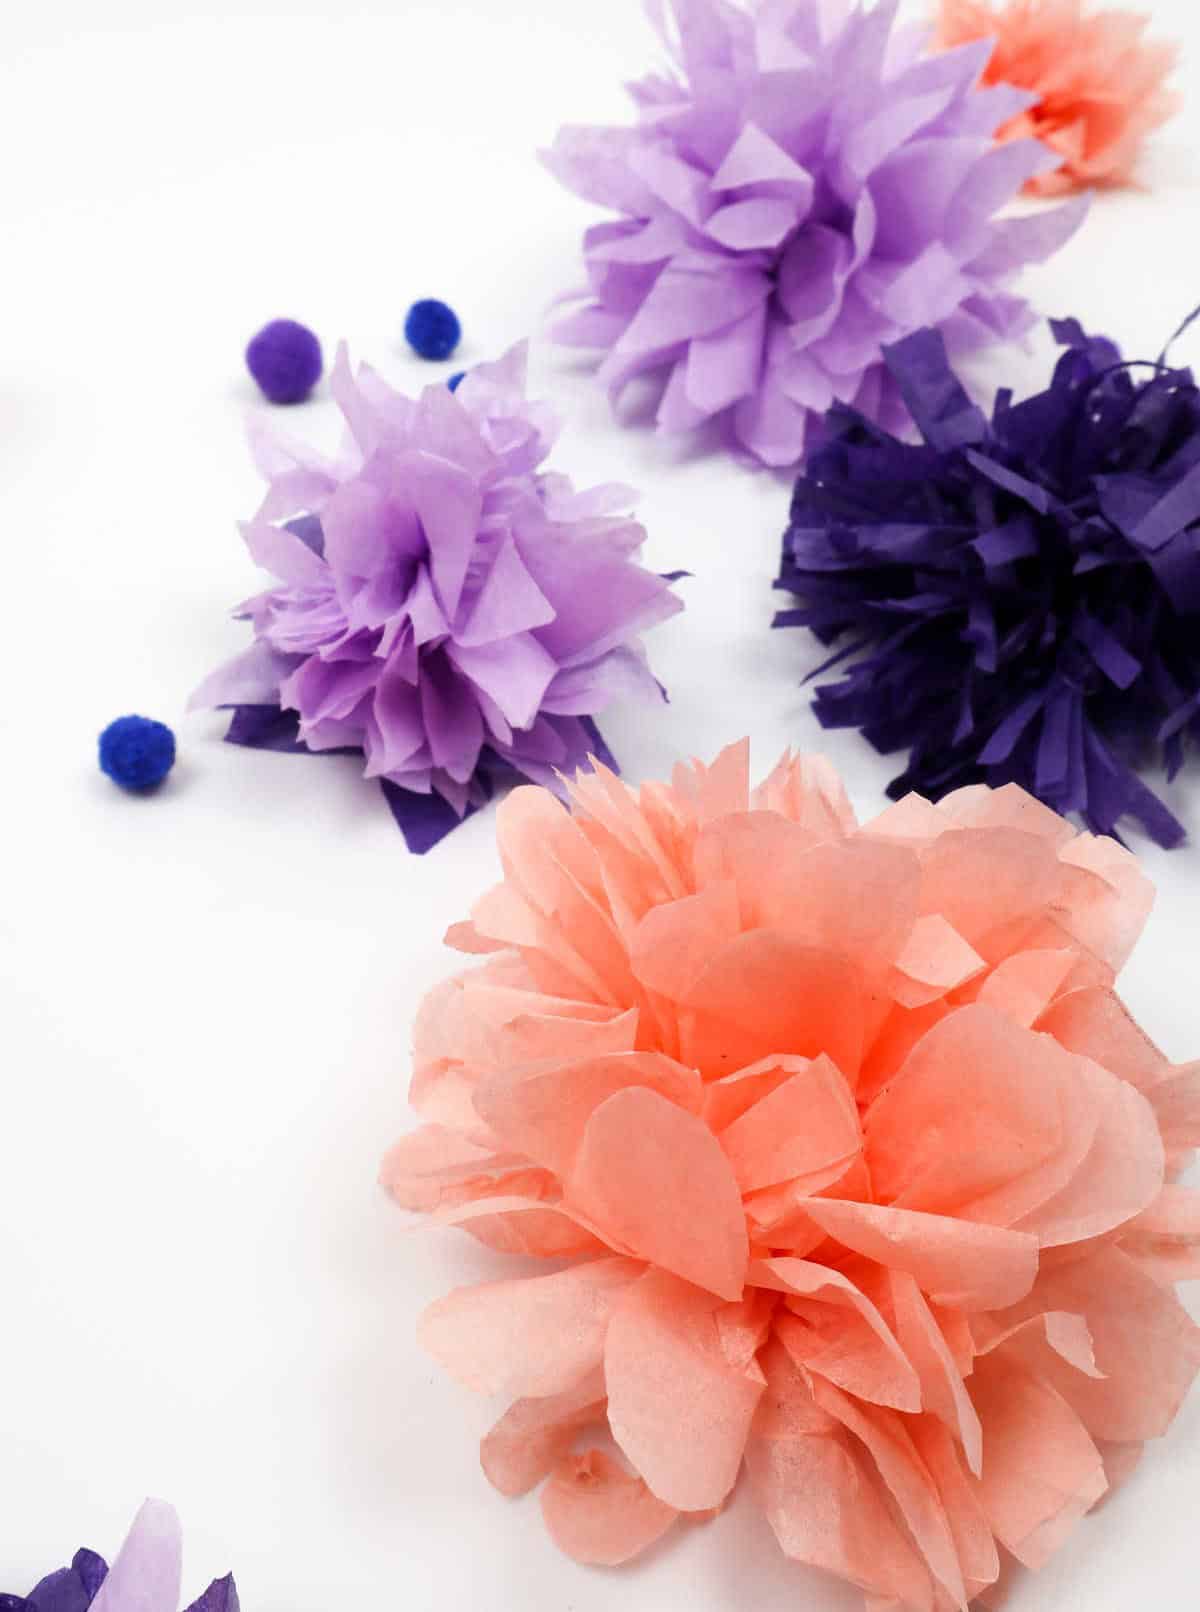
To elevate your flower creations, experiment with a variety of colors. A crucial step in achieving this is layering the petals with different shades and hues, allowing each petal to shine in its own unique way.
Step 1

When starting your tissue paper flower crafting journey, it’s essential to begin by selecting the colors of your tissue papers. As you’ll be layering them on top of each other, the choice of color at this stage can greatly impact the overall appearance of your finished blooms. Don’t be afraid to get creative and experiment with different hues – the more layers you add, the thicker and more textured the final product will be.
Step 2
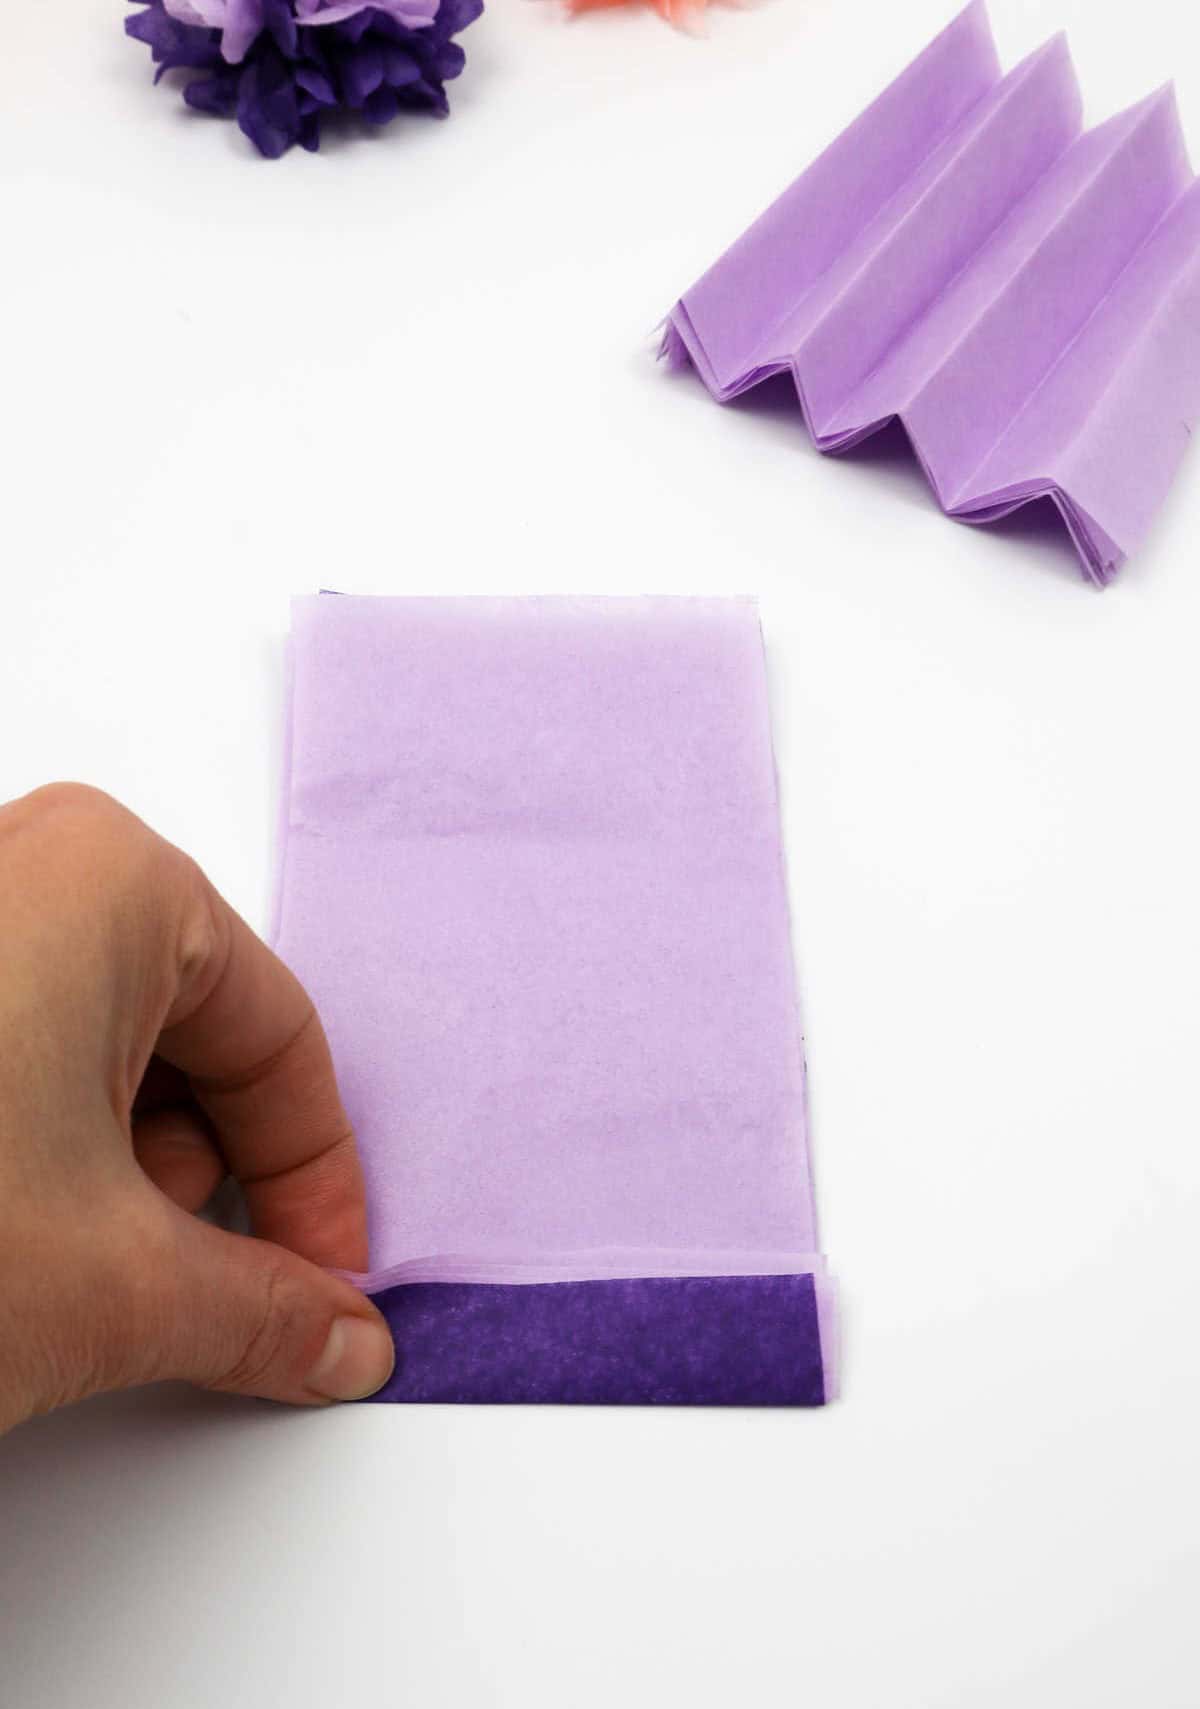
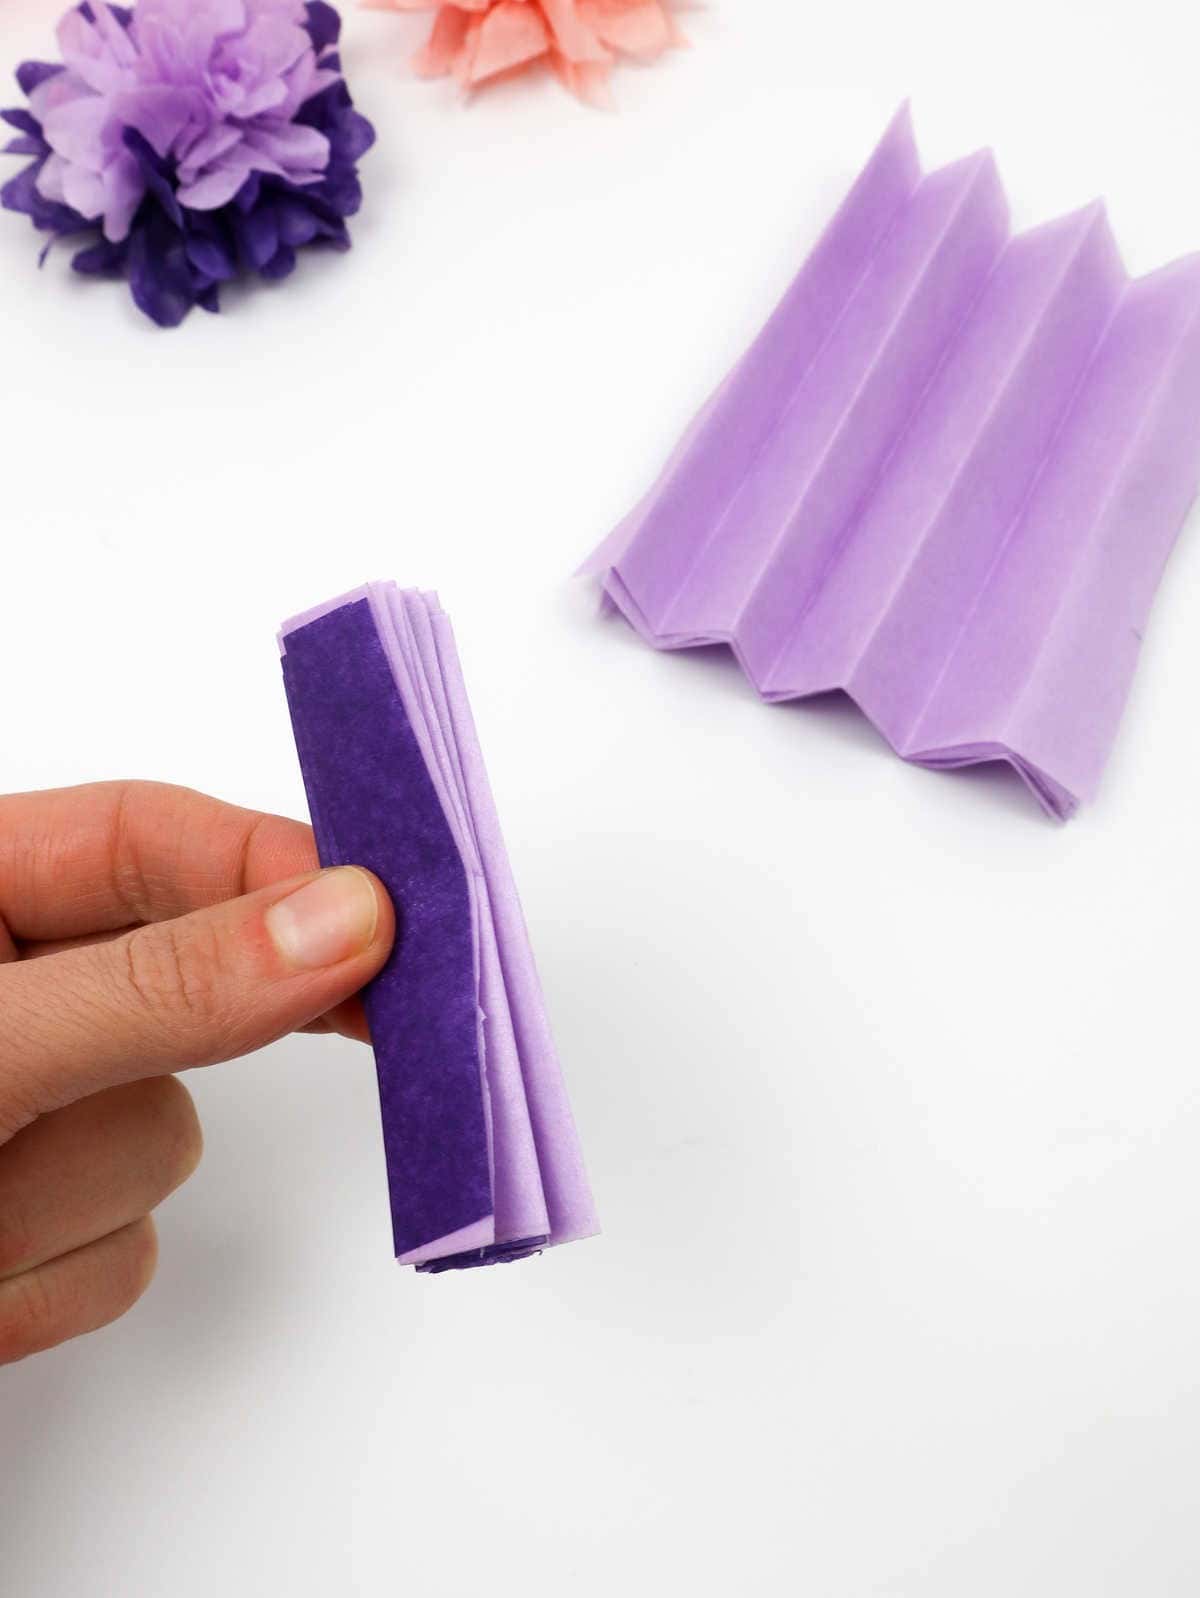
To complete the intricate tissue paper structure, begin by grasping one end of the stacked sheets and initiate the folding process. The objective is to create a uniform, accordion-like shape, where each sheet is folded inward in a consistent manner, much like creating a fan. Start by folding your entire stack into these desired fan-like formations, ensuring each sheet aligns smoothly with its neighbors as you progress.
Step 3
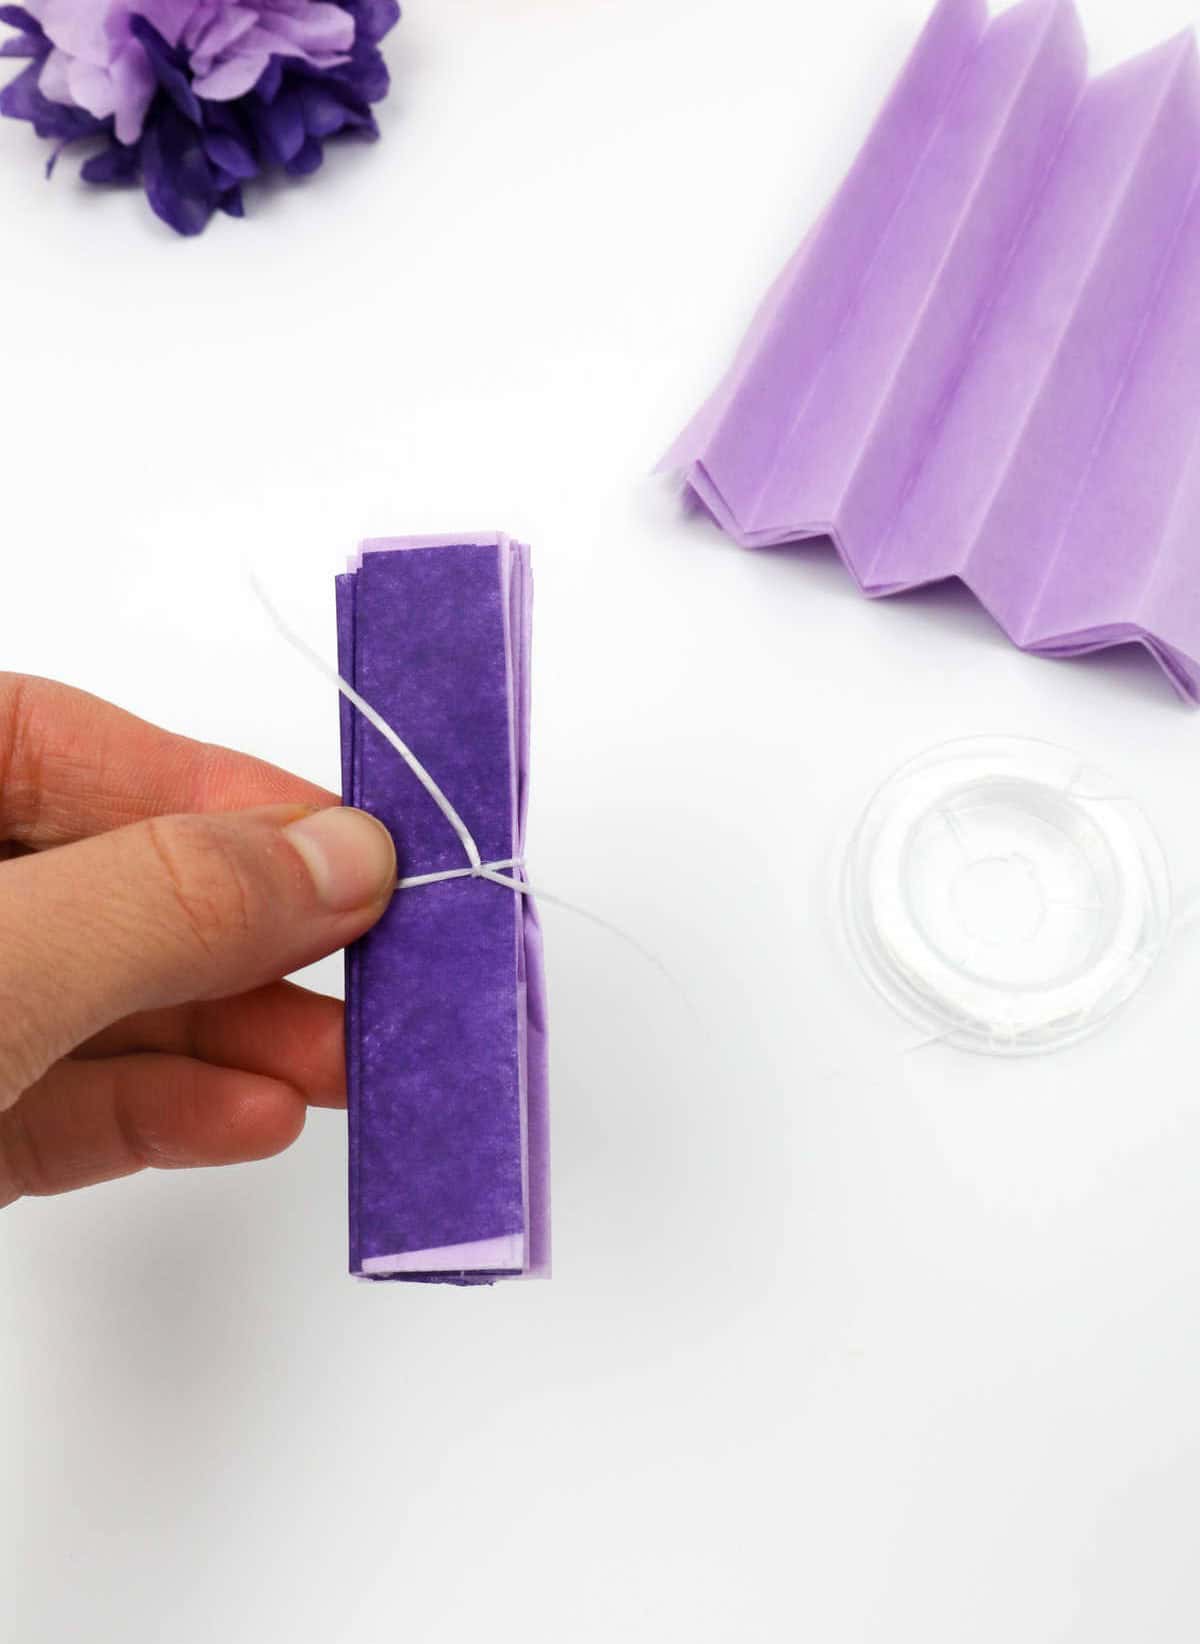
To proceed, take a small amount of thread or string and secure it around the midpoint of each folded sheet. This process applies not only to individual sheets but also to any stacks of sheets you’ve previously created. By doing so, you’ll be creating cohesion among your folds, allowing for easier handling and storage.
Step 4
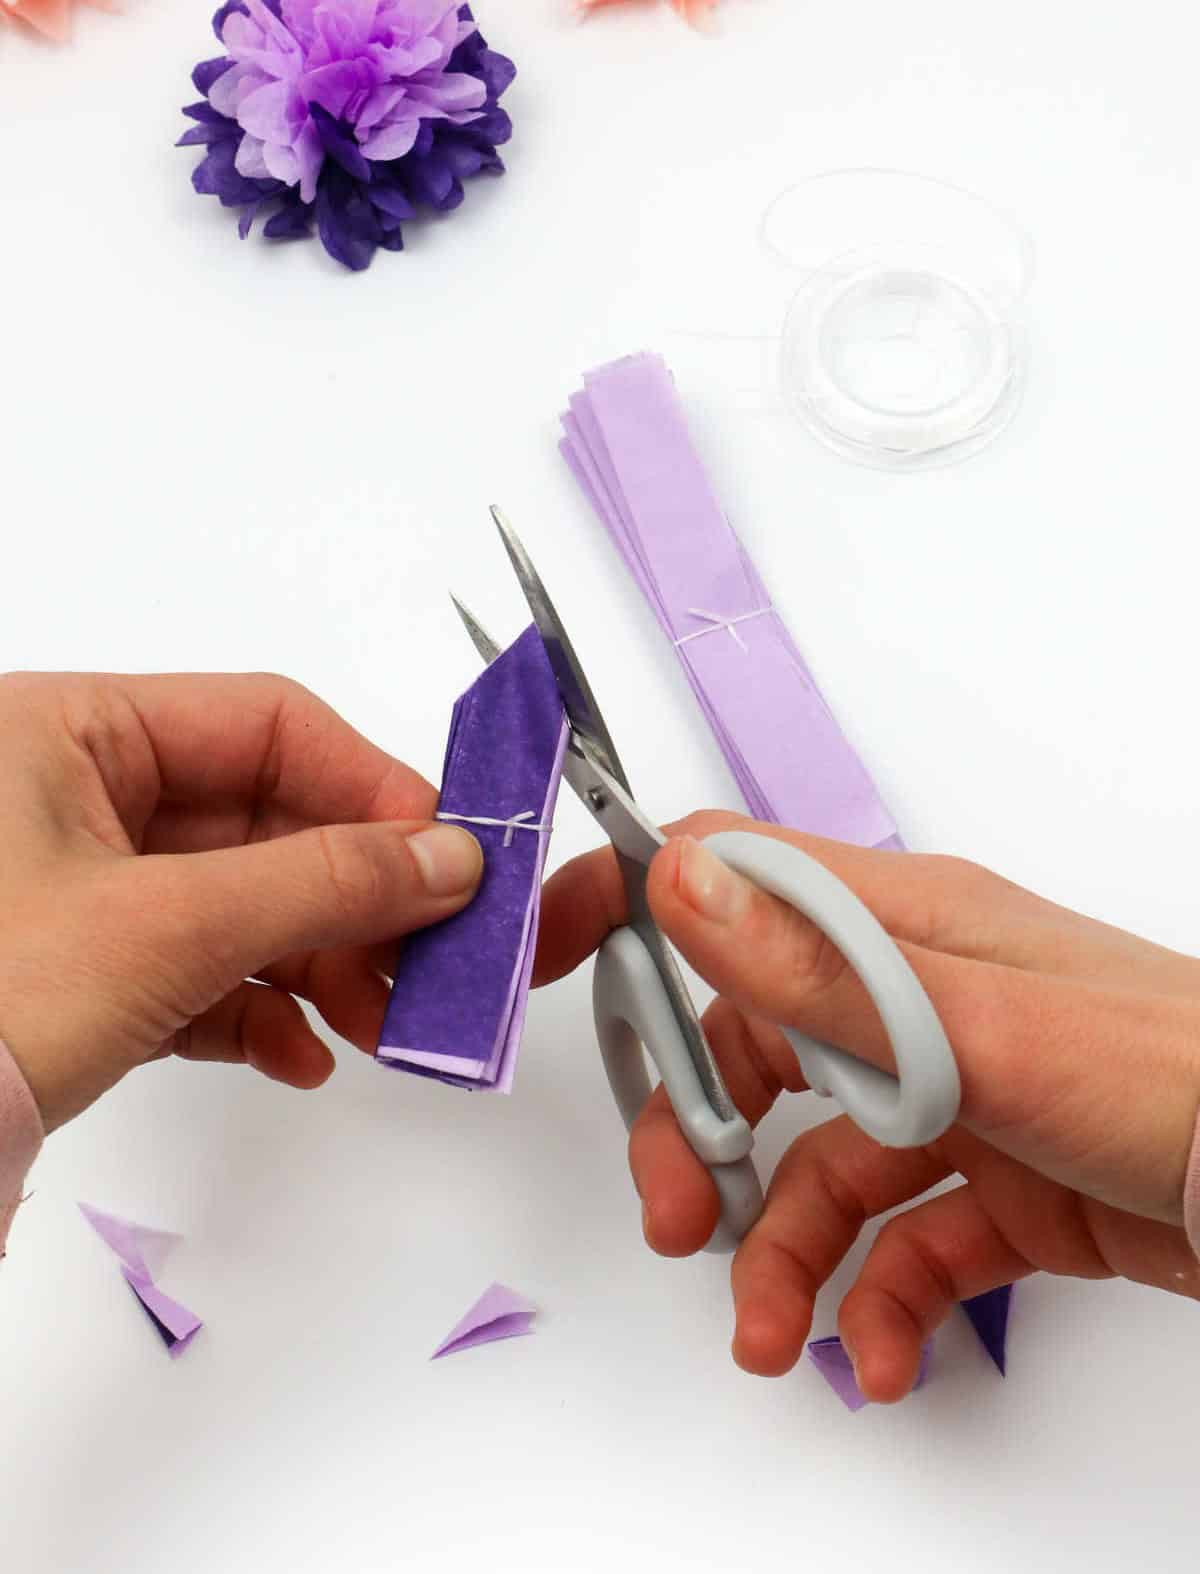
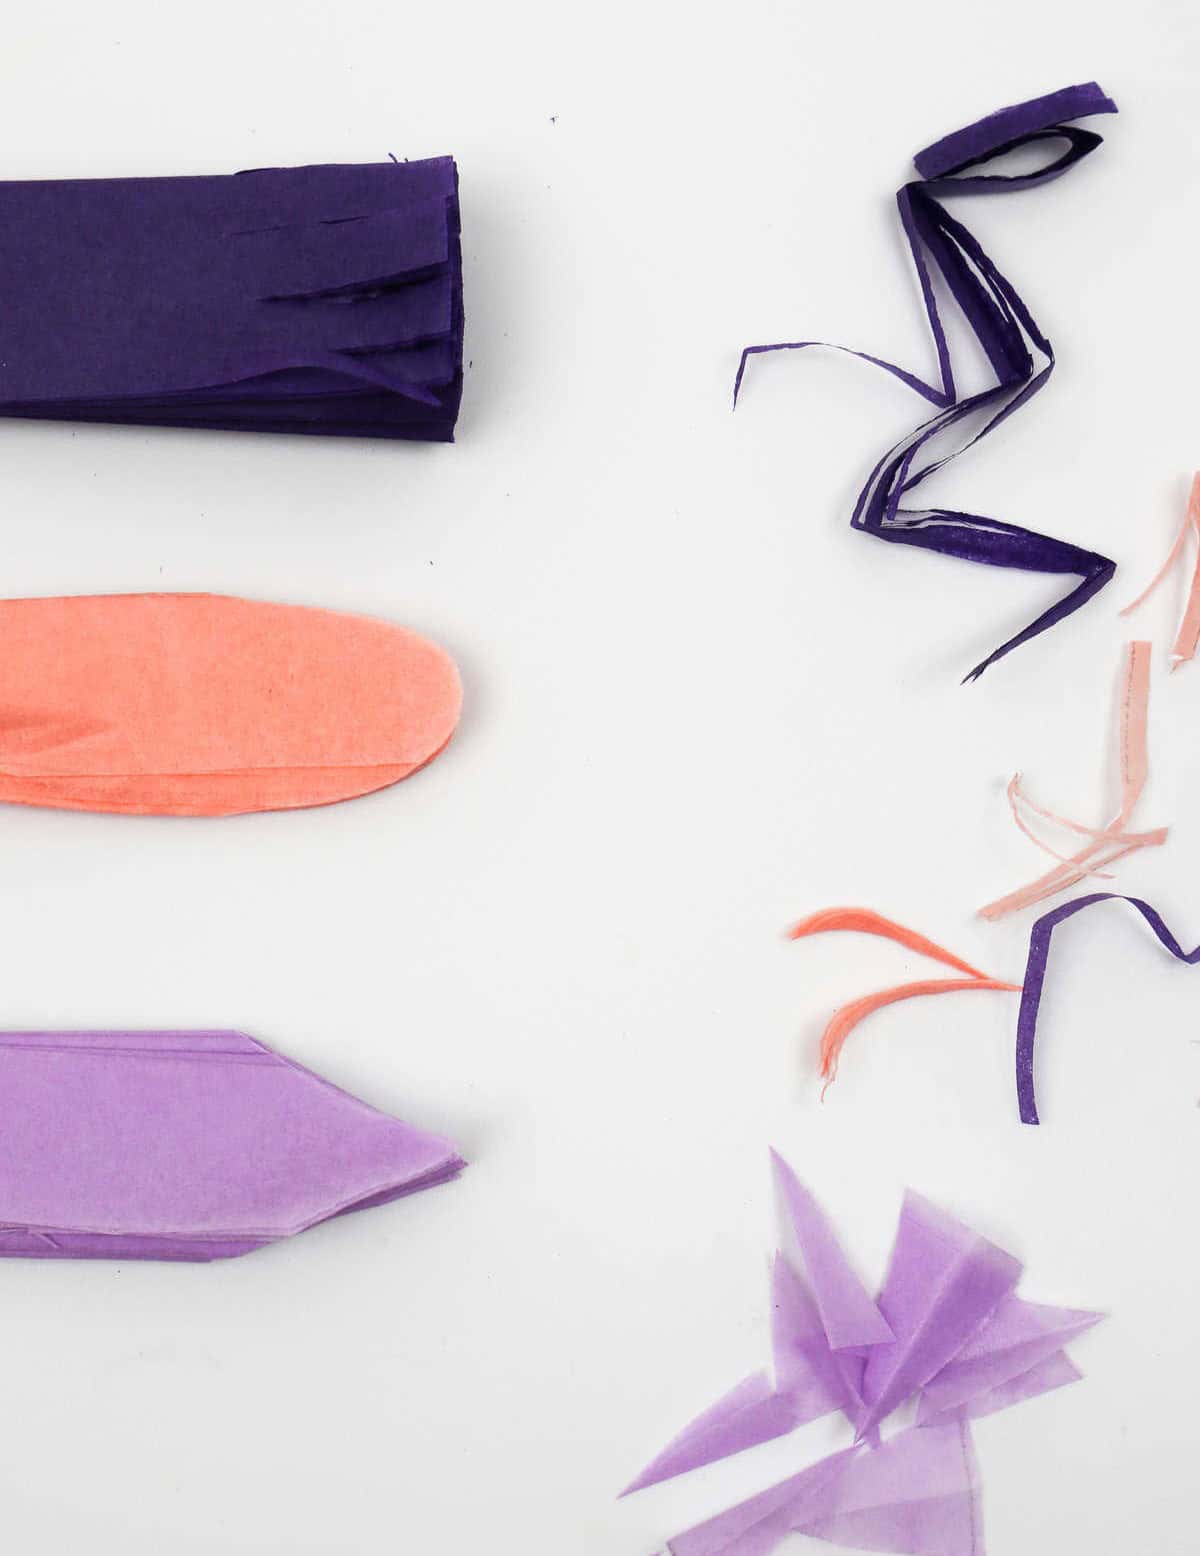
To give your paper flowers some added character, try cutting the edges of each stack with scissors. Don’t be afraid to get creative here – the way you cut the paper will determine the unique shape your flowers take on when they’re unfurled. You can experiment with different techniques, such as tapering the edges in a V-shape, curving them into a U-shape or even cutting them into striped ends like shown below.
Step 5

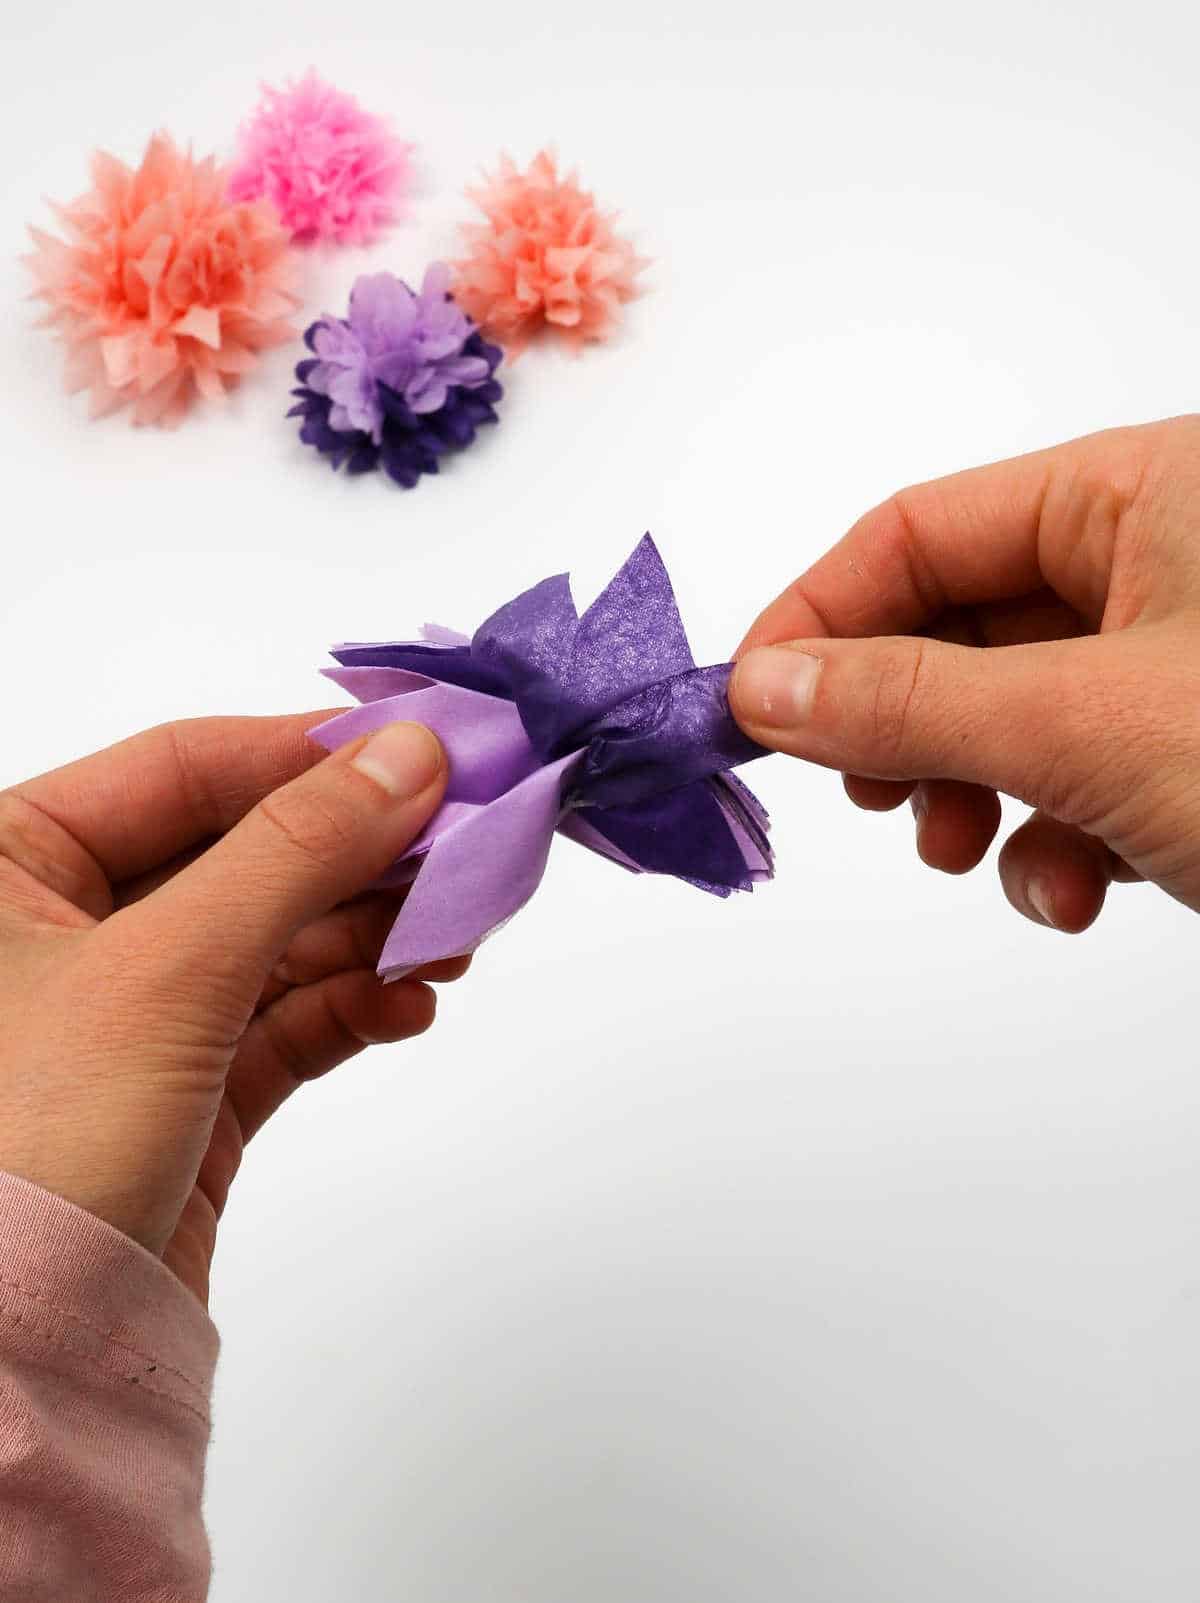
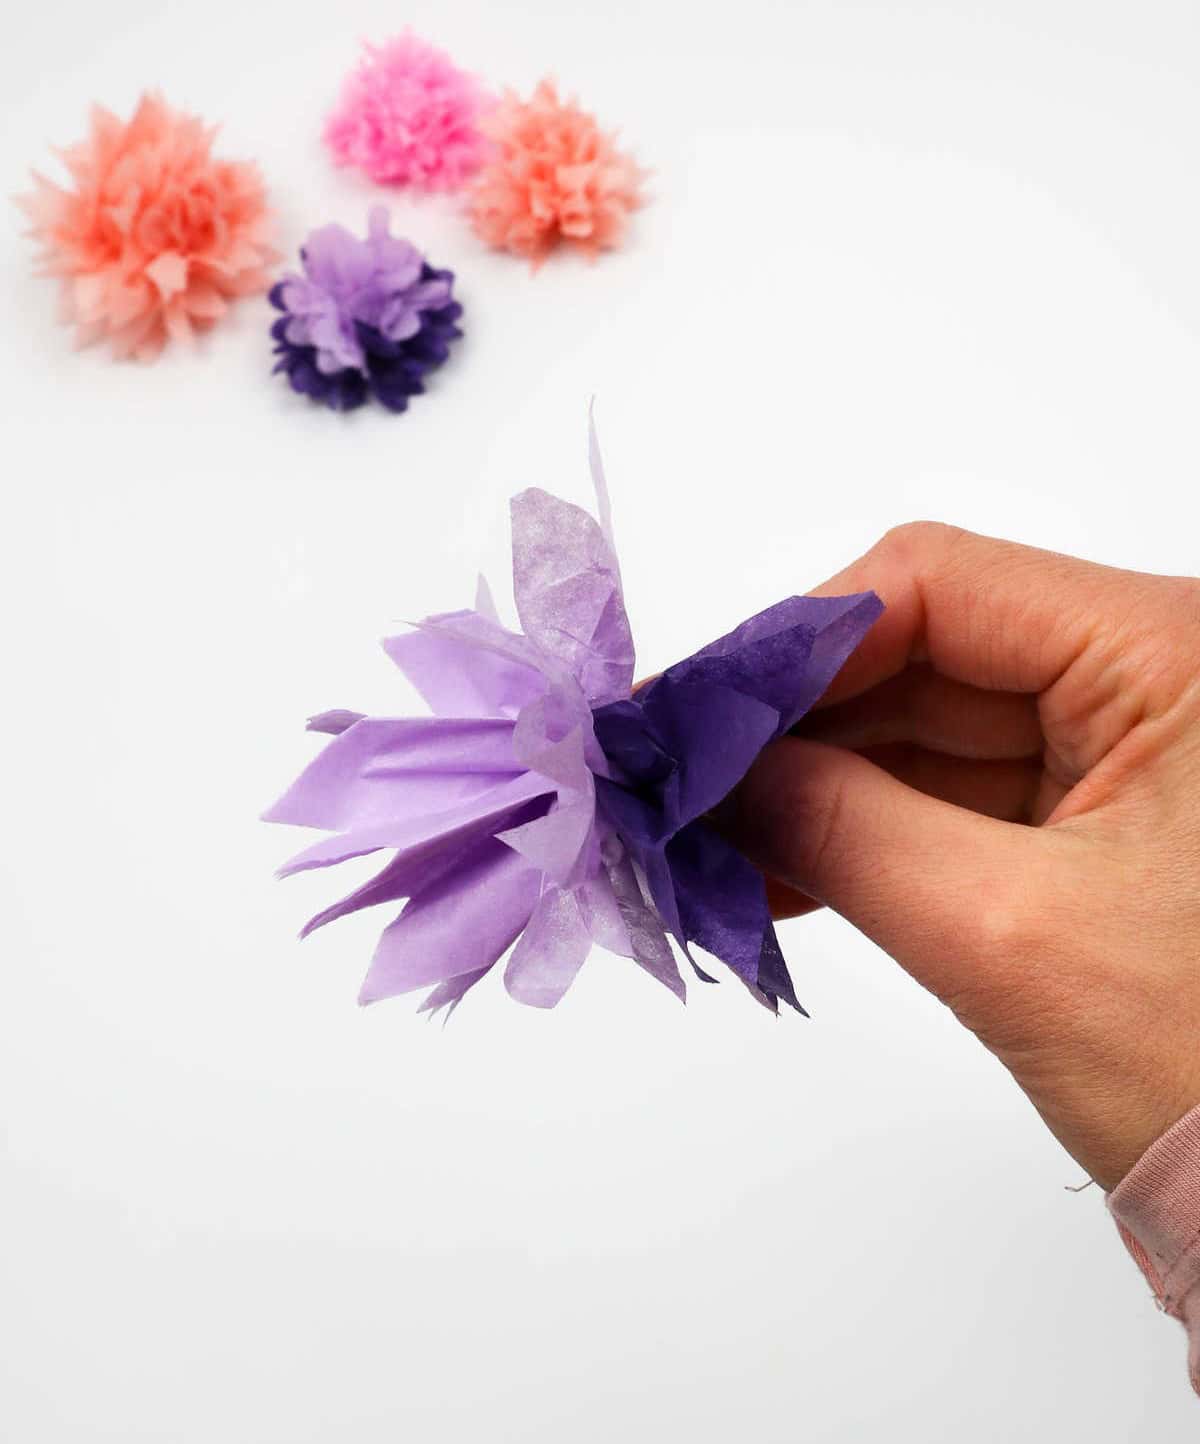
With deliberate precision, slowly unwind the paper, starting from one end and working your way around until all the layers are separated and spread out before you. Each individual petal of paper should be carefully opened up and distinct from its previously stacked counterparts. If you’ve incorporated multiple colors into your tissue design, consider unfolding them in the same order you initially stacked them to preserve the intended color sequence.
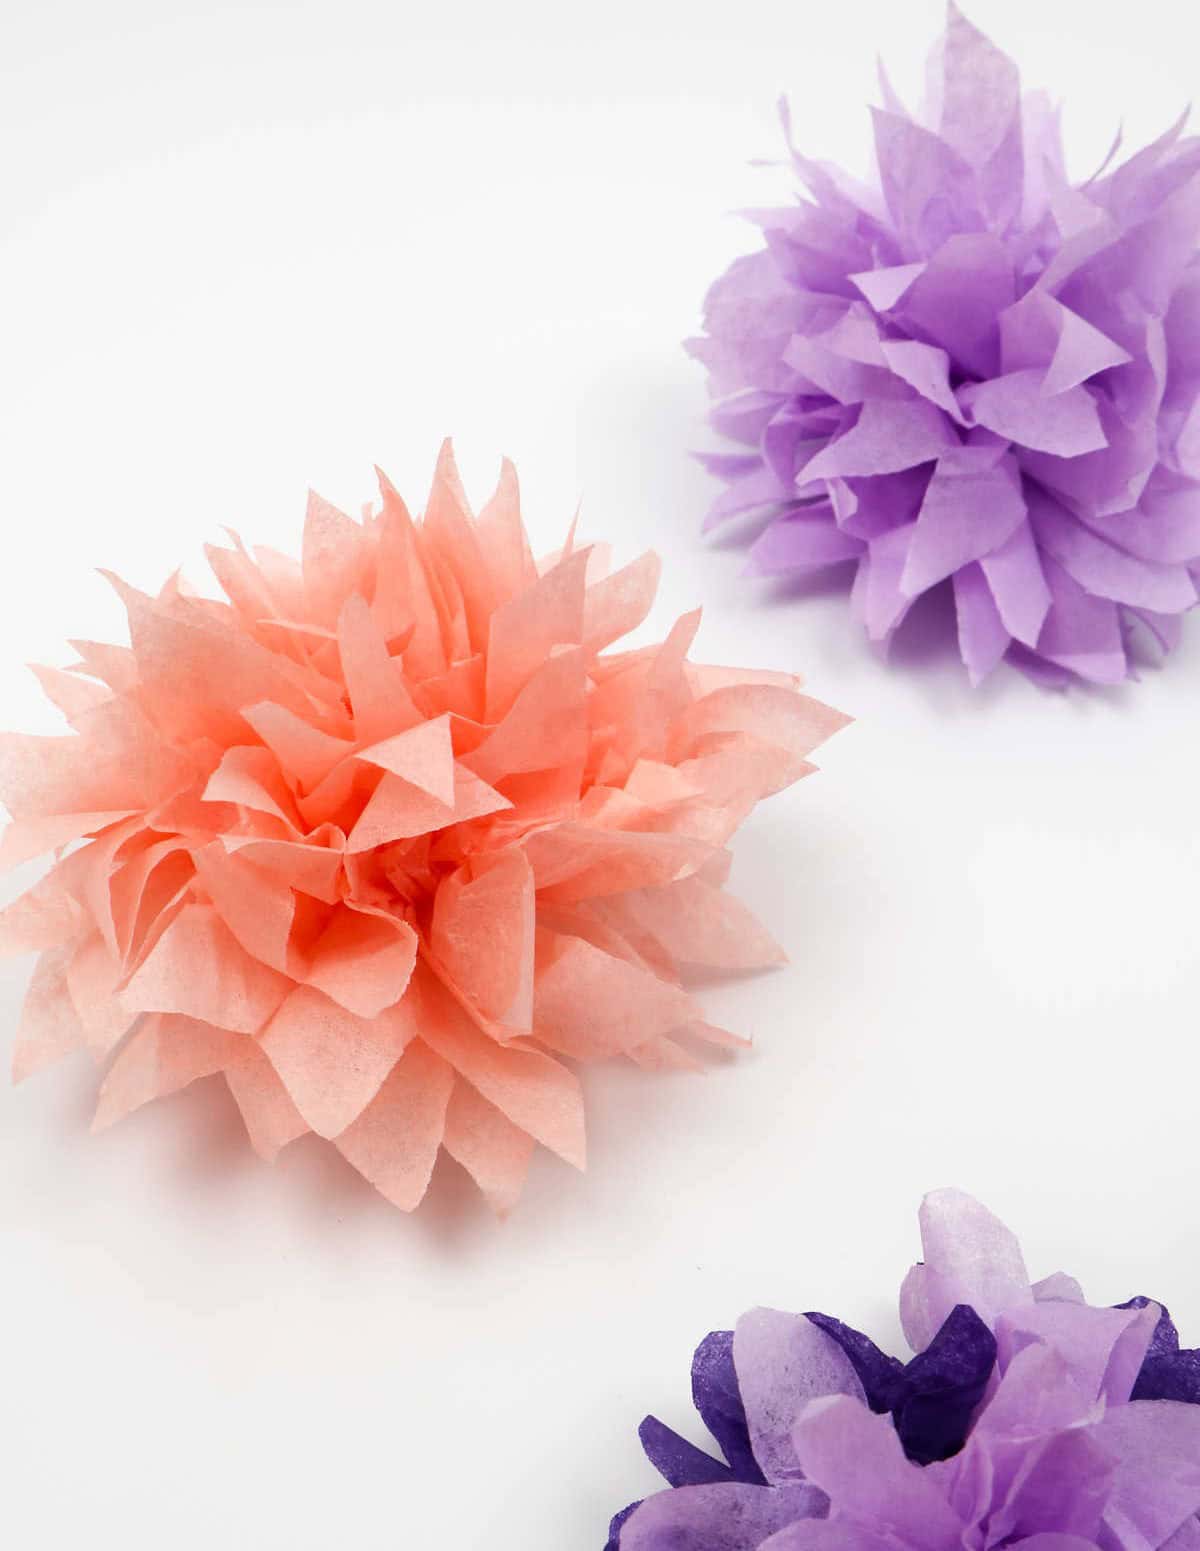
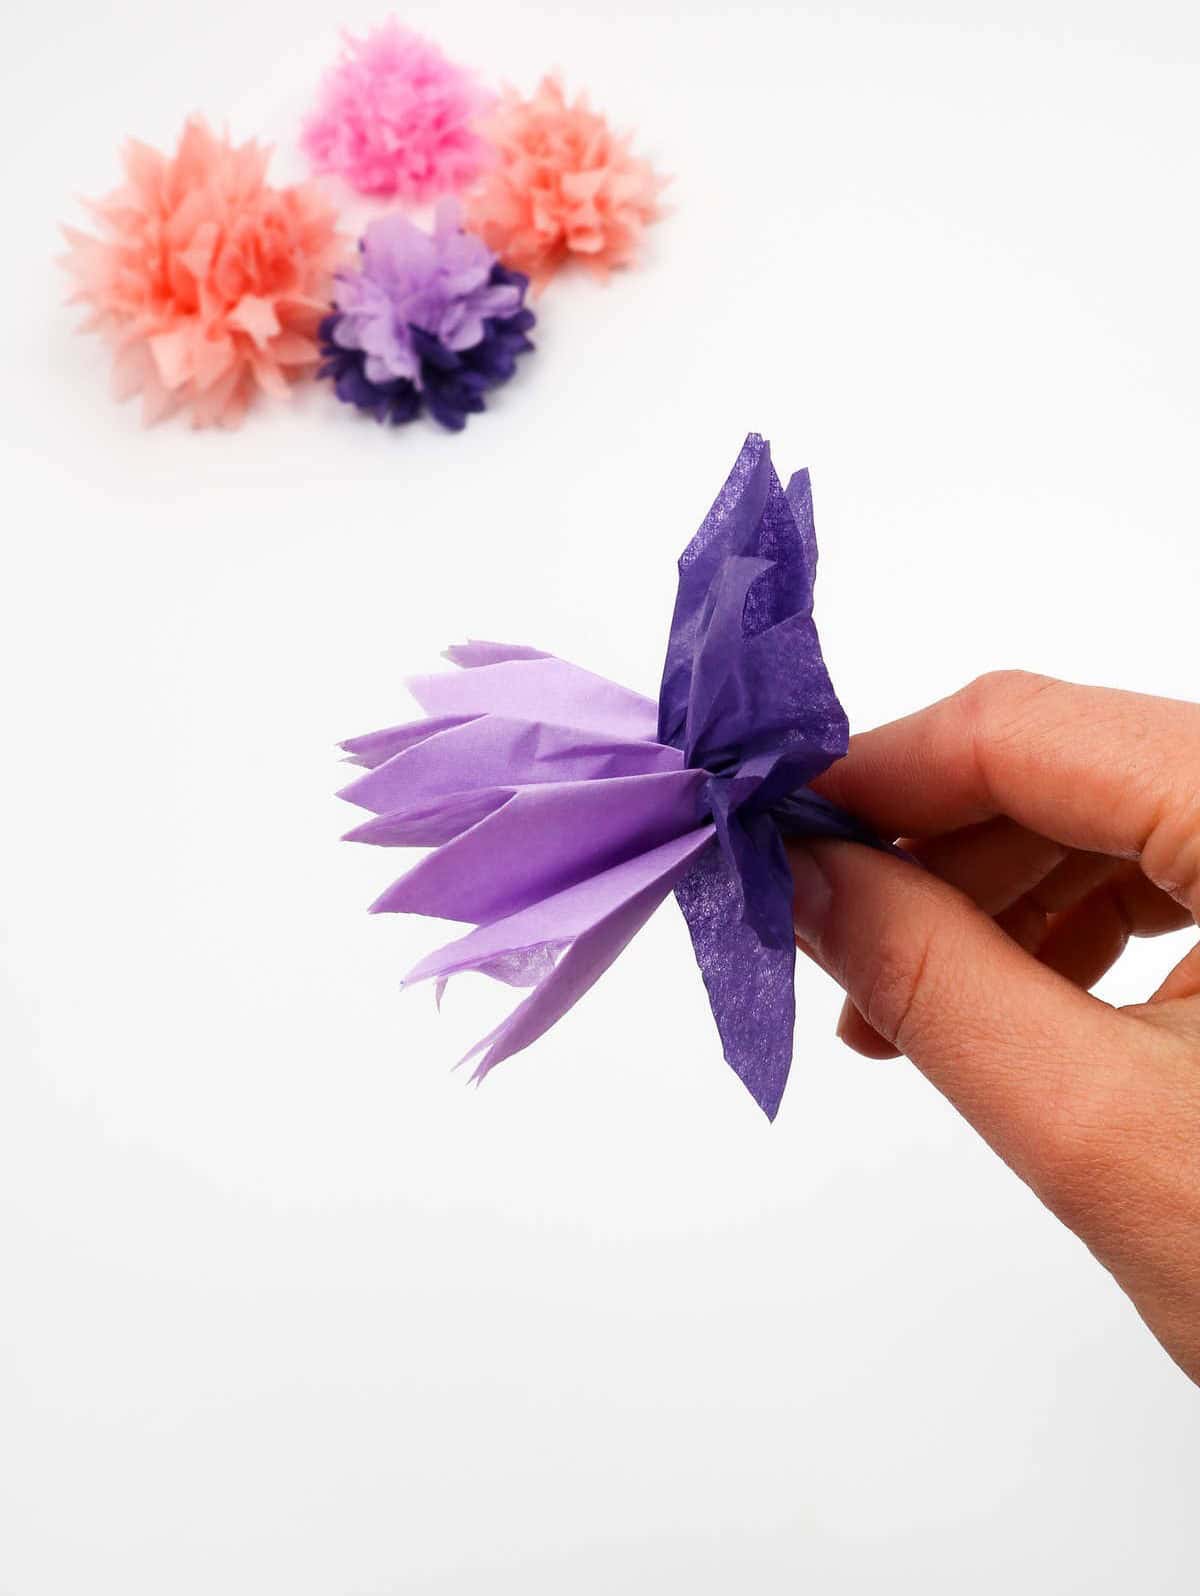
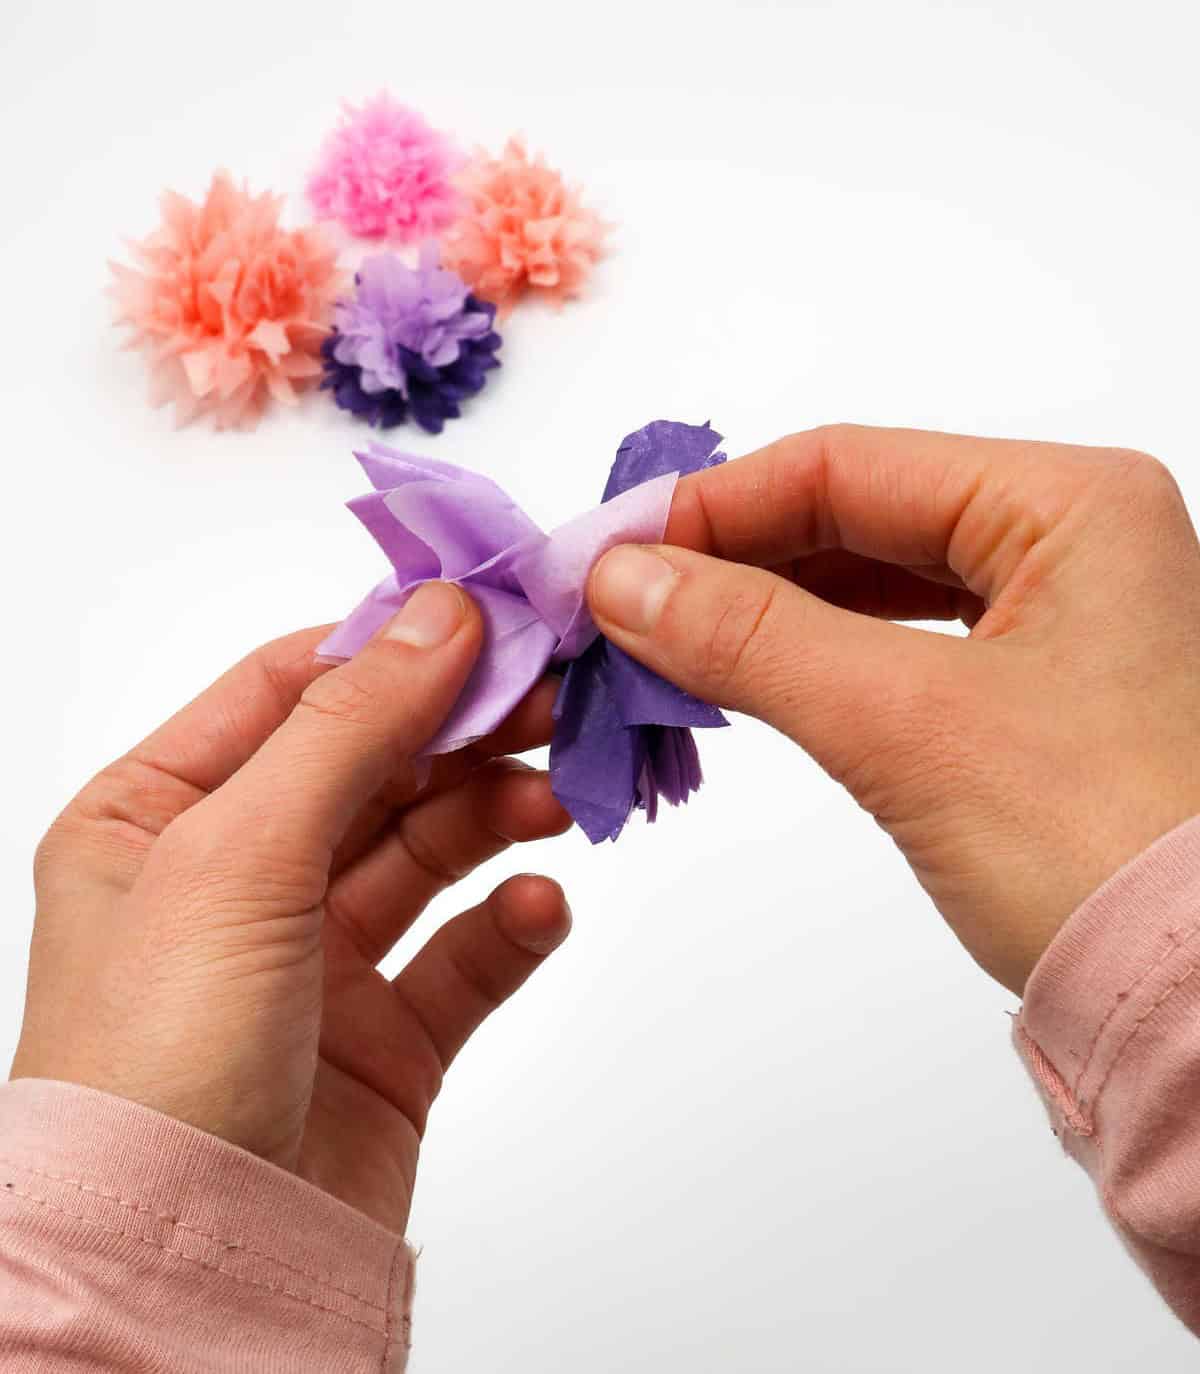
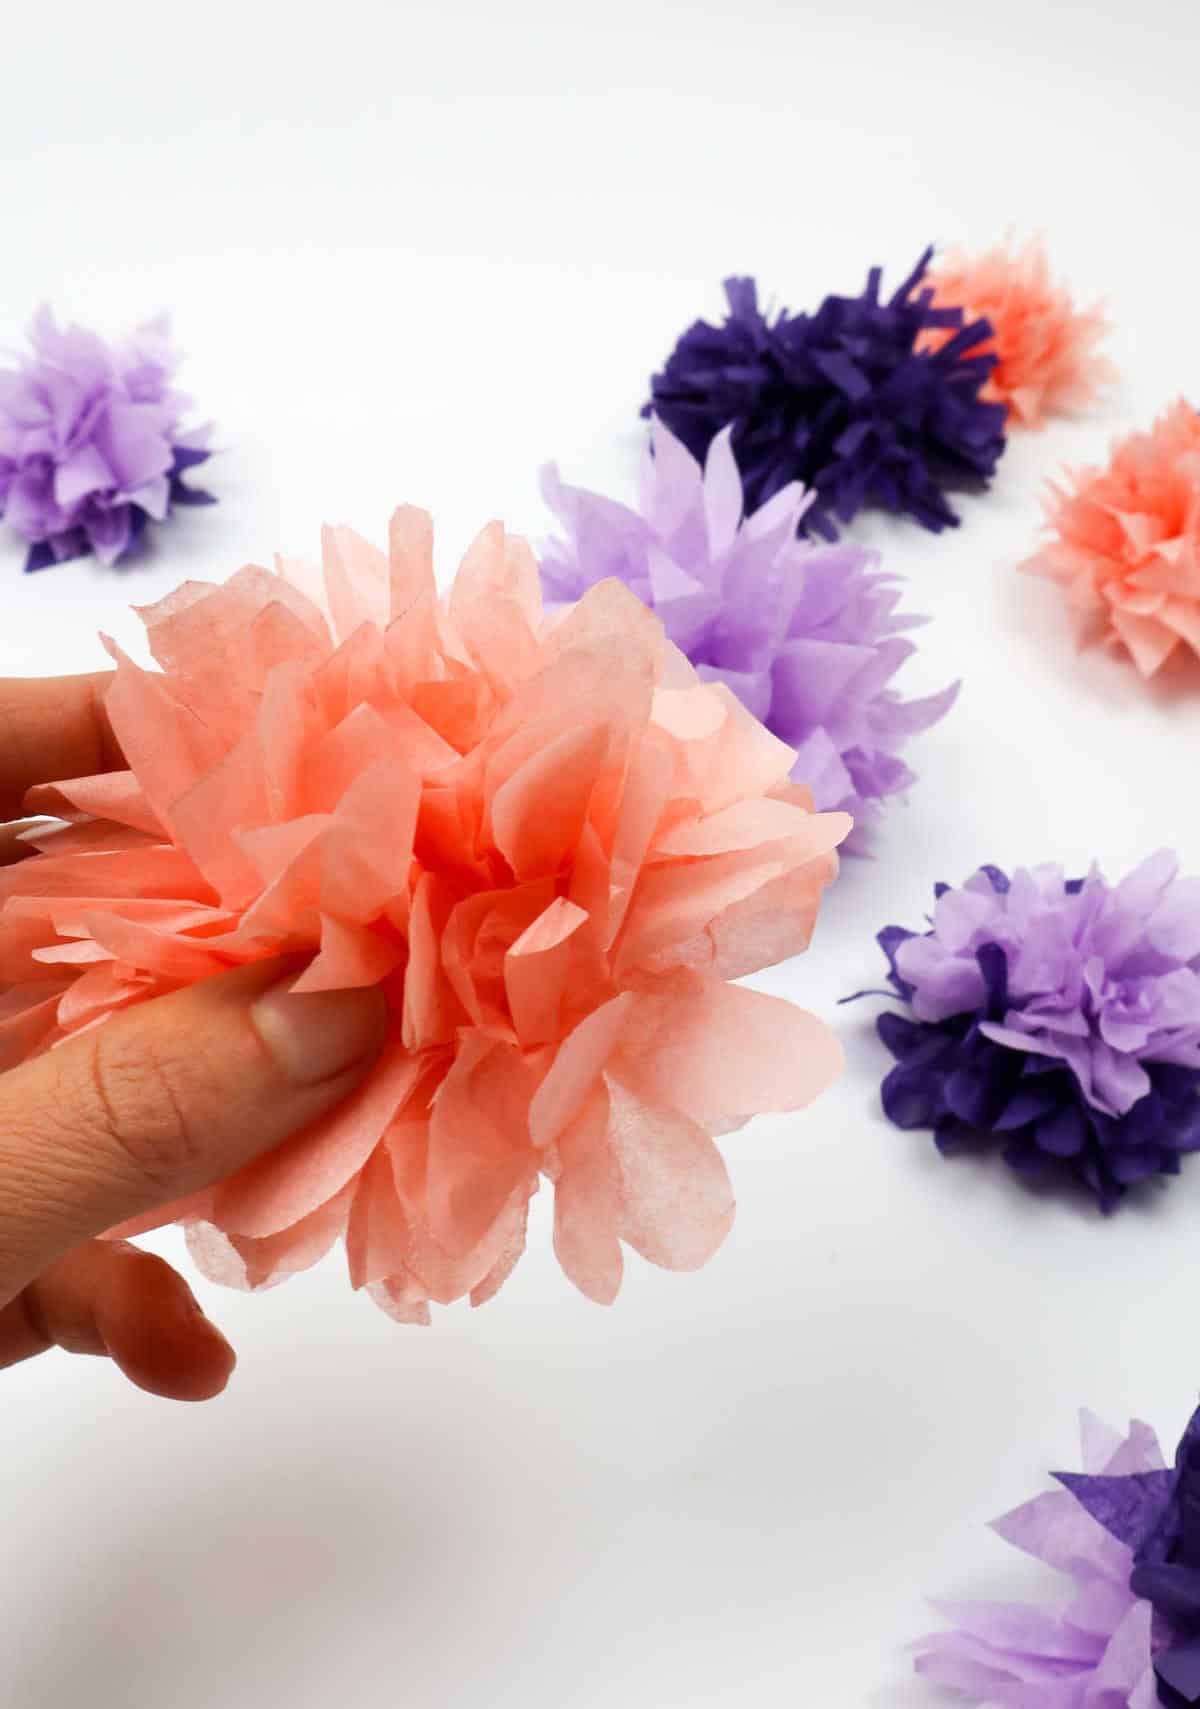
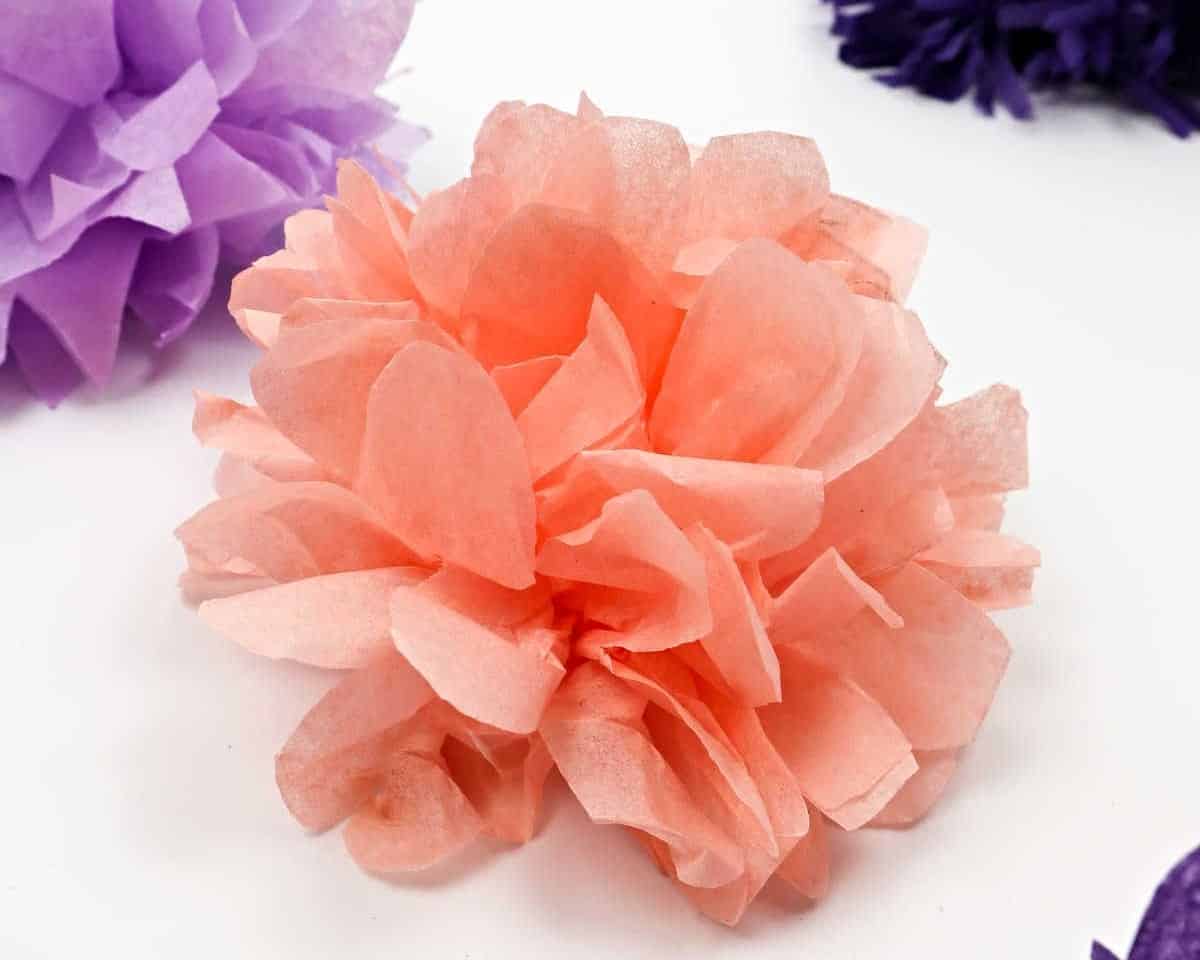
Step 6
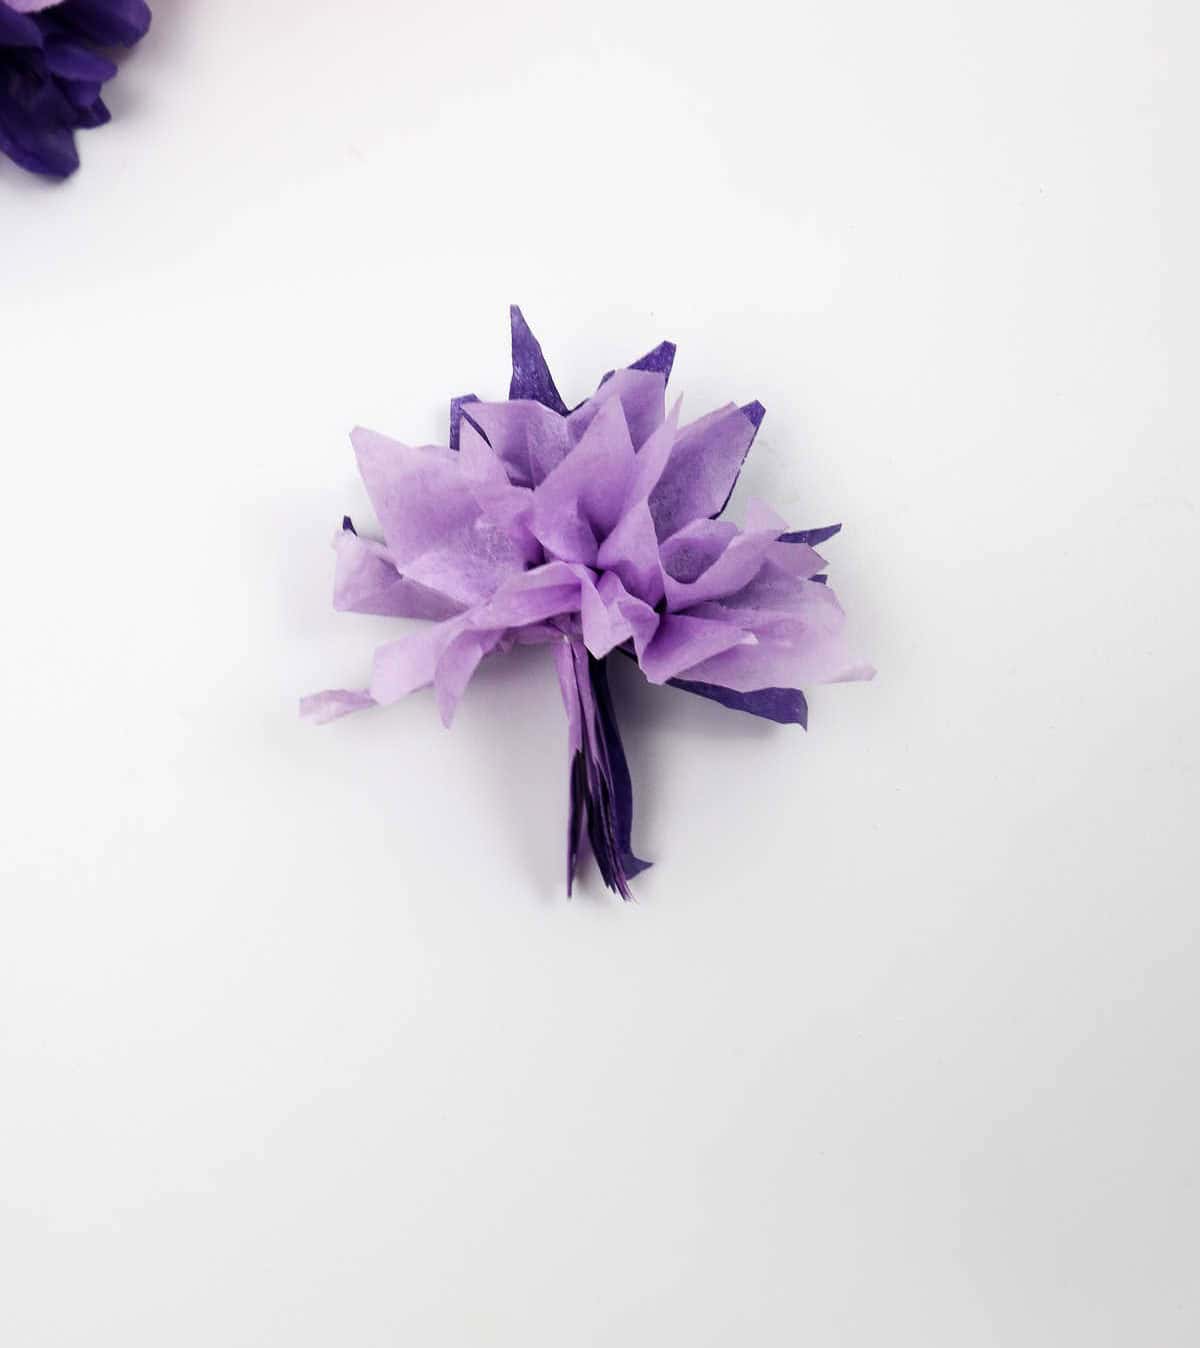
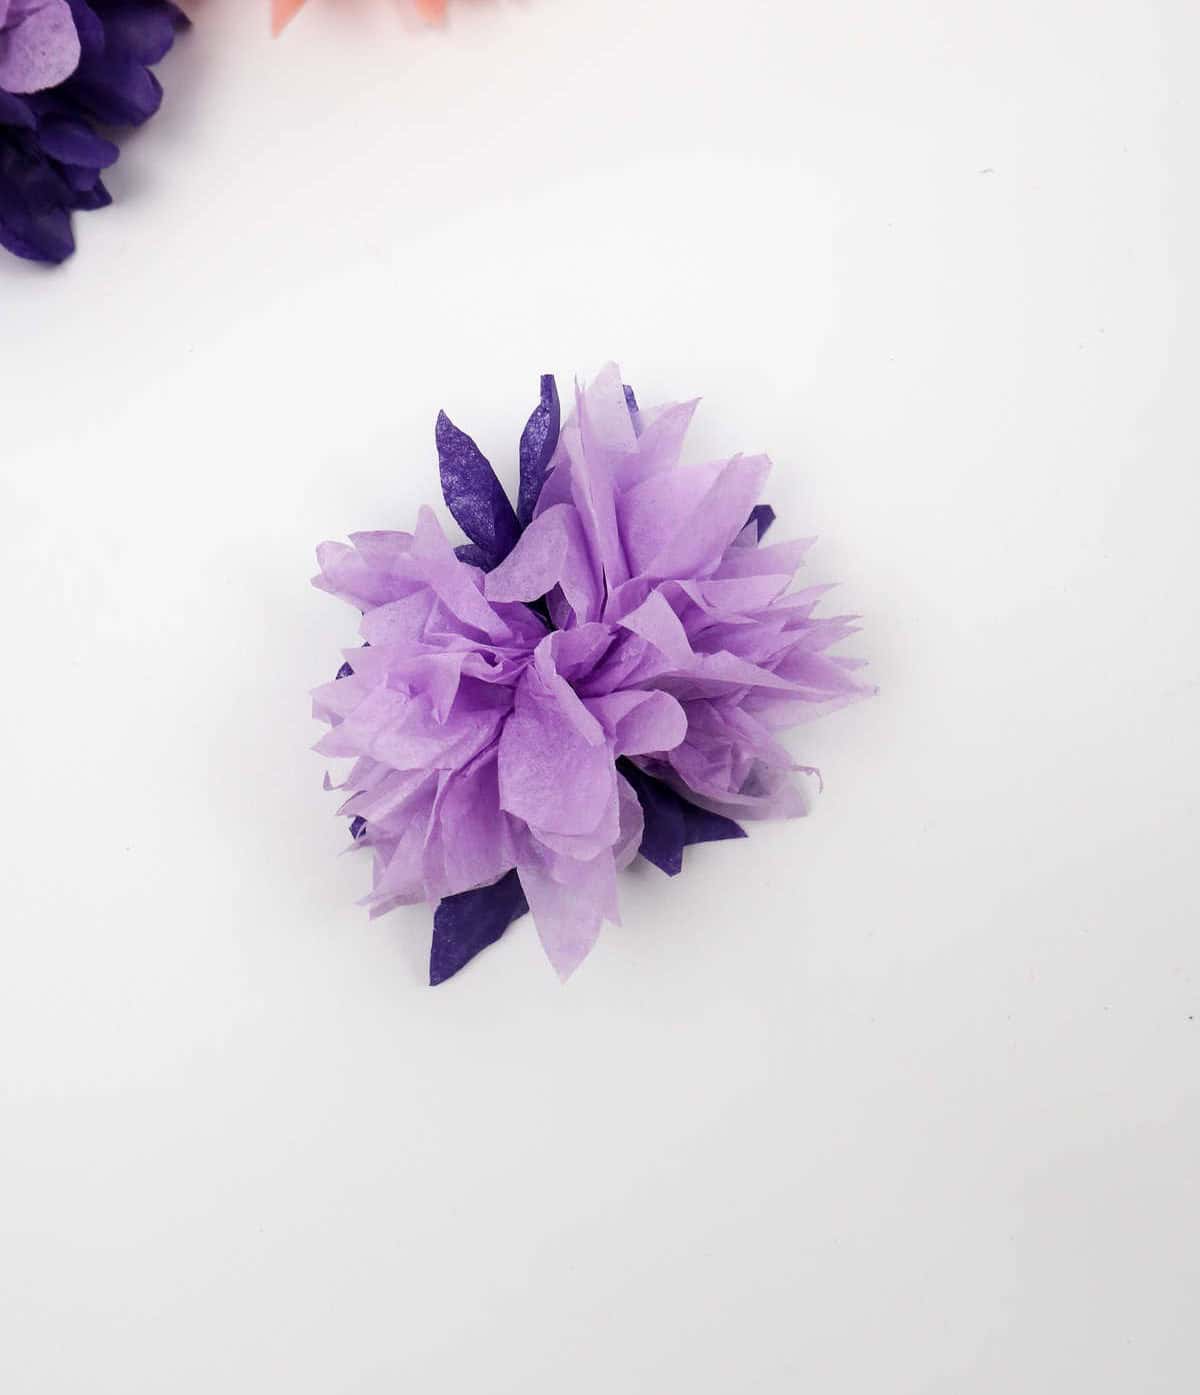
When you’ve successfully disentangled the top half of the flower’s layers, you’ll be left with a delicate, petal-like structure. To replicate this effect for the lower half, aim to create a soft, ball-shaped arrangement. This subtle texture and dimension will complete the overall appearance of your tissue paper bloom. With just a few minor adjustments to your petals’ shape and a gentle puffing up of their edges, you’ll be ready to showcase your finished flower-inspired creation.
How Many Sheets of Tissue Paper Make a Flower?
When it comes to creating small to large-sized flowers using paper, a key factor to consider is the number of sheets used. A smaller flower typically requires between 7-9 sheets of paper, measuring approximately 3” x 5”. In contrast, a larger flower will need anywhere from 9-12 sheets of paper, with a size range of around 4” x 6”. The general guideline is that the more sheets you use, the thicker and larger your final product will be. This rule applies regardless of individual sheet sizes.
What Can You Use These Flowers For?
While often used for decorative purposes, these flowers also offer endless creative possibilities. By making a few ahead of time, you can stockpile them for future projects, saving valuable minutes when you need them most.
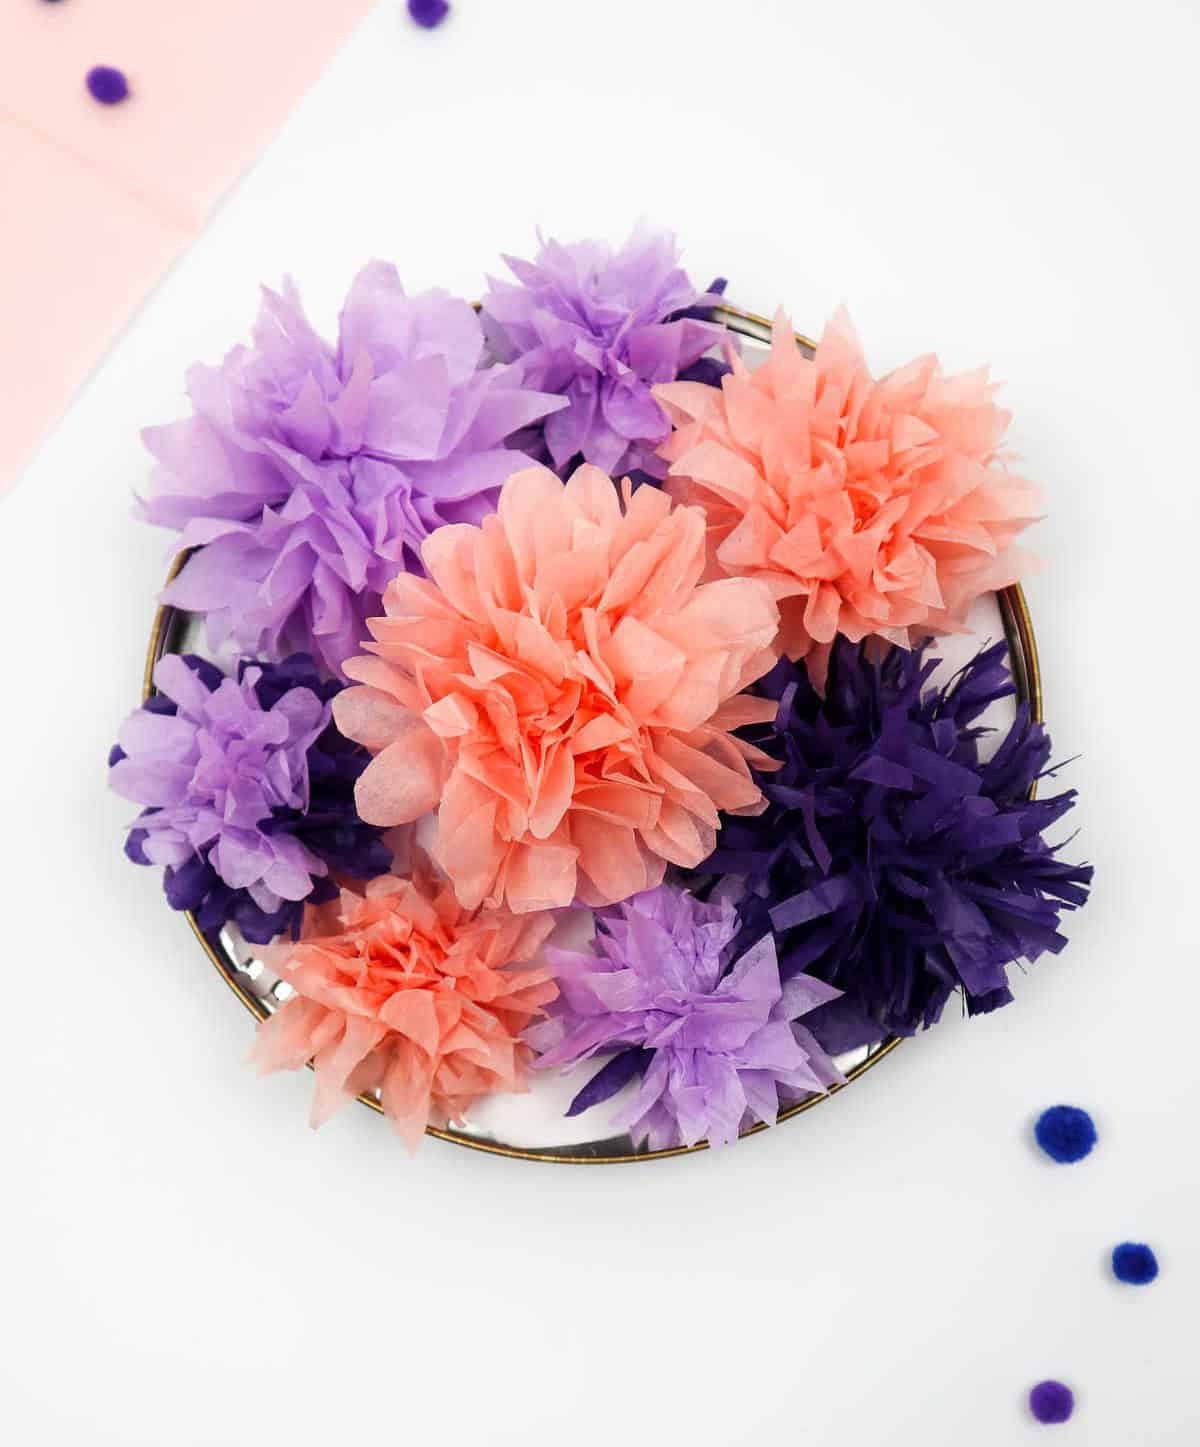
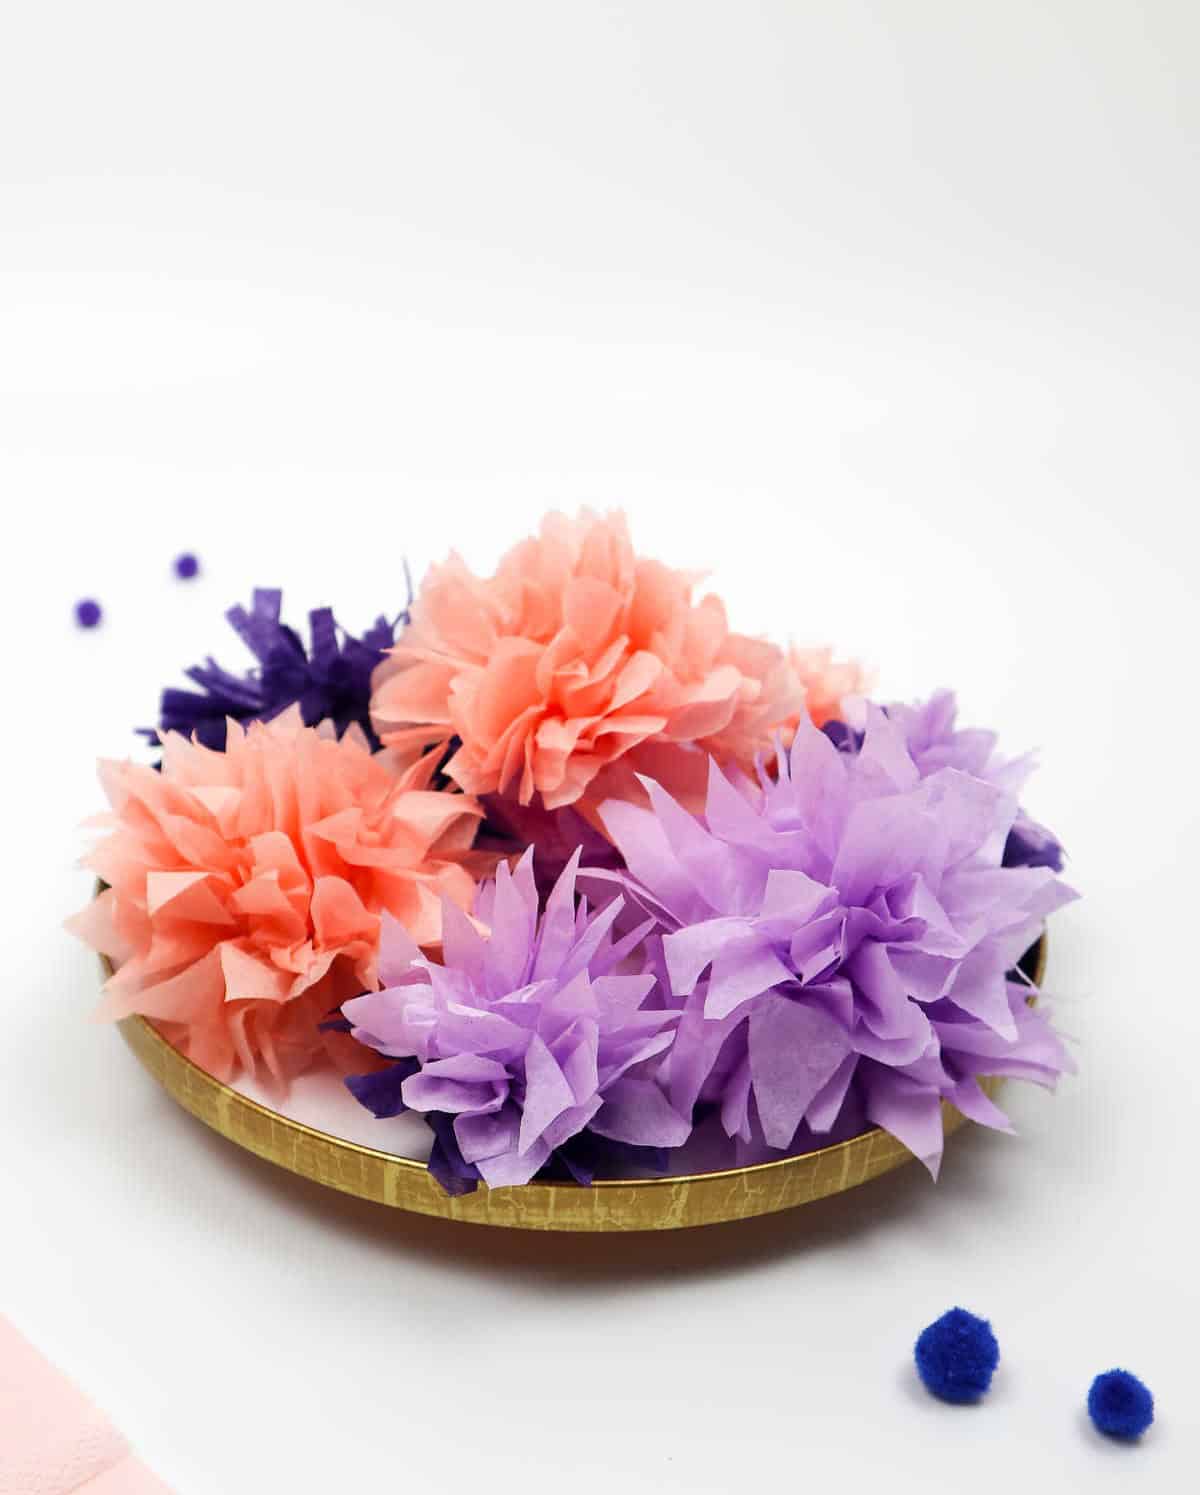
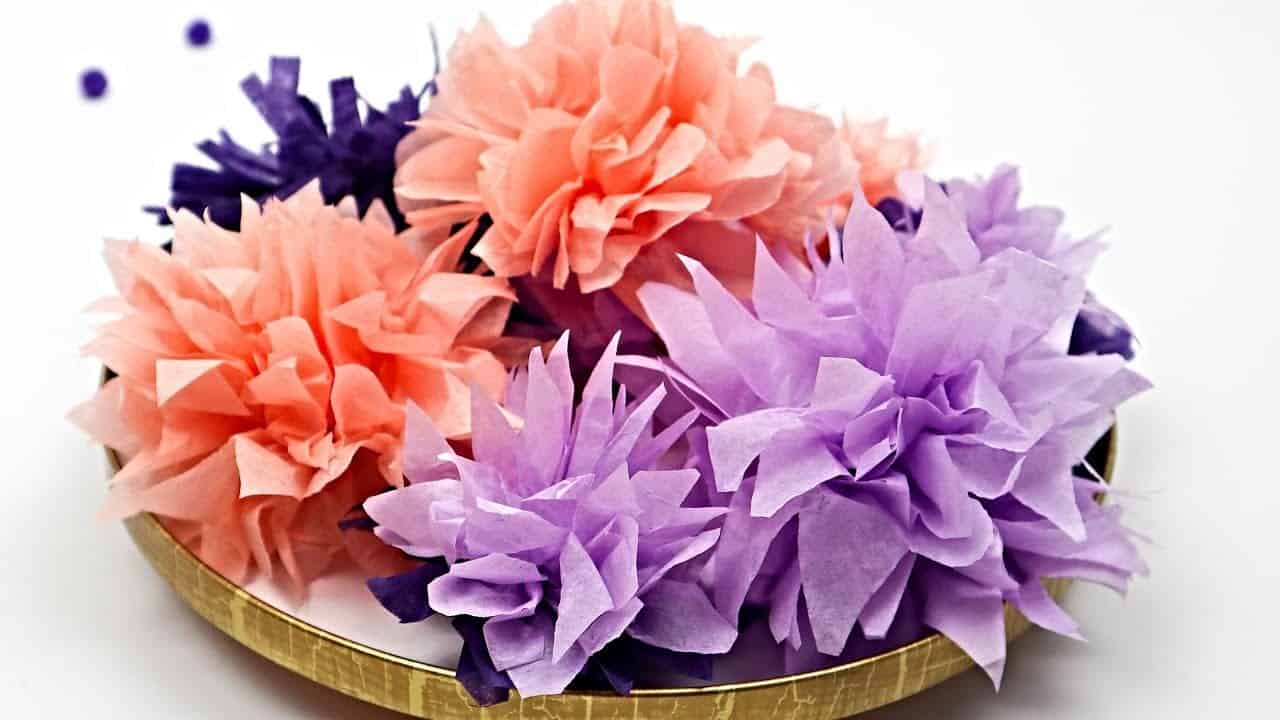
Beyond their decorative use, they can be repurposed in various ways: strung together to create a charming garland that adds a personal touch to parties and celebrations; artfully arranged in a bowl or vase to serve as a beautiful centerpiece or mantel decoration; or used as a unique filler for gifts and presents, adding an extra layer of thoughtfulness to your giving.
Watch: How to Make Tissue Paper Flowers
For those who want to dive deeper, I’ve got you covered! Check out the comprehensive YouTube tutorial for making these, where you can learn every step and detail.
Who Can Make These Flowers?
While we’ve established that crafting these flowers is accessible to most, it’s undeniable that young children may require some assistance. Toddlers, in particular, might benefit from adult supervision when handling scissors and guidance on gentle tissue manipulation to avoid crushing or tearing the delicate petals.
Other Crafts You Might Like to Make
Get creative with these 37 fantastic tissue paper crafts! From DIY pom poms and colorful classroom projects, to fun activities for kids and girls, we’ve got you covered. Want to learn how to make stunning paper flowers or squishies? We’ve got tutorials for those too! And if you’re looking for more inspiration, check out our collection of 20 dollar store crafts for kids or our list of 47 DIY projects that are perfect for all ages.
How to Make Tissue Paper Flowers (Step-by-Step)
Discover the joy of creating tissue paper flowers with this straightforward guide! These delicate blooms are a great way to express your creativity without breaking the bank. Not only are they budget-friendly, but they’re also ridiculously easy to make, making them perfect for crafty newbies and seasoned makers alike. With just 20 minutes of prep time, you can have a beautiful bouquet of tissue paper flowers in no time.
Equipment
To prevent your screen from dimming or turning off, you can make a few simple adjustments to your device settings. One way is to adjust the Auto-Lock setting on your phone or tablet. This feature allows you to set how long the device remains active before automatically locking and going dark. To do this, go to Settings > Display & Brightness (or equivalent section) and slide the Auto-Lock slider to a longer time interval. Alternatively, you can disable Auto-Lock altogether by switching it off.
This ensures your screen will stay on for as long as you need it, without worrying about it going dark unexpectedly.
Materials
When it comes to creating flowers from tissue paper, the size of the bloom you’re aiming for can greatly impact the number and dimensions of the individual paper pieces needed. For a petite flower, you’ll typically require 7-8 pieces of 3-4 inch by 5-6 inch tissue paper. This is because the smaller flower will have fewer petals and less overall structure, which means the individual petals need to be slightly larger to create the desired appearance.
On the other hand, if you’re looking to craft a larger, more showy bloom, you’ll likely need 8-10 pieces of 4-5 inch by 6-7 inch tissue paper. This is because the bigger flower will have more petals and a greater overall size, which means the individual petals can be slightly smaller and still achieve the desired effect.
Instructions
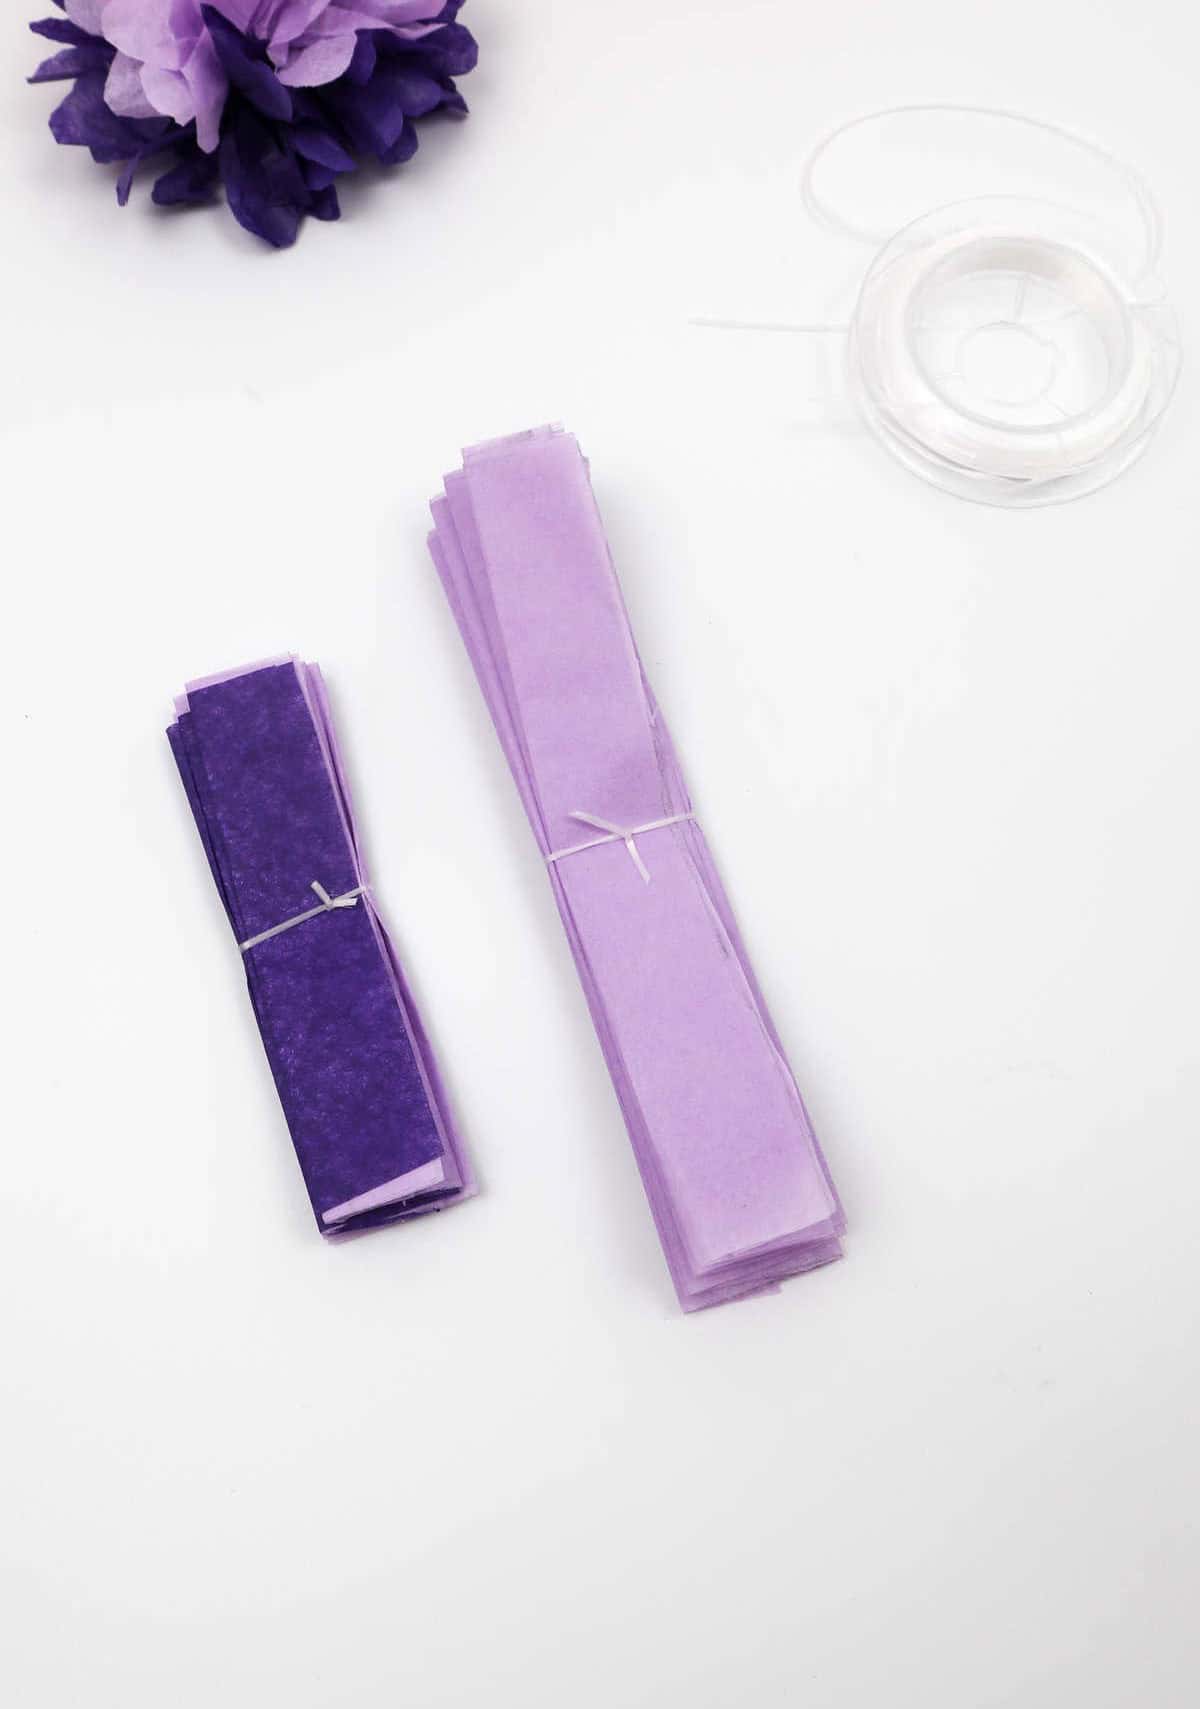
To begin, collect your materials and prepare for the creative process. As the size of your desired flower determines the stack height, align the tissues accordingly. This is also an opportune moment to decide on a color scheme, with the added benefit of visually organizing your supplies. Next, fold the tissue stack into a fan-like shape, striving for a uniform corrugation throughout. Subsequently, compress the folded structure by tying a piece of string or thread around the middle axis.
Moving forward, employ scissors to trim the excess tissue at each end, based on the intended flower shape. Now, carefully unfold the tissue sheets, separating each individual layer and gently pulling them outward to form a spherical tuft. Feel free to refine the appearance by adjusting the edges for a desired outcome. Your handcrafted tissue paper flowers are now complete.