Transform any gift into an unforgettable experience with these stunning DIY box envelopes! Unlike ordinary paper envelopes, these handmade creations can elevate the gift itself into an event. Whether you’re celebrating a birthday, Christmas, or simply showing appreciation, these unique envelopes will make the recipient feel special. With this simple and easy-to-follow guide, you’ll be able to create your own masterpieces and take your gifting game to the next level.
Supplies You’ll Need
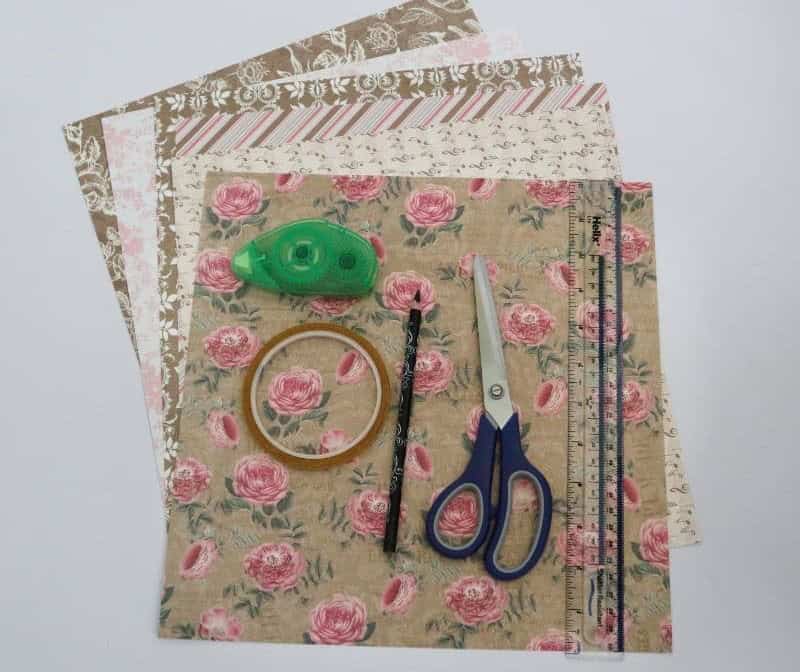
To get started, you’ll need a few essential materials. For creating intricate designs and patterns on your paper crafts, patterned cardstock with a weight of 200gsm is a must-have. You’ll also require a good pair of scissors for cutting and shaping your design elements. A pencil will come in handy for sketching out your ideas before bringing them to life. A ruler can be used to draw straight lines or create precise cuts.
Finally, have some glue or double-sided tape on hand to assemble your creations and add dimension.
How to Make Envelope
To create an envelope, follow these easy steps: First, gather the necessary materials: a piece of paper or cardstock for the envelope itself, a pen or pencil, and any additional decorations you’d like to add. Next, draw the outline of your envelope on the paper or cardstock. Make sure it’s big enough to hold whatever contents you plan to put inside – letters, documents, or even small gifts. Use a ruler or other straightedge to get clean lines, as this will make it easier to fold and seal later.
Once you have your envelope shape drawn, cut it out carefully along the lines you’ve drawn. If desired, add any embellishments, such as stamps, stickers, or handwritten messages. Finally, fold the envelope in half lengthwise to create a pocket for the contents. You can also fold it in thirds or quarters if you prefer a more precise seal. Simply place your items inside and seal with glue, tape, or even a small piece of paper folded over the opening.
Step 1
Begin by collecting all necessary materials. For this project, it’s recommended to use sturdy scrapbooking paper that can maintain its shape when folded. Additionally, have some double-sided tape on hand, as it will greatly facilitate the process.
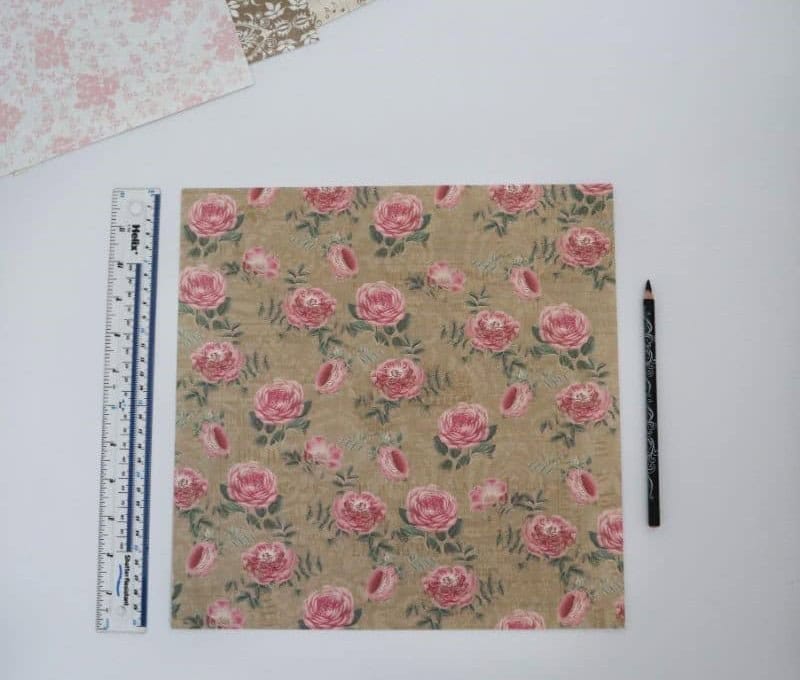
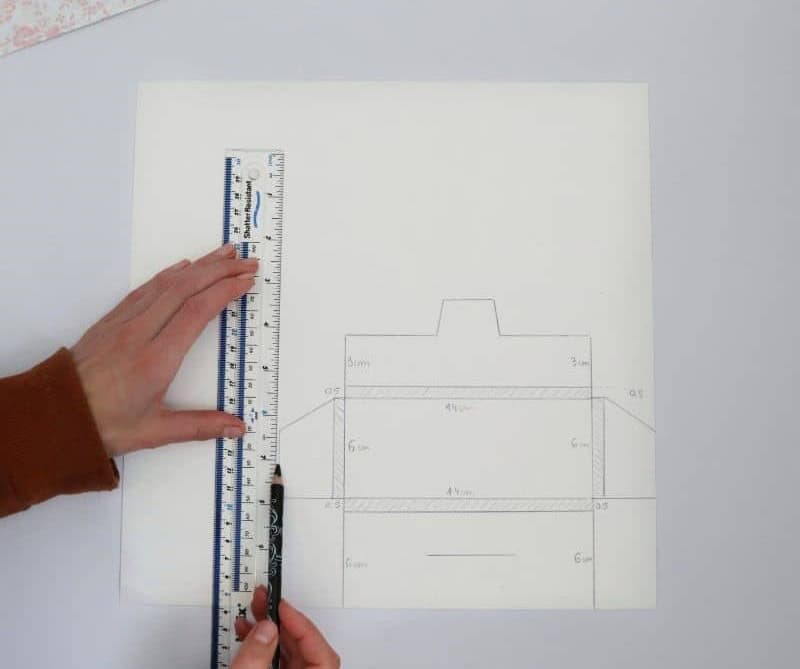
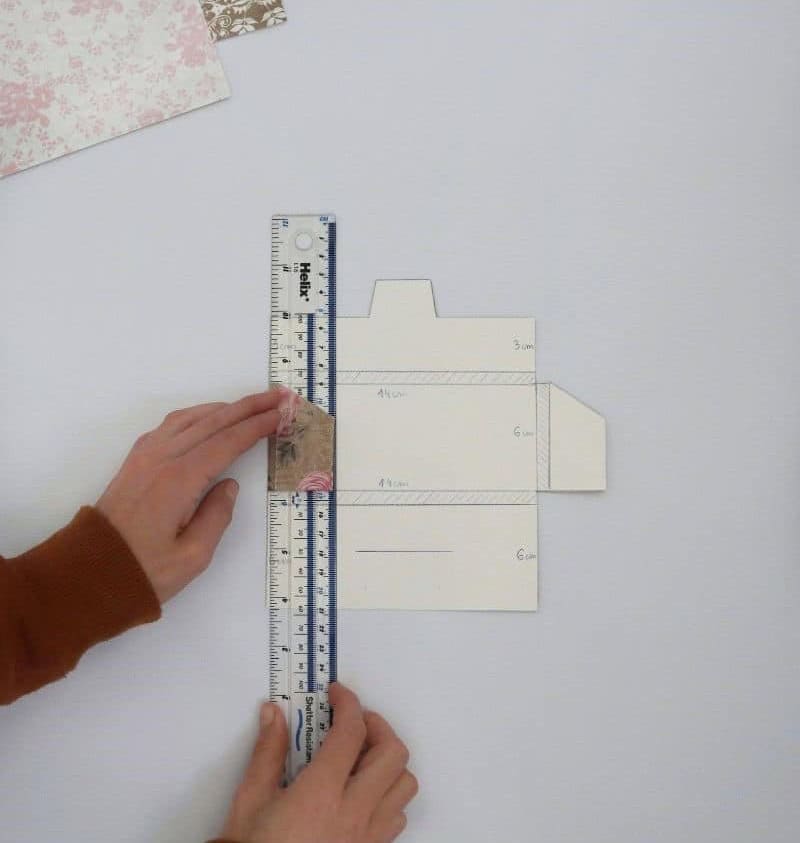
Next, gather a pencil, your chosen box paper, and a ruler. The following step involves creating a box template on the blank side of the page, so precision is key.
To develop the box’s layout, you can either print out a free template or create your own based on the general shape. I opted for the latter, crafting my own unique blueprint.
Step 2
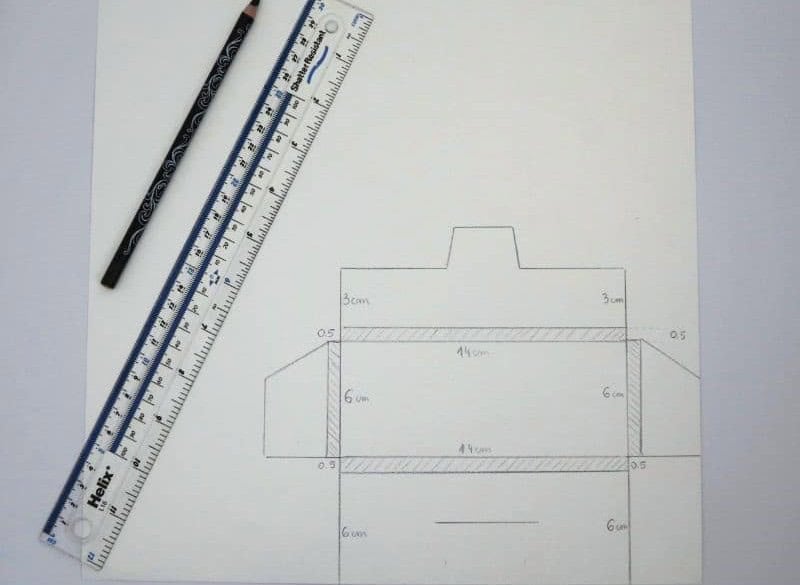
While maintaining the essence of your design, you’re not obligated to adhere strictly to my measurements. However, it’s crucial that the two largest rectangles are identical in size and shape, with one serving as the back wall and the other as the front panel. In terms of the box’s flap, a slightly smaller size compared to the central rectangle is acceptable (I opted for a 50% reduction, but feel free to adjust based on your personal preference).
Similarly, the wings can be proportionally sized without worrying too much about precise measurements.
Step 3
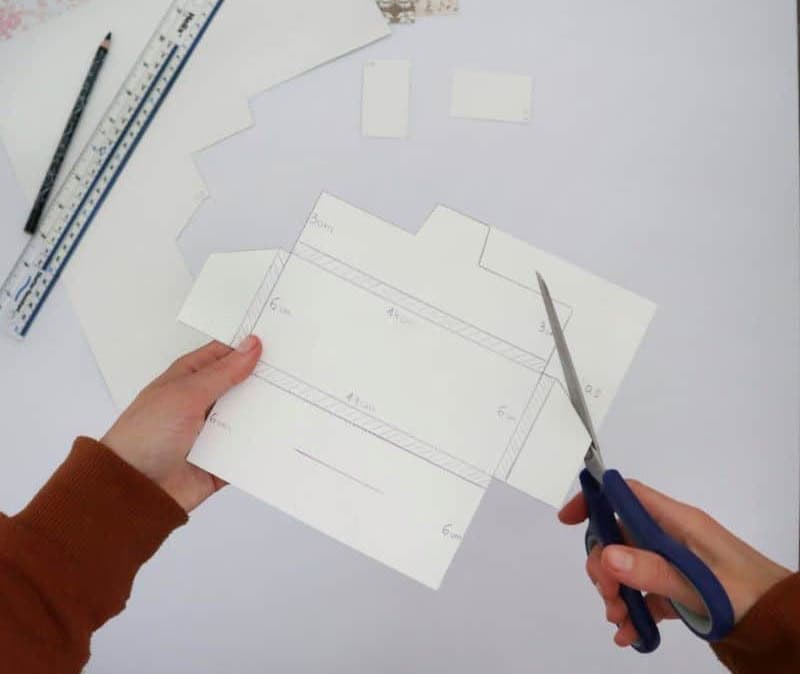
As you prepare your template for assembly, it’s time to cut out the individual pieces with precision. To avoid any issues when folding and attaching the corners, ensure that your cuts are square and not rounded. Use a steady hand and sharp scissors to get crisp edges.
Next, focus on creating the internal compartments within each box. The cross-hatched areas will serve as guides for this process.
To achieve clean lines, grab a ruler and use it to create precise sections that mirror the thickness of the ruler itself.
Step 4
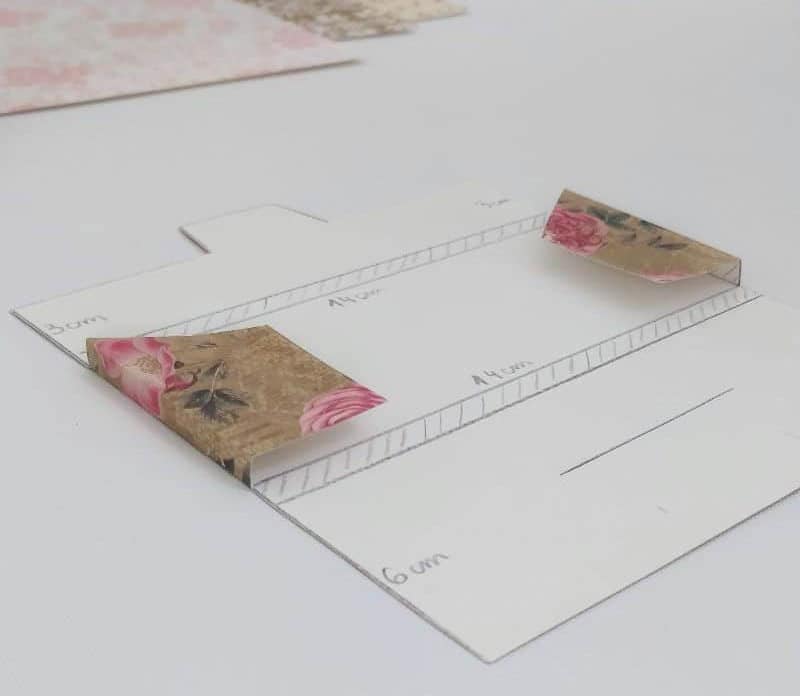
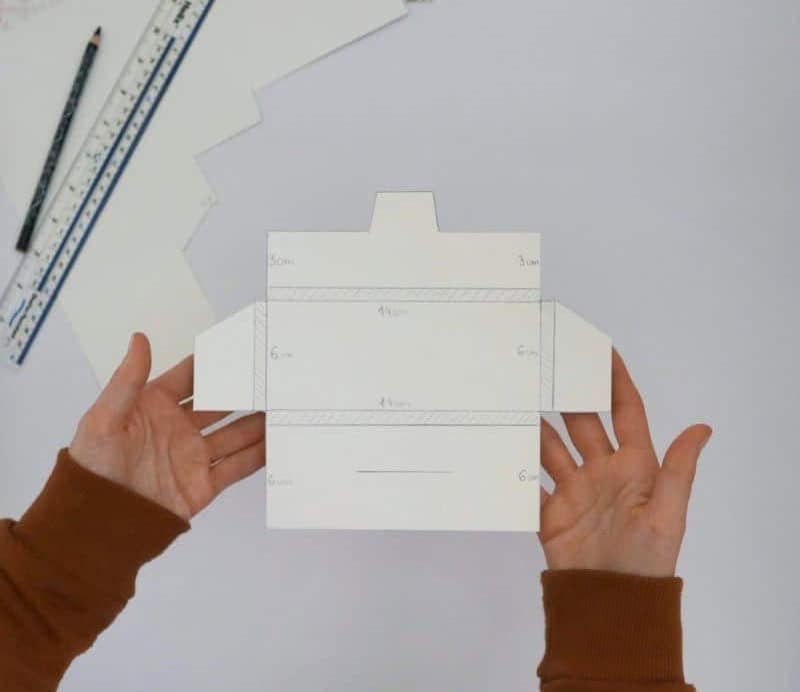
It’s time to start bringing your design together. Begin by aligning your ruler with the first wing’s edge and folding it over onto the ruler, creating a square corner. Repeat this process on the opposite side to create two flaps folded inward. As you do so, take note of the crisp, straight edges formed during this step – they’re crucial in establishing the box shape that will give your design its unique structure.
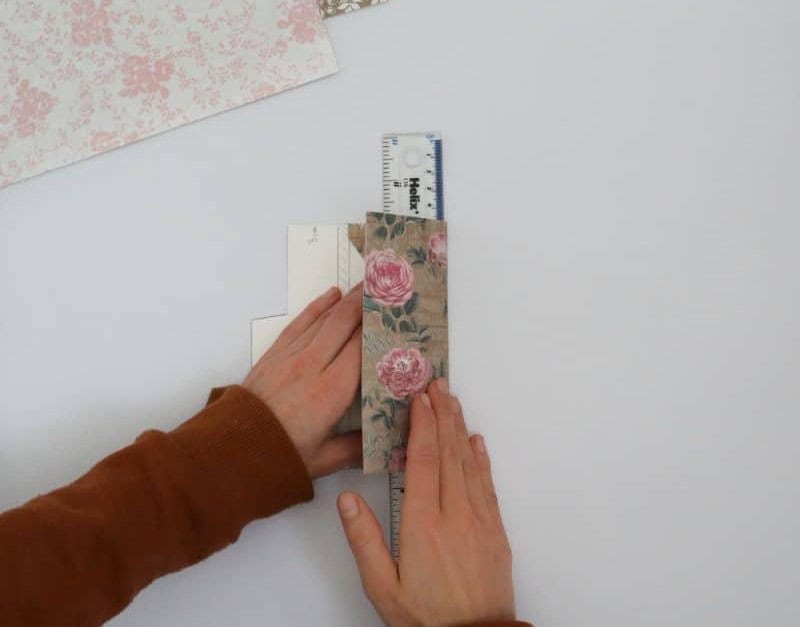
Step 5
As you bring the larger flaps inward, make sure to achieve a precise fold that creates crisp edges. Carefully align these edges to prevent any wonkiness in your final product. To guarantee accurate folds, consider using a level table and wall while folding the box, which will help you achieve right angles throughout.
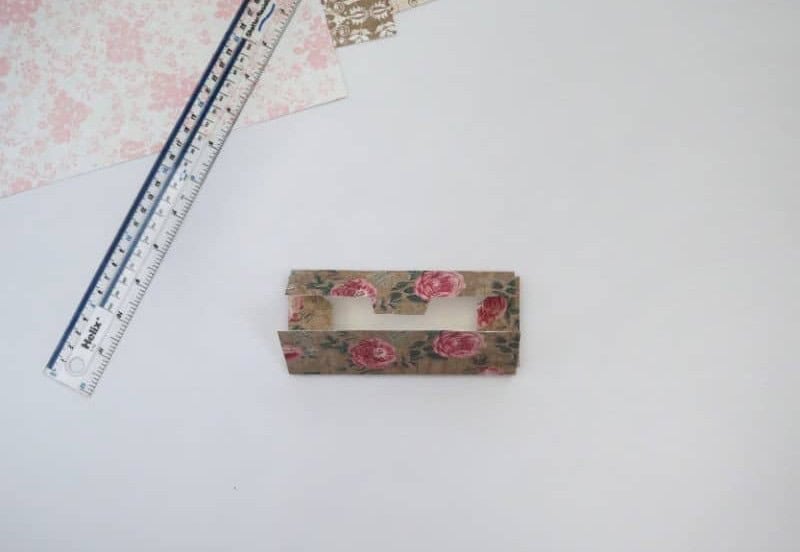
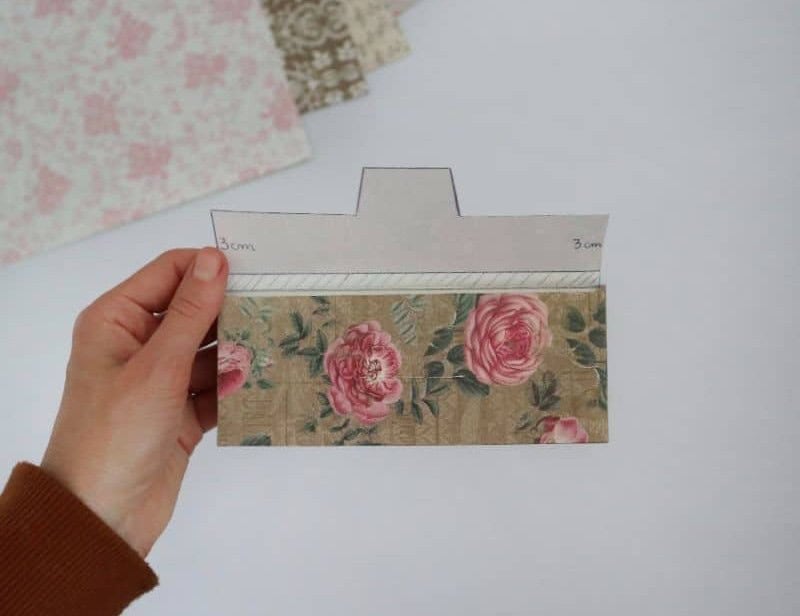
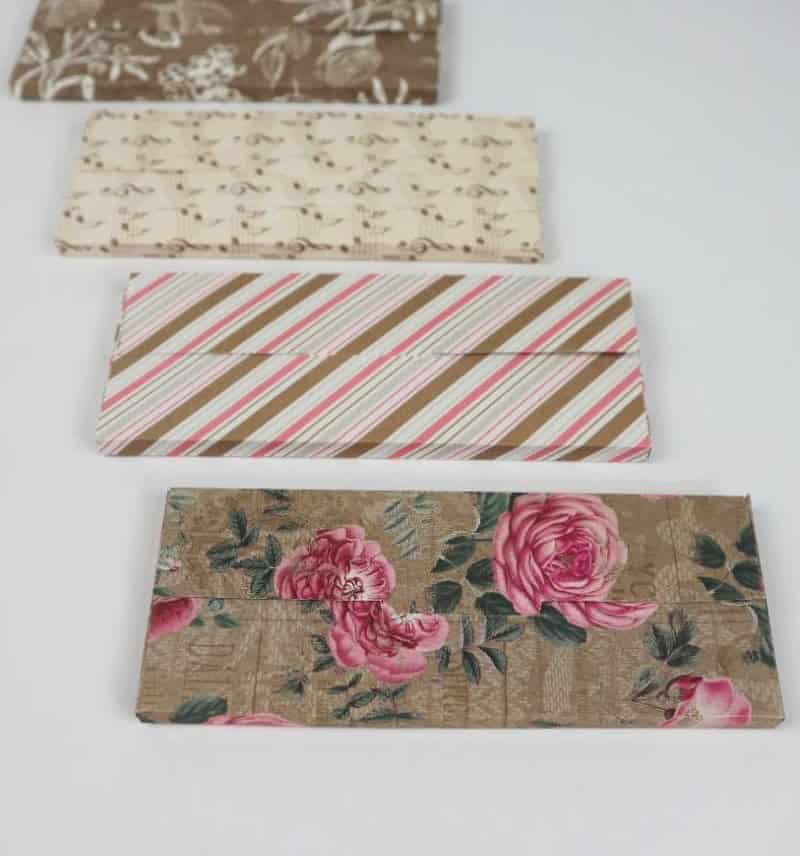
Step 6
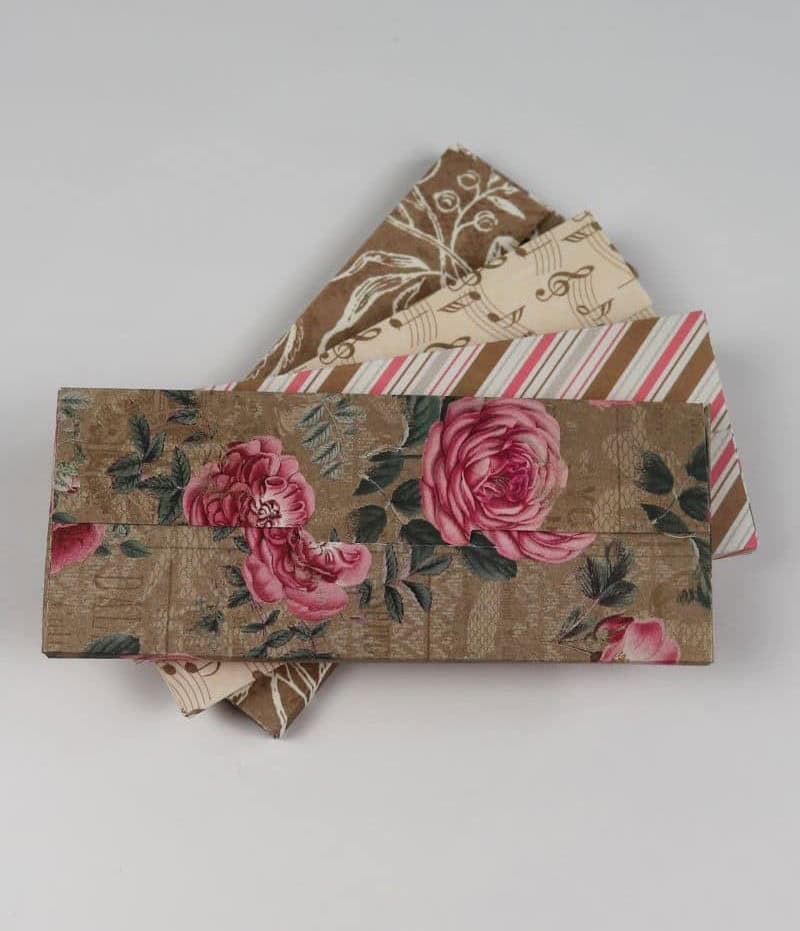
Upon completing the project, your final product should resemble the illustration provided. If the creases in your design are less than ideal, it may be beneficial to employ a ruler to enhance their clarity and definition.
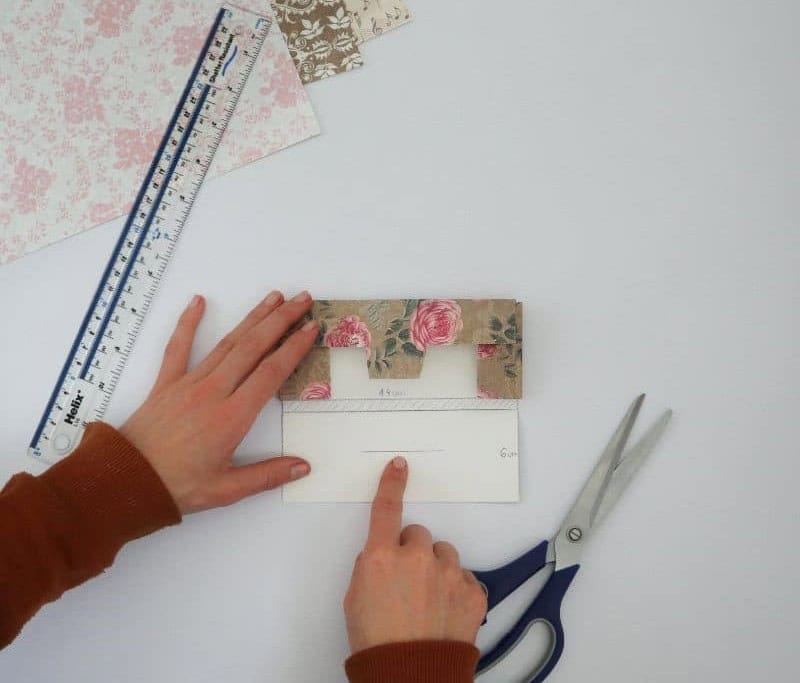
Step 7
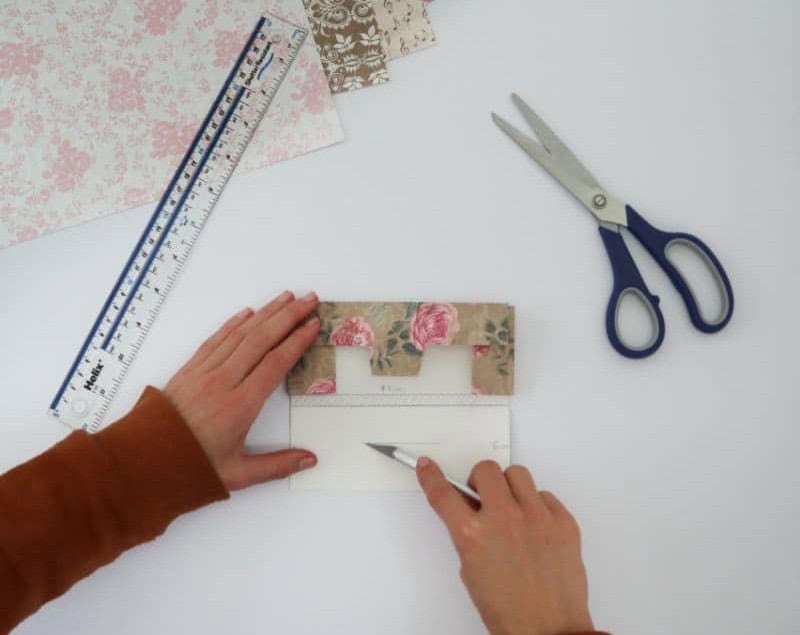
To complete the box’s closure mechanism, it’s time to create a slot in the top flap. This straightforward process begins with drawing a line down the center of the flap, followed by cutting along this mark to form the slot. While a craft knife would certainly make this task easier, a single blade from your scissors can also yield a clean cut if necessary. Crucially, ensure that the notch is wide enough to accommodate the protrusion on the top flap, guaranteeing a secure closure.
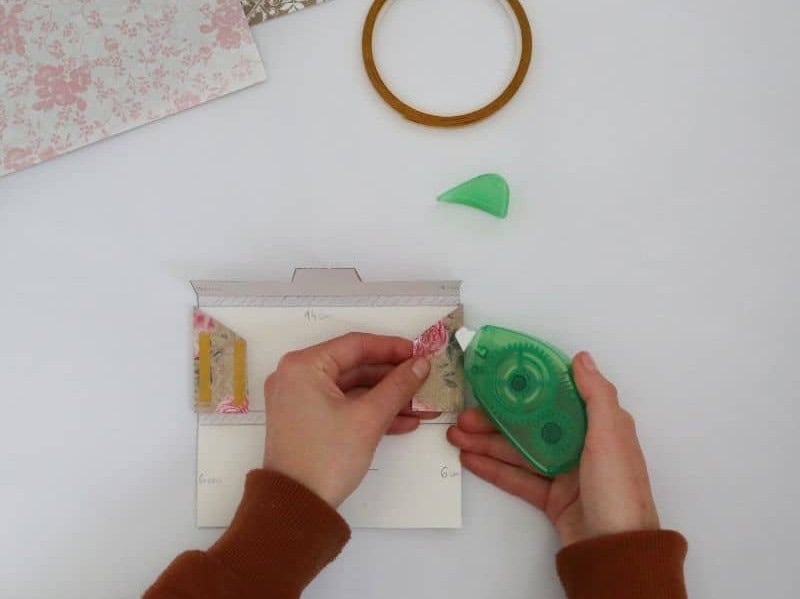
Step 8
As you near the final stages of crafting your unique box envelope, it’s time to bring all the pieces together. I experimented with both double-sided tape and glue for assembly purposes. The tape proved to be a more streamlined option, eliminating the need for drying time. To assemble, simply fold the wings inward, apply the adhesive to their patterned side, and then secure the rectangular flap to the wings, forming the box’s structure.
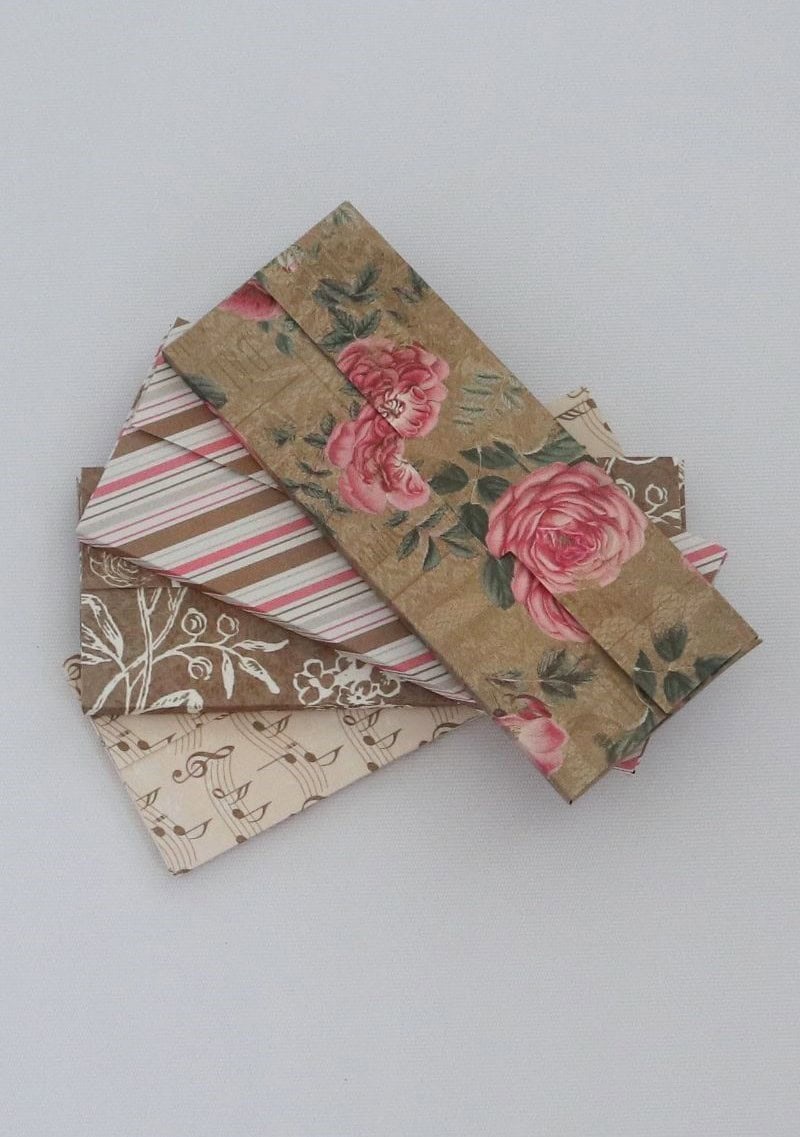
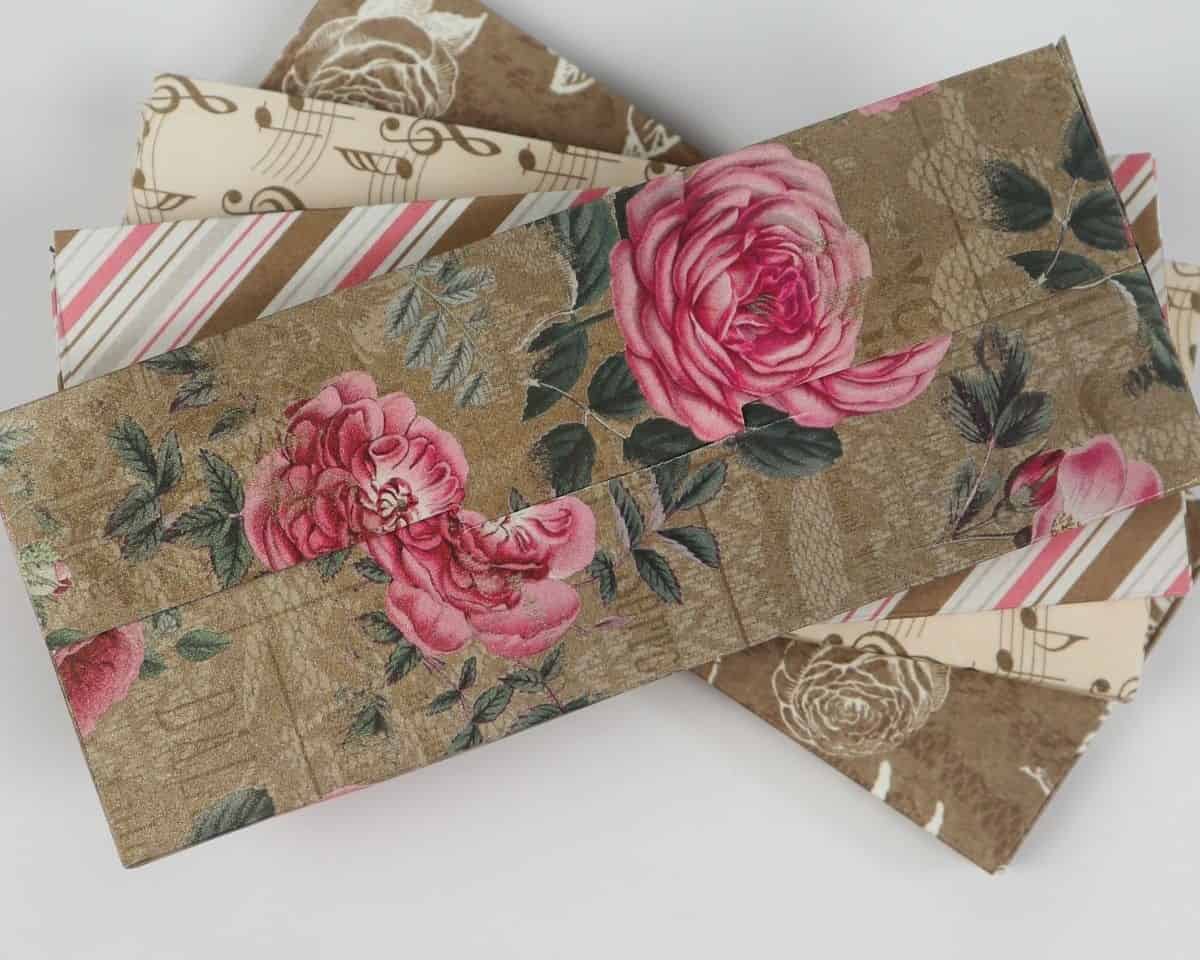
This process will leave your top flap free to open and close with ease. With these steps complete, you’ll be left with a one-of-a-kind creation that’s sure to elevate your gift-giving experiences.
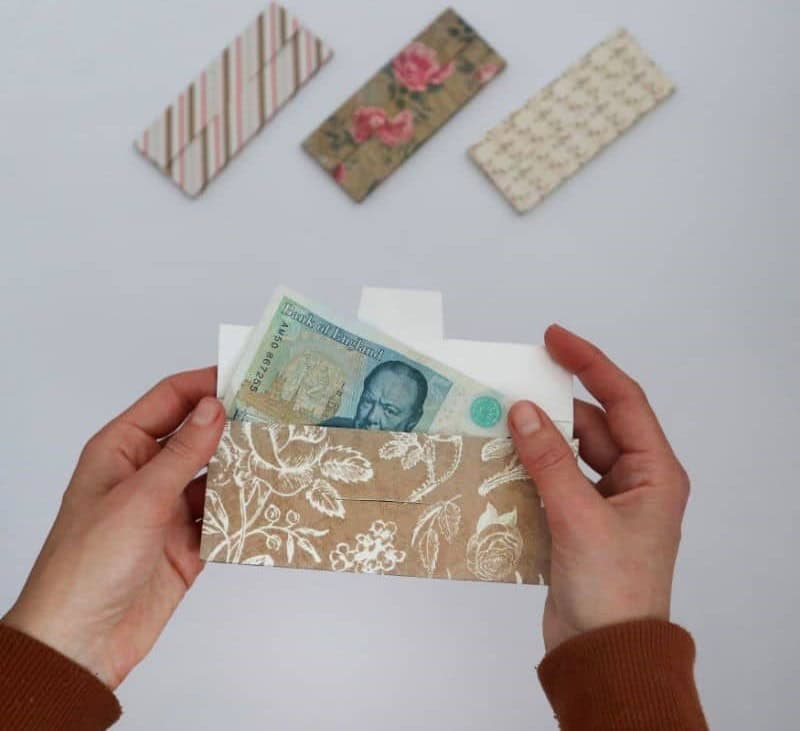
What Can You Use These Envelopes For?

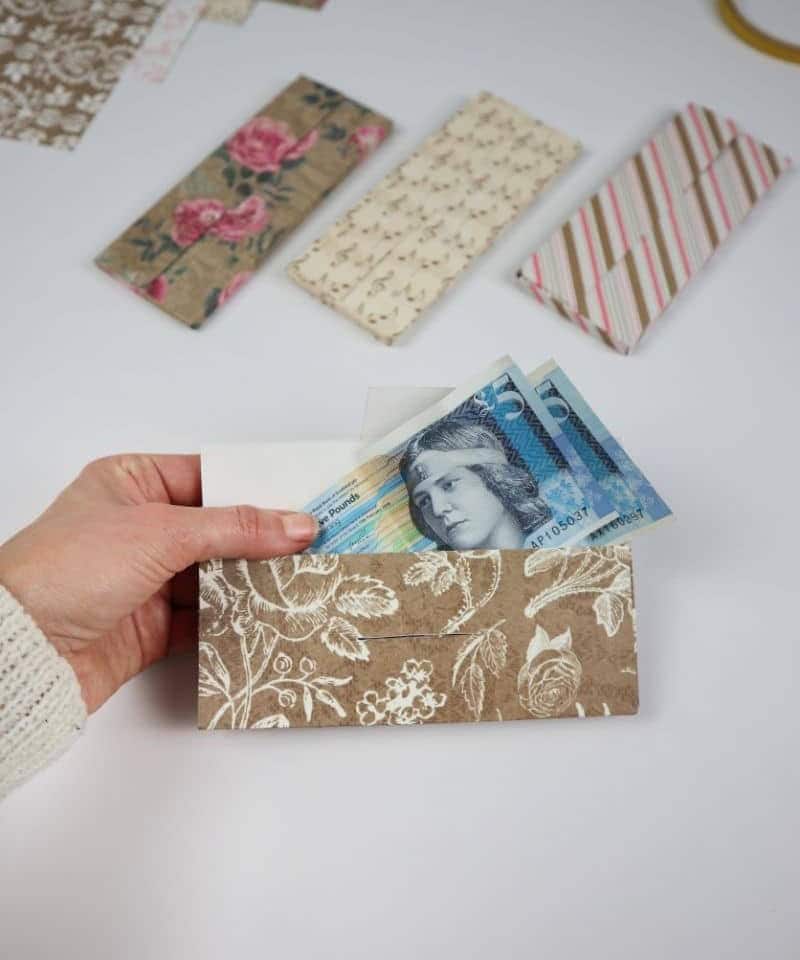
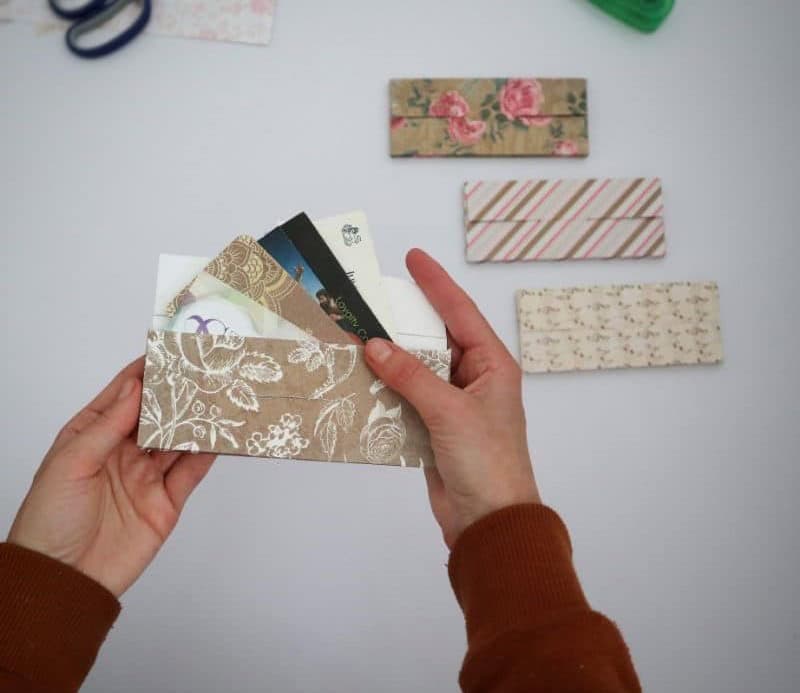
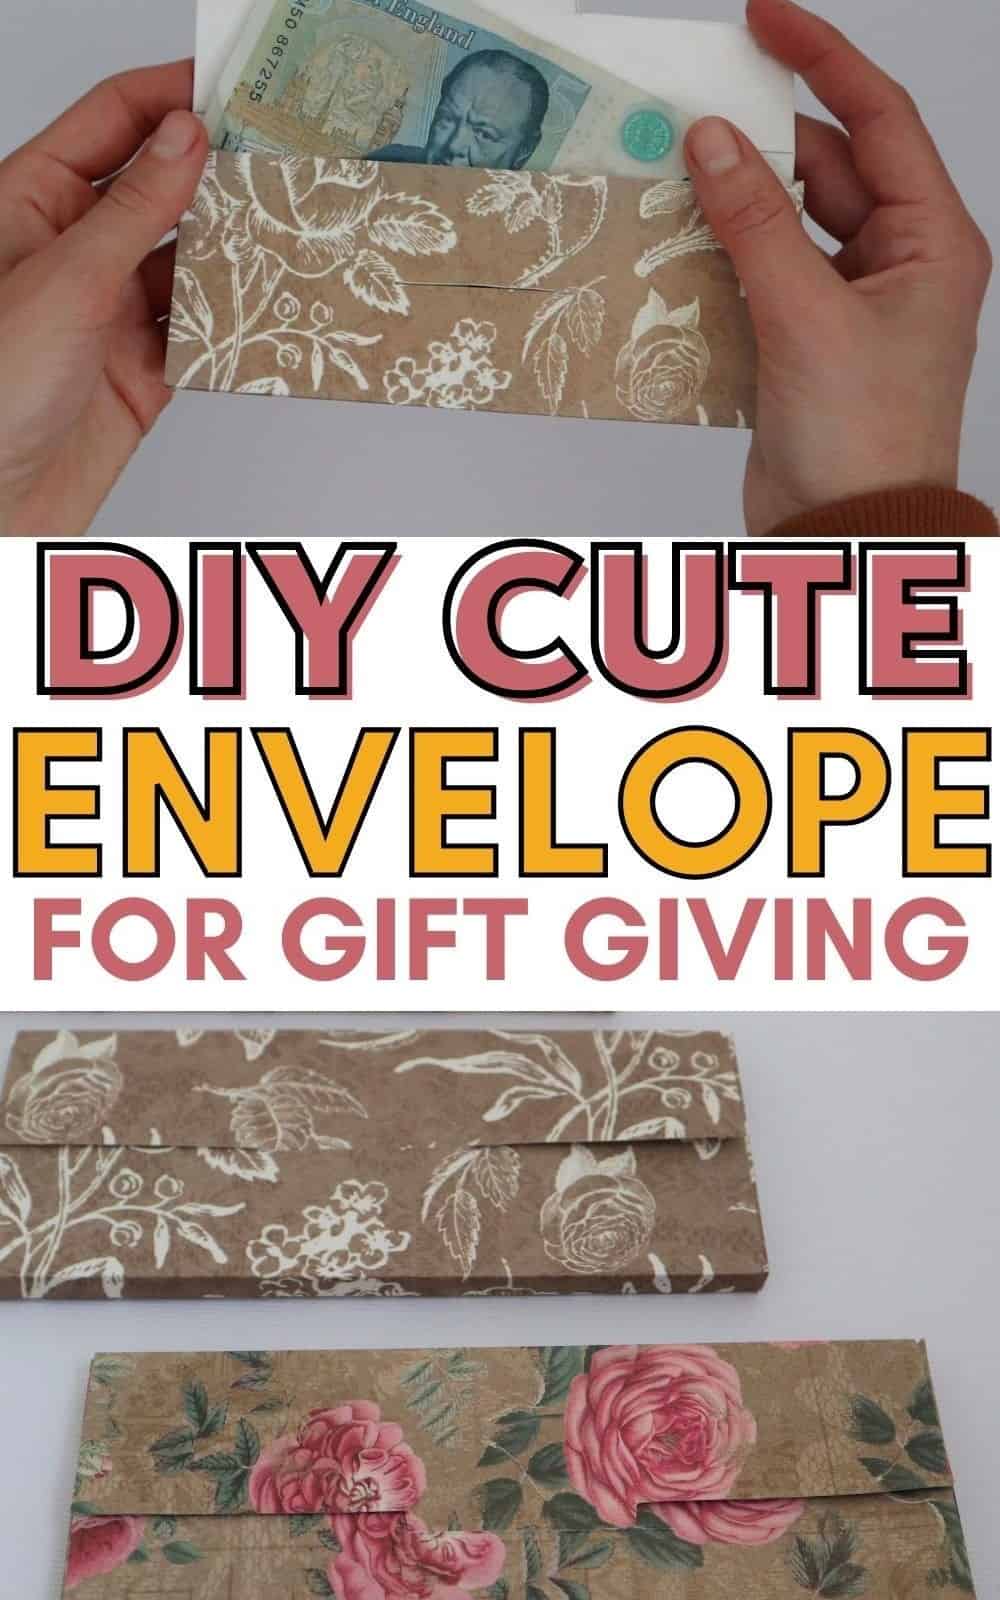
These versatile boxes have an uncanny ability to transform any gift into a thoughtful present. Their versatility lies in their capacity to elevate even the most mundane items into something truly special. Take money, for instance; when placed within one of these beautifully crafted boxes, it’s no longer just a financial transaction – it’s a heartfelt gesture. Similarly, gift cards can be dressed up with ease, allowing the recipient to choose their own adventure.
Why not fill them with cherished memories in the form of favorite photos? Or surprise someone with tickets to a new play, concert, or movie, creating an experience they’ll never forget. Even handwritten letters or heartfelt messages take on a new significance when presented within these elegant containers. The possibilities are endless, and that’s what makes these box envelopes so enchanting – they’re the perfect accompaniment to any gift.
Other DIY Gift-Giving Crafts You Might Like
Transform your home decor with a touch of creativity by crafting your own DIY photo holders using rocks. Add a personal touch to your favorite rock formations by turning them into charming keepsake containers. For an extra layer of uniqueness, incorporate wire rings as embellishments. Or, repurpose old t-shirts and transform them into stylish headbands that showcase your handmade skills. If jewelry is more your thing, try making macrame leaf earrings that will add a bohemian flair to any outfit.
Looking for ways to stay organized? Create DIY paper wallets to store your important documents in style. And, with the holiday season around the corner, consider making DIY salt dough ornaments as unique gifts or decorations. If you’re feeling crafty and looking for more inspiration, explore our collection of 20 fun paper crafts that will keep you busy all year round.
How to Make a Paper Envelope
Give the humble DIY paper envelope a stylish makeover with this quick and easy hack. Envelope stuffing just got a whole lot more exciting! Fill it up with personalized goodies like handmade cards, cherished photos, or even cash and tickets to create a thoughtful gift that’s sure to put a smile on your loved one’s face. And the best part? It only takes 12 minutes of your time.
Equipment
Staying Alert: Keeping Your Screen Lit Up When you’re working on a project or browsing through your favorite websites, the last thing you want is for your screen to suddenly go dark. It’s frustrating and can even cause you to lose your train of thought. To prevent this from happening, make sure to adjust your screen settings accordingly. For most devices, you can find these settings in the display or screen options menu.
Here, you’ll be able to adjust the timer for how long your screen remains active before it turns off. You can set it anywhere from a few minutes to several hours, depending on your needs and preferences. By taking this simple step, you’ll ensure that your screen stays lit up and ready whenever you need it.
Materials
To create a sturdy and visually appealing greeting card, you’ll need two essential components: patterned cardstock with a thickness of 200 grams per square meter (heavyweight) and a reliable adhesive solution. This can be achieved through the use of traditional glue or double-sided tape, both of which are effective at keeping your design in place and preventing it from becoming disfigured during handling or mailing.
Instructions
Begin by preparing your workspace with all necessary supplies, including a printed template if you’re using one. Start by creating the blown-out shape of your box on the non-patterned side of the paper. Take your time when measuring to avoid frustration later. The layout consists of two identical rectangles flanked by two panels on the long edge and two flaps on the short edge. Be precise with the rectangles, but don’t worry too much about the other parts.
Make sure to leave enough space for the pieces to fold over and create a hollow spot in the middle. Use the edge of a ruler to measure the width of the interior and ensure you have sufficient room. Carefully cut out your shape, then draw a notch in the center of the ‘front’ piece and use scissors or a knife to cut through it, forming a gap for the tab to fit through. Begin folding each edge inward, starting with the large rectangles and progressing to the flaps and wings.
Use your ruler to create a square edge and clean fold. Finally, attach the flaps to the ‘back’ using glue or double-sided tape. Once complete, fill your envelope box with anything that brings you joy, present it to someone special, and bask in their delight!