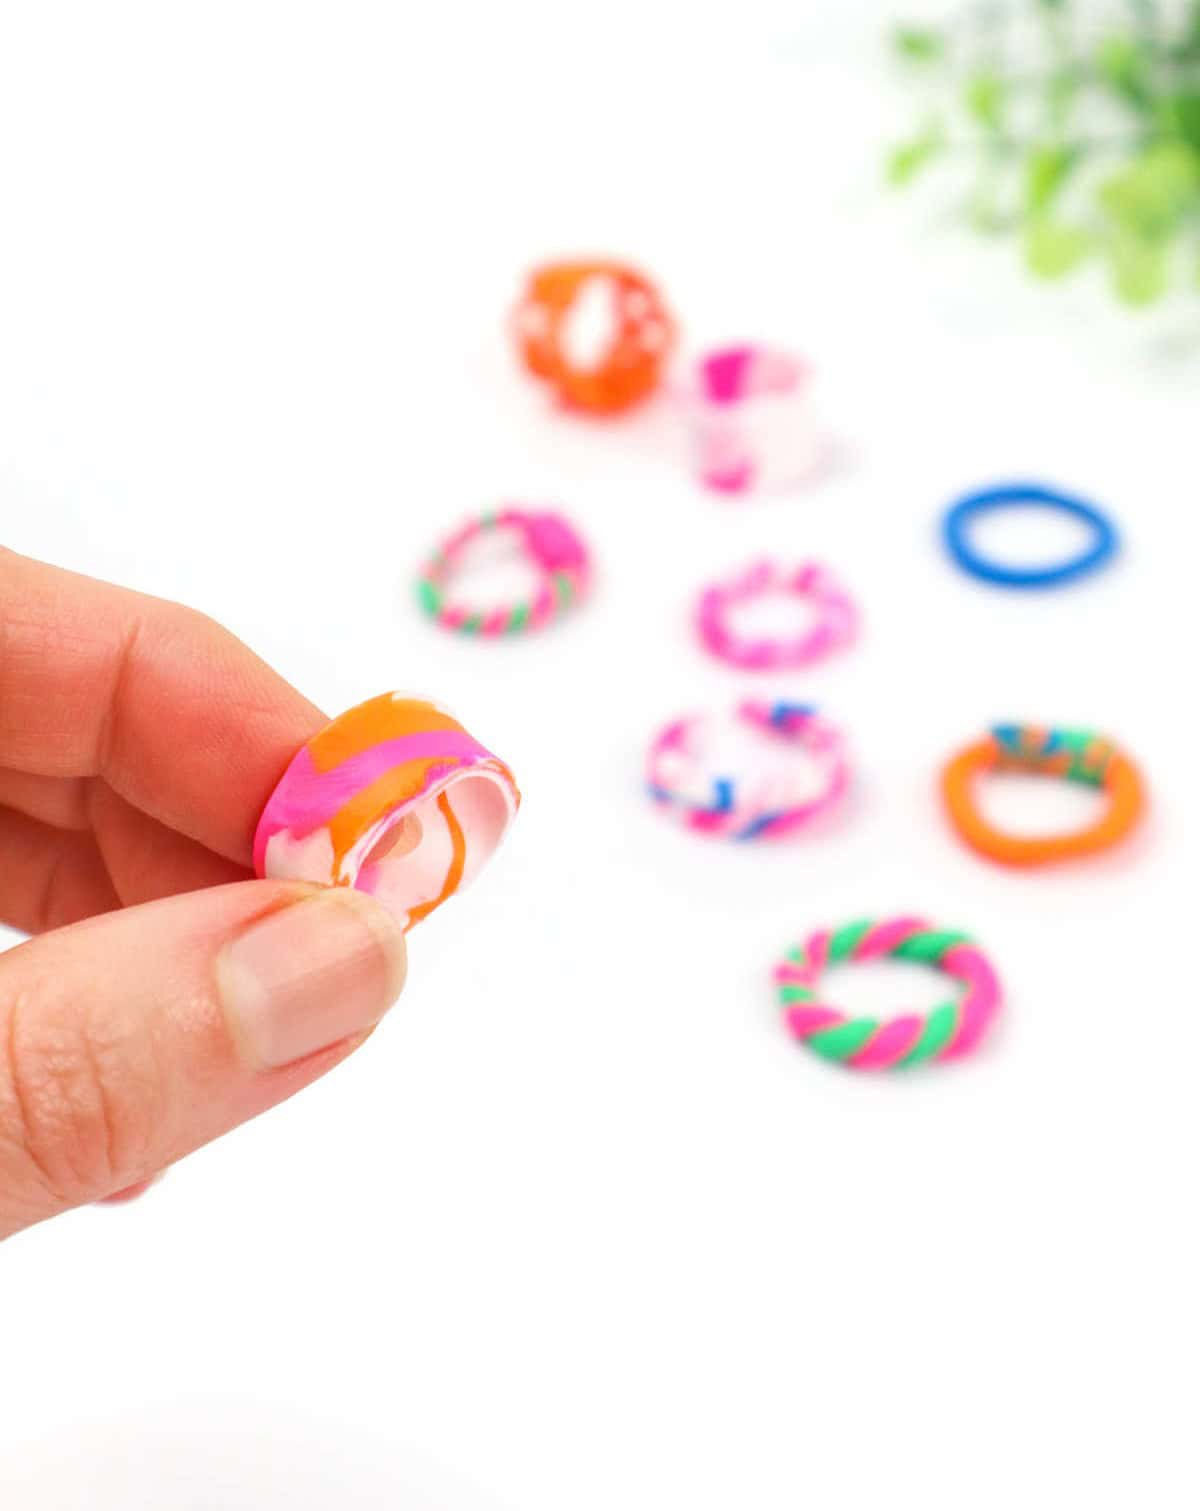
If you’re looking for a fun and creative activity to enjoy with little ones, making clay rings is an excellent option. Not only do they add a touch of personality to your fingers, but they can also be a great way to break up the monotony of daily tasks.
As someone who loves wearing query rings on their fingers, I appreciate how they can instantly brighten up any outfit or scene. And the best part? They’re incredibly easy to make!
Simply gather some clay and follow along with this step-by-step tutorial, and you’ll be sporting your very own handmade clay rings in no time.
One of the best things about making clay rings is that they can be used as a quick and easy DIY project for kids. It’s a great way to get them involved in something creative and fun, while also teaching them some valuable skills like patience and attention to detail.
Plus, once you’ve made a batch, you can use them as party favors or gifts – talk about a thoughtful touch!
Before we dive into the tutorial itself, let’s take a look at the supplies and tools you’ll need to get started.
Supplies and Tools You’ll Need
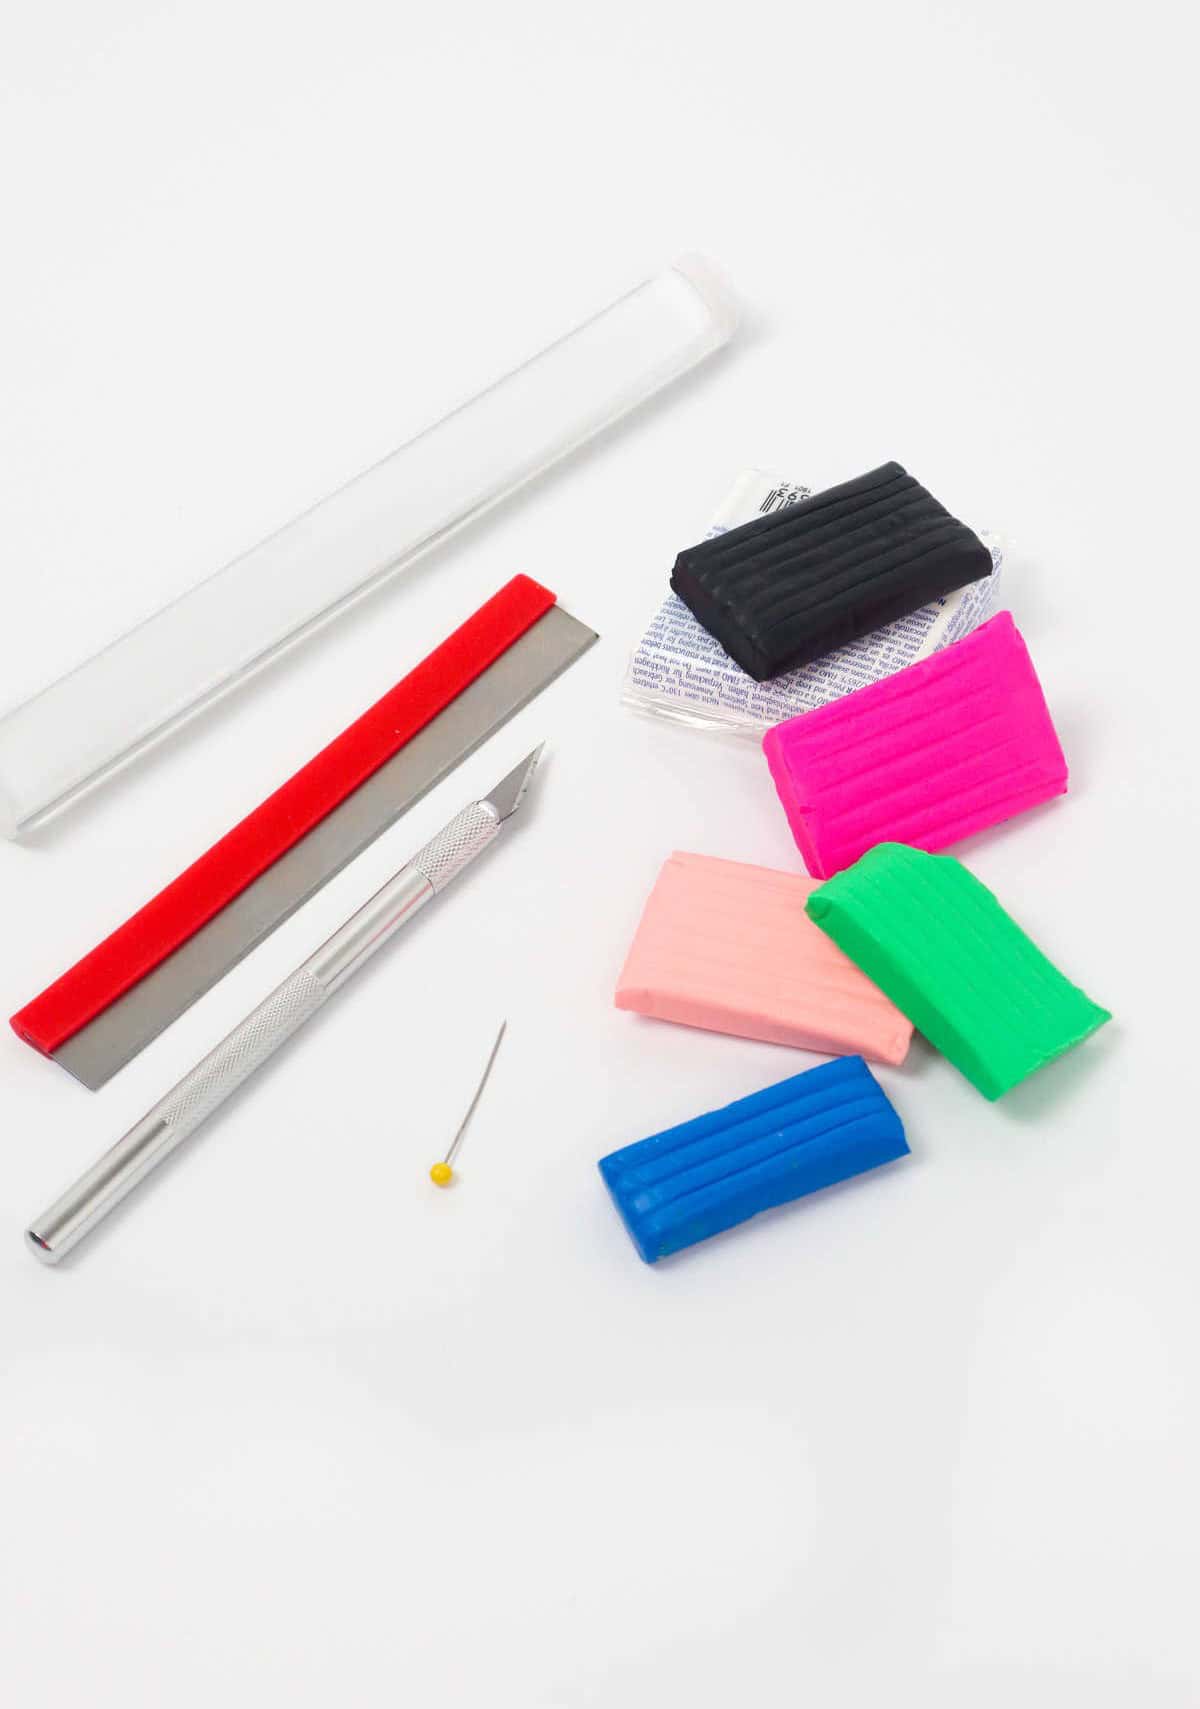
To complete your handmade jewelry, it’s time to set your polymer clay creations in place. For this step, you’ll require a few essential tools. These include a rolling pin, cutter blade, and a craft knife – all crucial for shaping your designs into their final form. Additionally, having a sewing pin on hand will also come in handy. Once you’ve prepared these elements, it’s time to ‘set’ your rings by baking them, marking the next step in this creative project.
For Baking
To craft clay rings, you’ll need a few simple materials that you may already have at home. Start with some air-dry or polymer clay, as well as a surface to work on and a tool for shaping the clay into desired forms. Two essential tools are aluminium foil and a baking tray. The foil will help prevent the clay from sticking to the tray while it dries, ensuring your rings retain their shape.
Additionally, you can use parchment paper instead of the baking tray, which provides an even better non-stick surface.
How to Make Clay Rings
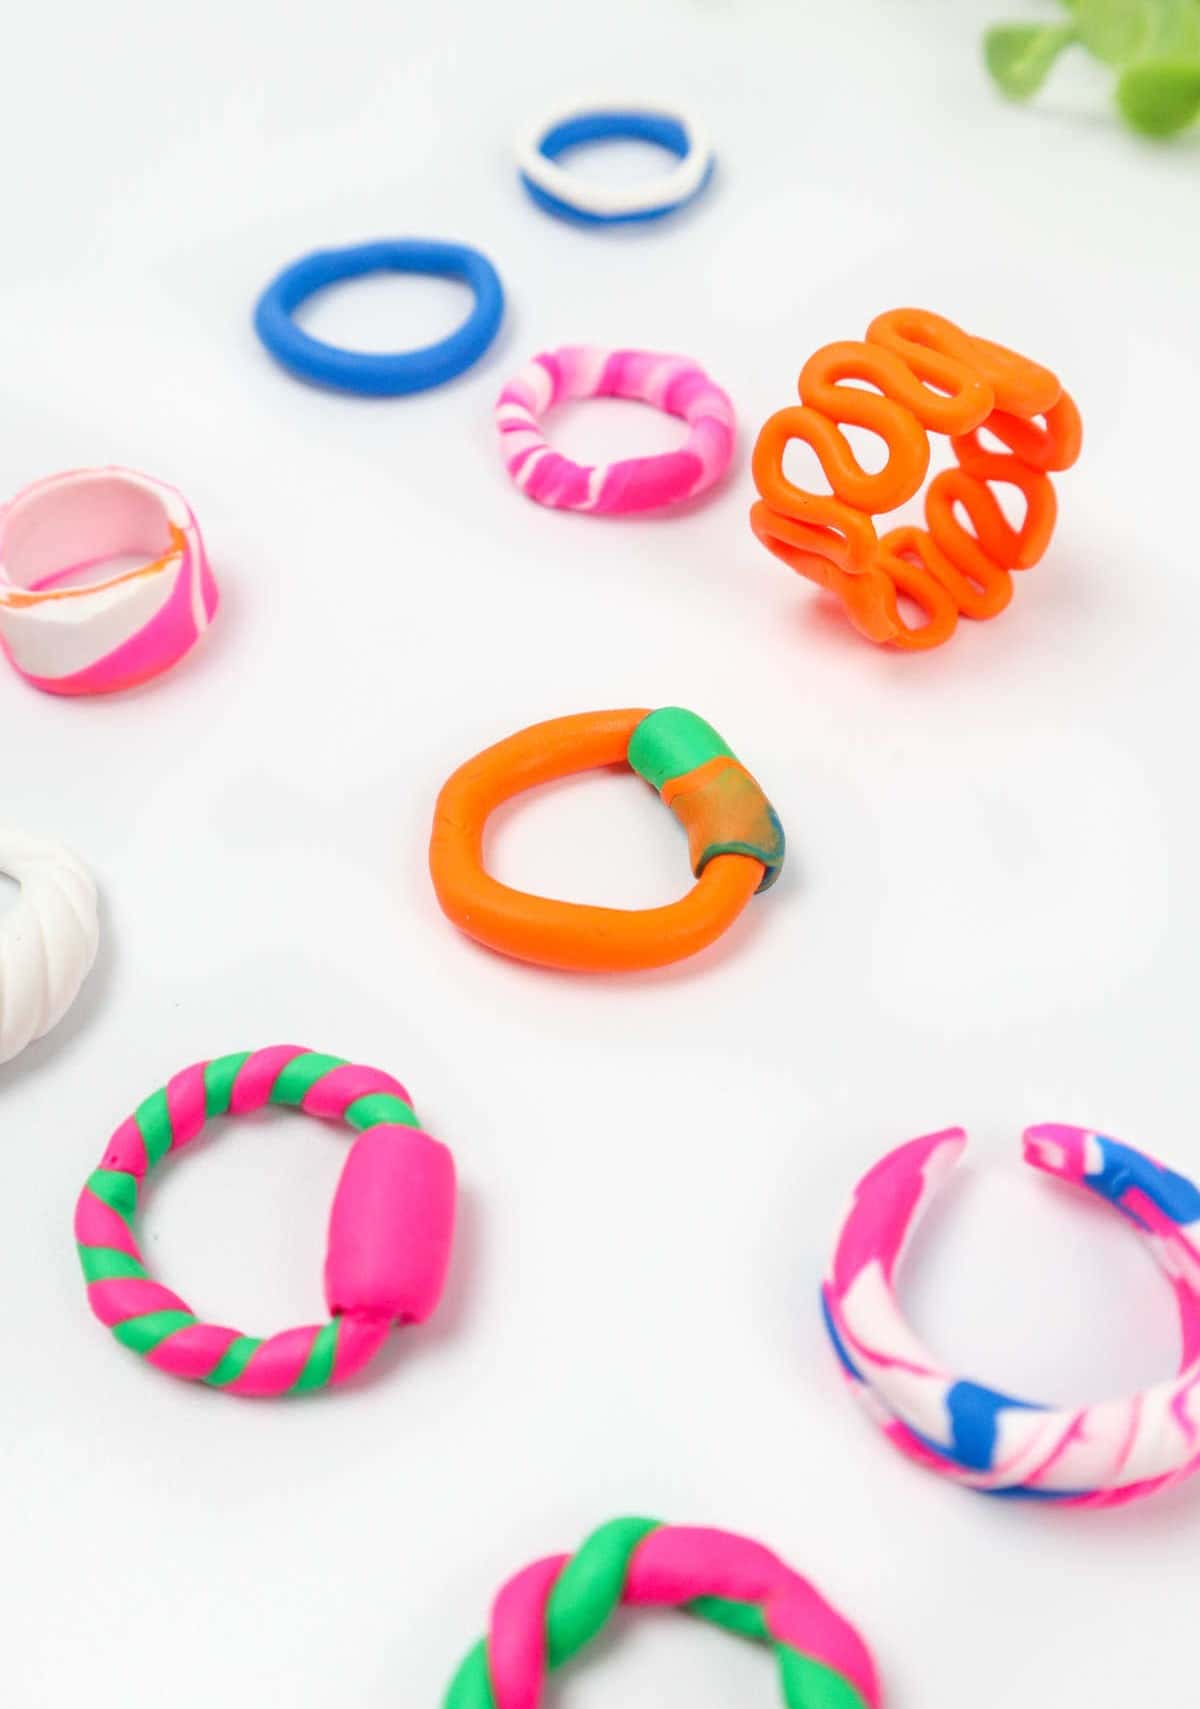
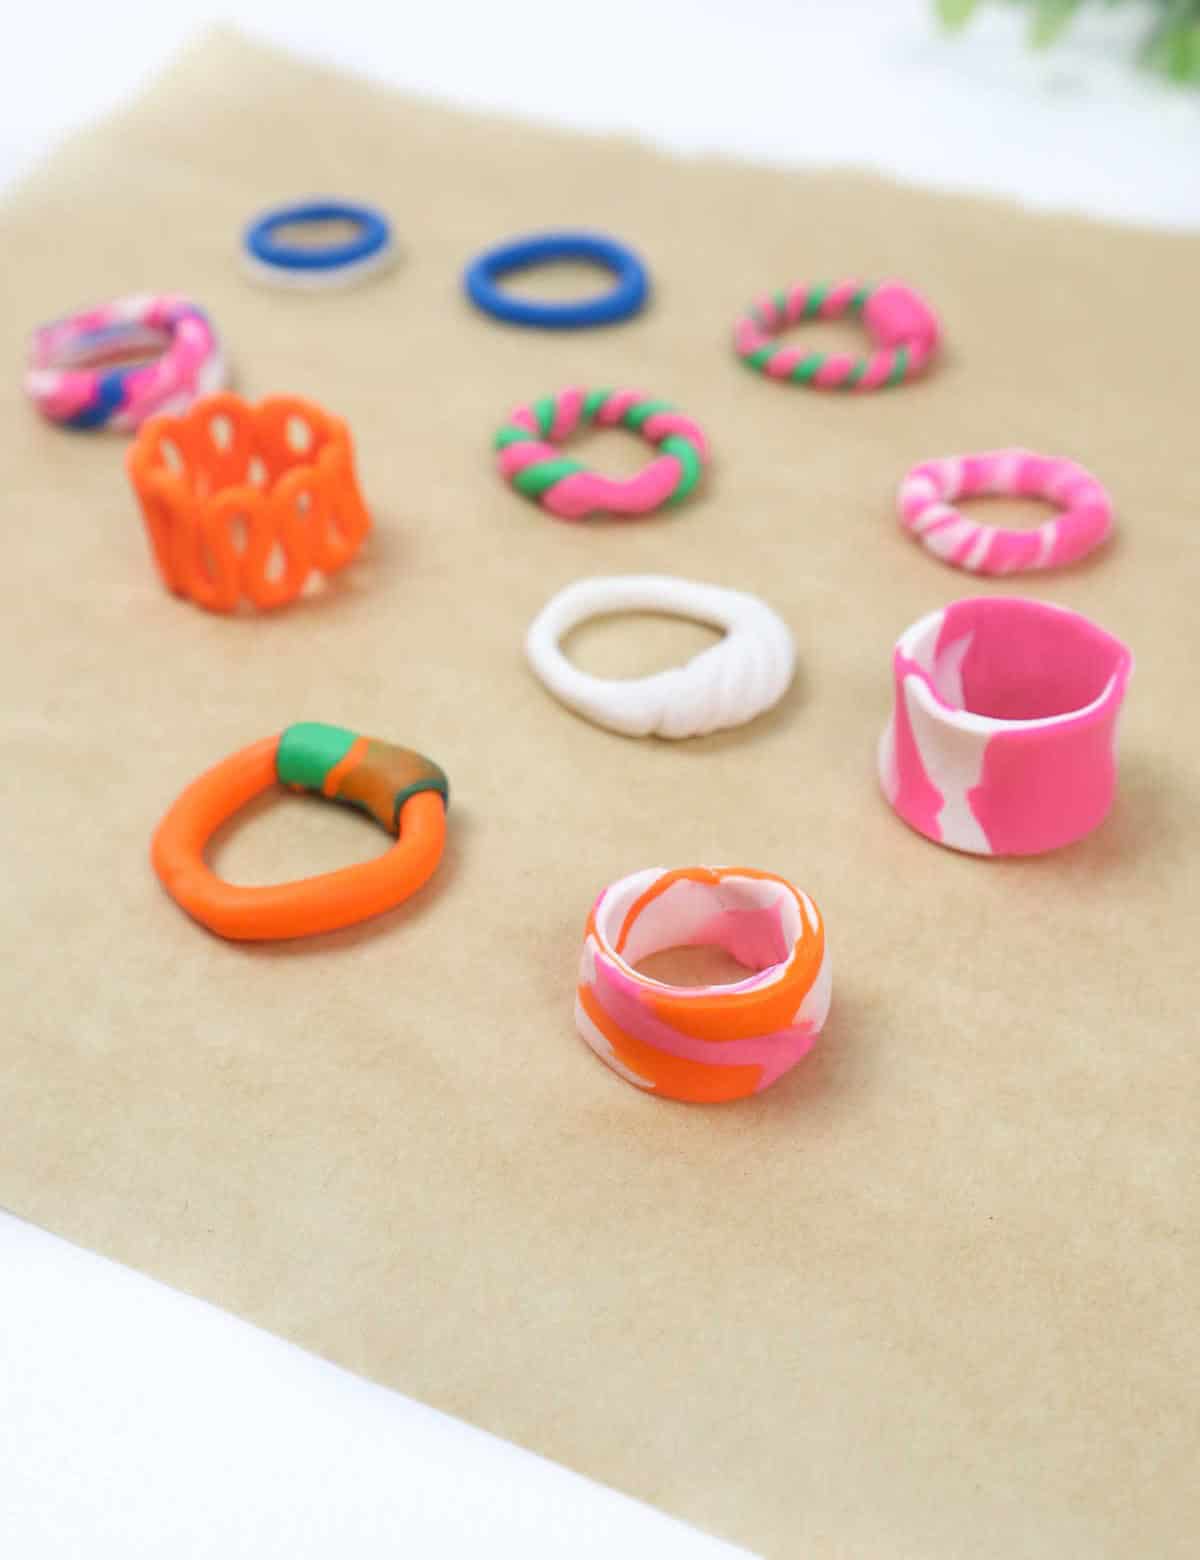
With preparation complete, you’re ready to embark on a creative journey. The stage is set with newspapers strategically placed to contain the inevitable mess that comes with crafting multiple designs – in this case, five unique designs. It’s now time to dive into the process and bring your artistic vision to life.
Pattern 1
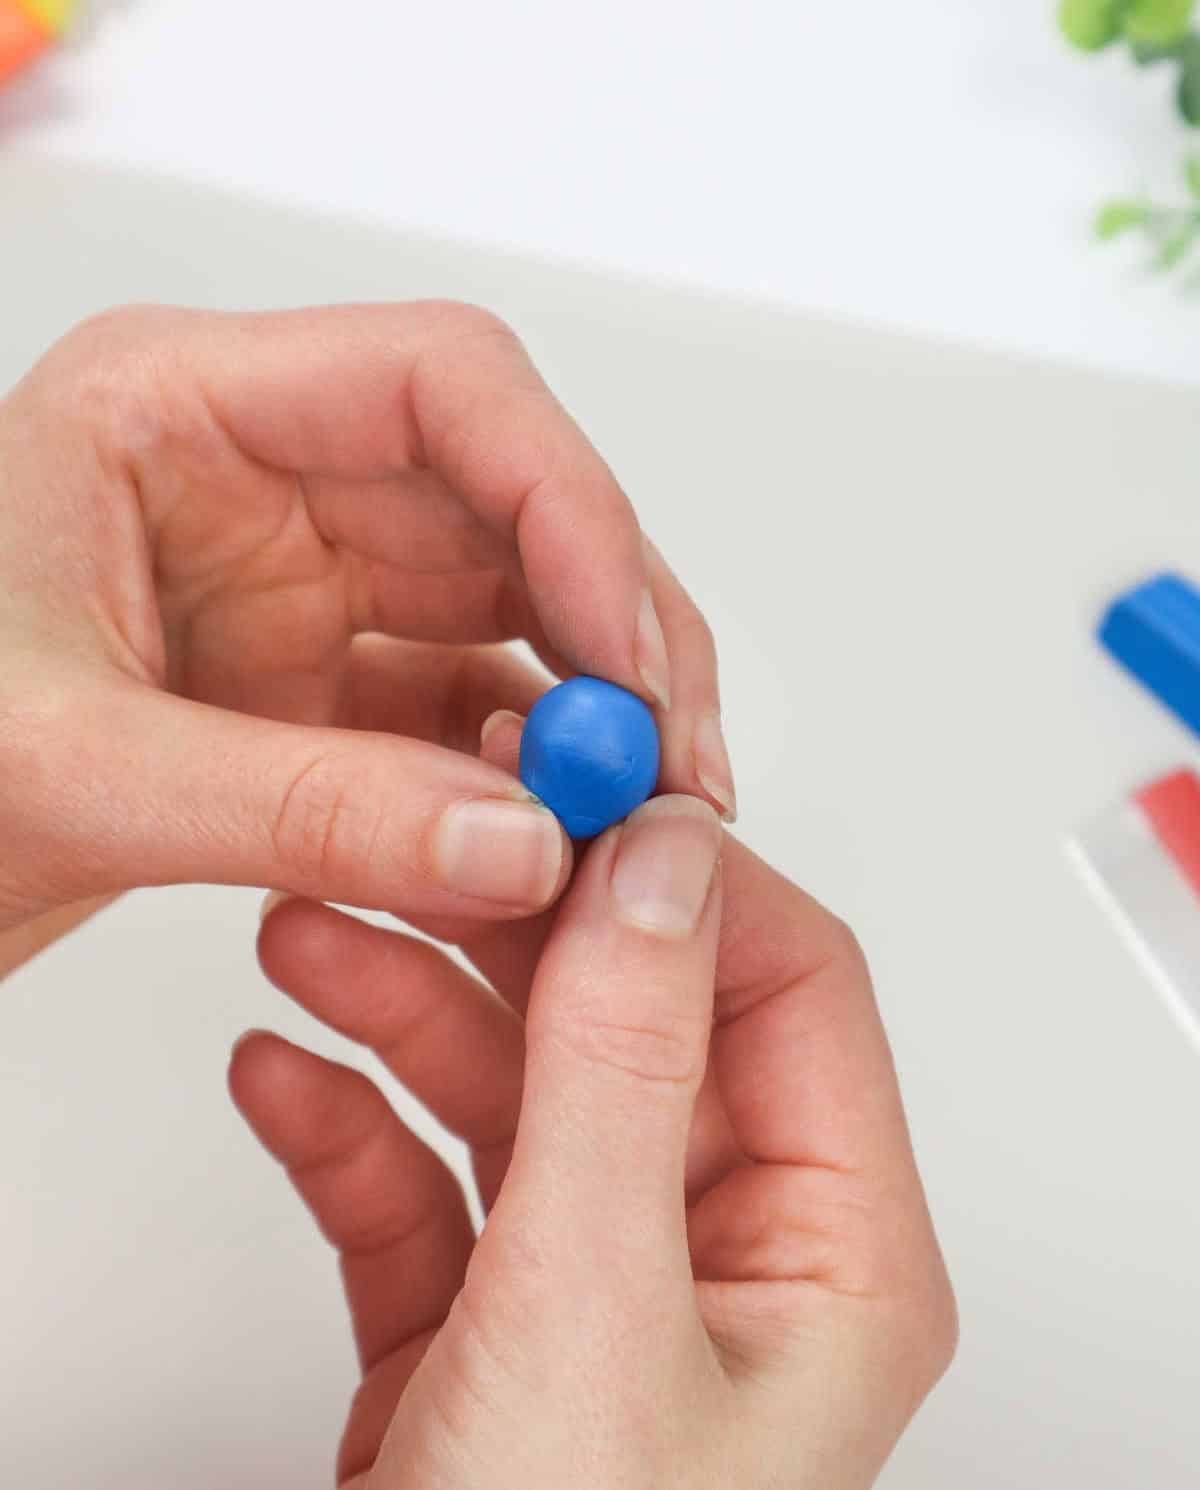
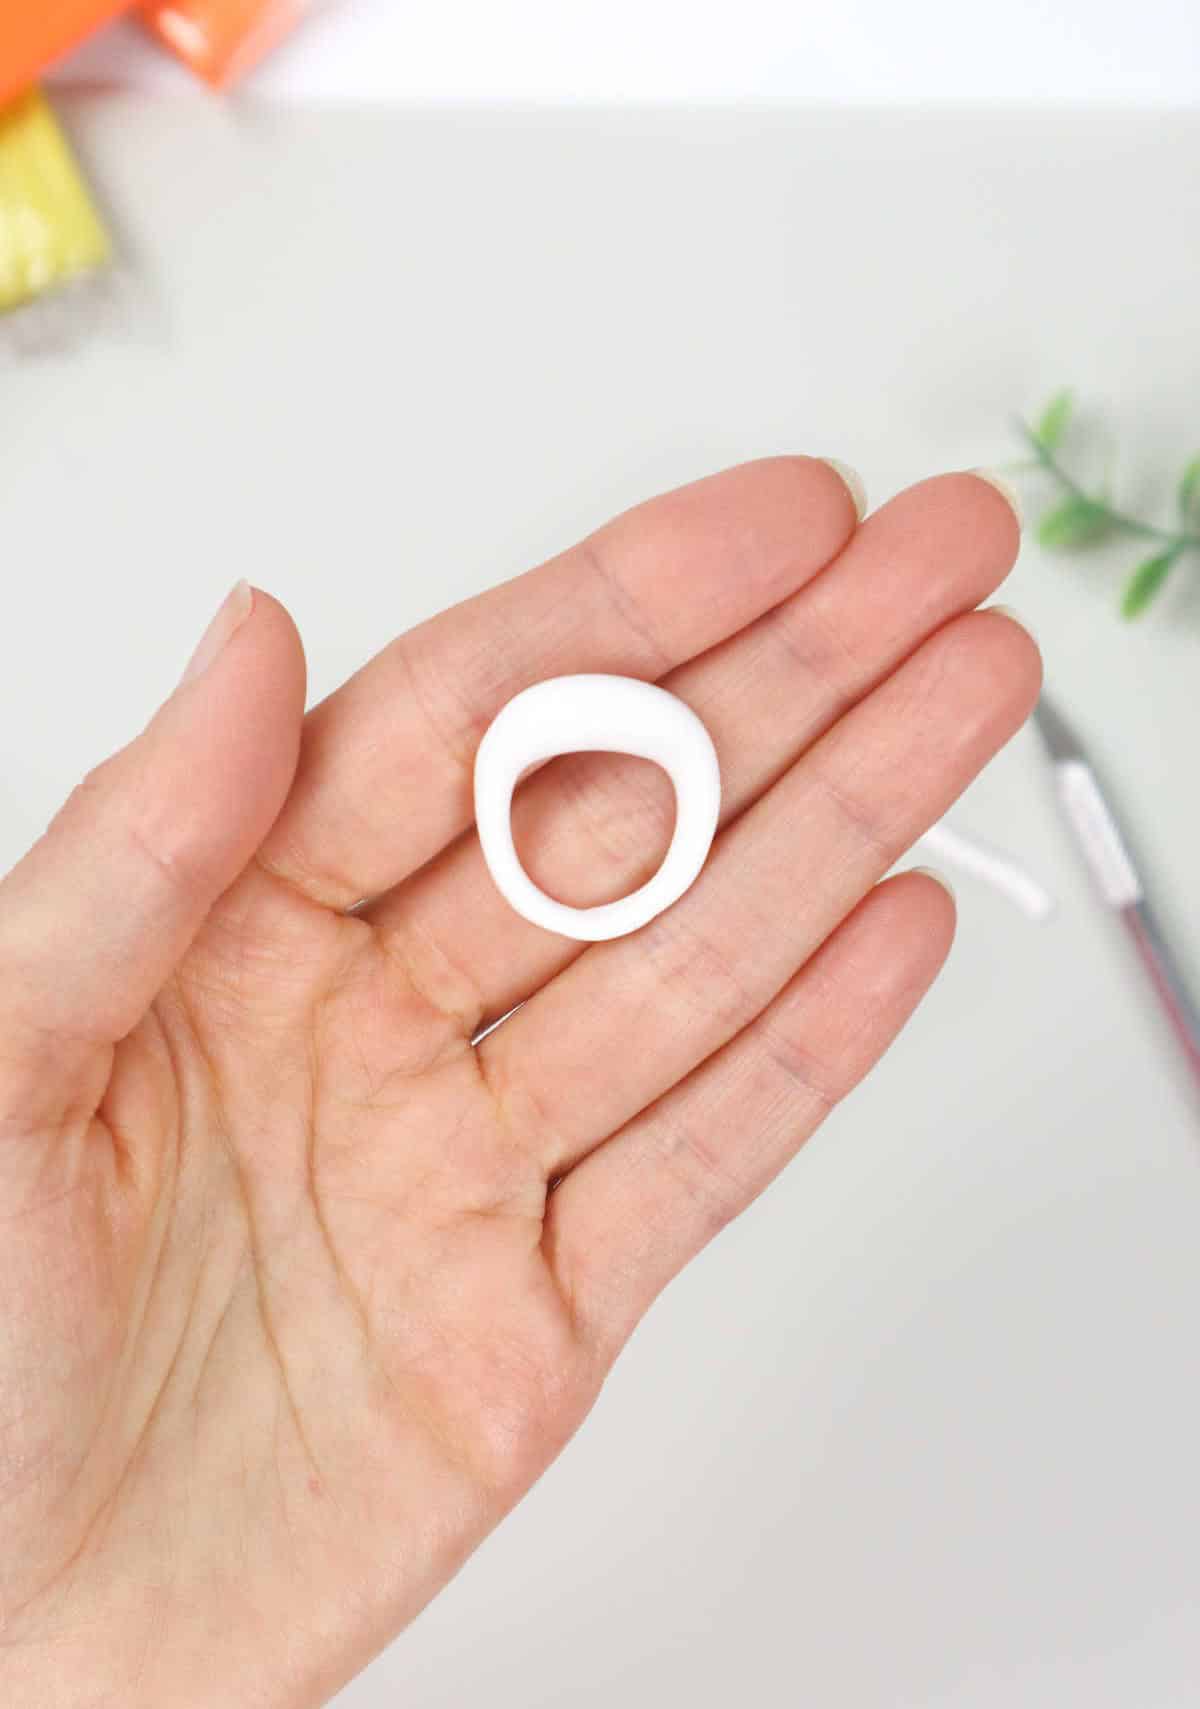
To create the foundation of your ring, start by dividing a portion of the clay into a small ball. Be cautious not to overwork the dough, as this can cause it to become too soft. If this occurs, simply set the clay aside and allow it to firm up before proceeding. This step is applicable to most ring-making projects, with slight adjustments if you plan to incorporate multiple colors.
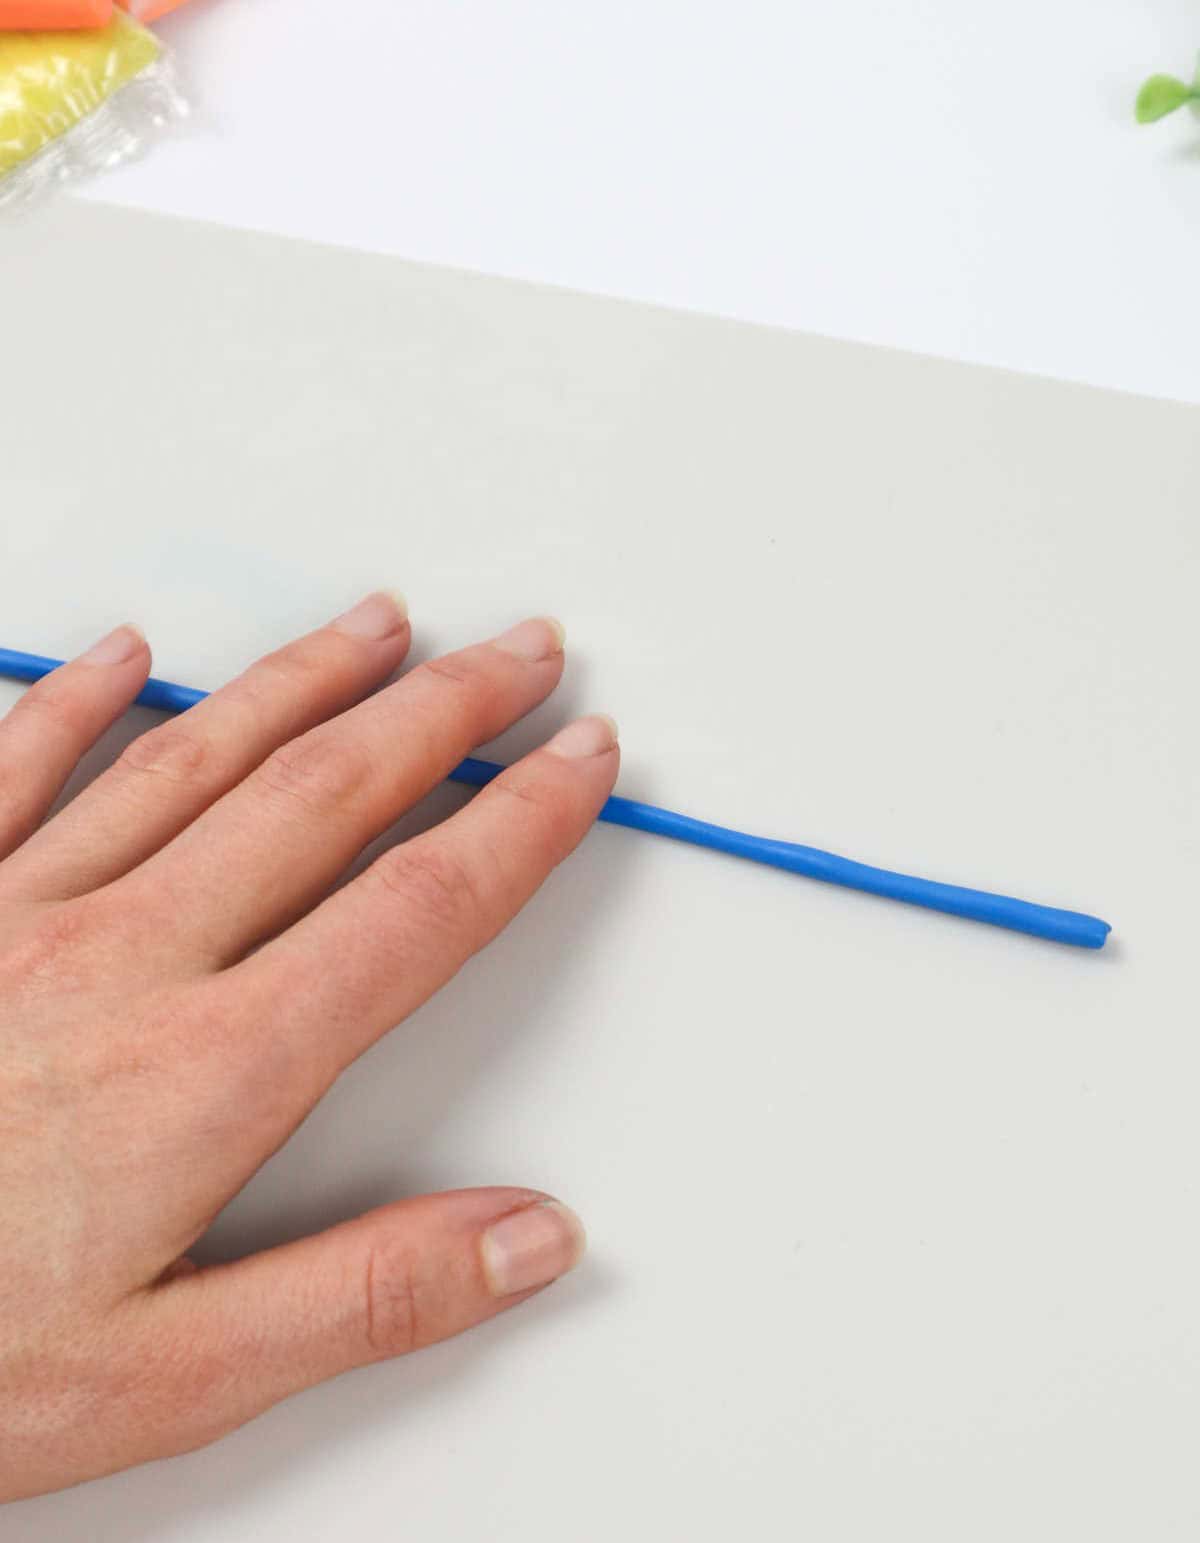
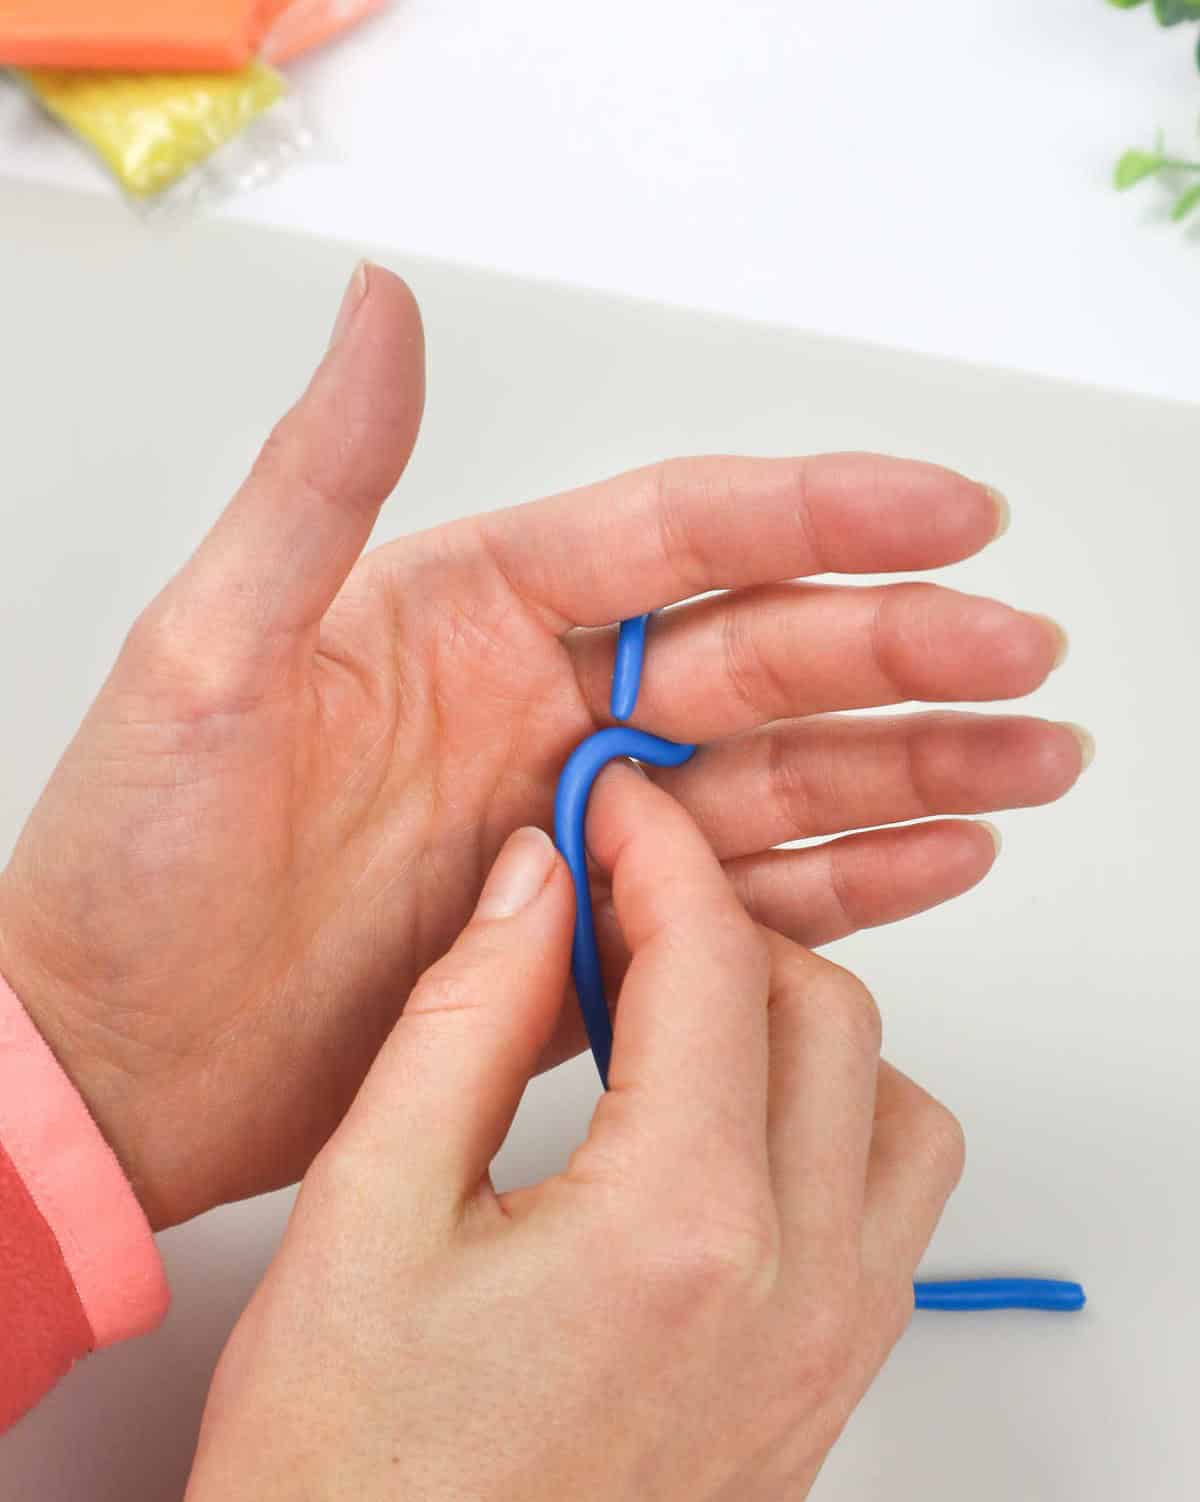
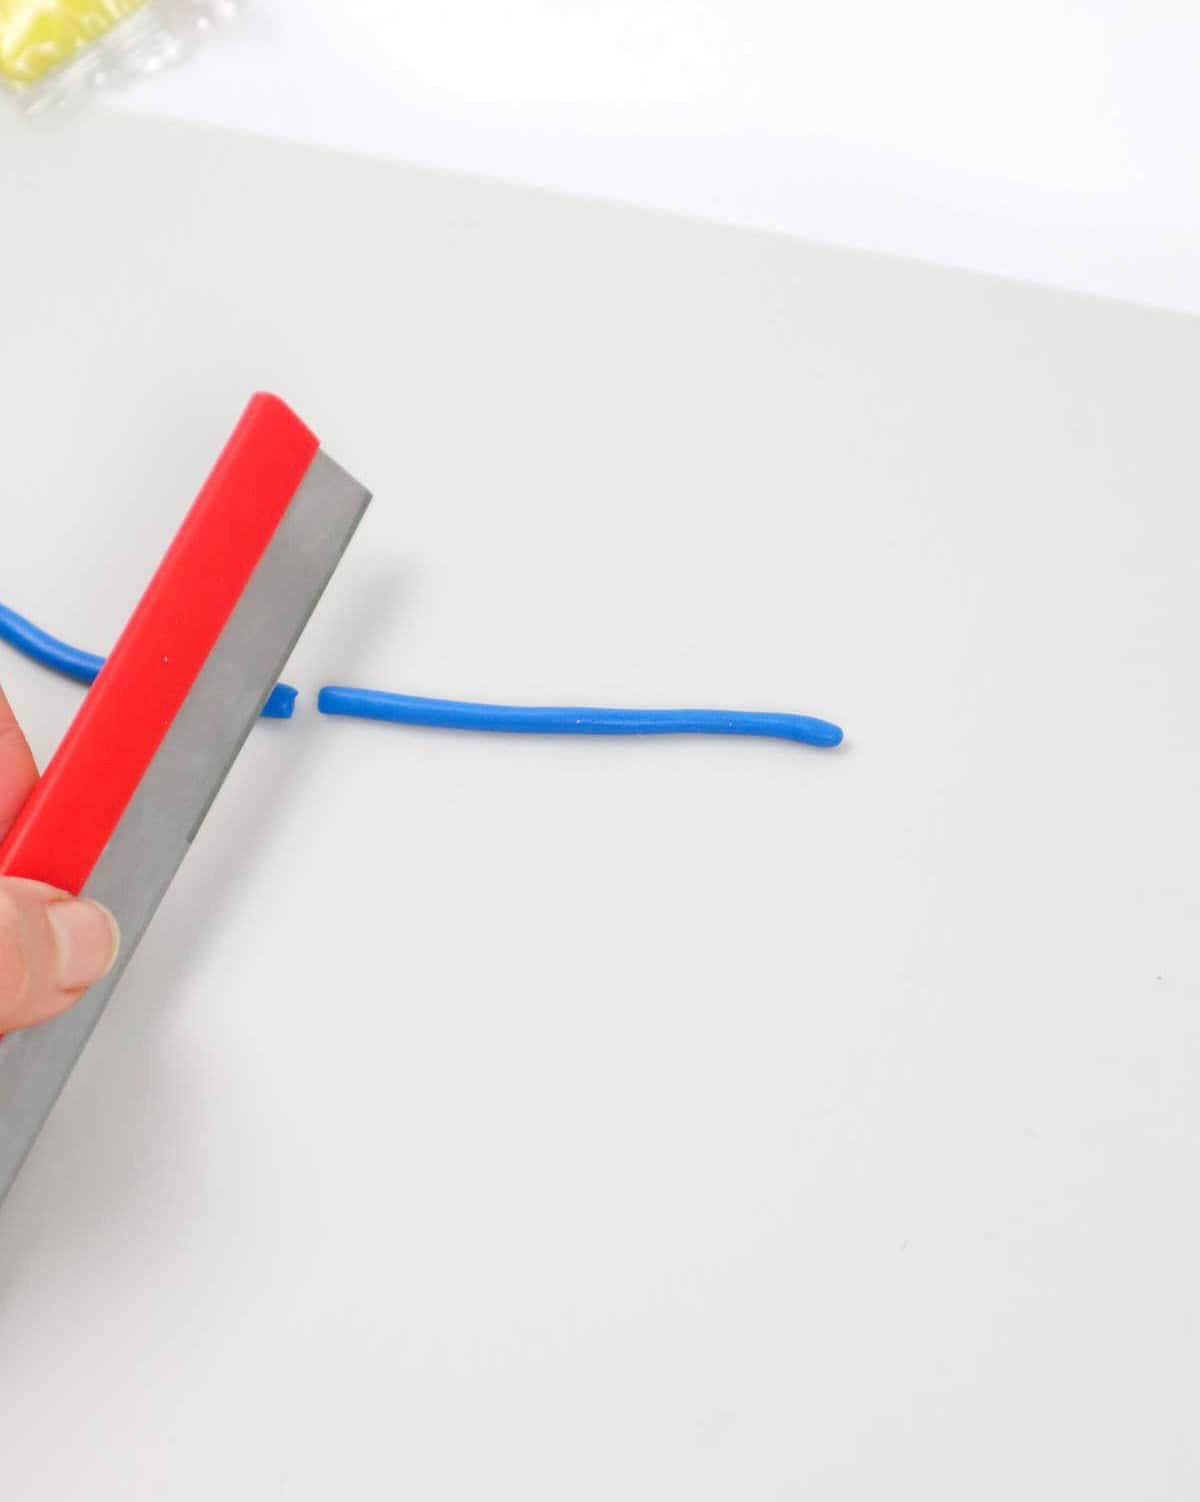
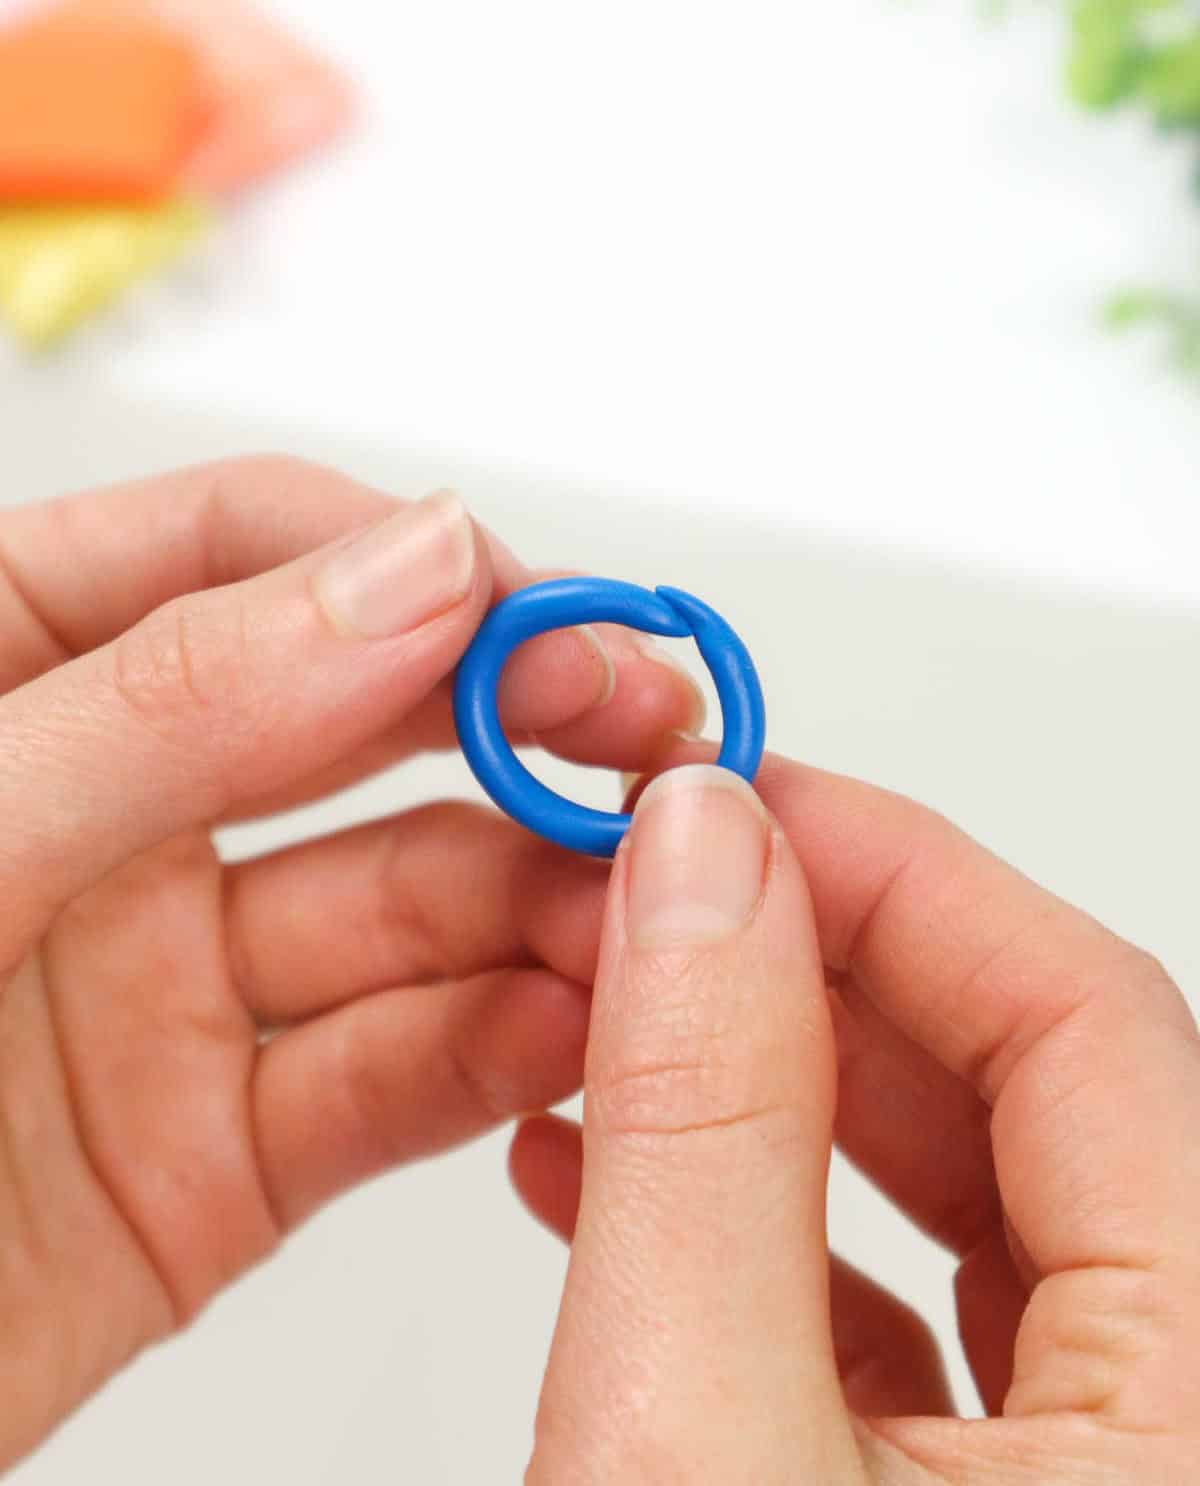
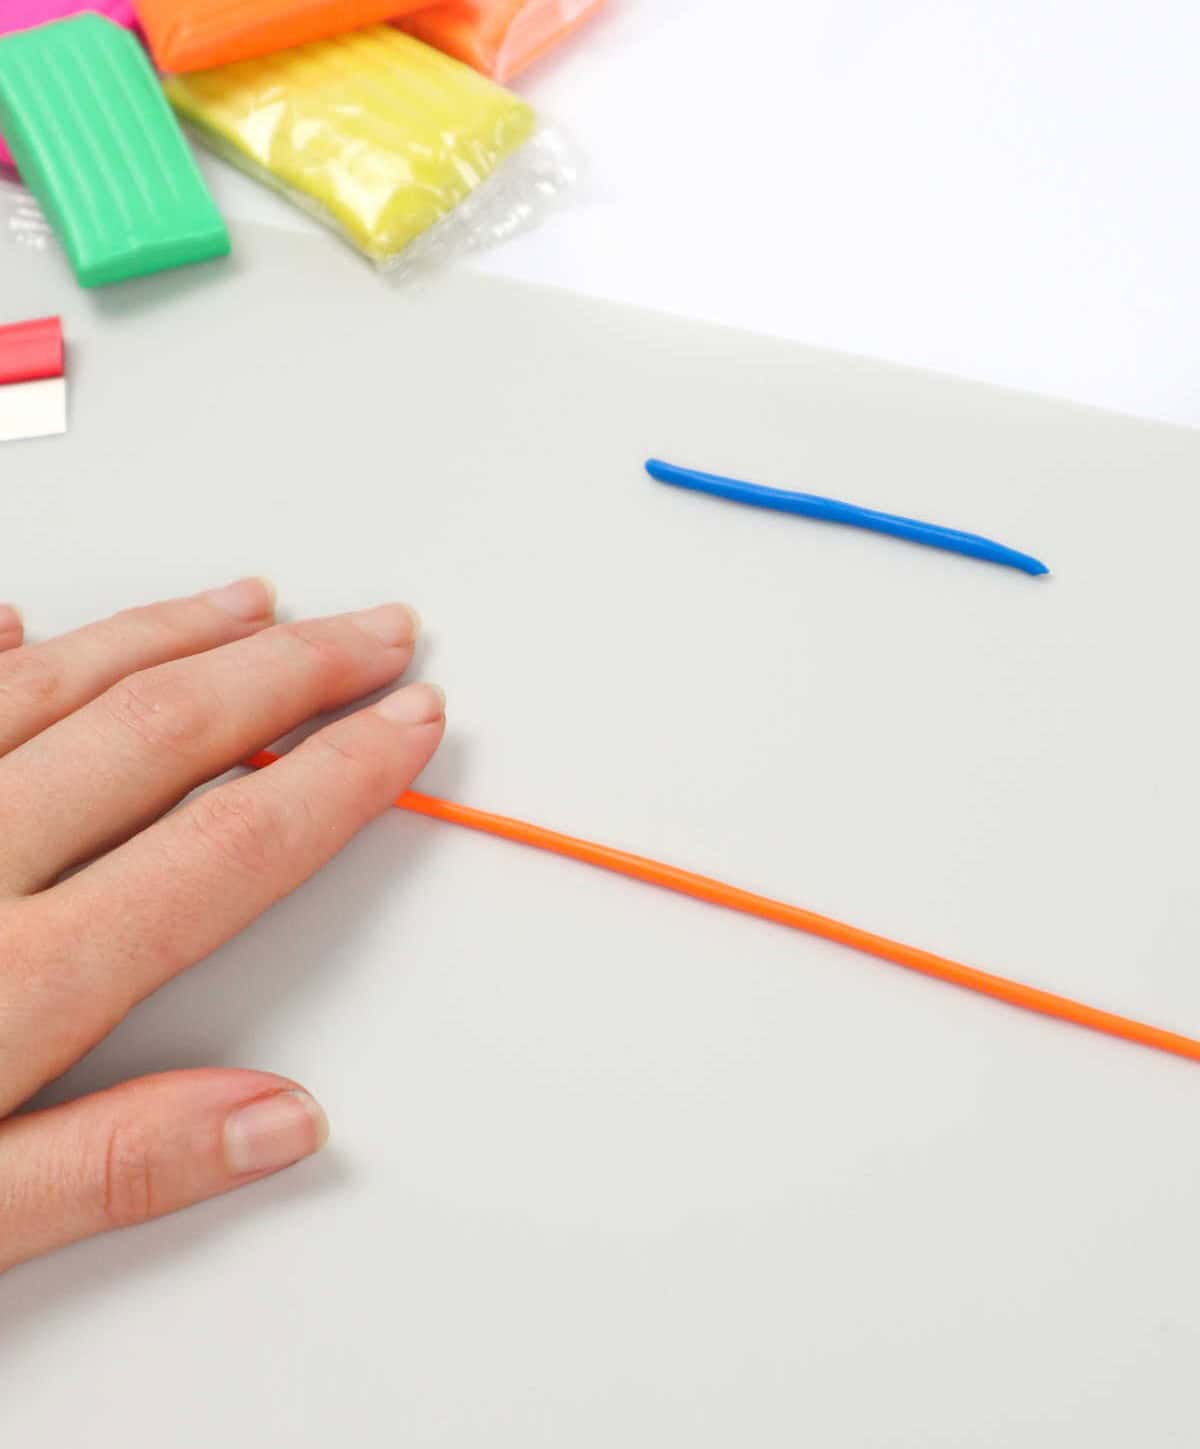
Next, use the flat surface of your palm or a rolling pin to gently extend the clay into a long, thin cylinder against a flat working surface. Wrap this narrow strip around your finger to determine the circumference of the ring. Utilize a cutting tool to trim the measured length from the rest of the clay and set it aside. To complete the ring, bring the two ends together and press them firmly to merge the clay.
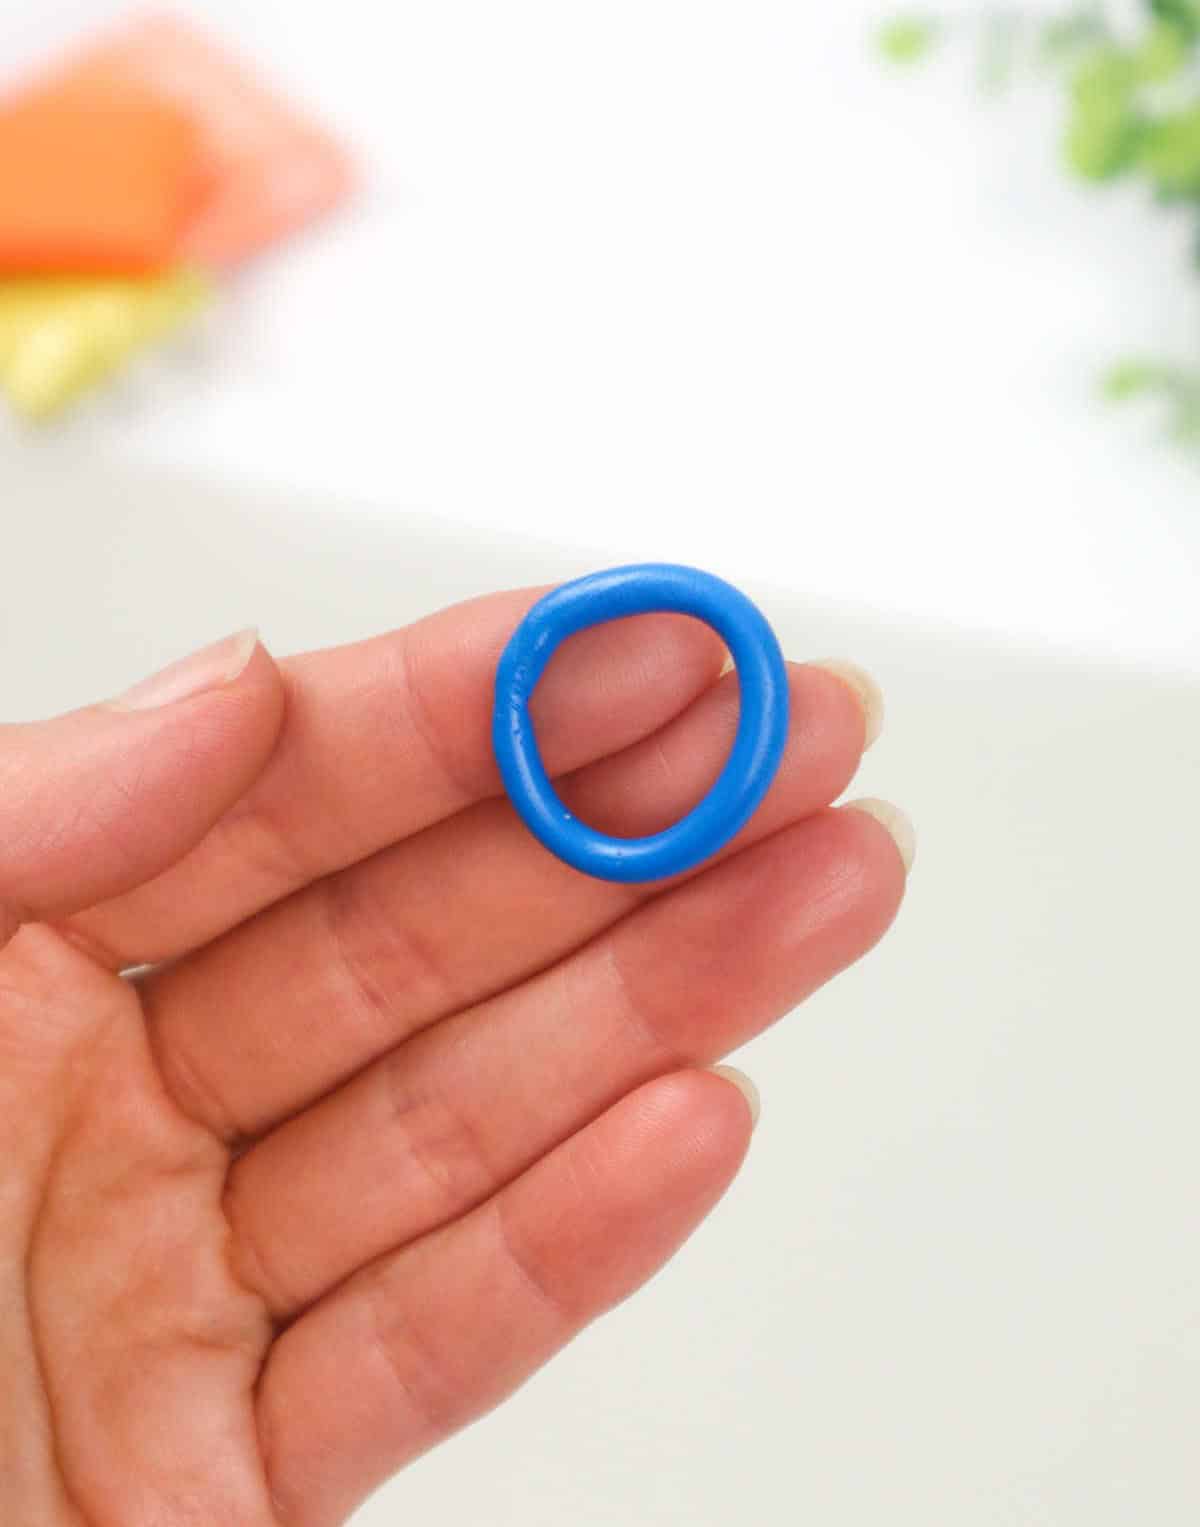
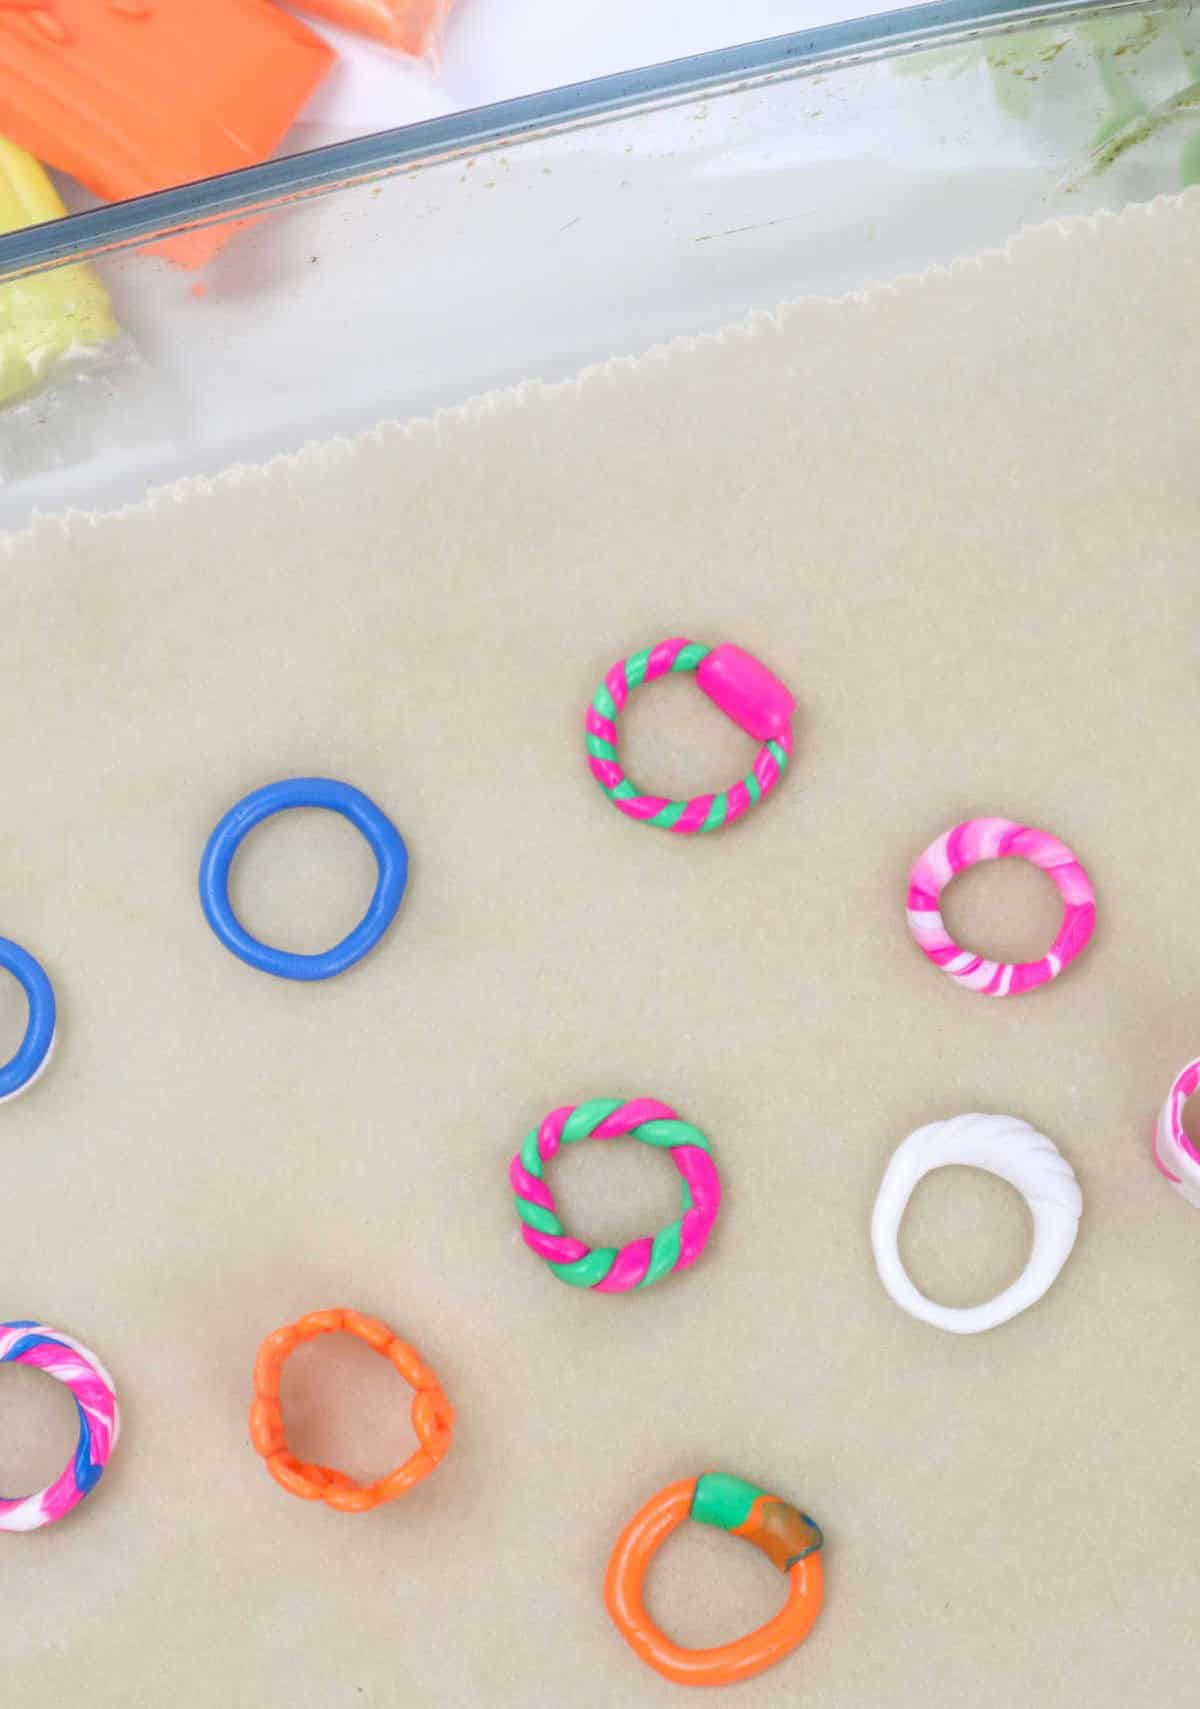
Use your fingers to shape the clay into a uniform thickness, matching the girth of the original ring. Place the completed ring on a baking tray for temporary storage.
Pattern 2
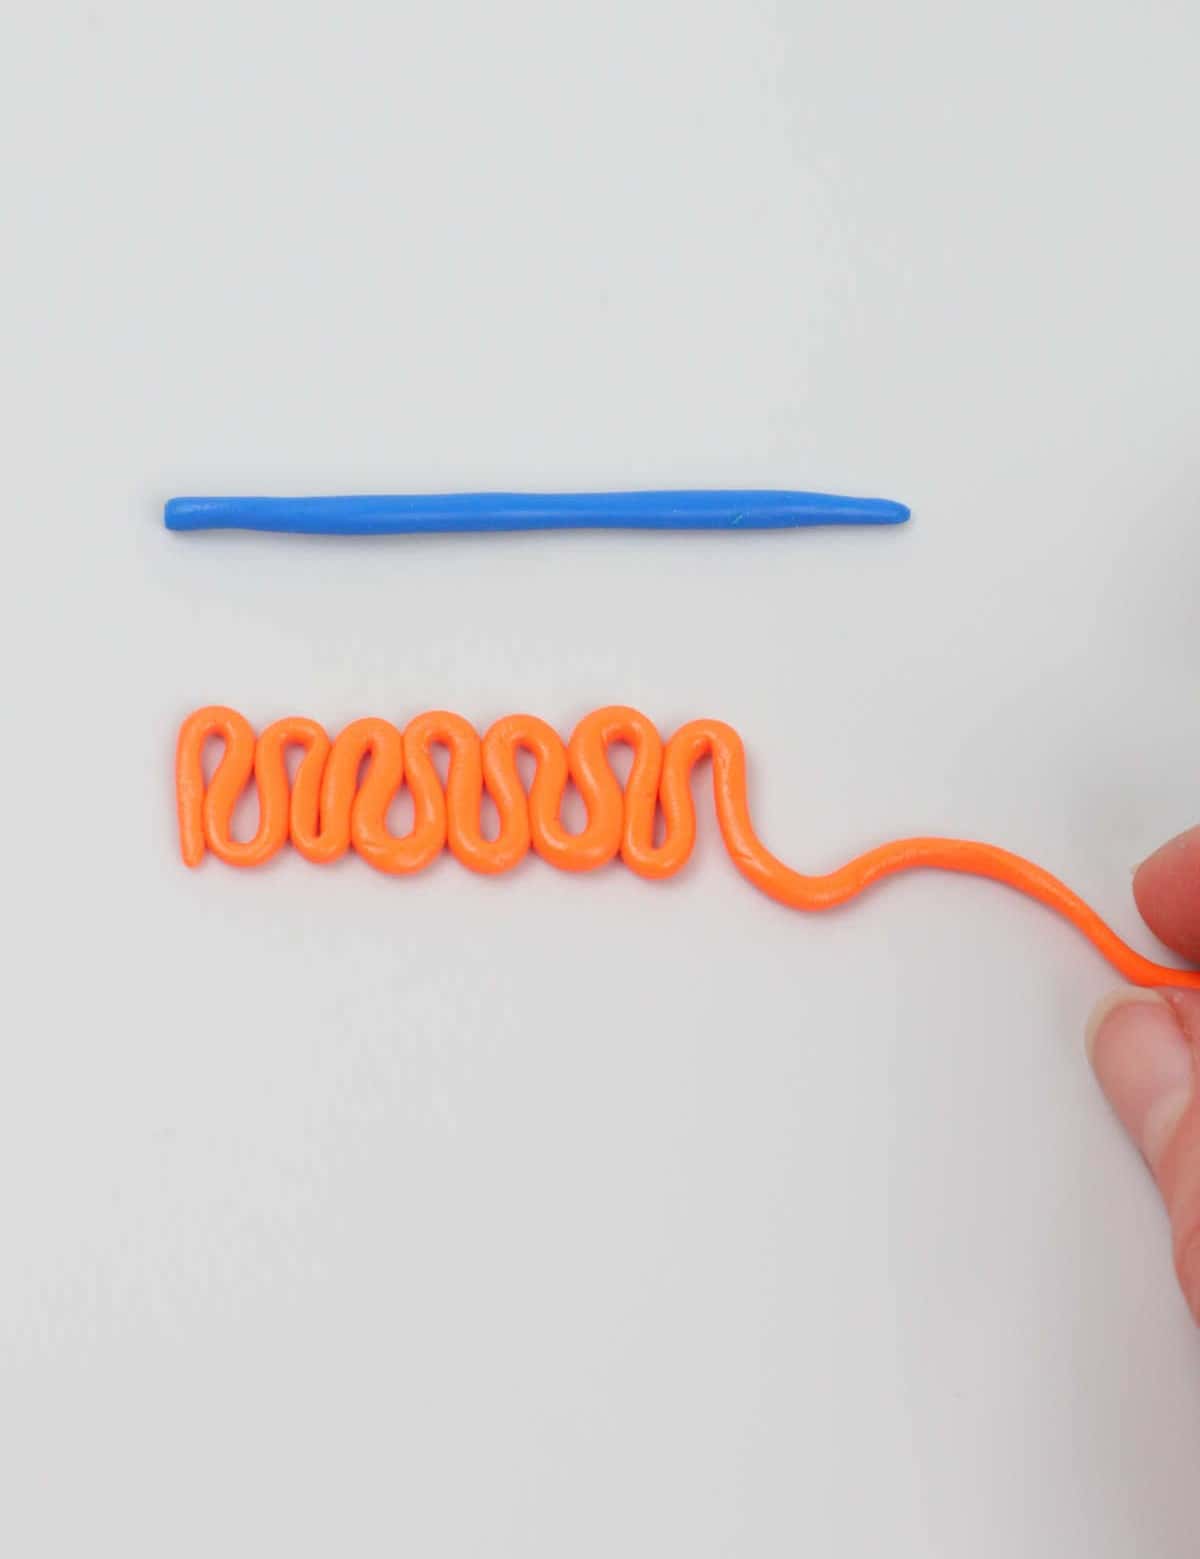
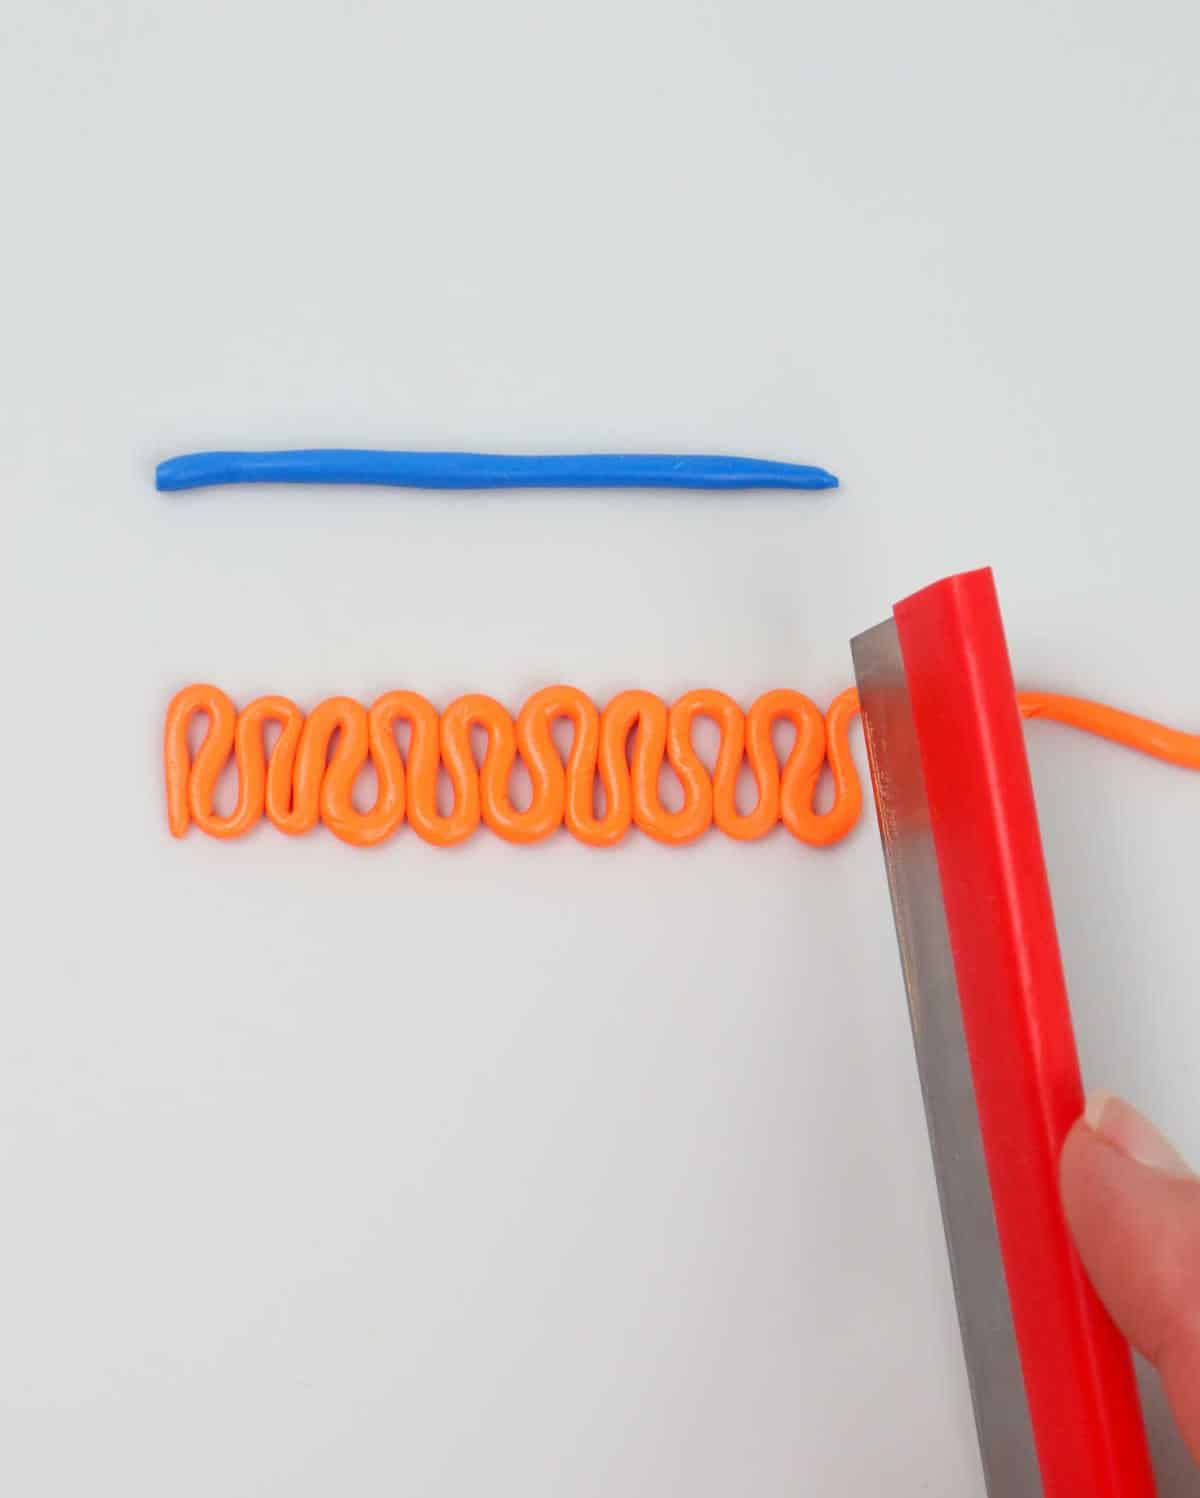
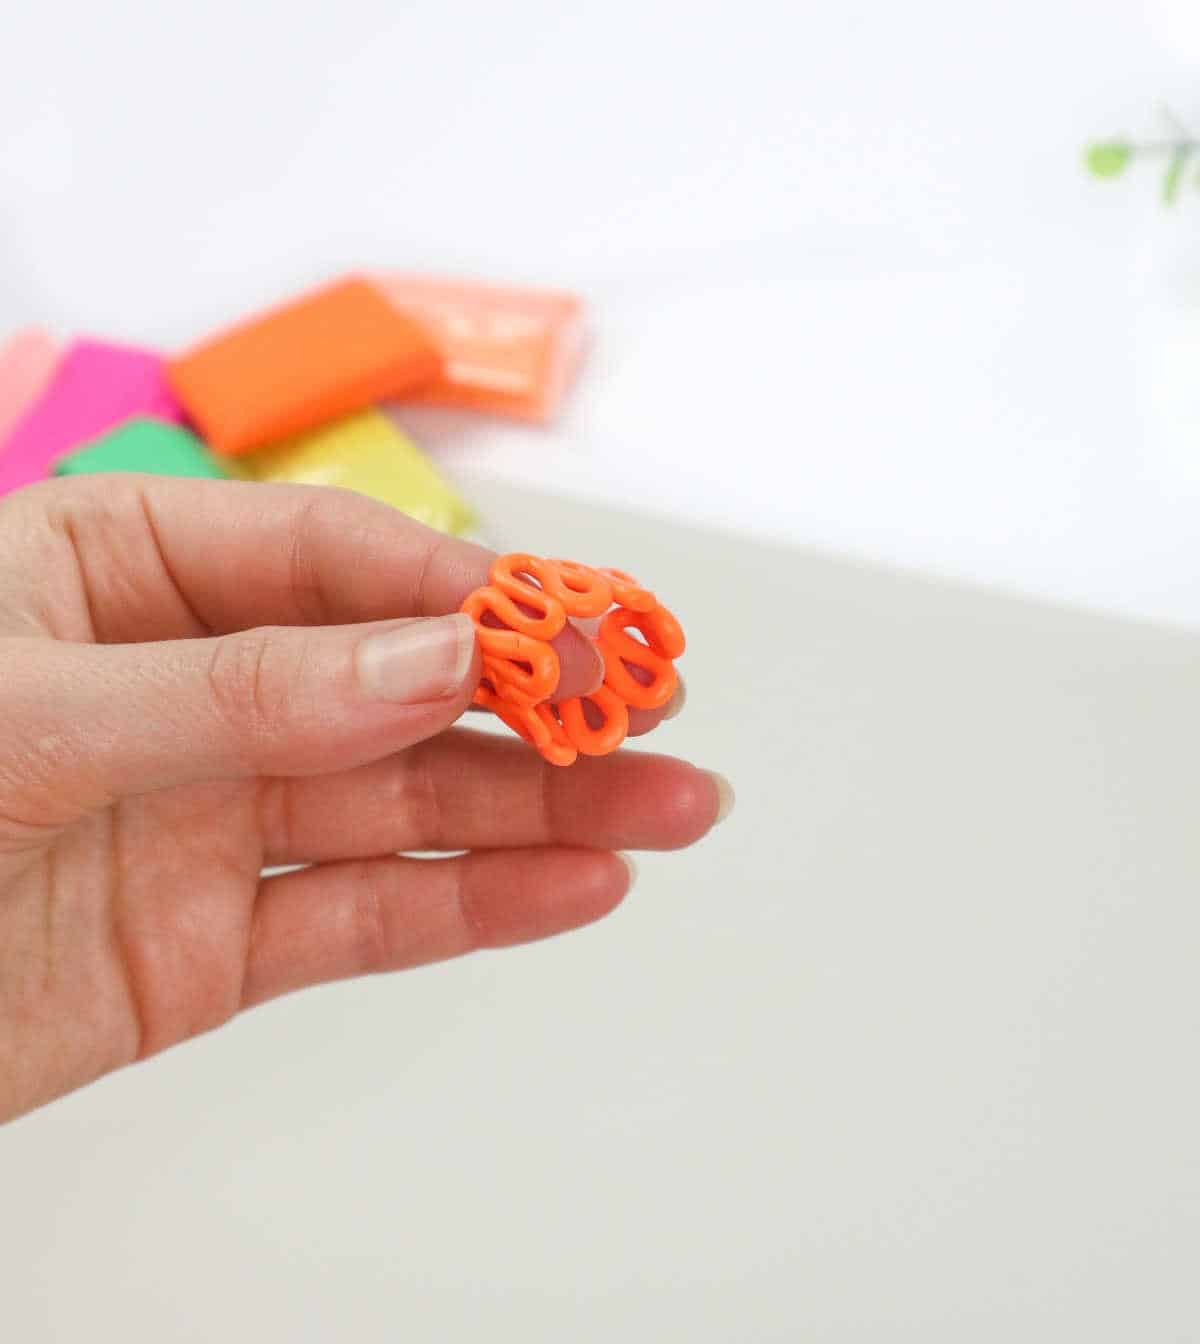
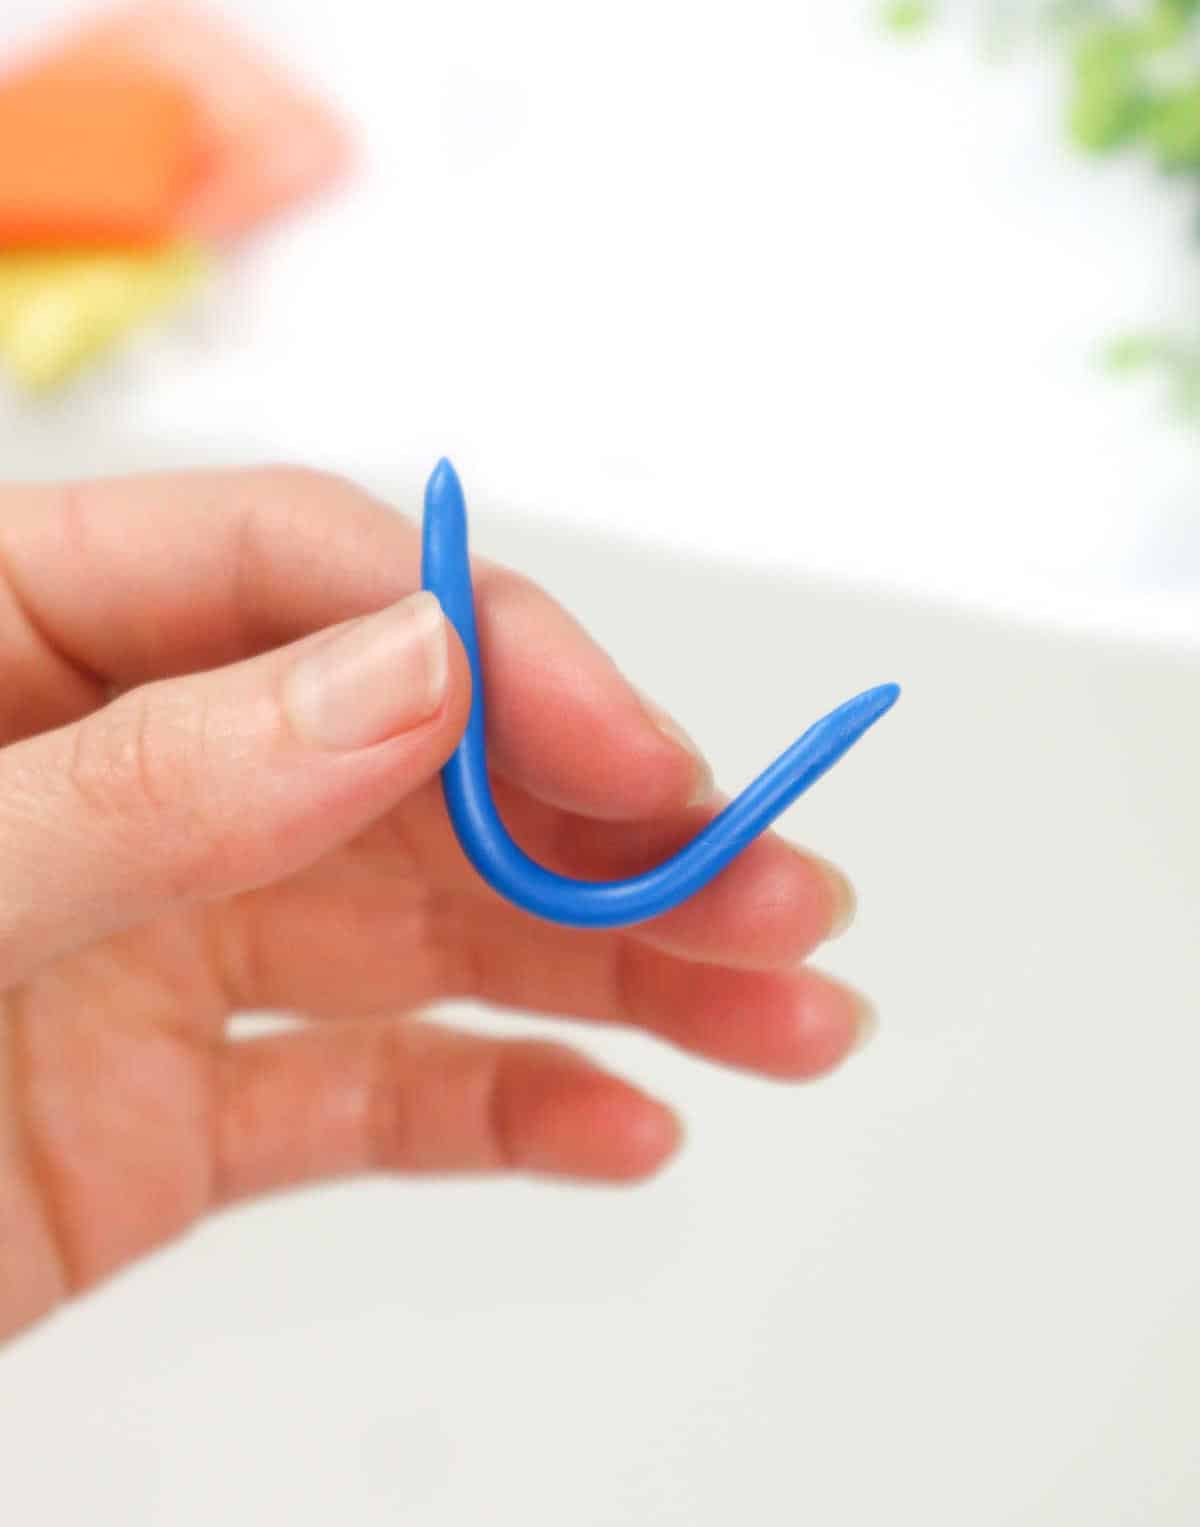
Why not challenge yourself creatively by experimenting with different colors and shapes while making this next ring? The squiggly design of this particular piece is a great way to express your fun and quirky side. As you shape the ring and trim the ends when it reaches the desired circumference, make sure to press the edges together smoothly to ensure even blending. Once done, place the finished ring on the baking tray alongside the first one.
Pattern 3
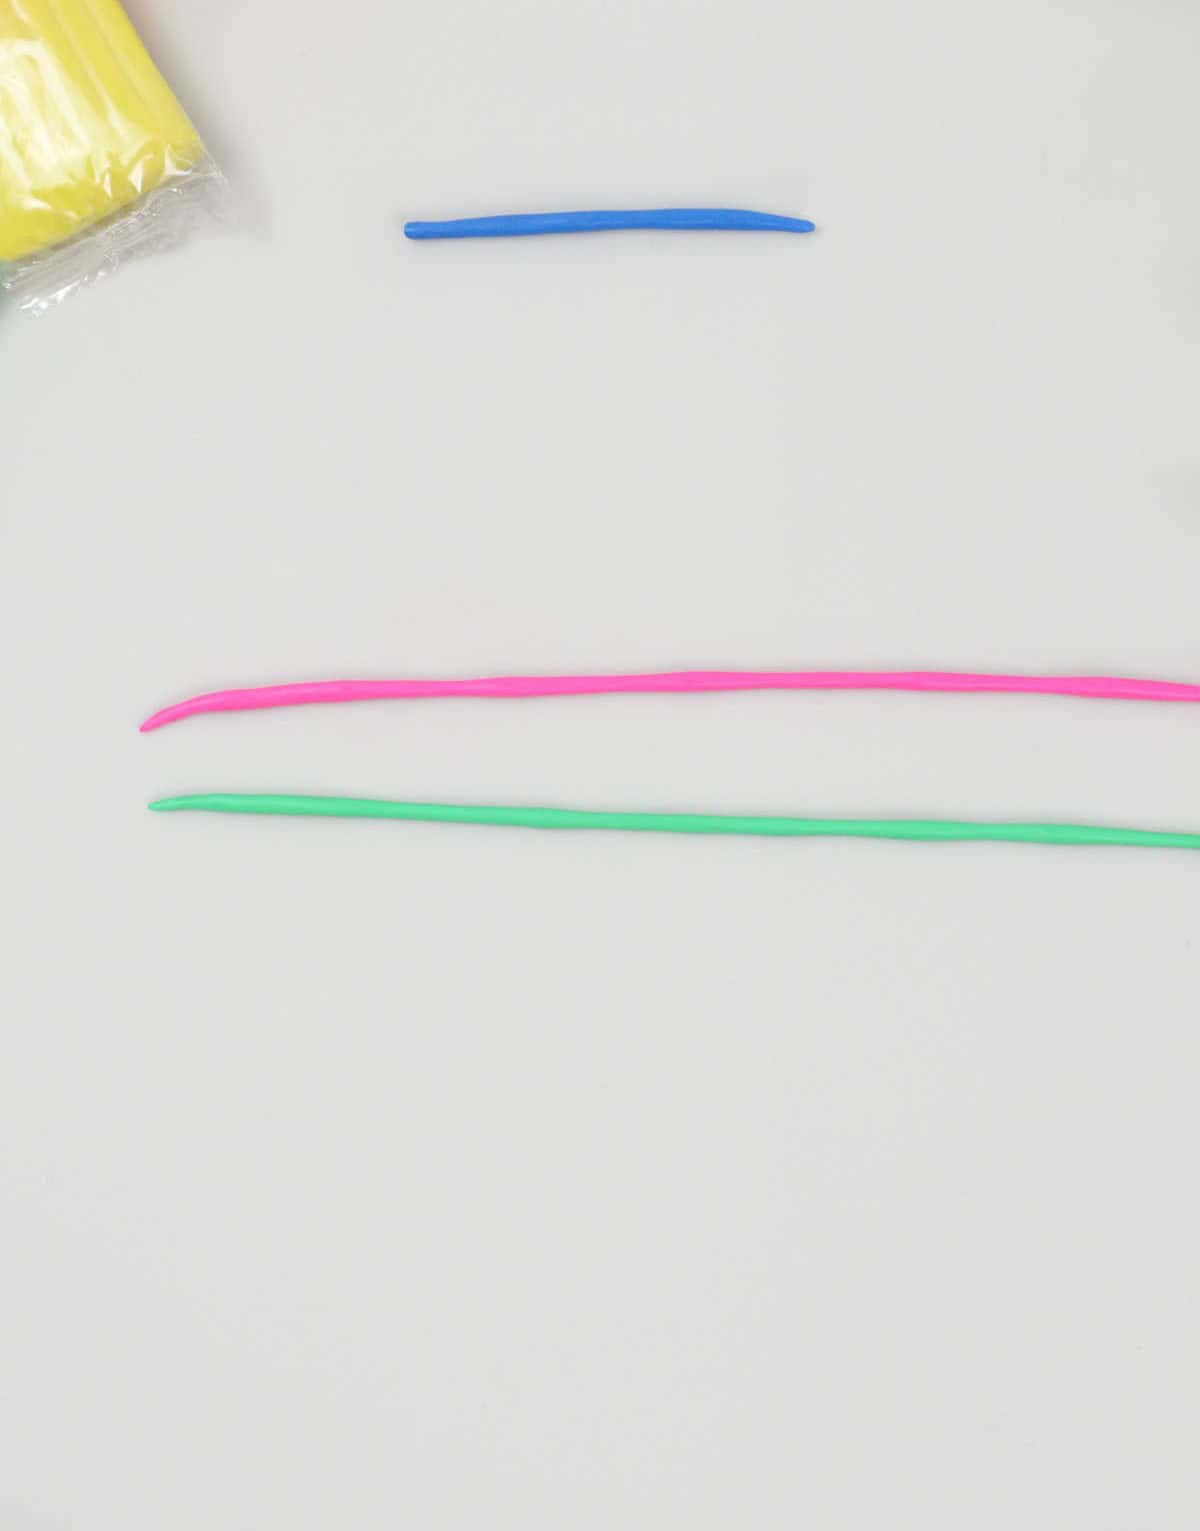
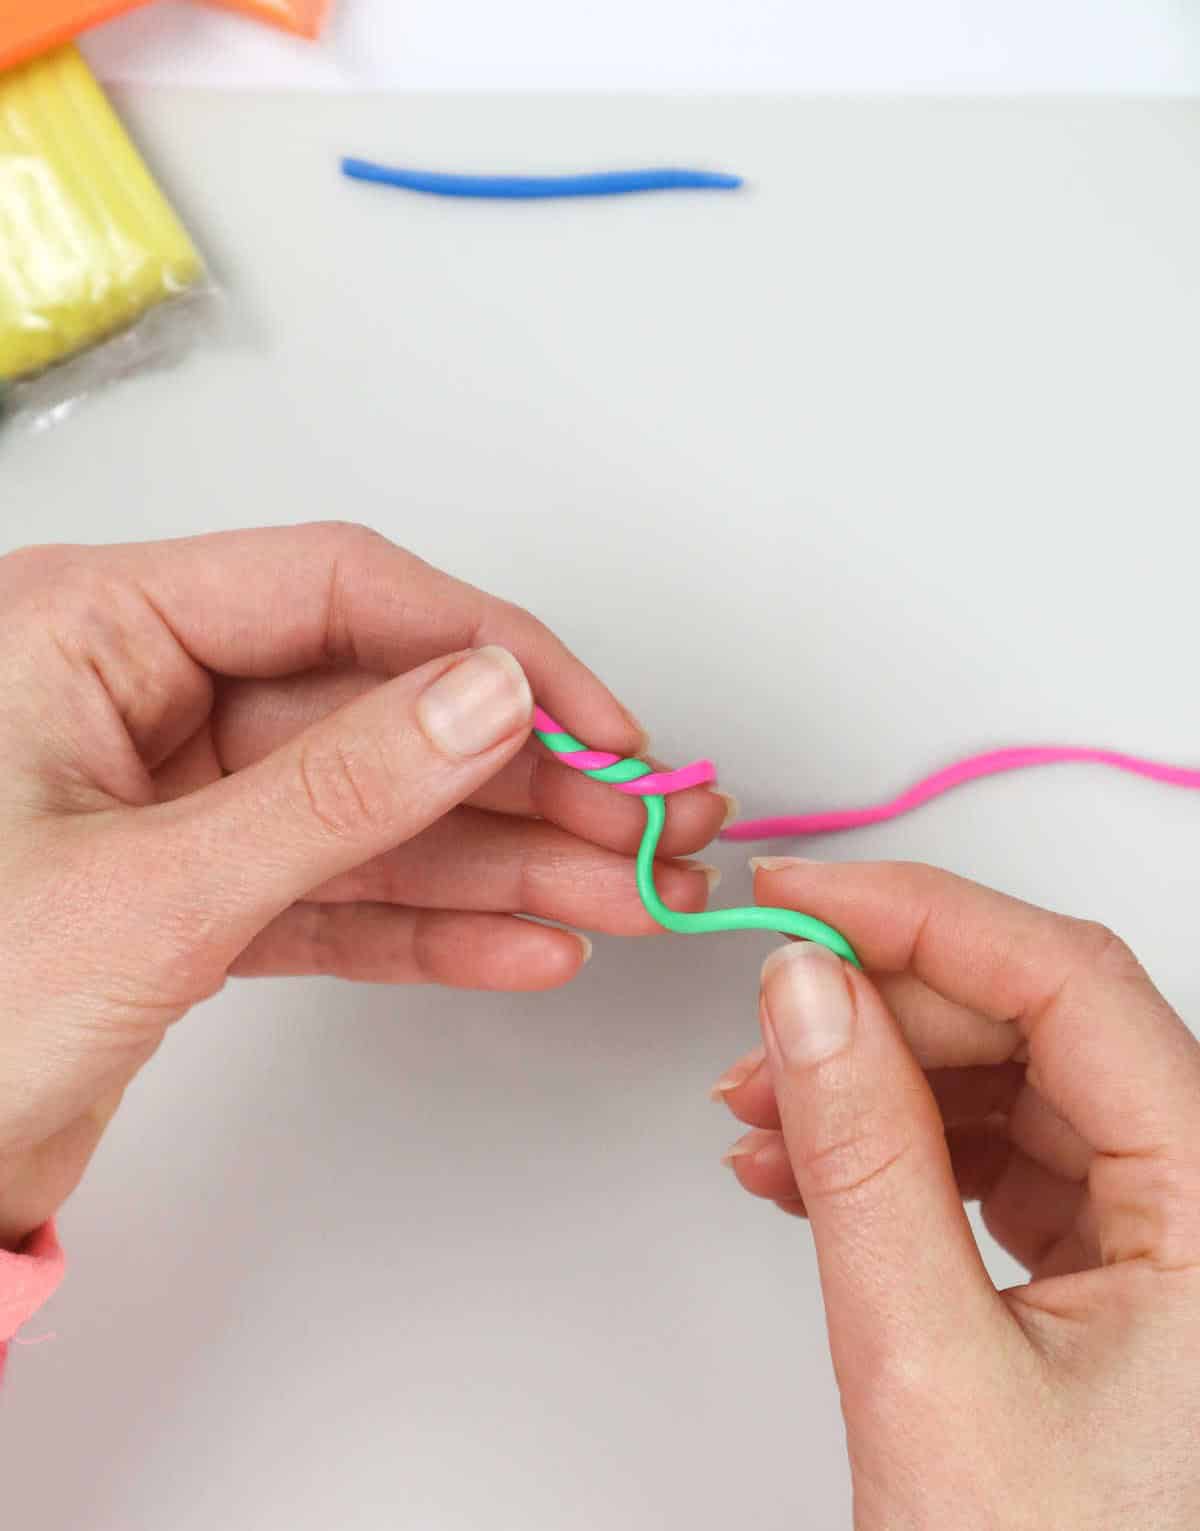
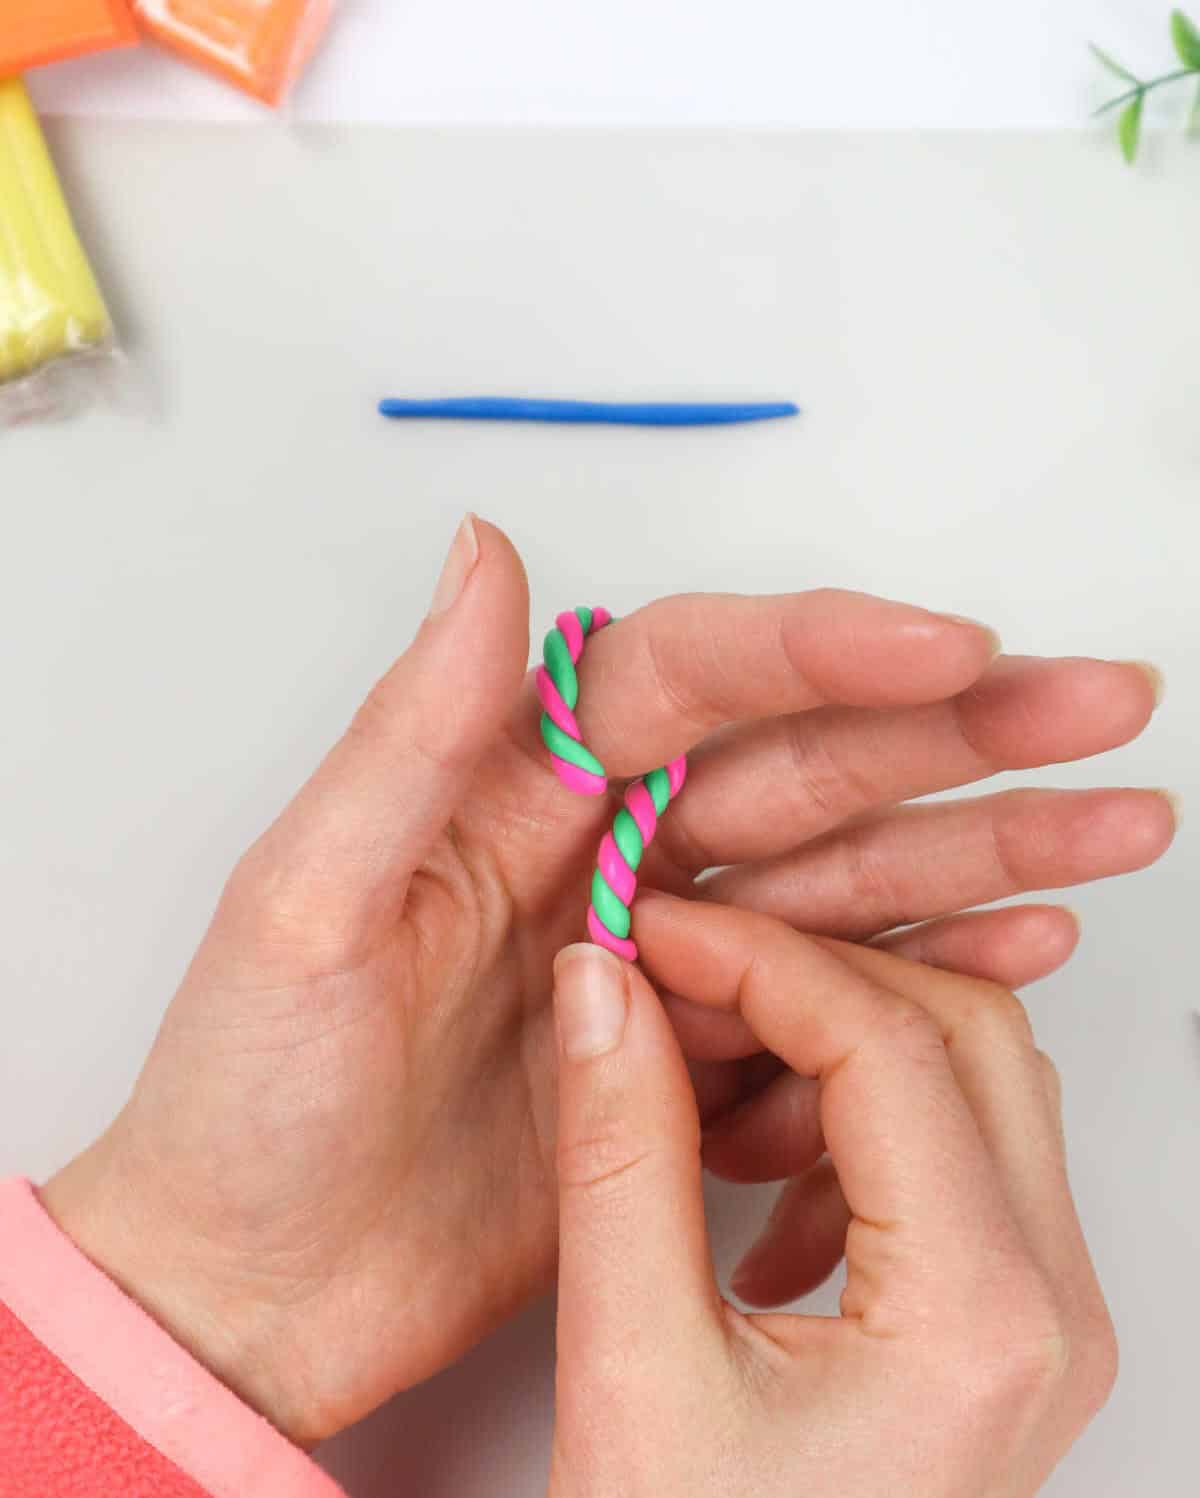
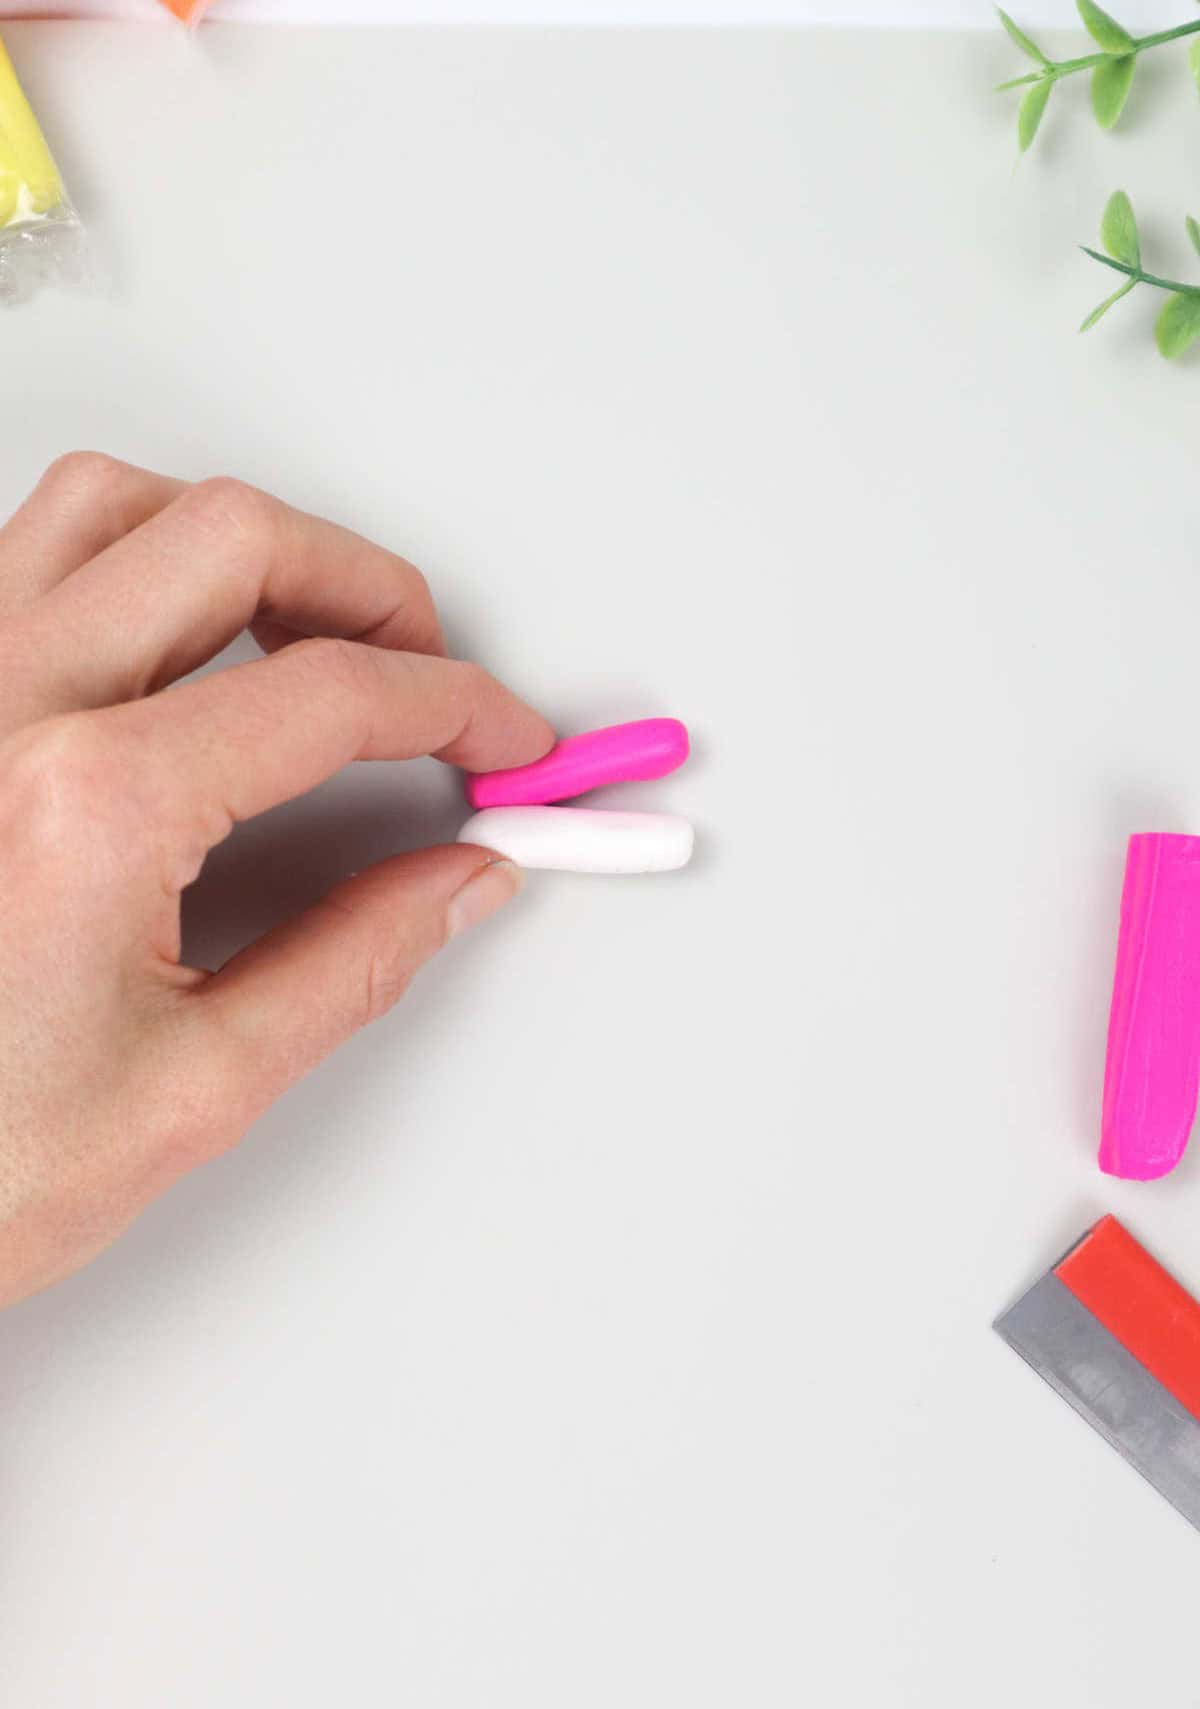
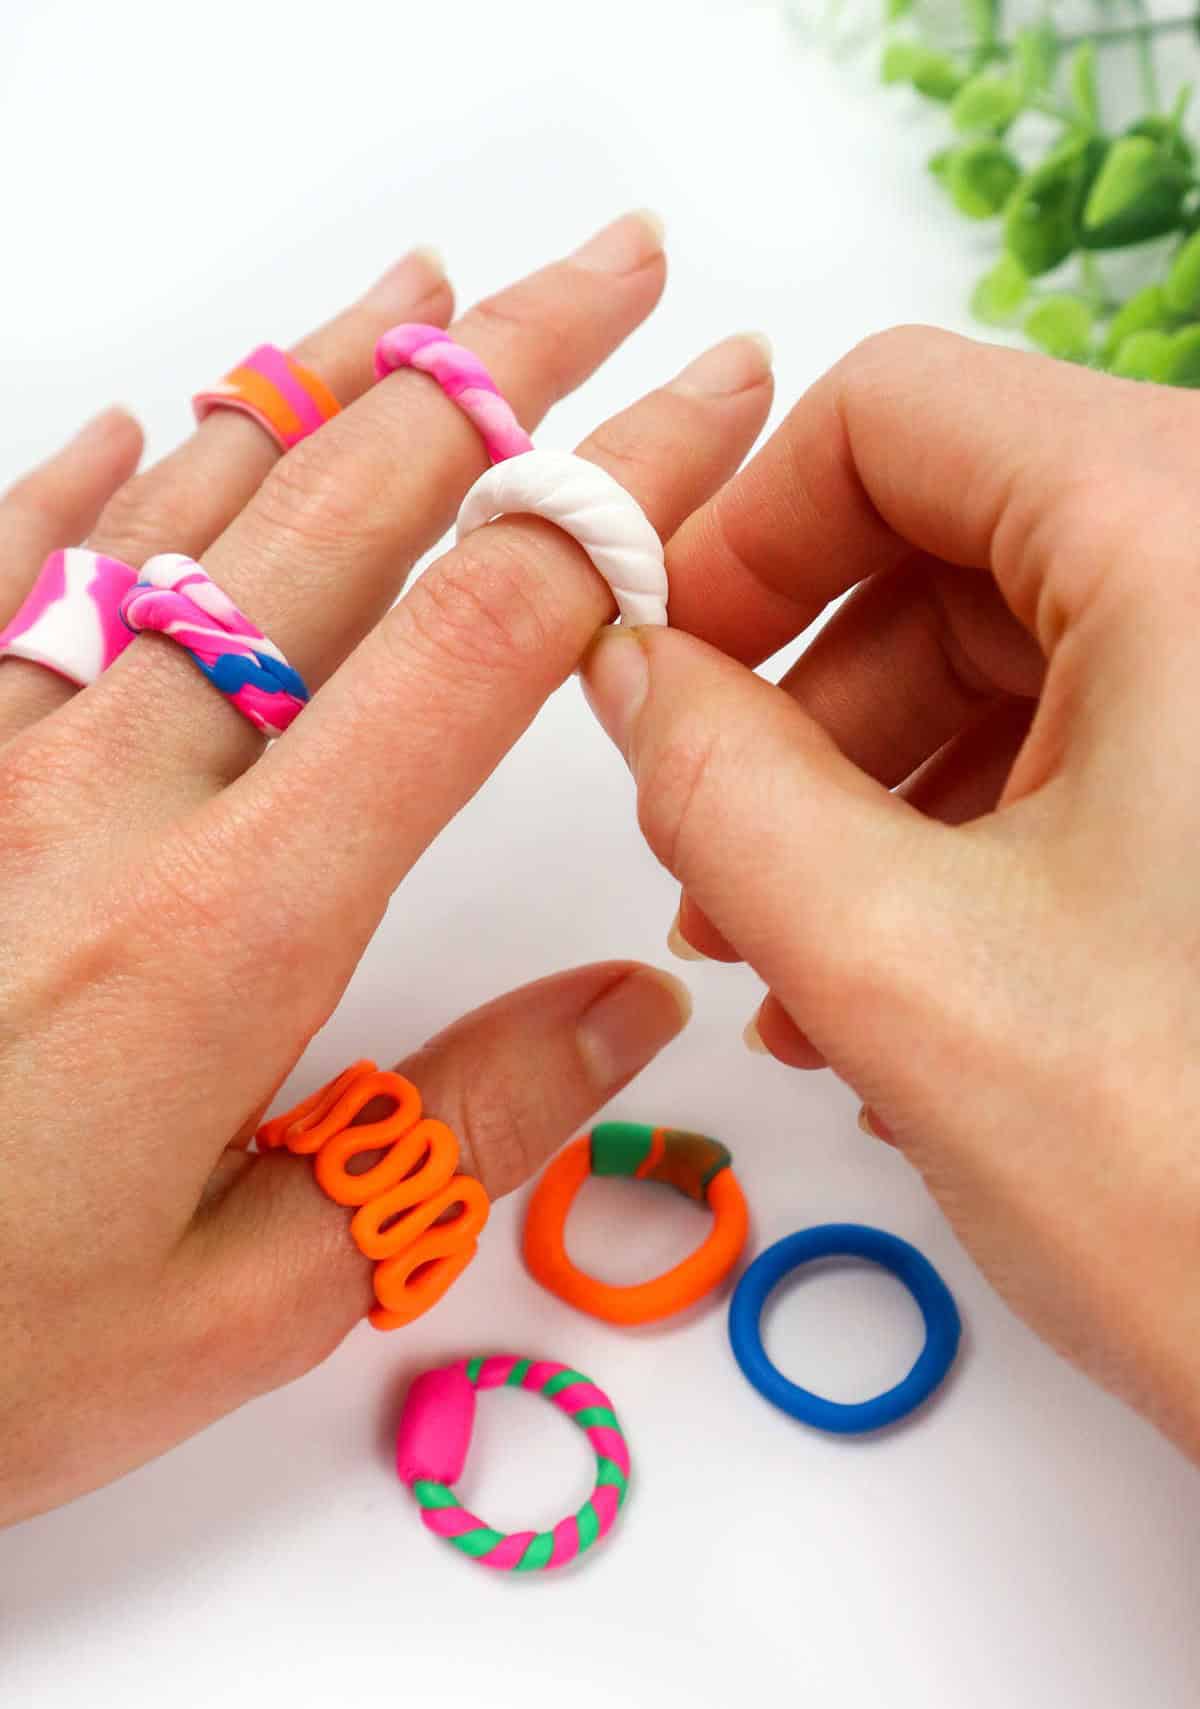
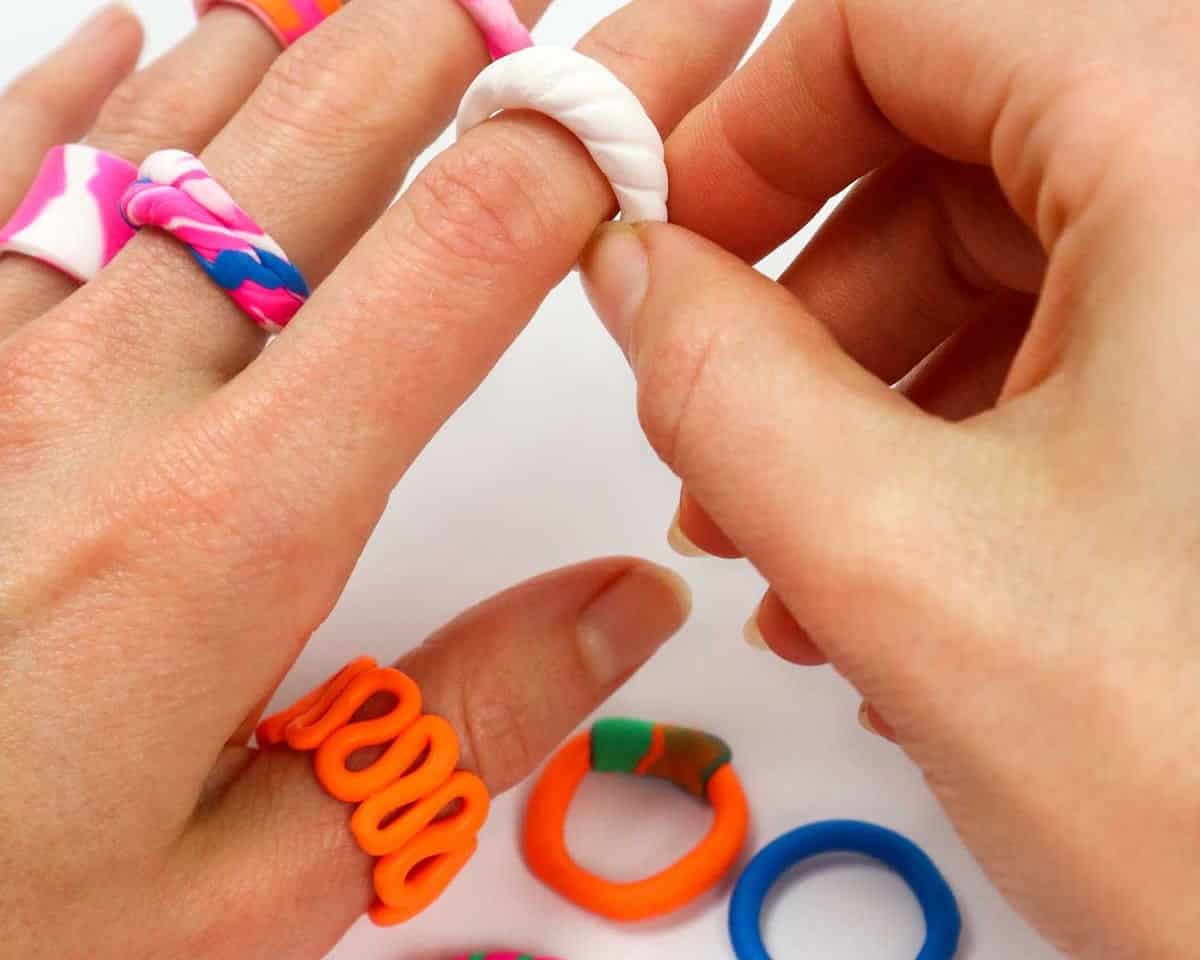
Imagine crafting a whimsical ring that’s as playful as a candy cane! To create this delightful design, start by rolling out two separate lines of clay in different colors. Feel free to get creative and add a third color to the mix. Once you have your colorful strands ready, line them up alongside each other and begin twisting them together. Be gentle when combining the clay to avoid creating a flat or smudgy surface.
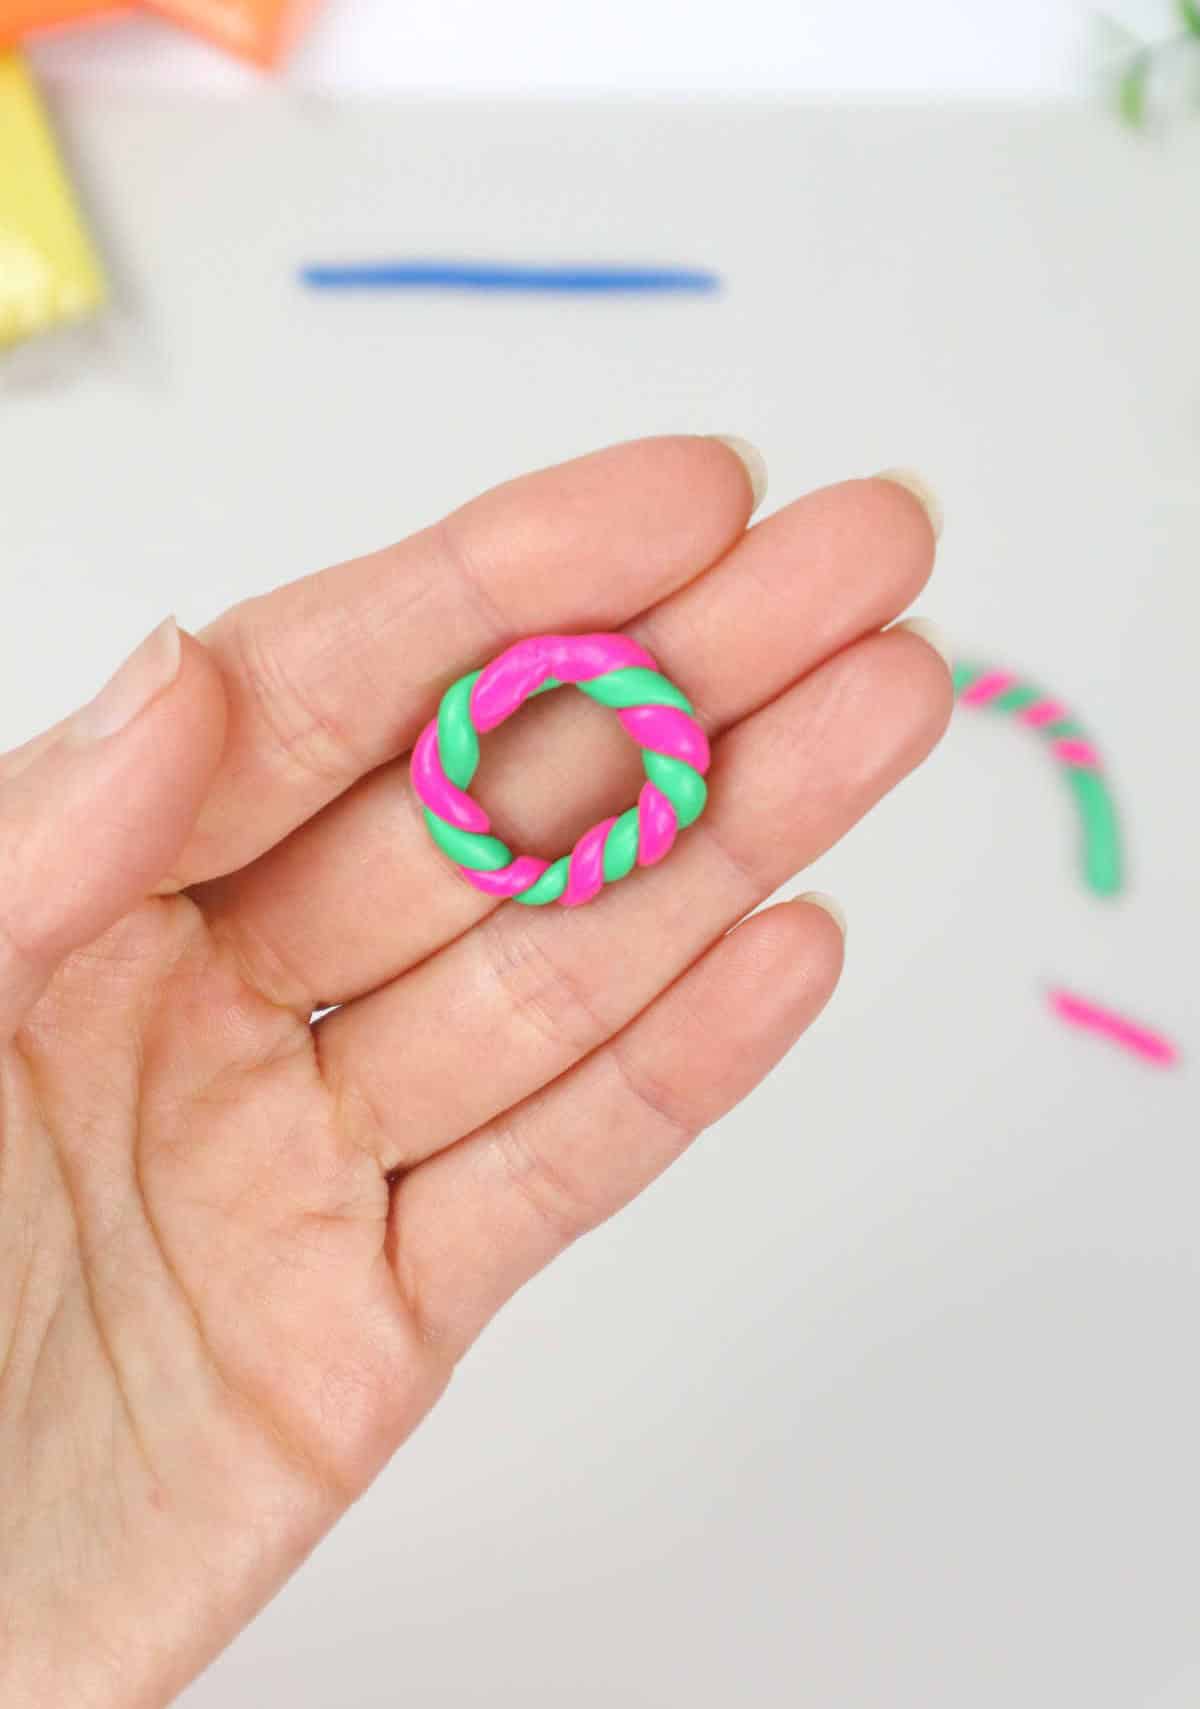
As you roll the two colors into one, use the curvature of your hand as a guide to measure the ring’s circumference. Trim any excess clay and then blend the seam where the two ends meet. Don’t worry if this part appears a bit rough – simply turn the ring inward and conceal the closure point on the inside of your finger.
Pattern 4
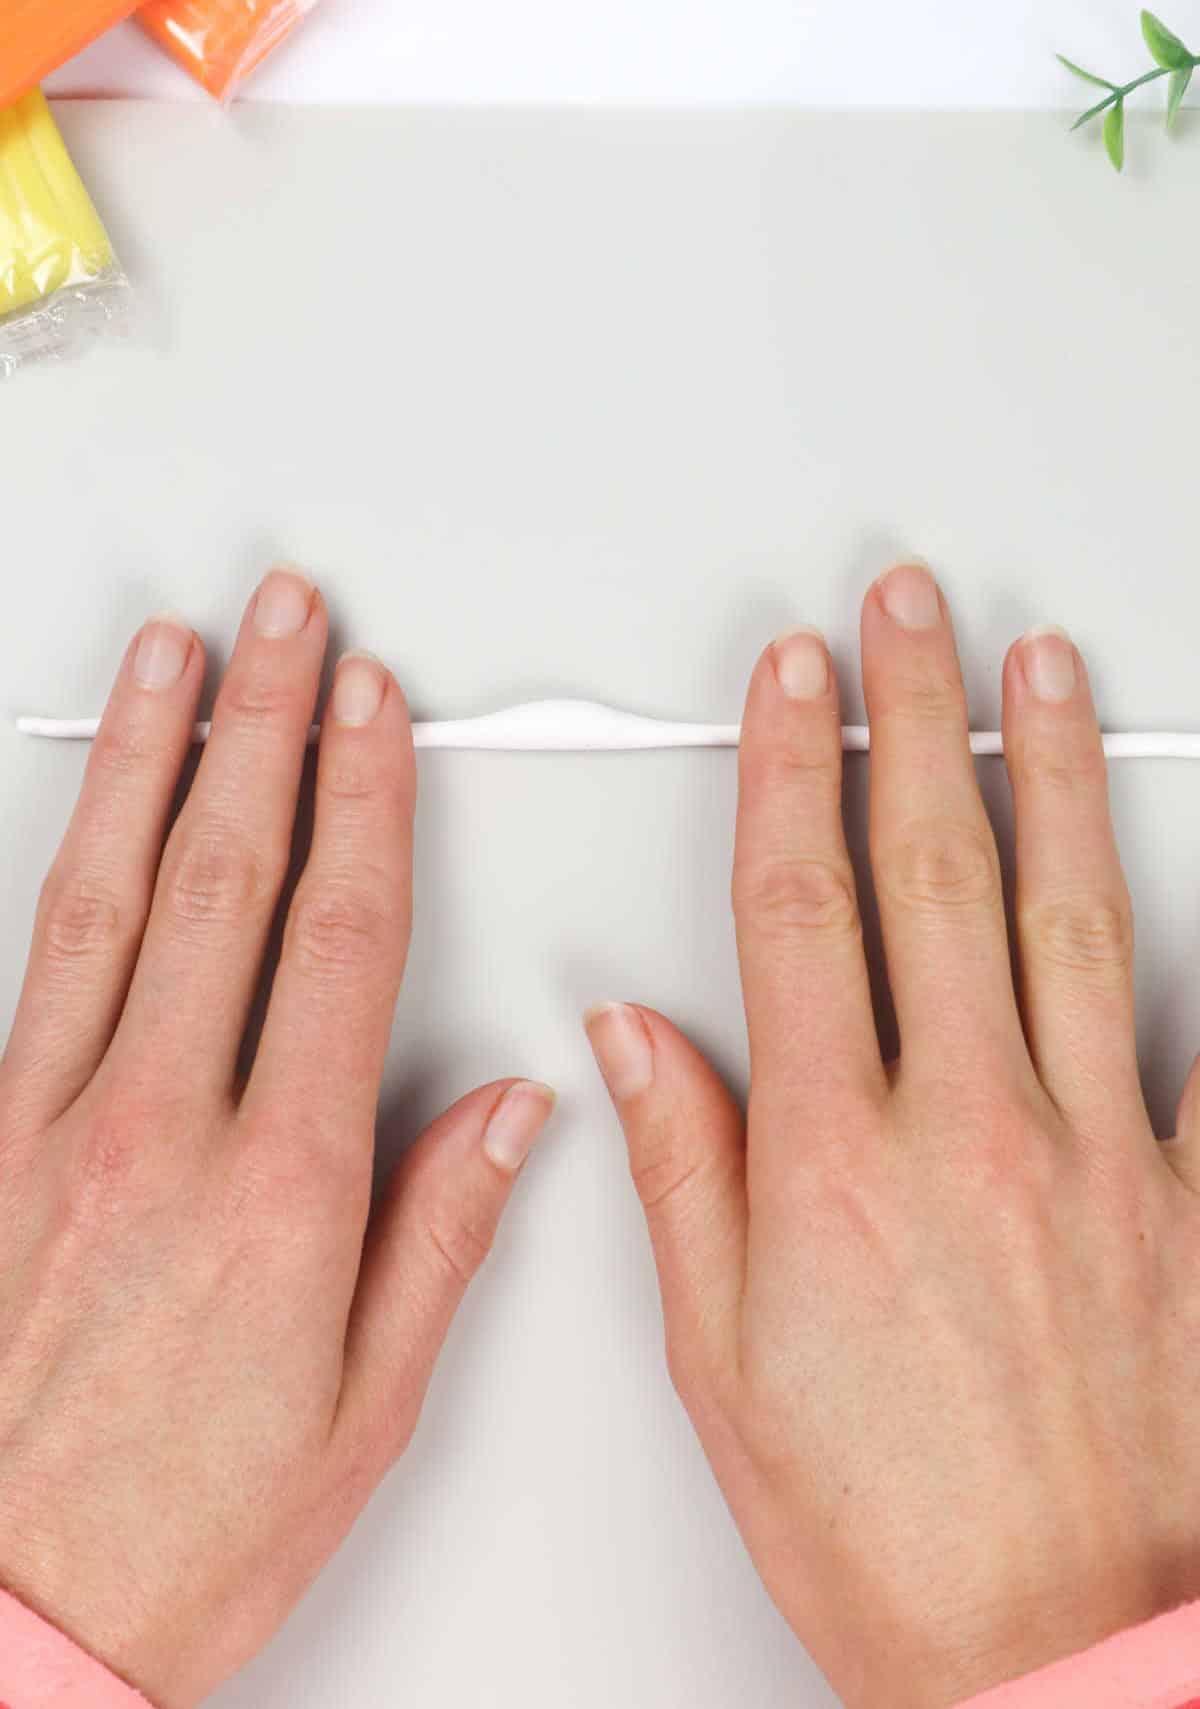
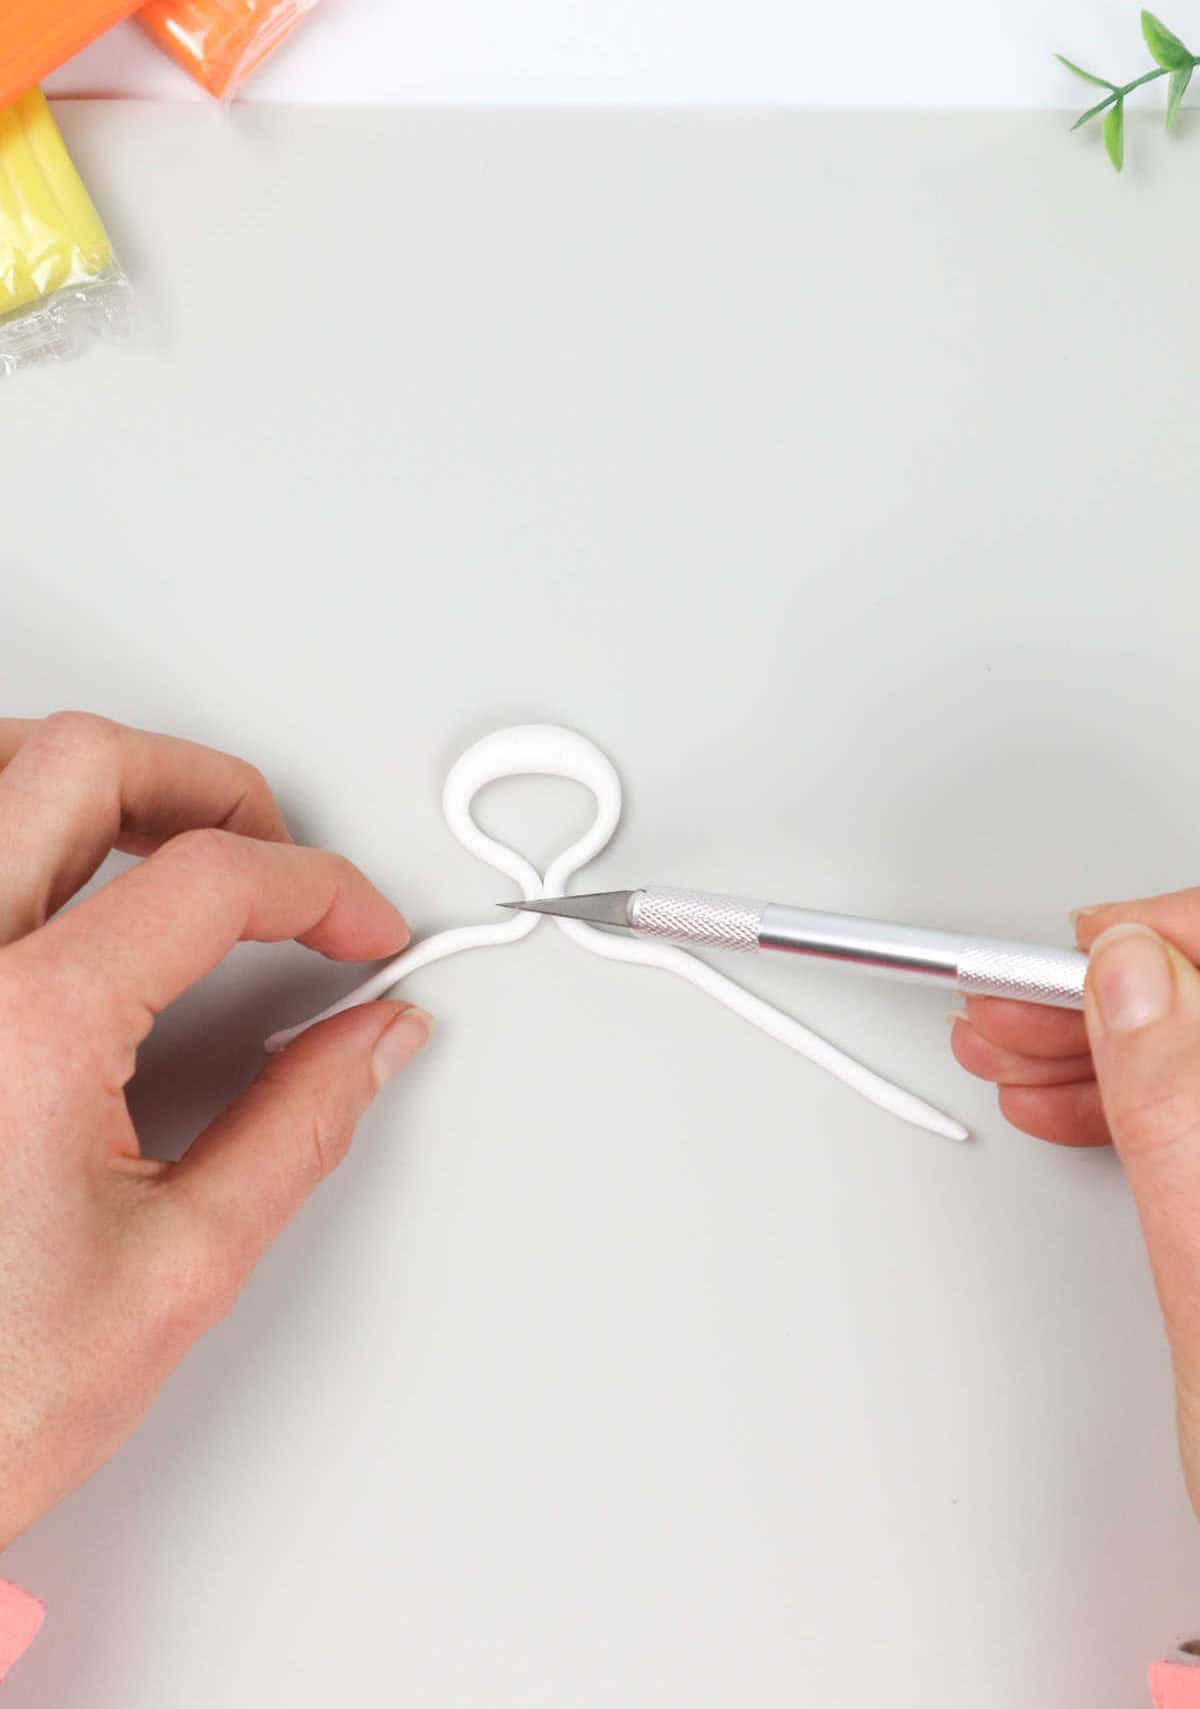
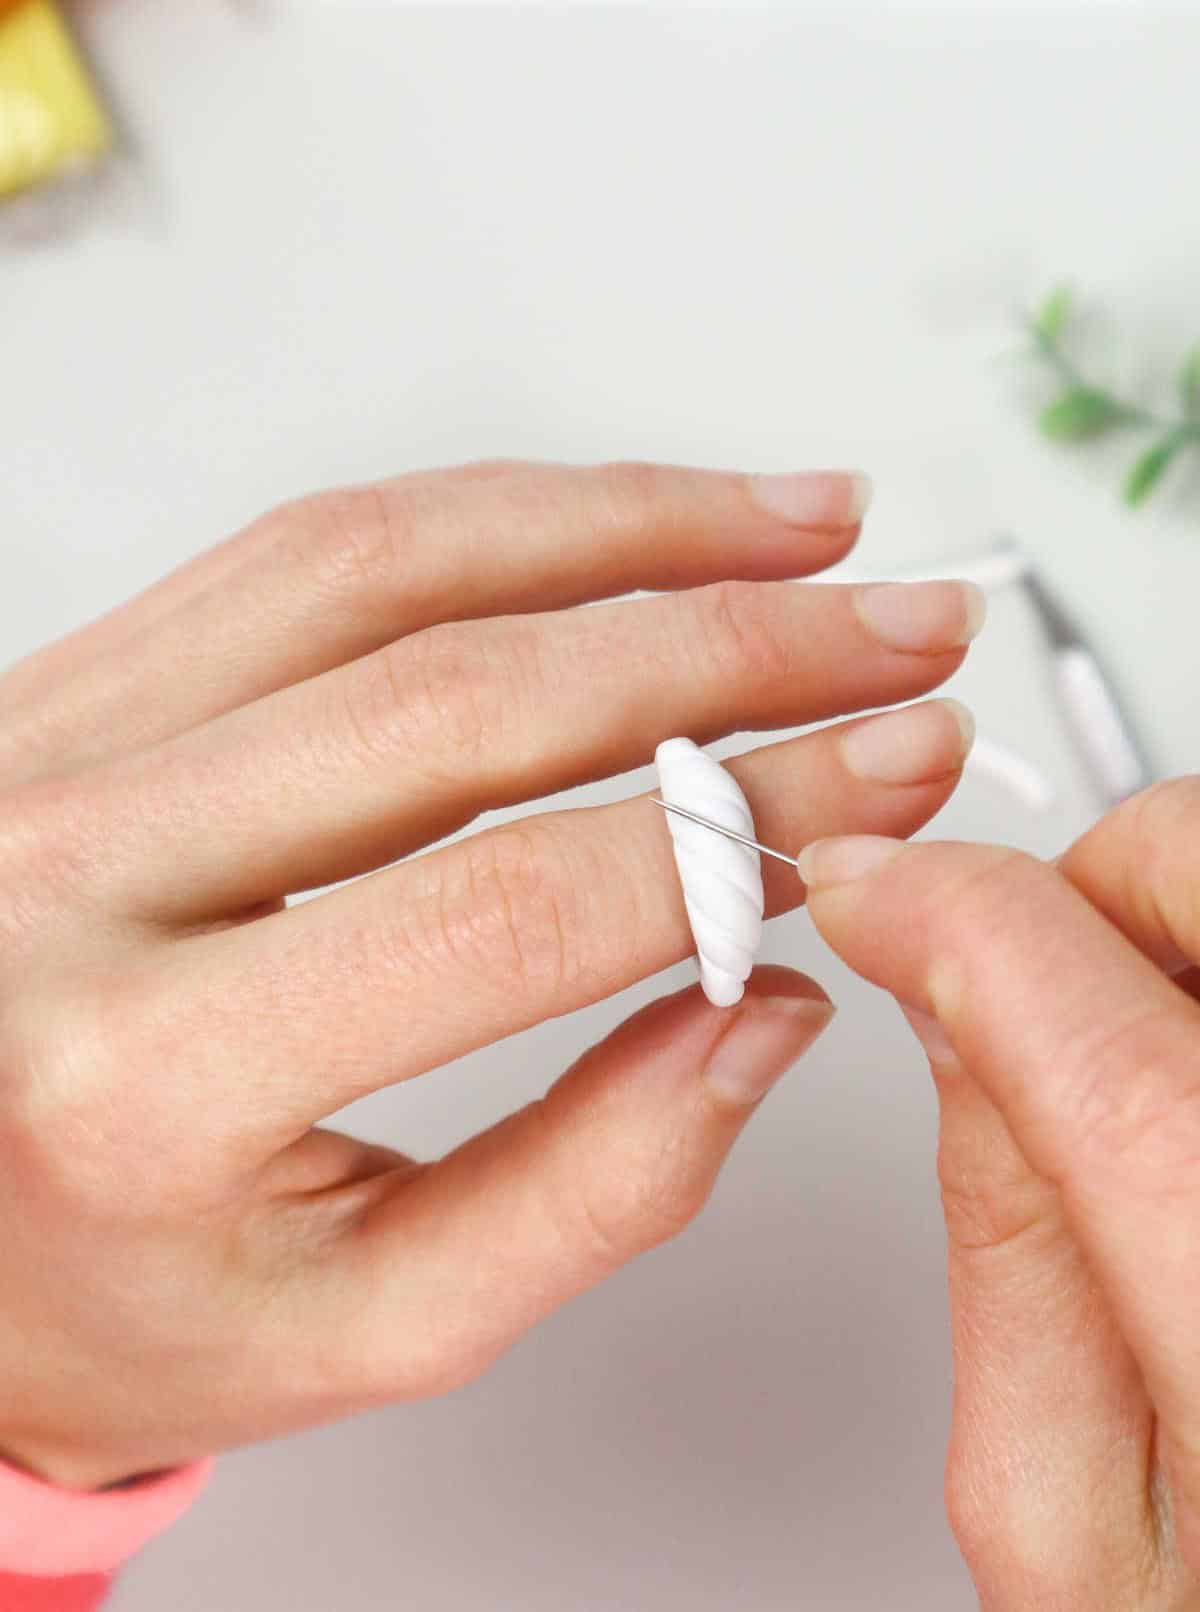
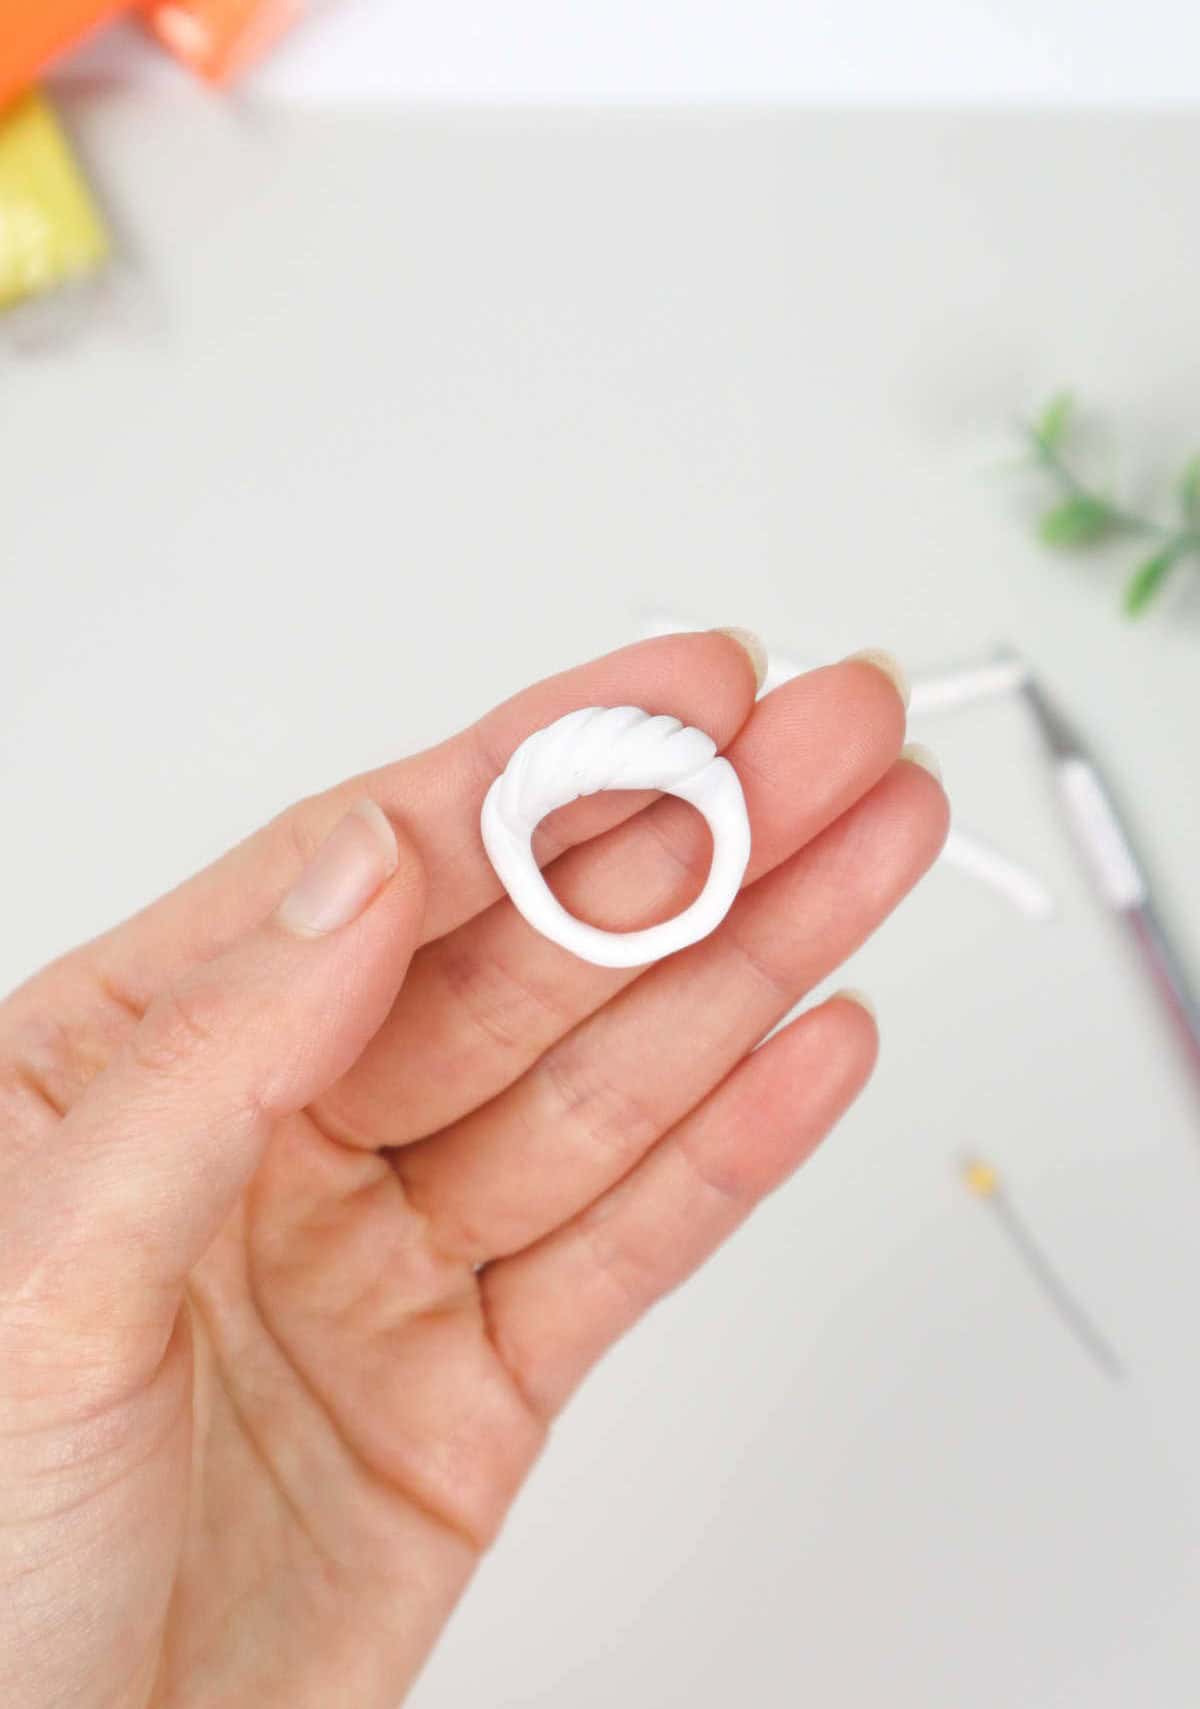
This next ring features a unique design element in its raised head, adorned with texture and subtle grooves. The added visual interest is a lovely touch, setting this ring apart from others. To create this distinctive look, begin by shaping the clay into a long, uneven line, with a slight bulge at the center. This will be the foundation of your ring’s design. Next, cut off both ends of the clay to the desired length and gently blend them together, forming a seamless join.
Your work isn’t quite done yet! Use a cutting tool or a sharp object like a needle or pin to create deliberate indentations along the raised section of the ring. Finally, place your finished ring on a baking tray alongside its companions, ready for the next step in the process.
Pattern 5
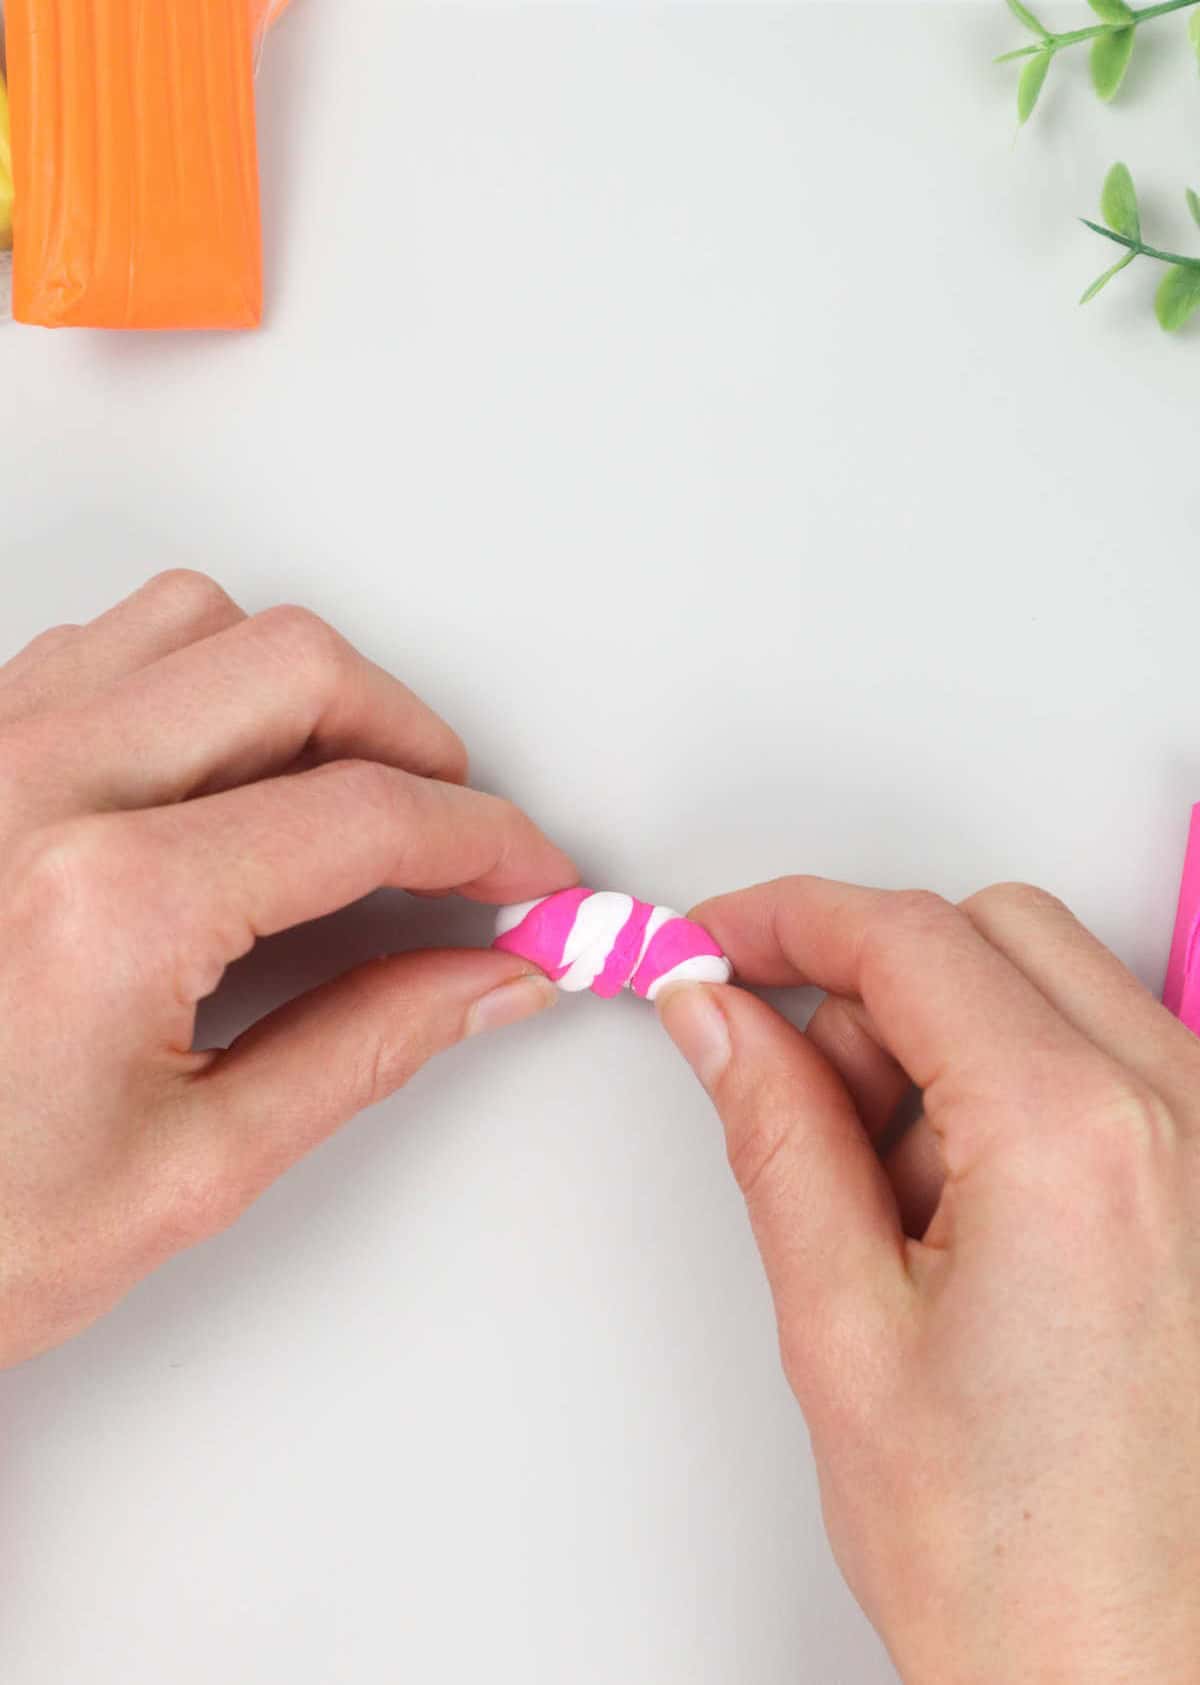
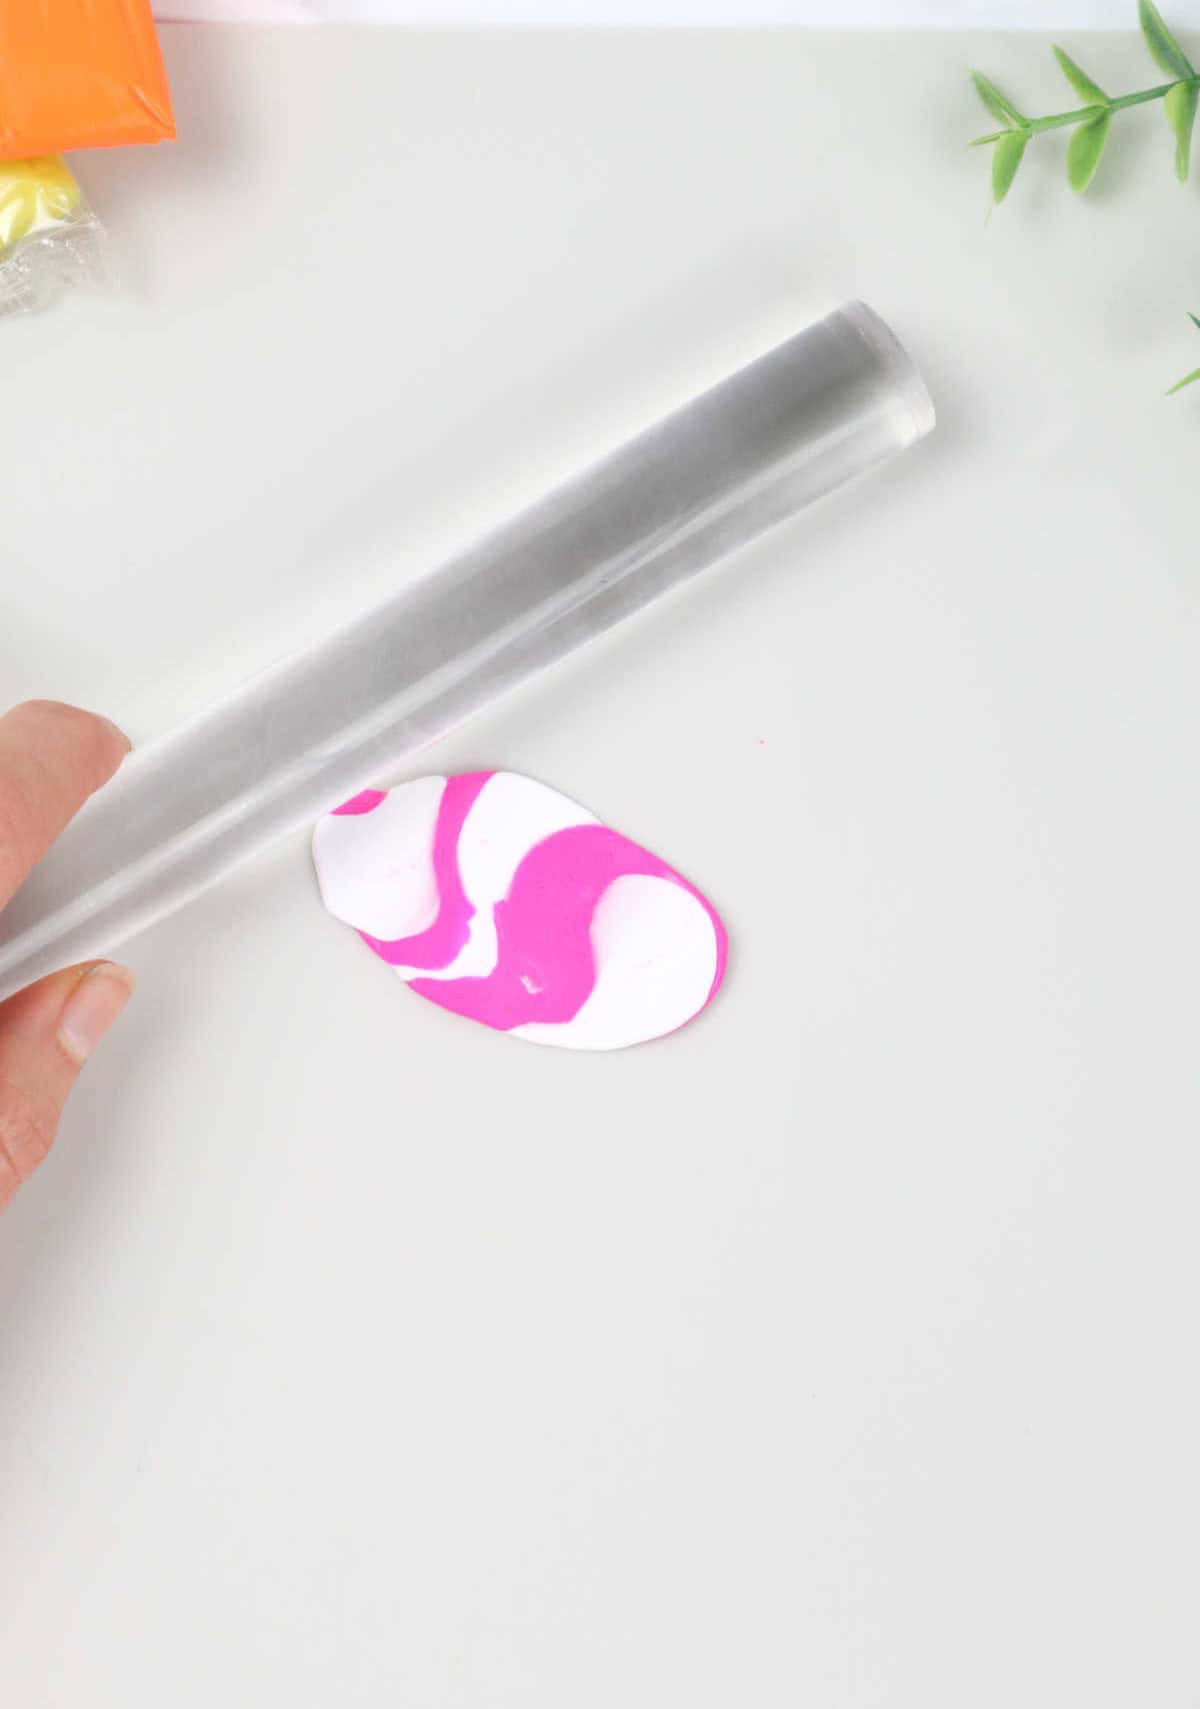
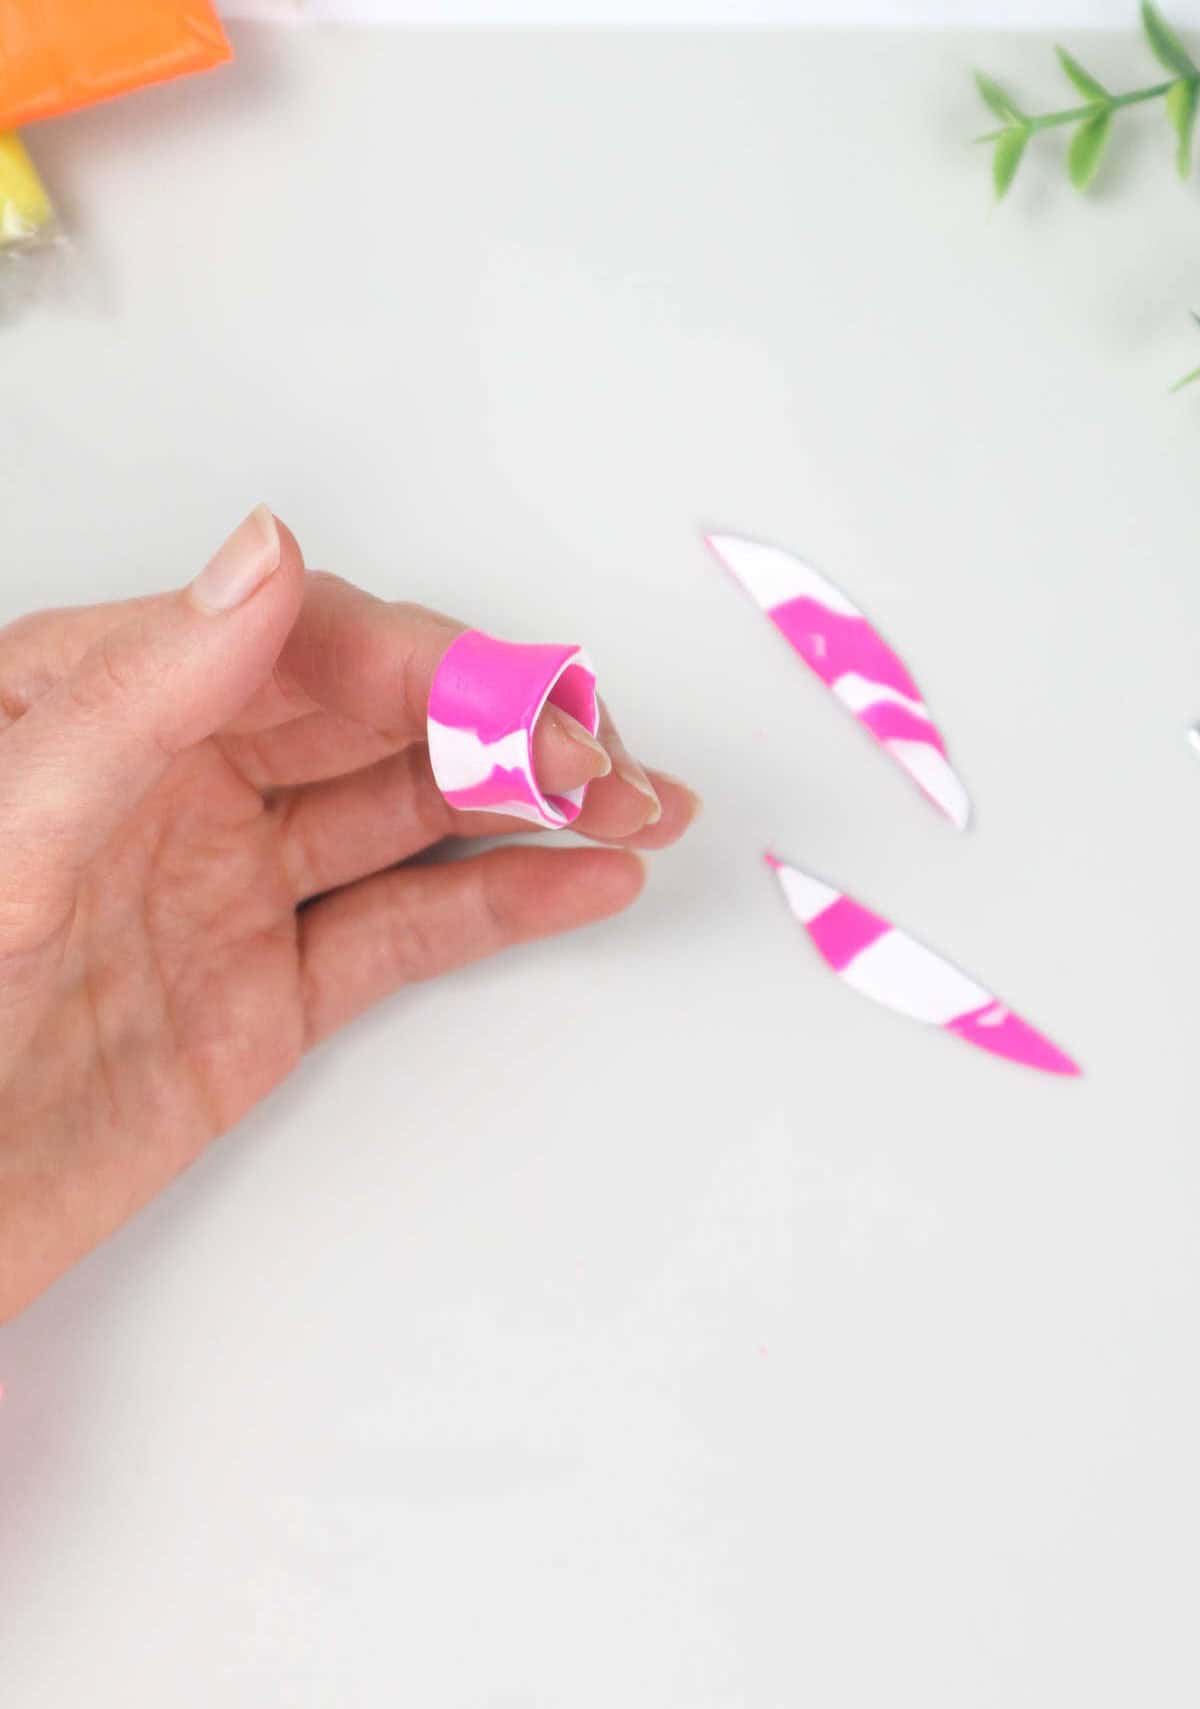
When working with leftover clay from previous projects, I recommend creating a unique marbled effect by blending multiple colors together. Start by smushing the clay pieces together gently, avoiding over-kneading that can cause the colors to meld into a single hue. Instead, roll the mixture around slightly to achieve a swirly pattern. To refine the mixture, use a rolling pin, water bottle, or glass tumbler to flatten it out on your work surface.
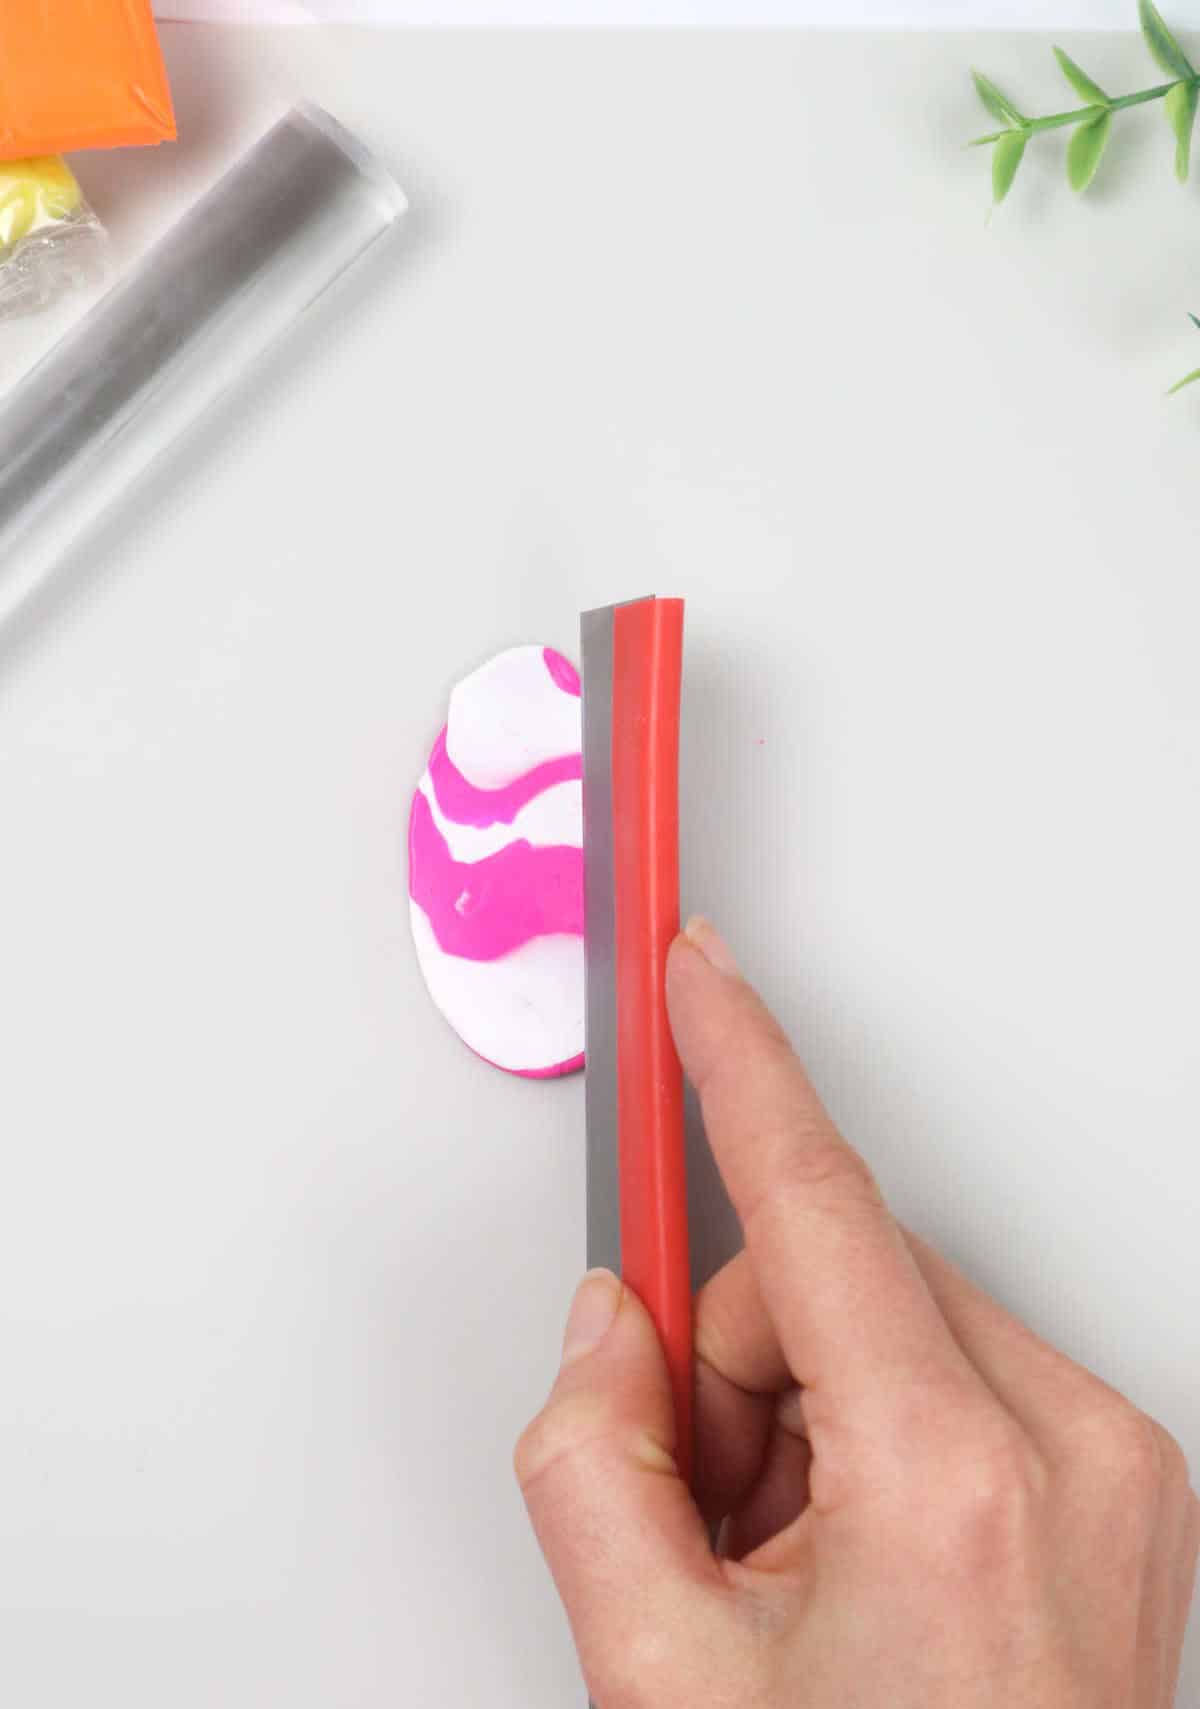
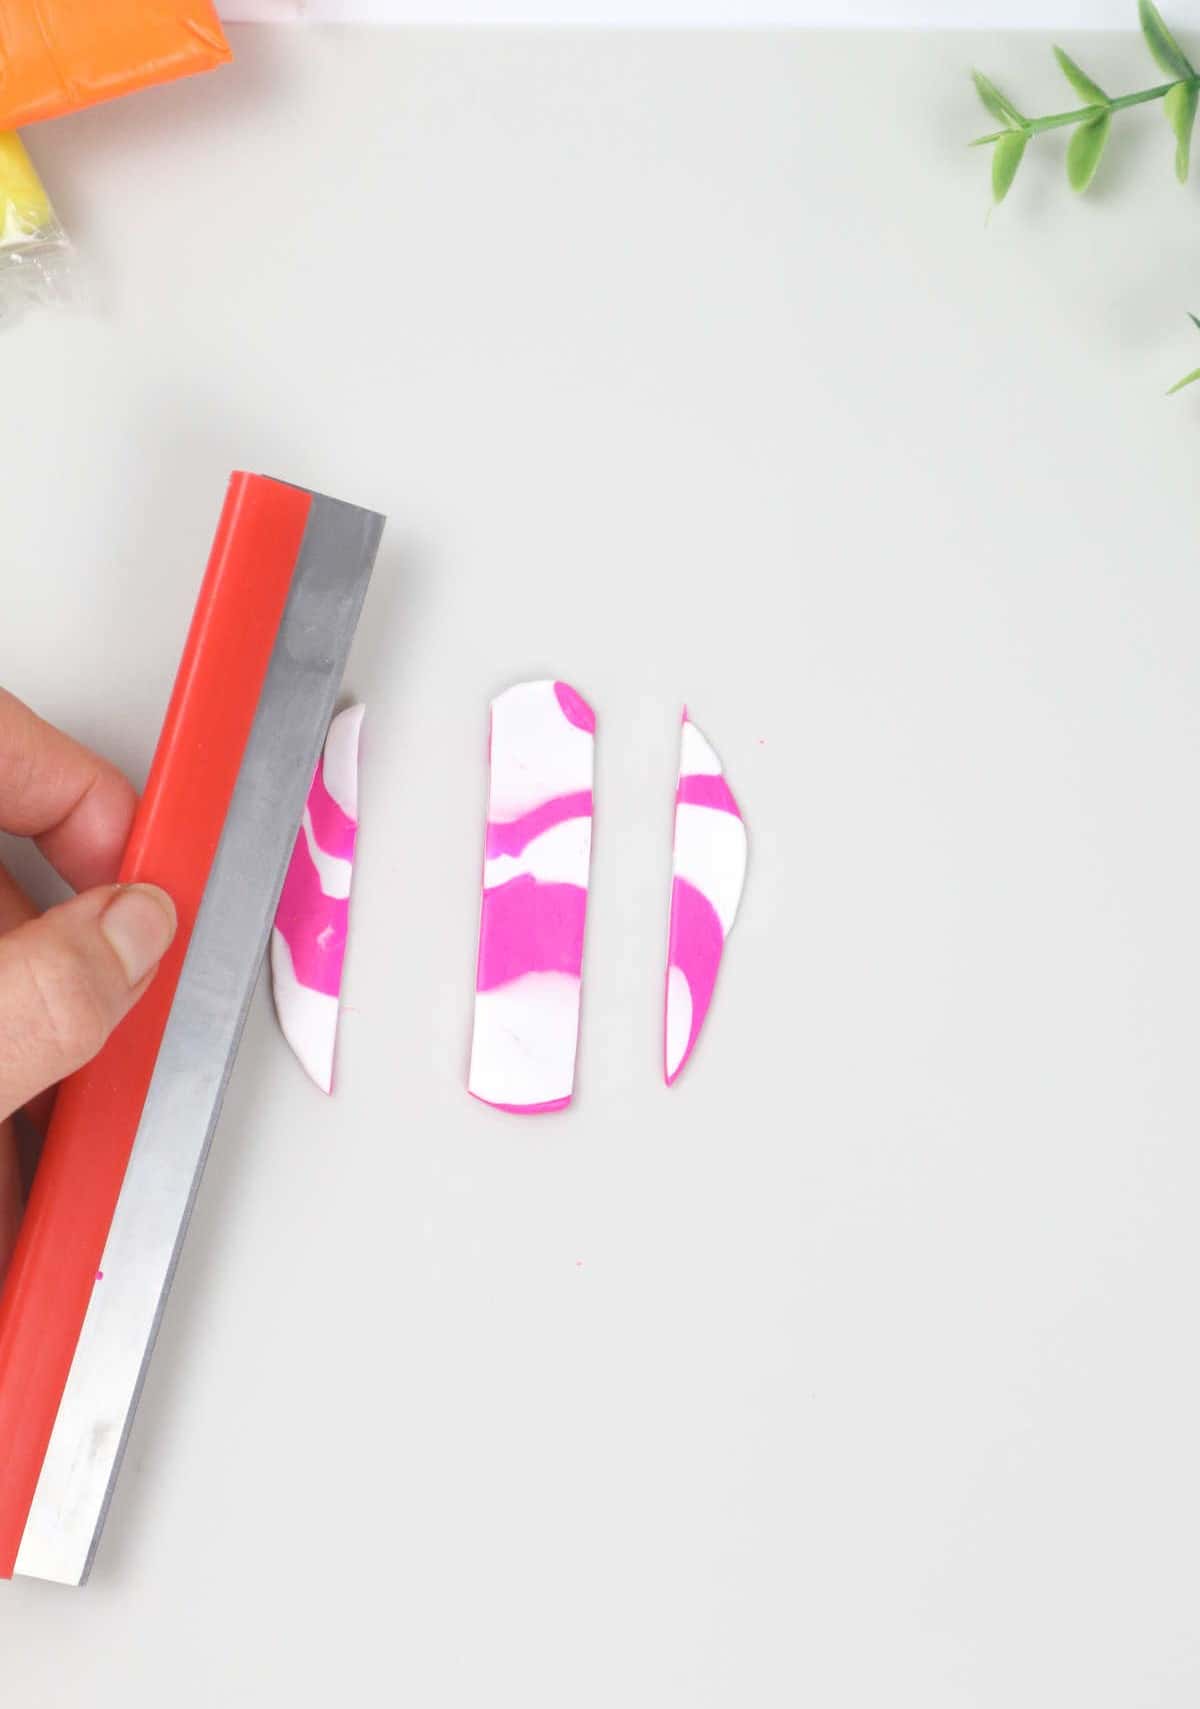
Once you have achieved the desired consistency, divide the clay into three equal pieces using a cutting tool, as seen in the illustration. Carefully bring the two ends of each component together to form an asymmetrical ring design, similar to the one shown here. The resulting piece is not only visually striking but also showcases your creativity and ability to repurpose leftover materials.
Baking
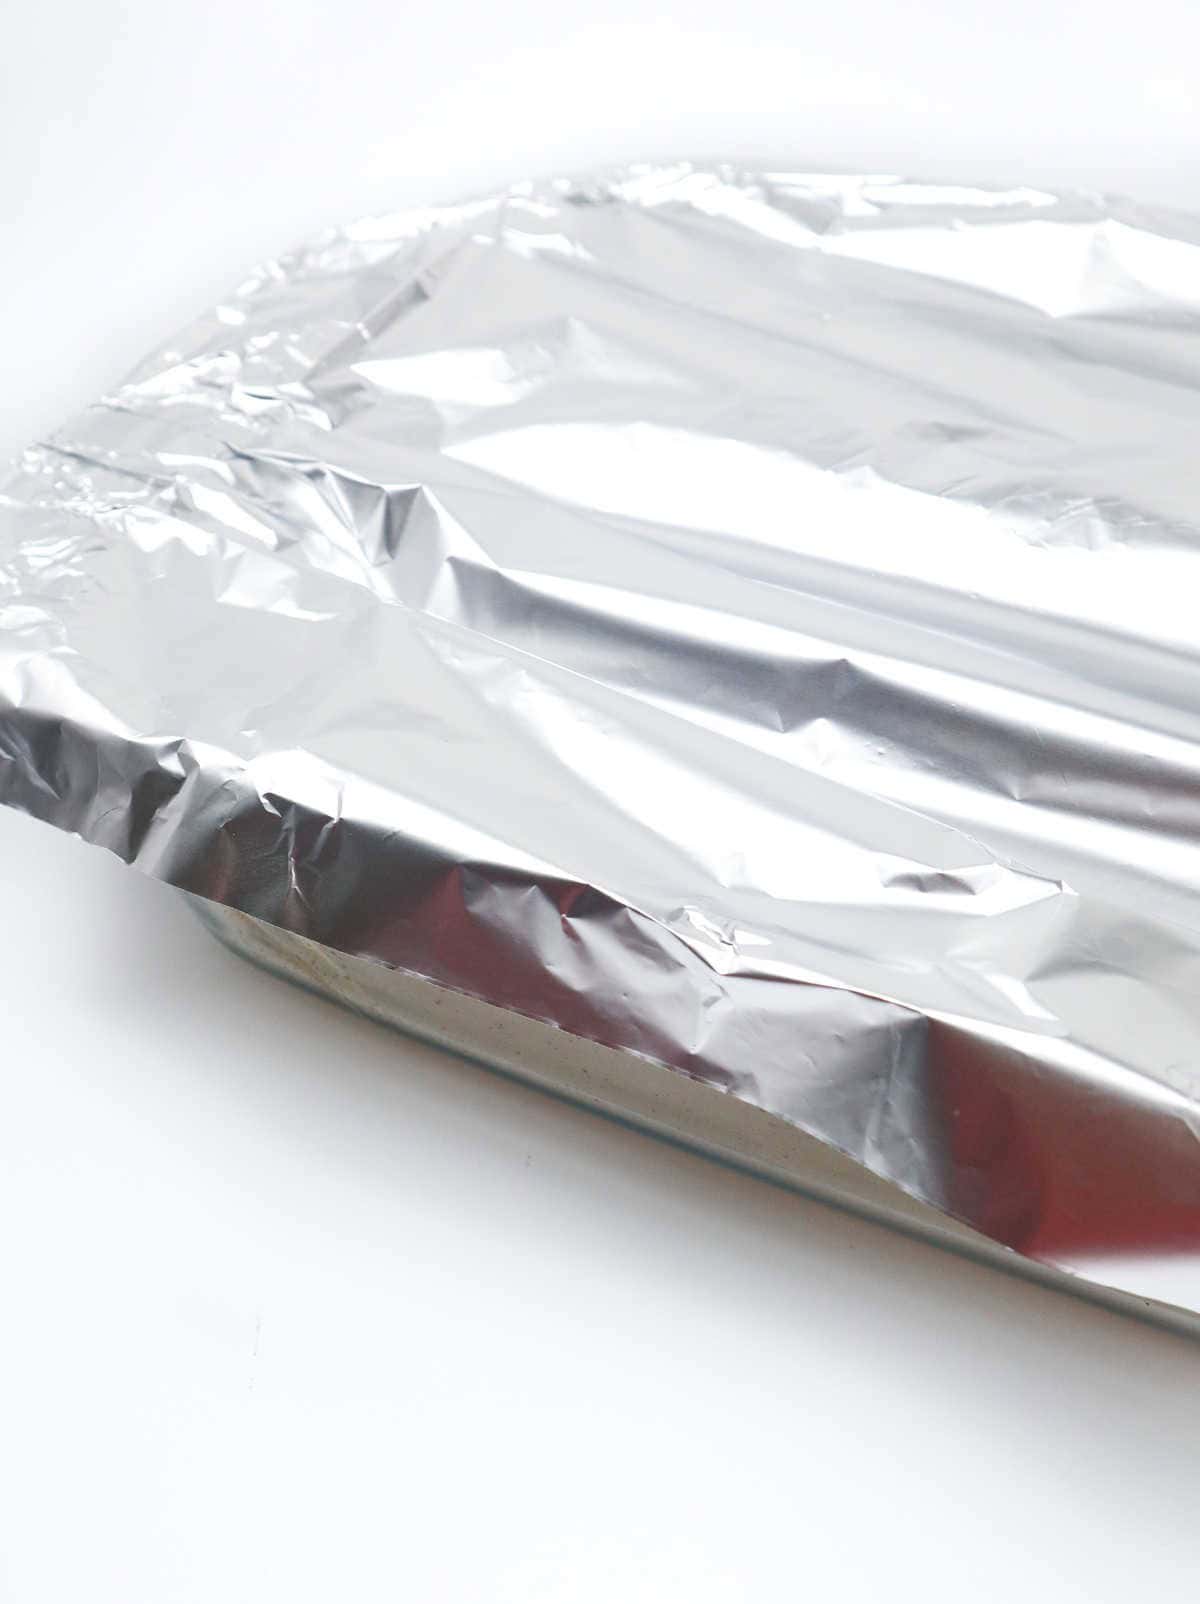
As you near the end of crafting each ring, it’s time to put them to bake! First, make sure your oven is preheated, taking note that different patterns (4 and 5) require a bit more preparation. Once ready, place the rings on a baking tray covered with aluminum foil for even heat distribution.
When following the instructions in your clay box, pay close attention to the recommended baking time.
Polymer clay requires precision when it comes to baking – too little or too much can result in a ring that’s brittle, cracked, or crumbles.
For a glossy finish, consider adding a varnish specifically designed for polymer clay after baking. This will give your rings a non-matte, glazed look and add an extra layer of protection.
Other Crafts You Might Want to Make
Unleash your creativity with a diverse range of DIY projects, from stylish accessories like polymer clay earrings and DIY rings, to functional home decor items such as air dry clay bowls and DIY bottle vases. Whether you’re looking for a fun classroom craft or seeking inspiration for a unique gift, this collection of 47 DIY projects is sure to satisfy your creative urges.
How to Make Clay Rings (Step-by-Step)
Looking for a creative way to spend quality time with your kids? Consider making these Polymer Clay Rings! This fun and easy DIY project is perfect for crafting enthusiasts of all ages. Not only will you be creating something unique and personalized, but you’ll also have a blast doing it. So gather the kiddos and get ready for some serious fun!
Equipment
When it comes to cooking, having the right tools can make all the difference. A well-stocked kitchen shouldn’t just include essential utensils like a rolling pin, sewing pin, cutter blade, and craft knife, but also clever accessories that help streamline the process. For instance, using aluminium foil and baking trays lined with parchment paper can help reduce mess and make cleanup a breeze.
Materials
Instructions
To get started, gather all your necessary supplies and tools. For each pattern, begin by pinching off a portion of clay and kneading it slightly to soften it. Then, roll the clay into a flat sheet on your work surface. For Pattern 1, measure the circumference of your finger and cut off the desired length of clay. Press the ends together and blend them until seamless. For Pattern 2, twist the rolled-up clay into a serpentine shape, cutting off the end when you’re satisfied with the size.
Then, press the two ends together to close the ring. Pattern 3 involves rolling out two colors of clay and aligning them against each other. Twist both pieces around each other without flattening or pressing them down. Secure the ends and set aside. Pattern 4 begins by rolling out clay with a raised center lump. Cut off excess clay, bringing the ends together to blend into a ring. Next, use a cutting tool or needle to create indentations along the top bump.
Pattern 5 is an excellent way to repurpose excess clay from previous rings. Roll the clays together without over-kneading them, then flatten with a rolling pin and cut strips before blending the ends together to form an asymmetrical ring. Before baking, preheat your oven according to the package instructions for your polymer clay. Place all your rings on a baking tray, covering them with aluminum foil. Read the instructions carefully to determine the correct temperature and baking time.