
Got a stash of fabric at home? Unleash your creativity and craft a one-of-a-kind DIY apron that’s perfect for a thoughtful gift or personal use. This project not only protects your outfits from kitchen mishaps but also offers endless possibilities to add a pop of personality to the space.
Aprons are often overlooked, but they hold more significance than just protecting our clothes.
They can be a reflection of our style and flair, making them an exciting opportunity to express ourselves creatively.
Imagine creating a vibrant, bold apron that adds a splash of color to your kitchen or a sleek, elegant one that exudes sophistication. The possibilities are endless, and it’s a great excuse to get creative with fabric and sewing techniques.
This DIY project is an excellent way to breathe new life into your cooking routine – who knows, you might just find yourself more motivated to tackle those kitchen chores! Overall, it’s a fun and rewarding fabric project that will elevate your sewing skills and leave you with a unique, functional piece.
Watch on Youtube: How to Make an Apron
Supplies and Tools You’ll Need
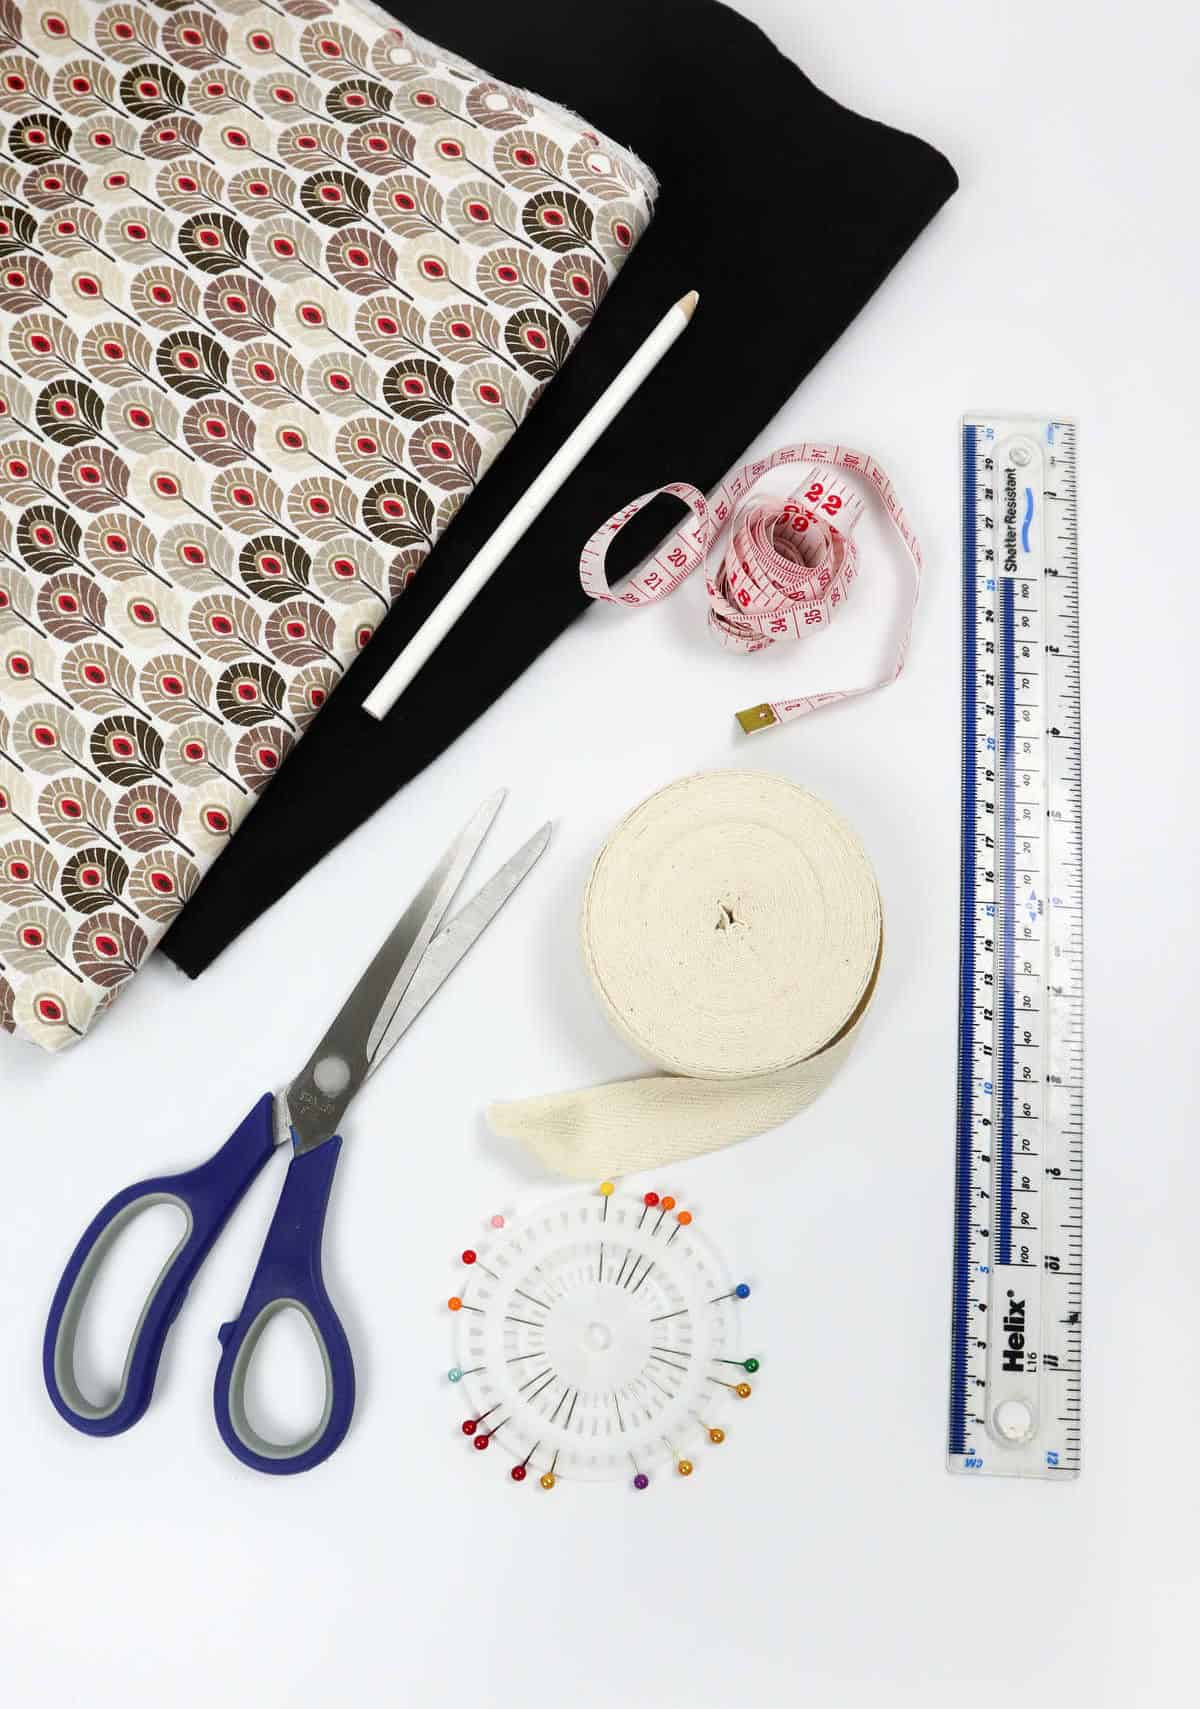
Before embarking on the apron-making journey, ensure you have all the necessary materials within reach. This includes: two pieces of fabric, one measuring 30 inches by 24 inches and another measuring 26 inches by 10 inches, as well as a tape measure to help with sizing, cotton ribbon for any embellishments, sewing pins for securing your stitches, scissors for cutting through fabrics, a fabric pencil for marking designs, and a ruler for drawing straight lines.
With all these tools at hand, you’ll be well-equipped to bring your apron design to life.
How to Make an Apron
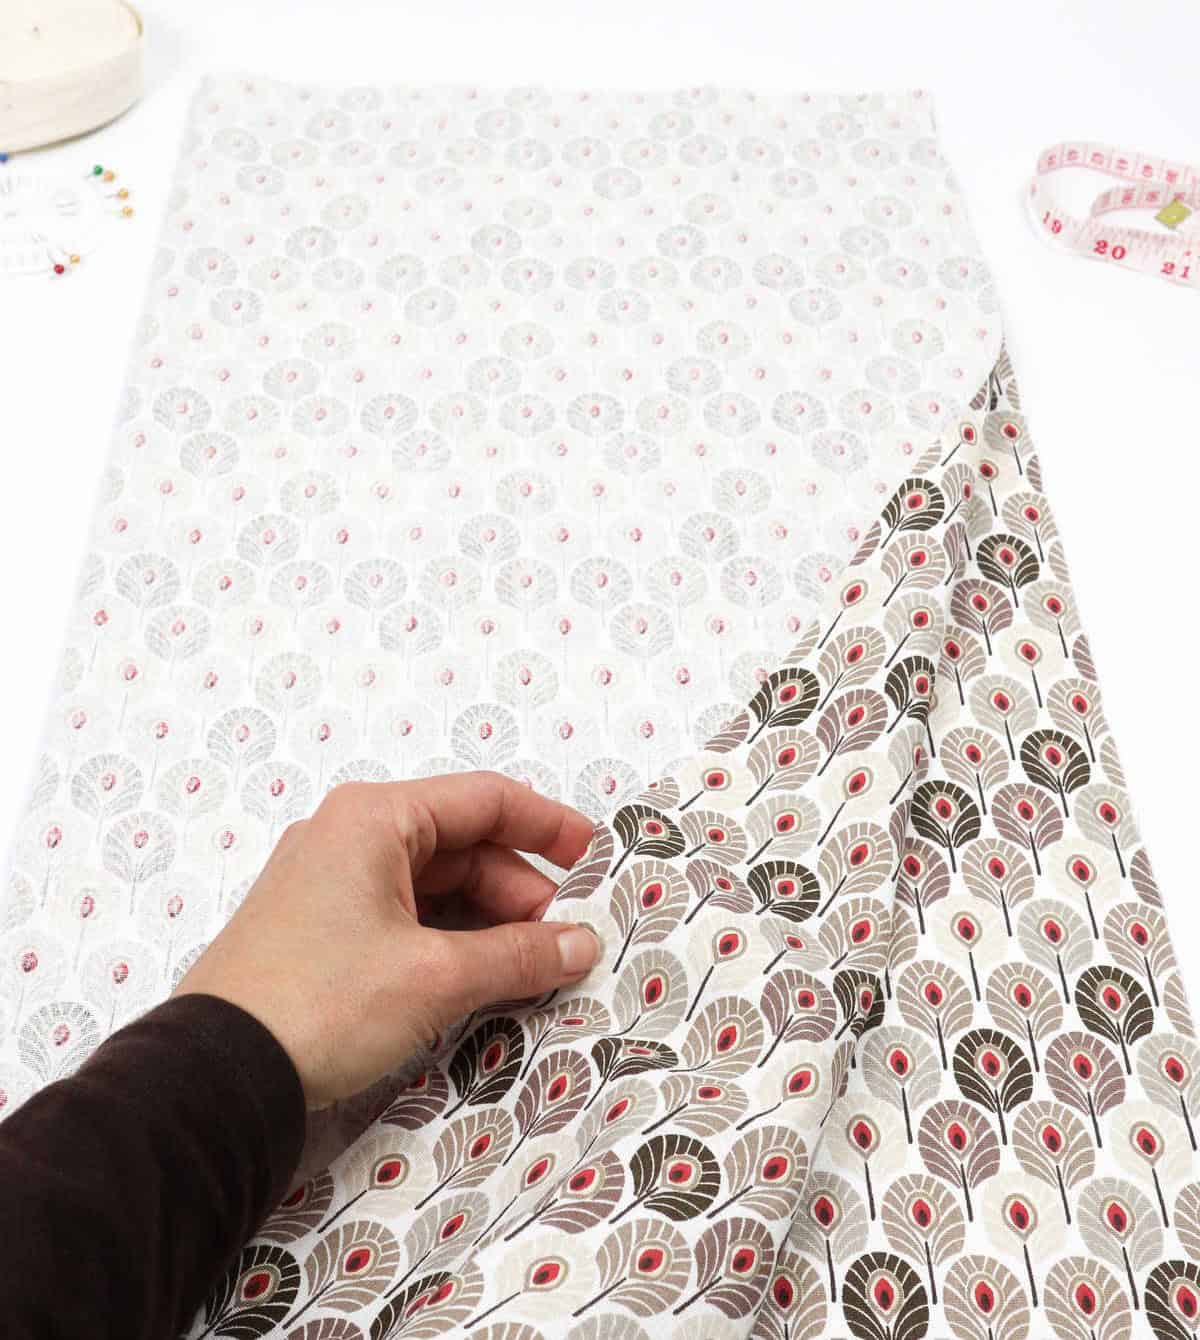
Before breaking out the sewing machine, there are still several essential steps to complete. To begin with, you’ll need to select the perfect fabric for your project, and simultaneously, choose an additional length of fabric that will serve as a template guide.
Step 1

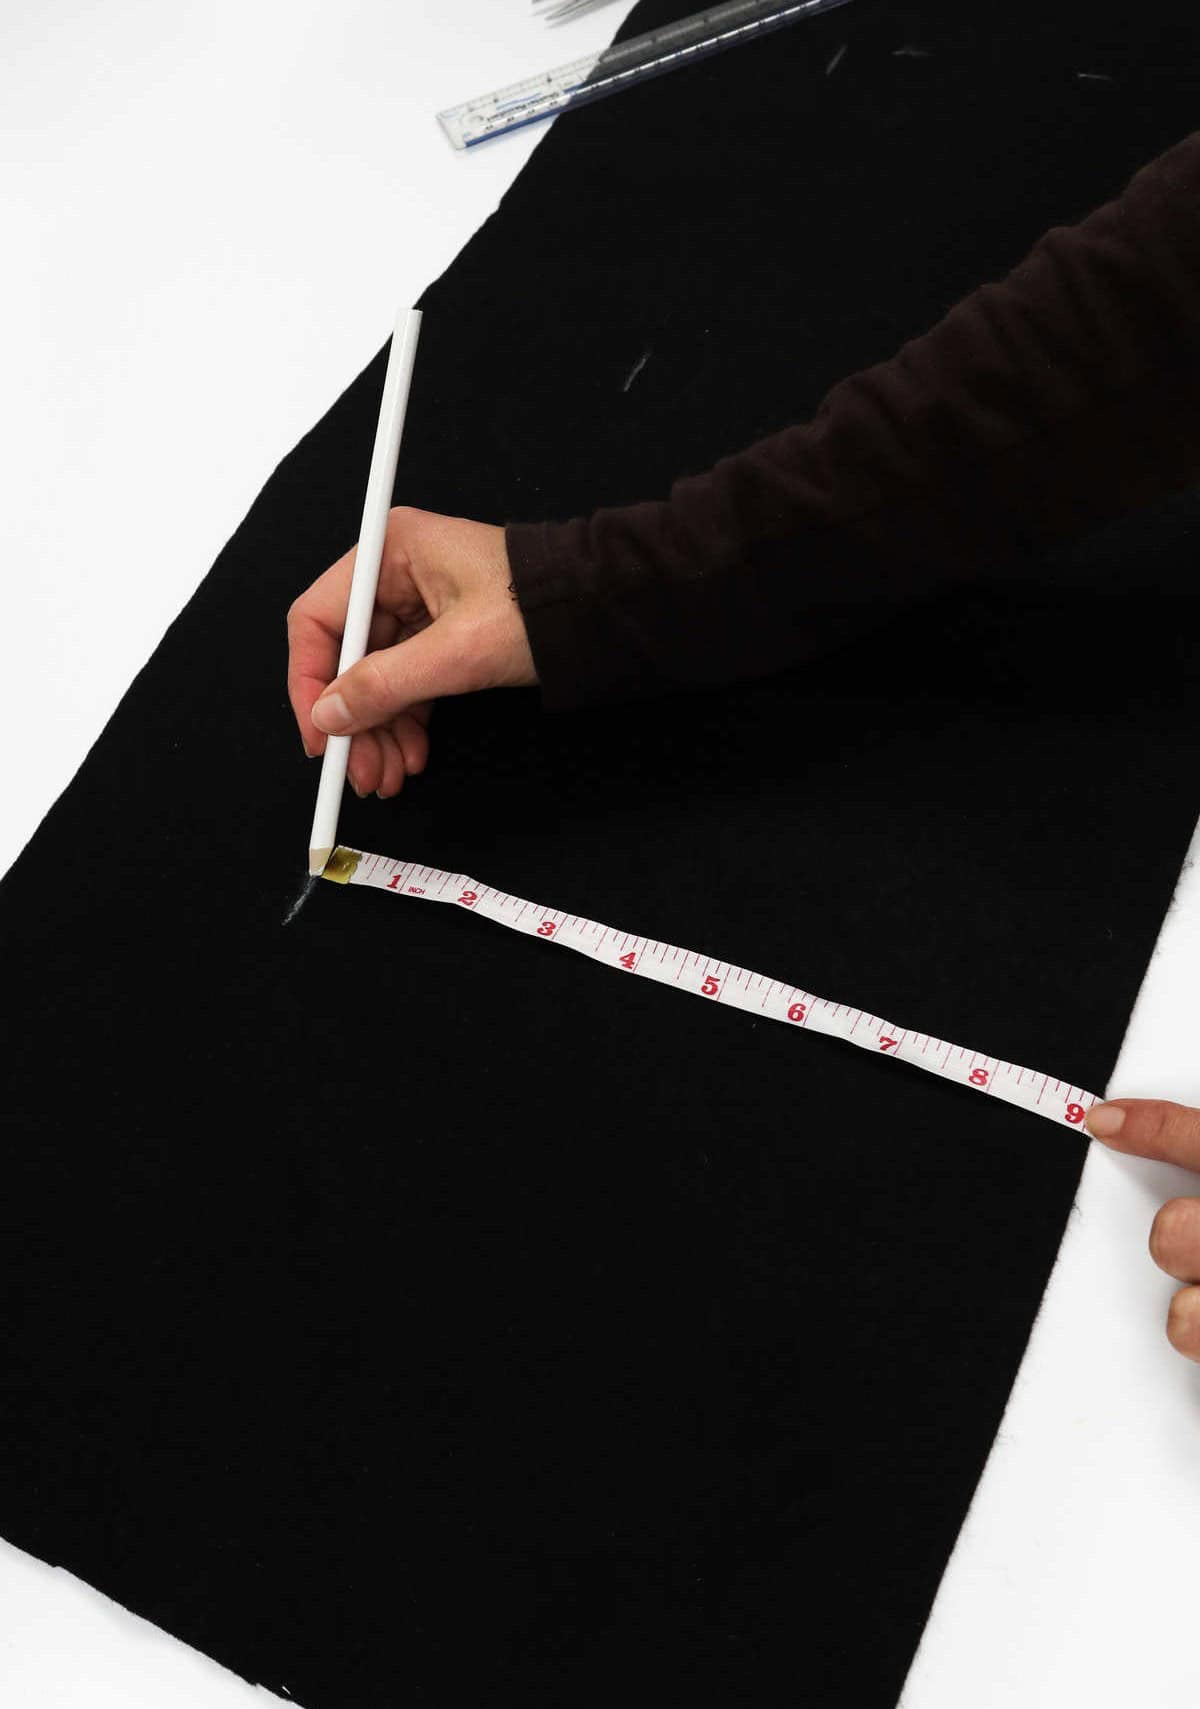
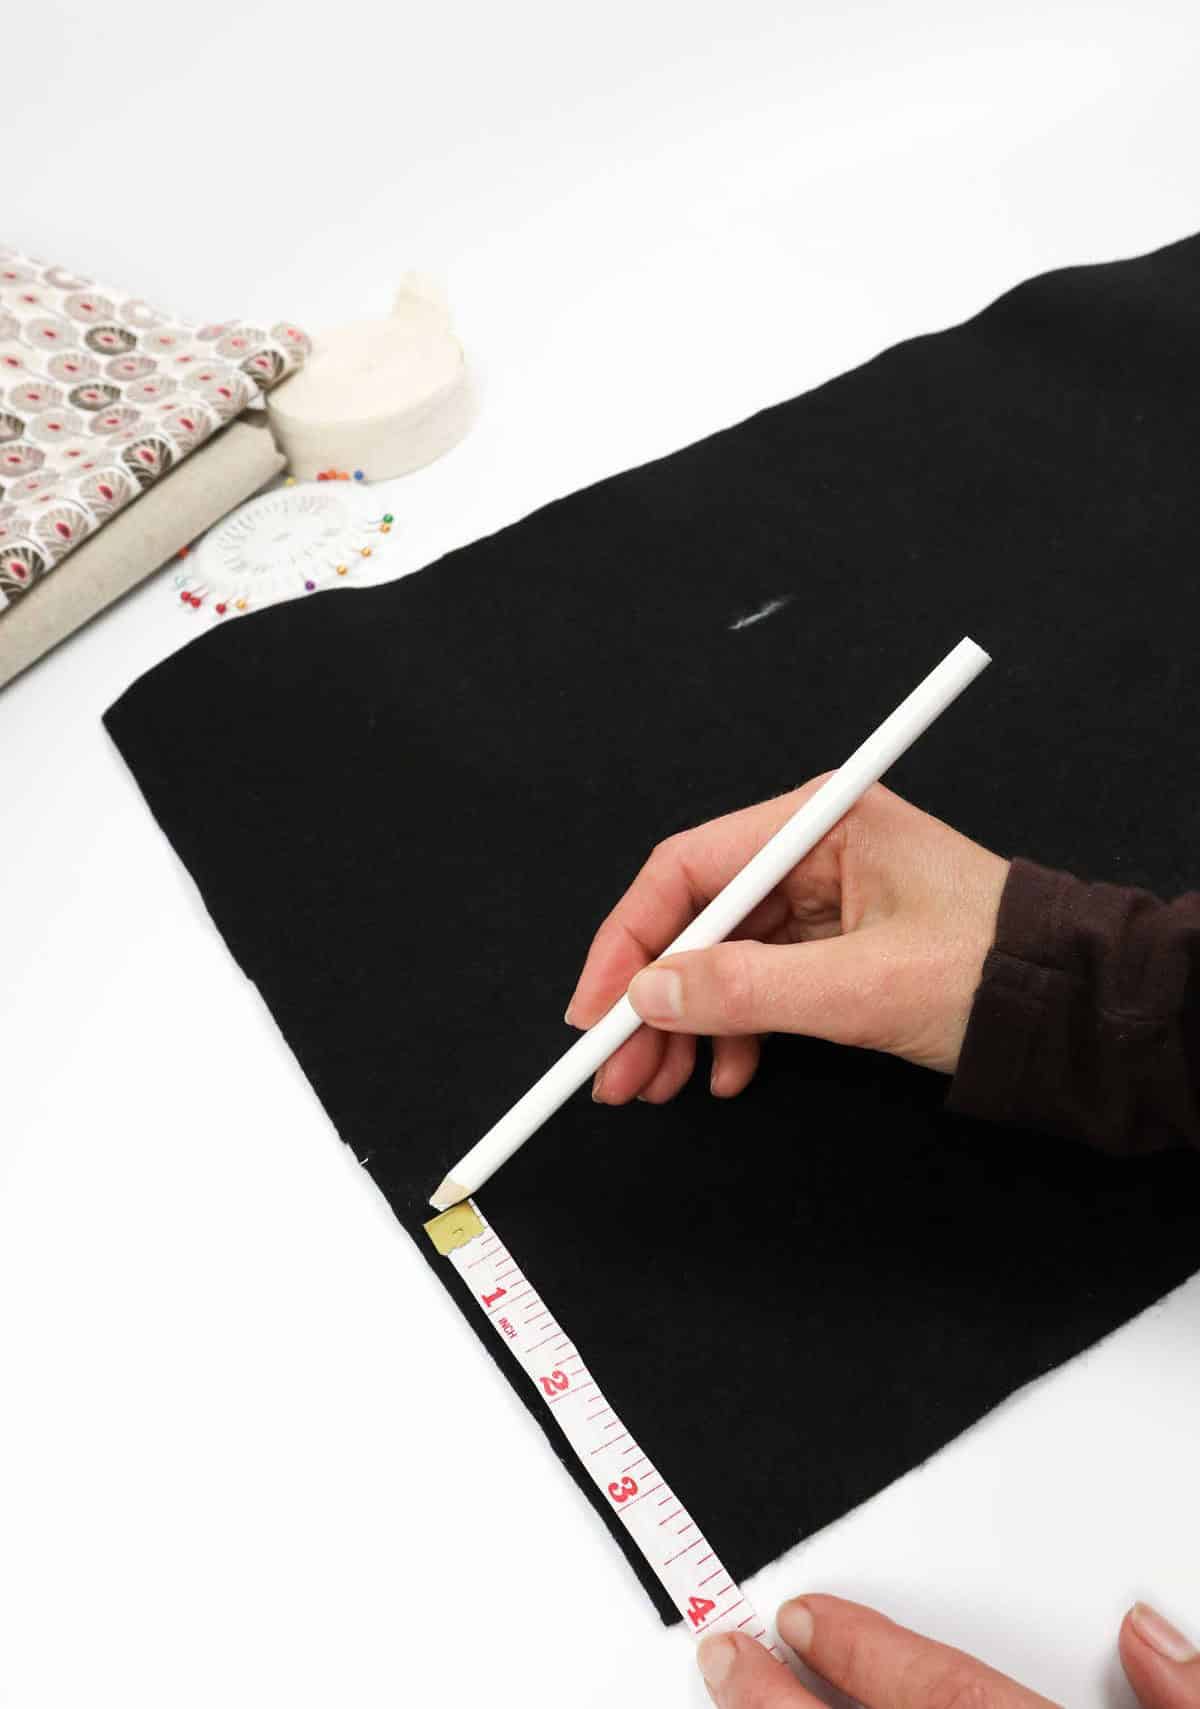
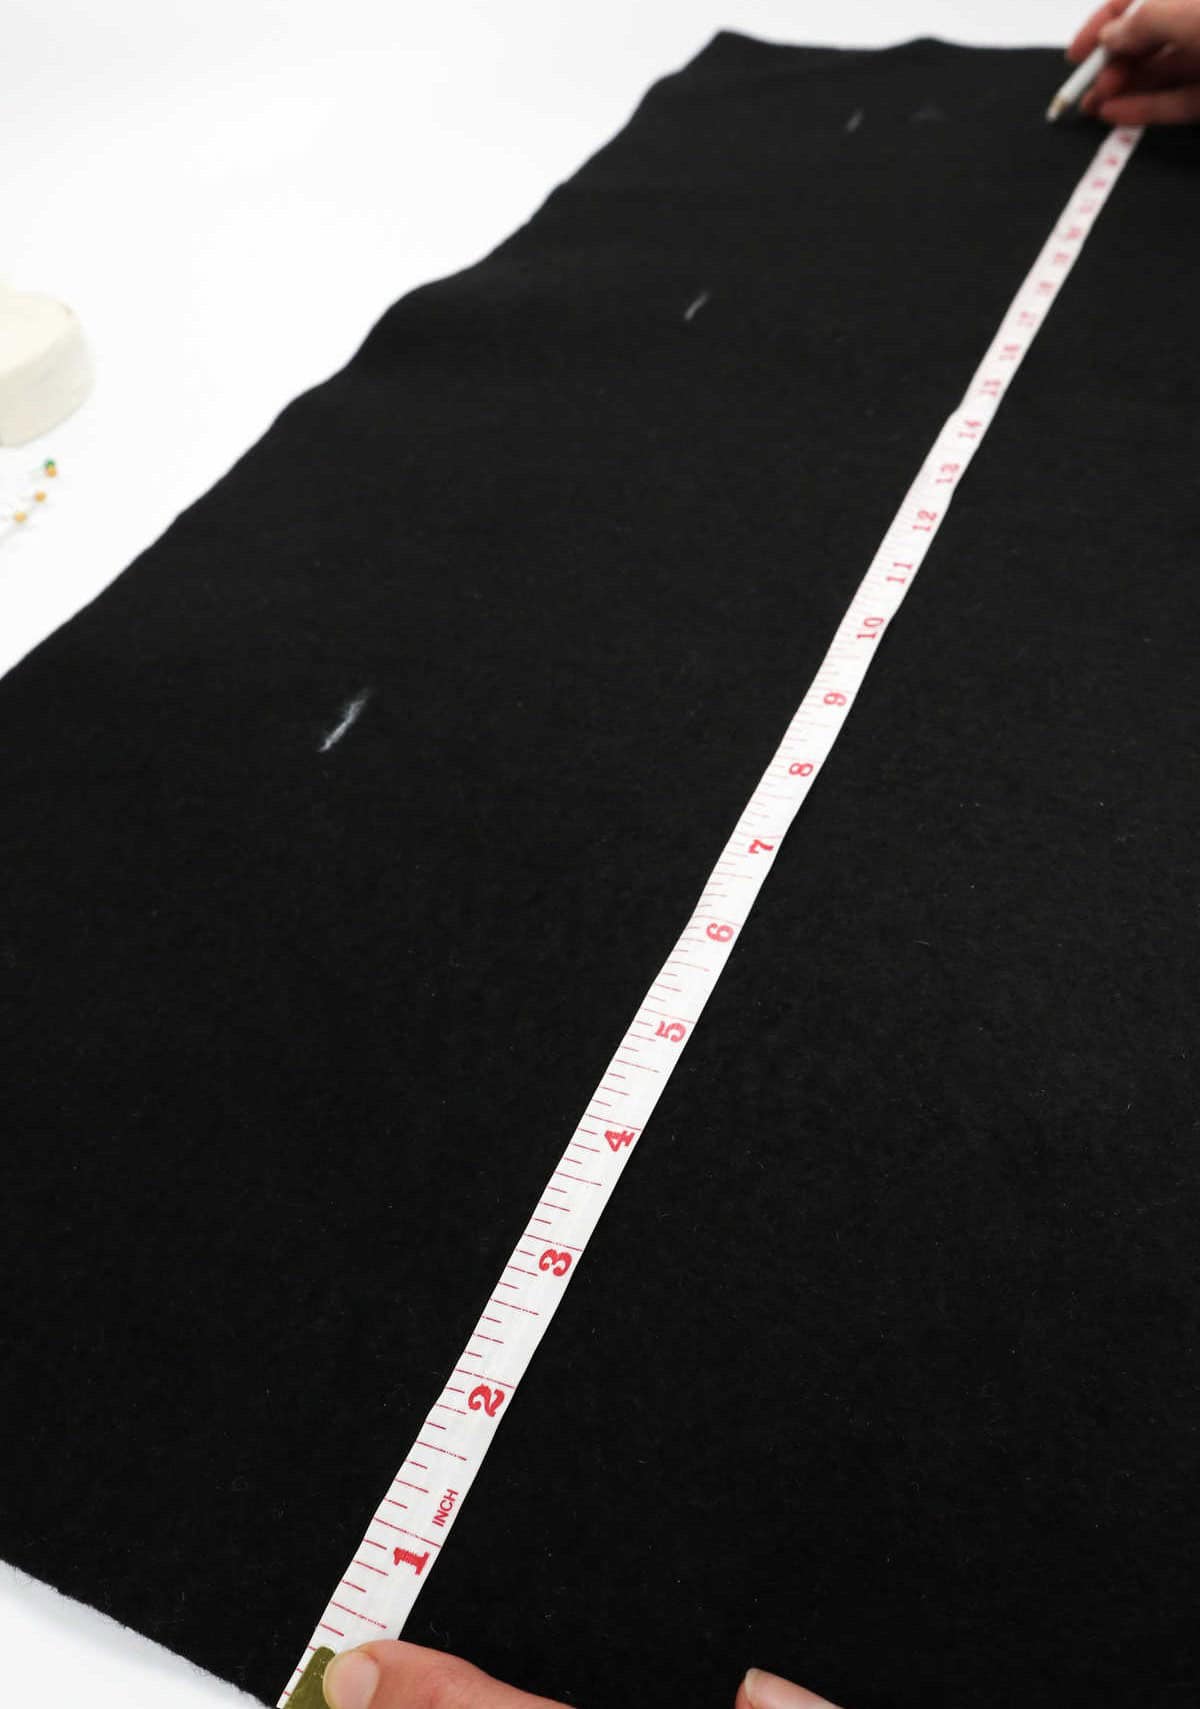
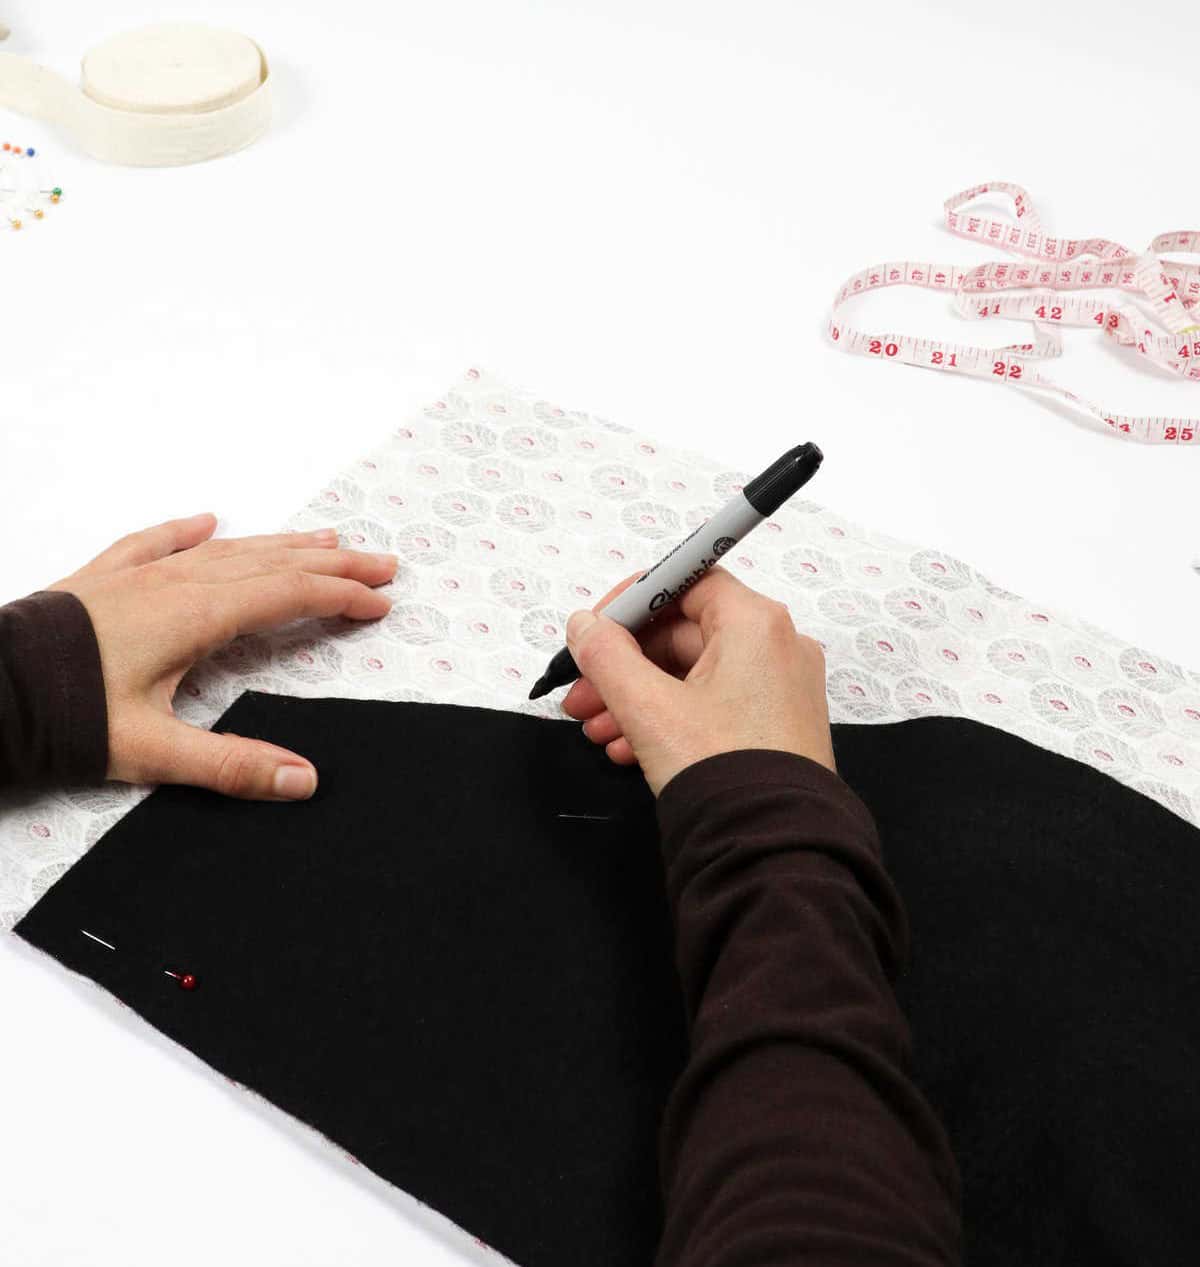
To start creating your custom apron template, begin by laying out the chosen fabric on a flat surface. Your next step will be to transfer the measurements from the template fabric to another material that you’ll use as a guide. This process involves marking the dimensions directly onto the fabric using a fabric pen or tailor’s chalk. If needed, a tape measure can aid in determining the accurate size and measurements of your apron.
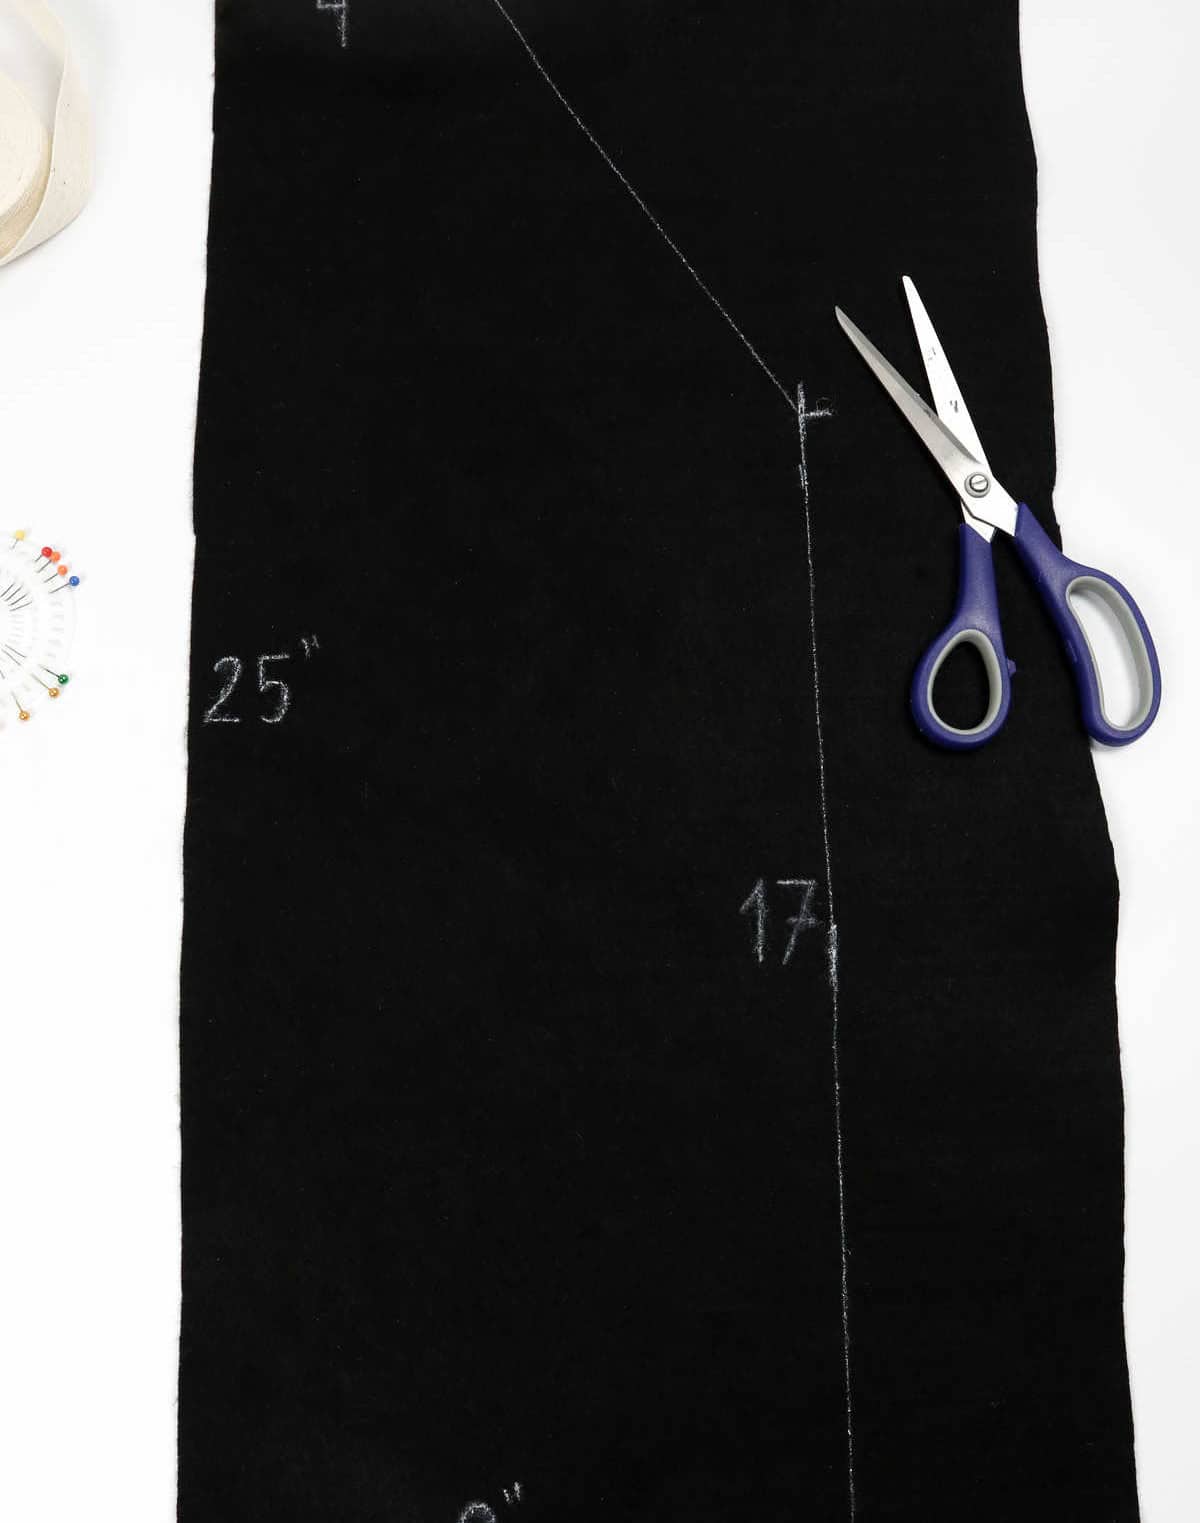
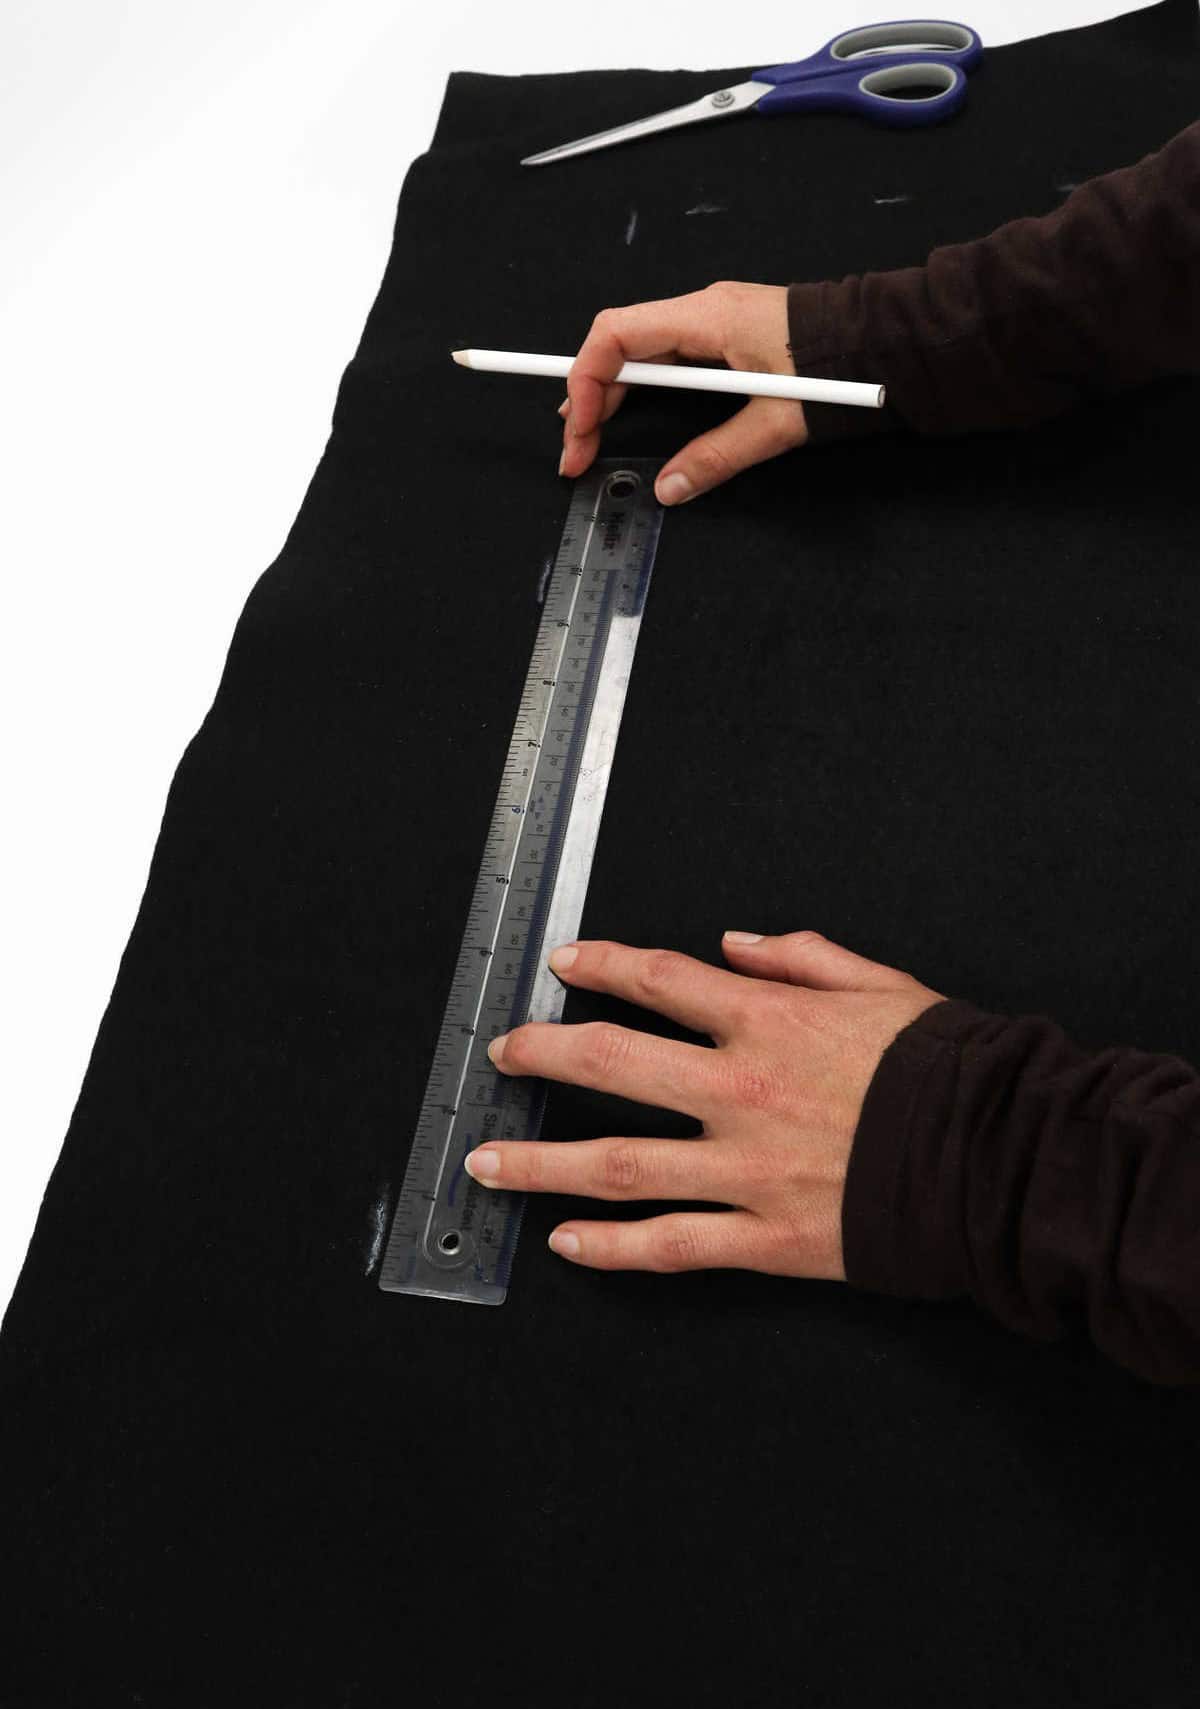
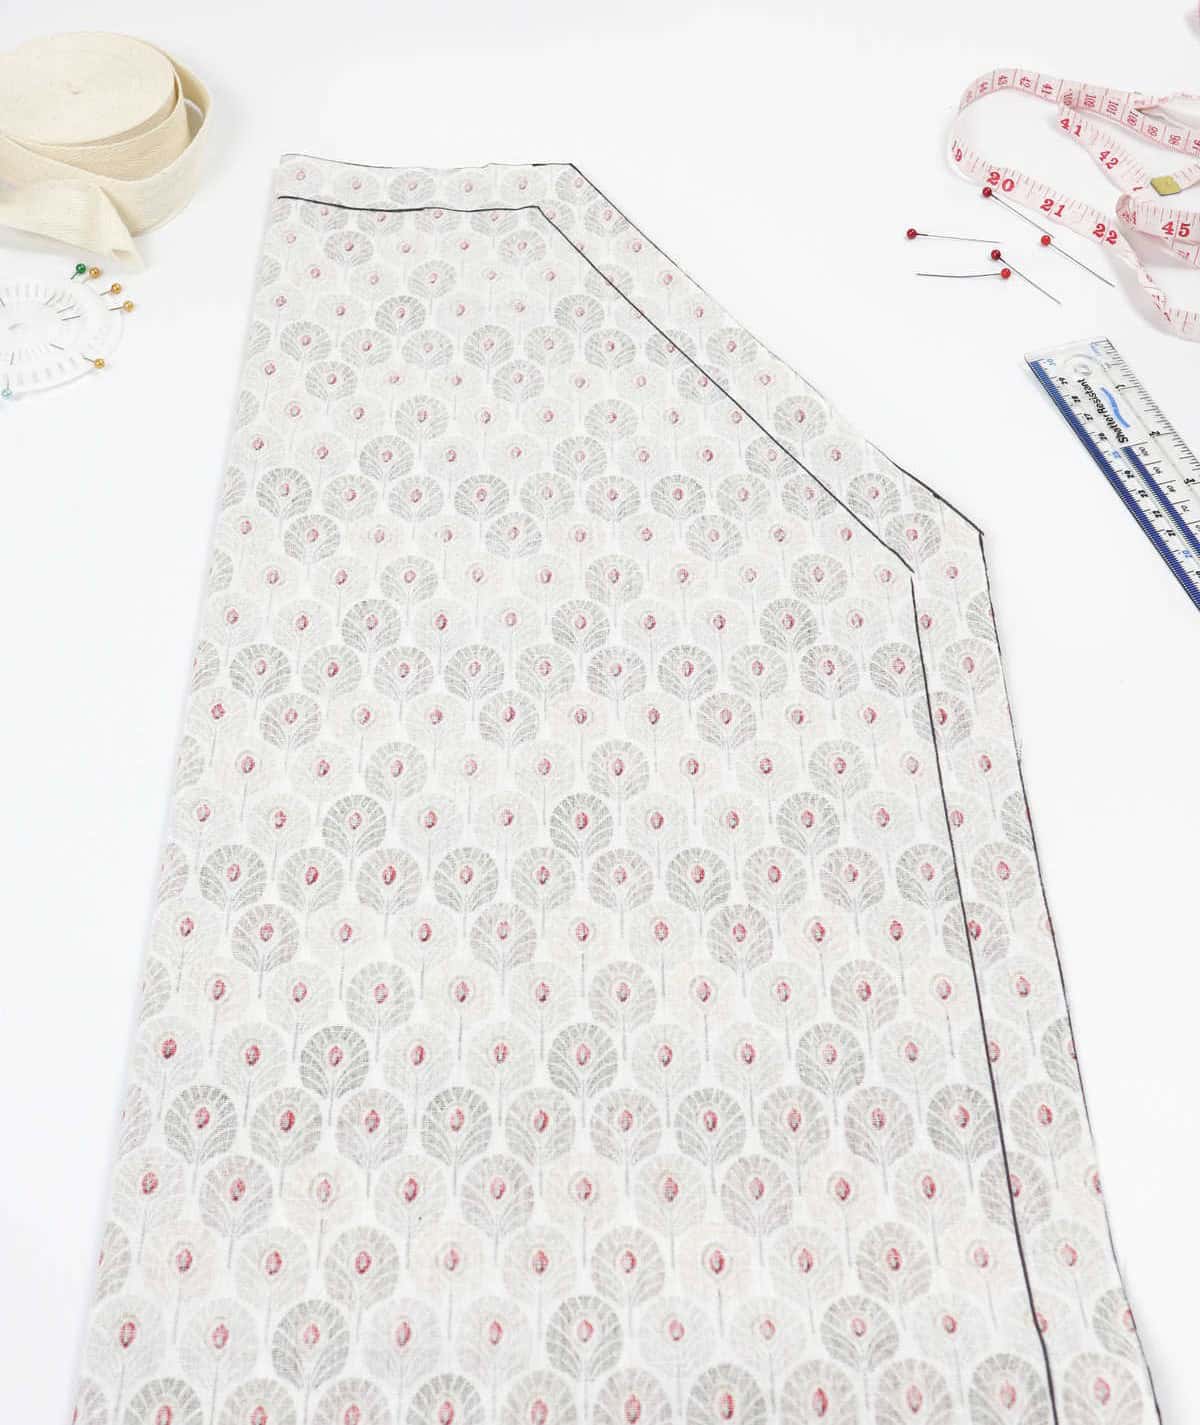
Once all the markings are made, use a ruler to connect them and create the outline for your custom apron design. For reference, this particular apron is approximately 25 inches by 4 inches by 9 inches.
Step 2

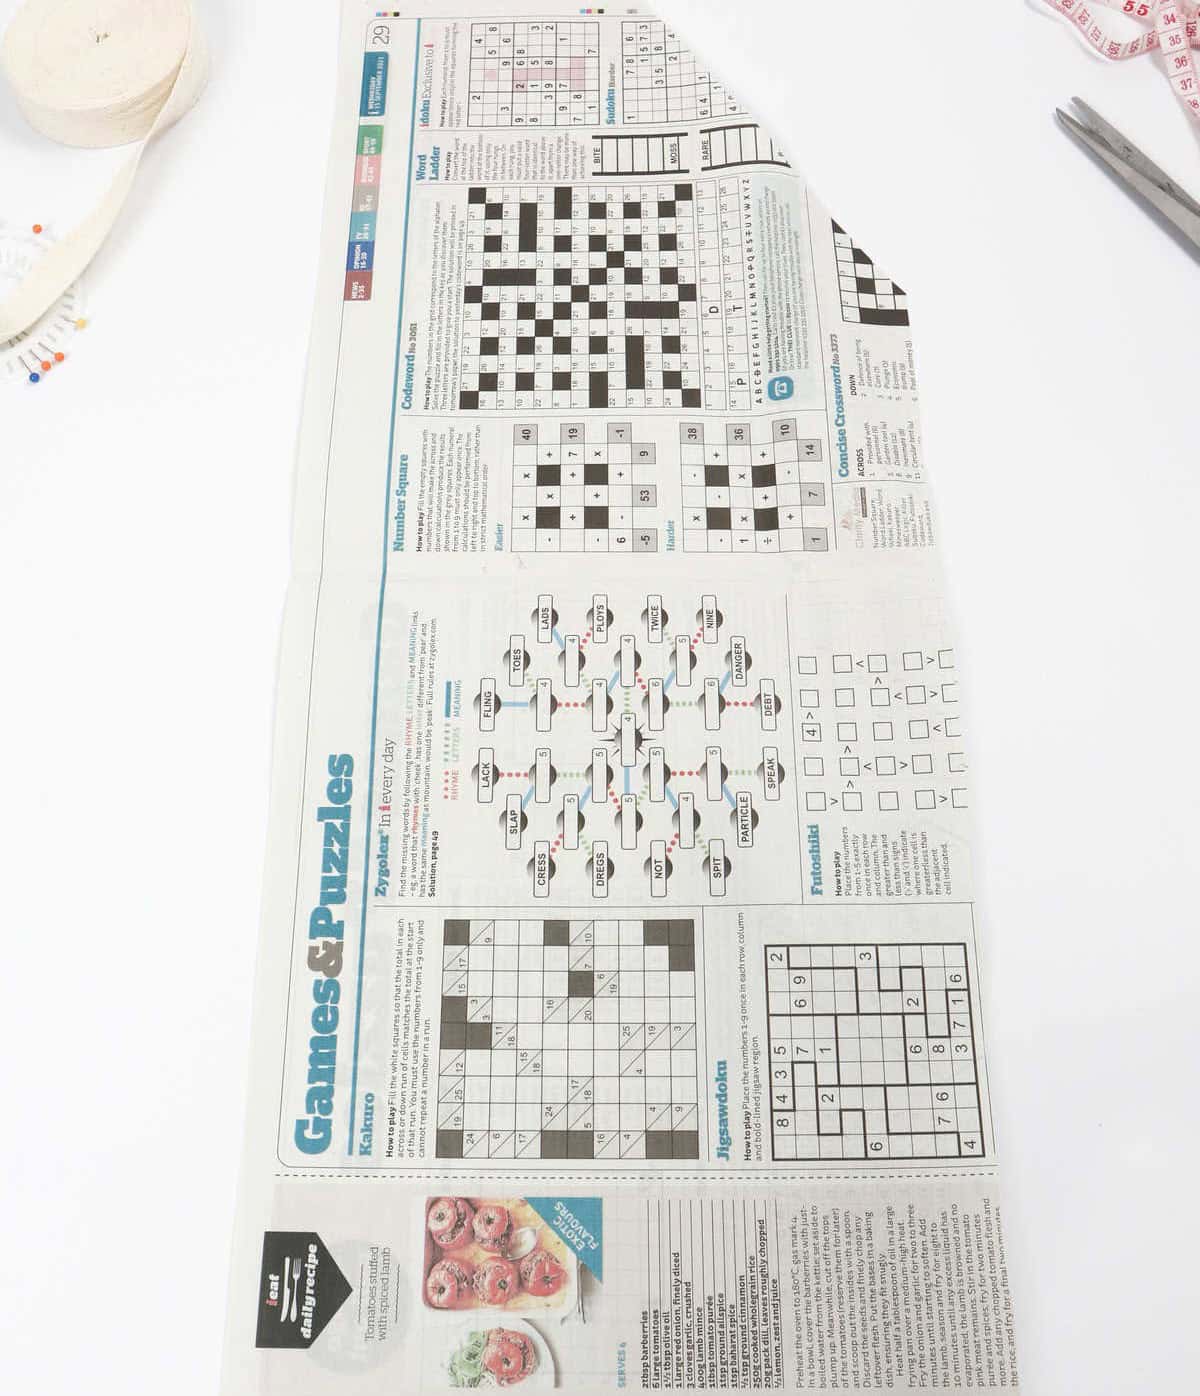
To begin creating your custom pattern, start by preparing your fabric. Take a pair of scissors and carefully cut along the marks or lines you drew on the material. Make sure to follow the path precisely to ensure accurate cutting. If you’re not comfortable using the fabric as a guide, consider creating a template newspaper first. This will give you a clear visual representation of the pattern pieces, allowing for more accurate placement and cutting.
Step 3
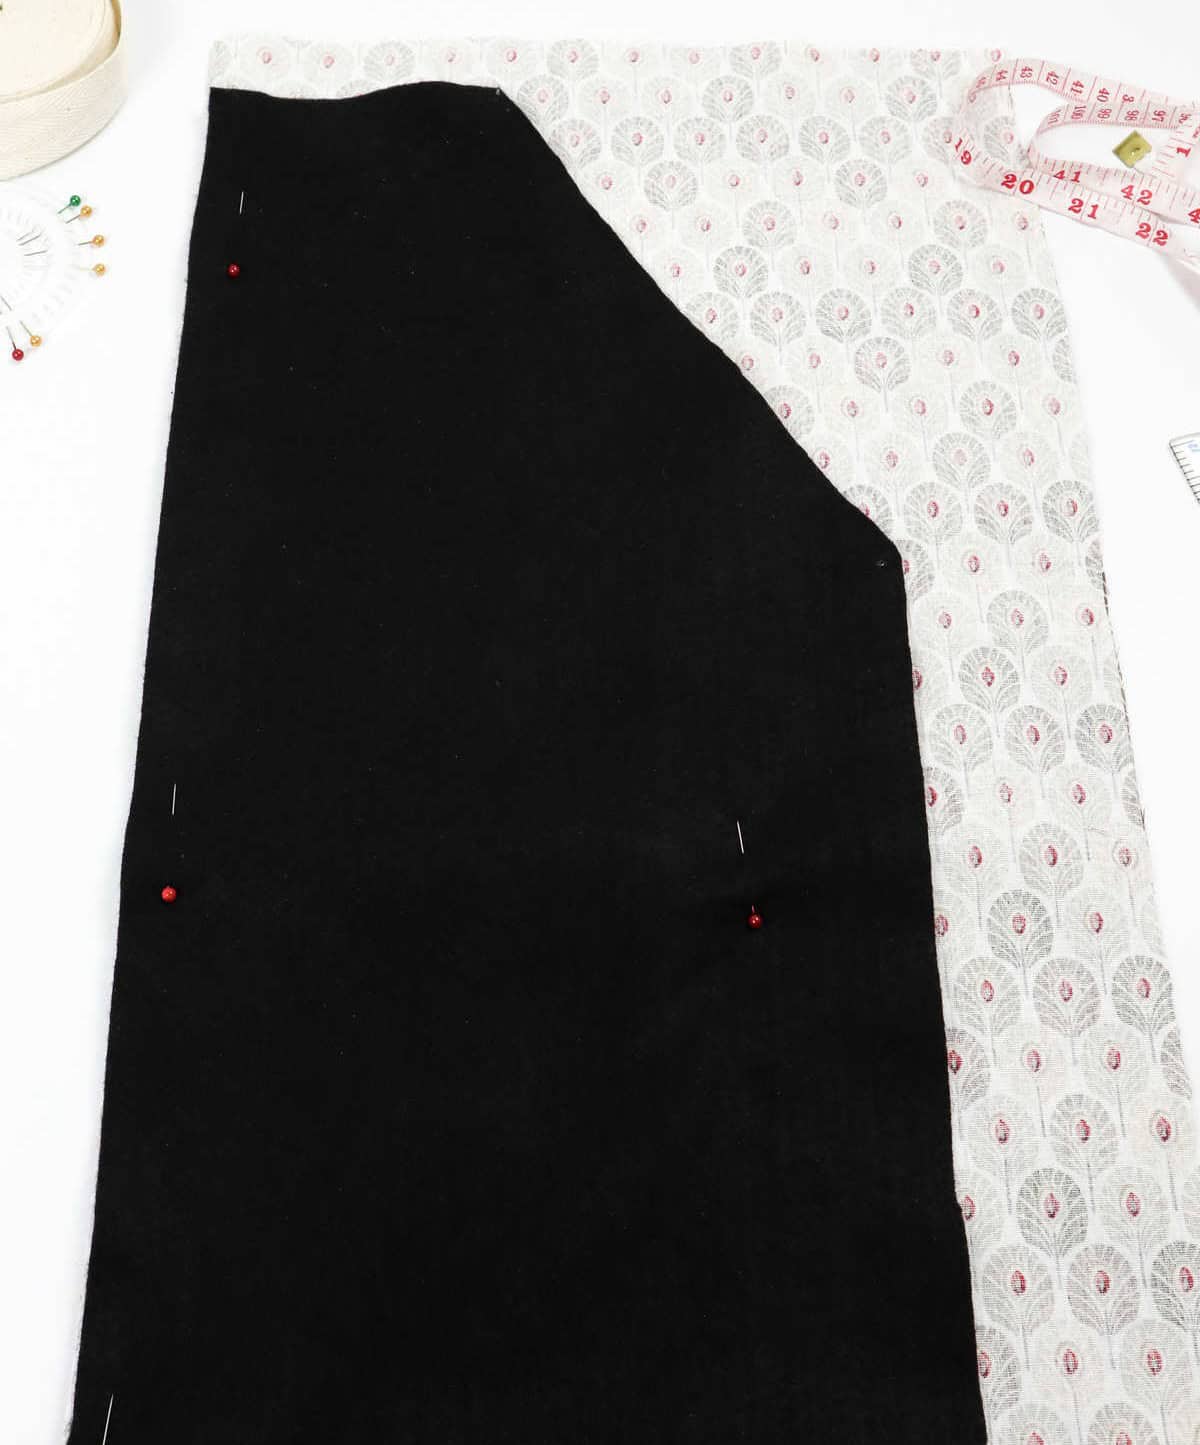
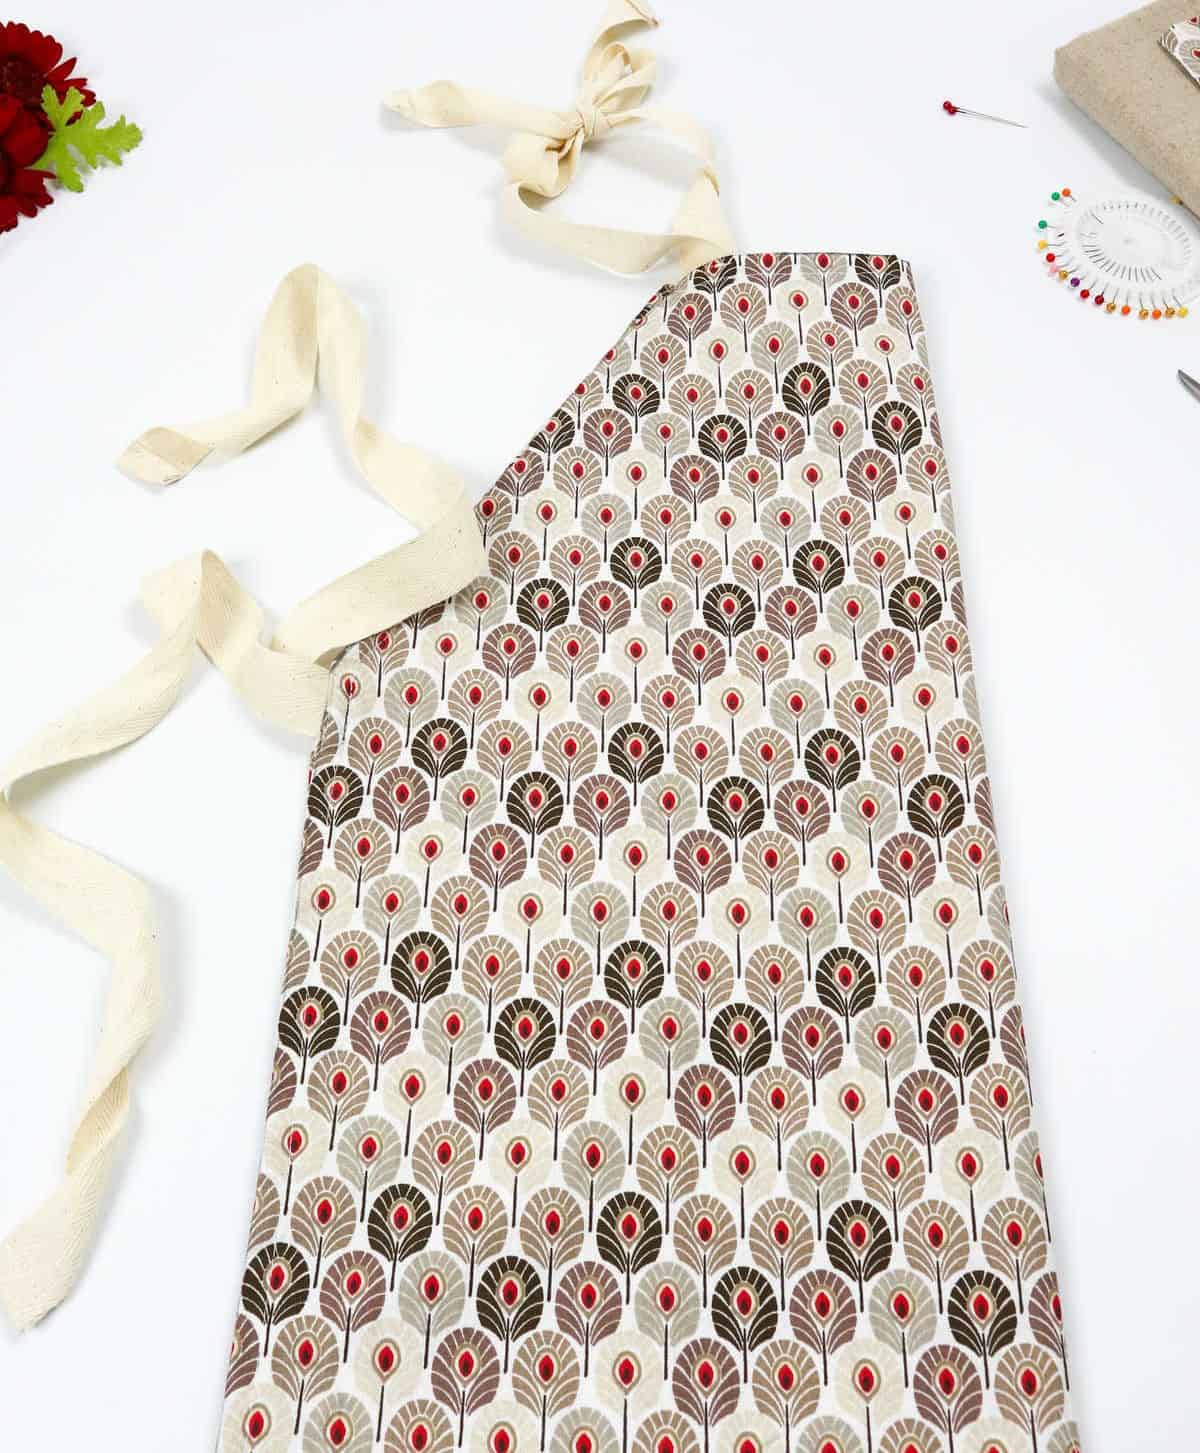
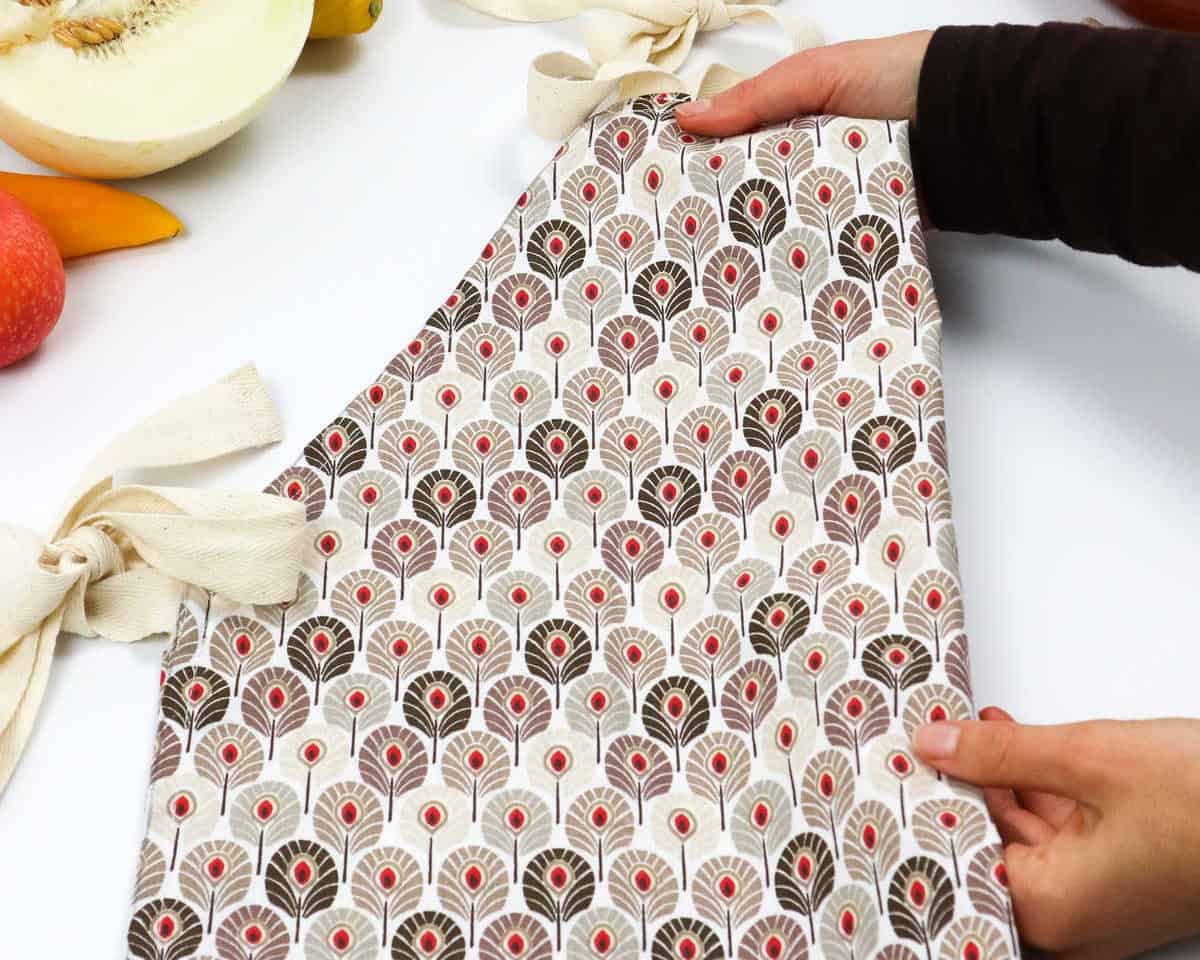
To initiate the process, fold your main fabric in half along the middle crease, ensuring that the right sides of the fabric are facing inward. Next, position your fabric or newspaper template over the folded fabric, aligning the edges precisely as depicted. For added stability and to prevent shifting during construction, utilize a few strategically placed sewing pins to secure both the fabric and template in place, allowing you to work efficiently without any distractions.
Step 4
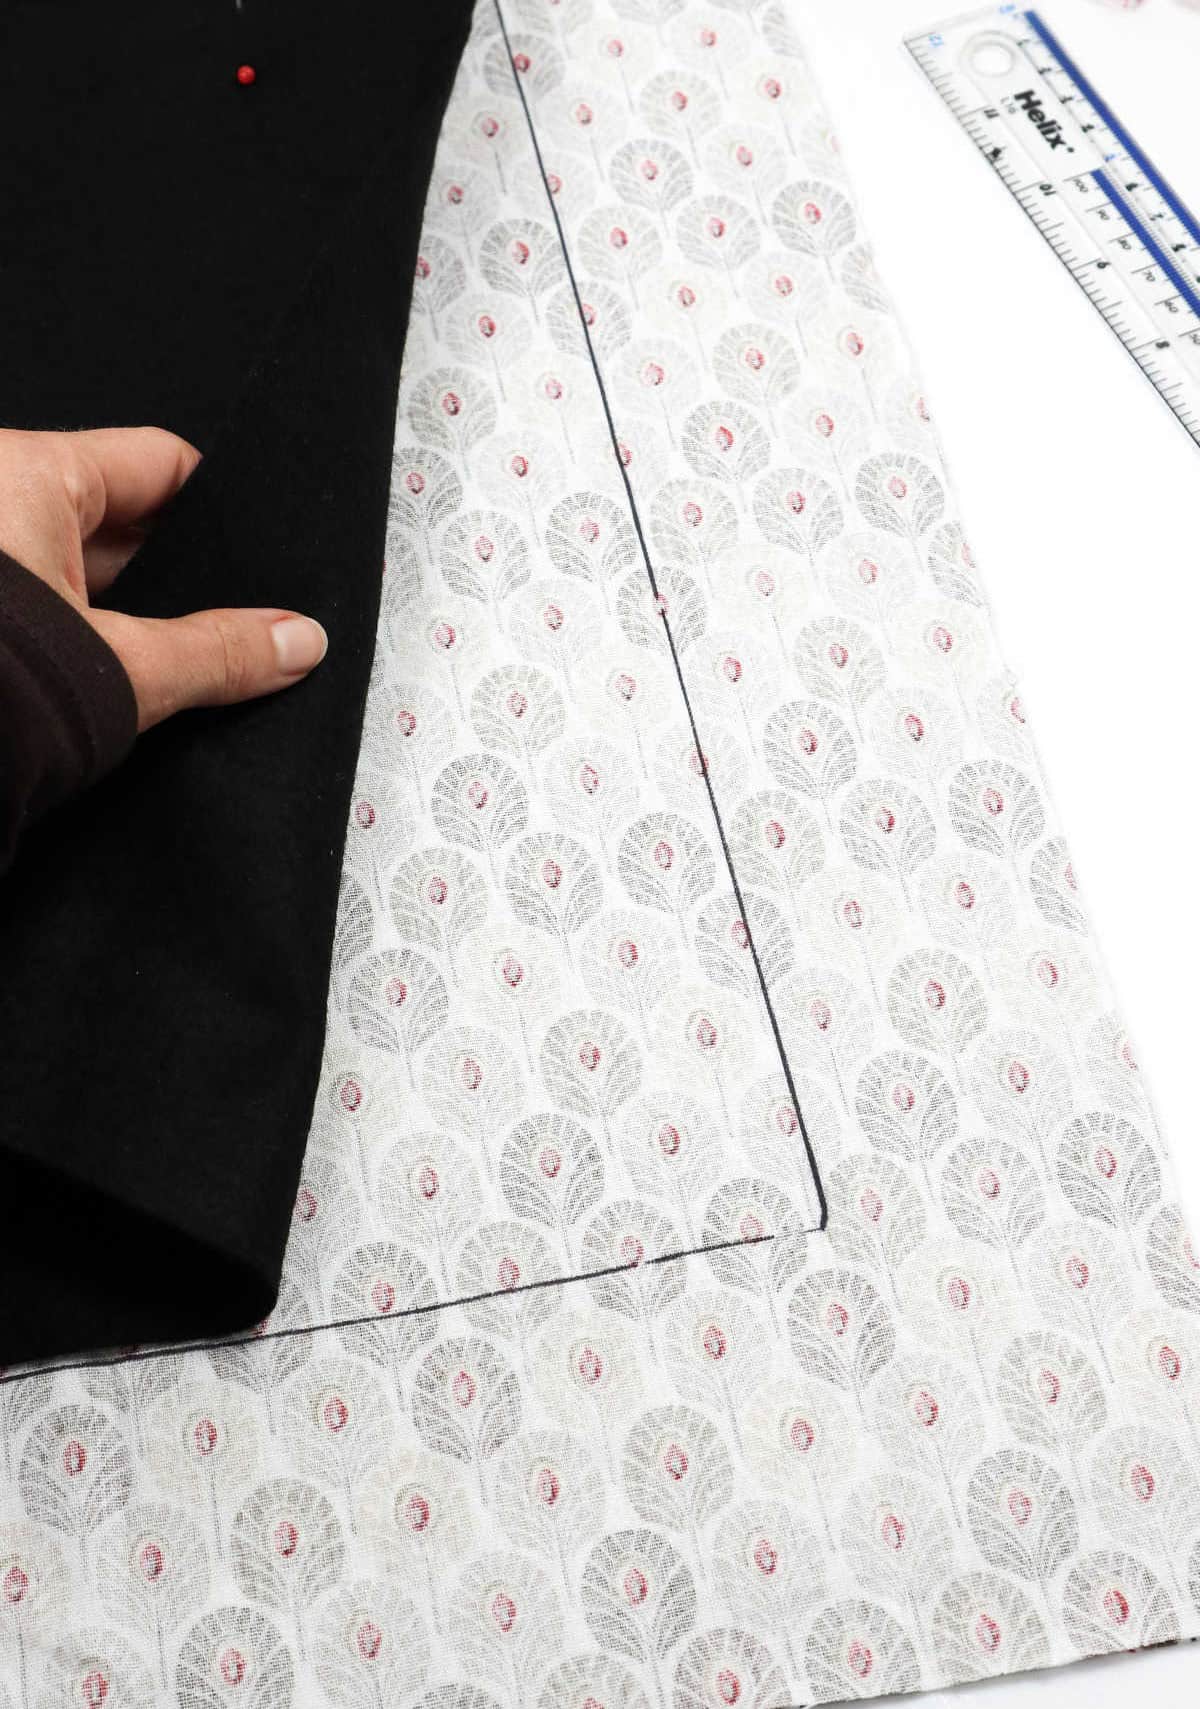
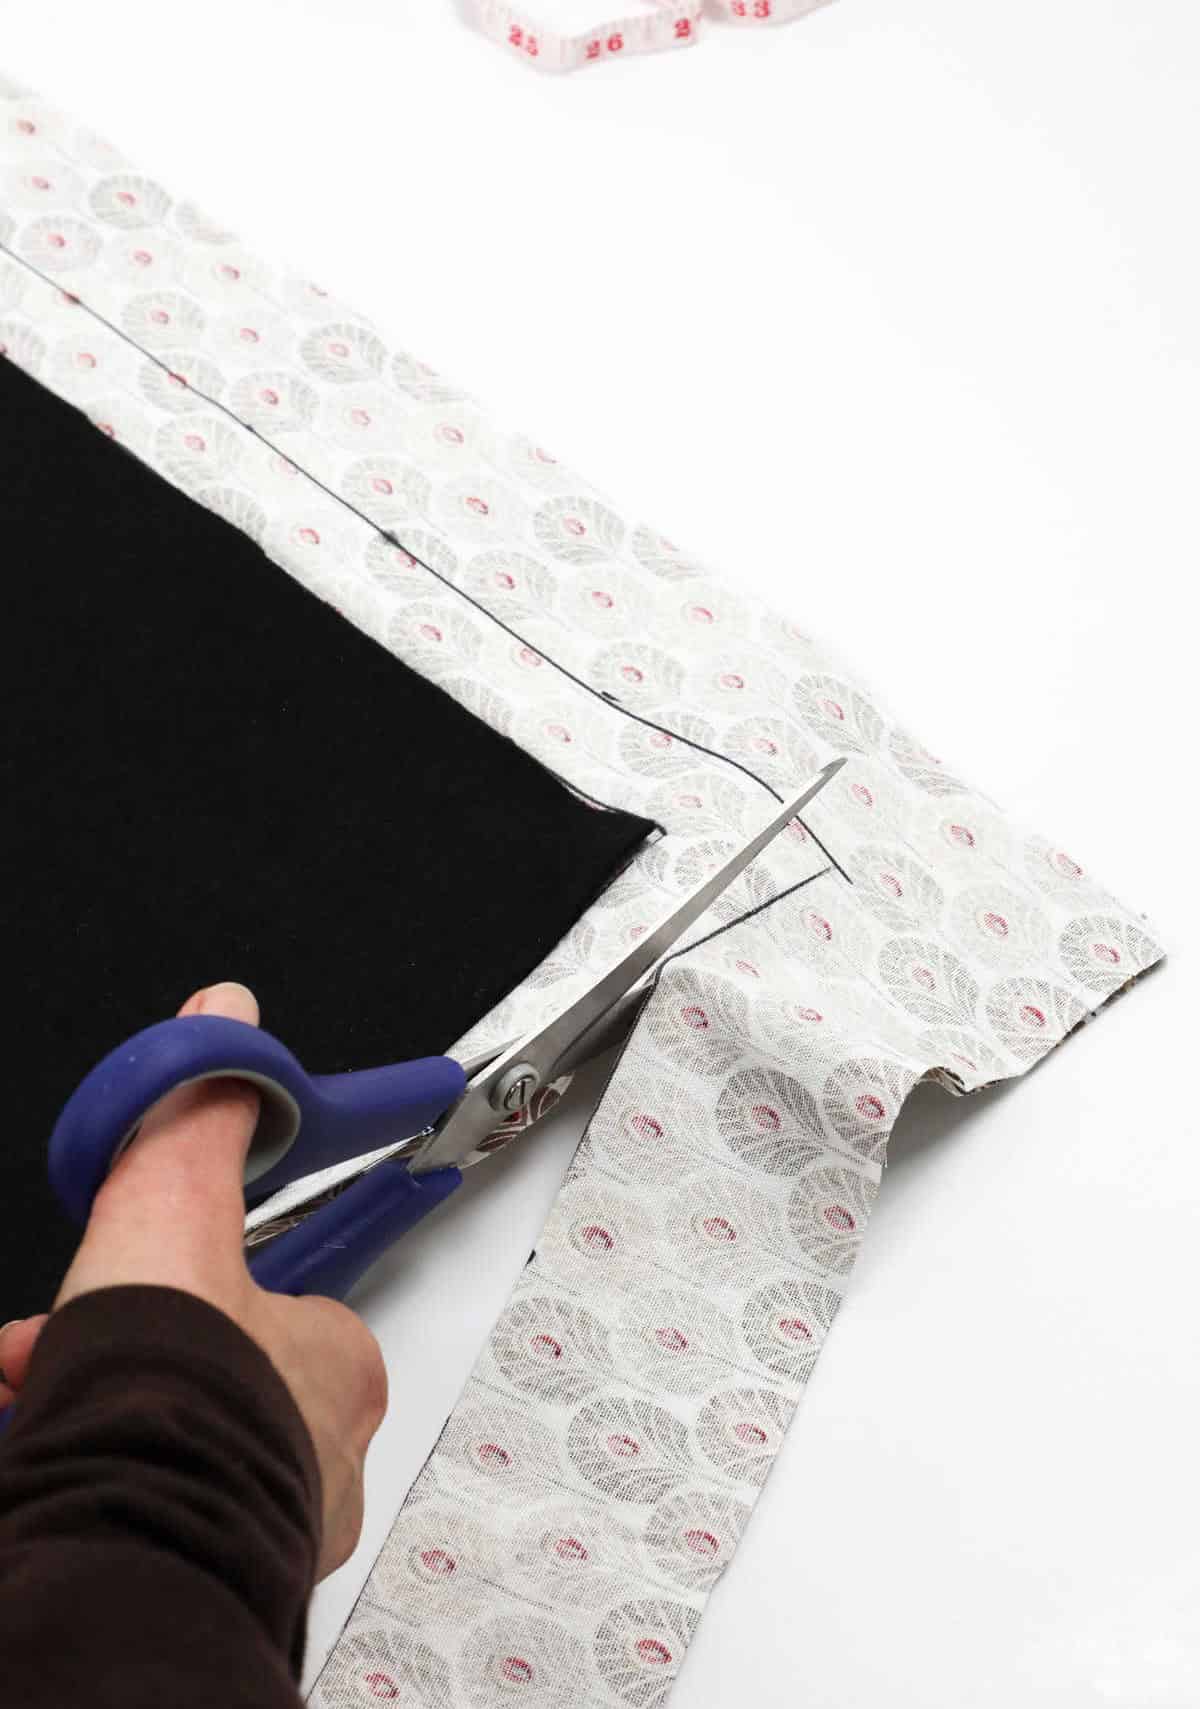
To create a precise template on your main fabric, use a marker or tailor’s chalk to draw an outline of the desired shape. Ensure you leave sufficient space for the seam allowance by drawing a second, slightly wider outline approximately one inch away from the first. This will serve as your seam allowance guide. Next, utilize a pair of scissors to carefully cut along the outer edge of the original outline.
Step 5
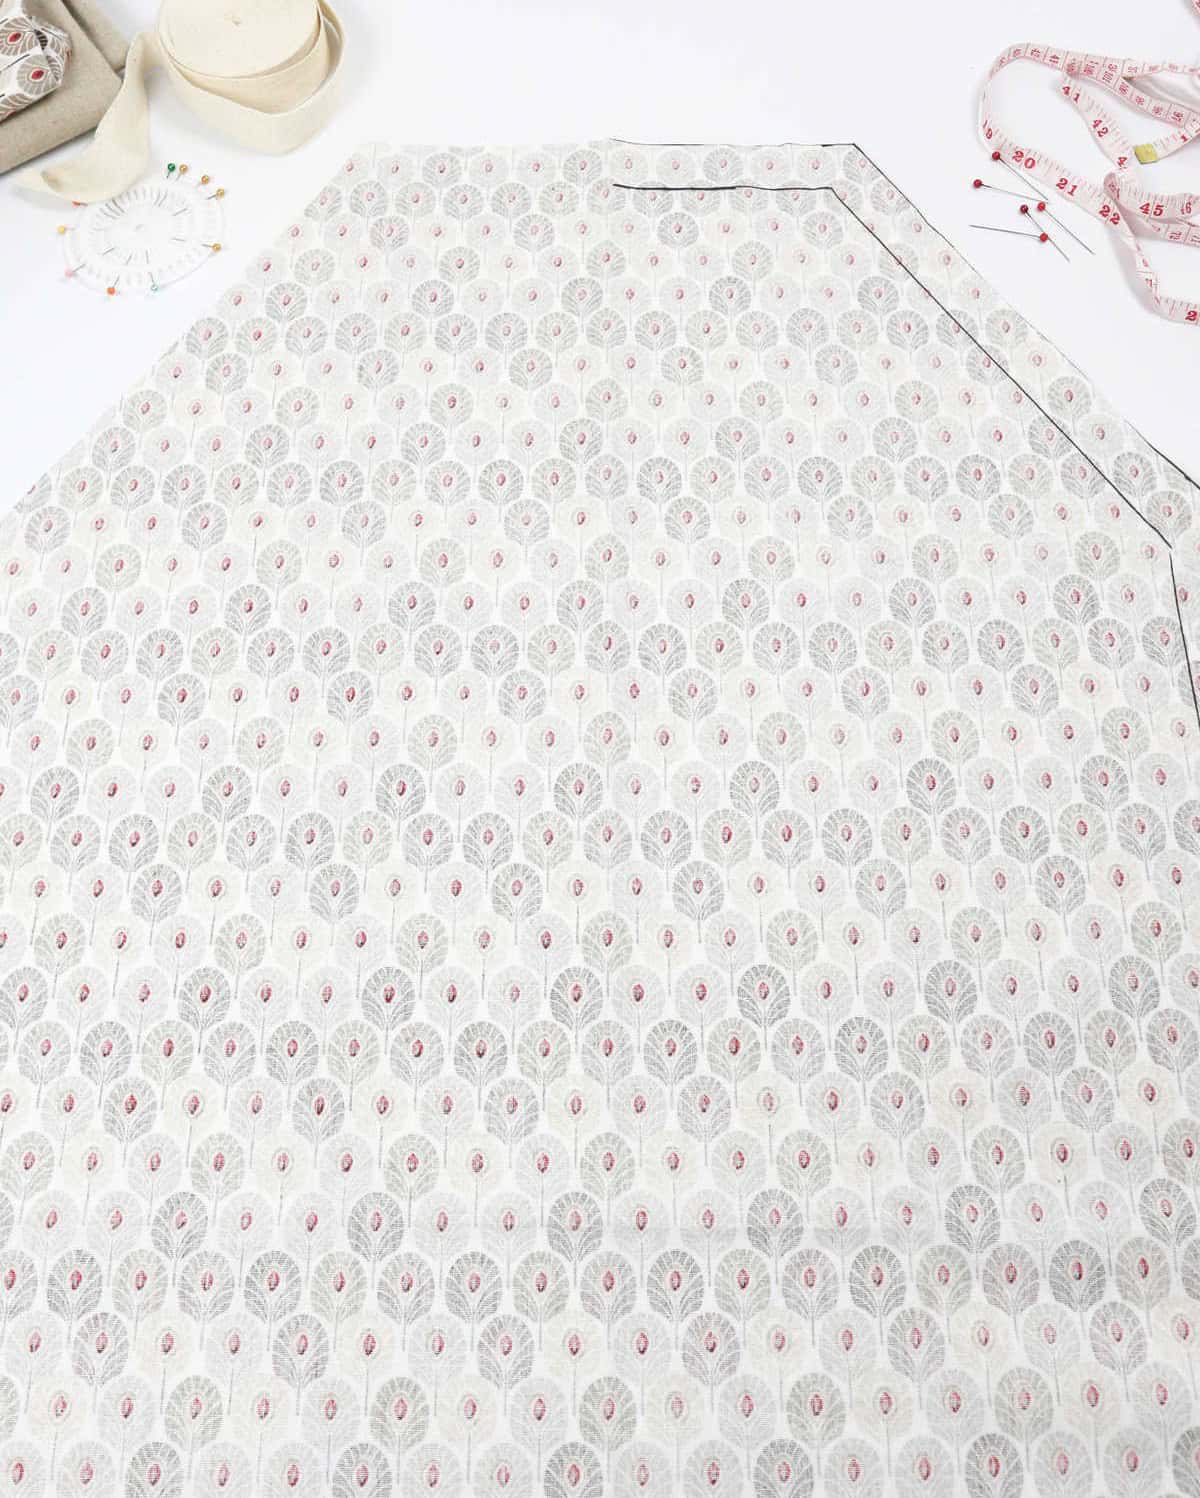
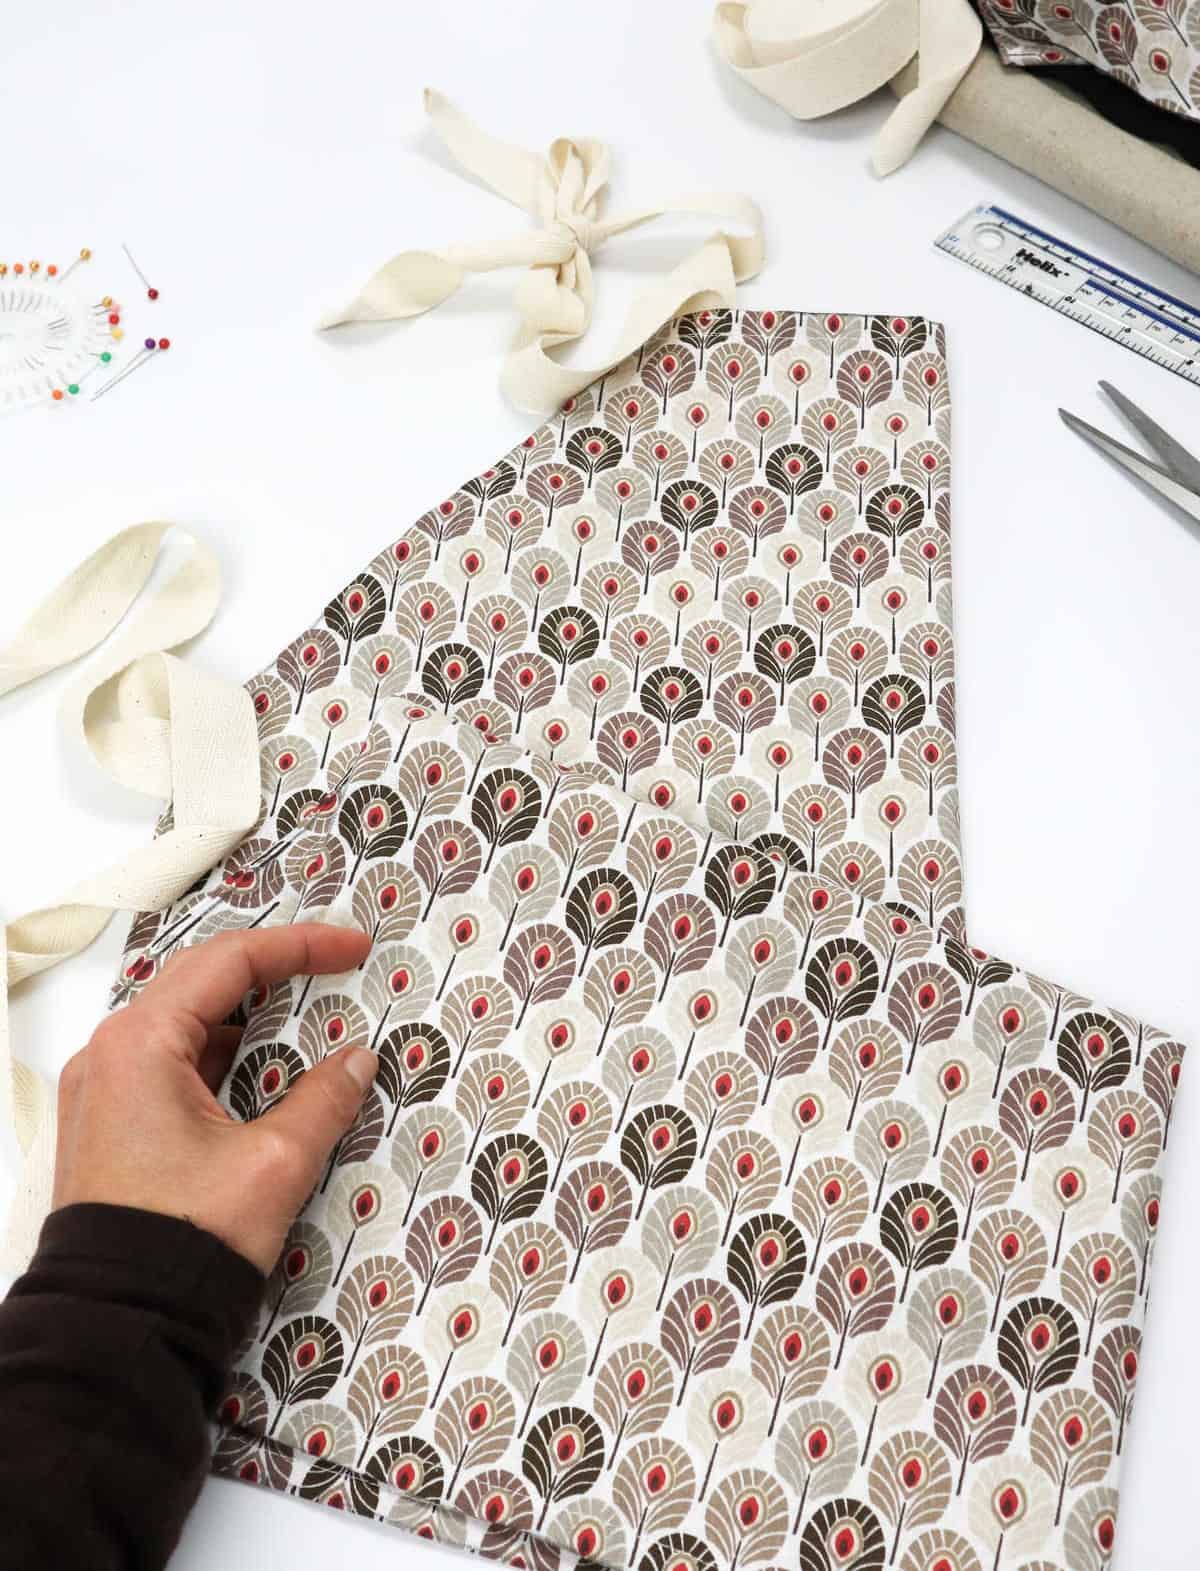
With the initial cutting step complete, focus on setting aside the fabric template, free from pins and ready for the apron-making process to unfold. Begin by unfolding the fabric, ensuring the right side remains facing down towards your work surface. As you do so, the markings you previously made should become visible, accompanied by the seam allowance line. The smooth, flat surface will serve as a foundation for crafting your unique apron.
Step 6
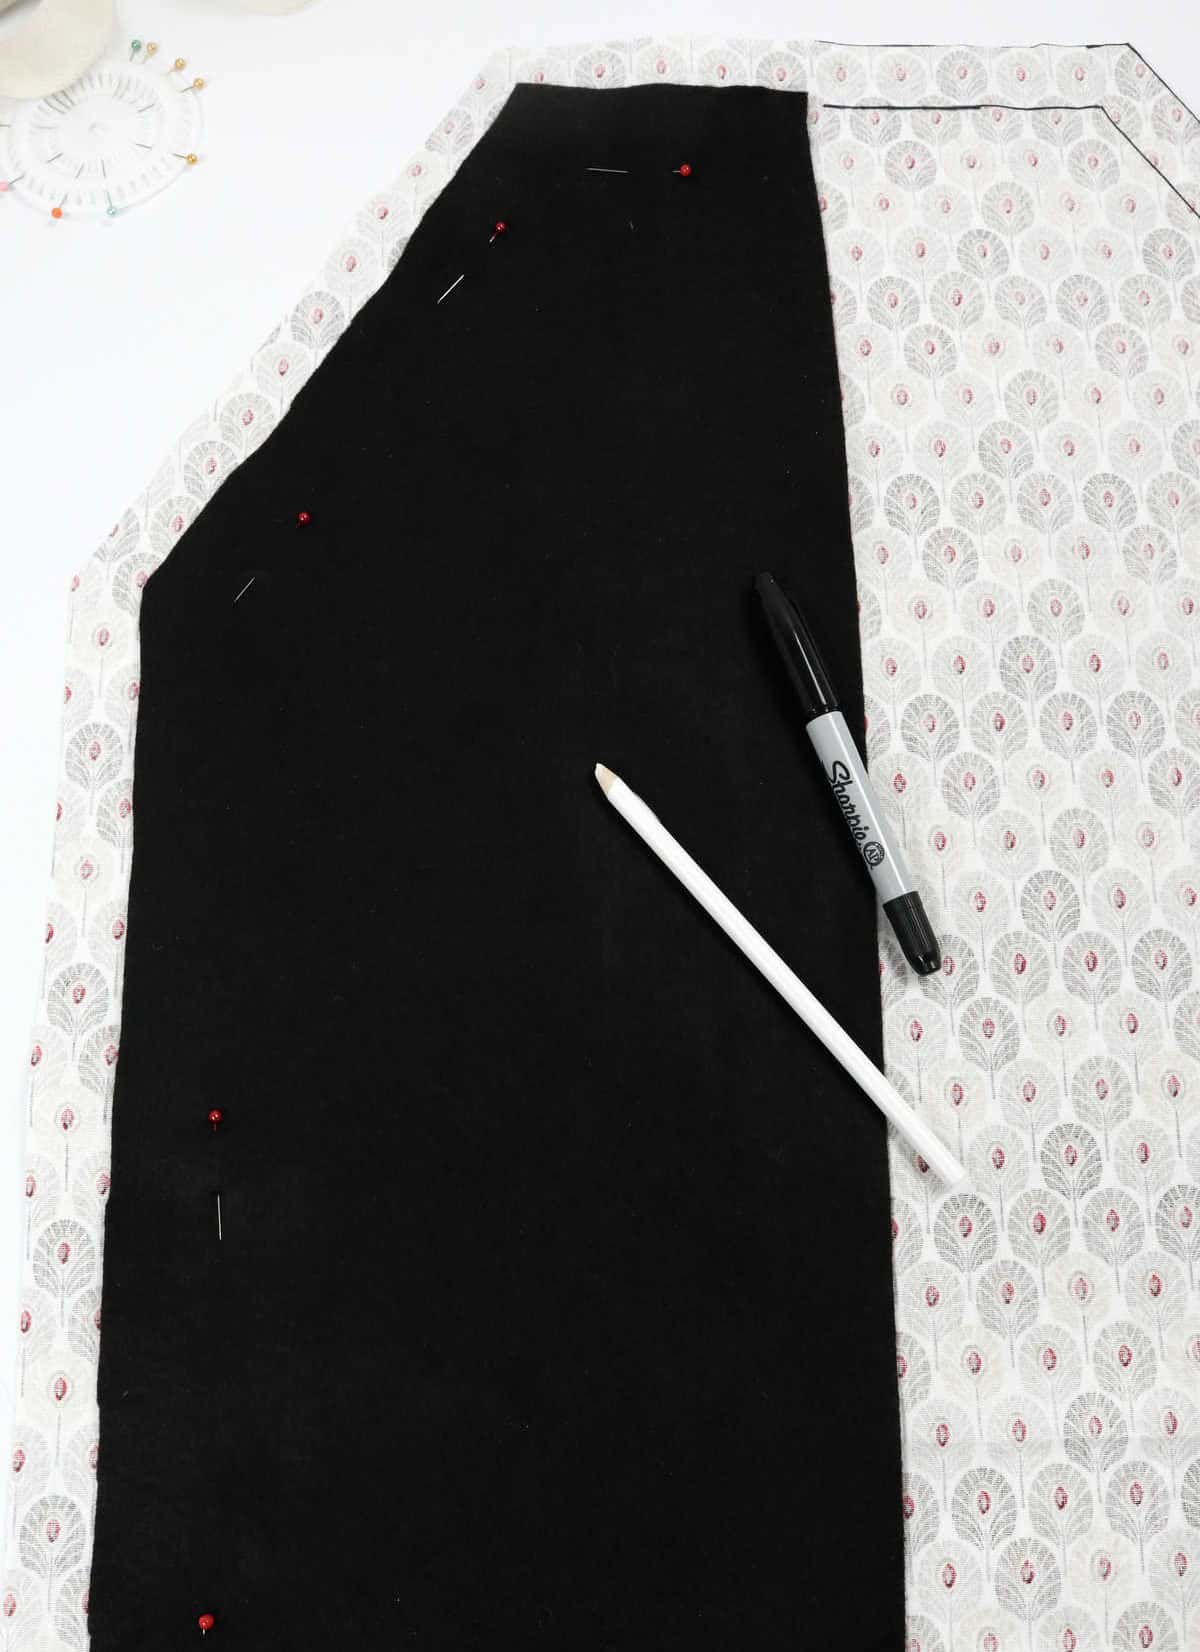
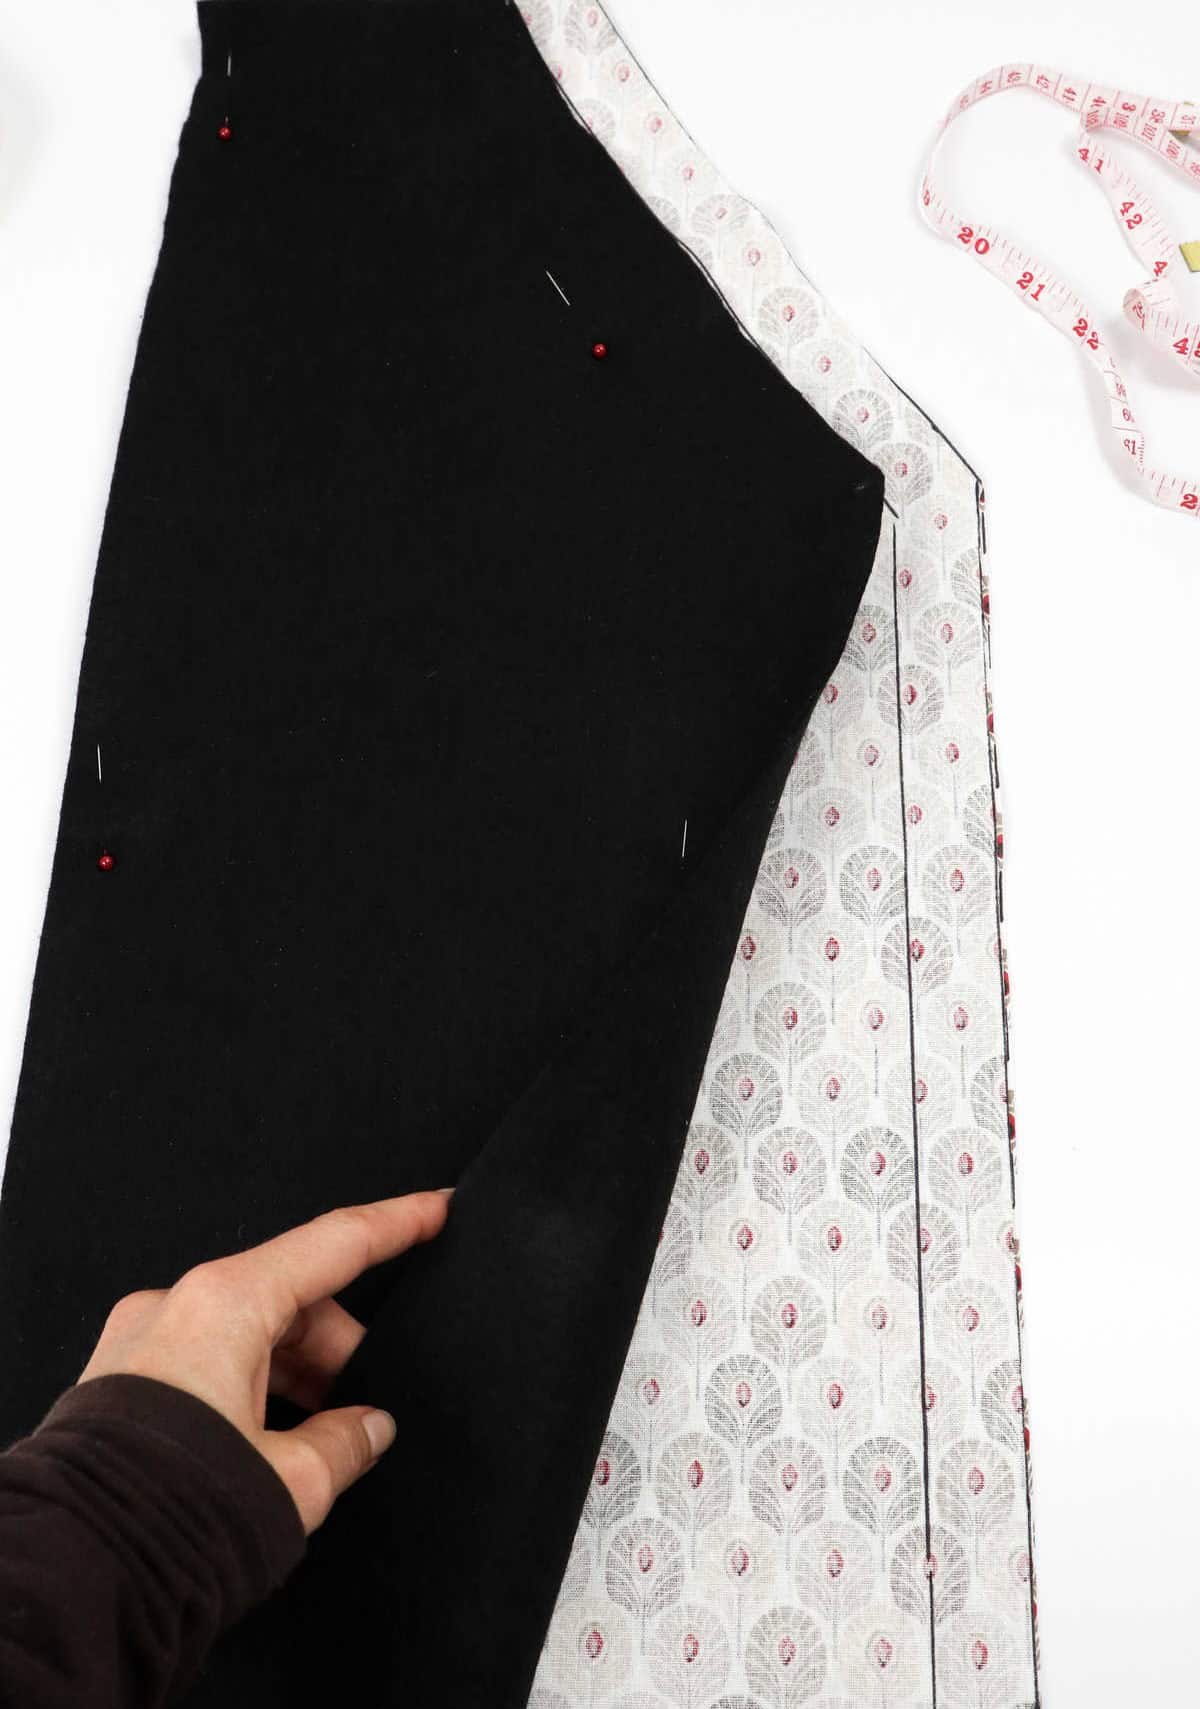
Next, take your template and position it on the opposite side of the fabric, where there are no outlines. This is the part without the pre-printed patterns. As you’re familiar with this process, proceed by drawing an outline on the fabric, making sure to add a seam allowance that’s about an inch wide. This will mirror the other side of the fabric, ensuring your pattern pieces align correctly.
Step 7
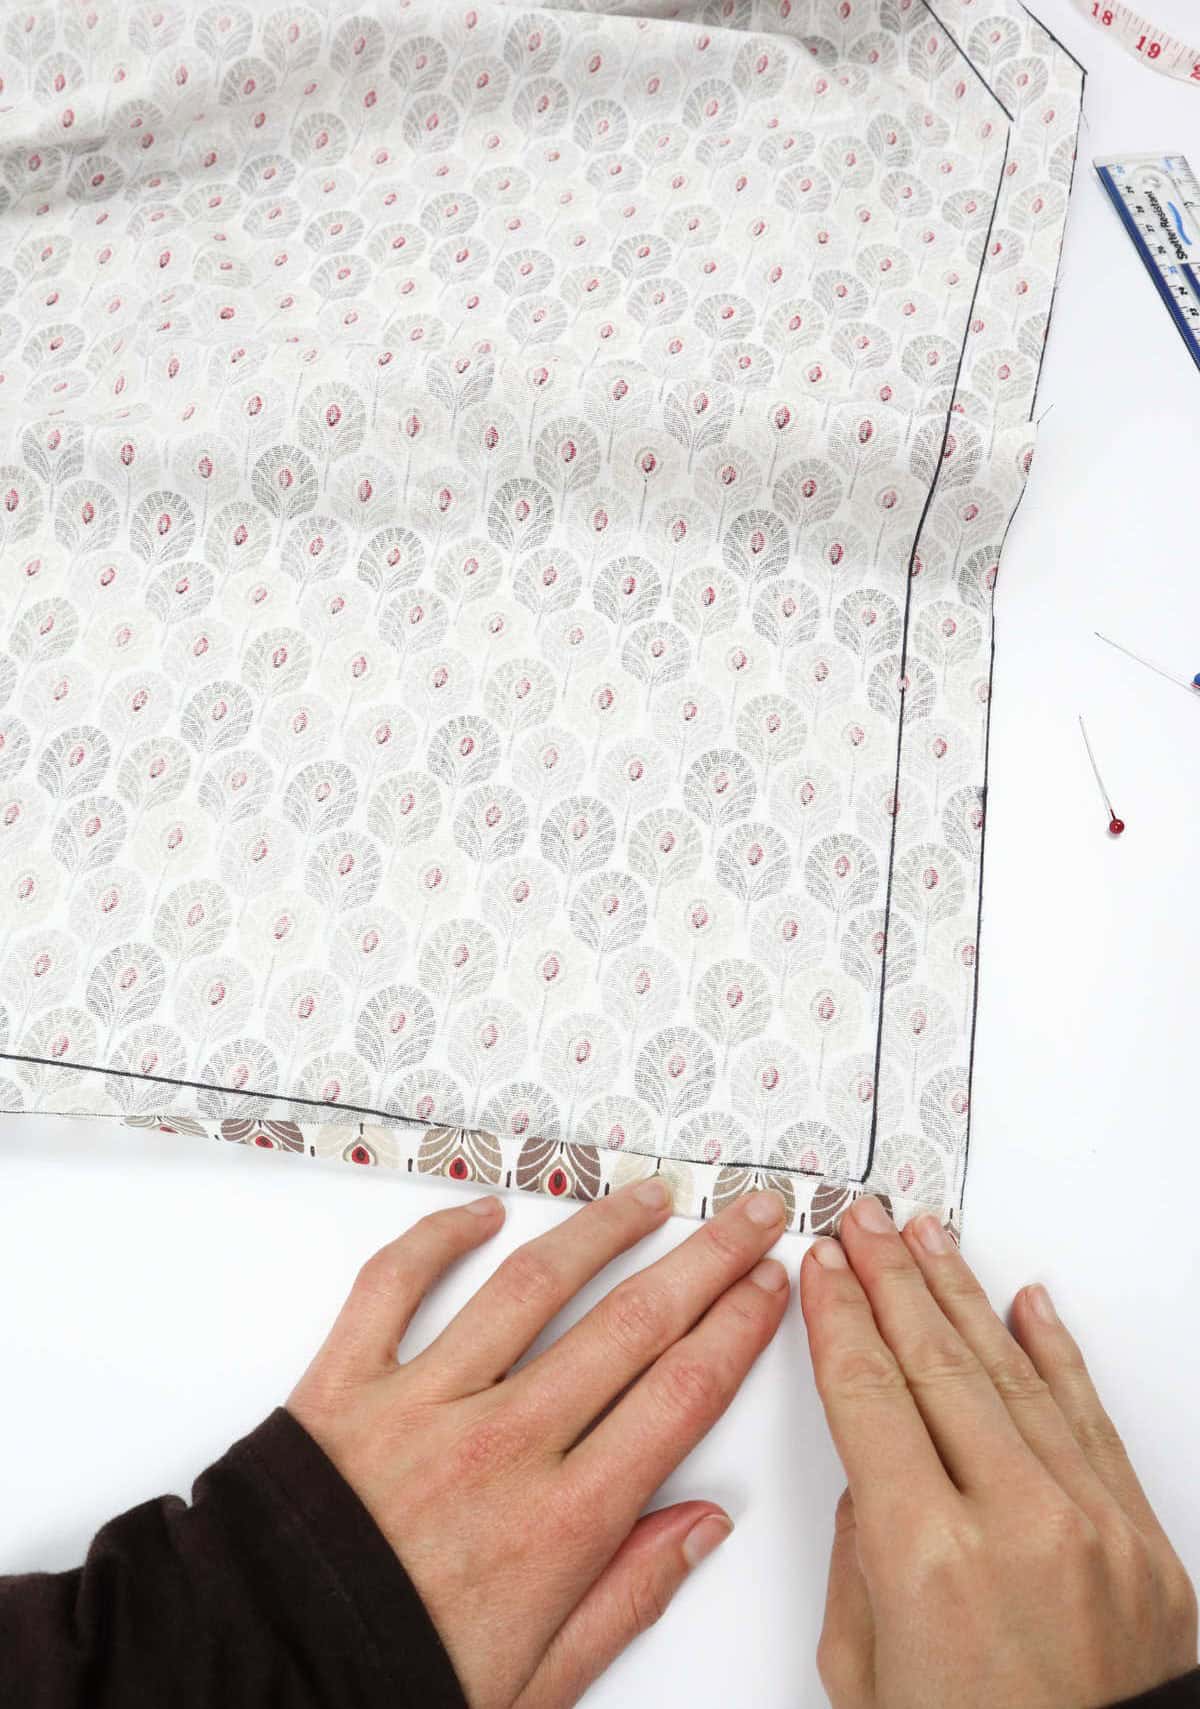
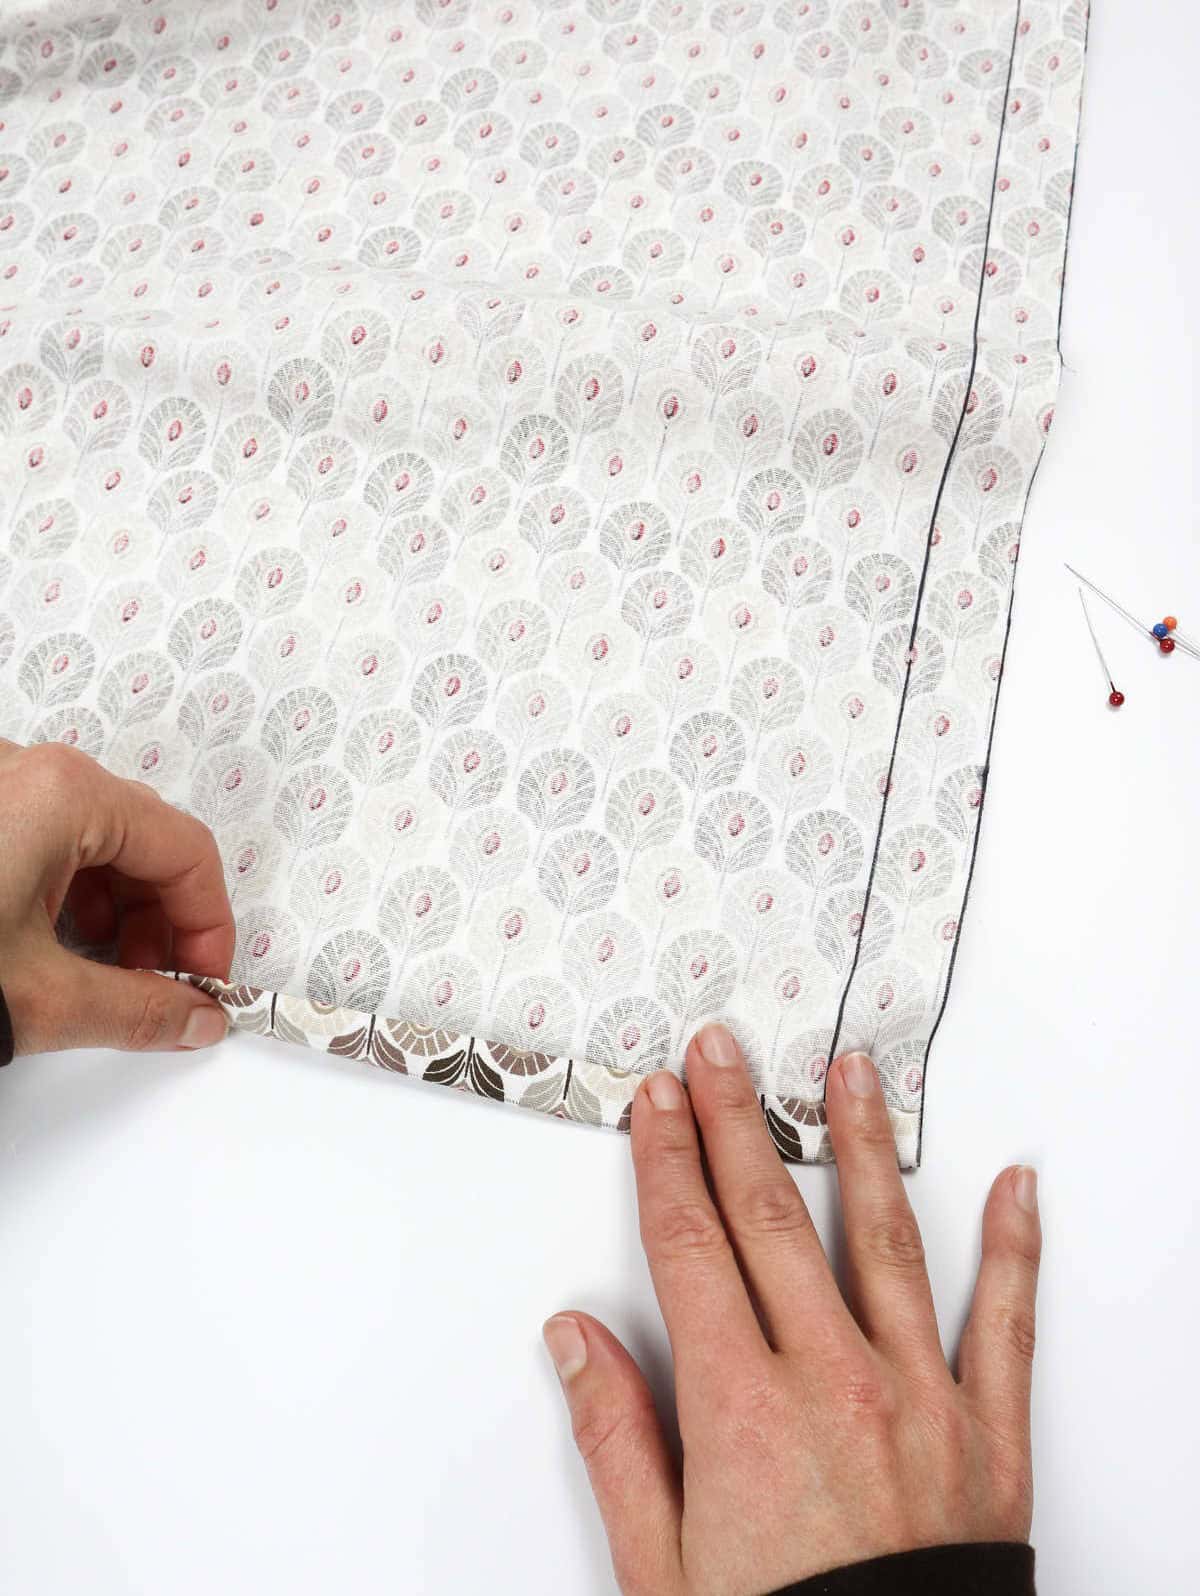
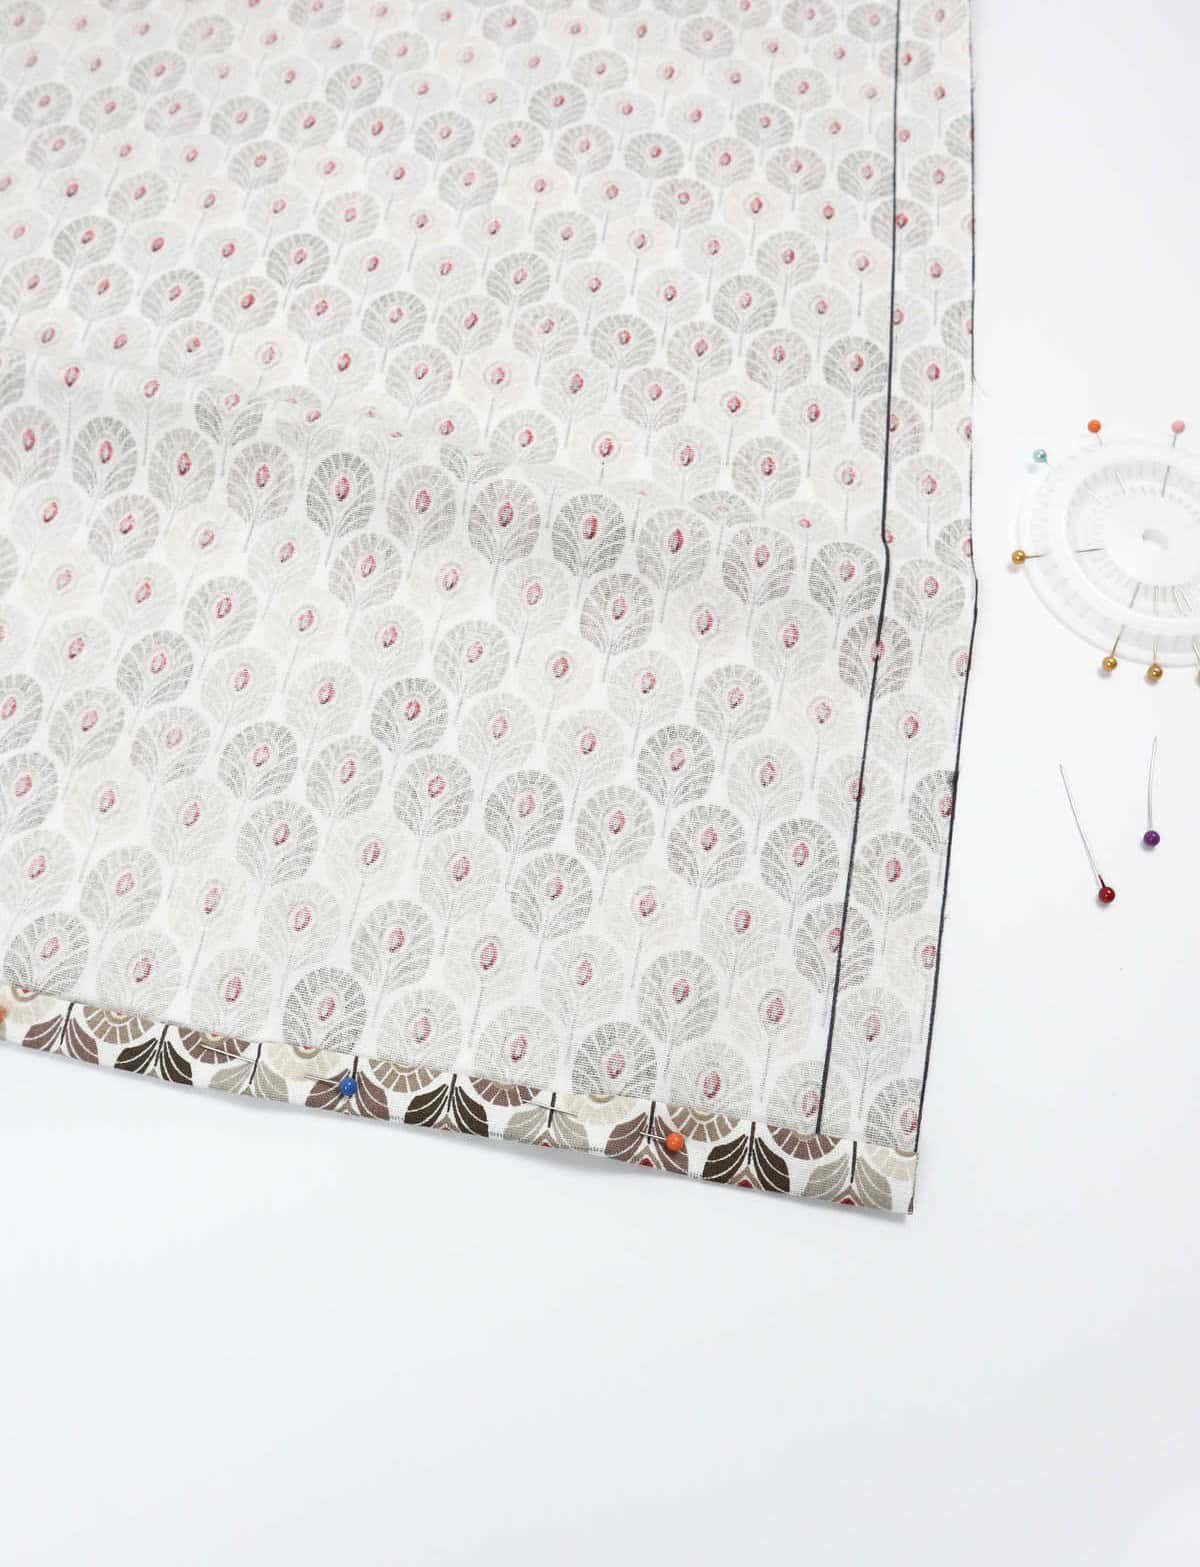

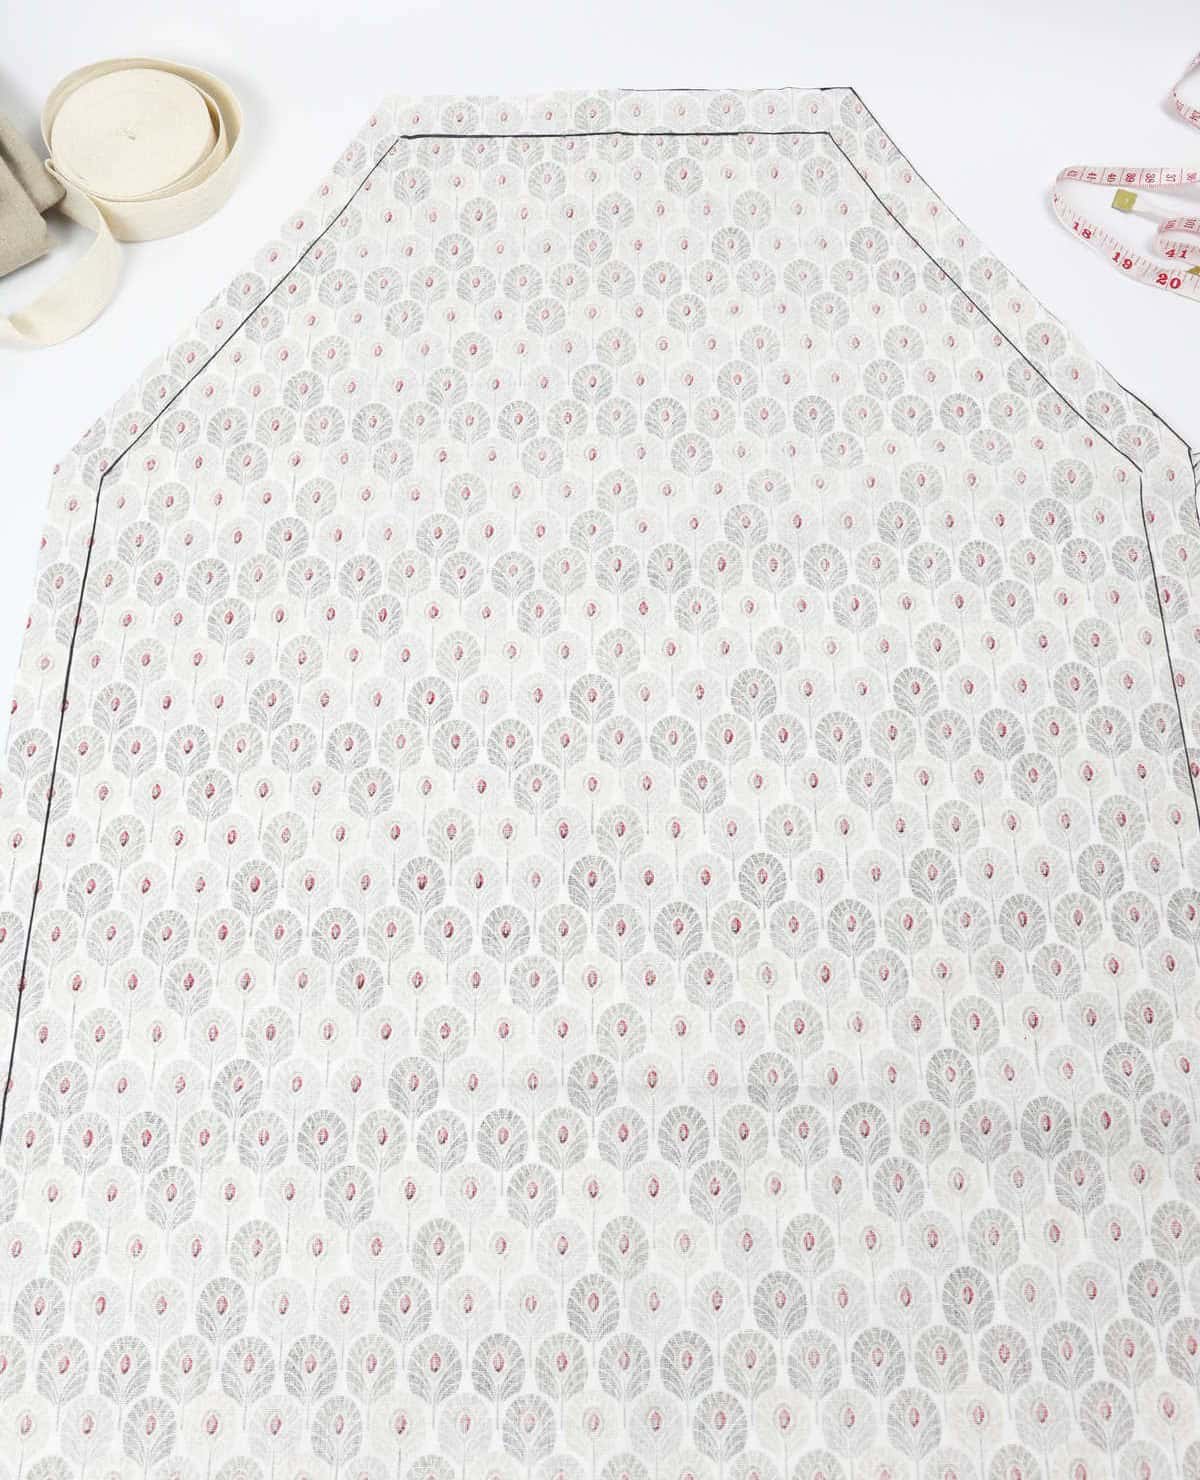
To complete the hem, fold or roll the fabric’s edge over to align it with the inner outline, as demonstrated below. Secure the folded edge in place using sewing pins, ensuring a smooth and even fold throughout the apron. For added stability, iron the hem to set the fold and prevent any movement during sewing.
As you work your way around the apron, the shape will begin to take form, with only one final step remaining before you can start sewing – a crucial detail that will bring your design to life.
Step 8
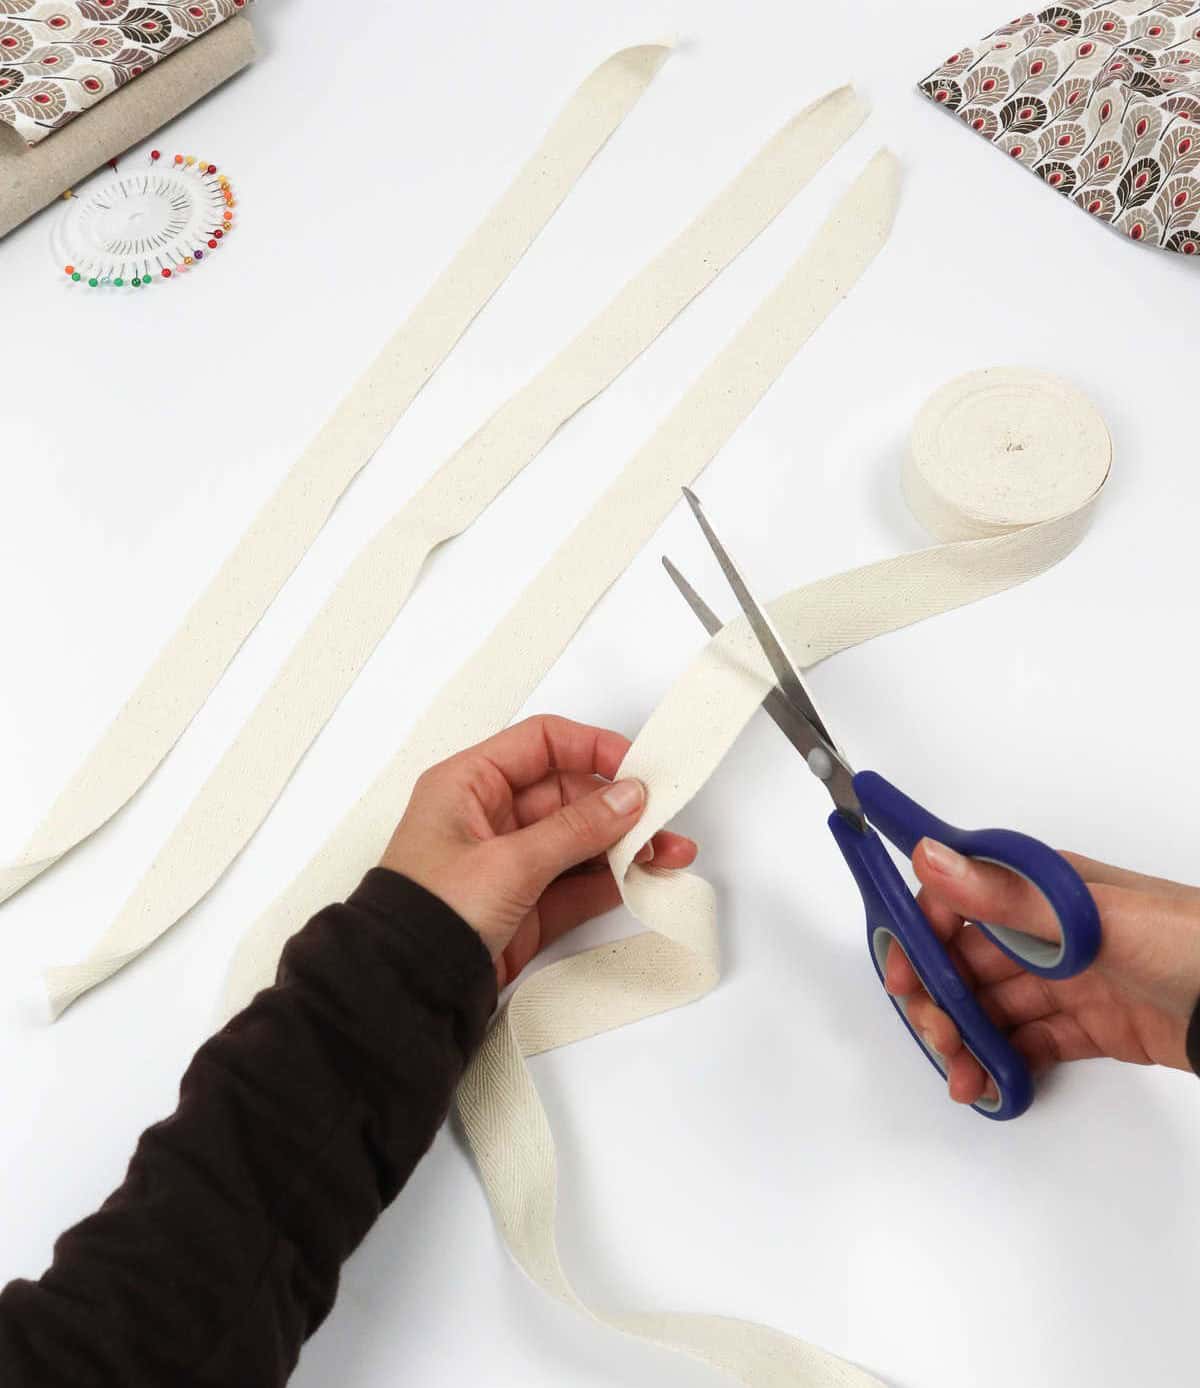
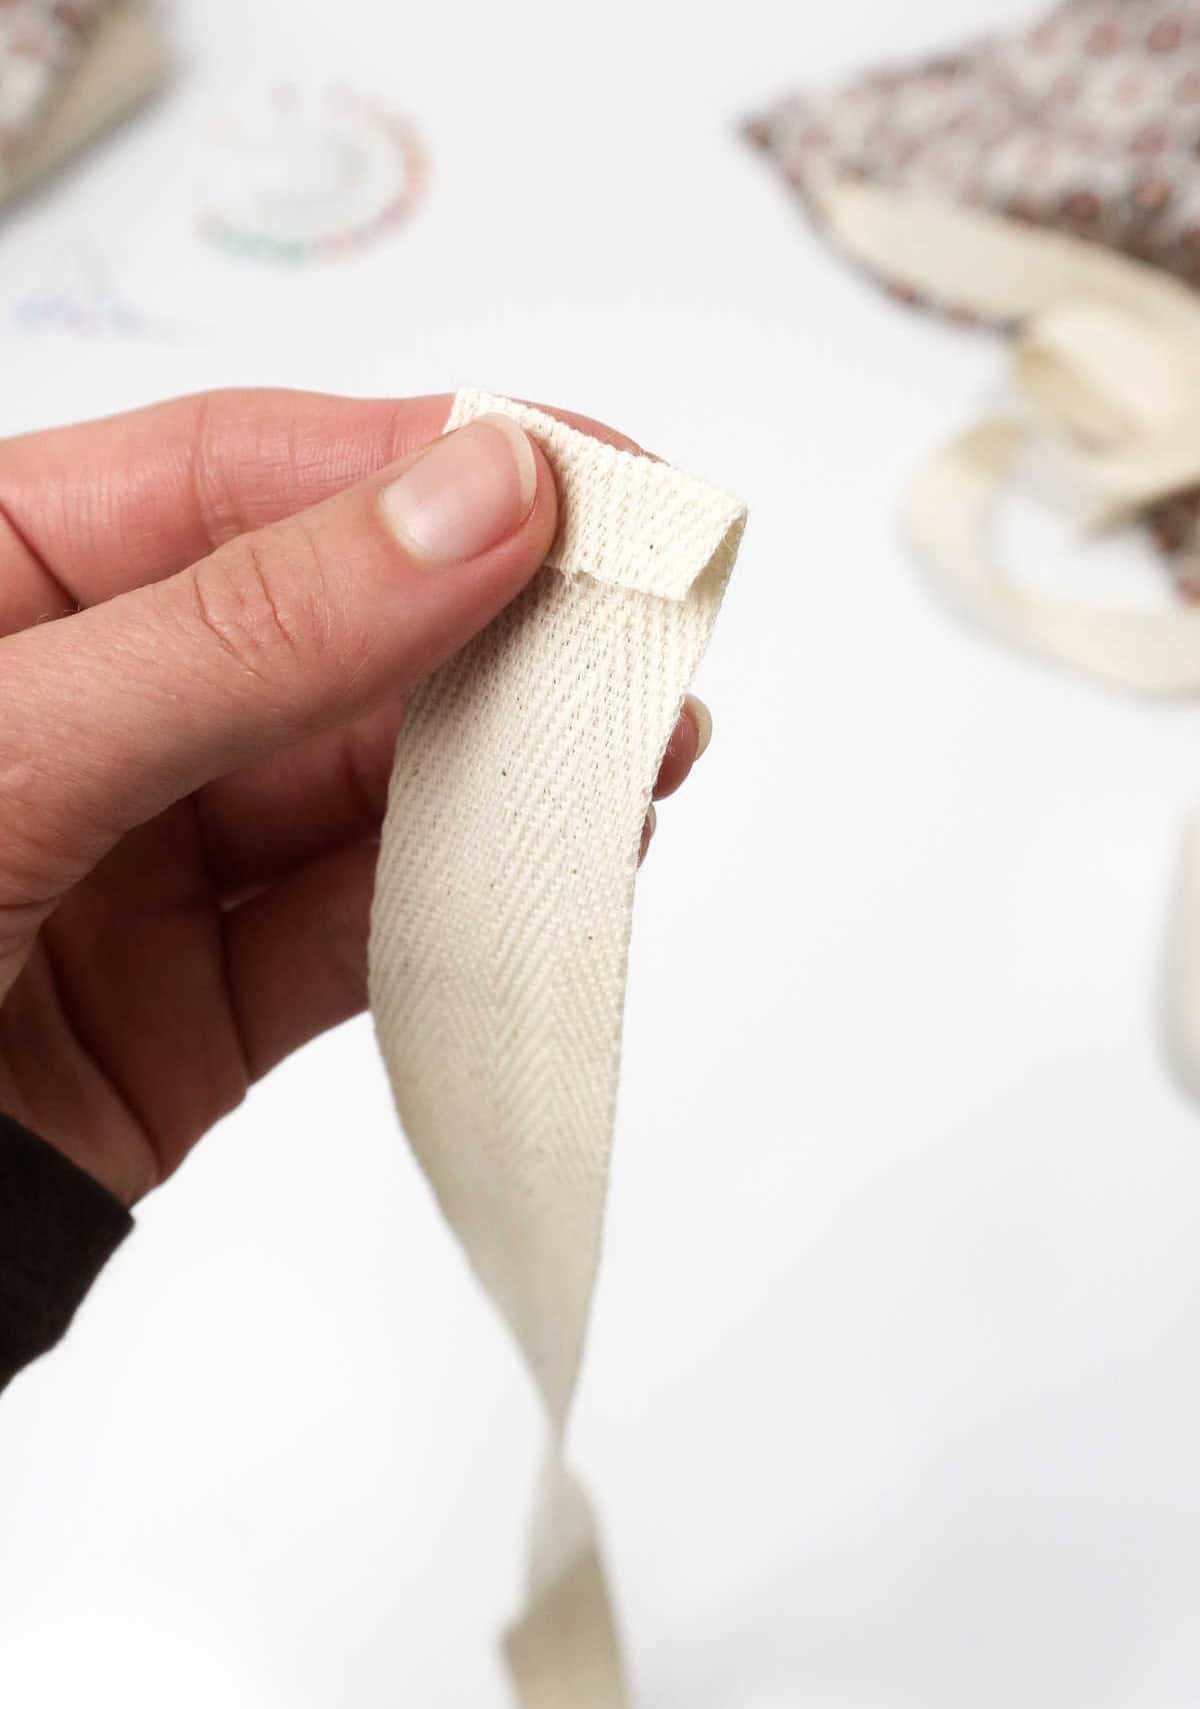

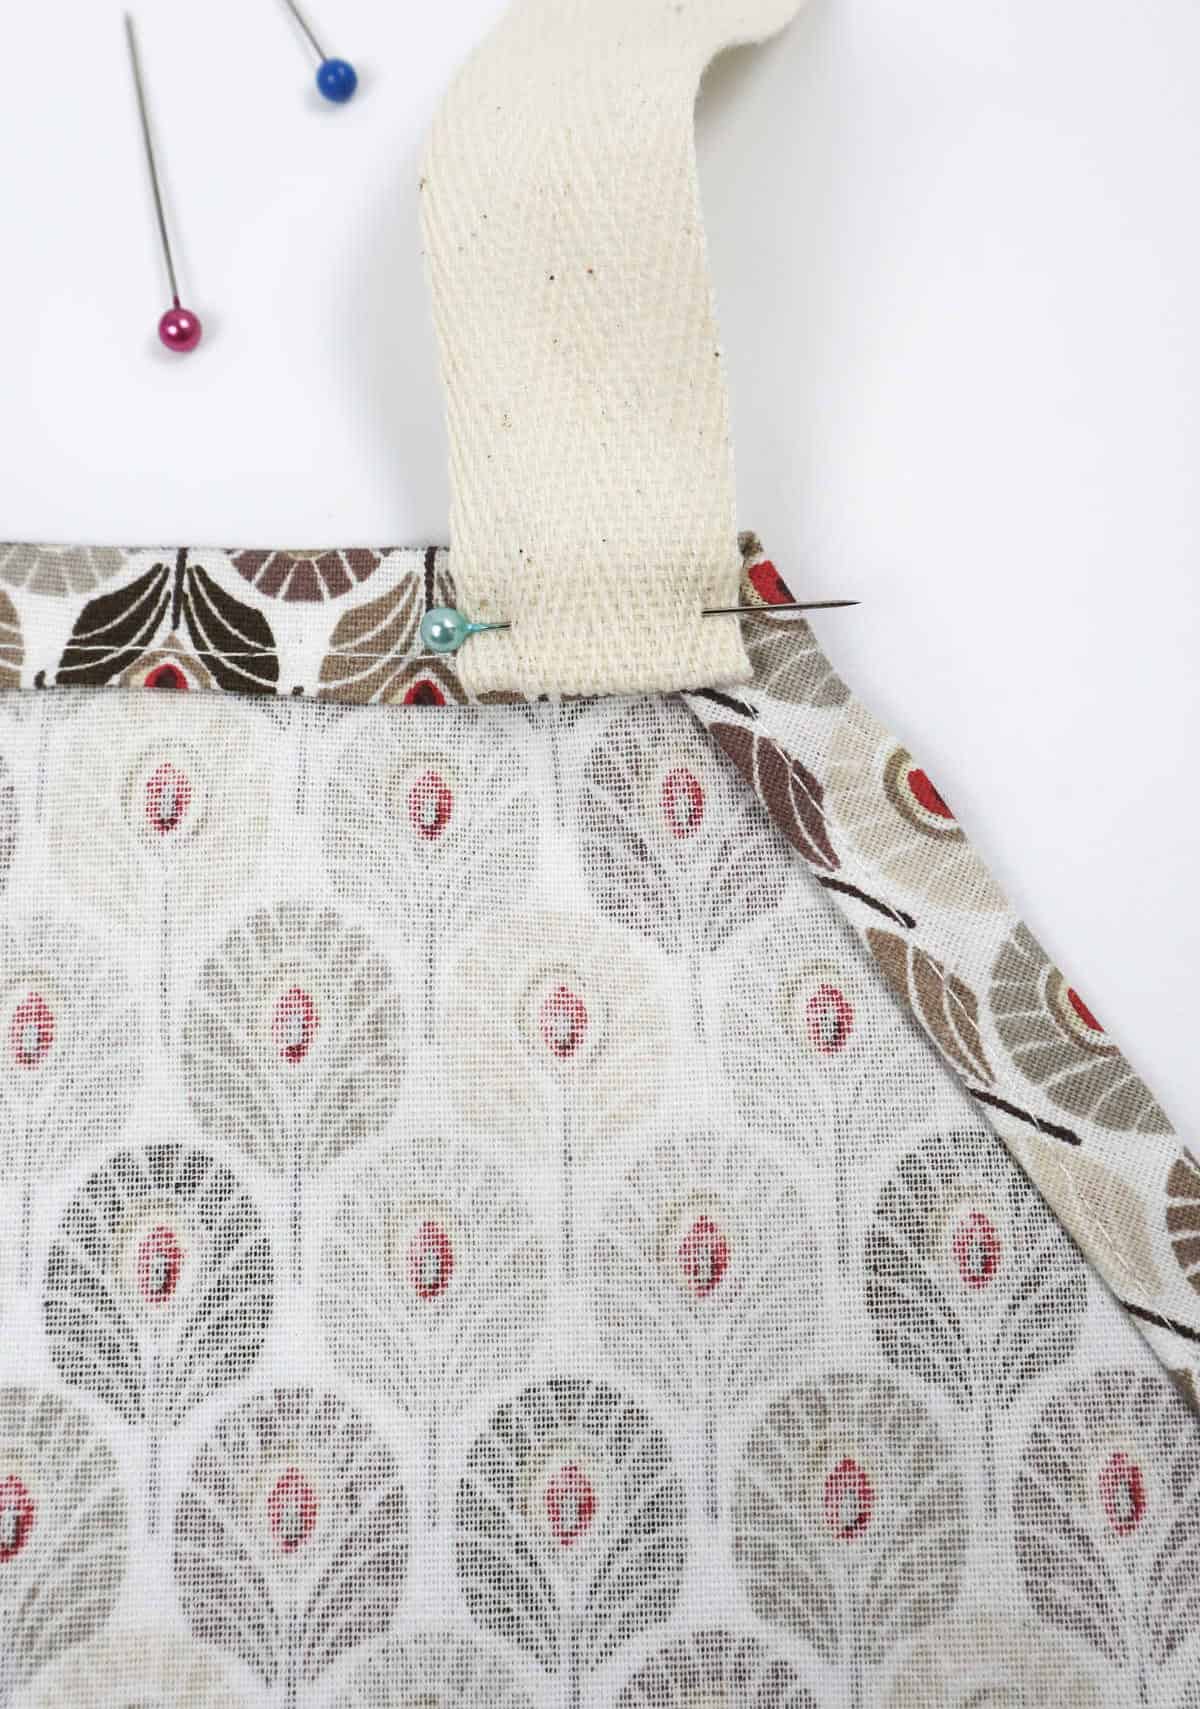
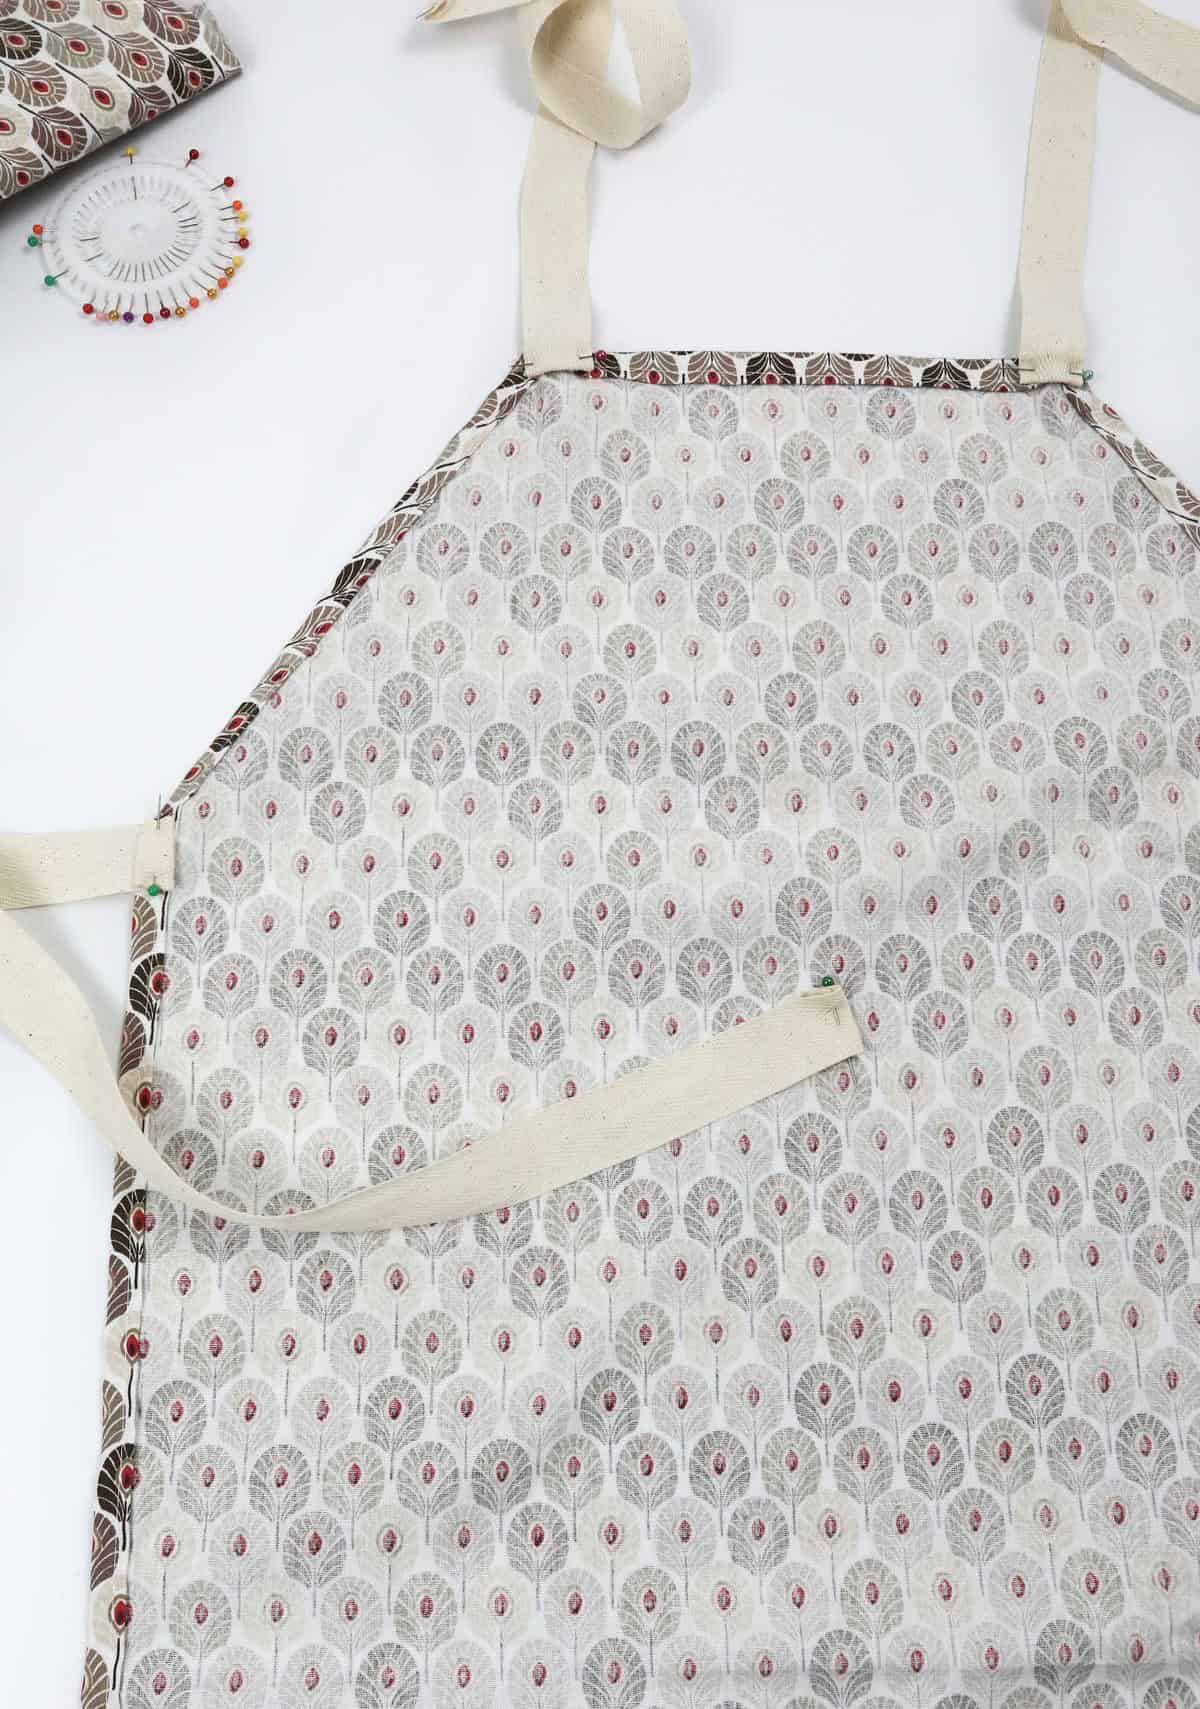
To complete your apron’s straps, start by cutting out four strips of cotton ribbon or your chosen material, each approximately 30 inches long. Feel free to adjust the length to suit your preferences. Once you have your straps, secure their edges by folding the ends inward twice and then holding them in place with a sewing pin. Repeat this process for all four straps, securing two around the neck and two on either side of the apron as indicated.
Step 9
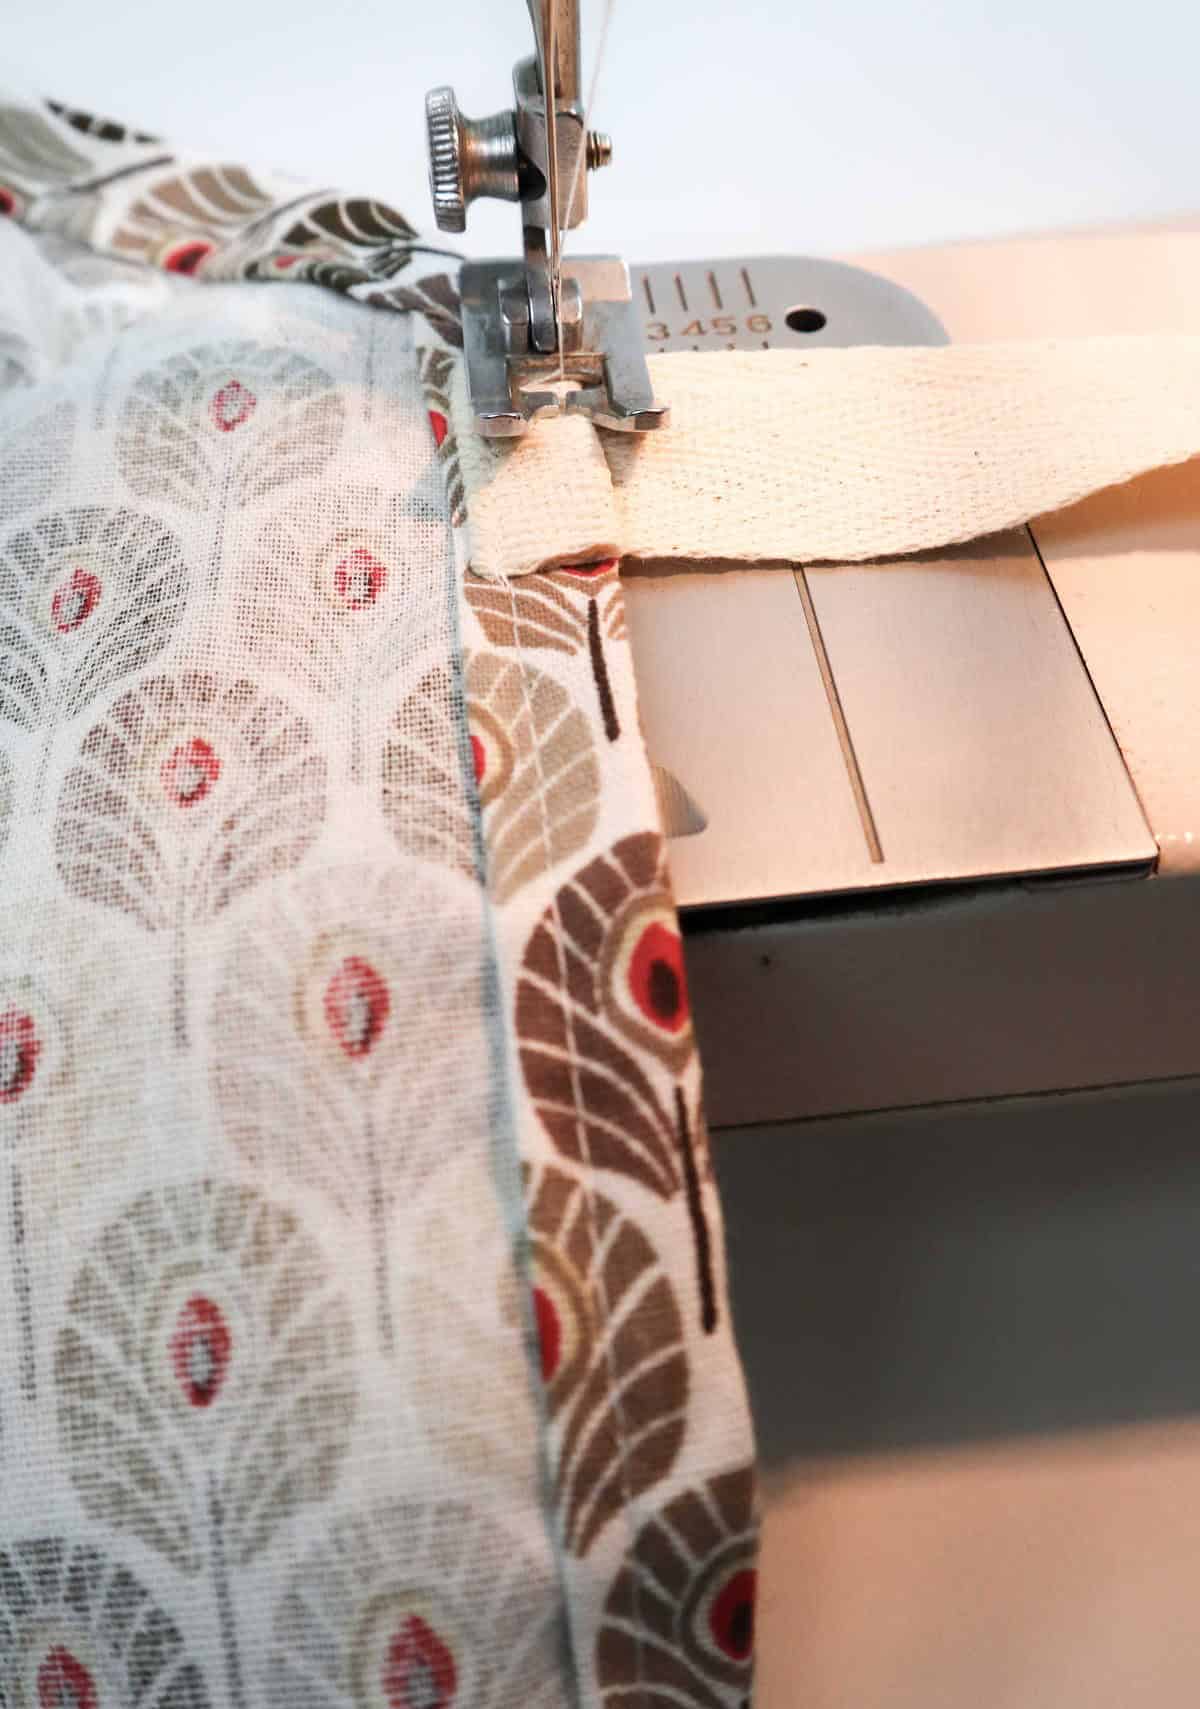
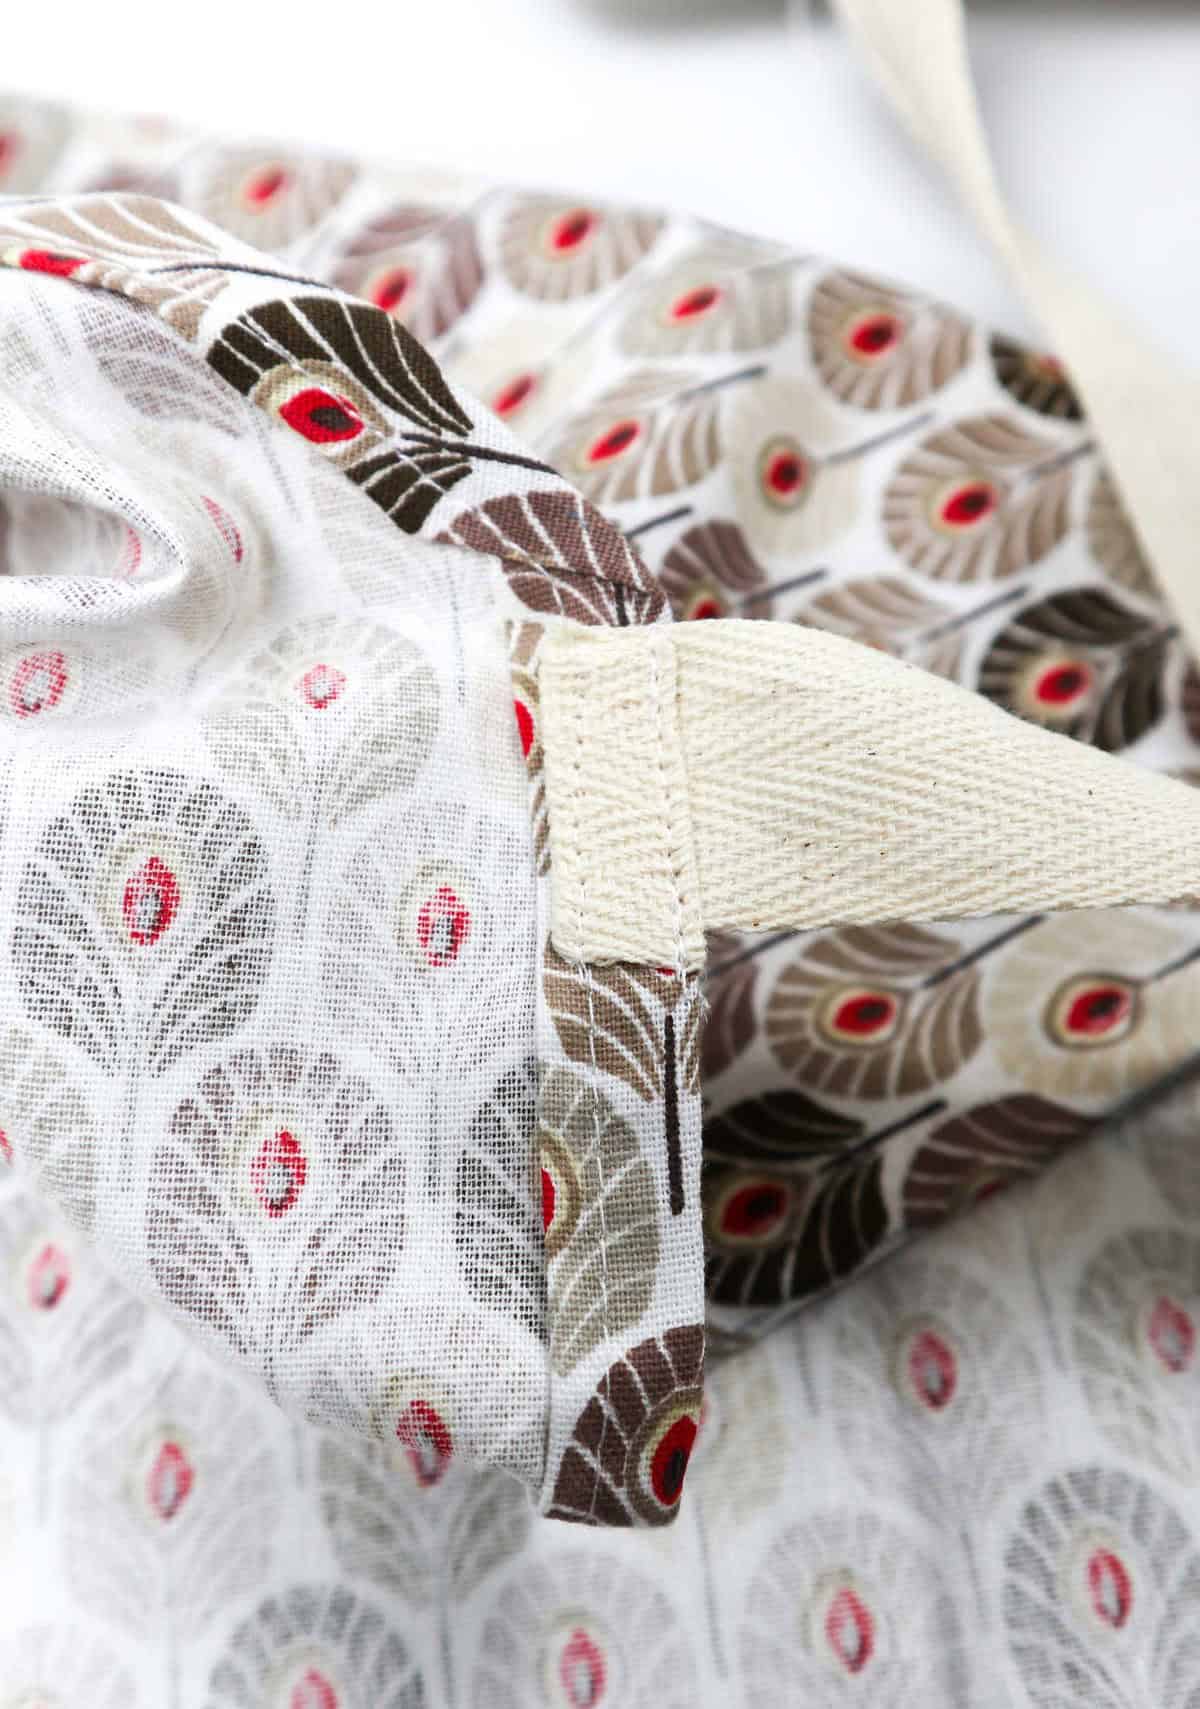
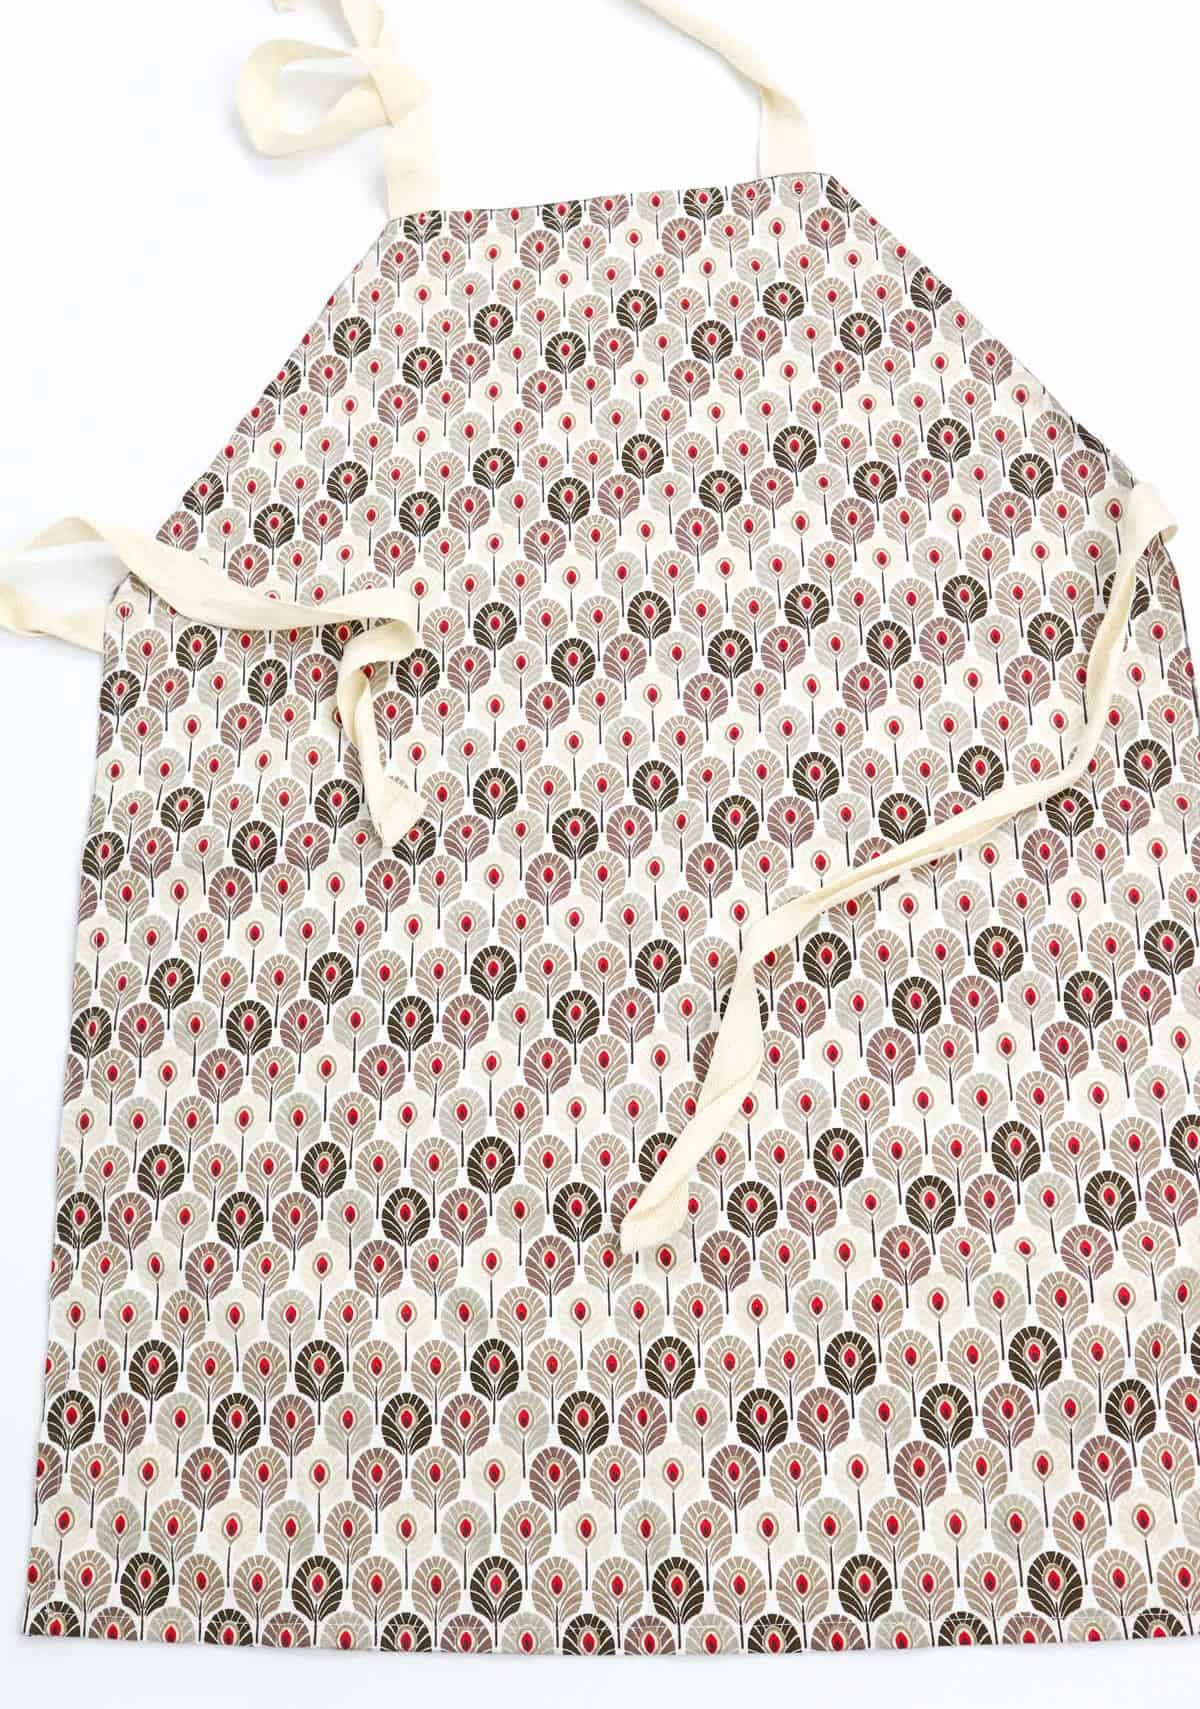
As you prepare to bring your apron design to life, it’s time to start sewing the hem. Fire up your sewing machine and begin stitching along the edge of the fabric, removing any pins as you go. Once you’ve completed the hem, move on to attaching the straps to the apron. A quick pass with your sewing machine should secure them in place, but if you want an extra layer of insurance, feel free to go back and reinforce the stitches.
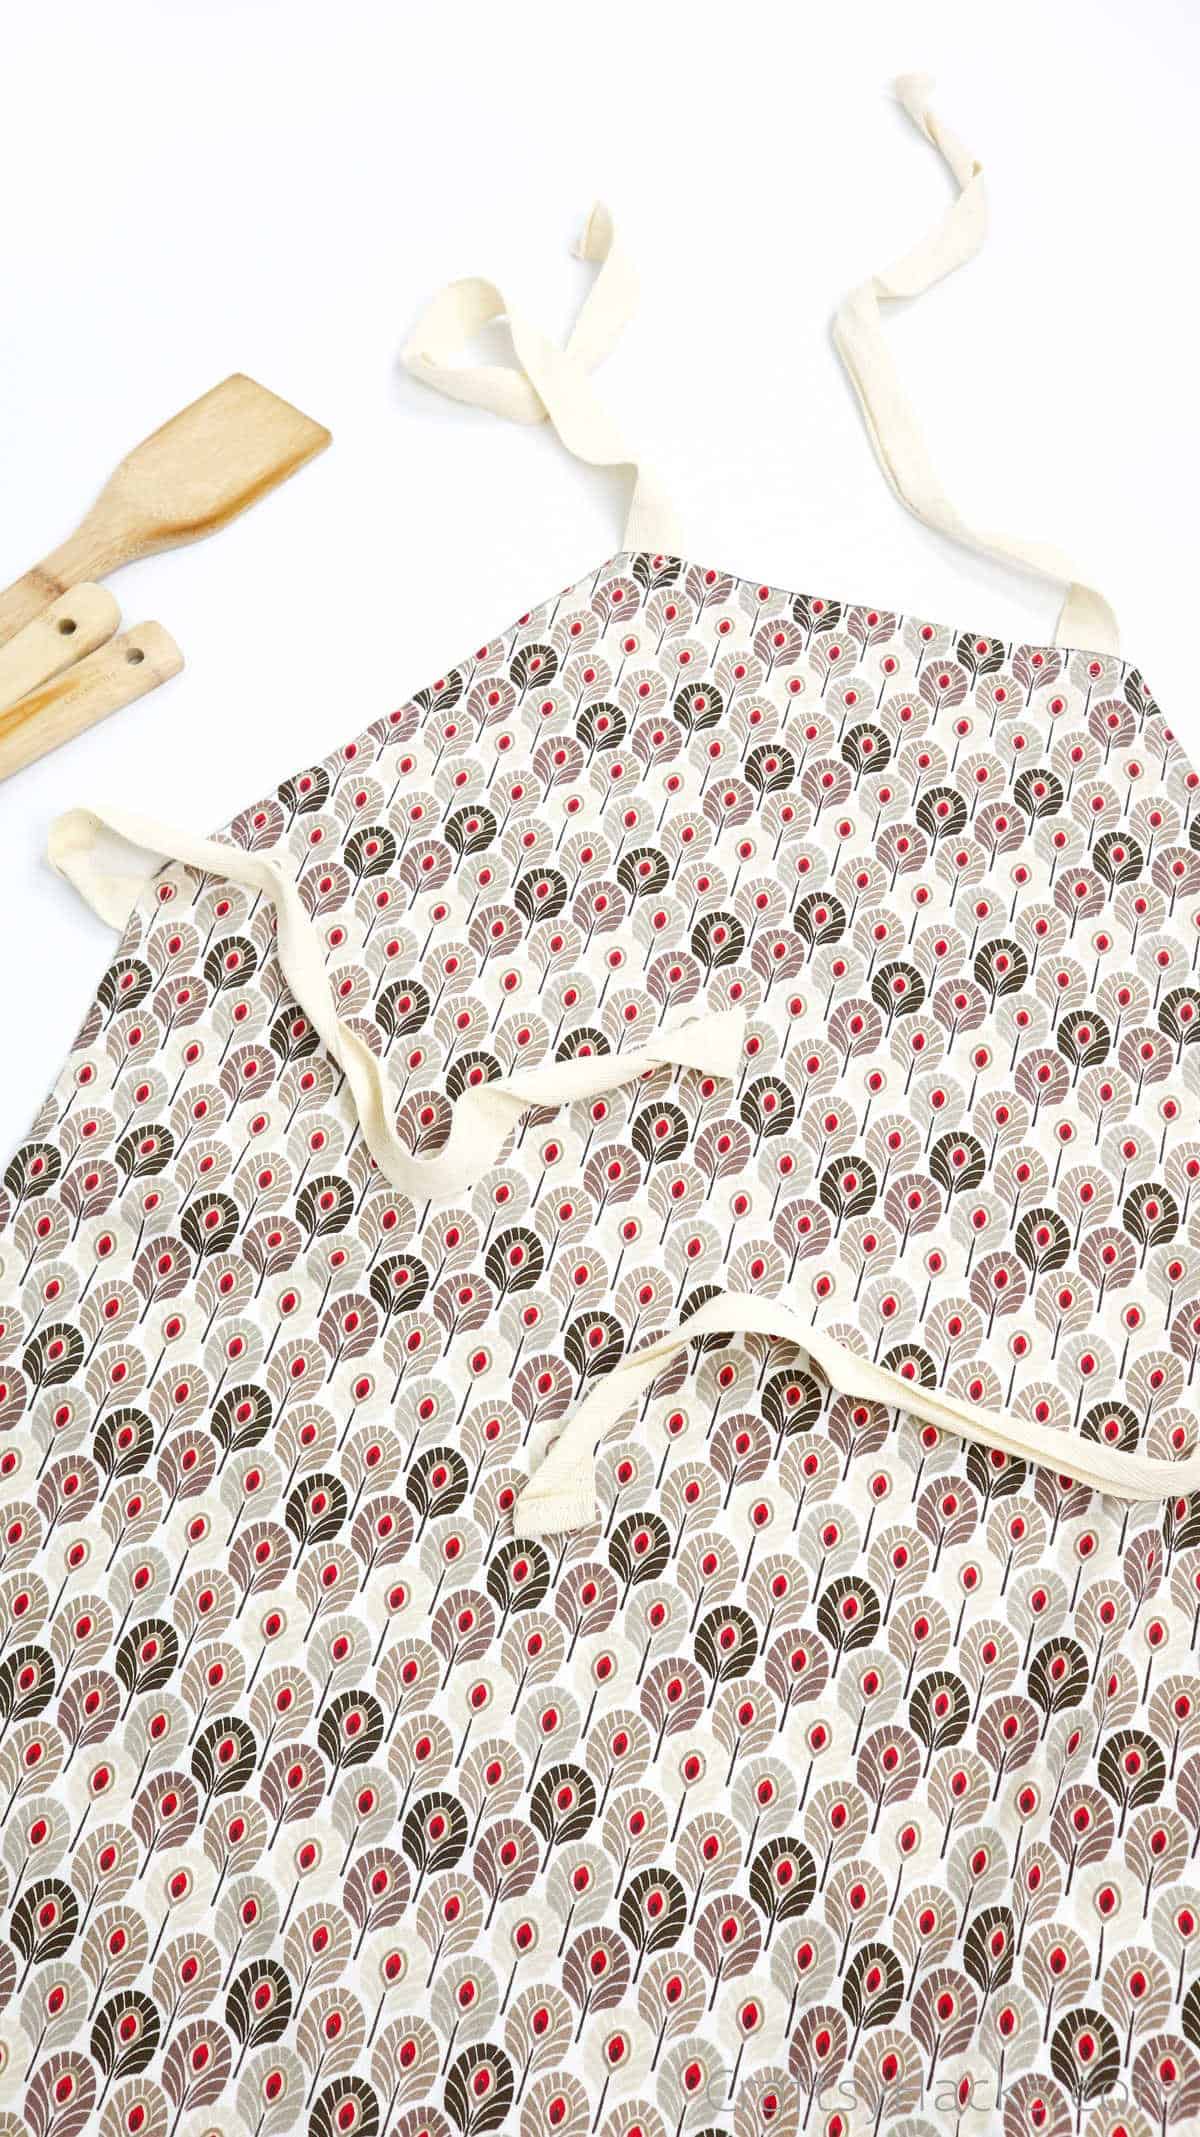
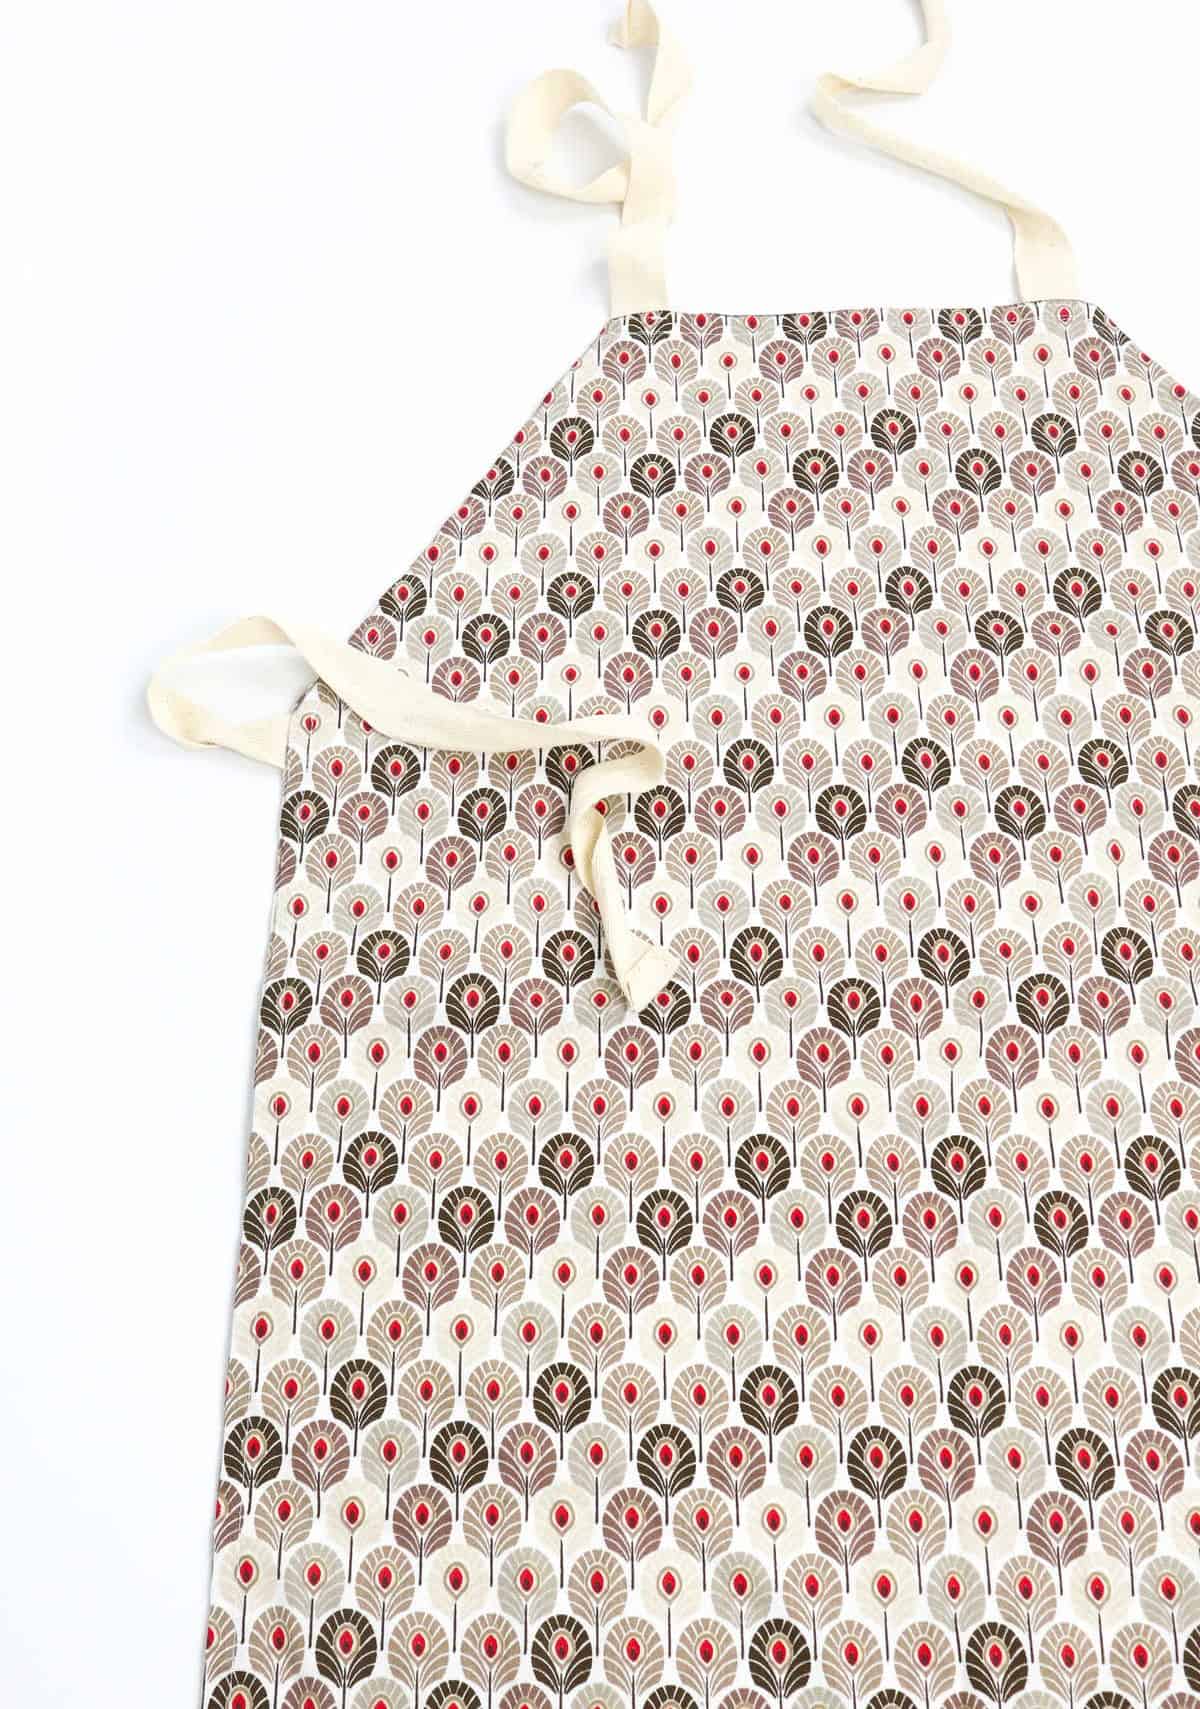
With that, your apron is complete – a unique and functional piece that’s sure to bring joy to its wearer. And even if it doesn’t find a home on your own body, it makes for a thoughtful gift for someone special.
Best Fabric to Use for Apron
When it comes to selecting the perfect fabric for your apron, cotton is often the top choice. Its lightweight, breathable, and easy-to-clean properties make it an excellent option. However, when working with open flames or heat sources, it’s crucial to consider fabrics that provide better protection and resistance. Denim and linen are popular alternatives in such situations, as they offer a higher level of heat resistance and flame retardancy.
For those who want added durability and protection, leather or leather-lined aprons can be an excellent choice. Not only do they provide waterproofing, but they’re also more resistant to heat and open flames. Additionally, they tend to age well and maintain their quality over time.
How Much Fabric Do I Need for an Apron?
When creating an apron, the amount of fabric required depends on the size and type of apron you’re making. The presence or absence of pockets, lining, and straps also impacts the needed yardage. For adult aprons, a general rule of thumb is to use about a yard and a half (1.5 meters) of fabric, with extra added for the straps. Pre-washing your fabric is crucial, as it may shrink later on. Waist aprons, being smaller, typically require only three-quarters of a yard (0.7 meters) of fabric.
For children’s aprons, you’ll need anywhere from half a yard (0.45-0.5 meters) to three-quarters of a yard, depending on the size and design.
Other Crafts You Might Want To Make
Looking for the perfect gift or a fun creative outlet? Look no further! From sewing to upcycling, there are countless DIY projects out there just waiting to be explored. Here are a few ideas to get you started: making scrunchies and zipper pouches using fabric and thread; transforming old items into new creations with upcycling ideas; painting rocks with inspiring quotes or designs; crafting hair bows and headbands for a stylish touch; or even turning t-shirts into unique wearable pieces.
And don’t forget about the many crafts that can be made and sold, perfect for entrepreneurs and hobbyists alike. Whether you’re an adult looking to express your creativity or just wanting to try something new, there’s always something fun to make.
How to Make an Apron
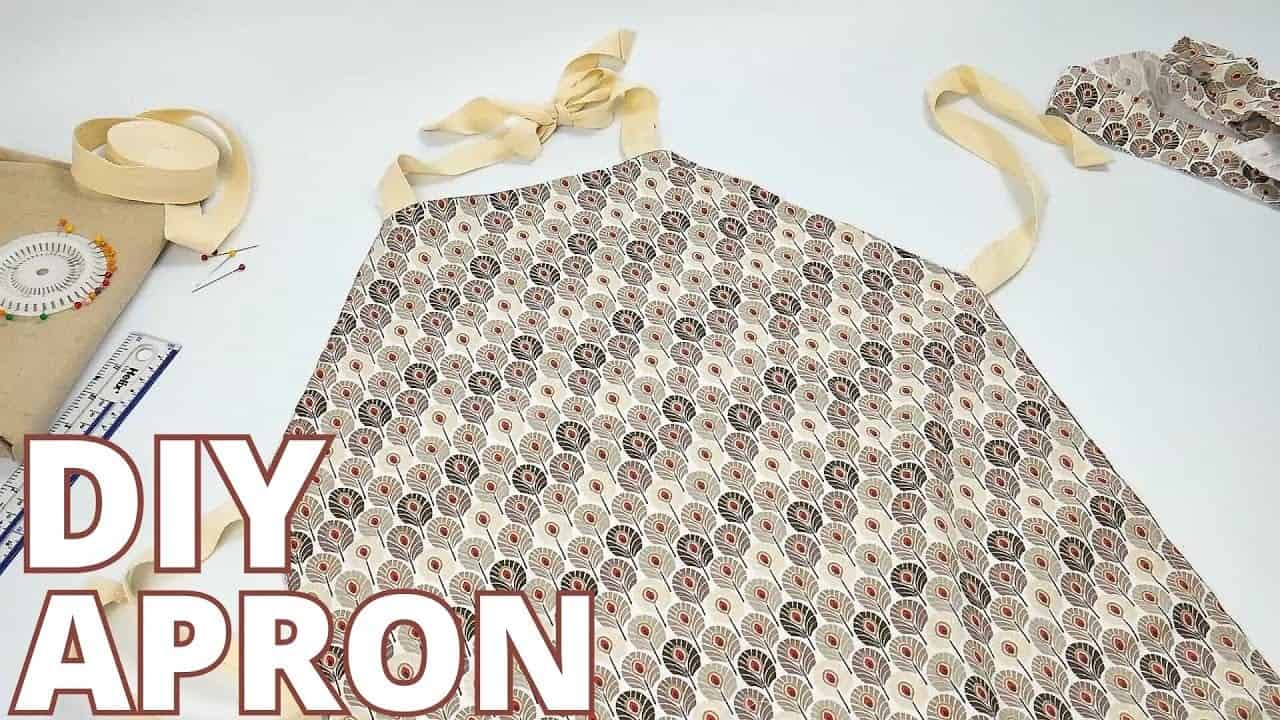
Looking for a new fabric project to try? Why not learn how to make an apron at home? Not only will you be protecting your clothes from stains and splatters, but you’ll also have the satisfaction of creating something yourself. And the best part? It’s easy! With just 10 minutes of prep time and 40 minutes of active crafting, you can create a beautiful apron that’s all your own.
Equipment
When working on sewing projects, it’s essential to have a few essential tools within arm’s reach. These include tape measures, which help you take precise measurements of fabric and patterns; sewing pins that keep fabrics in place while you work; scissors that are sharp enough to cut through even thick fabrics; a fabric pencil for marking seam lines and other design elements; and a ruler for measuring and drawing straight lines.
By keeping these tools handy, you can prevent distractions like the screen on your phone or computer from going dark, allowing you to focus on your project without interruptions.
Materials
To create a unique and eye-catching display, you’ll need the following materials: a 30×24 inch piece of fabric, a smaller 26×10 inch piece of fabric, and one yard of 1-inch wide cotton ribbon.
Instructions
To create your apron template, start by using fabric or a newspaper as a guide. Measure out 25 inches by 4 inches by 9 inches and mark the dimensions with a marker or tailor’s chalk on the fabric. Cut along these lines to create your template. Next, fold your main fabric in half, with the right sides facing inward. Place the template on top of the folded fabric, ensuring that it is secure with sewing pins. This will prevent any movement while you work.
Use a marker to draw an outline along the edges of the template. Then, add an inch-wide seam allowance around this outline. Remove the template and set it aside for now. Cut along the outer line, opening up the fabric with the right side still facing down. You should see the outline and seam allowance you drew earlier on the right-hand side of the material. Place your fabric template over the left side of the main fabric and draw a mirroring outline and seam allowance on the left-hand side.
Fold the hem inward to create a clean edge, lining it up with the inner outline. Pin this in place as you work around the entire apron. You can also iron the hem for added precision. To create your straps, cut four 30-inch strips of cotton ribbon. Fold the ends inward twice and secure them to the apron using sewing pins. You’ll need two at the neck and two at the sides to tie around the waist. Finally, use your sewing machine to sew the hems shut and secure the straps firmly.
Your apron is now ready to wear!