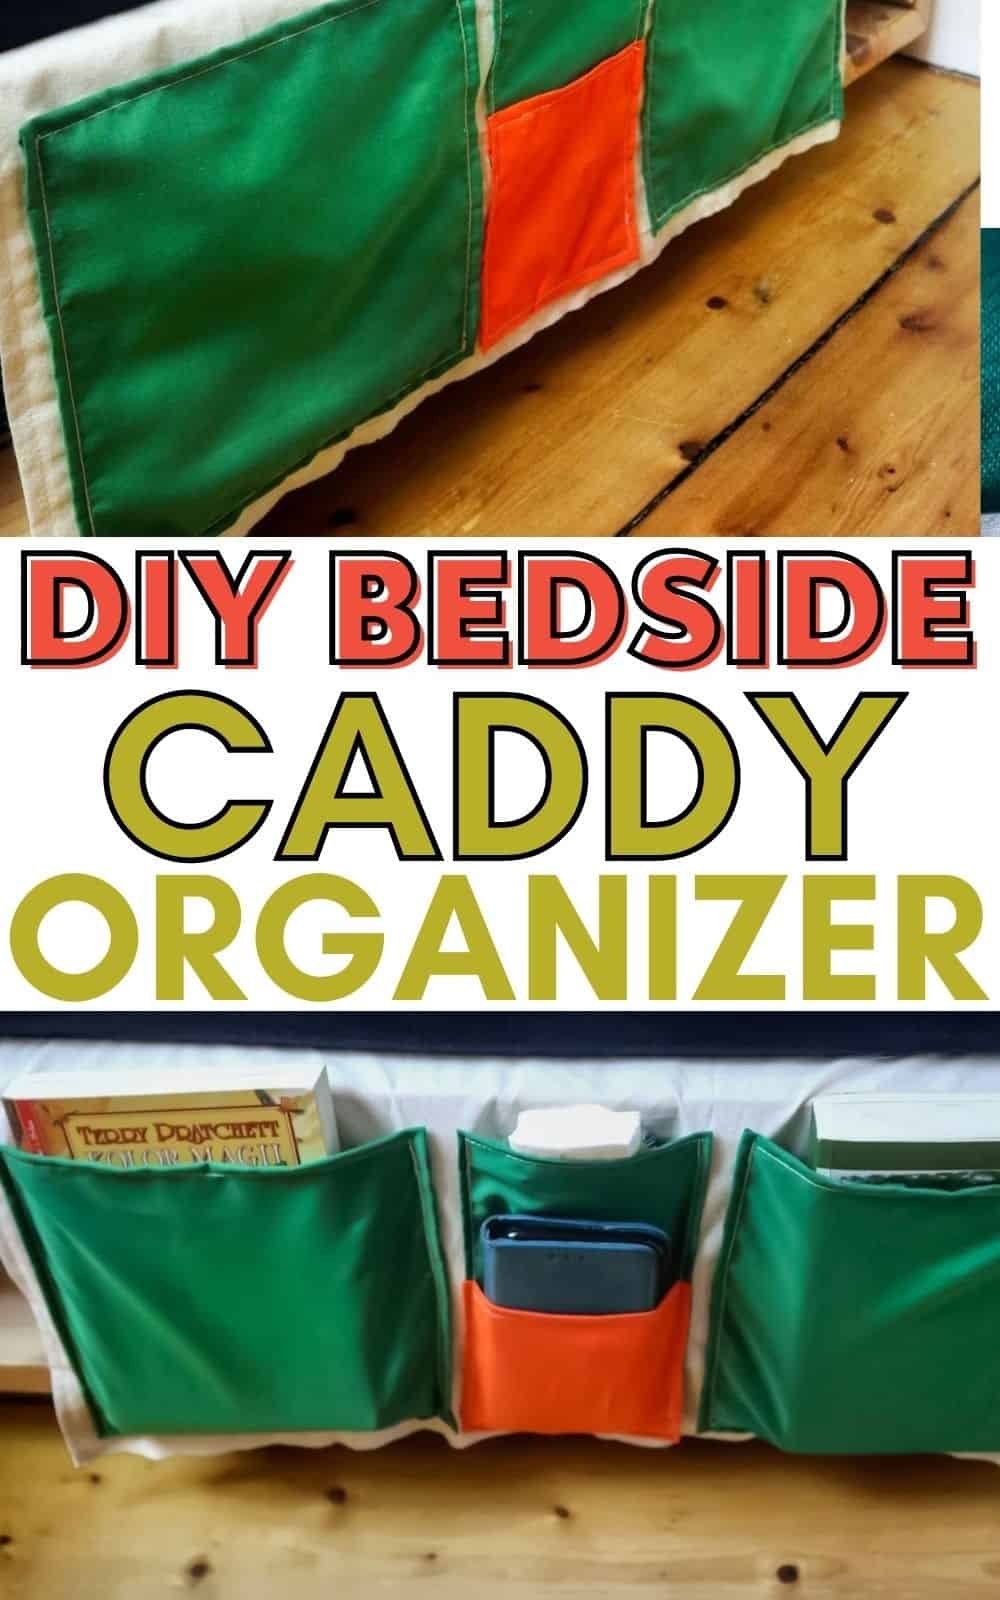
Create a functional and stylish DIY bedside caddy to maximize storage in your bedroom and boost organization. Often overlooked, bedside caddies can revolutionize the way you keep your space tidy.
These versatile organizers are perfect for optimizing small spaces, keeping clutter at bay, and giving your bedroom a fresh makeover. And the best part? You don’t need a large area to make one – even the smallest rooms can benefit from a cleverly designed bedside caddy.
So, let’s dive into the essentials you’ll need to craft this simple yet effective DIY project.
Supplies for Bedside Caddy
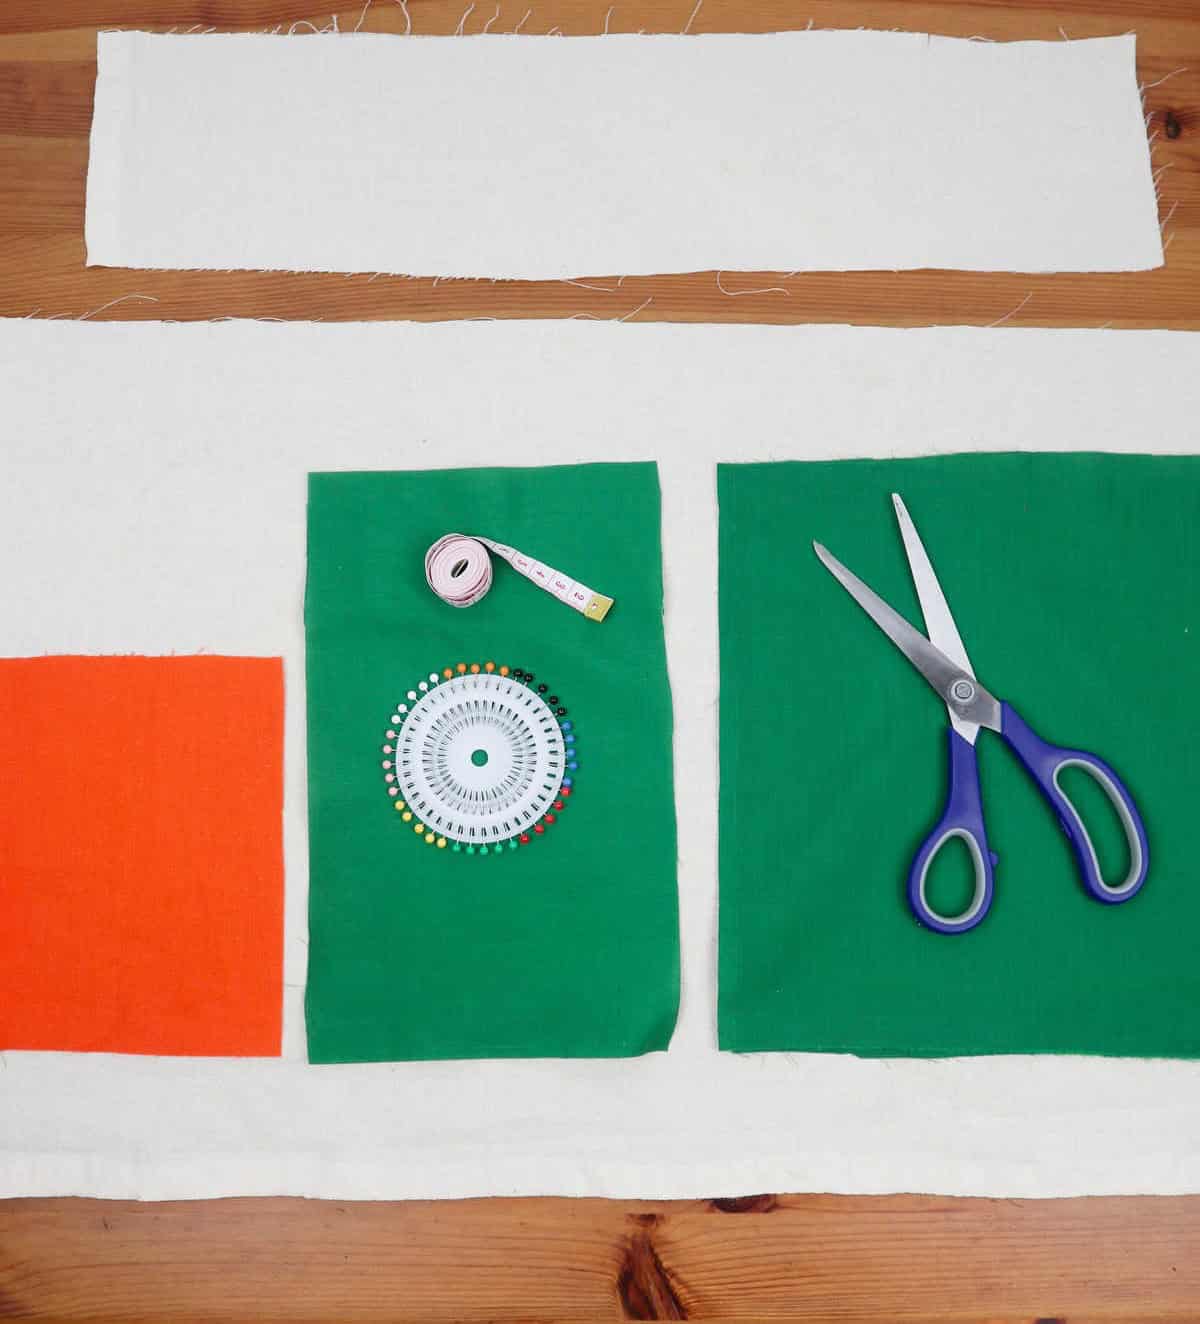
To begin your sewing project, you’ll need a selection of fabrics. This includes a primary piece of material, as well as smaller fragments for adding pockets and decorative strips. Additionally, having the following tools at your disposal will be essential: pins for securing fabric in place, scissors for cutting through different textures, a ruler to ensure precise measurements, and a tape measure to take accurate dimensions.
How to Make Bedside Caddy
Before diving into the creation of the caddy, ensure that you have all the necessary materials within arm’s reach. Designate a prominent space to work on this project, and allocate the largest piece of fabric for use later in the process.
Step 1

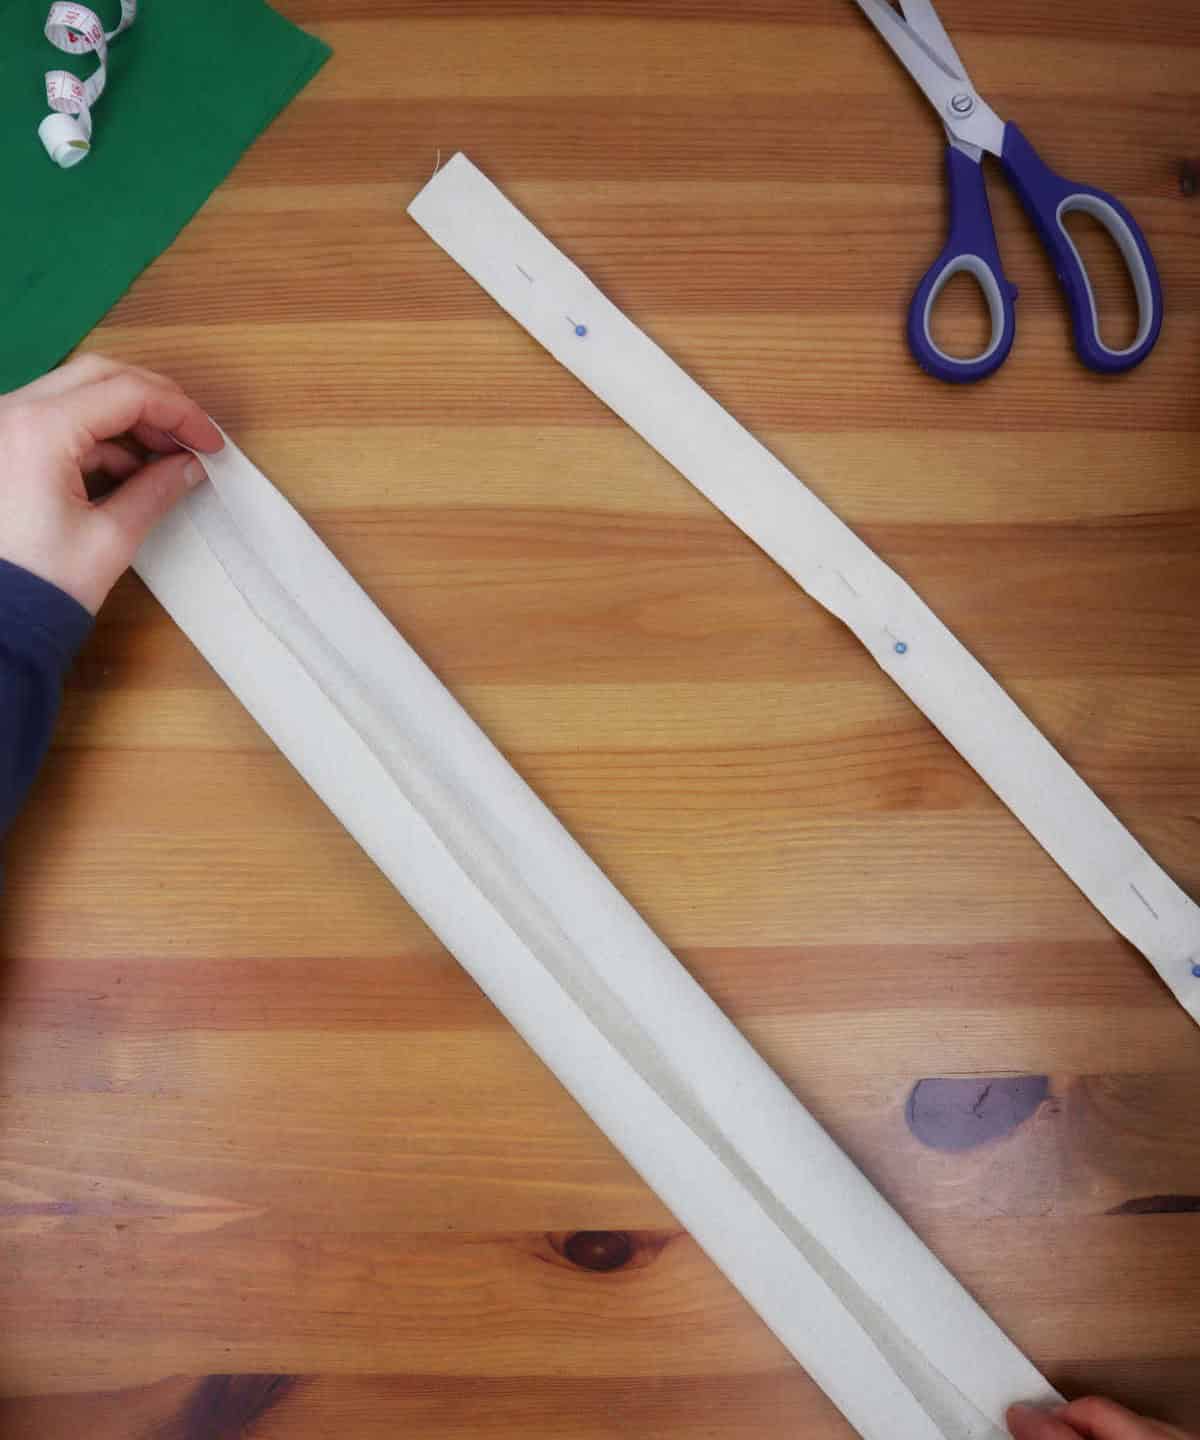
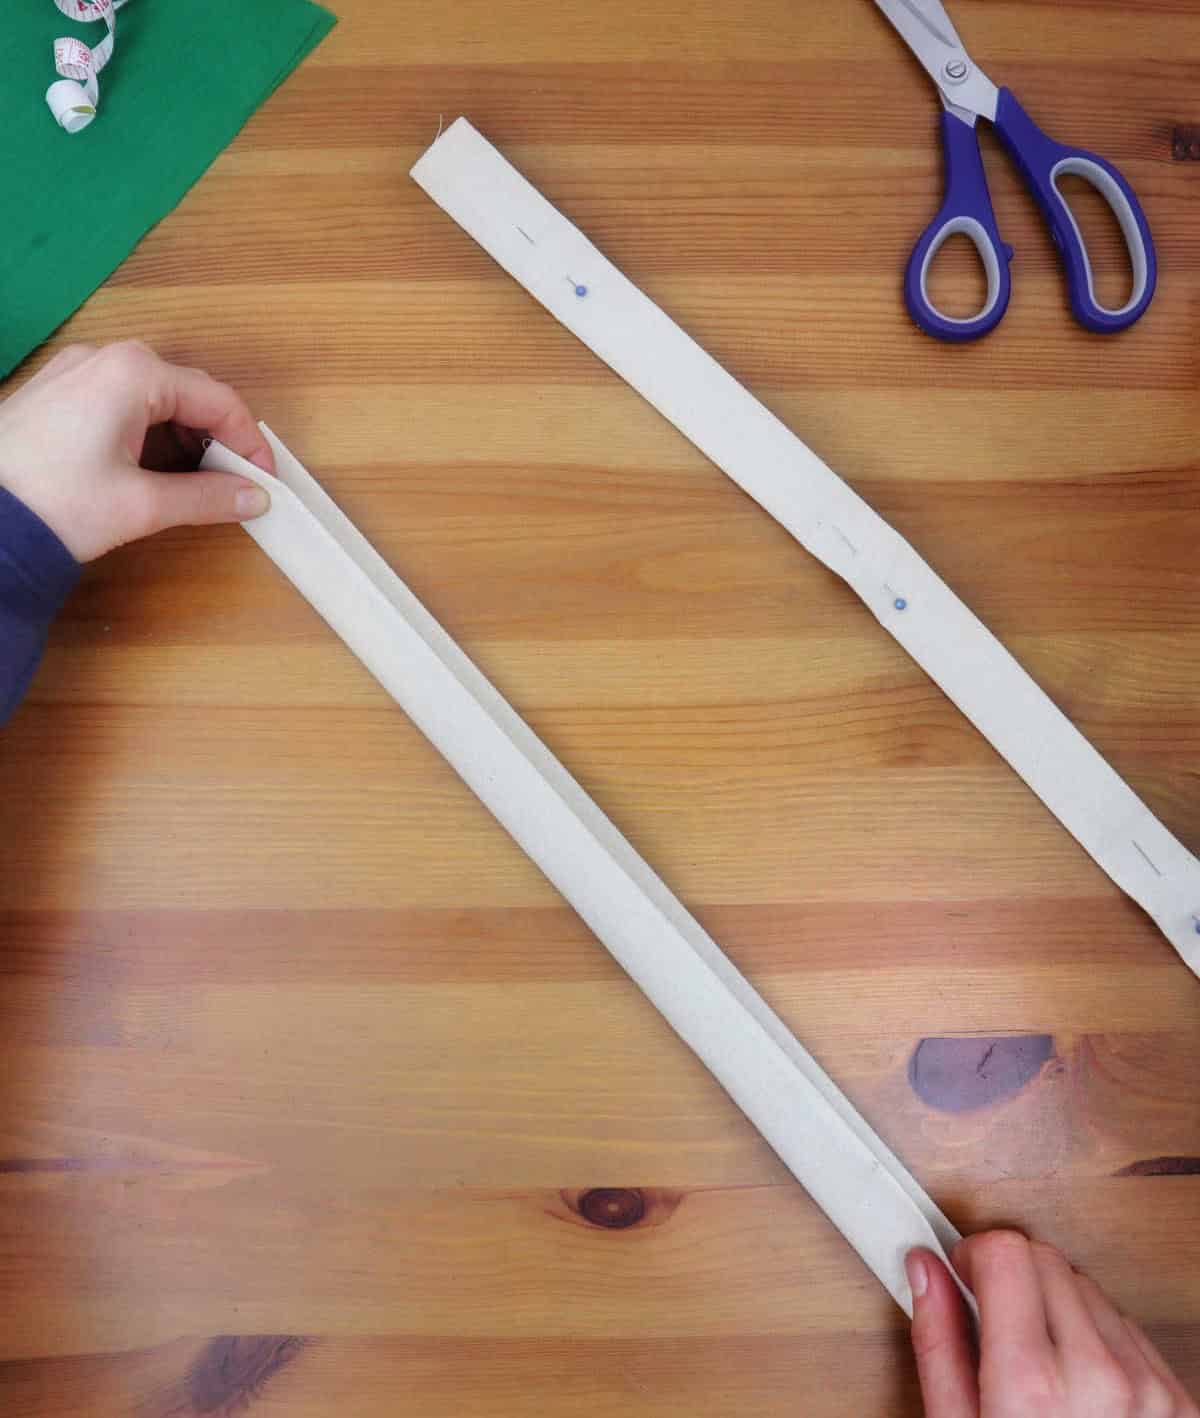
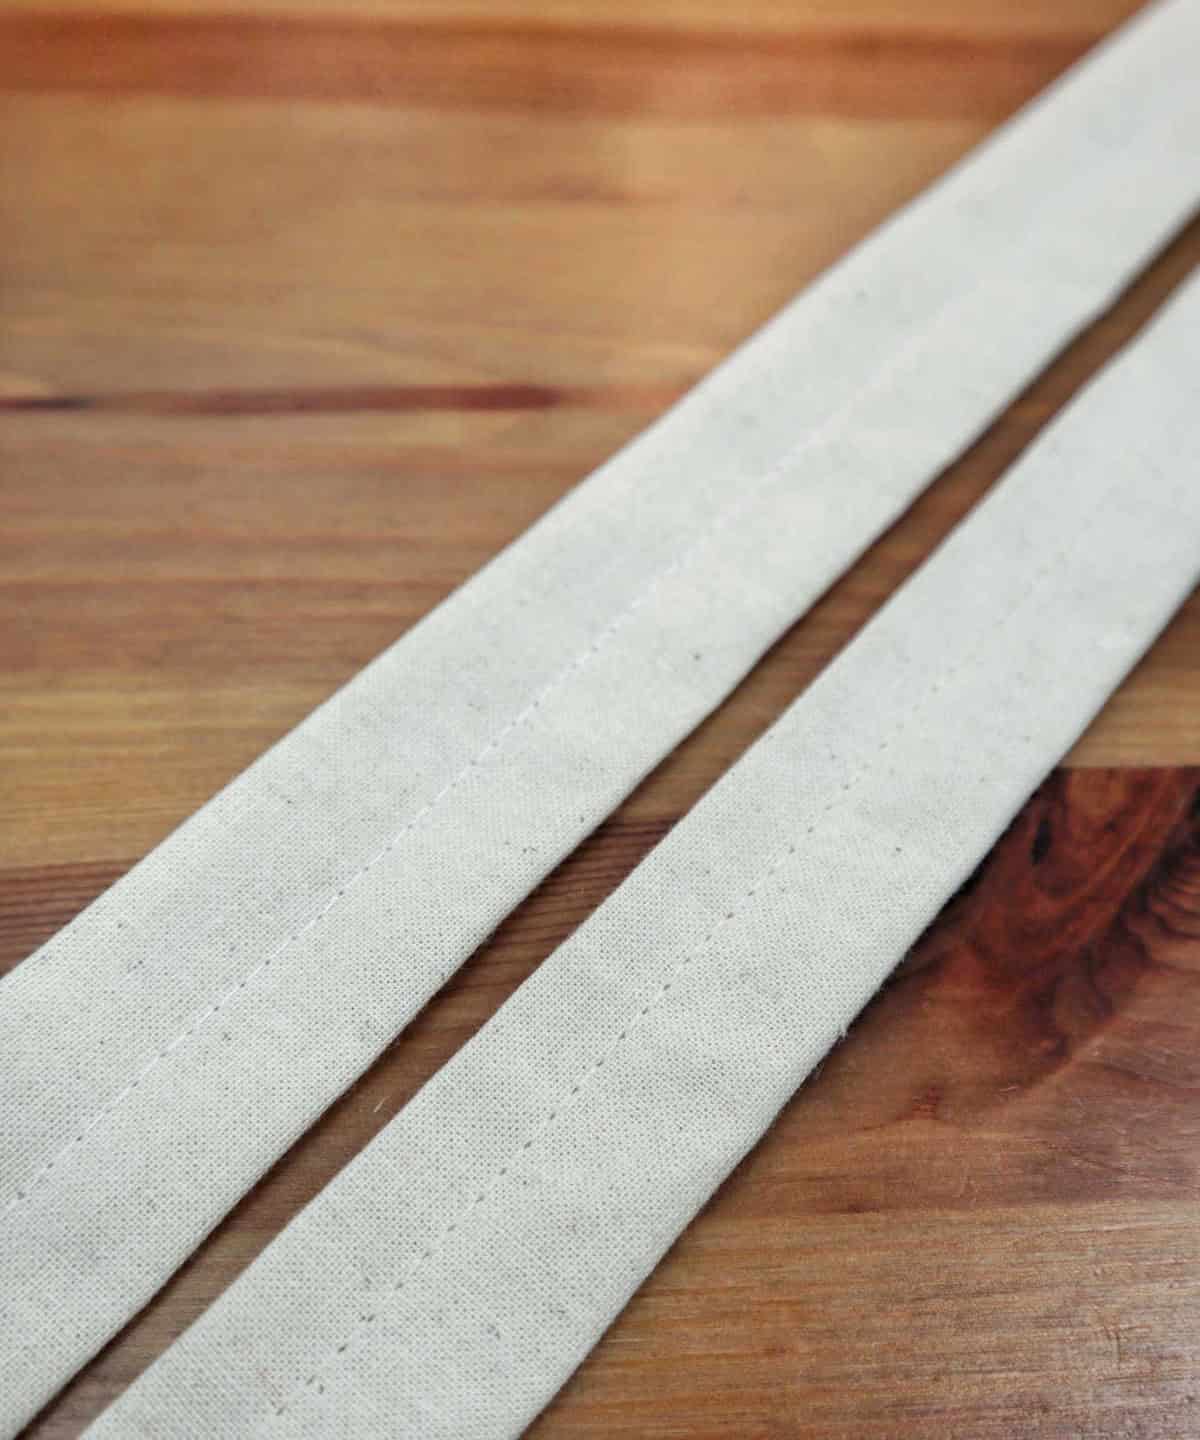
To embark on this project, first determine your caddy’s dimensions, and then measure and cut out strips of cloth with a width of 6-7 cm. A crucial step is to prepare the fabric for sewing by folding it three times and ironing the crease in place. This helps ensure a smooth and accurate stitching process. As an alternative, you can also utilize sewing pins to secure the folds temporarily, allowing for greater control when sewing.
Step 2
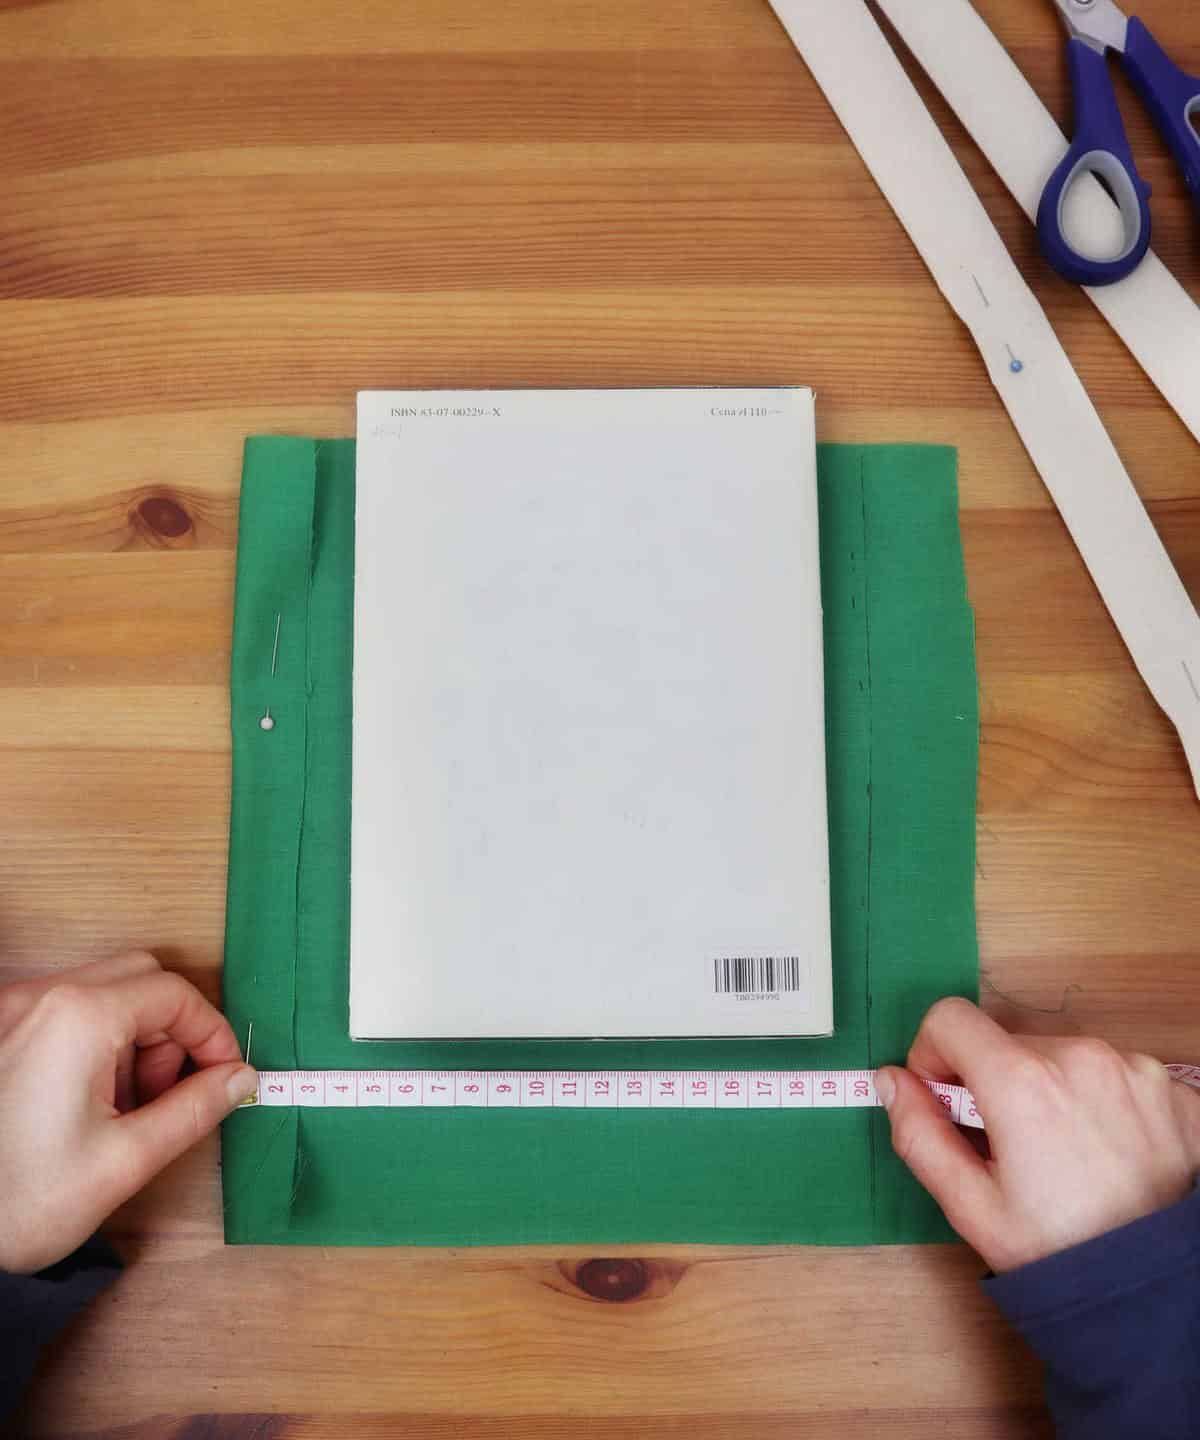
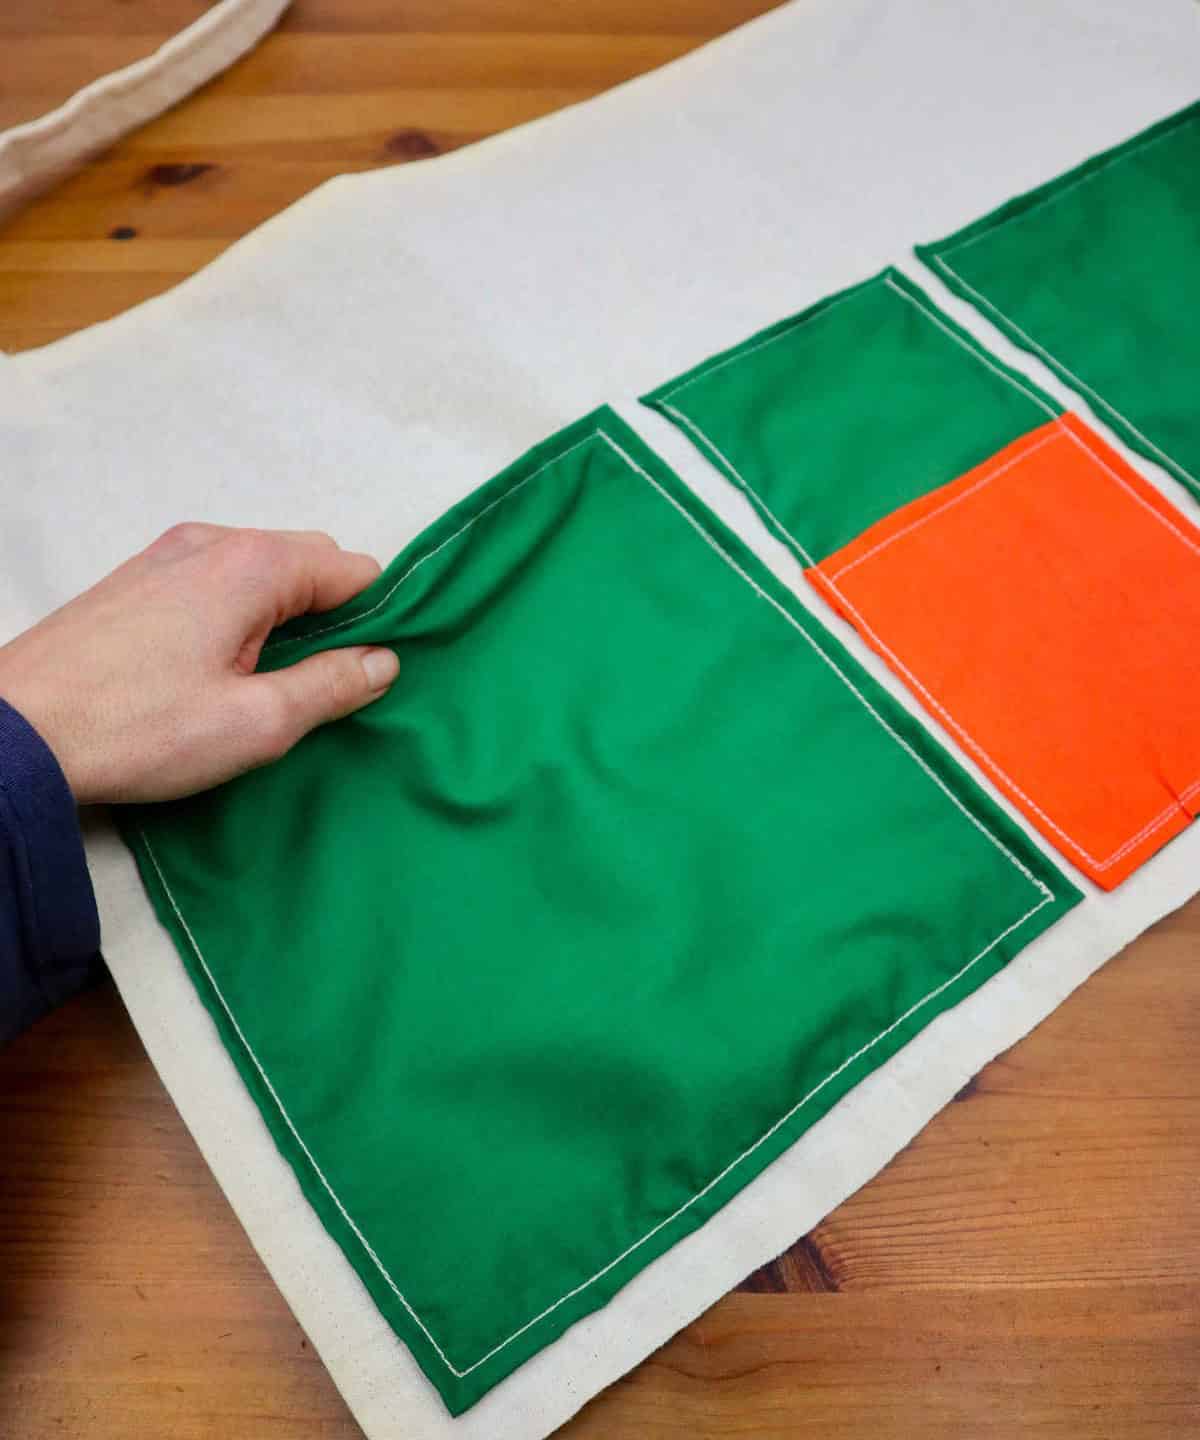
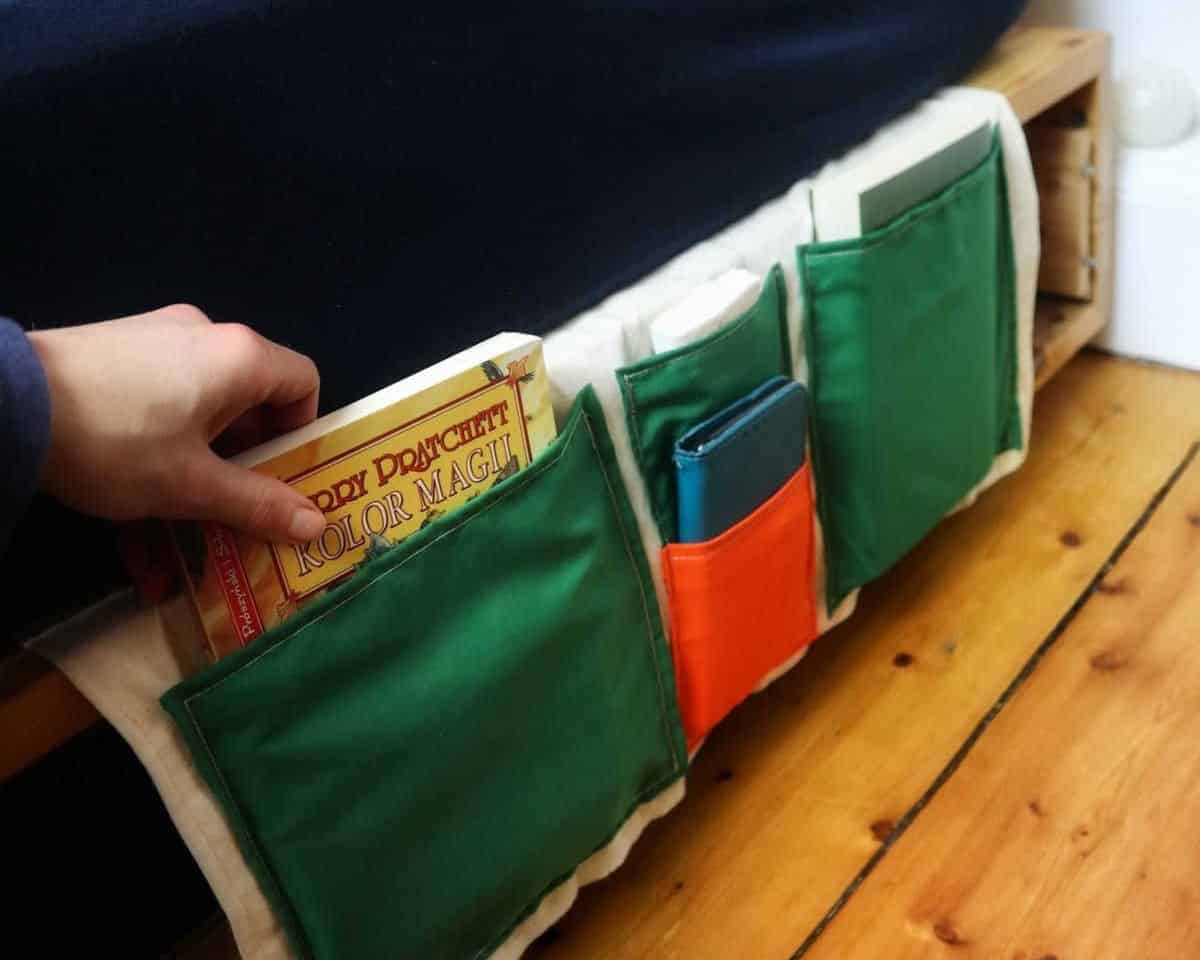
When crafting a customized caddy, it’s crucial to determine its ideal size. To achieve this, start by visualizing what each pocket will hold – perhaps a laptop, books, or phone? This thought process will enable you to calculate the precise dimensions of each pocket as well as the overall number of pockets required. As you plan your design, place your book or laptop on the cloth to serve as a measuring guide.
Don’t forget to leave about an inch of clearance around all four sides to accommodate for any subsequent sewing efforts.
Step 3
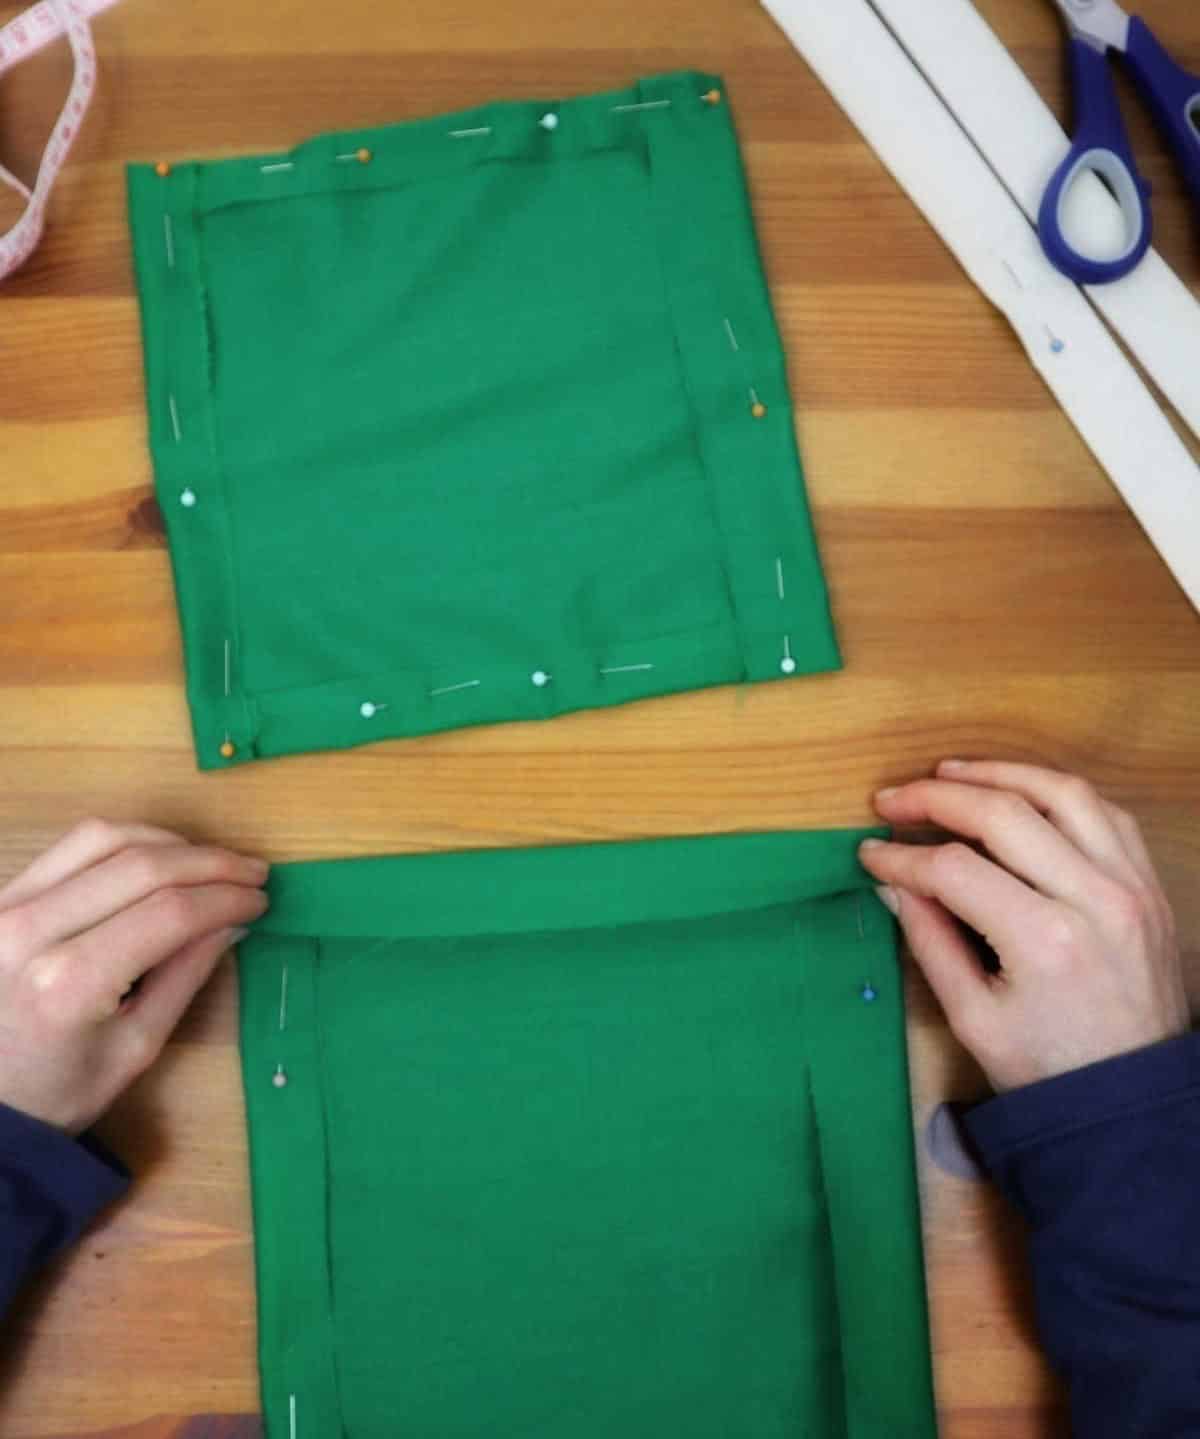
As you navigate the project, secure the pocket ends by pinning them down and setting them aside for now. You can utilize sewing pins or opt for a more rustic approach with bobby pins – both will serve your purposes effectively.
Step 4
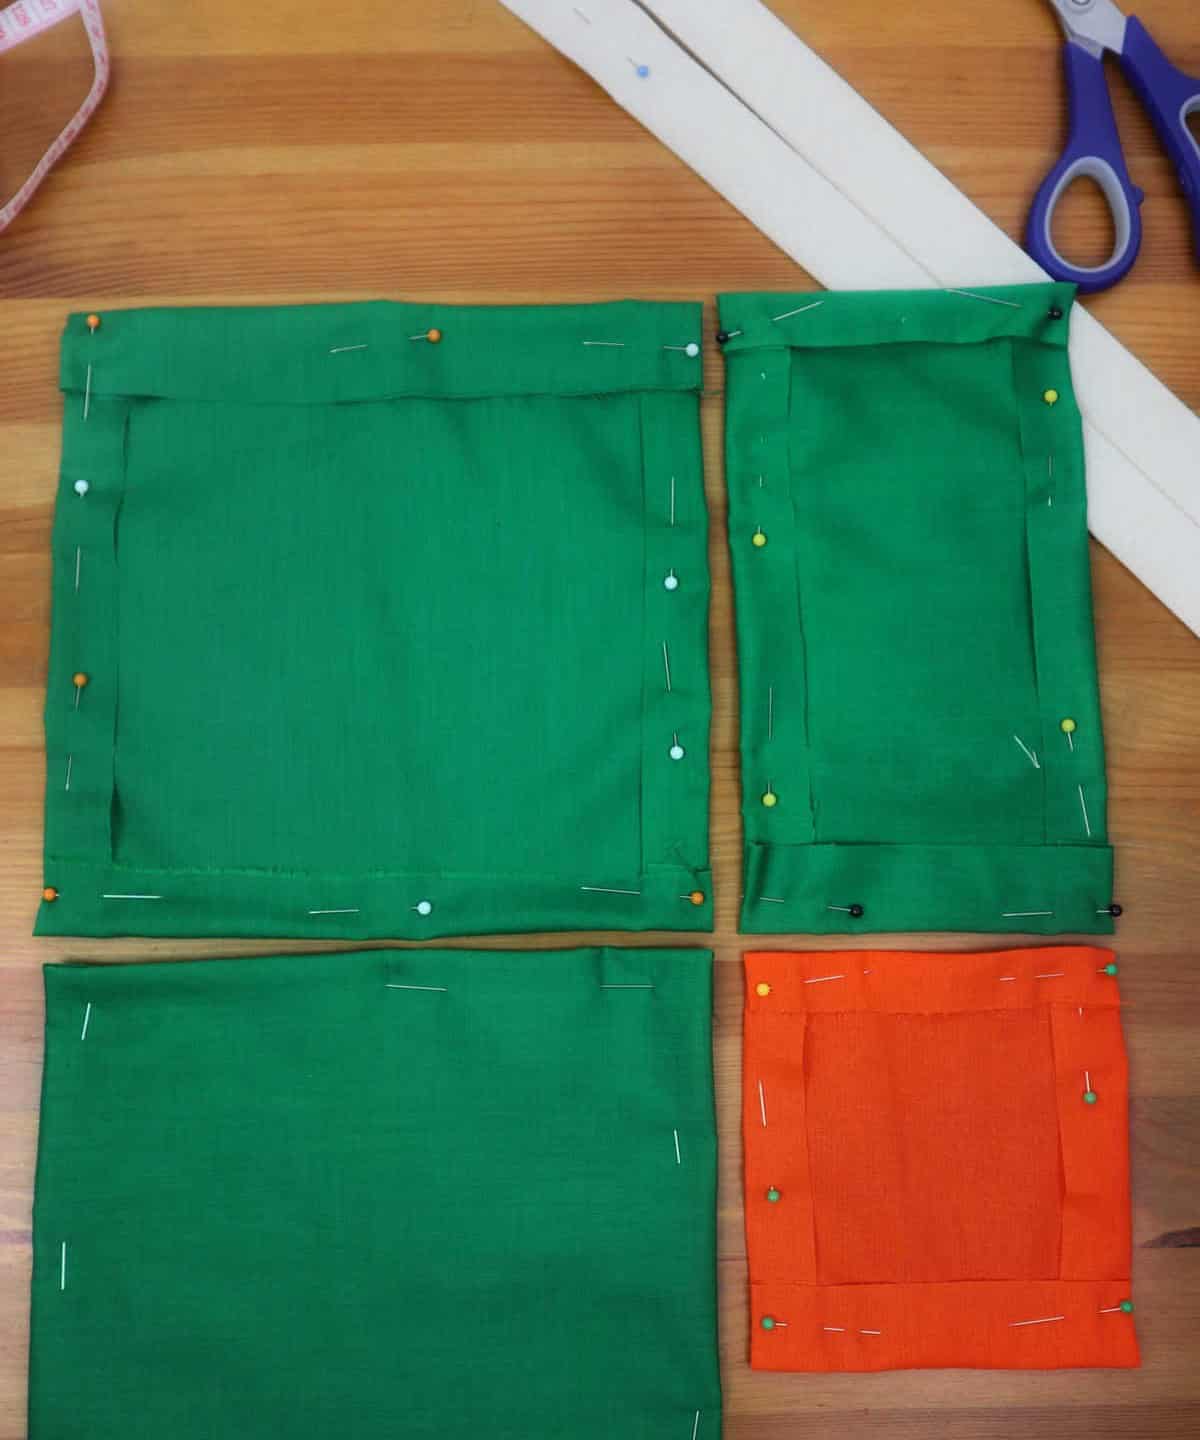
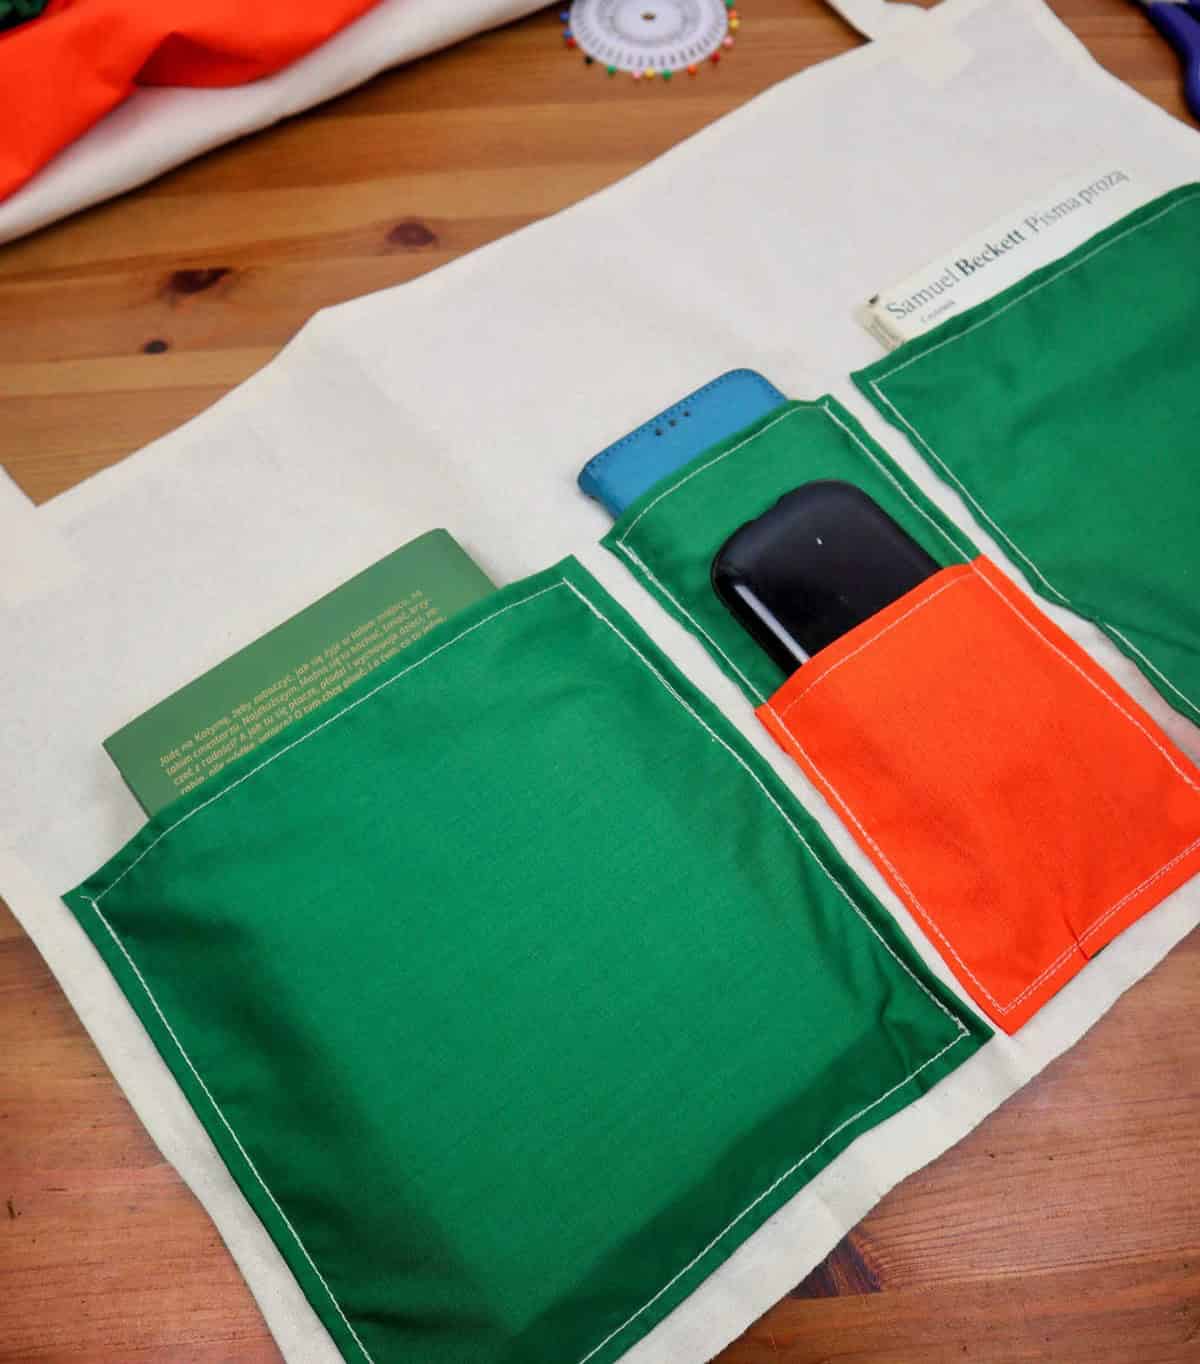
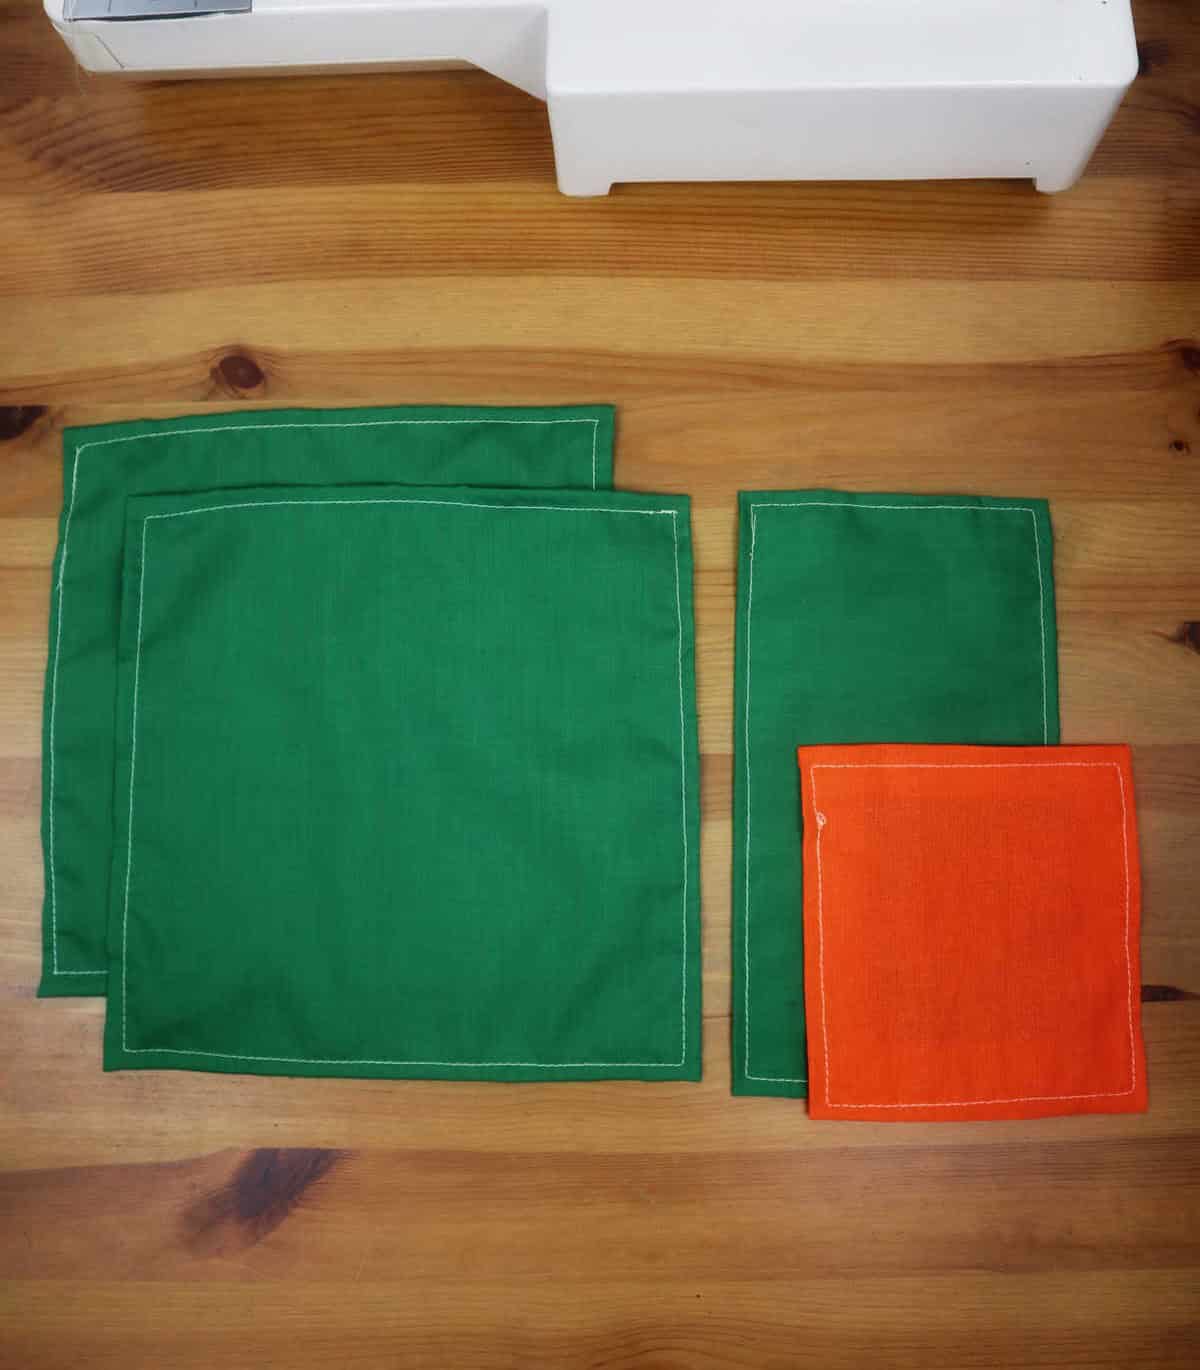
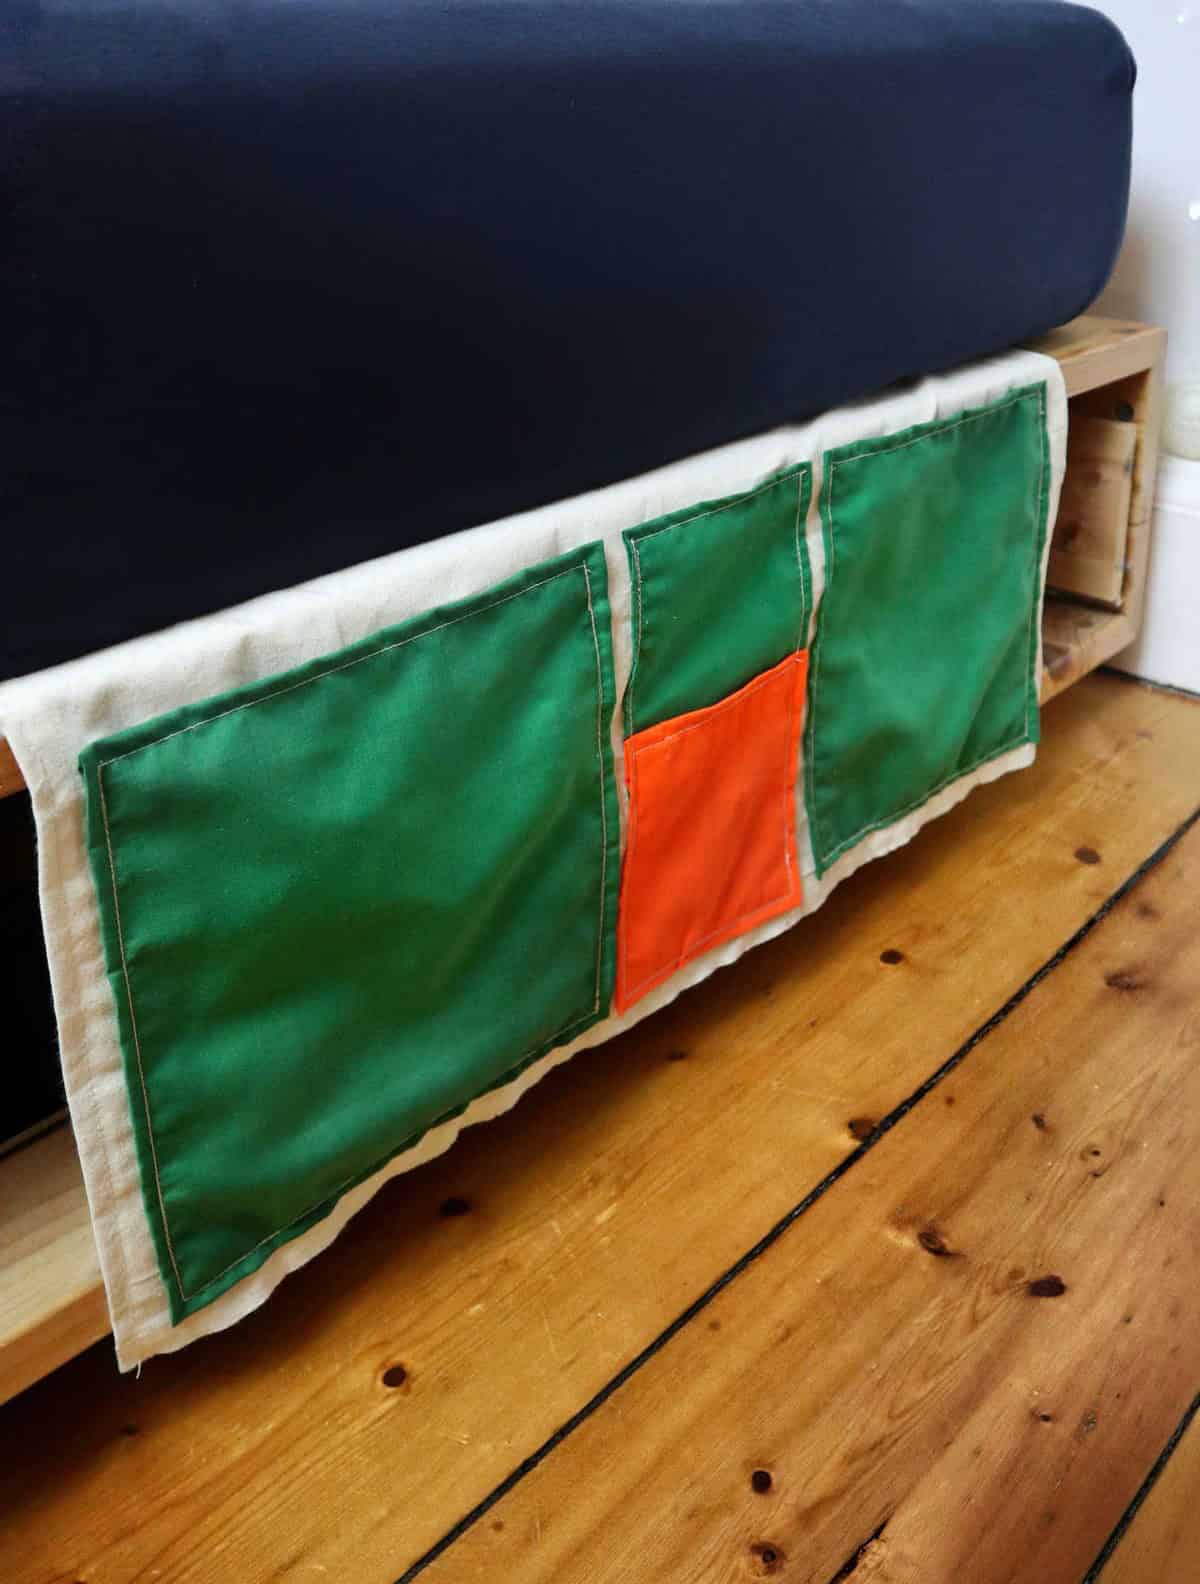
To add some visual interest to your bedside caddy, consider swapping in different colors for each pocket. For example, you could pair a bold, bright color with a more muted tone or opt for a monochromatic scheme with varying shades of the same hue. The combination used in this project is a striking kelly green and saffron, which creates a visually appealing contrast when the swatches are turned to ensure even edges.
Step 5
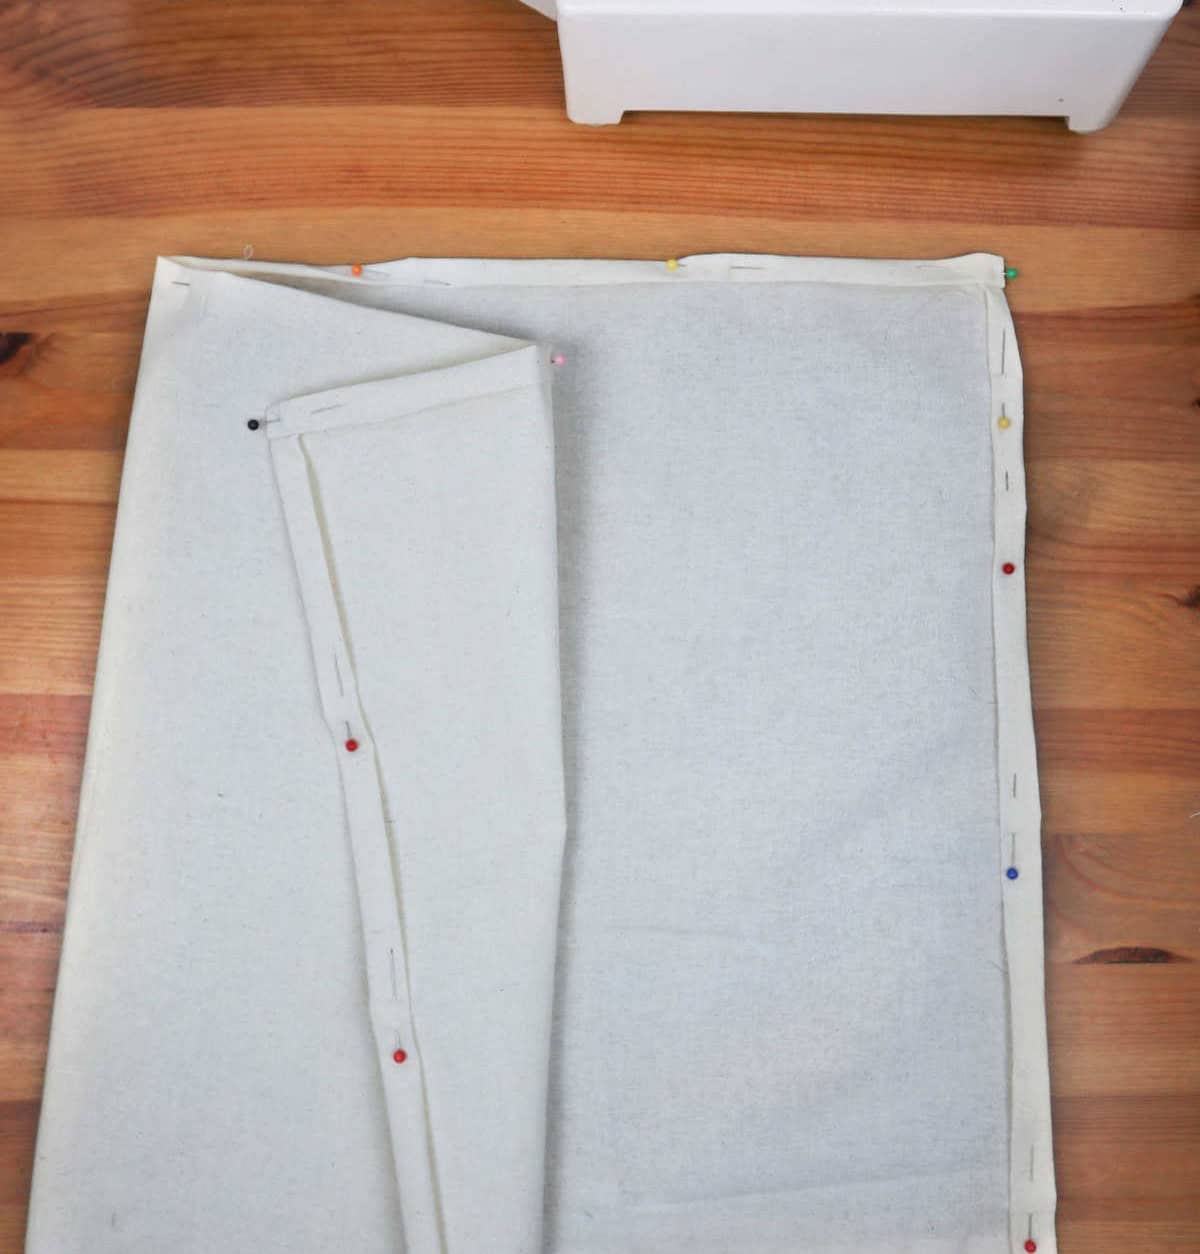
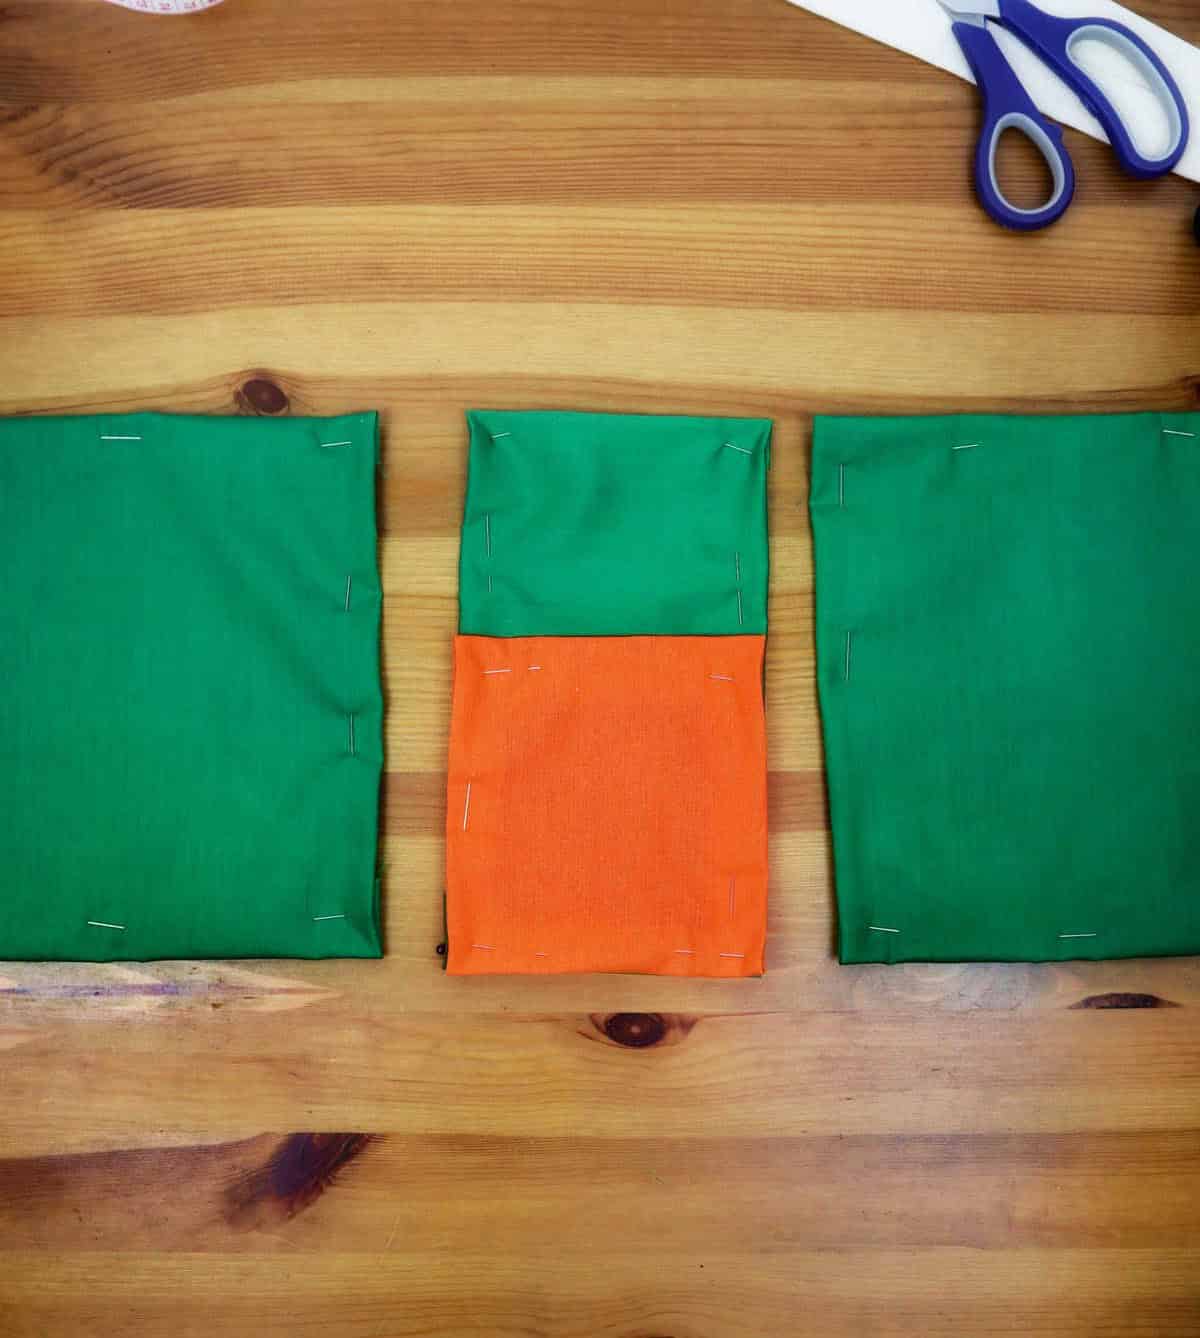
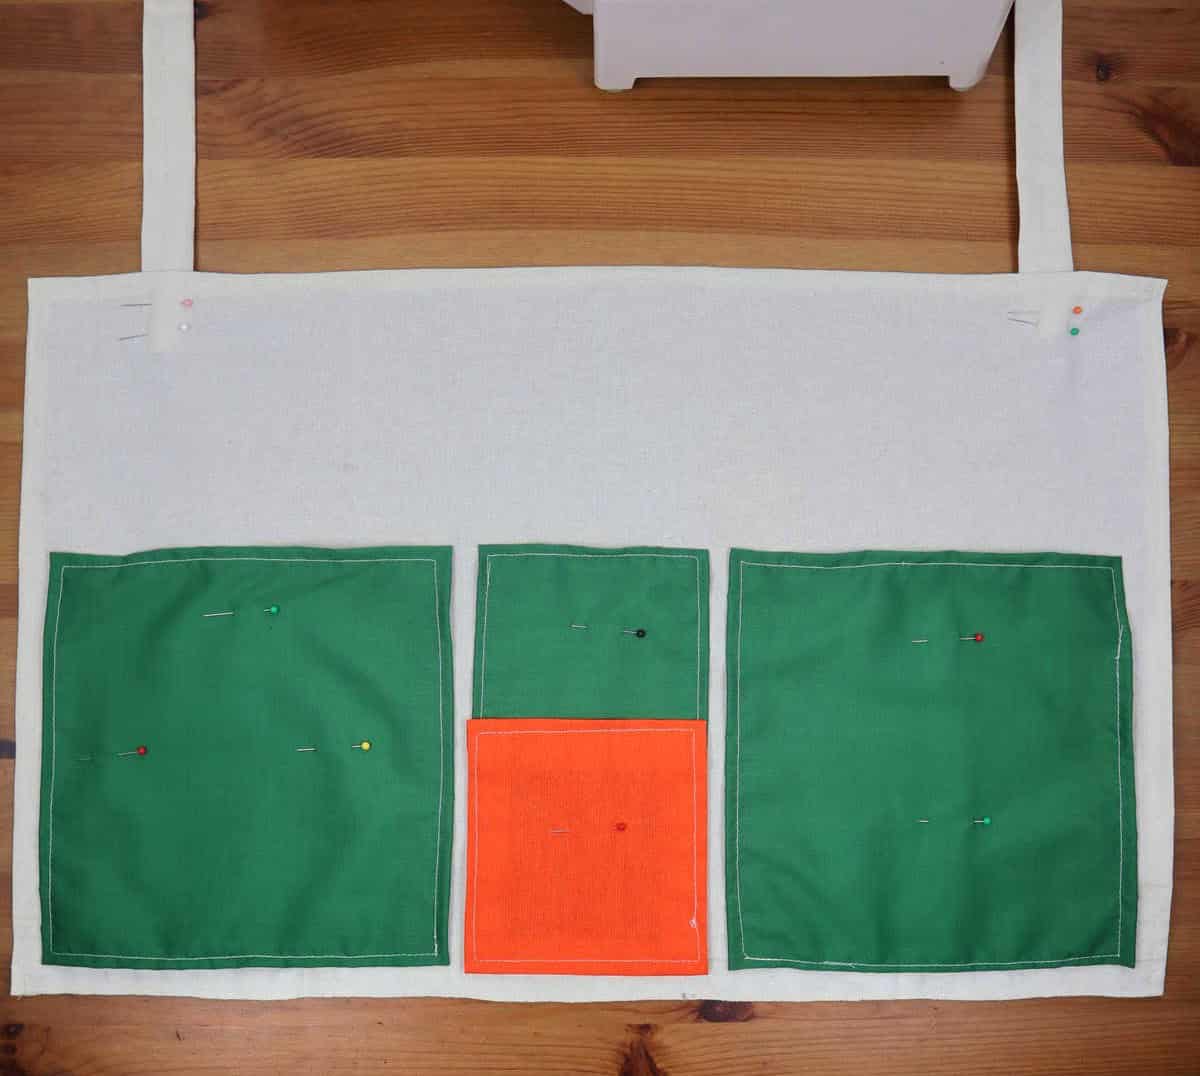
As you work on your project, don’t forget about the reserved fabric piece. Take it out and ensure that all the raw edges are securely pinned together. With this crucial step complete, you can now lay the pocket pieces over a large white background or any other smooth surface. This will allow you to visualize and plan the exact placement of each pocket on your final design.
Step 6
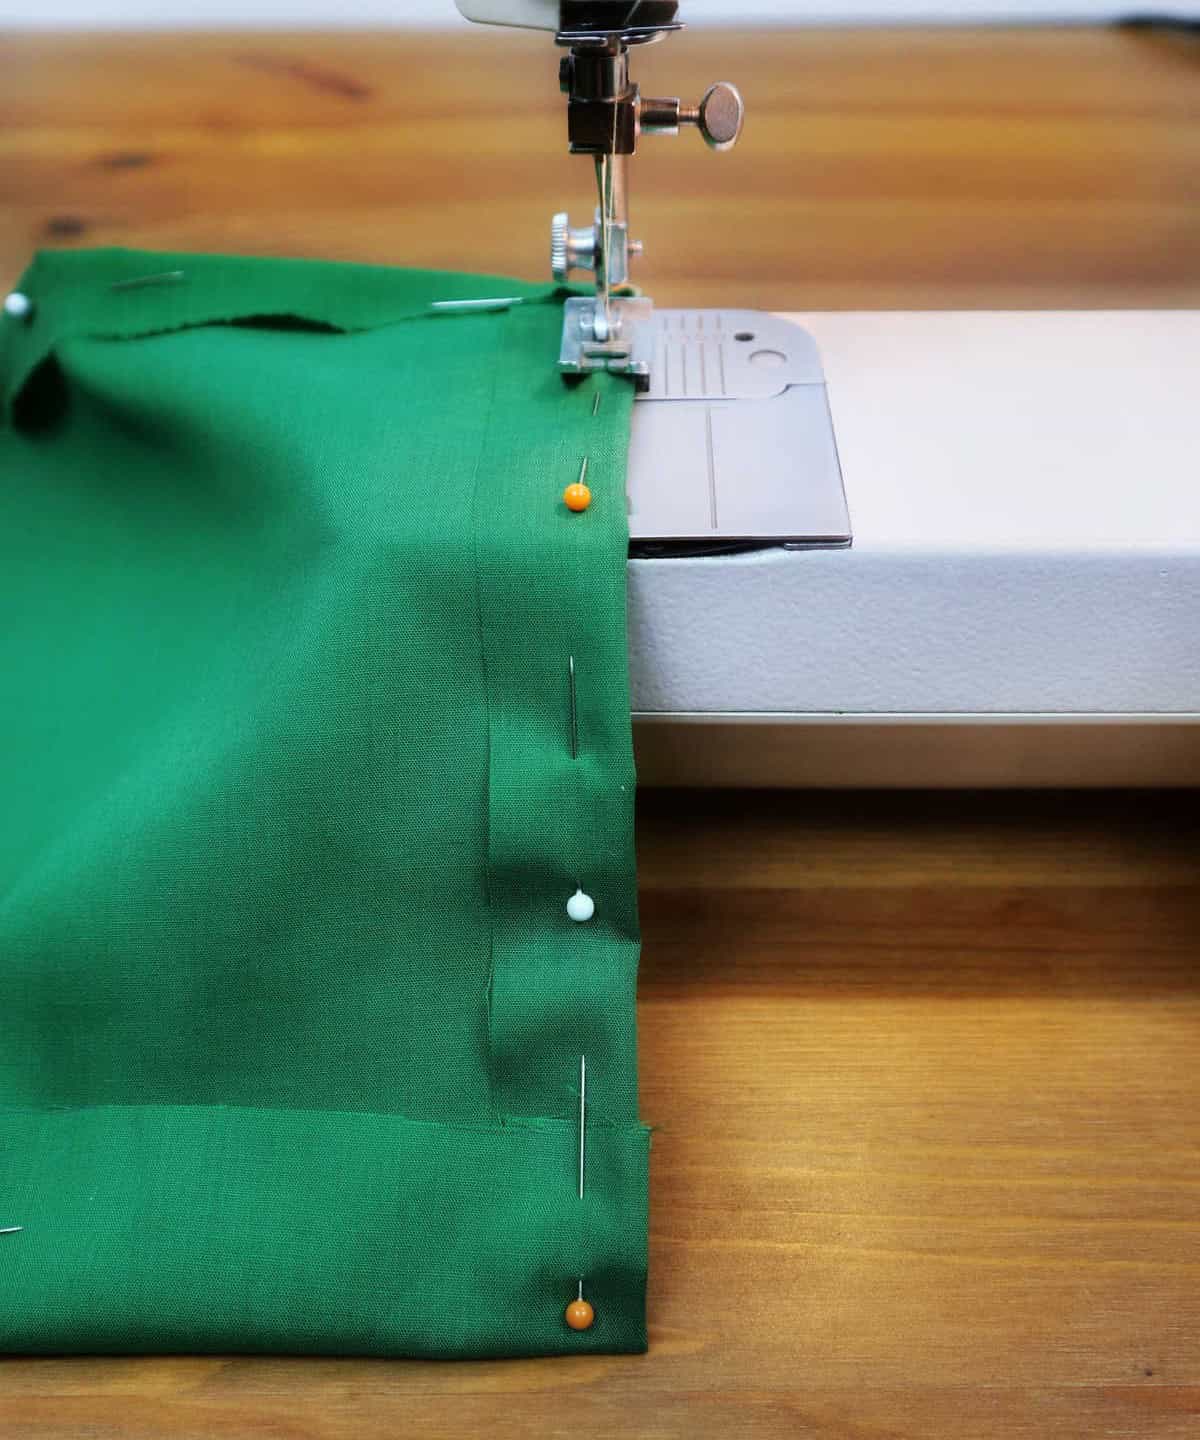
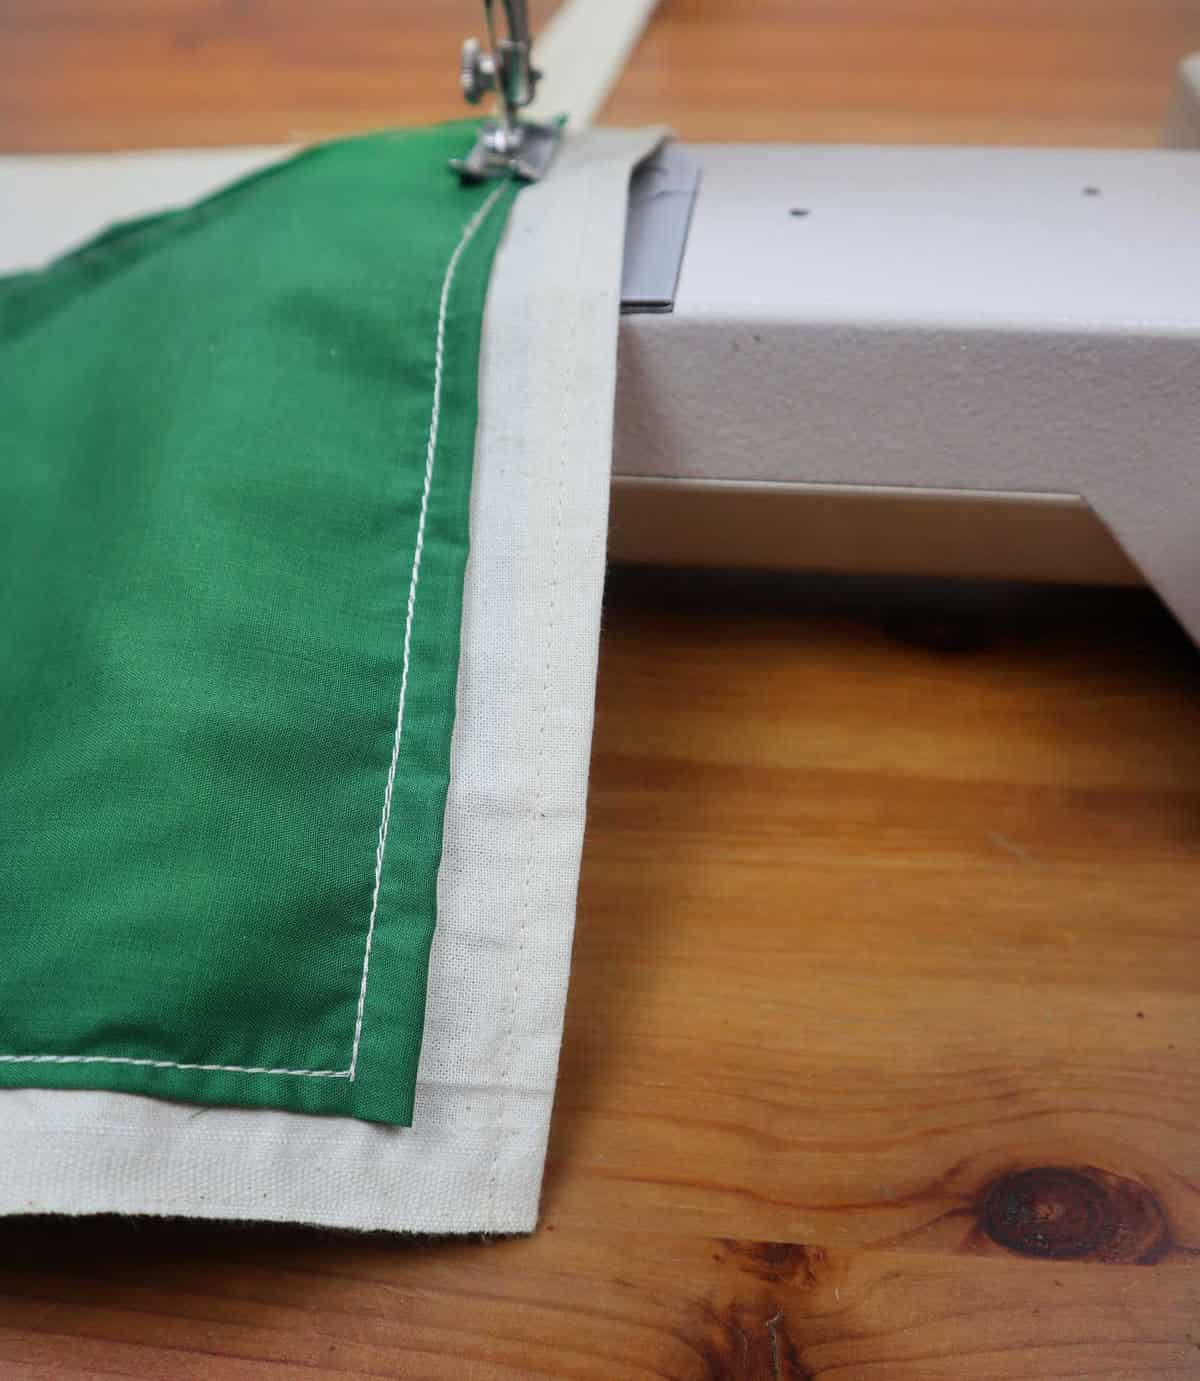
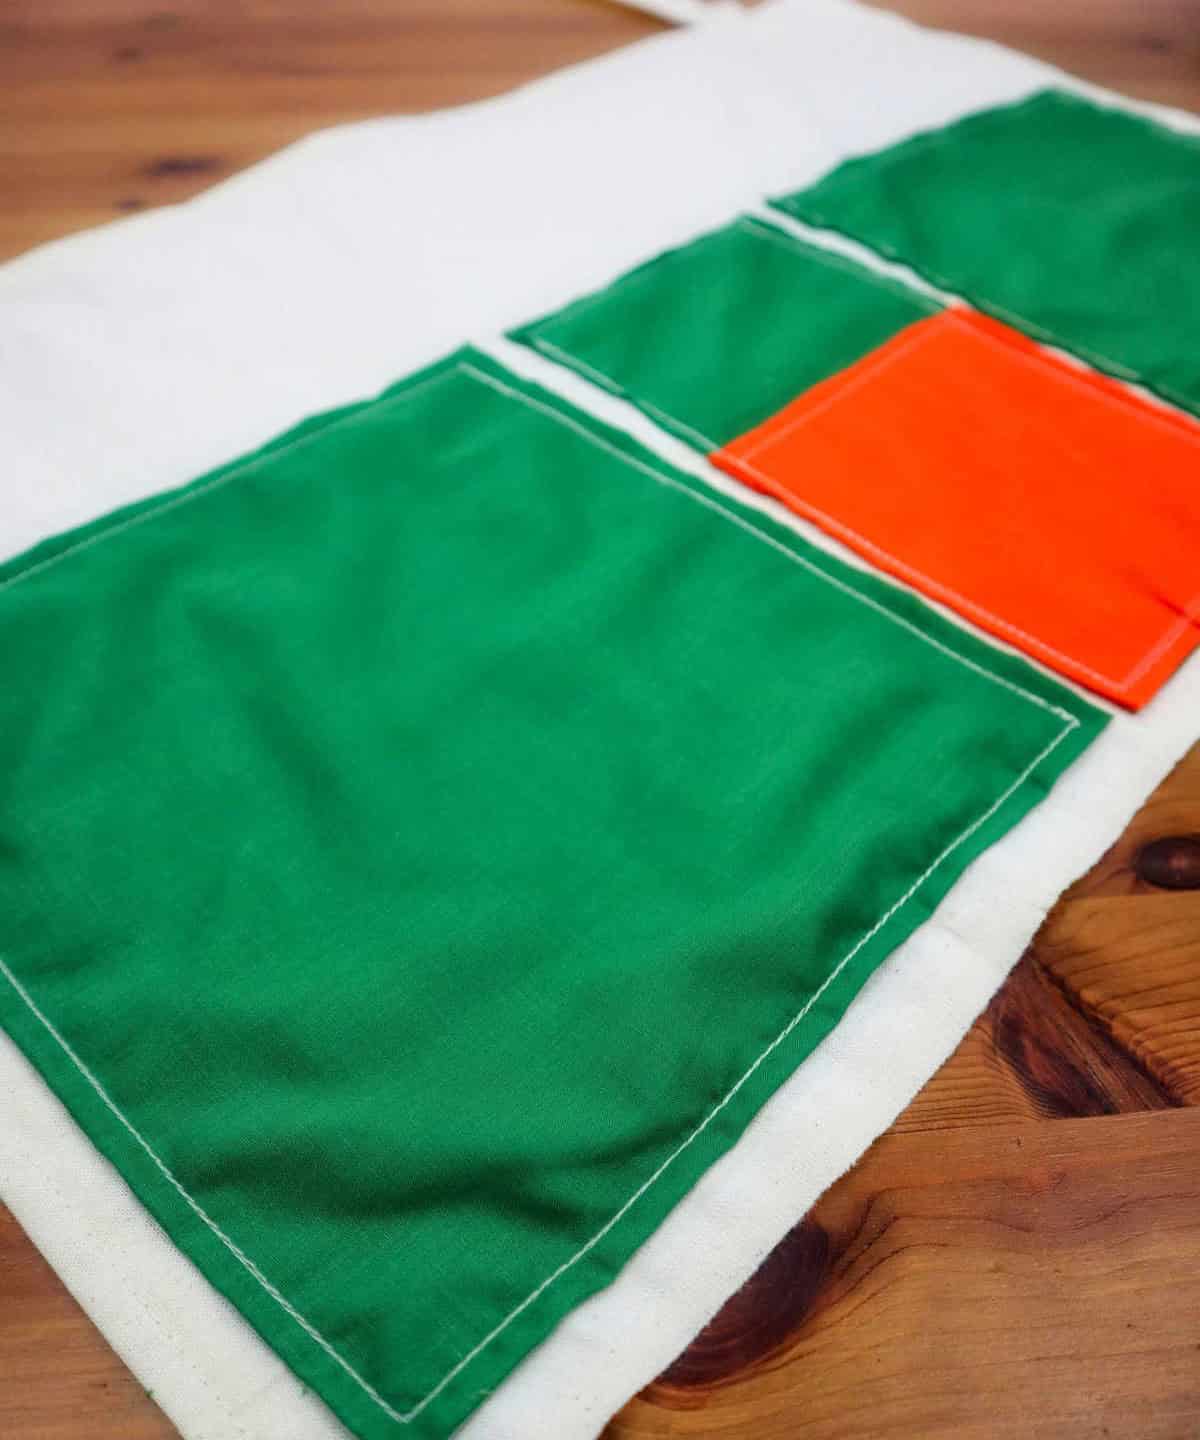
When it’s time to finalize your pockets, you’ve got two options: hand stitching or relying on your trusty sewing machine. Whichever method you choose, make sure to use a contrasting thread color to really bring out the details and give your project a polished finish. The added flair will also help create a clean, rounded edge that completes the look.
Don’t forget about the long, thin strips of white fabric you cut out earlier – it’s time to sew them down securely.
To achieve a seamless result, opt for thread that matches or closely complements the surrounding fabric.
Step 7
Assembling the various components of your DIY tote bag project is now underway, following the completion of sewing the pockets, strips, and large white backdrop fabric. The purpose of these strips may still be unclear to some, but let’s take a moment to appreciate how beautifully they transform into functional handles.
Step 8
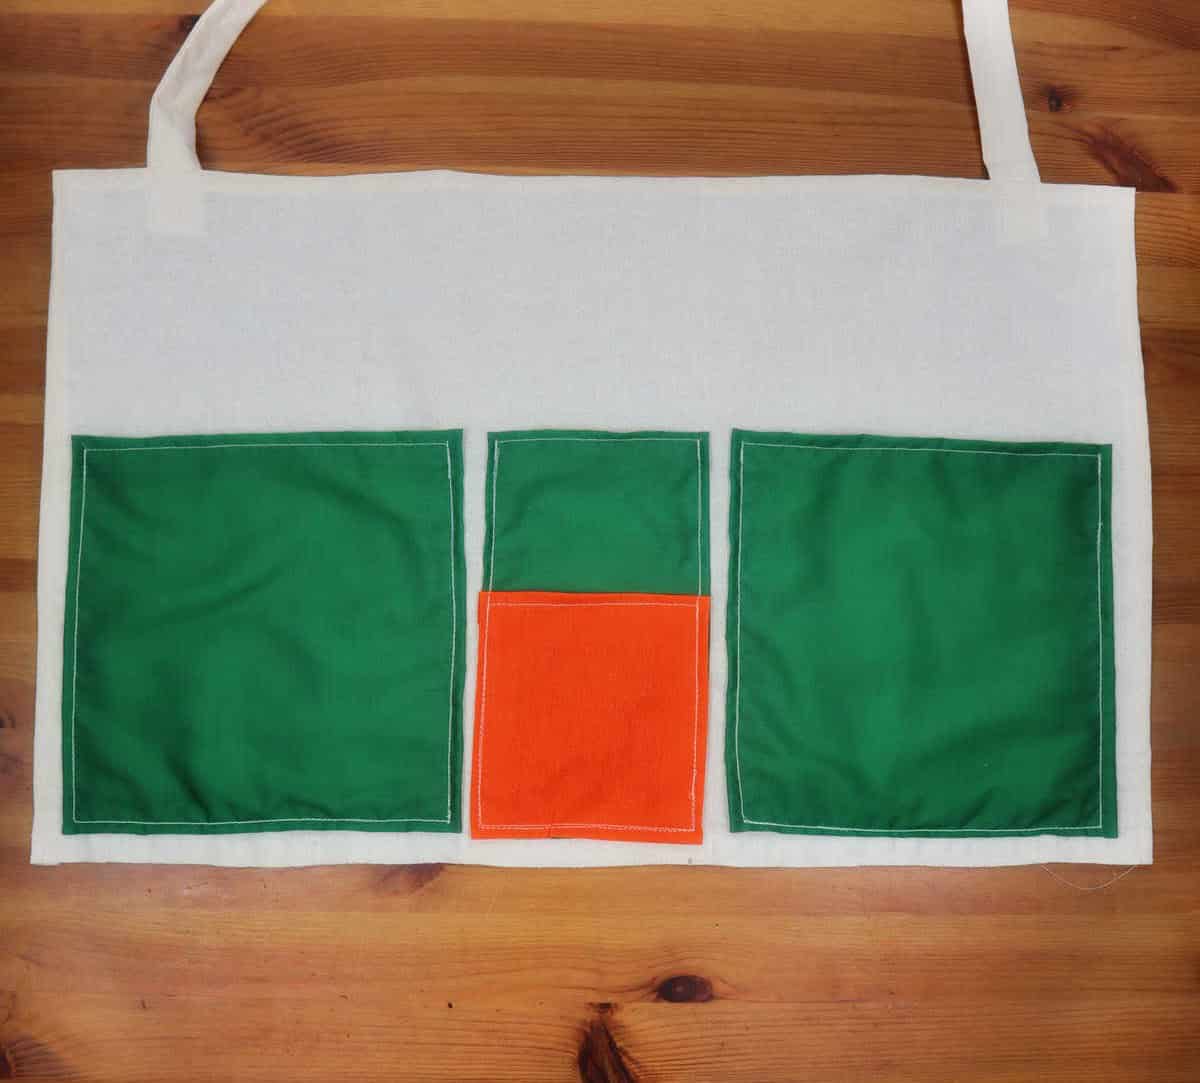
Now that your layout is finalized and all pockets are perfectly positioned, it’s time to bring the entire project together. Just remember to leave room for adjustment – you don’t want to sew those pockets shut just yet! When attaching the pockets to the white backdrop, keep in mind the specific measurements: The larger pockets measure 8.6 inches by 8.6 inches each, folding down to 7.9 inches by 7.9 inches once the edges are sewn. The smaller green pocket is approximately 8.6 inches by 6.
7 inches, shrinking to 7.9 inches by 9 inches after sewing. Meanwhile, the smallest saffron-colored pocket starts at 7.1 inches by 6.7 inches and ultimately measures 6.3 inches by 5.9 inches once its edges are sewn. The white backdrop cloth itself is 19.7 inches by 13.8 inches, folding inward to a finished size of 18.9 inches by 13 inches. A key consideration throughout this project should be maintaining uniform height for all pockets – while width can vary, height consistency is crucial.
Step 9
The final step in constructing the storage caddy is to secure the long white strips, which serve as handles. Once this is complete, you can proceed to remove all pins used to hold edges and folds in place. To give the caddy a polished finish, run an iron over its entire surface.
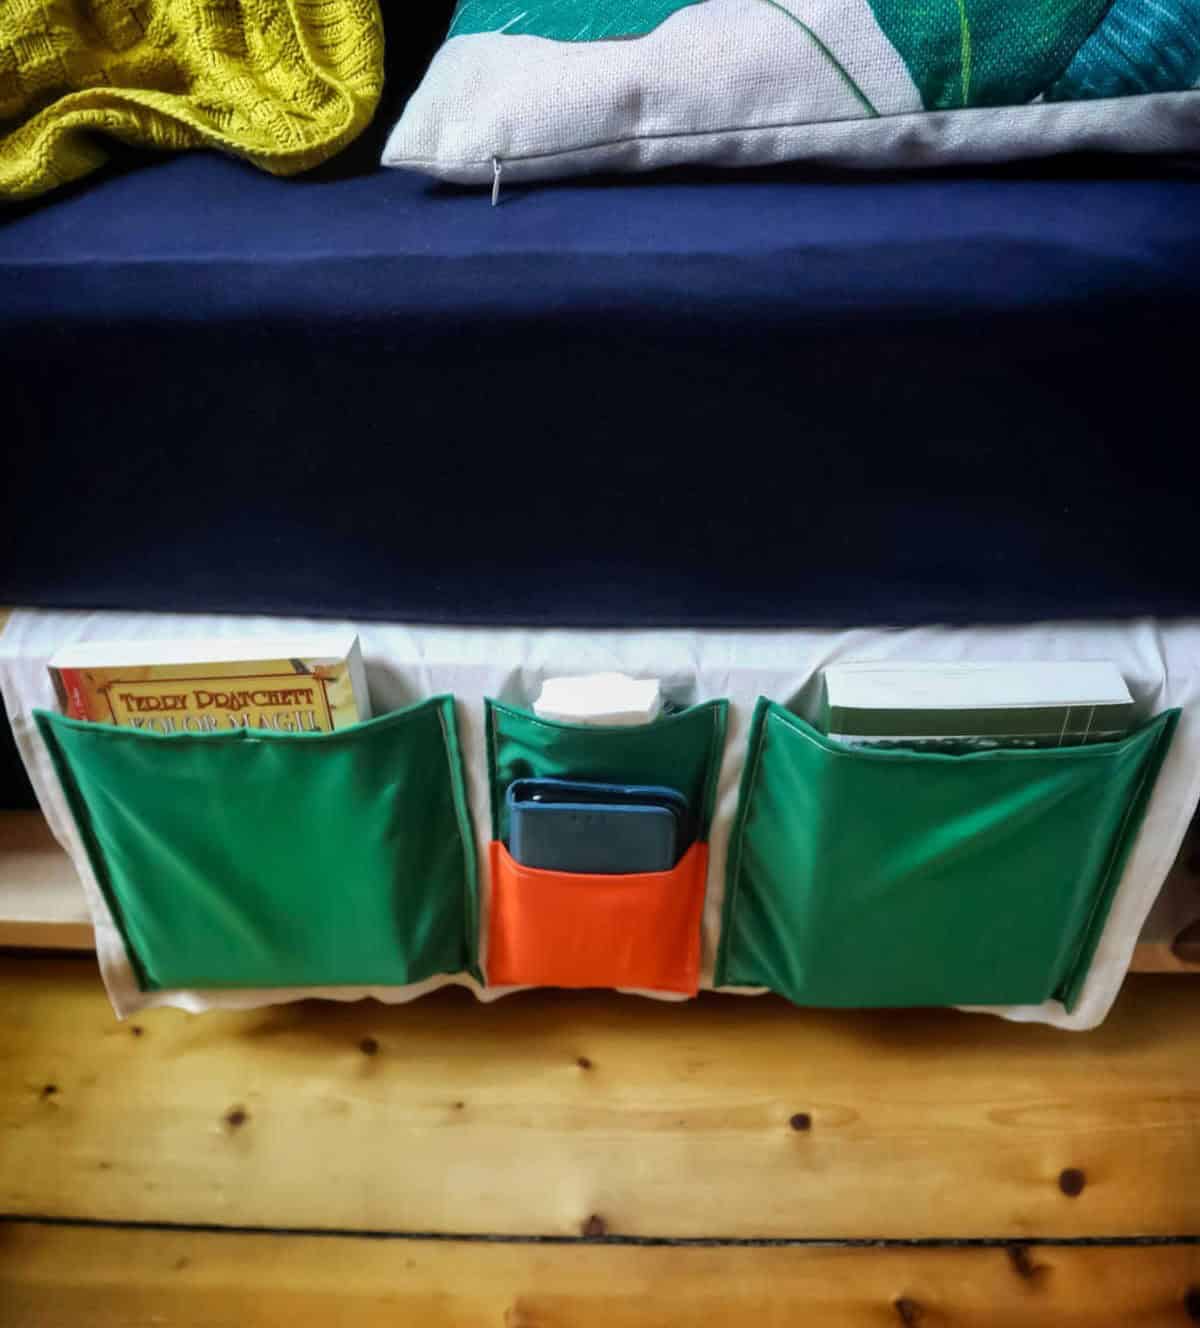
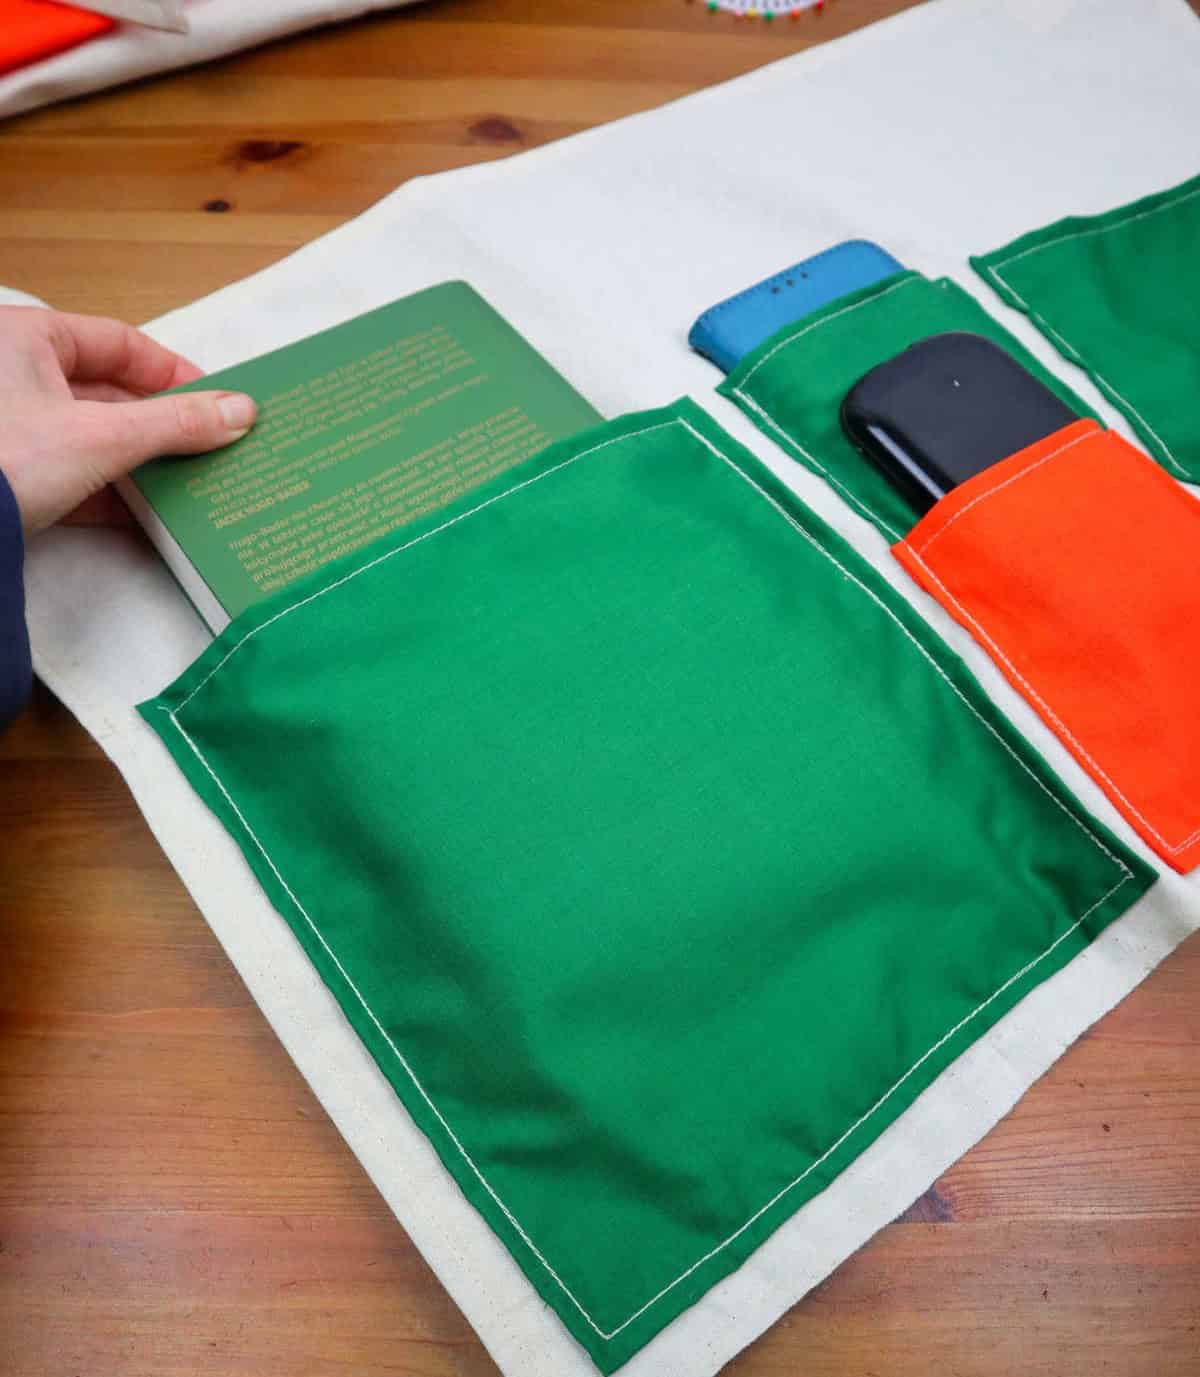
With the construction phase now complete, it’s time to fill the pockets with your desired items and hang the caddy from the side of your bed.
Provided you’ve accurately measured the dimensions at the outset, the finished product should dangle just above the floor level.
Other Organization Ideas

With a plethora of organization ideas at your disposal, it’s no wonder that staying tidy and streamlined is top of mind. Whether you’re looking to whip your workspace into shape or conquer the chaos in your closet, we’ve got you covered. From DIY desk organizers to Dollar Tree storage solutions, there are countless ways to corral clutter and boost productivity.
Take a peek at our roundup of 47 organization ideas that’ll help you tackle every corner of your home and office: get creative with DIY dividers, maximize space with clever hacks, and discover innovative ways to store everything from toys to laundry supplies.
DIY Bedside Caddy
Transform leftover fabric into a functional and stylish DIY bedside caddy for your bedroom. This clever organizer will help keep your bed linens, toiletries, and other essentials within easy reach. With only an hour of active time required, this project is perfect for a quick weekend afternoon or a relaxing evening hobby. Make the most of your fabric scraps by creating a personalized bedside organizer that reflects your personal style. The best part?
It’s a simple and budget-friendly way to add some flair to your bedroom decor.
Equipment
To avoid the frustration of a screen that’s gone dark, take steps to prevent it. This includes keeping your pins, scissors, ruler, and tape measure at the ready to jot down important measurements or inspiration as they strike you.
Materials 1x2x3x
When it comes to crafting, having the right materials is essential. For a project that requires a significant amount of fabric, you’ll want to start by gathering a large piece of your chosen material. Additionally, be sure to set aside a few smaller pieces for creating functional pockets. Finally, don’t forget to reserve two additional pieces for use as strips or embellishments, which can add texture and visual interest to your final product.
Instructions
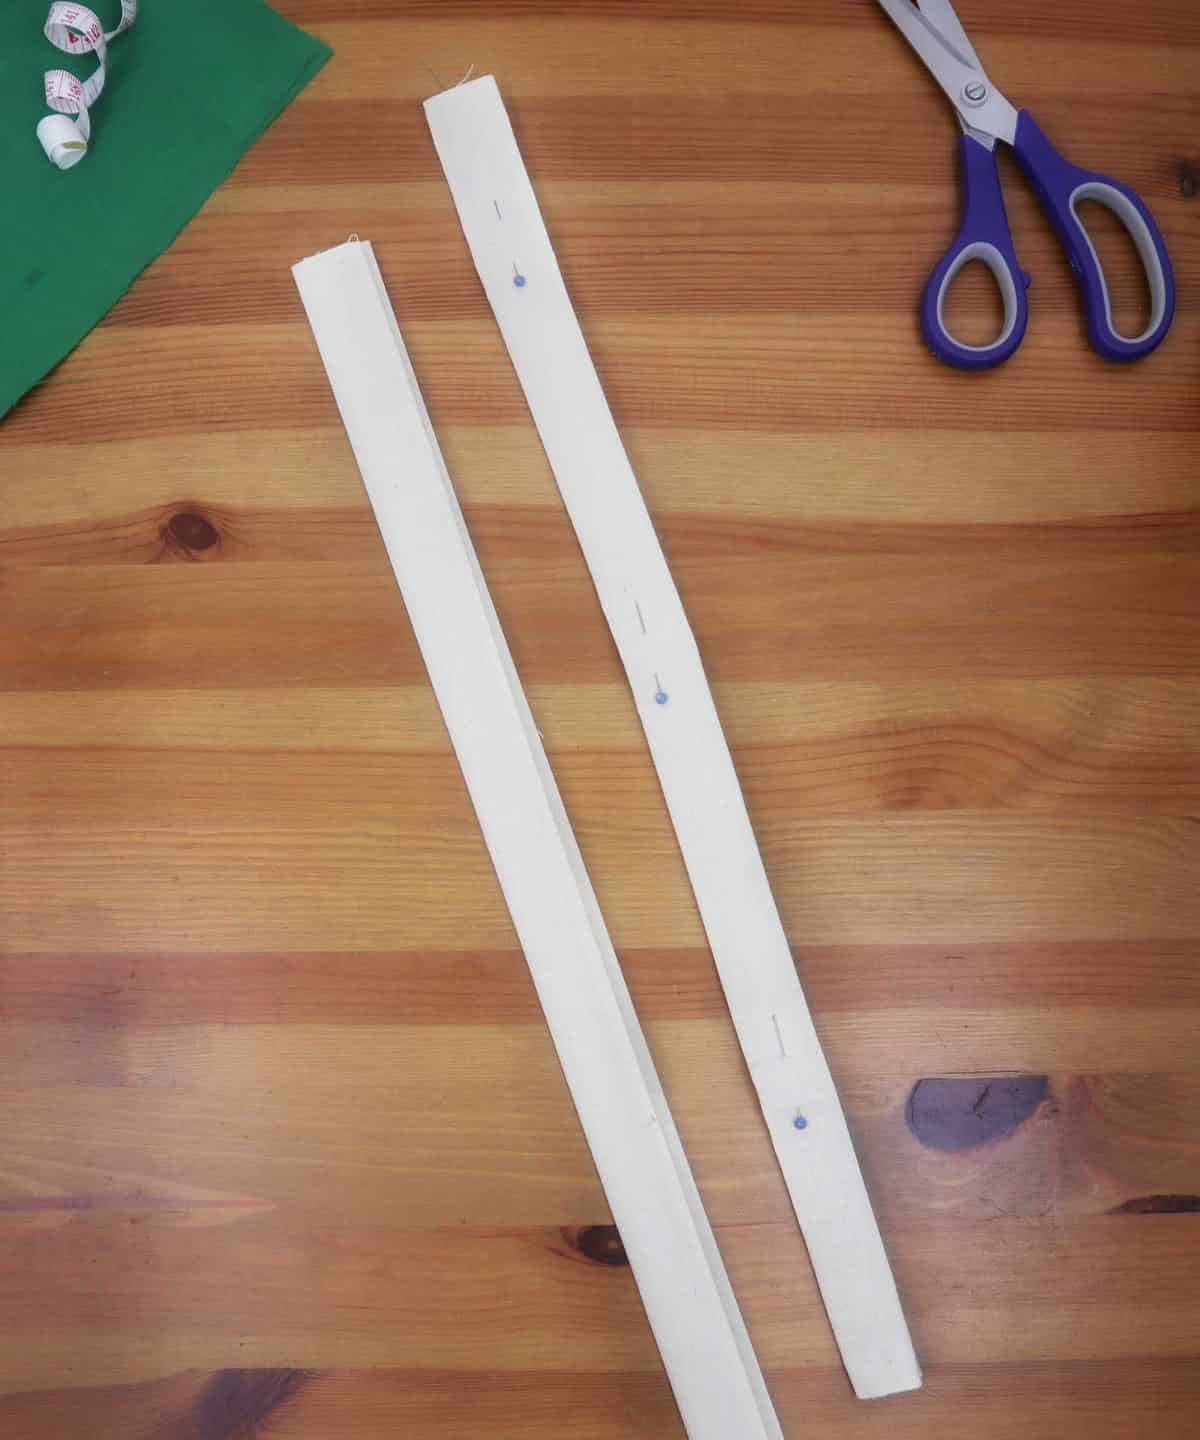
Measure and prepare all necessary supplies before commencing construction of your bedside caddy. Begin by measuring two long strips, destined for use as the handle, which should be approximately 5-6 cm in width. These will provide a sturdy foundation for your project. Next, cut out each pocket, leaving sufficient room to fold the edges and sew them into place. Secure the pockets with sewing pins or safety pins before proceeding.
Once all pockets are sewn individually, arrange them on a white cloth backdrop to ensure even spacing. Pin the pockets in place and then sew them into the fabric. Be mindful not to inadvertently attach any of the pocket’s handles during this process. Next, attach the white strips to the top of the caddy and secure with a few stitches. Finally, give your creation a smooth finish by ironing it out.
With these steps complete, you’ll be ready to hang your bedside caddy over your bed and fill it with all the essentials.