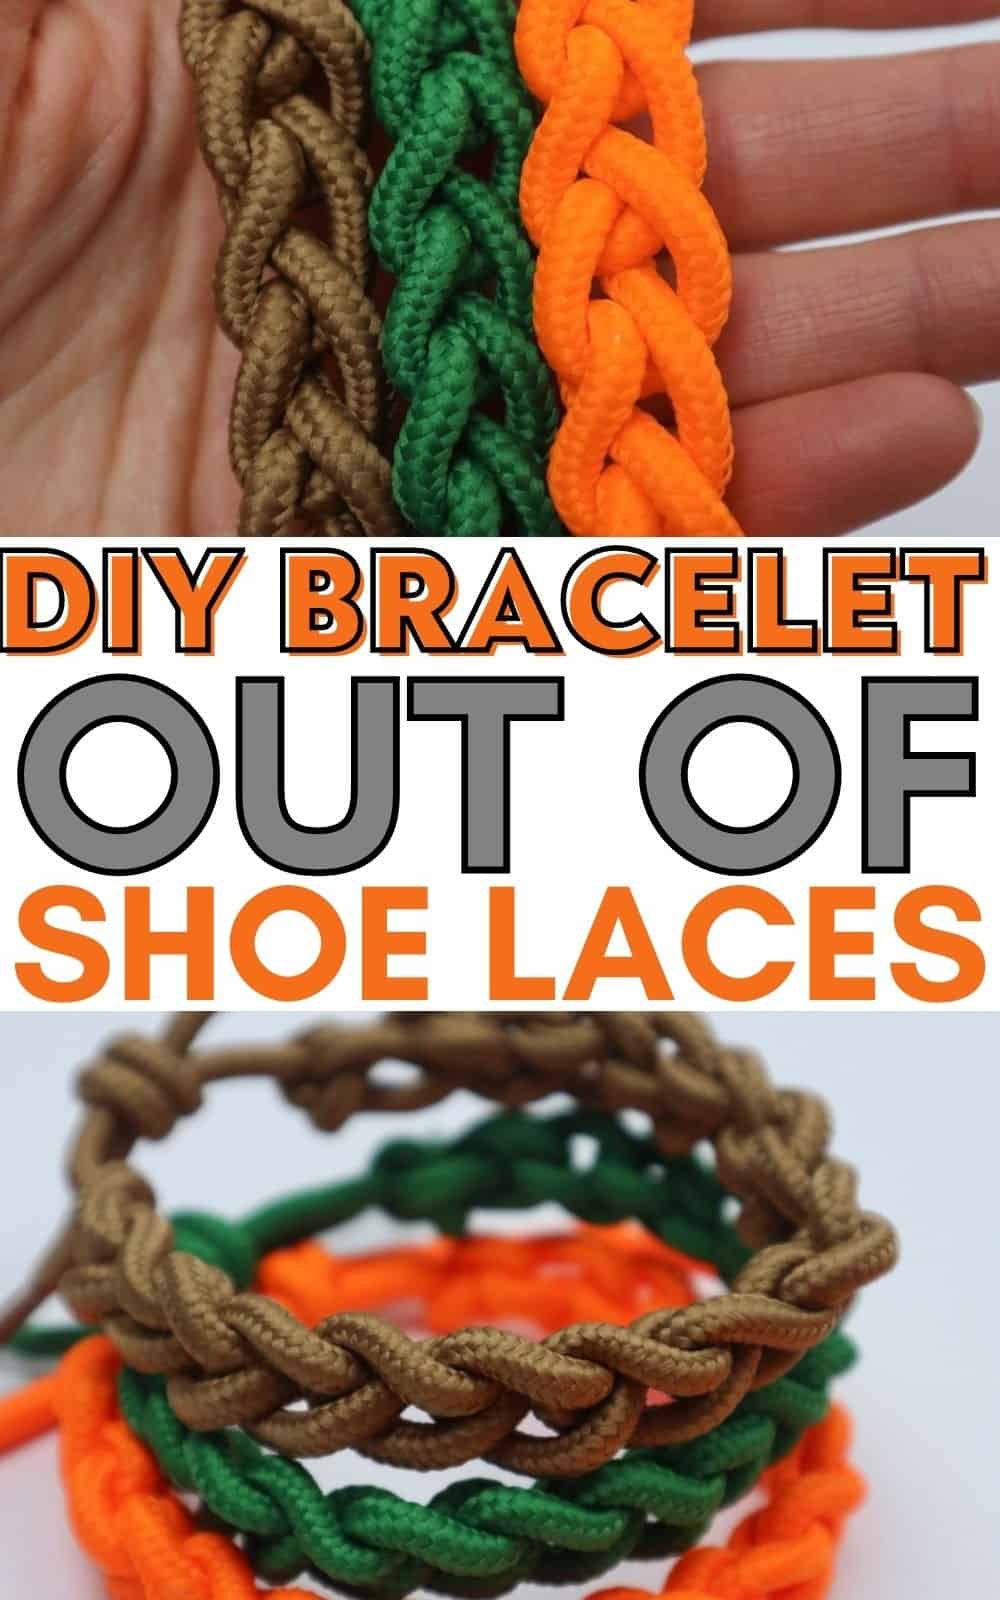
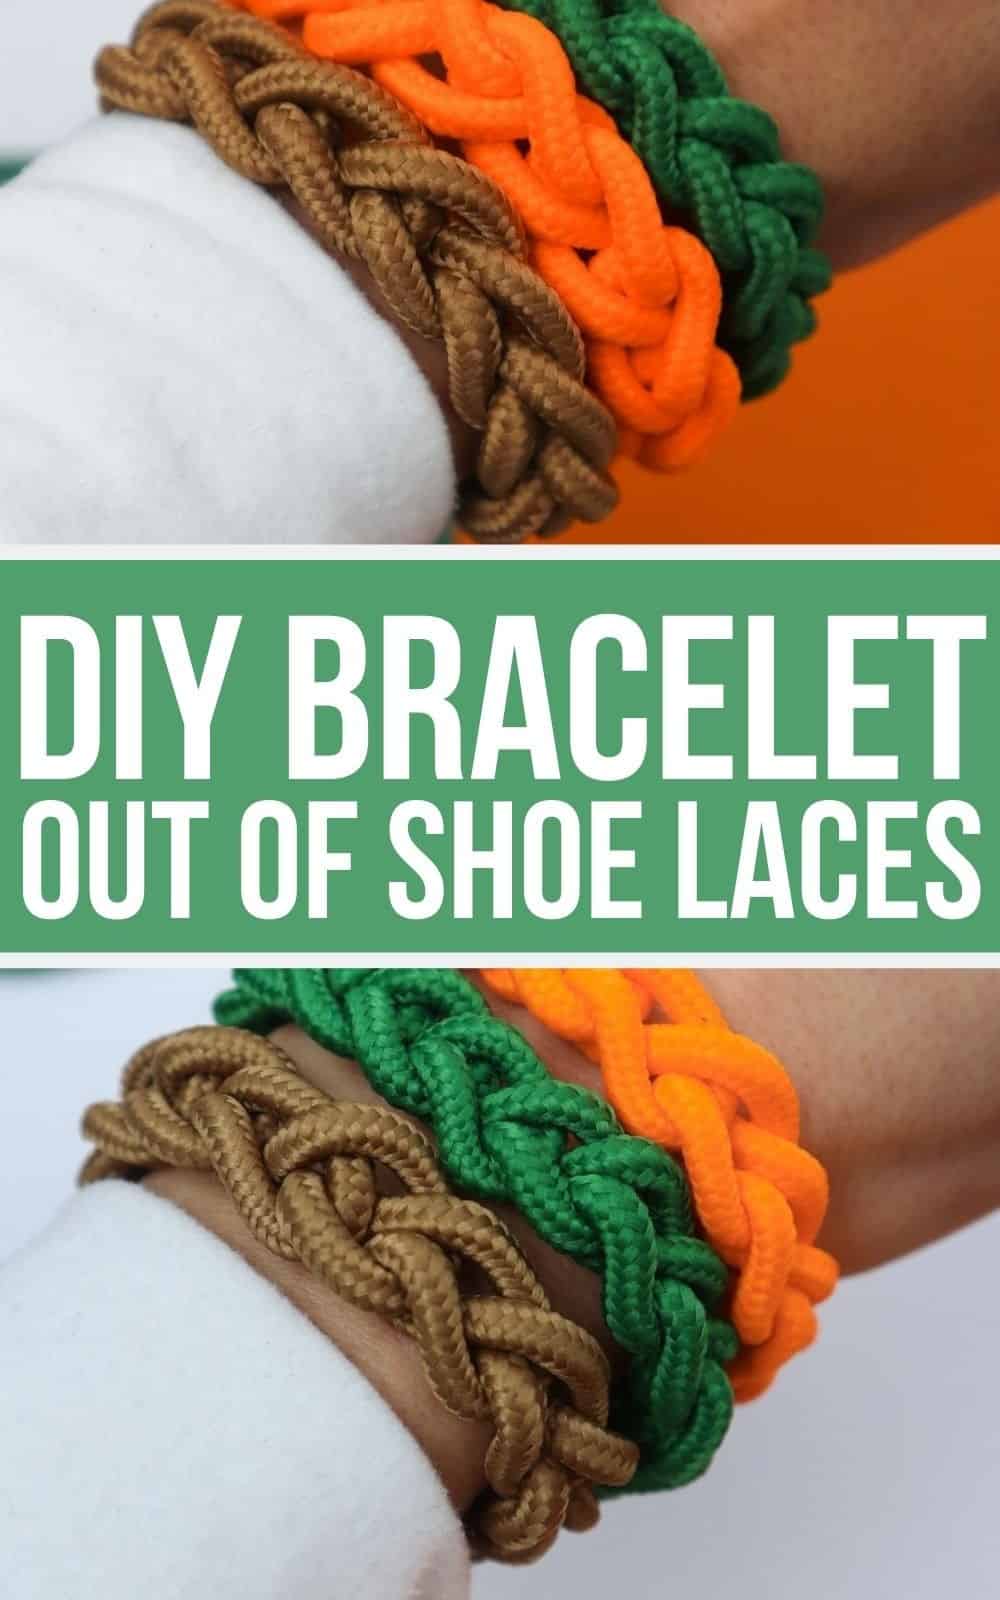
Get creative with an old favorite – making a DIY bracelet from shoelaces! This fun and easy craft is perfect for anyone, regardless of age. Remember those aglet-crafts that were all the rage back in the day? It’s time to bring them back and rediscover the joy of creating something unique with shoelaces. From teens to adults and even kids, this project is a great way to spark some creativity.
With just a few simple supplies – including your choice of colorful shoelaces – you can whip up a stylish and eye-catching accessory in no time.
Supplies You’ll Need
Embark on a creative journey by crafting unique DIY bracelets using shoelaces of your preferred colors. With just this simple yet essential component, you’re ready to begin an exciting project that requires minimal effort but yields maximum results. So, without further ado, let’s dive right in and get started with the bracelet-making process.
How to Make Bracelets Out Of Shoelaces
Step 1
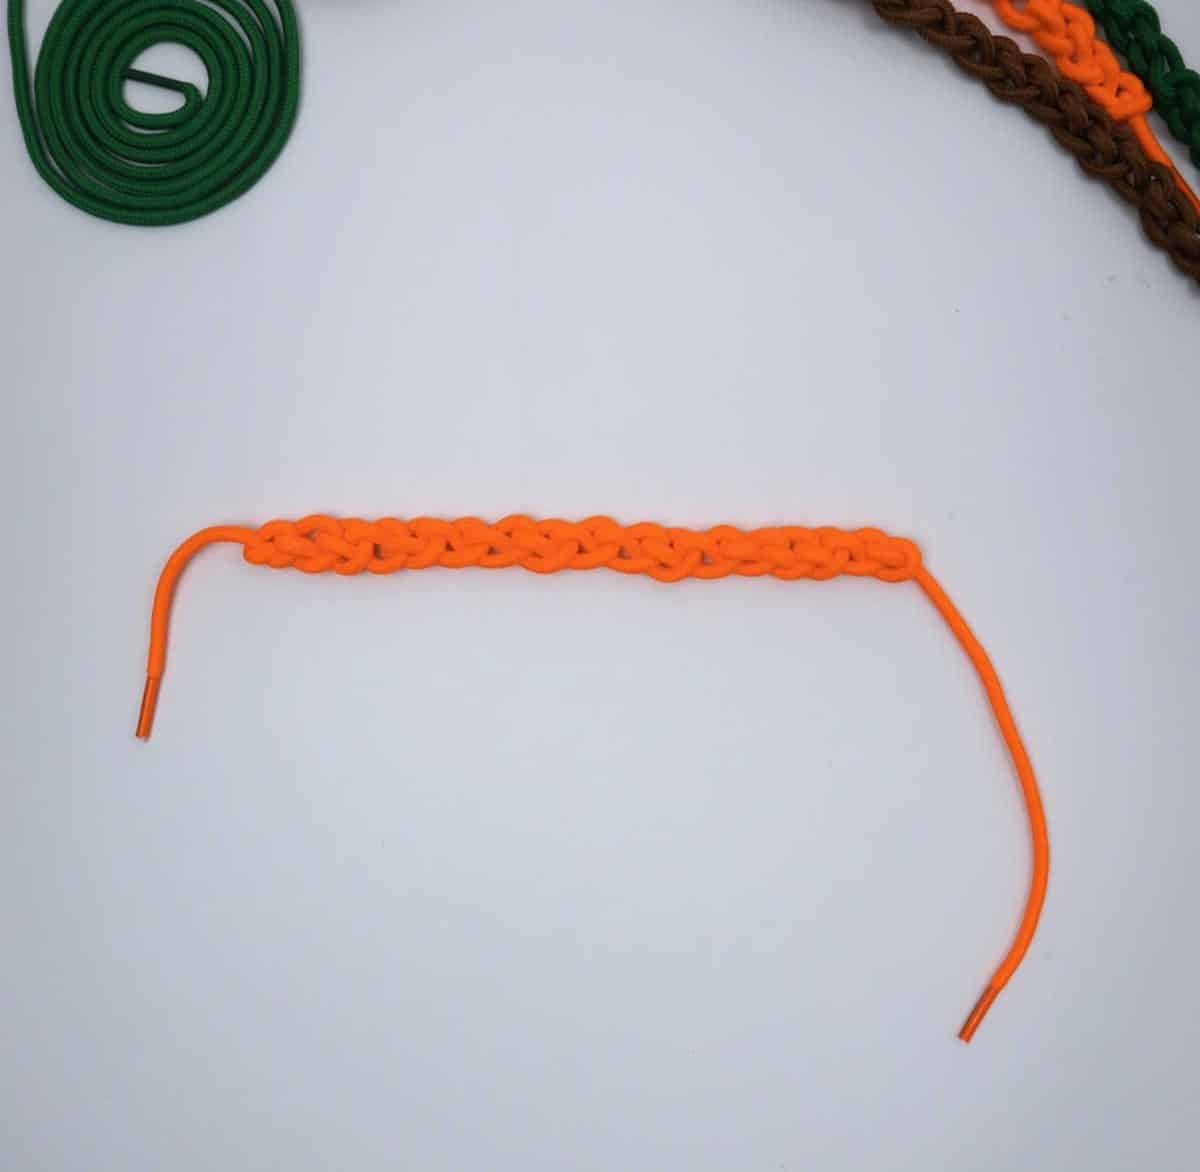
To get started, you’ll need a shoelace measuring approximately 80cm to 1 meter in length, depending on the width of your wrist. Begin by creating a loop with one end being slightly shorter than the other, as this will serve as the starting point for your project.
Step 2
The art of crafting a beautiful ponytail is all about attention to detail, and one crucial step is pulling the right section of hair over and then behind it. Interestingly, when done correctly, this move can create a striking resemblance to a Celtic knot pattern – a intricate design often associated with ancient Irish and Scottish cultures.
Step 3
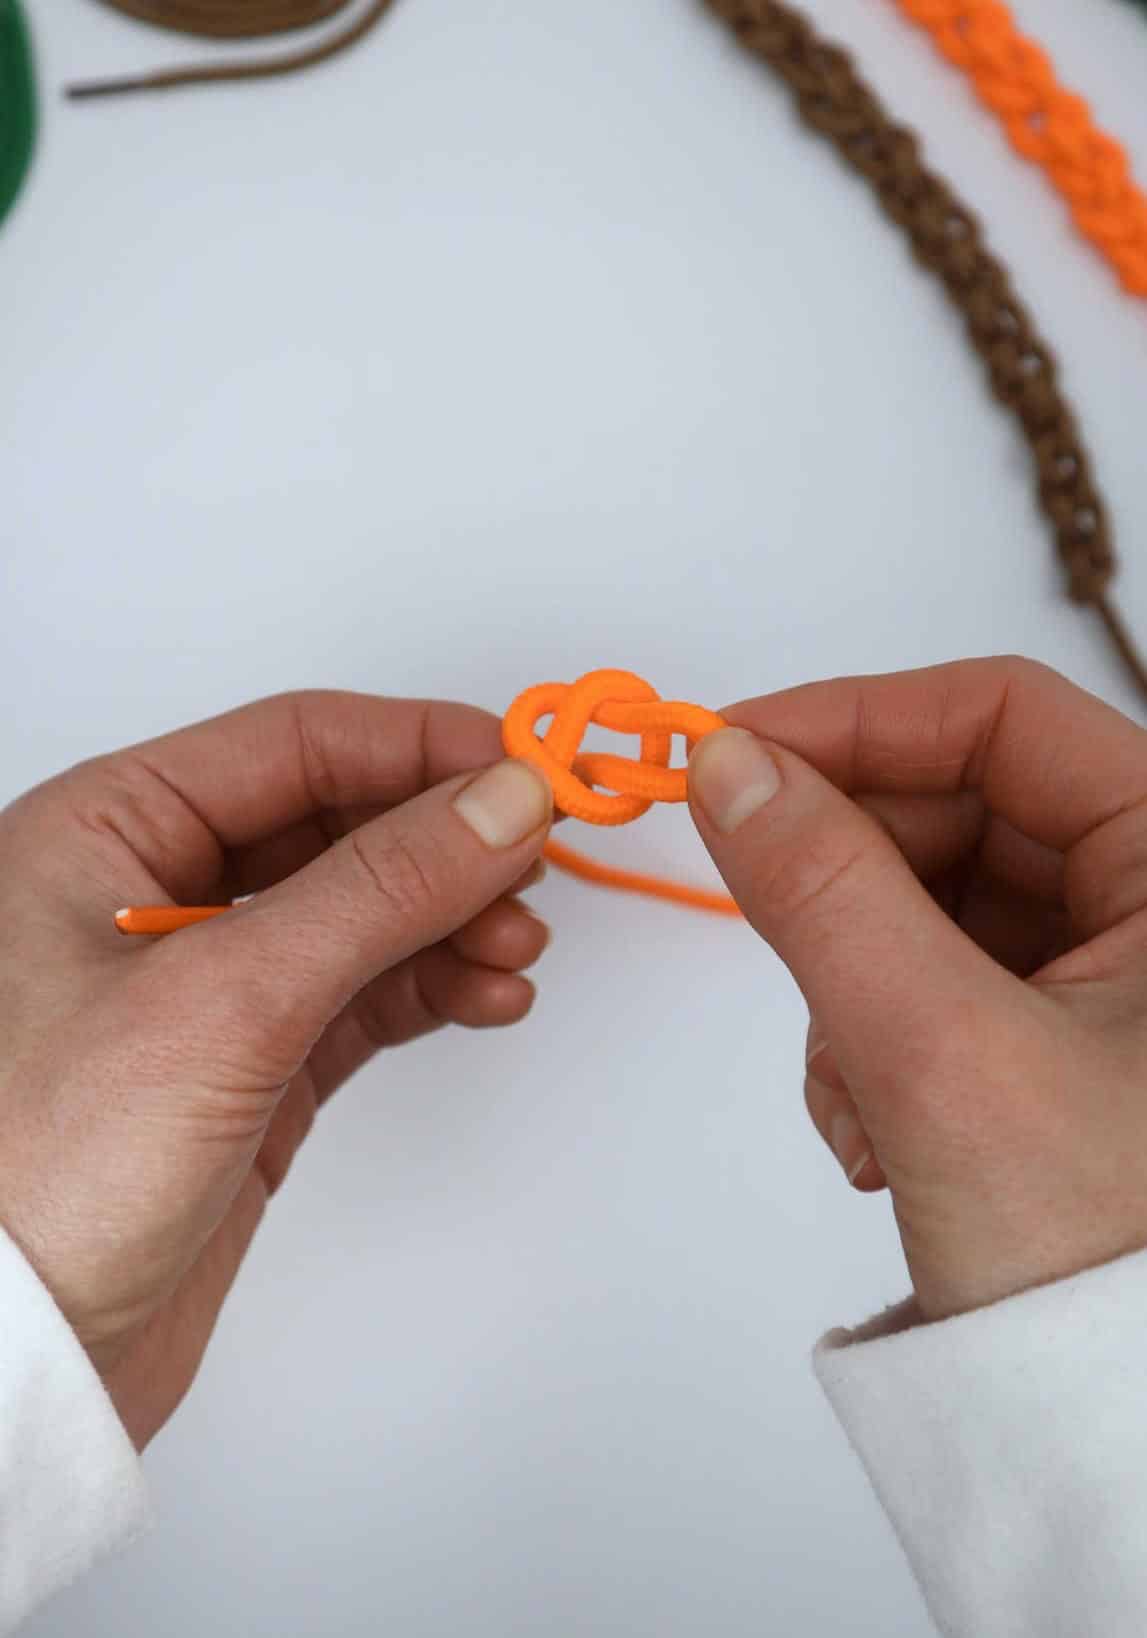
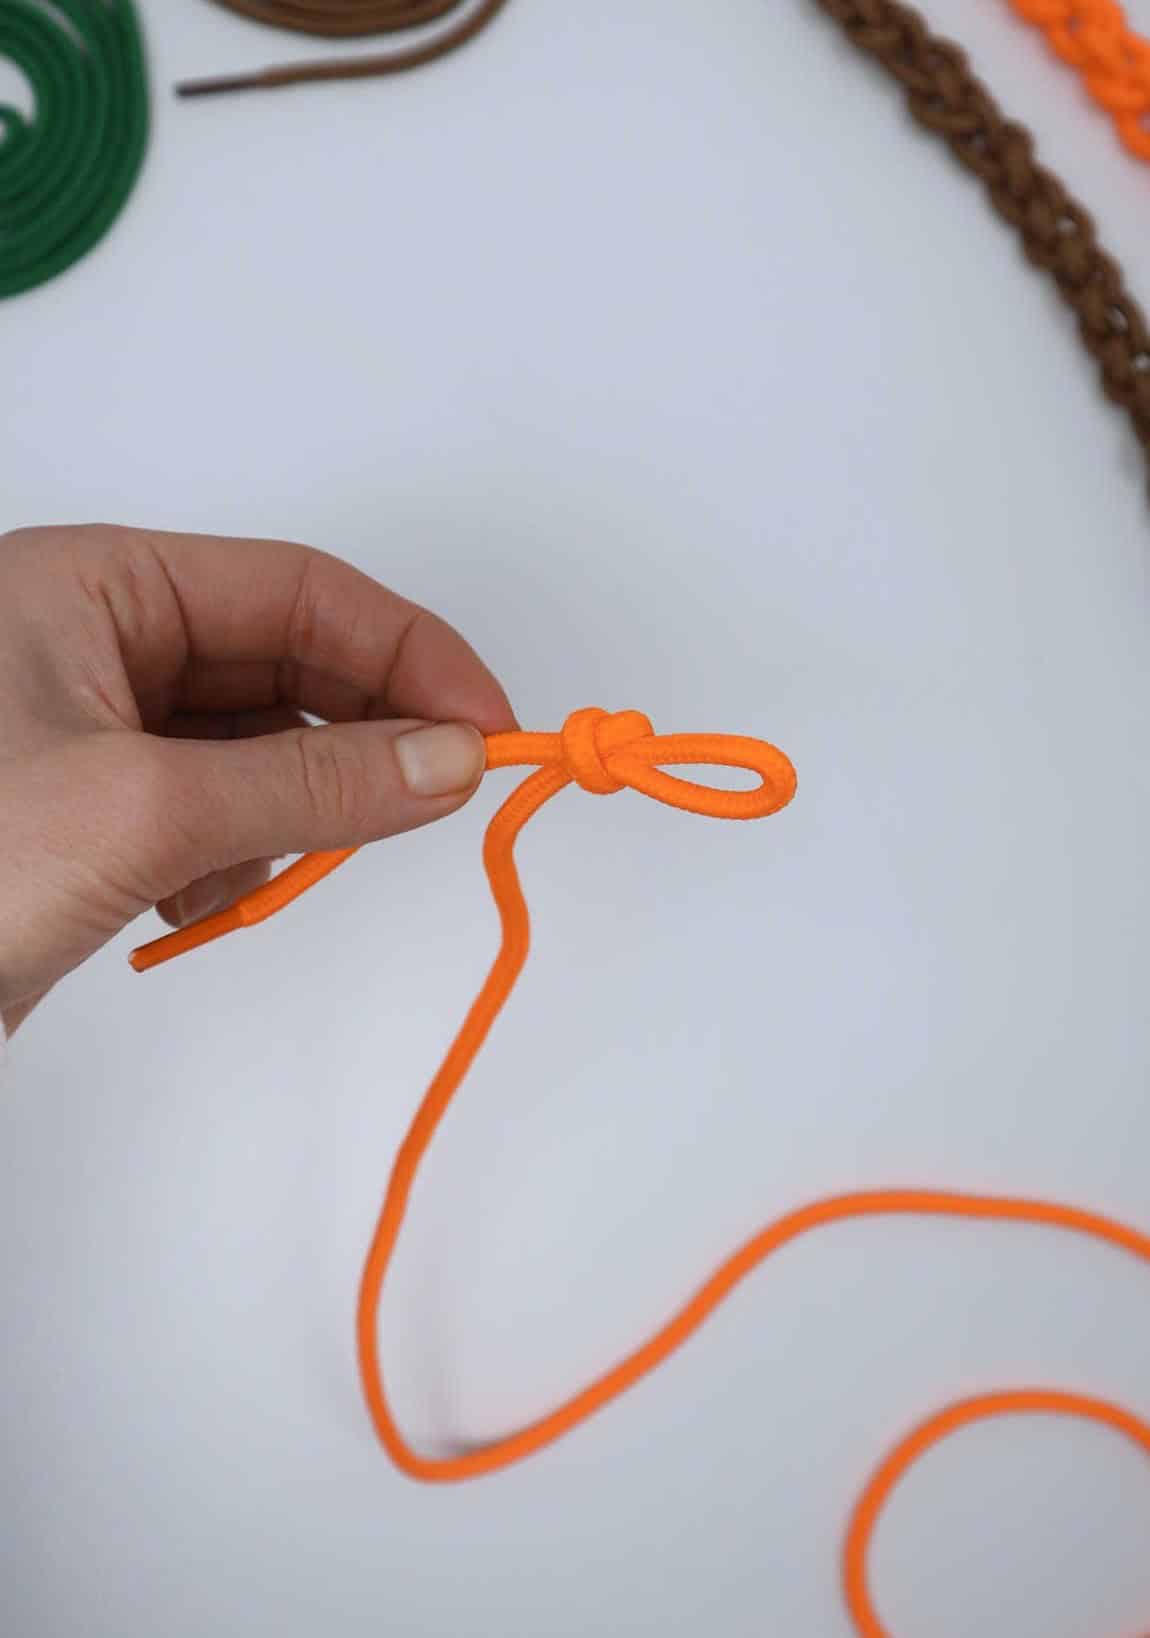
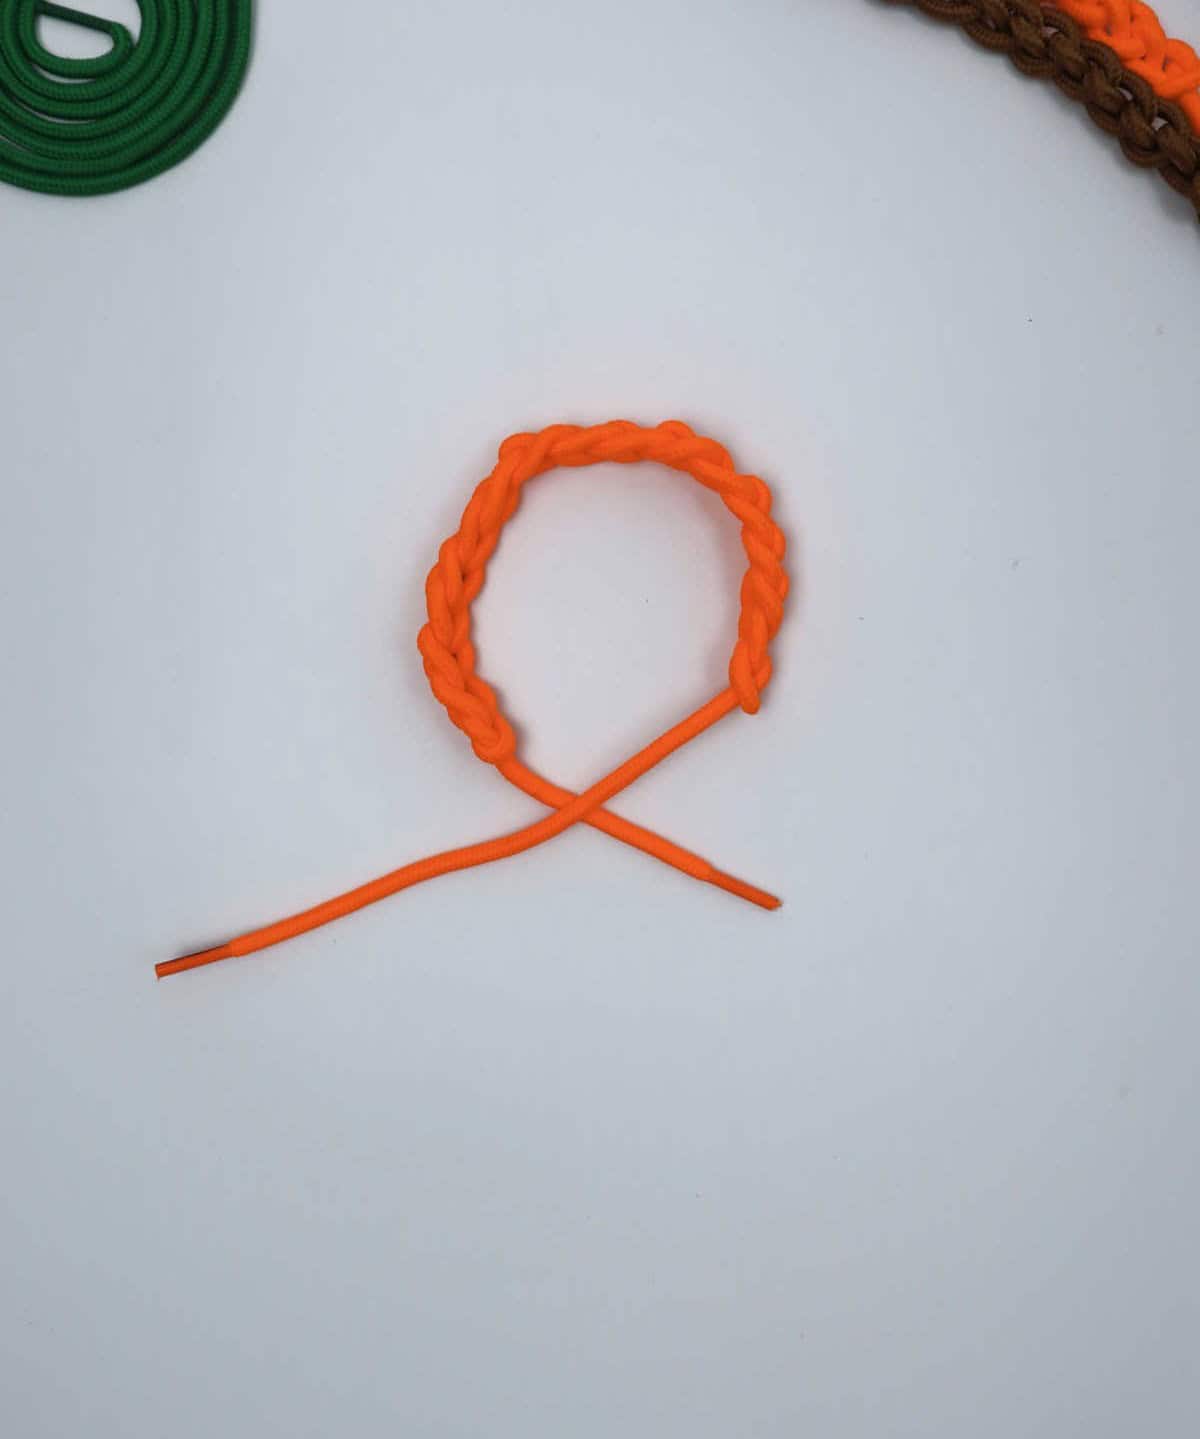
To secure the beginning of your macrame piece, pull the longer end of the cord through the loop and gently tug it to form a knot. This foundation is crucial for building the rest of the design. From here, you’ll create additional loops that will wrap around and intertwine with this initial knot, starting the construction of your bracelet.
Step 4
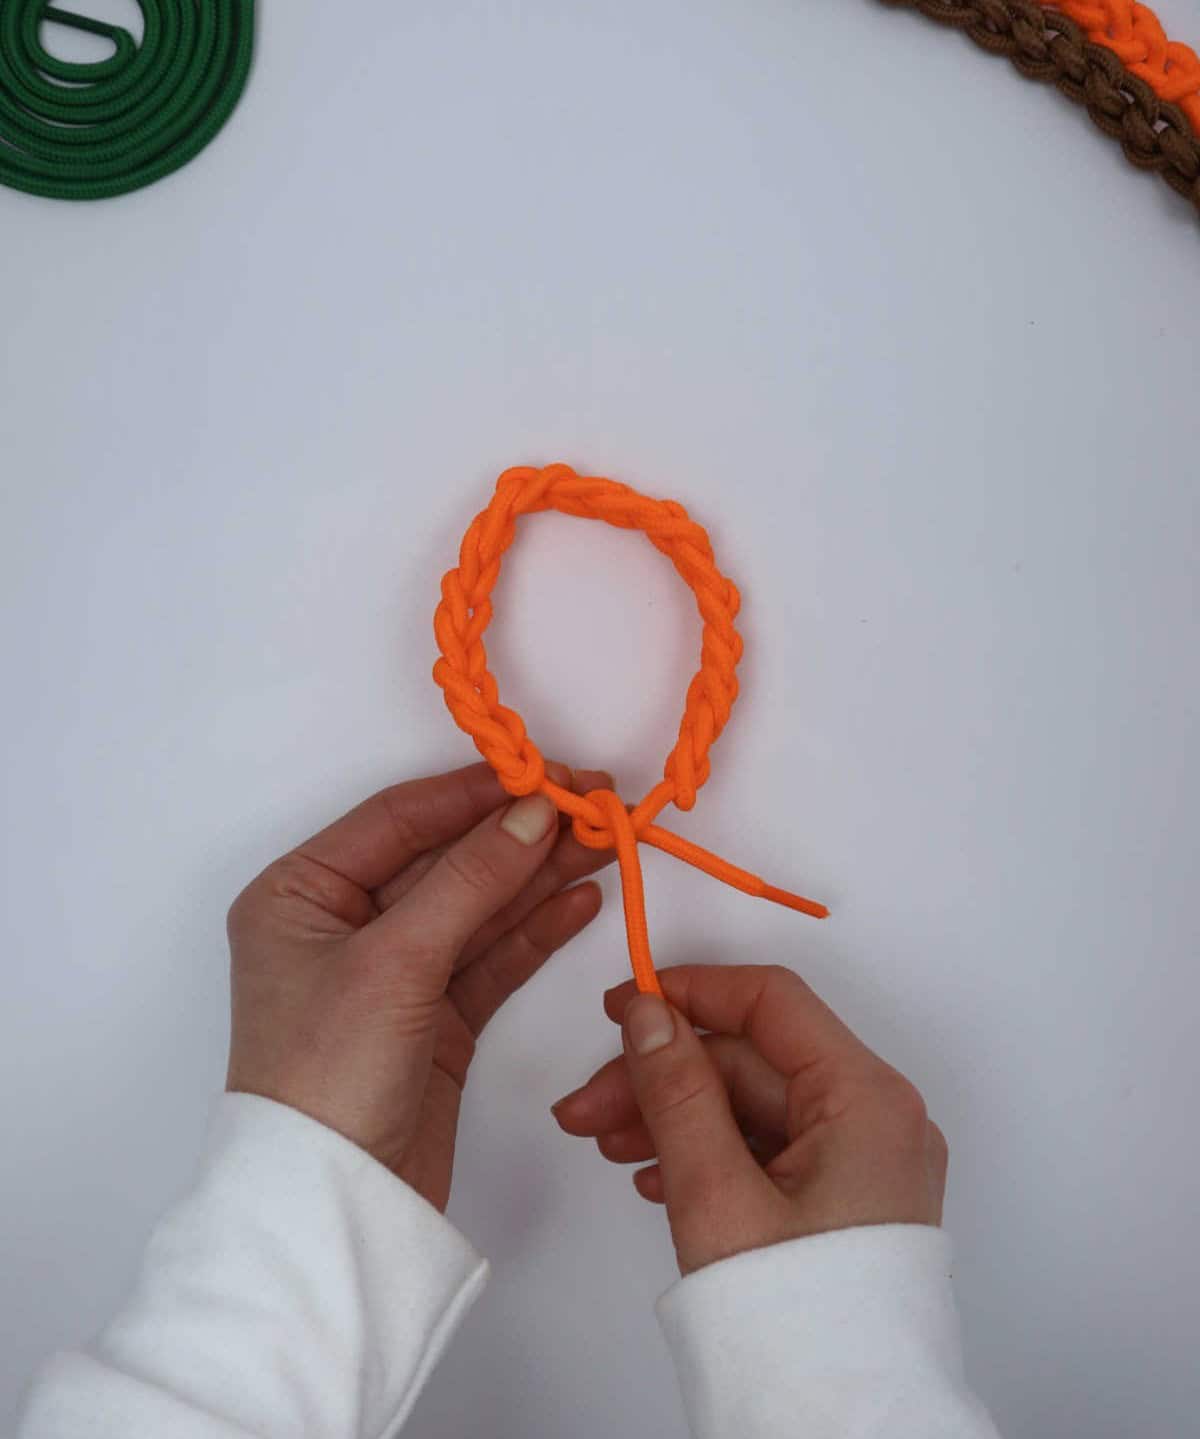
To secure the knot effectively, grasp the tail approximately two inches away from the central part and gently draw it into the loop, leaving some slack for adjustment. Then, tug the tail firmly to create a snug knot, much like the illustration below.
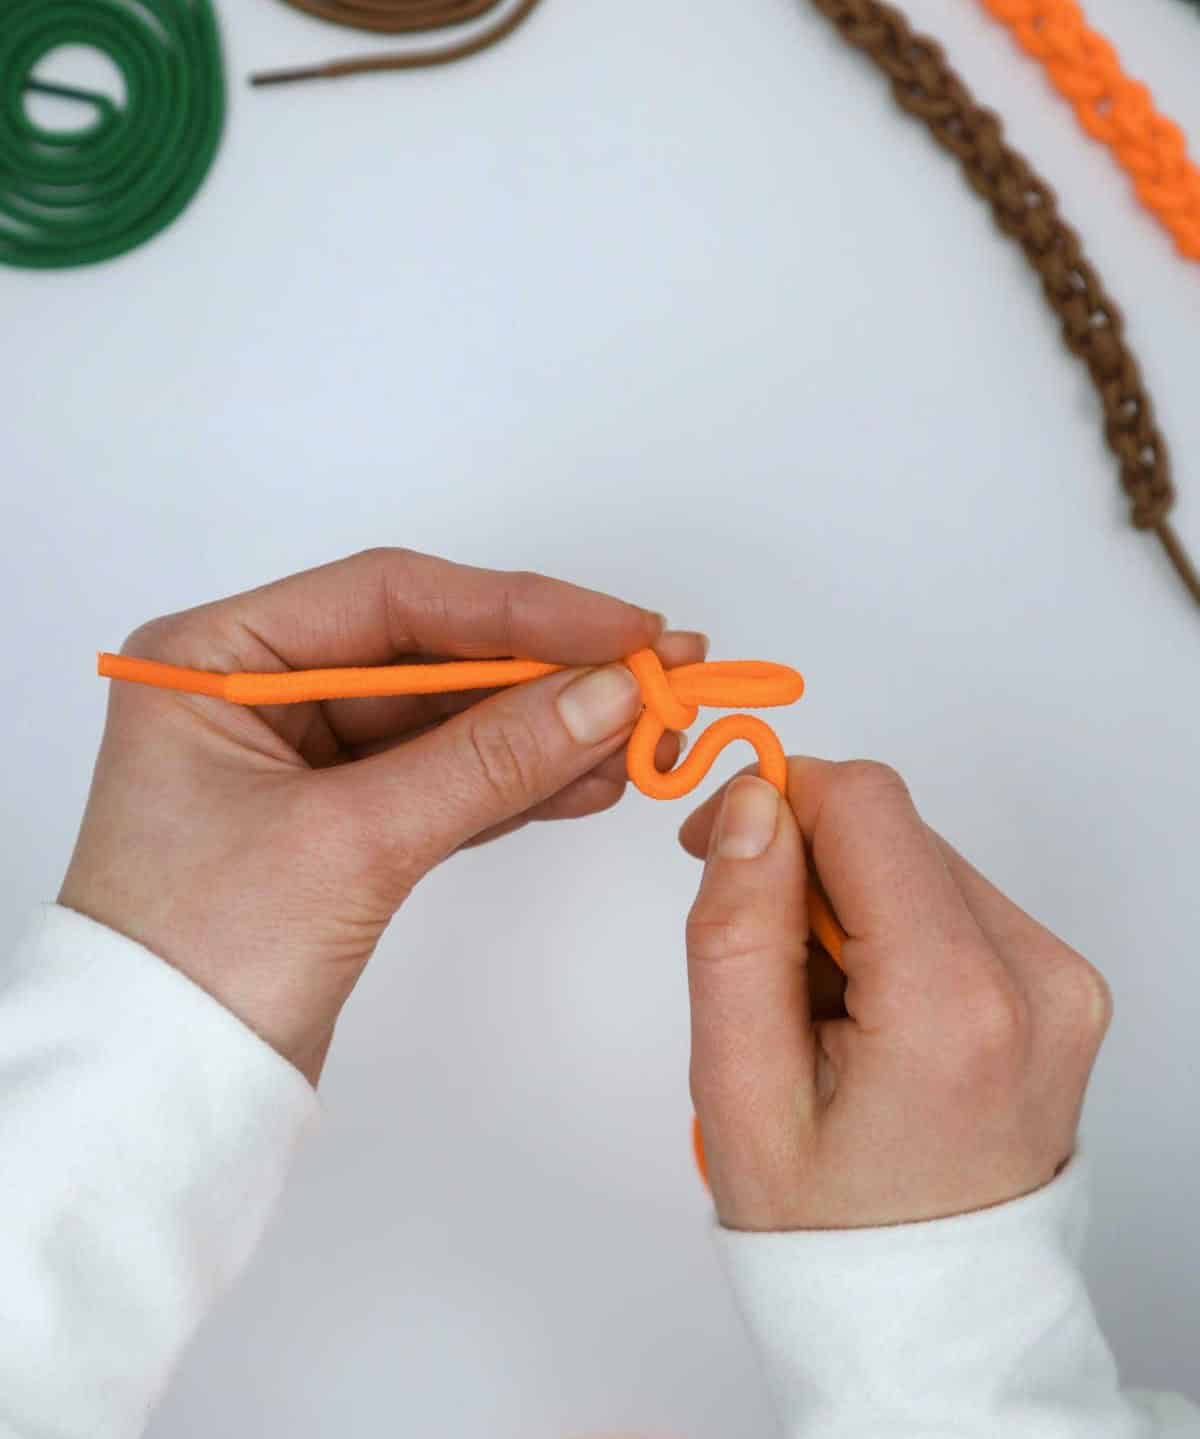
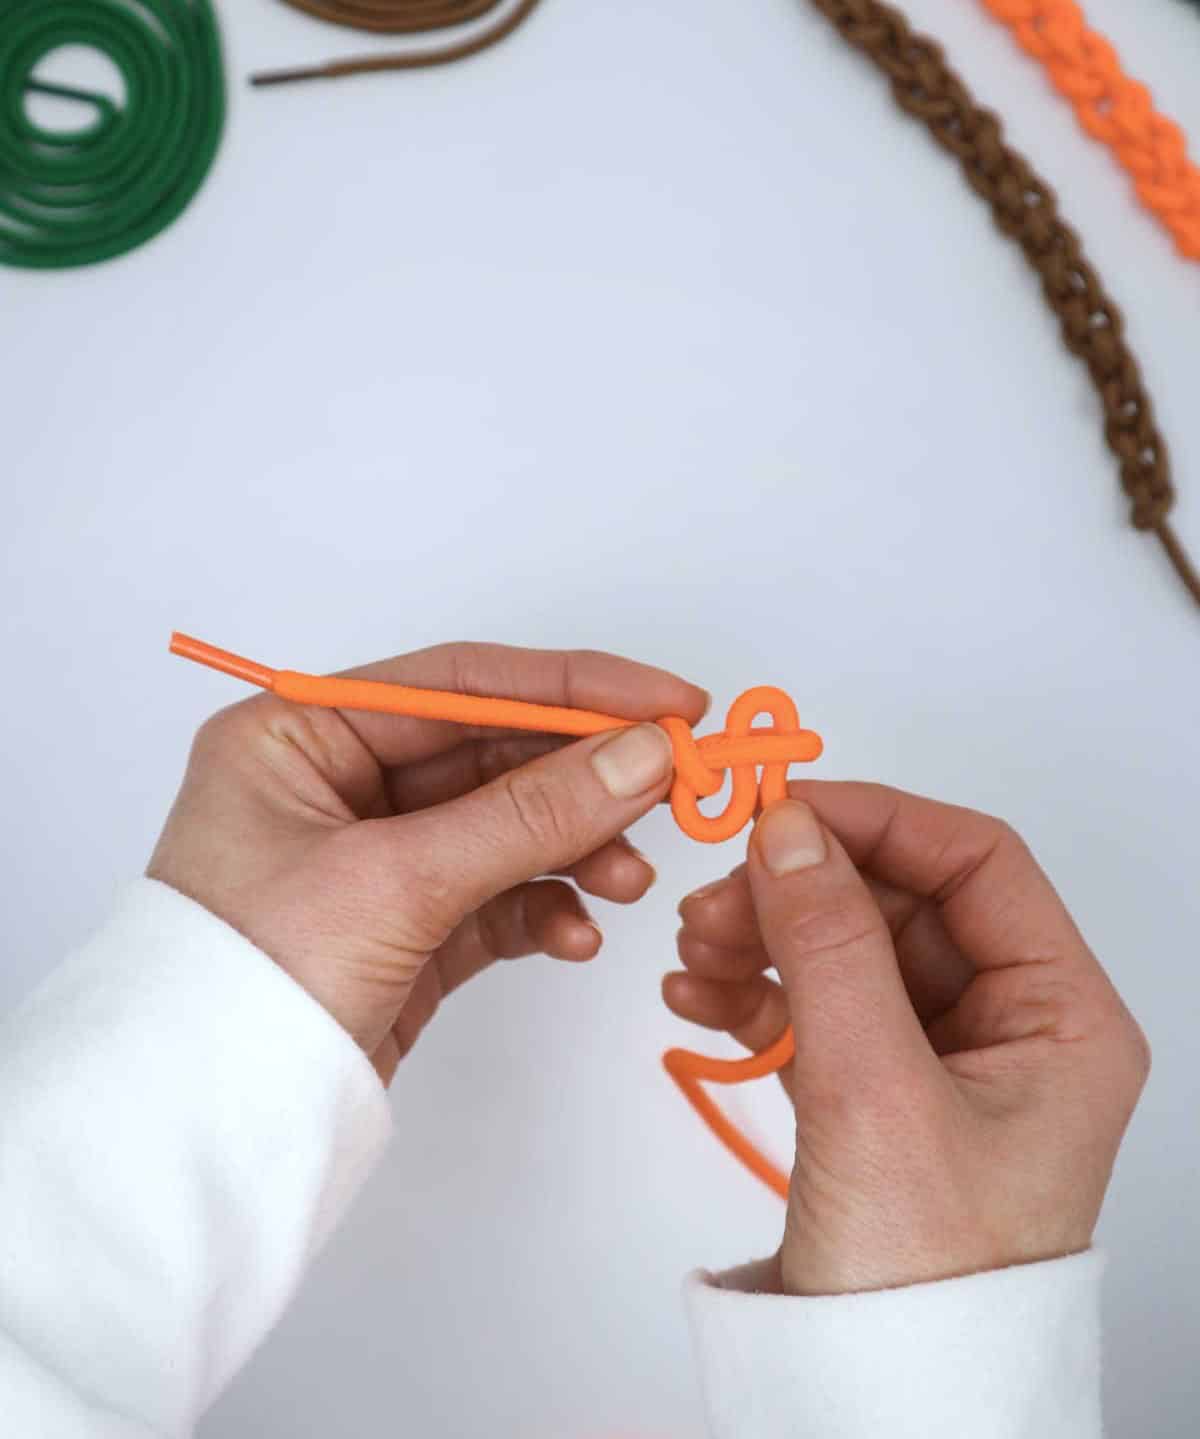
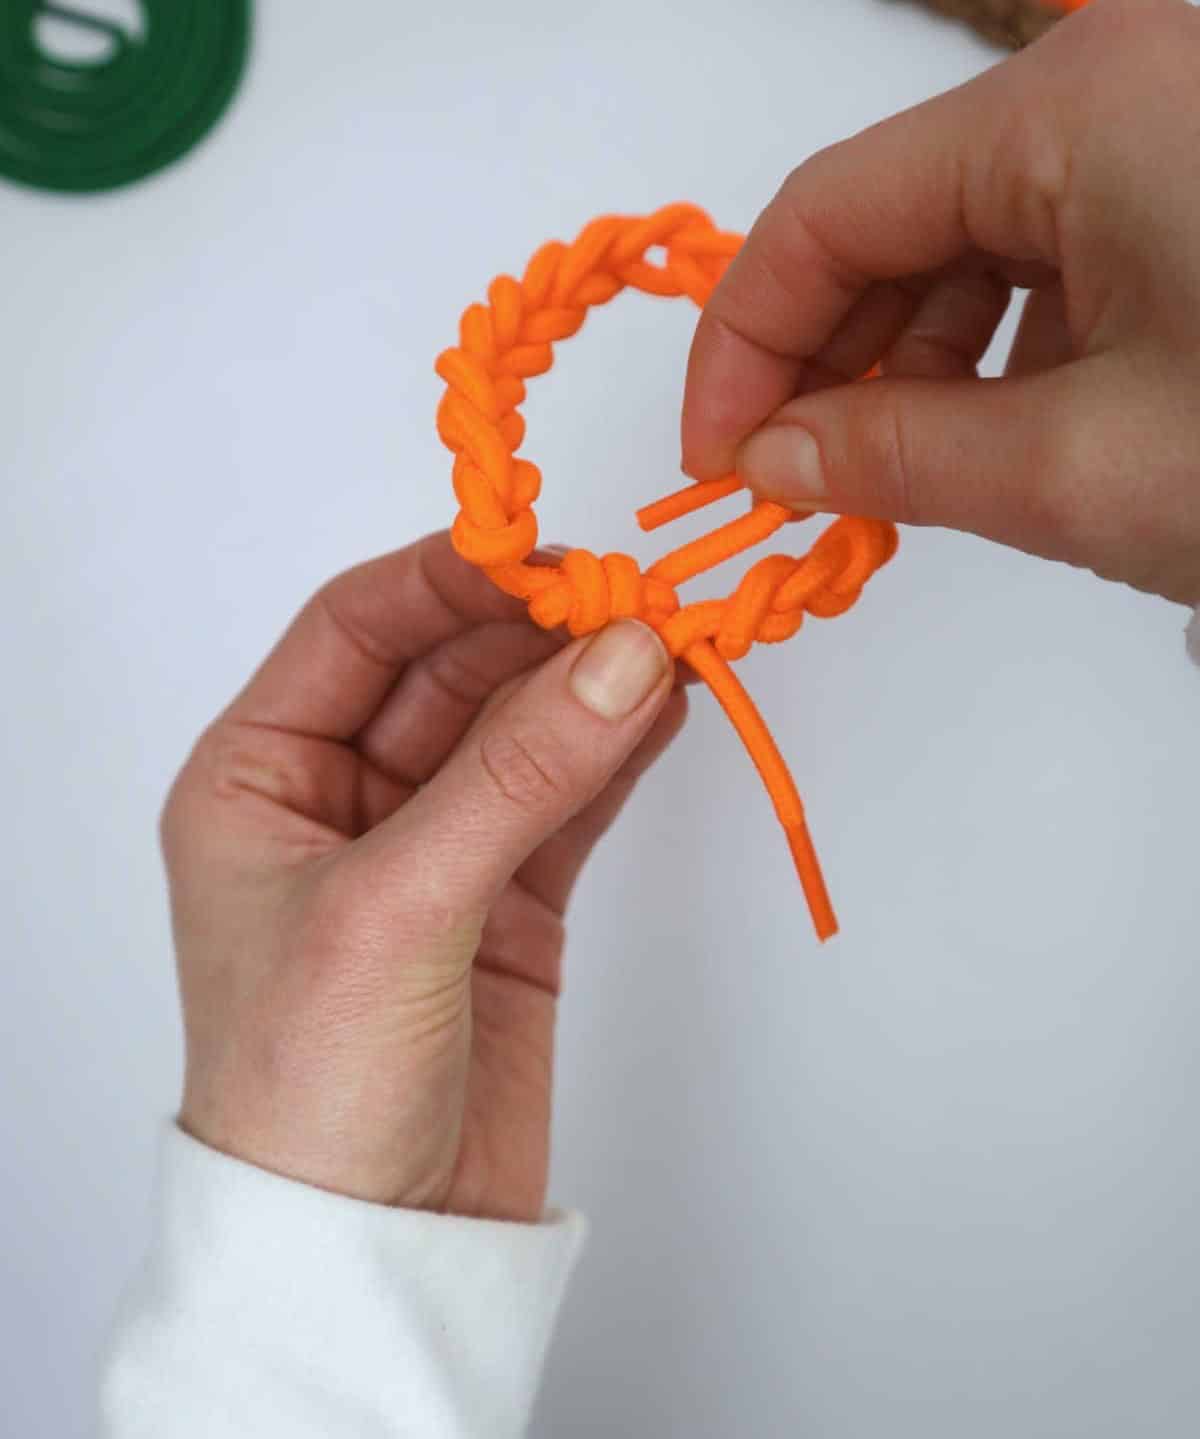
Step 5
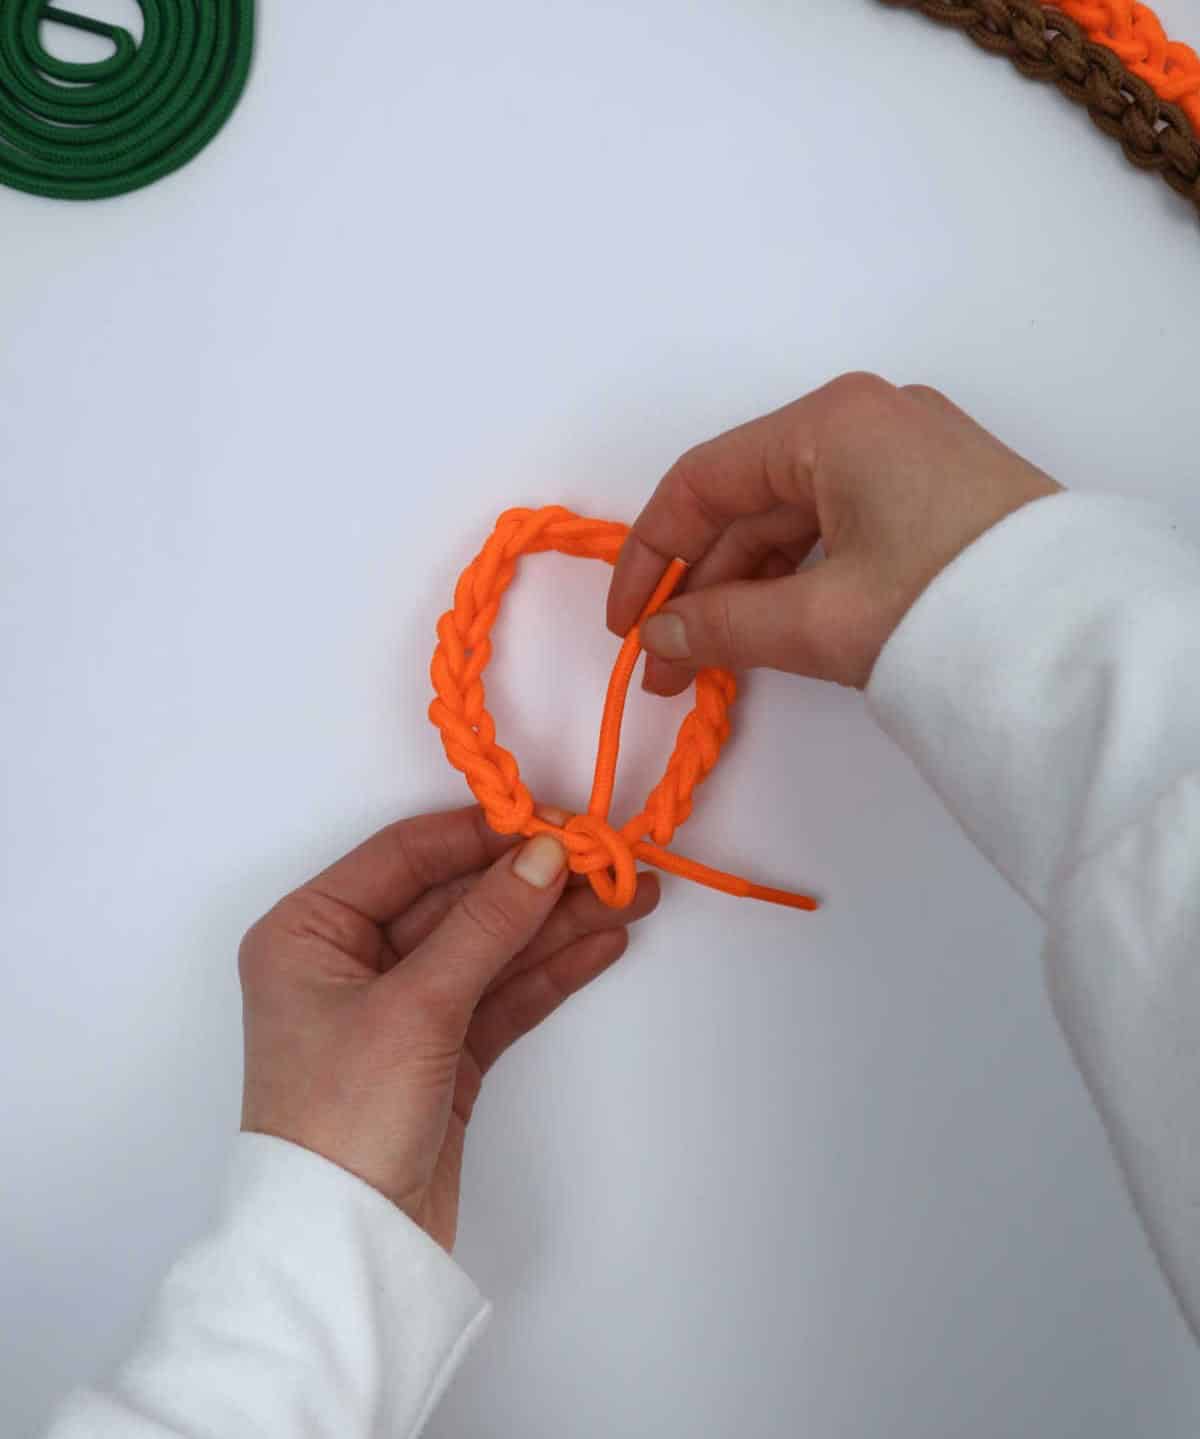
As you progress with crafting your bracelet, maintain a steady grasp on the tail and gently pull it through the loop. Secure it in its new position before moving on to the next section. Repeat this process until you reach the end of the shoelace or achieve the desired length for your design.
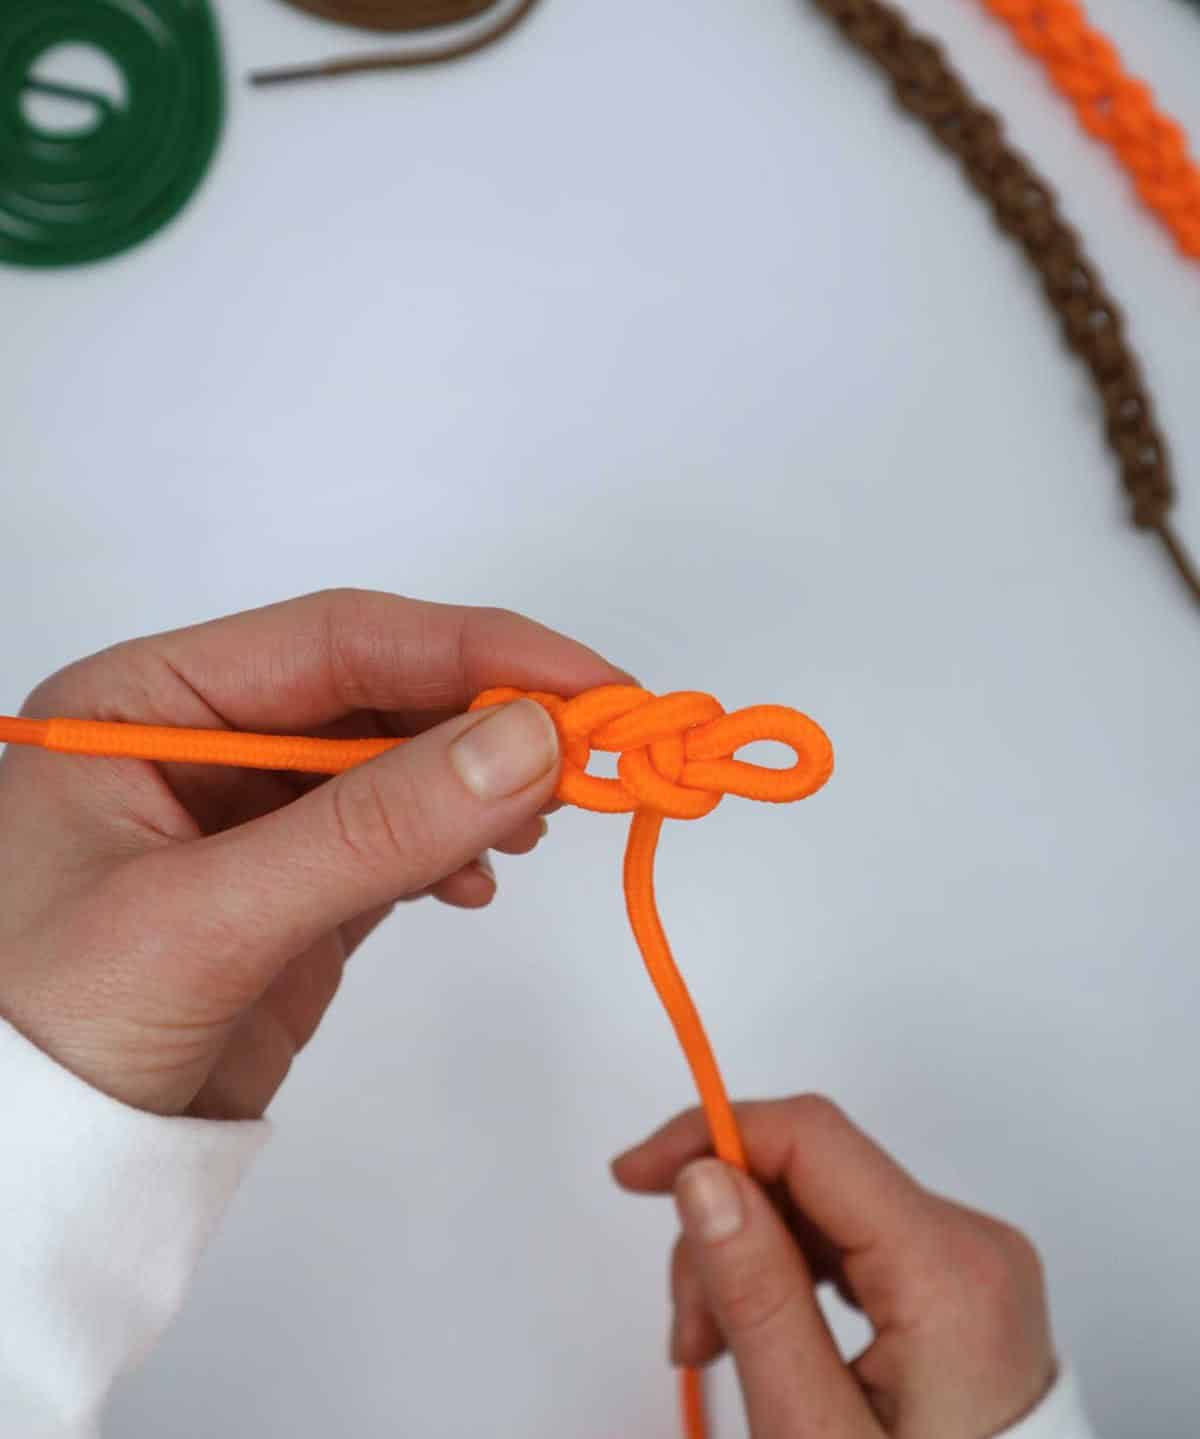
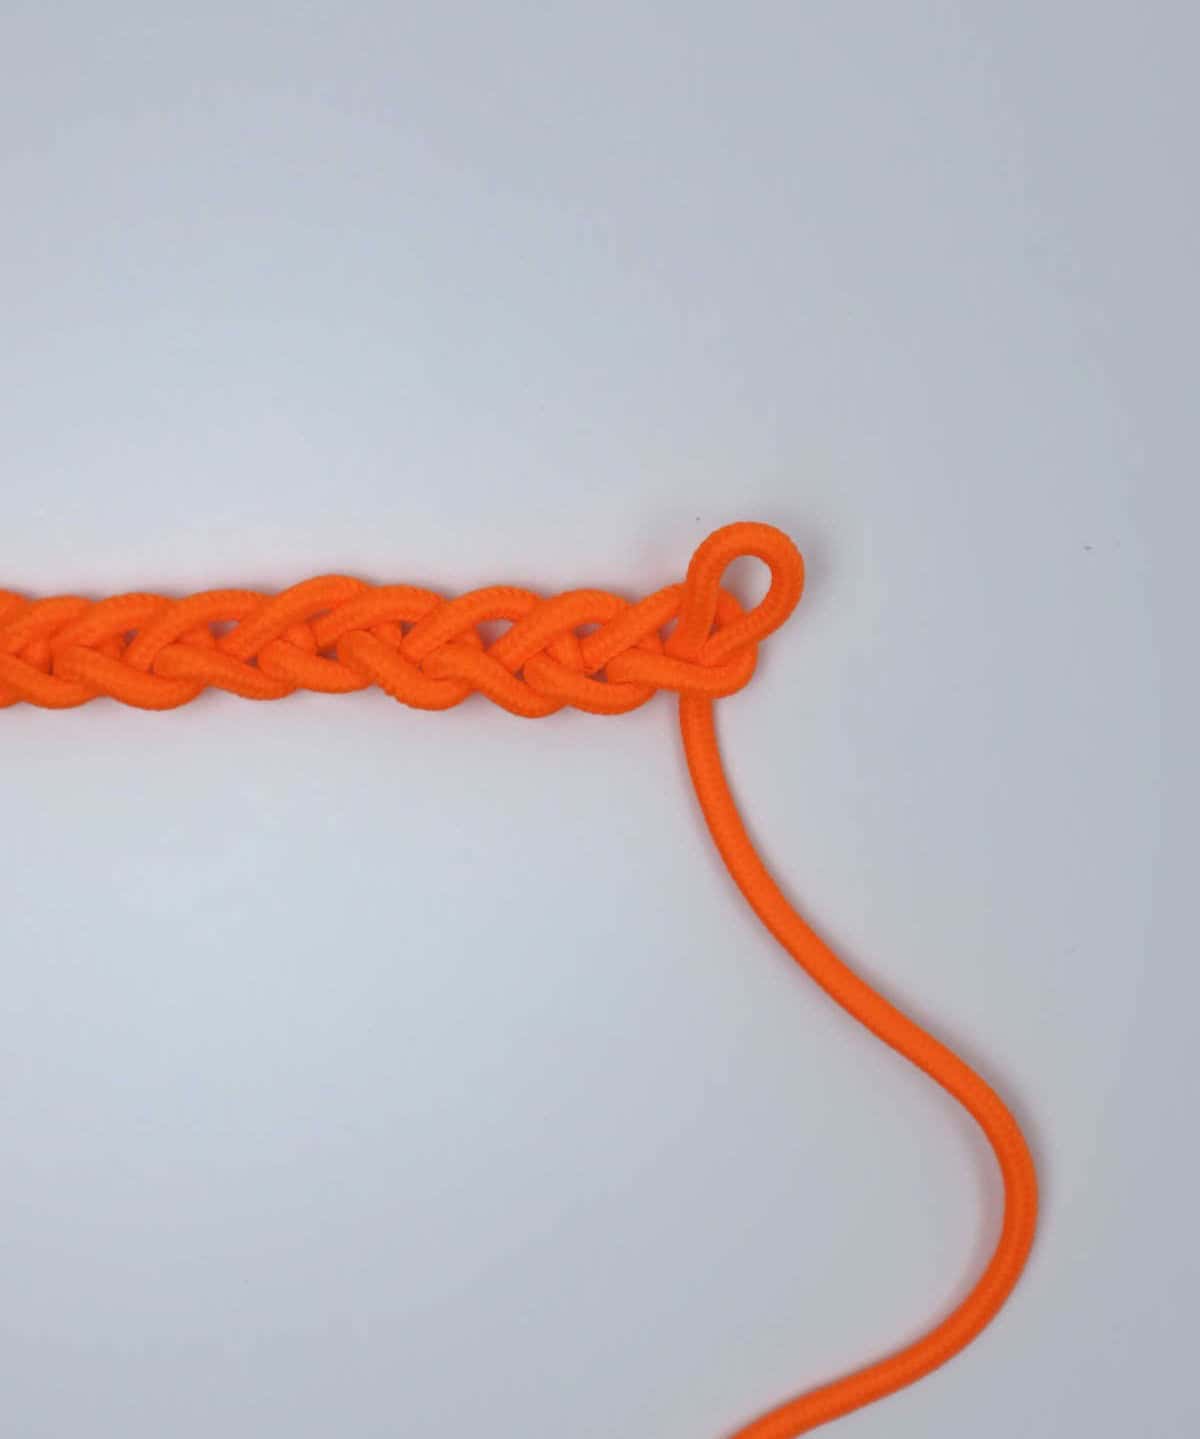
Step 6
When approaching the conclusion of your writing, whether it’s reaching the predetermined word count or simply wrapping up your thoughts, don’t forget to reserve a small buffer – roughly equivalent to leaving a couple of inches of shoelace on the right tail. This will ensure you have sufficient room to smoothly guide the ending through the narrative loop, creating a satisfying and cohesive conclusion.
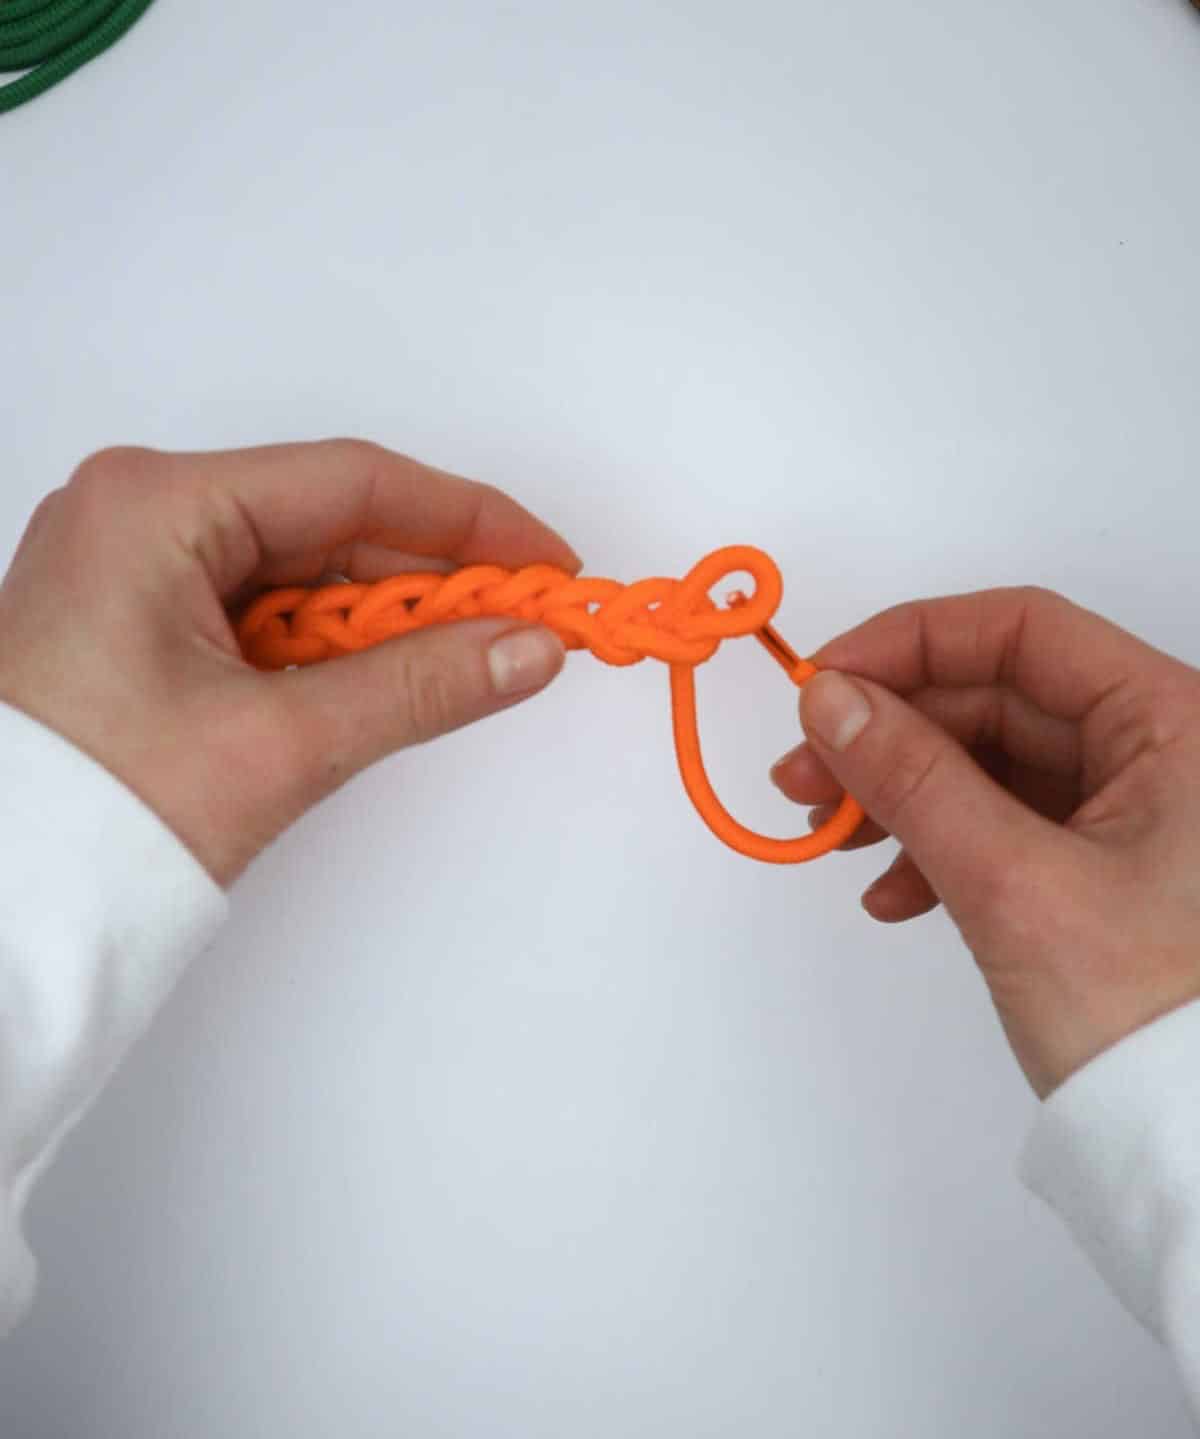
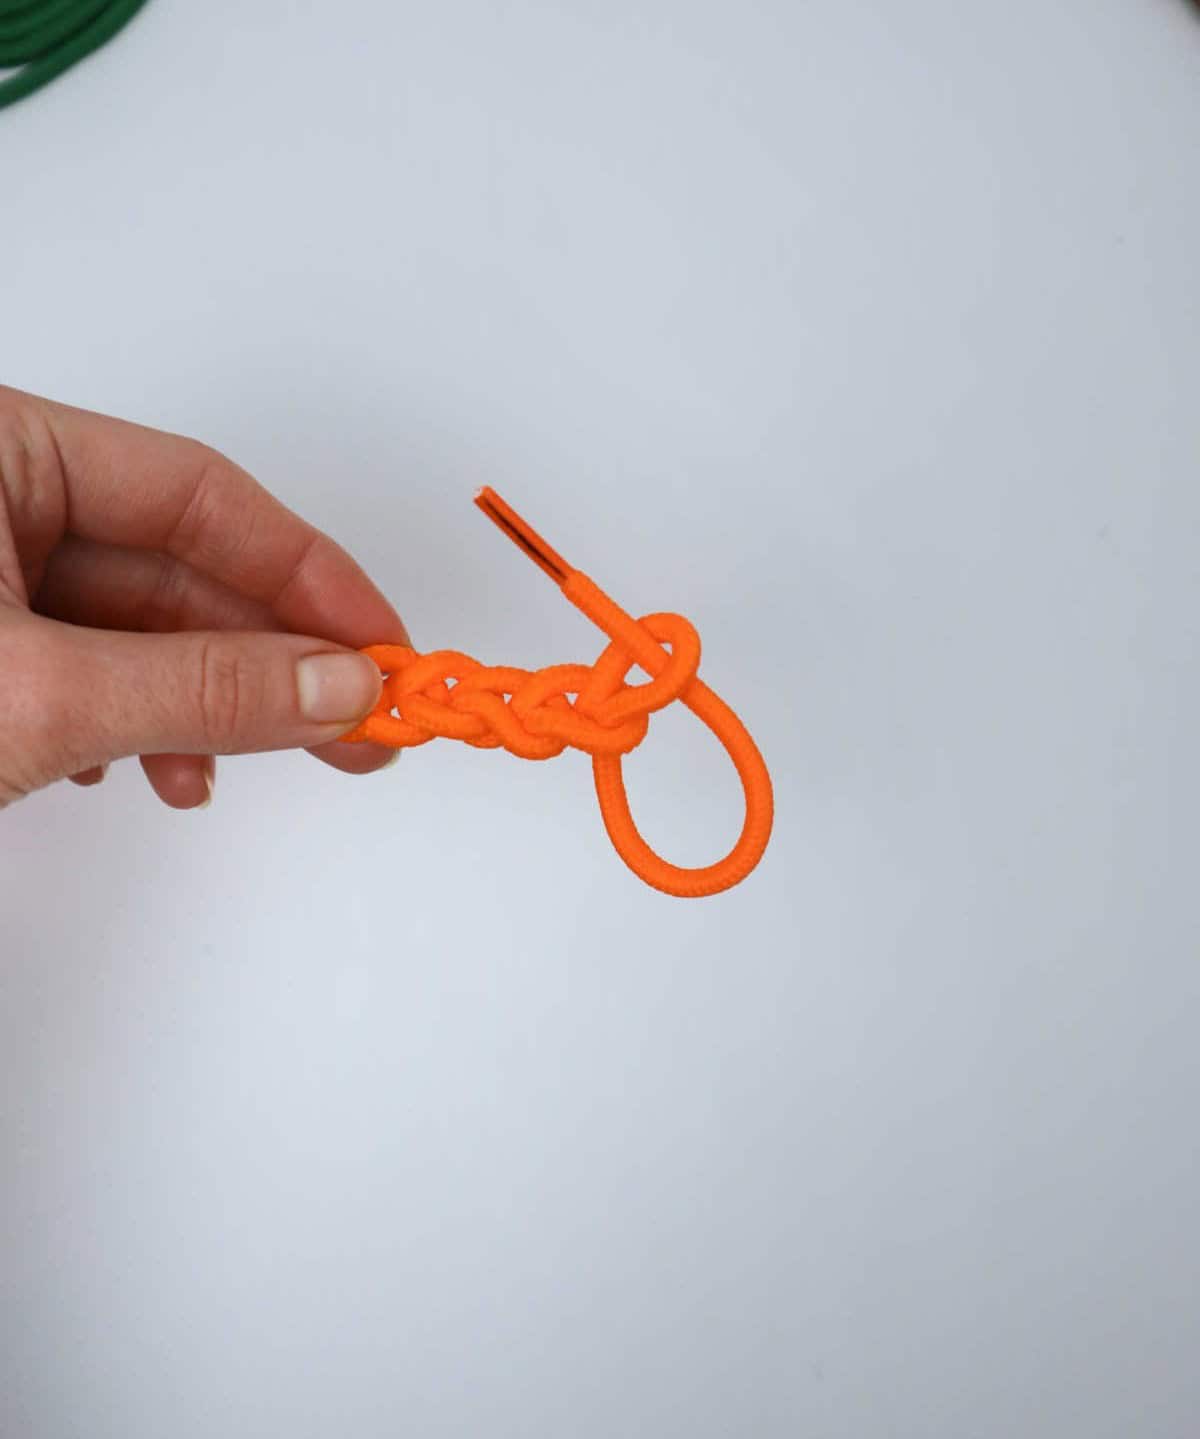
Step 7
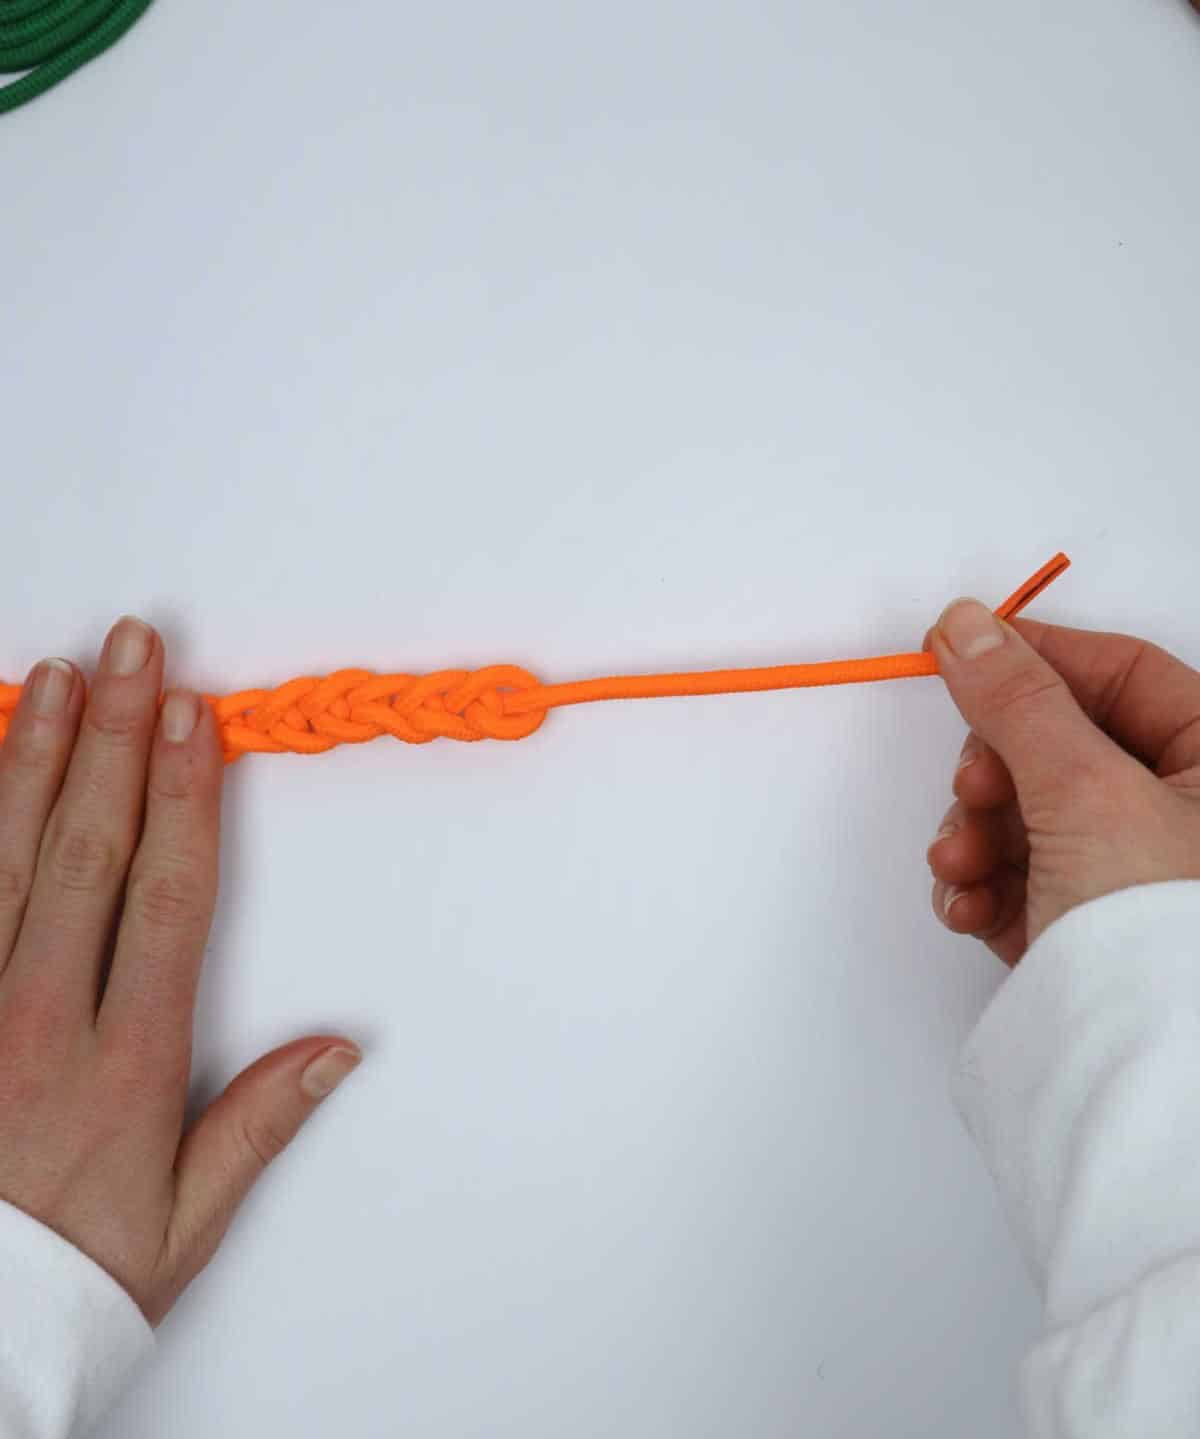

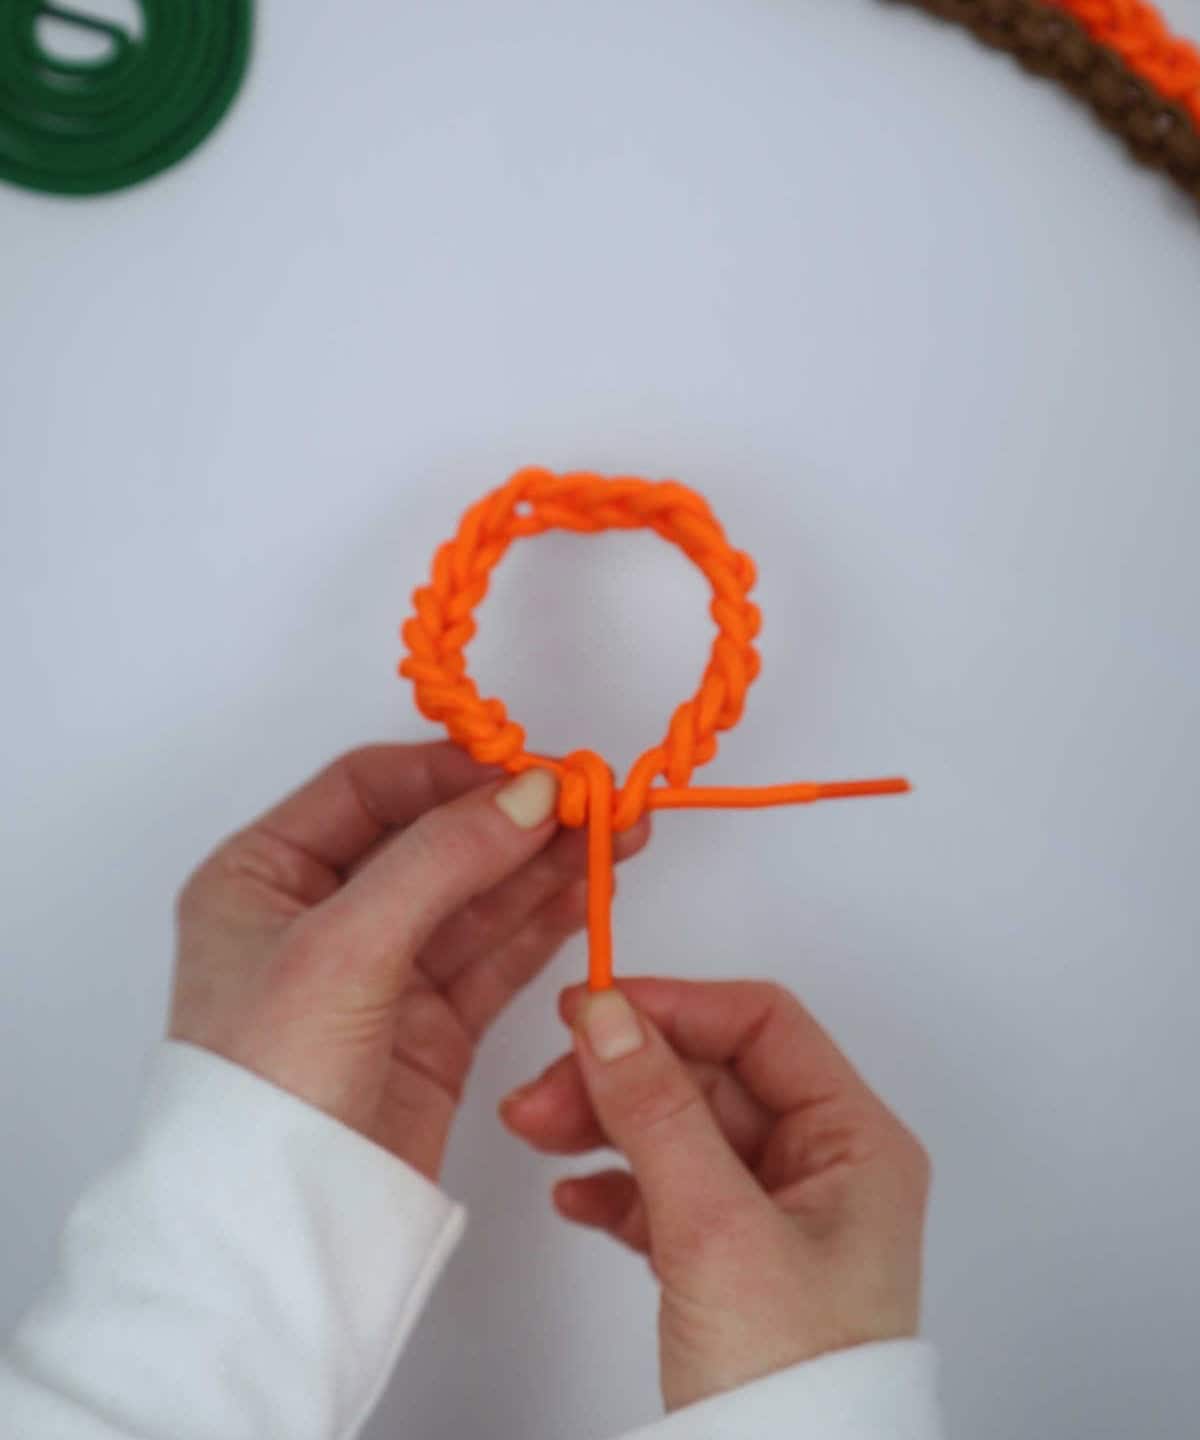

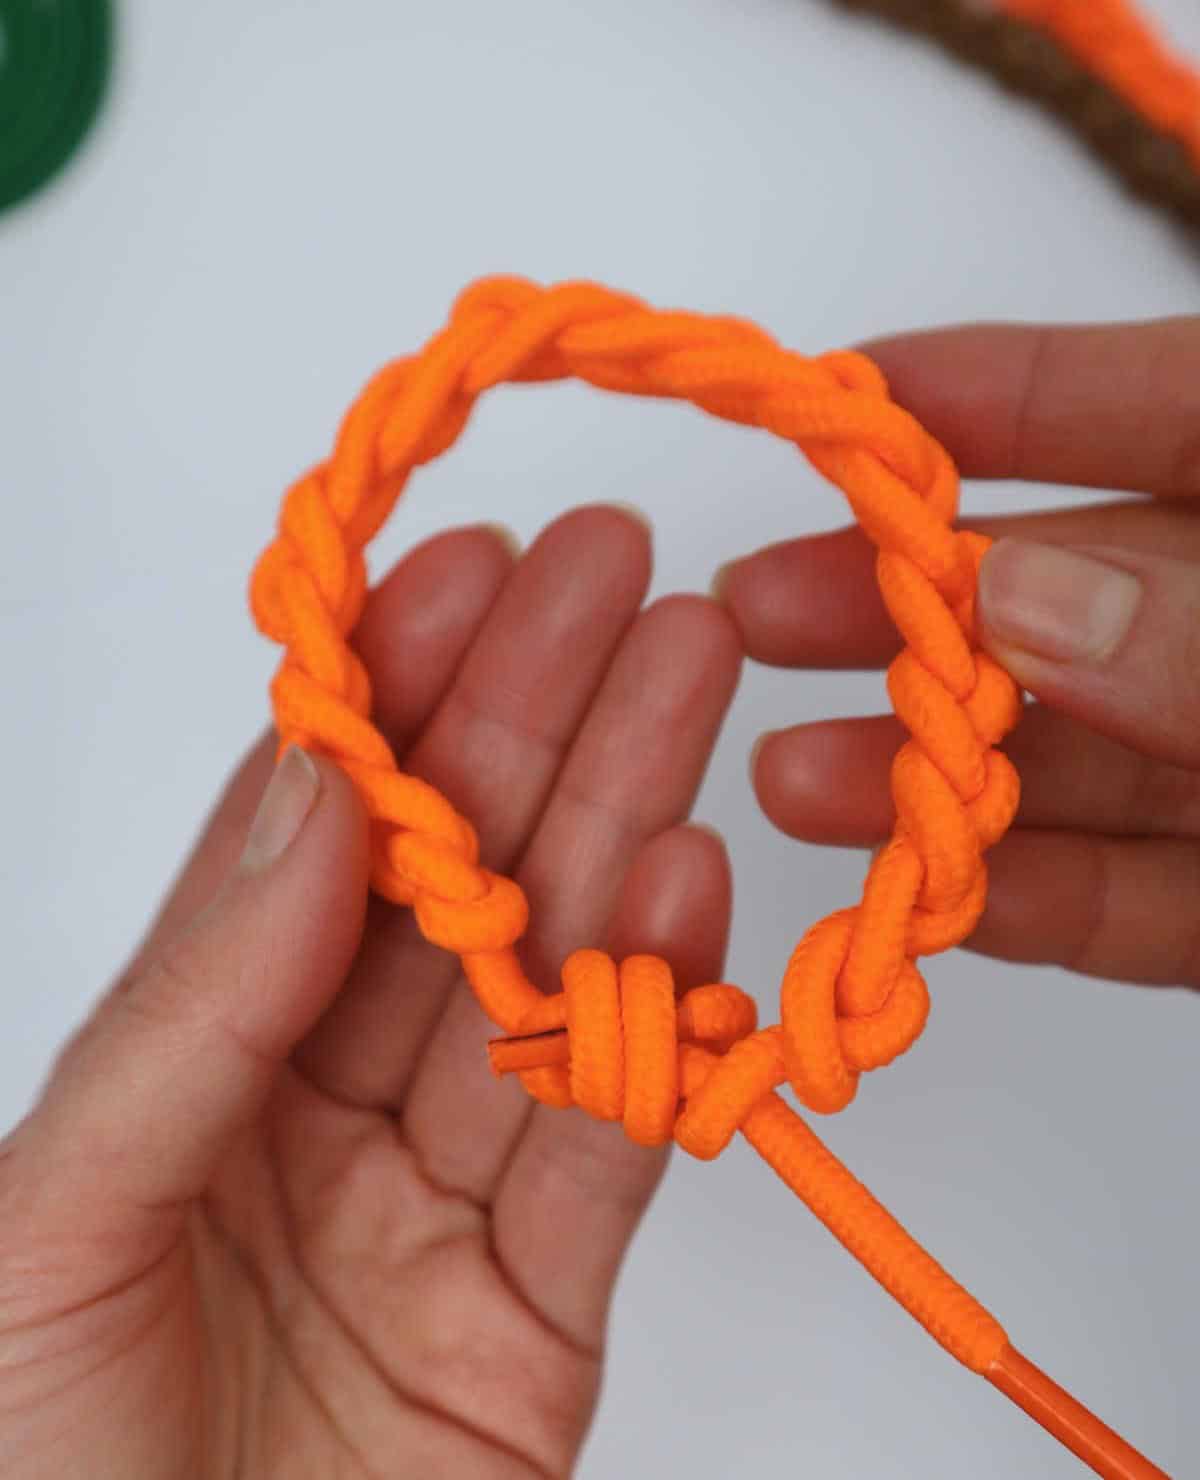
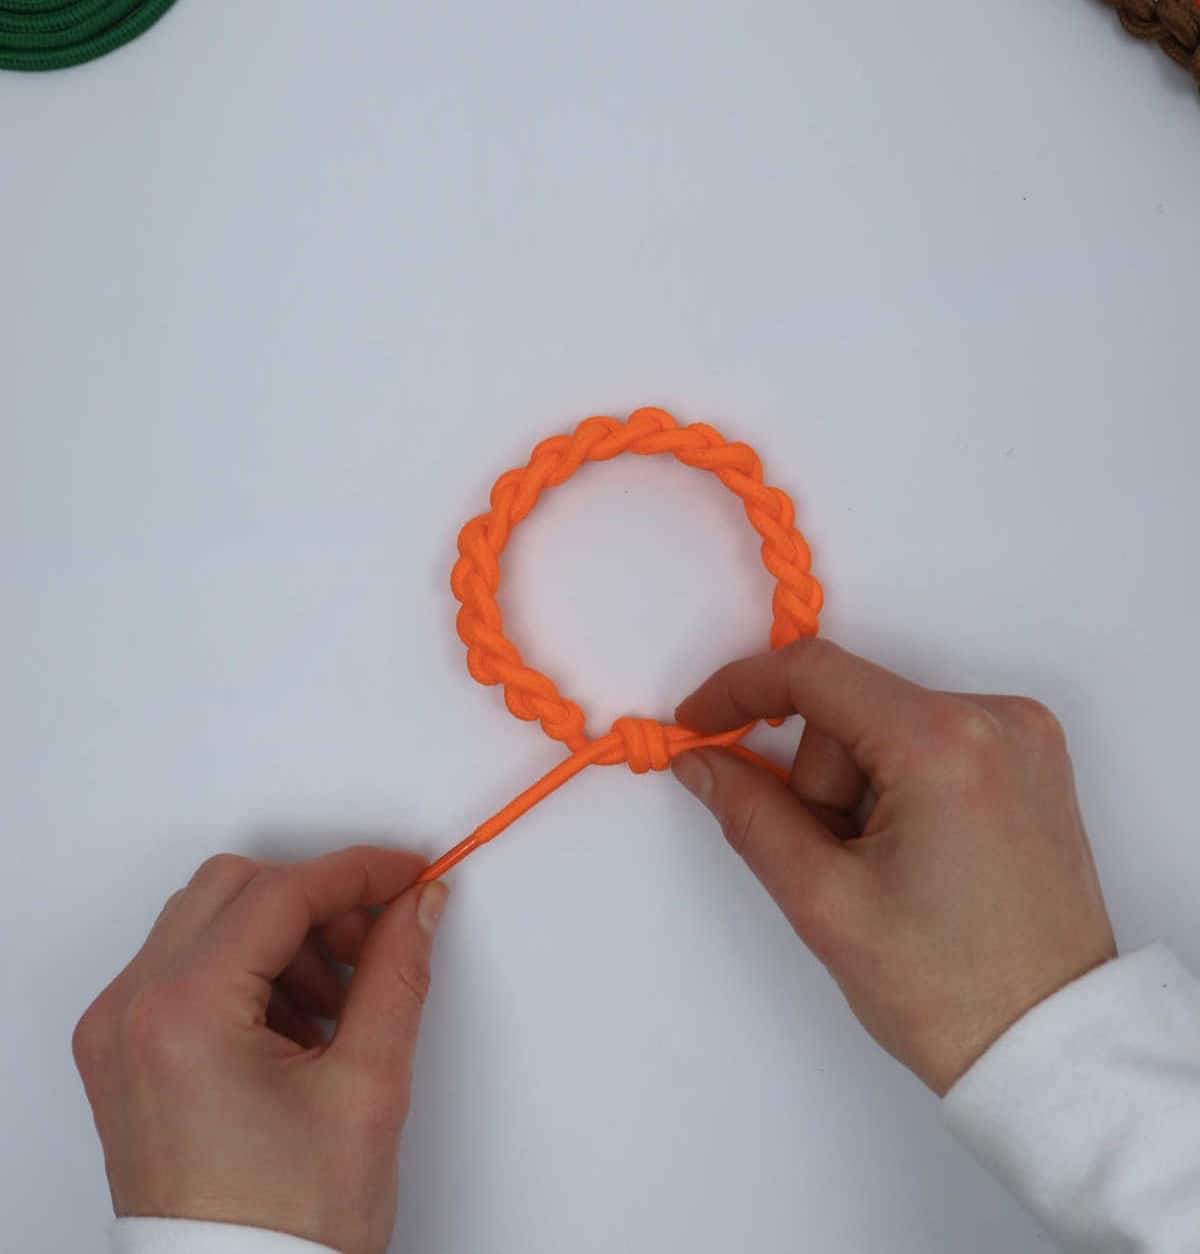
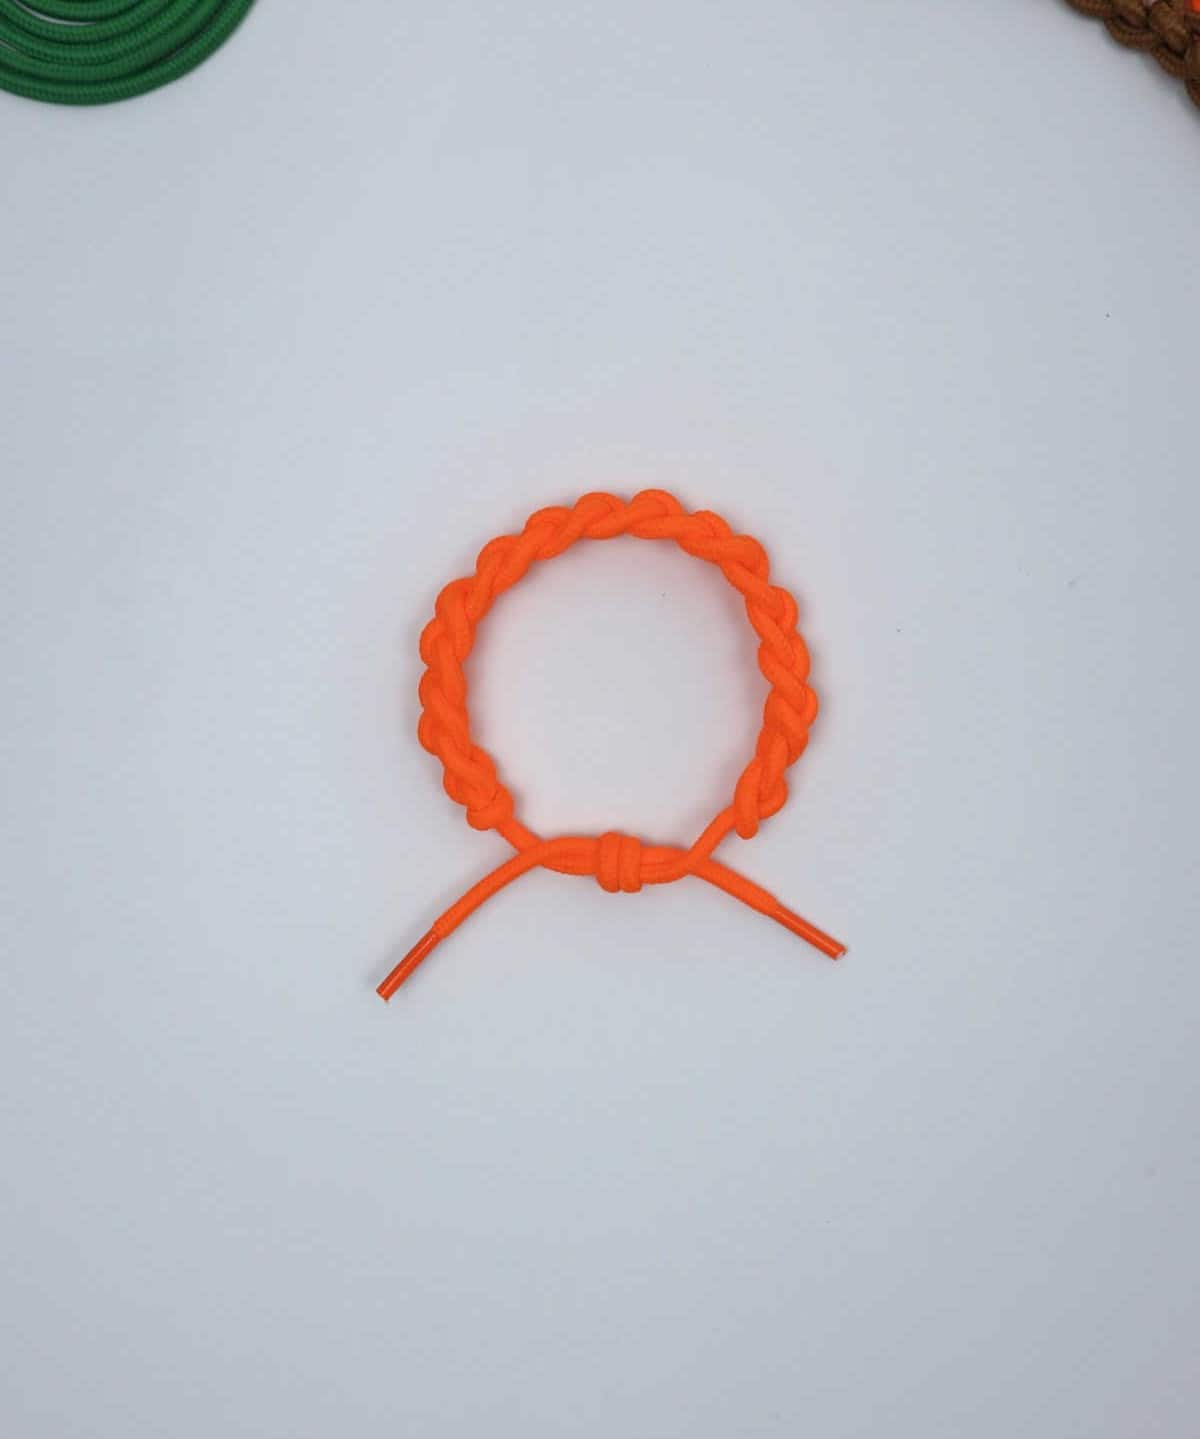
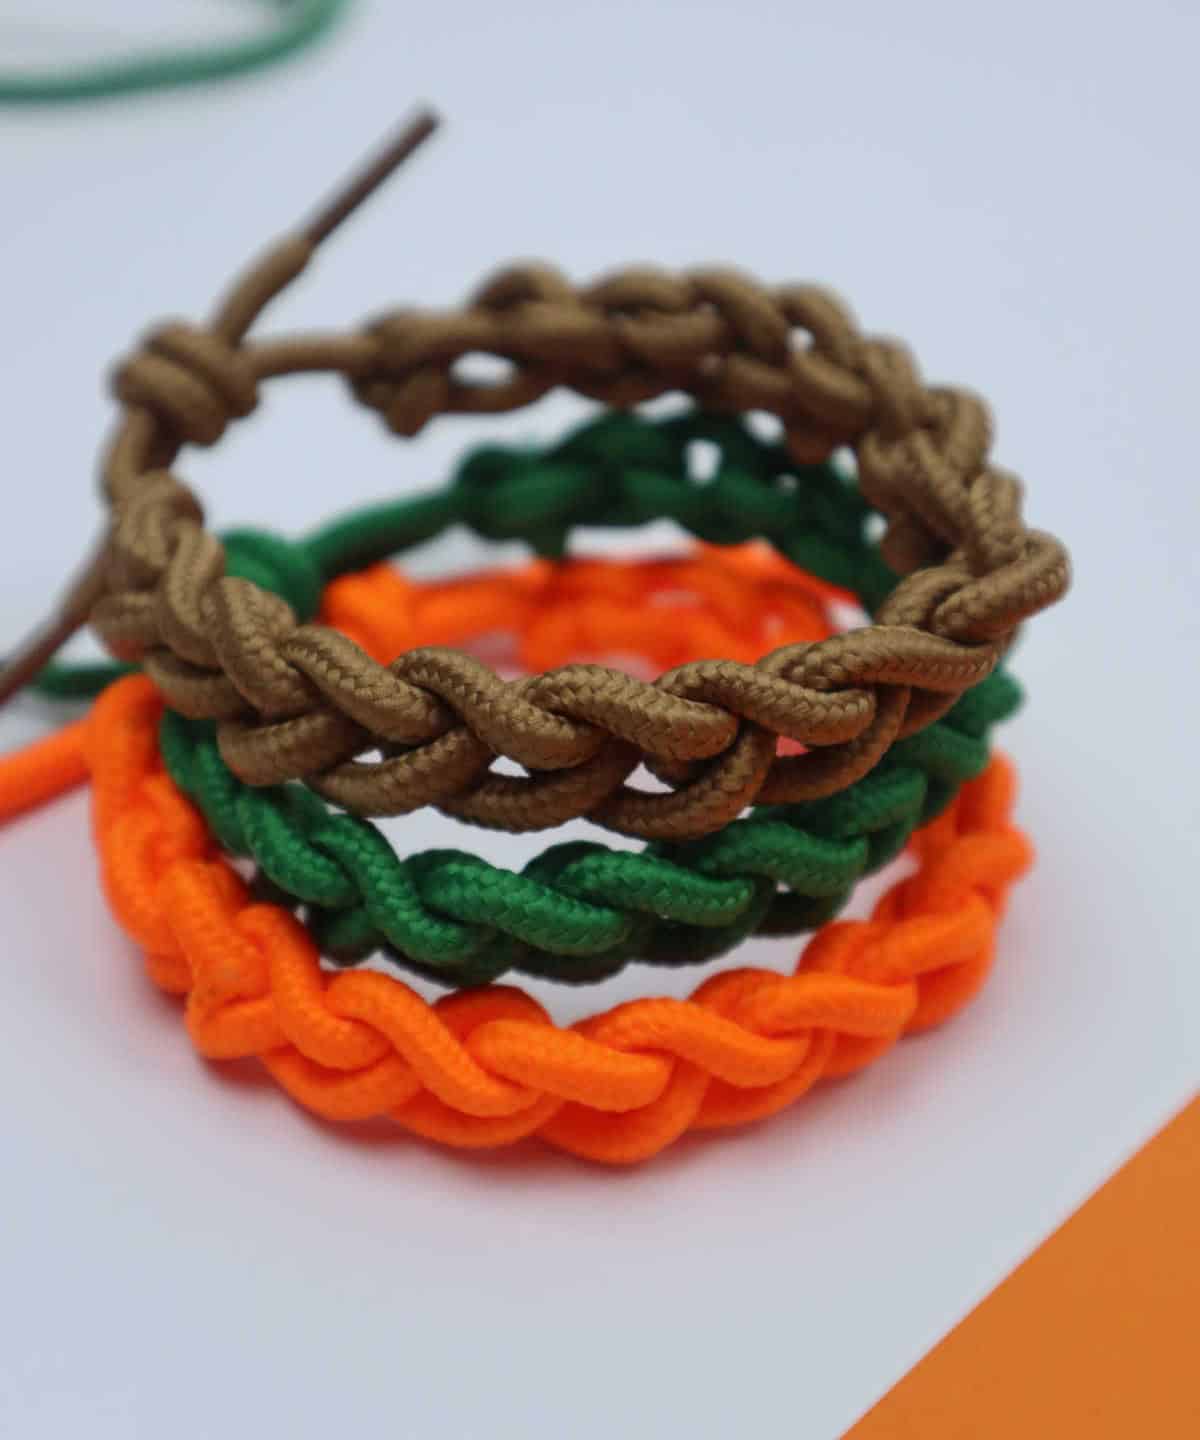
Secure the shoelace end by pulling it outward and then wrapping it into a snug knot. Your DIY bracelet is now ready to be worn. You can opt to leave the tails loose until you’re ready to wear the bracelet, or tie them together to create a knot. If you choose to tie the ends together, wrap one tail around the other twice, then pass the aglet through the two loops and tug it into place to secure the bracelet.
Other Crafts You Might Like Making
For creative teens looking to express themselves and earn some extra cash, there are numerous DIY craft projects that can be made with ease. With 37 girl crafts and 20 projects specifically designed for teens, the possibilities are endless. From making unique accessories like DIY macrame earrings to creating items that can be sold or gifted, such as the 20 DIY crafts for teens to make money, there’s something for everyone.
Additionally, there are an impressive 40 crafts for teens to explore, providing hours of fun and creative expression.
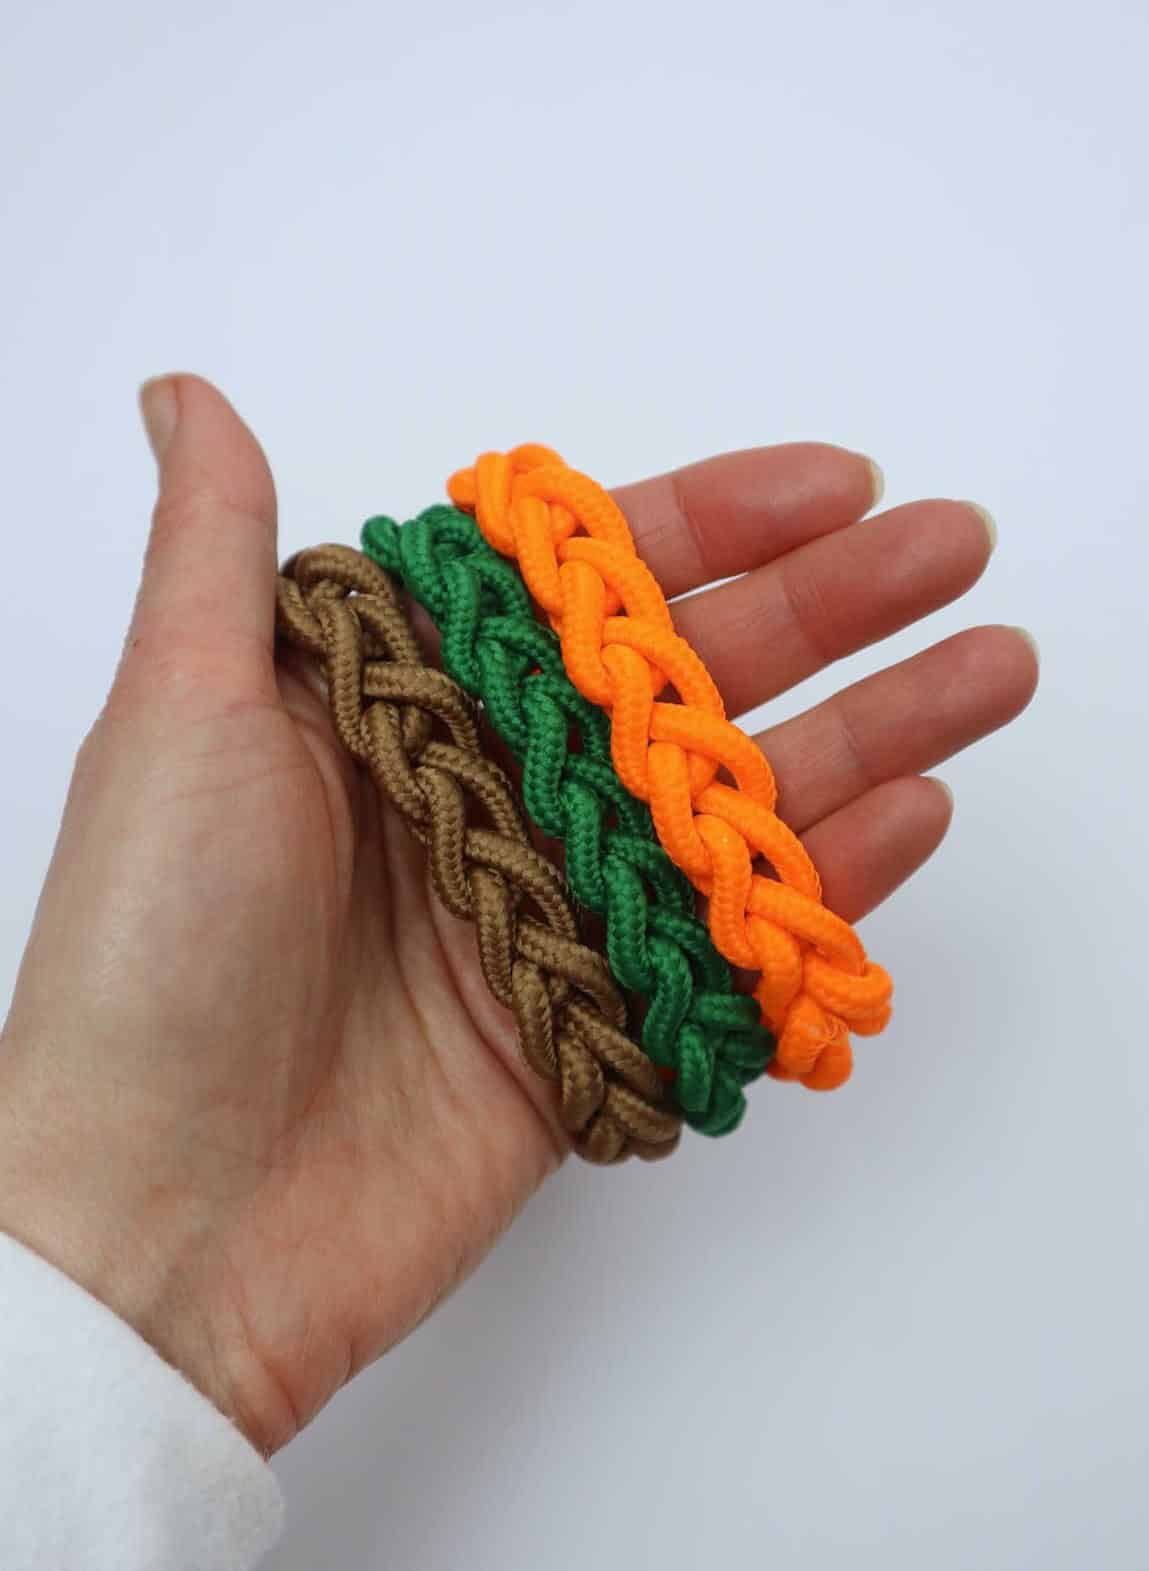
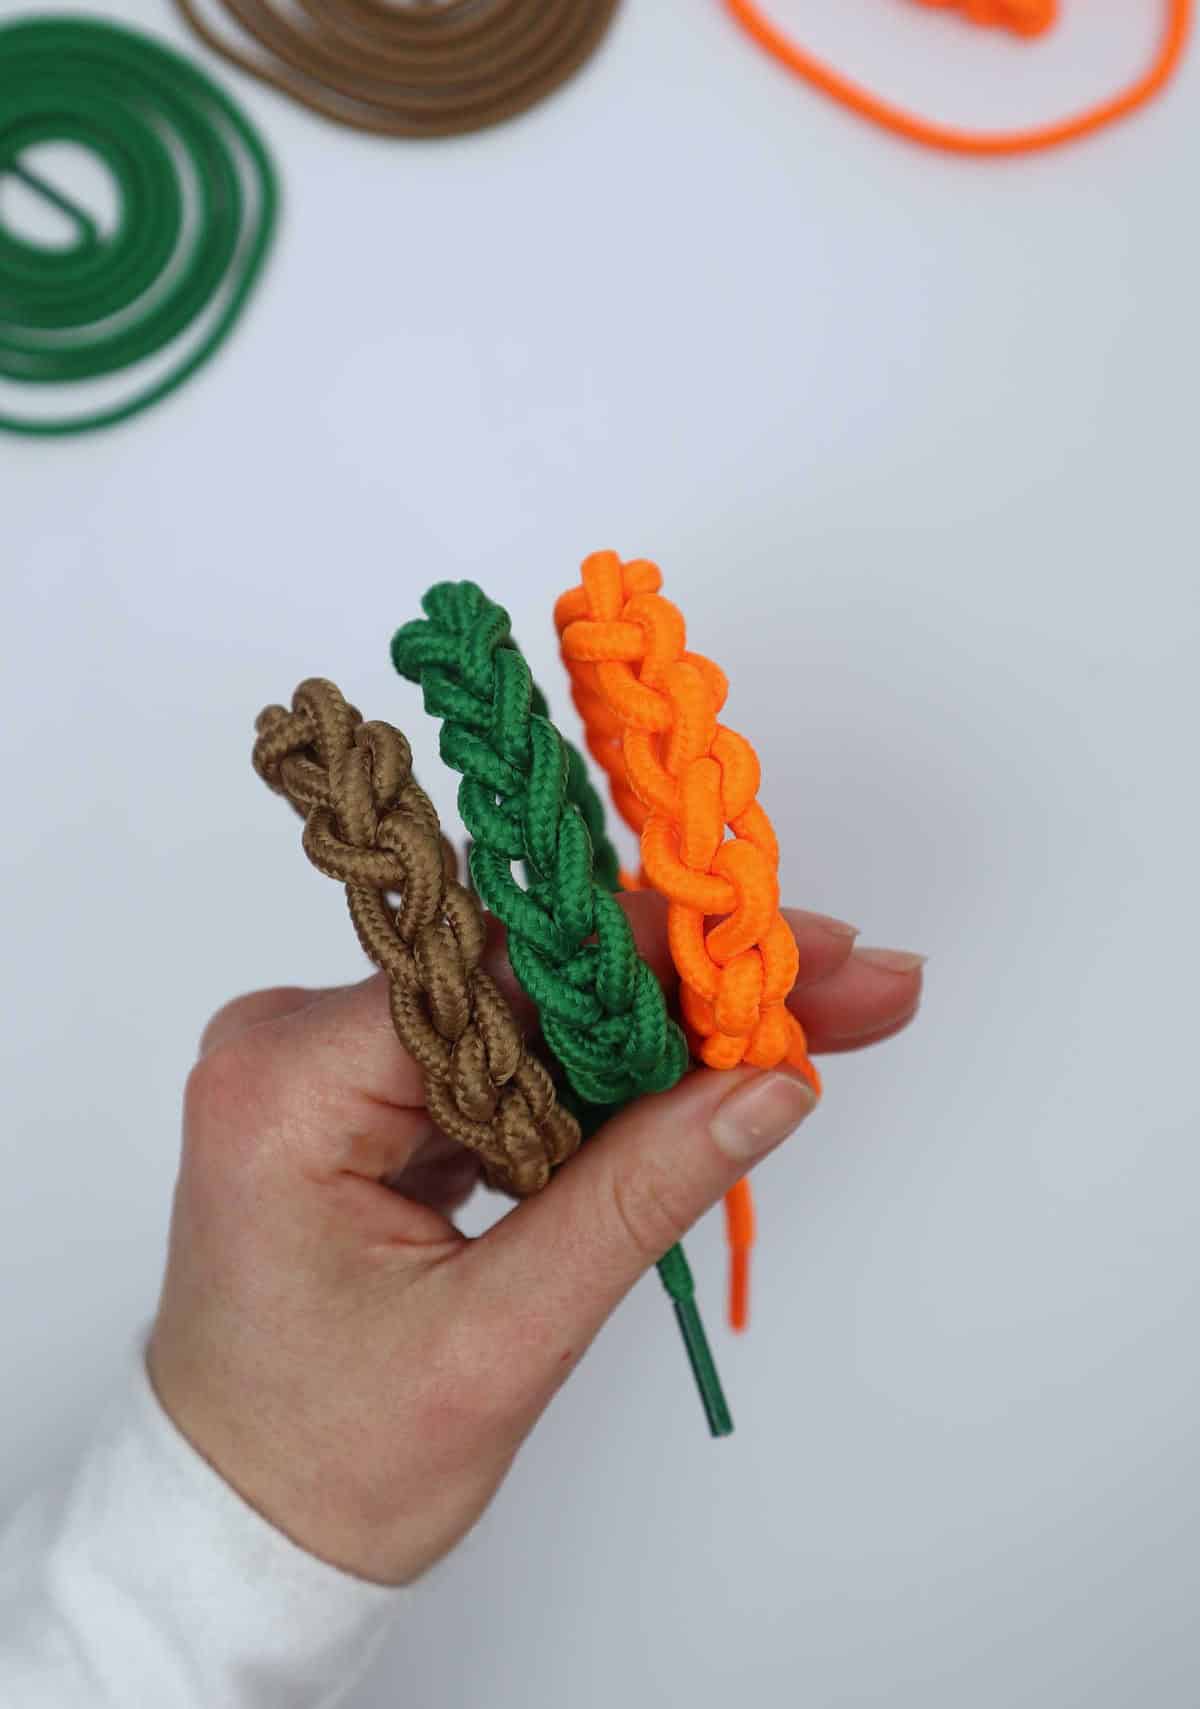
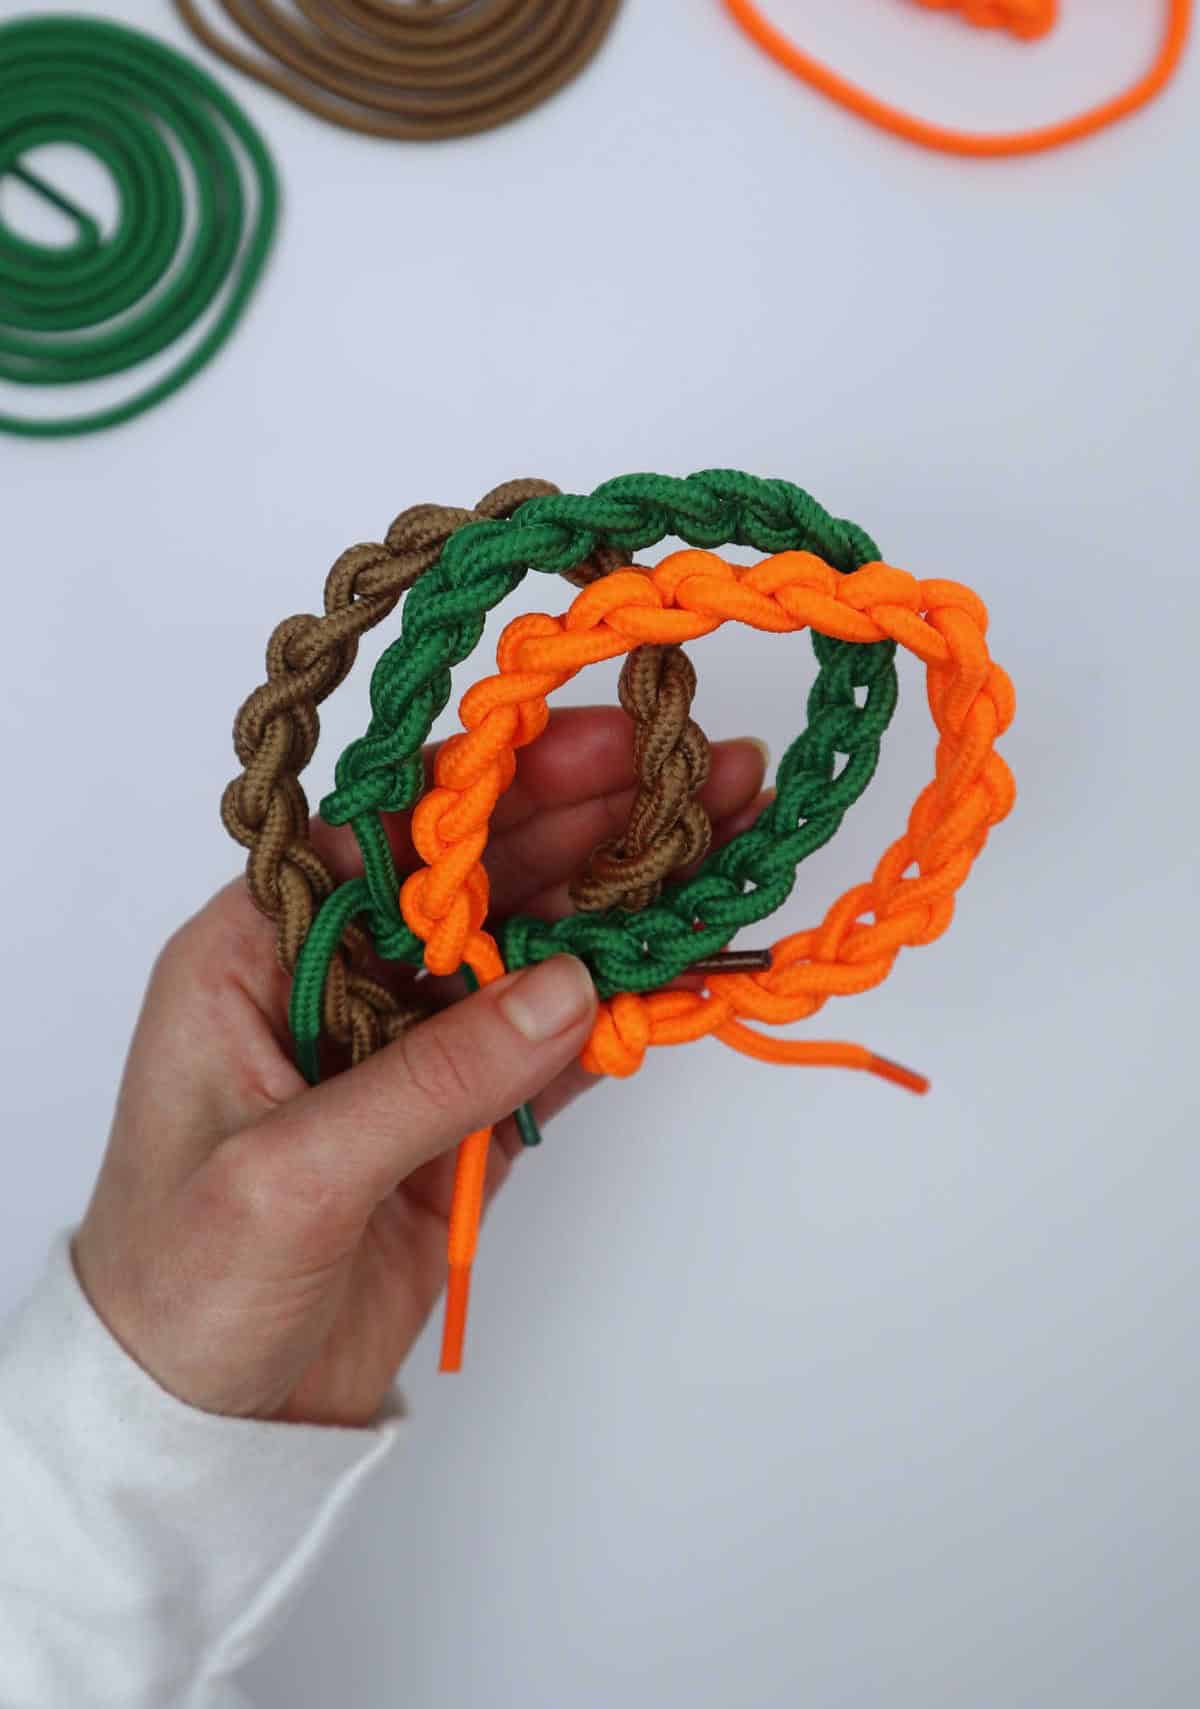
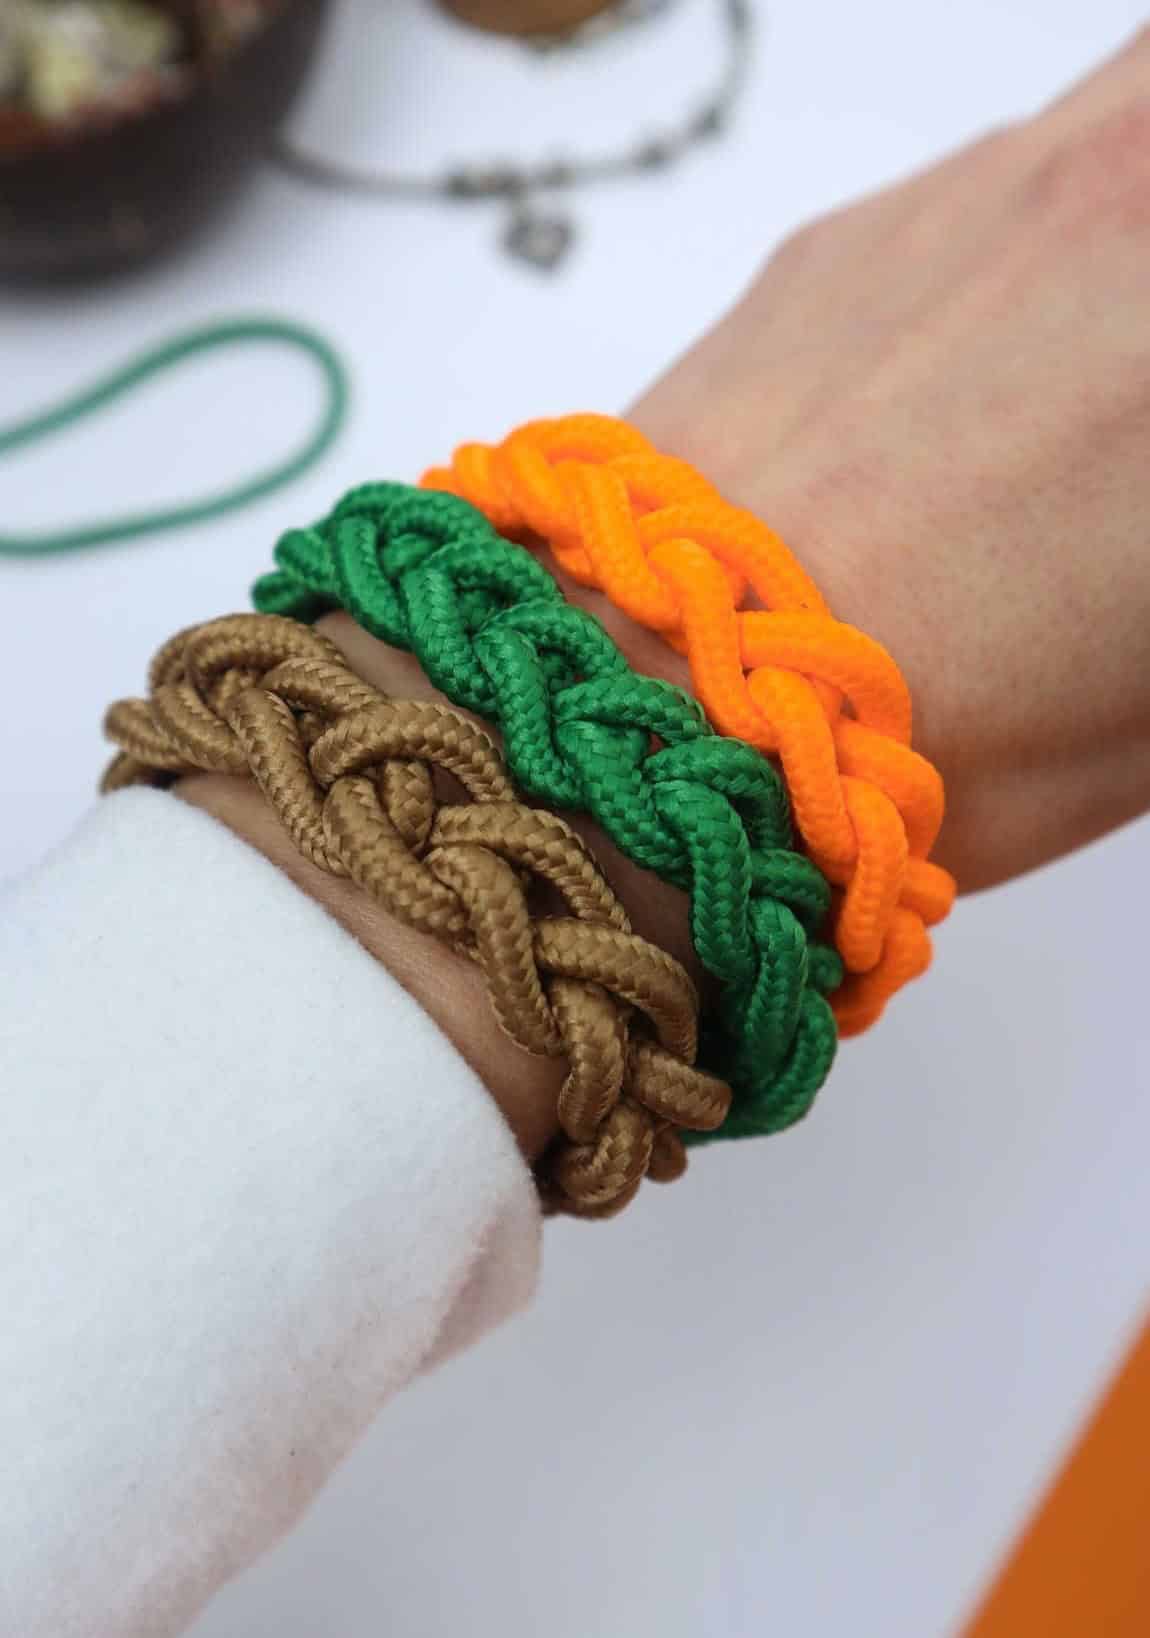
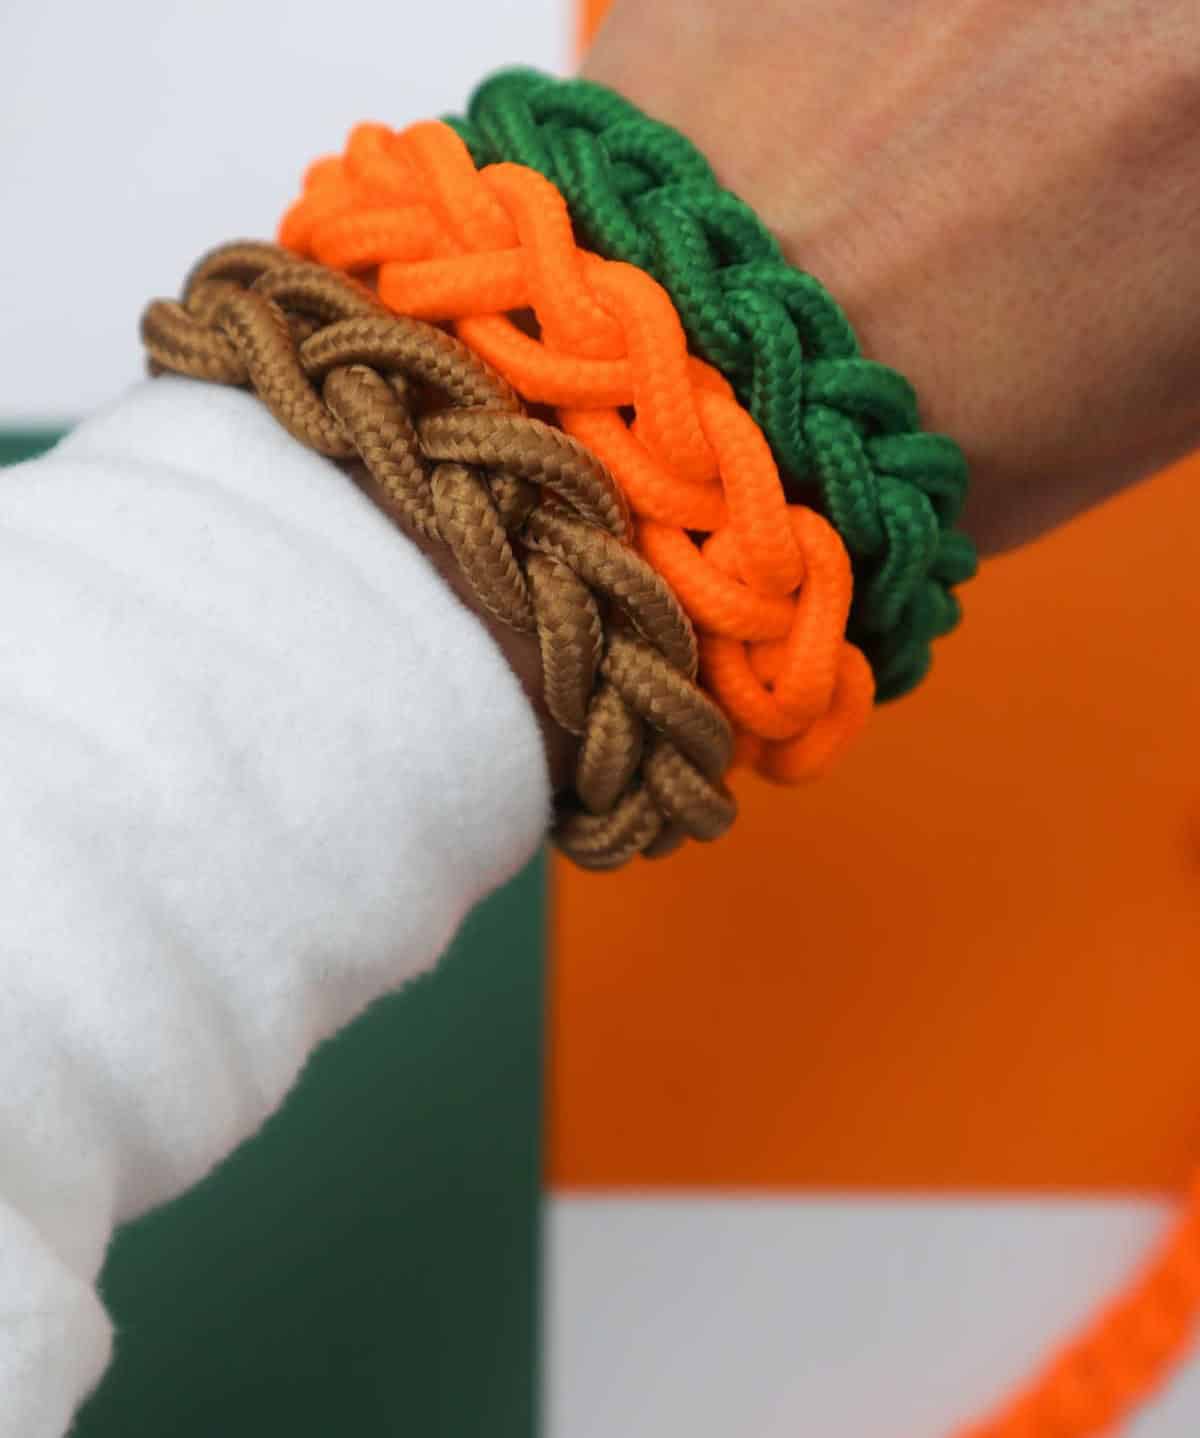
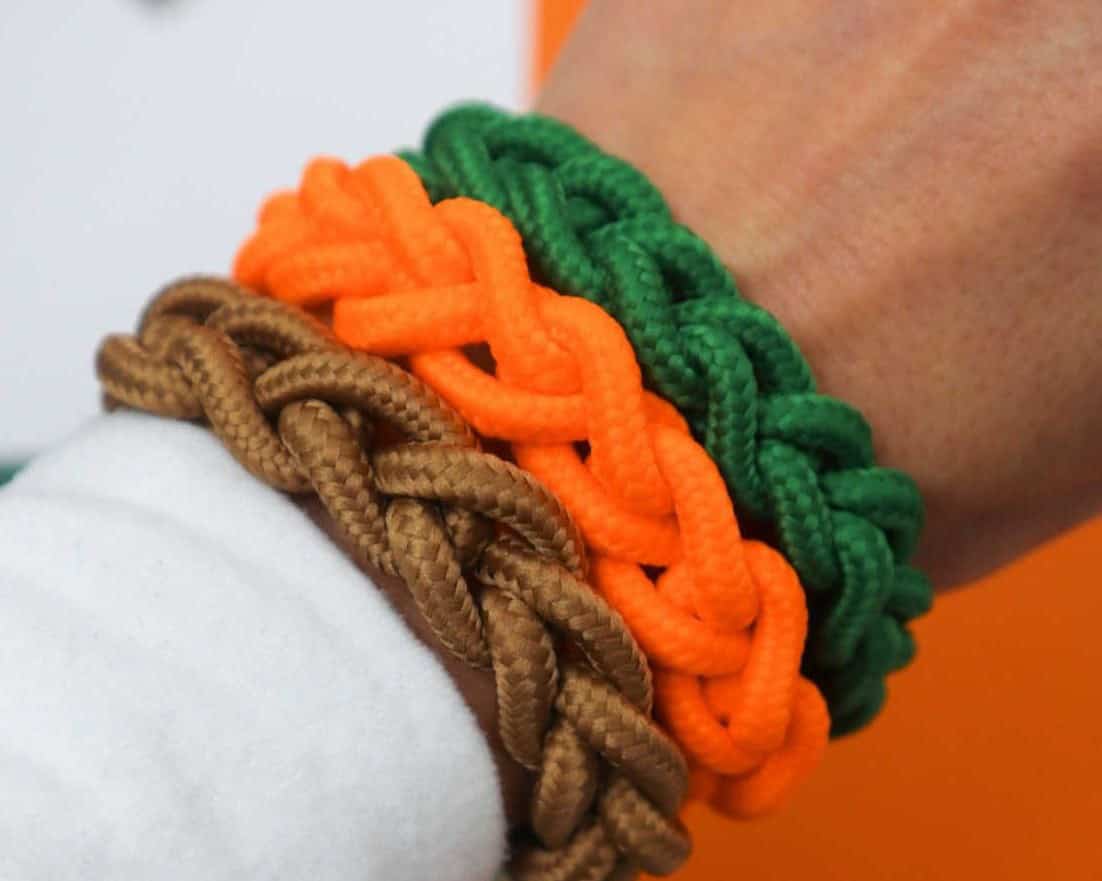
DIY Bracelet Out of Shoelaces
If you’ve got leftover shoelaces gathering dust, don’t toss them just yet. With just five minutes of your time, you can transform them into unique DIY bracelets that make for great gifts or accessories. The perfect craft project for kids and teenagers alike, these shoelace creations are a thoughtful way to show you care. Simply set aside a few minutes and get creative – the end result is sure to bring a smile to someone’s face.
Materials
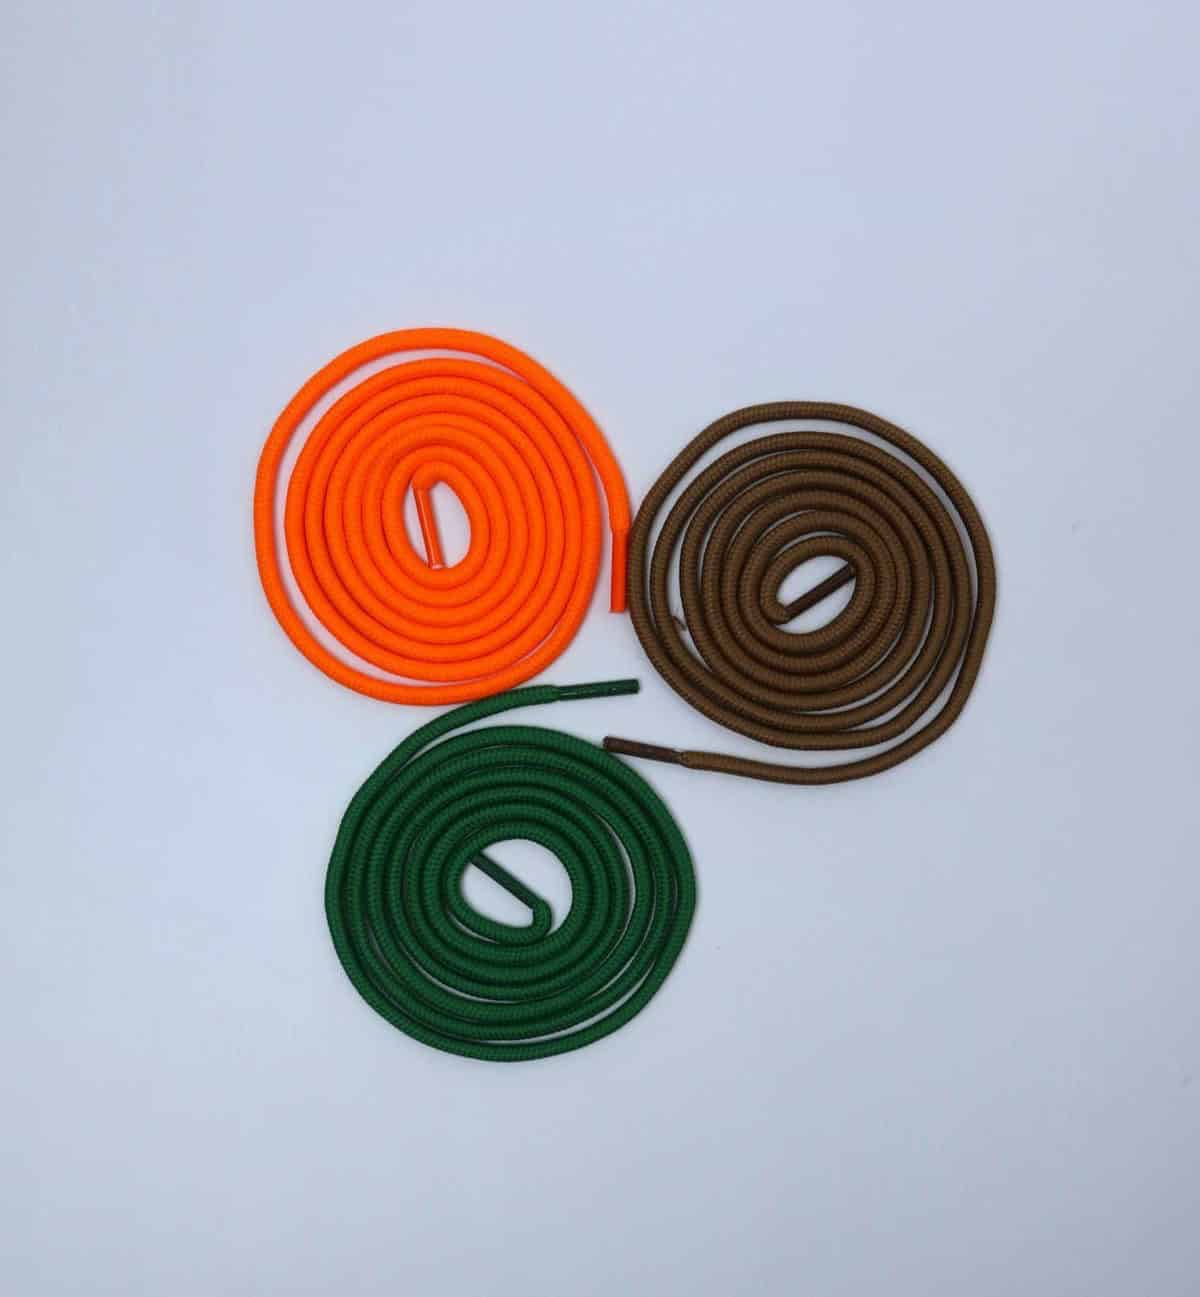
When it comes to selecting the perfect shoelace, you have a wide range of options available. For starters, you can opt for a standard-length lace that measures between 80 centimeters and 1 meter in length. What’s more, you’re free to choose from a diverse palette of colors to match your personal style or coordinate with your shoes.
Instructions
To craft this bracelet, begin by creating an initial loop using your shorter left tail. As you work your way along the length, utilize the longer right tail to weave a series of interconnected knots. Start by bringing the right tail over and then behind the loop, before pulling it through to form a smaller circle. Secure the knot with a gentle tug on the shoelace.
Repeat this process of raising the lace above the loop, then passing it behind and finally threading it back through, until you reach the desired length or the end of the lace. The key is consistency, ensuring each successive knot is secure yet not overly tight, to prevent the bracelet from curling under tension.
Once you’ve completed the final knot, bring both tails together and wrap the longer right tail around the shorter left a few times, applying gentle pressure without tightening excessively. Finally, pass the right tail through and beneath the wrapped loops, securing it firmly in place.