
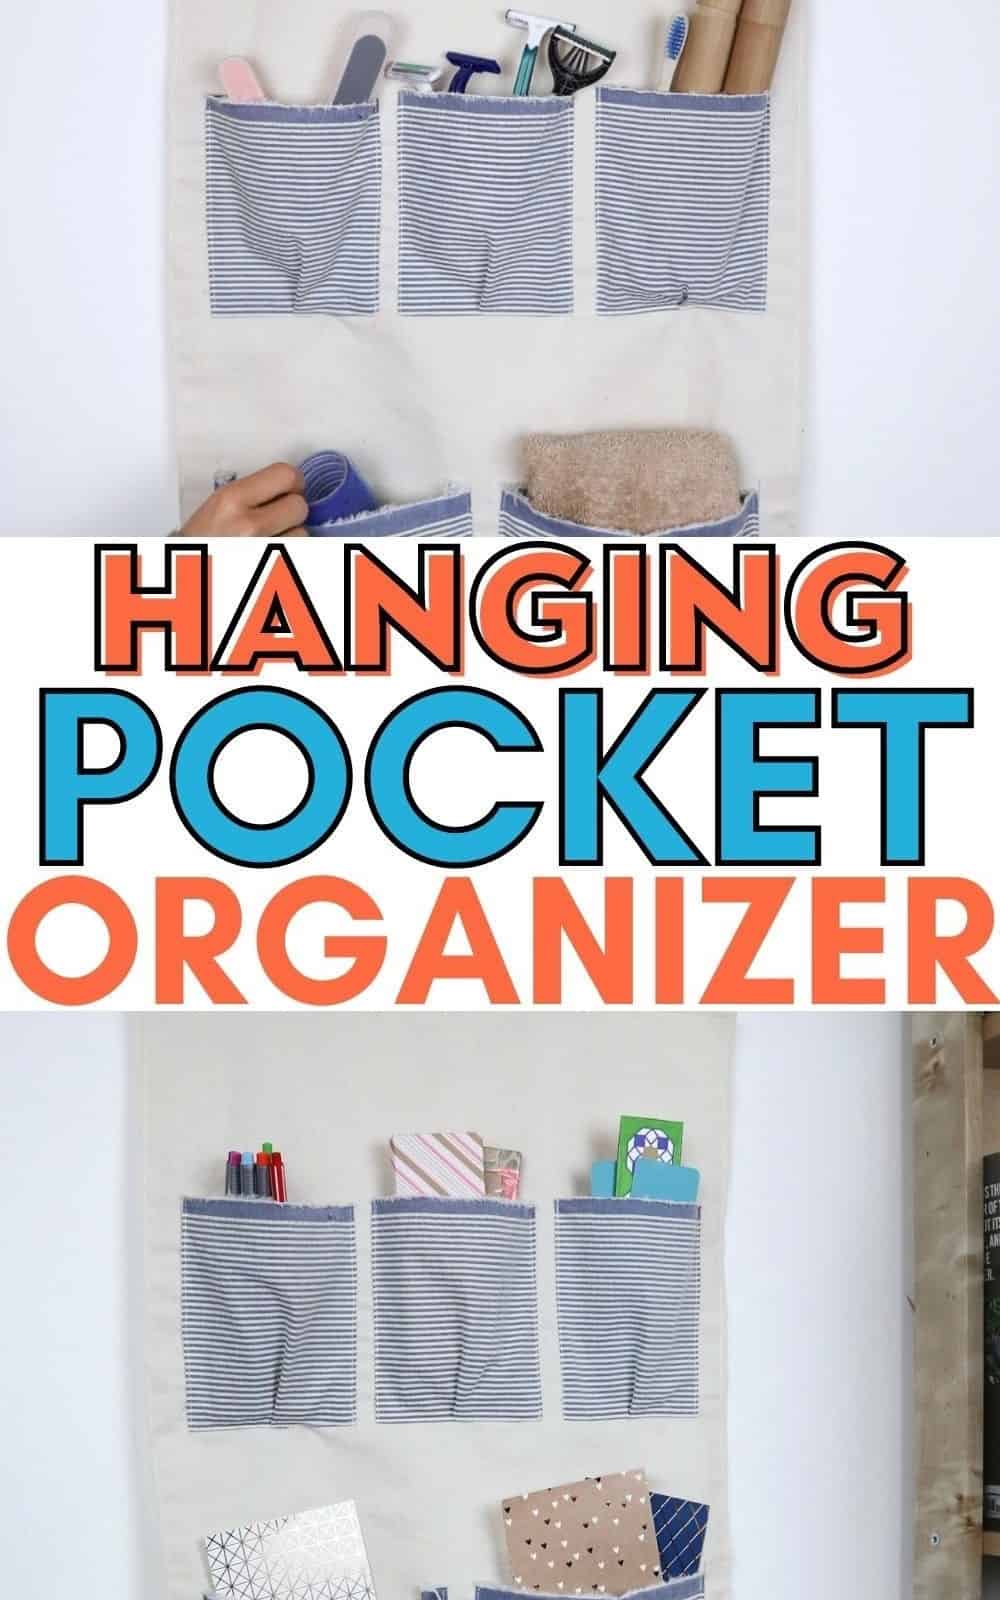
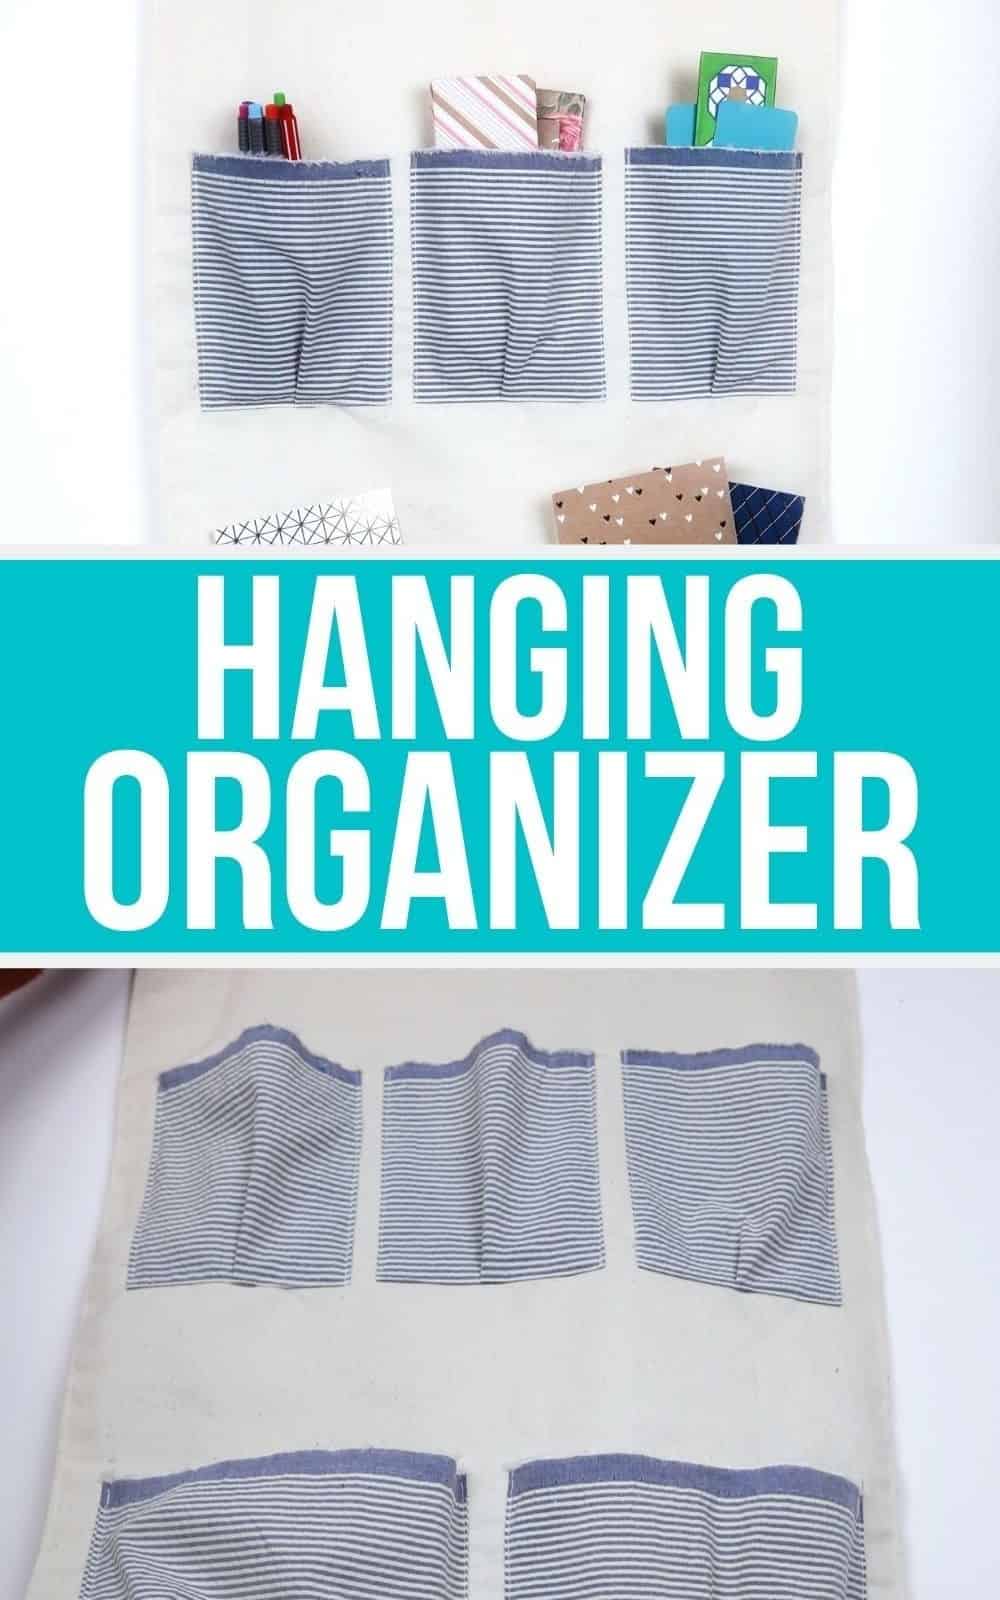
Are you looking for a creative way to organize your space? Look no further than a DIY hanging organizer that can be used in the office, kitchen, or living room. This project is perfect for those who want to turn a blank wall into a functional storage solution. With its versatility and ease of creation, this hanging organizer is a must-have for anyone looking to maximize their space.
While many of us focus on organizing our desks and shelves, we often overlook the potential of our walls.
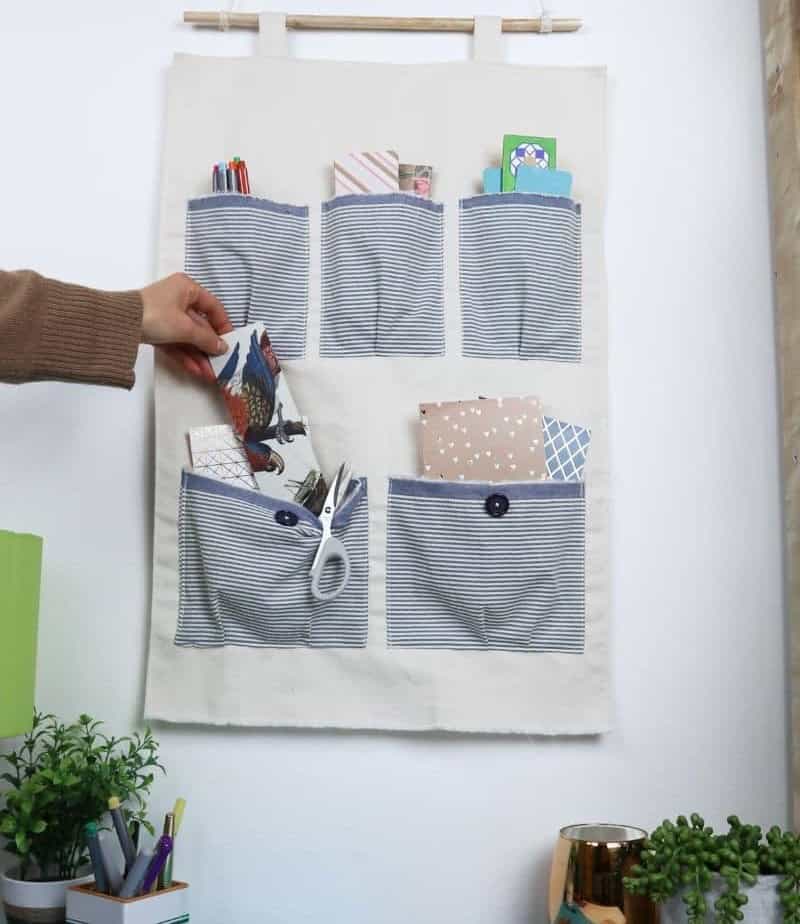
A hanging organizer can help you utilize that vertical space in a stylish and practical way. Not only will it keep your belongings organized, but it will also give your room a unique touch.
This project is great for beginners who want to test their sewing skills or for experienced sewers looking for a quick and easy DIY project. Whether you’re creating a home office, craft room, or just wanting to add some extra storage to your living space, this hanging organizer is the perfect solution.
What Do You Put in Hanging Organizer?
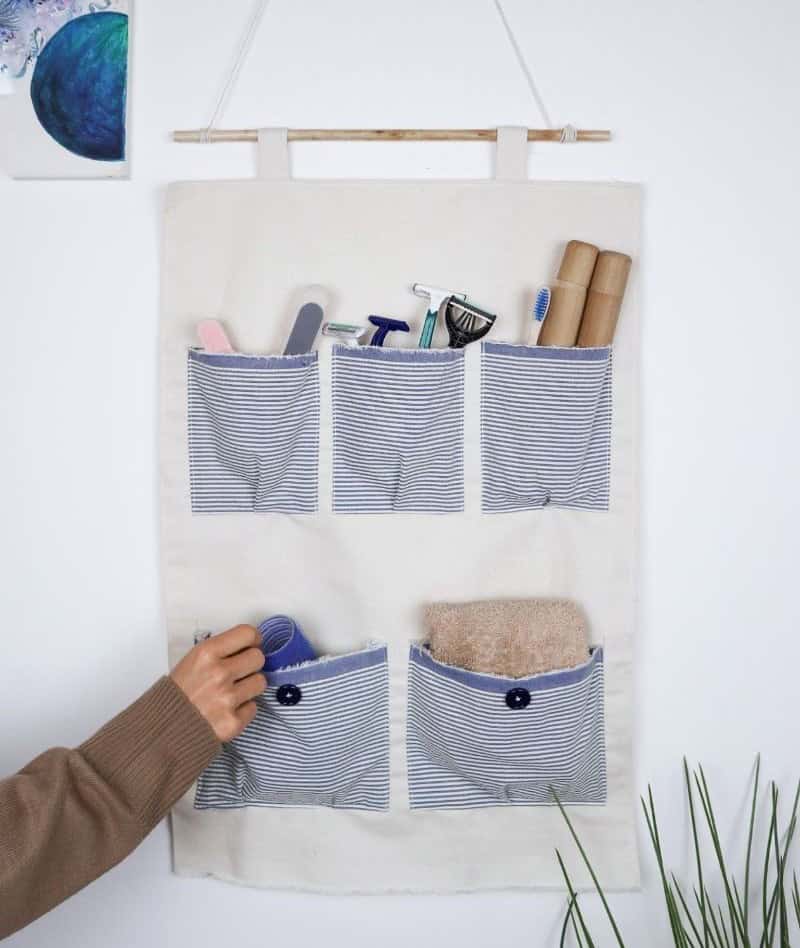
This versatile addition can be used to organize a wide range of items. Its possibilities are endless, and the usage is only limited by your creativity. For instance, you could create narrow and tall pockets ideal for storing kitchen utensils like spatulas or whisks. Alternatively, it could serve as a kitchen organizer, an office organizer, or even provide additional vertical storage space in a small room, making it a practical solution for maximizing your space.
What You Will Need for the Organizer
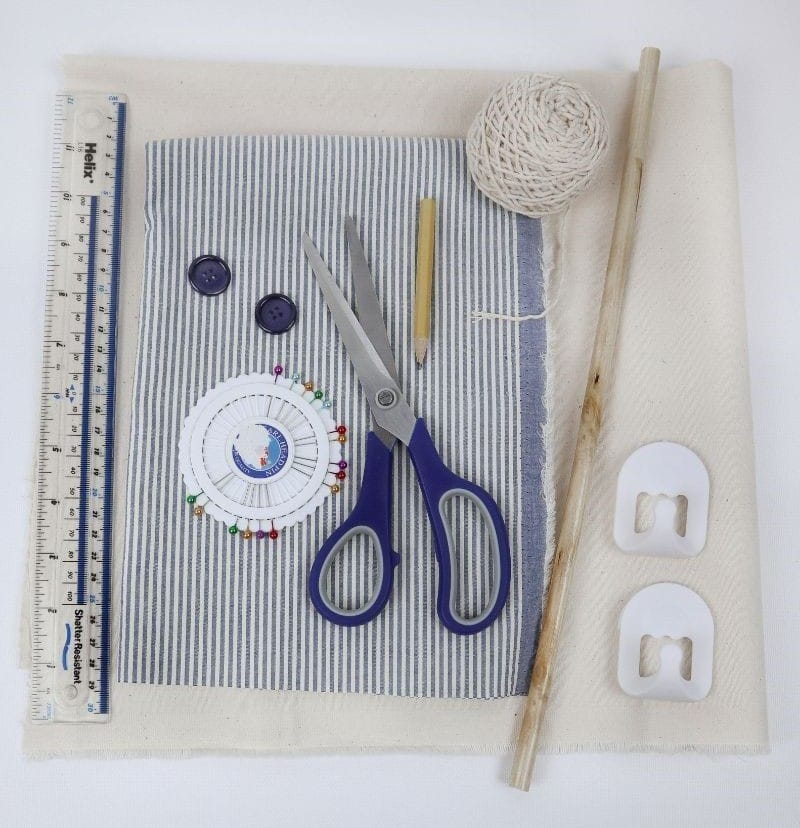
When crafting a unique and functional bag, there are several essential materials to have on hand. For the main piece of the bag, thick fabric is crucial for providing structure and durability. Patterned fabric can be used for added visual interest in pockets or other design elements. In addition to these fabrics, you’ll also need some basic hardware to bring your design to life.
This includes 2x command hooks or sturdy string for hanging any straps or handles, a wooden stick to help shape the bag’s frame, and buttons if you choose to add them for closure. A sewing machine is necessary for stitching everything together, while a ruler and pins will come in handy for precise placement and securing fabric. Finally, having a trusty pair of scissors and pencil on hand will ensure that any necessary trimming or marking goes smoothly.
How to Make a Hanging Organizer
Step 1
Gather all necessary supplies before commencing the project. A sturdy textile serves as the foundation for your organizer, and having a sewing machine can streamline the process, though hand-stitching is a viable alternative. For added convenience, consider using an adhesive sheet to fasten your items together, eliminating the need for glued hangers or string.
Step 2
To begin, select a substantial portion of your chosen fabric for the foundation piece. When designing an installation that will be placed within a closet or armoire, ensure the base’s dimensions mirror those of the door it will adorn. Measure the width and height of the door to determine the perfect size for your textile cutout. Similarly, if you’re creating a wall hanging, replicate these measurements to create a harmonious balance between fabric and framework.
Step 3
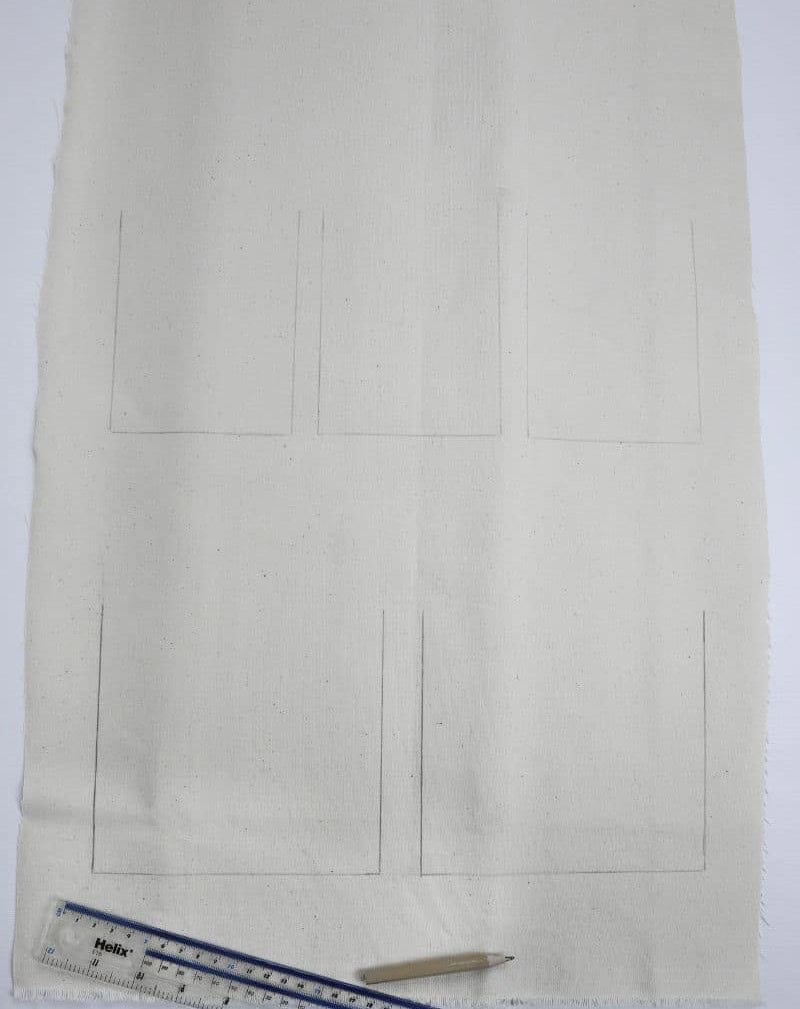
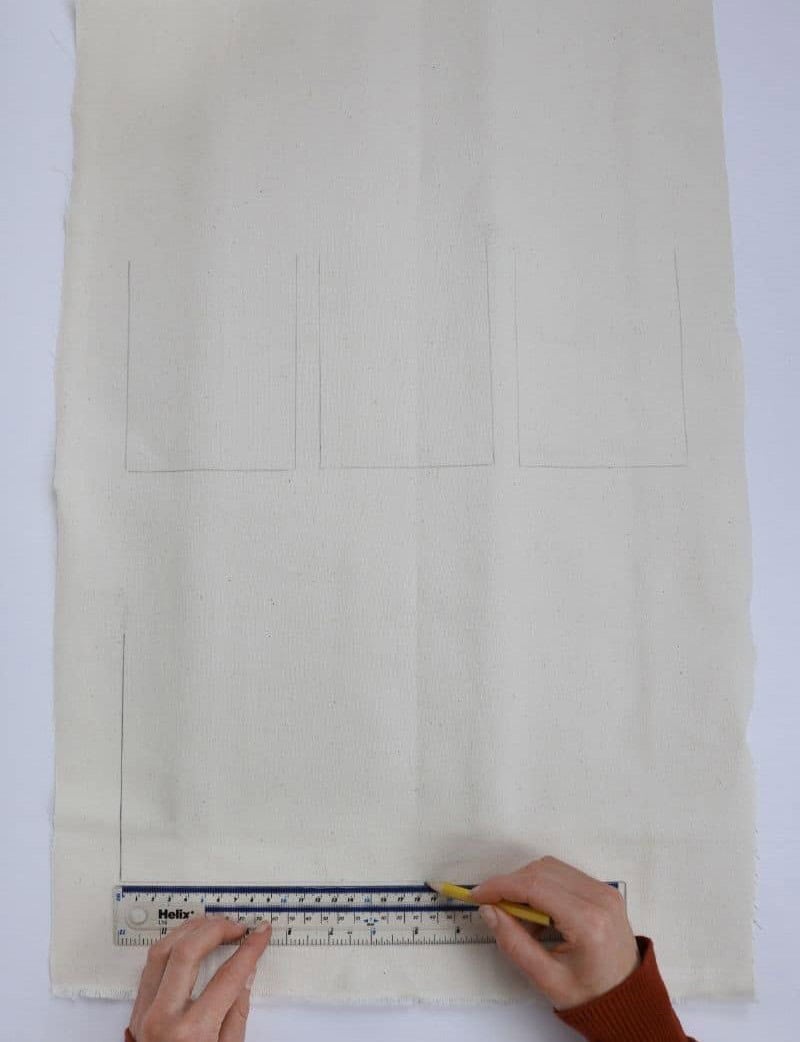
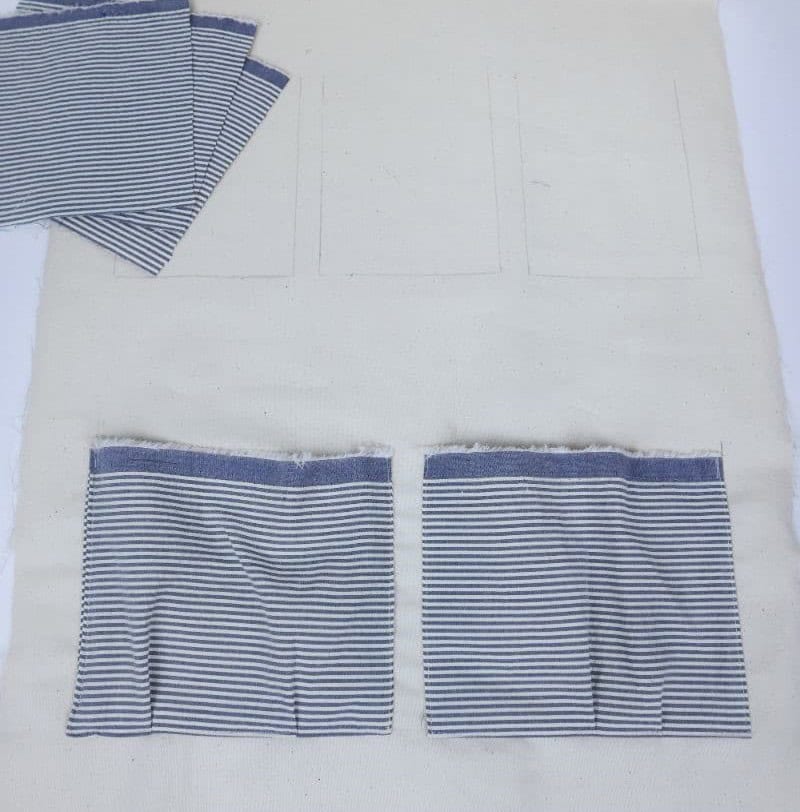
When mapping out the placement of your pockets, consider using a pencil and ruler (or tailor’s chalk for added precision) to create a sketch of where they will reside on your garment. Feel free to standardize their sizes or introduce some visual interest by incorporating varying dimensions – ultimately, the choice is yours, driven by your specific needs and design preferences.
Step 4
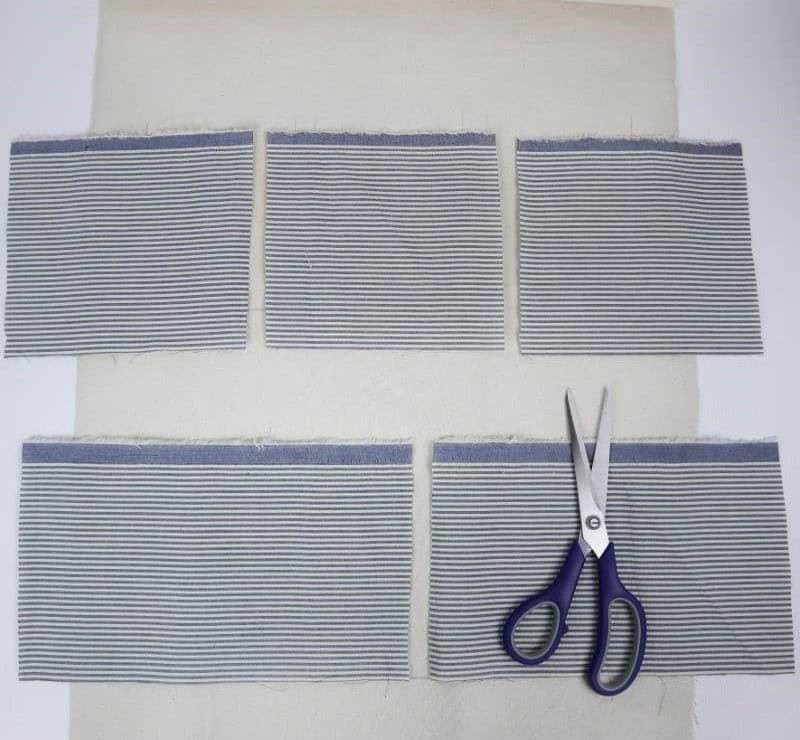
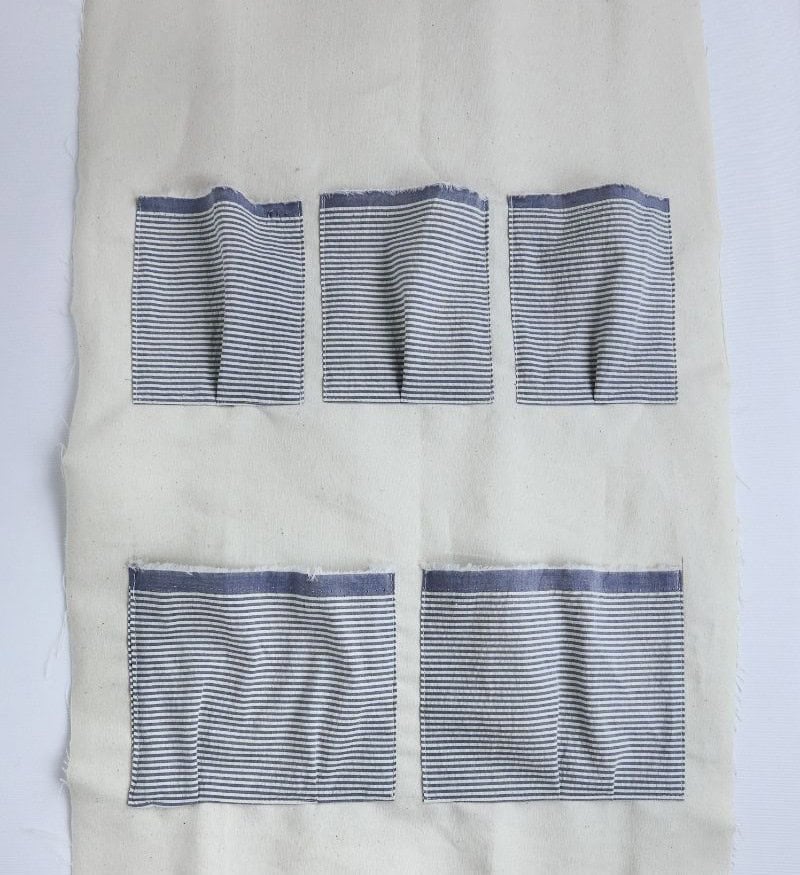
As we move forward with our sewing project, it’s time to create the fabric pieces that will ultimately form the pockets. To ensure these pieces are large enough to accommodate pleats when sewn on, make sure they’re slightly oversized compared to your initial pocket sketches. I opted for a 3/4-inch increase in width and a 1/2-inch extension at the bottom of each piece, allowing for a generous amount of storage space.
While this step is entirely optional, it does offer an added layer of functionality for storing supplies within the finished product.
Step 5
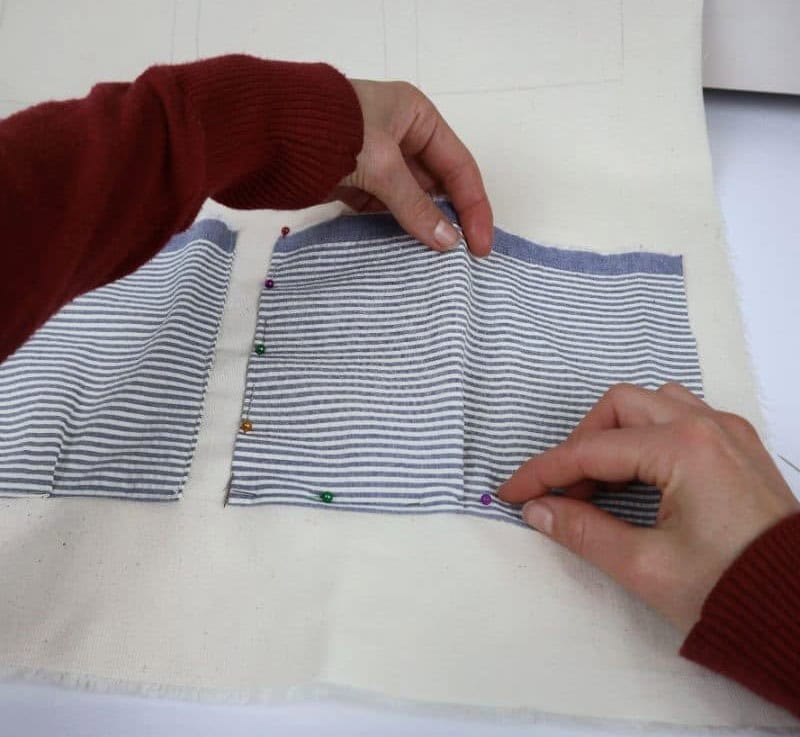
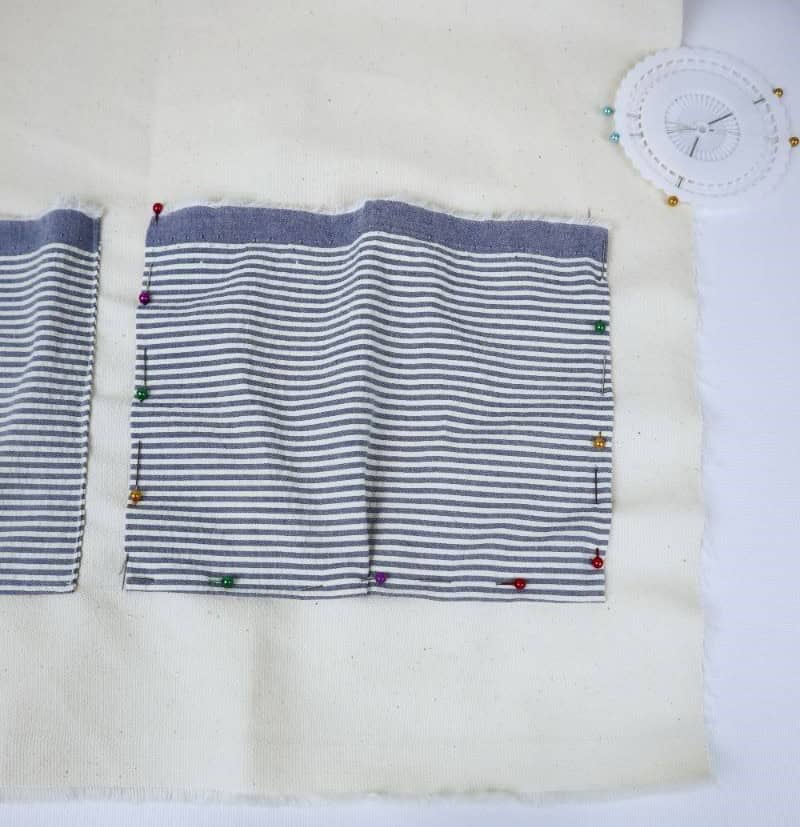
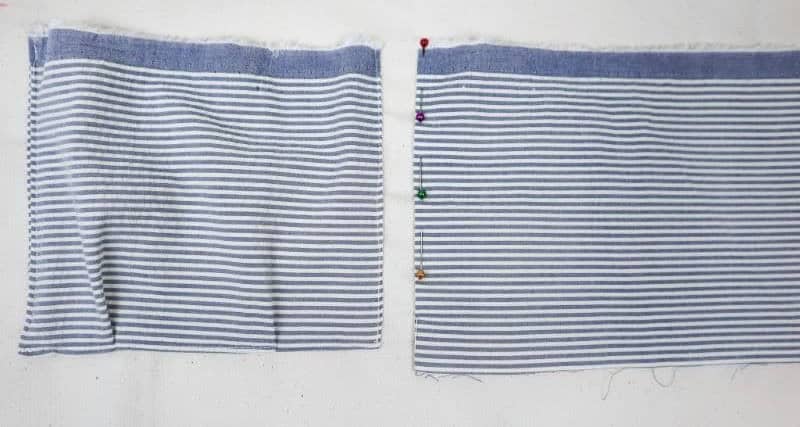
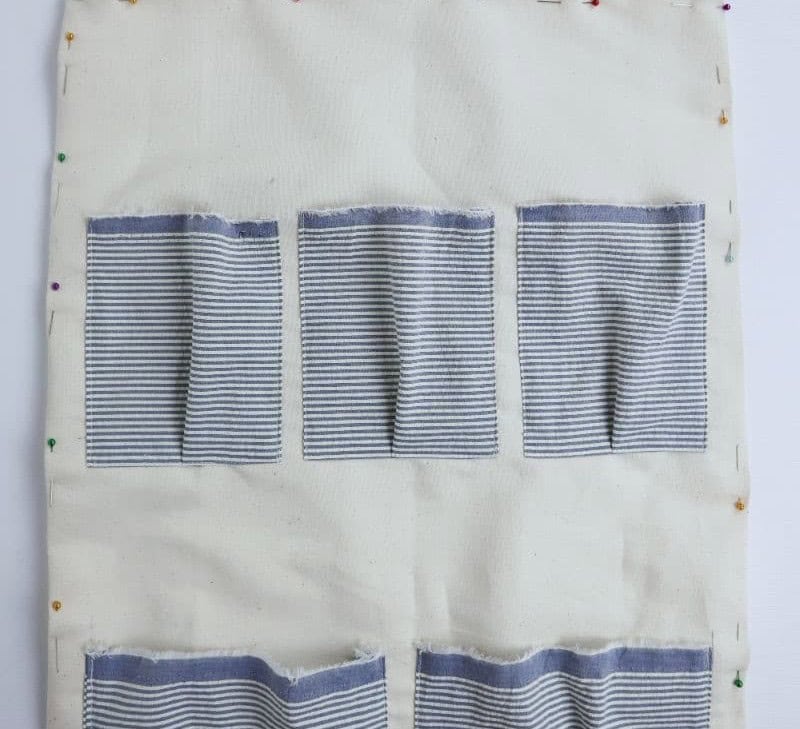
To ensure the fabric doesn’t unravel with continued use, it’s essential to add a secure hem. Begin by pinning along the perimeter of the pockets, carefully folding in the raw edges as you progress. This is also an ideal opportunity to incorporate your pleat fold simultaneously.
Step 6
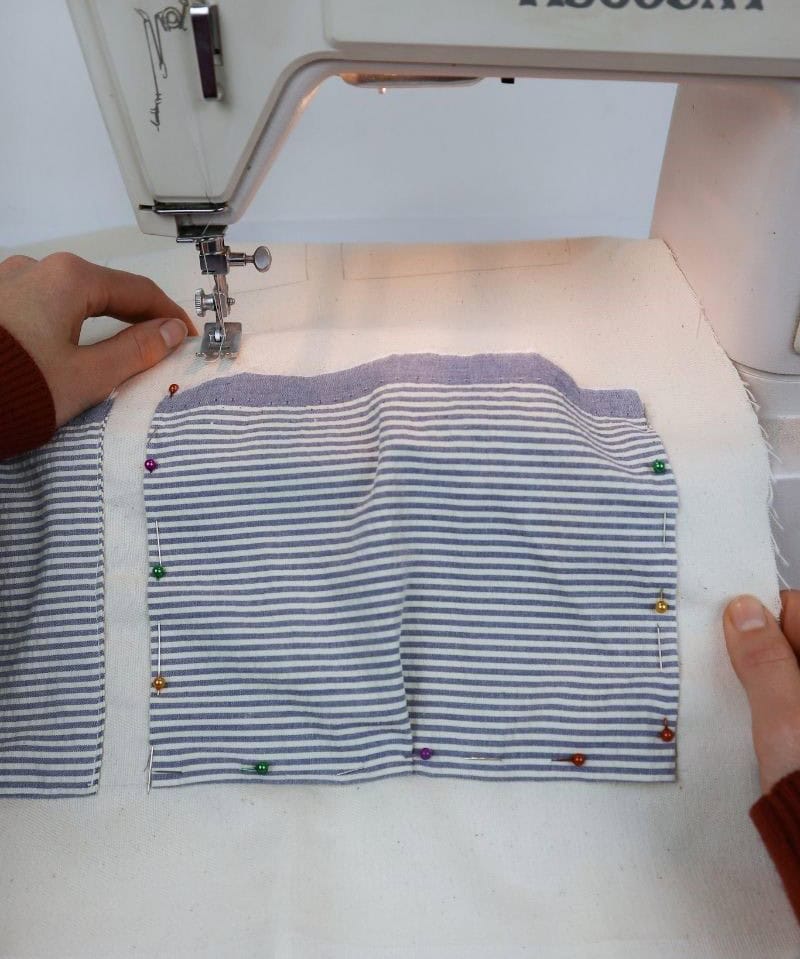
To complete this step, take the folded edge of the fabric organizer and guide it under the needle of your sewing machine (or prepare a needle and thread if you prefer to hand-sew). Engage the straight stitch function on your machine or use a simple running stitch by hand. Starting at one end, sew along the left side, then move to the right side, and finally work your way down to the bottom edge of the organizer.
This process will create a stable and finished selvage that prevents fraying and adds a professional touch to your finished product.
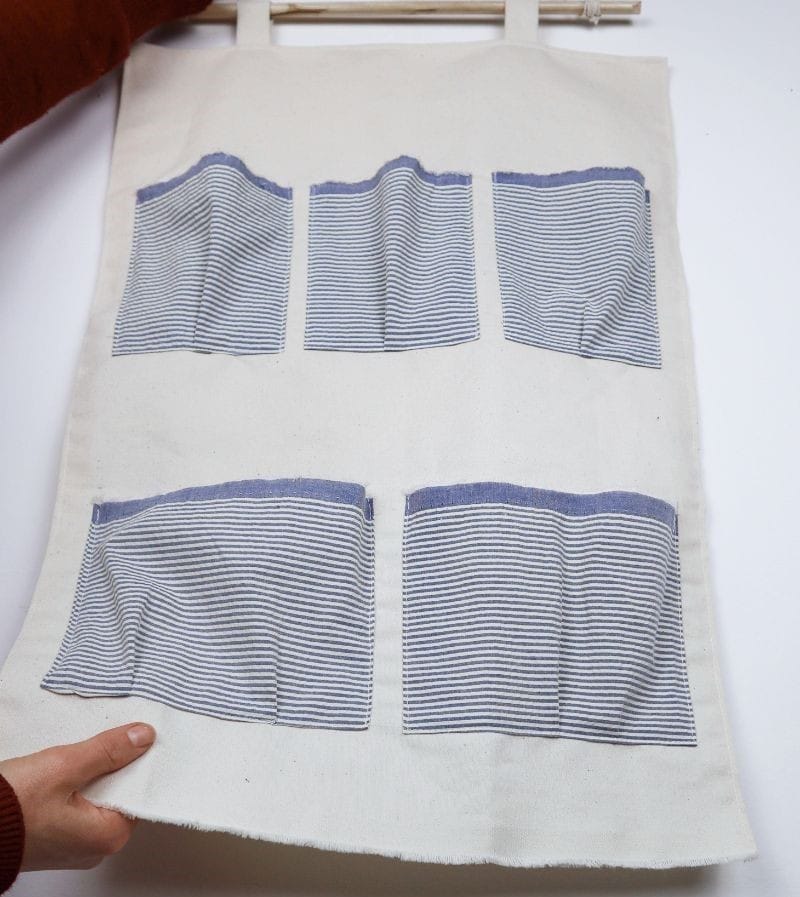
Step 7
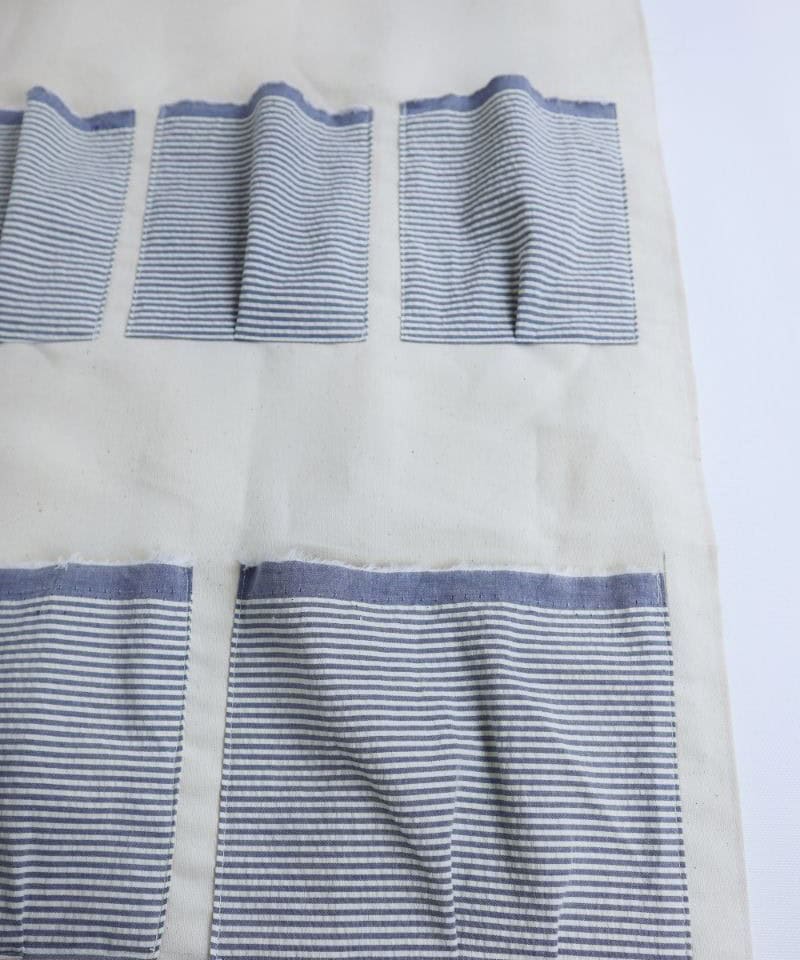
As you continue attaching the pockets to the bag’s base, be mindful of removing any drawn markings or covering them up as you work. To ensure a professional finish, I suggest ironing your fabric as you sew to keep it smooth and prevent wrinkles from setting in. This will not only make the process more enjoyable but also result in a polished appearance once completed.
Step 8
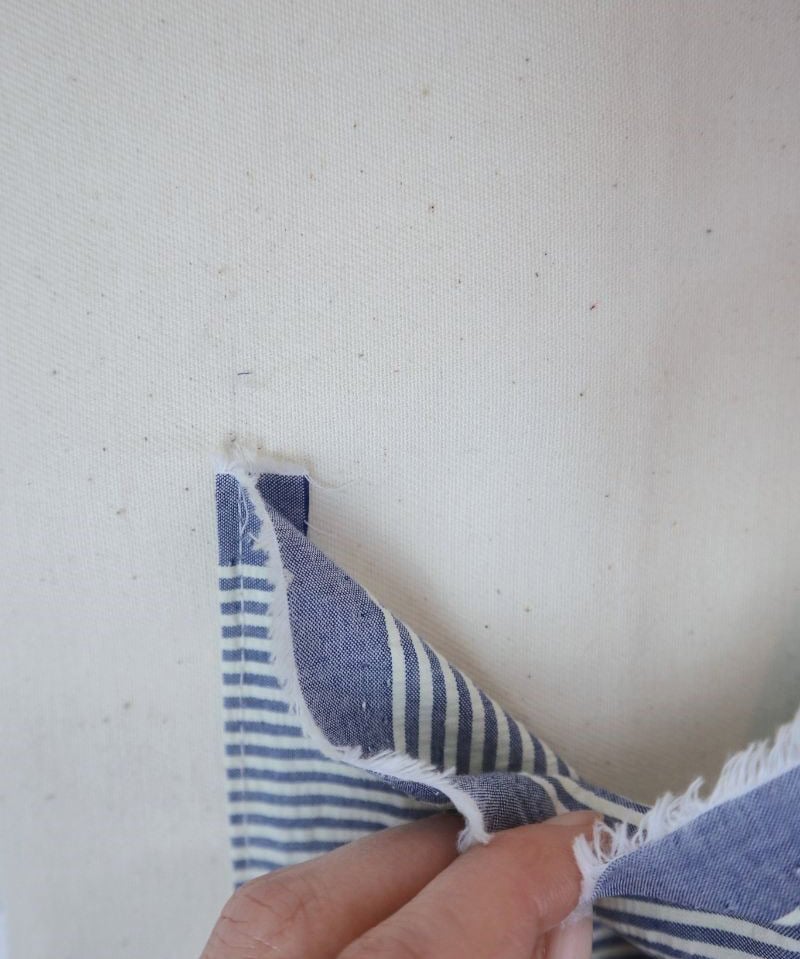
To complete the organizer’s construction, we’ll move on to securing the raw edges. Begin by folding each edge inward and securing it with pins, ensuring the selvage remains even across all sides. A crucial step is to iron the folded edges in place as you go, which will help keep the fabric steady while sewing along the selvage.
Step 9
As you near the completion of your project, take a moment to secure the raw edge of the fabric by sewing it down with a steady hand. Aim for a smooth, uninterrupted line that mirrors the precision and care you’ve exhibited throughout the crafting process.
Step 10
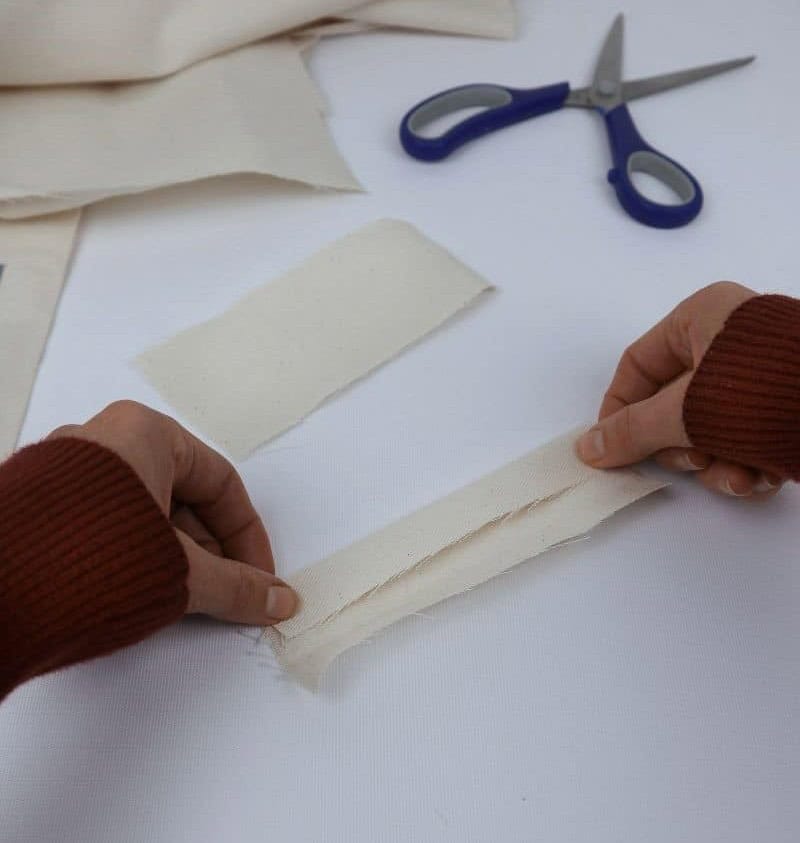
To complete the organizer’s hanging mechanism, you’ll need to create suspenders or loops that allow it to be easily attached to a hook or other mounting point. This is a simple process that requires just two fabric pieces of equal size. For my design, I opted for pieces measuring 6.5 inches by 6 inches. These will serve as the foundation for your organizer’s hanging system.
Step 11
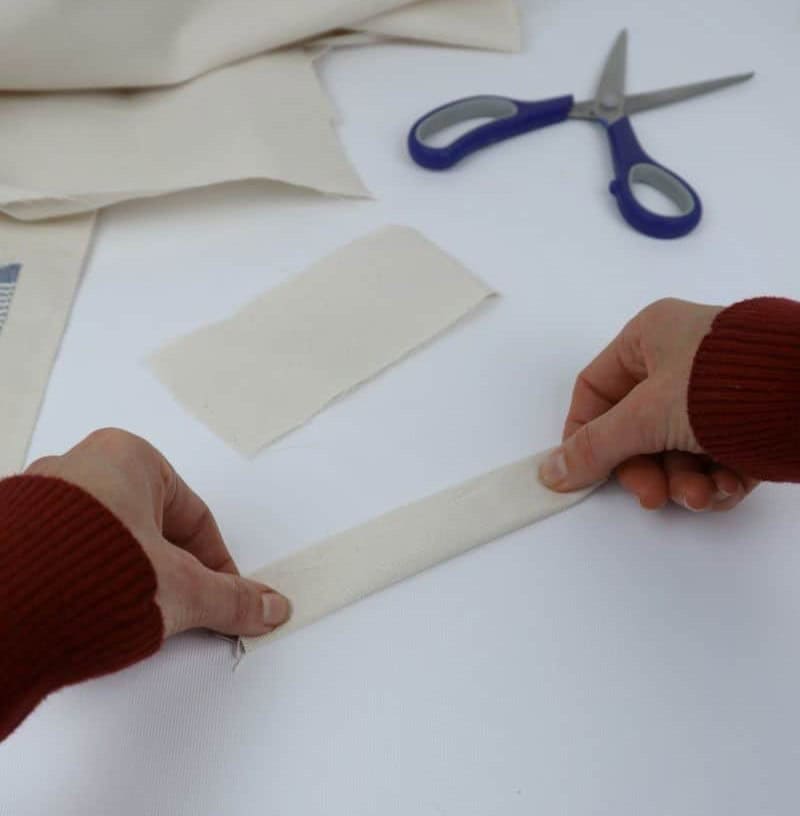
To secure the flaps, fold the edges inward and press them firmly into the middle of the suspender. This will help create a crisp crease and prevent any wrinkles from forming. Once you’ve achieved a smooth surface, use pins to pin the flaps together, ensuring they’re aligned properly. As you work, take note that the finished product should resemble the diagram provided earlier. With the edges securely fastened, your suspender is now taking shape.
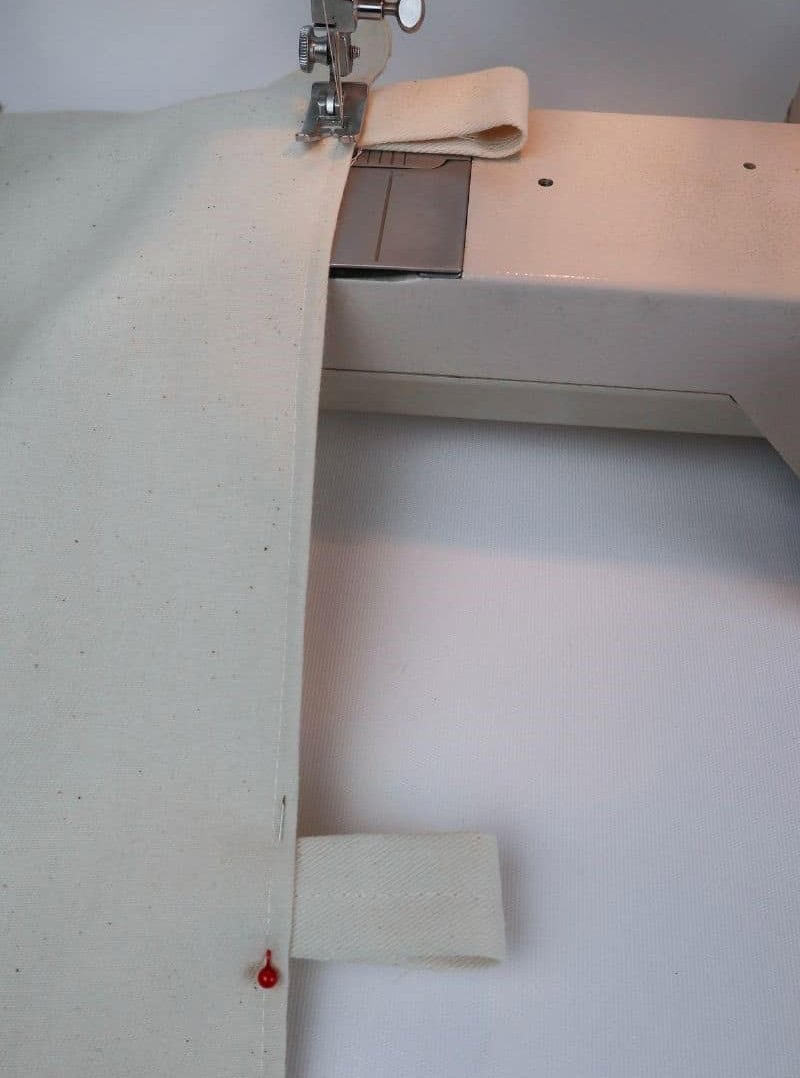
Step 12

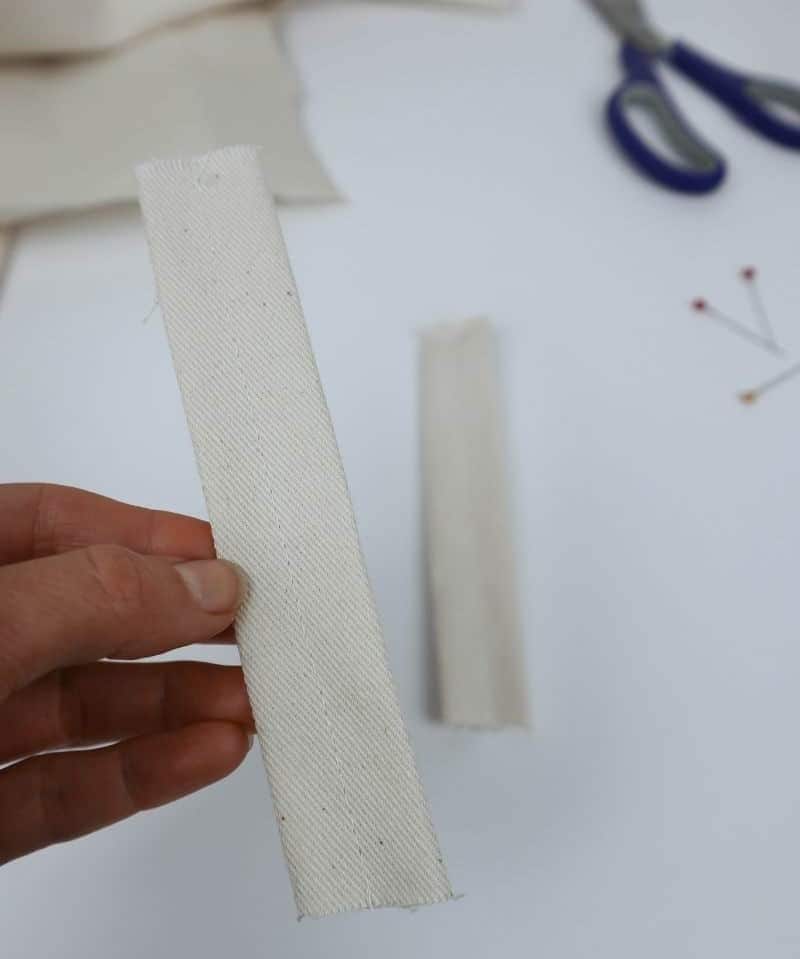
To finalize the loops, quickly run a continuous straight stitch along the center of each one. This will ensure they remain securely in place. Since you won’t be working with the loop ends again until the next step, when they’ll be attached to the organizer, there’s no need to worry about preserving them at this stage.
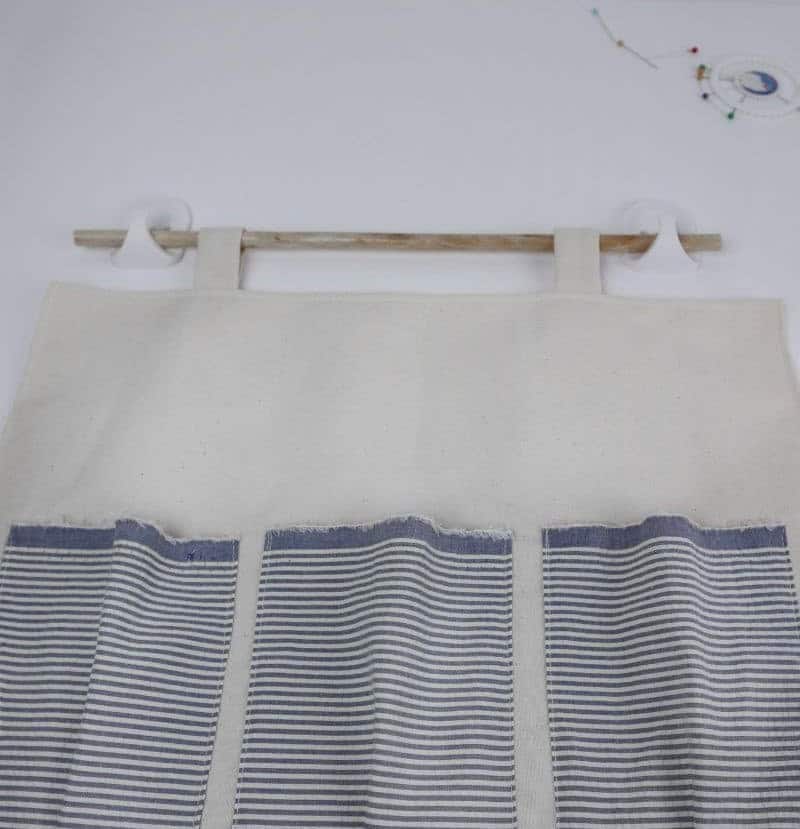
Step 13
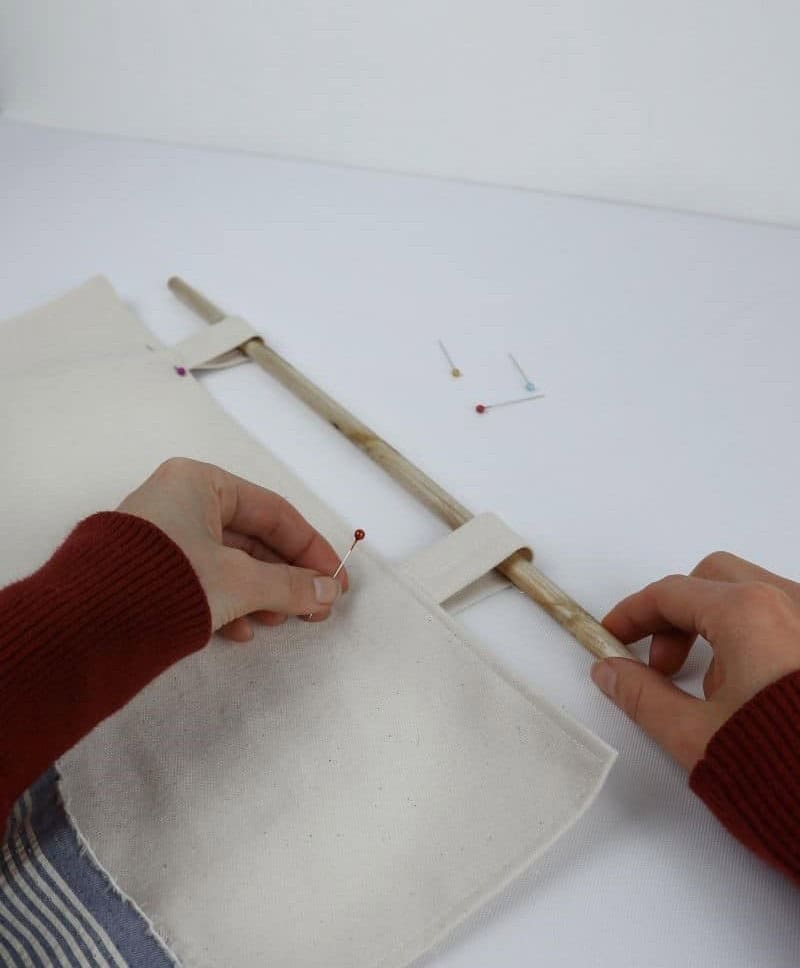
Get ready to secure your wooden stick! This is where your organizer’s bar will be attached. Distribute the loops evenly across the base, wrapping them around the rod and securing them with pins. Once the loops are in place, add a second straight stitch along their bottom edge to firmly attach them to the base.
Step 14

The approach moving forward will depend on the type of hanging system you’re utilizing. If you’ve opted for command hooks, feel free to stop here and enjoy the fruits of your labor. However, if you’ve chosen a different method – such as twine or string – proceed with caution. I personally prefer using a string to hang my items, as it adds a touch of elegance to any room.
Attaching the twine is an effortless process that requires minimal effort, and once in place, it creates a charming display on your wall.
Step 15
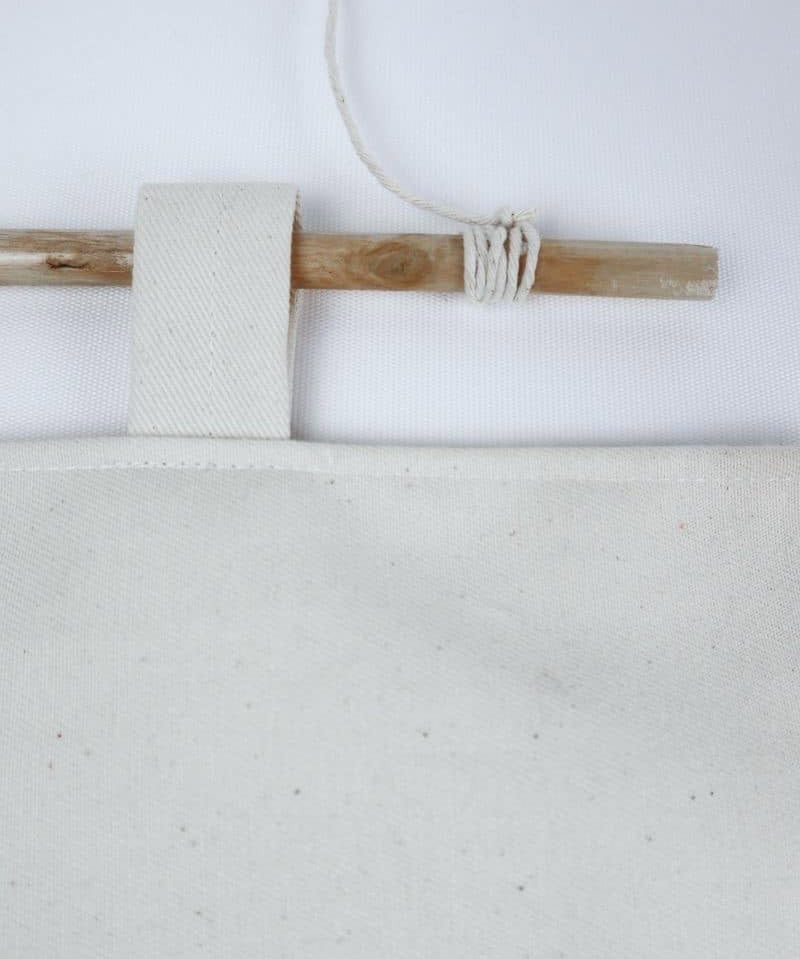
To create the rustic string organizer, begin by cutting a piece of twine to the desired length. Next, tie the ends of the twine to either end of the wooden stick, ensuring a secure bond. For added stability, wrap the twine around the bar a few times before securing it with a small amount of hot glue, if desired. With this foundation in place, you can now focus on personalizing the organizer with your preferred decorative elements.
Step 16
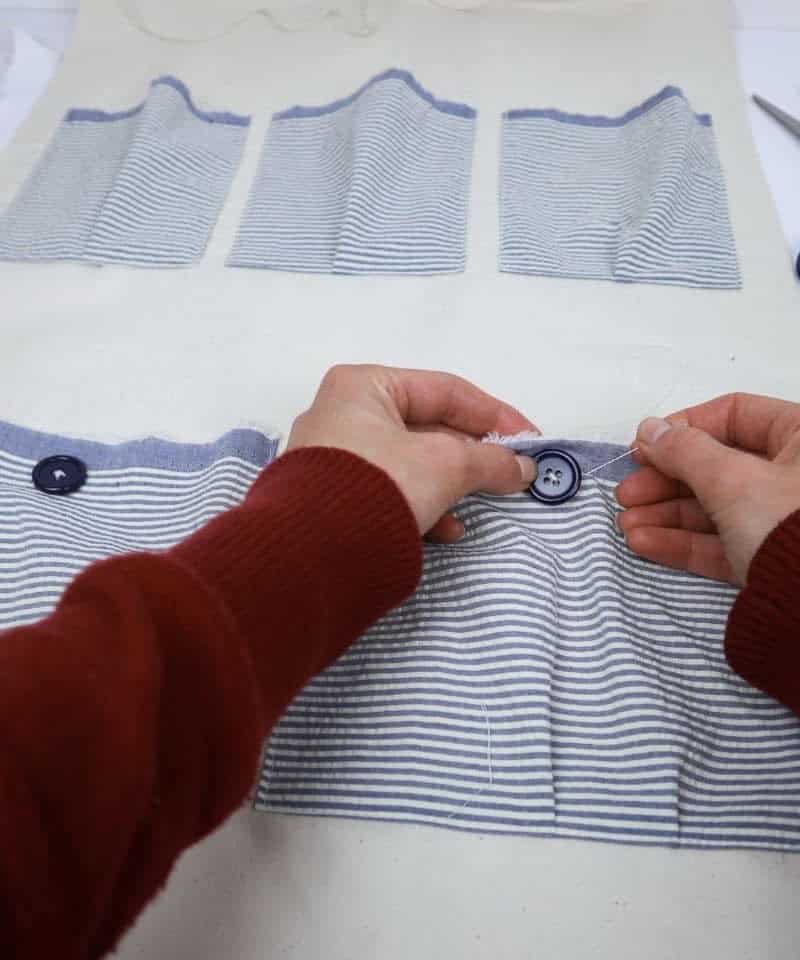
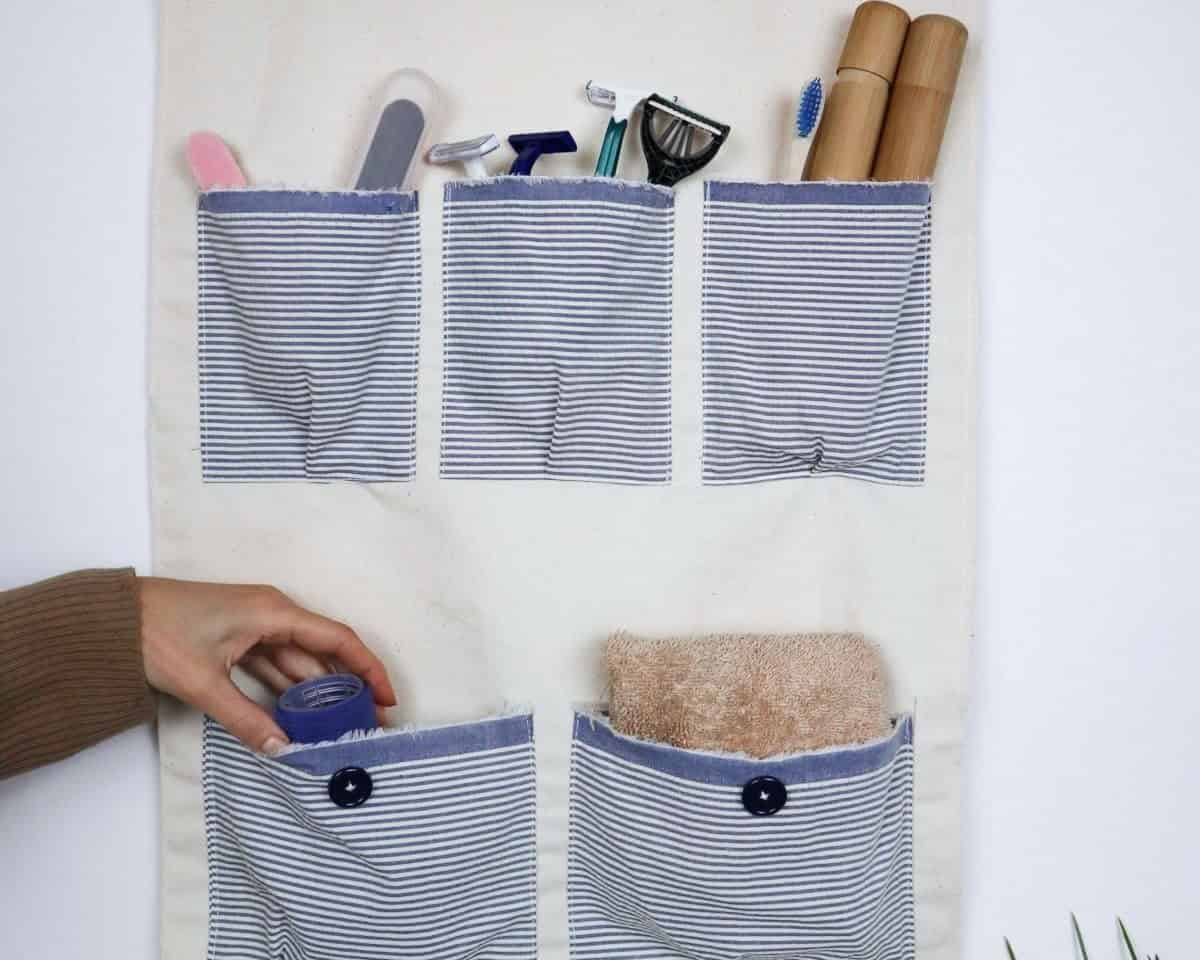
To give your organizer a touch of personality, I opted for decorative buttons on the larger pockets. But don’t stop there! You can also get creative with embroidery, rick rack, sequins, or even add some artificial foliage to give it a playful twist. Once you’ve personalized your design, simply hang your finished organizer proudly on the wall and admire your handiwork.
How Do You Hang Pocket Organizer?
When it comes to storing a multitude of items, I suggest opting for a wall-mounted hook instead of an adhesive one. This ensures that your storage solution remains stable and secure, eliminating the risk of unexpected failure due to worn-out glue.
An alternative approach is to utilize two hooks in tandem to provide additional support, or you can take it up a notch by securing the organizer itself to the wall for maximum stability.
Feel free to share where you’re hanging your organizer in the comments below!
Some Other Organizing Ideas You Might Like
Transform your space with these creative organizing solutions. From DIY drawer dividers to rope organizers, we’ve got 25 clever craft room hacks to help you tidy up your workspace. Need inspiration for a smaller space? Our 20 small bedroom organization tips require no drilling, making them perfect for renters or those who prefer a low-commitment approach. Alternatively, get creative with our DIY desk magazine organizer or turn cardboard into a rope basket.
We’ve also got ideas for garage organizing and towel storage to help you maximize your space.
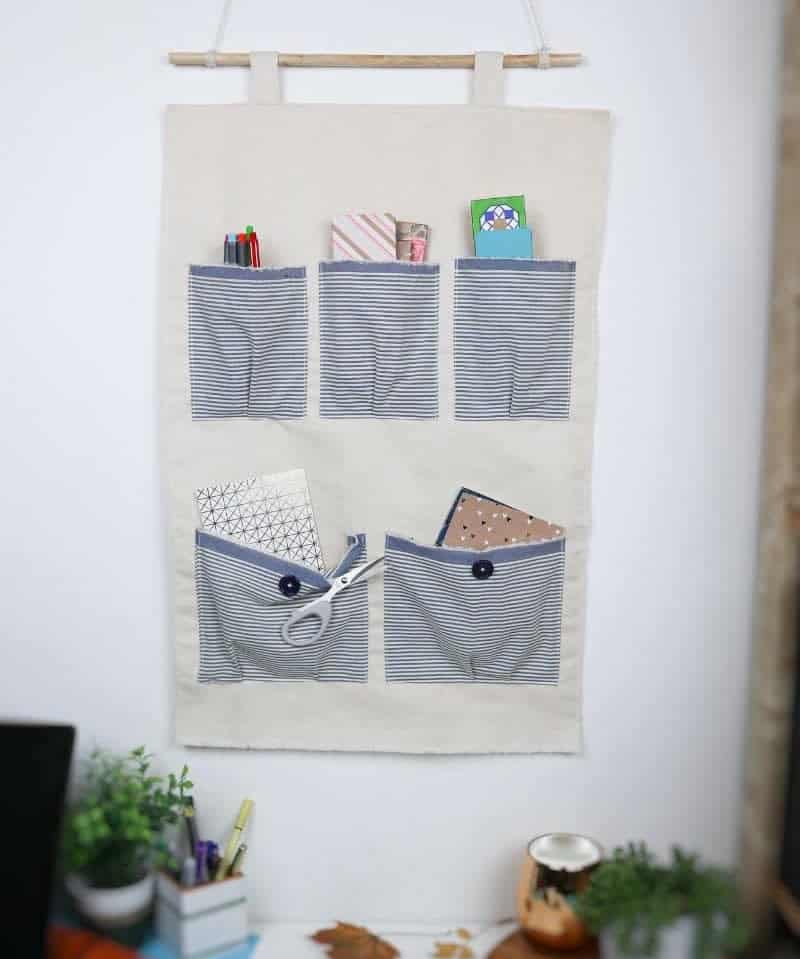
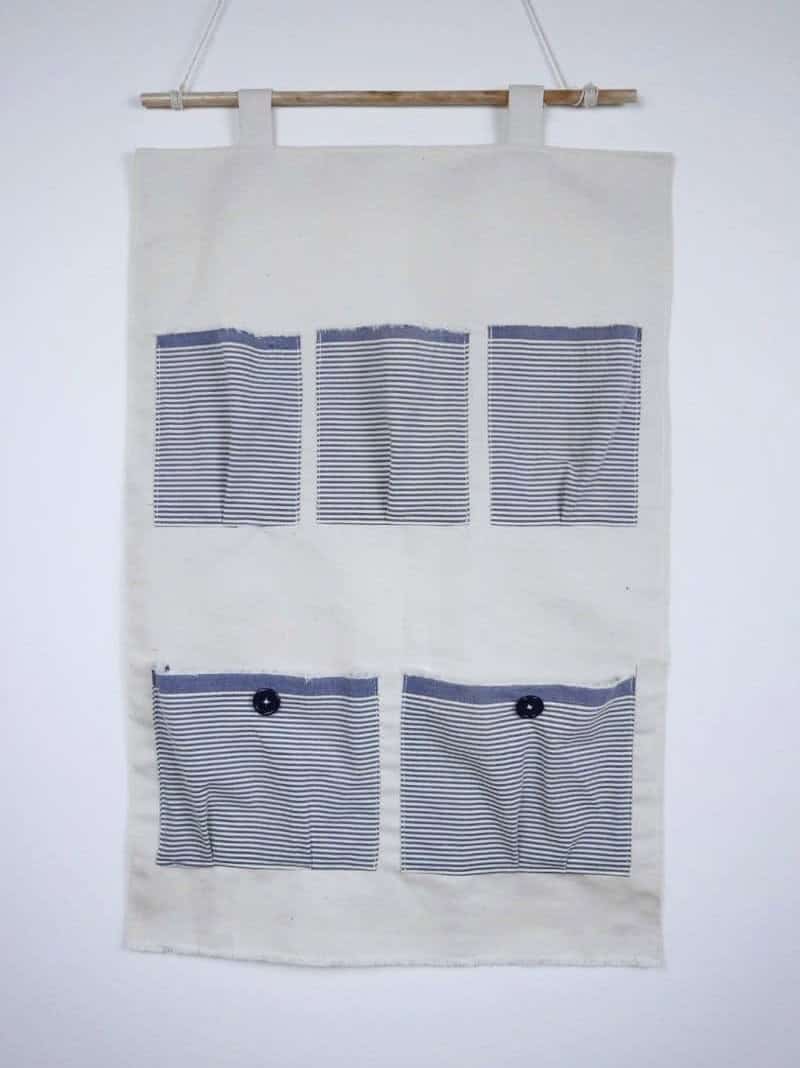
DIY Hanging Organizer with Pockets
Get ready to breathe new life into your office or kitchen space with this DIY hanging organizer featuring pockets, a stash-busting sewing project that’s perfect for repurposing fabric scraps. With just 20 minutes of prep time and an hour of active sewing, you’ll have a functional and stylish storage solution in no time. This versatile project makes one pocket organizer, ideal for storing small items like office supplies, kitchen utensils, or personal accessories.
Equipment
To set up for sewing, you’ll need the following essential tools: a reliable sewing machine or a trusty needle and thread for manual stitching. Additionally, having a pair of sharp scissors and some sturdy pins on hand can be incredibly helpful. For taking precise measurements, it’s also handy to have a ruler at your disposal. Meanwhile, to ensure you stay focused, consider implementing strategies to prevent yourself from getting too comfortable and drifting off to sleep.
Materials 1x2x3x
When it comes to crafting a unique accessory, such as a bag or purse, having the right materials can make all the difference. For a main piece, opt for thick fabric that provides structure and support. To add some visual interest, choose patterned fabric for the pockets. For hanging purposes, rely on two command hooks or sturdy string, which should be able to hold the weight of your creation. A wooden stick can also serve as a stabilizing element.
Finally, consider adding buttons if you want to provide an extra layer of closure.
Instructions
Measure out the space where you plan to hang your organizer and gather all necessary supplies. Next, cut a piece of heavy material to the desired dimensions, leaving 3/4 inch around the edges for a selvage. On the base fabric, draw your pocket sizes and then cut them out in the patterned fabric. Fold the edge inward to create a selvage on each pocket and sew along the sides and bottom with a straight stitch to prevent fraying. Attach all the pockets to the base.
Repeat this process to create a selvage for the organizer’s exterior. Cut two equal pieces of heavy material (I used 6.5 x 6 inches) and fold the edges inward, pinning and sewing along the middle to secure them. These will be your loops. Secure the loops to the top of the organizer with pins and then sew along the bottom. Thread a wooden stick through the loops and decide how you want to hang the organizer.
If using a string, cut an appropriate length, tie each end to either side of the stick, or use command hooks to secure the shaft to the wall. Finally, fill your organizer with items like notebooks, pens, craft supplies, cooking utensils, or anything that could benefit from a little extra space.