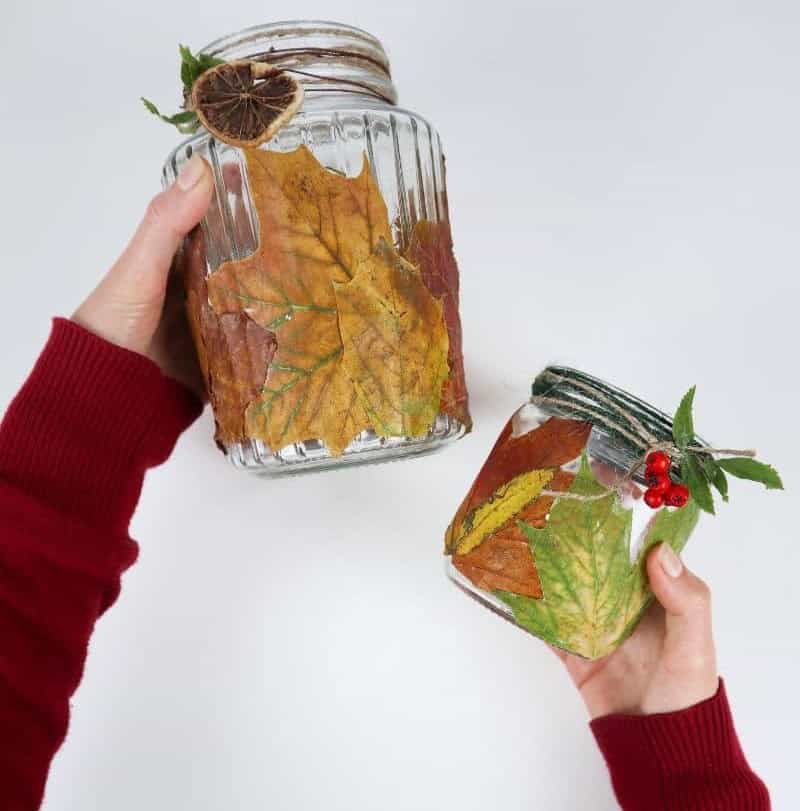
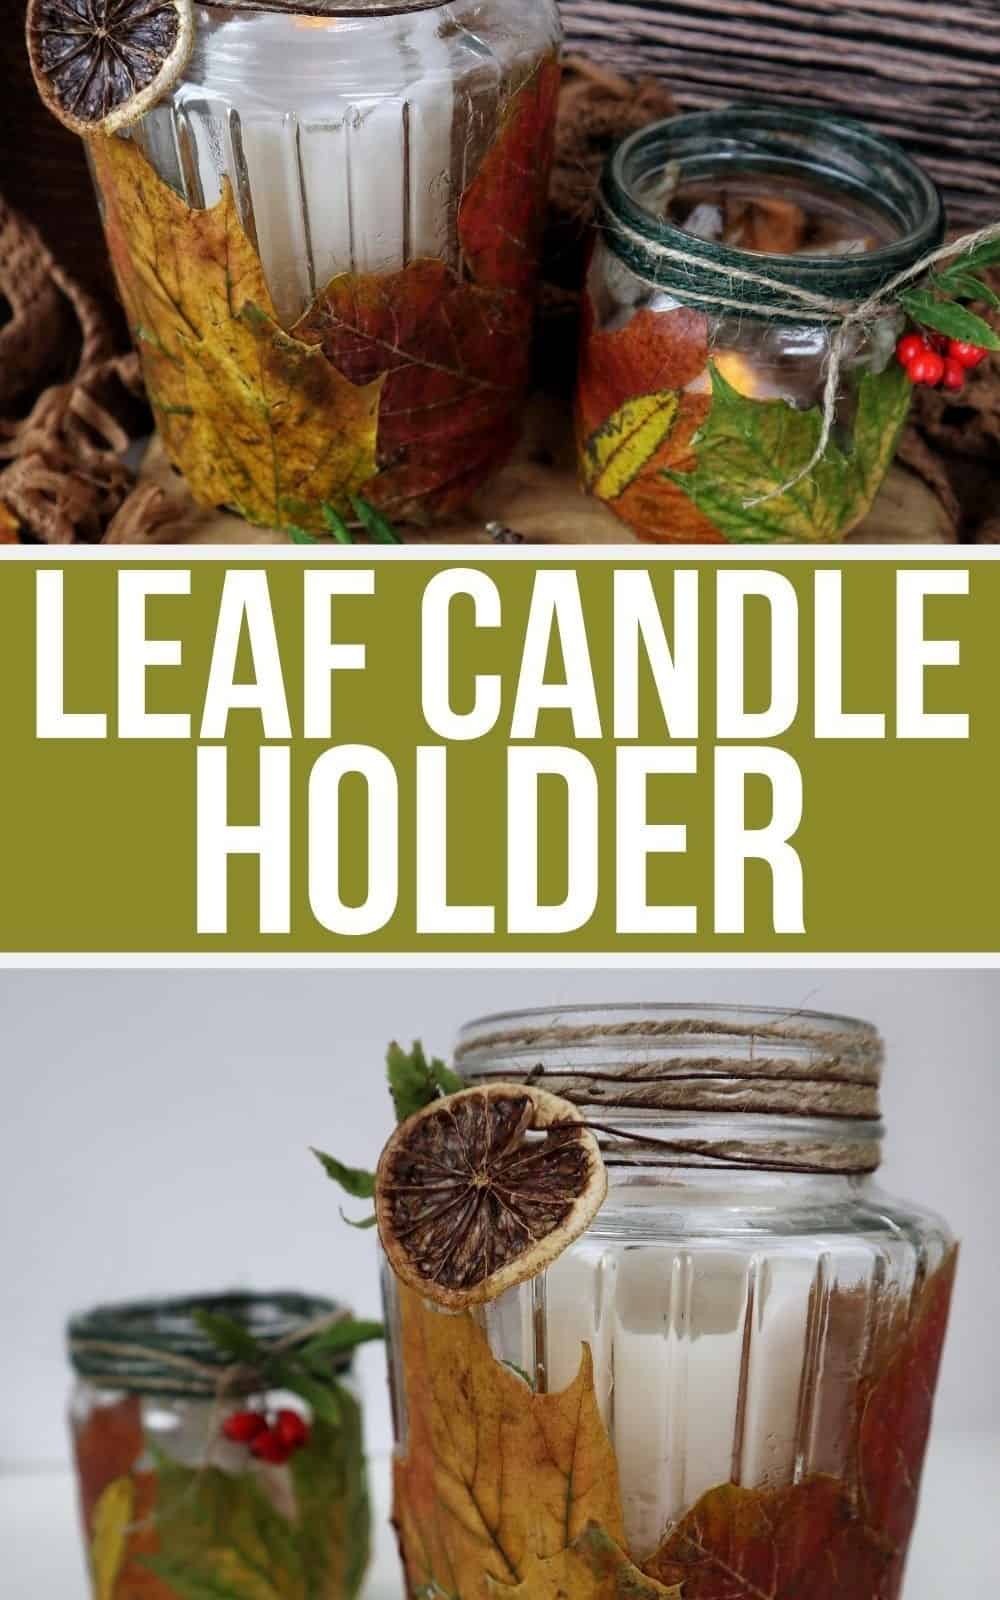
Transform your space into an autumnal oasis by crafting a unique DIY candle holder that’s both functional and decorative. As fall décor trends take over the internet once again, it’s the perfect time to get creative and bring those cozy vibes indoors.
There’s something special about embracing the season’s changing leaves, don’t you think? The rustling of leaves against the jar’s natural components is almost therapeutic.
Whether you choose to place them on your nightstand or kitchen counter, these DIY leaf jars are sure to become a staple in your home decor.
The best part? They’re incredibly budget-friendly and easy to make. That’s why this project is perfect for teenagers looking to express their creativity and add some personal flair to their space.
So why wait? Follow along with the simple steps below and get ready to cozy up with your new DIY candle holder.
Supplies You’ll Need
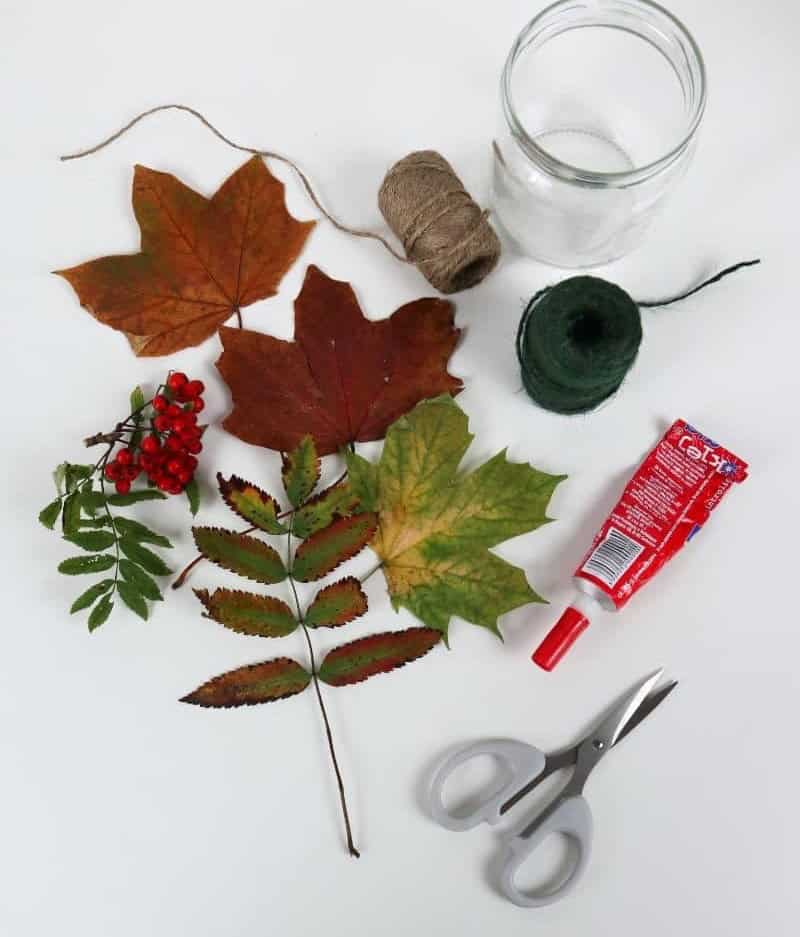
When crafting with a jar, it’s essential to start by preparing the materials that will bring your creation to life. The leaves are a crucial element, and for optimal results, they should be flat, flexible, and easy to shape. Avoid using leaves that are too dry, as they may become stiff or crumble apart. If you’re using artificial leaves, make sure to remove any plastic veins or other imperfections that could detract from the overall aesthetic.
Once your leaves are ready, it’s time to secure them in place with a reliable adhesive like Mod Podge or a similar glue. To add some extra flair to your jar, consider incorporating decorative elements such as ribbons, strings, tags, beads, and dried flowers.
How to Make This Candle Holder
To create your unique candle holder from scratch, follow these simple steps: Begin by gathering the necessary materials, including a wooden base (you can use an old CD or DVD case), some decorative stones or pebbles, and a hot glue gun. Next, apply a thin layer of hot glue to the bottom of the wooden base and attach the decorative stones or pebbles, creating a stable foundation for your candle holder.
Step 1
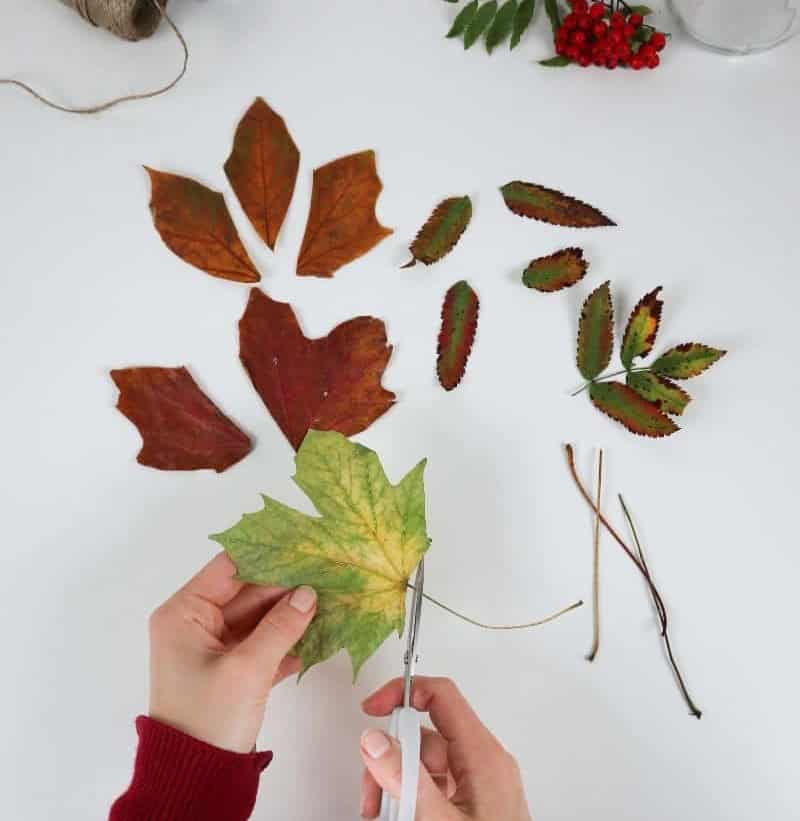
When it comes to crafting with leaves, you have a variety of options at your disposal. You can opt for synthetic alternatives, natural textiles, or even gather fresh foliage from your own surroundings. The crucial aspect is ensuring that the leaves are sufficiently pliable, which means they should be flat and not too desiccated. This will allow them to mold into the desired shape.
Step 2
When it comes to preparing your leaves, you have the option of using them in their entirety or breaking them down into smaller fragments. Before doing so, though, take the time to trim off any tough stems that may be present. This will help ensure a smoother process and prevent any unwanted fibers from getting in the way. To add some visual appeal to your arrangement, consider incorporating leaves of varying colors and textures.
The end result will be a visually striking display that showcases the beauty of nature.
Step 3

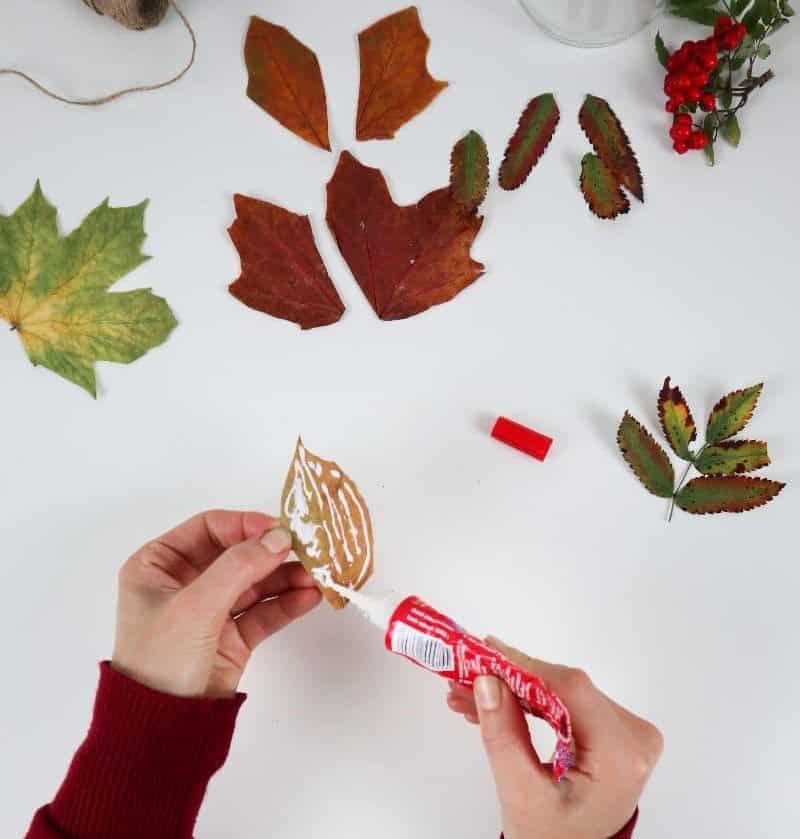
Prior to applying glue, it’s essential to ensure the exterior of your jar is meticulously cleaned, thoroughly dried, and free from any residual oils or greases. This step is crucial, as any residue can hinder the adhesive’s effectiveness, ultimately leading to premature leaf detachment. Mod Podge is an excellent choice for this purpose, offering a reliable bond that dries transparently.
Alternatively, you can opt for a glue that exhibits similar properties and adheres well, ensuring your leaves remain securely in place.
Step 4
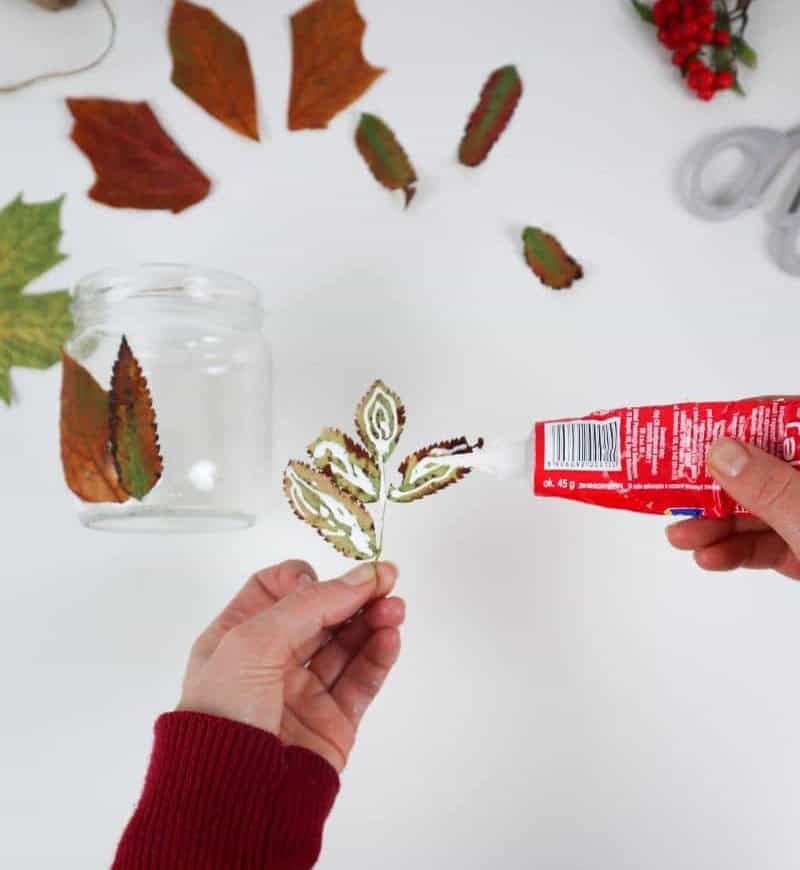
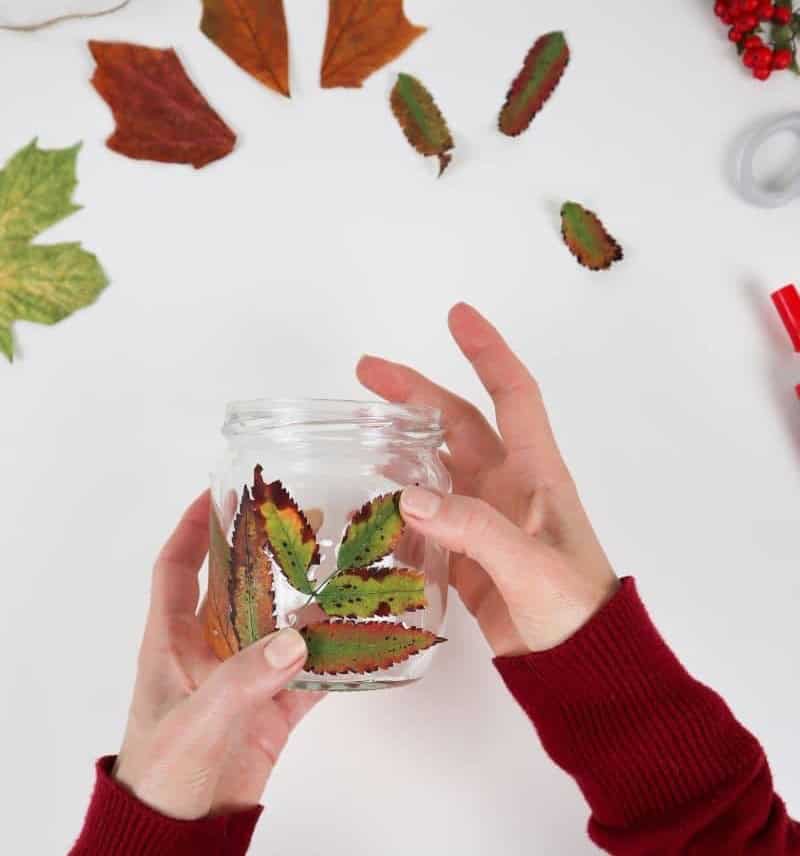
To preserve the leaf’s delicate shape and ensure a secure bond, apply a thin layer of glue to its back using a brush if desired. Carefully press the leaf against the jar, gently molding it to conform to the curve. Hold the leaf in place until the glue has partially dried, allowing you to achieve a smooth, even application. For added texture, overlap the leaves as you go, creating a visually appealing design.
If your jar features a lid, your autumnal decoration is now complete and ready for display. However, if you’re working with an open-top jar, continue reading for additional tips to take your project to the next level.
Step 5
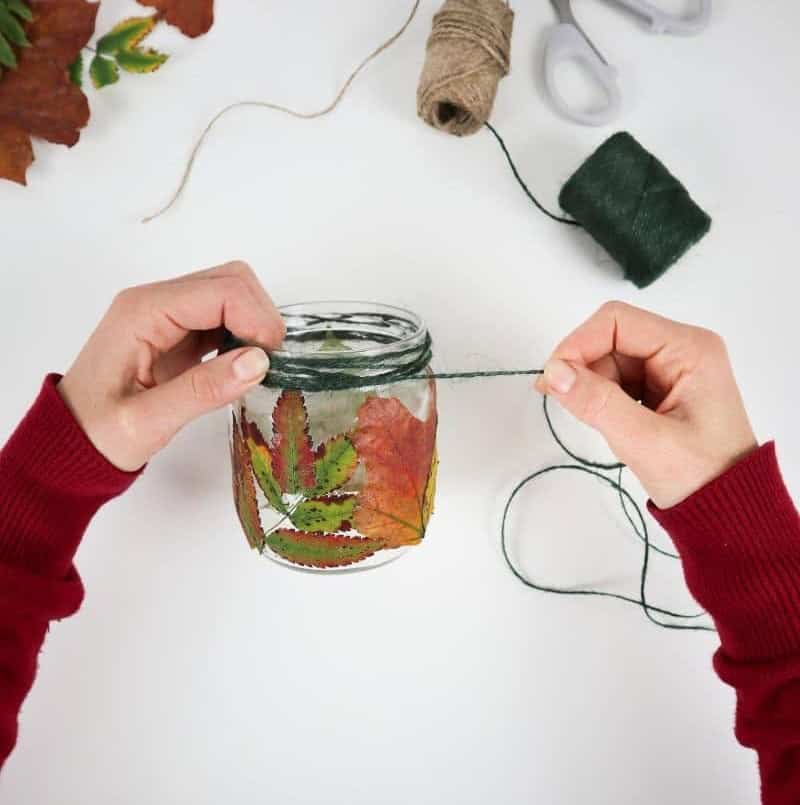
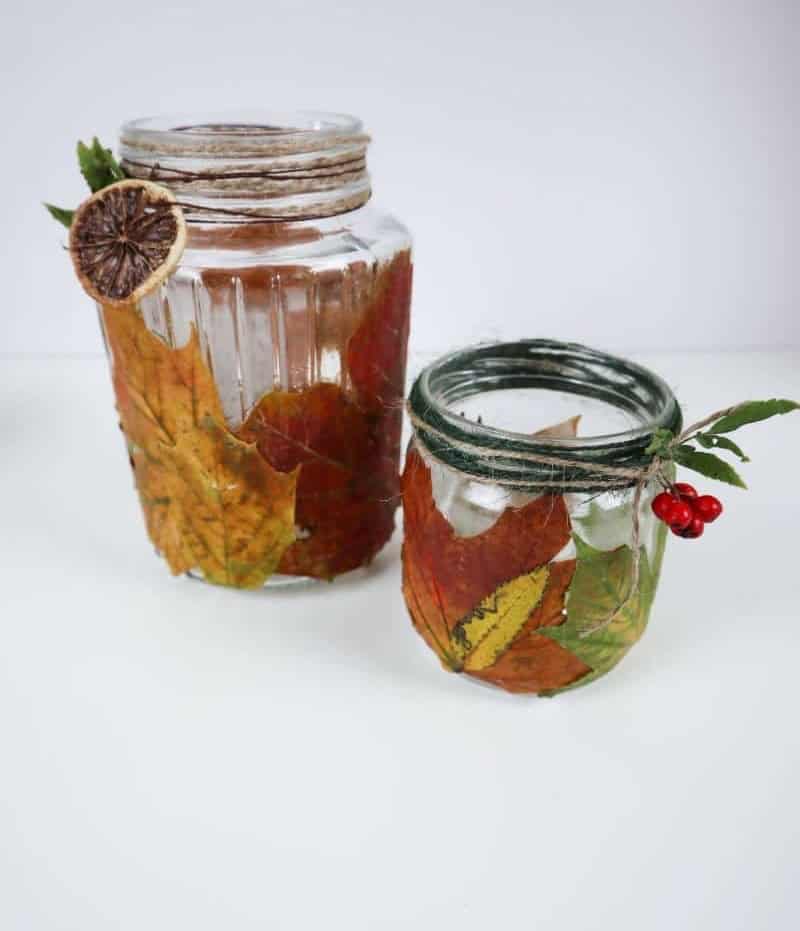
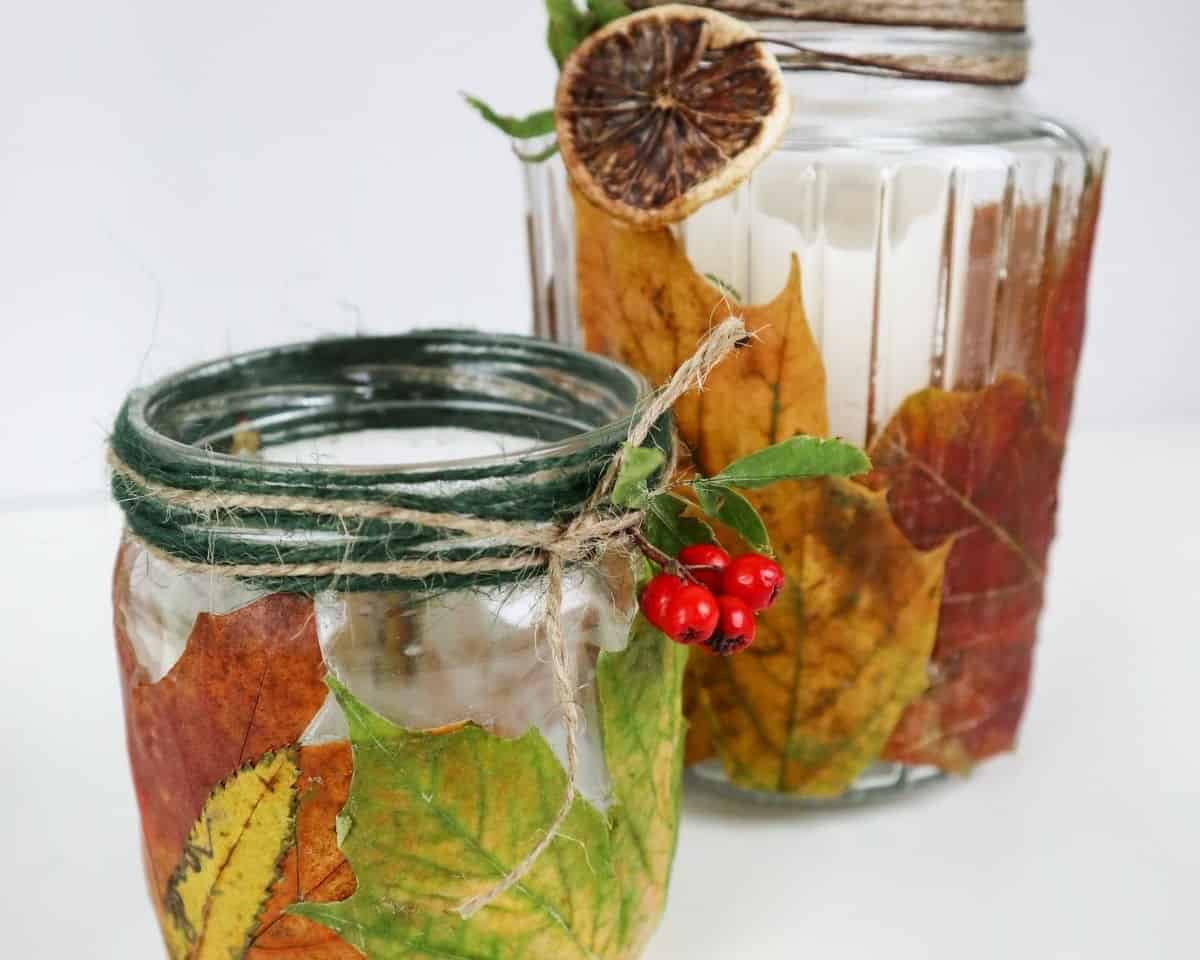
The unobtrusive glass thread encircling the jar’s lid can be cleverly concealed using a length of colored jute twine. Furthermore, the textured appearance of the twine harmoniously complements the rustic ambiance, further enhancing the container’s charm.
Step 6
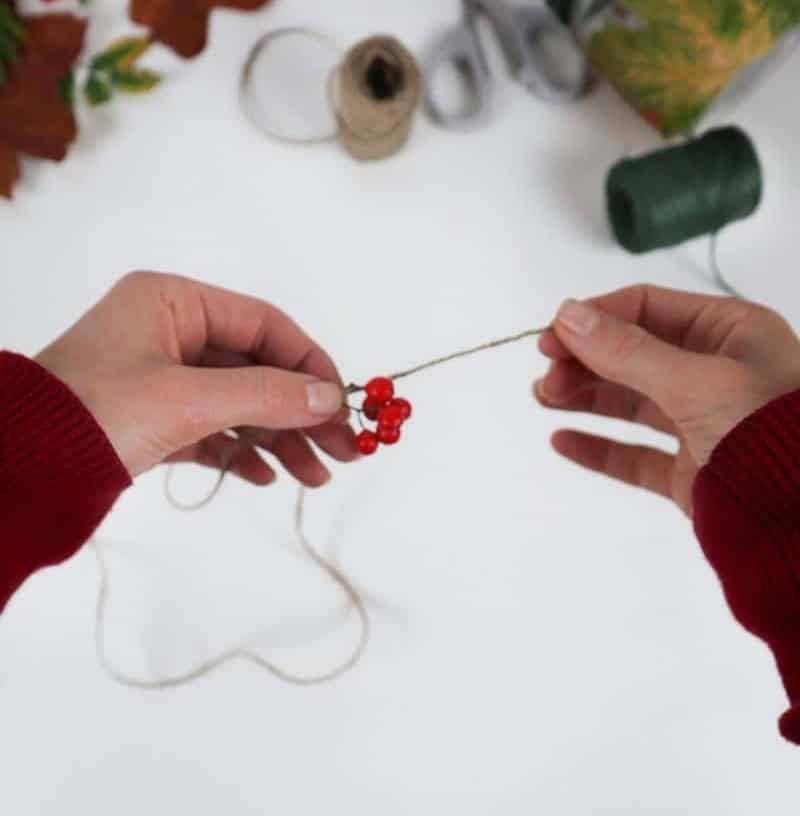
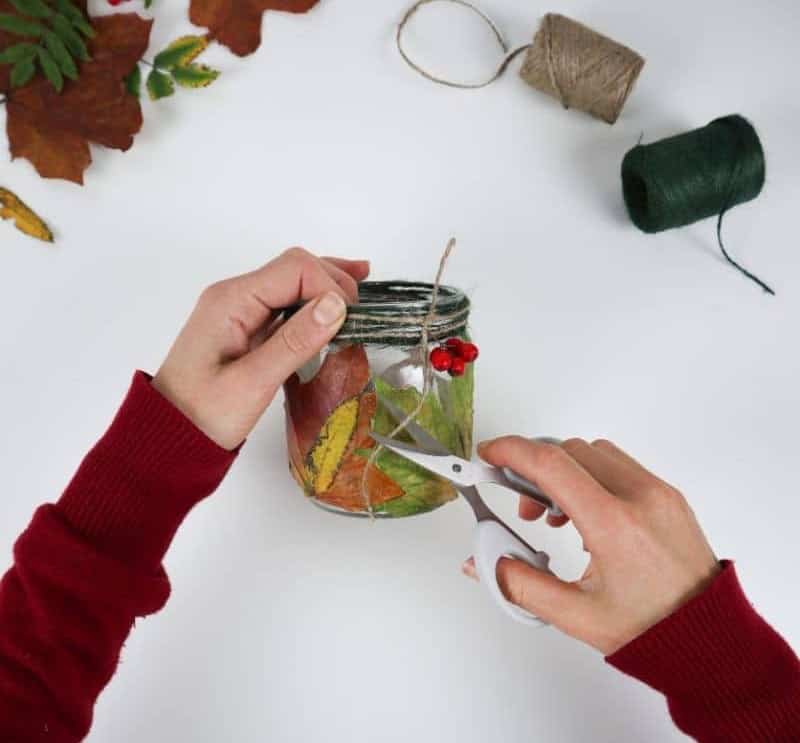
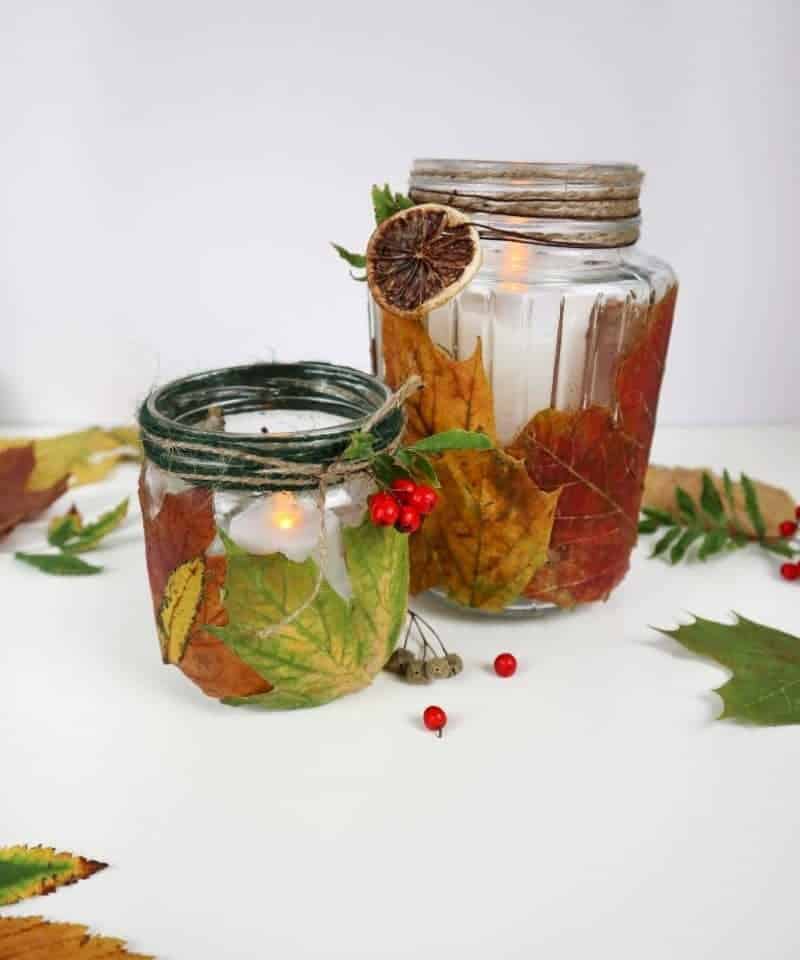
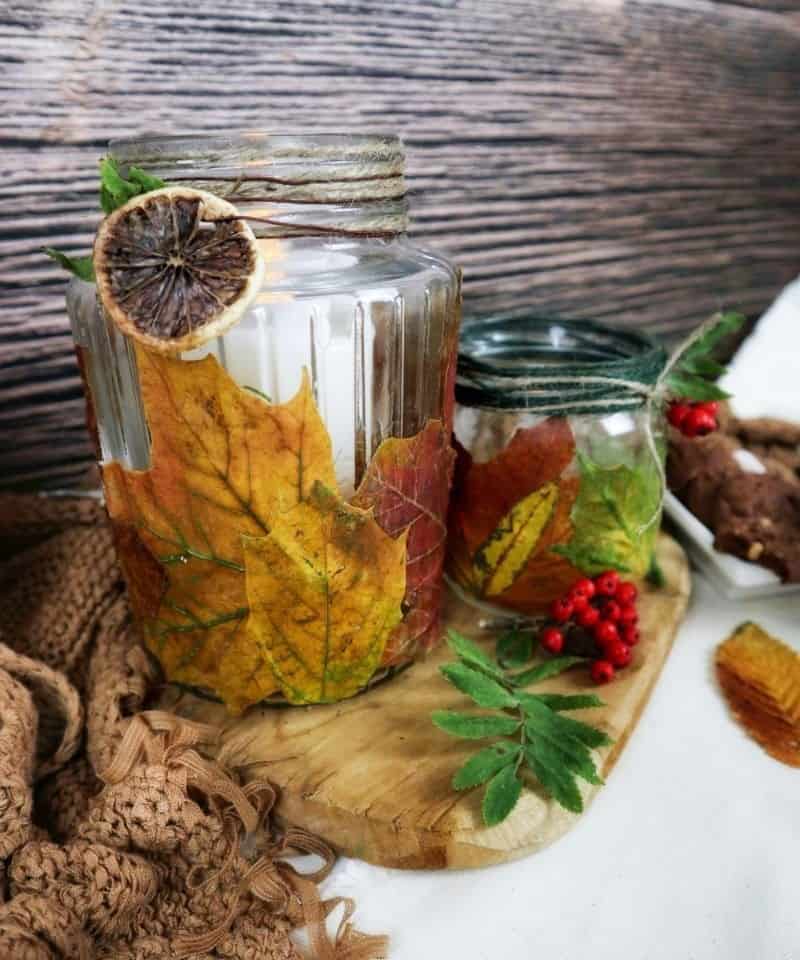
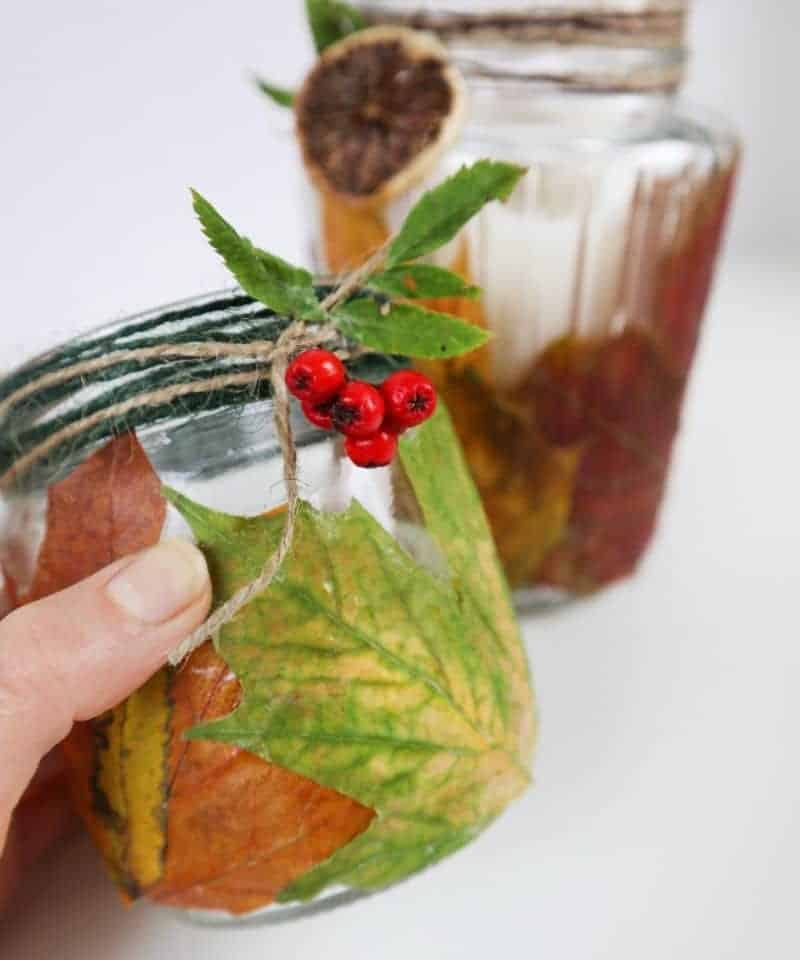
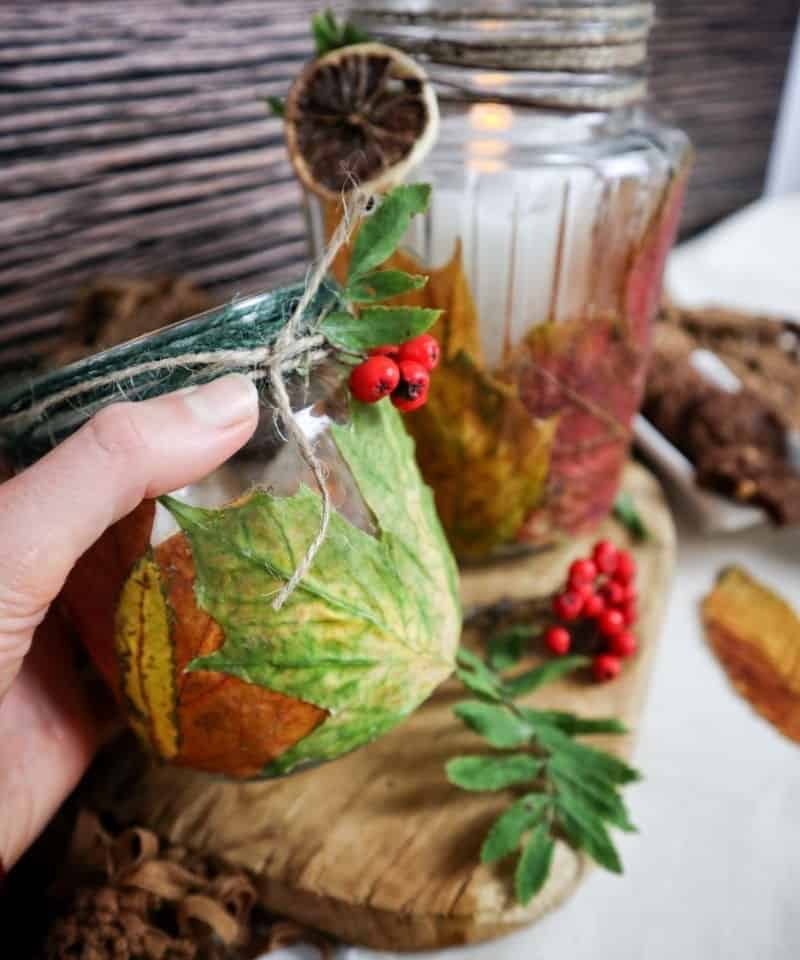
As you bring your jars to life with personalized labels and embellishments, it’s time to add some extra flair. This is where creative expressions can run wild, incorporating elements like decorative ribbons, brown paper tags, beads, or even dried flowers to make each jar a unique reflection of its owner. I opted for a charming approach by using miniature glass berries that perfectly capture the essence of fall.
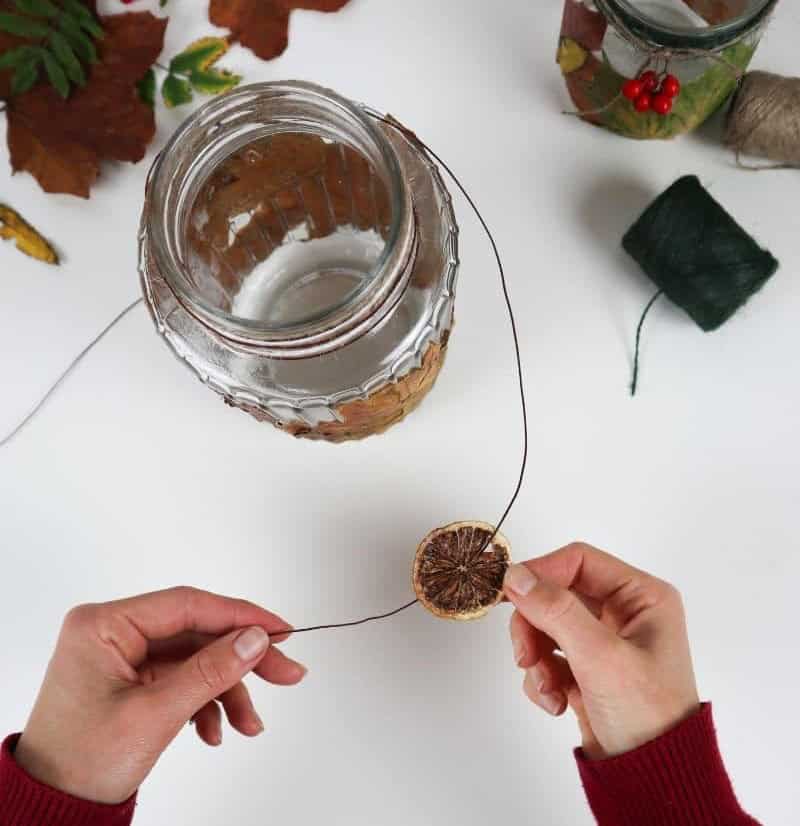
To incorporate them into my design, I simply strung the berries onto some rustic jute twine and tied it around the top of the jar, transforming it into an accent piece. Building on this idea, I also experimented with a slice of dried clementine, which not only adds a lovely aroma but also serves as a subtle nod to the season’s citrusy delights.
Step 7 (Optional)
To add an extra layer of protection or achieve a glossy finish, consider sealing your jar with a clear varnish. Alternatively, apply a thin layer of Mod Podge and allow it to dry completely, creating a crystal-clear coating. While I opted not to seal mine, I understand the appeal of having a more polished appearance – ultimately, the choice is yours.
Where You Can Use DIY Leaf Candle Holders
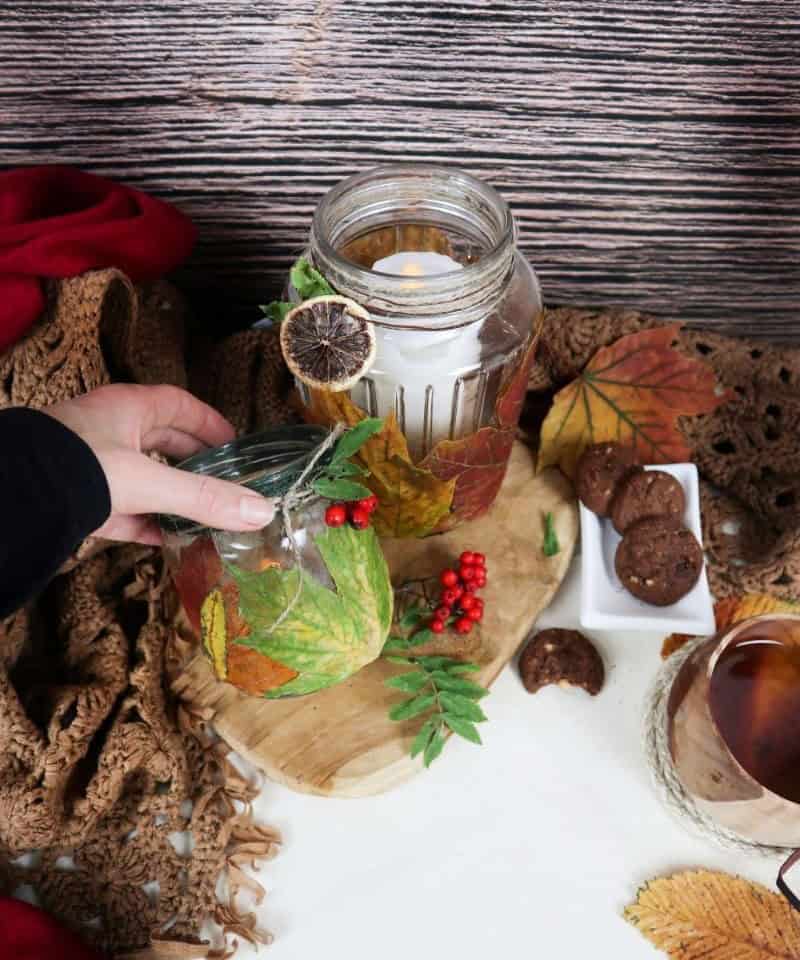
These versatile jars have won me over, and I’m not alone in my admiration. Their adaptability is a major draw, as they can be used to create thoughtful gifts or add a touch of rustic charm to your home. For instance, fill one with treats for the perfect fall gift, attaching a brown tag with the recipient’s name. Alternatively, repurpose them as vessels for holding coffee, tea, and sugar on your kitchen counter.
And if you’re feeling crafty, they make lovely candle holders – just be sure to opt for battery-powered candles for safety. But their uses don’t stop there. These jars can also serve as centerpieces, nightstand décor, toothbrush holders, or pantry storage containers. In short, they’re a jack-of-all-trades in the world of home decor.
Other Decorations You Can Use
To add some visual flair to your apothecary jar, you can combine natural materials like leaves, jute twine, fake berries, and dried citrus peel with man-made elements to create a unique decorative piece. However, there are many other creative ways to embellish your jar. For instance, you could give it a lush, earthy feel by wrapping the base with artificial moss, transforming it into a charming candle holder.
Alternatively, you can breathe new life into old washi tape by using it to create intricate patterns on the jar’s surface. If you have some vintage lace lying around, consider adhering it to the jar for a warm, nostalgic touch that captures the essence of fall decor. Finally, combine cinnamon sticks and twine to craft a votive candle holder that not only looks beautiful but also fills your space with a inviting aroma.
Other DIY Decorations
Transforming ordinary objects into unique and functional pieces is an art form that requires creativity, patience, and a willingness to get crafty. In this realm of DIY innovation, we’ve curated some of the most ingenious upcycling ideas to breathe new life into discarded materials. From turning humble bottle caps into radiant candles to creating sturdy coasters from rope, these clever projects will inspire you to see the potential in everyday items.
For instance, you can weave a beautiful bowl out of paper plates, transforming trash into treasure. But that’s not all – our collection also includes innovative photo holders crafted from rocks, 20 DIY projects for adults seeking creative expression, and a plethora of dollar store decorating ideas to elevate your home decor on a budget. And, because sometimes less is more, we’ve included 20 crafts specifically designed for adults looking for a low-stress, high-reward hobby experience.
To take it to the next level, why not try your hand at creating stunning DIY centerpieces using items from your local dollar store?
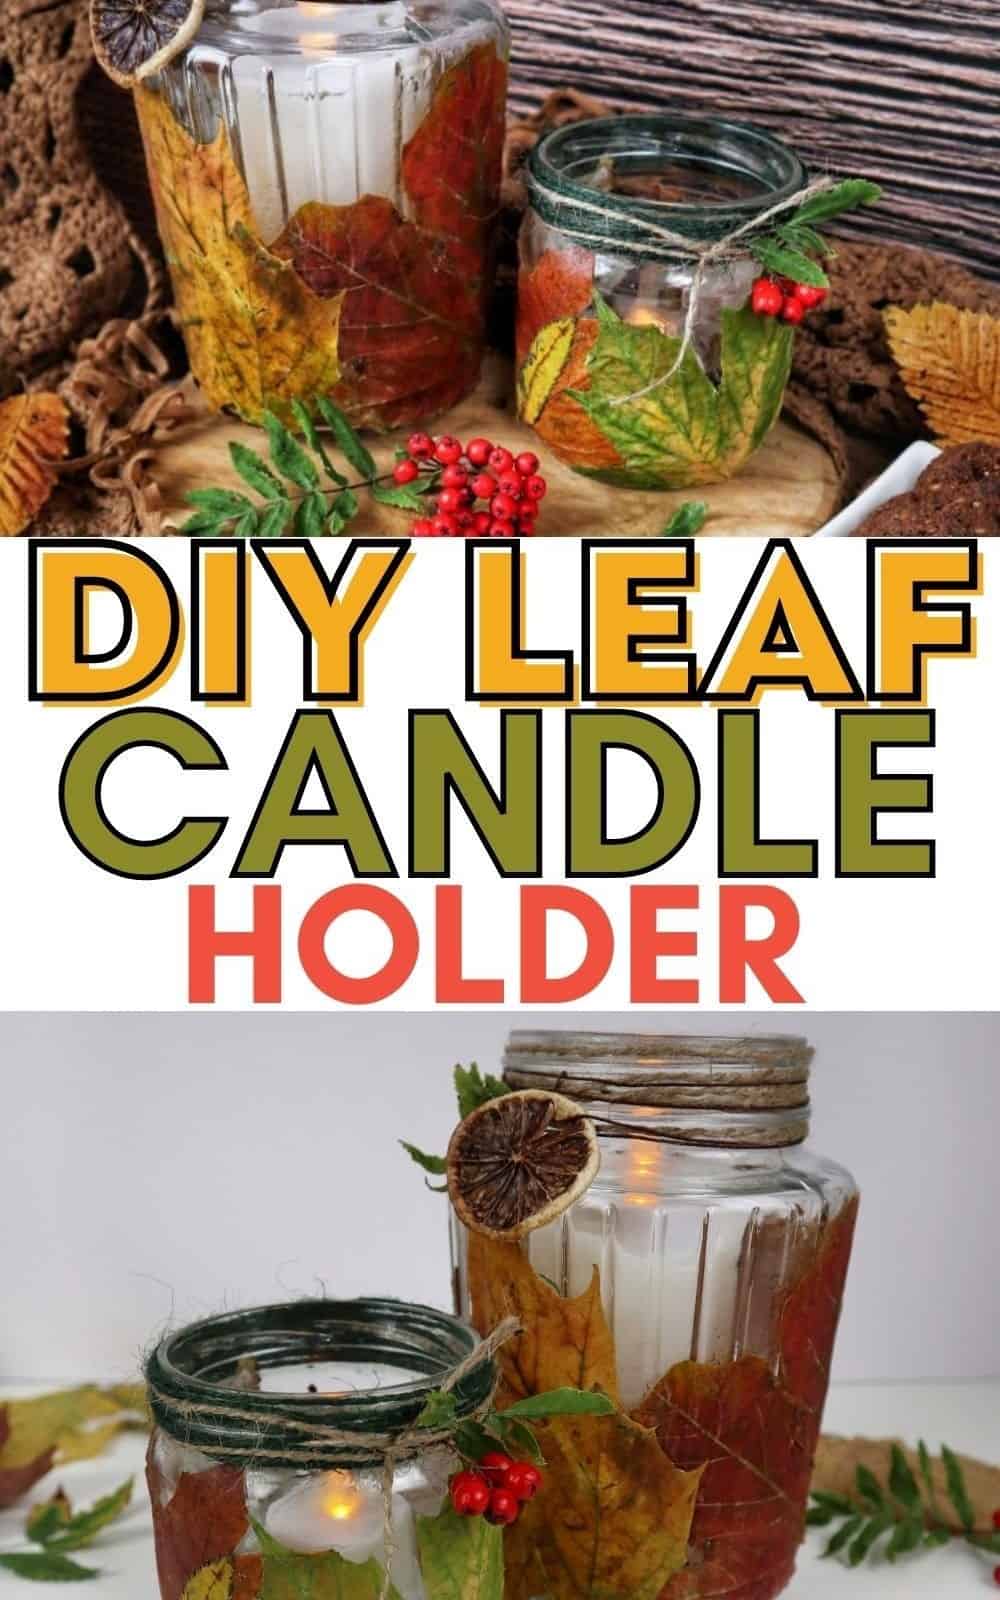
DIY Leaf Candle Holder
Karo from CraftsyHacks. com presents a delightful DIY project that’s perfect for both teens and adults. This easy-to-make candle holder is not only functional but also serves as a beautiful decoration for your home. With an active time of just 20 minutes and an additional 10 minutes, you can complete this project in under 30 minutes, yielding one lovely candle holder.
Whether you’re looking to add some warmth and ambiance to your living space or want to give a thoughtful gift, this DIY craft is sure to impress.
Equipment
When crafting with Mod Podge or similar adhesives, having the right tools can make all the difference. A dedicated brush is a must-have for smooth, even application of your adhesive. But what about preventing your screen from dimming out on you? It’s frustrating when you’re in the zone and your phone or tablet suddenly goes dark. To avoid this issue, consider keeping your devices awake with a few simple tricks.
Materials 1x2x3x
When it comes to embellishing a mason jar, the possibilities are endless. One can add a touch of natural charm with leaves, real or artificial, and pair them with plastic, textile, or other materials that catch their eye. To take it up a notch, decorative ribbon, string, tags, beads, or even dry flowers can be used to add some visual flair. For the finishing touch, a clear spray varnish can be applied to seal everything in place and give the jar a sleek, glossy appearance.
Instructions
To start, ensure your jar is immaculately clean and dry, free from any grease or fingerprints that might interfere with the process. A quick rubdown with rubbing alcohol should suffice to leave it spotless. Next, prepare your leaves by trimming off any stubborn stems, or if you prefer, cut them into unique shapes to add some visual interest. If using artificial leaves, be sure to remove the plastic veins to achieve a more natural appearance.
Apply a thin, even layer of adhesive to the back of each leaf and gently mold it to the curve of the jar, allowing it to dry completely before proceeding. Build up your layers of leaves, aiming for a textured look that captures the essence of fall. Feel free to add additional embellishments, such as wrapping twine around the jar’s rim or attaching dried fruit to create a charming focal point.
For added durability and protection from moisture, consider applying a clear varnish to the finished jar, though this is entirely optional. With your project complete, place these beautiful jars throughout your home and bask in the cozy ambiance of fall now permeating your space.