As the bohemian style continues to captivate jewelry enthusiasts worldwide, it’s no surprise that crafting your own unique pieces has become increasingly appealing. While mainstream designs are embracing this aesthetic, finding authentic and budget-friendly options can be a challenge. After conducting an extensive search, I’ve come to realize that the most effective way to achieve true authenticity is by creating your own piece. And, believe me, it’s not as daunting as it may seem.
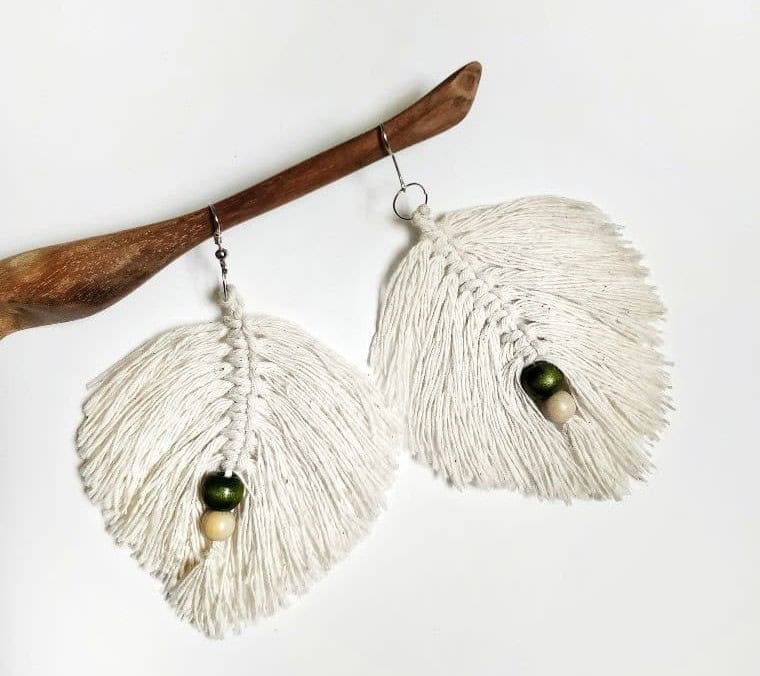
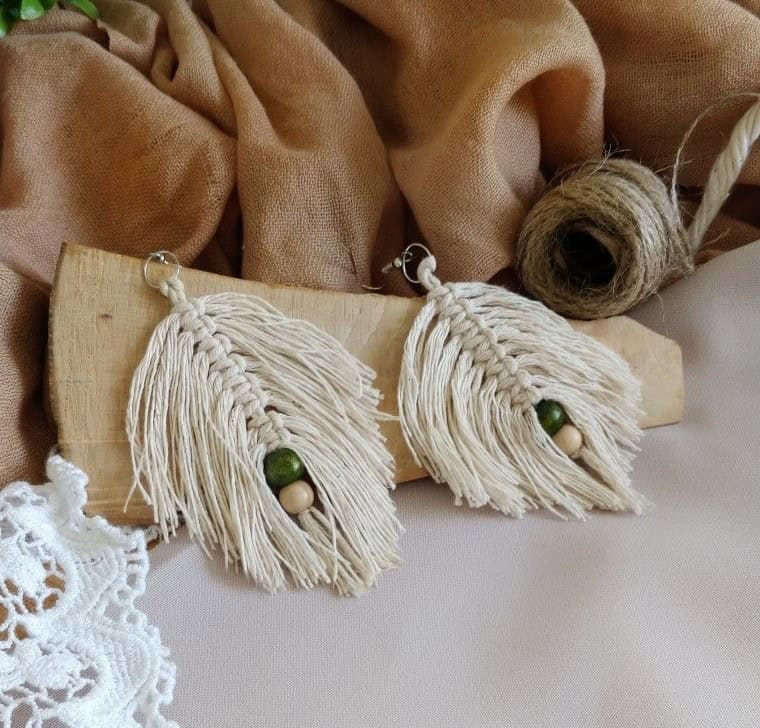
A perfect example of this is the macrame leaf earring design. This effortless DIY project allows you to craft a stunning pair of personalized and unique earrings that exude the perfect blend of chic boho style. Not only do these earrings make for a beautiful accessory, but they also serve as a testament to your creativity and resourcefulness.
How to Make Macrame Earrings
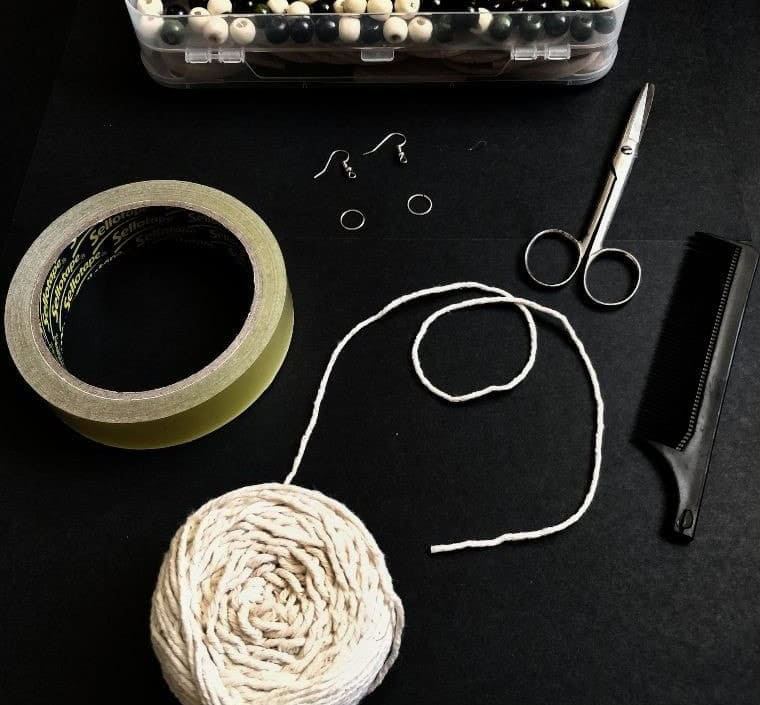
Creating these charming Macrame earrings is a breeze, requiring minimal time and effort. The process is uncomplicated, allowing you to personalize them with your own flair. Once you have gathered all necessary materials, simply follow the straightforward steps outlined below. To get started, collect the following supplies: 4mm Single Stranded Cotton Rope (two pieces for each pair of earrings), jump rings, earring hooks, beads of choice (four per pair), tape or clips, scissors, and a hair comb.
Next, prepare the rope by cutting out long and short strings. You’ll need two long strings per pair to create the spine, as well as 16 short strings for each medium-sized feather.
STEP 1
To initiate the process, begin by dividing the lengthy string into two equal halves, which will serve as the foundation and central axis of the earring. As you work on this initial stage, ensure that the jump ring remains within easy reach, as it will be crucial for the subsequent step in the crafting process.
STEP 2
To secure the closure, thread the jump ring through the folded edge of the fabric, allowing it to form a small loop at the top. This simple step ensures that your finished project will have a sturdy and reliable closure mechanism.
STEP 3
To secure the design, bring the loop down to overlap the jump ring, positioning it atop the remaining loose strands. Ensure the loop sits comfortably at the apex of the two ends.
STEP 4
To complete the process, take the stray ends and guide them through the loop, forming a tidy head knot. As you work on the knot, apply gentle tension to ensure it’s snug and secure. Only once the knot is firmly in place should you proceed to the subsequent stages.
STEP 5
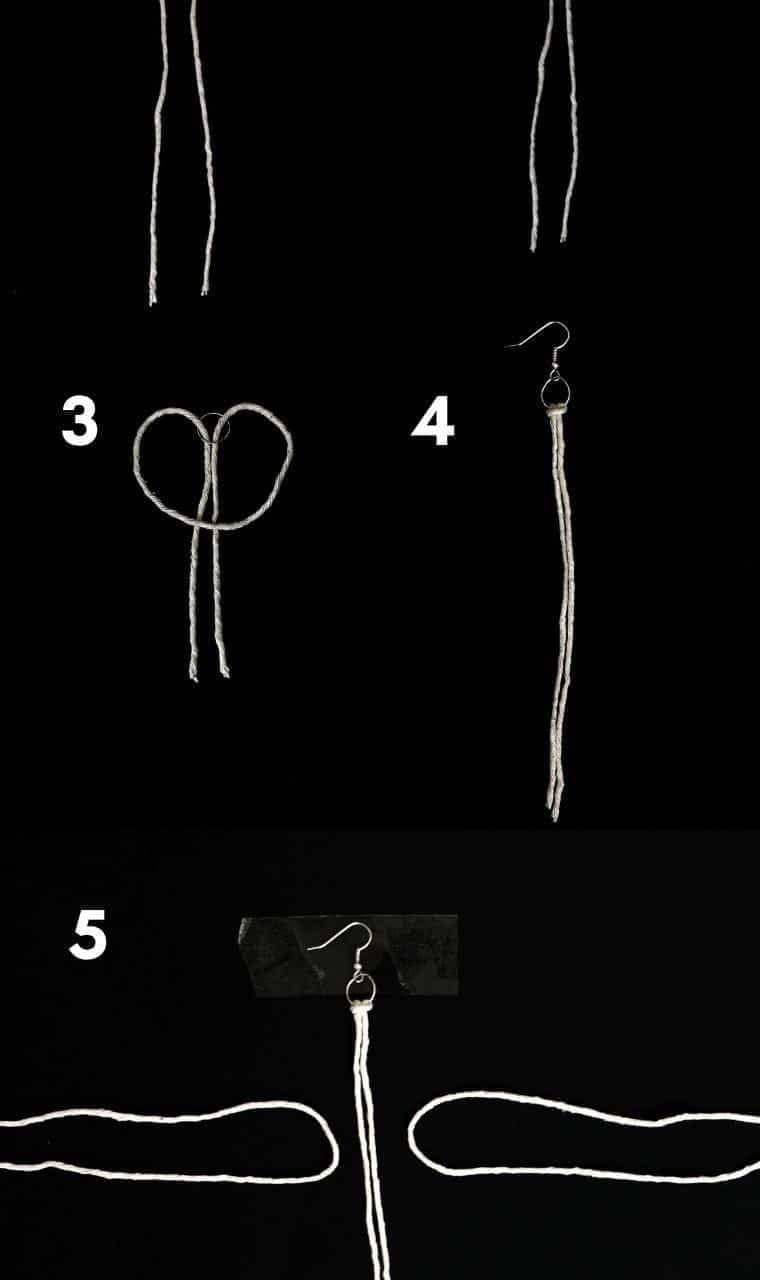
Secure the jump ring by attaching the hook and temporarily stabilize the earring’s top using tape or a clip. This ensures the piece remains steady as you move on to the next steps. To complete the design, you’ll need two short strings, which will be used to create one knot on either side of the spine.
STEP 6
To begin, take the first of the two short strings and place it beneath the spine. Next, fold the second string in half and then insert the folded end into the loop created by the top horizontal strand.
STEP 7
To merge the two strands, grasp the second string and gently coax it alongside the first one. Hold it in place for a moment to ensure they’re properly aligned, then smooth out any wrinkles or twists that may have developed during the process.
STEP 8
To complete the knot, work your way down the remaining length of yarn, carefully feeding it through the top loop and securing any stray ends as you go. This step requires a bit of patience, but trust that the end result will be well worth the effort.
STEP 9
To complete the process, once you’ve pulled both sides of the rope as tight as possible, you’ll want to make sure everything is secure and even. A good way to check this is by giving the knot a gentle tug to see if it holds. If it does, you can be confident that your effort has paid off in terms of creating a sturdy and reliable bond.
STEP 10
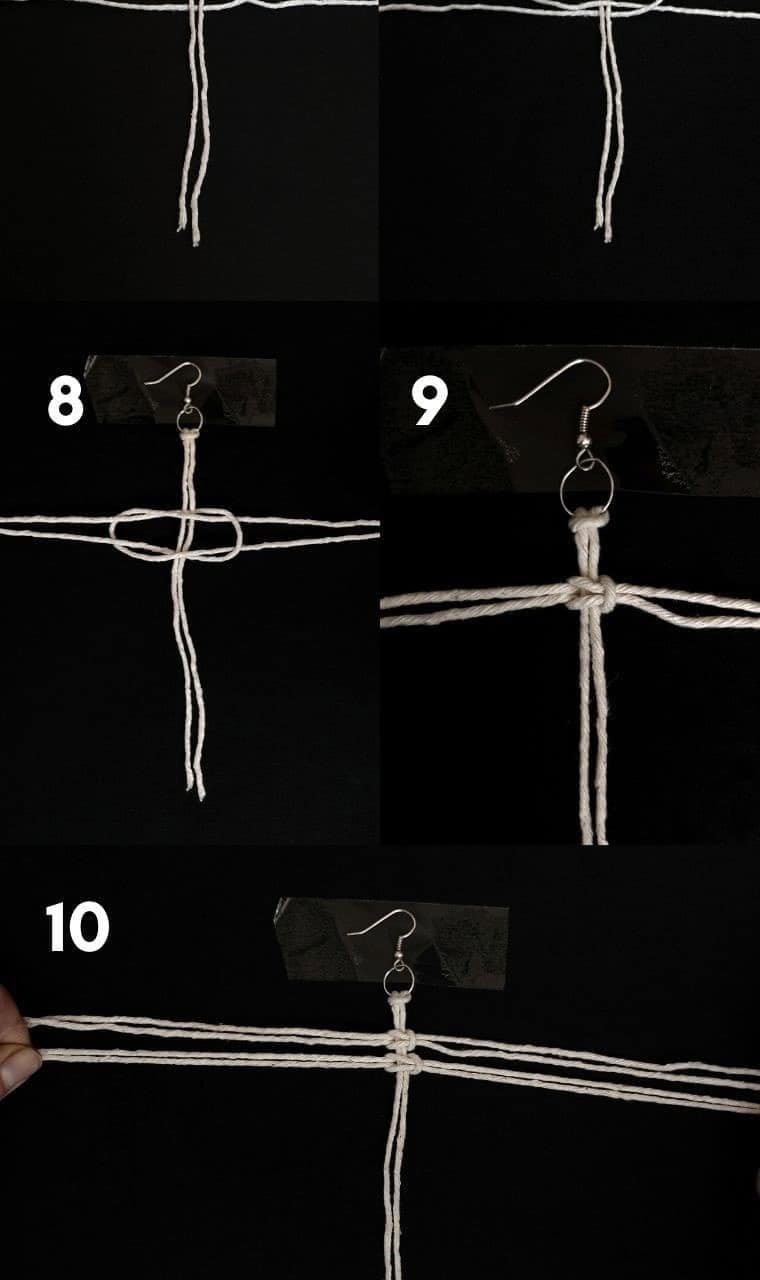
Begin by reversing your approach from the previous step. Instead of starting on the right side, begin on the left. For instance, if you began with a right-to-left loop earlier, now start with a left-to-right loop where the spiral takes place on the left side. Next, position the first folded strand under the spine, allowing its loop to be visible. Then, thread another doubled strand into this loop, forming a foundation for the next steps.
Proceed by pulling the loose ends of the lower strands through the top strand’s loop and tighten it to secure the connection. Continue repeating this process until you have gathered enough strands to achieve the desired feather shape.
STEP 11
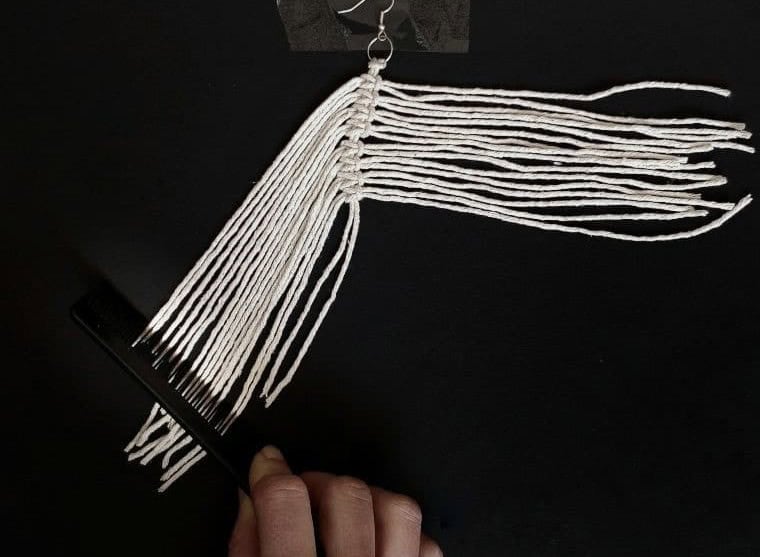
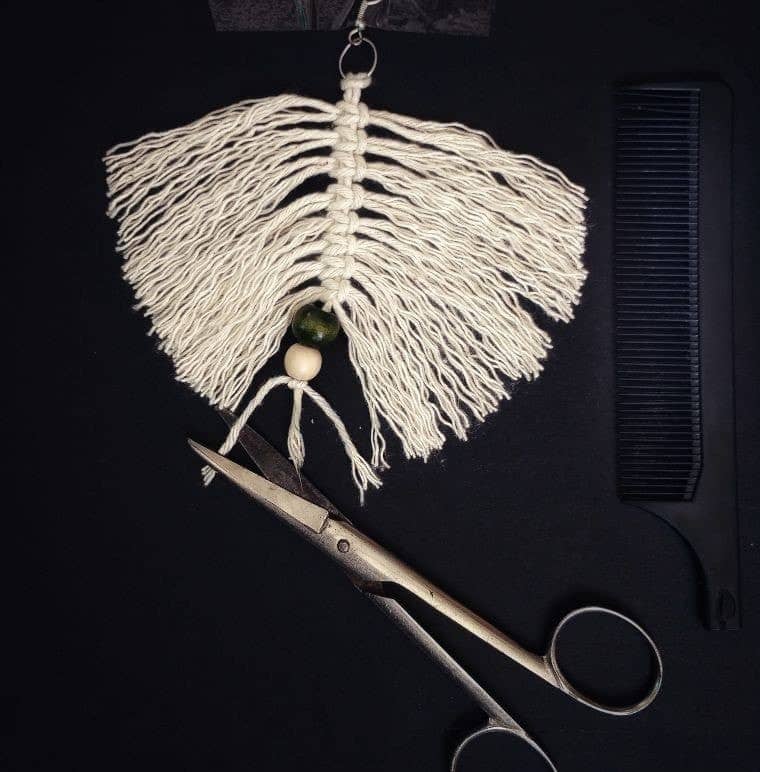
As you work your way down the feather, gradually decreasing its size, ensure each knot is tightened by pushing the strands up after completing each one. It’s crucial to maintain consistent spacing between knots to preserve the desired density. Before trimming the feather, gently comb out the strands to achieve a smooth finish.
STEP 12
After detangling your hair, use scissors to give it a rough trim. Don’t worry about achieving perfection at this stage, as the goal is simply to create a guide shape. This technique has two benefits: it helps define the shape of your hair and makes it easier to brush through later on. The shorter the strands, the simpler it will be to style and maintain.
STEP 13
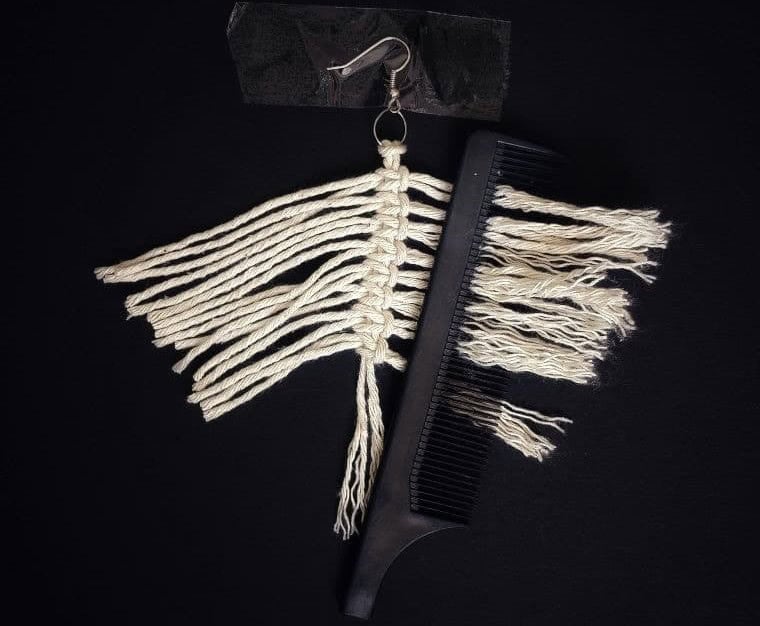
To achieve the signature smooth texture of a feathered cord, begin by gently trimming any stray strands. Next, use a combing motion to separate each thread and work out any kinks or twists that may have developed during the cording process. Start at the spine and work your way down towards the ends, mimicking the same motion you would use when brushing your own hair.
Apply gentle to moderate pressure as needed to coax out any stubborn tangles, taking care not to apply too much force which could potentially damage the delicate fibers at the base of the cord.
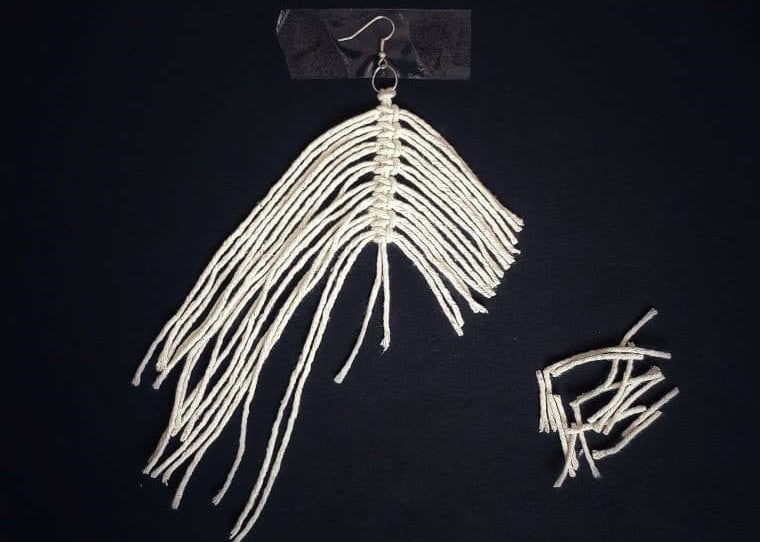
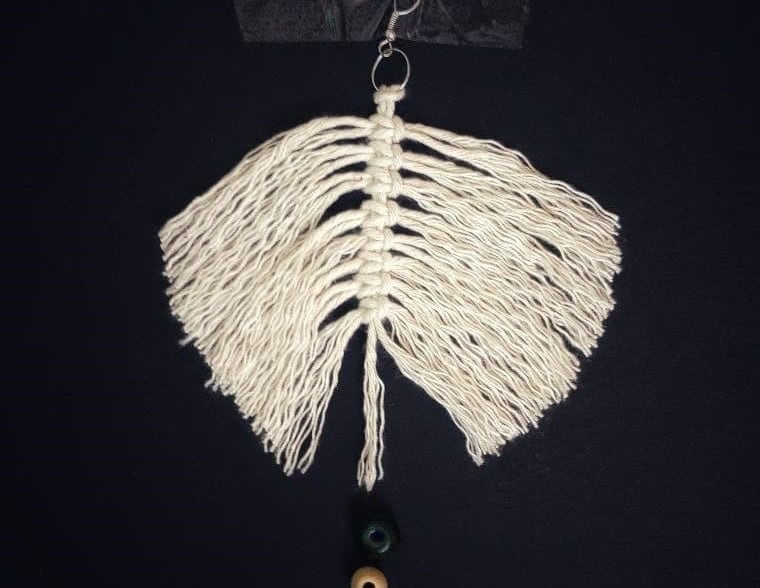
STEP 14
As you complete the process on both sides, you’ll establish a fundamental framework. At this point, each individual thread should be visually distinct, much like the representation depicted in the accompanying image.
STEP 15
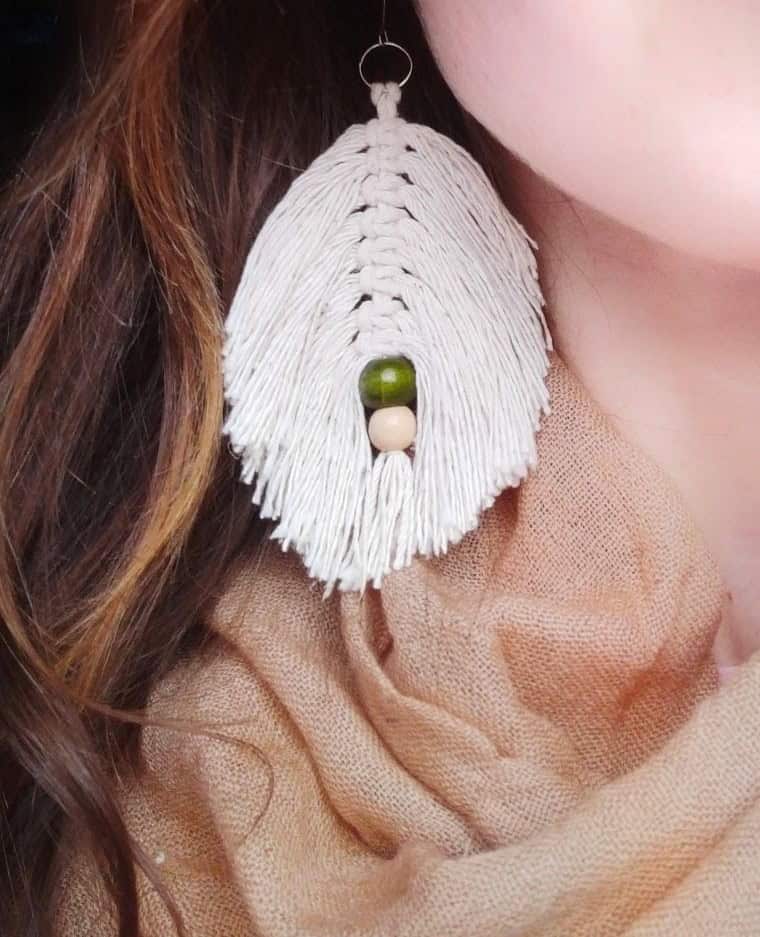
While not mandatory, incorporating beads into your design can serve as an excellent opportunity to infuse personal touches and uniqueness to your finished piece. If you choose to include beads, feel free to select your preferred colors or styles before applying the final trim. This optional step allows for added creativity and a chance to make your piece truly one-of-a-kind.
STEP 16
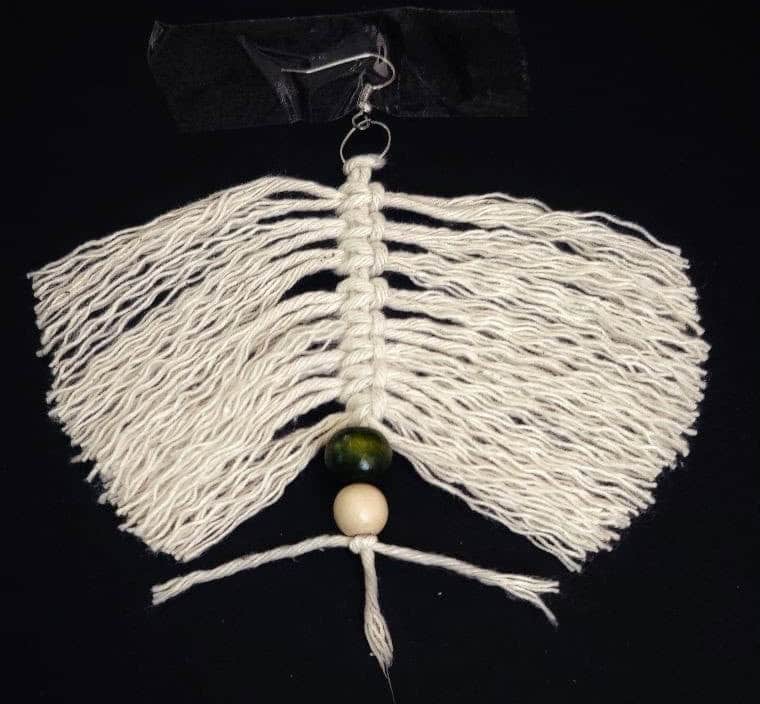
To complete the design, start by threading the desired beads onto the string. You can select any combination of colors that suits your taste and preference – just two beads are needed for a simple yet stylish piece. Once the beads are in place, trim an additional length of string to secure them firmly in position.
STEP 17
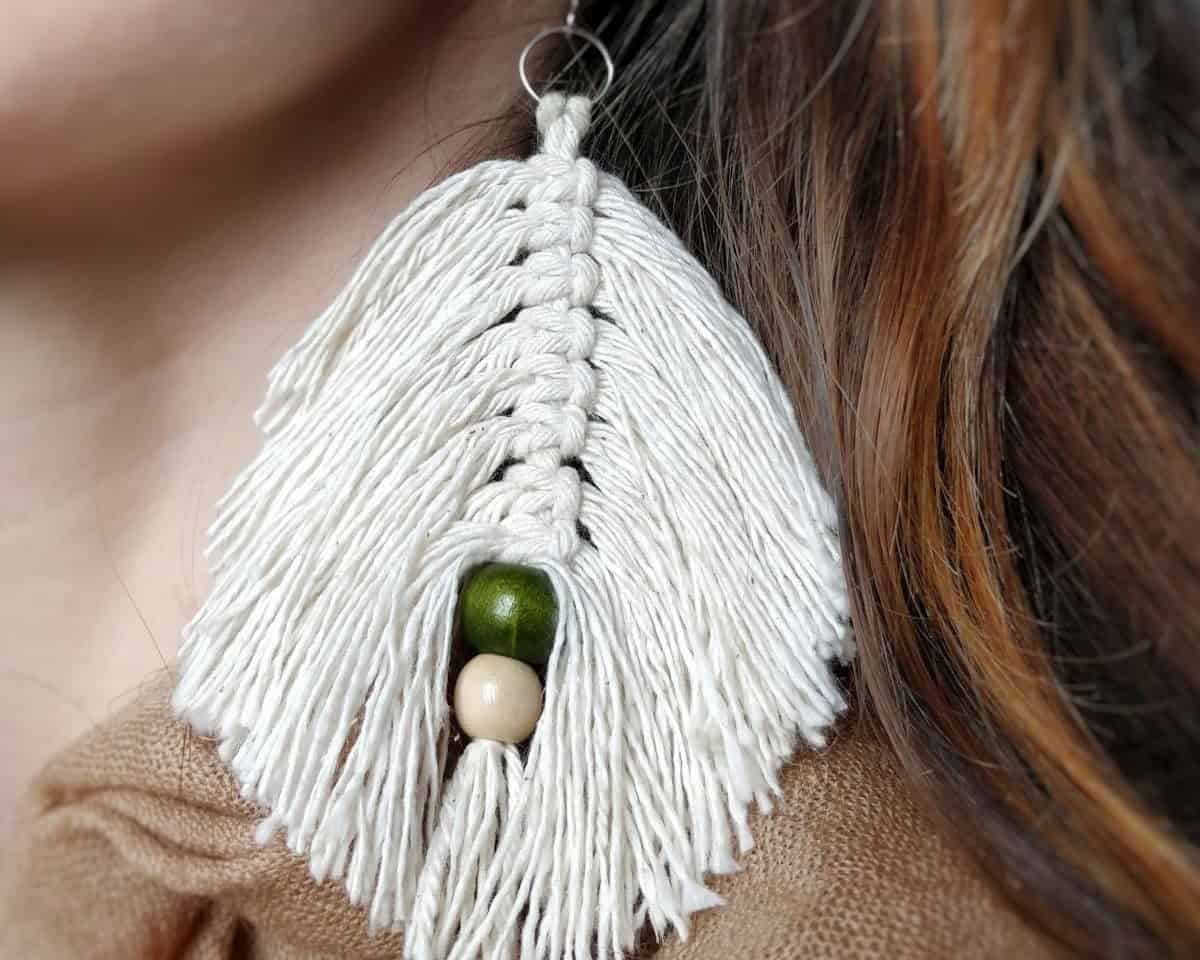
To ensure your bead design stays intact, conclude by tying a thumb knot at the base, effectively securing the beads in their positions. Make certain to tighten the knot sufficiently to prevent any unwanted movement or loosening over time.
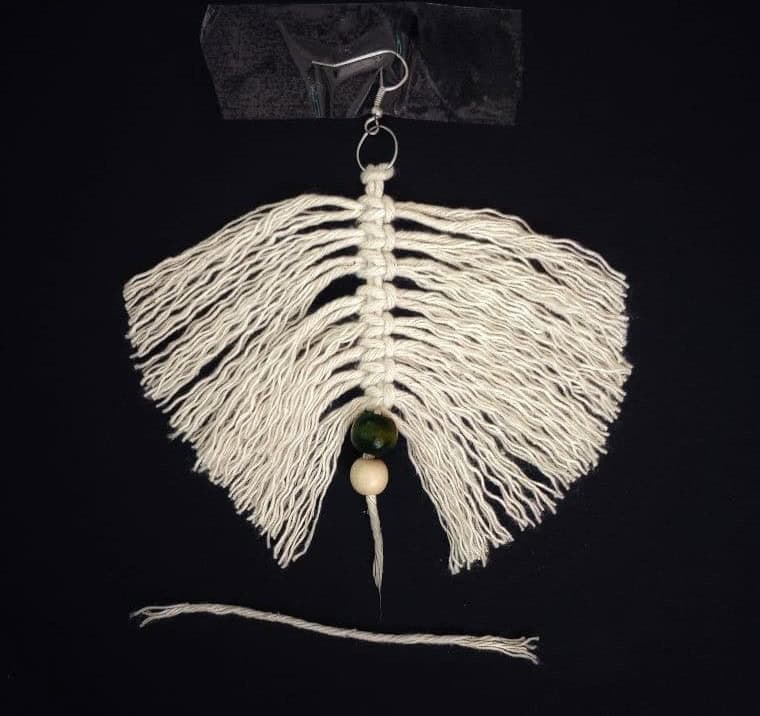
STEP 18
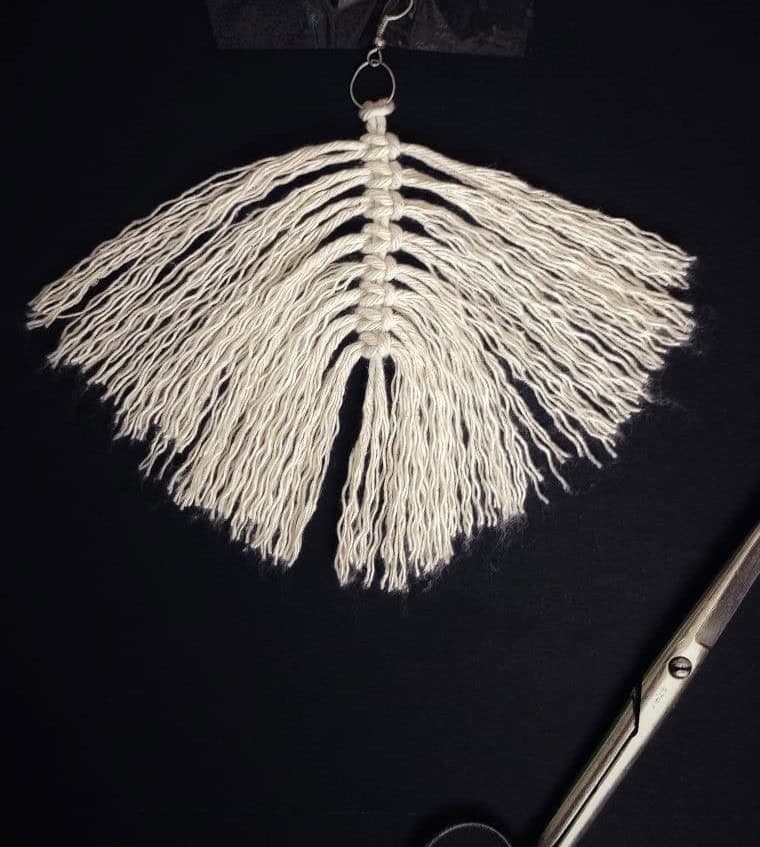
As the last step in preparing the feathered material, carefully cut out the excess string, taking care not to compromise the intricate details. The way you trim the feather has a significant impact on its final shape, so be meticulous in your approach. To facilitate a smooth cutting process and enhance durability, consider using water or stiffener to stiffen the threads ever so slightly. Once you’ve achieved the desired trim, allow the material to air dry for a short while before moving forward.
With these steps complete, you’ll be left with a unique pair of earrings ready to elevate your everyday style.
What Can I Use for Macrame Earrings?
When it comes to crafting macramé feathers, you have a variety of materials at your disposal. Nylon, silk, satin, rayon, and cotton single twist ropes are all viable options. While natural threads like cotton and silk can impart a bohemian charm, synthetic ropes offer durability and resilience. Ultimately, the choice of thread depends on personal preference and availability. For example, if you’re looking for a more rustic aesthetic, cotton or other natural fibers may be the way to go.
On the other hand, synthetic threads provide a more practical solution that can withstand wear and tear. Whatever your preference, feel free to experiment with different materials to create unique and personalized pieces.
DIY Macrame Leaf Earrings
Get ready to add a touch of handmade charm to your outfit with these delightful DIY macrame earrings! Not only are they easy and fun to make, but they also serve as a unique accessory that will elevate your personal style. With an active time of just 2 hours, you can easily fit this creative project into your busy schedule. So why not give it a try? You never know – you might just discover a new hobby or passion!
Equipment
To keep your devices running smoothly and prevent sleep mode, consider using tape or hairclips to secure your device’s lid or flap. For scissors, you can use a simple hair comb to hold the blades together. Additionally, make sure to adjust your screen settings to prevent it from going dark while working on your project.
Materials
To create a unique and personalized jewelry piece, you will need the following materials: 4mm single-stranded cotton rope, two jump rings, two earring hooks, and four beads of your preferred color or design. These components will come together to form a distinctive accessory that reflects your individual style.
Instructions
To create your earring design, start by preparing your supplies. Cut two long strings and at least 16 shorter ones for the earrings themselves. Take one of the long strings and fold it in half, then thread a jump ring through the center. Secure the jump ring with a knot to keep it in place. Next, fold the cotton loop downwards and pass the loose ends of the long string through it, tightening as needed. Attach a hook to the jump ring and secure it at the top using tape or a clip.
For the earring’s core, take one of the shorter strings and fold it in half with a loop in the middle. Place this folded string under the spine, then insert the second folded string into the horizontal strand’s loop. Pull it through so that it lies horizontally above the opposite strand. Next, draw both sets of bottom strands around the top loop, pulling them tightly to secure the knot. Repeat these steps on the other side to create a second knot.
Once complete, gently comb out the strands to remove any tangles or knots. If desired, add beads by attaching an additional string to secure them in place. Finally, trim the excess threads and wet them to make cutting easier. Allow the earrings to dry before flaunting your new creation!
Conclusion
The notion that creating something stunning and practical must be intricate or costly is simply a myth. In fact, crafting unique earrings with various beads is a perfect example of how simplicity and affordability can come together to produce a treasure trove of possibilities. With an array of colors and patterns at your fingertips, you can tailor each piece to match your personal style.
Moreover, the accessibility of these supplies makes it easy to create a new pair for every outfit or gift one to loved ones who will undoubtedly appreciate the thought and craftsmanship that goes into each piece.