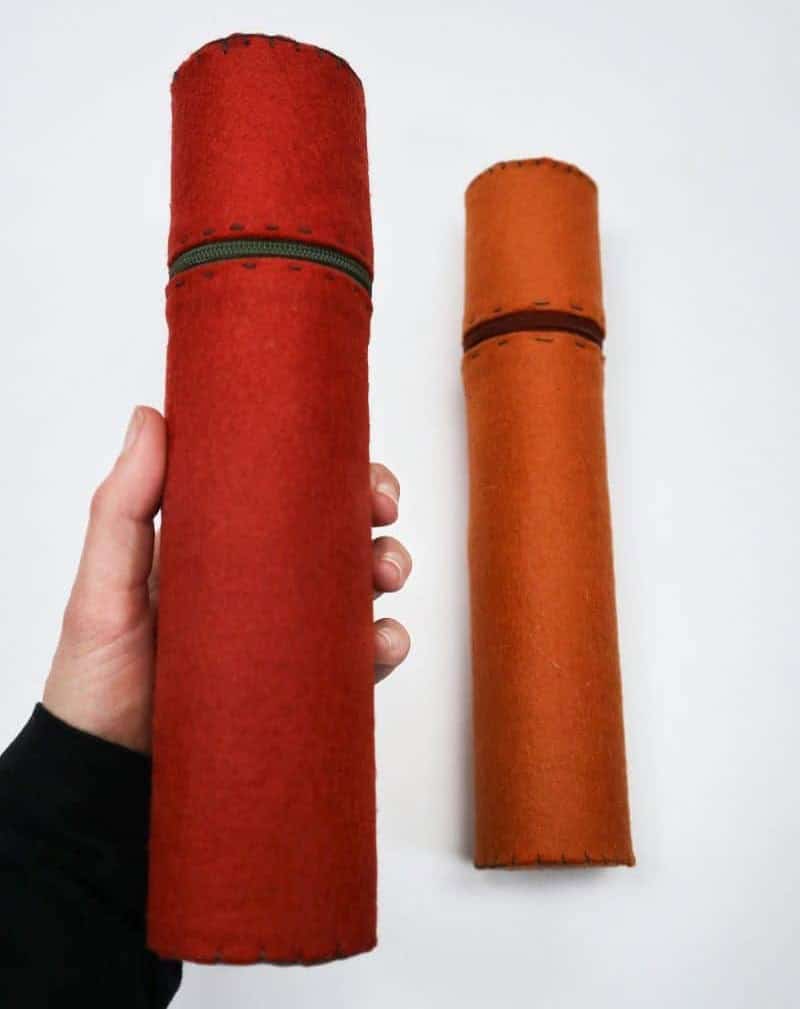
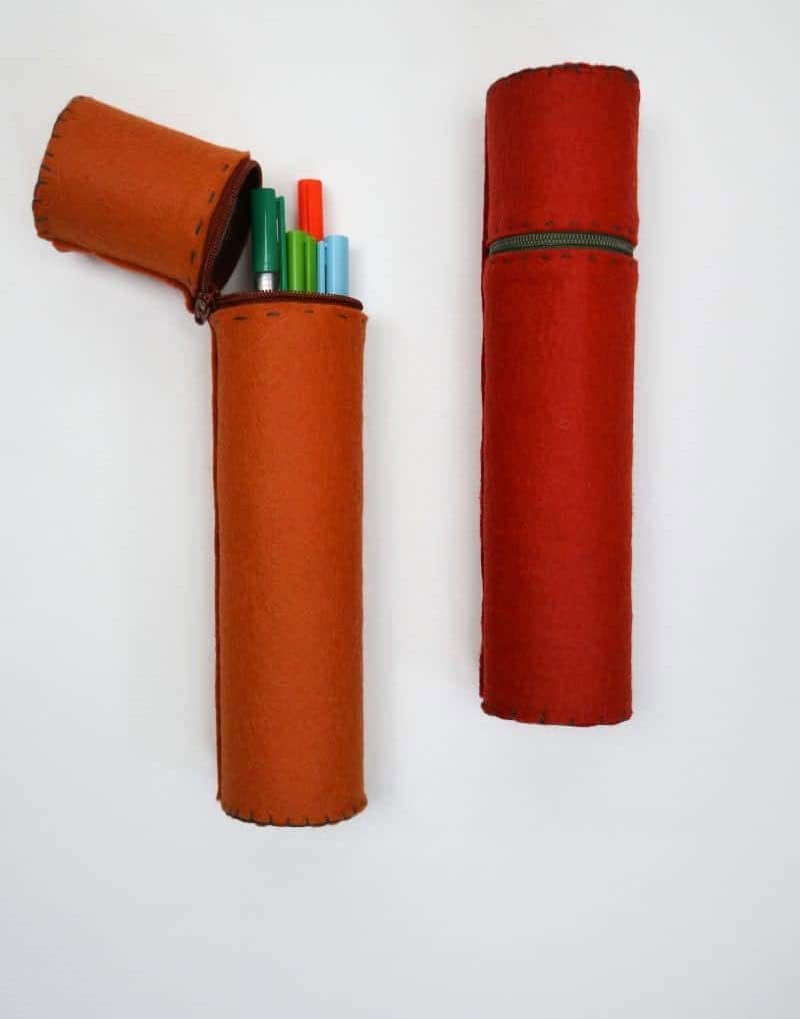
Looking for a unique back-to-school project that’s both functional and budget-friendly? Look no further than this DIY pencil case. Not only will it keep your pens and pencils organized, but it’s also a great way to add some personality to your school supplies.
For many of us, there’s something special about receiving new stationery at the start of a new school year.
But let’s face it, buying a whole set of supplies can be a costly affair, and you may end up with a collection that looks very similar to someone else’s. That’s why I love this pencil case project – not only is it easy on the wallet, but it’s also a great way to add some personal flair to your school gear.
And the best part? You won’t believe what it’s made of – a simple cardboard box that’s transformed into a stylish and practical storage solution. So why not give it a try?
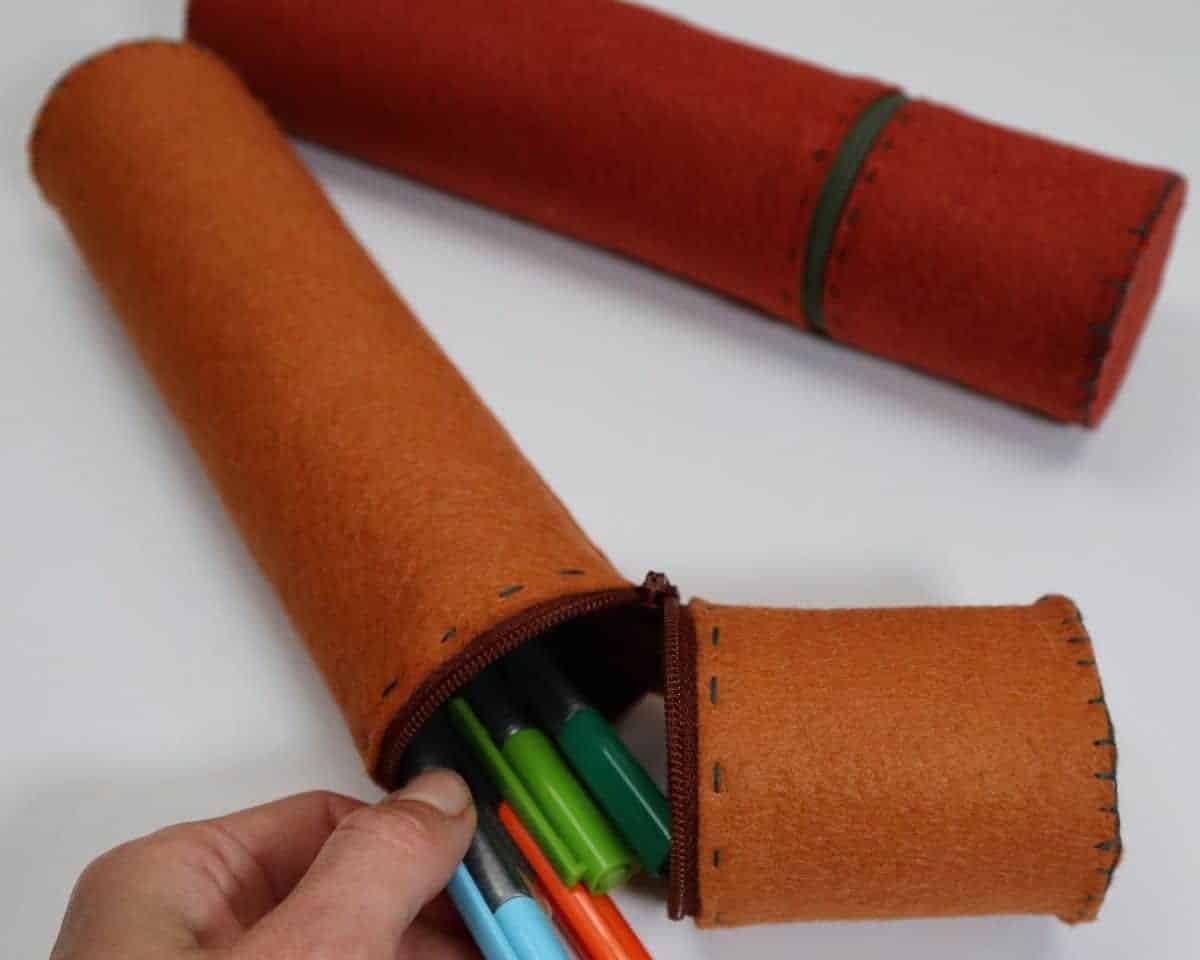
DIY Pencil Case – A Great Back to School Craft
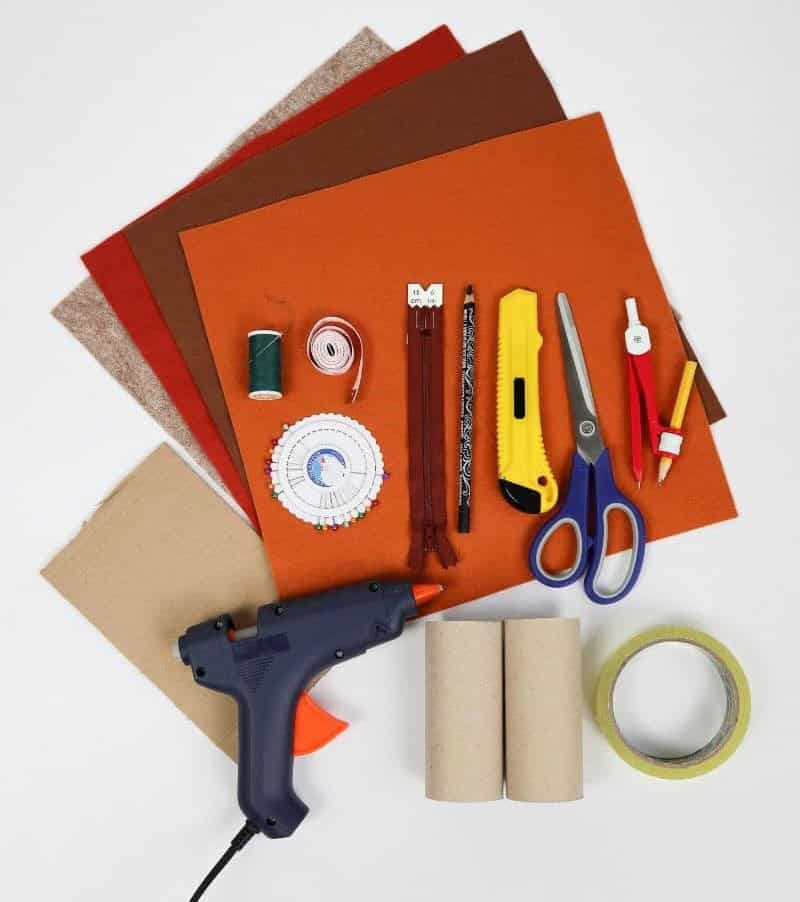
Supplies for a Pencil Case
In crafting the perfect treasure map, a treasure hunter’s arsenal of materials is crucial.
The following essential tools and supplies are required to create an accurate and detailed map: colored felt sheets for adding visual flair, toilet rolls for creating three-dimensional terrain, nylon zips (around 6 inches long) for marking boundaries, cardboard for providing a sturdy base, hot glue gun for securing items in place, scotch tape for temporary bonding, pins for fastening small details, needle and thread for sewing on embellishments, pencil for sketching out the initial design, measuring tape for ensuring accuracy, and retractable knife for cutting and shaping various elements.
Additionally, a compass with a pencil is necessary for plotting directions and distances.
How to Make a Pencil Case
To create your unique upcycled pencil case, follow this comprehensive guide from start to finish. It’s the perfect DIY project for crafty individuals looking to breathe new life into old materials and produce a functional yet stylish result.
Step 1
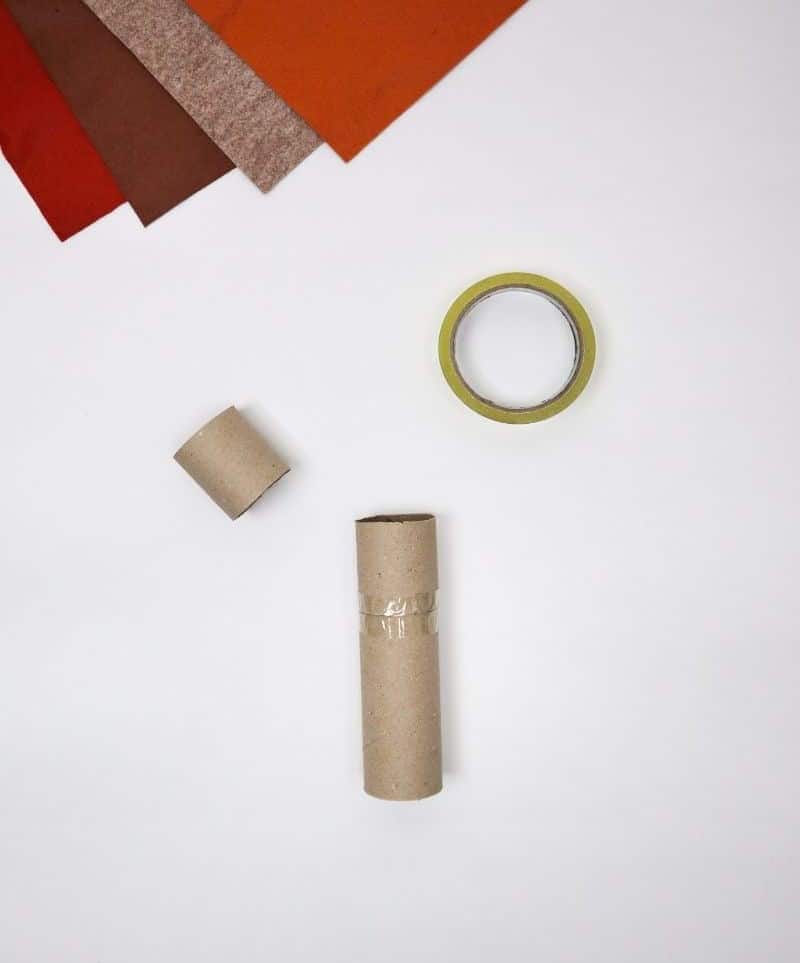
To embark on this creative journey, let’s first gather our essential supplies. A zip of sufficient length to be wrapped around your cardboard tube is crucial – I opted for a 15cm long one, although you may require a longer one depending on the thickness of your tube. In addition to the zip, you’ll need at least two pieces of felt: one for the pencil case’s body and another for its wings.
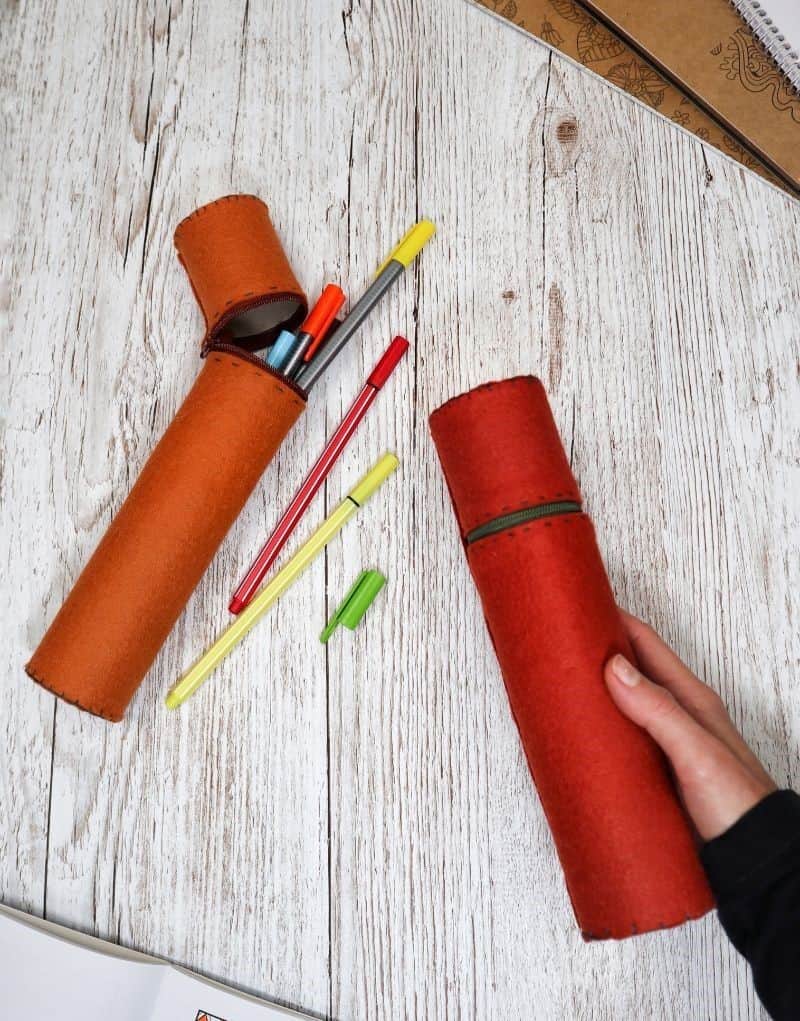
As you work on this project, feel free to get creative with color blocking to give your case an extra touch of uniqueness.
Step 2
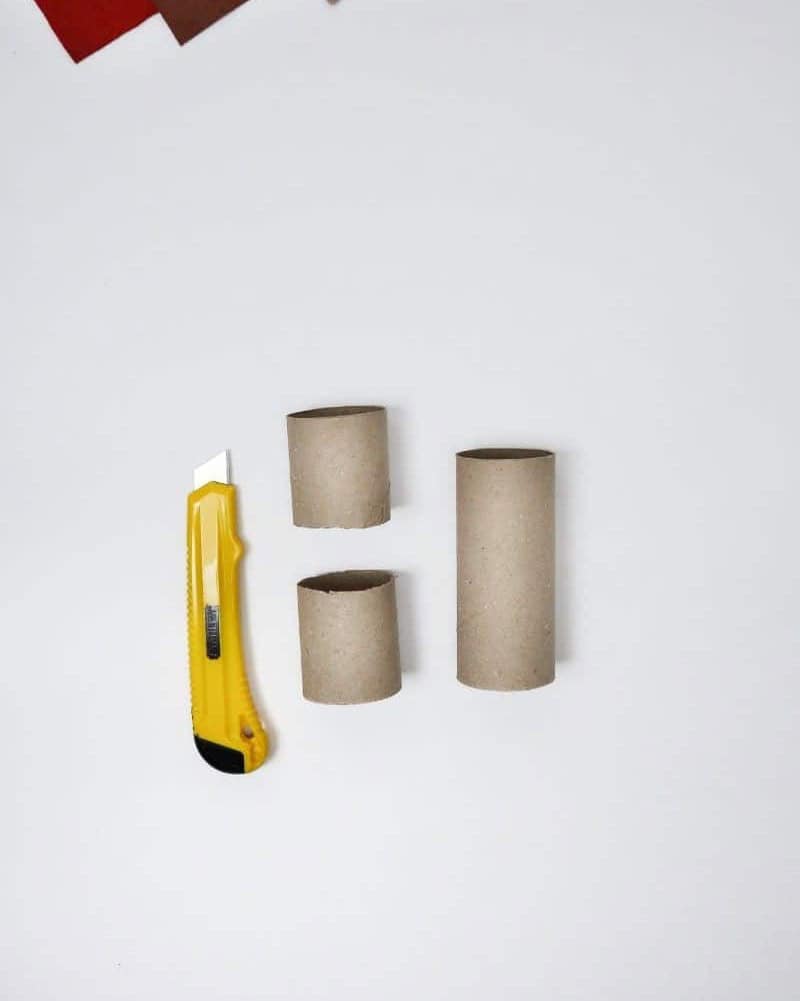
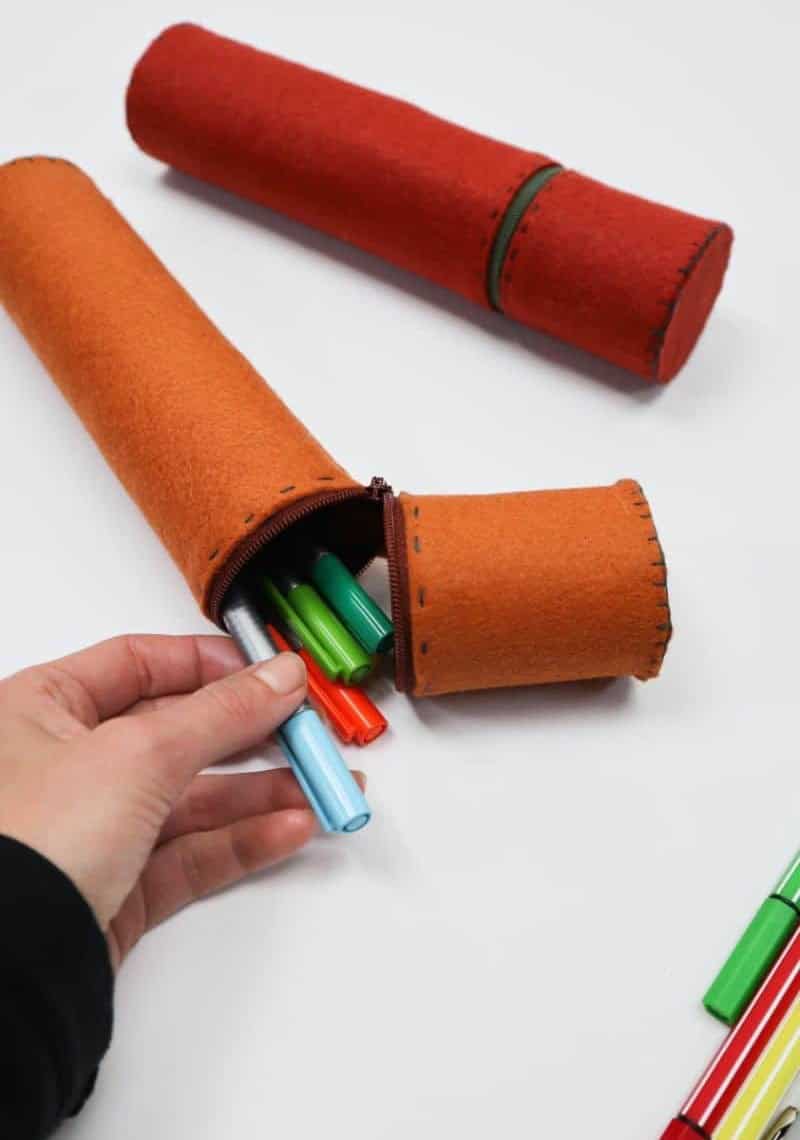
To begin crafting the interior structure’s framework, start by preparing the necessary materials. Begin by cutting one of the cardboard rolls into two equal halves using your craft knife, while keeping the third roll intact. This will leave you with a total of three distinct pieces.
Step 3
To create a sturdy foundation for your DIY project, start by securing one of the small cardboard pieces to the top of your toilet paper tube using some adhesive tape. This simple step will result in two distinct components: a longer cardboard tube and a smaller, half-sized piece, both ready to be incorporated into your creative endeavor.
Step 4
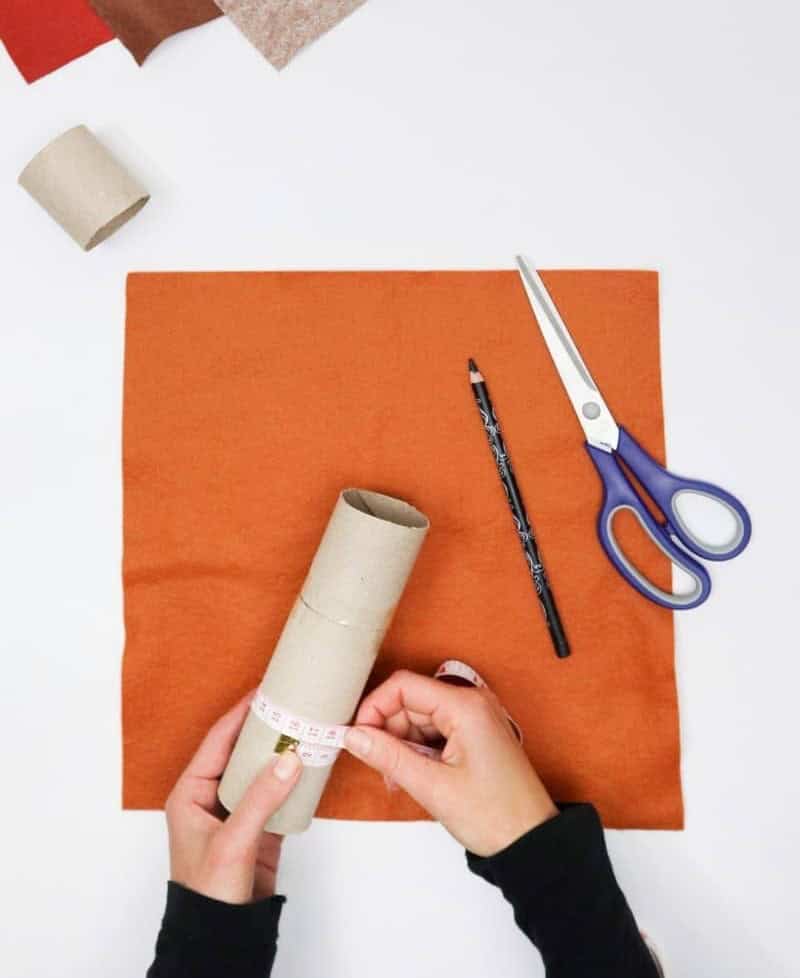
To begin the process of creating a DIY paper mache mask, you’ll need to measure the circumference of your large paper roll. This will give you the total length of material needed for the roll’s outer layer. Record this measurement and set it aside for later use. In my case, I found that my roll measured 15cm in width.
Step 5
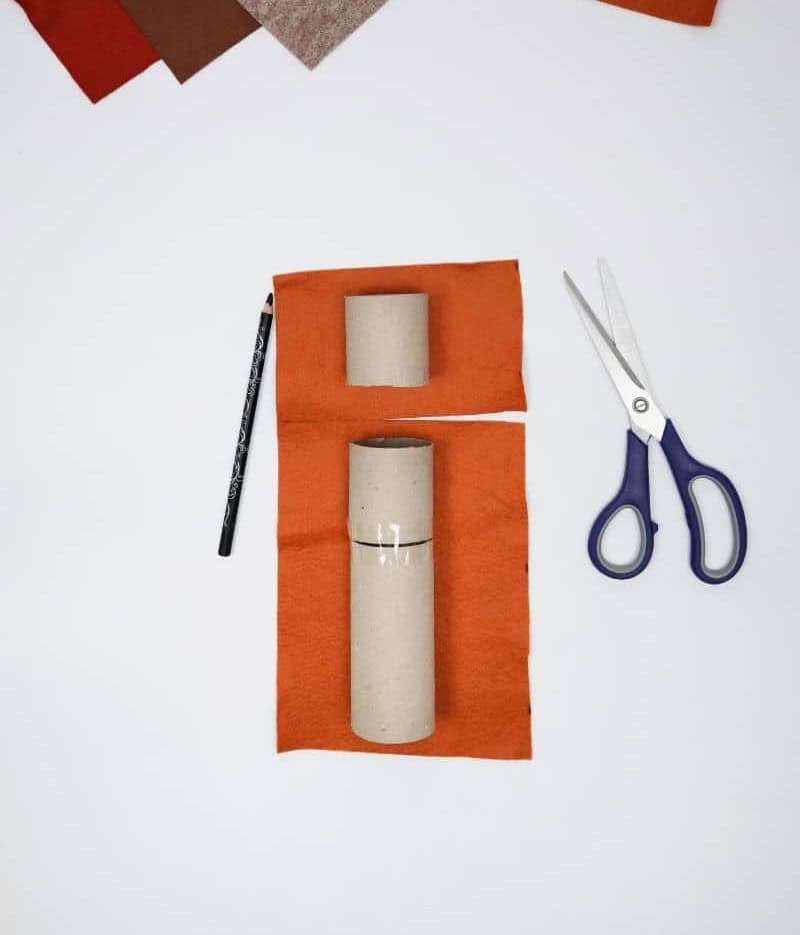
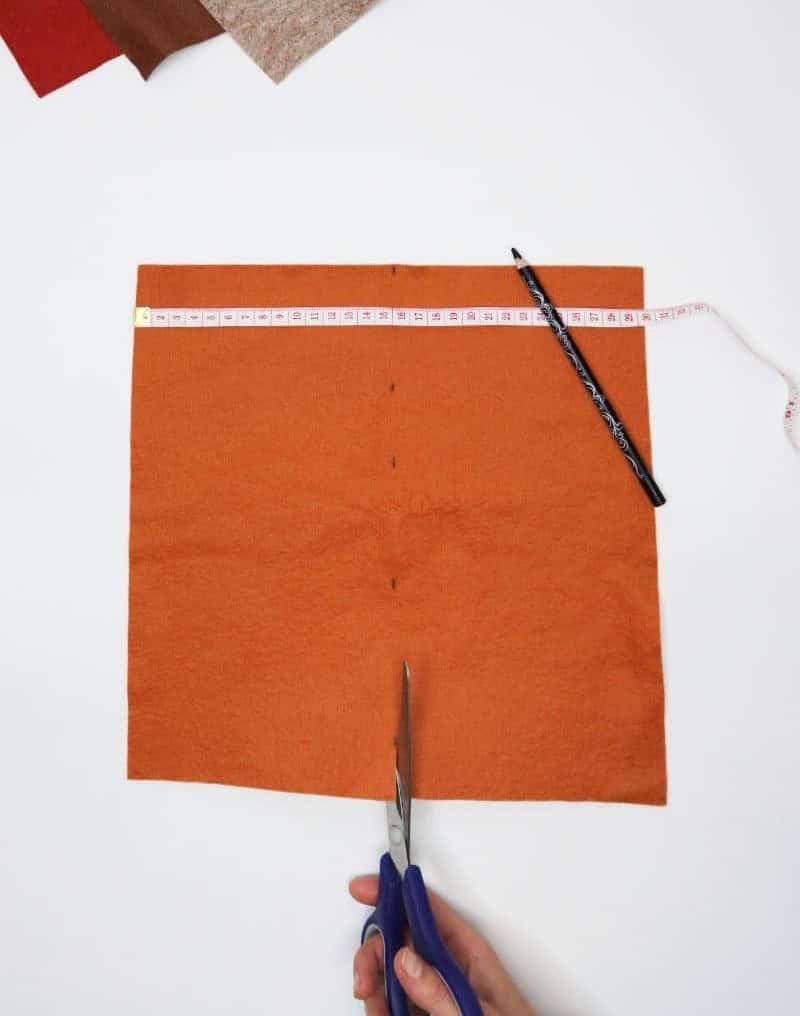
To create the felt circle, start by drawing a straight line along the measurement mark on your felt sheet. Next, carefully cut through the felt along this line, ensuring a clean and even edge. This will give you a precise piece of felt that can be wrapped around your cardboard tube, ready for assembly.
Step 6
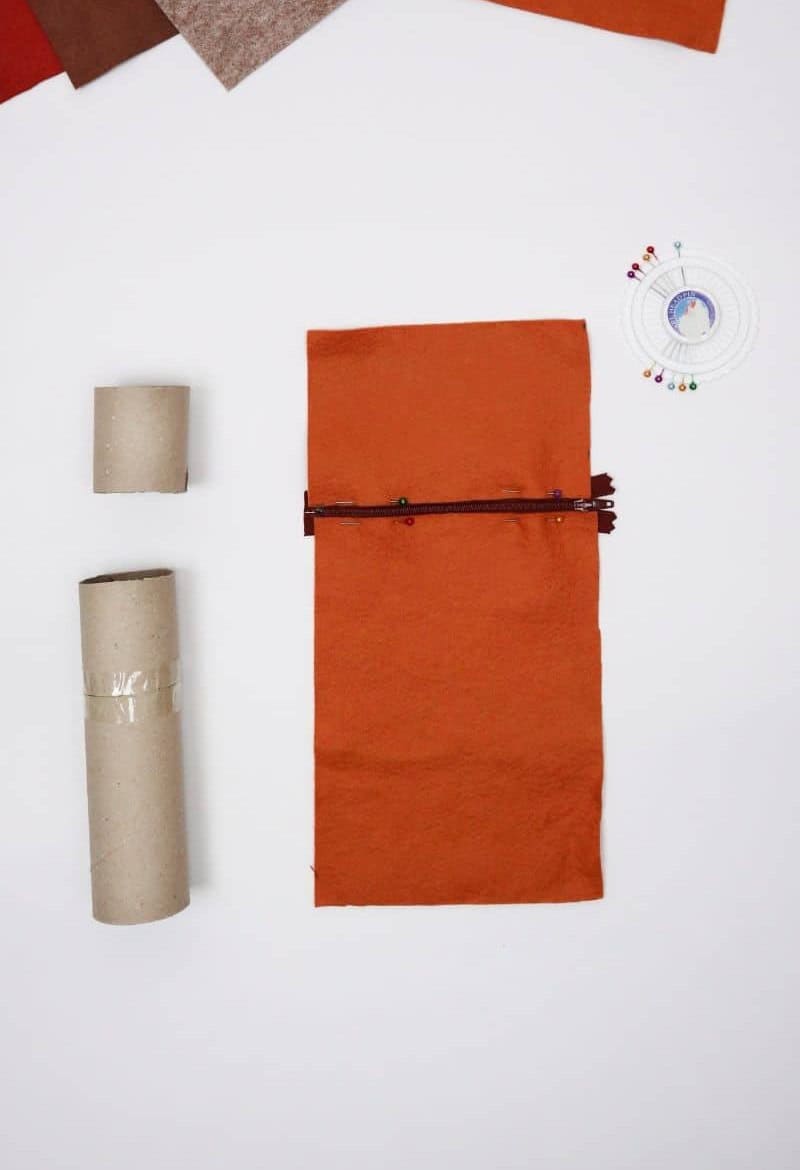
To proceed with the project, you’ll first need to trim the felt into a shape that complements the cardboard components and allows for the attachment of the zipper. Begin by aligning the smaller and larger pieces of felt along their respective edges, ensuring they are properly positioned before cutting between them using the same technique described earlier.
Step 7
As we near the final stage of our project, it’s essential to bring together the various components. To do this, start by laying your piece of felt flat on a stable surface. Next, carefully pin the zipper along its entire length, taking care to align the edges of the felt with the teeth of the zipper. This precise alignment will ensure a seamless join and prevent any unwanted bulk or visual imperfections.
Step 8
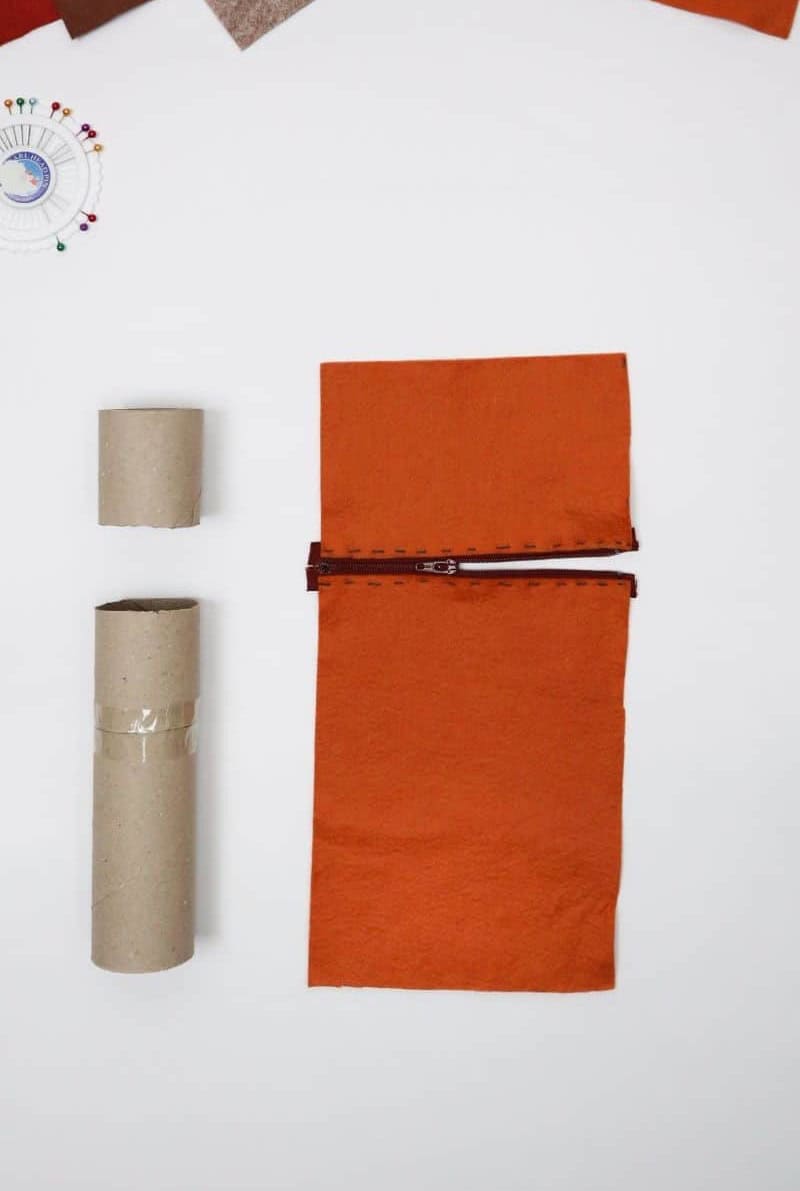
As you prepare to tackle the zipper installation process, bring out your trusty sewing machine or whip out your manual stitching skills. Begin by feeding the felt under the machine’s presser foot or threading your needle with thread. Then, maintain a steady pace as you execute a straightforward straight stitch along each side of the zip, carefully ensuring that the backing is captured within the seams.
Step 9
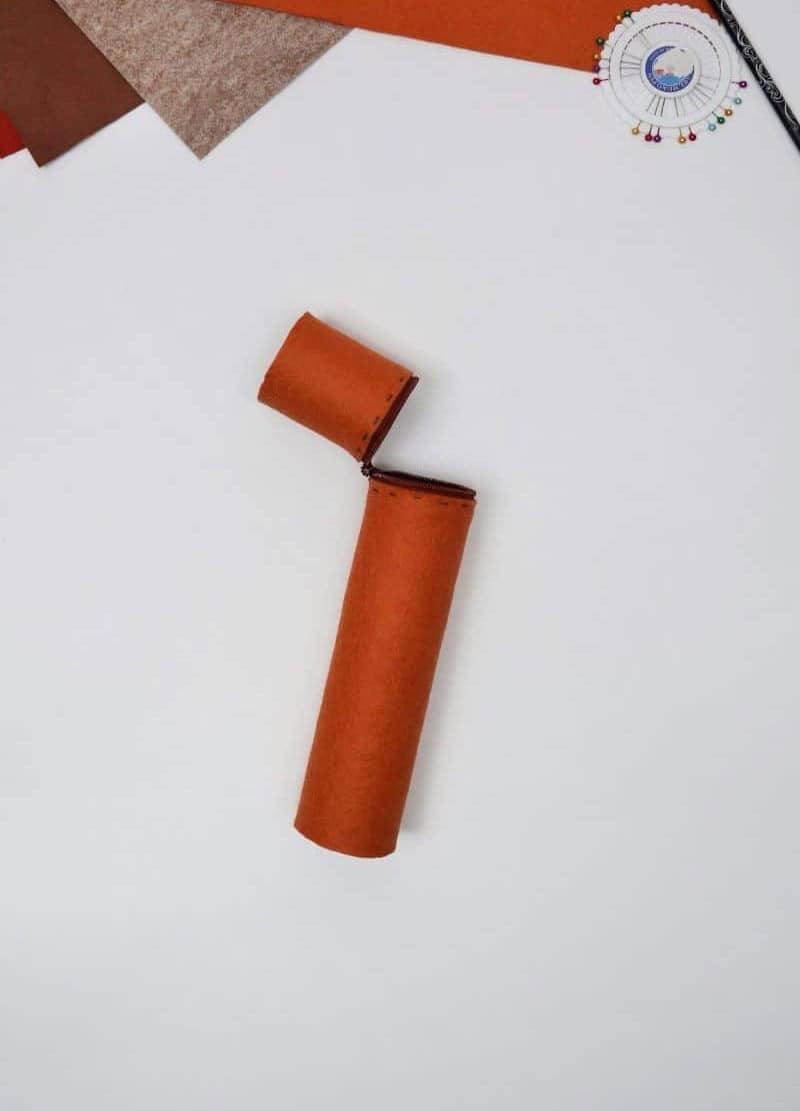
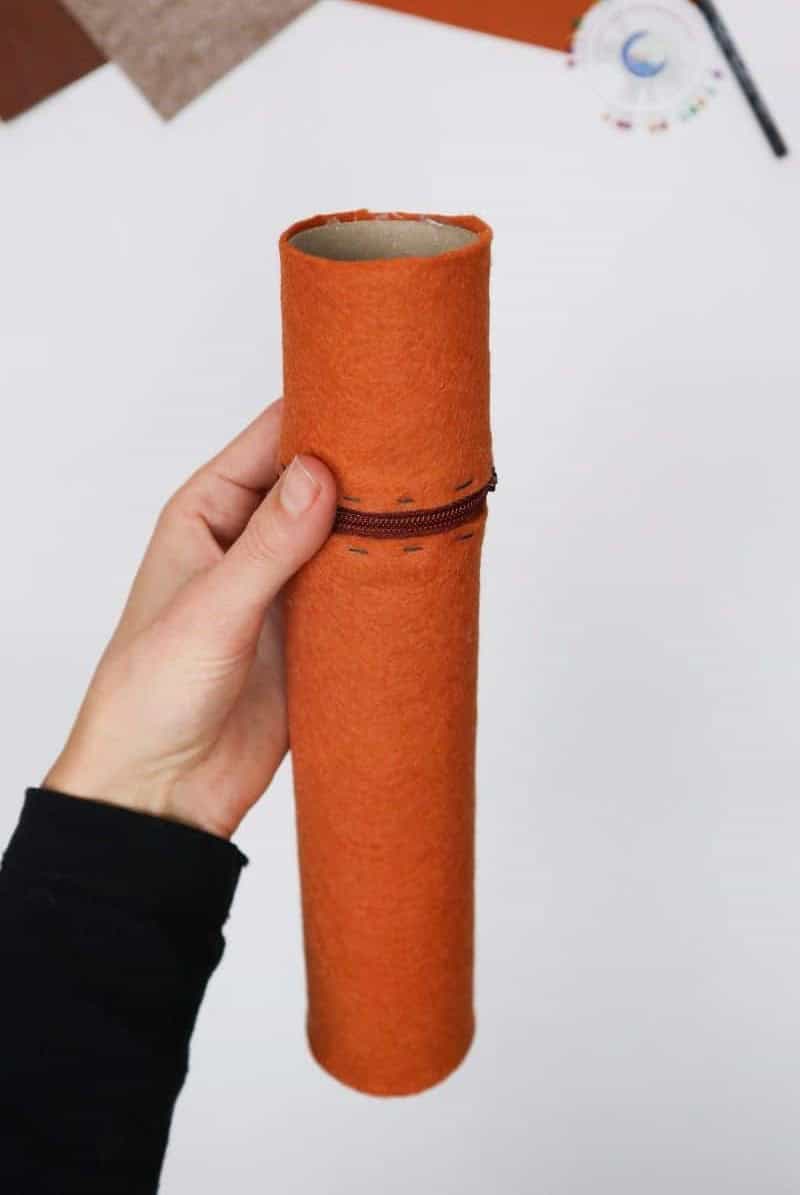
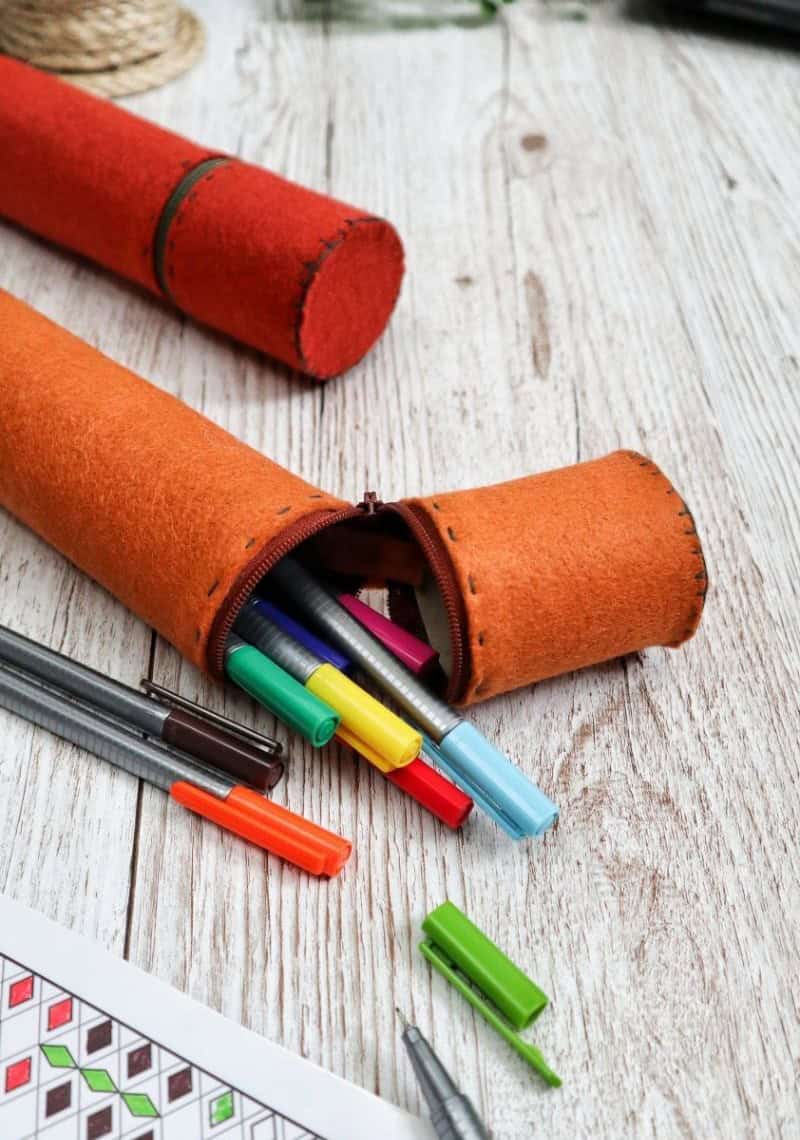
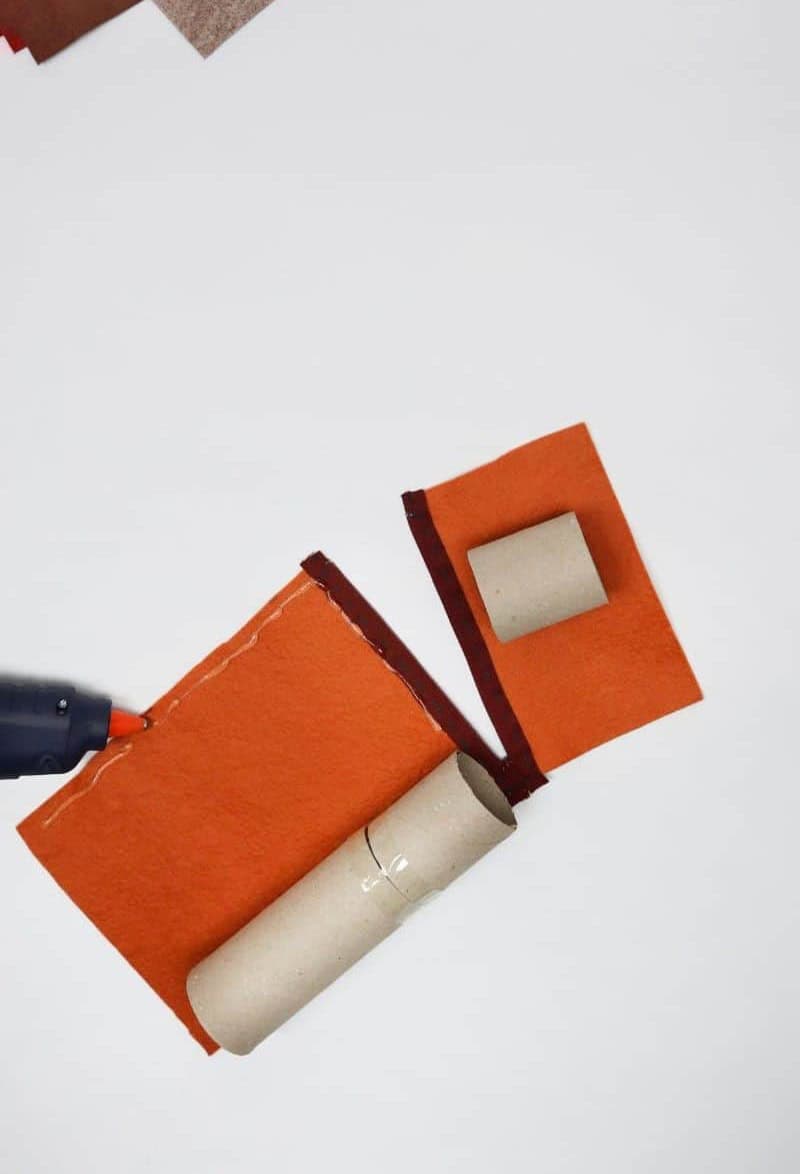
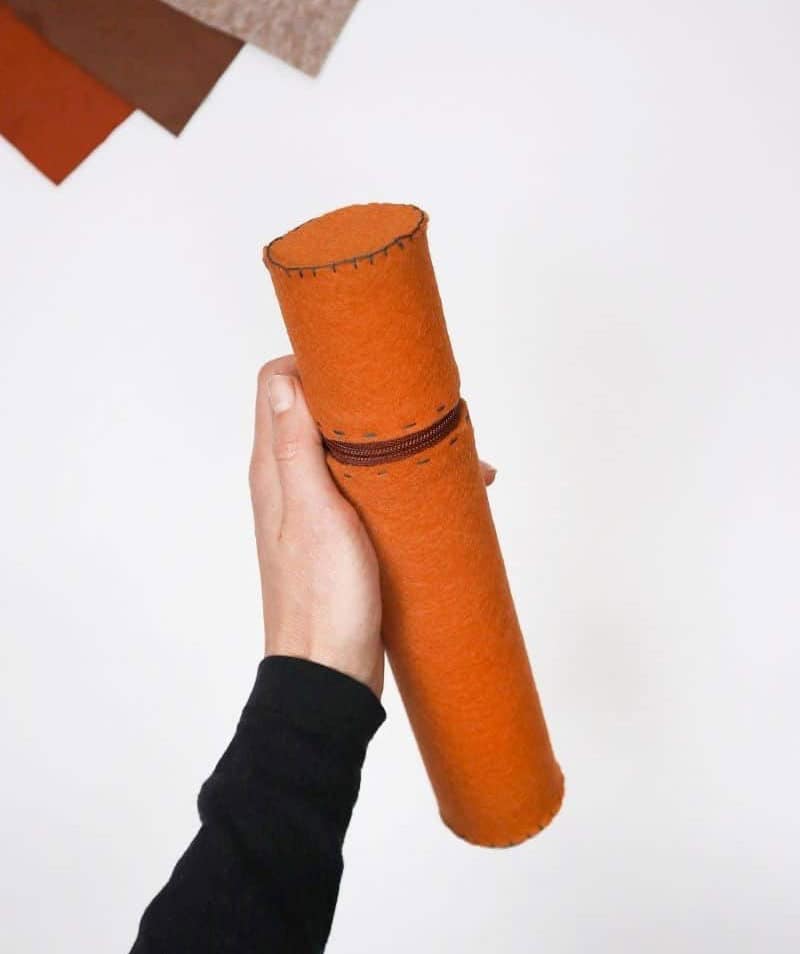
Once the felt cover is in place, it’s time to secure it to the interior of the pencil case. I employed a hot glue gun for this step, applying a steady stream of adhesive along the edges of the tube. As you roll the felt along the surface, ensure it’s evenly coated and covers the entire area. With the process complete, you should be left with a neatly covered roll. It’s now essential to verify that the zipper remains attached when the pencil case is fully unzipped.
Step 10
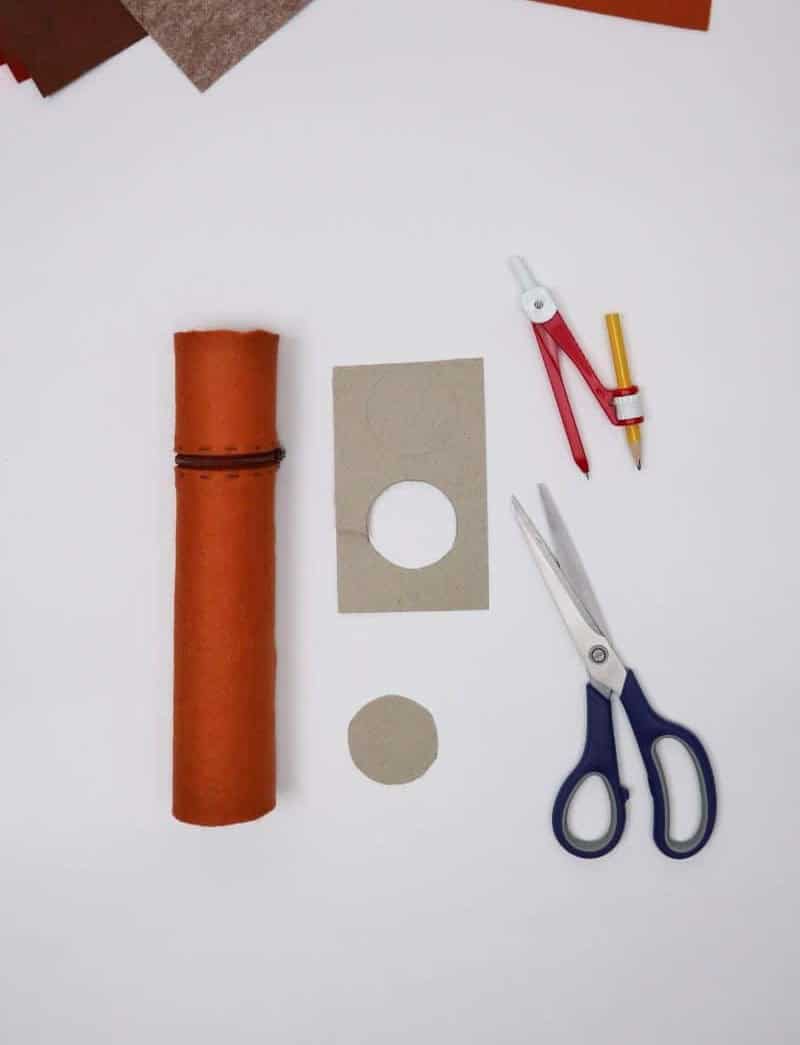
It’s time to bring some finishing touches to your pencil case. Specifically, we’re going to create a cardboard felt patch for each end of the tube. This is where you can get creative and add a pop of color if you’d like. To do this, start by measuring the circular gaps on your pencil case using a compass or another same-sized tube. Then, draw two identical circles on some cardboard. If you don’t have a compass handy, no problem! Just use another tube that matches the size of the gap.
Step 11
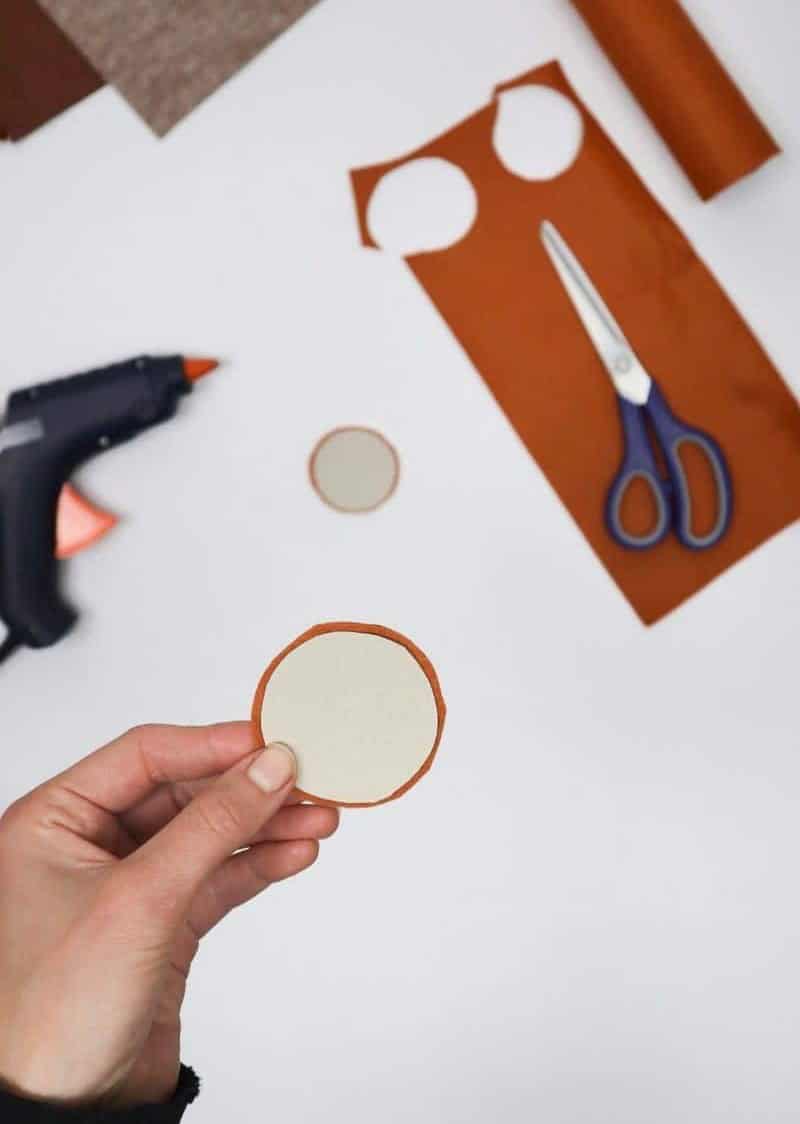
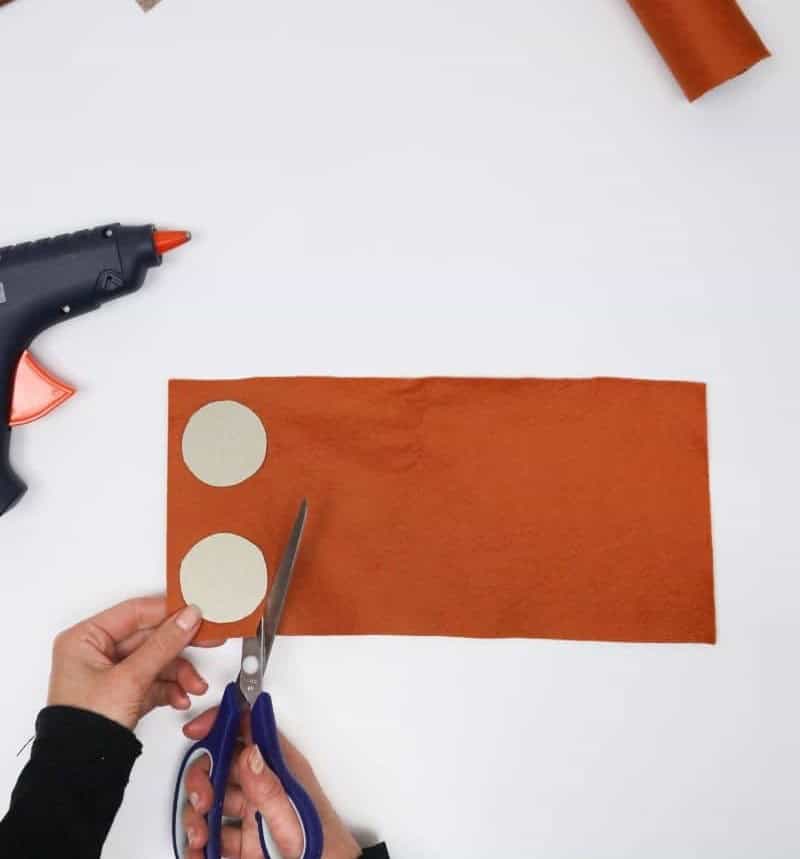
To complete the embellishment process, begin by carefully cutting out the cardboard circles from their sheets. Next, employ a hot glue gun to securely attach these circles to the surface of your chosen felt material. Once the adhesive has taken hold, use your fabric scissors to meticulously trim around the edges of the cardboard, ensuring a precise and smooth finish.
Step 12
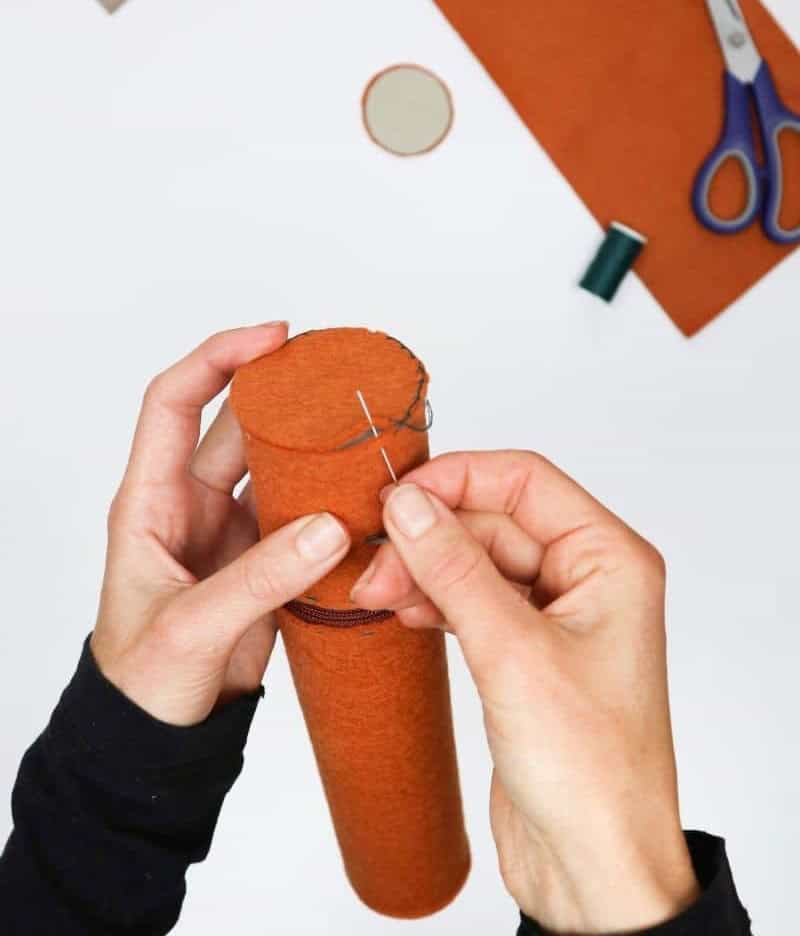
As the final step in crafting your customized pencil case, bring all the felt circles together by laying them over the cardboard edges of the case’s interior. To secure these pieces in place, use a needle and thread to execute a mattress stitch along the exterior perimeter, effectively sealing the gaps and completing the project.
Step 13

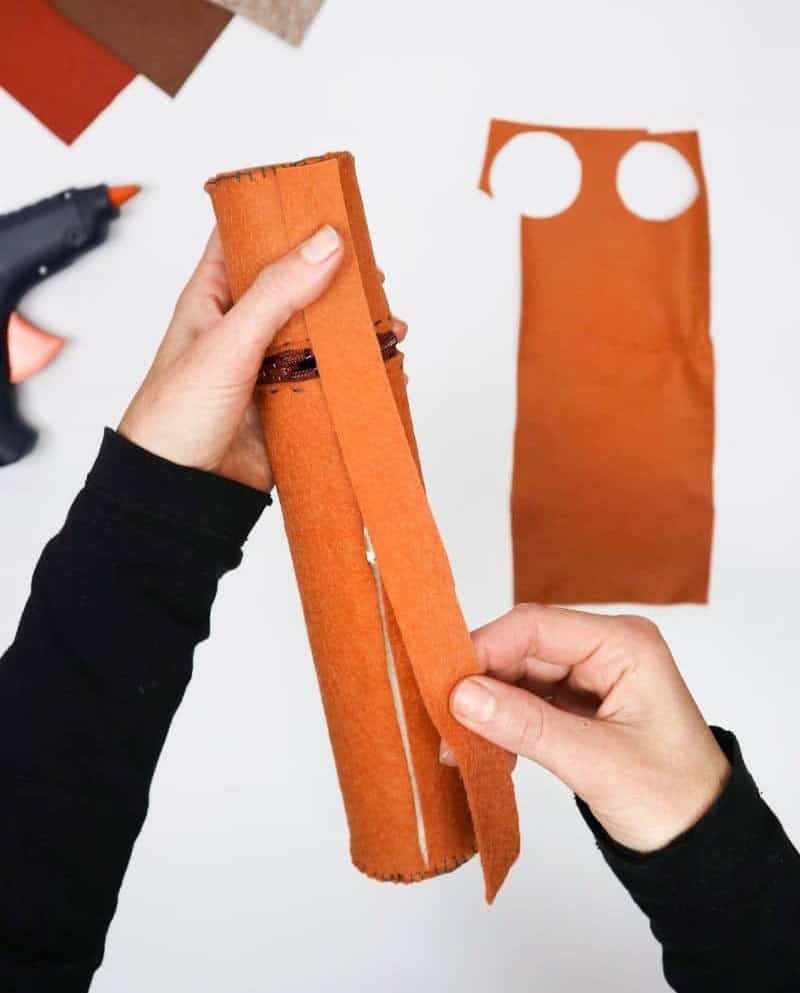
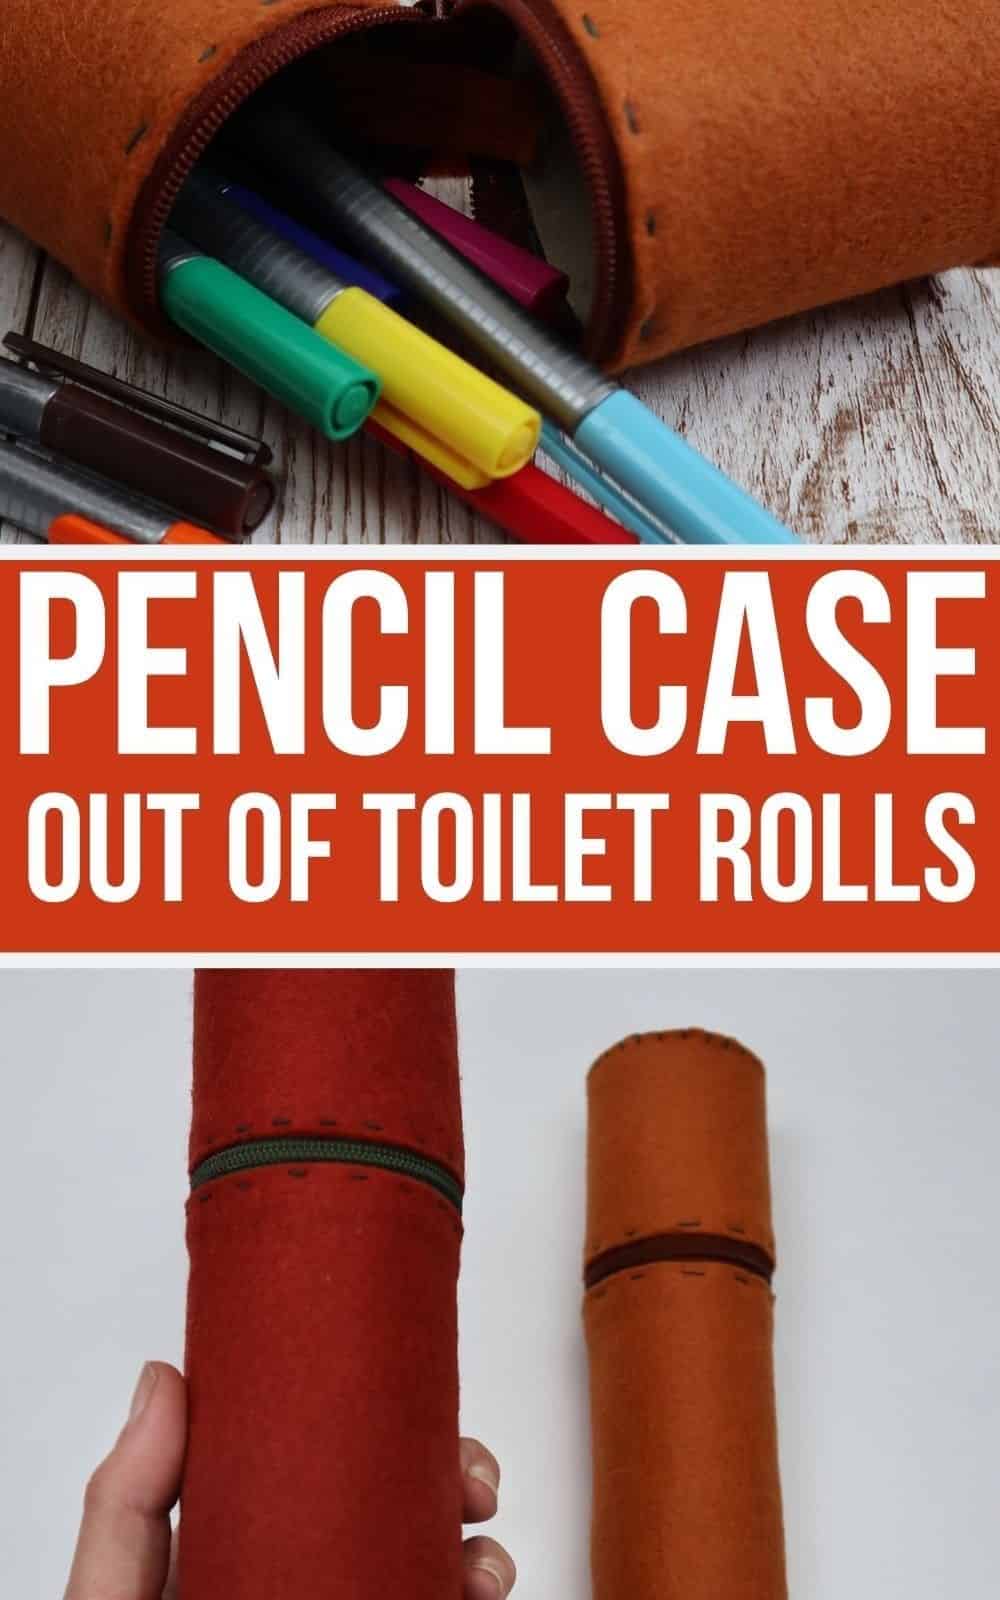
To complete the project, it’s essential to conceal the unsightly join on the back of the case. A simple solution is to apply a thin strip of extra felt, carefully gluing it in place to cover the seam. With this step completed, you’ll be left with a beautifully finished product that belies its humble origins in mass-produced materials. The possibilities for customization are endless, and you can use markers, pins, or other embellishments to add your personal touch.
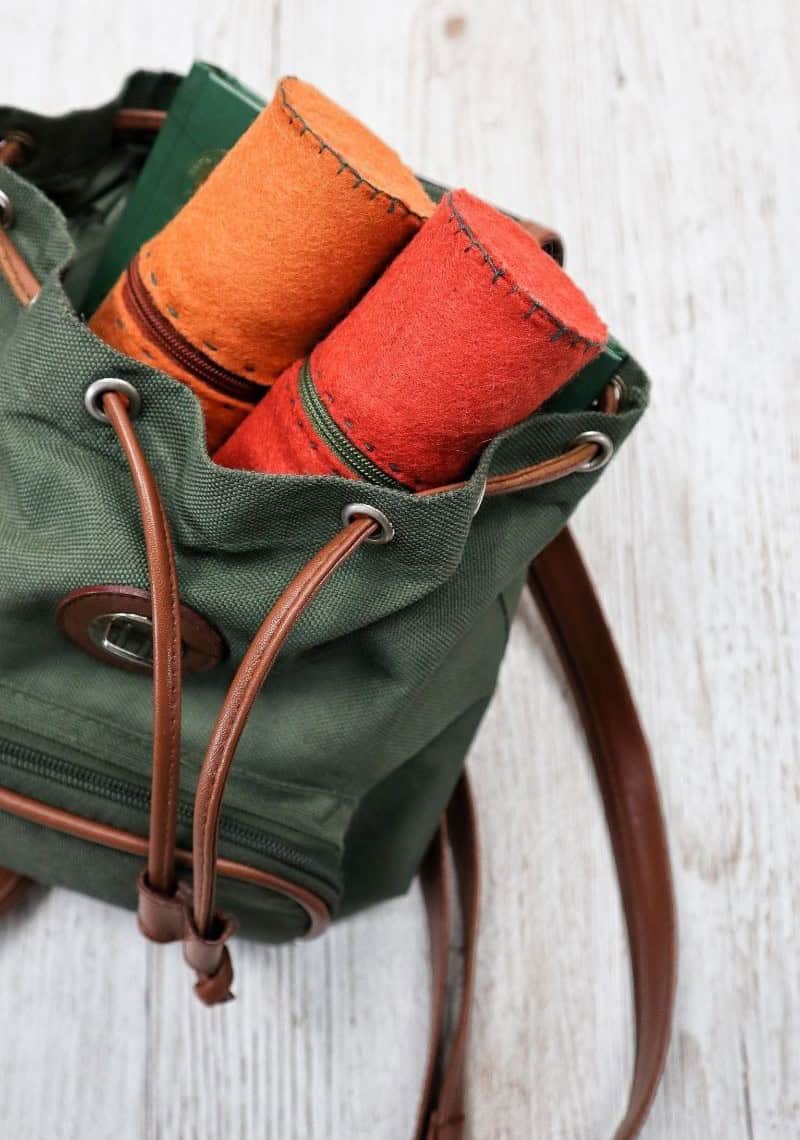
Whether you’re creating one case for yourself or making a batch as gifts for friends, the end result is a unique and functional accessory that’s sure to be treasured.
How Much Might This Upcycled Craft Cost?
A cost-effective approach is to utilize cardboard toilet paper tubes, which can be obtained at no additional expense. To prepare for future crafting endeavors, consider purchasing felt in bulk from online retailers like Amazon or opt for affordable sheets from your local dollar store. For a more sustainable solution, repurpose an old or ruined zipper from clothing that’s seen better days. This eco-friendly approach not only reduces waste but also fosters creativity while keeping expenses low.
Other DIY Crafts You Might Like
Get creative with these amazing 100+ craft projects, perfect for teenagers! From fun and quirky DIY crafts to functional items like toilet paper roll creations, there’s something for everyone. Whether you’re a teen looking to express yourself or an adult seeking new hobbies, our collection of craft projects is sure to inspire. Explore the world of rope crafting with DIY rope coasters, or get creative with cute crafts specifically designed for teenagers.
DIY Pencil Case Out of Toilet Rolls
Transform toilet rolls into a functional and budget-friendly pencil case in just over an hour. This DIY project is perfect for back-to-school season, providing ample storage space while showcasing your creative skills. With only 40 minutes of active time required, this upcycled craft is an excellent way to reuse and recycle materials.
Equipment
To ensure uninterrupted work, it’s crucial to prepare yourself with the right tools. A hot glue gun can prove useful for quick repairs or crafting, while Scotch tape and pins come in handy for more delicate tasks. When working on intricate projects, a needle and thread can be used to make precise adjustments. For taking notes or marking measurements, a pencil is always reliable. If you’re measuring distances or creating diagrams, a measuring tape will serve you well.
And if you need to cut through any materials, a retractable knife is a safe and effective option. Finally, when navigating through complex maps or diagrams, a compass with a pencil can be a valuable tool in your toolkit. With these essentials at the ready, you’ll be better equipped to focus on the task at hand and prevent your screen from going dark.
Materials 1x2x3x
To craft a unique and creative sensory bag, you’ll need the following essential materials: a set of colorful felt sheets that will provide a tactile experience for your child. You’ll also require toilet rolls to add some fun textures and shapes. For closure, use nylon zip around 6 inches (15cm long) that can be easily opened and closed by little hands. Finally, don’t forget the cardboard material that will serve as the foundation of your sensory bag.
Instructions
To create your pencil case, start by preparing your materials. Cut one paper roll in half and attach the other piece on top. Measure the circumference of the tall paper roll and transfer that measurement to a piece of felt. I measured 15cm, so you can use that as a guide. Cut out the felt piece according to the measurement. Next, place the long and short rolls onto the felt and cut along the edges to create two separate felt pieces.
Attach your zipper to one of the gaps, then sew the edges together using a sewing machine or needle and thread. To add extra security, run a line of glue along the felt’s edges and roll both paper tubes inside the felt. Your pencil case is now taking shape! To complete the project, use cardboard to create two circles with a compass. Cut these out, then glue them onto a piece of felt and trim around the edges. Sew these circles onto either end of your pencil case.
Finally, apply a thin felt strip over the seam to finish your case. With these steps, you’ll be ready for the school year in no time!