
Want to give your phone a personalized touch? Upcycle some fabric into a unique DIY phone case. This project is perfect for beginners looking to start their sewing journey. We’ve all been there – frantically searching through our handbags or purses to find our phones, only to discover they’re buried at the bottom. With today’s slim smartphones, it’s easy for them to slip away and get lost in the depths of your bag.
But what if you could keep your phone easily accessible while also adding a touch of personality to its design? A fabric phone case is just the solution. Not only will it protect your phone from scratches and bumps, but it’ll also give you the opportunity to express yourself through a vibrant piece of fabric that reflects your mood or style. So, are you ready to get creative? Here’s what you need to get started: [insert list of materials here].
Supplies You’ll Need
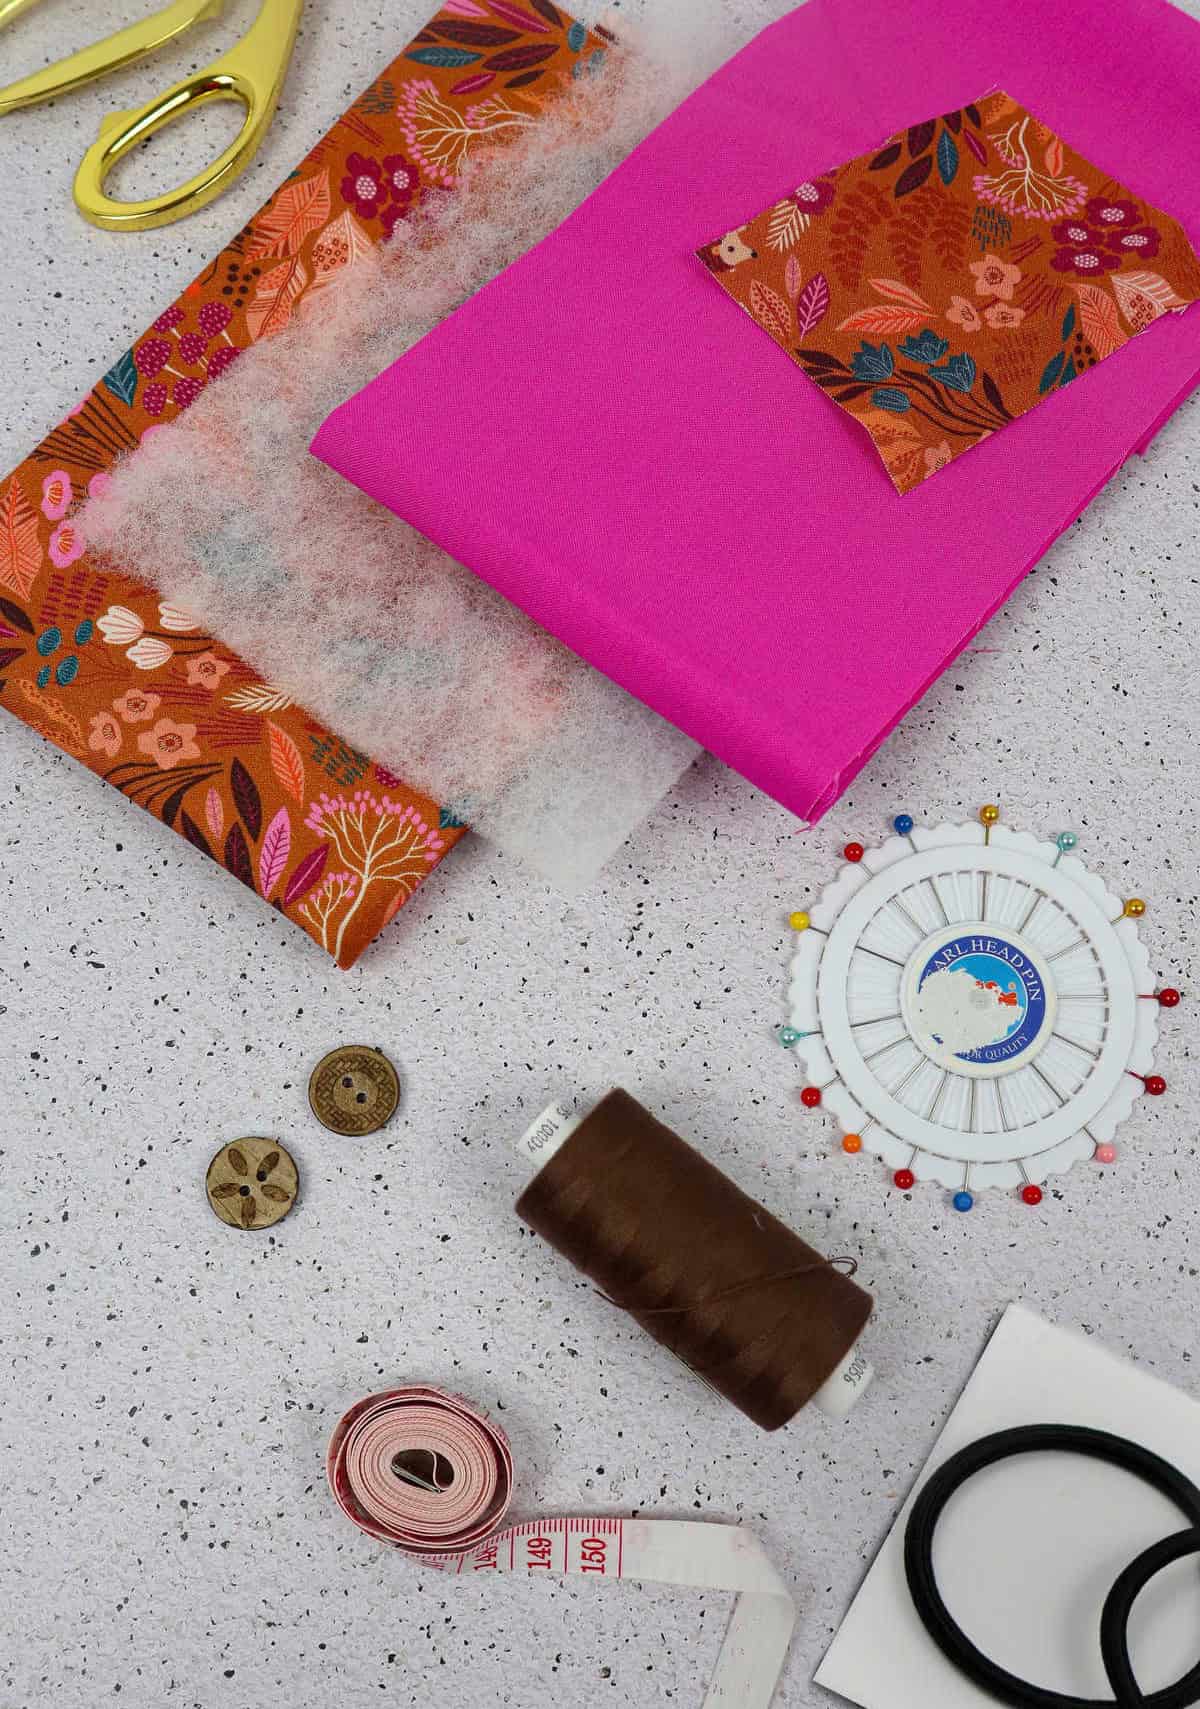
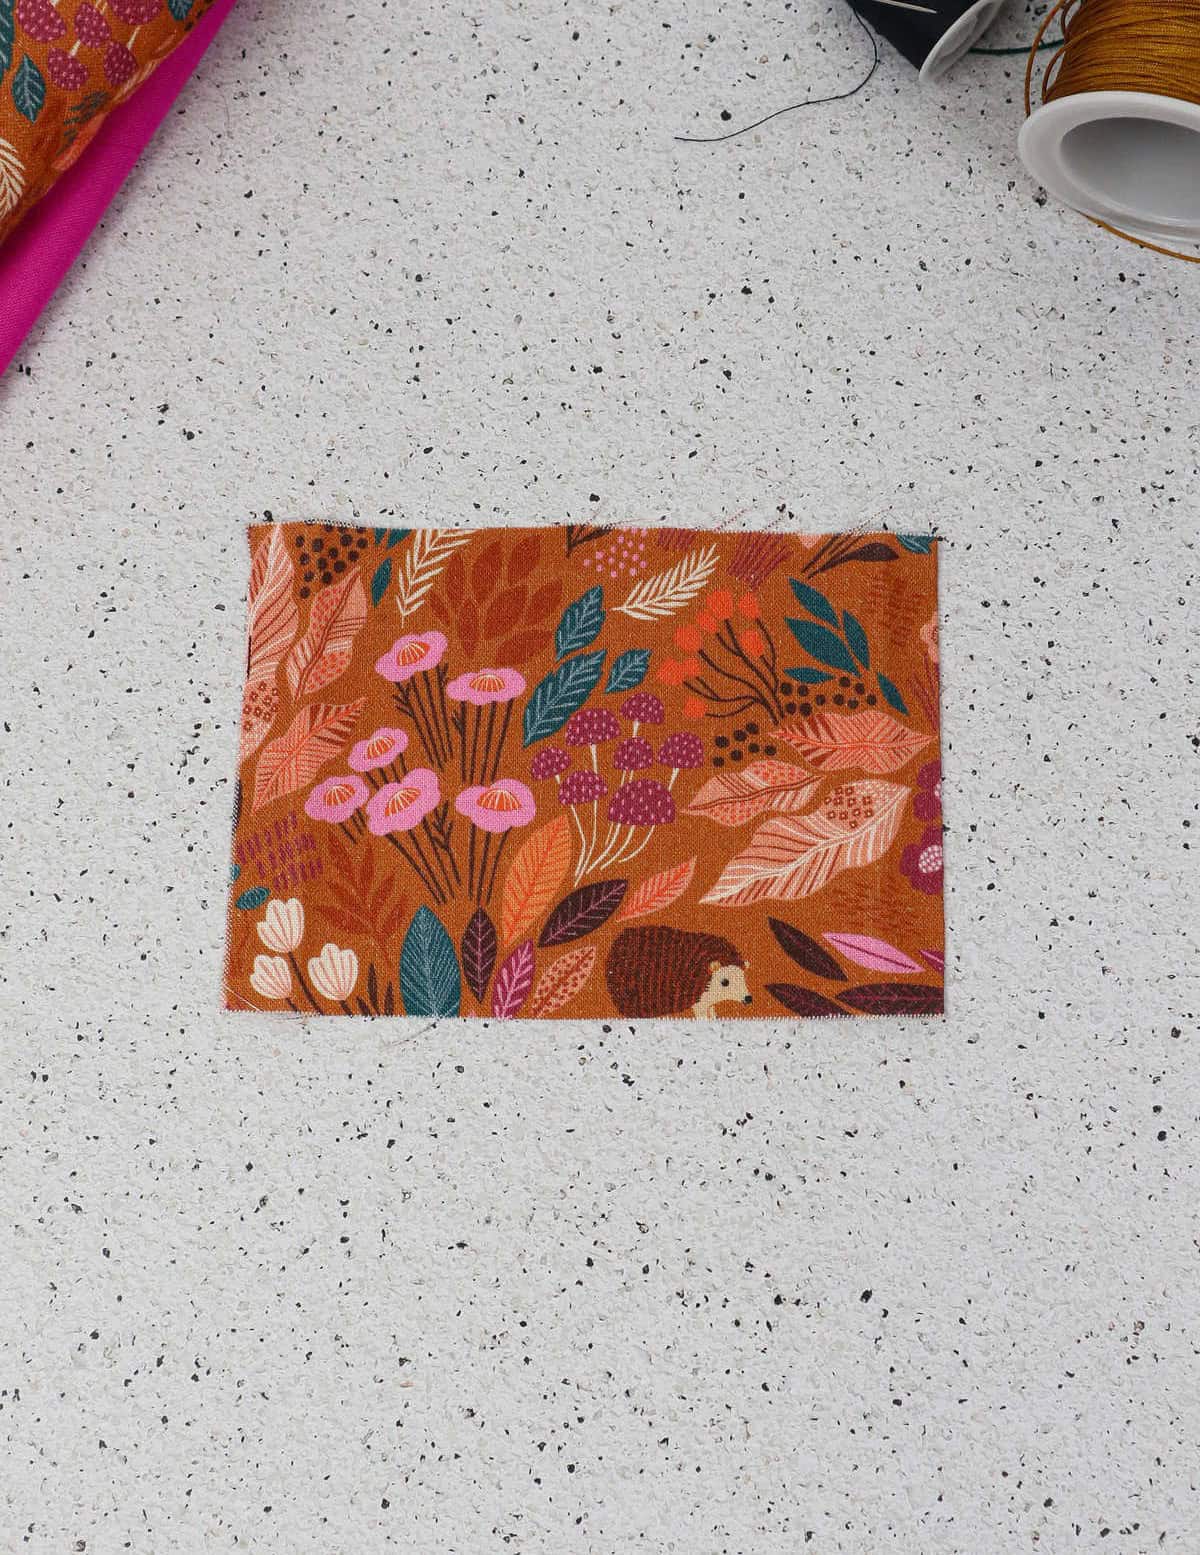
To assemble the desired sewing kit, you’ll need to gather the following essential materials: a pair of scissors, two pieces of cotton fabric measuring 16 inches by 5.5 inches (one for the front and one for the lining), a 1-ounce wadding piece measuring 15 inches by 5.5 inches, an additional piece of cotton fabric for the pocket measuring 3.5 inches by 5 inches, two buttons, thread and needle set, measure tape, sewing pins, and finally, an elastic hair band.
These basic components will provide a solid foundation for tackling various sewing projects.
How to Make Fabric Phone Case
Have you chosen a fabric that sparks your creativity? Perhaps something vibrant, tactile, or simply beautiful? If so, you’re well-prepared to start your project. With the perfect fabric in hand, you’ll be able to bring your vision to life.
Step 1
To begin with, take precise measurements of your phone’s dimensions, jotting them down for future reference. This information is crucial, as you’ll rely on it to accurately cut your fabric swatches, along with any necessary wadding and lining materials.
Step 2
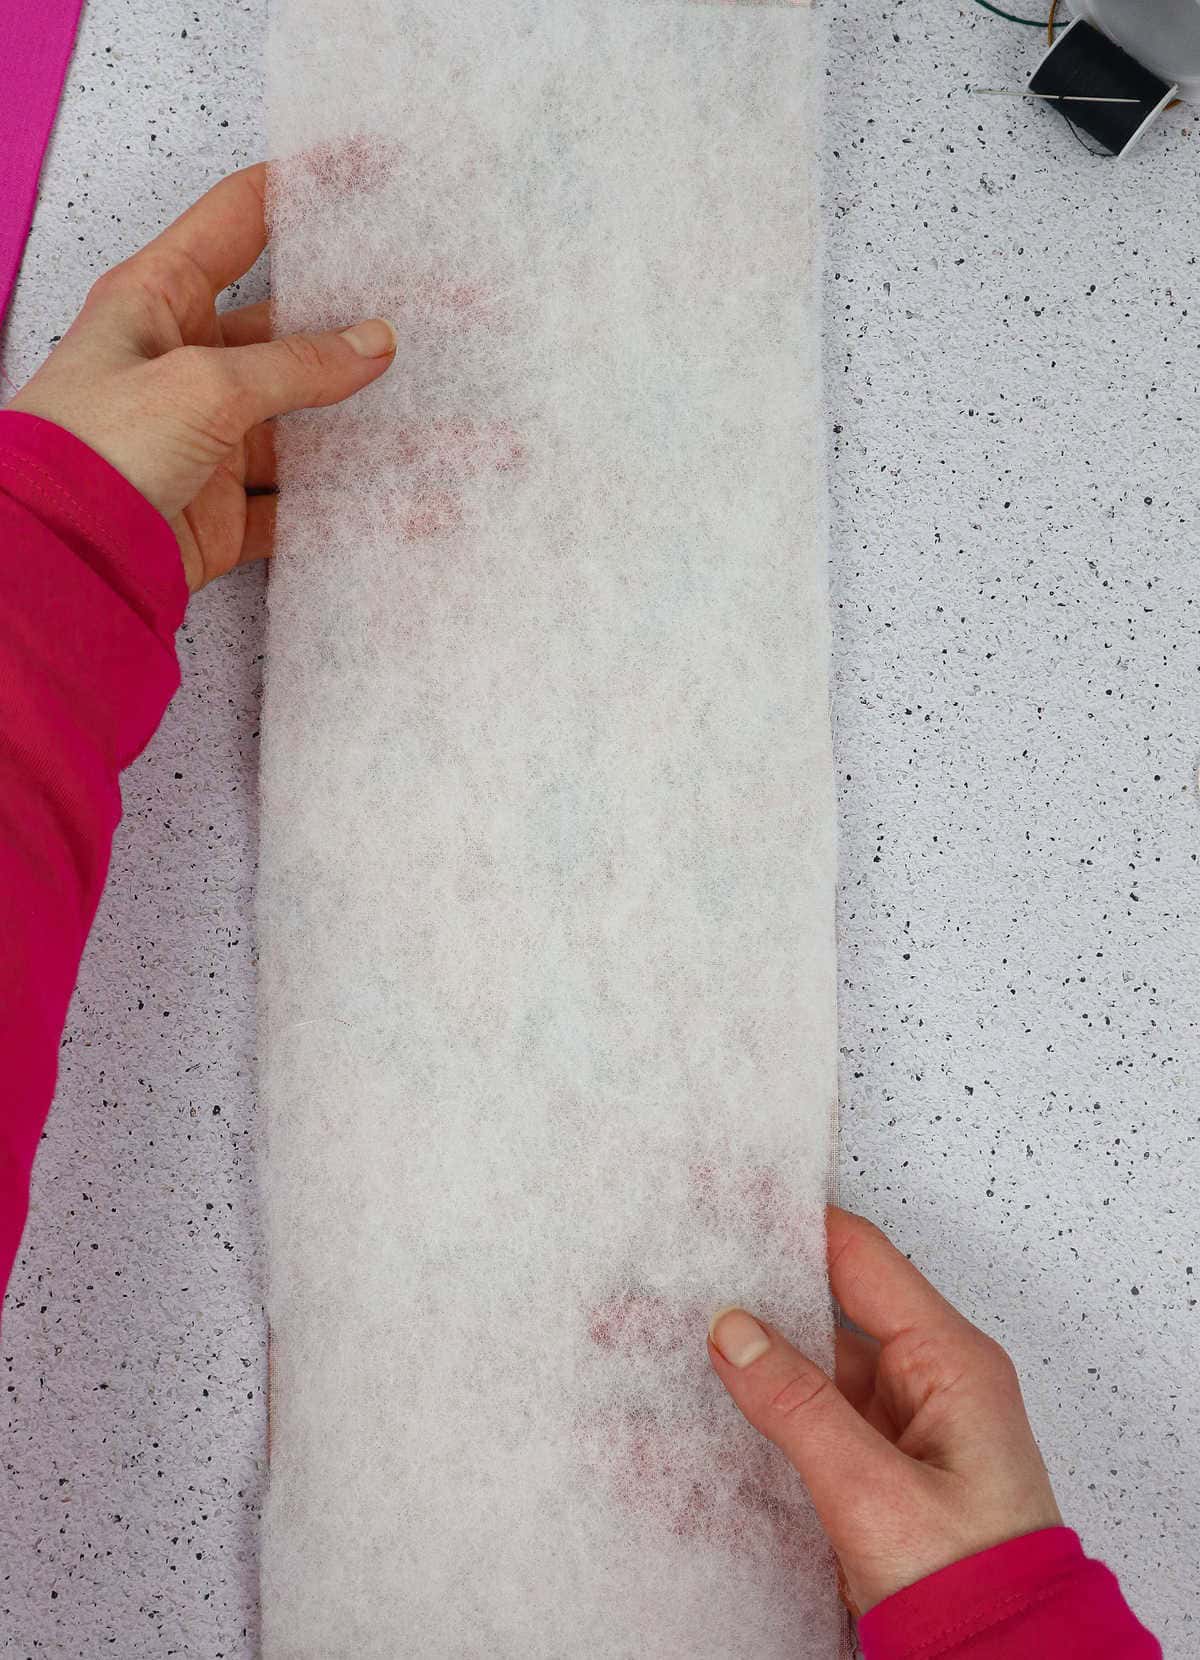
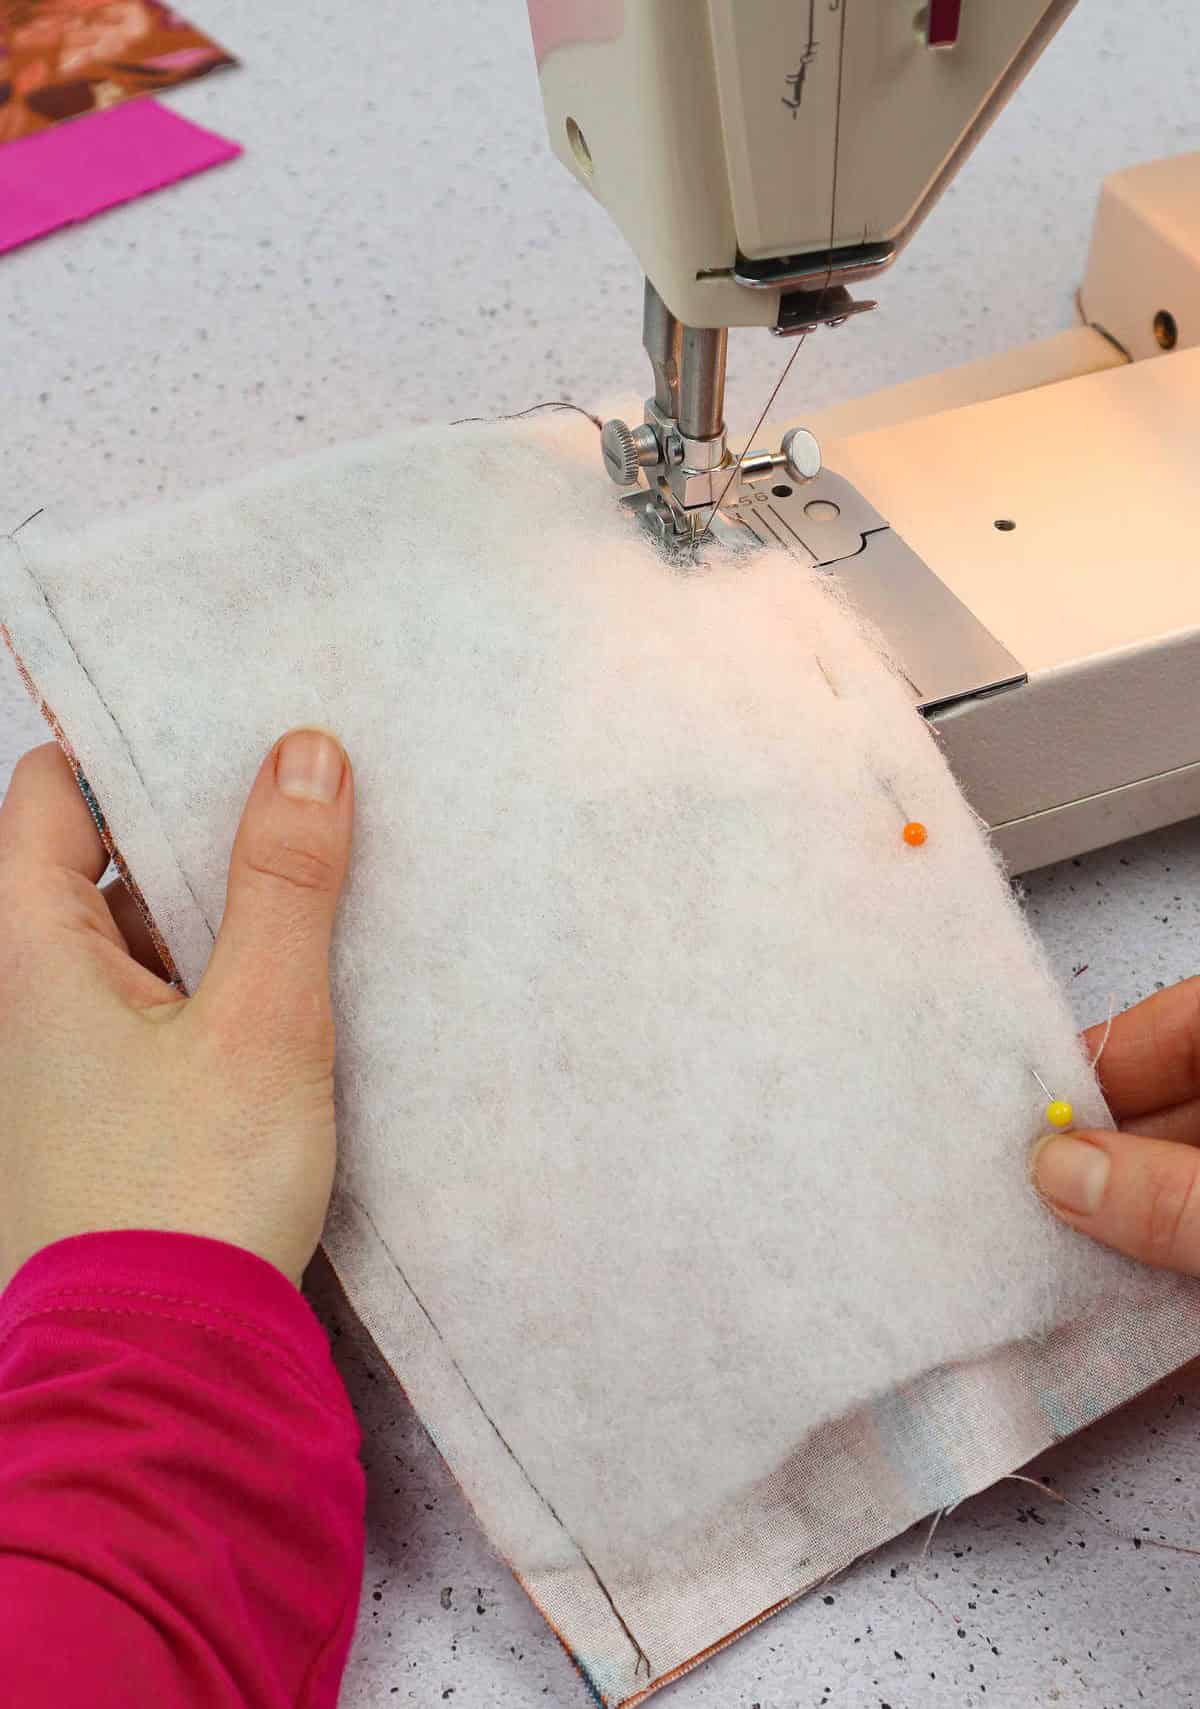
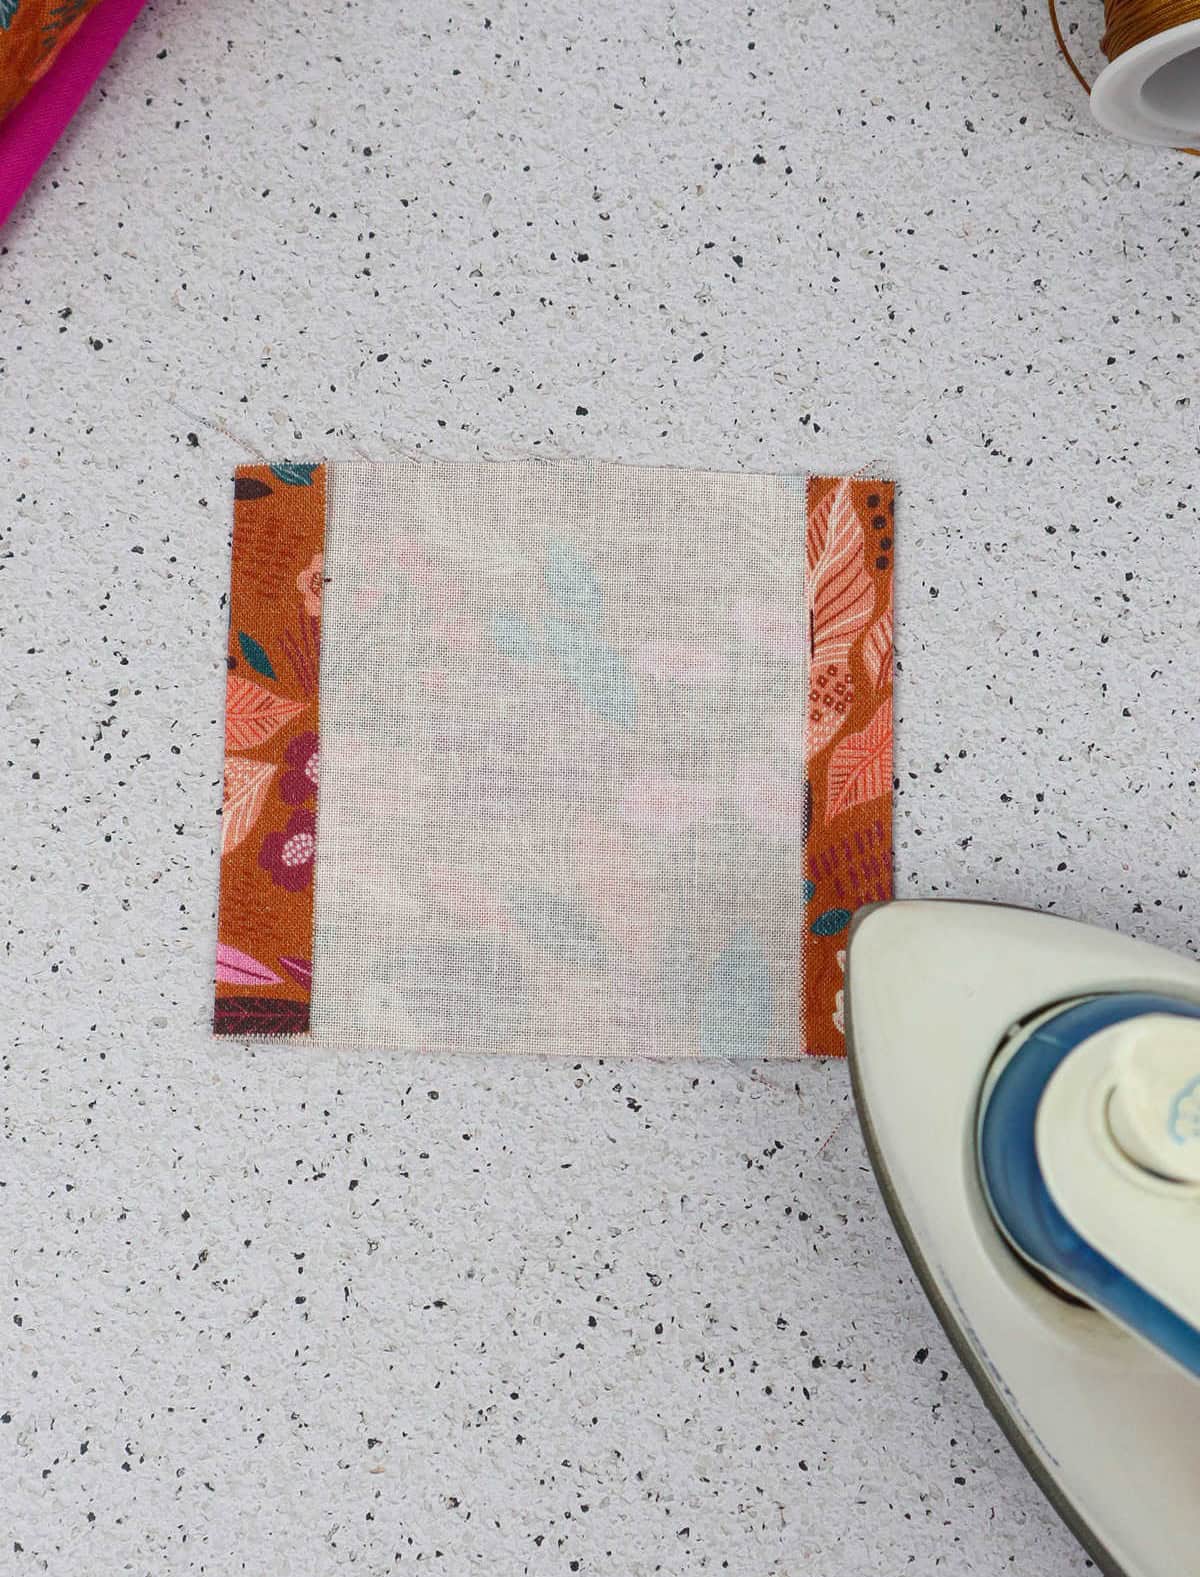
Begin by placing the cut piece of fabric on your work surface, ensuring the printed side is facing downwards. Next, carefully position the wadding on top, leaving a half-inch margin at both the top and bottom edges. This deliberate gap will allow for a snug fit when you sew the pieces together later. To keep the wadding in place, use a few sewing pins to secure it firmly to the fabric.
Step 3
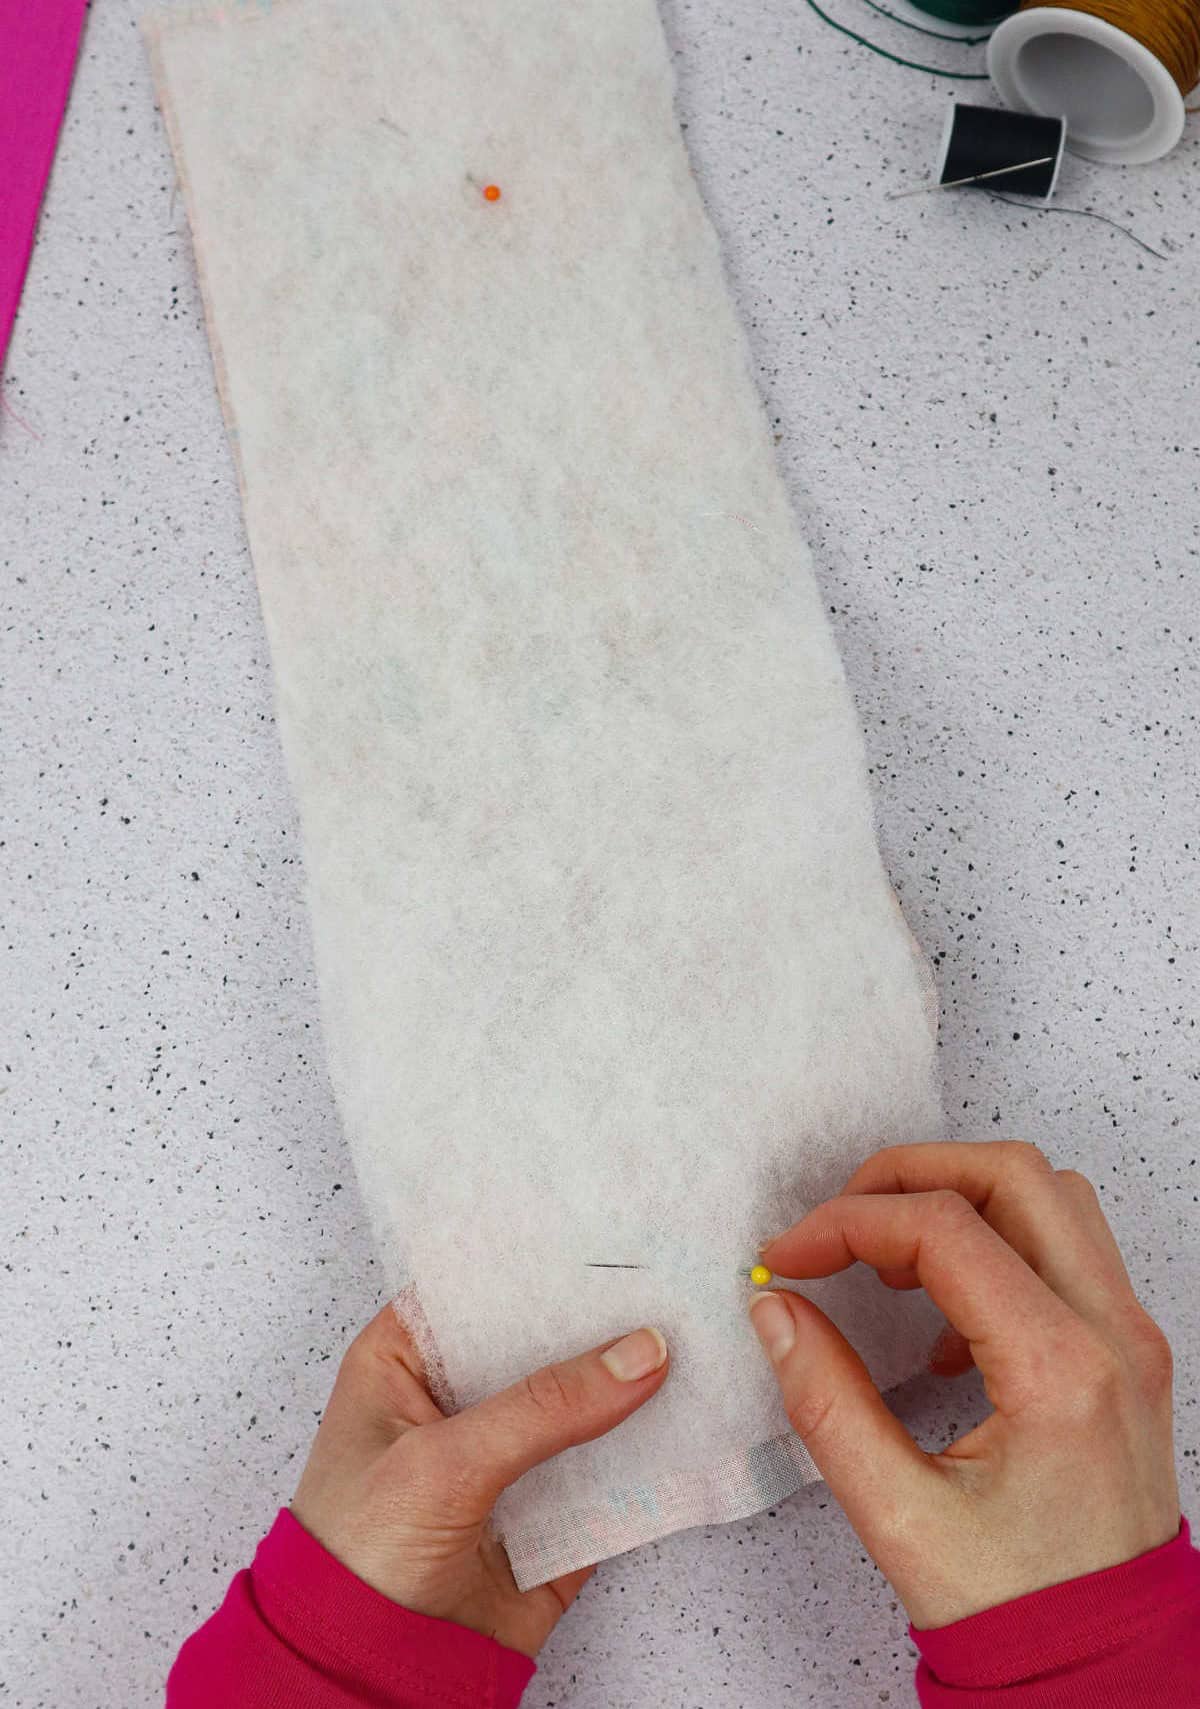
As you reach the midpoint of the folded fabric and wadding, ensure that the layers are aligned seamlessly by folding them inward. Next, utilize sewing pins to secure any stray threads or loose edges, taking care not to puncture the fabric. Once all edges are firmly pinned, proceed to your sewing machine, ready to tackle the next stage in the process.
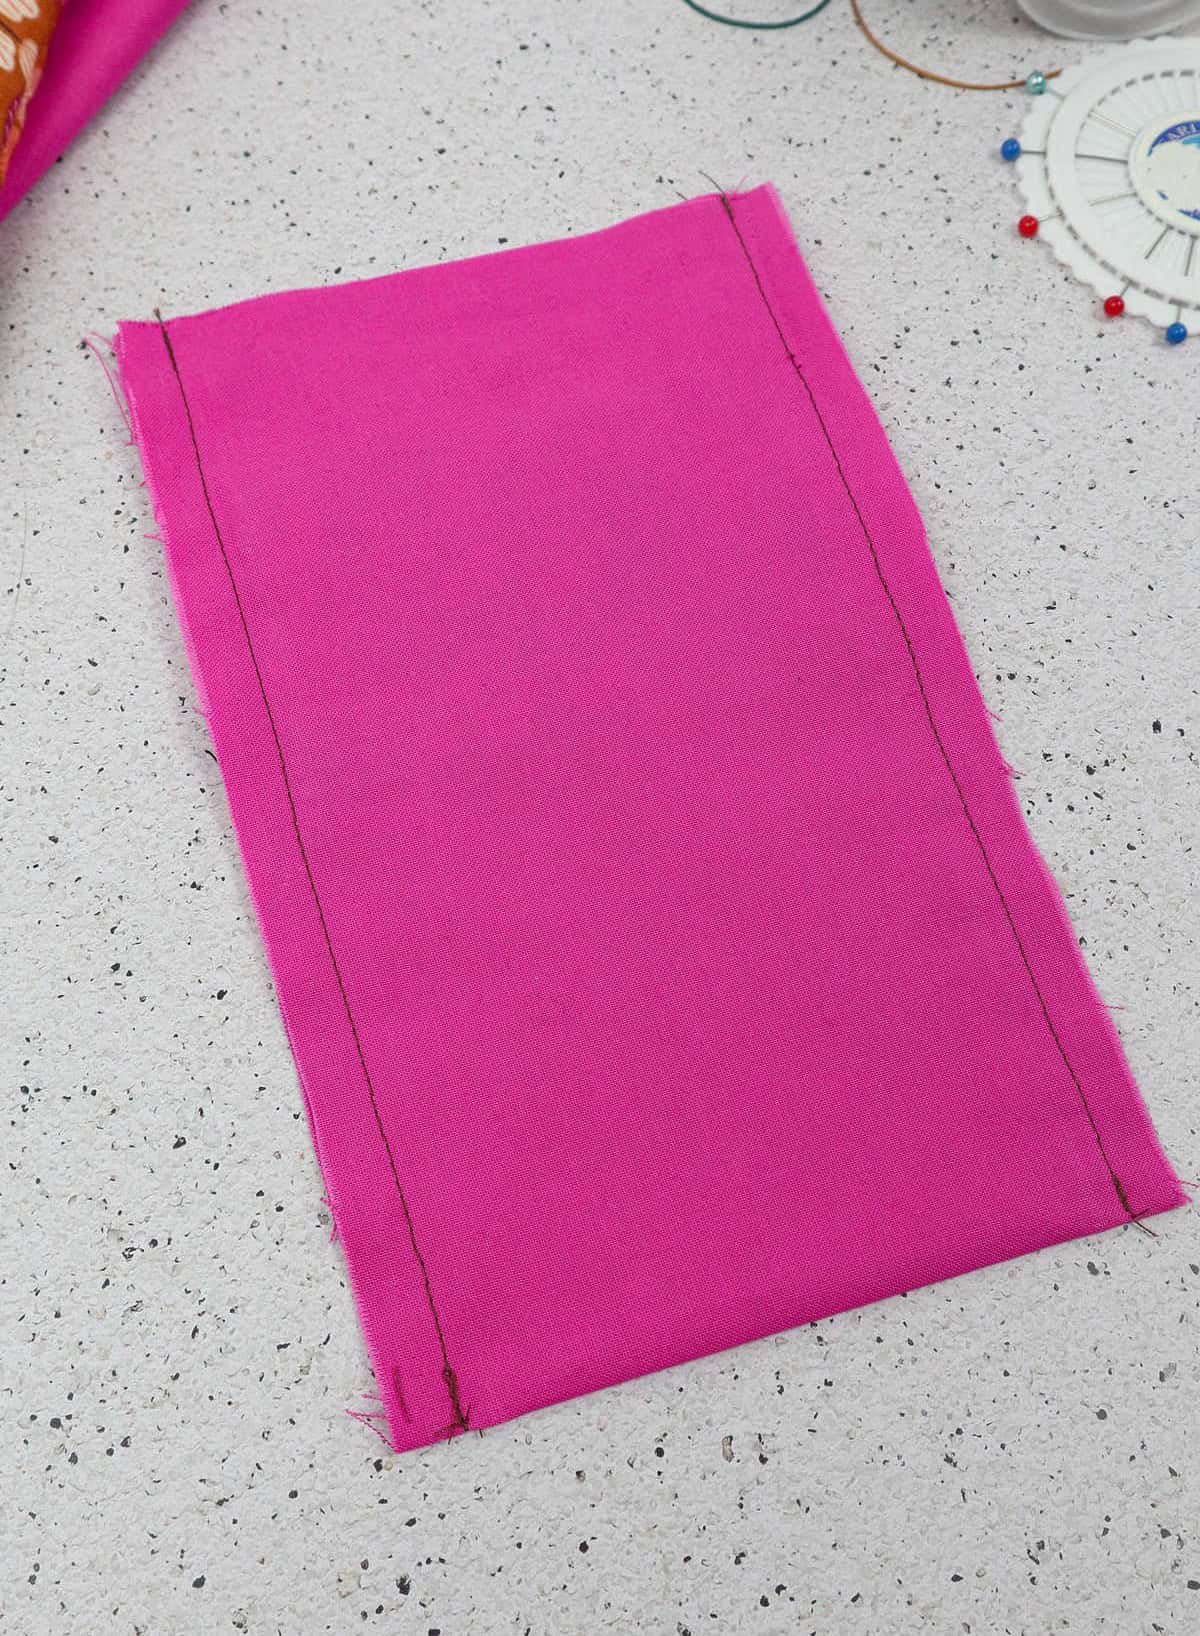
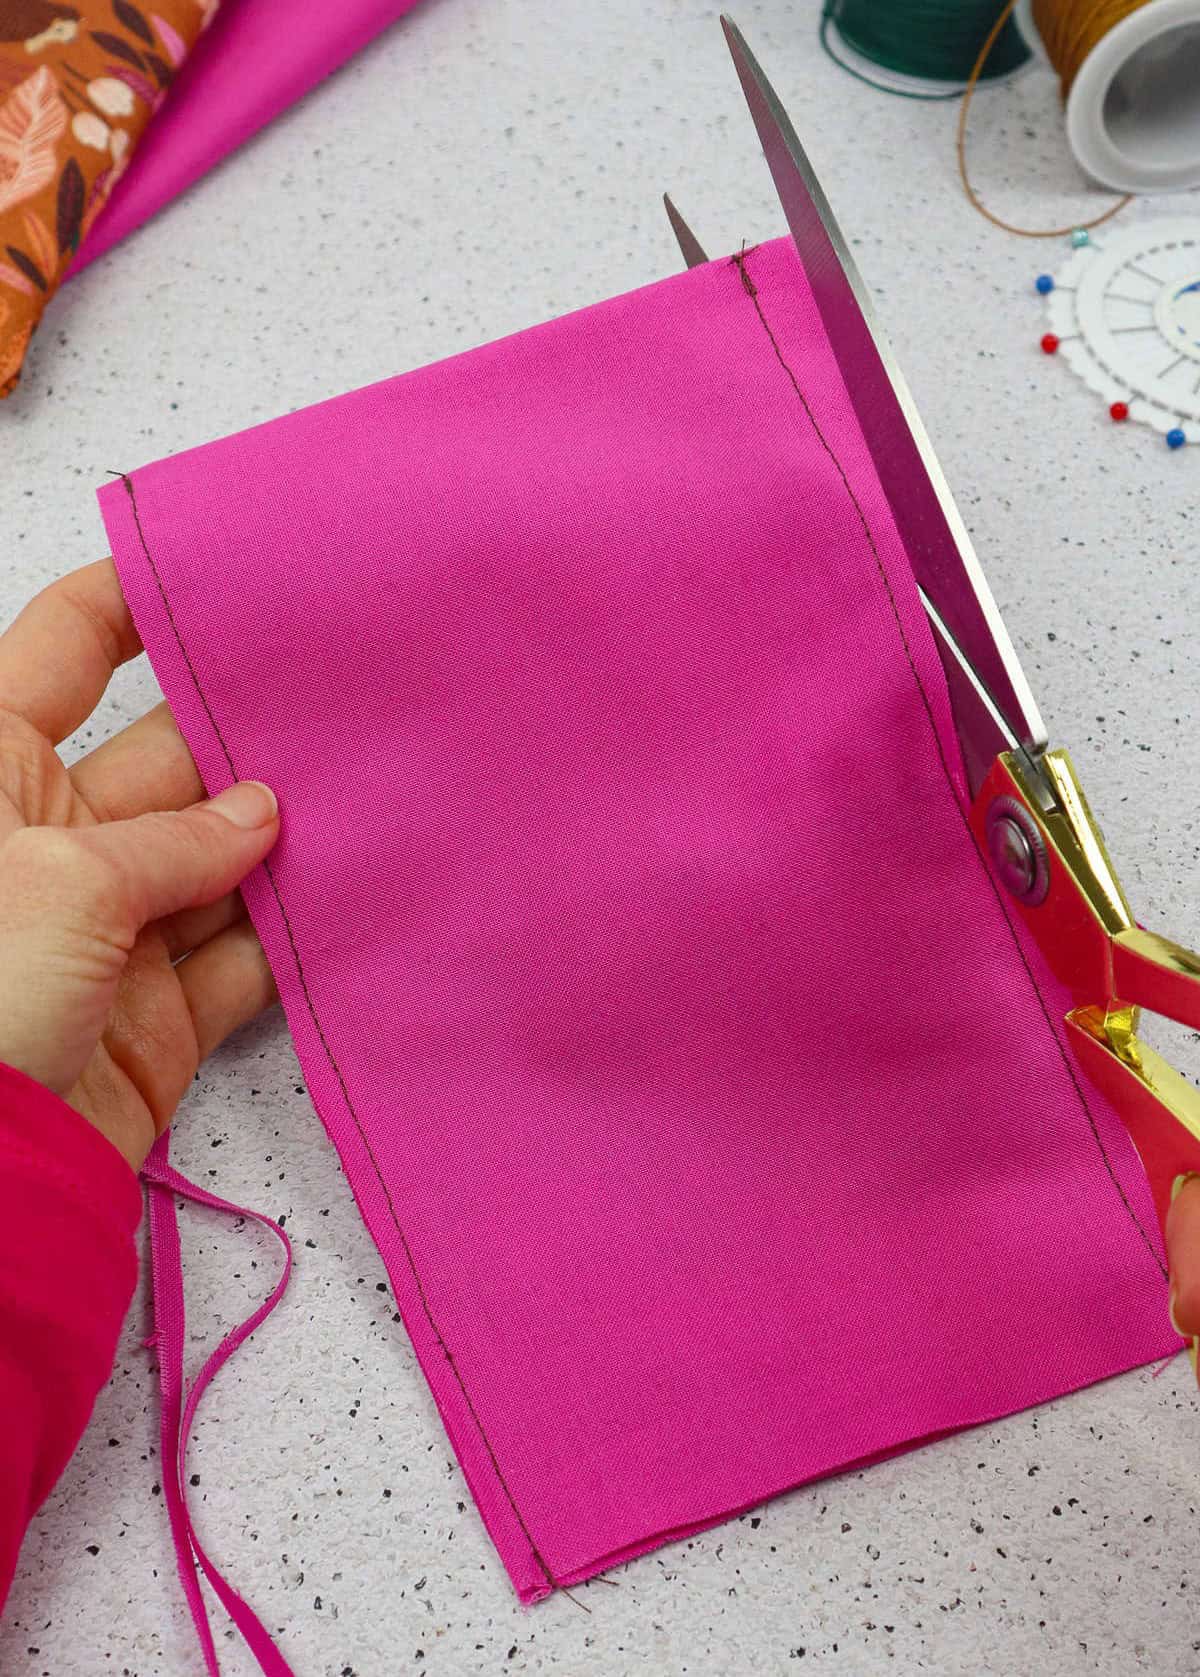
Step 4
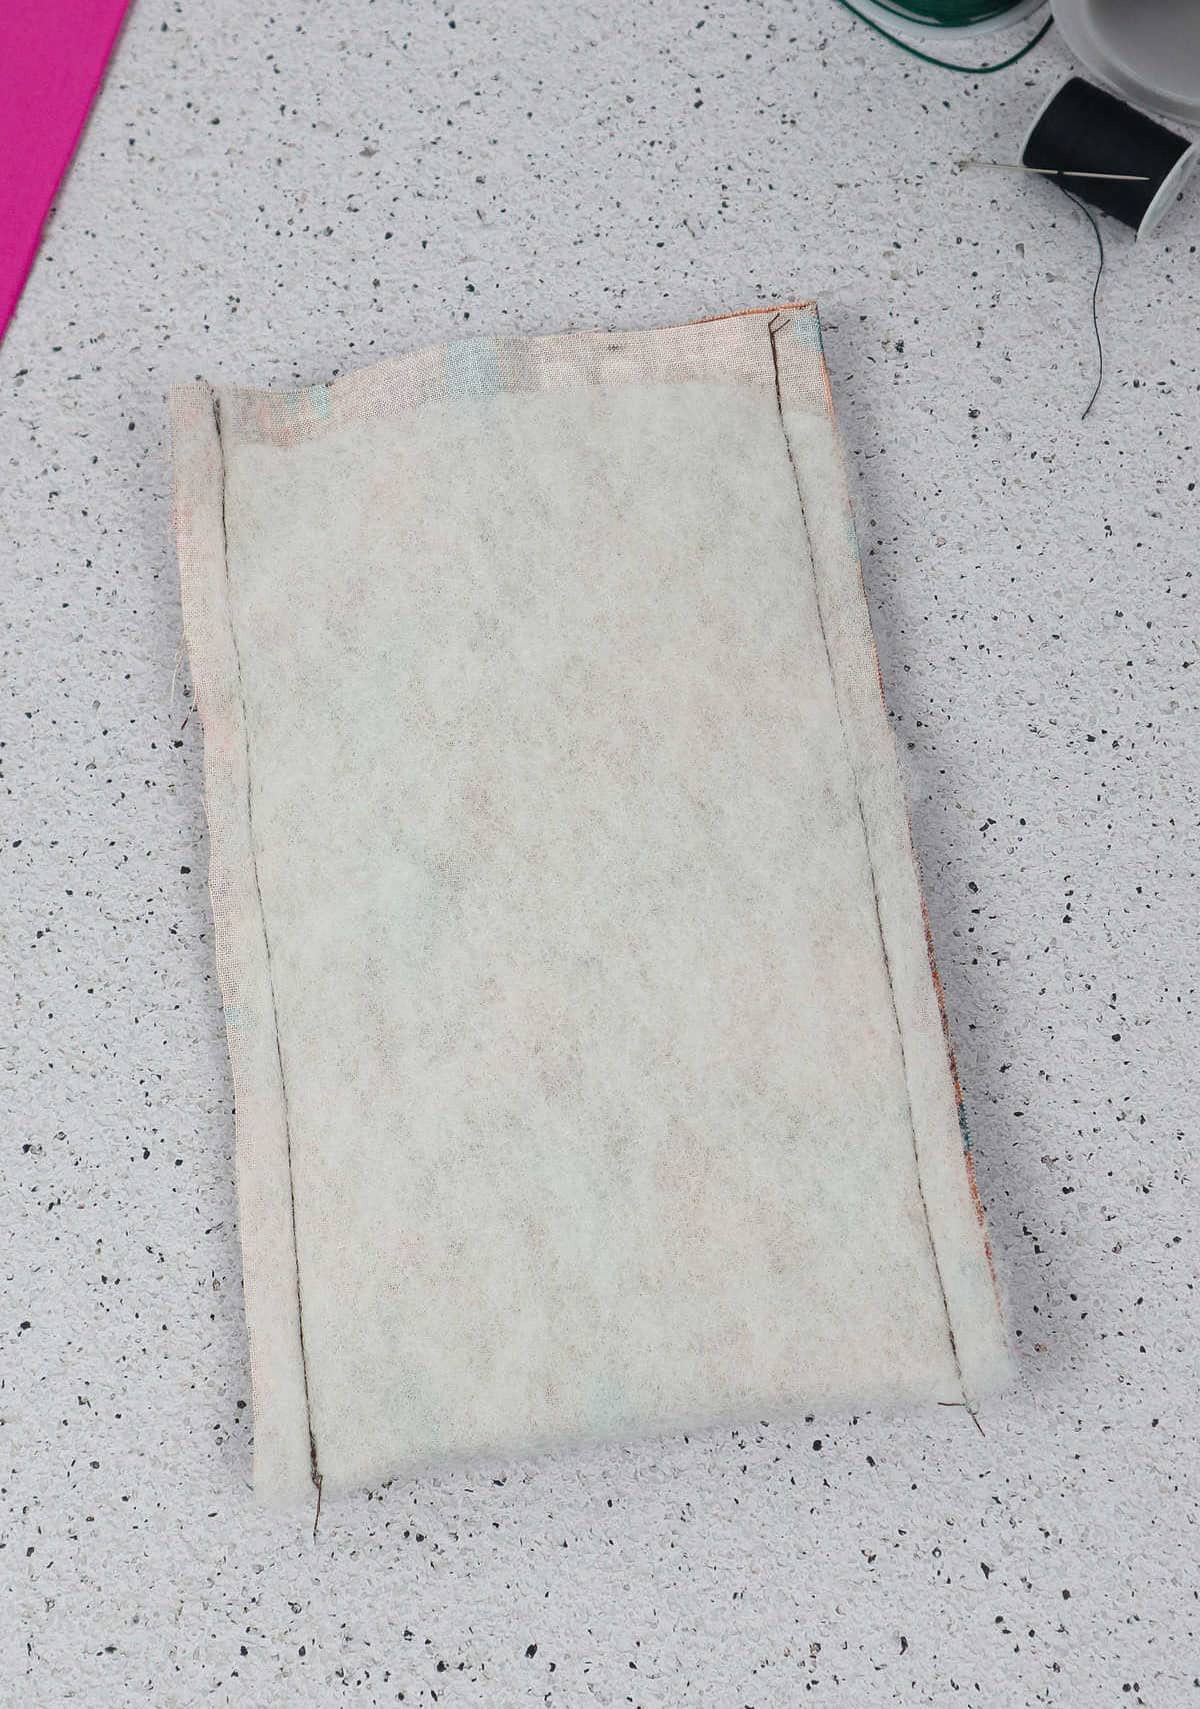
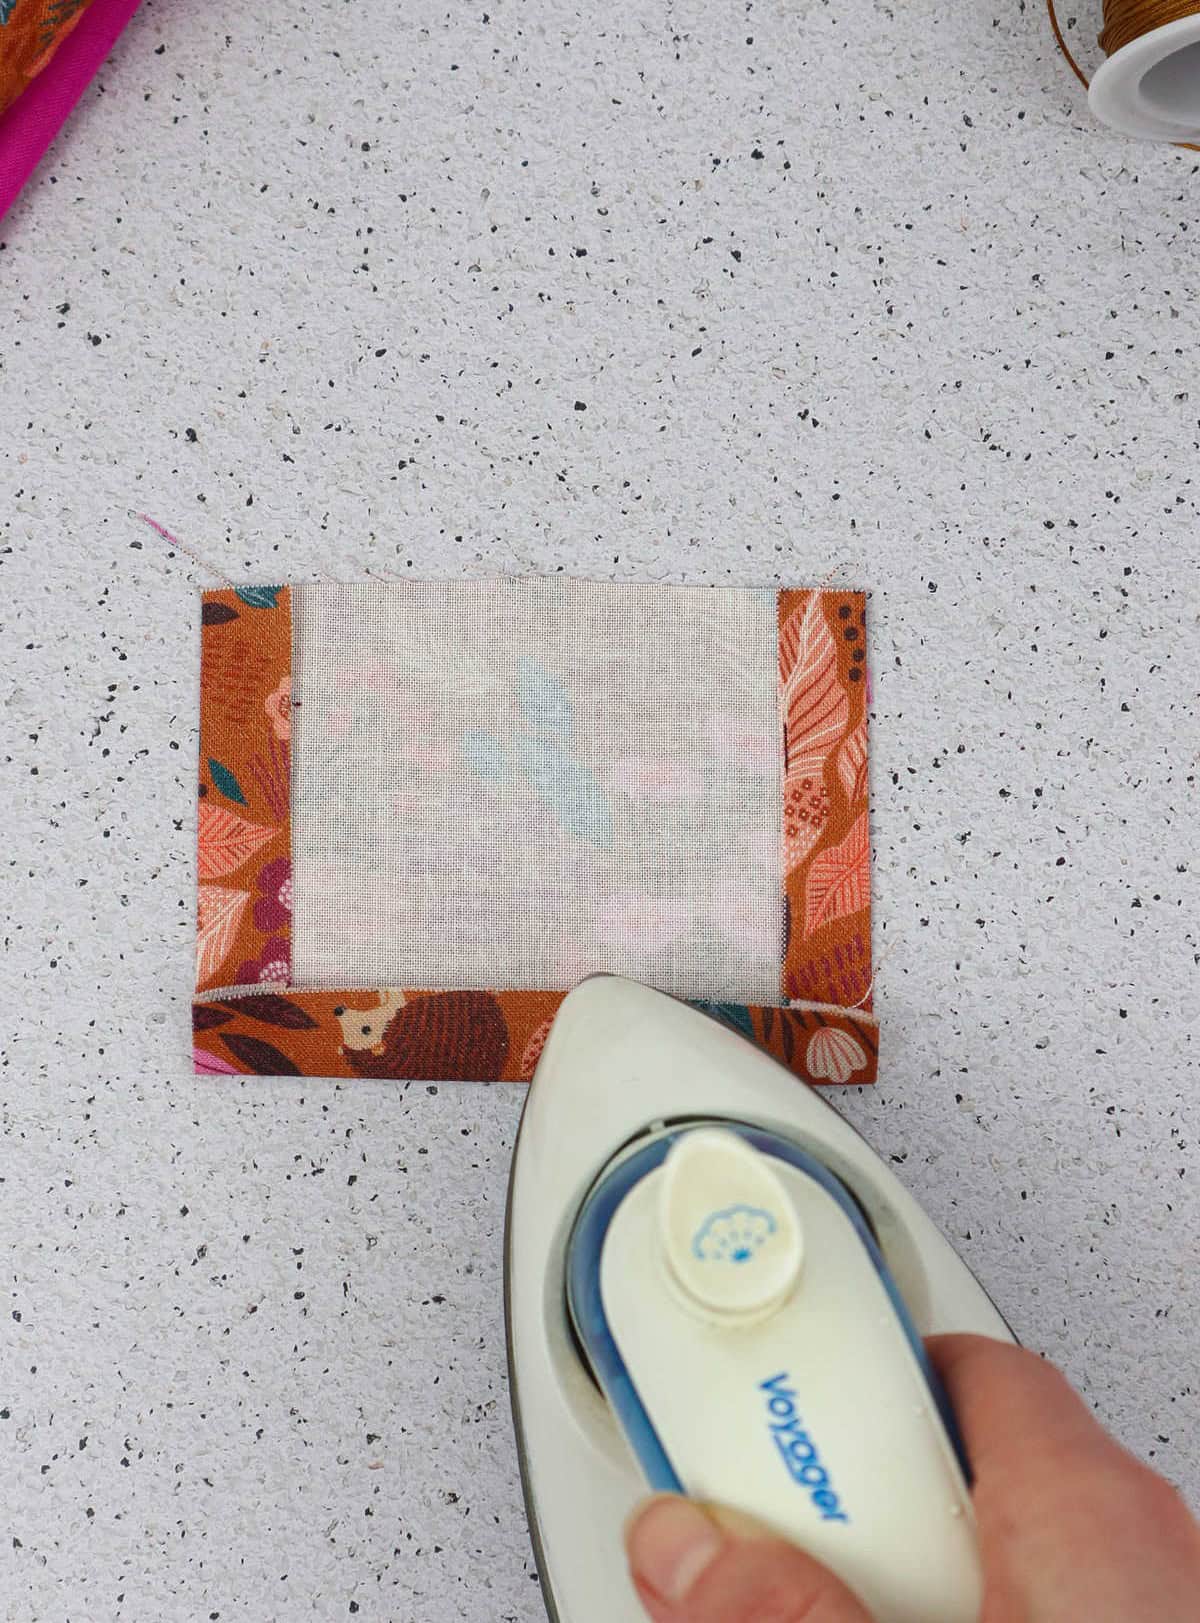
To secure the edges, first sew along both sides of the fabric, ensuring a sturdy bond. Next, turn your attention to the swatch and gently flip it inside out, so that the printed side now faces outward. Temporarily set this aside as you proceed with constructing the pocket.
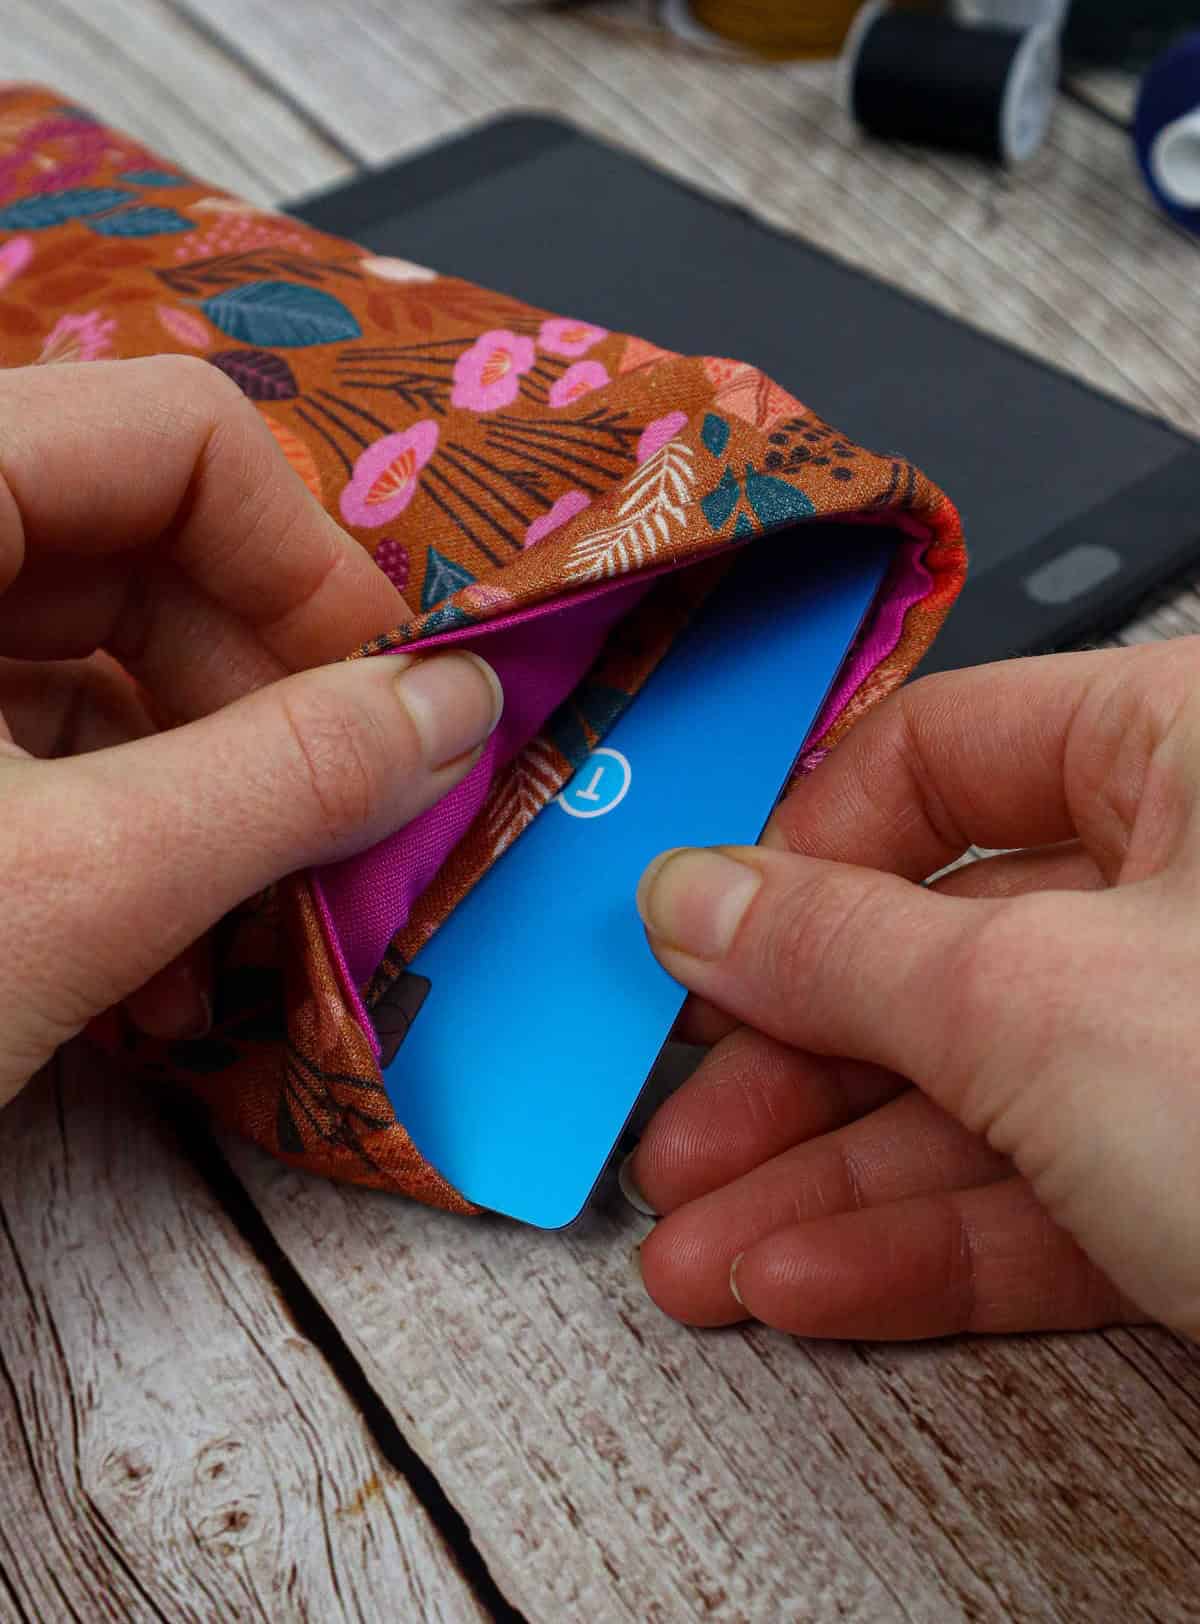
Step 5
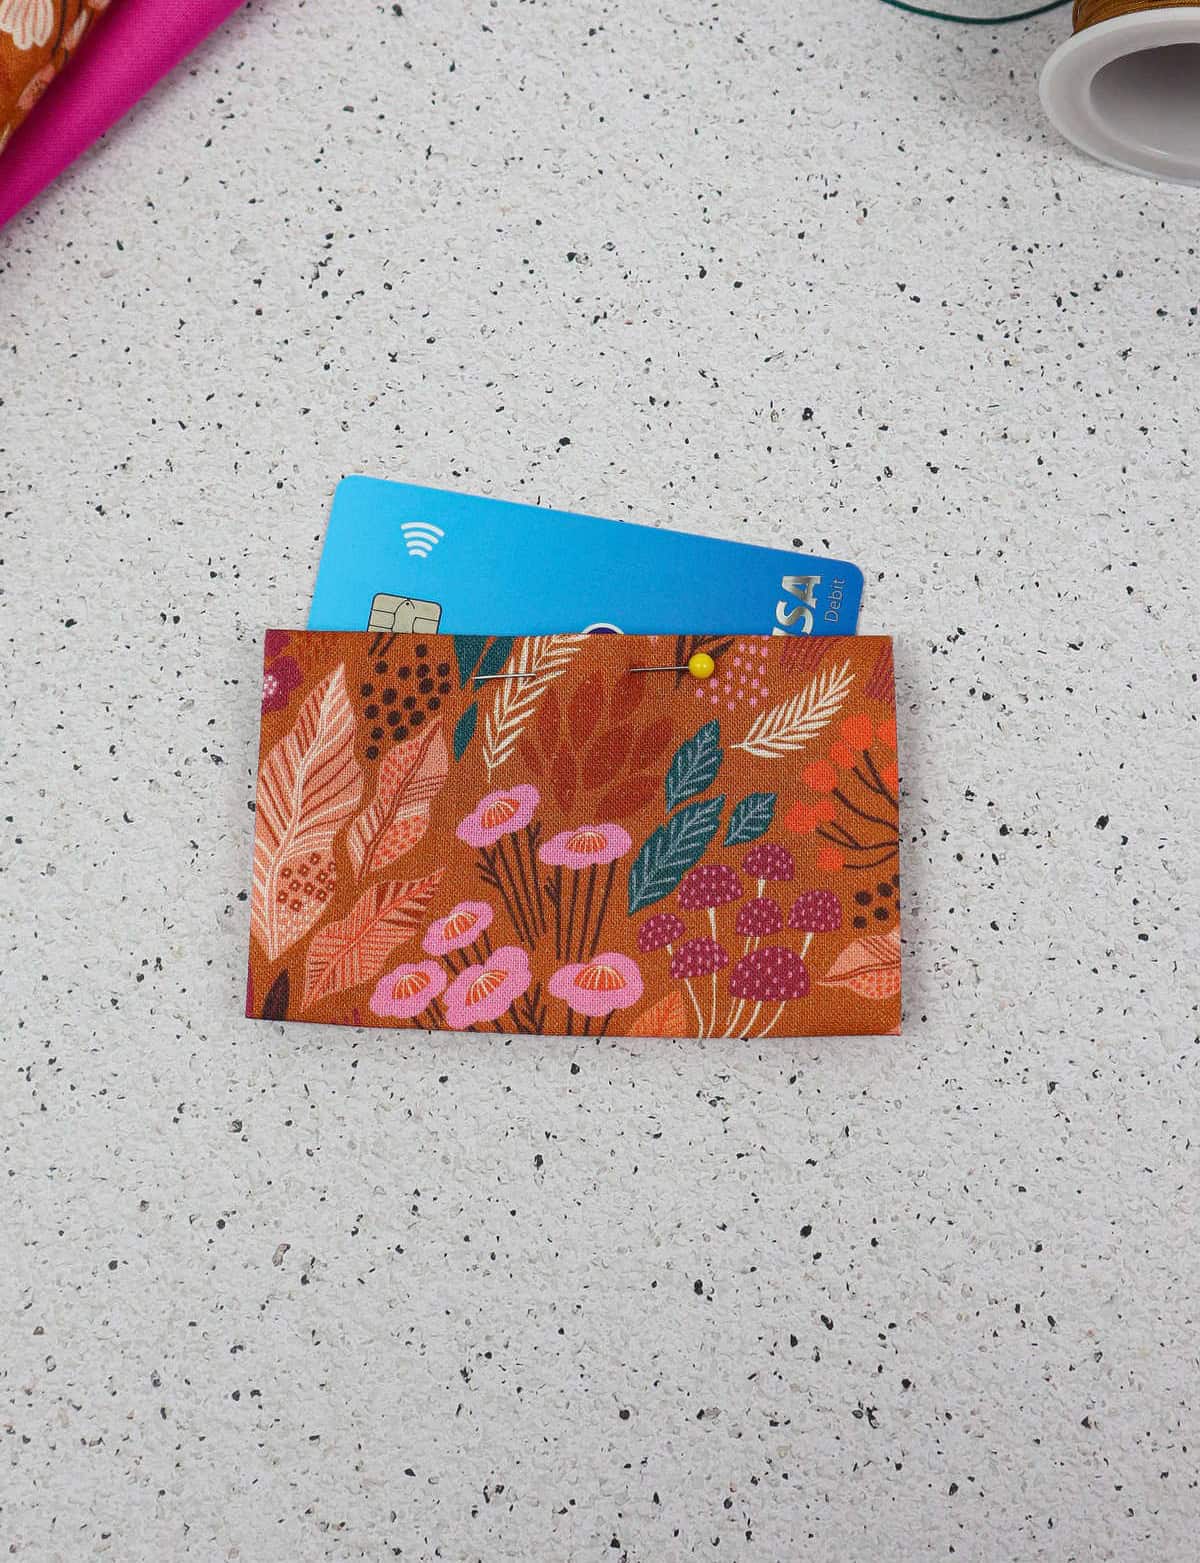
Place the measured and cut fabric for the pocket on your work surface. Next, fold the left and right sides of the swatch inward by about half an inch. To secure these folds in place, you can lightly iron over them. Following a similar process, fold the bottom edge up and press it to maintain its shape. Lastly, fold the top edge down and use a sewing pin as a marker to identify this side as the top.
Step 6
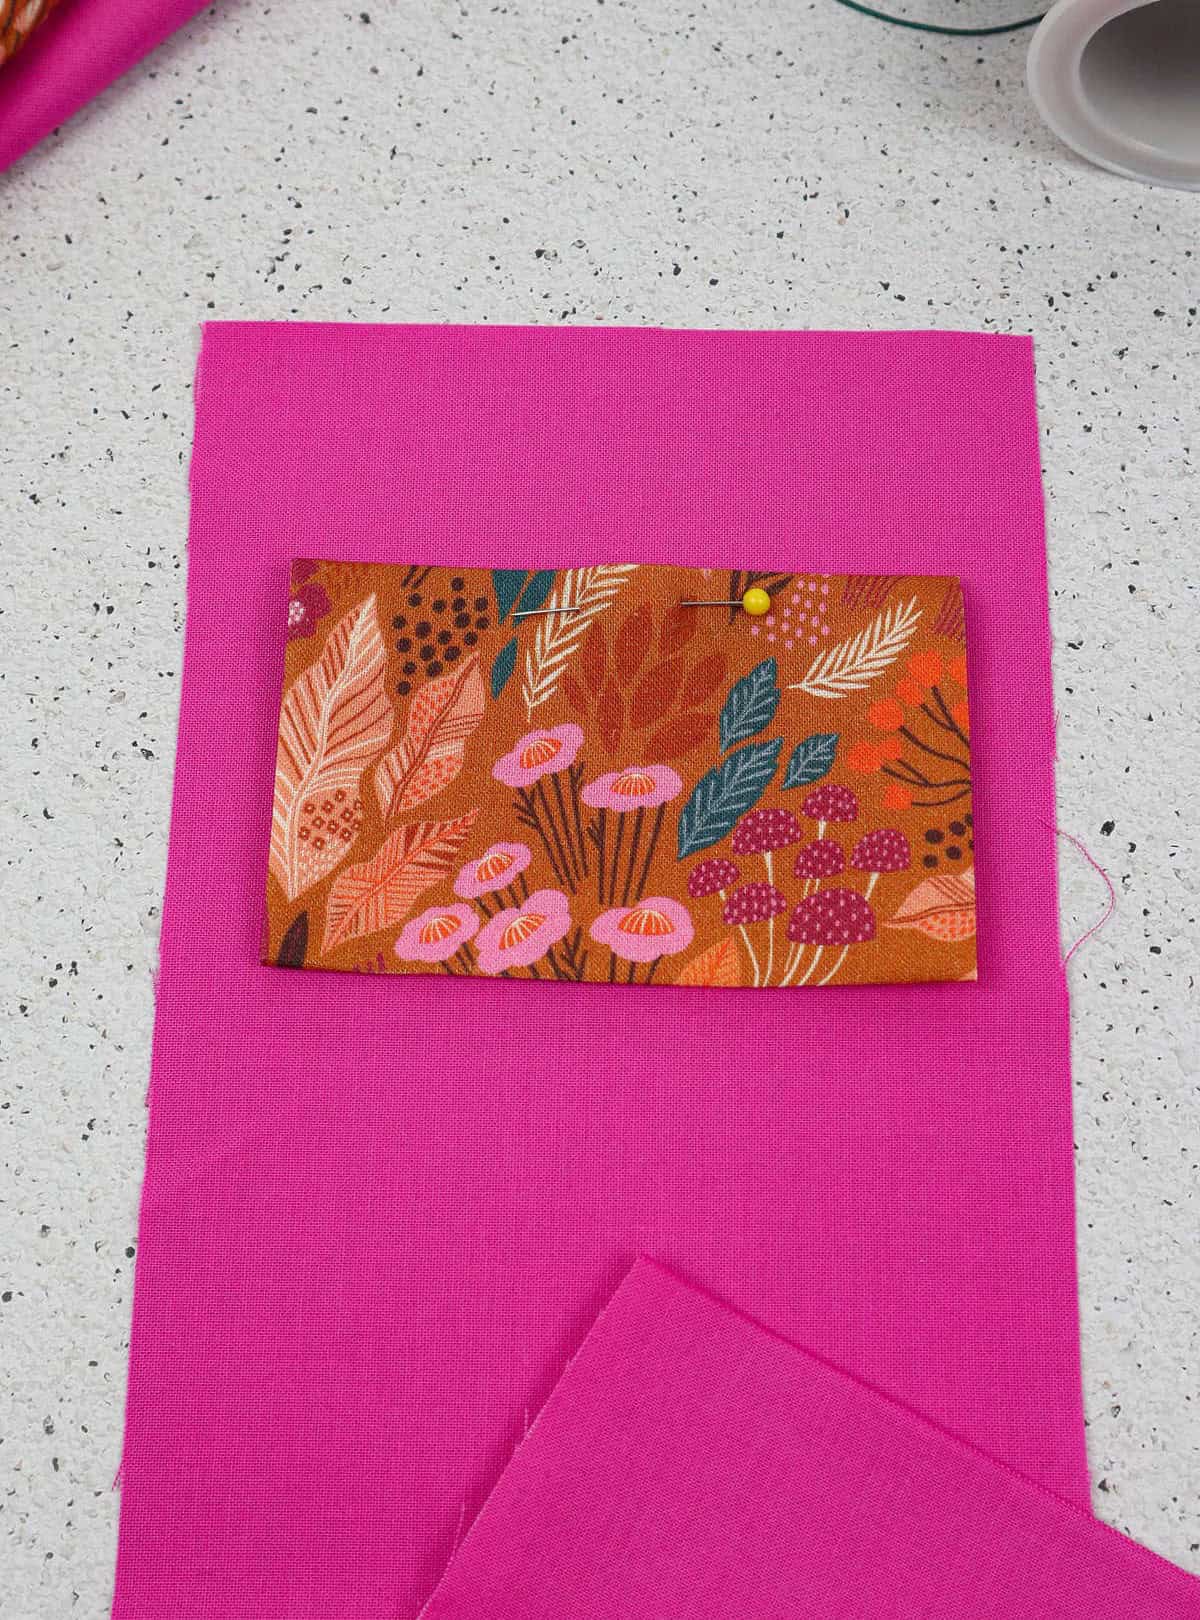
Position your lining fabric on your workspace, followed by the pocket swatch with its printed side facing downwards. The top edge of the pocket should align roughly an inch and a half from the top of the fabric, ensuring the same distance on both sides. If desired, secure the swatch in place using pins.
Step 7

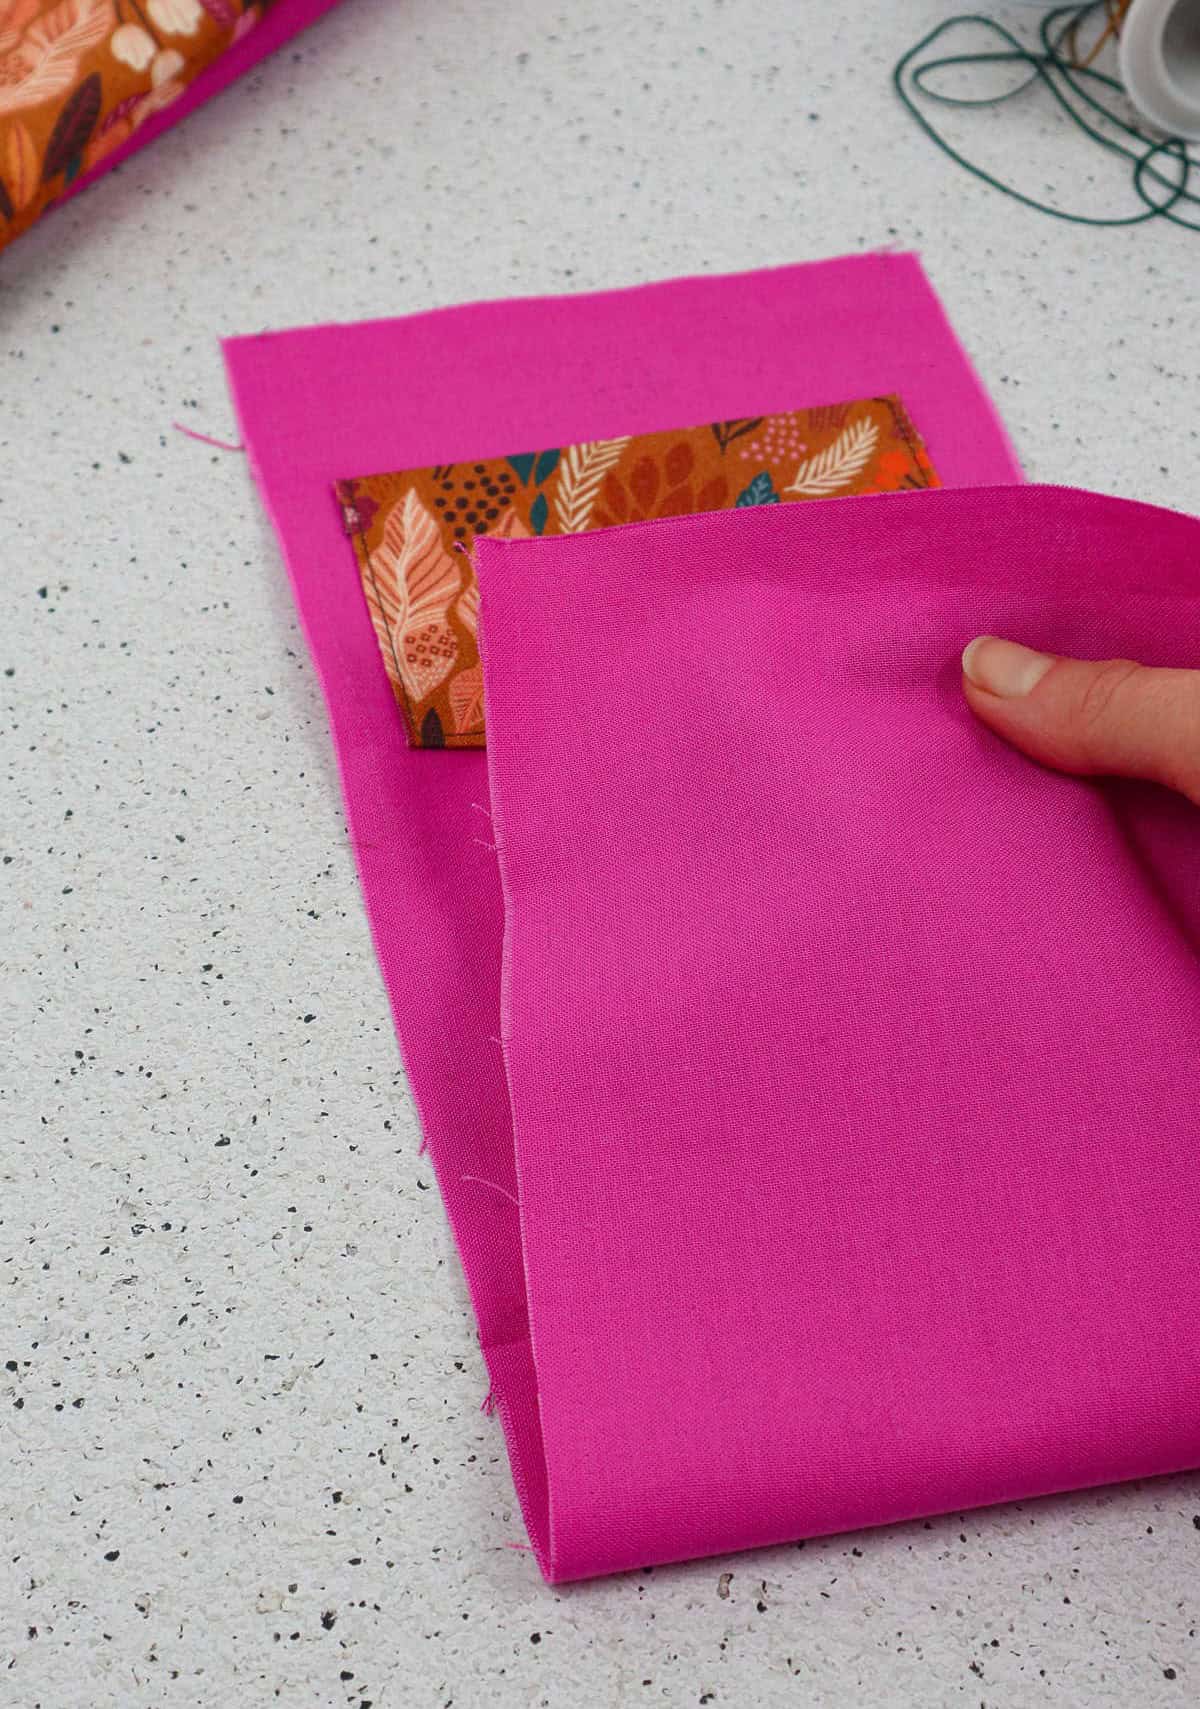
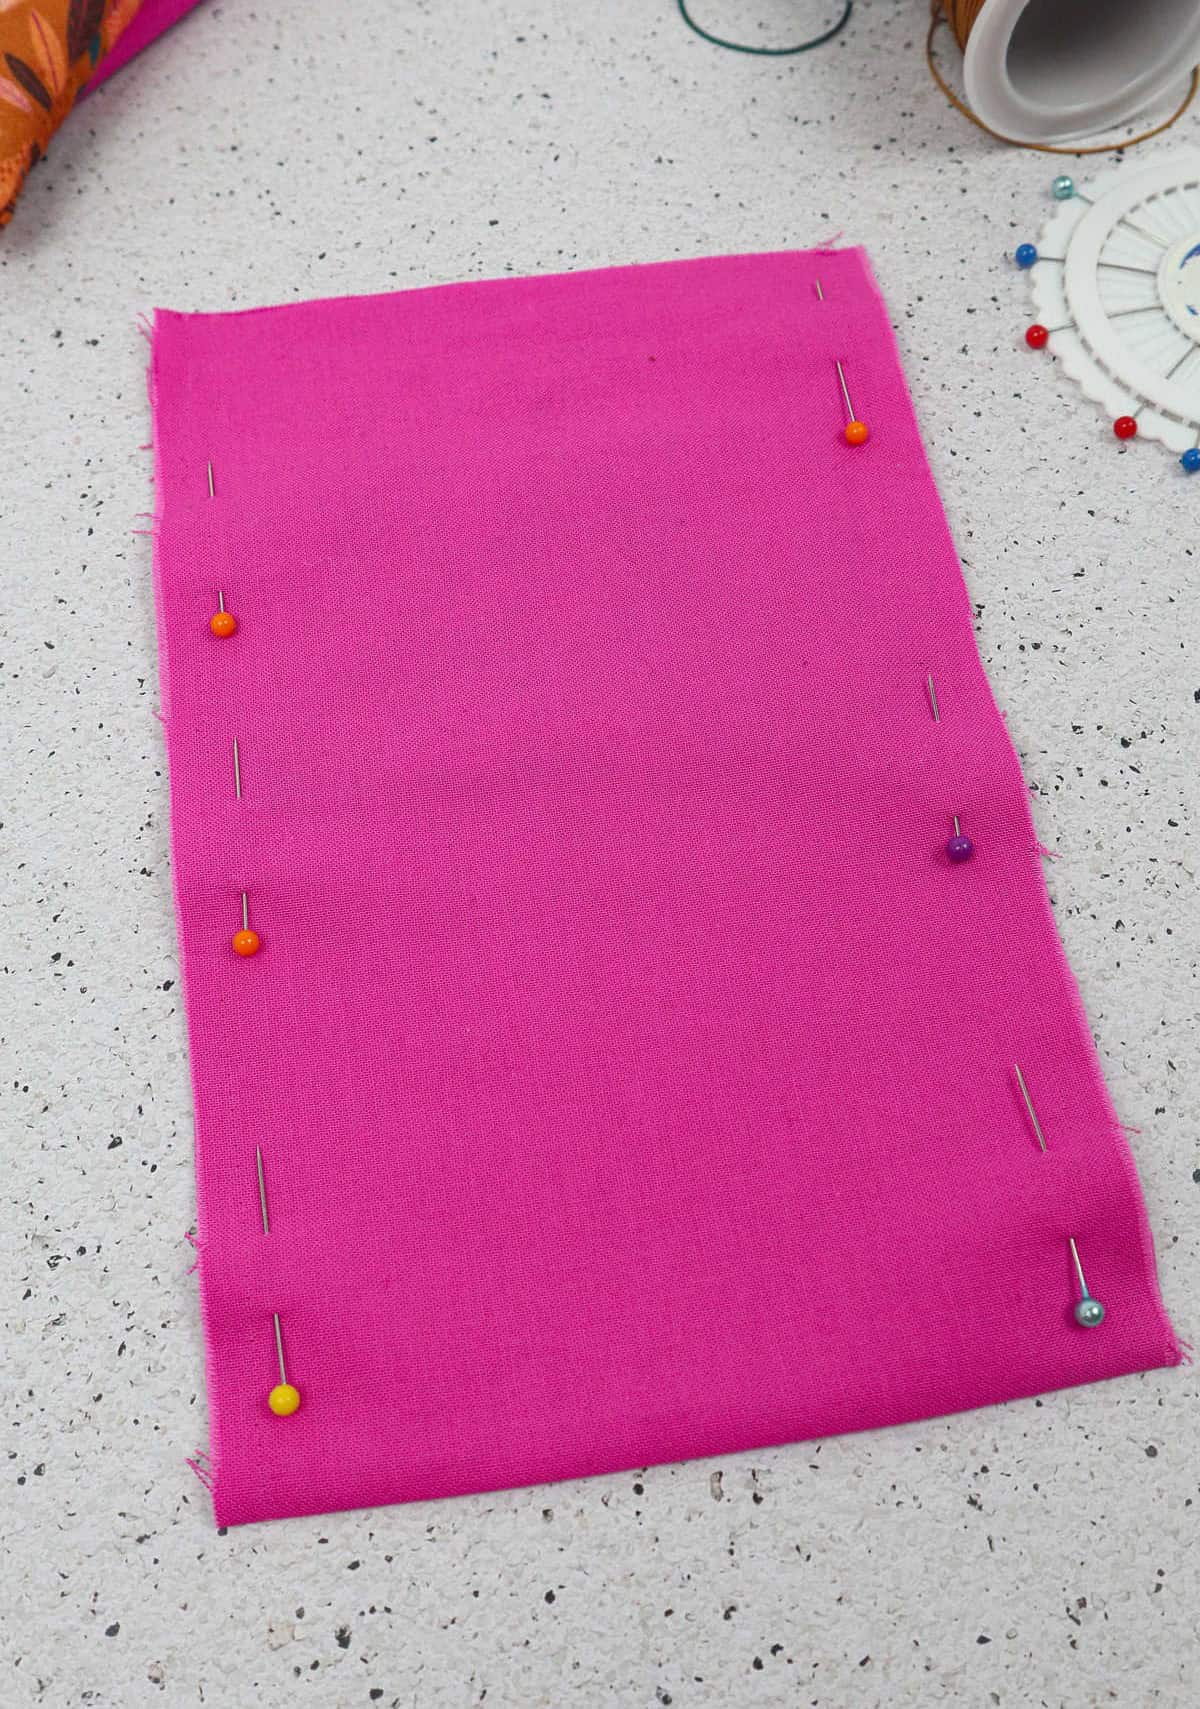
To complete the pocket attachment, sew three sides of the lining together, leaving the top edge open for later manipulation. Once this is done, fold the entire lining in half and secure the edges with pins, positioning them a quarter inch away from the folded crease. This will ensure that your stitching will be evenly spaced when you sew up the remaining two sides, leaving a quarter-inch allowance on each side to facilitate smooth turning of the fabric.
Be prepared to trim any excess fabric as needed to accommodate the lining’s insertion into the main fabric.
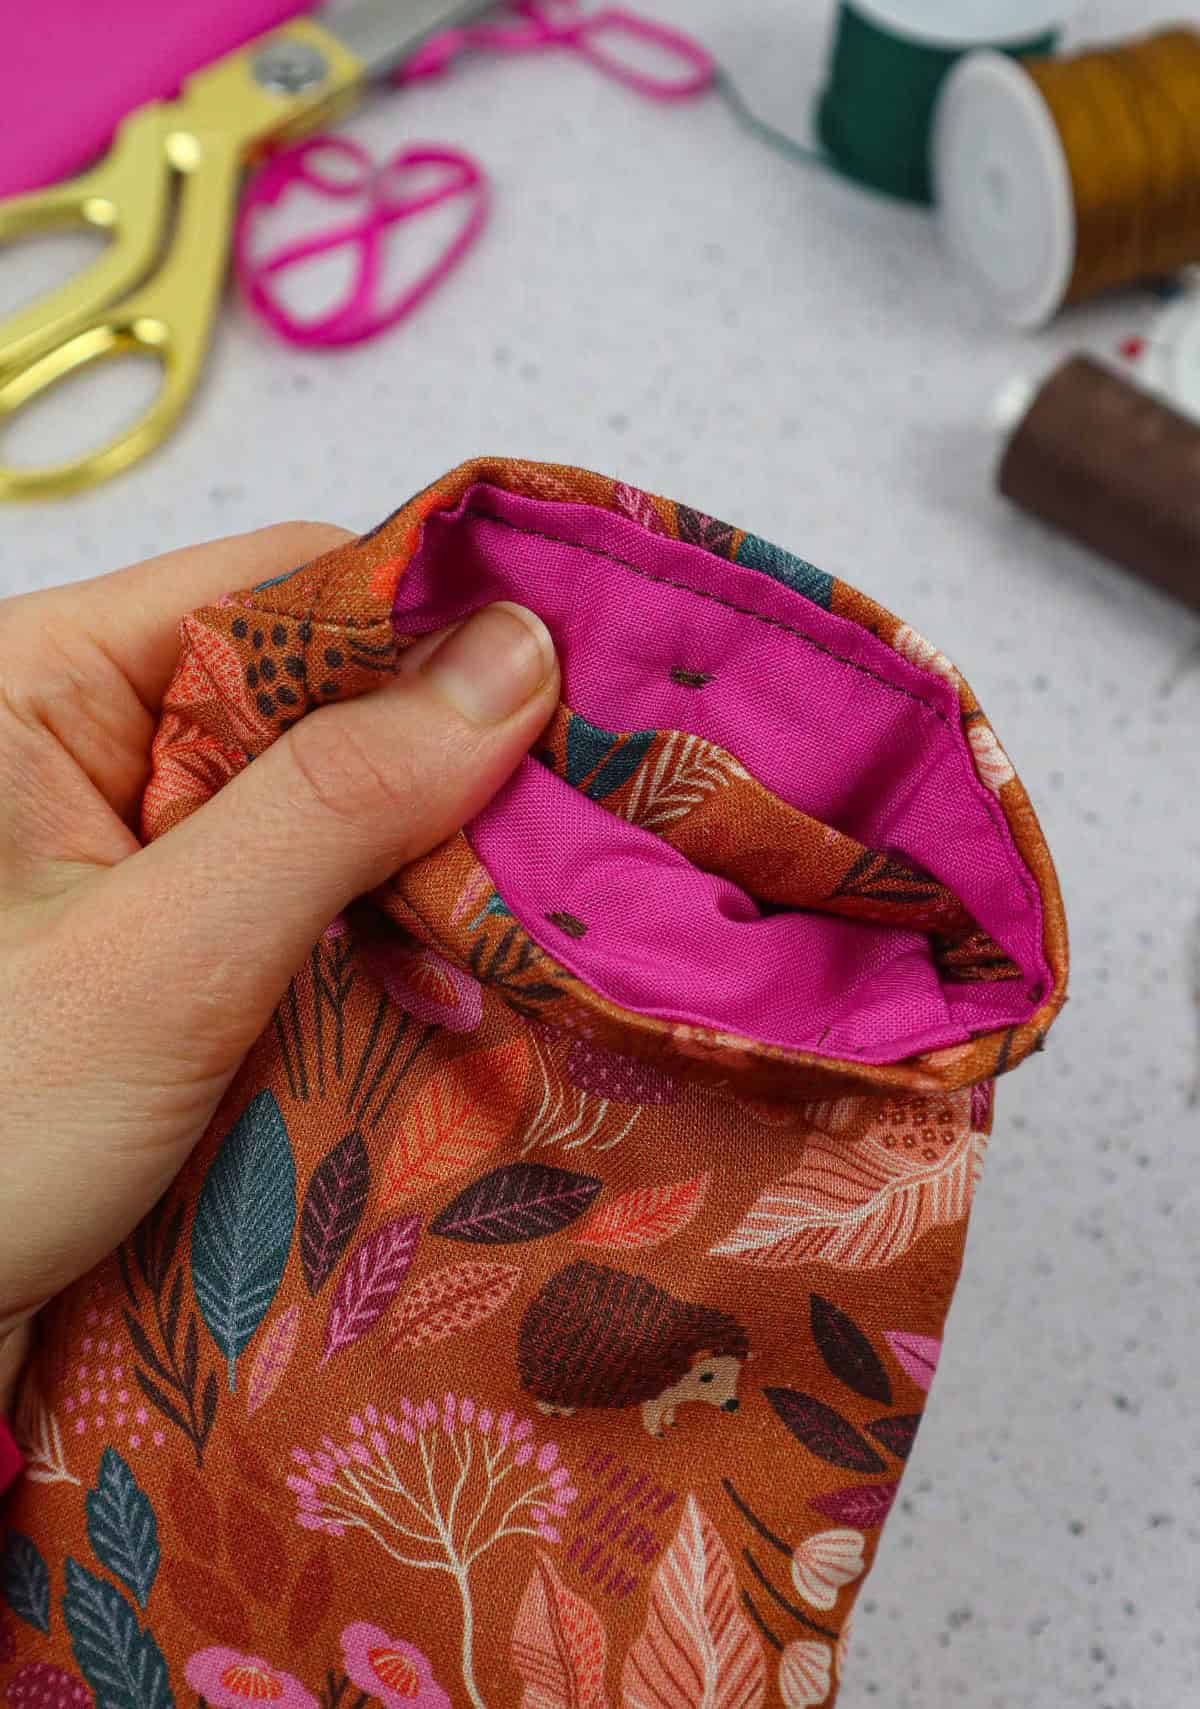
Step 8
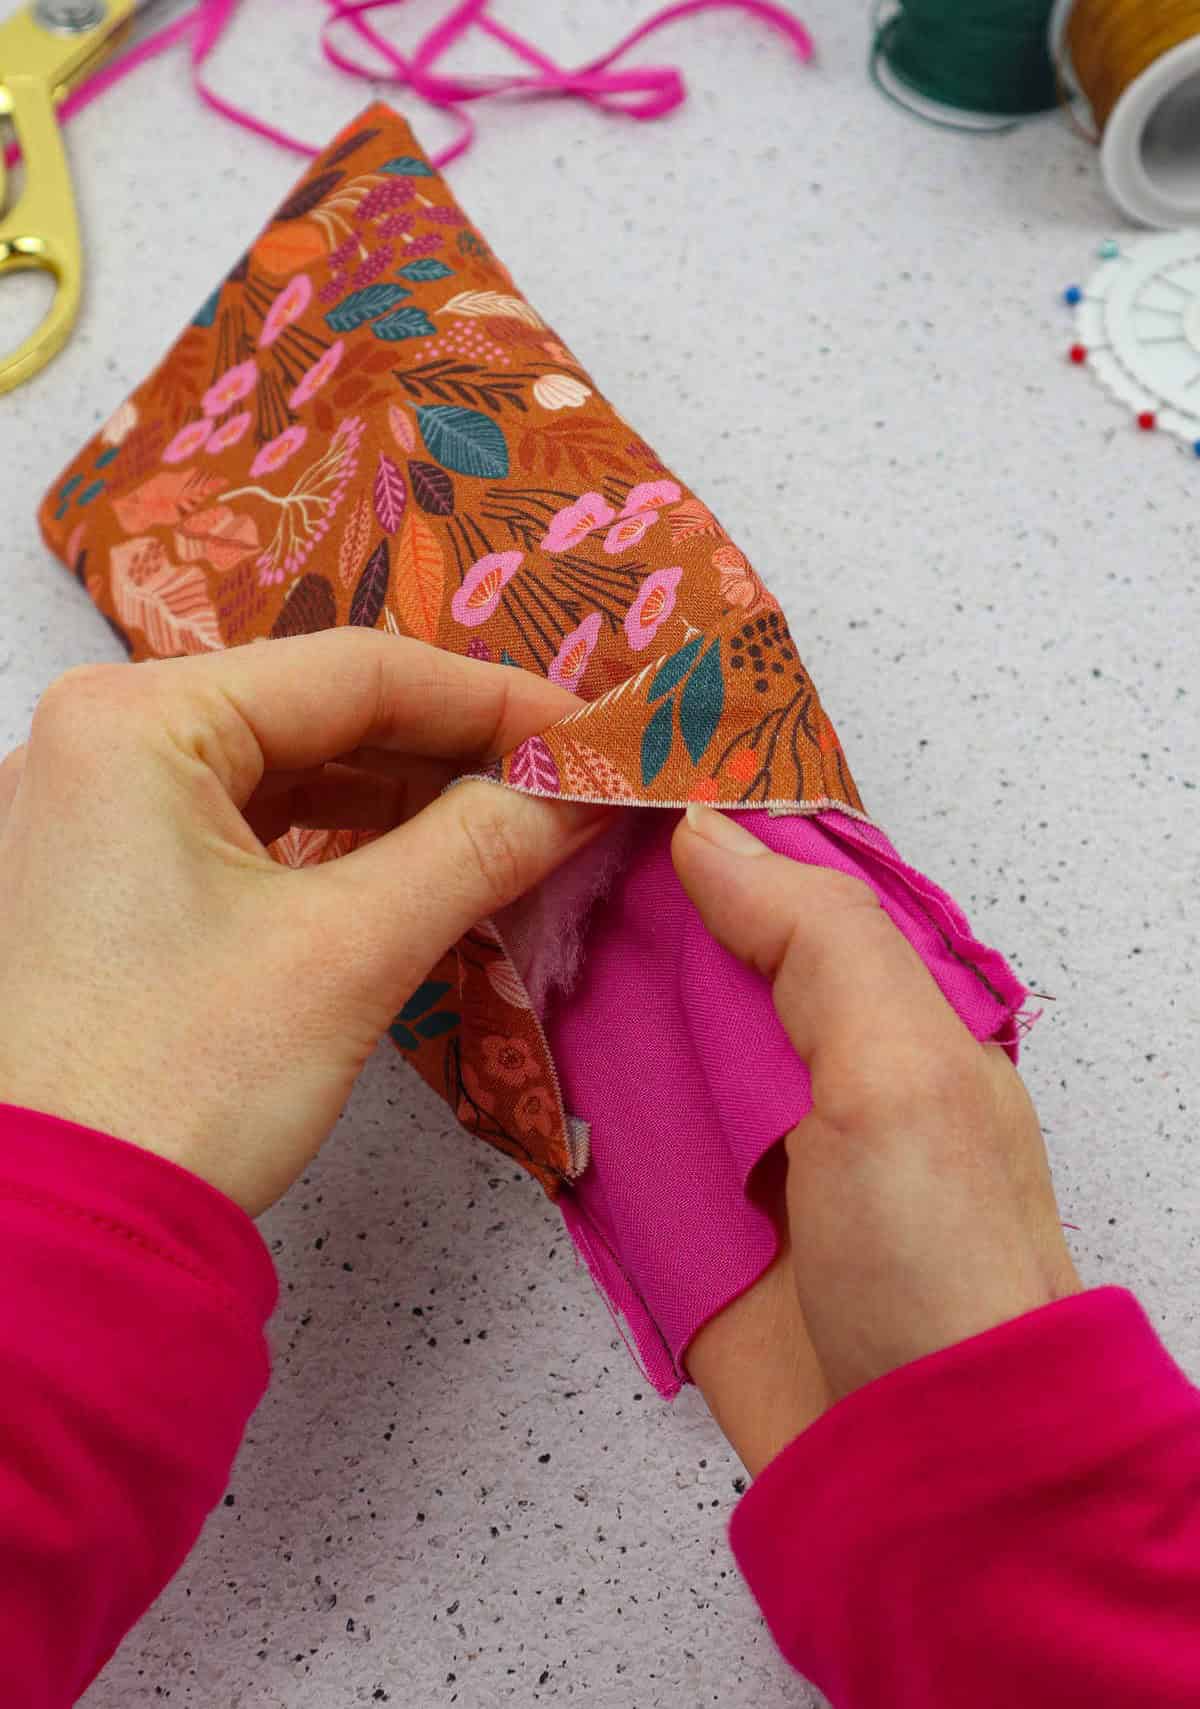
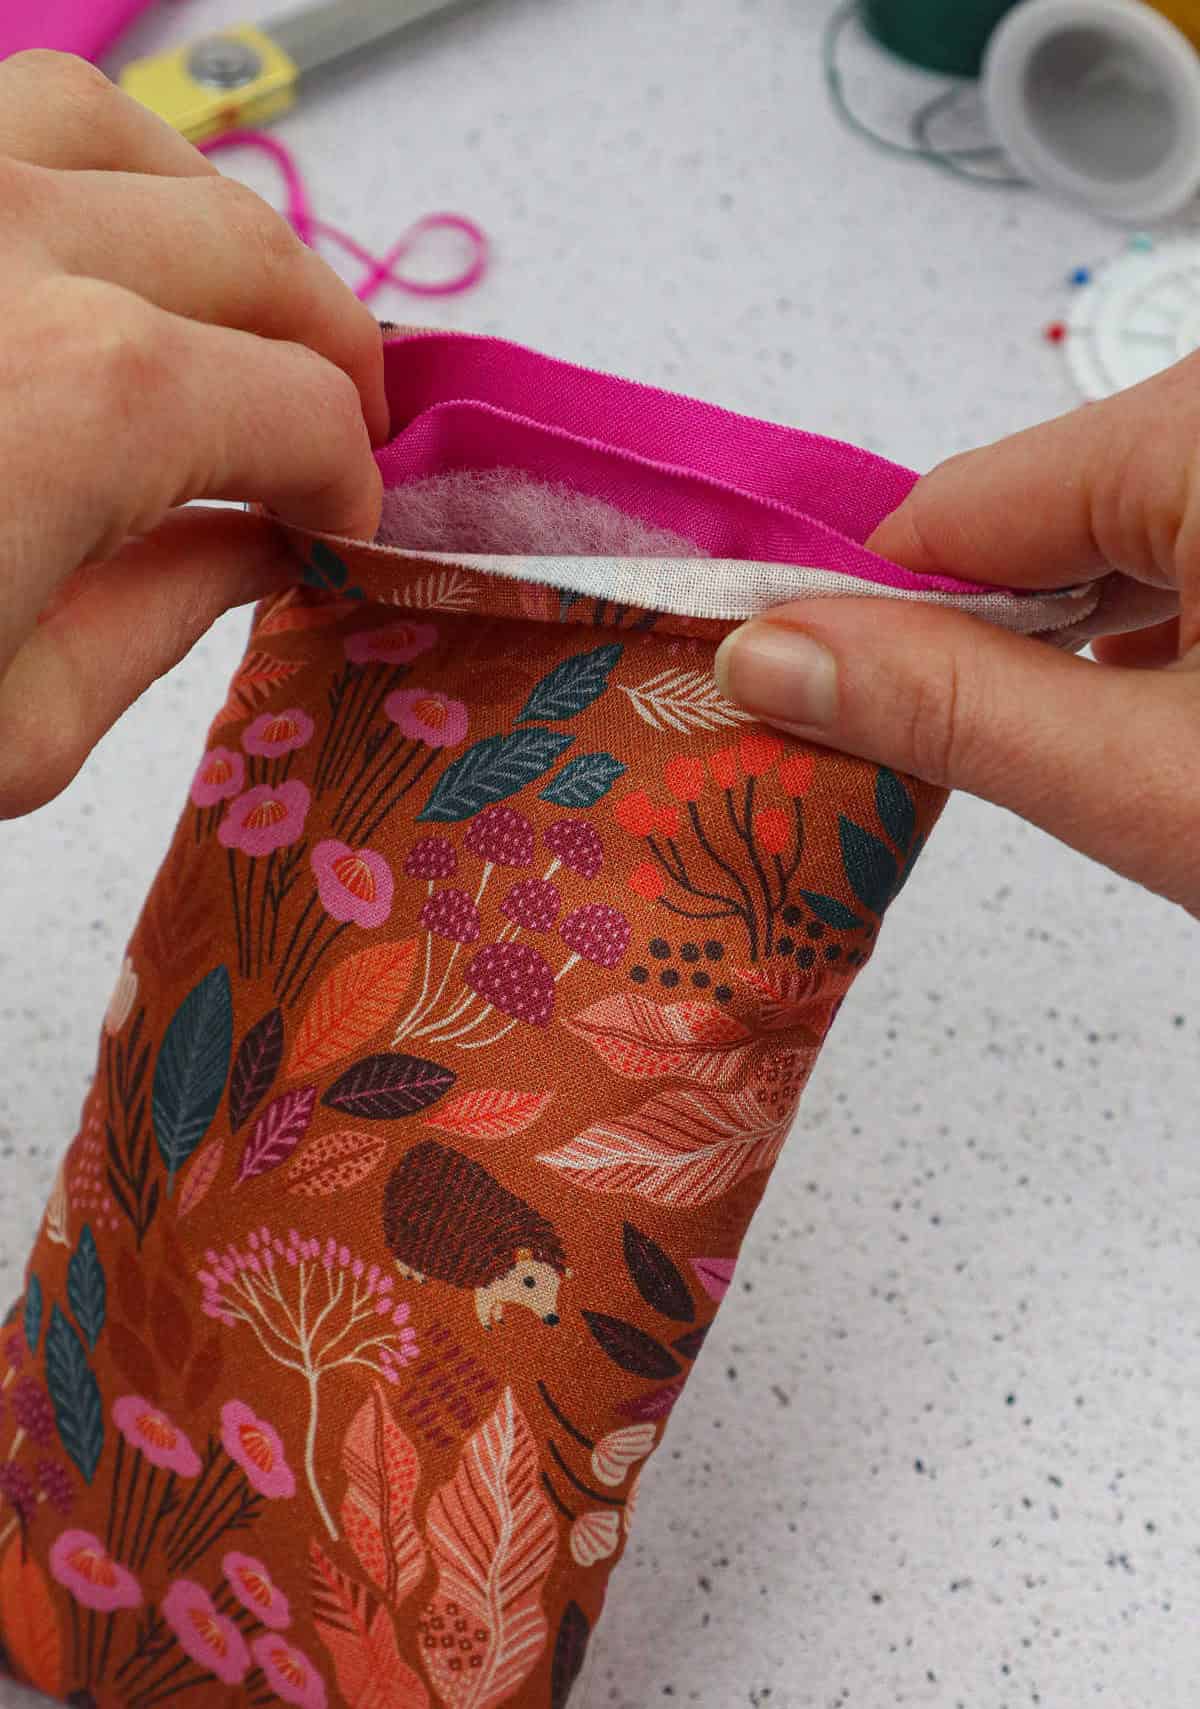
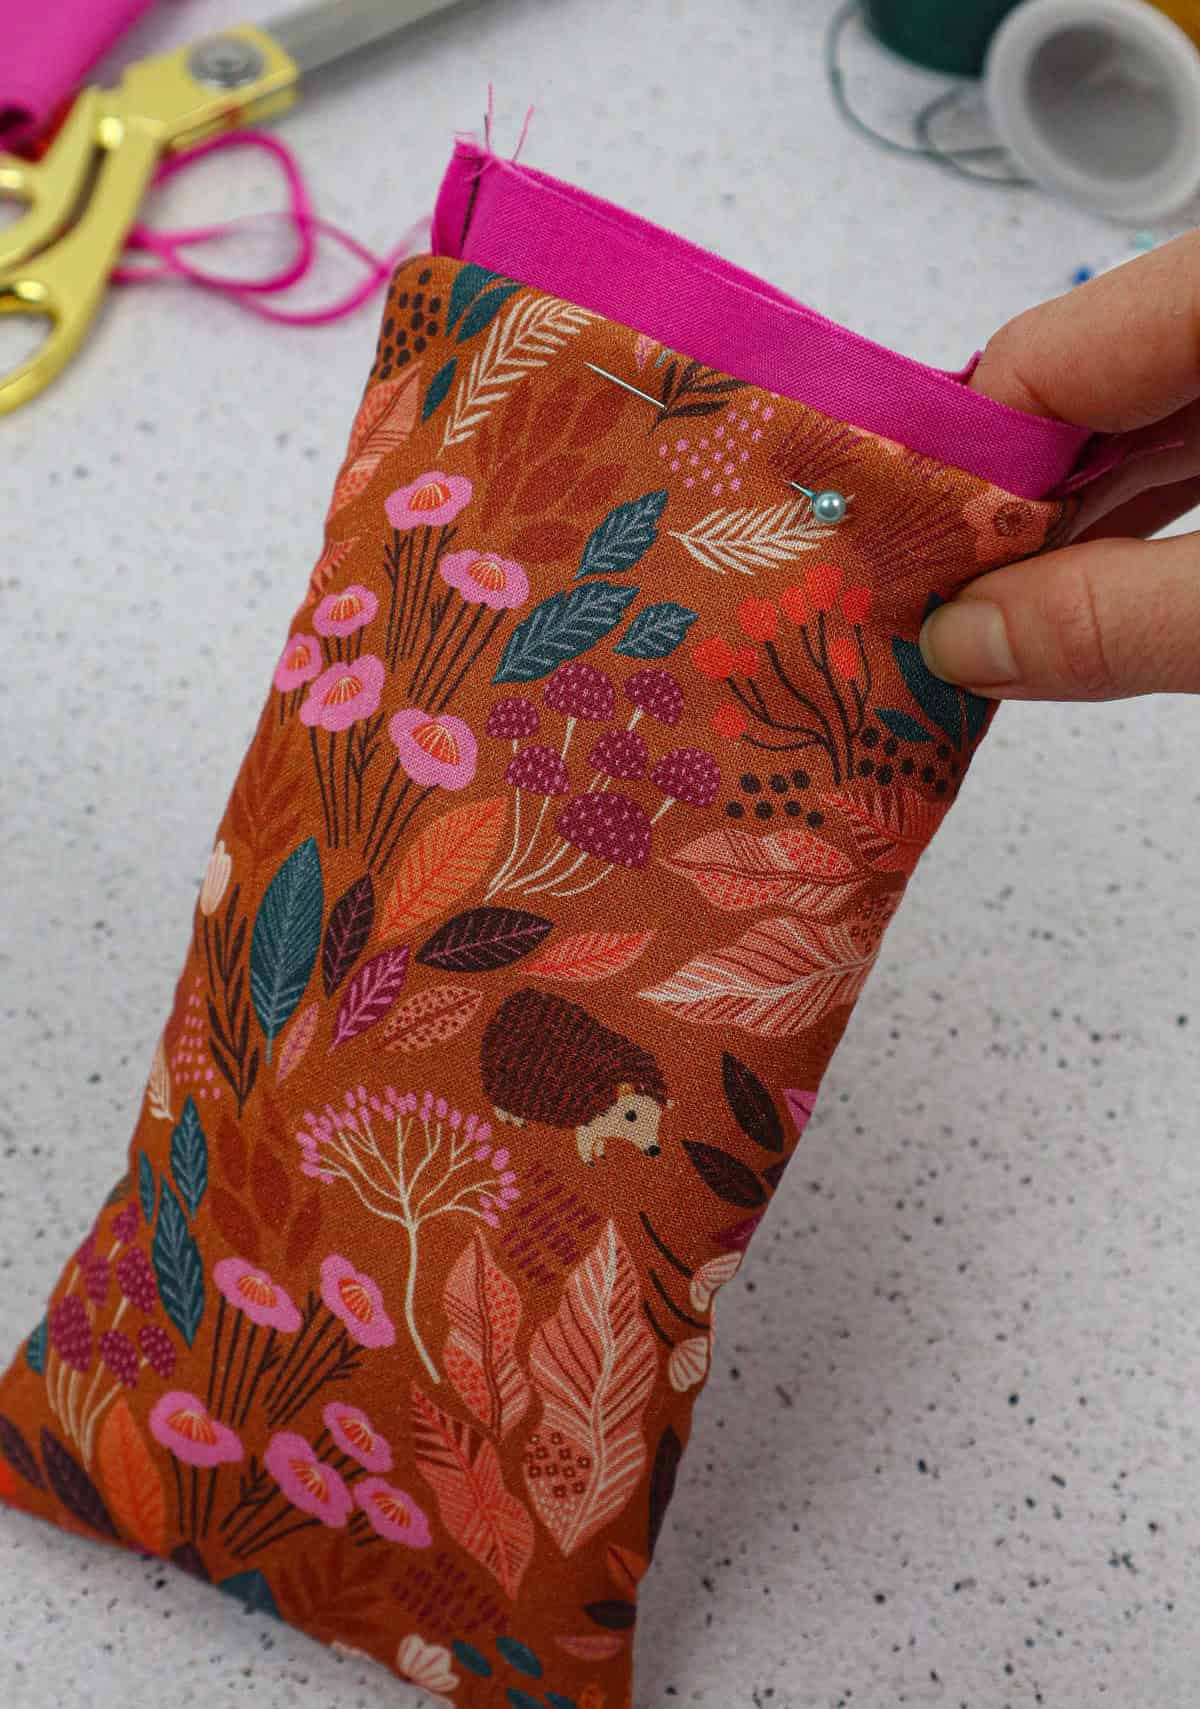
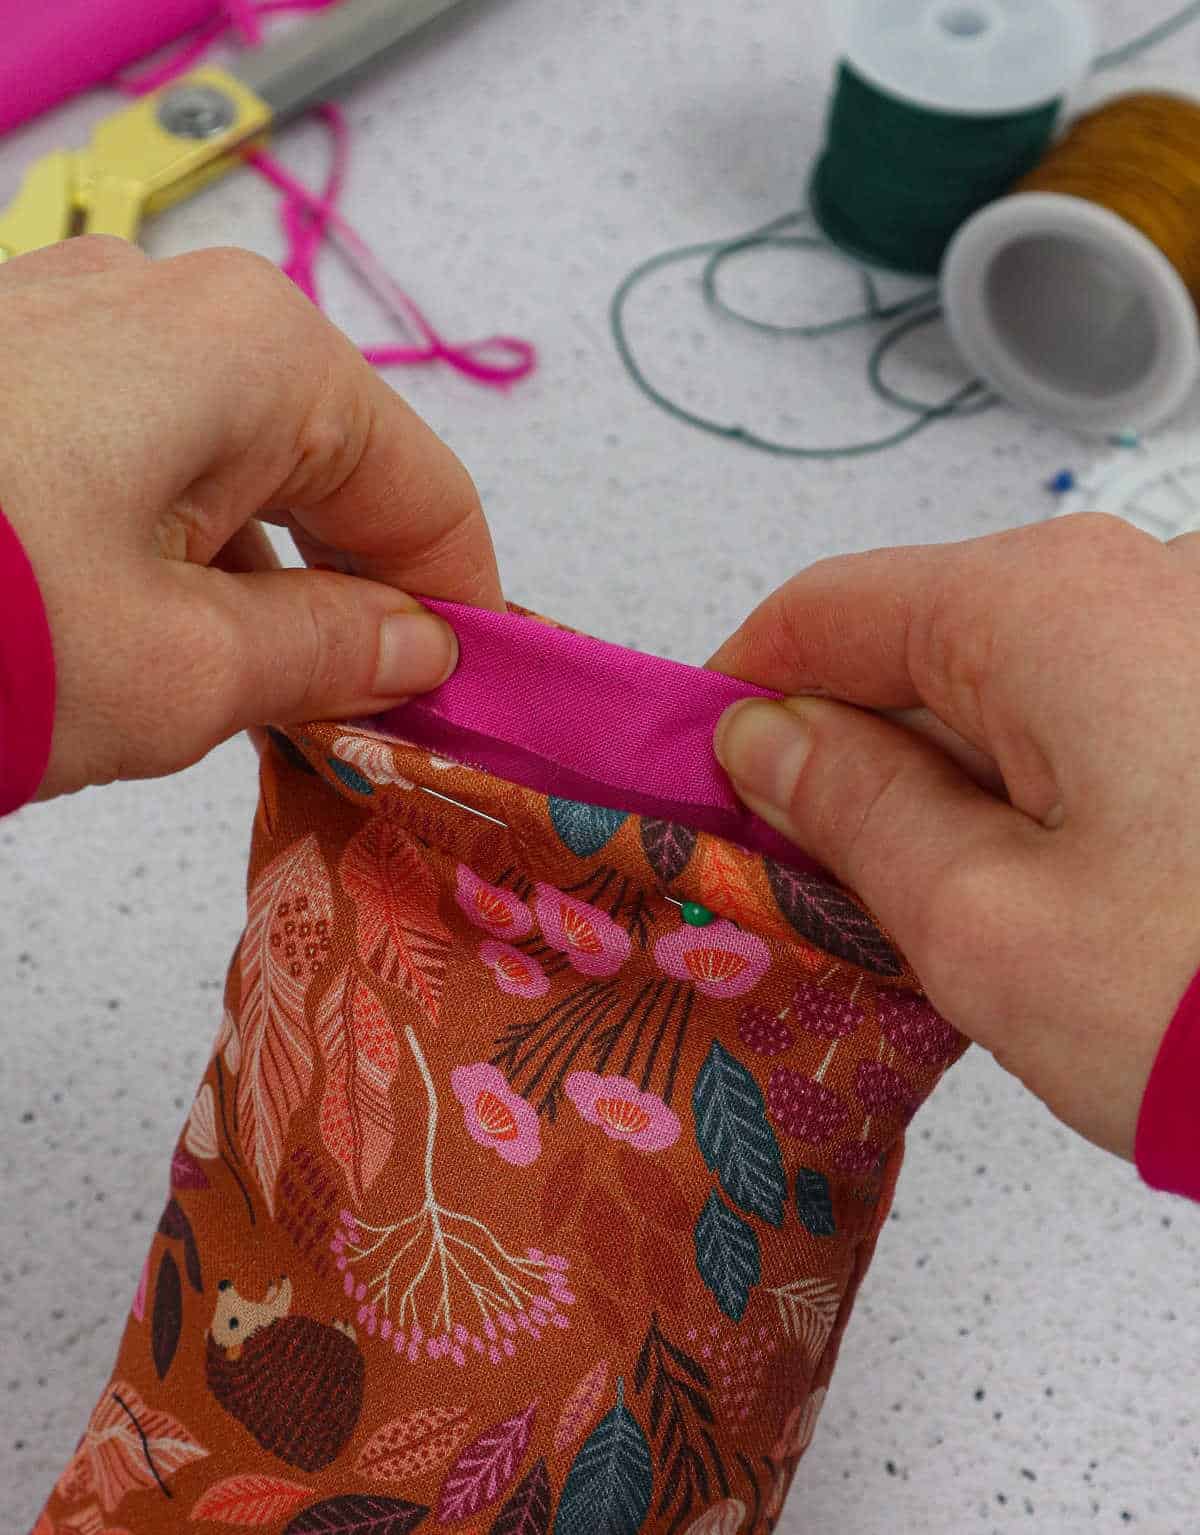

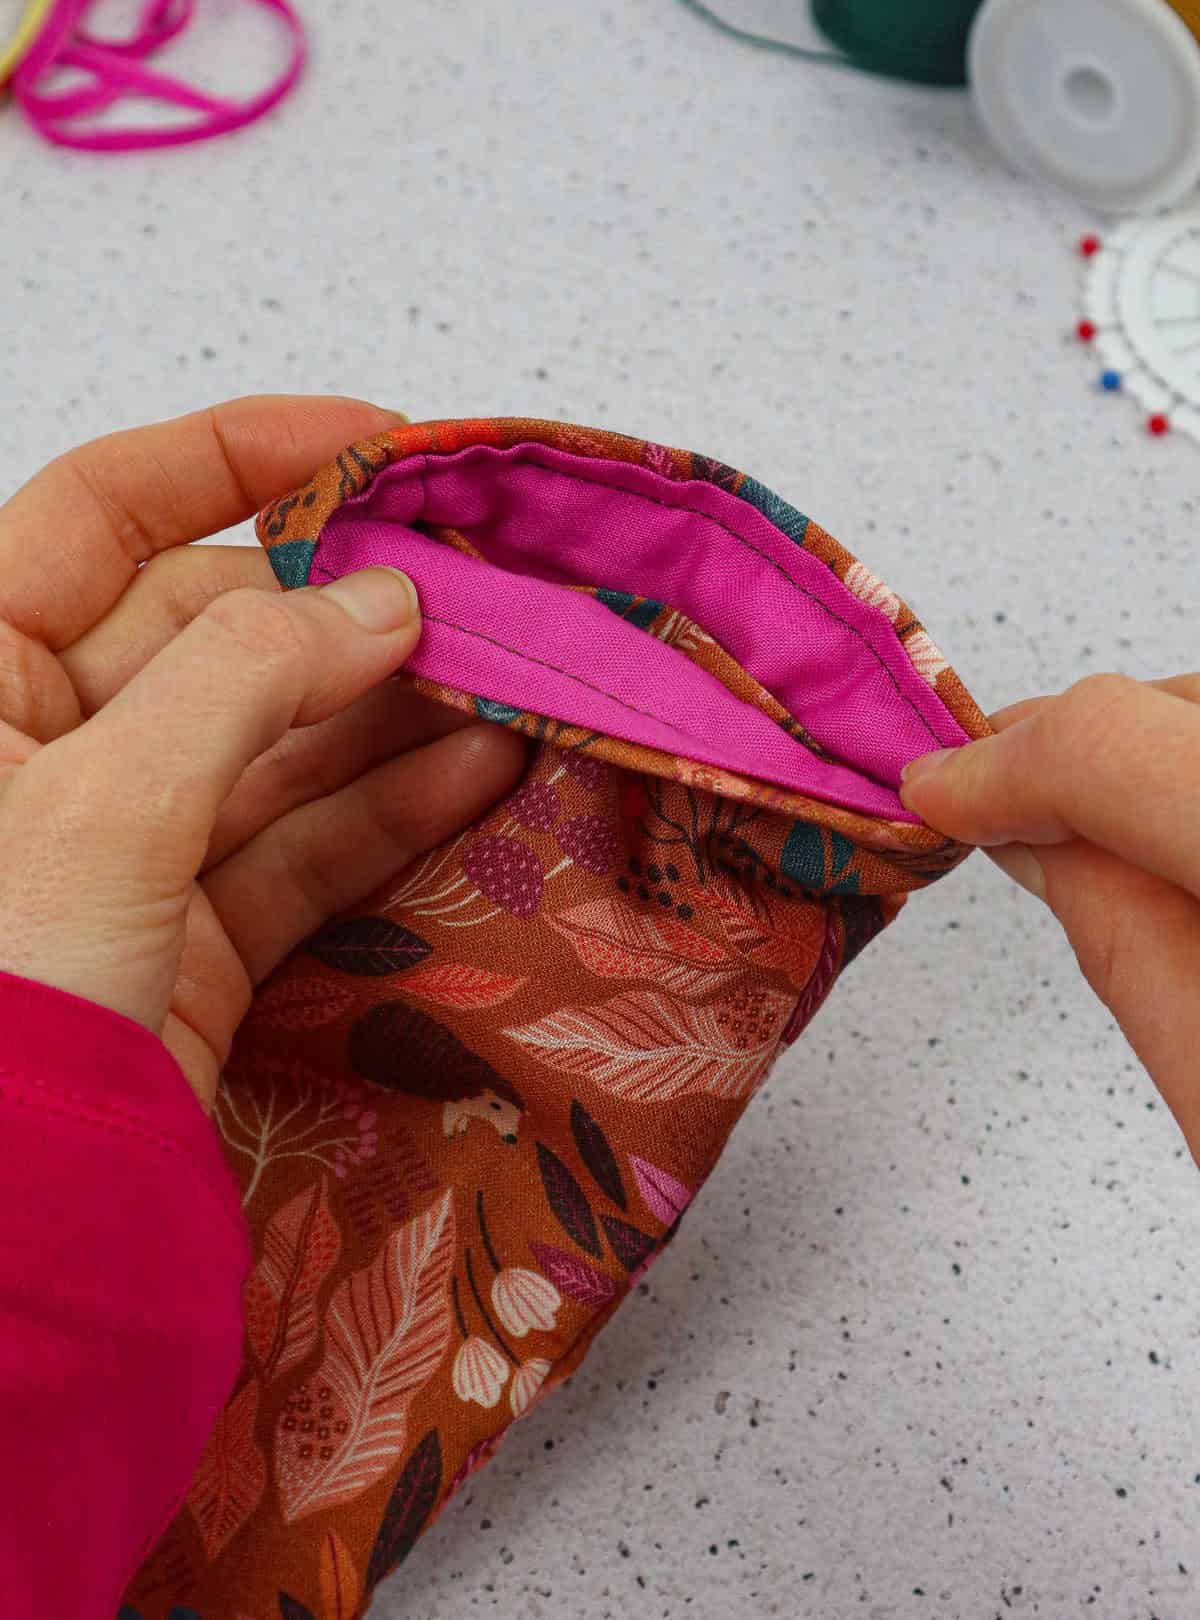
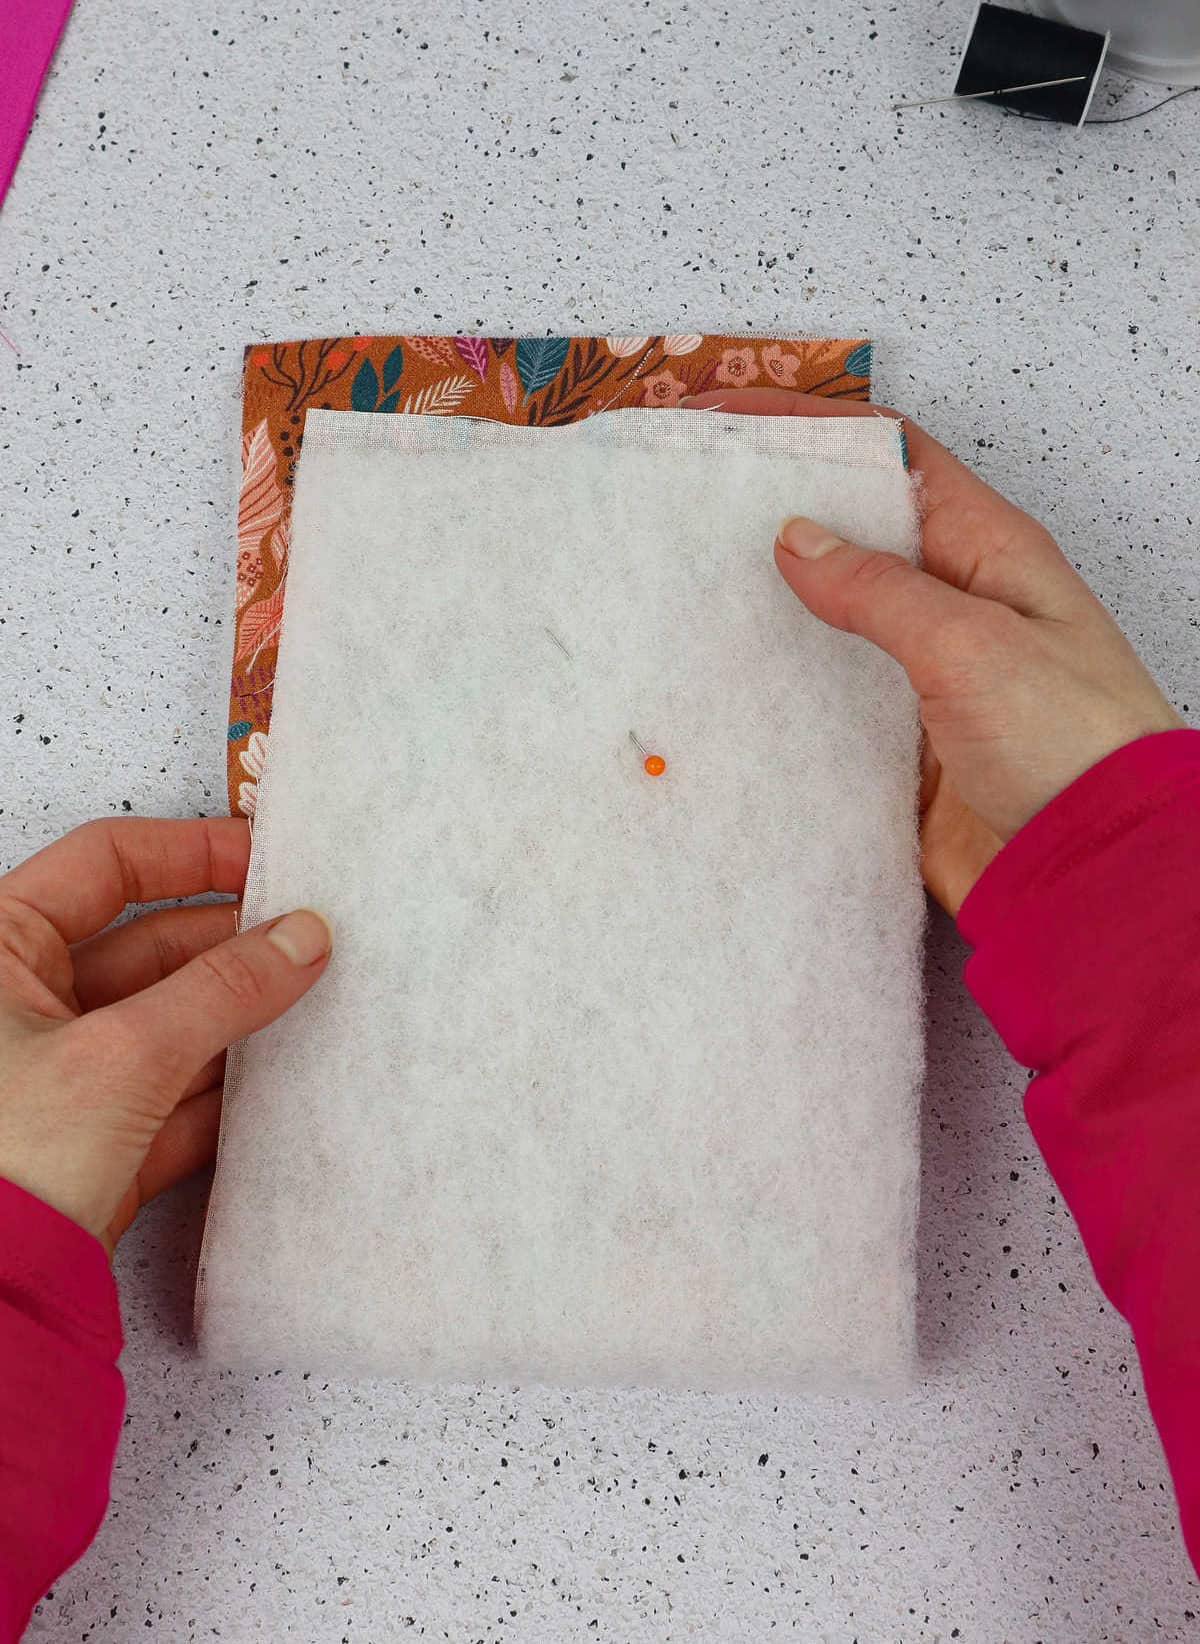
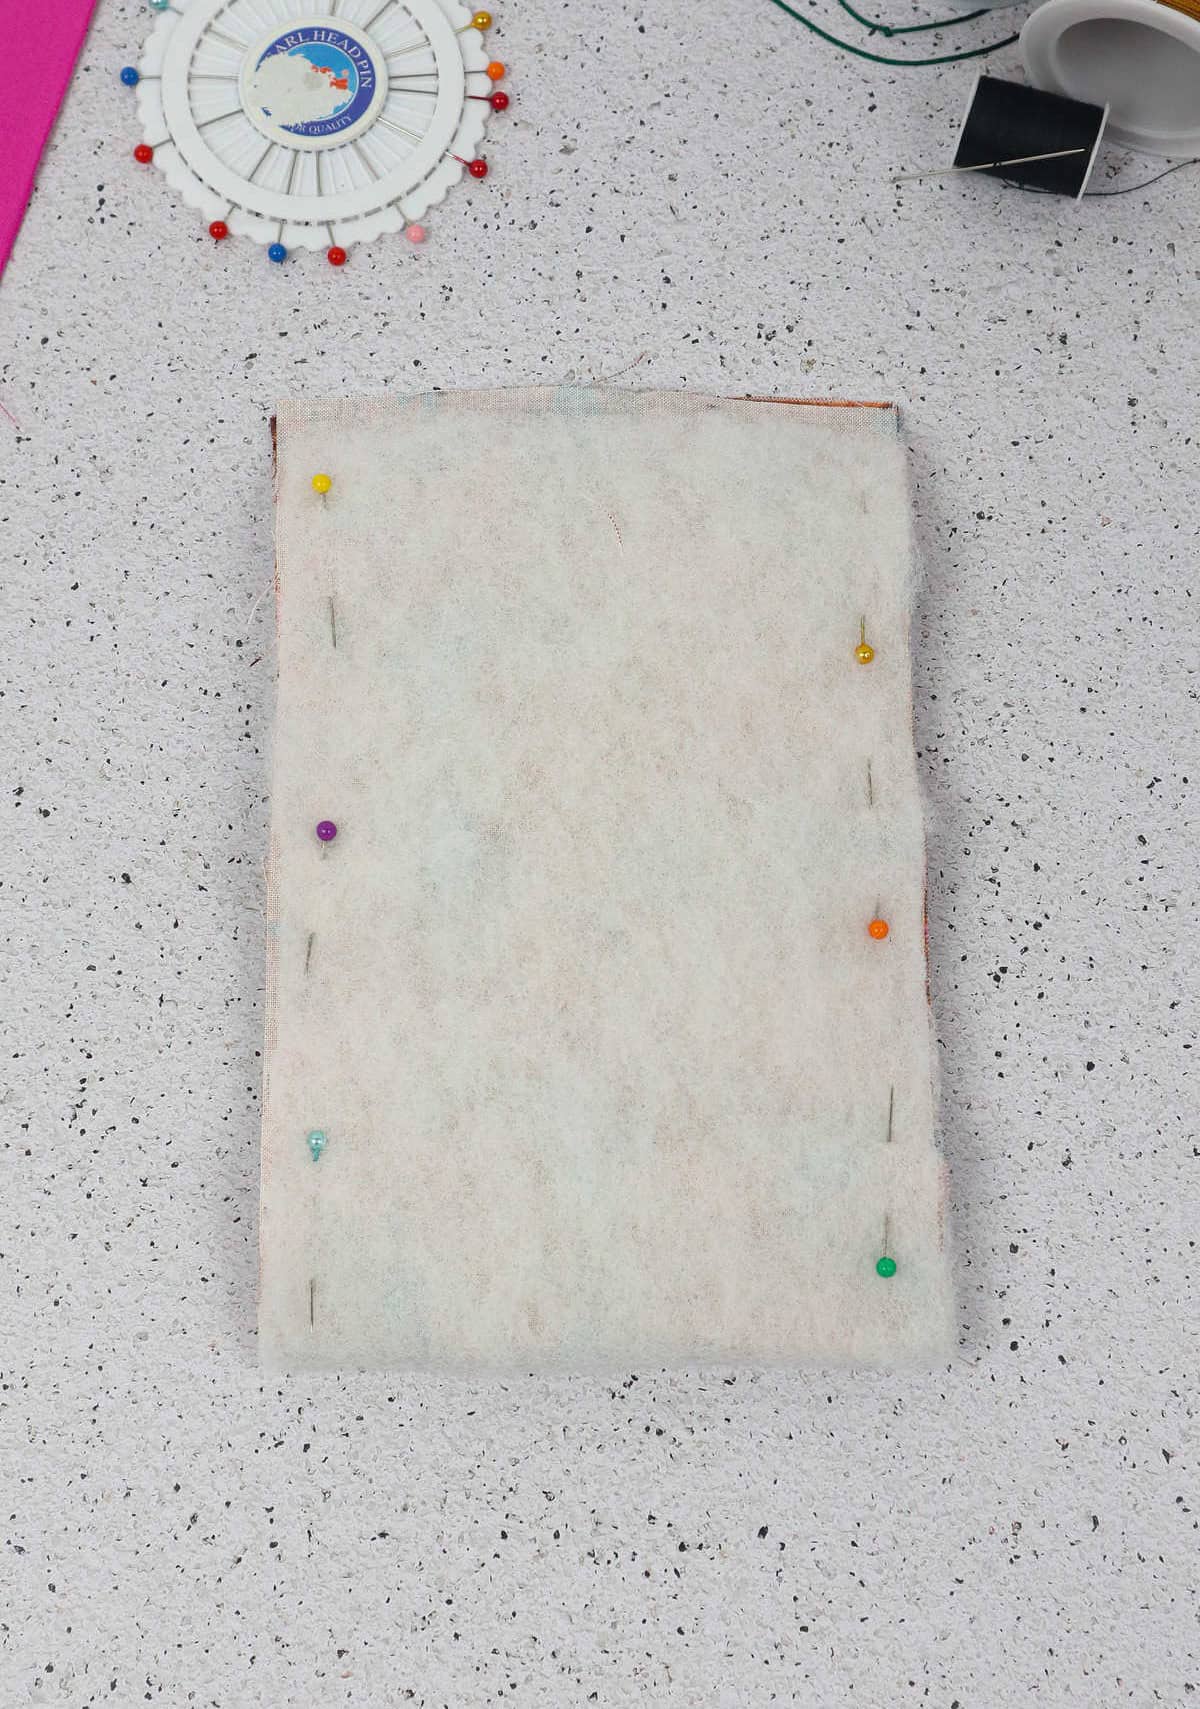
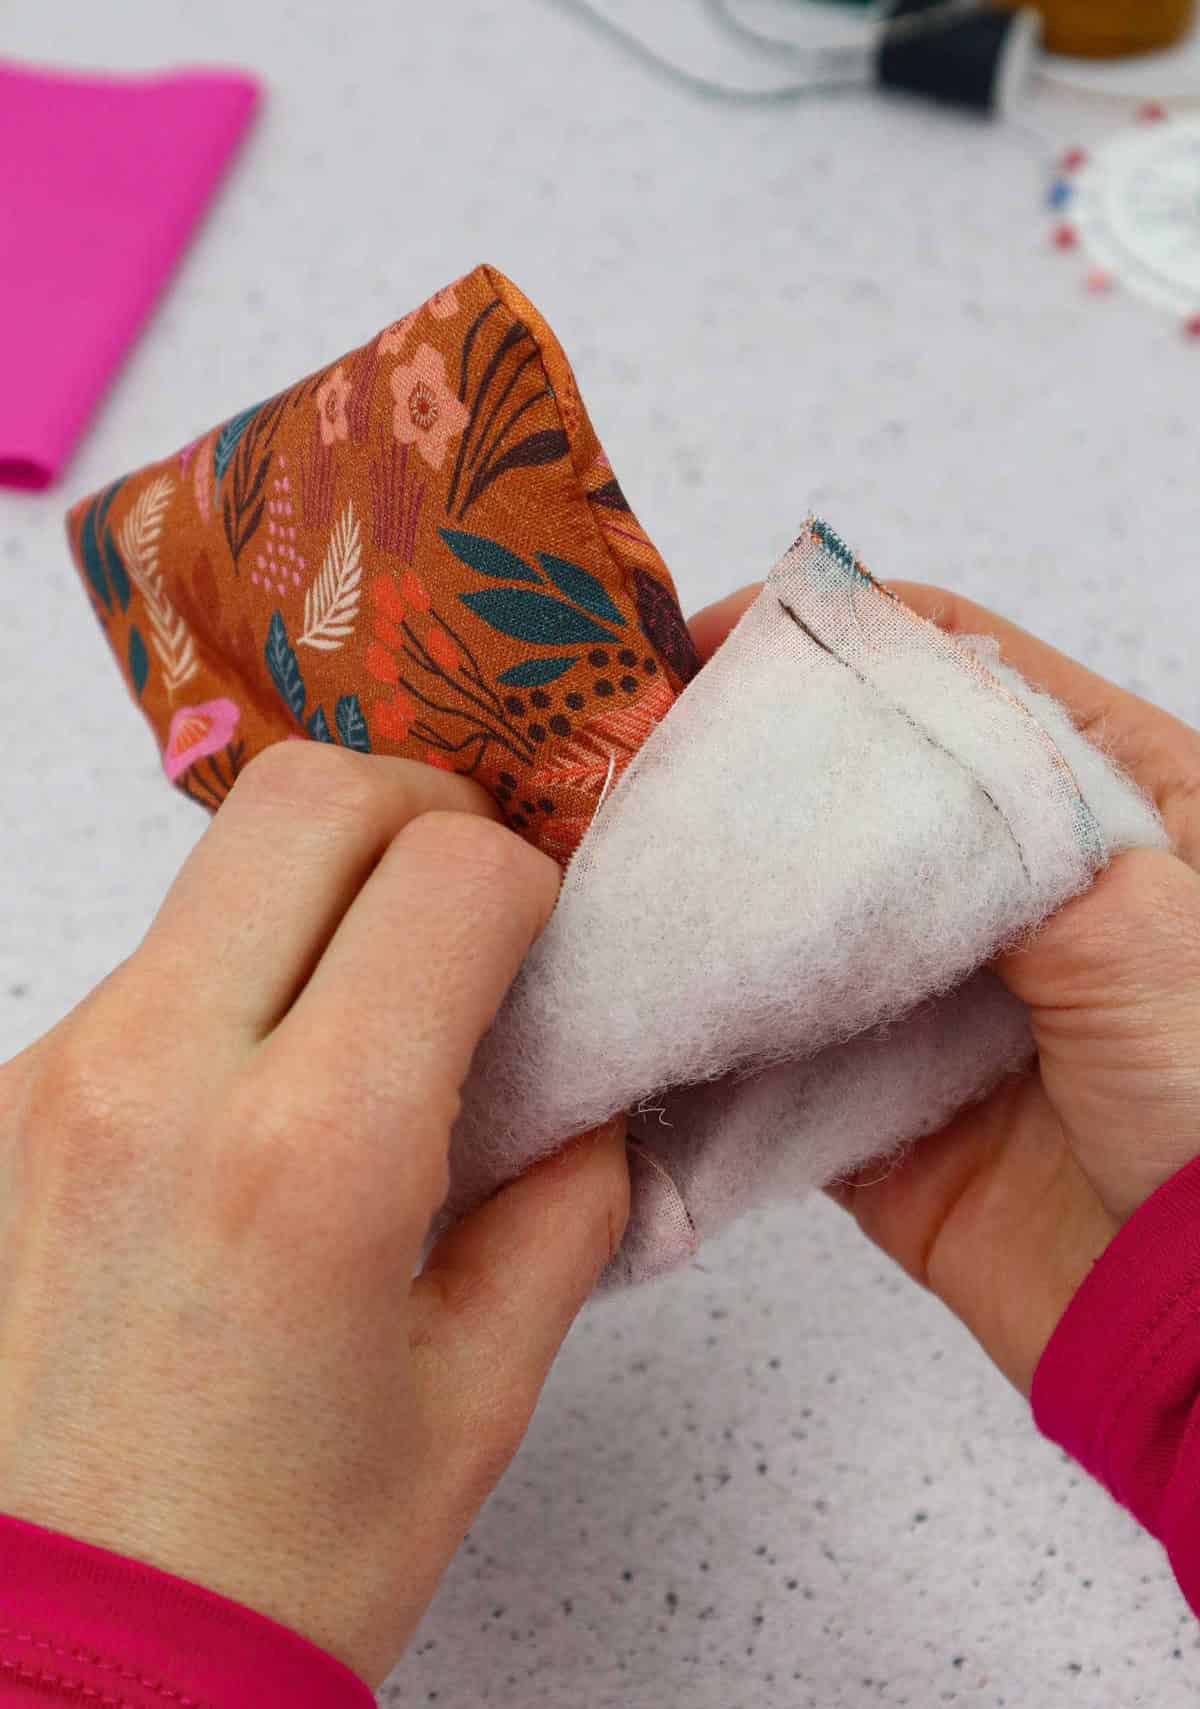
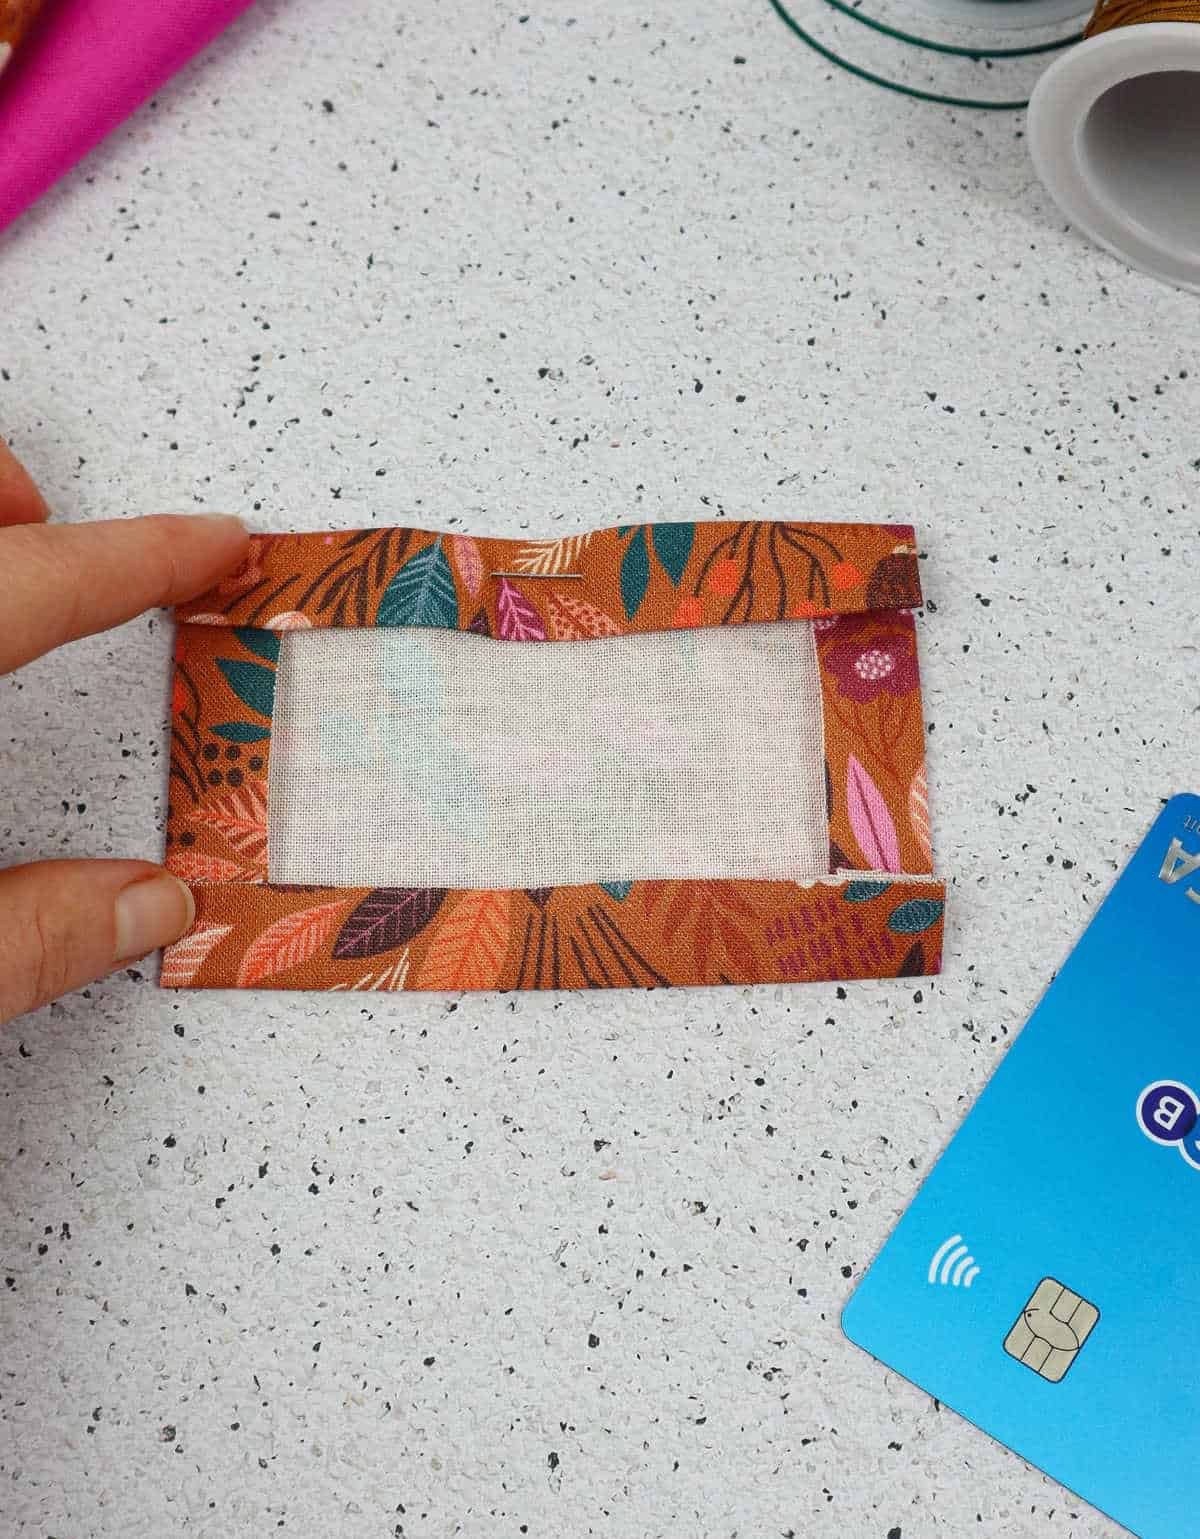
To complete the pouch, you’ll need to insert the lining into the main fabric. Gently manipulate the fabric with your hands and fingers to push it inwards, ensuring a smooth edge. Additionally, carefully poke out the corners so they protrude slightly. This will ensure the wadding is snugly situated between the lining and printed fabrics, with the edges neatly tucked away. Next, fold the printed fabric inward to cover the wadding, securing it with a pin.
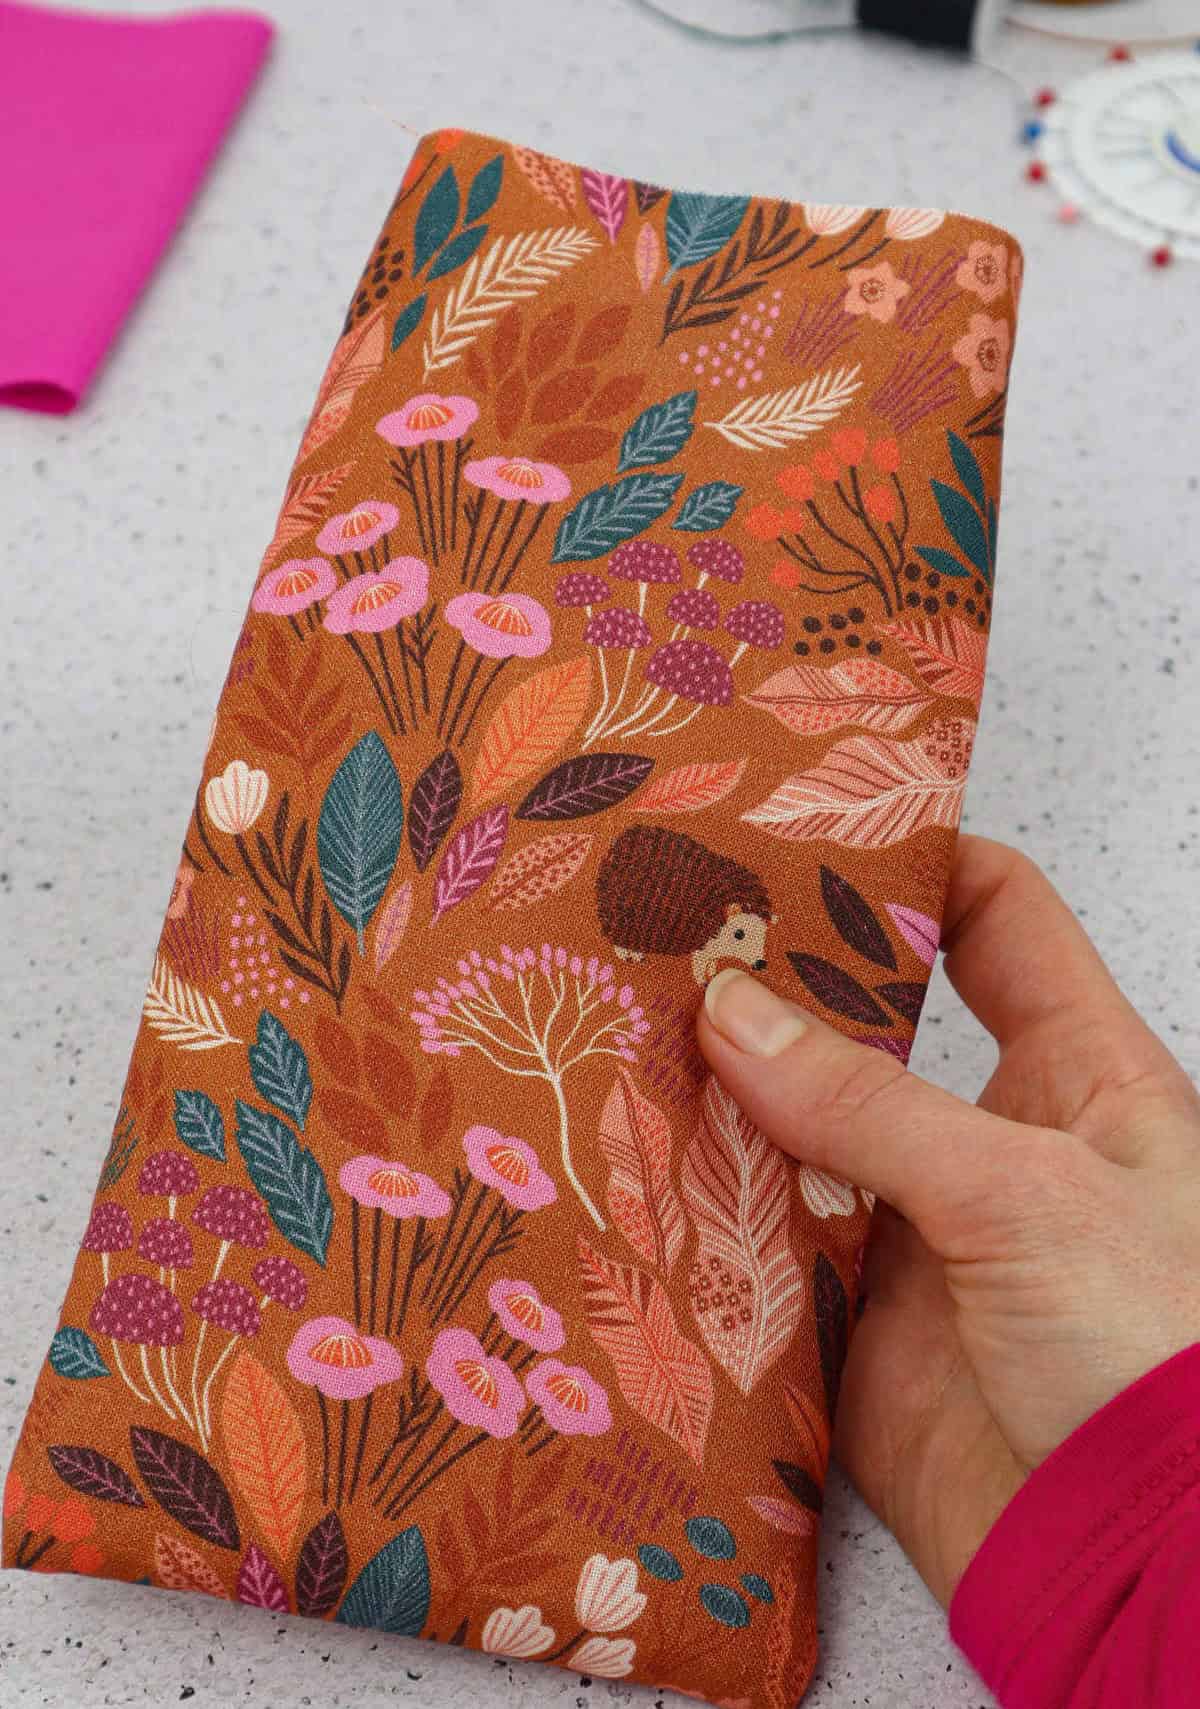
To align the fabrics, fold and position the lining fabric in sync with the printed fabric. Secure both sides by pinning the lining, wadding, and printed fabric together. Finally, head to your sewing machine and sew around the pouch’s opening, completing the construction.
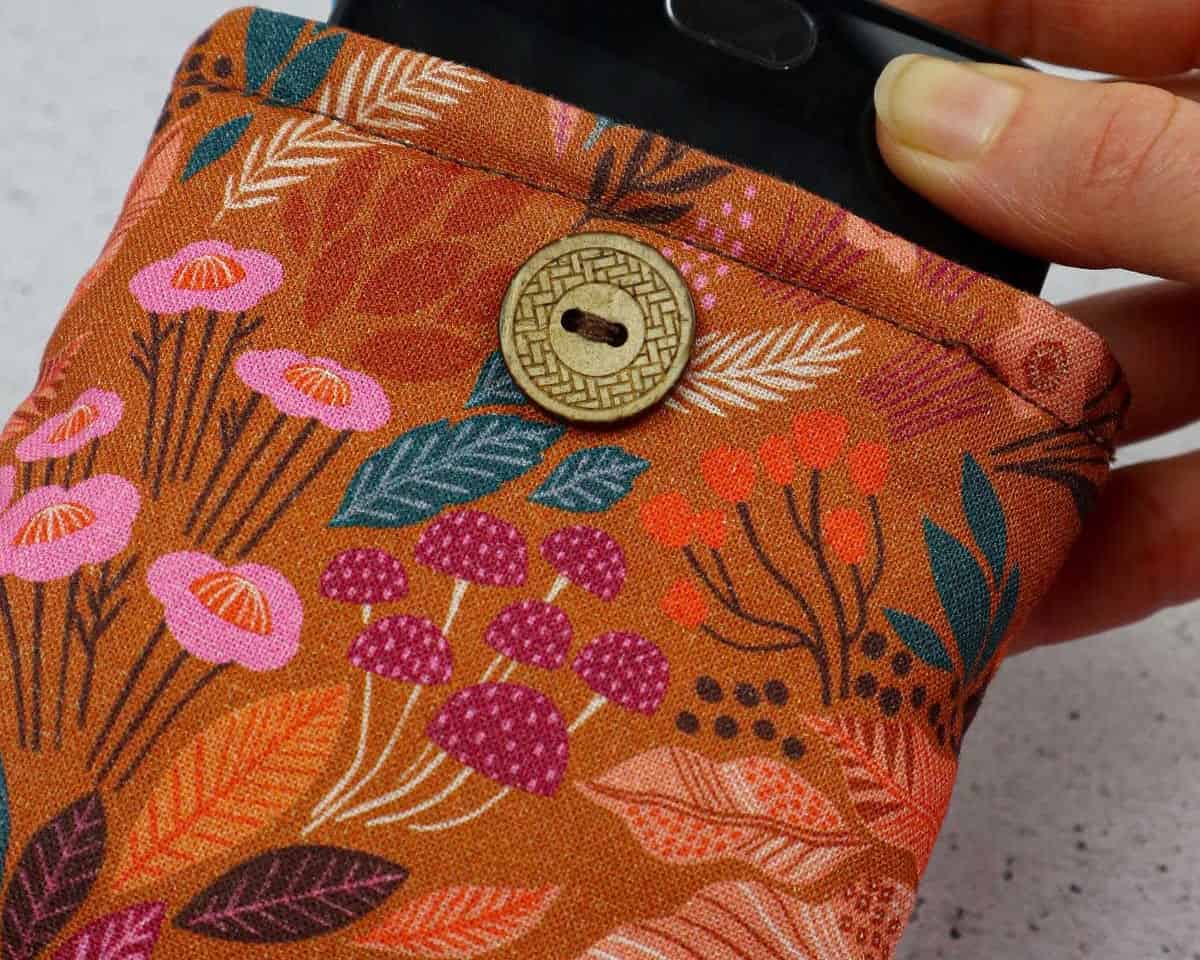
Step 9
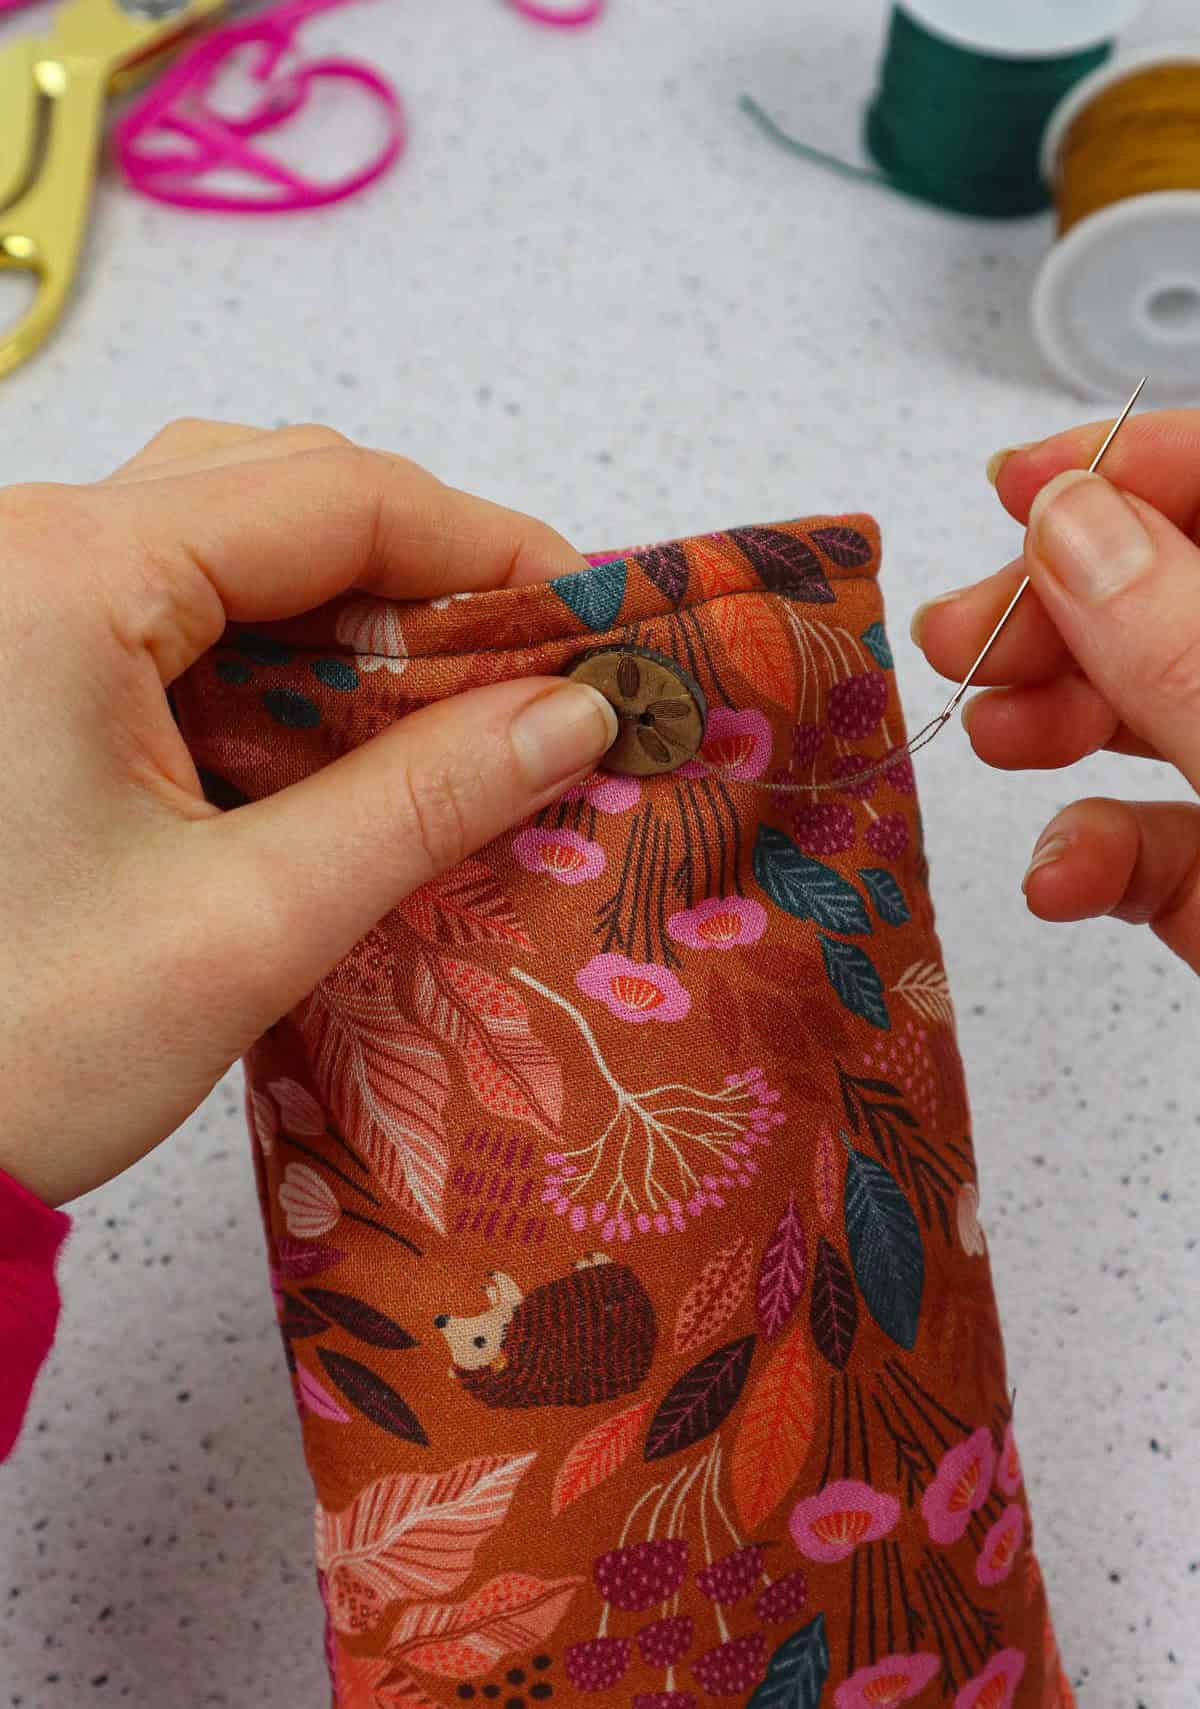
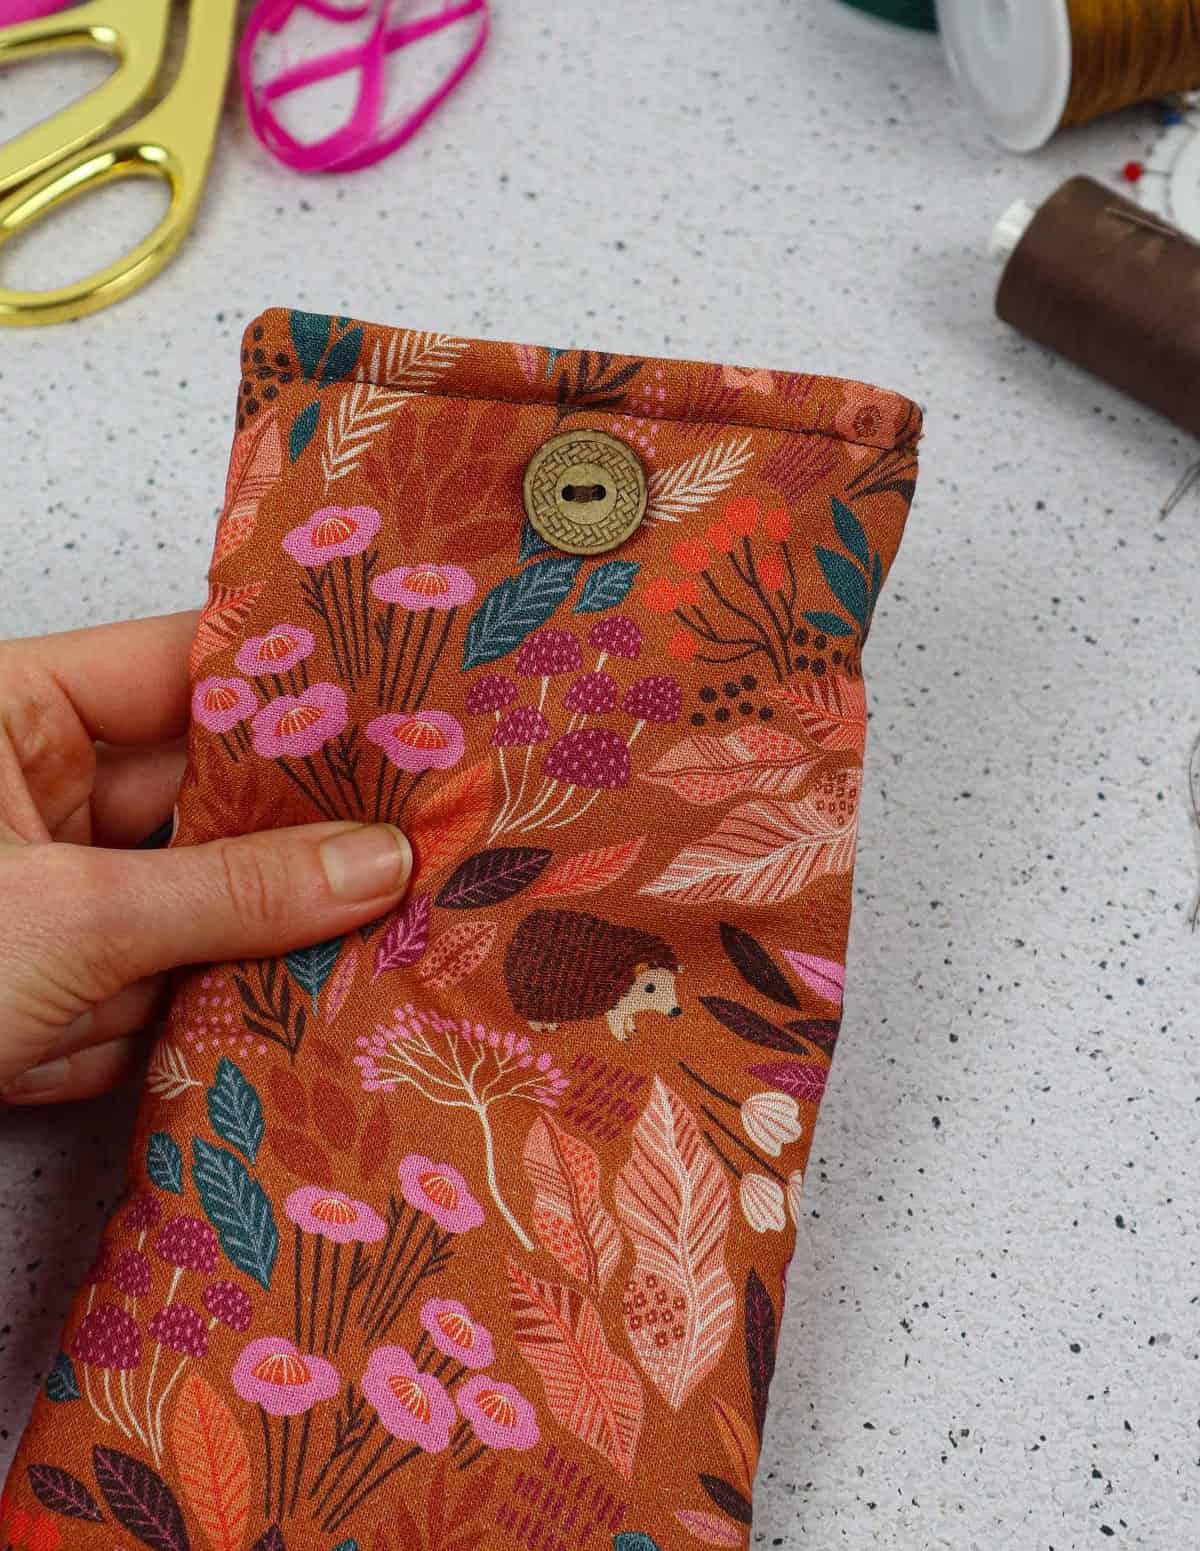
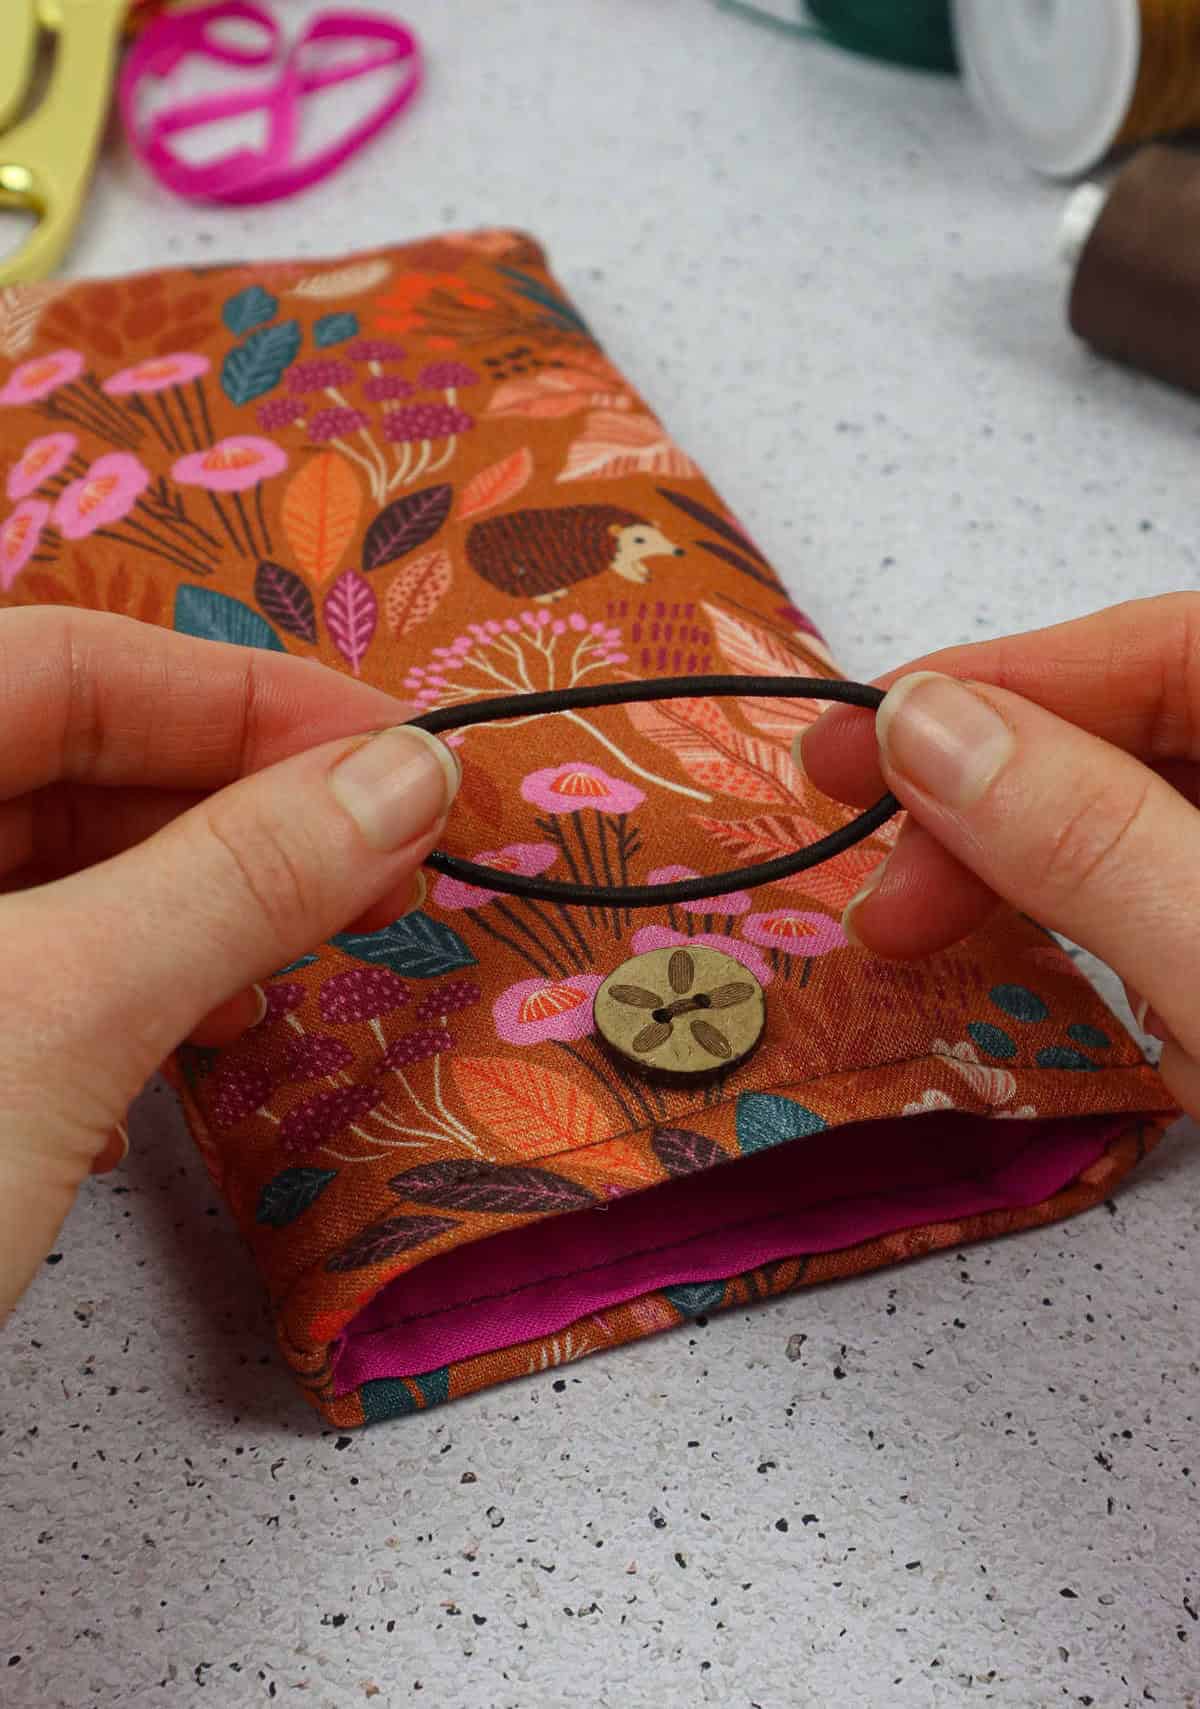
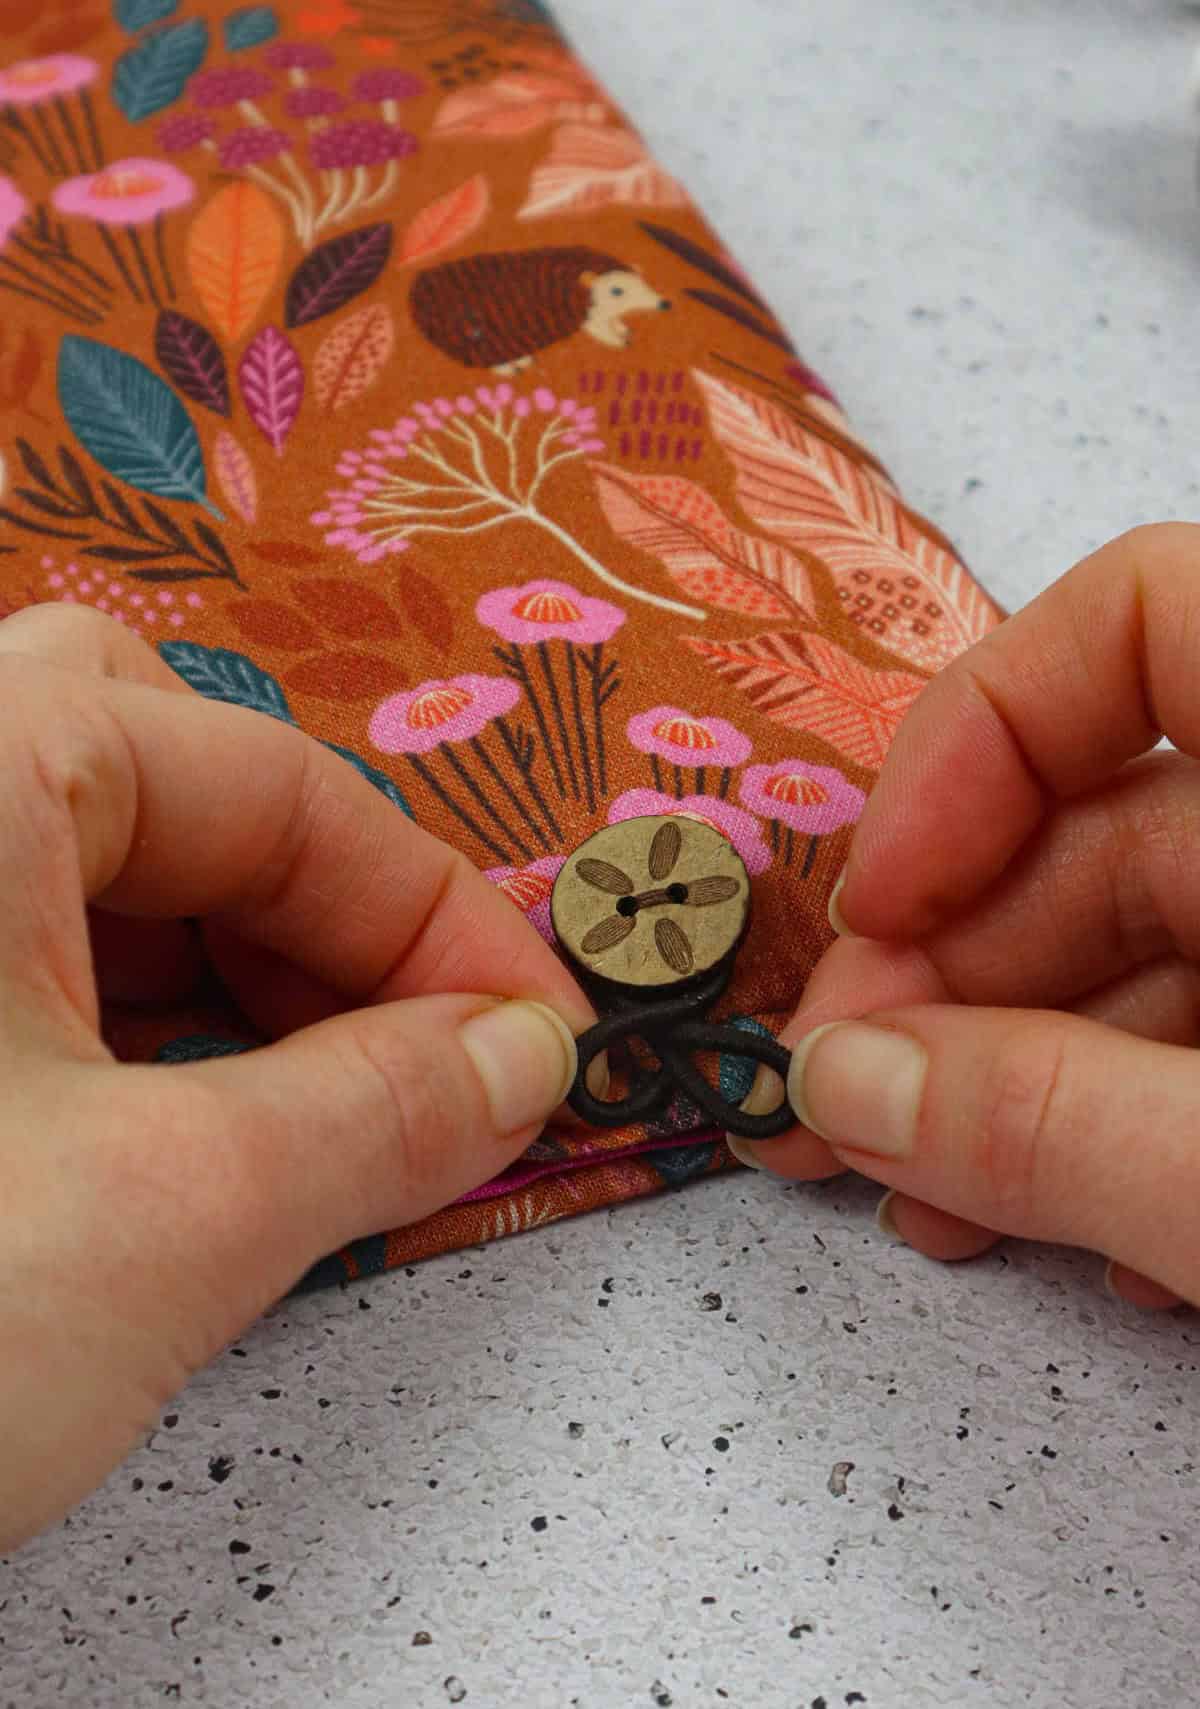

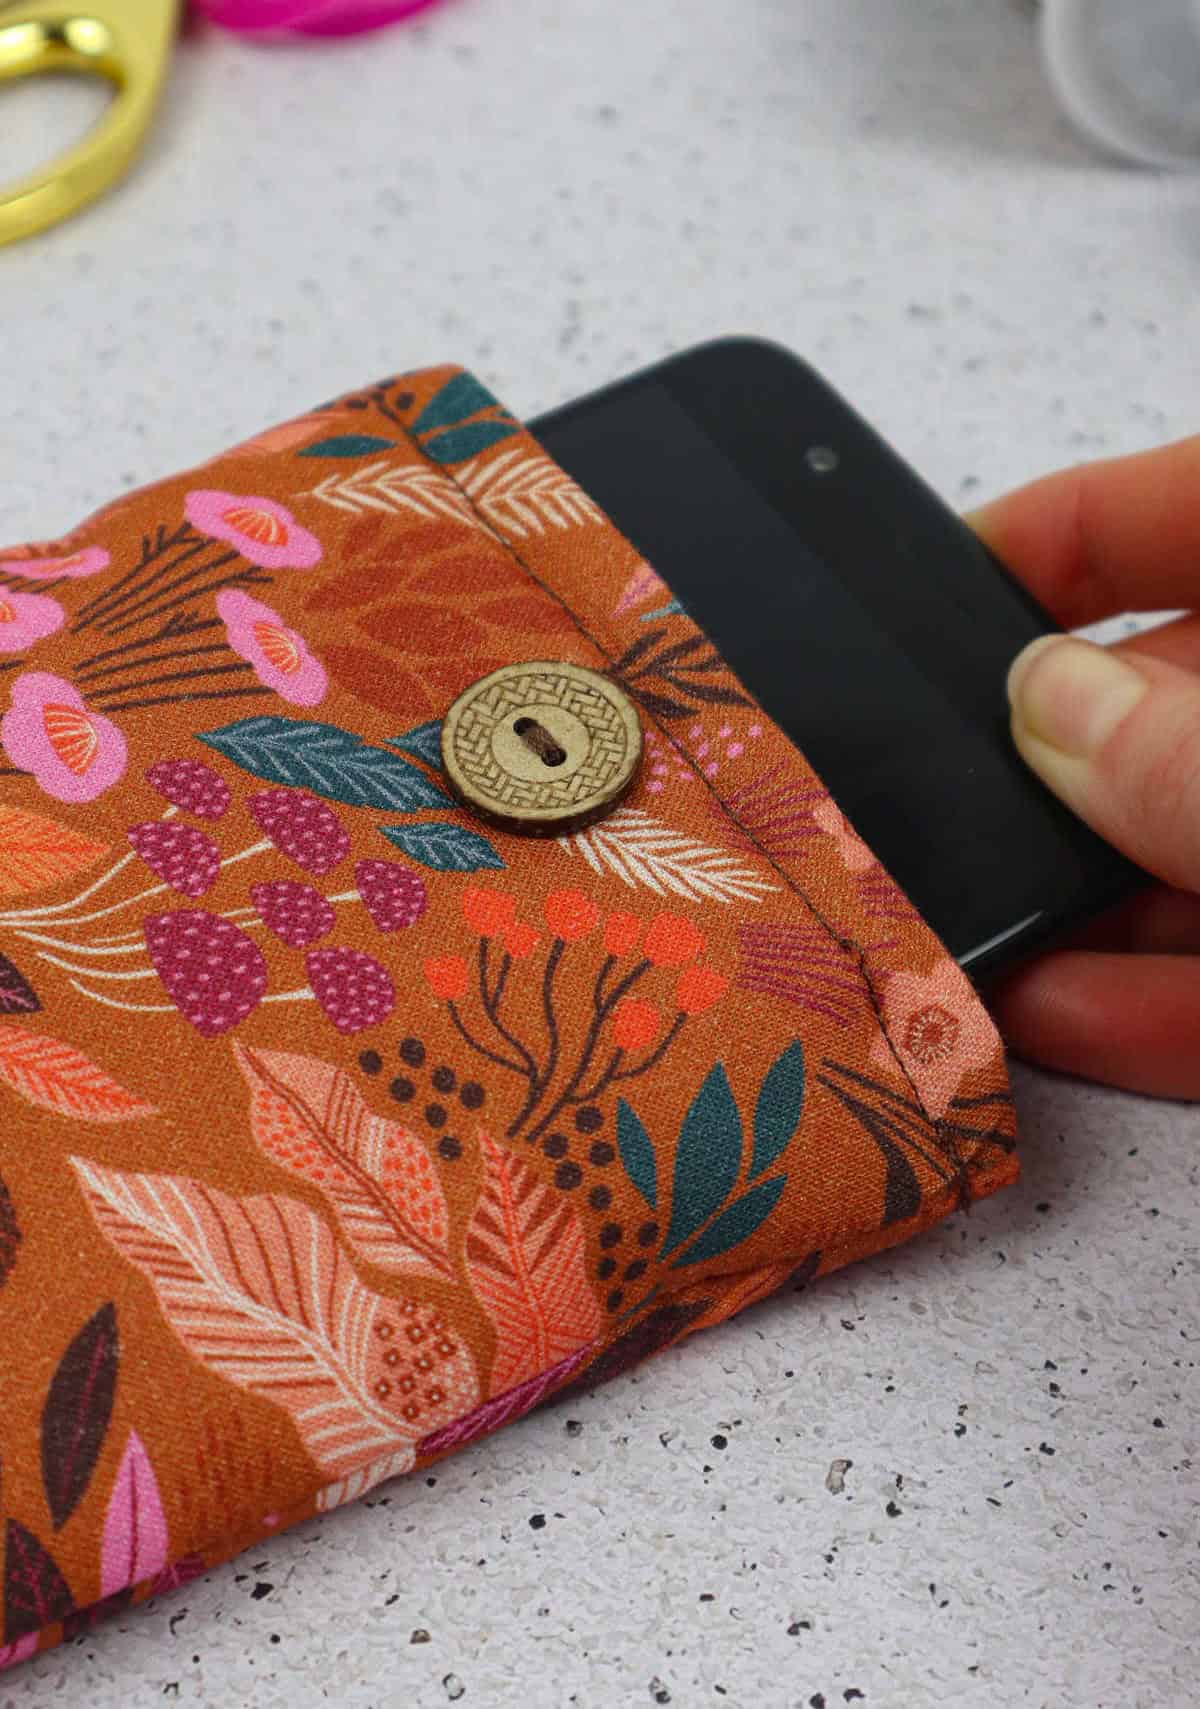
Want to give your pouch a stylish boost? Consider adding a button closure for a chic touch. Start by sewing a statement-making button about an inch from the top of the pouch’s edge. Choose a bold button that reflects your personality.
Next, attach another button on the opposite side for balance and visual appeal. This will create a secure enclosure for your belongings.
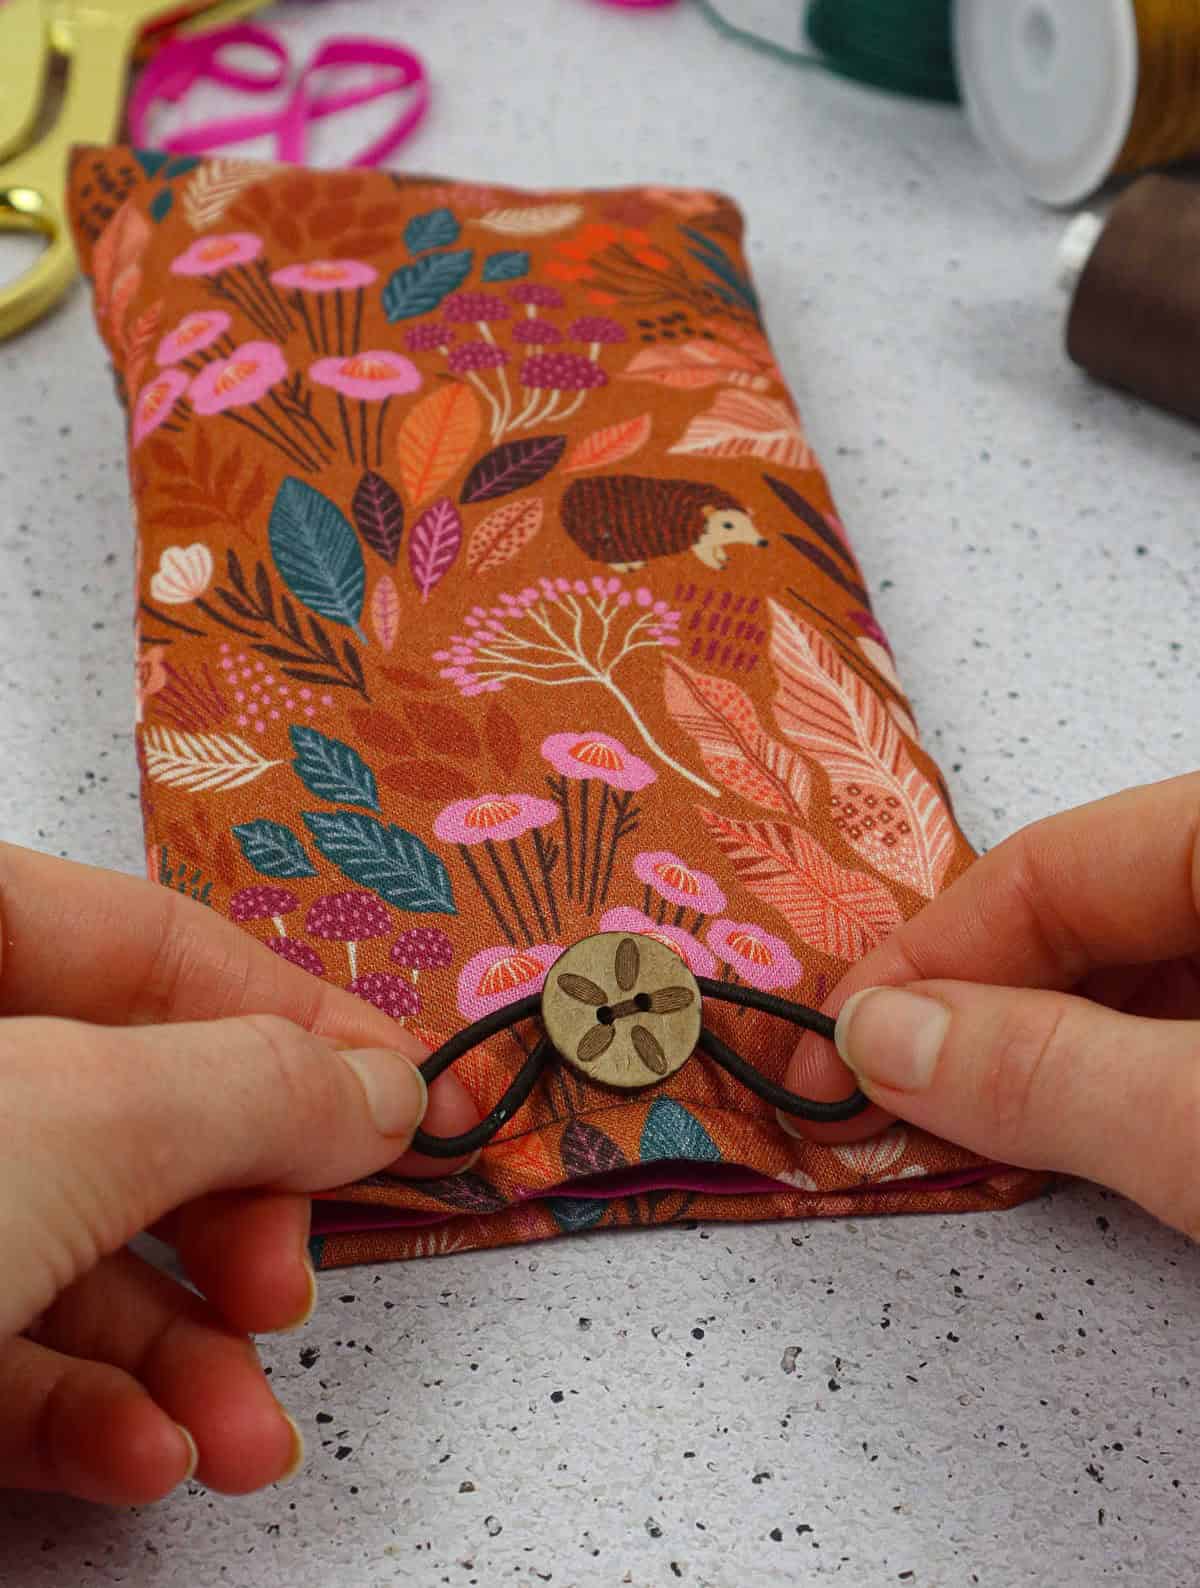
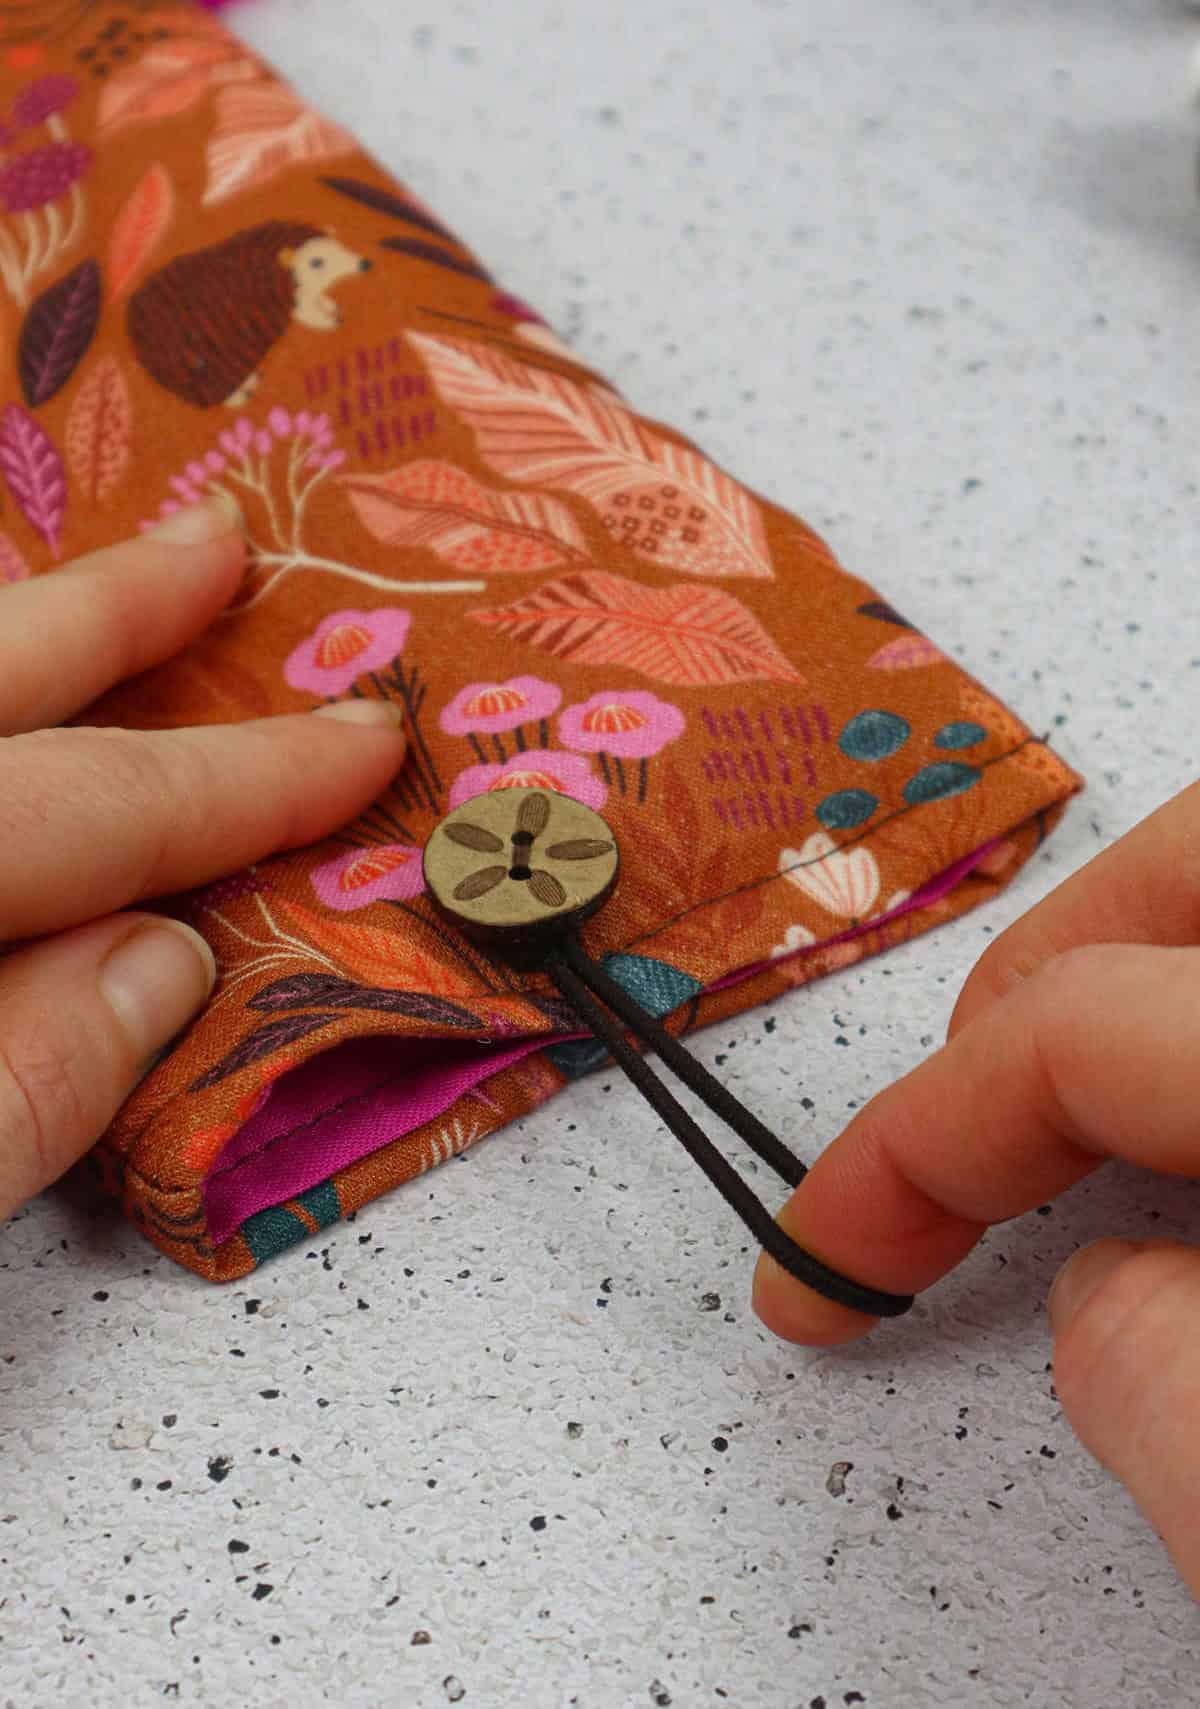
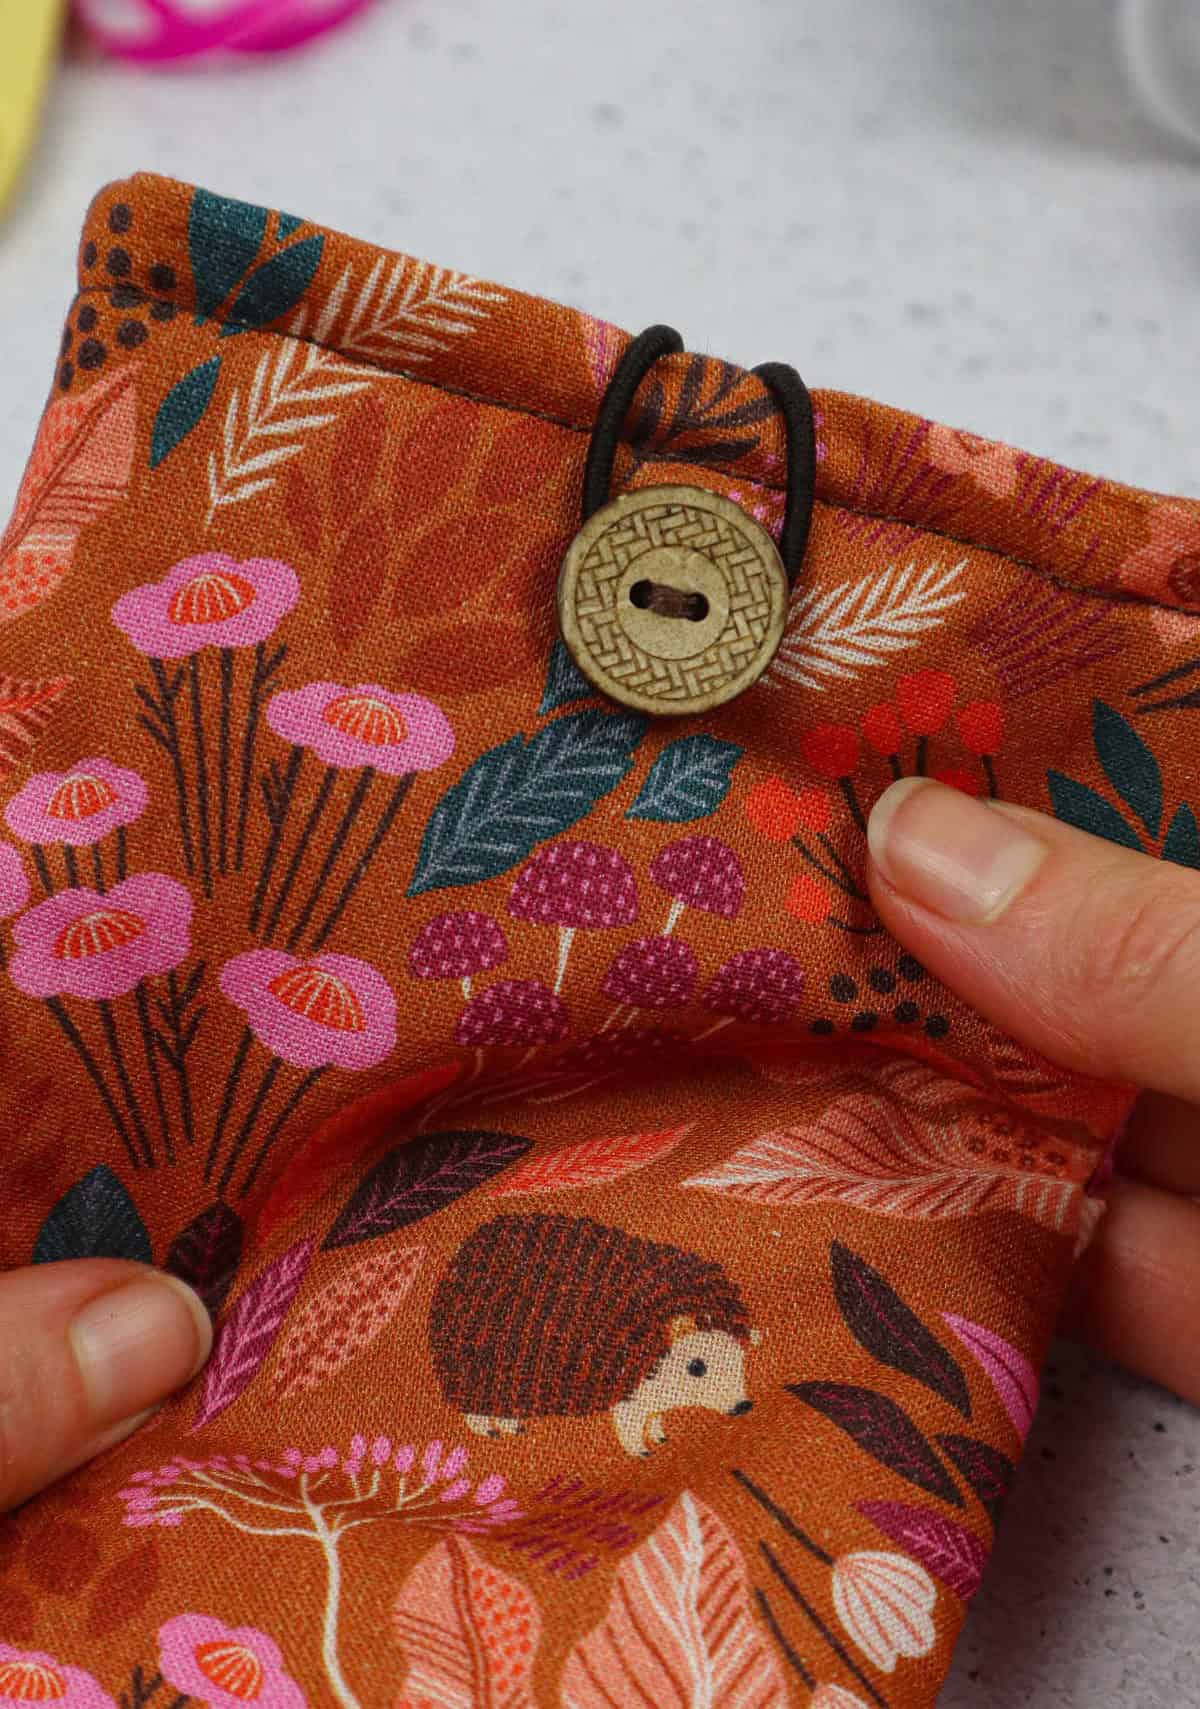
To complete the closure, thread an elastic band through one of the buttons on one side, pulling it snugly around the button to keep things in place.
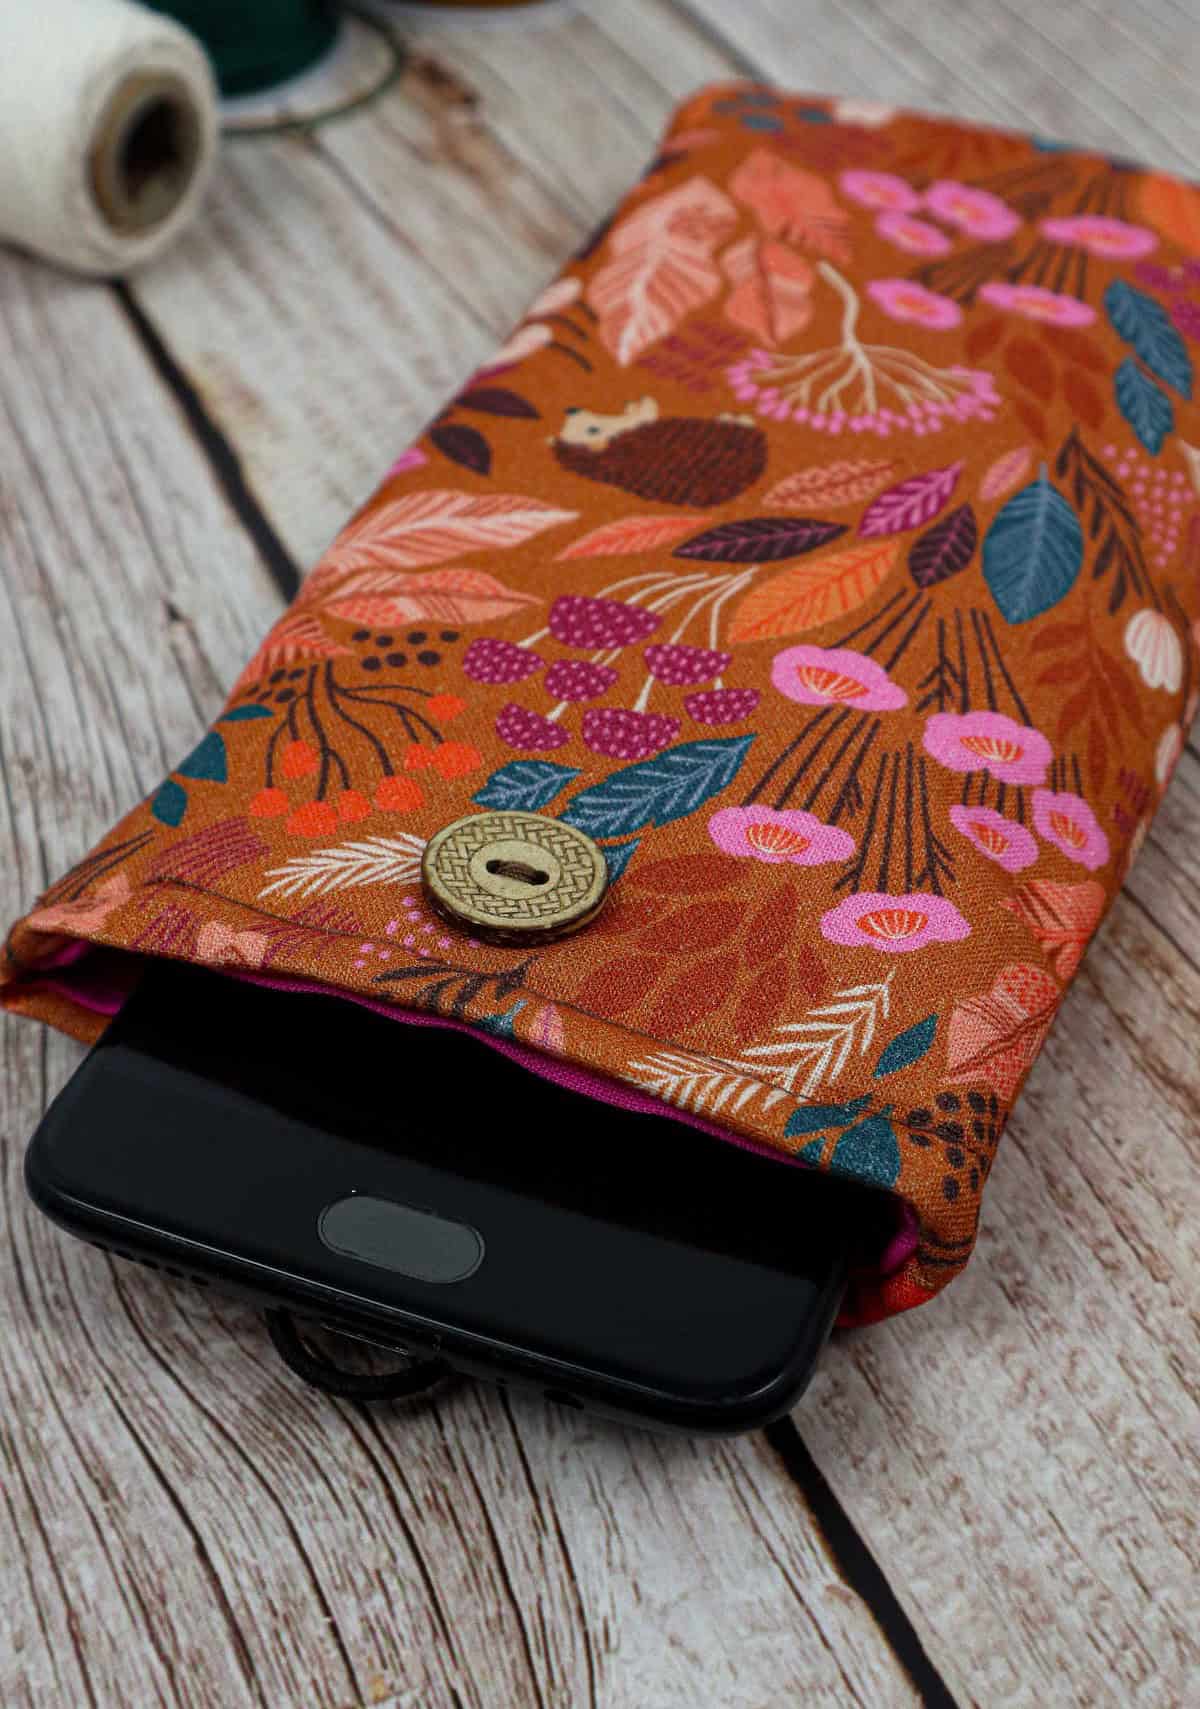
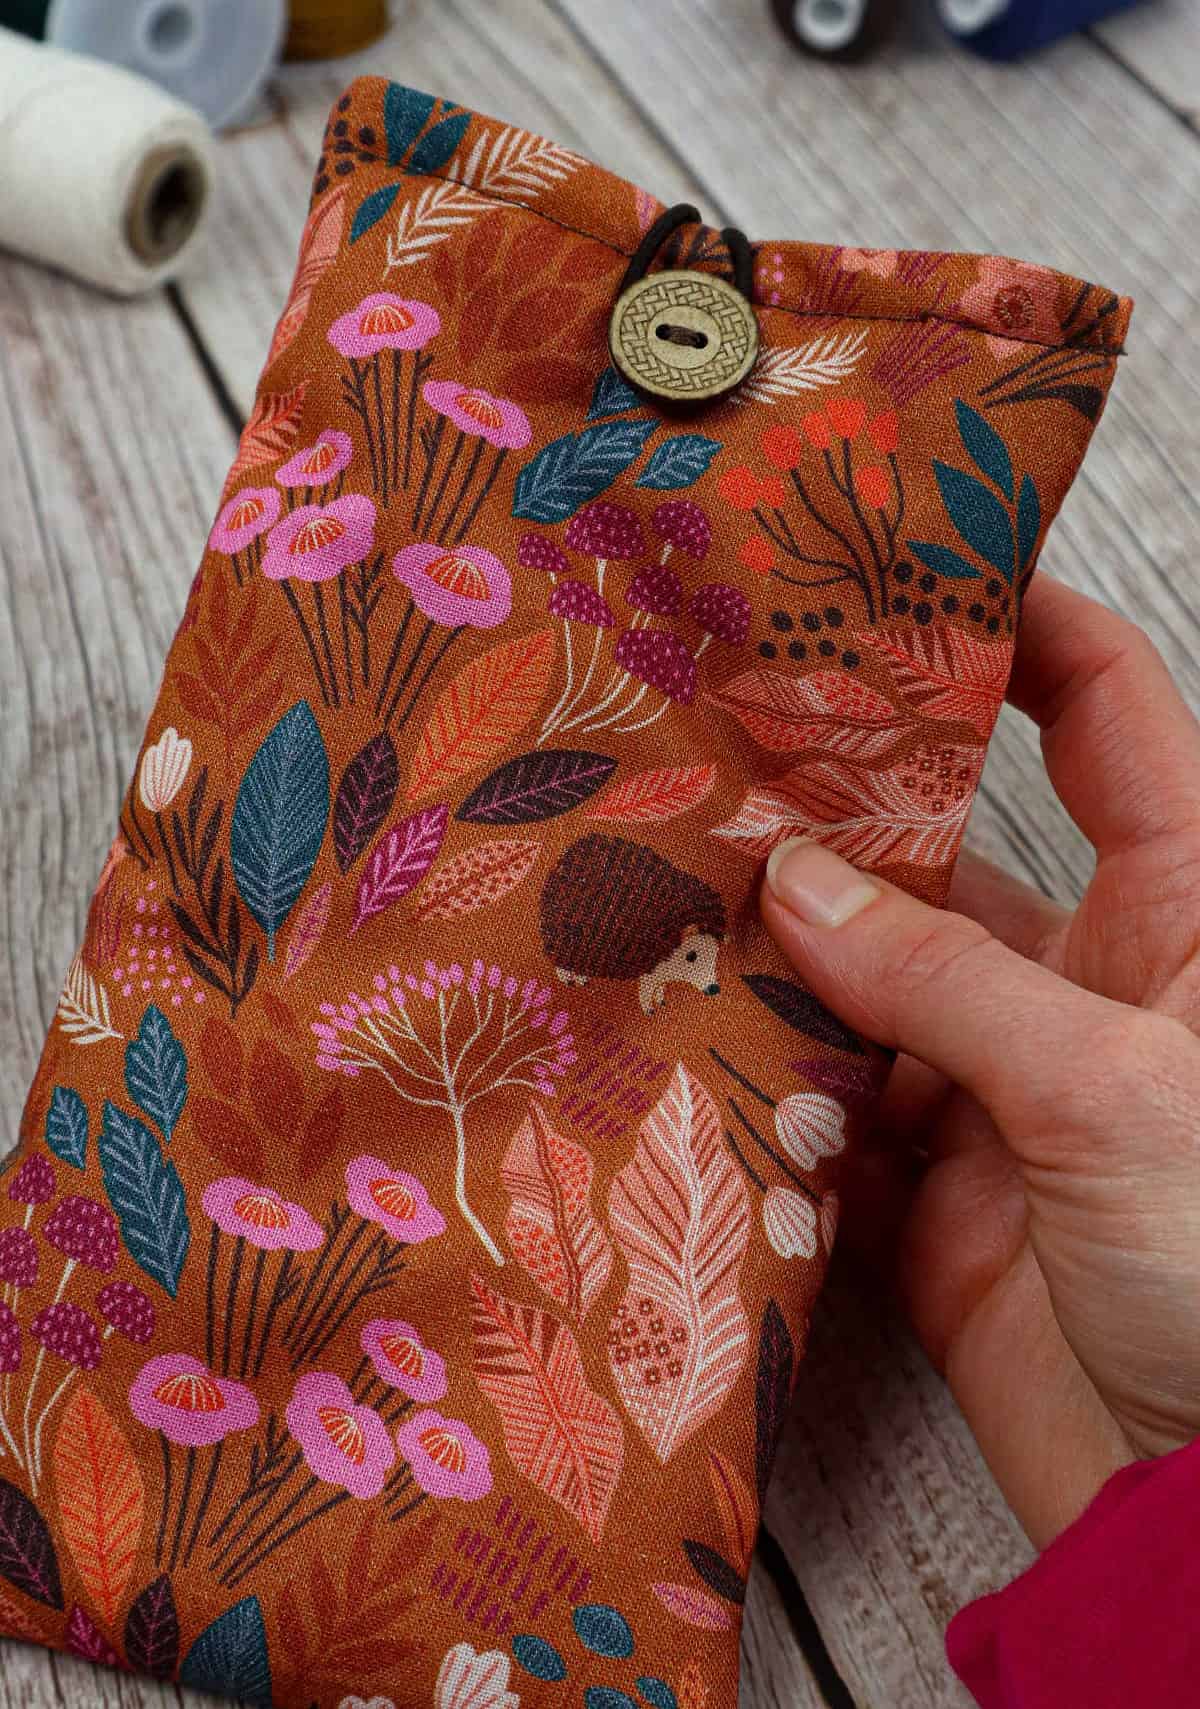
Once you’ve secured the elastic, slide it over to the other button to seal the pouch. And that’s it! Your pouch is now ready for use. You can stash your phone inside, along with some spare change and a few cards, ensuring everything stays organized and within reach.
Other Crafts You Might Like
While many people think that crafting is just for kids, there are countless fun and creative projects that adults can enjoy. From DIY fabric crafts to easy sewing gifts, the possibilities are endless. For instance, making your own hair bows or creating a scrunchie can be a great way to get creative while also producing something useful. Additionally, there are many simple and enjoyable DIY projects that can be completed in no time at all.
Whether you’re looking for a quick and easy gift idea or just want to express yourself through art, these 47 fun crafts for adults are sure to inspire.
DIY Phone Case Out of Fabric
Starting your sewing adventure? Begin with this straightforward DIY fabric phone case project that’s perfect for beginners! With a prep time of just 10 minutes and an active time of only one hour, you’ll be enjoying your new custom phone case in no time. The total time invested will be about 1 hour and 20 minutes. Whether you’re looking to upcycle old materials or create something unique, this project is sure to delight.
Equipment
When it comes to tackling the world of sewing, having the right tools at your disposal is crucial. A good pair of scissors, a thread that matches the fabric you’re working with, and a needle are essentials that every seamstress should have in their arsenal. Additionally, measuring tapes and sewing pins can also be incredibly useful in ensuring that your projects turn out precisely as planned. But did you know that having the right mindset is just as important?
To avoid falling asleep at the wheel, it’s essential to take steps to prevent your screen from going dark – whether you’re working on a digital pattern or simply trying to stay focused while browsing online tutorials.
Materials
For this particular project, you’ll need the following materials: a 16-inch by 5.5-inch piece of cotton fabric for the front, a slightly smaller 15-inch by 5.5-inch piece of wadding for adding insulation and structure, a lining made from another 16-inch by 5.5-inch piece of cotton fabric to provide an inner layer, a small pocket piece measuring 3.5 inches by 5 inches, and two buttons for fastening the garment.
Additionally, you’ll require an elastic hair band for securing any stray hairs or adding a stylish touch.
Instructions
To initiate this project, begin by gathering all necessary supplies. Start by aligning your wadding with your printed fabric, ensuring a half-inch gap at both the top and bottom edges. Fold the wadding in half and secure it with sewing pins, leaving a quarter-inch seam allowance. Next, stitch along both sides of the fabric, then turn it right-side out and set it aside for now. For the pocket, place it over your lining fabric, positioning a 1.
5-inch gap from the top edge, with equal gaps on either side. Mark the top edge with a sewing pin to denote it as the top. Sew the remaining three sides of the pocket to the lining. Subsequently, fold the lining in half and secure both the left and right edges with sewing pins, about a quarter inch from the edge. Then, sew along these sides and trim any excess fabric using cloth scissors.
With your lining now equipped with a pocket, slide it into the printed fabric, ensuring the wadding is sandwiched between the two layers. Smooth out the lining, aligning its ends with those of the printed fabric. Secure the assembly with a pin before sewing around the pouch’s opening. Finally, attach two buttons on either side of the pouch and secure an elastic to one of them. Simply tug the elastic over the pouch to the opposing button and slip it into place to fasten the closure.