Are cardboard boxes cluttering your space? Turn them into a stylish organizer and say goodbye to unnecessary purchases. Decluttering can be overwhelming, but with a little creativity, you can tame the chaos. We’ve all been there – you buy storage solutions only for new items to appear out of nowhere, rendering your efforts futile. The satisfaction of organizing is short-lived when new clutter emerges.
I’ve learned to think outside the box (pun intended) and repurpose everyday materials into functional organizers. This post will inspire you to join the storage revolution by transforming an ordinary cardboard box into a chic storage solution that will keep your home tidy without breaking the bank.
Supplies for the Basket
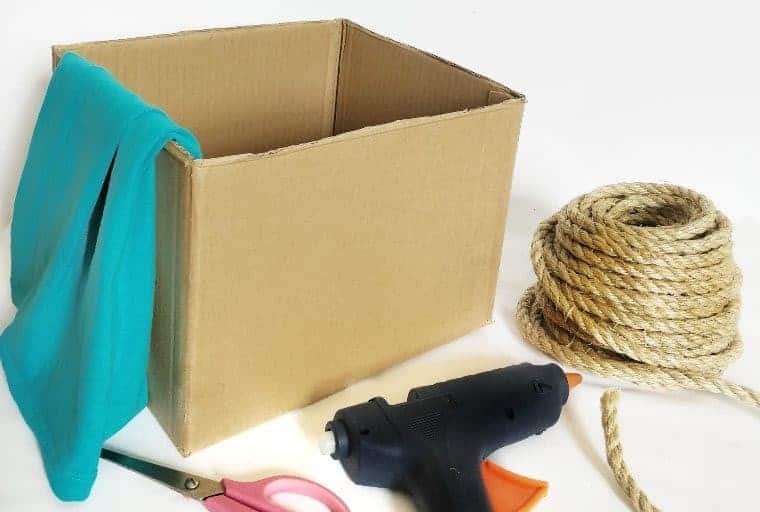
When it comes to upcycling and repurposing, having the right materials can make all the difference. A simple cardboard box, for instance, can be transformed into a unique planter or decorative item with some basic crafting supplies. These include manila hemp rope, which provides a natural and durable binding material, as well as a glue gun with an assortment of glue sticks to ensure a strong bond.
Additionally, having a good pair of scissors on hand is essential for trimming and shaping any materials that need to be cut or manipulated. Of course, the possibilities don’t stop there – fabric scraps or even an old shirt can be repurposed into a wide range of creative projects.
How to Make a Rope Basket?
Regardless of your level of experience or artistic flair, creating these rope baskets is a breeze. With minimal materials and basic crafting skills, you can produce a unique storage solution in no time. Simply follow the step-by-step process, and you’ll be rewarded with a functional piece that showcases your DIY prowess. So, gather your materials and let’s get started on this fun and accessible project!
STEP 1
Begin by examining the cardboard box intended for upcycling. If it has flaps, cut them away and apply any necessary adhesive tape to mend punctures or cuts. For added strength and durability, consider using duct tape instead. As you prepare your materials, take a moment to preheat your glue gun. This will ensure it’s ready to use when you’re ready to start wrapping the rope. Additionally, apply a small amount of extra glue to the starting corner to prevent any potential detachment later on.
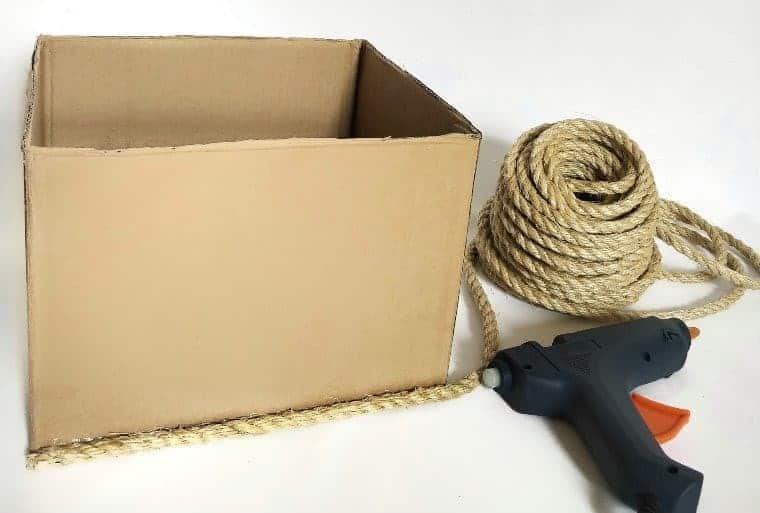
STEP 2
To secure the rope or twine around your box, begin by applying a thin layer of adhesive with your glue gun. Start at the bottom edge and work your way up, wrapping the rope around the box in a uniform pattern. Repeat this process carefully, ensuring that the cardboard remains hidden beneath the rope and there are no unsightly blobs of dried glue. As you wrap, take care not to double the rope back on itself.
Instead, maintain an even tension throughout the length of the rope, allowing it to lie smoothly against the box’s surface.
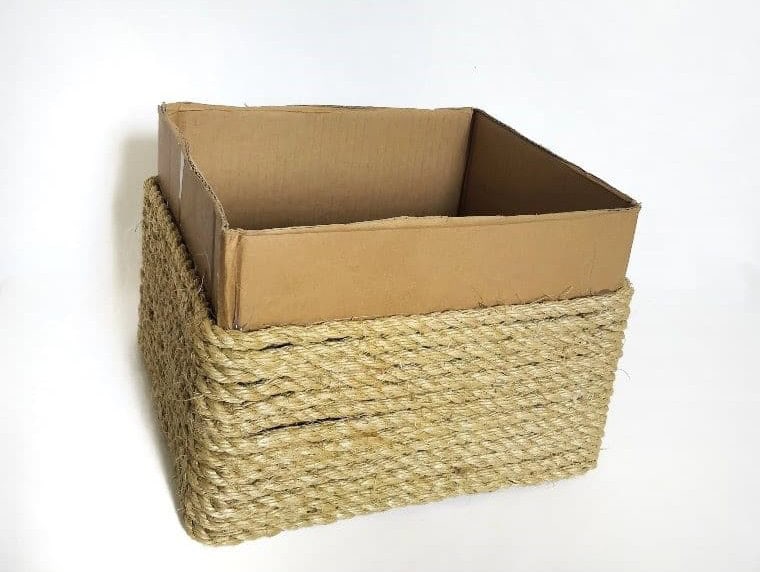
STEP 3
To achieve a sturdy foundation for your cardboard box wrapping project, continue looping the rope around the box until you’ve reached approximately two-thirds of its surface area. Once this milestone is reached, take a moment to cut the rope and reinforce it with additional glue, carefully applying just enough adhesive to guarantee a strong bond that will withstand the test of time.
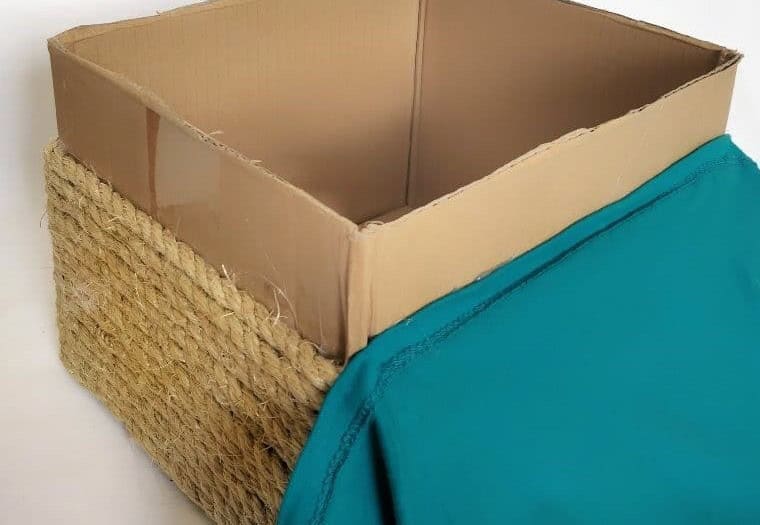
STEP 4
To complete the box’s makeover, carefully wrap the remaining cardboard surface with your chosen fabric or repurposed shirt. Ensure that any exposed areas of the old shirt are clean and free from loose threads or other imperfections. Begin by folding the hem of the fabric over the box, then secure it in place with a generous amount of glue, making sure to align the wrapped edge precisely where the rope ends, thereby covering the entire cardboard surface.
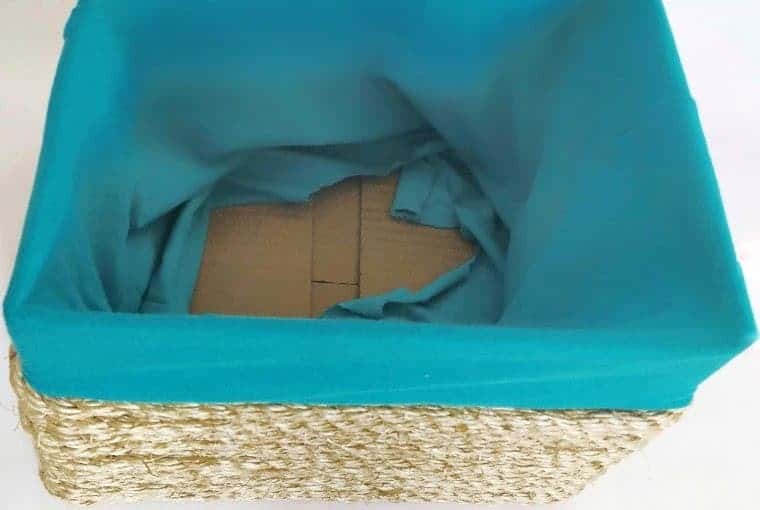
STEP 5
With the exterior of the cardboard box now wrapped in fabric, it’s time to turn your attention to lining the interior. To do this, simply flip the excess fabric inward, allowing it to settle into the box. If you find that there is a surplus of material, don’t be afraid to trim it back – you want to achieve a snug fit without sacrificing coverage.
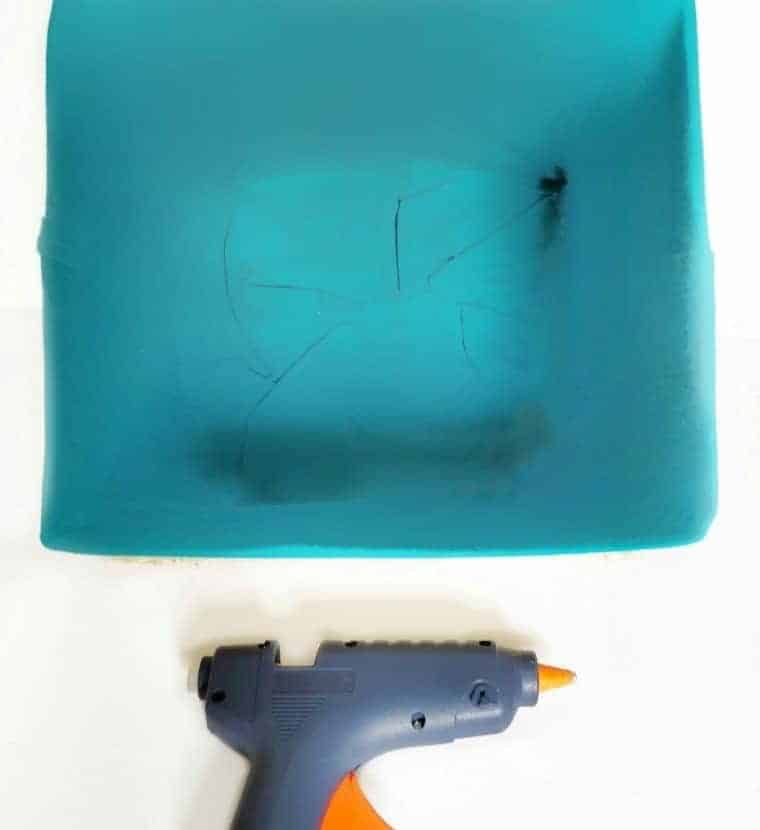
STEP 6

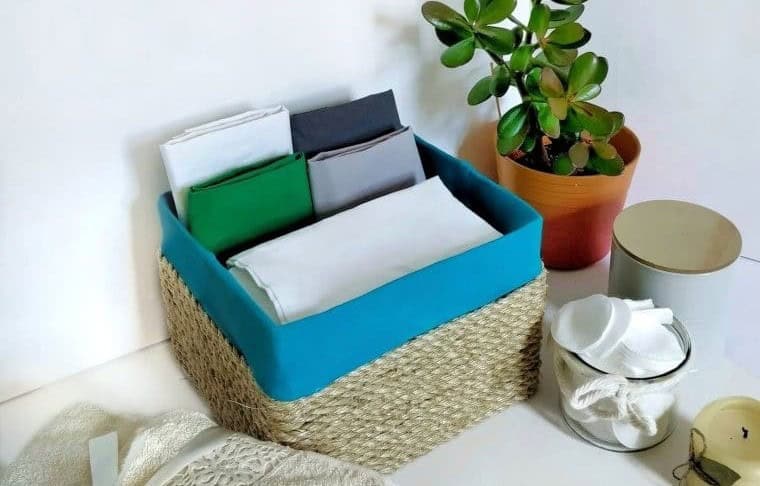
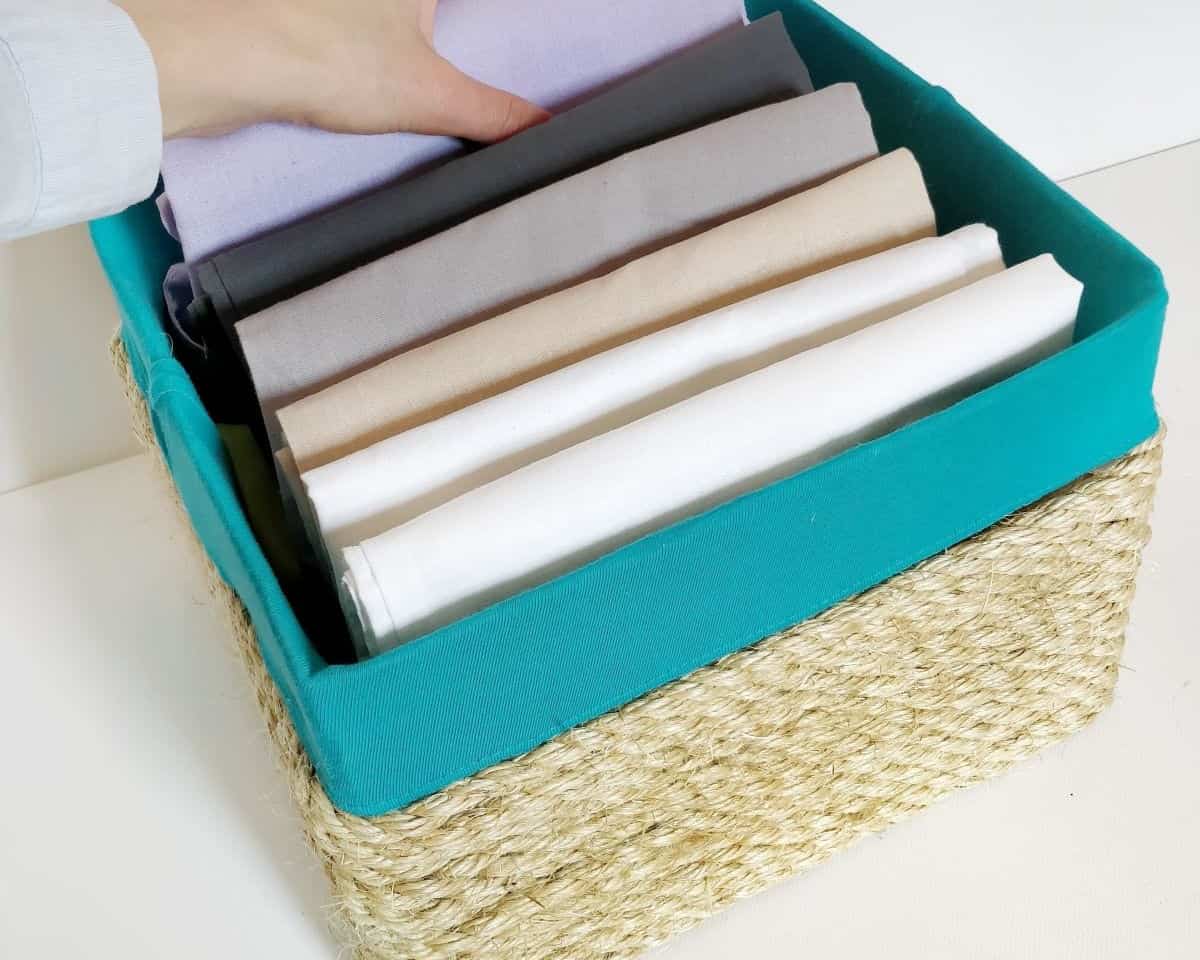
Transform the interior of your DIY rope storage basket by carefully arranging the fabric pieces using glue and a combination of patience and creative problem-solving skills. Once you’re satisfied with the inside design, inspect the box for any other areas that require attention to detail. With these imperfections addressed, your handmade rope storage basket is ready to use.
To take it to the next level, consider adding decorative elements such as buttons or ribbons to give your box a personalized touch.
What You Can Use This Rope Storage Basket For
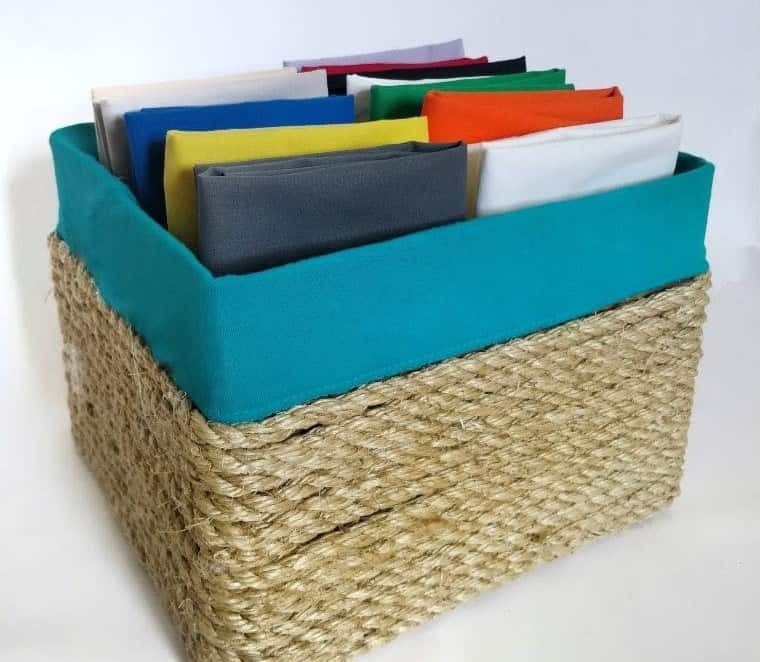
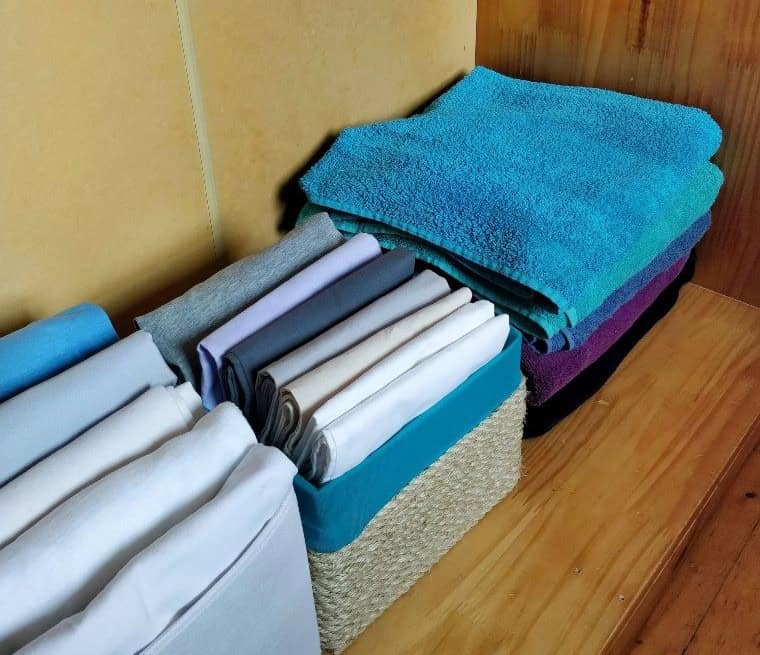
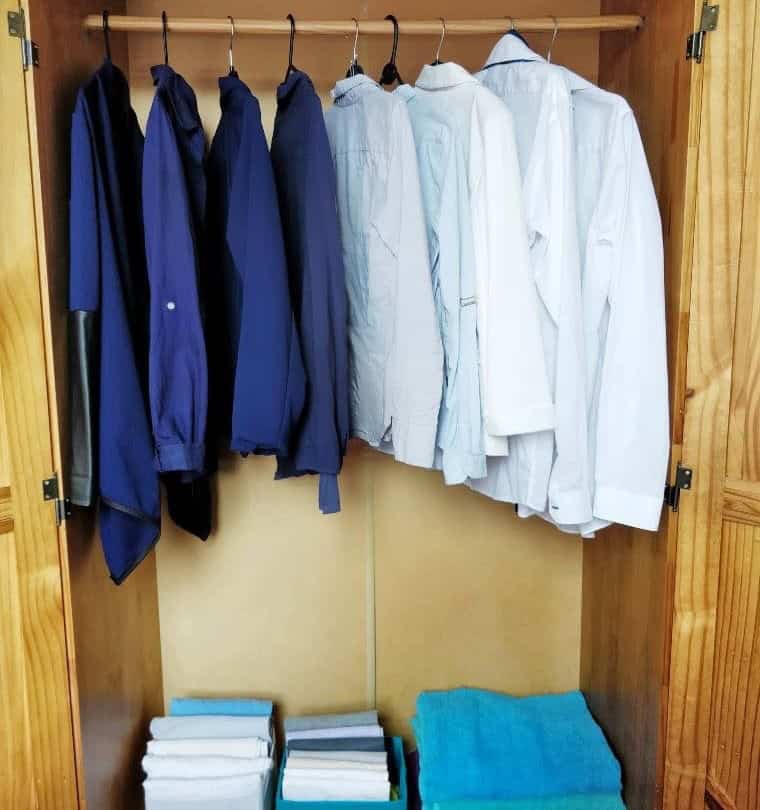
This DIY rope storage box is incredibly versatile, capable of storing a wide range of items. In my case, I’ve used it to keep pillowcases organized in the linen closet. However, their potential applications are much broader. They can also be employed to tidy up closets by stashing away shirts, scarves, underwear, ties, or any other item that tends to accumulate and benefit from a designated storage space.
The larger sizes of these rope baskets make them particularly well-suited for managing kids’ toys, keeping them organized and out of sight until the next playtime. They can also find a home in craft rooms or offices, helping to maintain a sense of order and productivity. Ultimately, as long as an item can be neatly tucked away, it’s fair game for storage within these baskets.
Why You Should Turn Your Cardboard Boxes Into Baskets
By transforming cardboard boxes into storage baskets, you’ll reap numerous benefits. Firstly, you’ll avoid spending money on pre-made storage solutions, instead opting for a cost-effective DIY approach that puts your wallet at ease. Secondly, those often-overlooked cardboard boxes in the garage or attic will finally find a new purpose, keeping them out of landfills and reducing waste.
This eco-friendly upcycling method also allows you to contribute to a more sustainable future, one box at a time. As an added bonus, your home will enjoy a tidier appearance with organized spaces and reduced clutter, making it a win-win for both your finances and the environment.
Other Posts You Might Like:
Whether you’re looking to revamp your closet, optimize storage in a small space, or create a functional craft room, the key to a clutter-free life lies in effective organization. With over 200 combined ideas across four categories – closet, storage, room, and garage organization – you’ll find inspiration for your unique situation. From clever towel storage solutions to DIY rope organizers for your desk, this comprehensive collection will guide you towards a more streamlined living space.
DIY Rope Basket Out of Cardboard Box
To boost storage in your closet and keep linens tidy, create this DIY rope basket in just under an hour. By repurposing a cardboard box, you’ll craft a functional yet attractive organizer that won’t break the bank. With 45 minutes of active time and a single serving, this project is perfect for whipping up a solution to cluttered closet woes.
Equipment
To ensure uninterrupted browsing, you can take a few simple steps to prevent your screen from automatically turning off or dimming. One effective way is to adjust the screen timeout setting on your device. This allows you to customize the duration of time before the screen goes dark, giving you ample opportunity to finish what you’re doing without interruption.
For instance, if you’re in the middle of reading an article or watching a video, you can set the timeout to last longer to prevent the screen from turning off prematurely.
Materials 1x2x3x
To create a simple DIY storage basket, you’ll need the following materials: a cardboard box, manila hemp rope, a glue gun with glue sticks, and either fabric or an old shirt. The cardboard box will serve as the base of your basket, while the manilla hemp rope will be used to add texture and stability to the exterior. The glue gun is necessary for bonding the rope to the box, and the fabric or old shirt can be used to create a decorative lining for the interior.
Instructions
To give new life to a cardboard box, begin by removing the flaps. Next, apply rope glue along the bottom and work your way up two-thirds of the way. This will provide a sturdy foundation for your creative transformation. With the exterior base established, wrap fabric around the remaining one-third of the box, including the interior spaces. Don’t be afraid to add some flair to the outside or keep it simple – the choice is yours.
As you’re finished, you’ll have a unique and budget-friendly storage solution that’s all your own.
Conclusion
When it comes to DIY storage solutions, functionality and beauty don’t have to come with a hefty price tag. Take for instance this clever rope basket crafted from a cardboard box – a testament that decluttering can be achieved without breaking the bank. The best part?
Since the materials are readily available at home, you’re free to create as many of these baskets as your cluttered space demands, making it an ideal solution for those looking to organize their belongings without sacrificing style or budget.