Transforming ordinary boxes into extraordinary storage solutions has never been more stylish. If you’re a fan of creative upcycling projects, you’ll love this DIY rope basket tutorial. While intricate macrame designs may be intimidating, fear not! This project requires only basic knot-tying skills and can be completed in under an hour. The result is a beautifully crafted rope basket that’s perfect for gifting, storing sewing supplies, or organizing your yarn stash. The best part?
You can customize the size of your basket to suit your needs, making it a versatile addition to any room. Whether you’re a crafter, a home organizer, or simply someone who appreciates handmade touches, this DIY rope basket is sure to delight.
What You’ll Need to Make the Basket
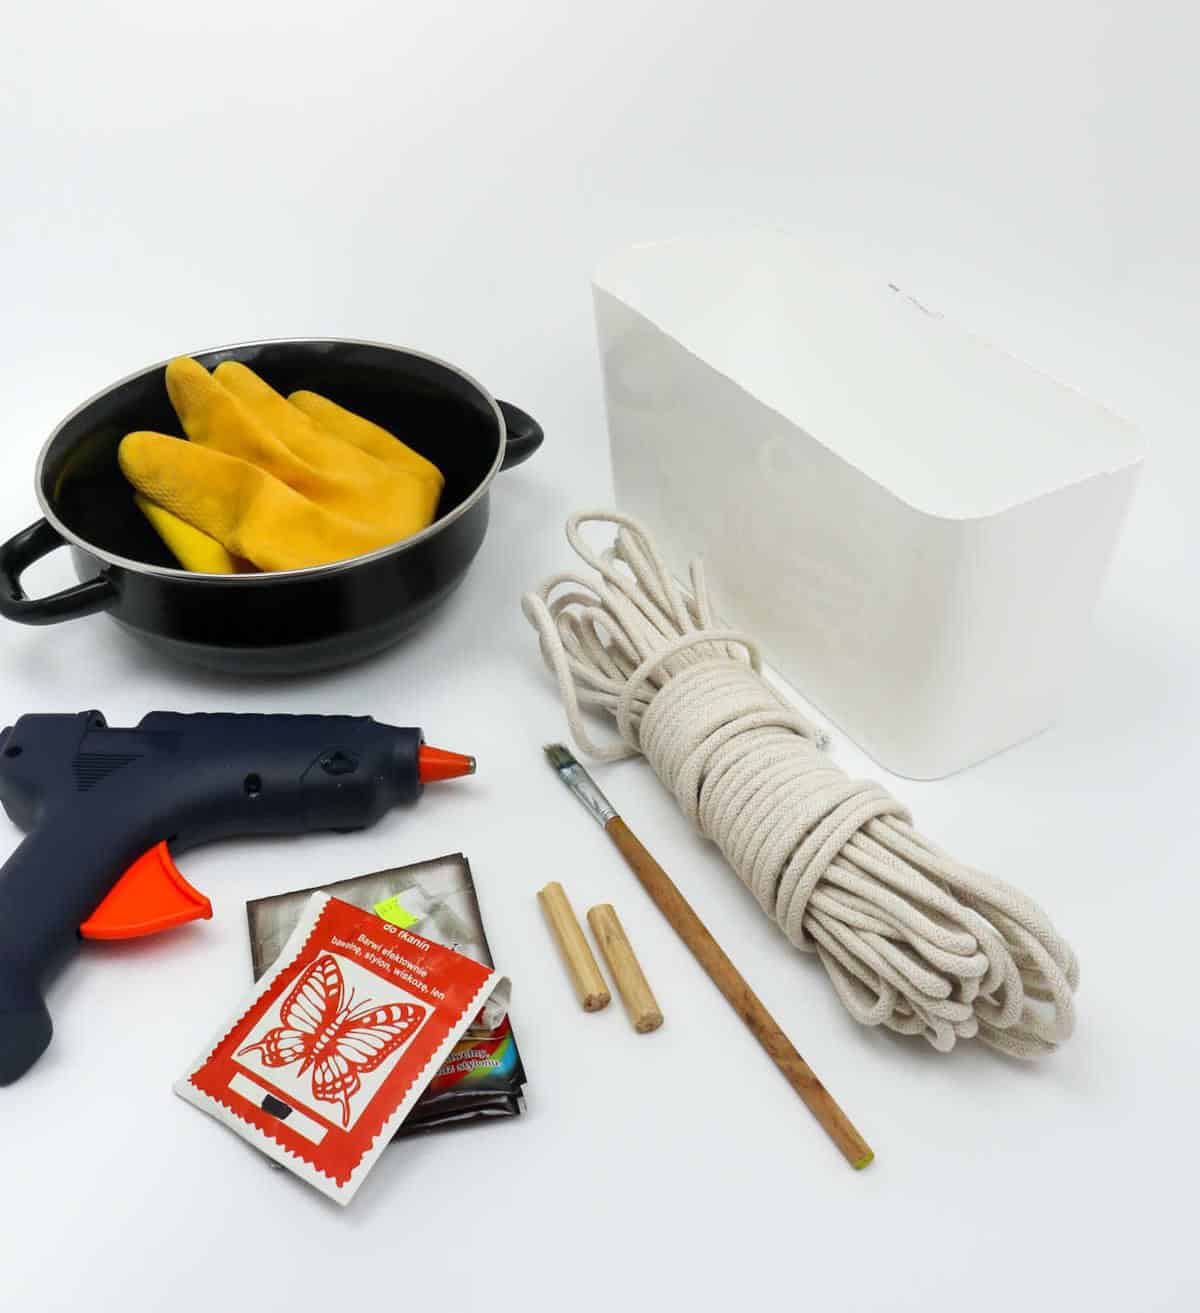
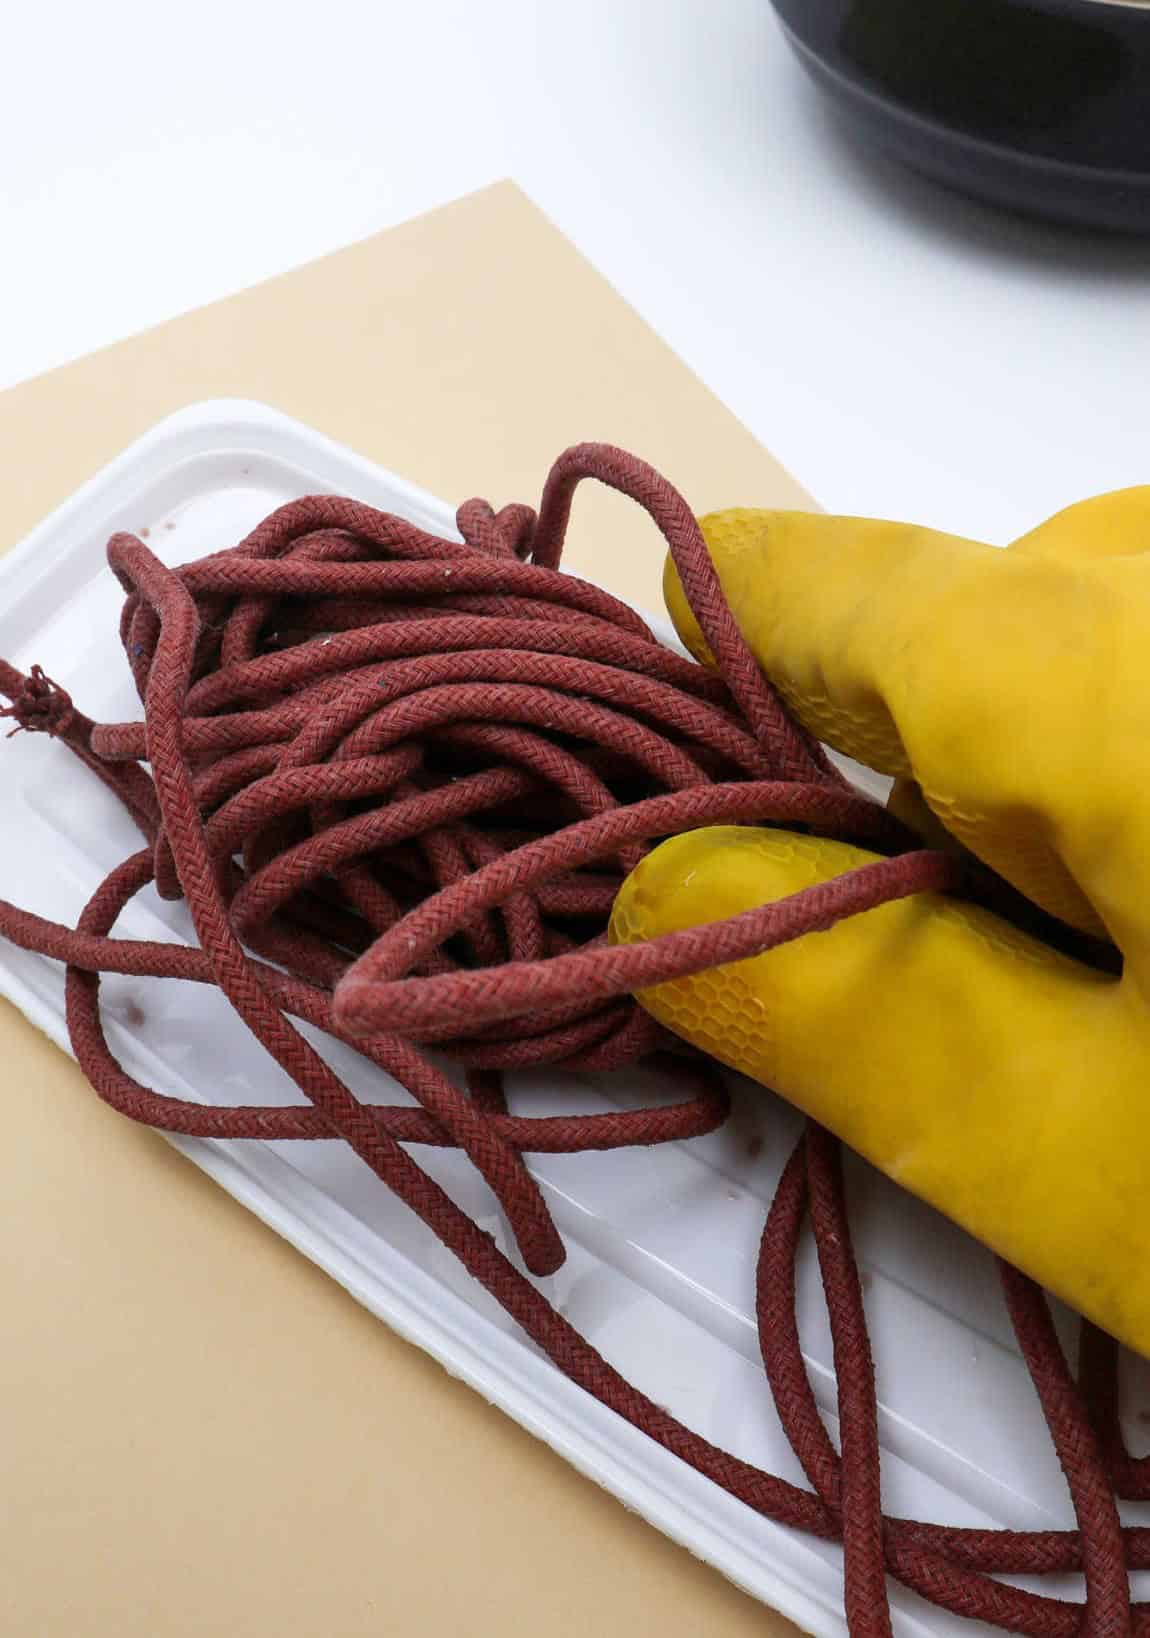
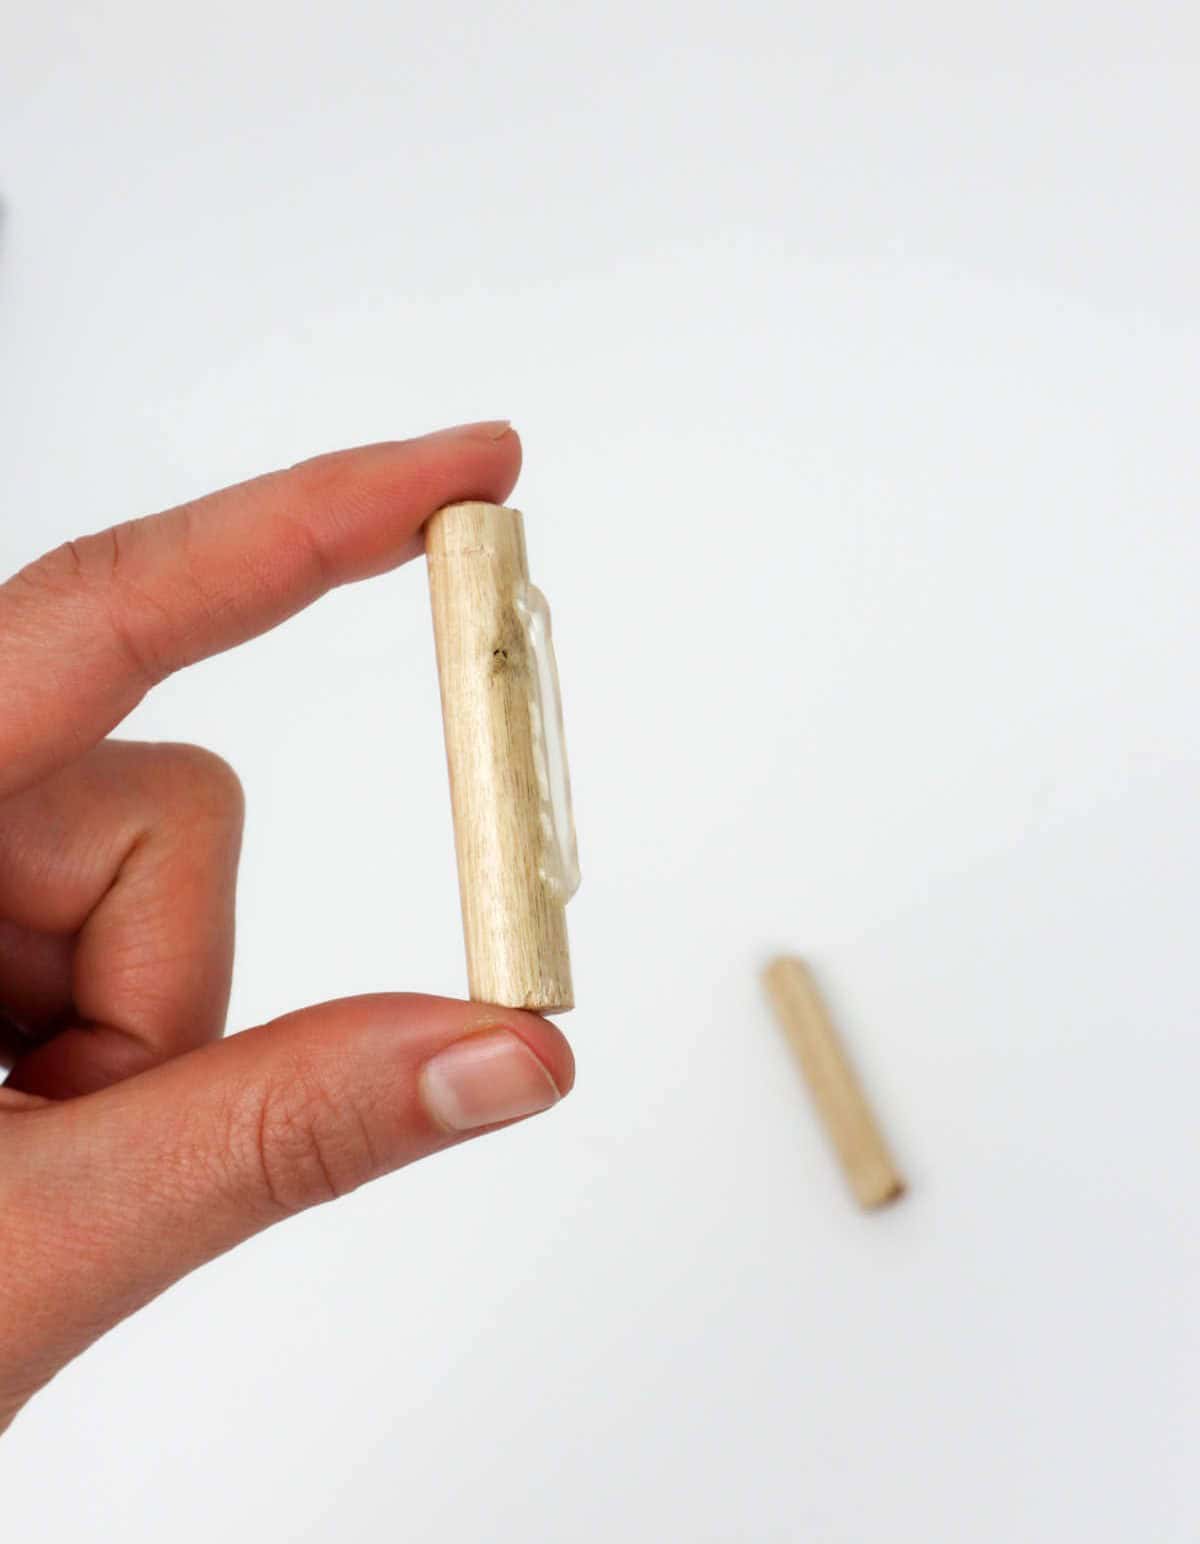
To get started on your DIY rope basket project, gather the following essential items: A plastic box or any other suitable container (cardboard will do just fine too) Clothesline rope is a must-have for this project Fabric dye powder will come in handy if you want to add some color to your rope A hot glue gun will be necessary for binding the rope together You’ll also need a pair of scissors, a paintbrush, and an old pot to create your masterpiece To protect your hands while working with the rope, don’t forget to grab a pair of gloves Finally, you may want to have some wooden sticks on hand as optional reinforcements.
How to Make DIY Rope Basket
When it comes to the outcome, the type of rope you choose at the onset plays a crucial role. Rather than opting for a pre-colored or textured rope, consider buying a basic option and dyeing it using food coloring. This approach not only simplifies the process but also opens up creative possibilities, allowing you to explore different hues and patterns. By starting from scratch, you’ll gain a sense of accomplishment as you take your crafting skills to the next level.
Step 1
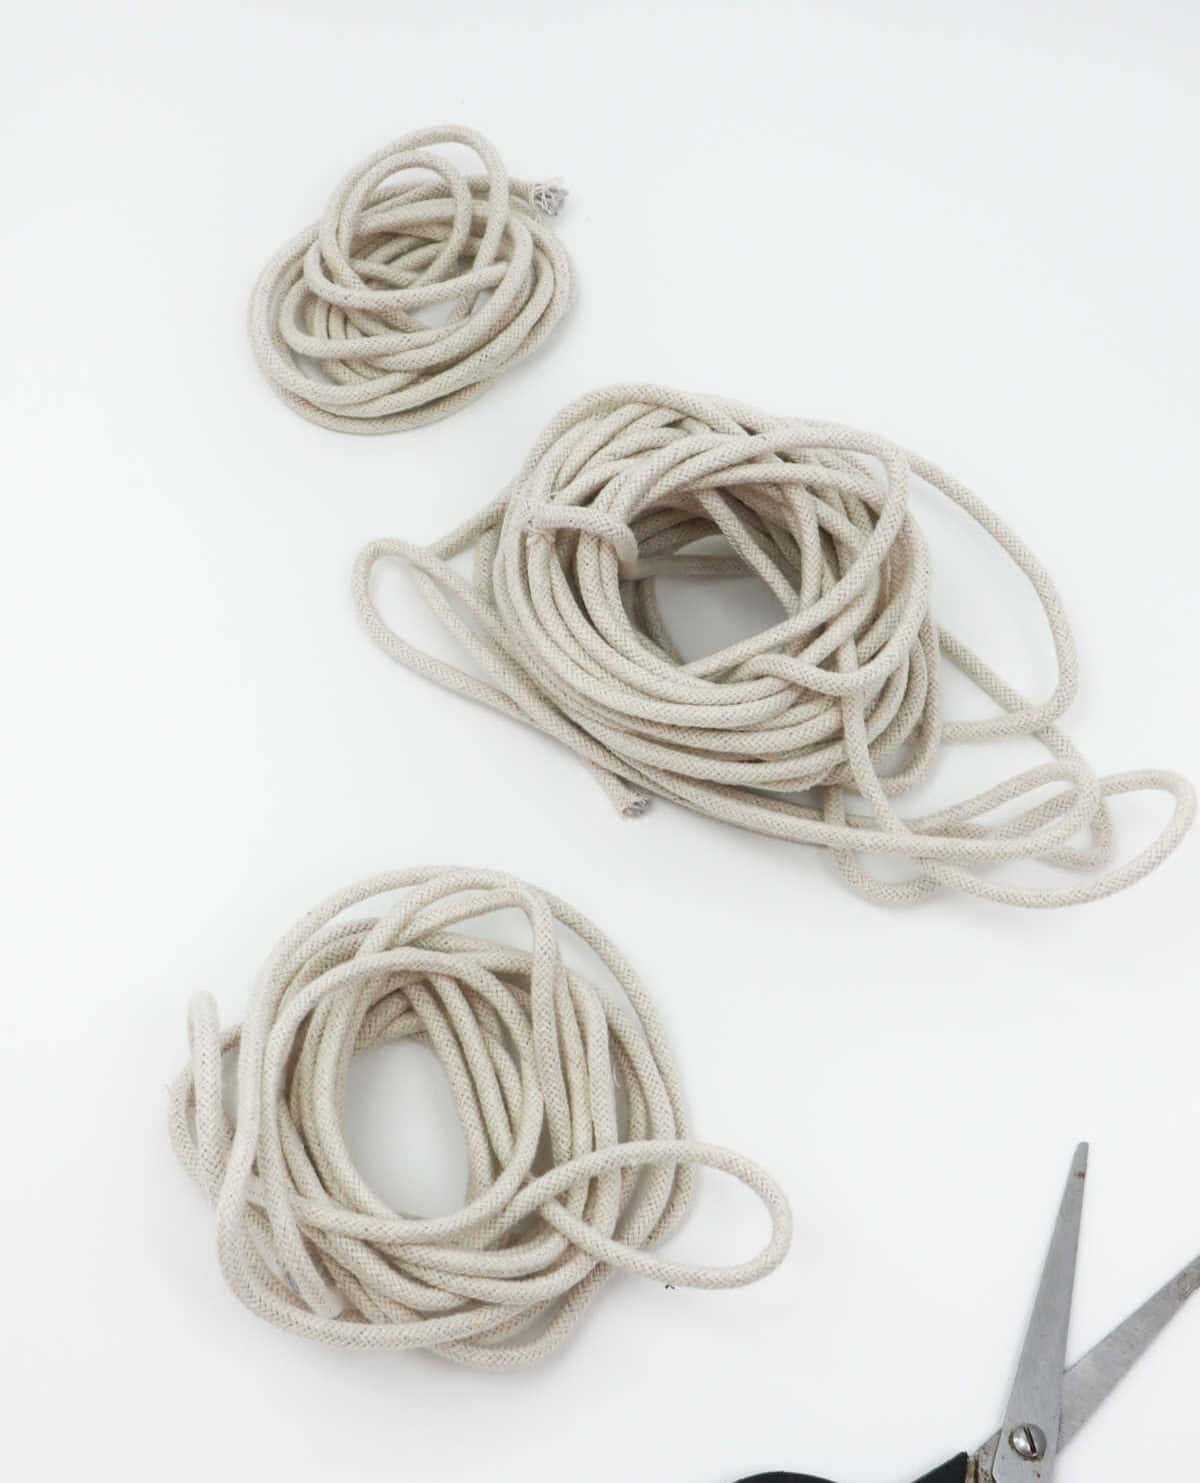
Before diving into the intricacies of knot-tying, it’s essential to prepare the rope by cutting it to the desired length. This initial step sets the stage for a successful and efficient process, ensuring that your finished product is both functional and aesthetically pleasing.
Step 2
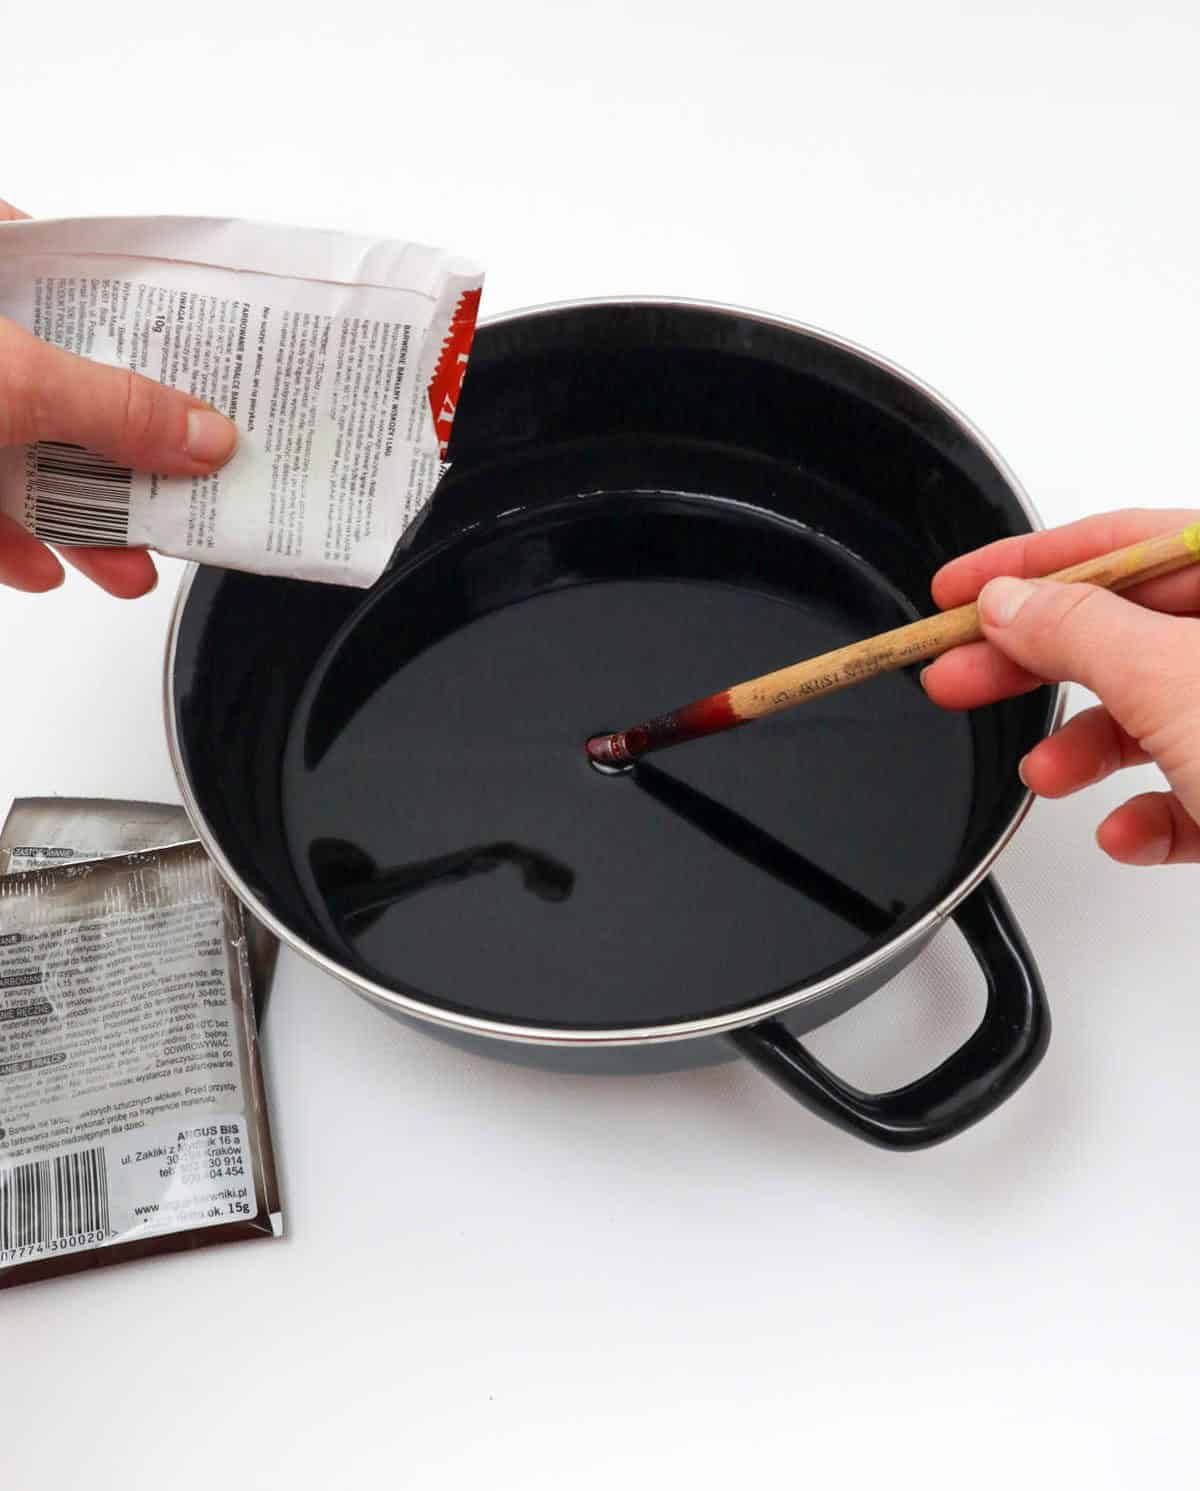
Before diving into the fun part of dying, remember to lay out ample newspaper coverage to catch any stray drips or spills. This will save you from dealing with pesky stains later on. When you’re ready to start mixing your food coloring with water, don’t forget to slip on some protective gear – gloves being a must-have item to prevent those pesky fingers and nails from getting stained. Take out your trusty wooden stirrer or chopstick and blend the dye into a smooth paste.
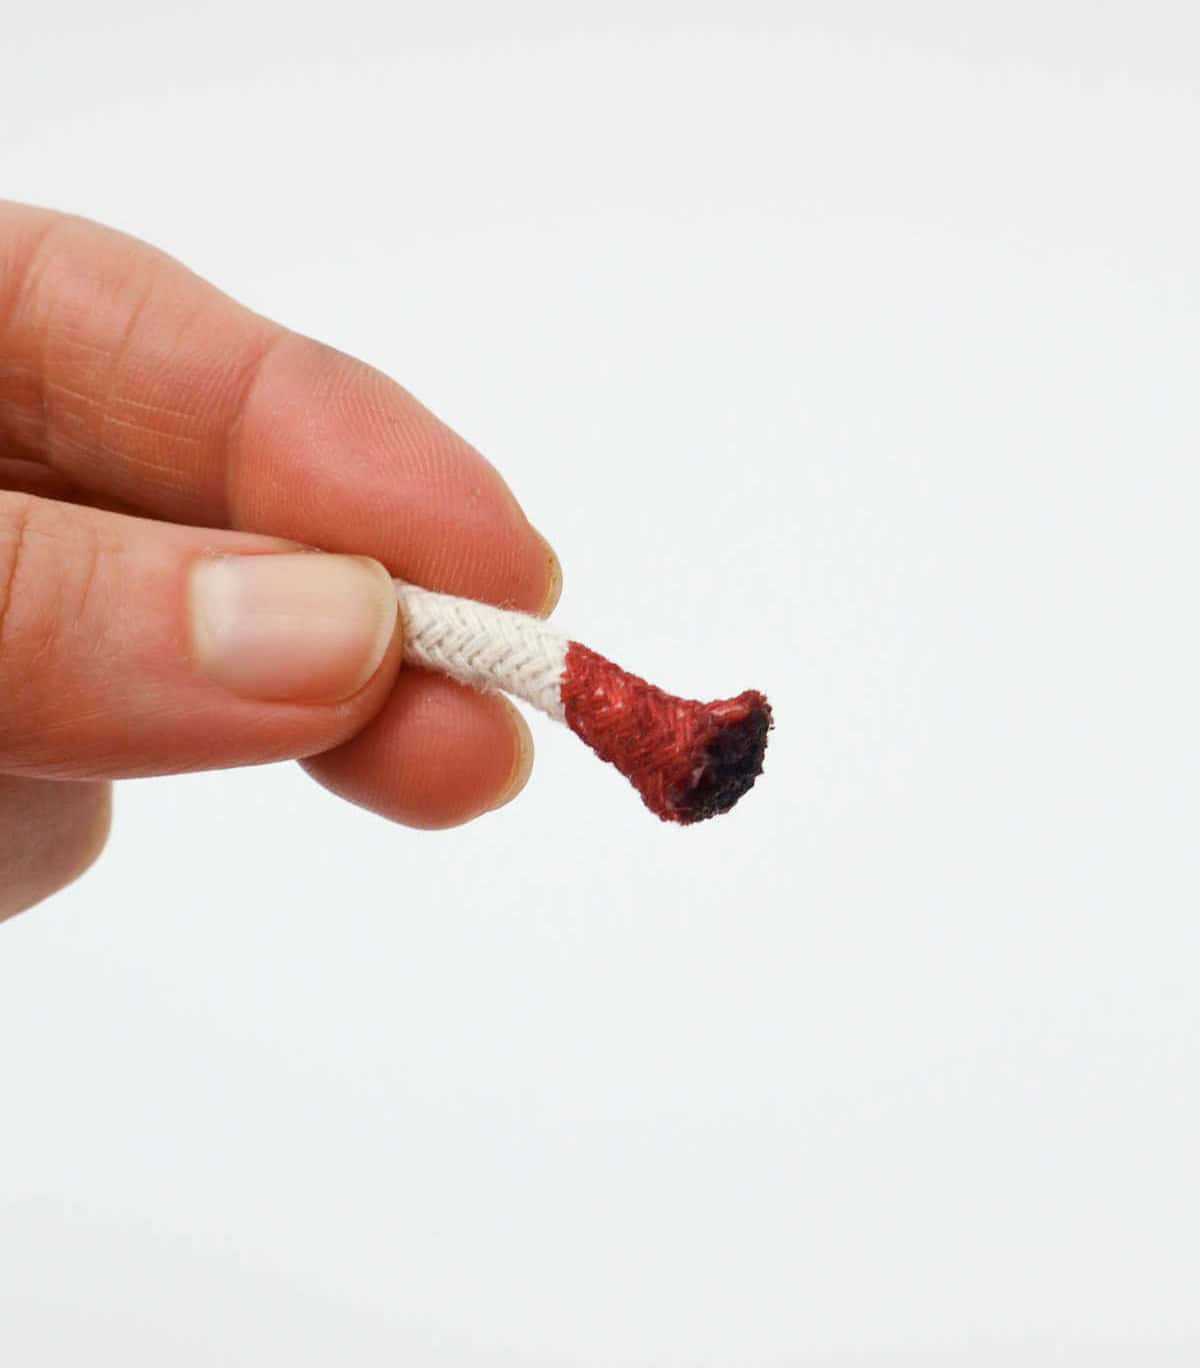
Here’s a clever trick: snip small sections of rope, about an inch in length, and submerge them into the dye mixture to gauge how well it absorbs and what shade it yields. This little experiment will give you a better idea of what to expect when you start dying your own materials.
Step 3
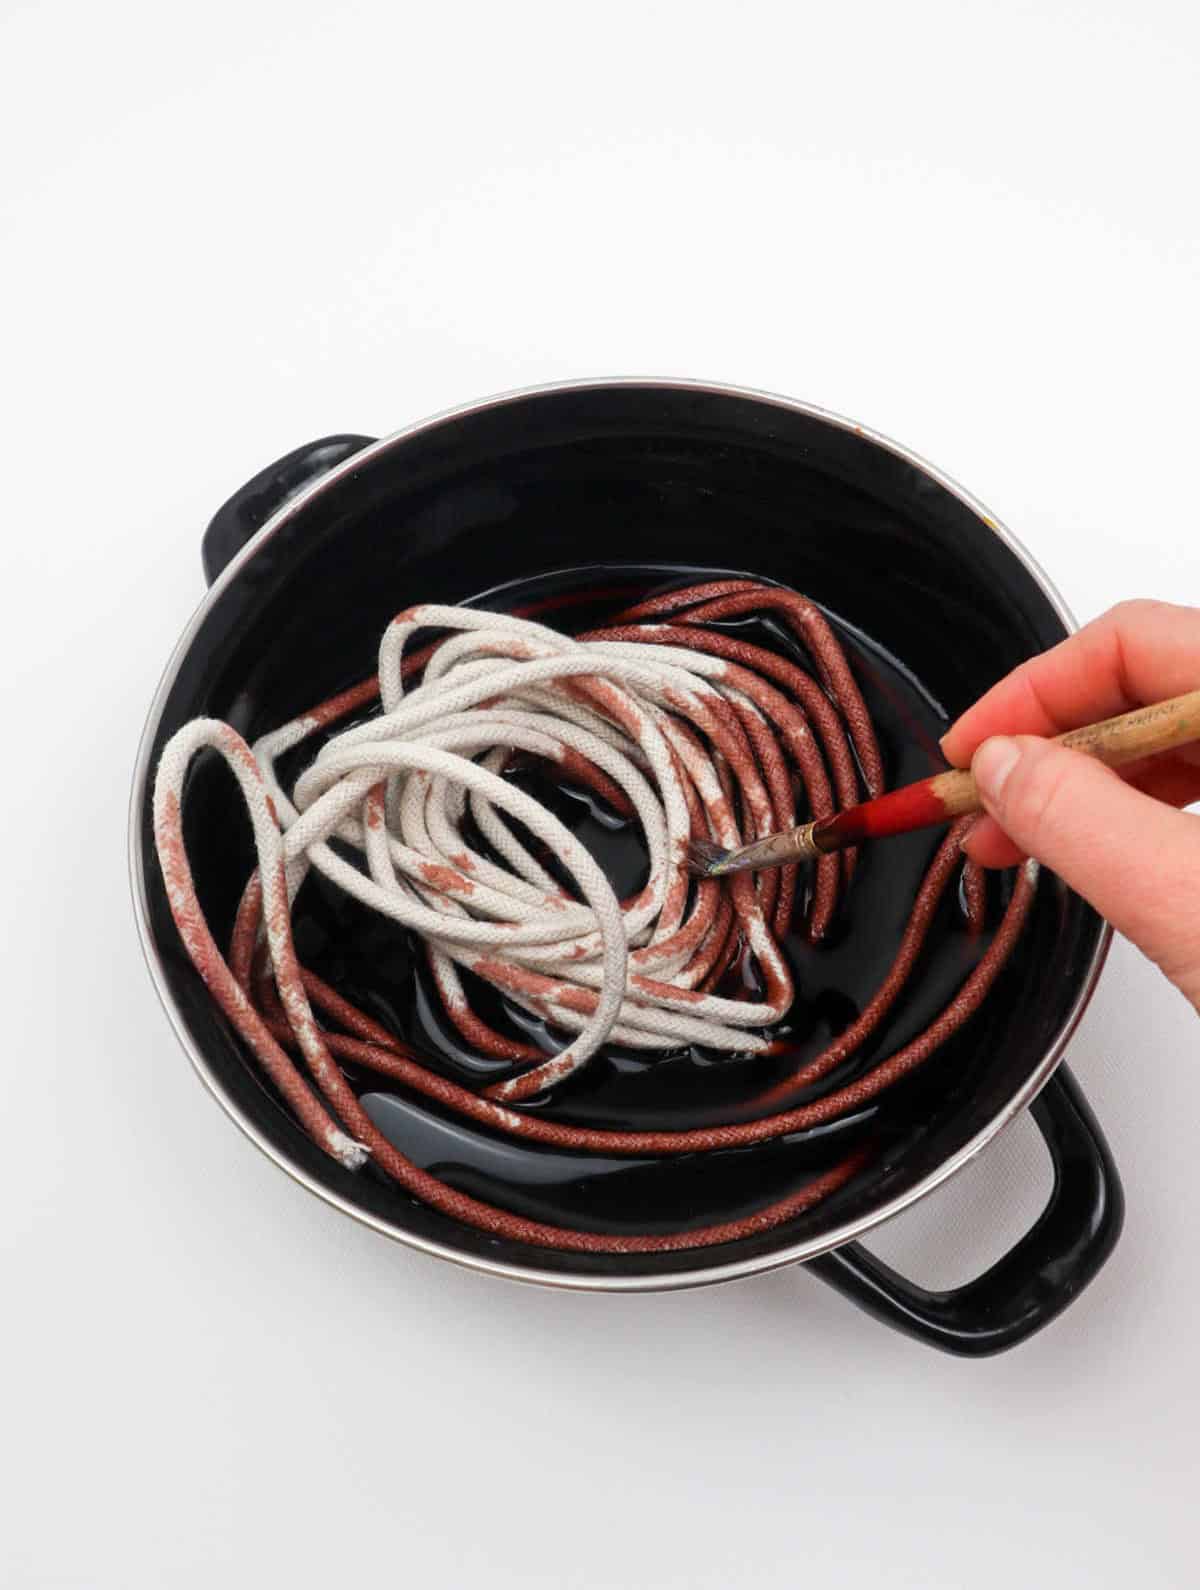
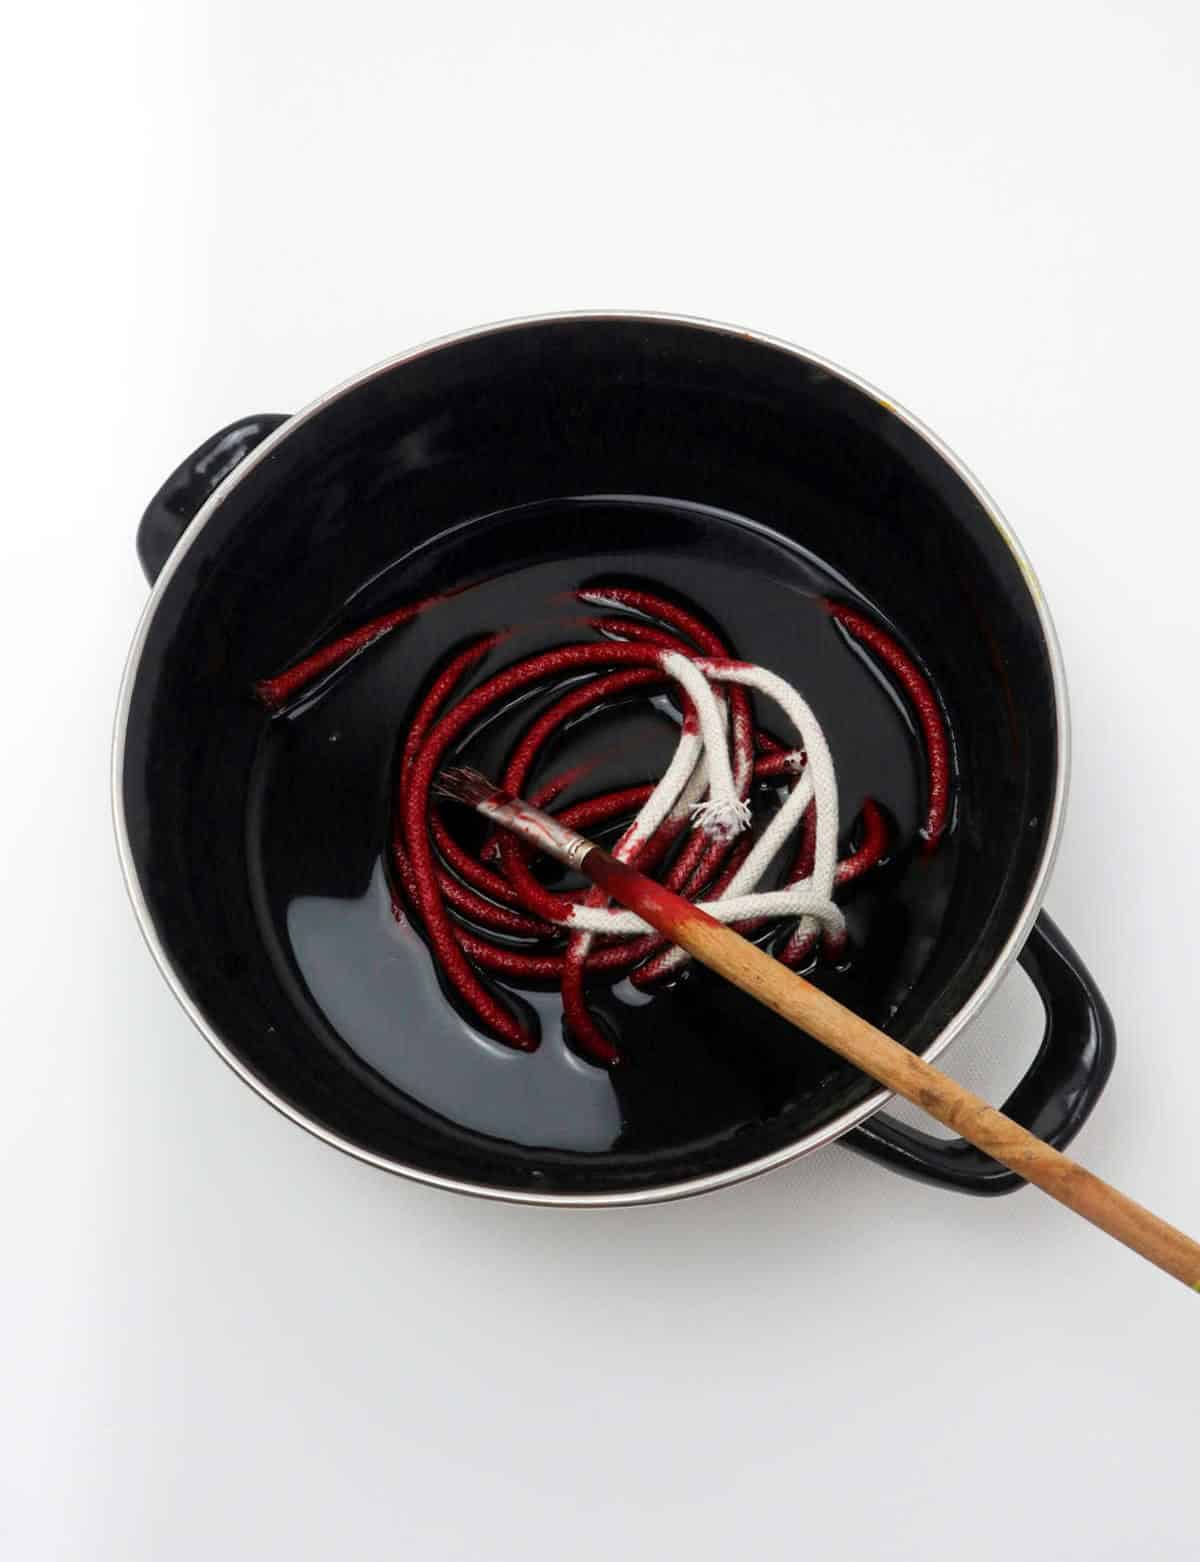
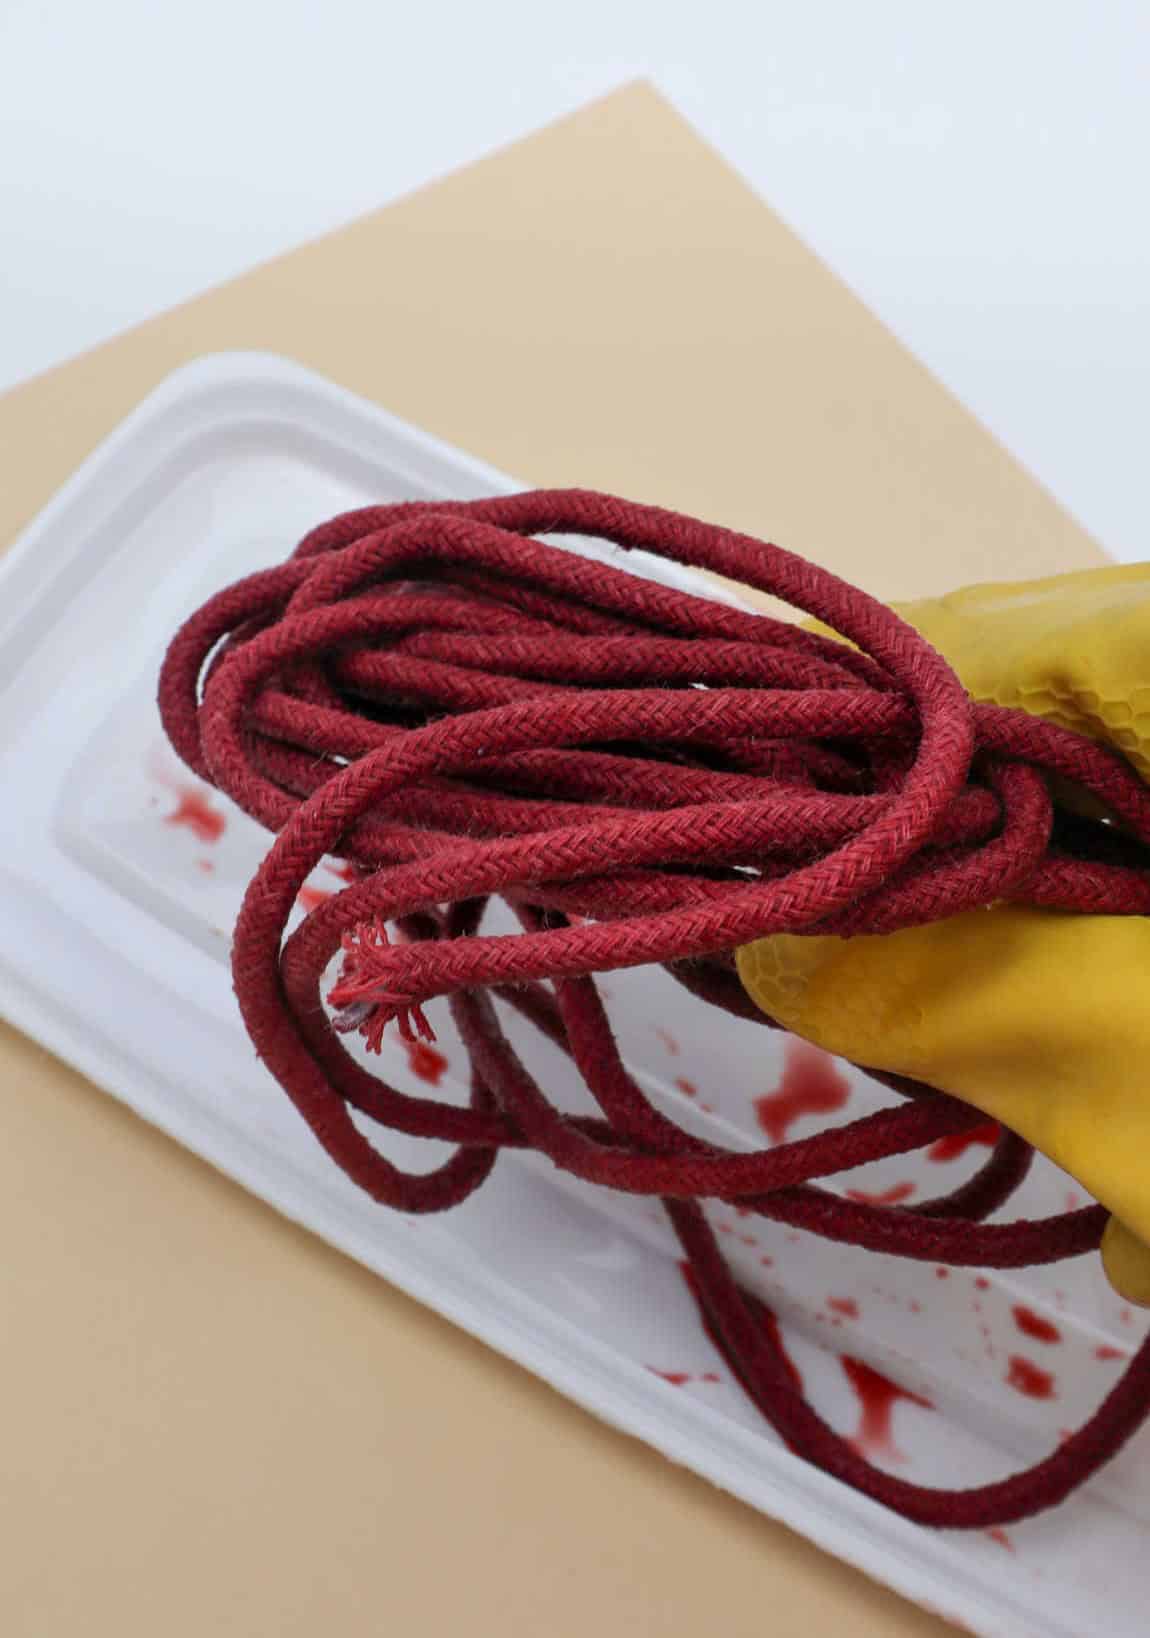
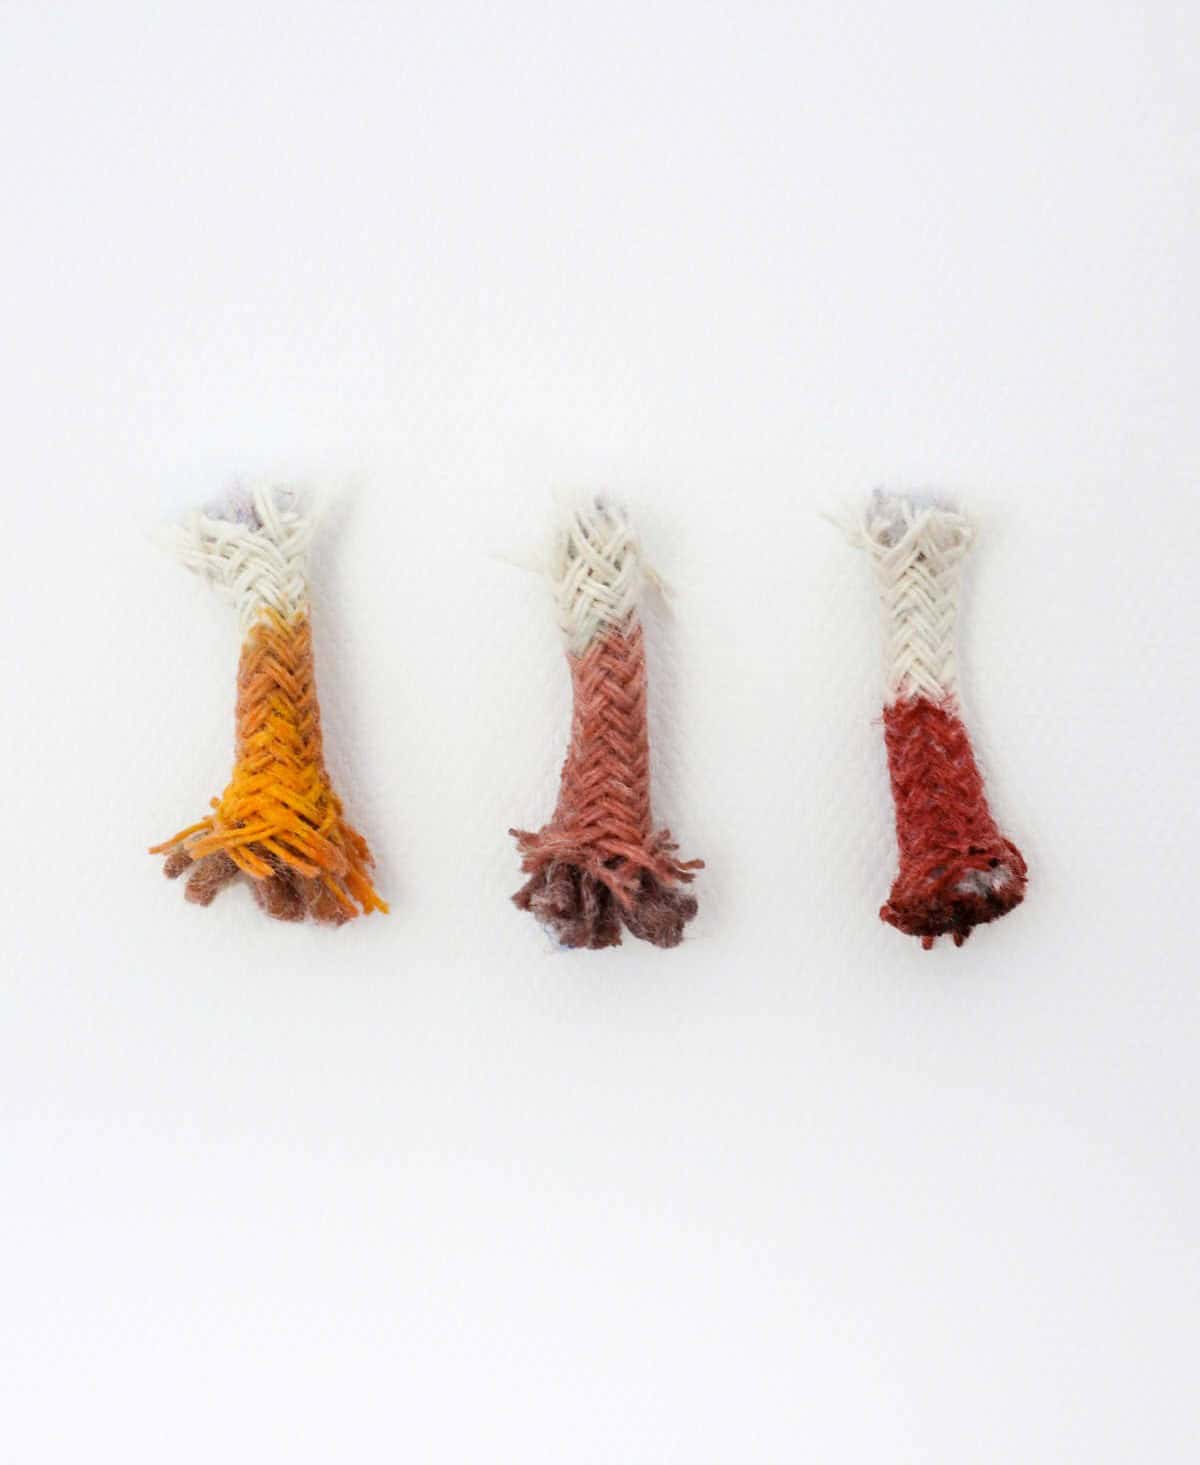
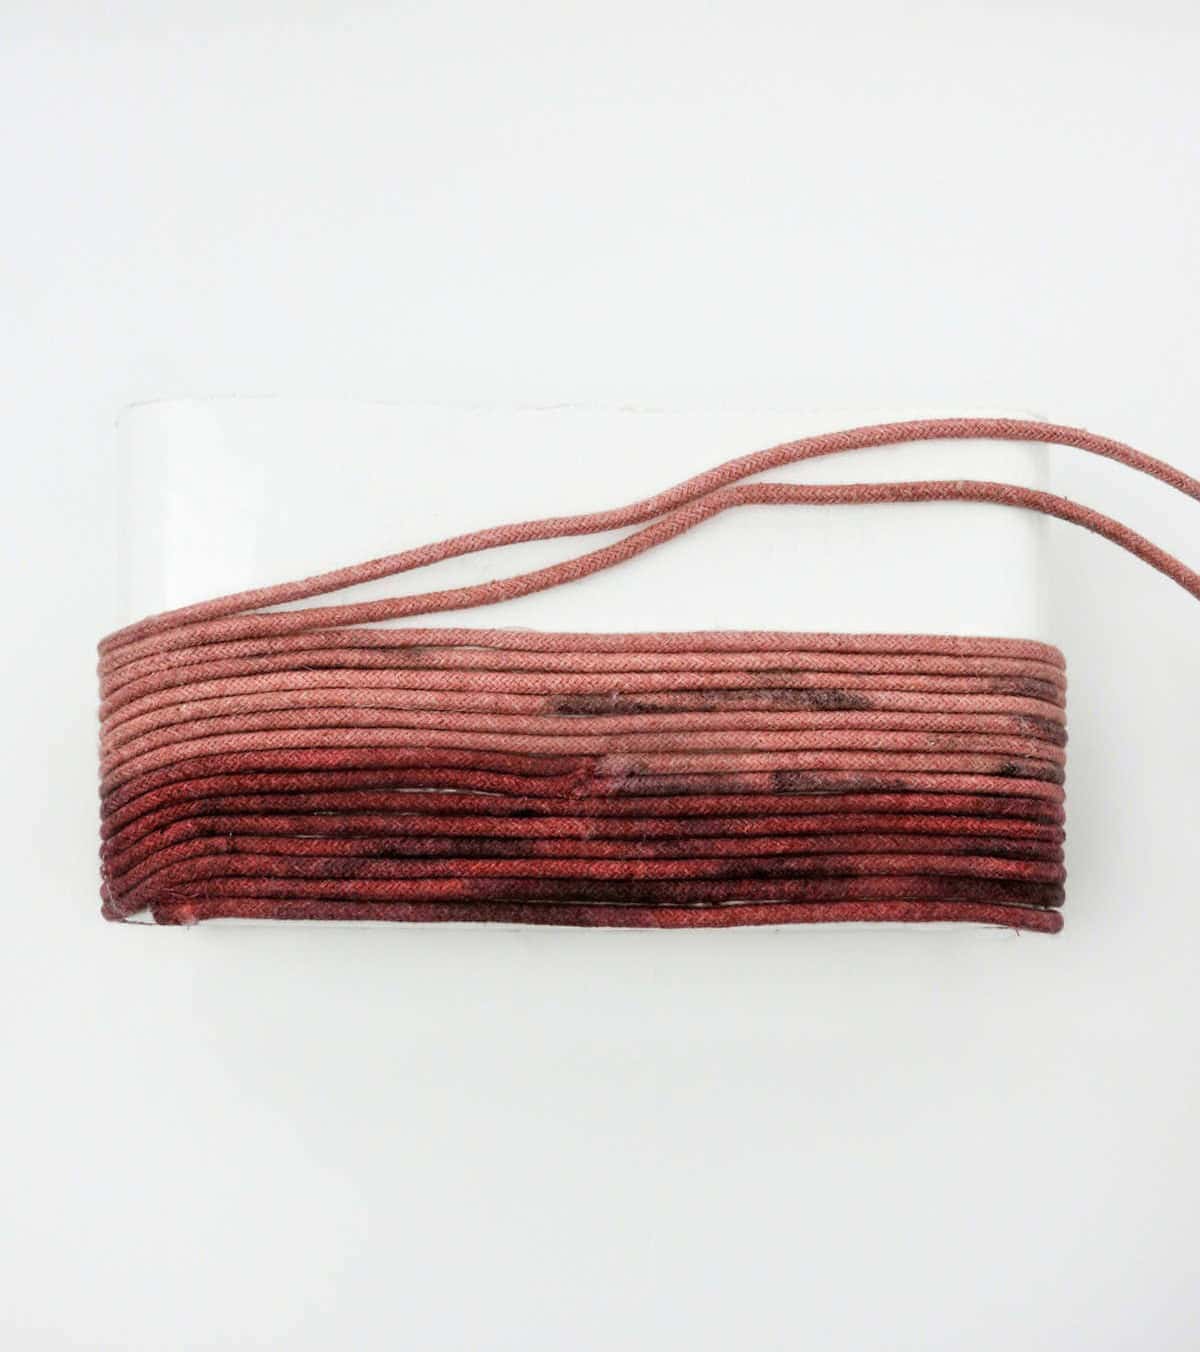
Submerge the designated rope in the dye, utilizing the wooden stirrers to ensure a thorough coating. As you mix, inspect the rope’s coloration to guarantee an even distribution of the dye. Continue stirring until the rope is fully saturated and no white sections remain visible. Once your desired shade is achieved, set the dyed rope aside to air dry. This process should be repeated for each rope, ultimately yielding a diverse spectrum of colors.
It’s crucial that all ropes are completely dry before utilizing them in your project.
Step 4
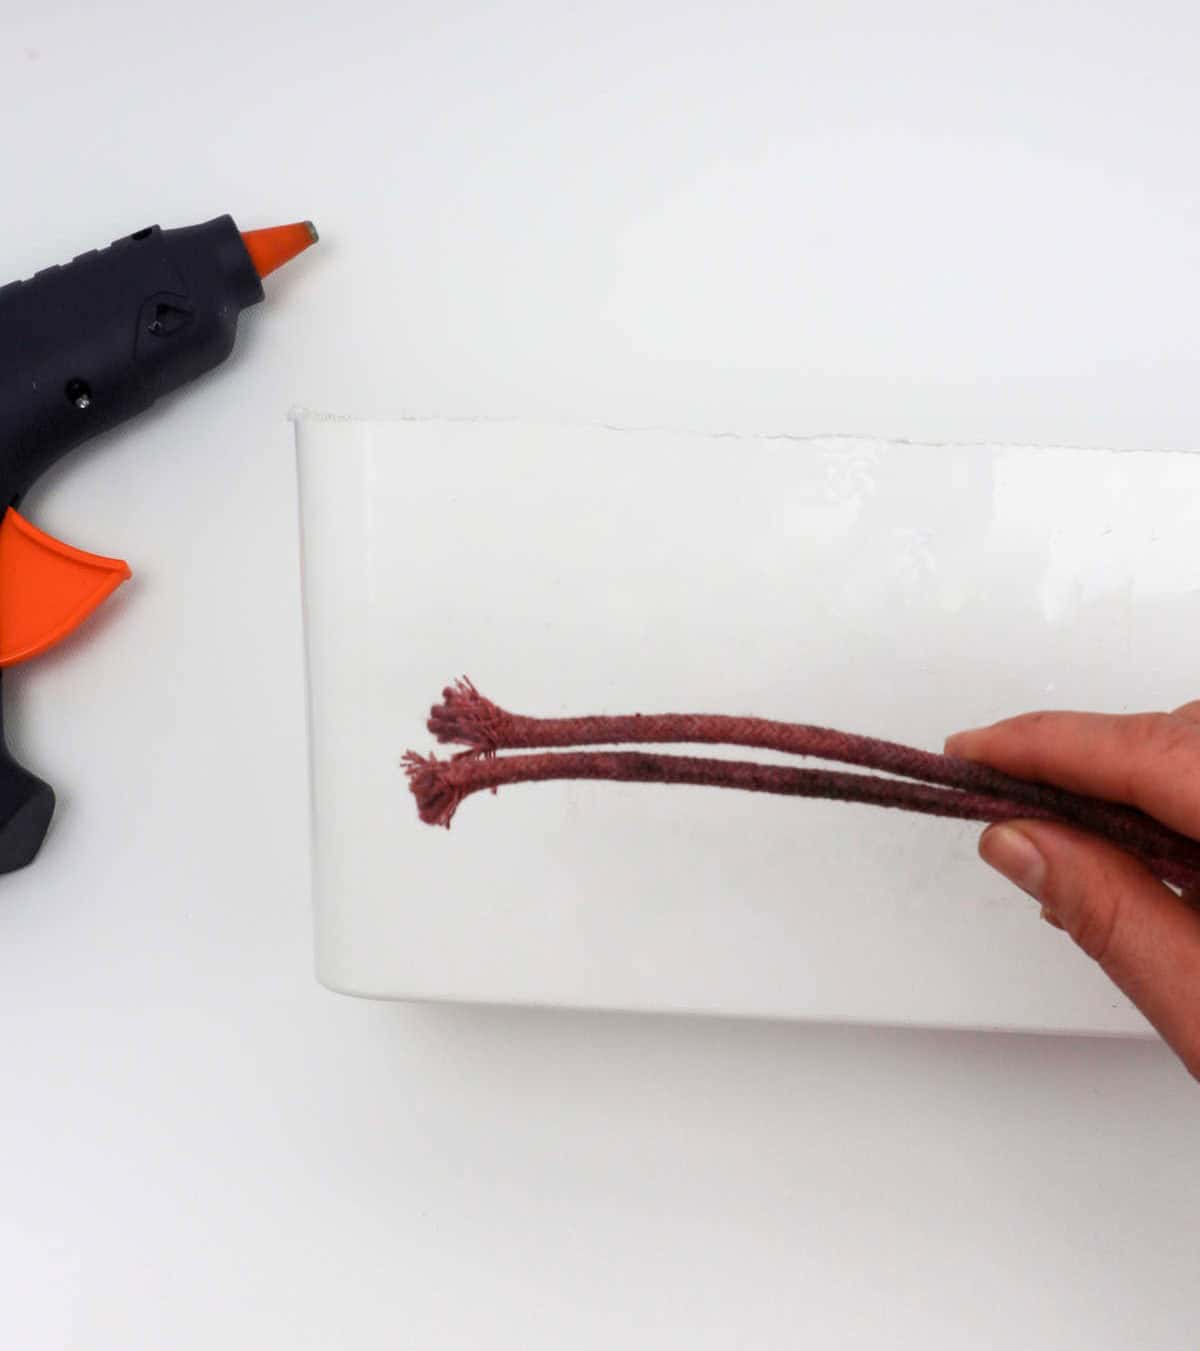
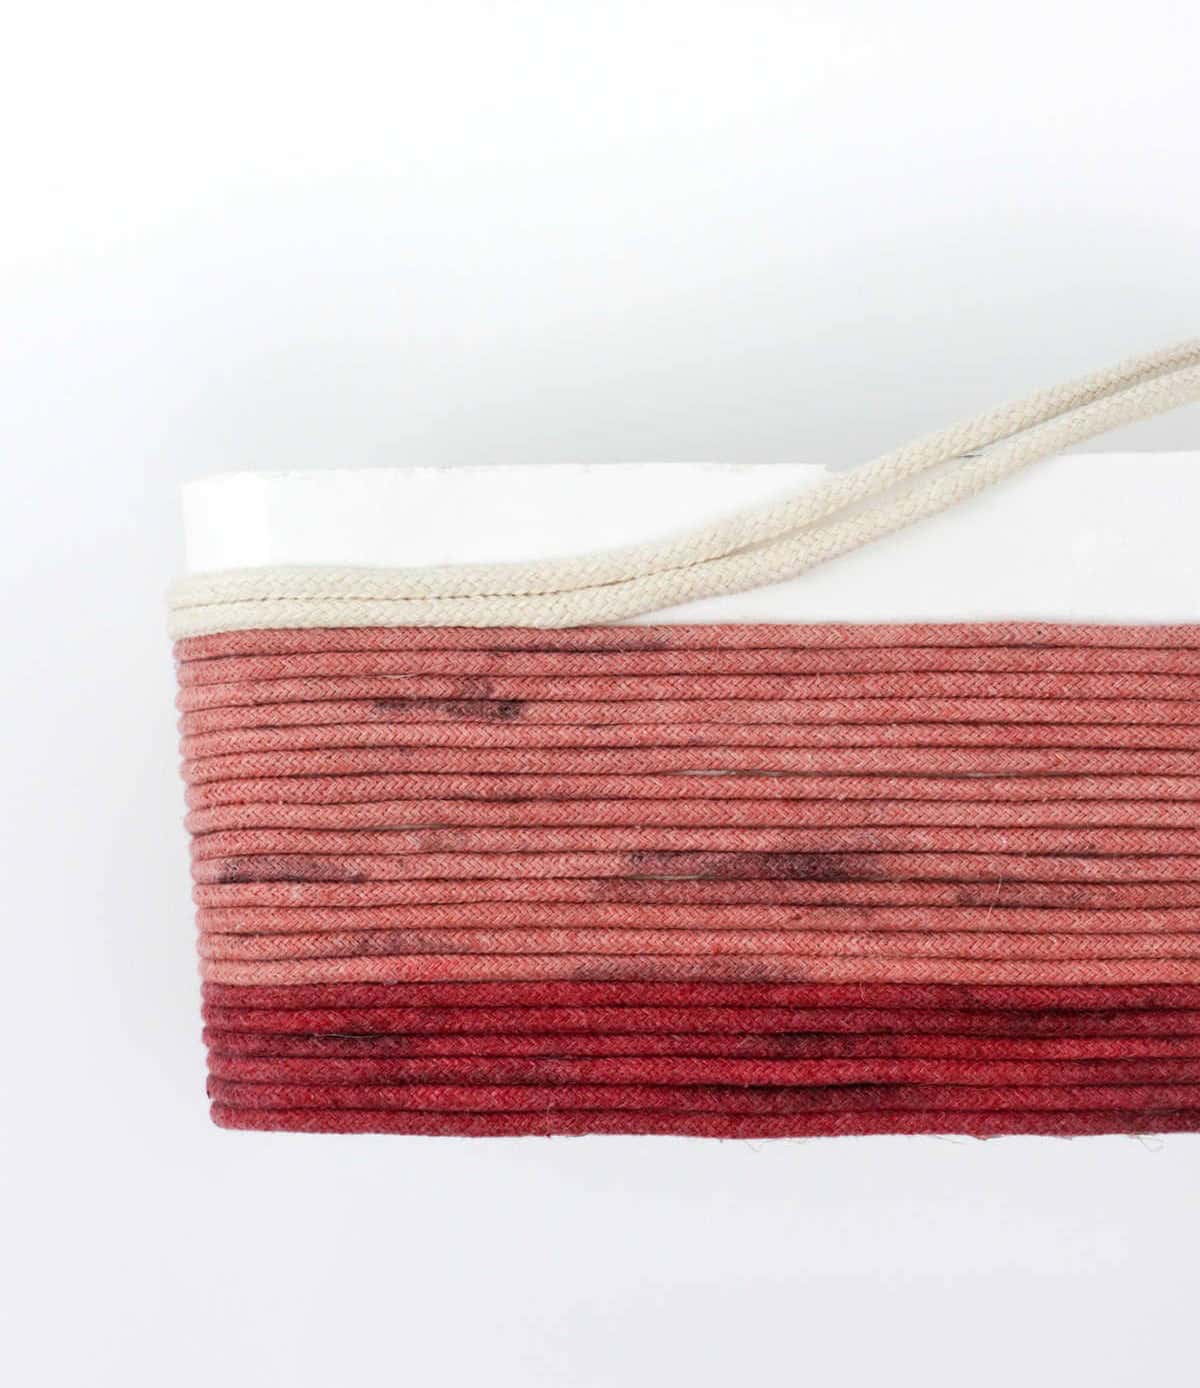
As you near the final stages of your project, it’s essential to secure the rope in place. For this step, make sure you have a reliable hot glue gun at your disposal. With the tool ready, take two loose ends of the rope and carefully align them with each other, ensuring they’re positioned precisely for the next step.
Step 5
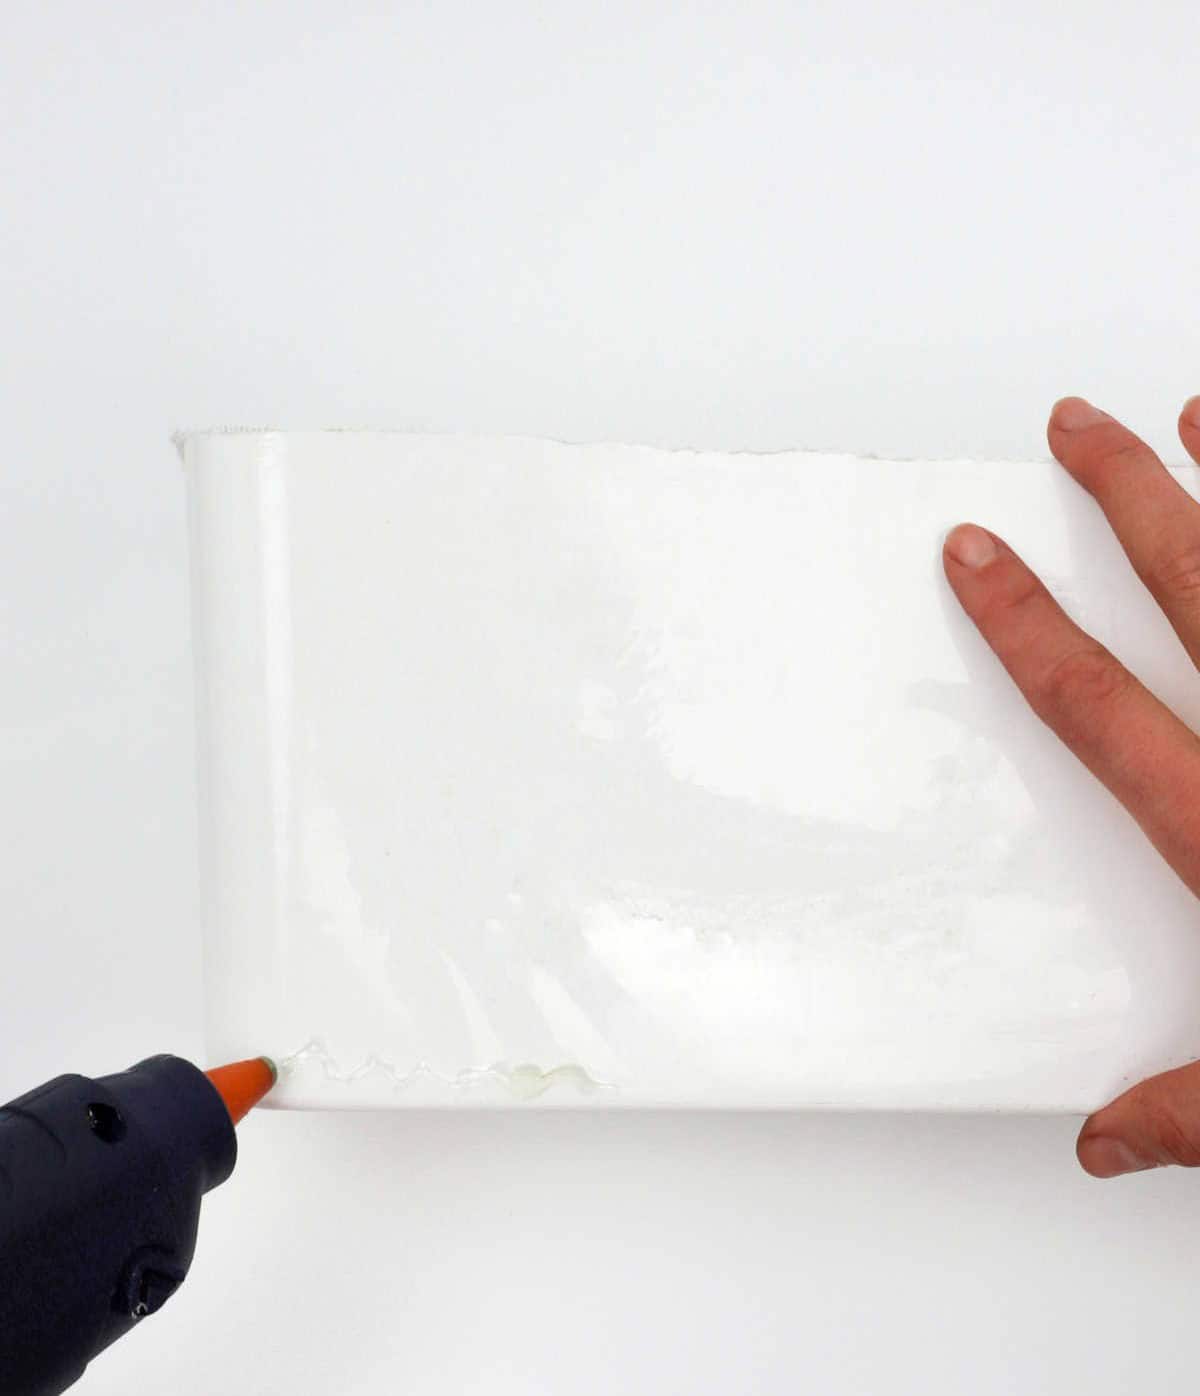
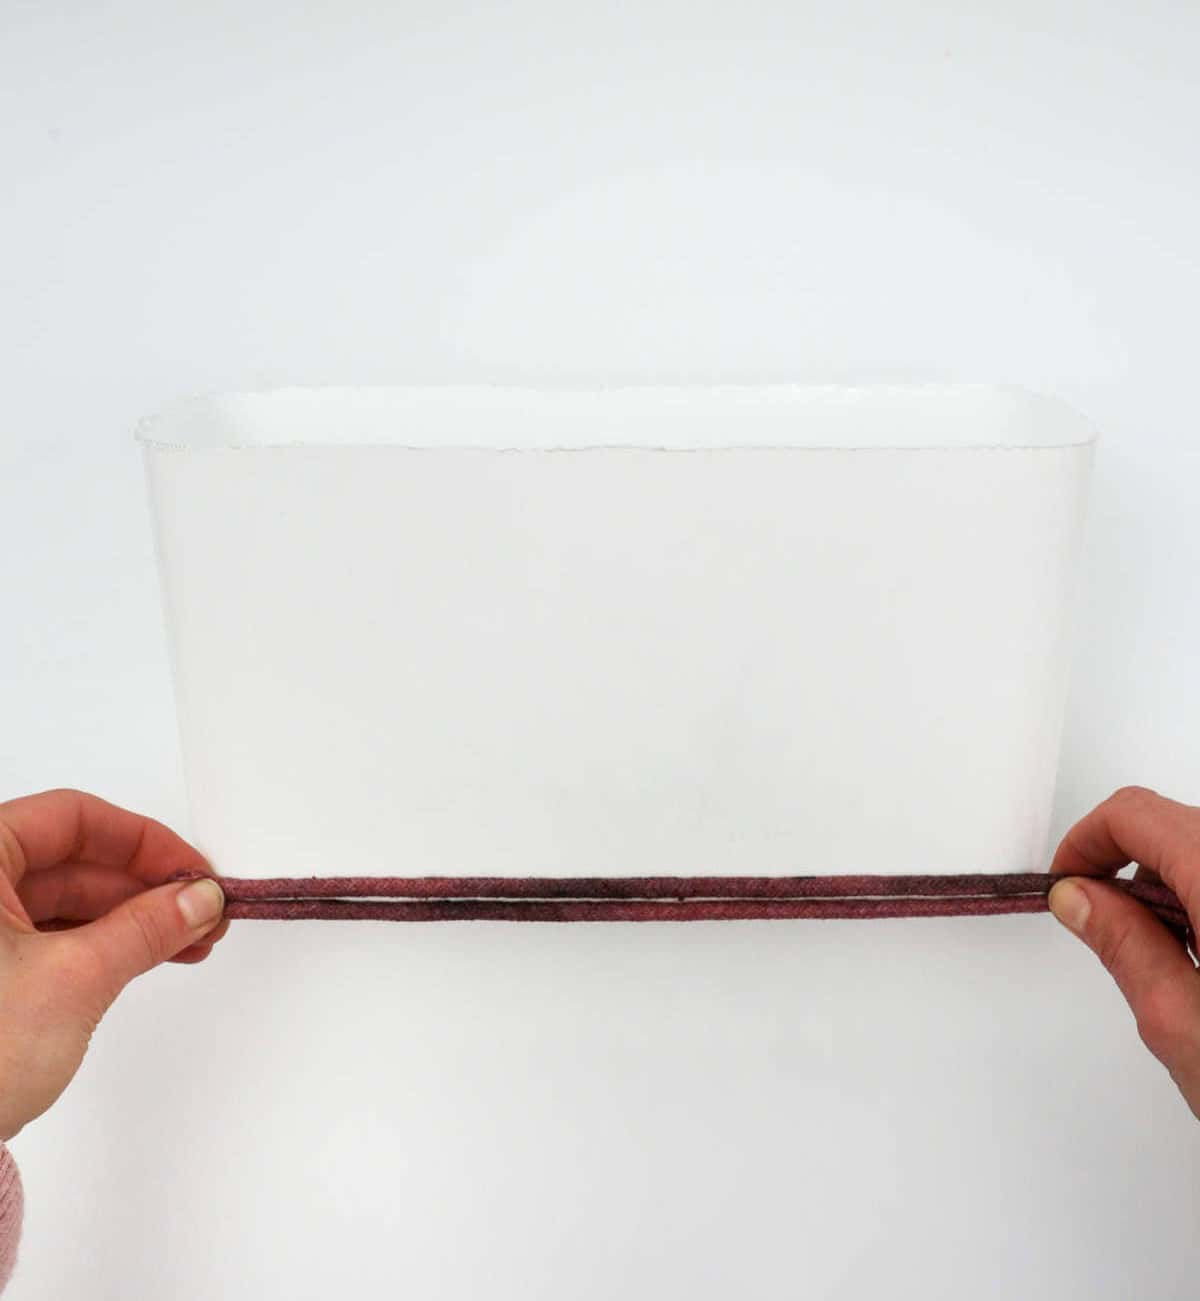

As you begin to construct your woven basket, start by applying a consistent strip of hot glue along the base of the basket, working from one end to the other. This initial layer will provide the foundation for your rope wrapping. Once the glue is in place, take up your rope and carefully wind it around the base, smoothing out any edges as you go. To achieve a clean and even finish, be sure to keep the rope taut as you wrap it.
Step 6
As you progress through the process, don’t stop there – take the opportunity to further refine your work. As you wrap up each layer, apply a steady stream of hot glue to secure it in place. This ensures a seamless transition from one section to the next, ultimately resulting in a robust and durable finished product.
Step 7
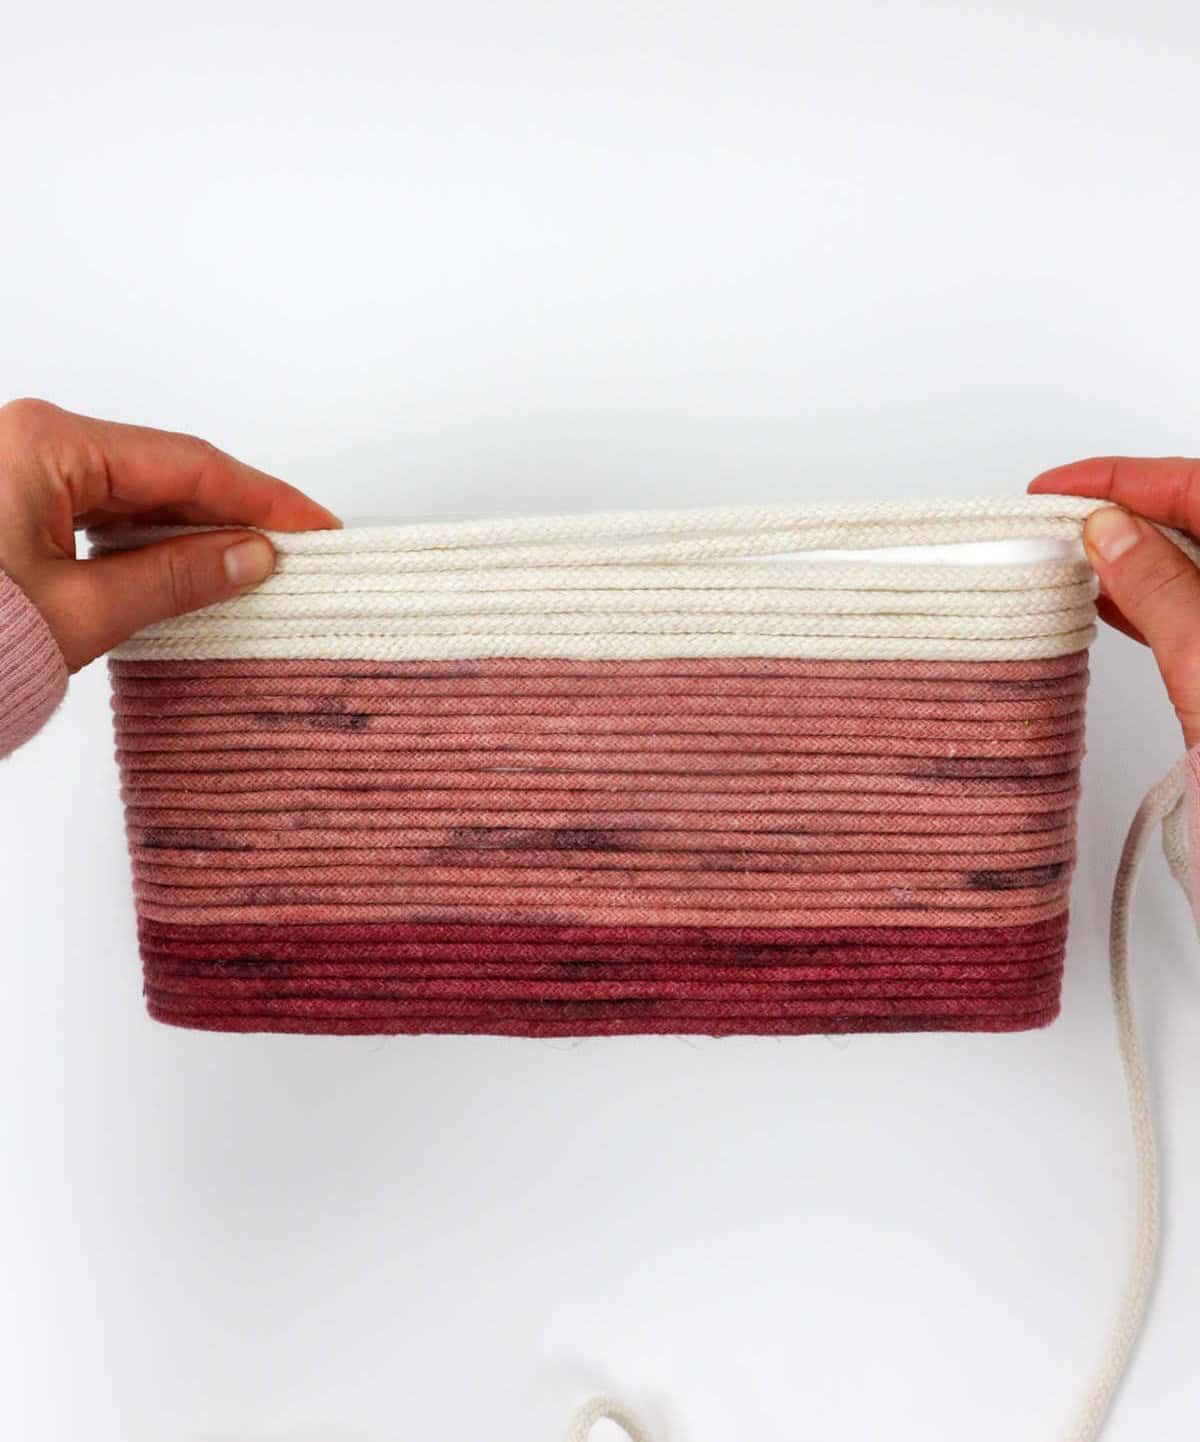
To seamlessly transition between colors, apply a small amount of glue to the edges of the subsequent color and carefully merge it with the previous one. As the layers meld together, continue wrapping the rope in a continuous motion.
Step 8
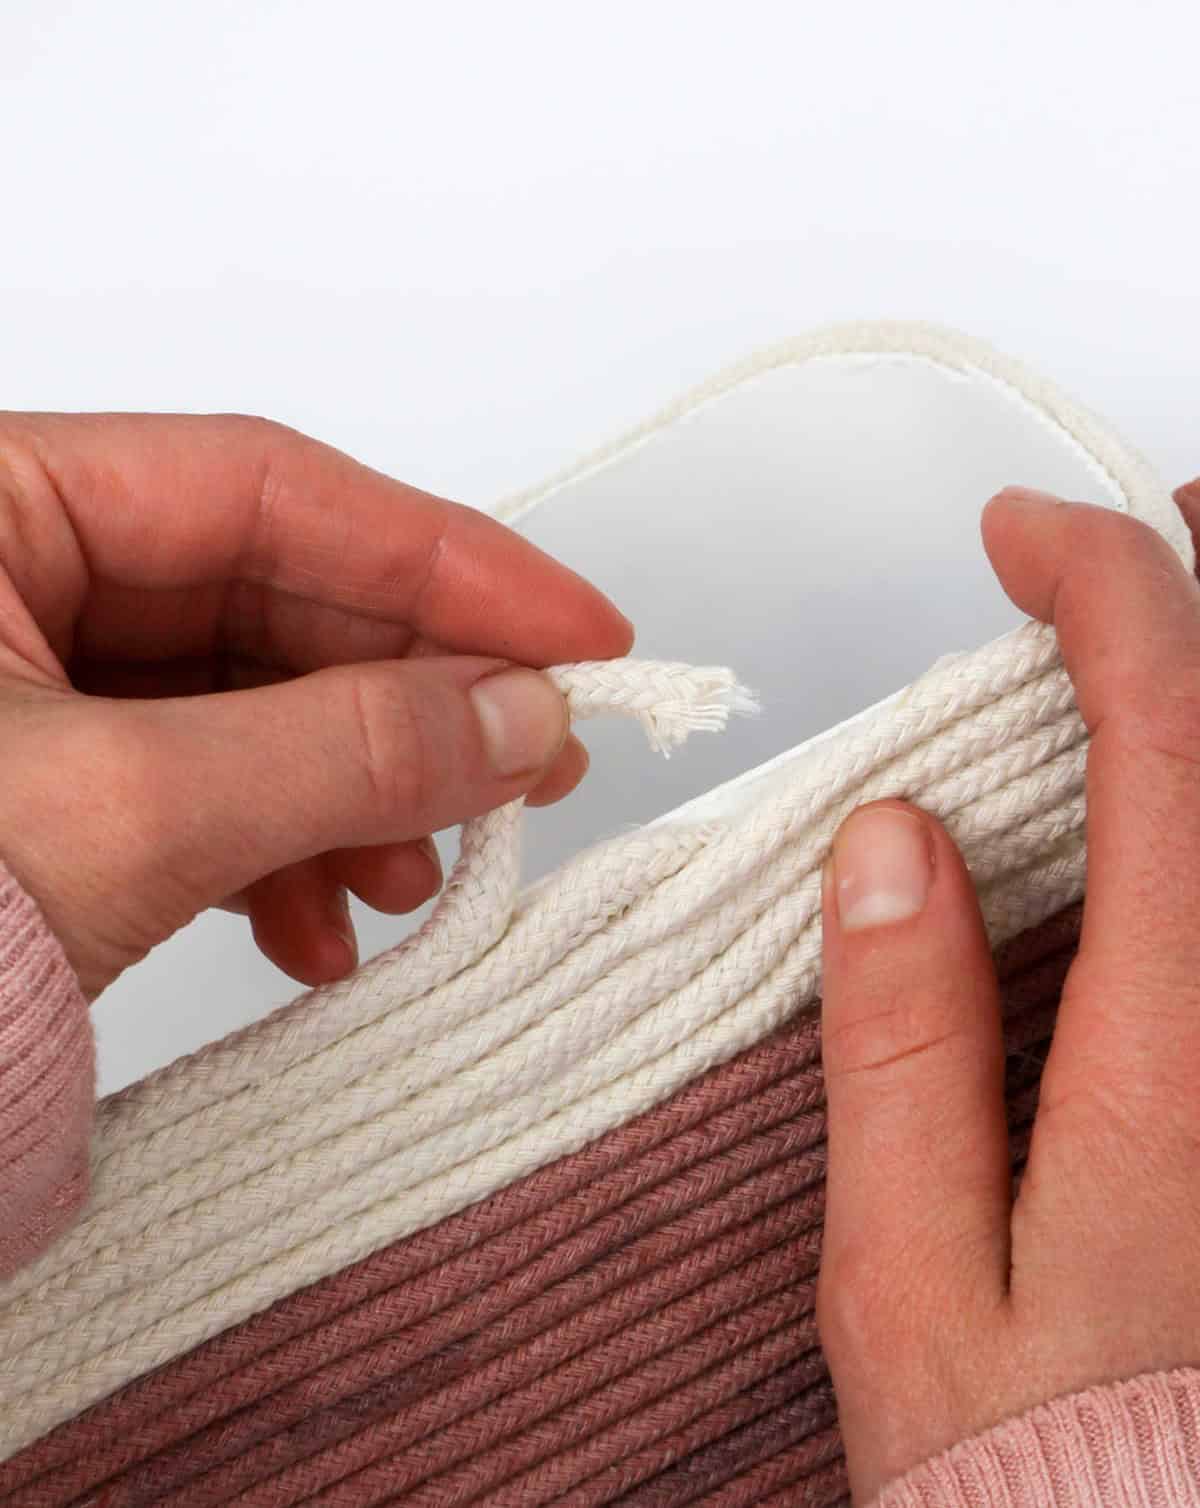
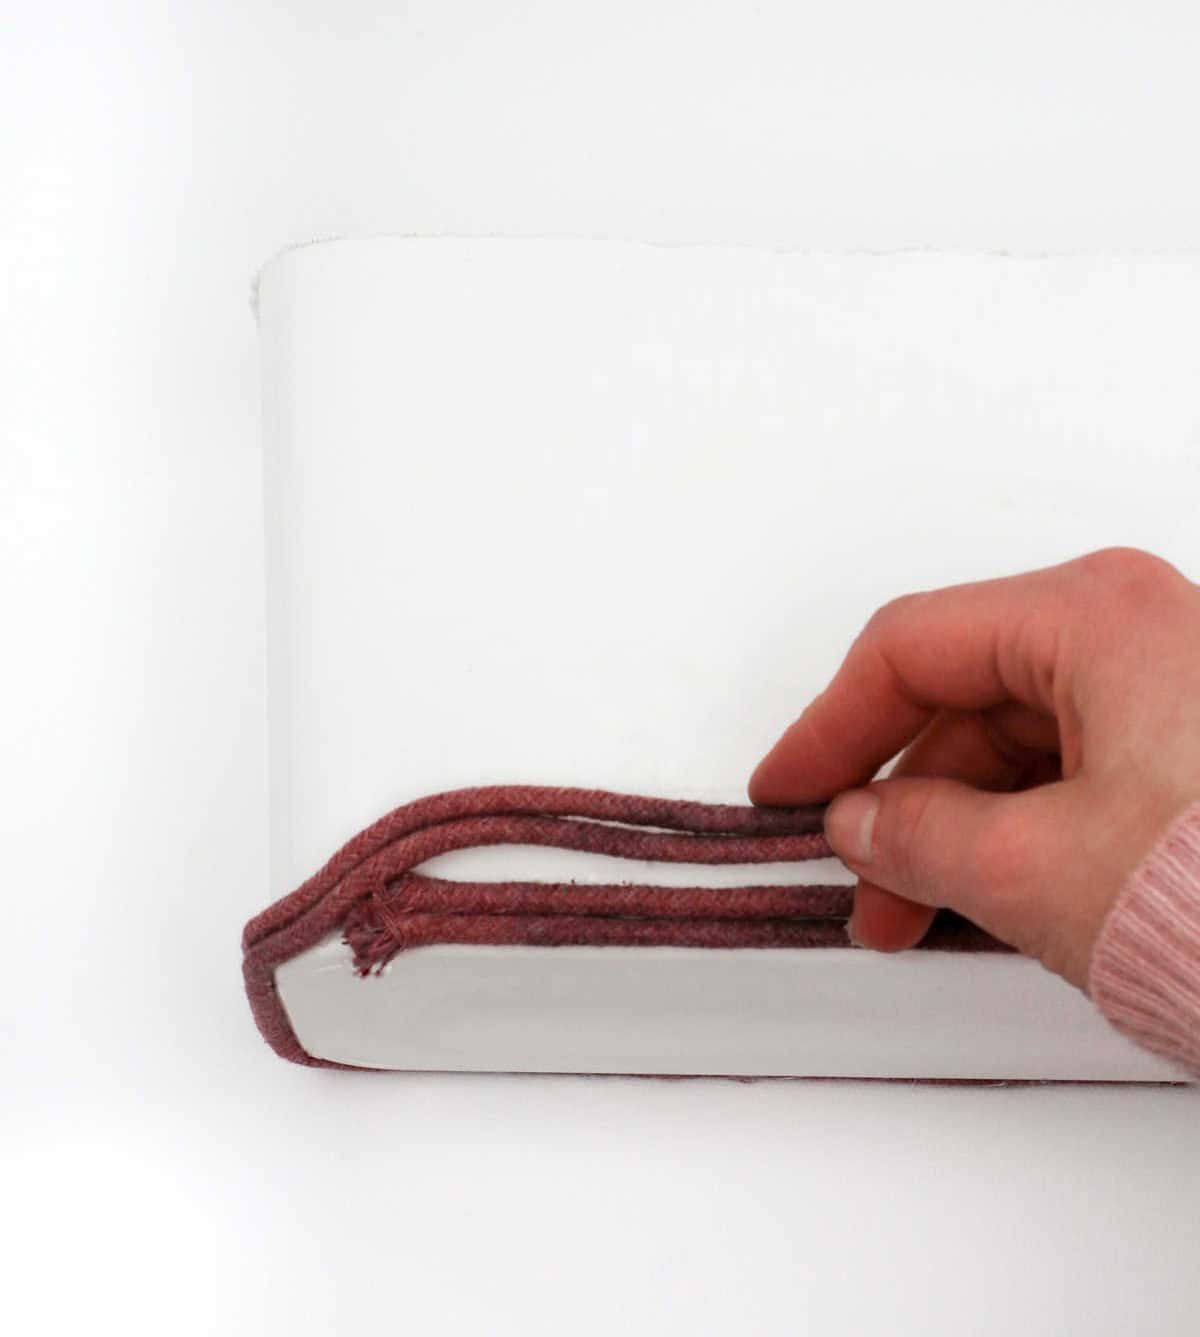
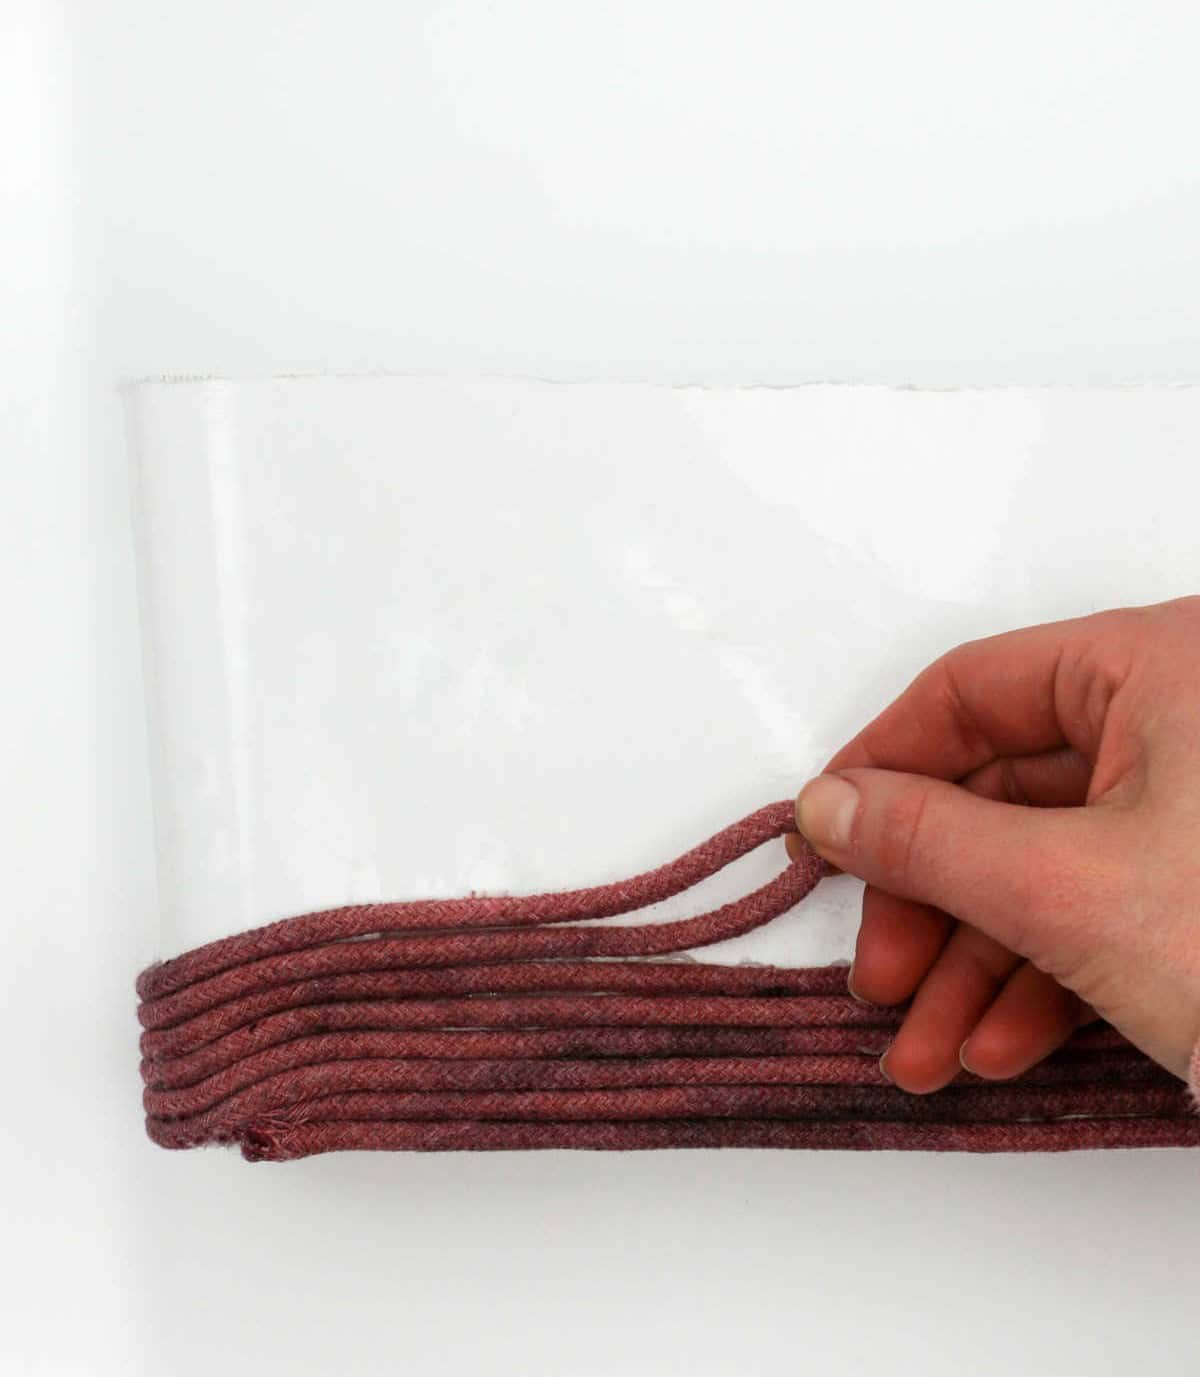
After securing all items in step 7, take a moment to tidy up your basket by trimming away any excess rope. This will give your finished product a clean and professional appearance. To complete this step, simply snip off the excess rope with scissors or clippers, taking care not to cut too close to the main body of the rope. Once trimmed, you can then tuck the ends into the rope itself, using a small amount of hot glue to hold them firmly in place.
This will prevent any stray fibers from coming loose and ensure your basket remains secure and stable.
Step 9
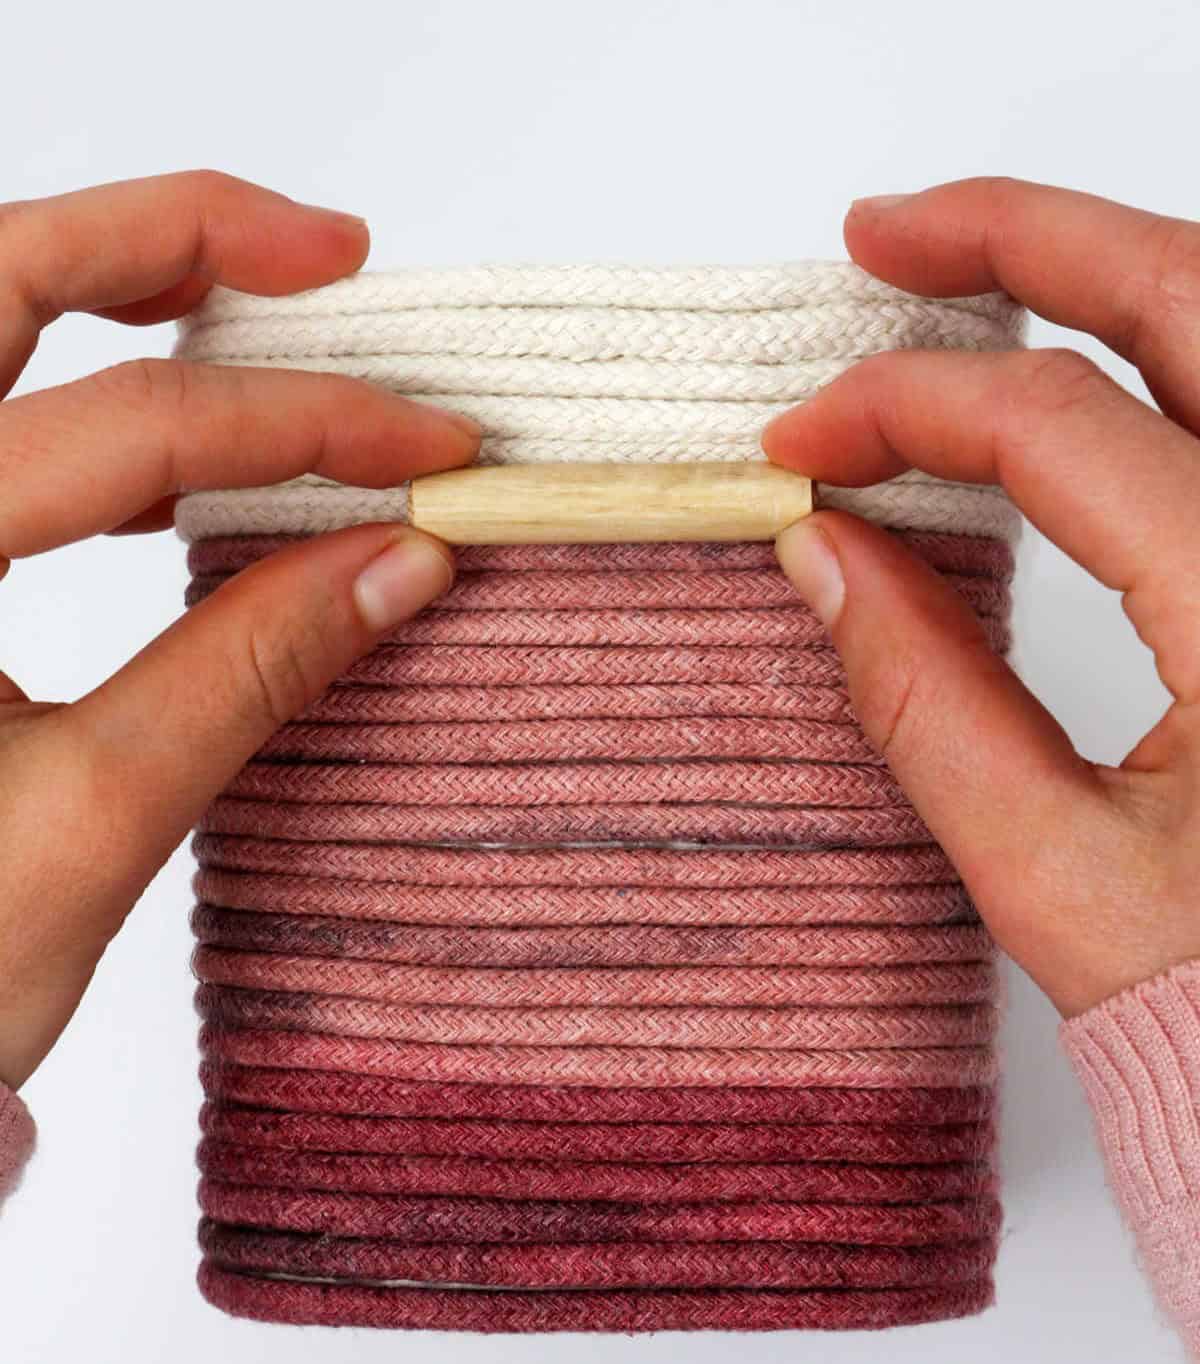
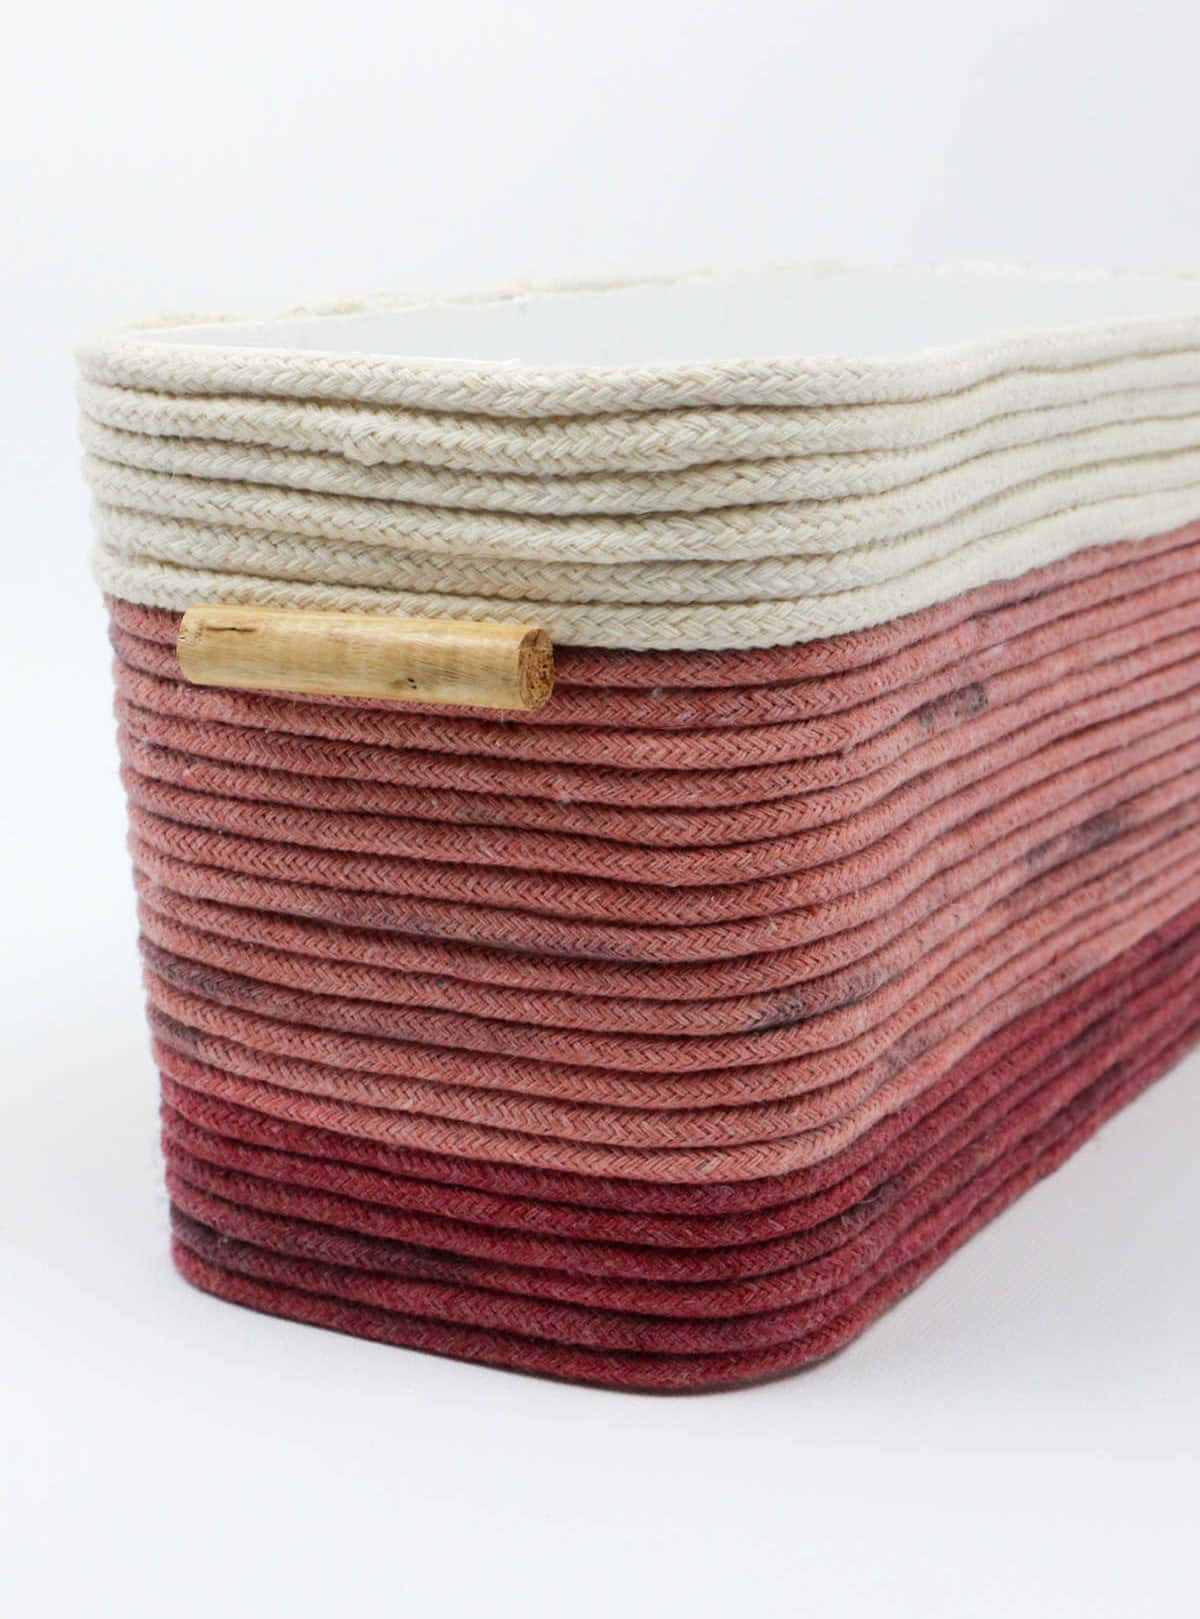
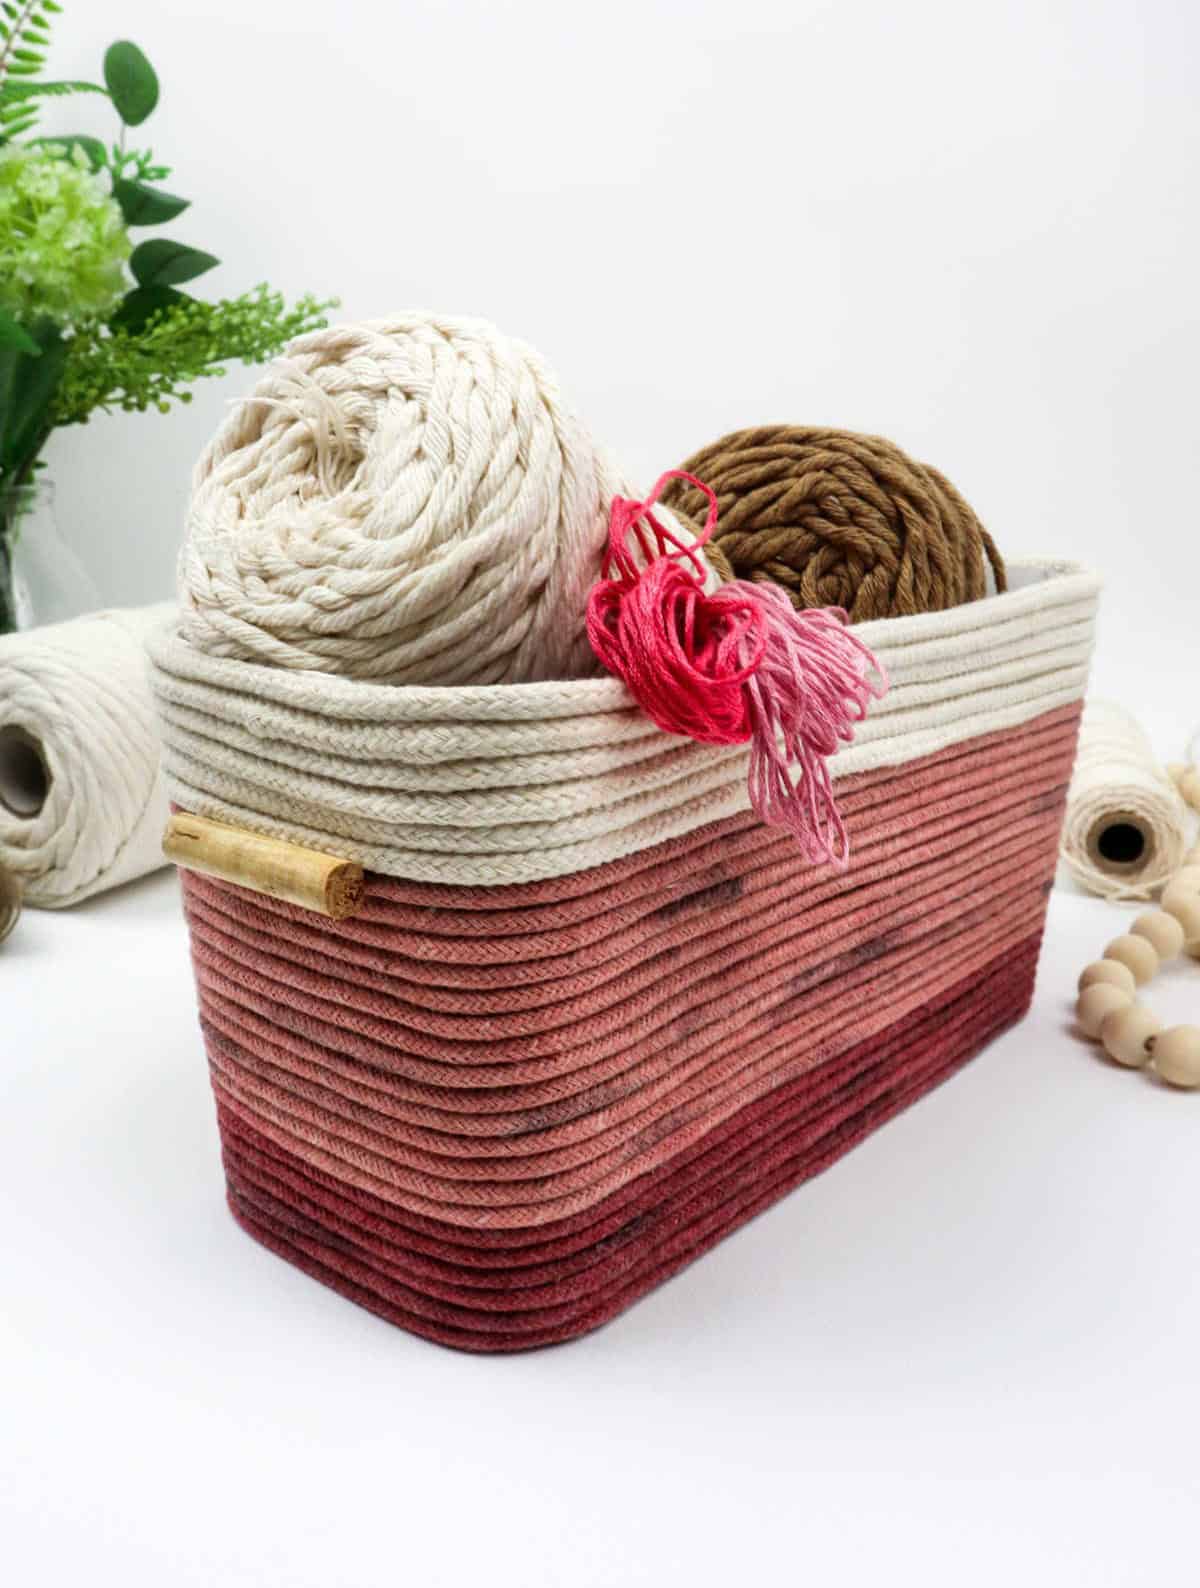
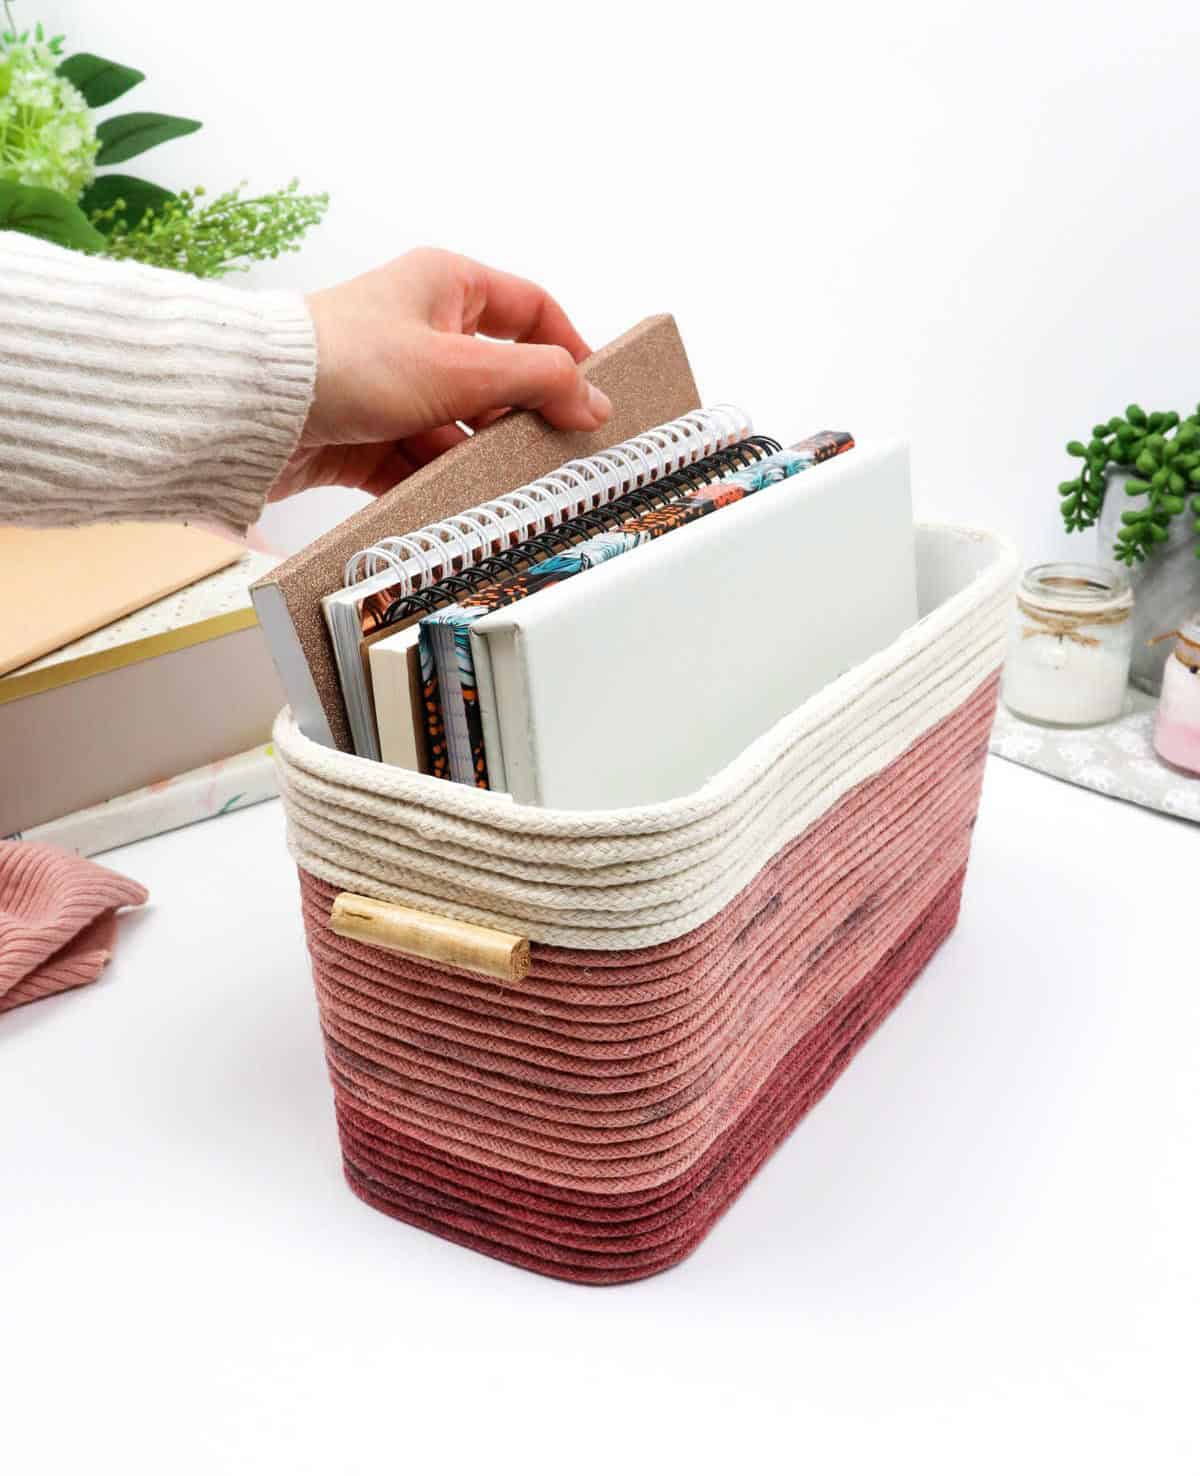
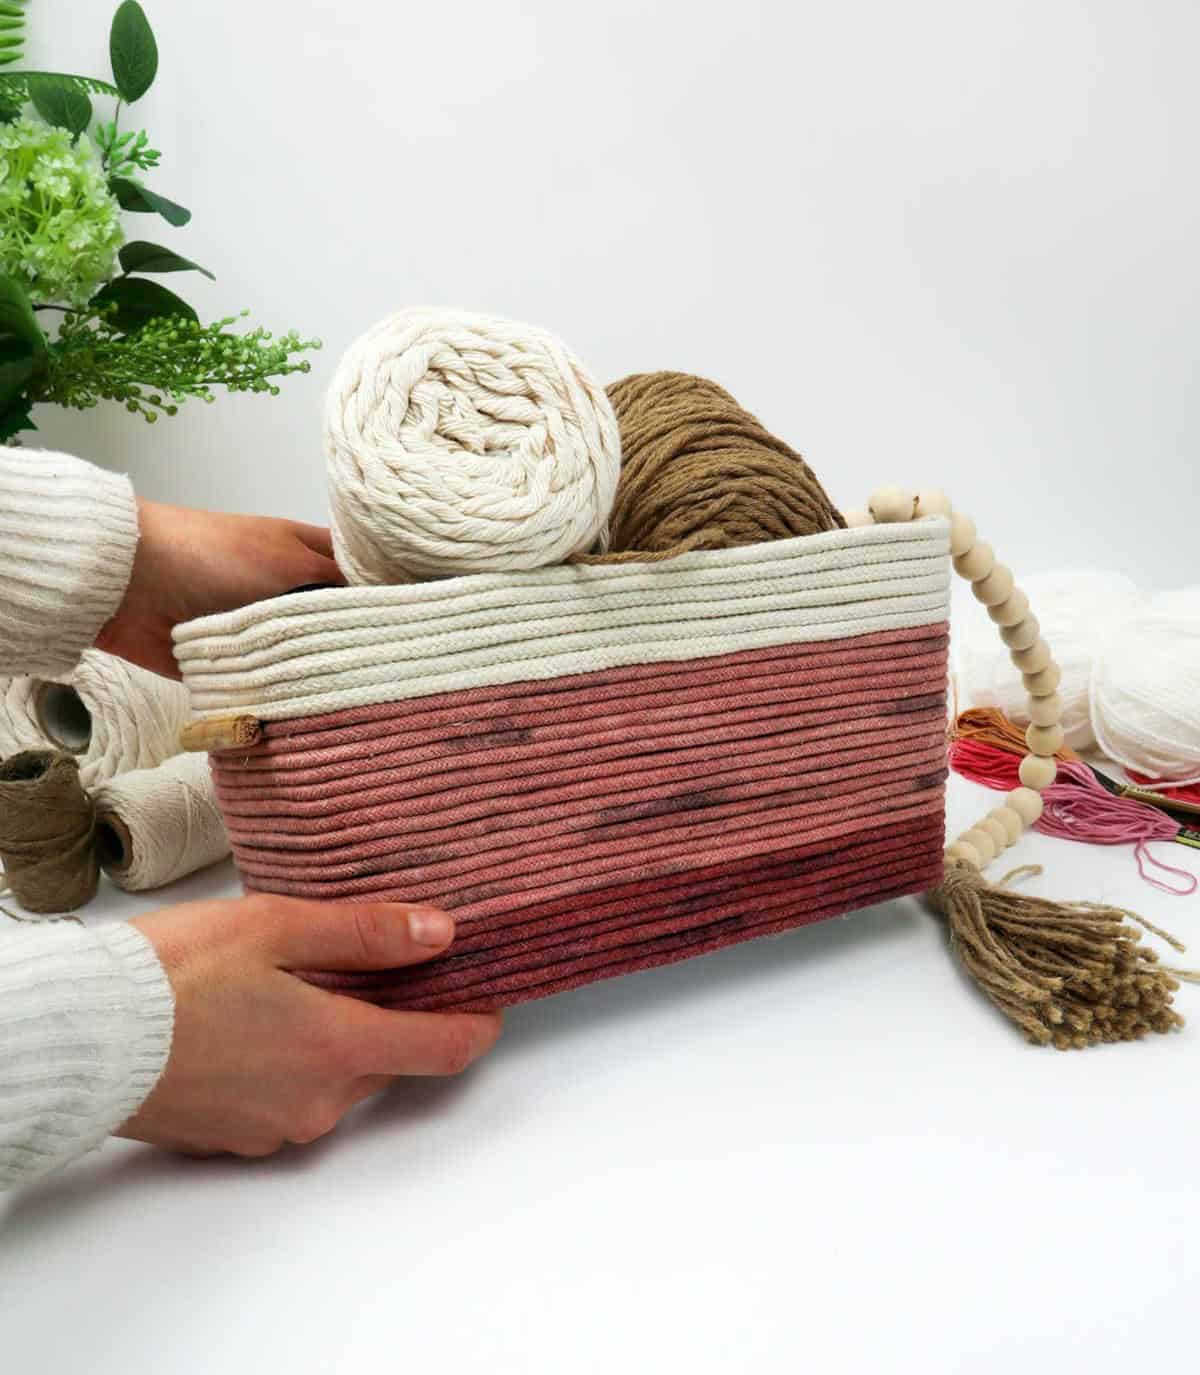
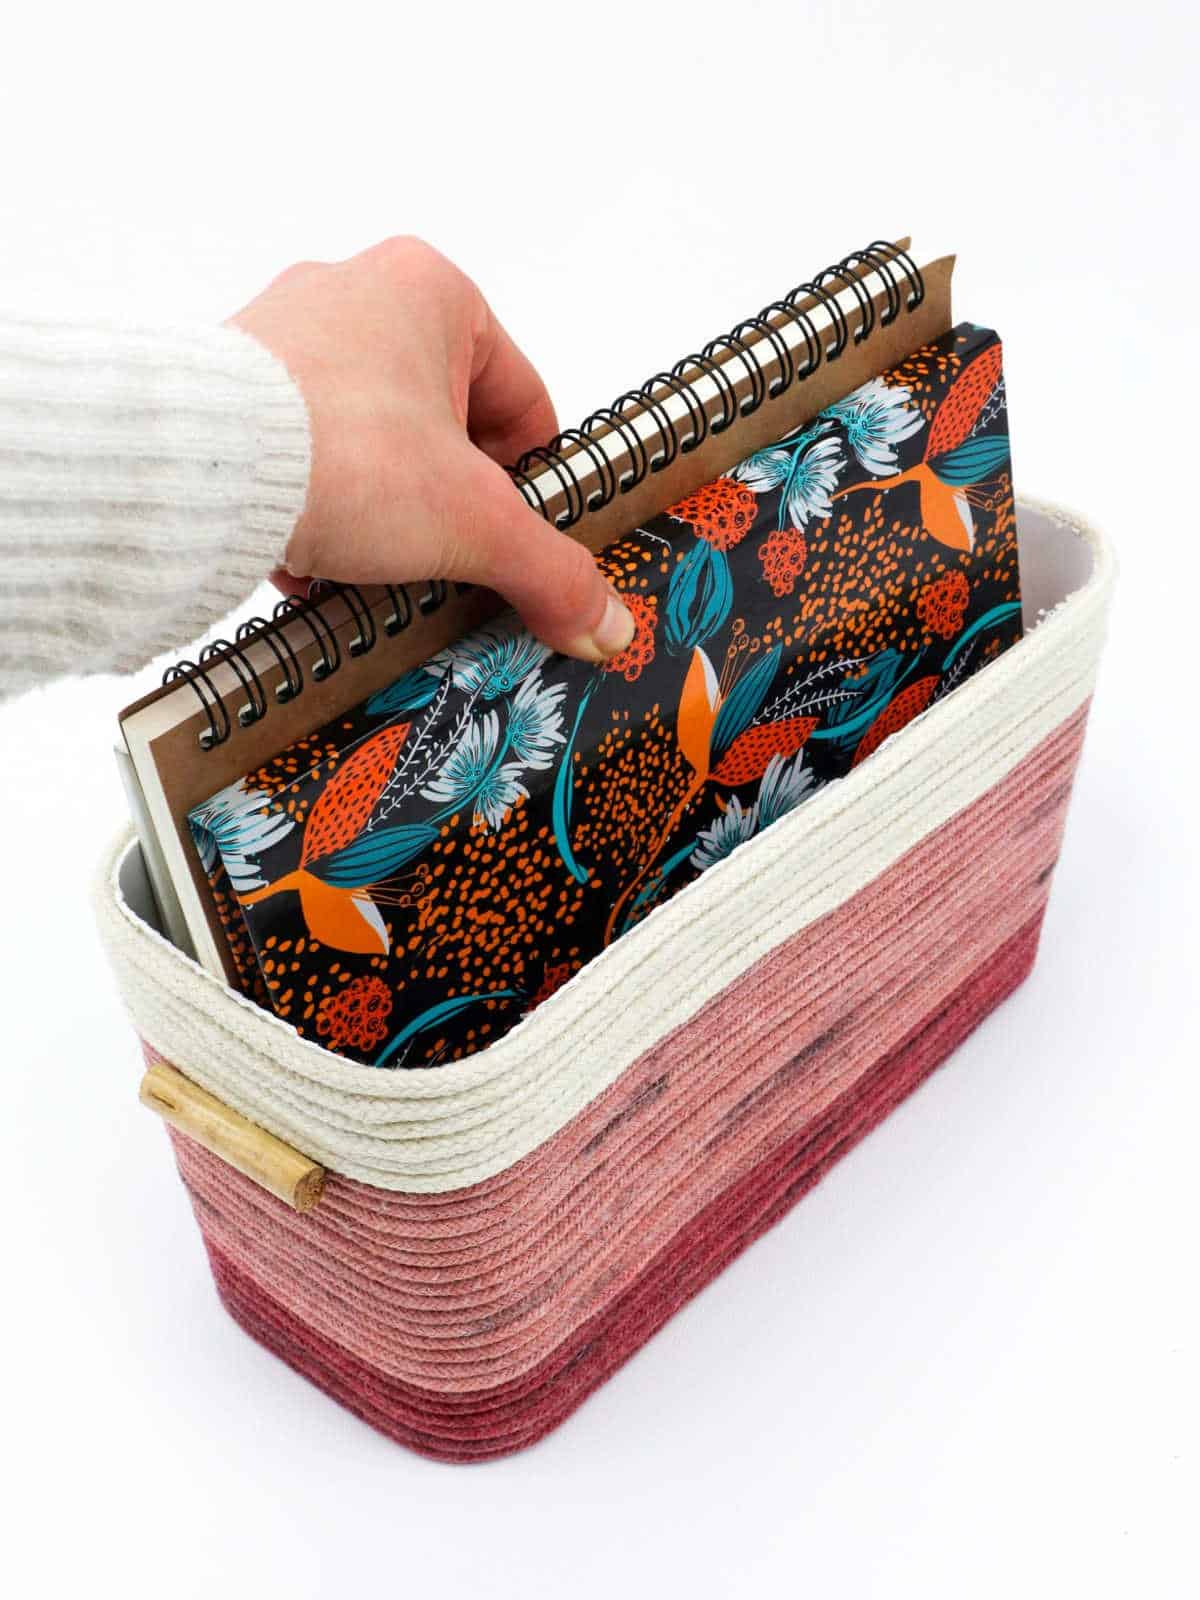
To complete your DIY rope basket, it’s time to attach the handles. Start by applying hot glue along a wooden stub, then carefully press it into the desired position on the rope and ensure it stays in place. Repeat this process for the opposite side. Once the glue has dried, your rope basket is ready to use. Simply fill it with your favorite items, such as craft supplies or stationery.
If you’re looking for more creative projects that involve using rope, consider trying DIY Rope Coasters, a Rope Basket made from a Cardboard Box, or a Rope Organizer for your desk.
Other Organization Ideas

When it comes to getting organized, one of the biggest challenges many of us face is finding ways to maximize our small spaces. Whether you’re dealing with a tiny apartment, a cluttered garage, or even just trying to keep your kids’ toys in check, having effective storage and organization strategies can make all the difference.
In this article, we’ll explore 47 different ideas for getting organized, covering topics from clever storage solutions for small spaces to creative ways to corral children’s toys, and everything in between. From laundry rooms to craft rooms, and even small bedrooms, we’ve got you covered.
DIY Rope Basket
Create your own DIY basket and increase your storage space with a beautiful, functional piece. This project allows for endless possibilities in terms of usage – collect various items, use it as a decorative accent or anything else that suits your needs. The process itself is relatively quick, requiring only 40 minutes of active time, with an additional 30 minutes needed for preparation and assembly. The end result is a unique, handmade rope basket that adds a touch of personal flair to any room.
Equipment
To avoid the frustration of a suddenly dark screen, you’ll need to prepare a few basic materials beforehand. Start by gathering a hot glue gun, scissors, and paintbrush. You may also want to have an old pot on hand, as well as a pair of gloves for added protection. With these supplies at your disposal, you’ll be well-equipped to tackle the task at hand and ensure that your screen stays bright and responsive.
Materials 1x2x3x
For this DIY project, you’ll need a few basic materials. Start by gathering a sturdy plastic box or repurposing an existing cardboard box. You’ll also need some clothing line rope for hanging your fabric creations. To add some color to your designs, pick up some fabric dye powder. And finally, if you want to get creative with the shapes and structures of your projects, consider adding some wooden sticks to your materials list.
Instructions
To initiate this project, prepare by gathering essential supplies and conceptualizing the color pattern. Divide the rope into separate segments for each hue, cutting them to the desired length. Next, combine food dye powder with water, stirring thoroughly with a wooden stick to achieve an even mixture. Remember to don protective gloves and lay down newspaper sheets to ensure a mess-free workspace.
Dip the rope into the dye solution, using the stick to coat it evenly, and verify that no white patches remain. Repeat this process for each color, allowing the rope to dry completely before proceeding. Once prepared, employ your hot glue gun to apply adhesive around the basket’s base, alternating between applications of glue and securing the rope in place.
When transitioning to a new color, simply melt the ends together using hot glue and secure them firmly.
Continue winding the rope around the basket, working your way up until you’ve reached the top. Finally, tuck the ends in place and apply a small amount of hot glue to seal the project. As a finishing touch, attach the handle stubs to the sides and your craft is complete! Load up your basket with your favorite items and take pride in your newly crafted masterpiece.