
Creating a beautiful piece of jewelry that holds sentimental value is an experience like no other. When you look at the copper wire ring adorning your finger or neck, you can’t help but feel a sense of pride and accomplishment. What’s more, having a custom-made piece of jewelry means you don’t have to scour stores for the perfect design. With these DIY rings, you can create unique pieces that reflect your personal style and taste.
Plus, it’s an affordable way to add some extra flair to your wardrobe! The best part? You have complete control over the design. Change the shape, add a gemstone or two, or experiment with different wire colors to create something truly one-of-a-kind. It’s all up to you. In this DIY project, I’ll guide you through the process of crafting stunning copper wire rings that are perfect for gifting or wearing yourself.
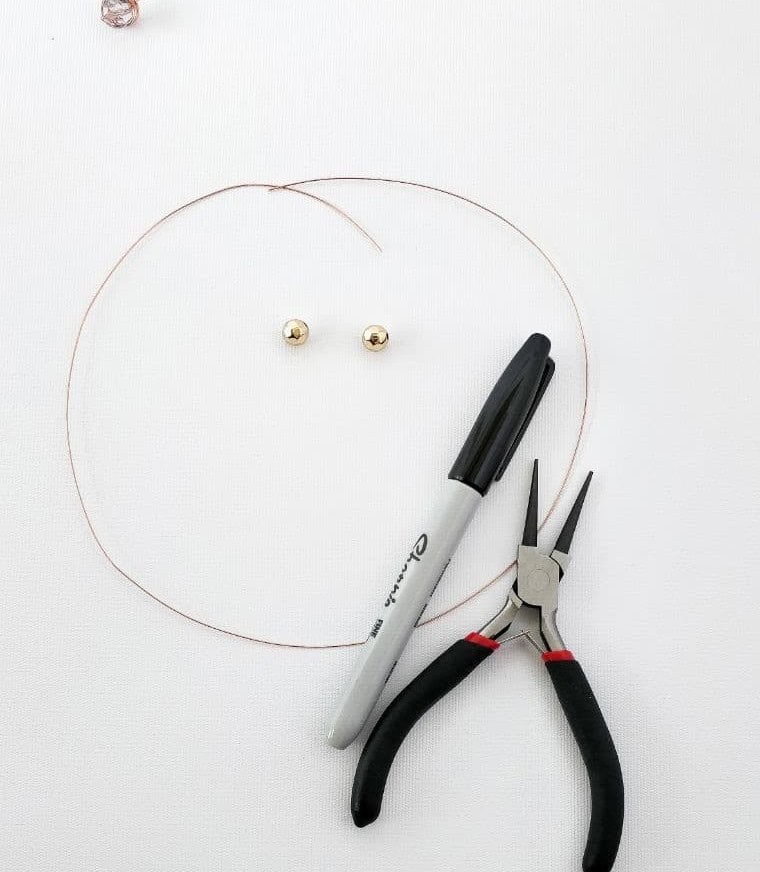
What You’ll Need
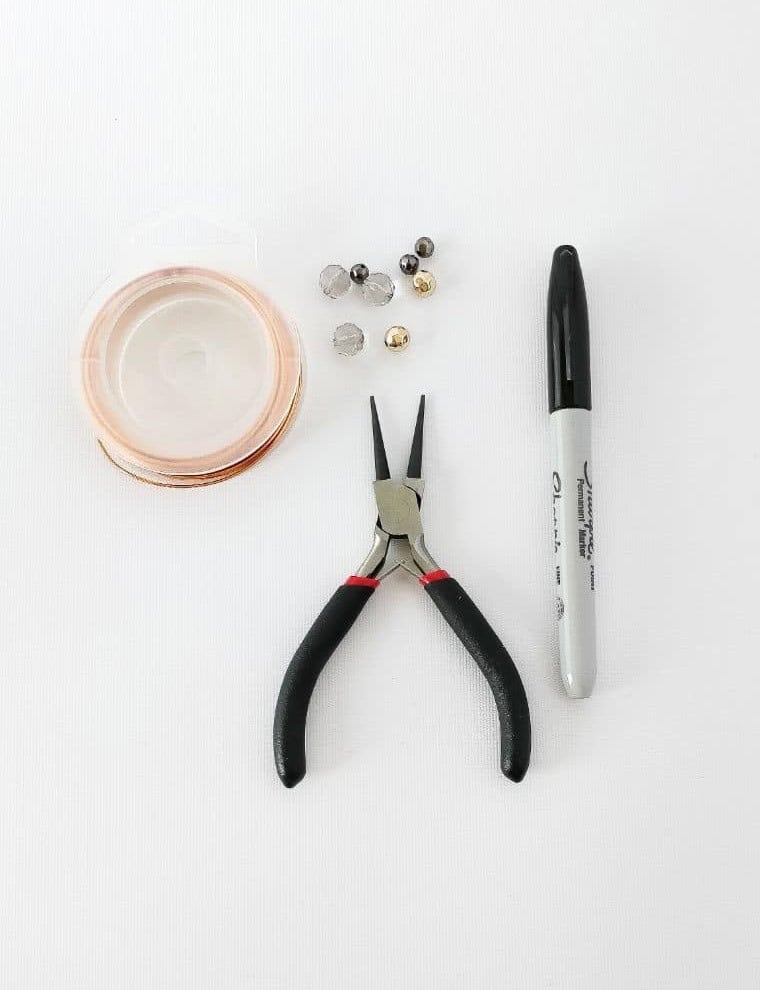
To get started, you’ll need a few basic materials. Begin by gathering a permanent marker – I prefer a standard black Sharpie for its bold lines and easy visibility. Next, collect your favorite beads in various colors or textures to add visual interest to your design. For the framework of your piece, use 6mm copper wire with a gauge of 22. This type of wire is flexible yet robust enough to hold its shape. Finally, have long-nose pliers on hand to help you bend and manipulate the wire into place.
How to Make Copper Wire Rings
Step One
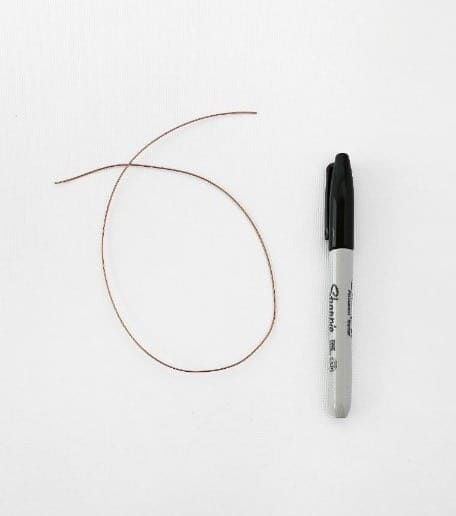
To initiate the process, start by cutting a suitable length of copper wire, taking into account the size of your finger. For my project, I measured out approximately six inches. However, it’s essential to keep in mind that this wire will undergo extensive twisting, so the final length may be significantly longer than initially anticipated.
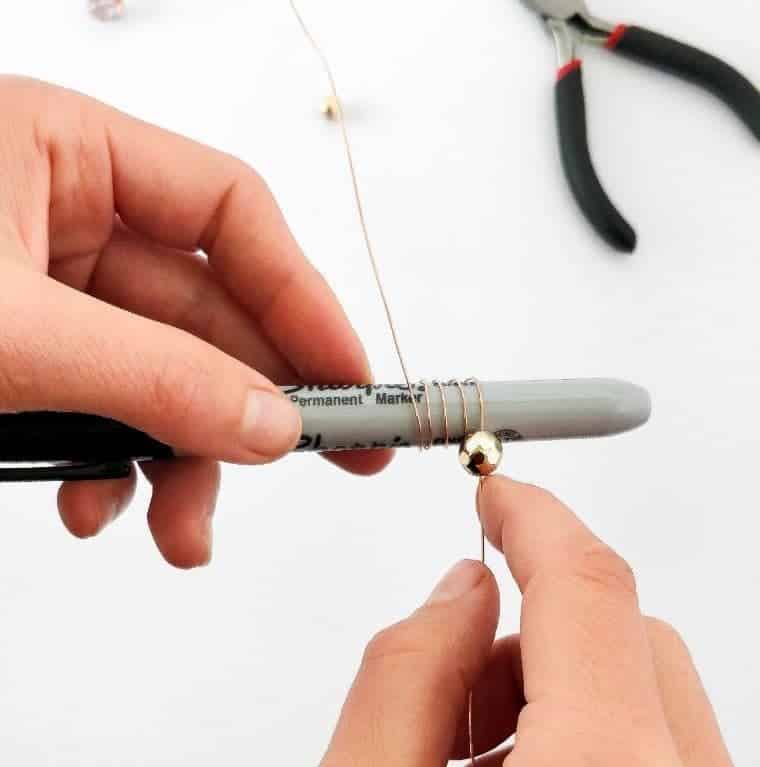
Step Two
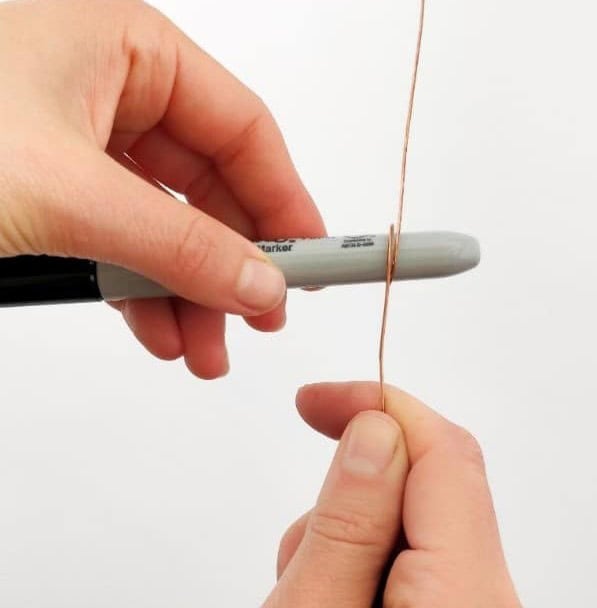
To begin crafting your ring, start by placing your marker at the midpoint of your wire length. Ensure that the marker is proportionate to the size of your finger to guarantee a accurate fit. With the excess wire below the marker, simultaneously wind both ends upwards and then over until they converge in opposite directions, marking the commencement of the loop.
Step Three
To secure the loop tails, perform a gentle rotation in an anti-clockwise direction. As you do this, imagine turning a steering wheel or a gear – the motion should be fluid and smooth. The result is that the tails will cross over each other, effectively flipping them back around to face the opposite direction.
Step Four
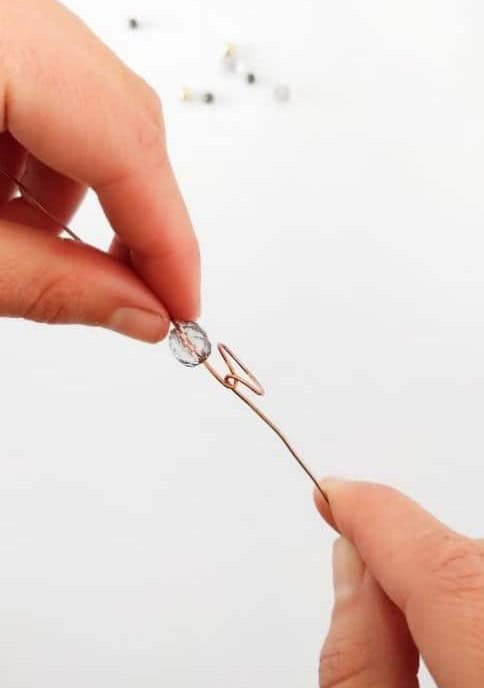
To complete the piece, begin by sliding the bead onto one end of the twisted loop, ensuring it is seated at the base of the loop’s structure. As you work this step, focus on aligning the bead with the natural curvature of the loop to achieve a seamless integration.
Step Five
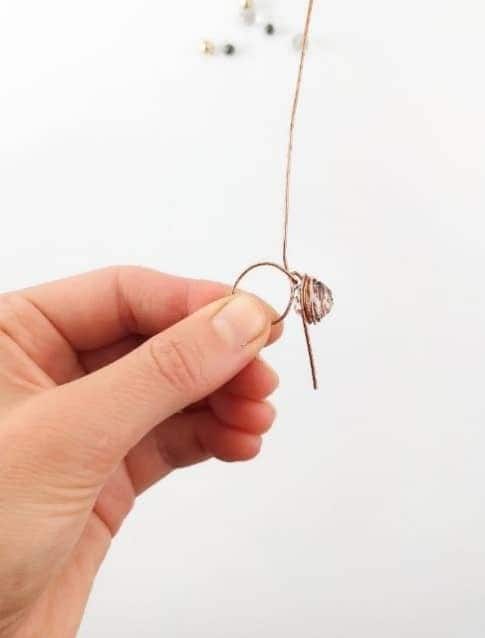
As we enter the final stages of the jewelry-making process, patience and attention to detail become crucial. With the bead securely in place, begin winding the left piece of wire around it, starting at the topmost point (the side facing you). Work your way down the bead, ensuring each circle is snug and even. This meticulous approach will pay off as you bring the design together.
Step Six
As you wrap the wire around itself, maintain a consistent pace and ensure each loop is snug against the previous one. The goal is to create a compact, concentric arrangement that allows for easy manipulation later on. When nearing the end of the wire, deliberately leave a small section exposed, angling it slightly away from the main body. This deliberate slack will provide a convenient access point when you need to adjust or remove the wrapped wire using your pliers.
Step Seven
When crafting a beaded piece, it’s essential to add the final touches with finesse. To achieve a polished look and avoid any awkward finger pokes, use your long-nose pliers to carefully wrap the remaining wire around the bead. This precise manipulation is where the utility of these pliers truly shines, as they expertly grasp small objects and twist them into place, resulting in a seamless finish.
Step Eight
As you continue shaping the ring, ensure that the wire is wrapped snugly around each other, much like a spiral staircase. If the bead runs out at the bottom of your design, don’t worry! Simply begin winding the wire back up in the opposite direction, gradually building the structure’s strength and character along the way.
Step Nine
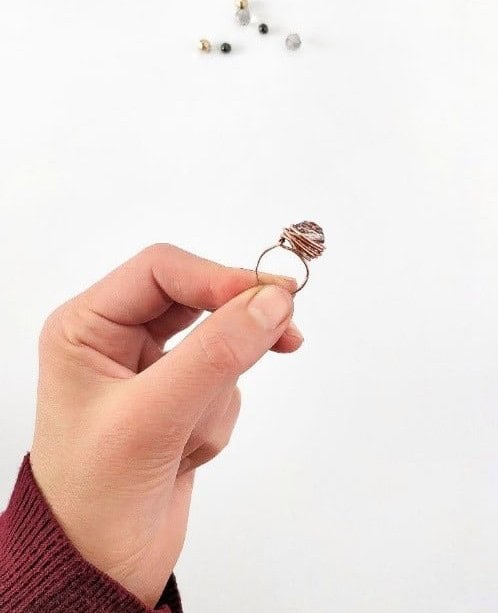
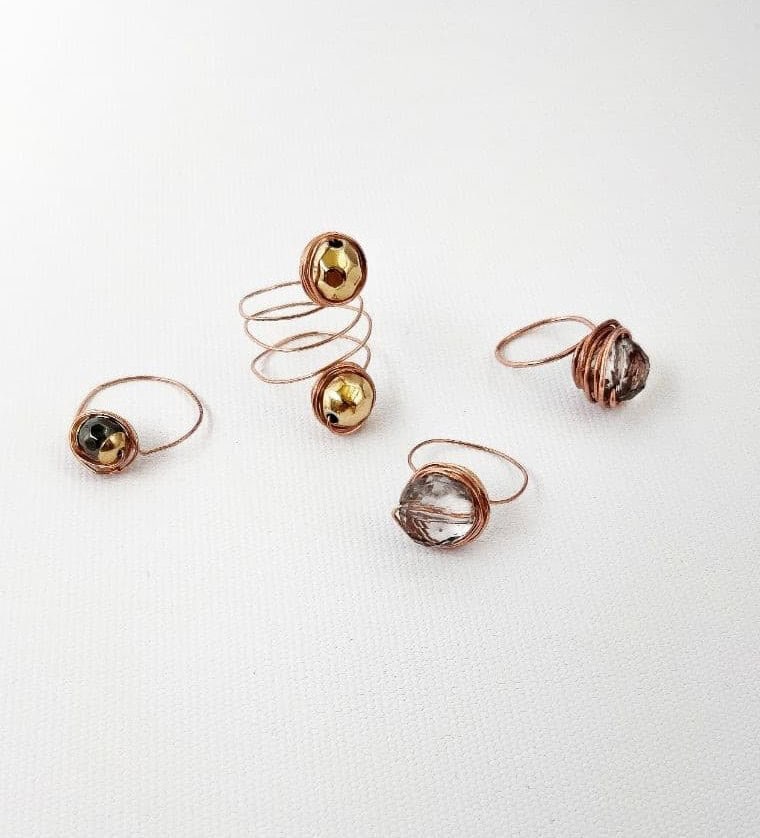
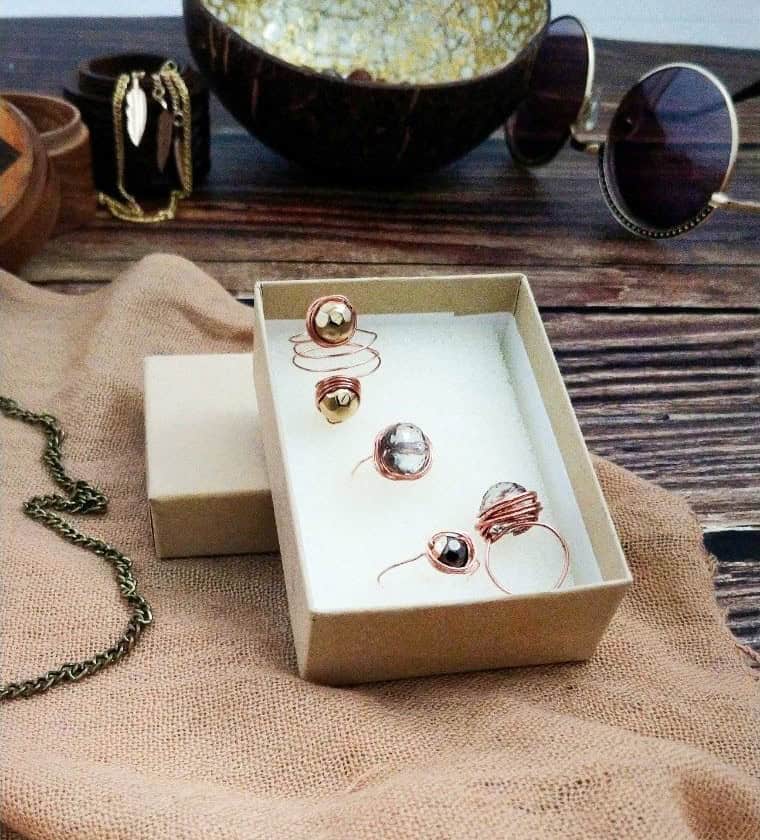
As you proudly wear your newly crafted wire ring, bask in the joy of having created something truly unique and beautiful. Not only will this dainty accessory add a touch of elegance to your everyday look, but it’s also a testament to your creativity and skill. And let’s not forget the best part – you can now impress friends and family with your newfound crafting abilities, all without sacrificing an entire afternoon!
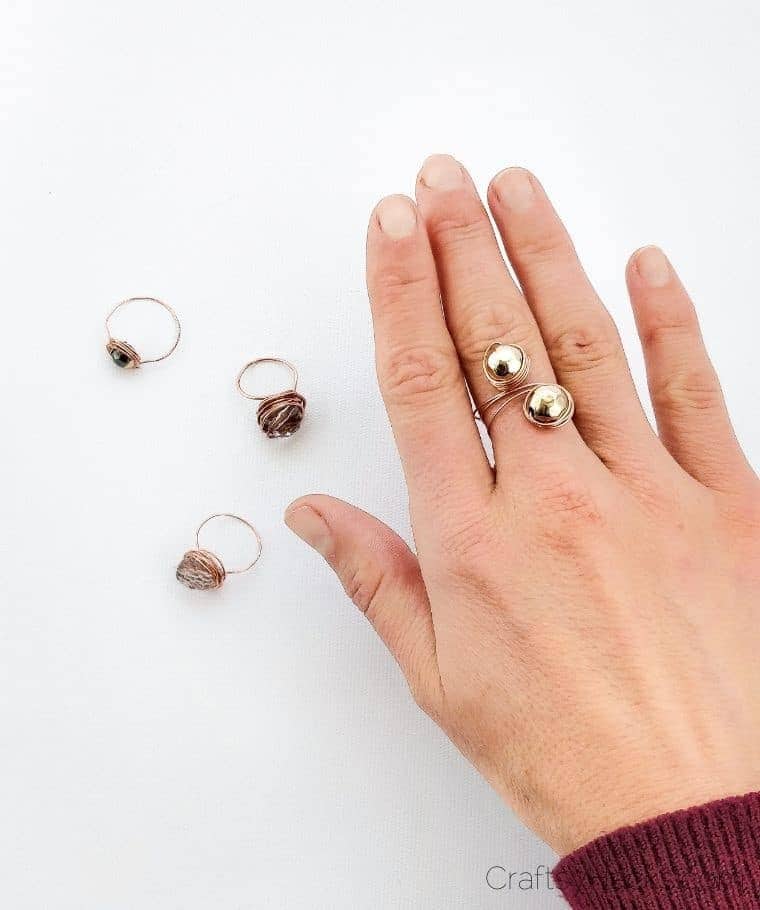
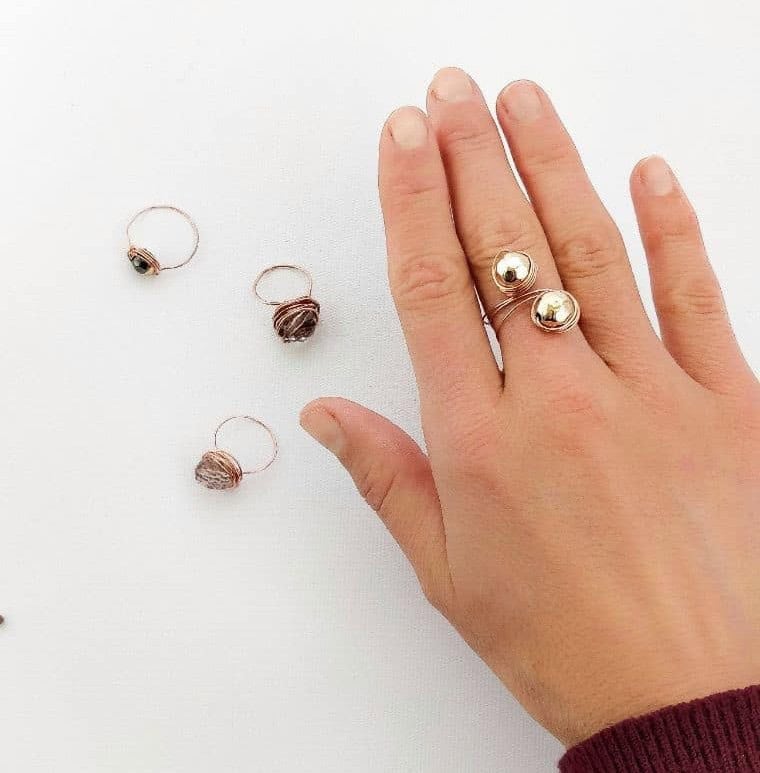
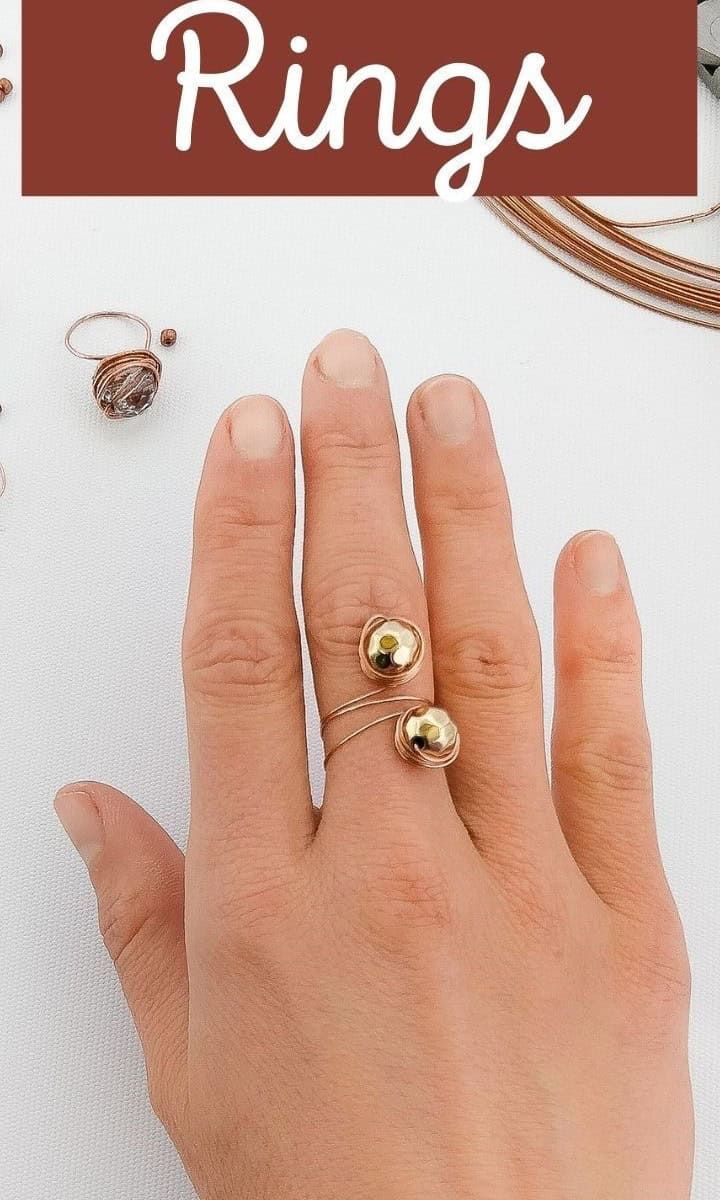
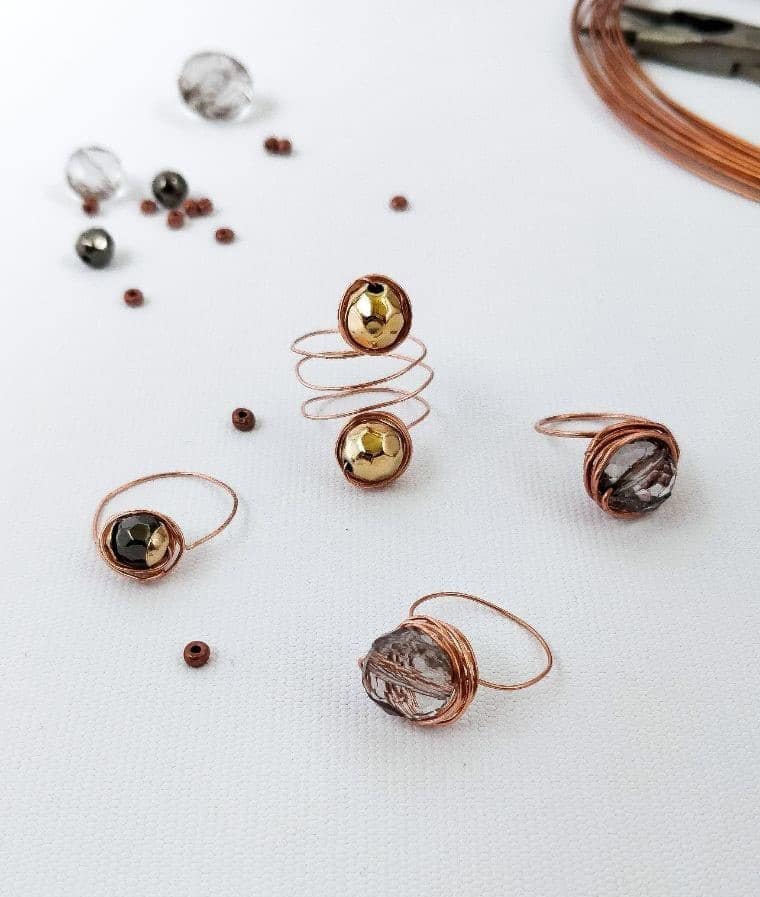
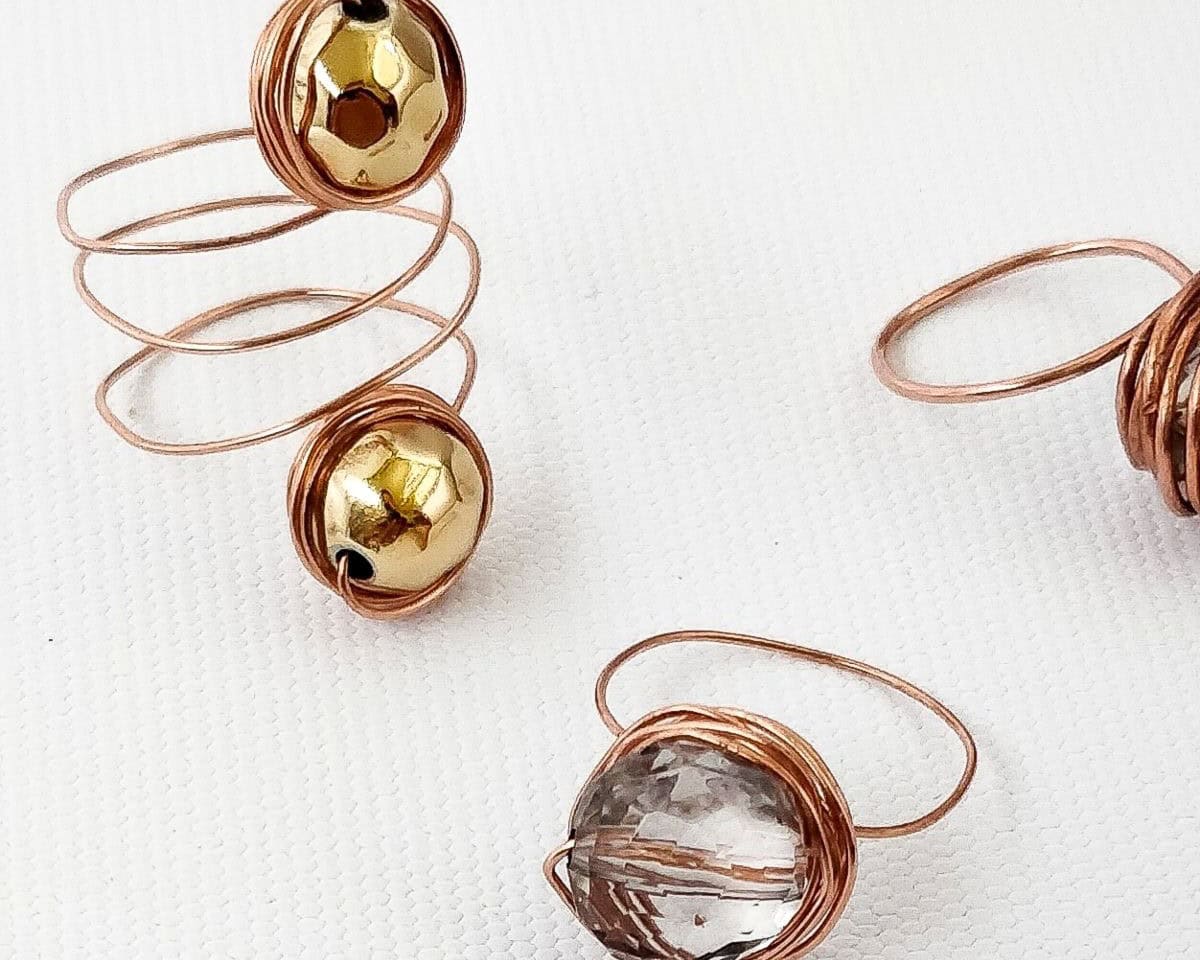
How to Make a Dual-Ended Wire Ring
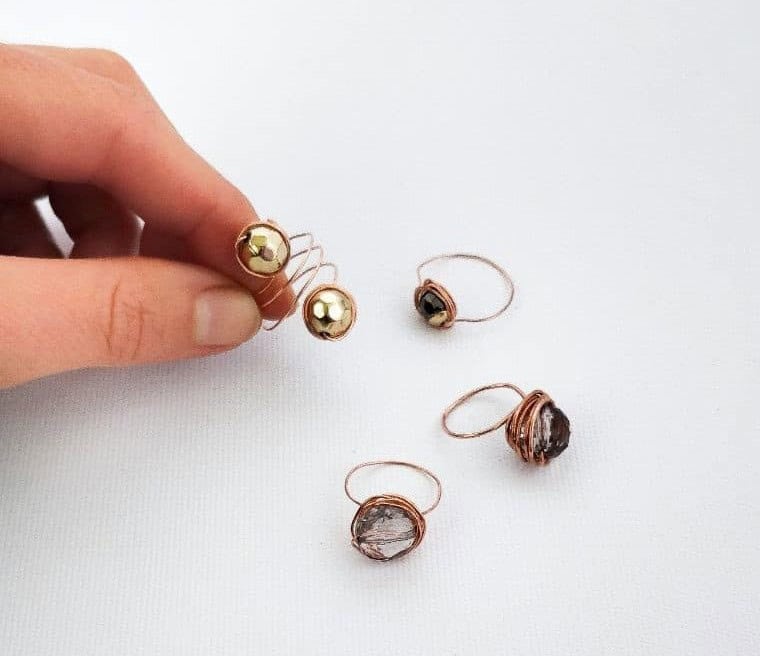
Within my collection of wire rings, there’s another notable addition: the dual-ended ring. This eye-catching accessory takes up more space on your finger, making it a statement piece that demands attention. While it may require slightly more effort to create, rest assured that it’s just as straightforward to make as its single-ended counterpart. The only difference lies in selecting two matching beads instead of a singular crowning bead.
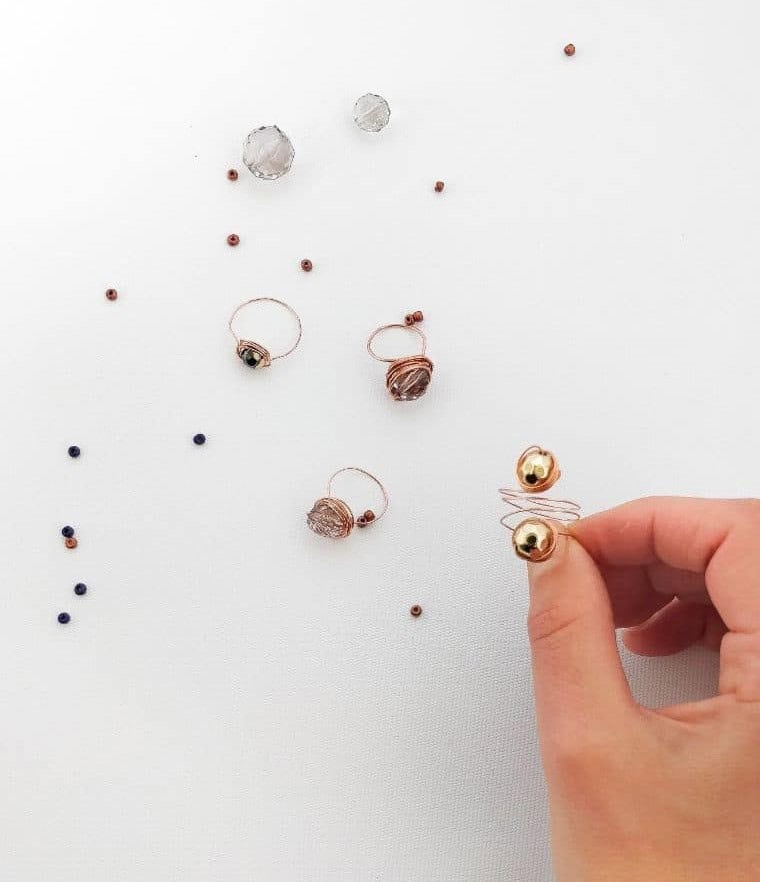
Step One
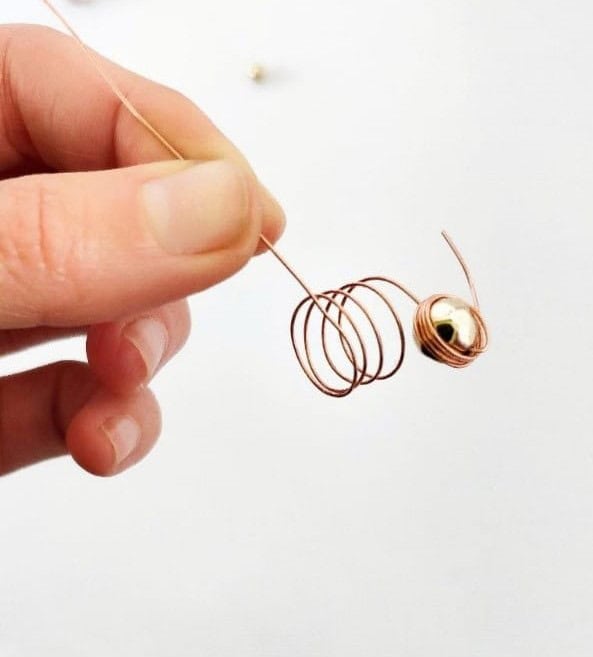
Begin by cutting a length of wire that’s slightly longer than the initial piece. This one will wrap around your finger a few more times, so make sure to leave some extra slack. Next, place a marker above the wire and wrap both ends around it twice, creating two complete loops and two partial loops with tails pointing in opposite directions. The key is to maintain even tension throughout the process to ensure a clean, consistent finish.
Step Two
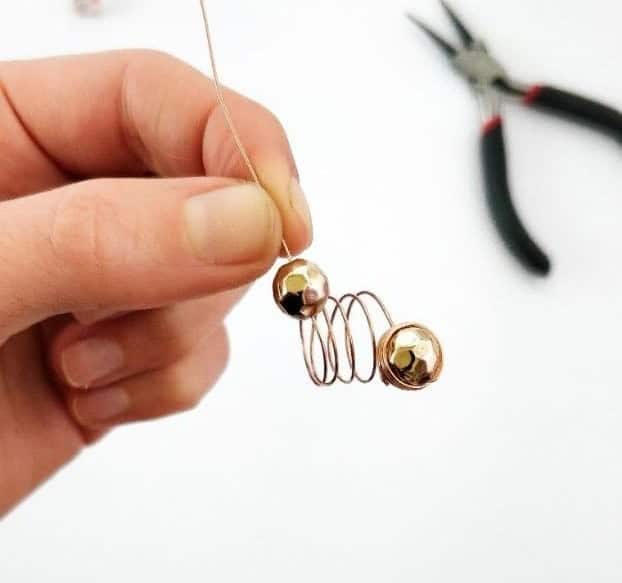
As you prepare to create your beaded masterpiece, start by attaching the first bead to one of the tails while it’s still resting on the marker. Take a moment to ensure the bead is securely in place before carefully sliding the entire assembly off the marker and onto a stable surface.
Step Three
Begin by securing the wire to the top of your bead, then carefully wrap it around the surface in a continuous motion, moving from top to bottom. As you work your way down, ensure the wire remains snug against the bead, creating an even layer of coverage. This process will help create a professional-looking finished product.
Step Four
As the final step, you’ll be left with a short wire stub. To secure it, simply use your pliers to tuck it away neatly, ensuring a clean and tidy finish.
Step Five
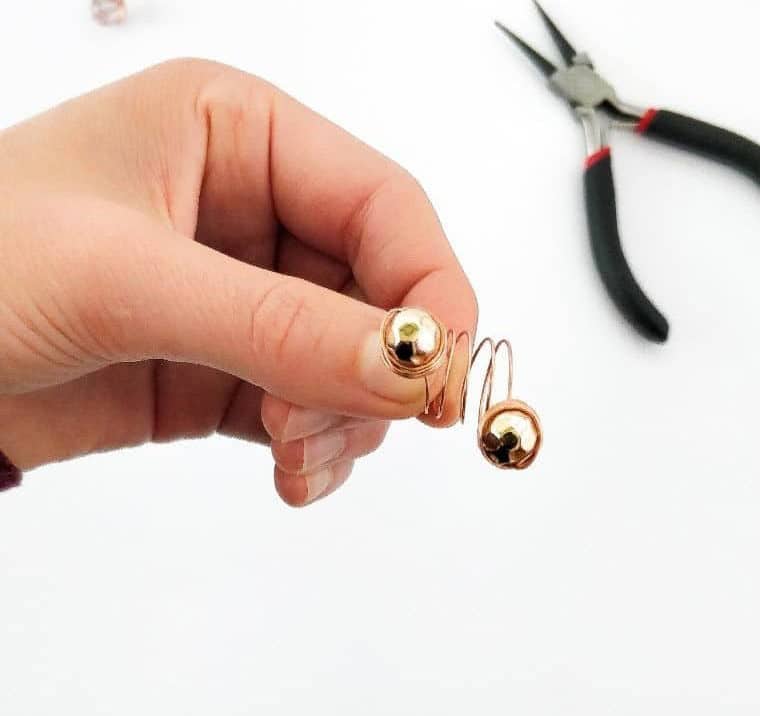
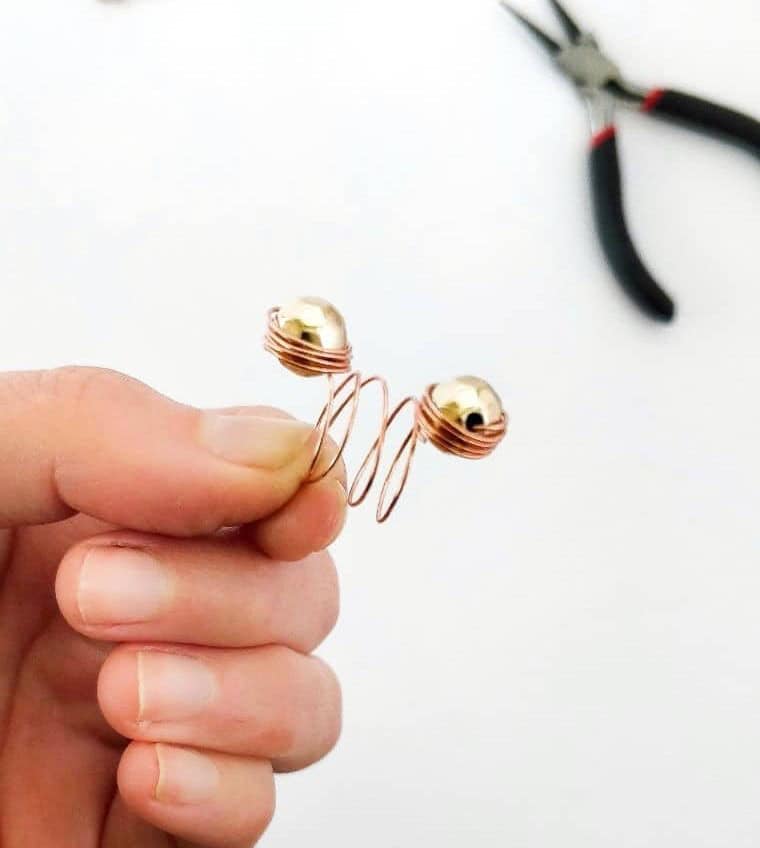
As you’ve now completed one half of the wire, ensure a seamless transition by repeating the process on the opposite side. Pay particular attention to maintaining the original shape and structure of the middle section, as any misalignment can compromise the overall appearance of the final product. With this step complete, you’ll be ready to showcase your handcrafted masterpiece in its own unique Etsy store.
What is the Best Wire for Making Rings?

When discussing wire gauge, it’s crucial to get the thickness right. The higher the gauge, the thinner the diameter. To illustrate, a 22 gauge wire measures around 6mm in diameter, while a 21 gauge wire is approximately 7mm thick.
The thinner your wire is (or the higher its gauge), the softer it becomes. This makes it more manageable to work with; however, it also increases the risk of camber, buckling, or damage as you wear it.
If you’re feeling more comfortable and experienced in working with wire, consider opting for a thicker 8mm wire. While it may require slightly more manipulation, this gauge is ideal for those who have already worked with wire before. For beginners, sticking to 6mm or 7mm wires is still a great place to start.
Who Can Make These Wire Rings?
These customizable rings offer endless possibilities. One of their greatest strengths is their versatility, making them perfect for gifting or personal wear. While they’re ideal for teenagers and adults, this craft is surprisingly accessible to anyone looking for a fun and creative outlet.
For teens on a budget, these rings provide an affordable way to create unique gifts for friends and family.
Meanwhile, adults can utilize their creativity to produce one-of-a-kind pieces that reflect their personal style. Whether you’re looking to give a thoughtful present or treat yourself, these rings are sure to impress.
As you consider gifting one of these rings, think about the special someone who would truly appreciate it. What personalized touches could you add to make it an extra-special gift? Share your ideas in the comments below!
Other Crafts You Can Make


Get creative without breaking the bank! Here are some fantastic 21 dollar tree crafts that’ll help you unleash your inner artist on a shoestring budget. From DIY rock photo holders to macrame leaf earrings, these ideas will have you crafting like a pro in no time. If you’re feeling stuck, why not try painting some rocks or getting inspired by our 20 craft ideas?
Or, take it to the next level with DIY crafts for teen girls, paper crafts, and scrap fabric projects that are sure to bring out your inner designer. And don’t forget to upcycle those old items into something new and amazing – we’ve got 47 upcycling ideas to get you started! Whether you’re a seasoned crafter or just starting out, these dollar tree crafts will have you making beautiful things without breaking the bank.
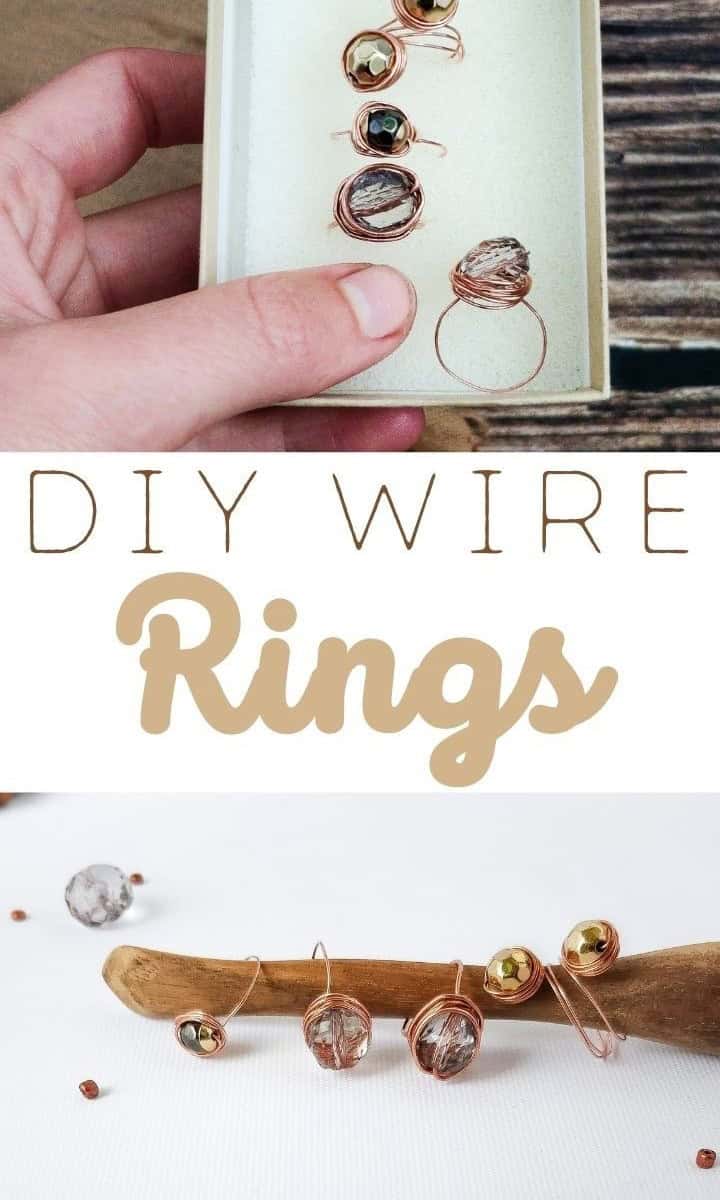
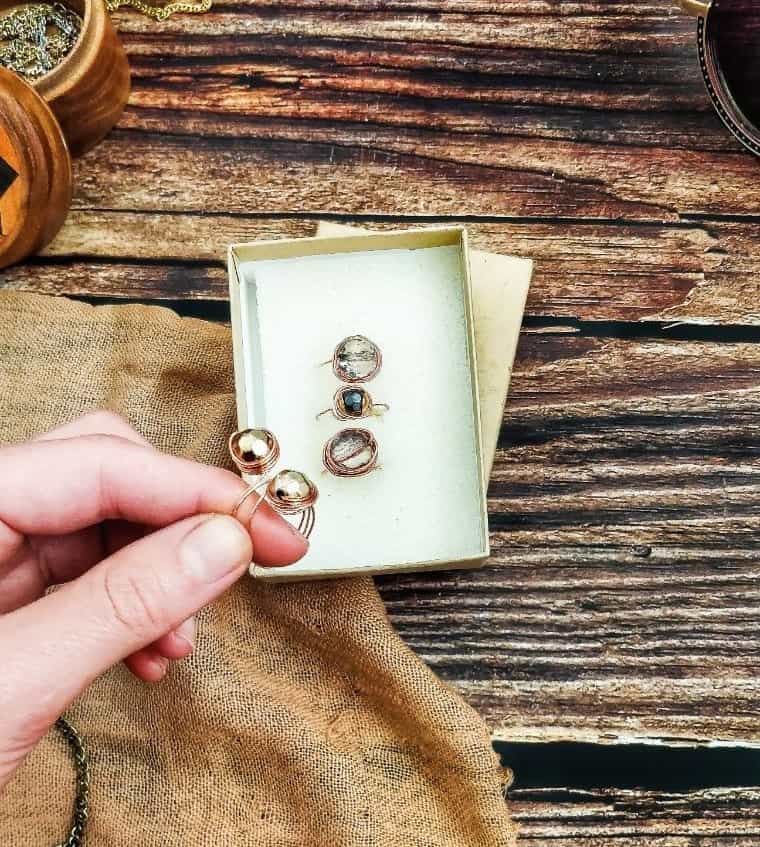
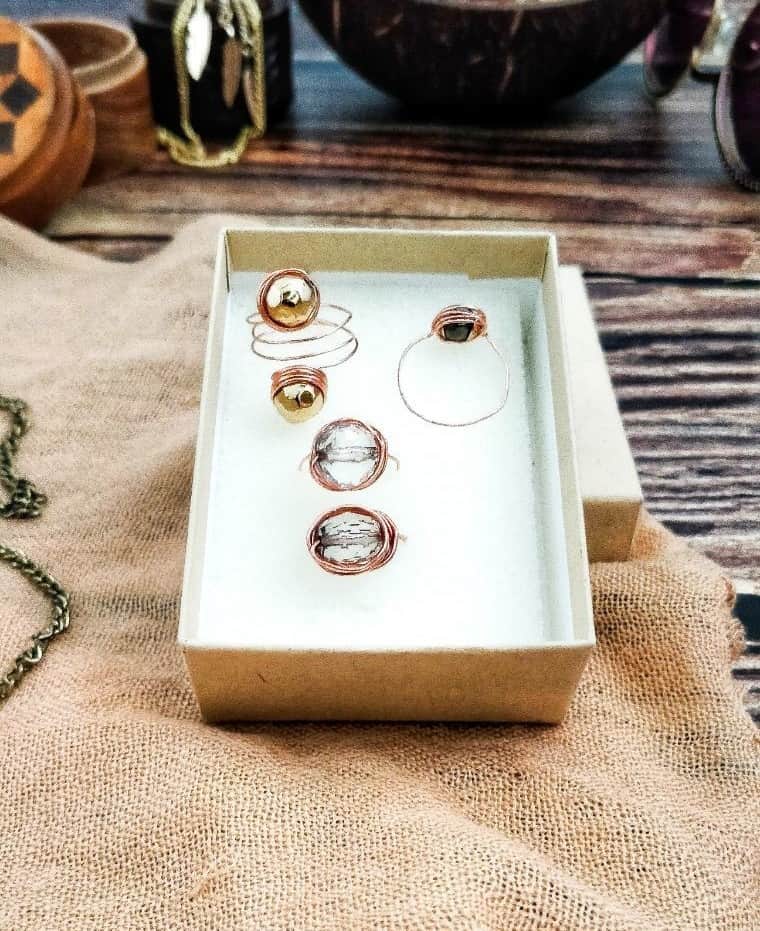
DIY Wire Rings
Create stunning DIY wire rings adorned with beads, perfect as a thoughtful gift or a unique craft to sell. This effortless jewelry-making project will leave you feeling proud of your handiwork! With only 2 minutes of prep and 15 minutes of active crafting time, this project is easily manageable in just 17 minutes total.
Equipment
When it comes to tackling tiny tasks, a trusty pair of long-nose pliers can be a game-changer. With their slender design and impressive grip strength, these versatile tools allow you to manipulate small objects with ease. Imagine being able to grasp something the size of your finger, and then multiply that by a thousand – the possibilities are endless! On top of their practical applications, long-nose pliers also make for a great conversation starter.
Just be sure not to fall asleep during the discussion, lest you find yourself struggling to keep your screen from going dark.
Materials
Instructions
Gather all your necessary materials and cut a length of wire that will comfortably loop around your finger and the bead, leaving sufficient excess to work with. I found six inches to be a suitable starting point. Next, place a marker in the middle of the wire’s length before wrapping the ends up and over once in an overlapping motion. Twist both tails in a counterclockwise direction, creating a small gap between them.
Thread a bead onto one of the wire’s tails, positioning it at the base of your loop. Take the same end of the wire and wrap it around the bead, beginning from the top and working your way down. Ensure that the circles are tight and close together. Leave a small portion of wire exposed to prevent any potential injuries from attempting to bend the wire excessively. Instead, use pliers to secure the final piece by wrapping it around the ring.
Repeat this process with the other side of the wire for a beautiful, dual-sided ring.