Are you looking for ways to encourage your kids’ artistic side? Look no further! As the seasons change and outdoor activities become limited, it’s easy to feel stuck when it comes to finding fun things to do with little ones. But fear not – I’ve got a treasure trove of easy drawing ideas for kids that are perfect for children of all ages.
From beloved cartoon characters to sweet treats and furry friends, these ideas are sure to spark some creativity and get those artistic juices flowing.
And the best part? They’re incredibly easy to set up and execute, even on a rainy day or when you’re short on time.
To get started, I recommend stocking up on some fun art supplies that will keep your mini artists engaged and inspired. For younger kids, an art kit with a built-in easel is a great way to encourage creativity without the mess. Twistable crayons are another favorite around here – they’re washable and easy to use.
Older kids might enjoy using fine line markers, watercolor pens, or acrylic paint pens to get more detailed and creative with their artwork. And don’t forget about washable dot markers – they’re a great way to add some texture and interest to their drawings.
So why not take the plunge and give these easy drawing ideas for kids a try? Your mini artists will thank you!
Chicken
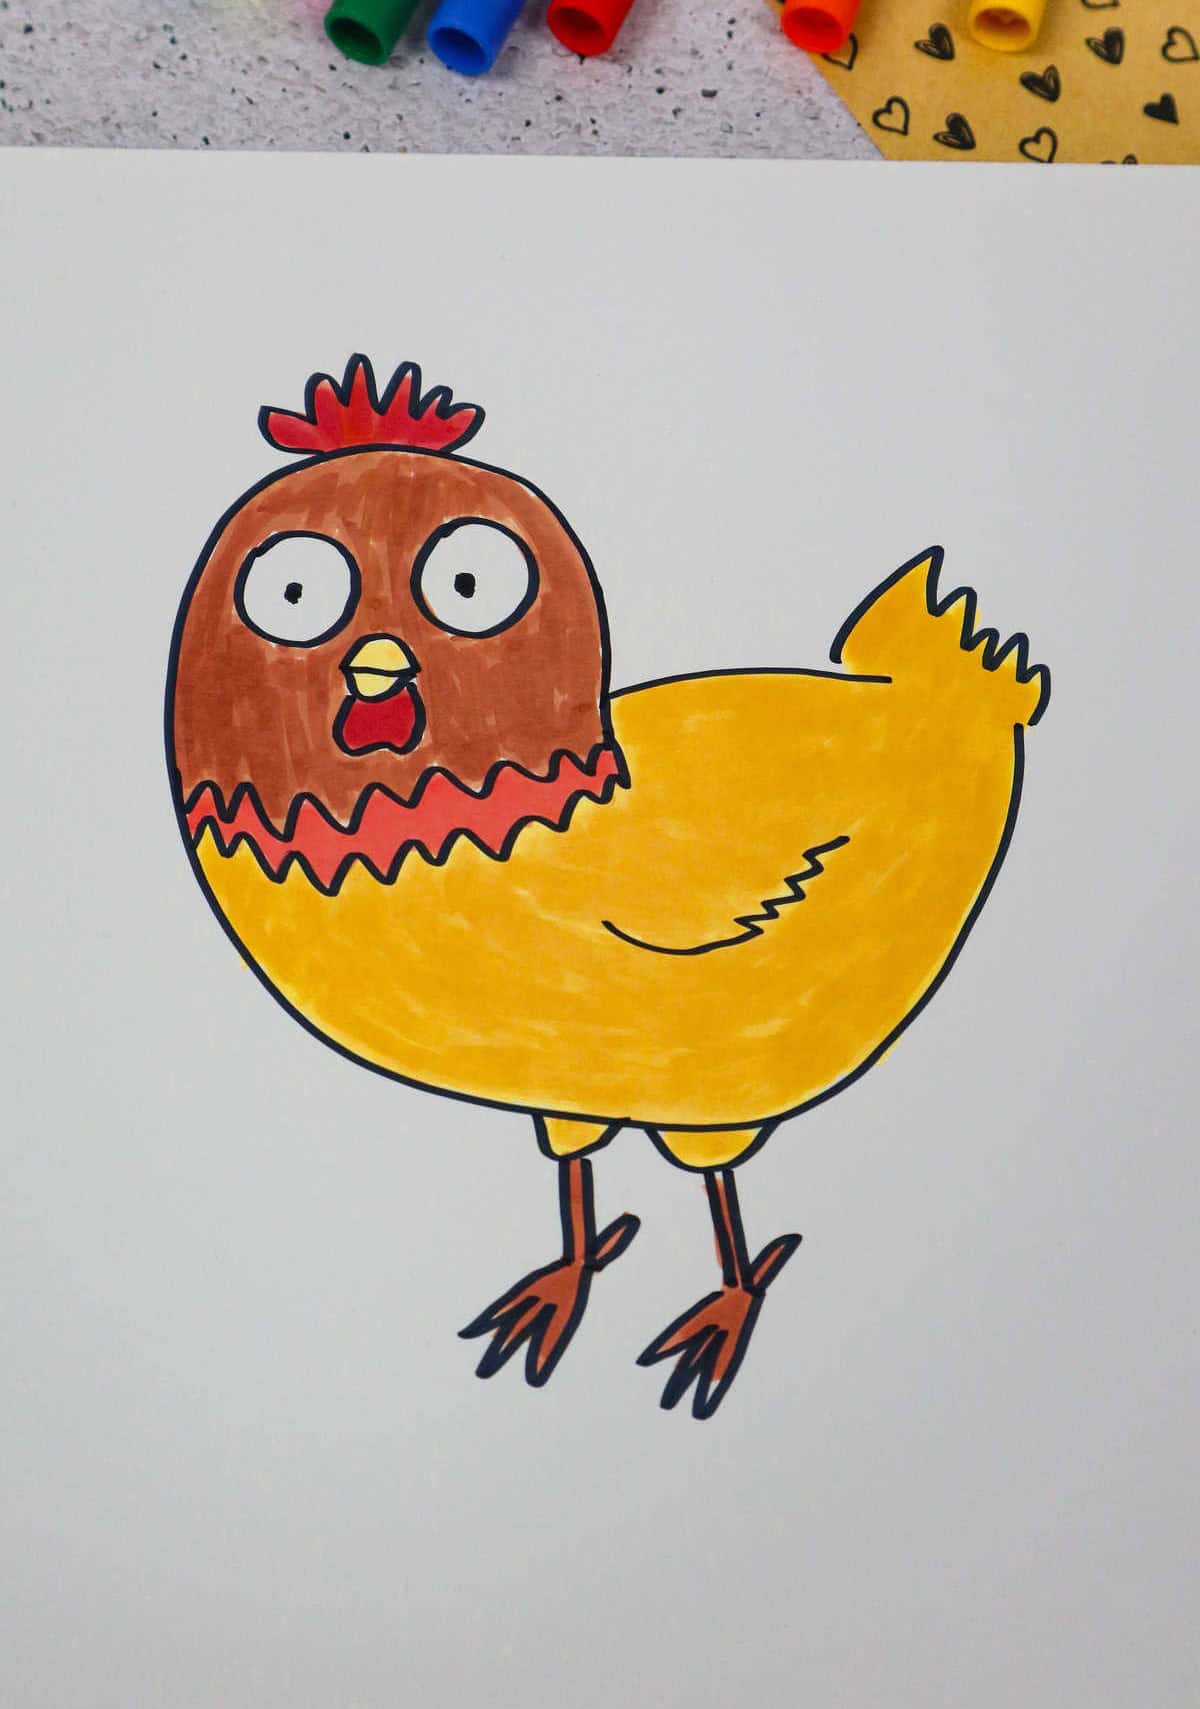
While chickens may not be the first choice for many children’s artistic endeavors, they can actually be a lot of fun. By adding some personality traits, such as a goofy smile or a silly hat, you can quickly turn your chicken into a playful and charming character. Alternatively, why not take it to the next level by incorporating other barnyard animals? The possibilities are endless!
To start drawing your own cute chickens, begin with a small oval for the head, followed by a gentle curve for the belly that extends outward. Then, jump up to finish the back of the chicken and complete the outline with the tail and feet. If you’re looking to learn more about drawing adorable animals like this one, be sure to check out our collection of cute animal drawings for kids.
Scorpion
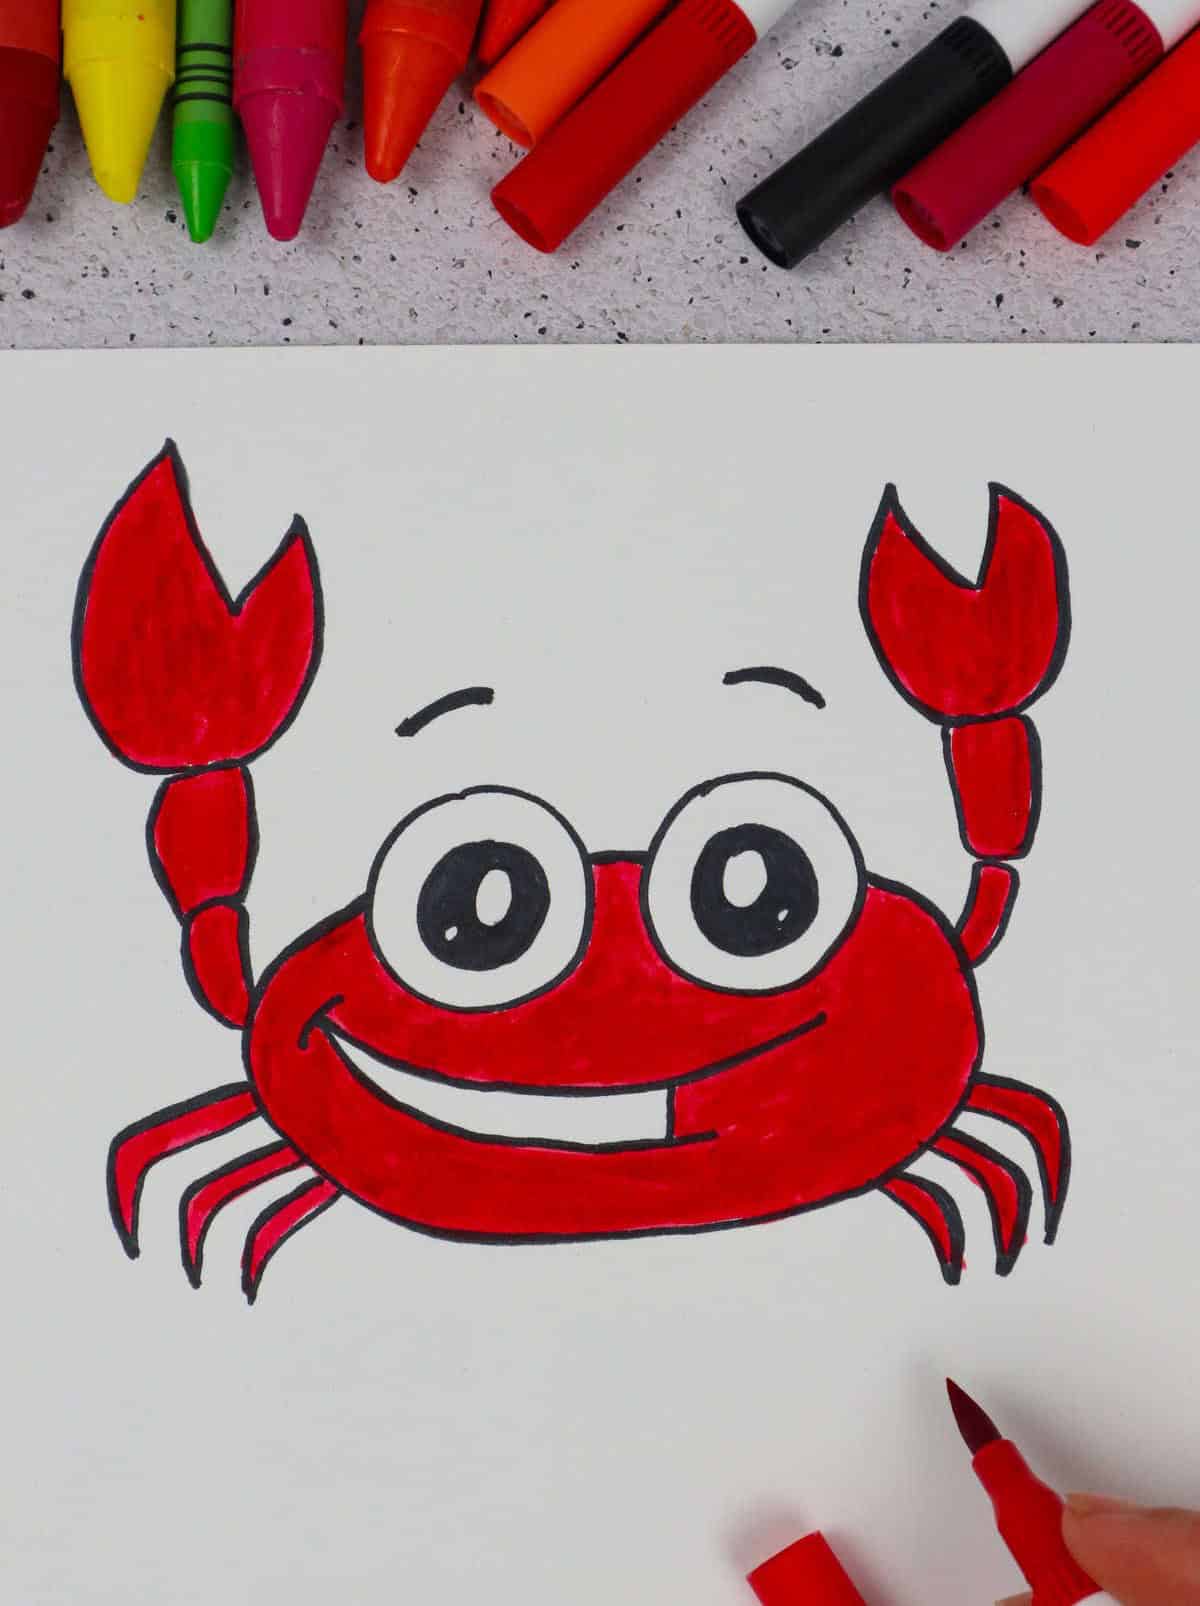
Feeling a bit on edge? A scorpion may be just what the doctor ordered! This friendly creature can be a great outlet for expressing frustration or anxiety. To create your own scorpion, start by drawing the eyes, spacing them out however you like. Next, move on to the body, jumping over where the eyes are and letting your creativity flow. Finally, add in the ligaments, mouth, and any other details that strike your fancy. And who knows?
Drawing this little guy might just help someone feeling crabby feel a little better!
Mule
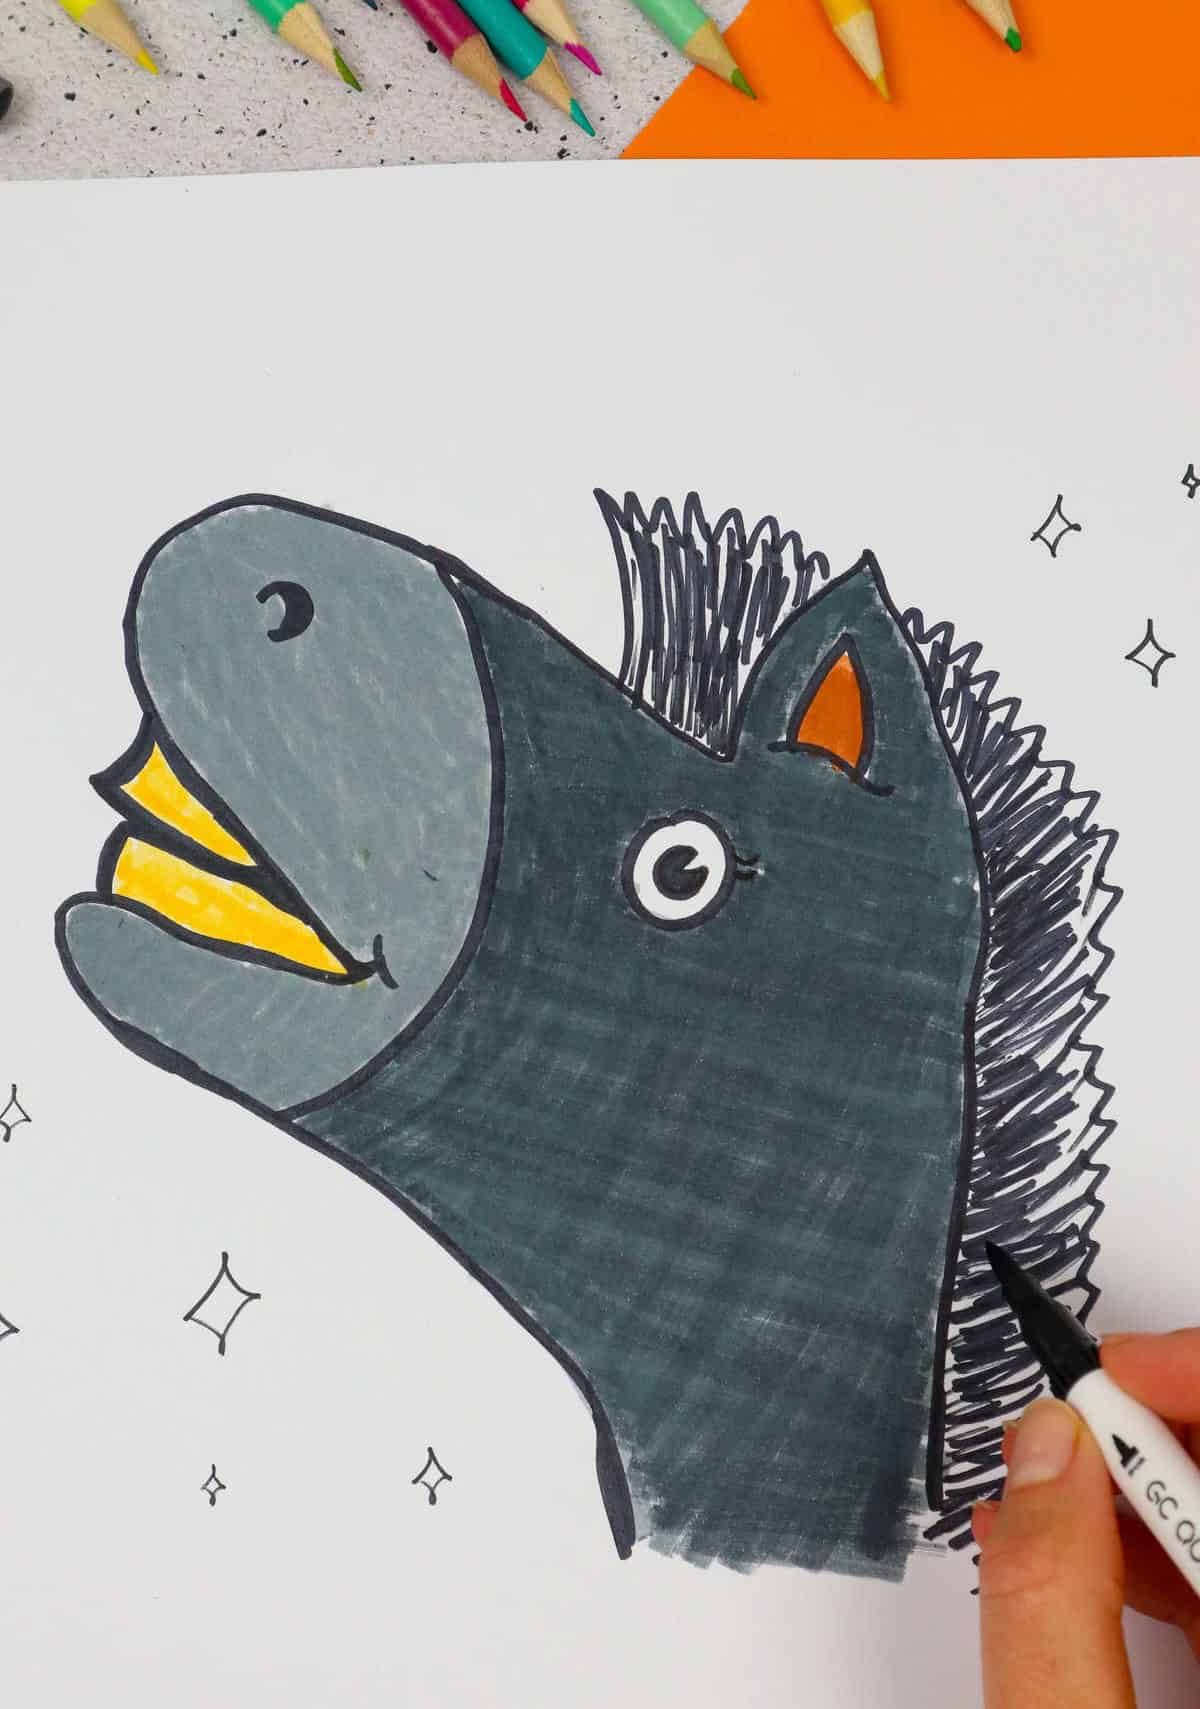
As I delve into this list of animals, one creature that instantly springs to mind is the mule – and not just because it’s always a good idea to include some equine inspiration. In fact, I’m reminded of Eeyore, Winnie the Pooh’s perpetually pessimistic pal from the 100- acre woods. My own drawing takes a slightly more upbeat approach, though. To start, I imagine a sock puppet with an ear perched at the top – the foundation for what will become a charming mule head.
Penguin
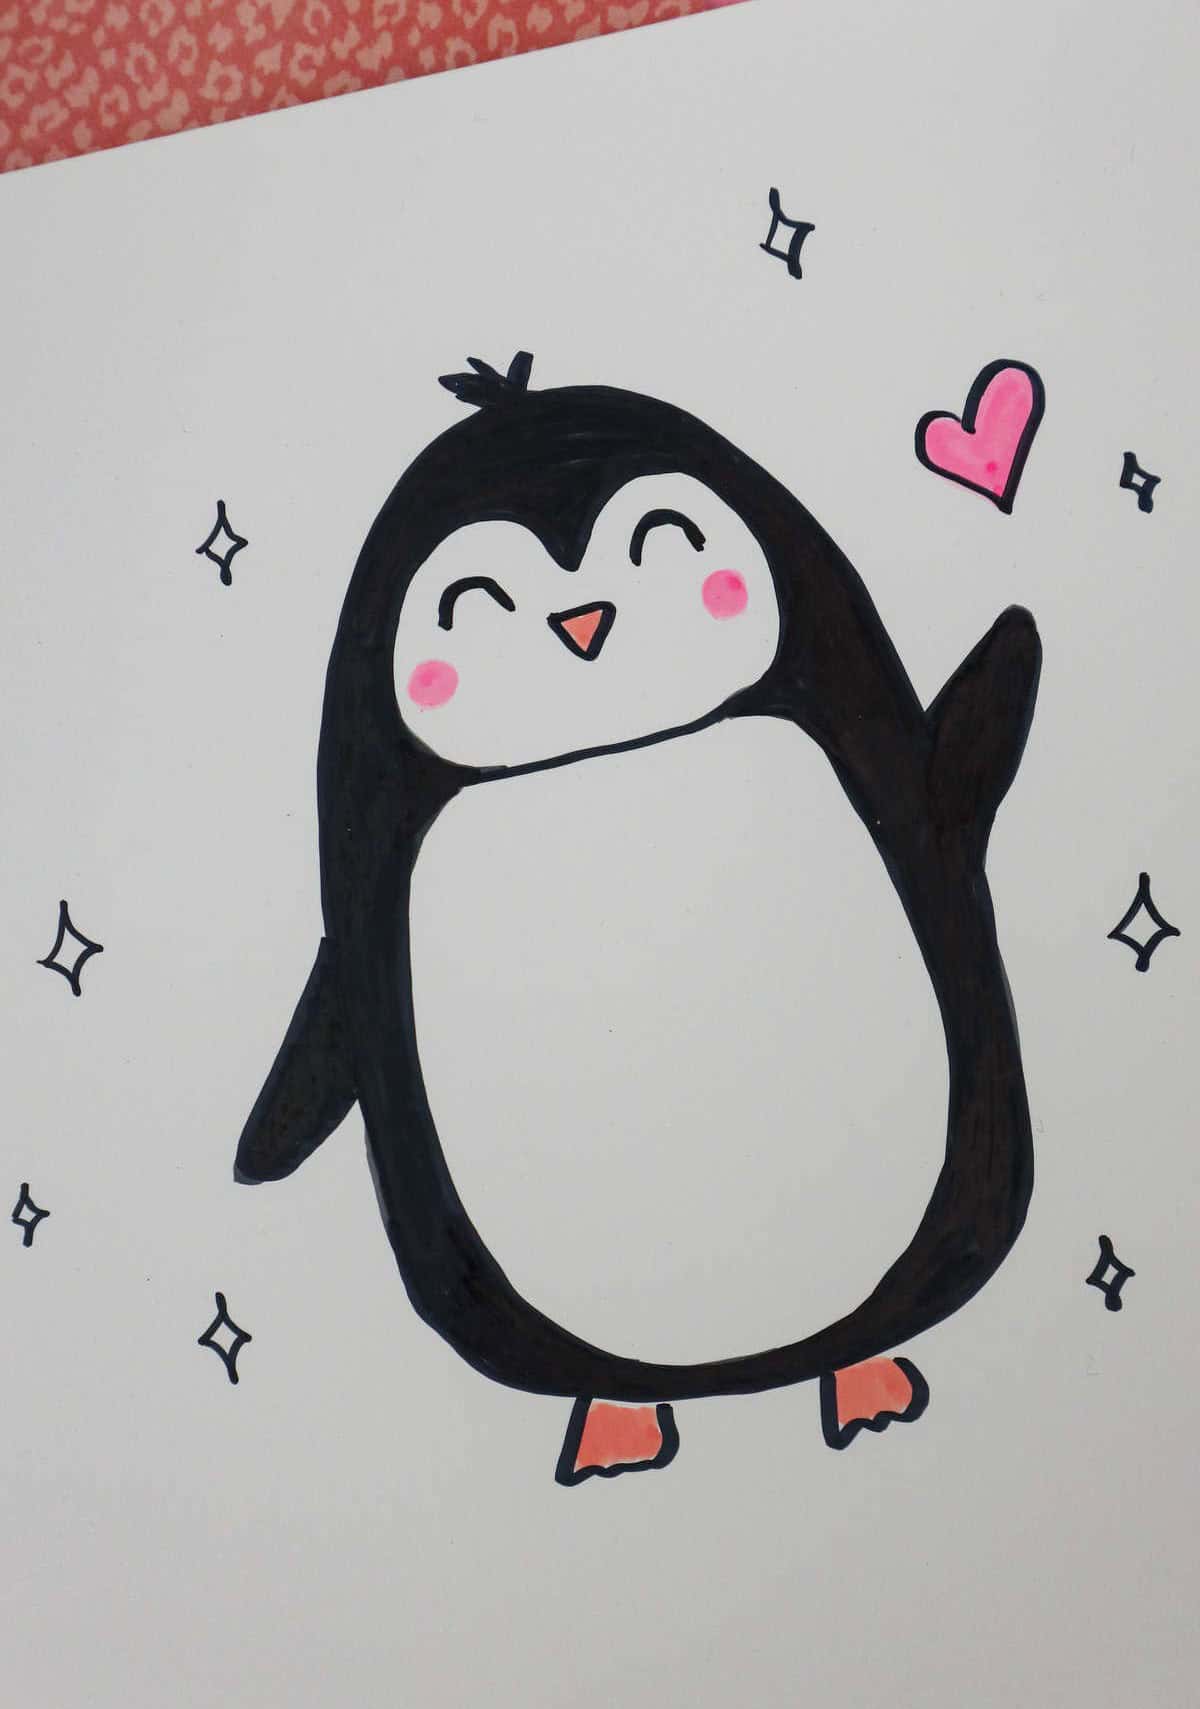
As your creative journey unfolds, a charming penguin makes its debut. If your mini-artists are enthusiasts of the iconic film Happy Feet, this delightful character is sure to be a hit! To bring this adorable creature to life, begin by sketching a long oval with subtle rounded edges at the bottom. Fill in the flippers, feet, and any hairstyle that suits your artistic style. Next, focus on the belly and facial features before adding a splash of color.
I’m a big fan of vibrant penguins myself, so don’t be afraid to get creative with the colors! For more inspiring drawing ideas, explore our collection.
Teddy Bear
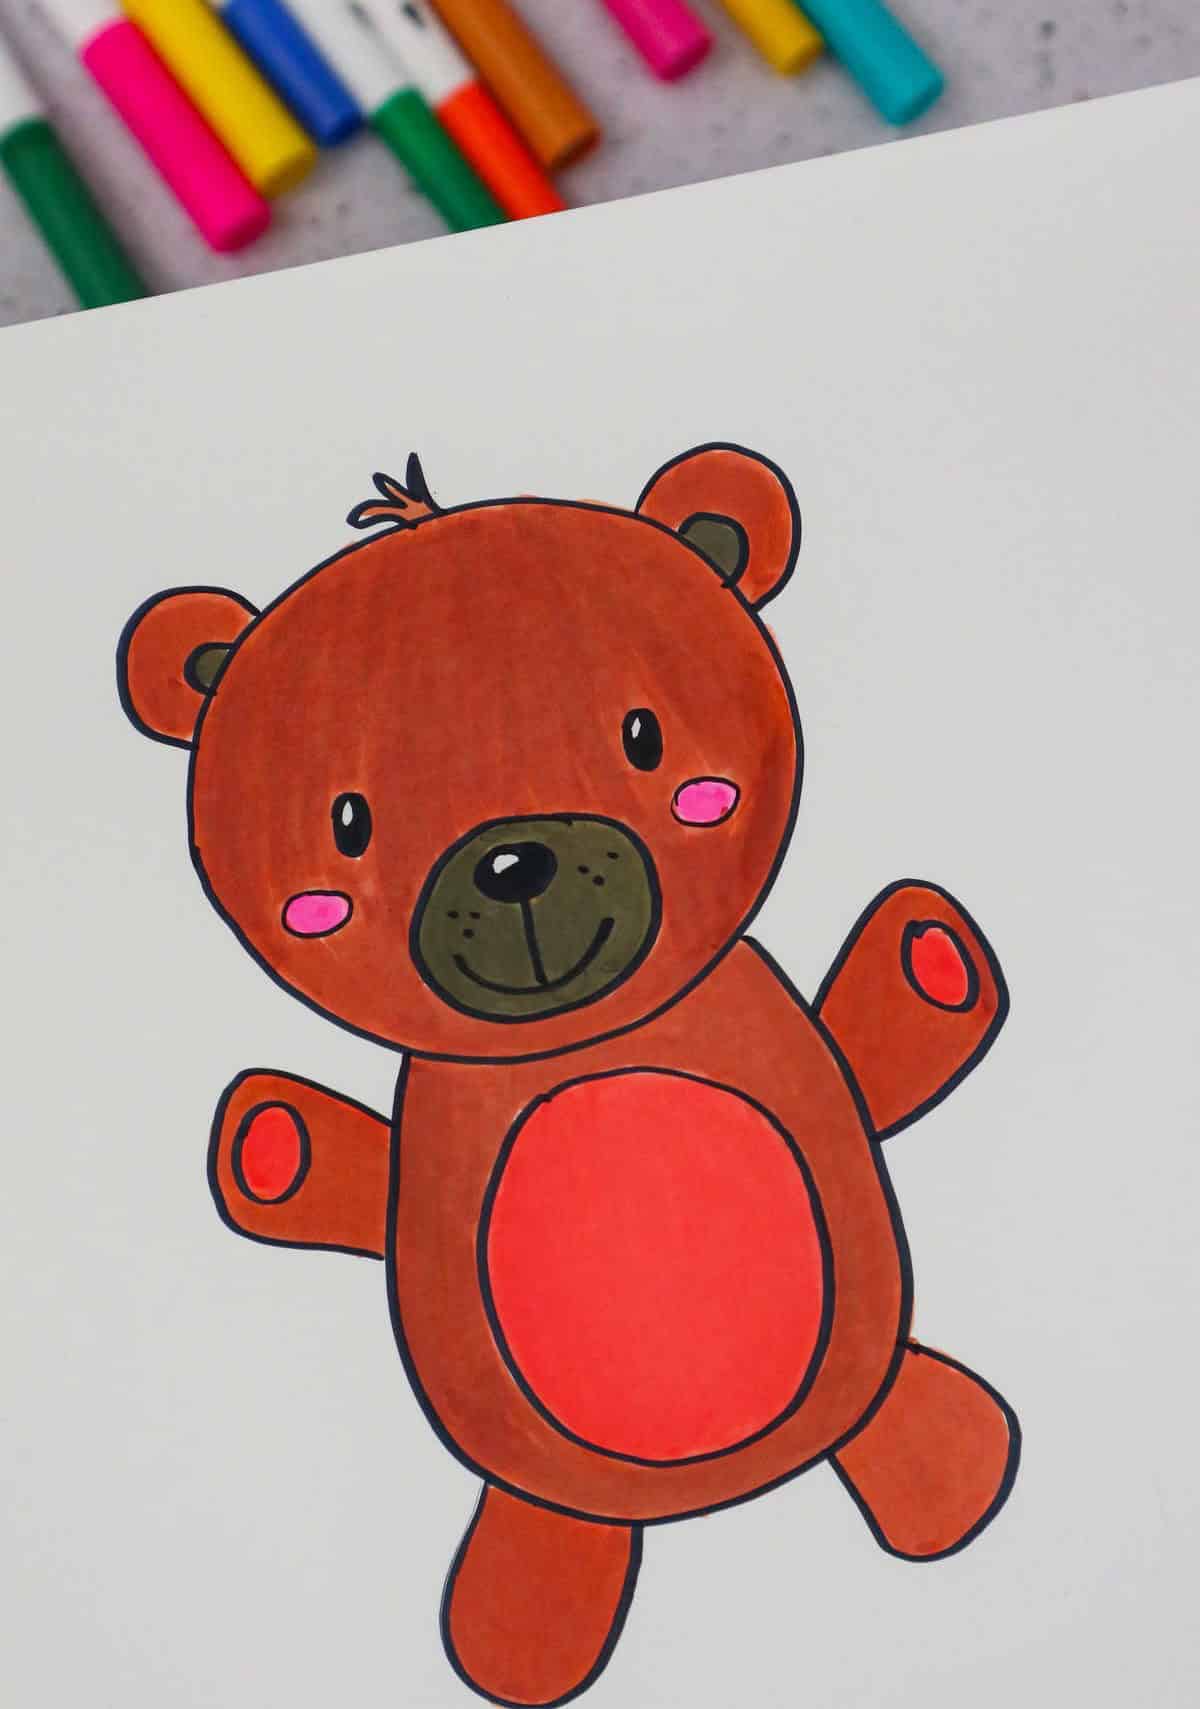
The teddy bear – a symbol of warmth and comfort – never fails to put a smile on our faces. You can create a personalized version by focusing on someone’s favorite plush toy or stuffed animal. To make this adorable creation, start with a circle for the head, then attach an open rounded rectangle body that connects seamlessly. Once you have the basic shape in place, it’s time to add the fun details – legs, arms, hair, ears, and a face that tells its own story.
Butterfly
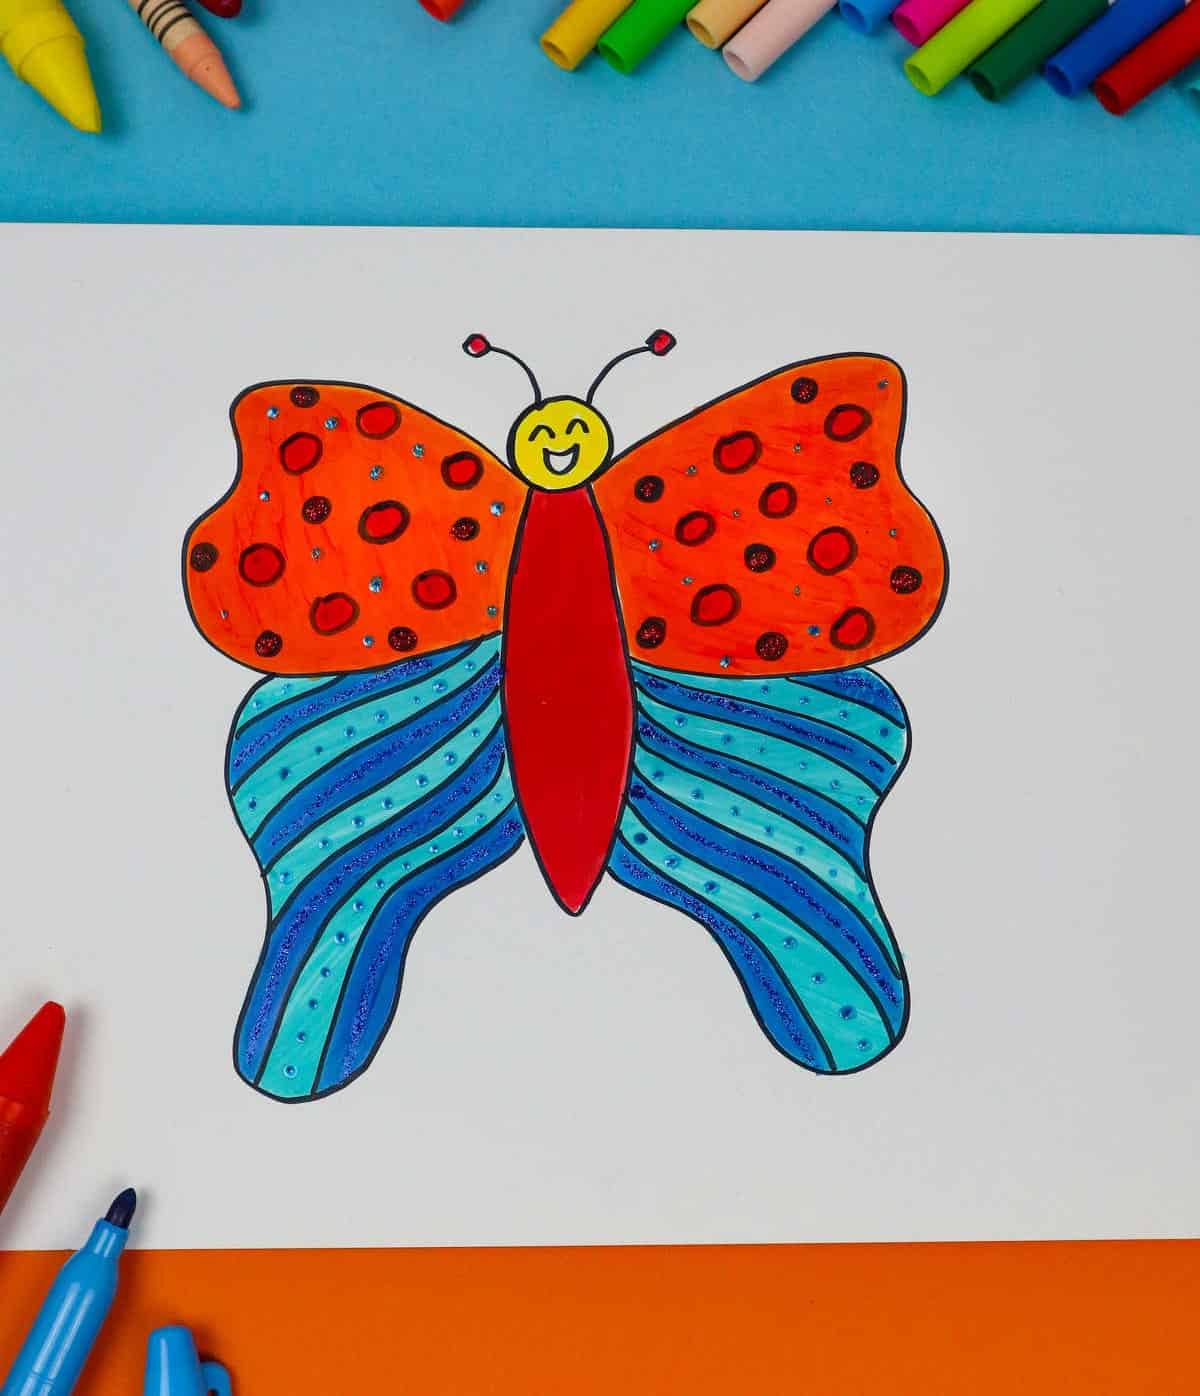
As a child, I was utterly captivated by butterflies – so much so that I would spend hours sketching them. Their intricate designs and vibrant colors made each one a blank canvas waiting to be brought to life with my own creative touch. To start, begin with a slender oval for the body, leaving an opening at the top for the head. Next, create a circular shape for the head, followed by antennae and wings. The latter, in particular, are where the magic happens.
I find that envisioning elephant ears for the top wing and a bubble letter capital ‘Y’ (minus the finishing touches) serves as the perfect starting point for crafting unique and captivating butterfly designs.
Lizard
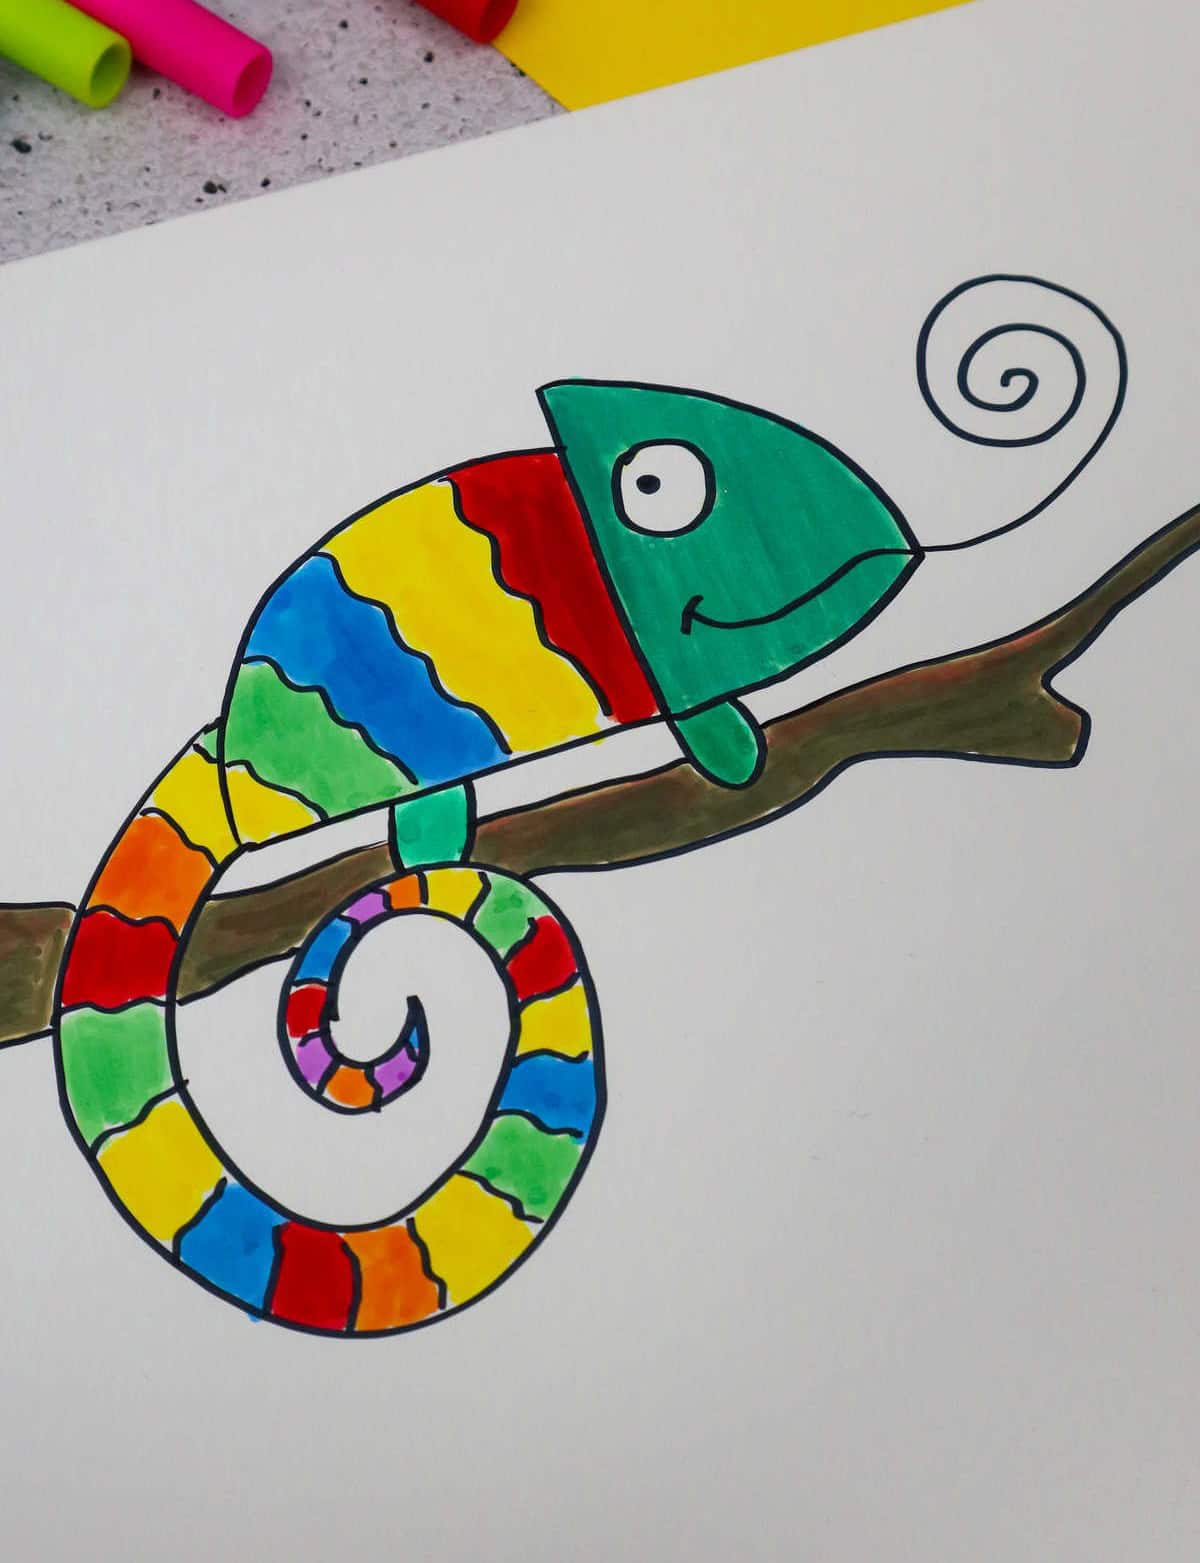
When it comes to drawing a lizard, one of the most enjoyable aspects is bringing its simple lines and vibrant colors to life. Let’s start by crafting the head, which features a rounded triangular shape with the curved side facing outward. Next, we’ll create the body, comprising a flat belly line and an arced backline that flows smoothly into the tail. The tail itself takes the form of an exaggerated six, without being closed off at the bottom.
To complete this feature, mirror the initial line with another and bring them together to form a point. Finally, add some personality to your lizard by defining its face and tongue, and don’t forget to have fun with the coloring process!
Turtle
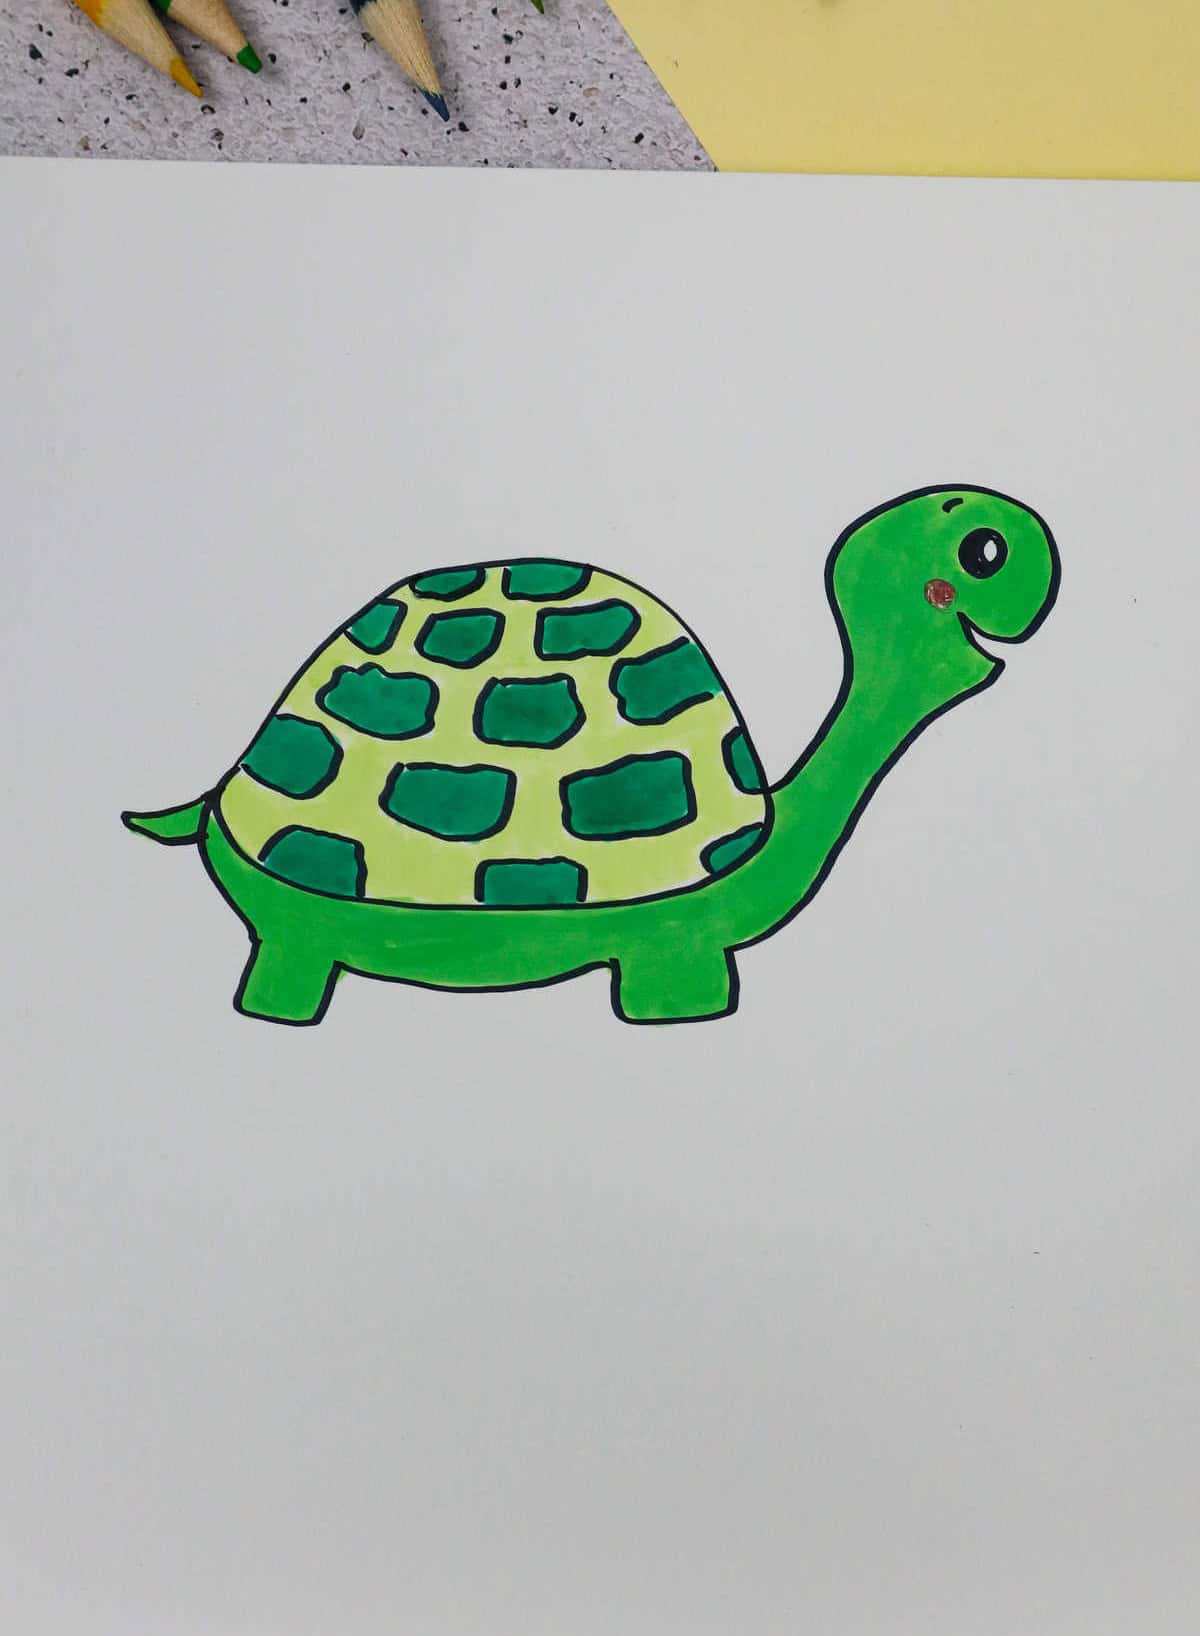
The connection between the turtle and hare can be delightfully mirrored in a creative activity with your kids. If they’re fans of the classic tale, this will surely be an enjoyable experience for them. To bring the turtle to life on paper, begin by drawing a curved line that forms the shell’s top edge. Next, create the shell’s bottom curve using a straight line. For the feet, imagine drawing tooth-like protrusions on a jack-o-lantern, but leave the lines open.
After completing the feet, guide your pen upwards and away from the body to form the head. Finally, bring the line back down to meet the top of the shell, thereby finishing the turtle’s depiction.
Rabbit
Mastering the Art of Drawing Rabbits: A Simplified ApproachWhen it comes to drawing rabbits, the key is not only to understand their anatomy but also to find creative ways to simplify the process. One effective method is to use someone’s hand as a guide for drawing the rabbit’s body. To get started, have the hand that will serve as your template place palm side down on the paper with the pointer and pinky fingers sticking straight up – these will form the ears of your rabbit.
From there, simply trace the line formed by the hand and add in the face and ears to bring your drawing to life.
Snail
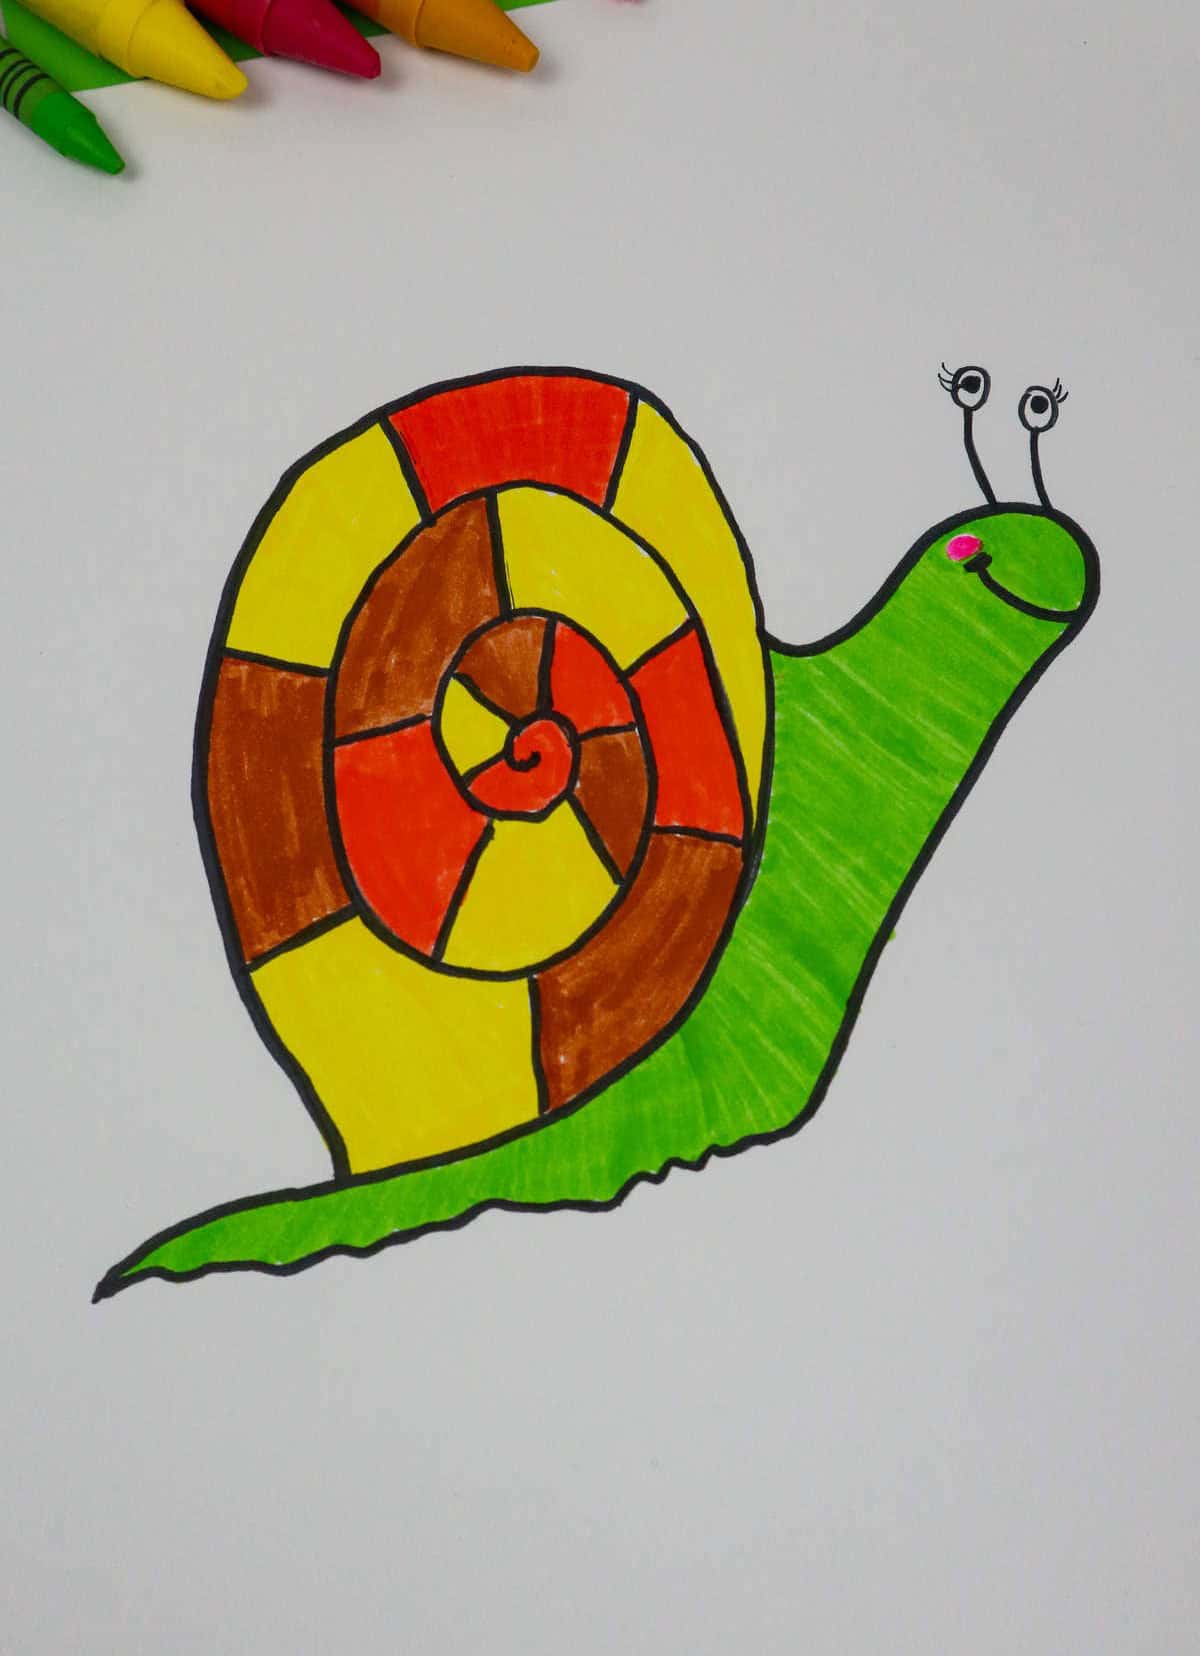
To create a snail that’s as unique as your personality, start by drawing a spiral shape that gets larger and more outward-facing as you move along. Once you’re happy with the size, bring the line back down to the base of the shell, forming the foundation for your snail’s home. Next, draw a small oval shape for the head and add a wiggly line below it to form the bell. Finally, fill in any lines on the shell and add finer details to give your snail some personality.
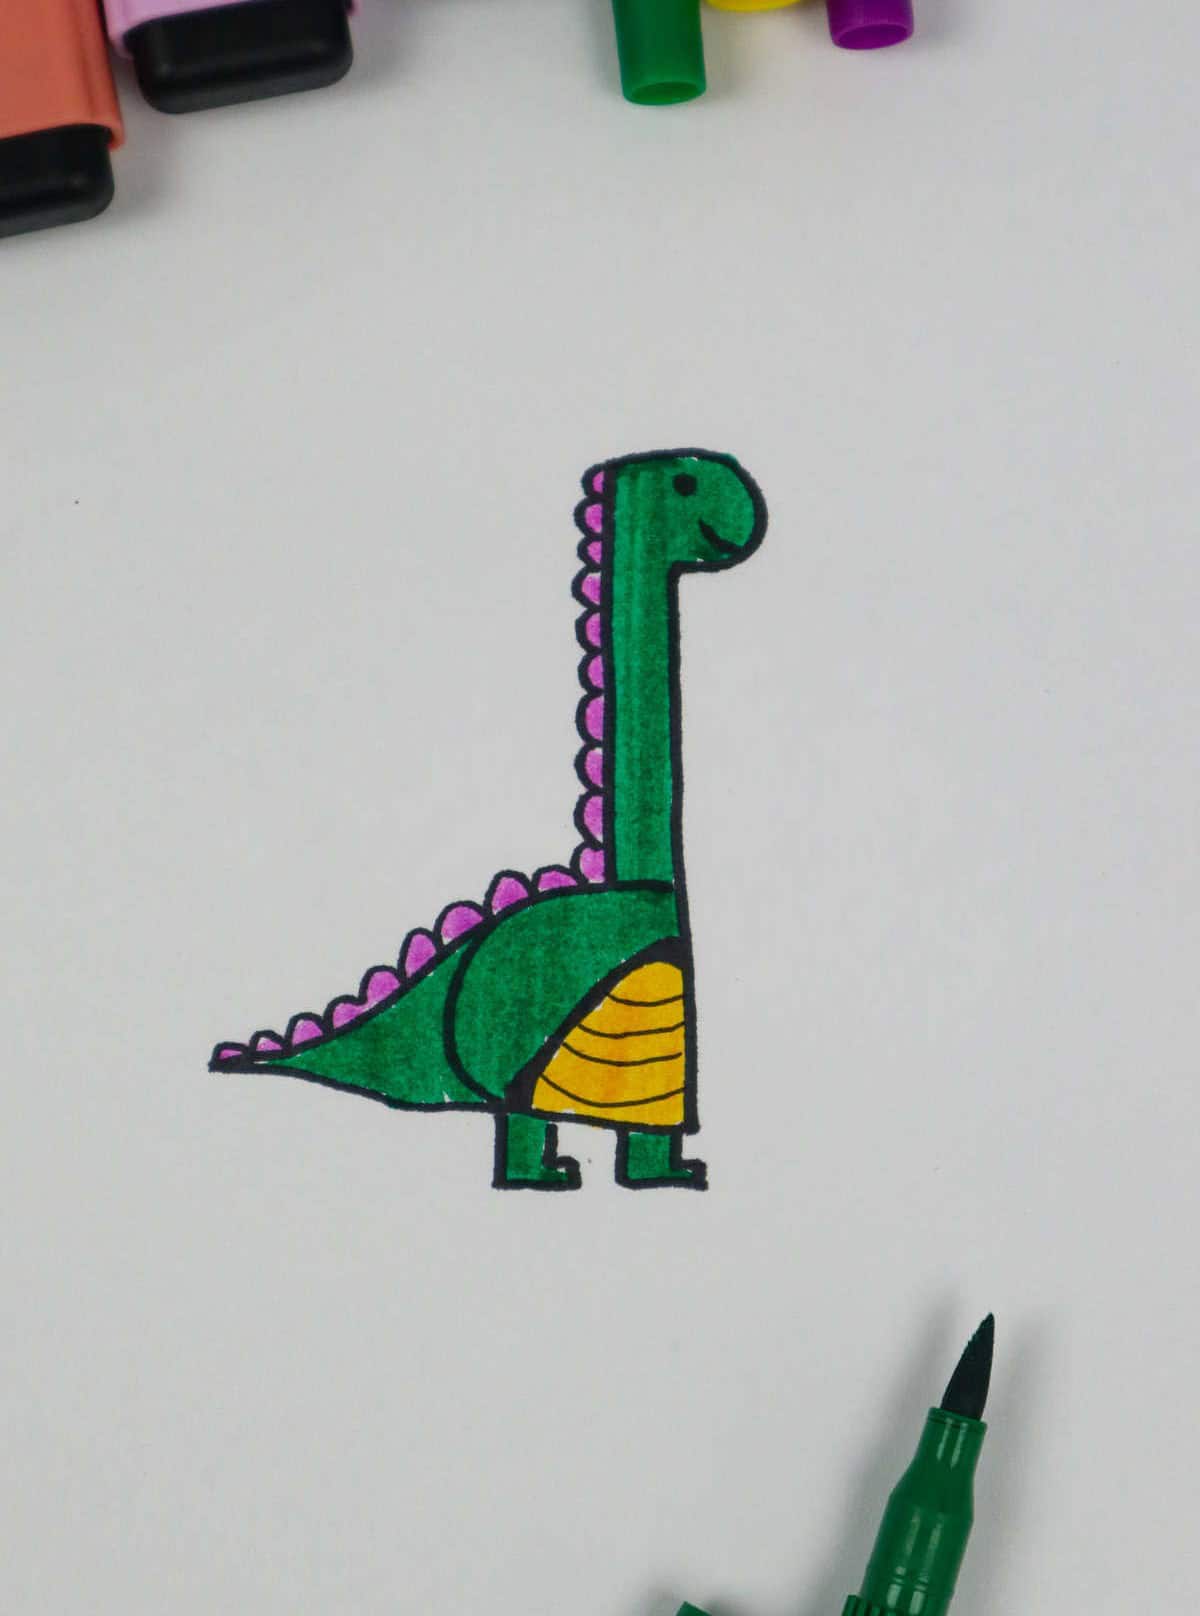
Dinosaur
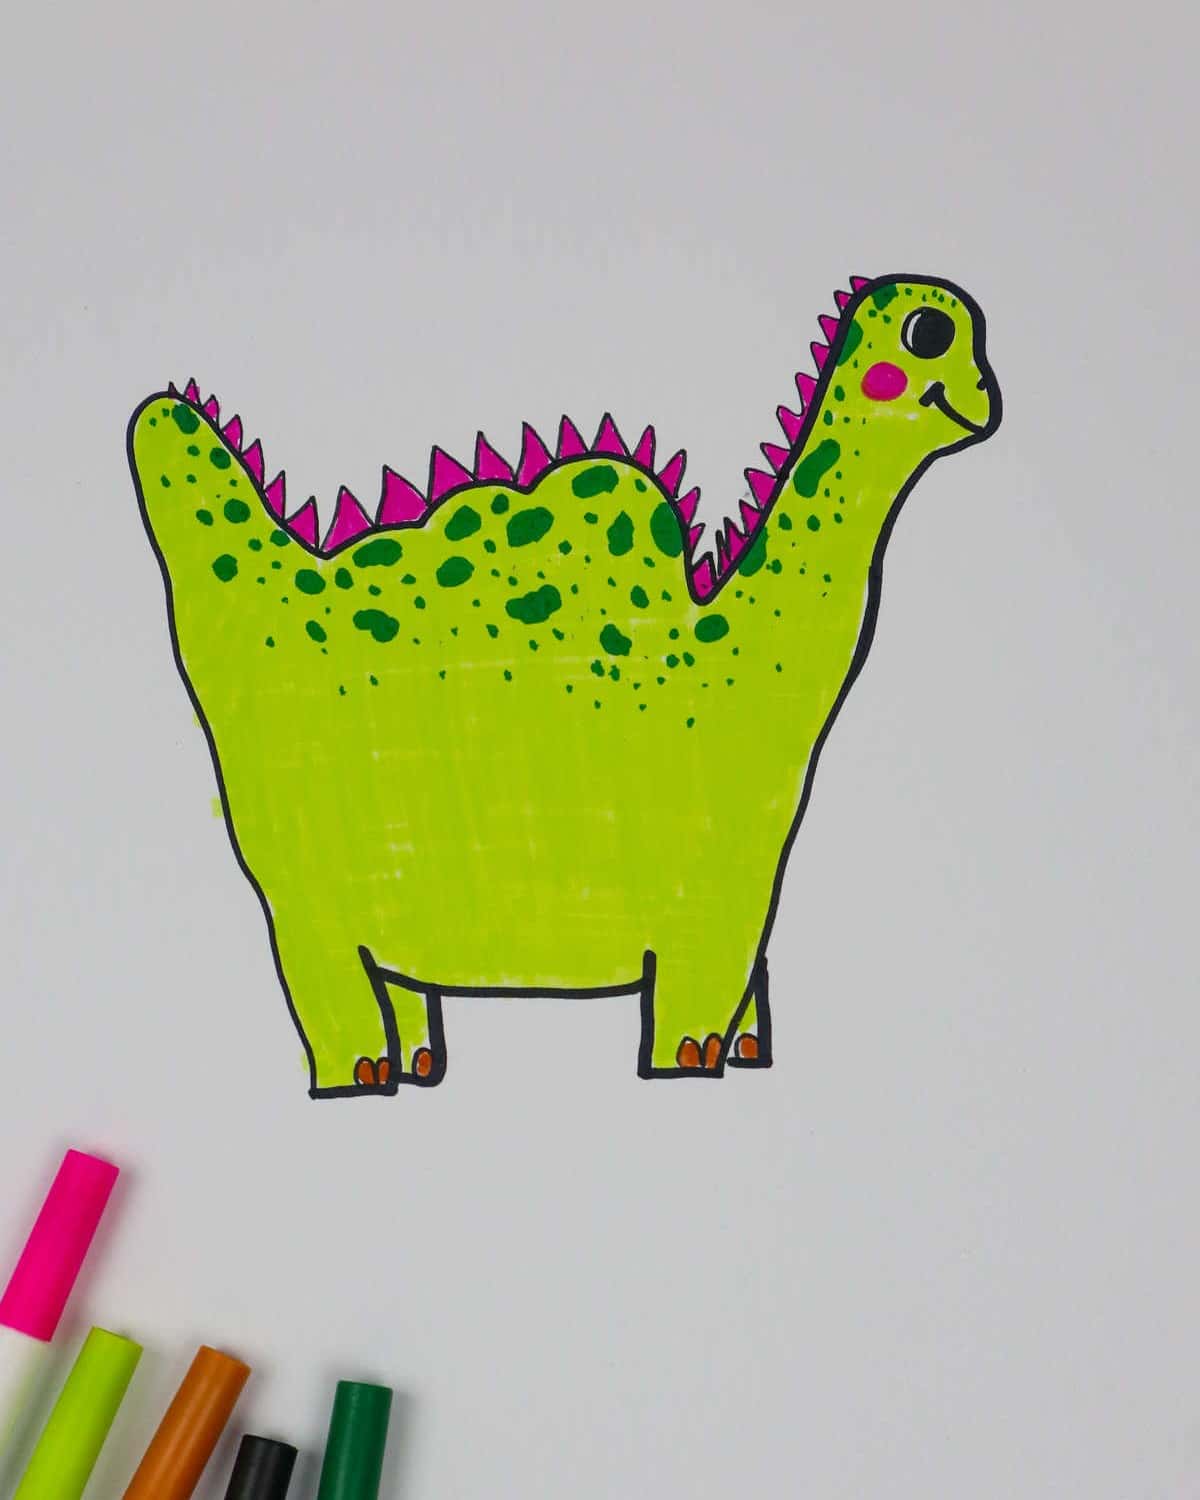
Dinosaur drawings are a hit among kids! Tracing hands is another creative way to bring this prehistoric creature to life. Start by placing your hand palm-side down with your thumb and pinky fingers stretched out as desired. Then, stagger your knuckle heights to create a natural, layered effect. Instead of tracing the bottom portion, focus on drawing the legs and connecting the front and back with a line that represents the dinosaur’s stomach.
Once you’ve got the basic shape established, add spikes along the back and fill in any remaining details to bring your dino to life.
Peafowl
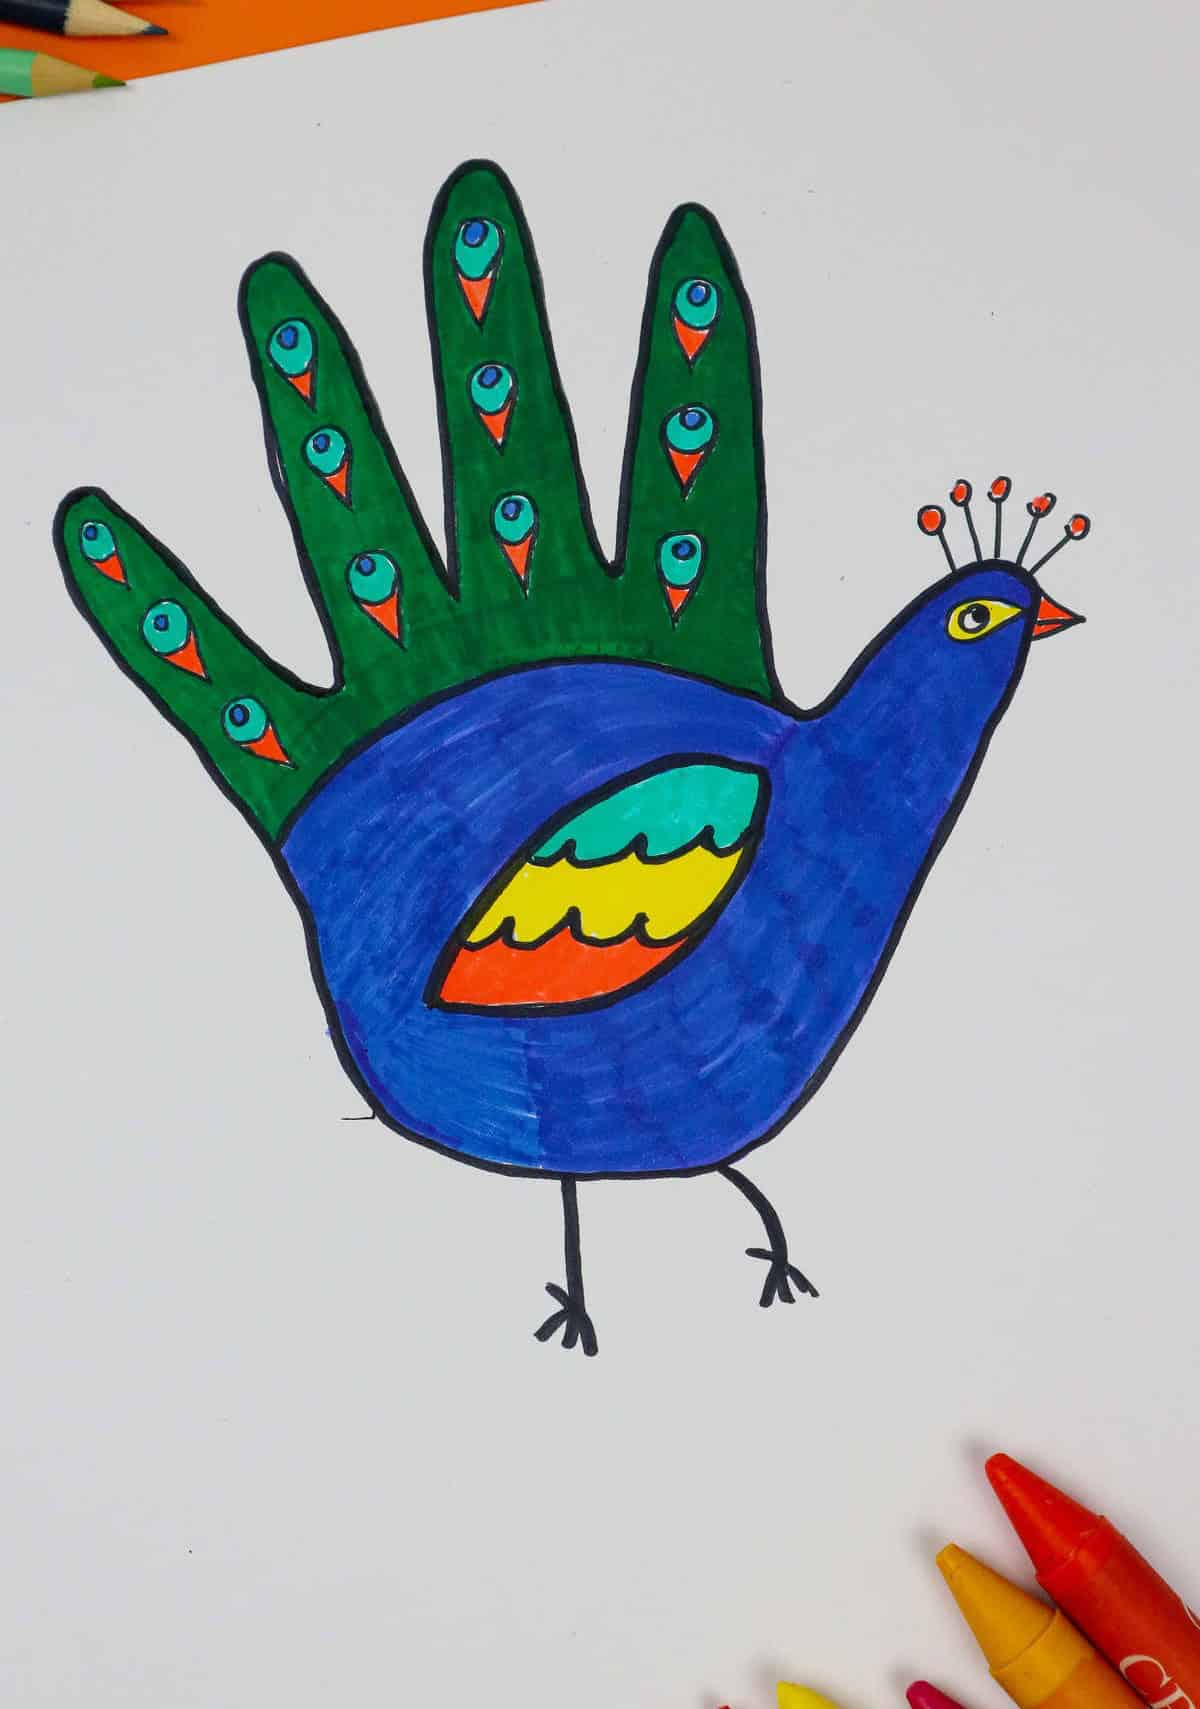
Let’s bring to life another vibrant bird, the peafowl. Just like tracing a turkey or other feathered friend, we’ll use our hand as a guide. To create this colorful creature, follow the natural curve of your hand, but be sure not to draw a continuous line at the wrist. Instead, focus on drawing the long, flowing feathers that start at the fingertips. Add some delicate detailing by creating small triangular shapes at the base of each feather, resembling ice cream cones.
For more fun and creative handprint art ideas that kids will love, check out our collection of ‘handy’ crafts!
Duck
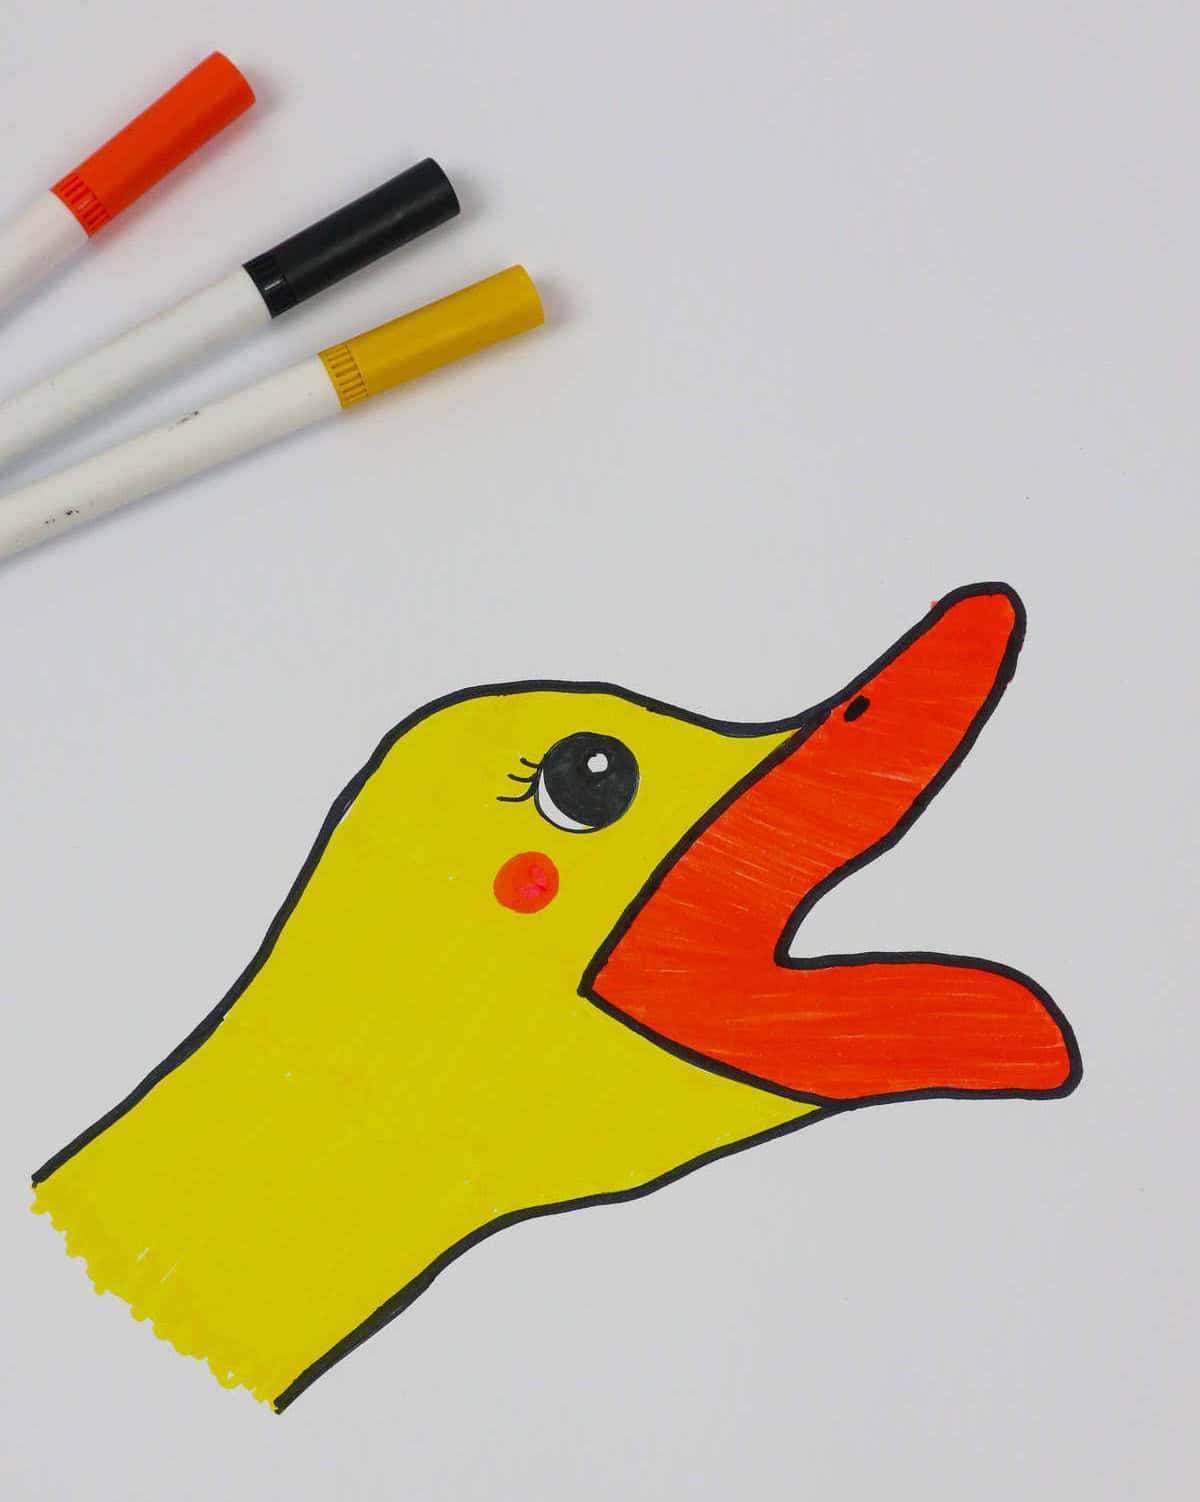
To create the duck’s bill, begin by drawing a ‘V’ shape at an angle, with the open end facing towards you. From this inner point, extend the curve to mirror one side of the ‘V’, then return to complete the other side. Next, soften the ends of the ‘V’ by curving them down and around to meet the lower part of the duck’s mouth. The bill should now start to take shape. To add further definition, draw an upper line and a lower line, with the upper line featuring a small arc for the duck’s eye.
This will help guide your drawing as you continue to add details to the rest of the duck’s features.
Snake
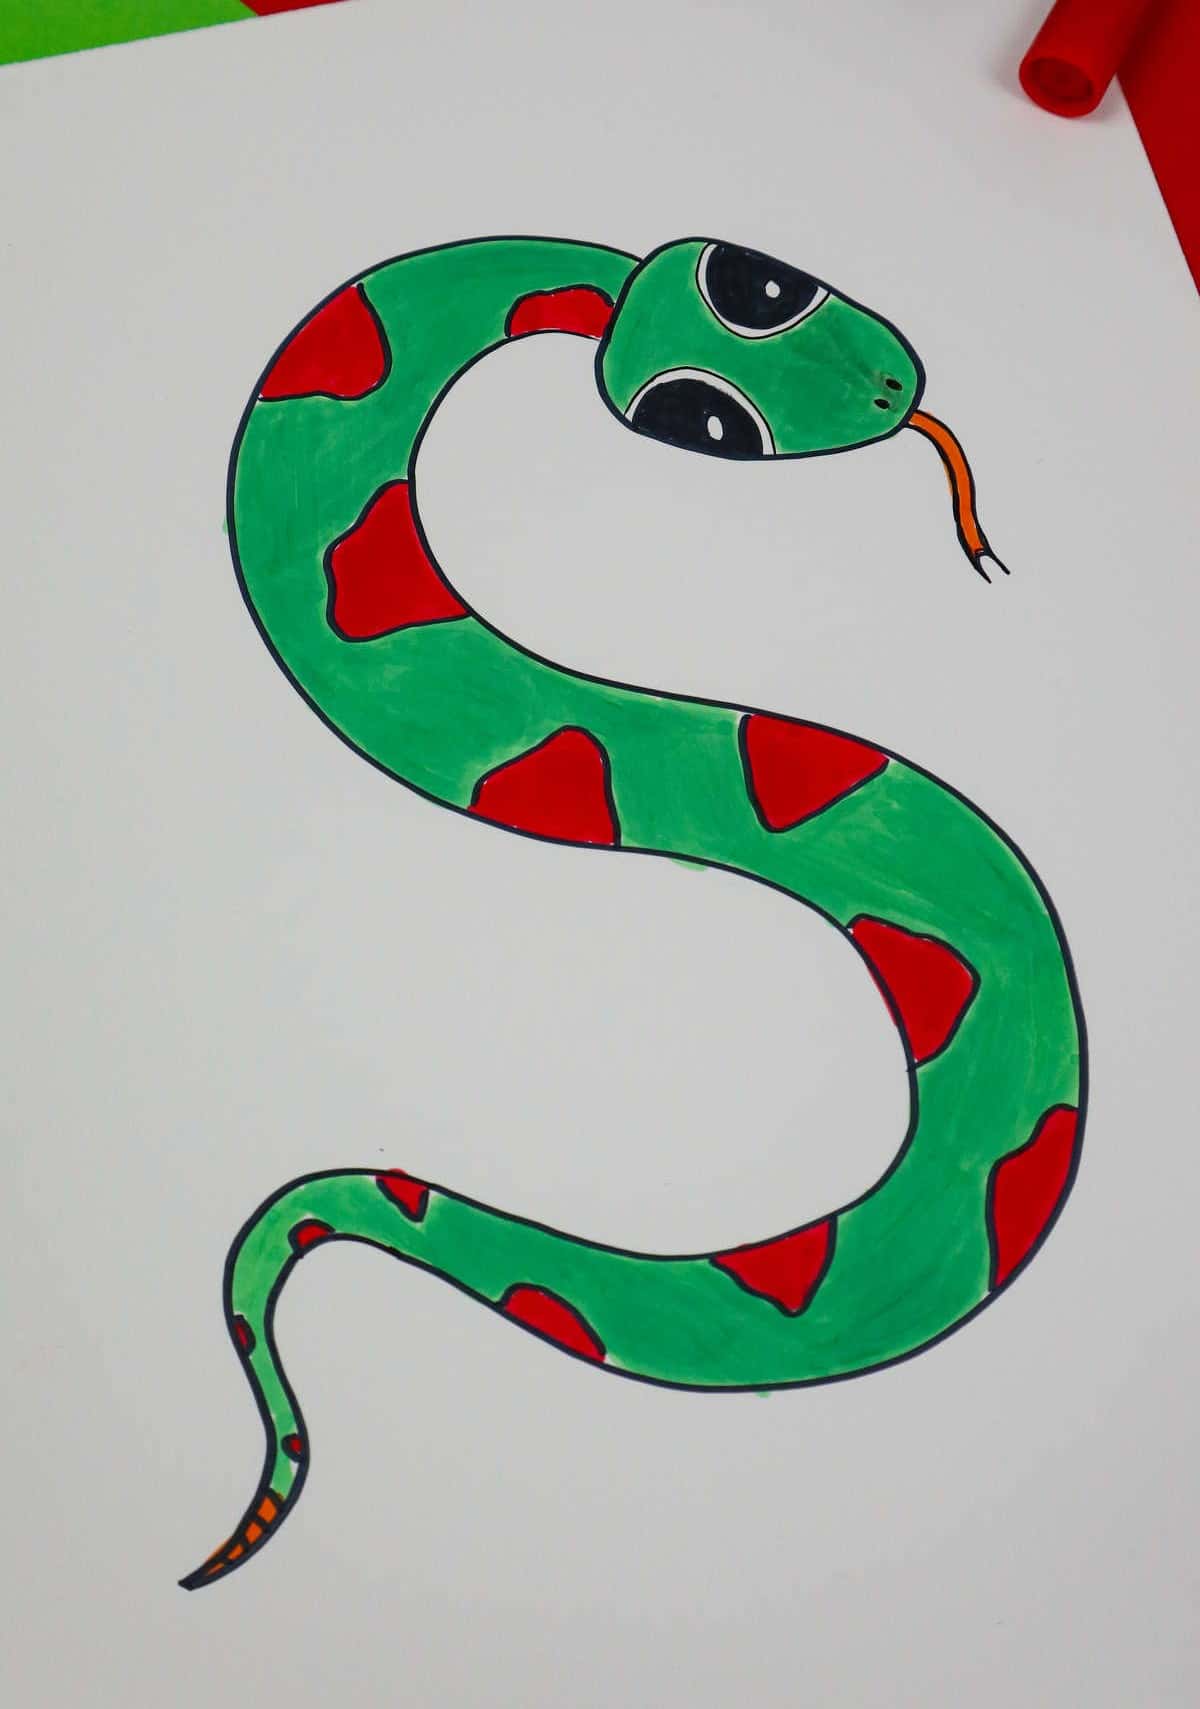
As you embark on creating a snake, remember that it’s an accessible subject for artists of all skill levels. Begin by crafting the head, which can be represented as an oversized almond shape with two half circles on either side to form the eyes. Once you have the foundation in place, add details and proceed with drawing the body. Start by creating the main body using a flowing ‘S’ shape, followed by adding additional curves or connecting the original line at the bottom.
This versatile technique allows you to customize your snake’s length and proportions. And when you’re finished, consider storing your favorite drawing tools in our DIY pencil case!
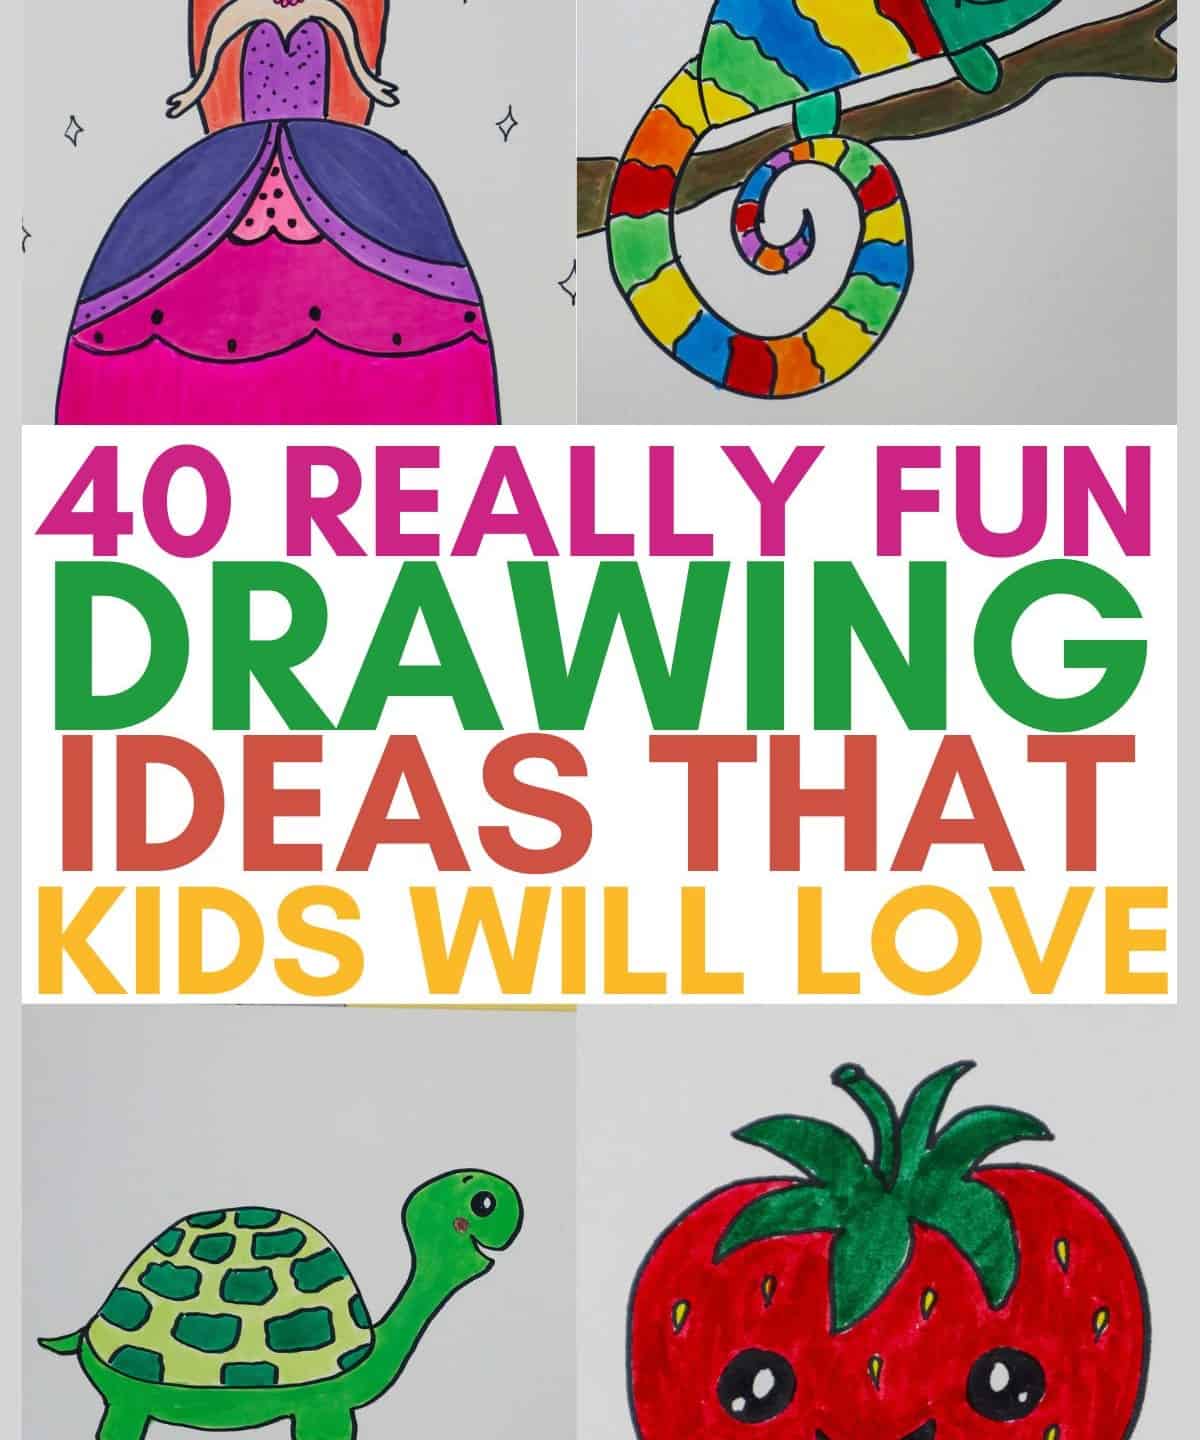
Princess
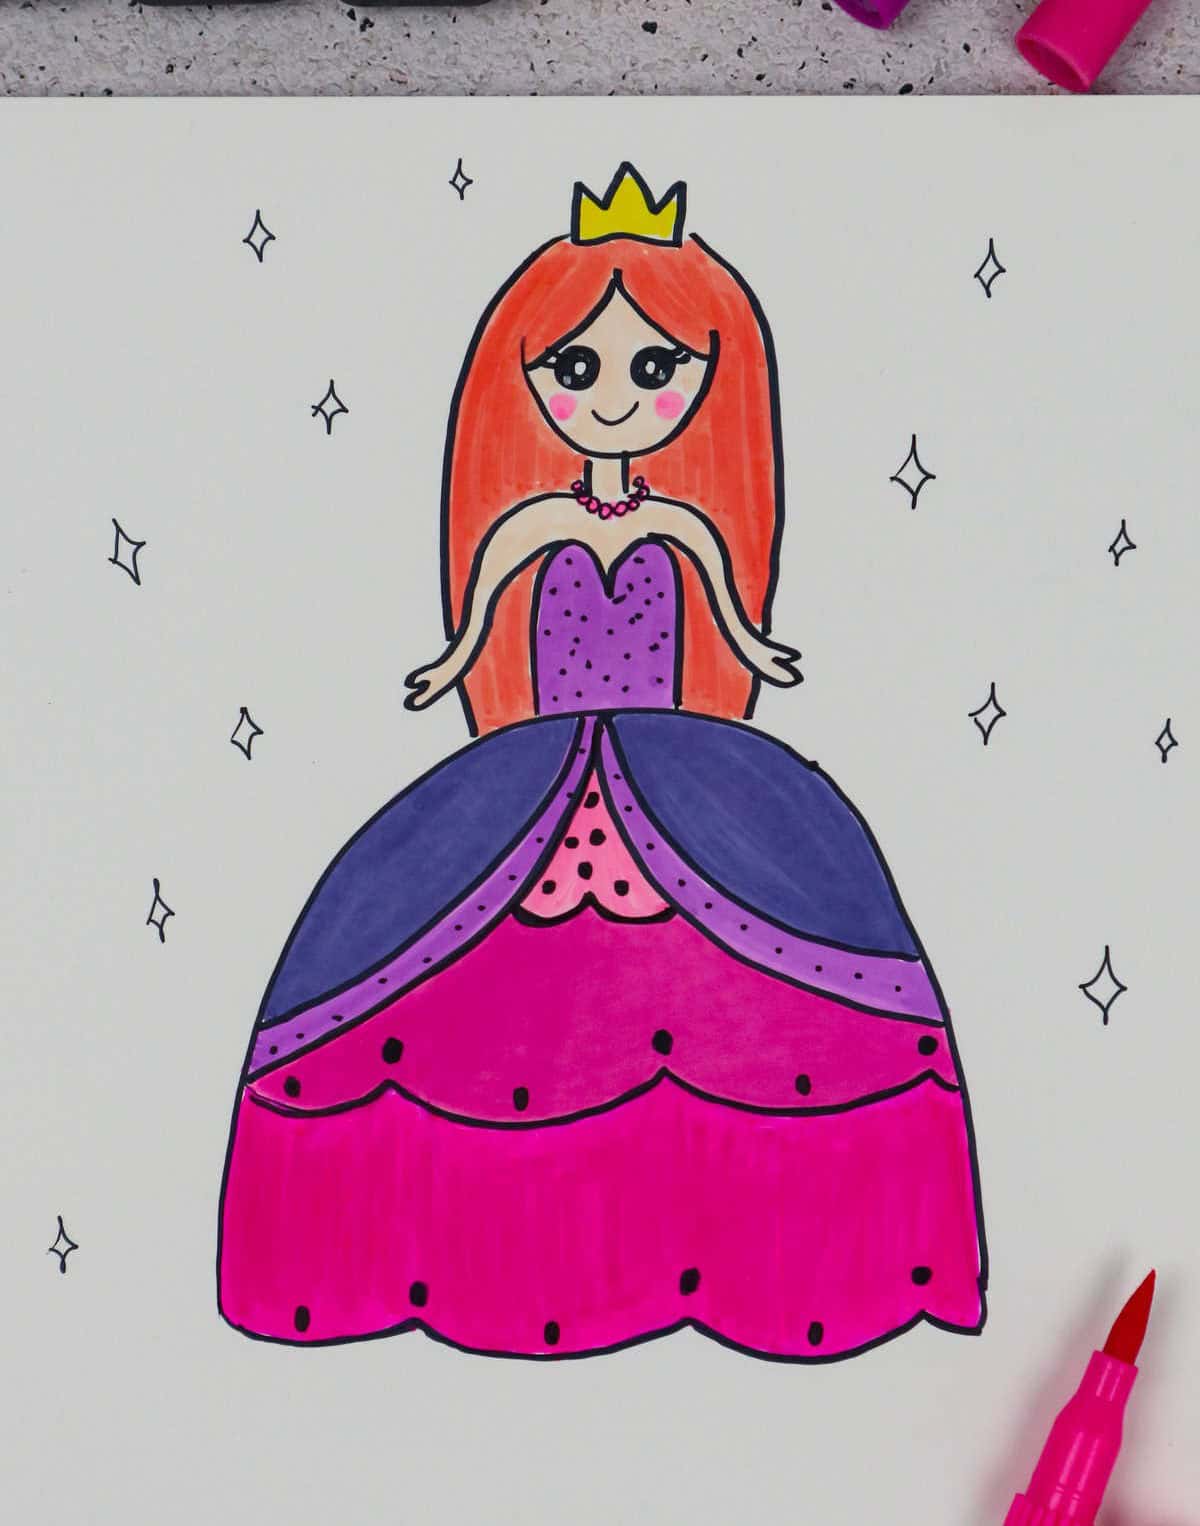
When it comes to drawing people, a princess is an excellent subject to begin with. The first step is to draw the dress, starting with an upside-down ‘U’ shape for the bodice and extended ‘U’s for the skirt. You can add additional lines in the middle of the skirt if you’d like. Next, create the body by drawing a downward-facing ‘3’. Extend each end of the ‘3’ down to meet the top of the dress. The arms should mirror the shape of the body, with simple inverted arcs at the ends.
Finally, add some hair and don’t forget the crown – a princess isn’t complete without it!
Pineapple
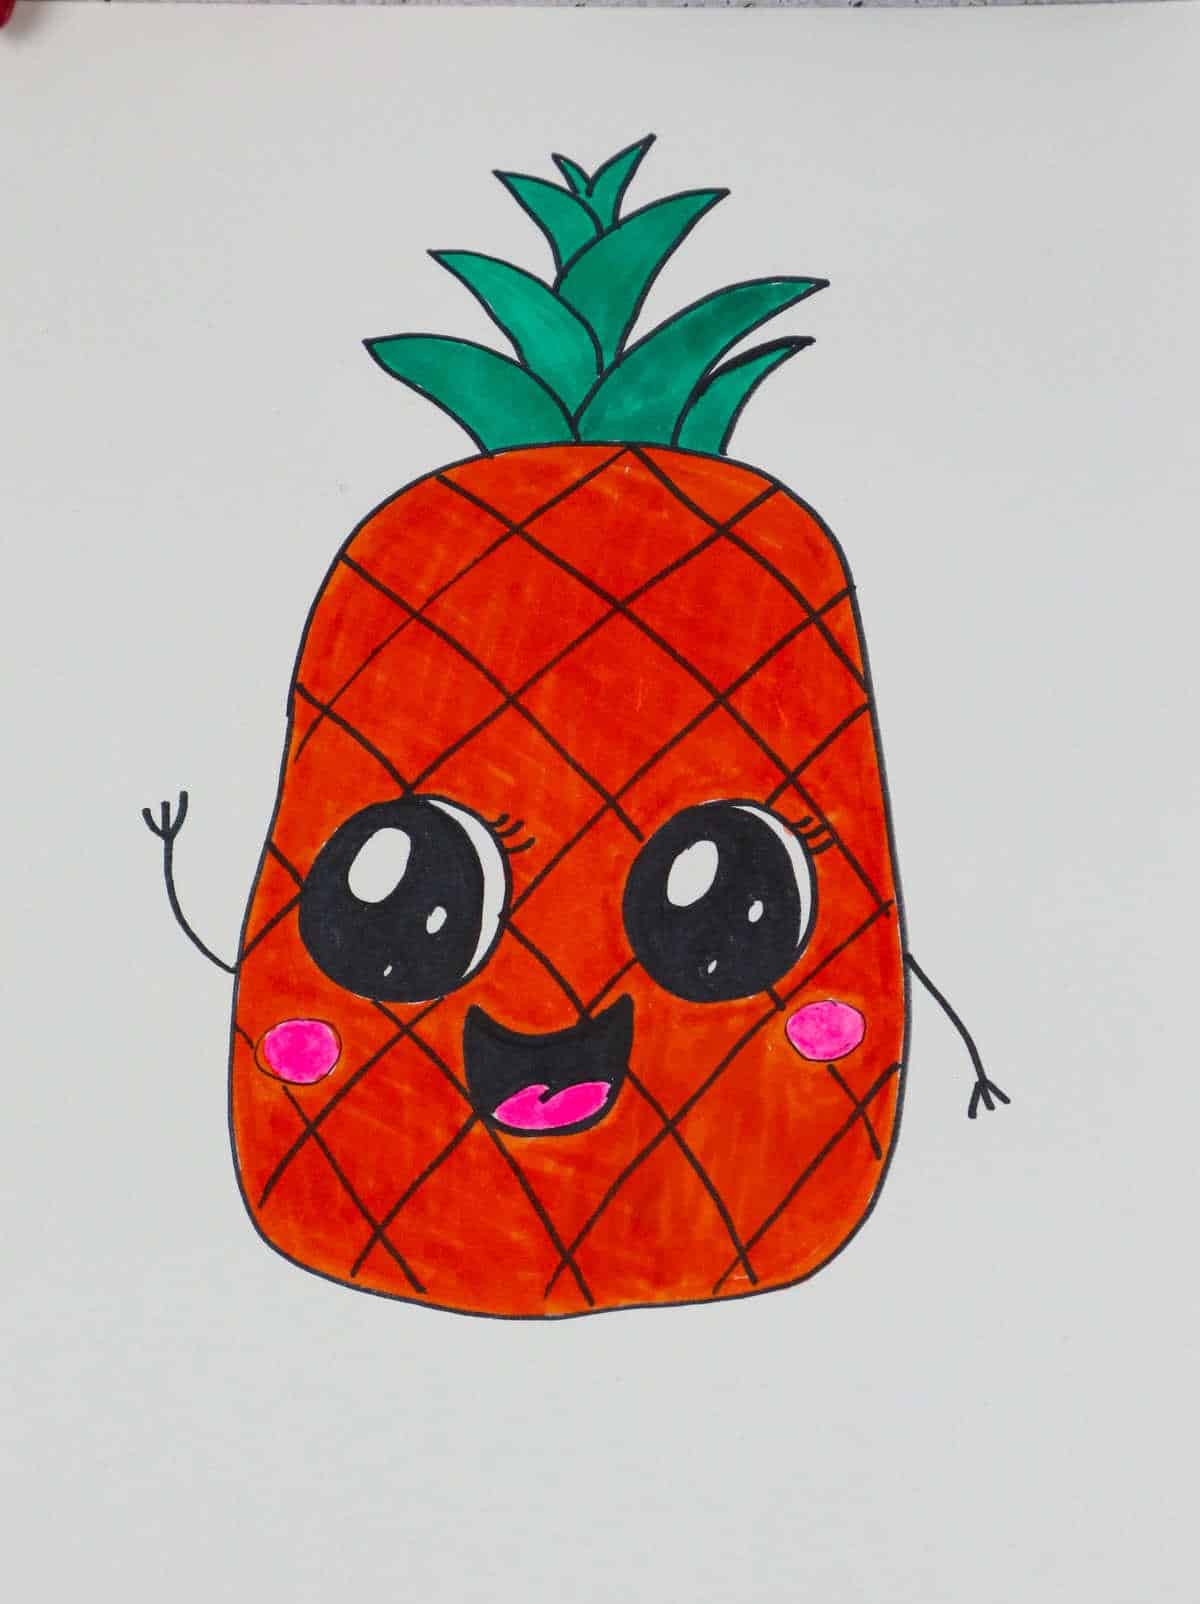
A creative outlet beyond humans and animals lies in drawing a pineapple, a fascinating subject to explore. Begin by sketching a rounded-edged rectangle, slightly smaller at the top than the base, with the curvature increasing as you move up. This will form the foundation of your pineapple’s body.
Next, focus on the leaves, which should grow progressively larger towards the top and gradually decrease in size until you’re satisfied with the desired shape.
Once the leaves are in place, turn your attention to the pineapple’s core. Start by drawing two circular eyes, followed by a diagonal cross-hatch pattern that fills the remaining space.
Whale
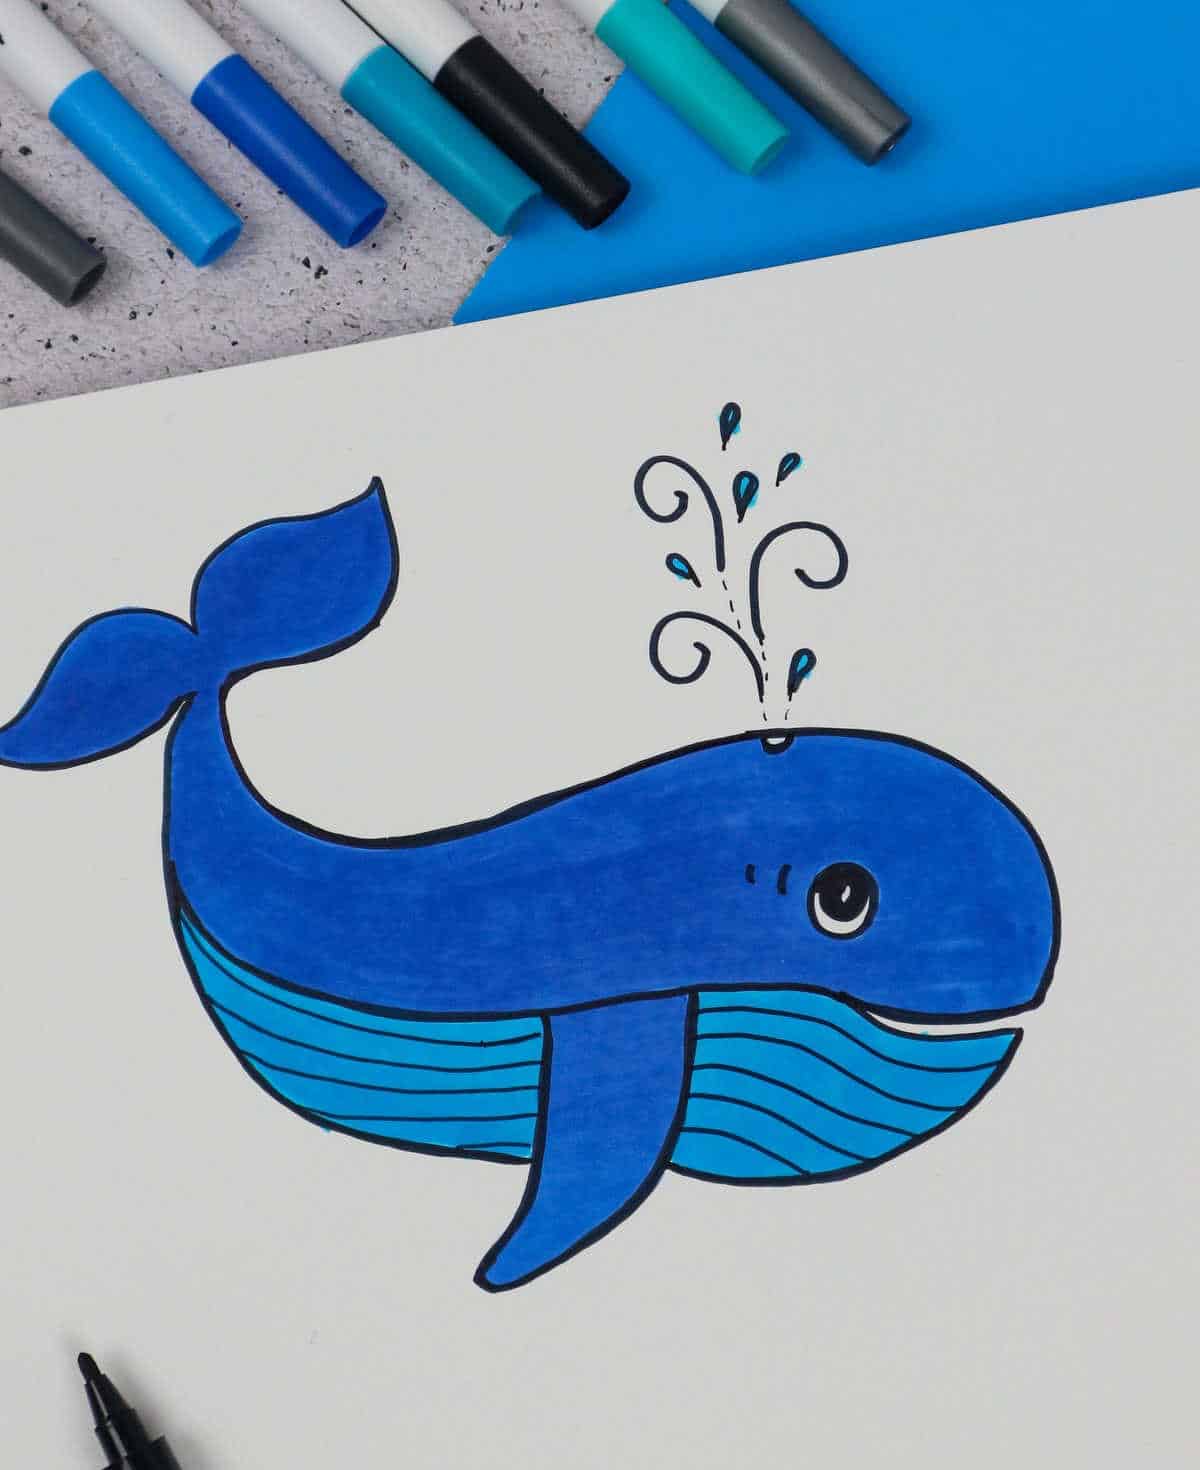
When it comes to drawing a whale, one of the most iconic and awe-inspiring creatures in the sea, understanding its basic shape is crucial. To start, create a small ‘v’ for the mouth, then curve both the top and bottom lines upwards and away from each other. As you continue to draw, begin to soften the edges of your lines, giving them a teardrop-like shape. However, avoid making these curves too close to the outer edges, as these will eventually form the whale’s tail.
Be sure to leave some space between the body and the fin, which should be drawn in once the main body is complete.
Shark
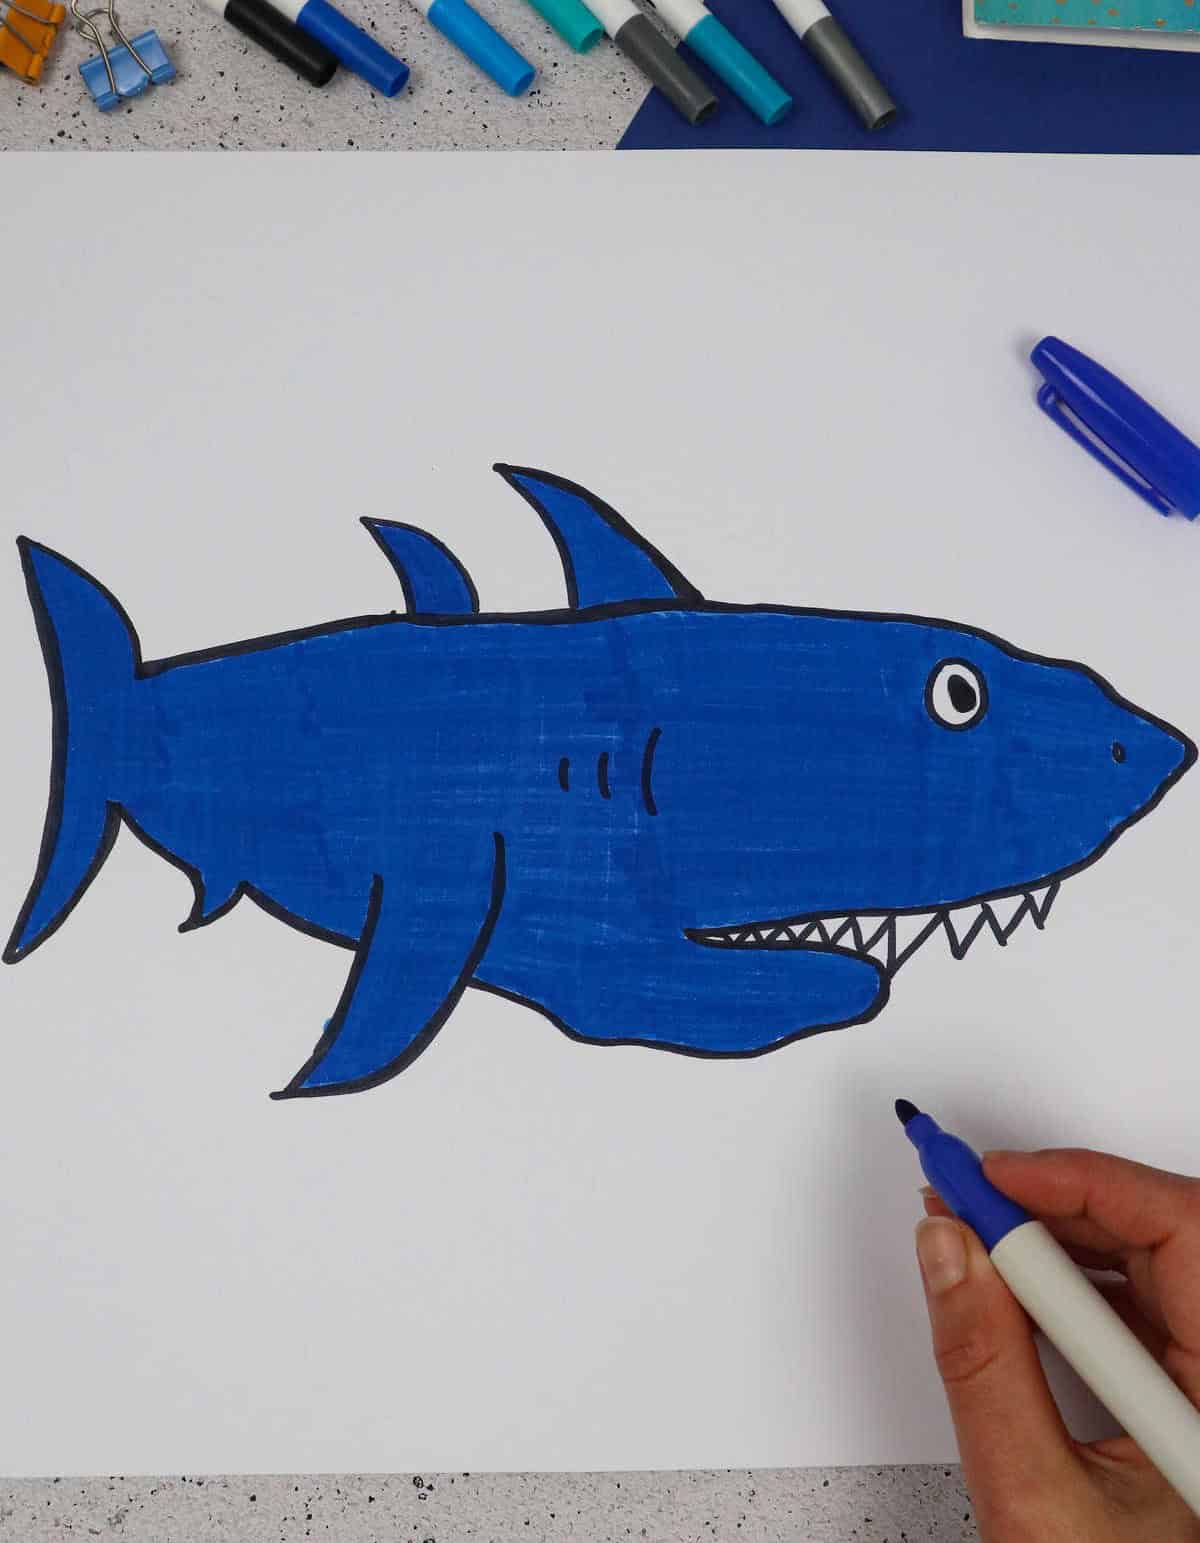
Sharks are an impressive addition to any underwater scene, and while they may seem intimidating to draw, with some patience and practice, anyone can master this fin-tastic creature. Start by drawing a gentle arc for the shark’s back, working your way from the nose down. Once you’ve completed this initial shape, move on to crafting the upper portion of the mouth, returning to the nose to do so.
The lower part of the mouth will be slightly smaller and more angled, with a slight upward curve that should meet up with the tail area – be sure to leave some room for those iconic shark fins in the meantime. Connect the two mouth sections at the tail end, then take it one step further by adding in all the necessary details and fin-tastic flourishes.
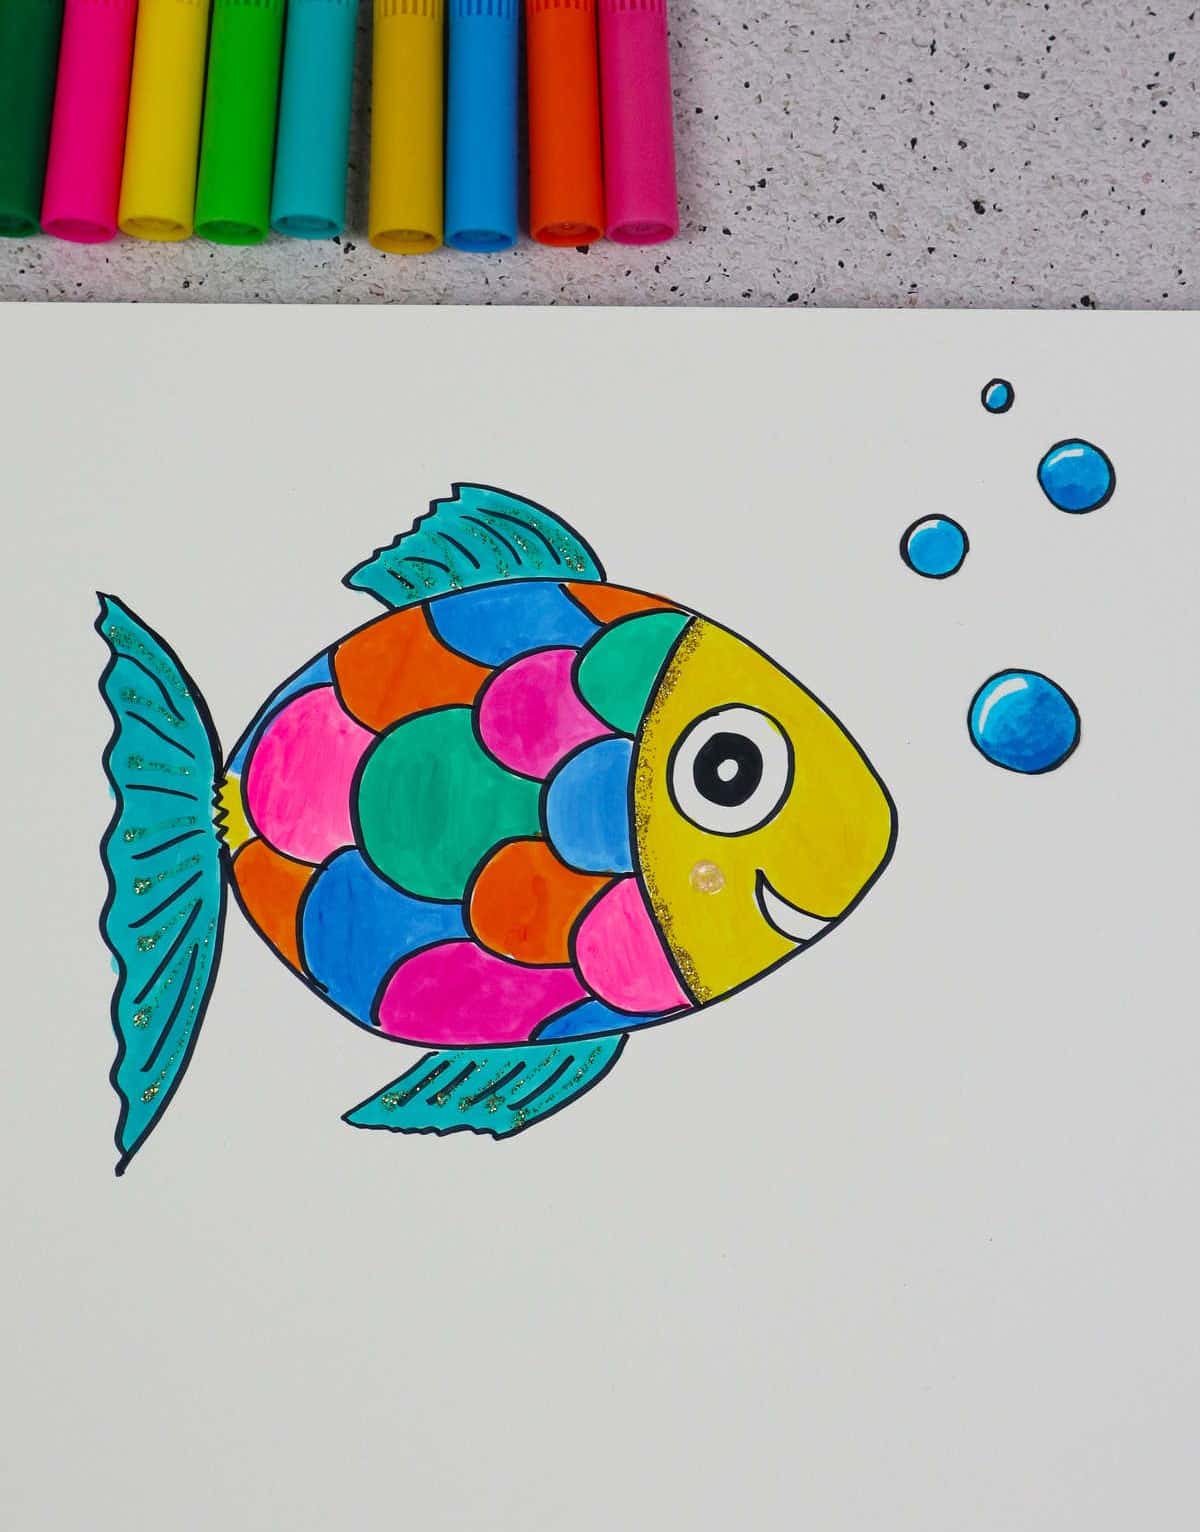
Fish
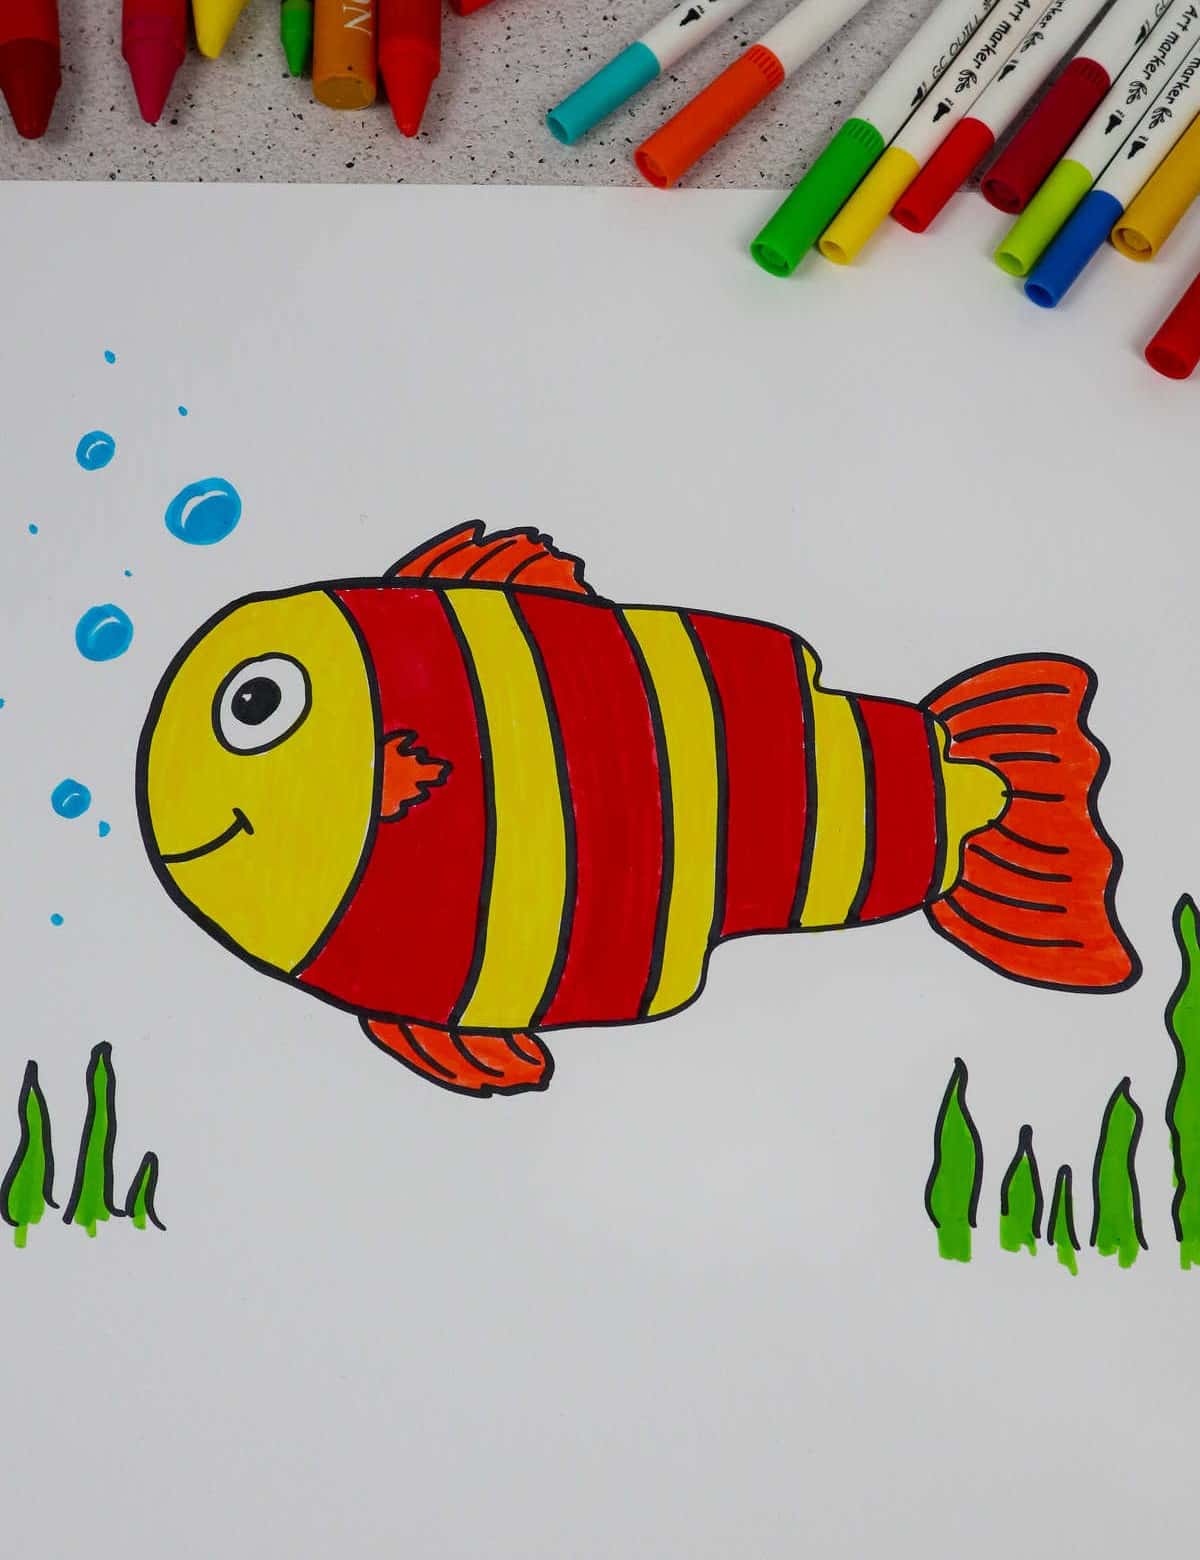
As you dive into the world of ocean creatures, it’s time to meet a fin-tastic friend – the humble fish! If your mini-me is hooked on the adventures of Nemo and friends, we’ve got some splashy news for you. To bring this aquatic ally to life, start by sketching out the body with gentle curves, reminiscent of a wave. Next, create the palm- opened hand shape, but don’t worry about filling in the fingers just yet.
Instead, focus on capturing the wispy, wavy motion of the fish by lightly outlining only the tops of the fingers. And, for even more fin-tastic drawing ideas, check out our dedicated collection!
Ice cream
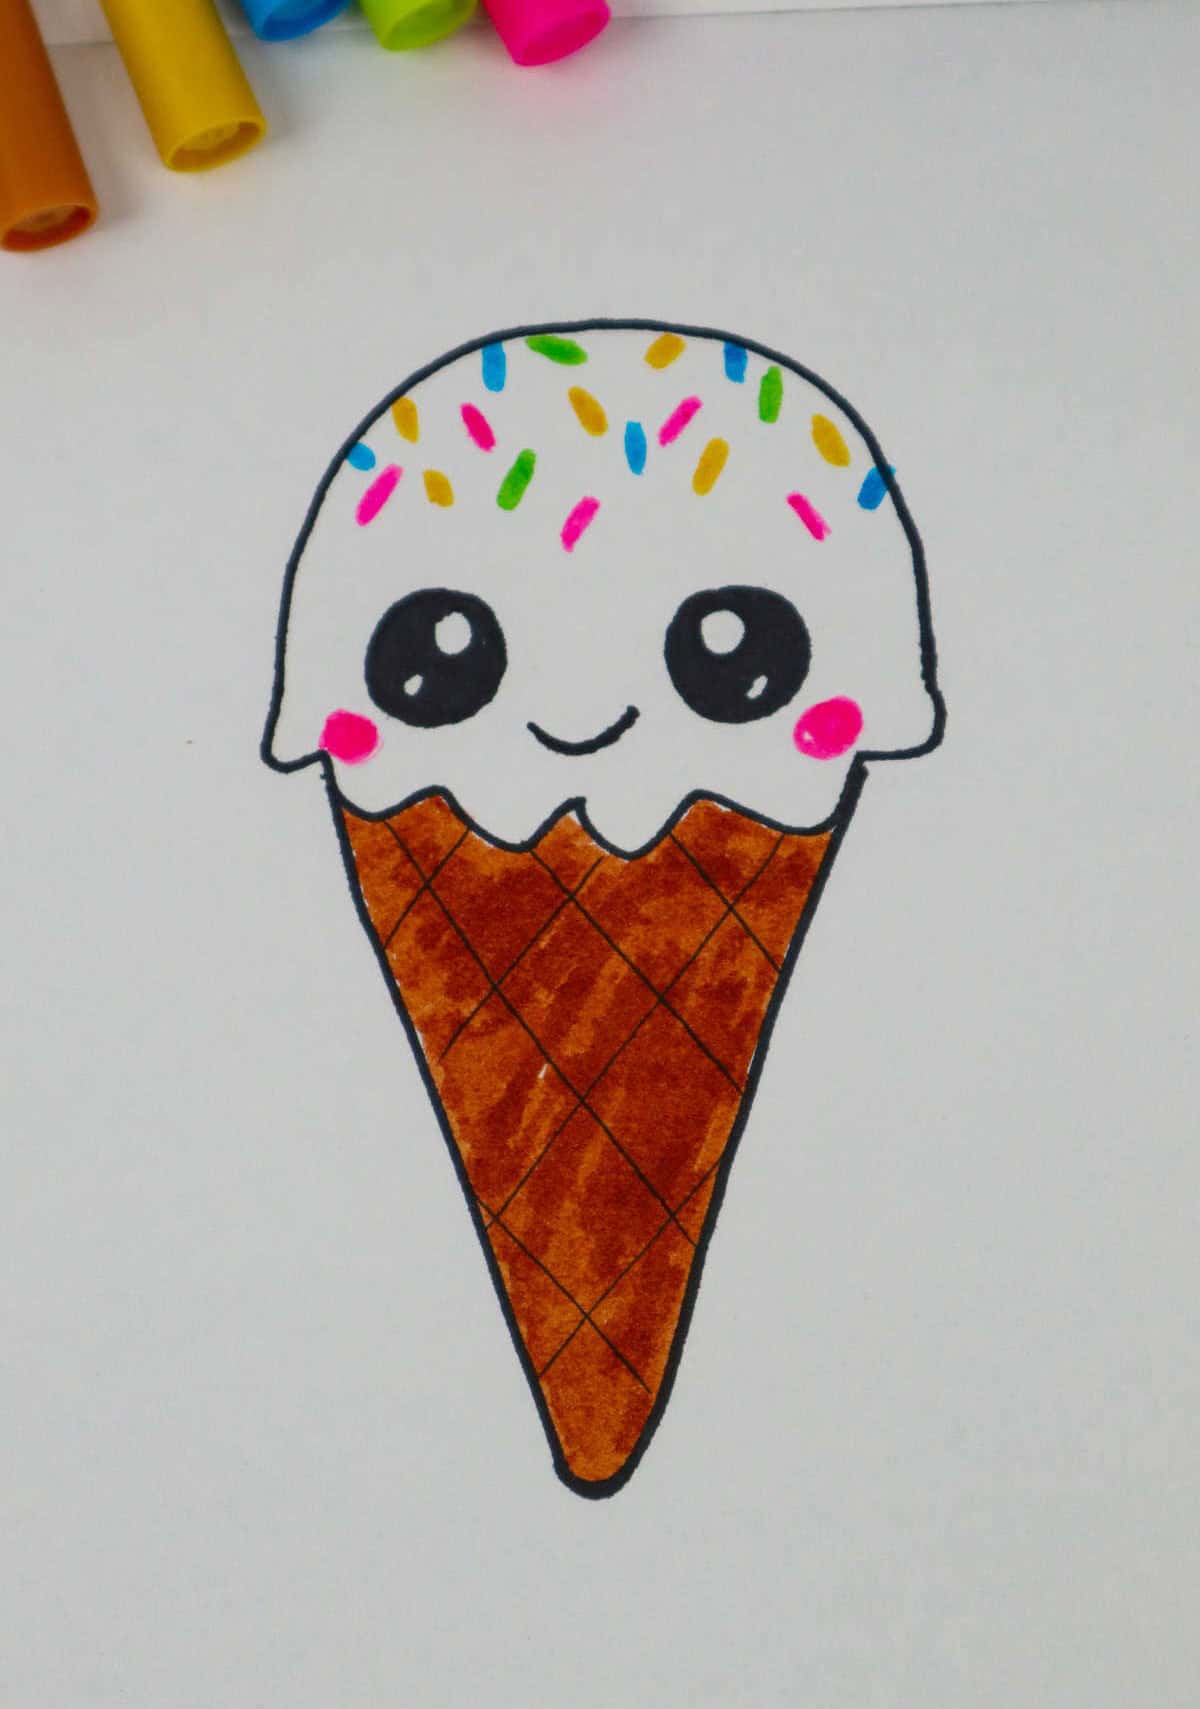
Imagine a whimsical illustration that brings a smile to the viewer’s face – a playful representation of an ice cream cone! Begin by crafting an exaggerated ‘V’ shape around the cone. Next, add a jellyfish-shaped scoop of ice cream, with all its wavy tendrils and delicate details. The result is a delightful visual treat that’s sure to evoke feelings of joy and nostalgia for carefree summer days.
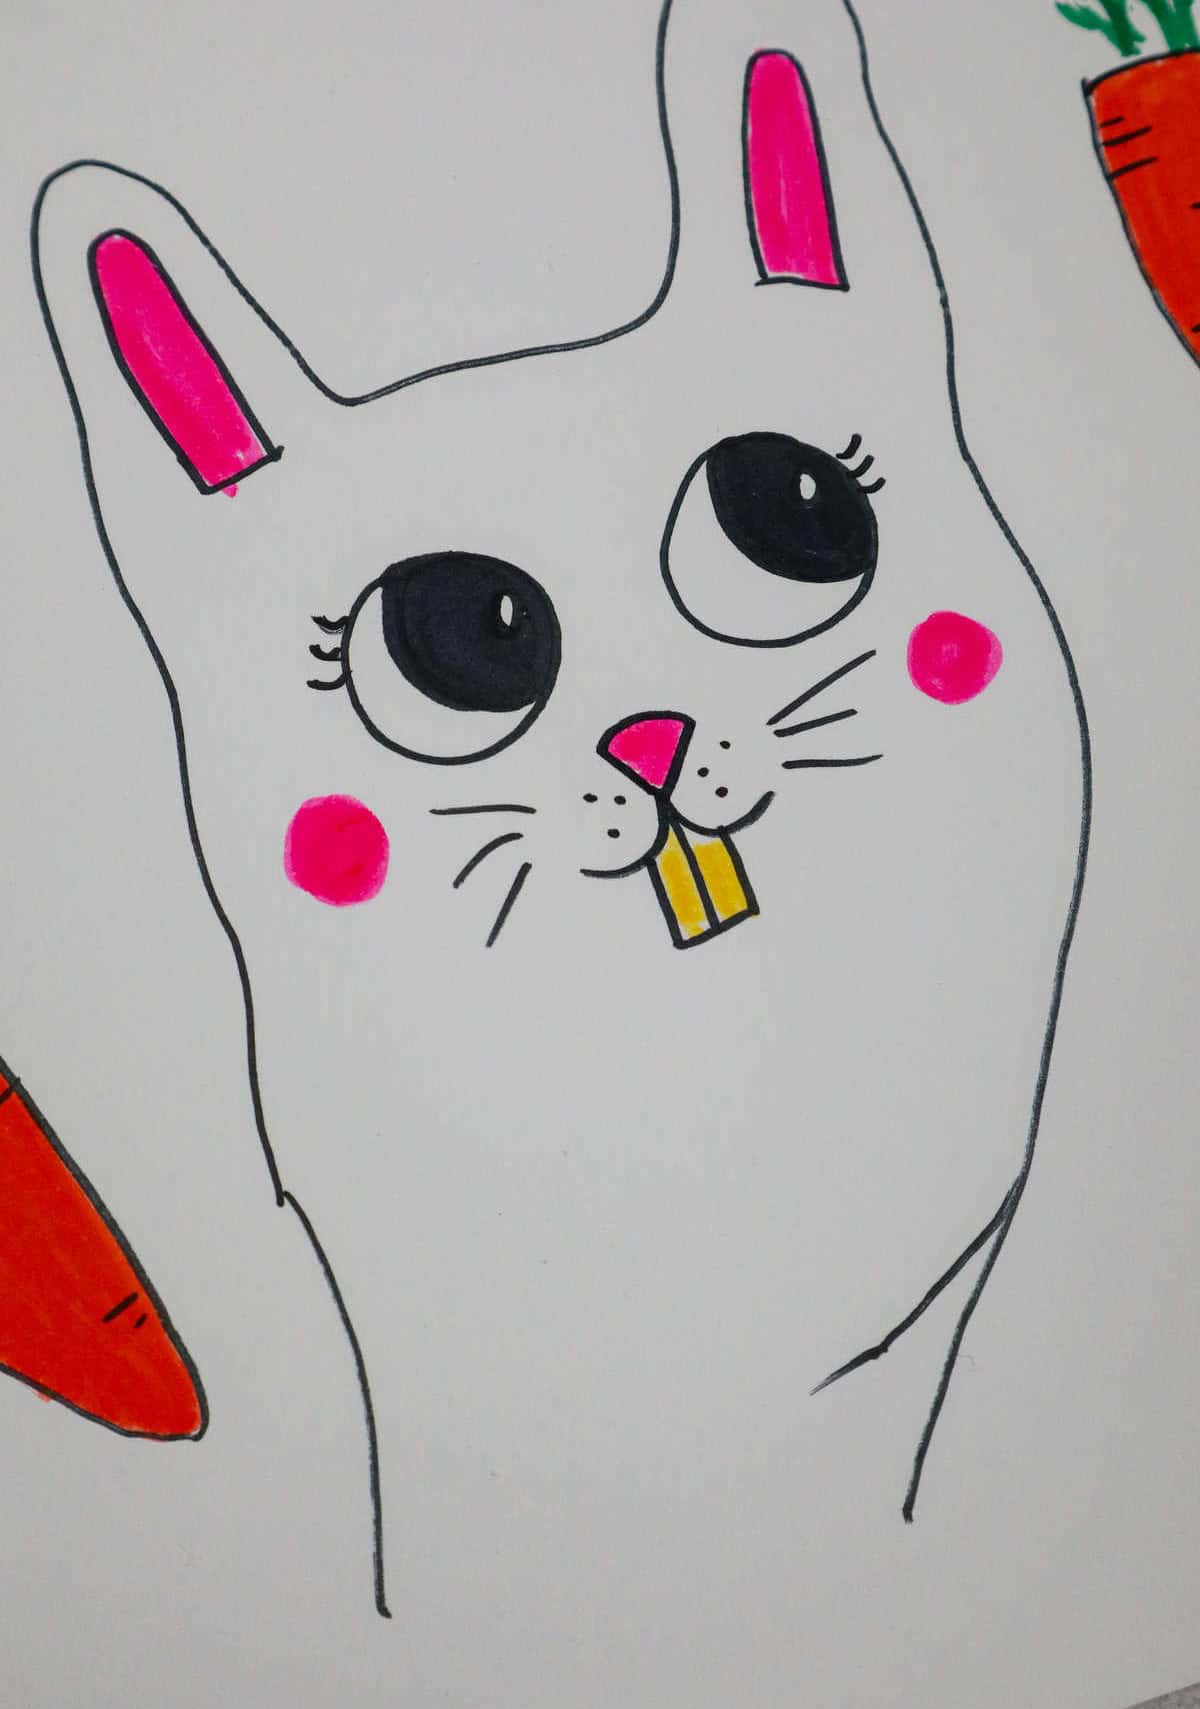
Bunny
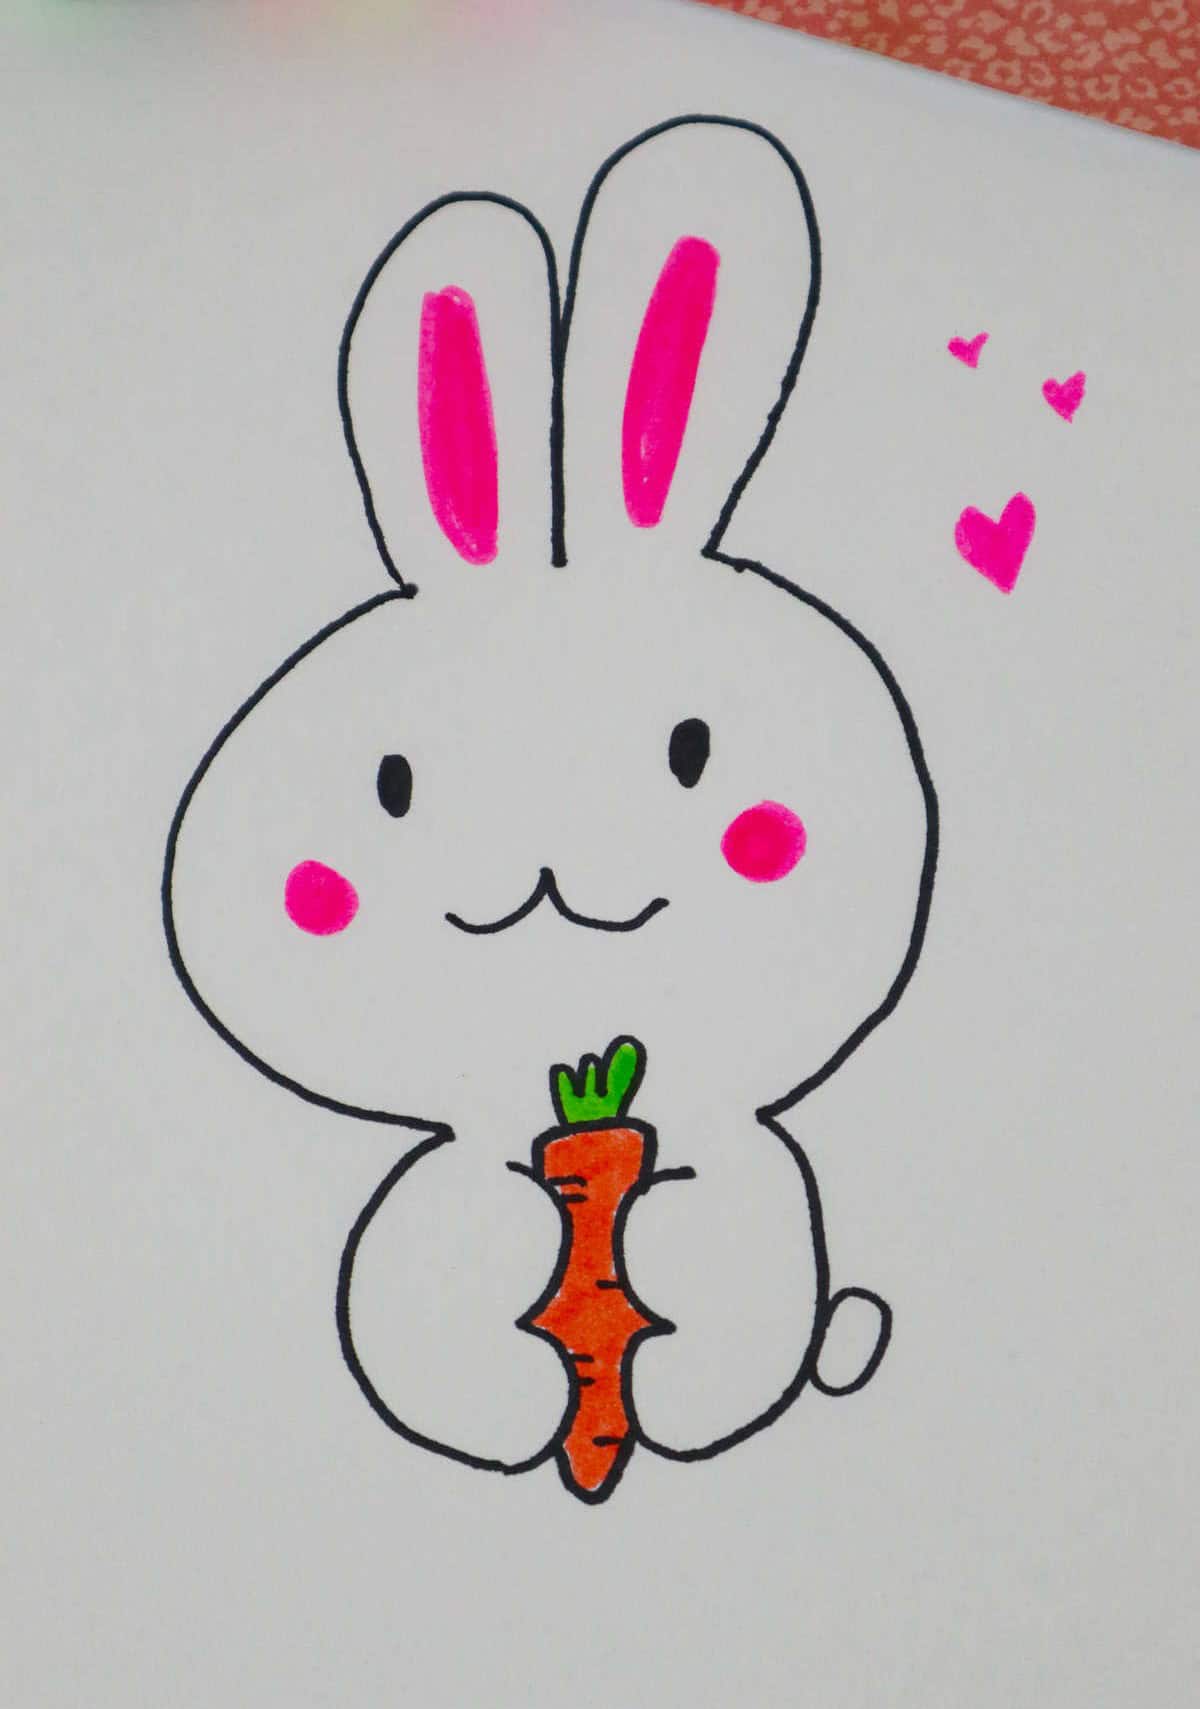
As we move on to drawing the bunny, begin by creating a rounded ‘m’ shape at the top of its head. Stretch this shape outwards to form the ears, taking care to maintain a consistent curvature throughout.
Next, focus on the area beneath the ears and draw an almost circular shape that gradually tapers off as it approaches the mouth region. This will serve as the foundation for our bunny’s facial features.
To create the paws, use two backward ‘3’ shapes positioned near the base of the head.
From there, continue drawing lines down and around to meet at the bottom of the paws.
Lion
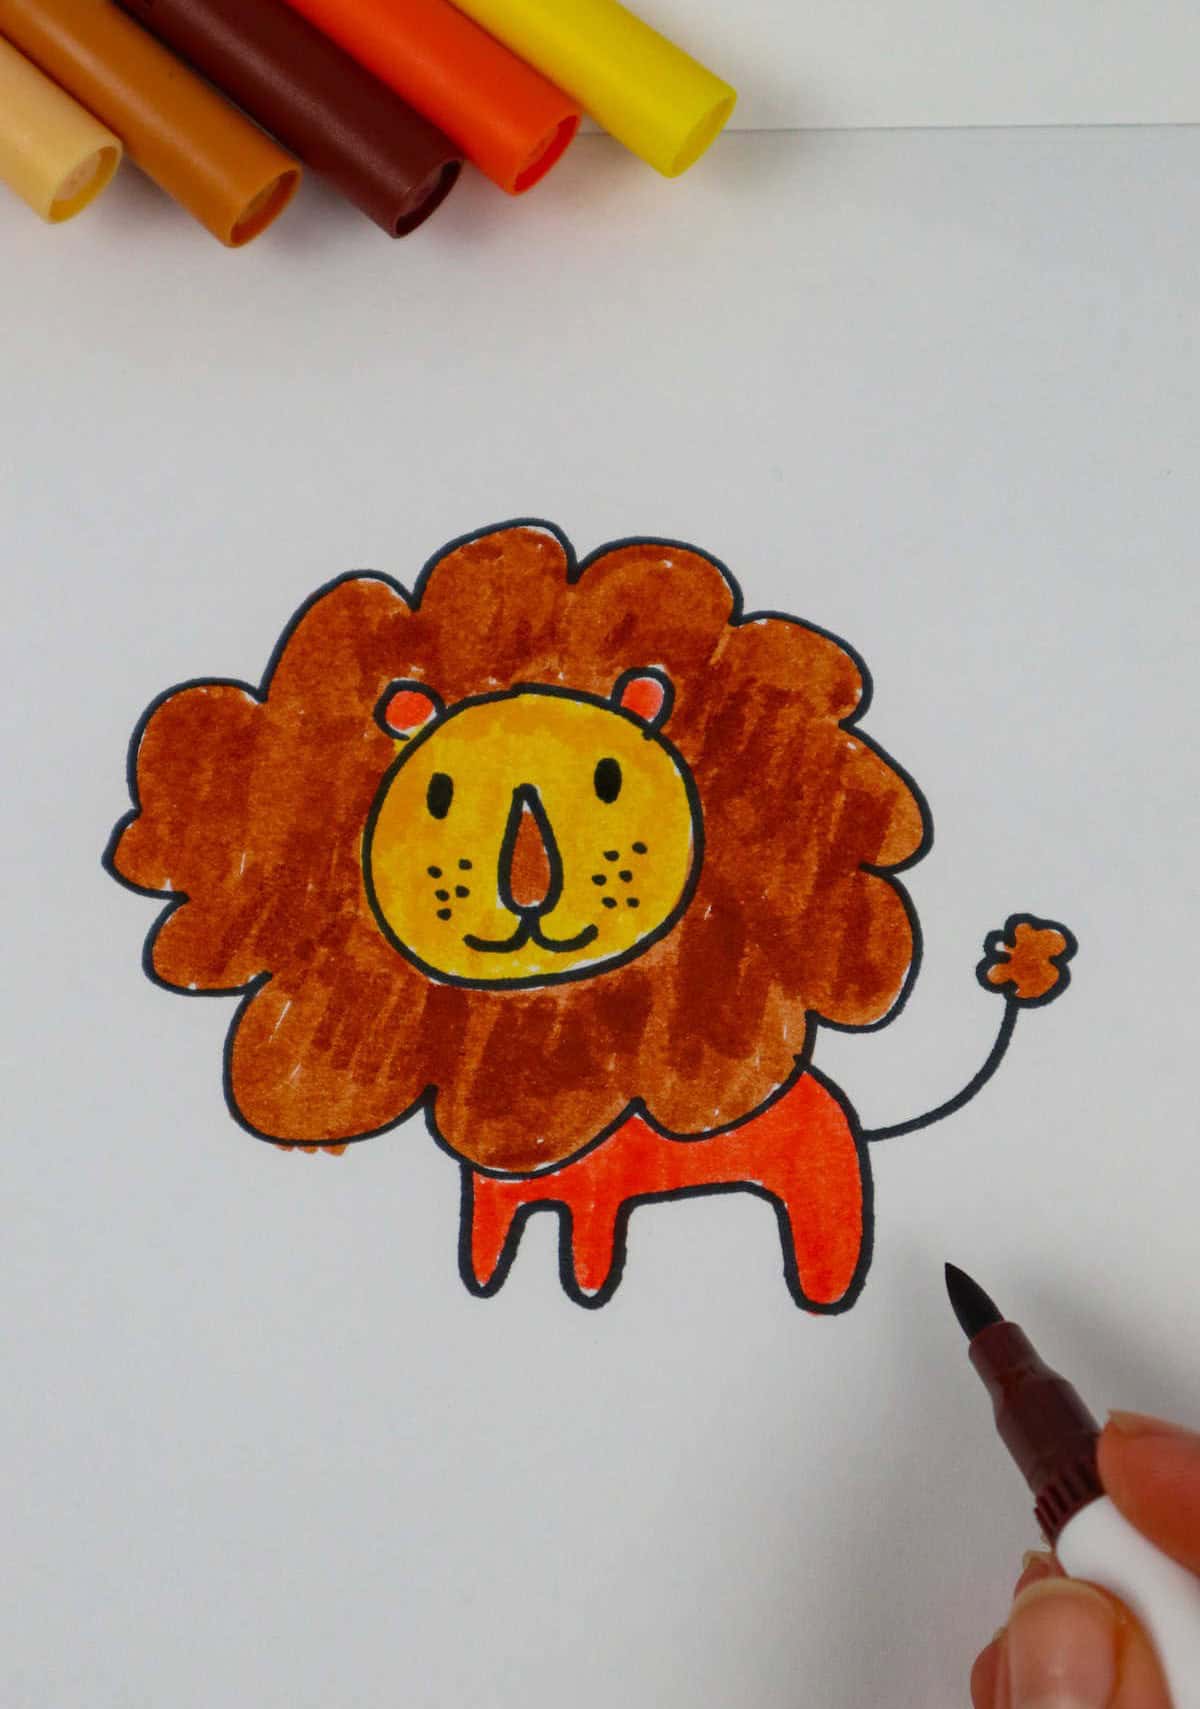
When it comes to drawing lions, start by sketching a circle for the head. From there, create the distinctive mane by adding curved lines that resemble petals on a flower. Next, draw the legs using a capital ‘E’ in bubble letters facing downwards. Add some personality to your lion with a playful tail and don’t forget to include the finer details to bring it all to life.
Mouse
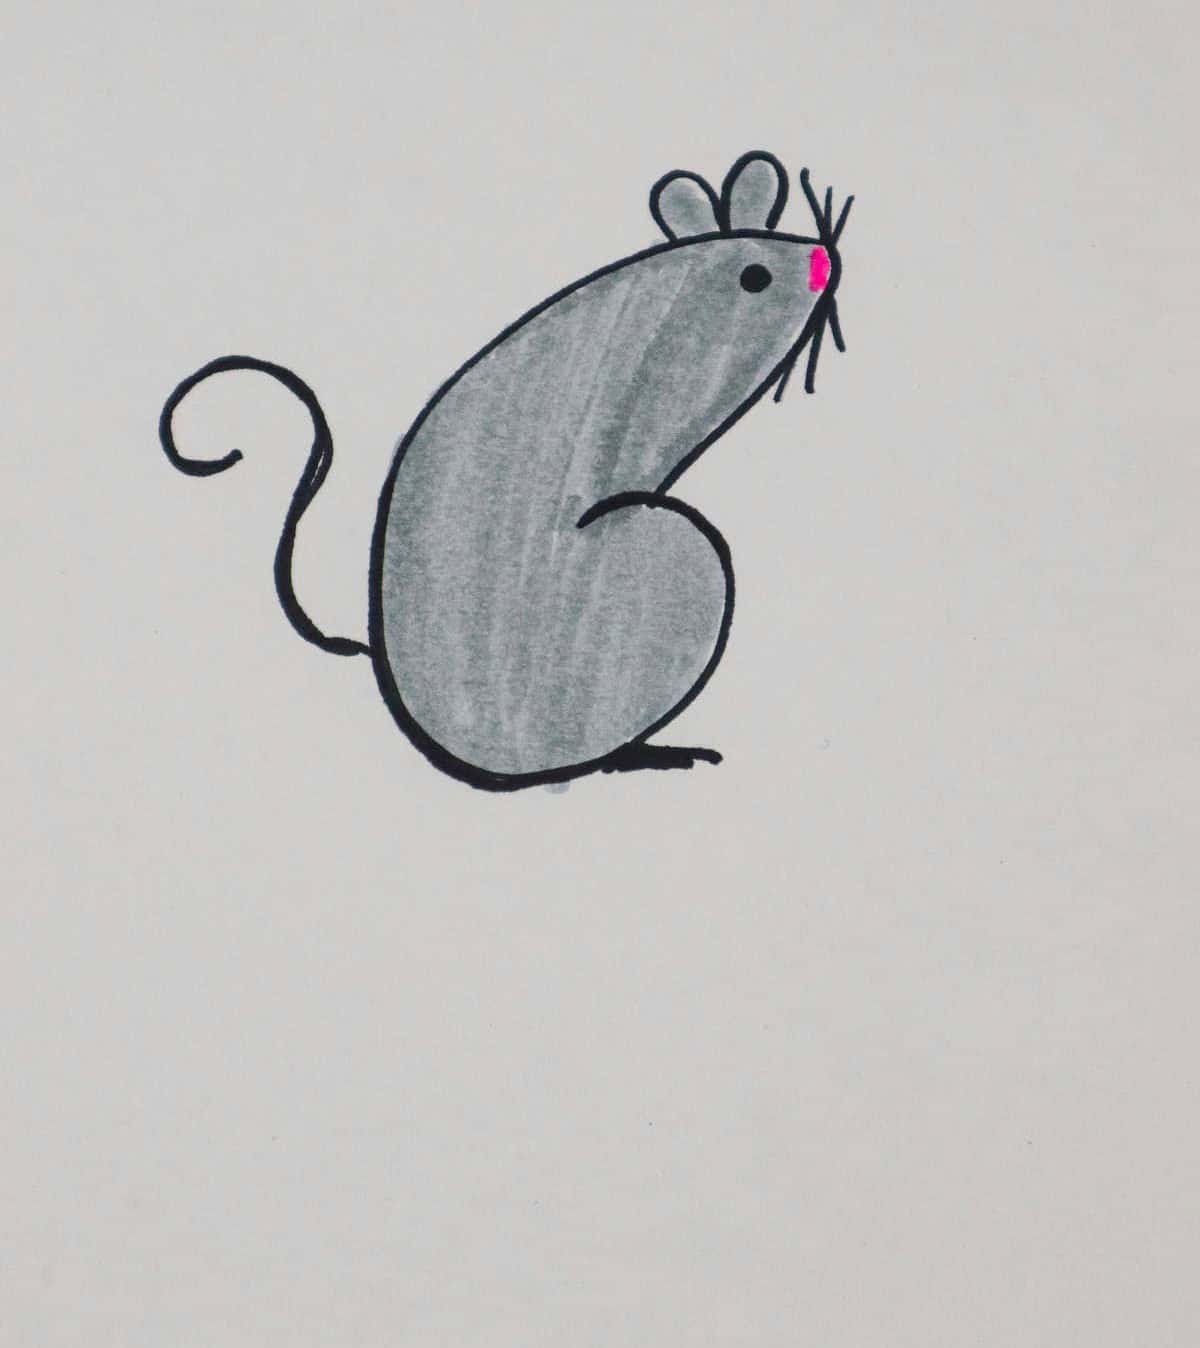
As you gaze upon the scene, a mouse slips into view with effortless ease. To craft this tiny creature, begin by starting with the basic shape of the body, represented by the number ‘6’. Next, carefully draw the neck, flowing seamlessly from the top of the head to the nose, where the two meet in a gentle, rounded curve.
Dinosaur
Lollipop
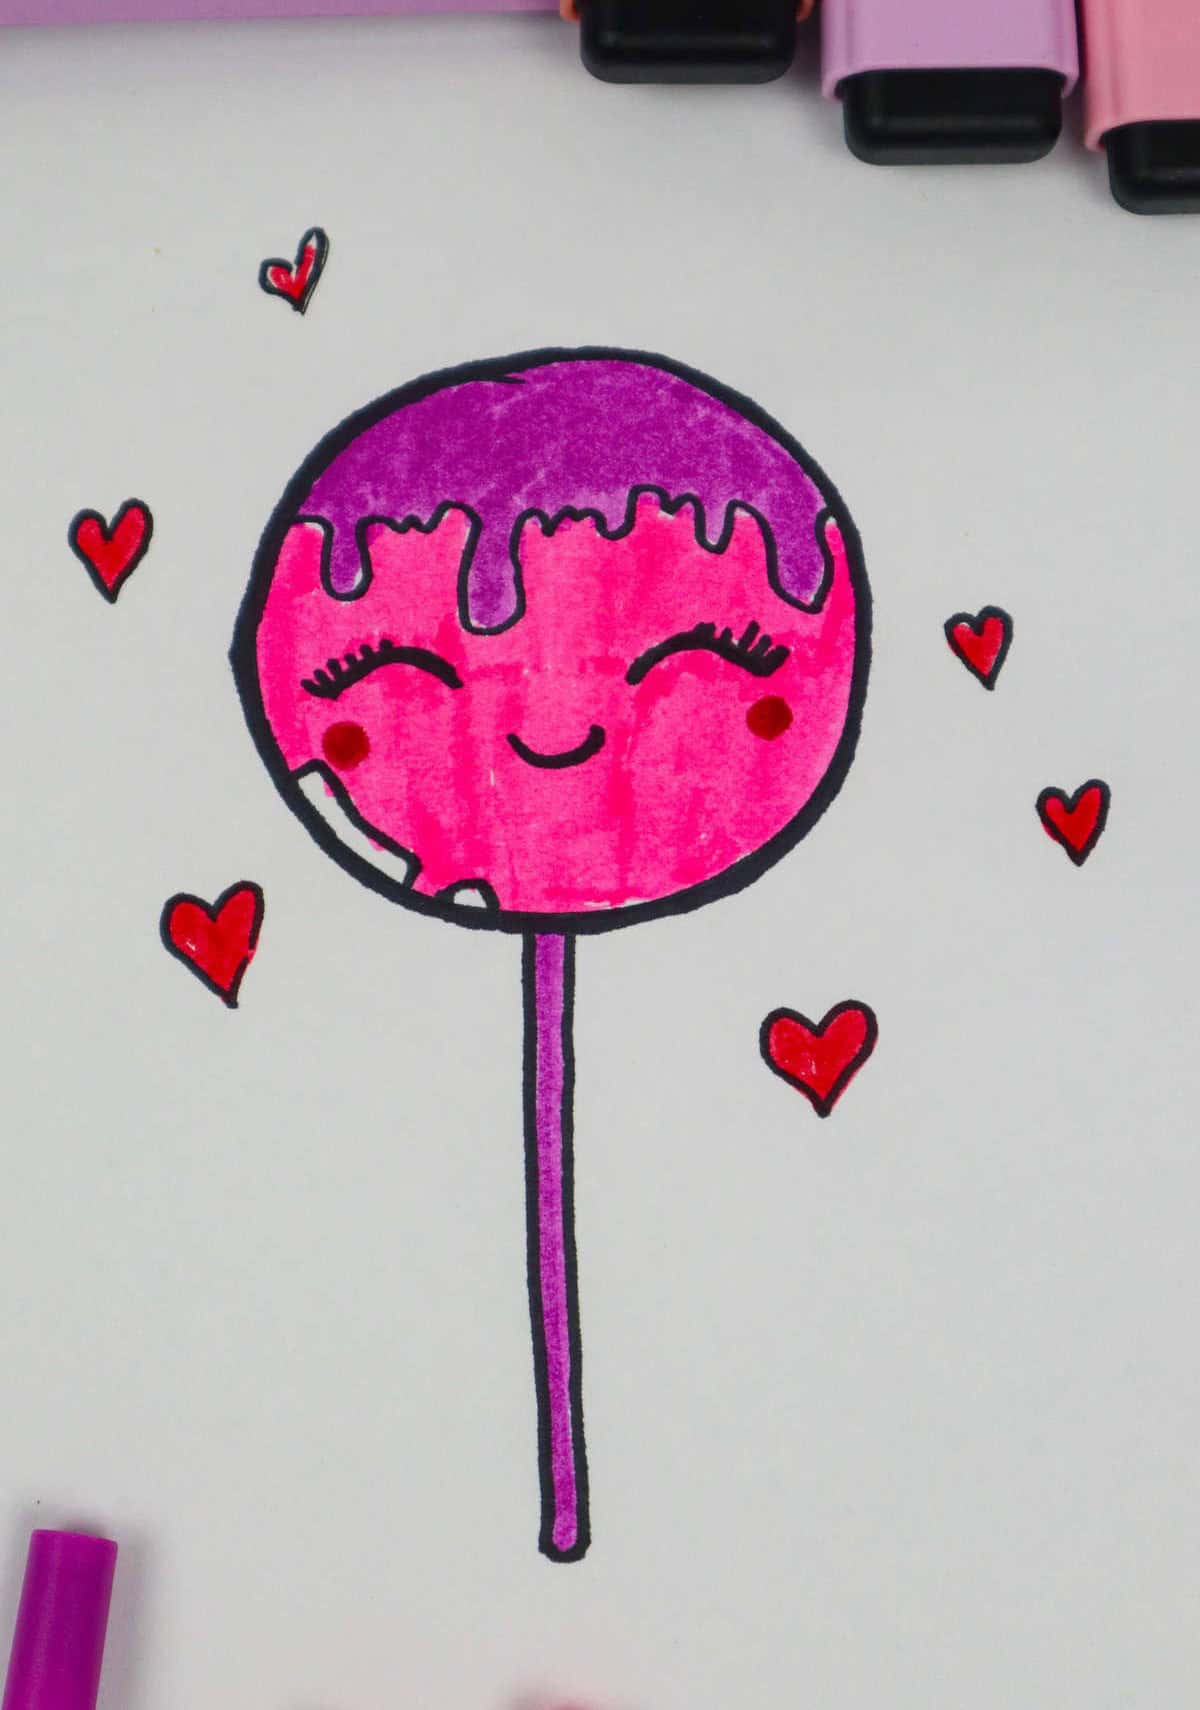
For creatives with a penchant for sweetness, why not bring your artistic skills to the world of confectionery? Try sketching a lollipop by starting with a slender rectangle as the base, then add a rounded crown that’s significantly larger than the rest of the design. Feel free to embellish it with any details that put a smile on your face!
Bee
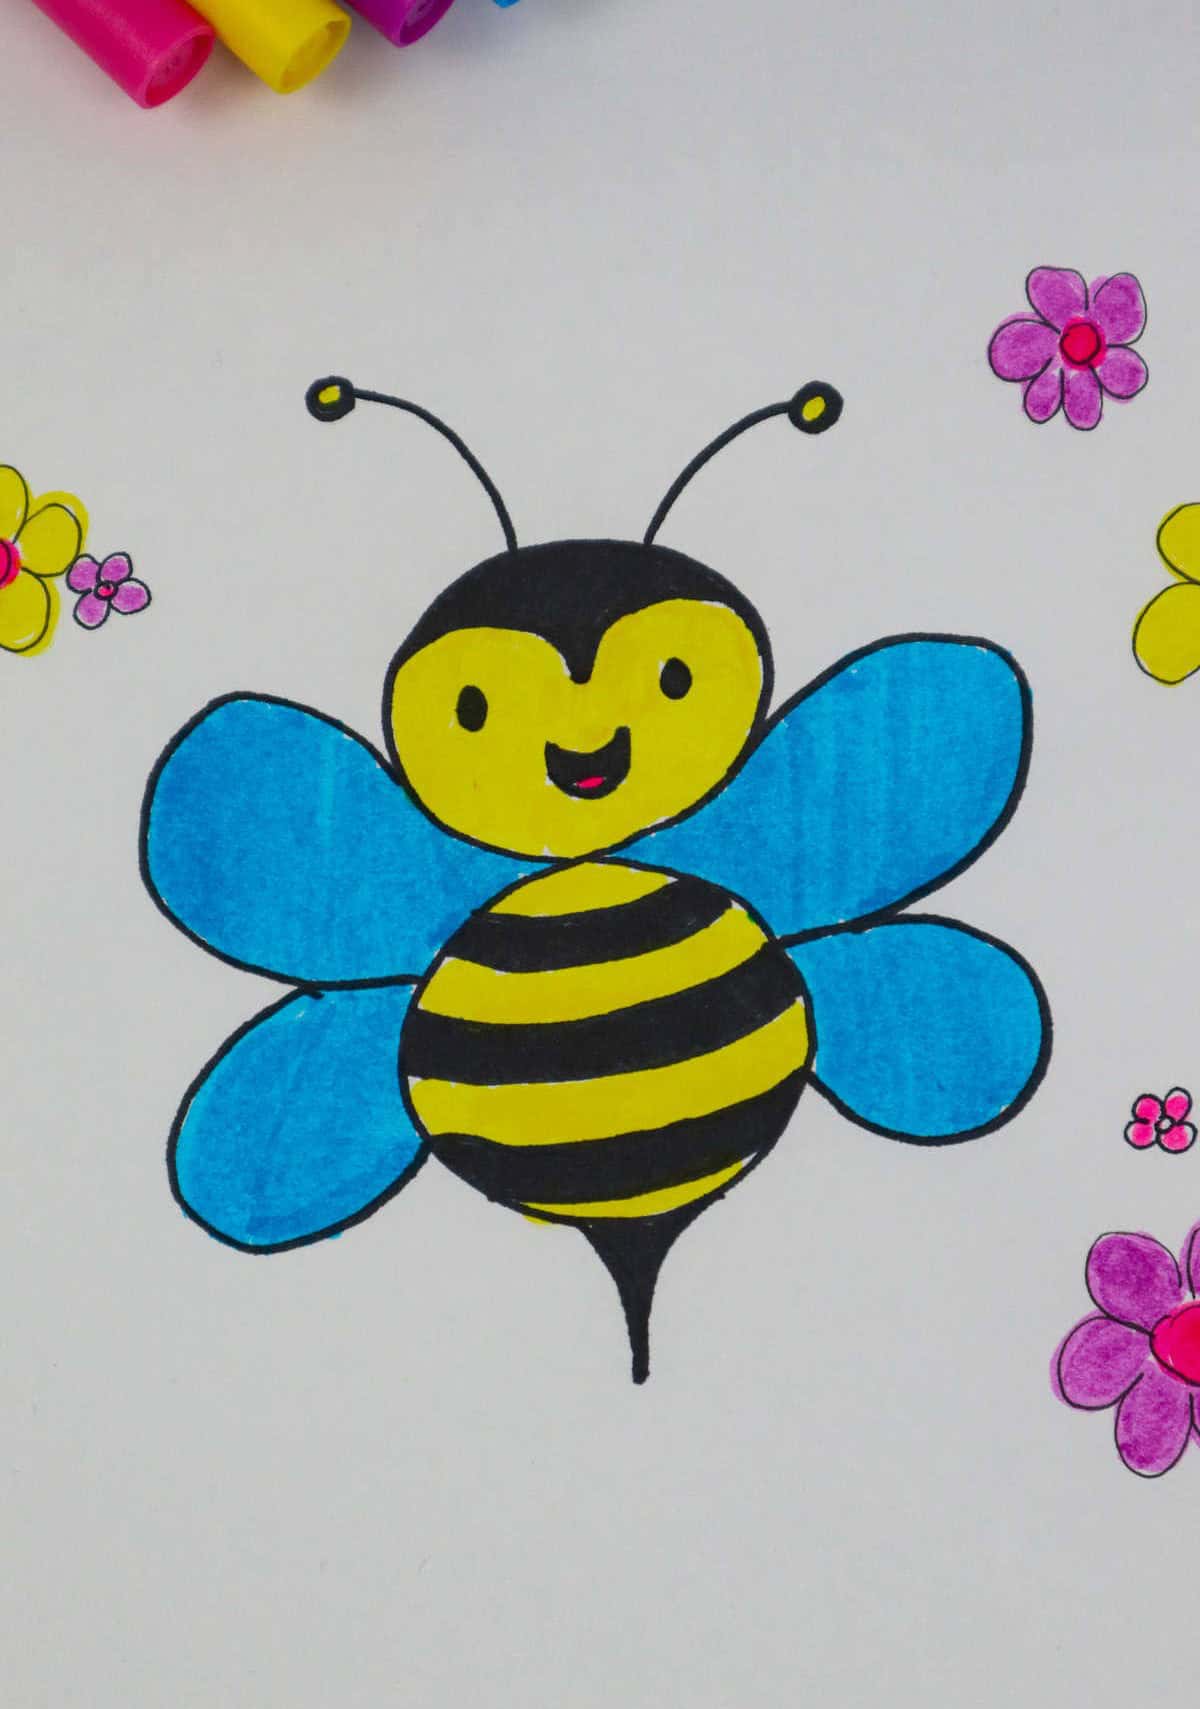
Crafting a bumblebee from scratch may seem like a daunting task, but surprisingly, it’s an accessible project for anyone interested in DIY endeavors. The simplicity of its design is what makes it so appealing – a mere two circles stacked on top of each other, adorned with wings on either side, antennas, and a stinger. With these basic components, you can bring this iconic insect to life!
Baby Blue Dinosaur
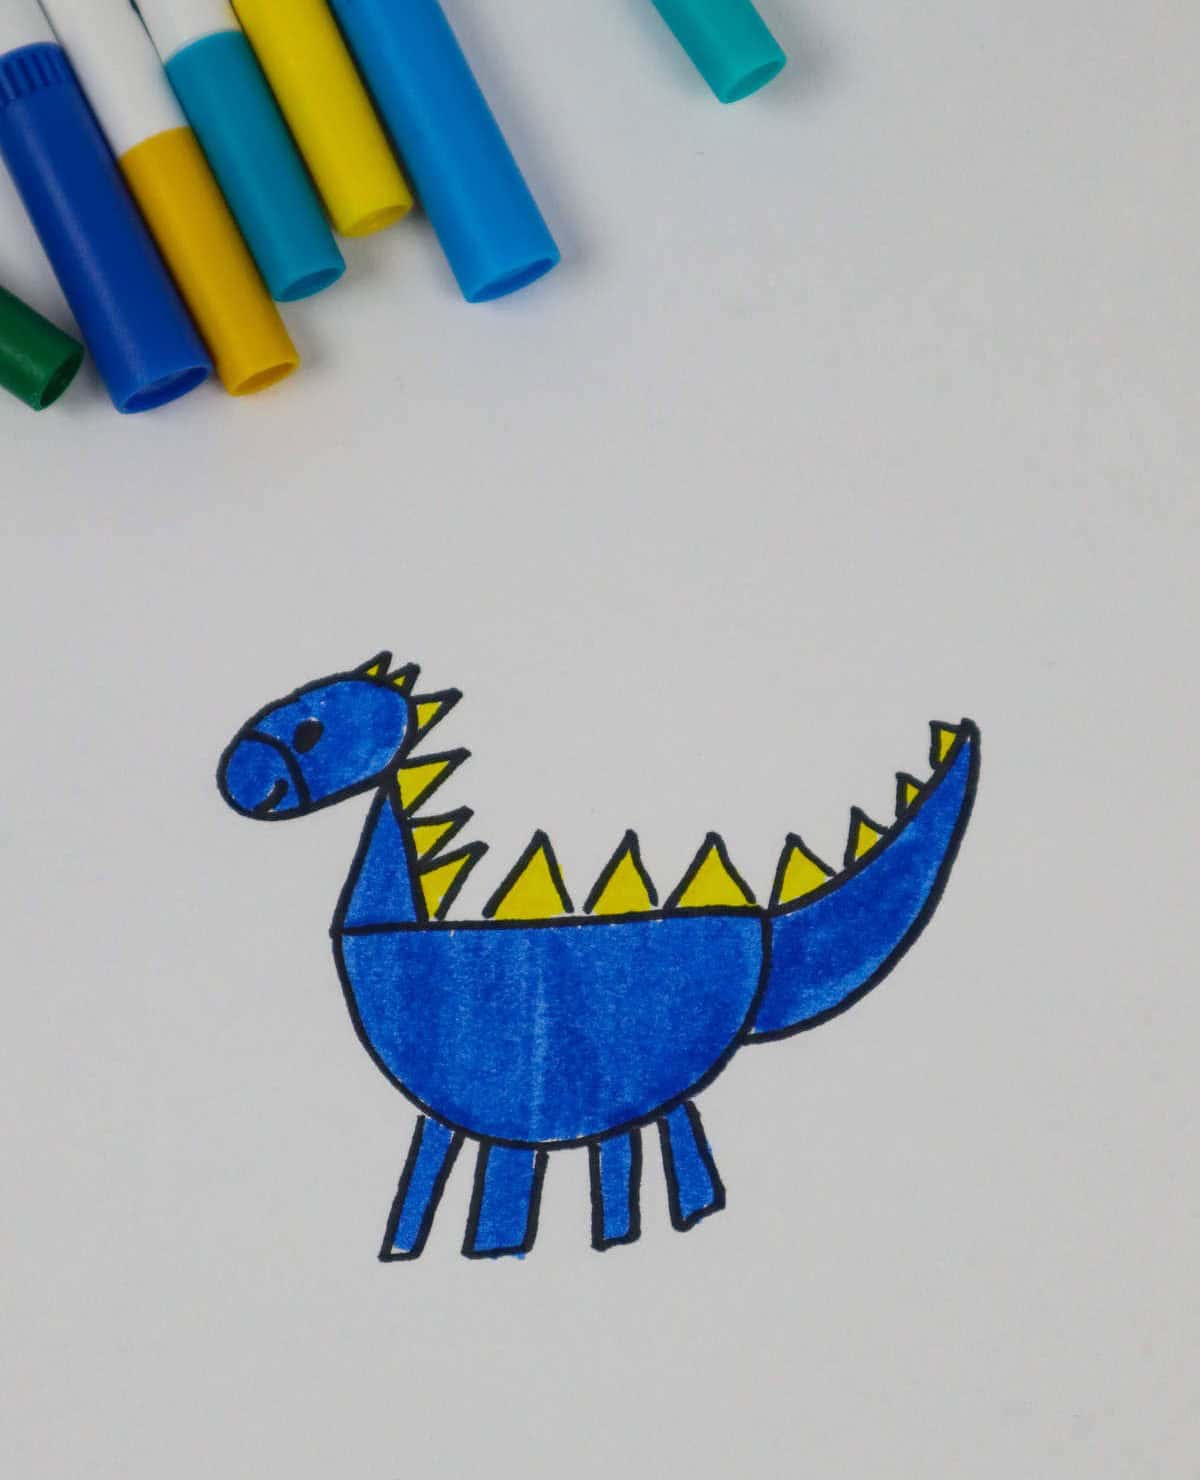
For those who appreciate a more understated approach to dinosaur-themed art supplies, the baby blue dinosaur offers an excellent solution. This versatile tool features distinct, easily recognizable shapes that make it an ideal choice for emerging artists looking to hone their skills.
Fox

Creating a foxy drawing using geometric shapes requires minimal expertise, as it mainly involves combining a few fundamental elements. To start, you’ll need to draw a series of connected triangles that form the fox’s body. A single, longer rectangle serves as its torso, while the tail is the most unconventional part – think simple curves rather than precise angles.
Cow
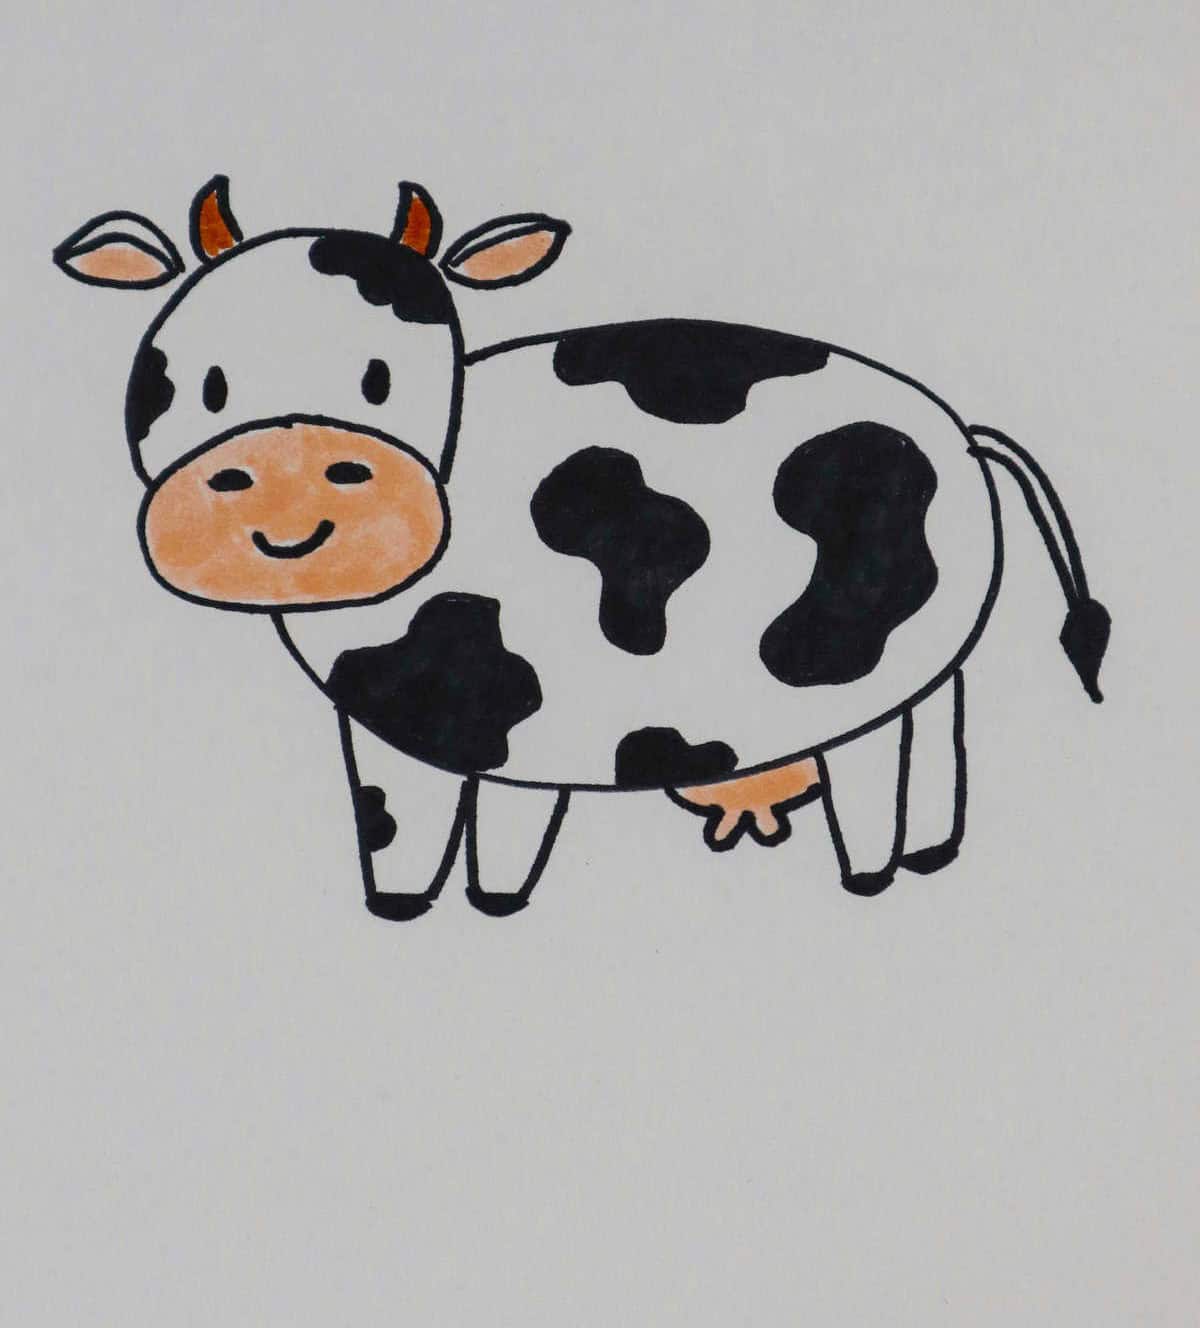
When it comes to drawing farm animals, I find that cows are particularly enjoyable subjects. To get started, you’ll want to begin by sketching out a large, open-ended oval shape near the top of the page, roughly where the cow’s head would be located. From there, you can add a half-moon shaped curve to serve as the foundation for the cow’s face, followed by an oval or rounded shape that will become the mouth.
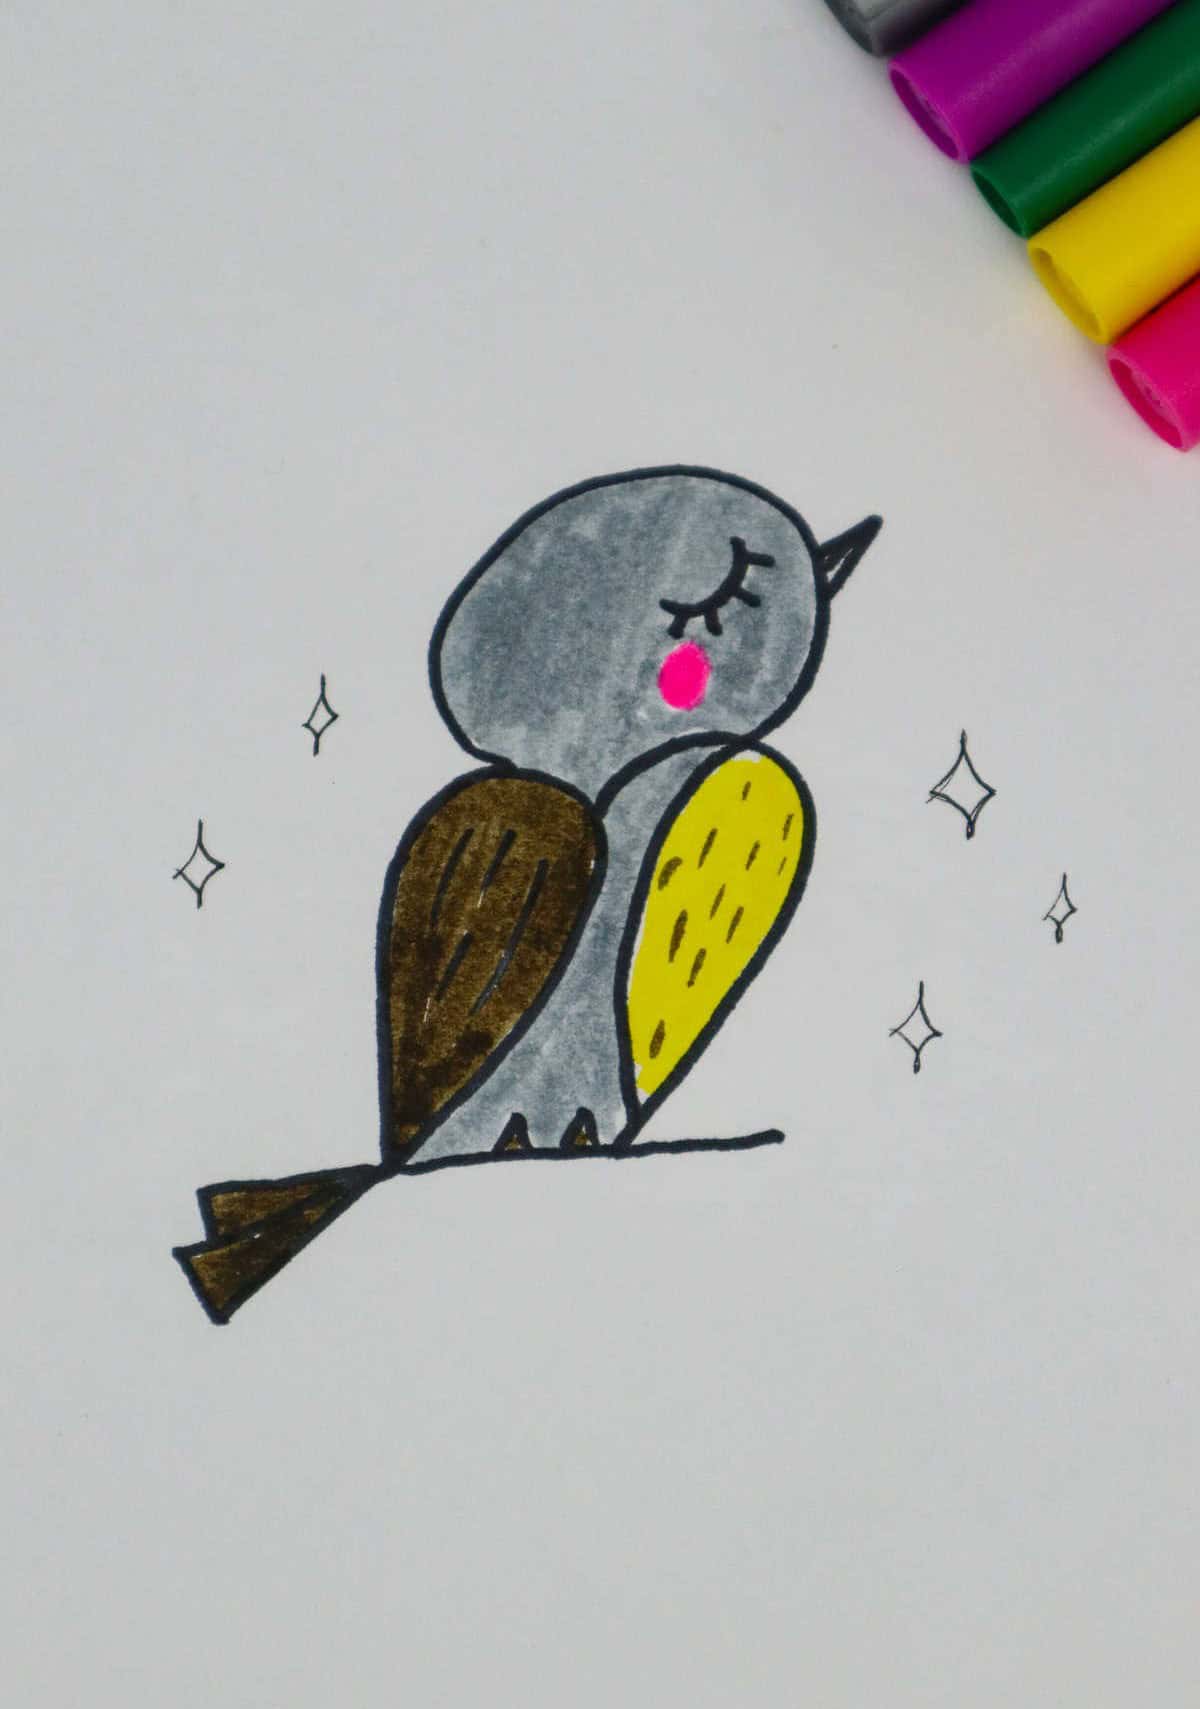
Chick
As your artistic skills continue to grow, a new feathered friend has joined the menagerie. Chicks are a delightful addition to any illustration, and with some simple techniques, you can bring them to life on paper. Begin by sketching the outer lines of the chick’s body, gradually expanding towards each end before meeting at the tail area. With this newfound skill in your arsenal, why not take flight and explore these tree drawing ideas?
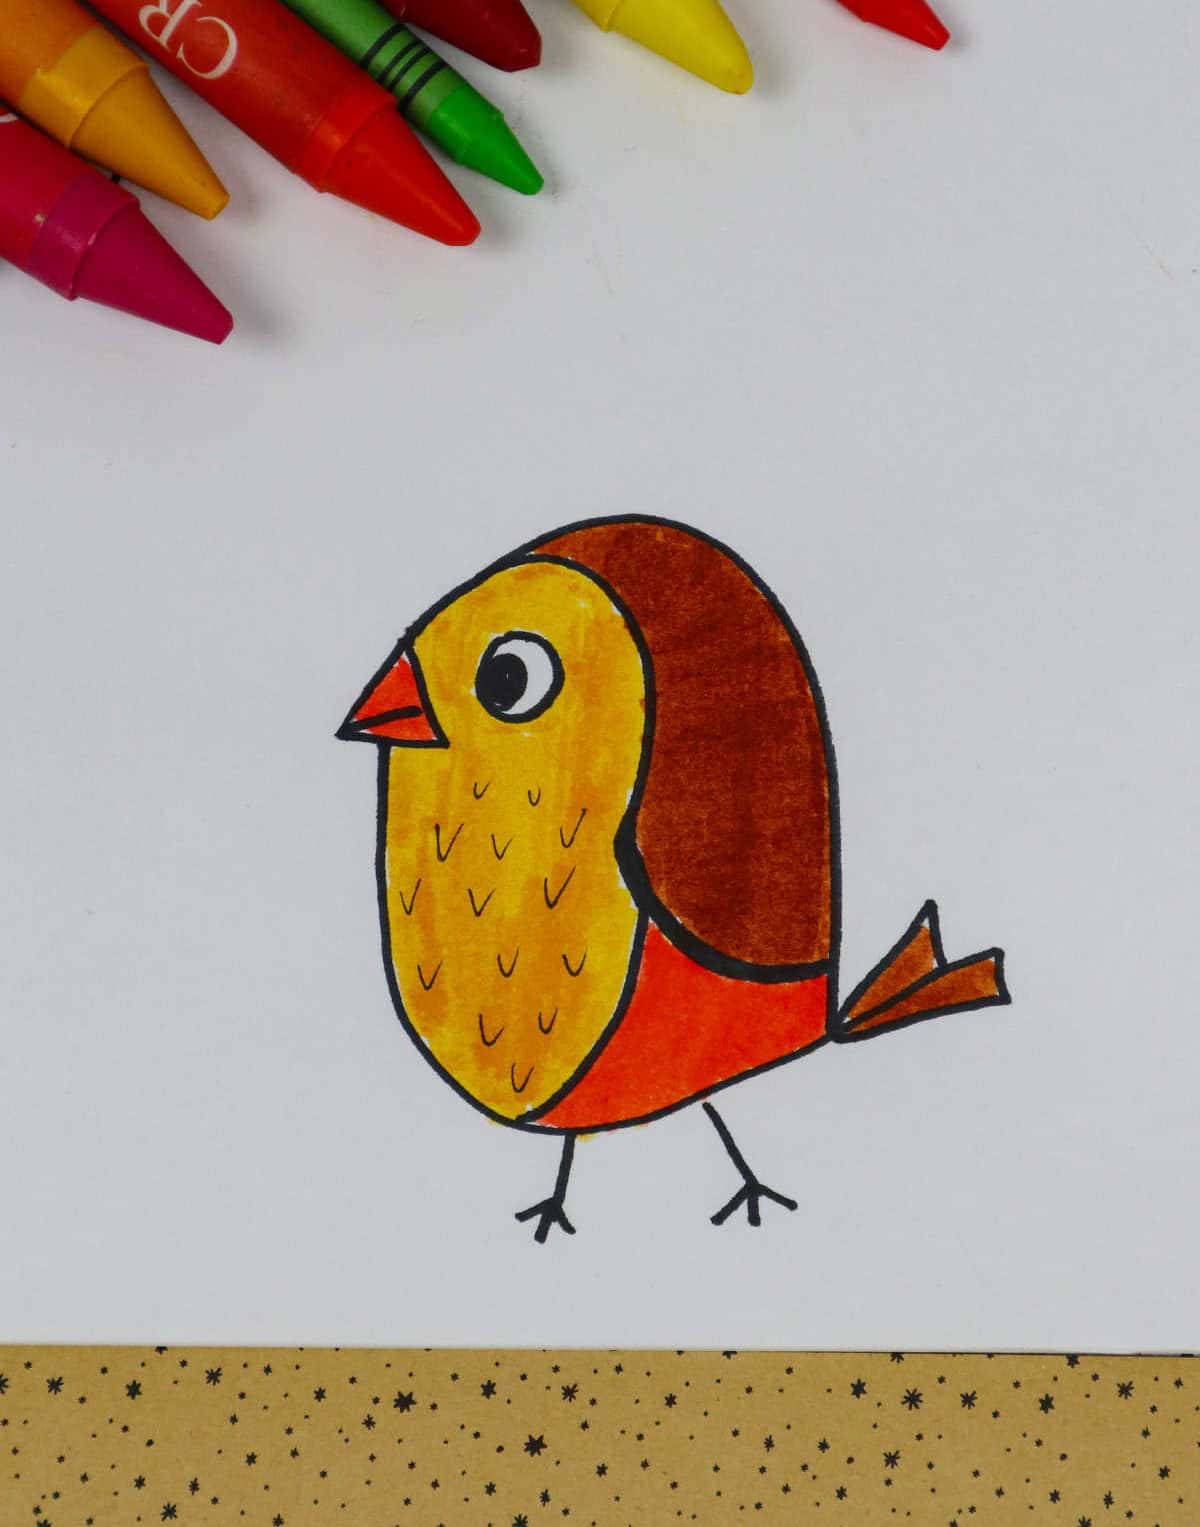
Robin
When it comes to drawing robins, one of the most important aspects is capturing their unique shape and proportions. To start, envision a gentle downward slope from the top of the bird’s head, with the lines flowing smoothly towards its tail feathers. This subtle angle sets the tone for the rest of the piece, giving your robin a sense of movement and energy. As you work down the bird’s body, be mindful of the slight curvature of its breastbone, which is often more pronounced than other birds.
Finally, take time to detail the wings, including the subtle fold at the elbow joint and the gentle feathering along the wing’s edge.
Pig
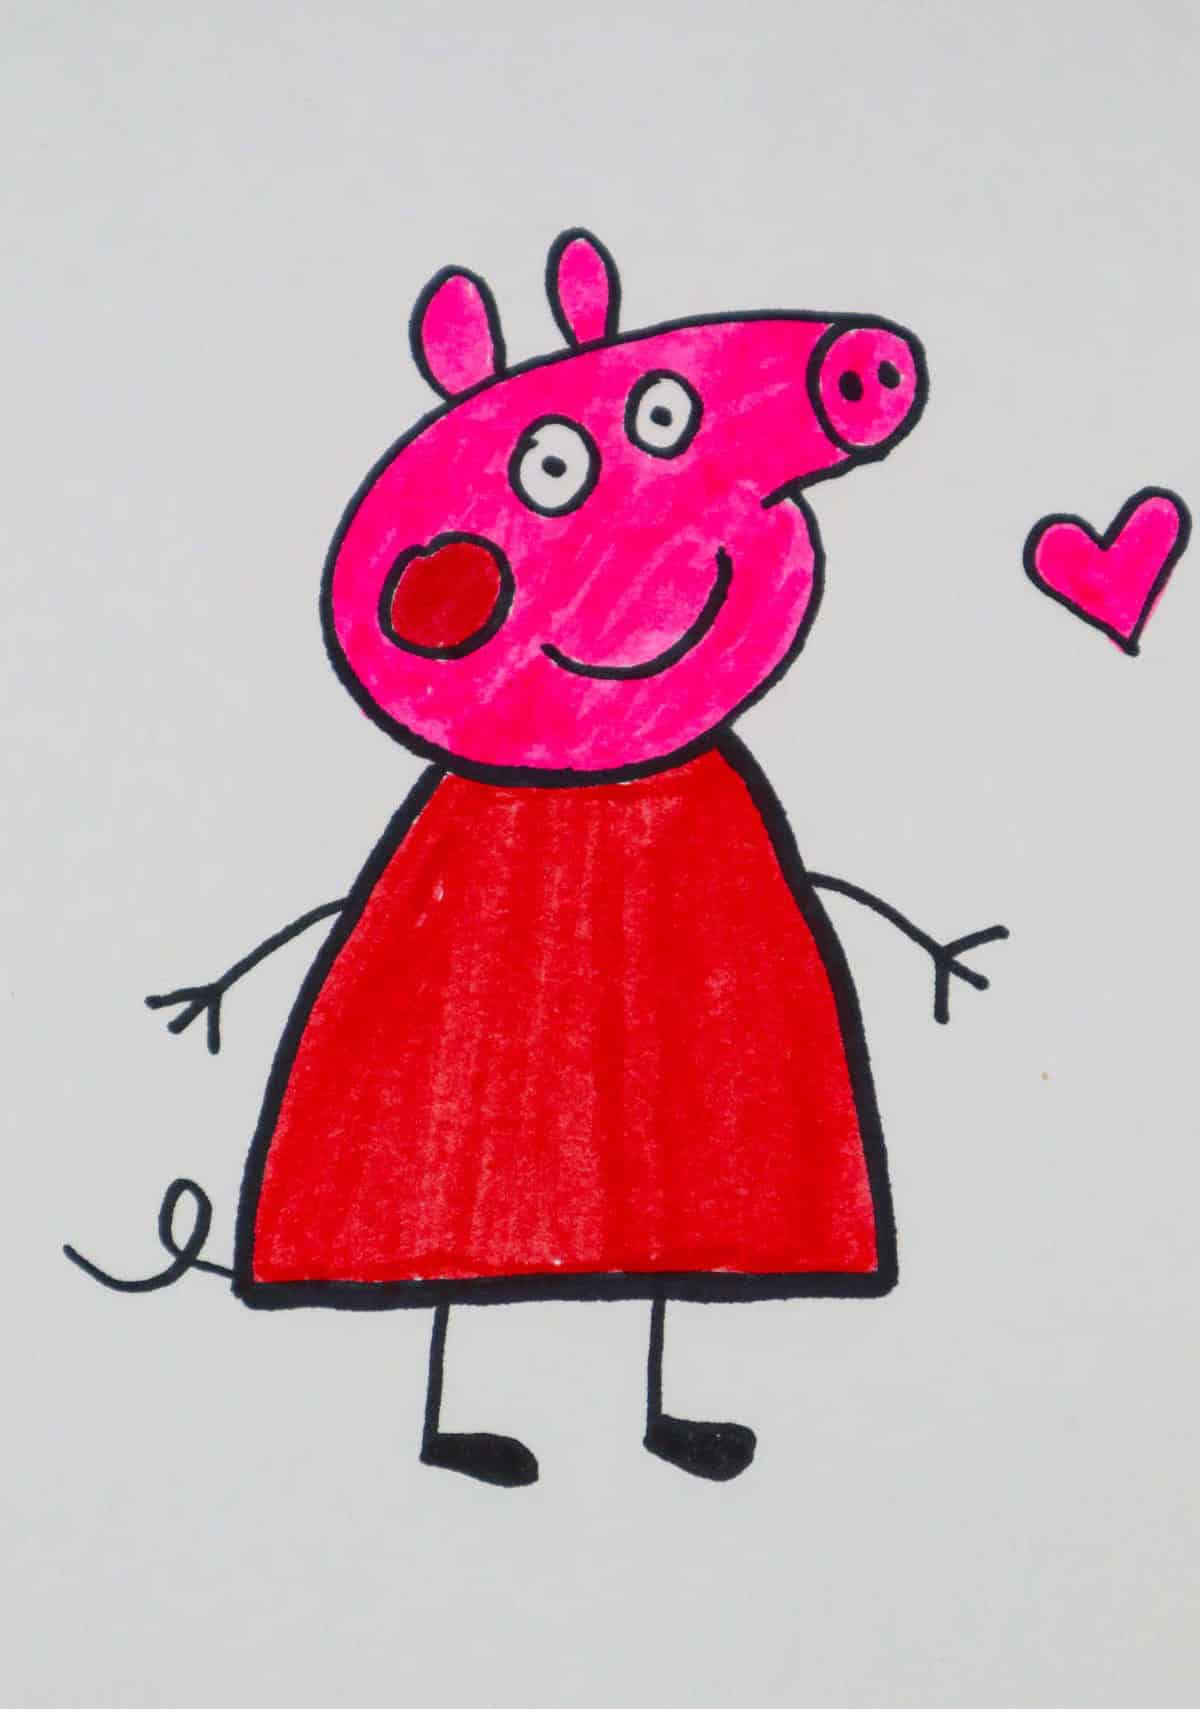
Let’s begin by sketching out the foundation of our beloved porcine companion, inspired by its famous counterpart. The initial step is to draw the lower half of the circle, but instead of curving it closed, shape it into a snout that evokes the essence of our swinish friend. Next, add the triangular dress, along with the pig’s feet, arms, and ears, allowing the character to take on a more defined form.
Strawberry
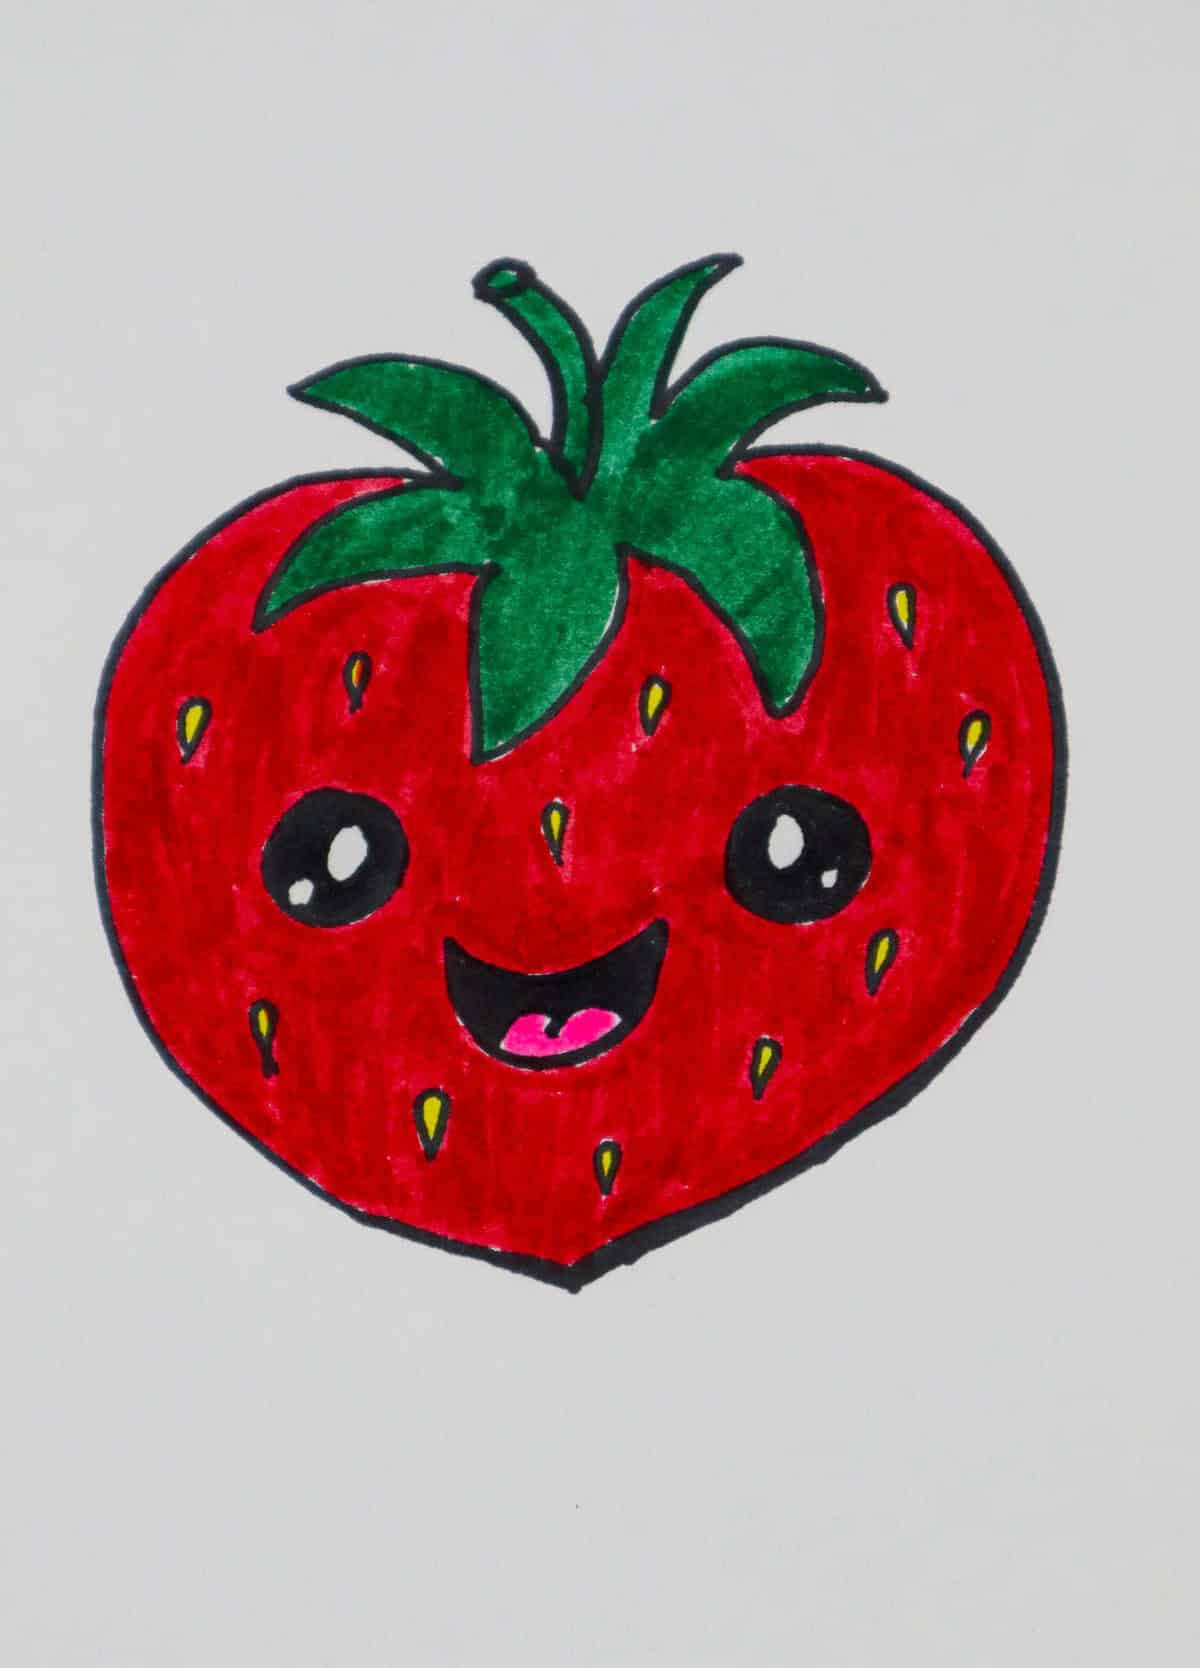
When seeking a revitalizing subject for your art, consider capturing the essence of a strawberry. Begin by sketching the bottom portion of the fruit as you would with the rounded tip of a raindrop, gradually increasing the thickness as you move upwards. As you near the top, pause and don’t fully enclose the shape – this is where the leaves and stems come into play. Make sure to include these details, allowing them to sprout from the strawberry’s crown.
Ladybug
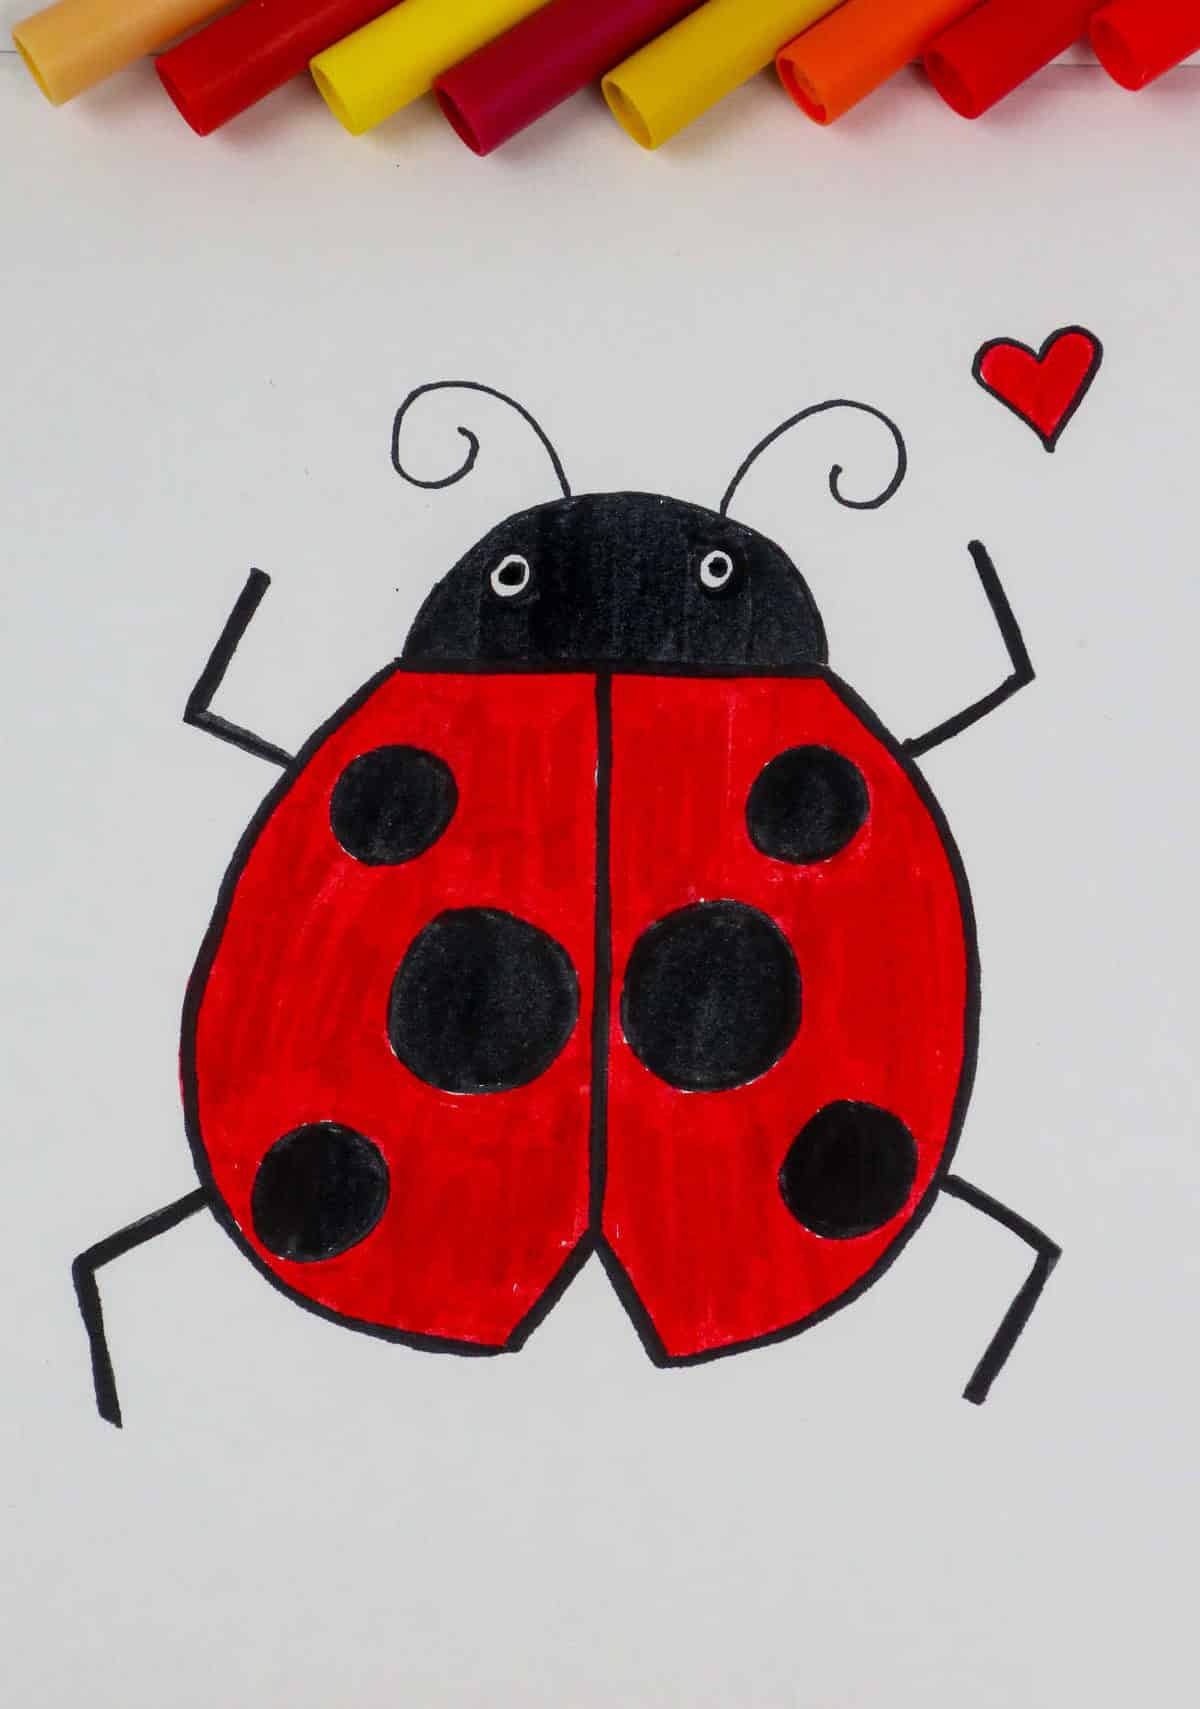
Create a charming ladybug using simple materials! Begin by drawing a capital letter ‘D’ pointing upwards on your page. Next, draw two larger ‘Ds’ facing away from each other, leaving a slight angle at the bottom to form the wings. The result is a delightful and whimsical ladybug that’s easy to make with just a few basic strokes.
Caterpillar
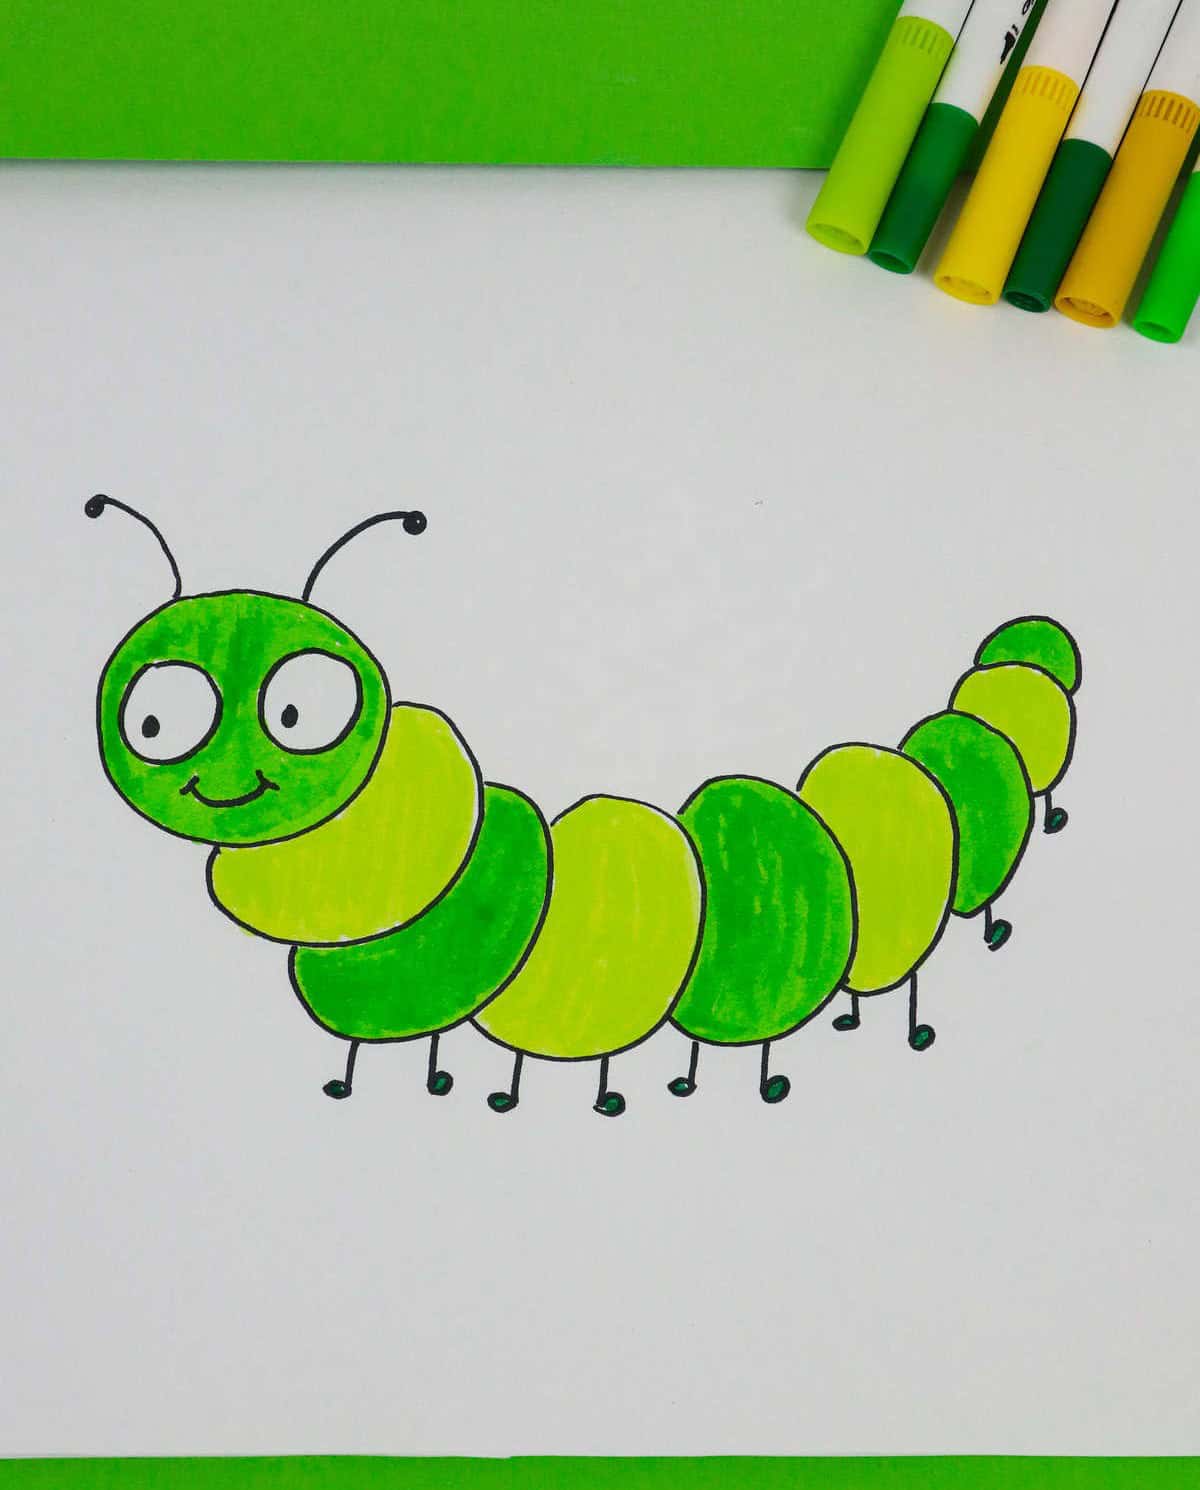
When it comes to bringing a caterpillar to life, start with a single circle for its body. Then, add a series of smaller loops, leaving them open as you go along. It’s these loops that will form the basis of your caterpillar’s legs and body segments. Don’t forget to add some tiny details like feet, eyes, antennae, and even a smile! The final touch is adding some color to bring your insect friend to life.
Car
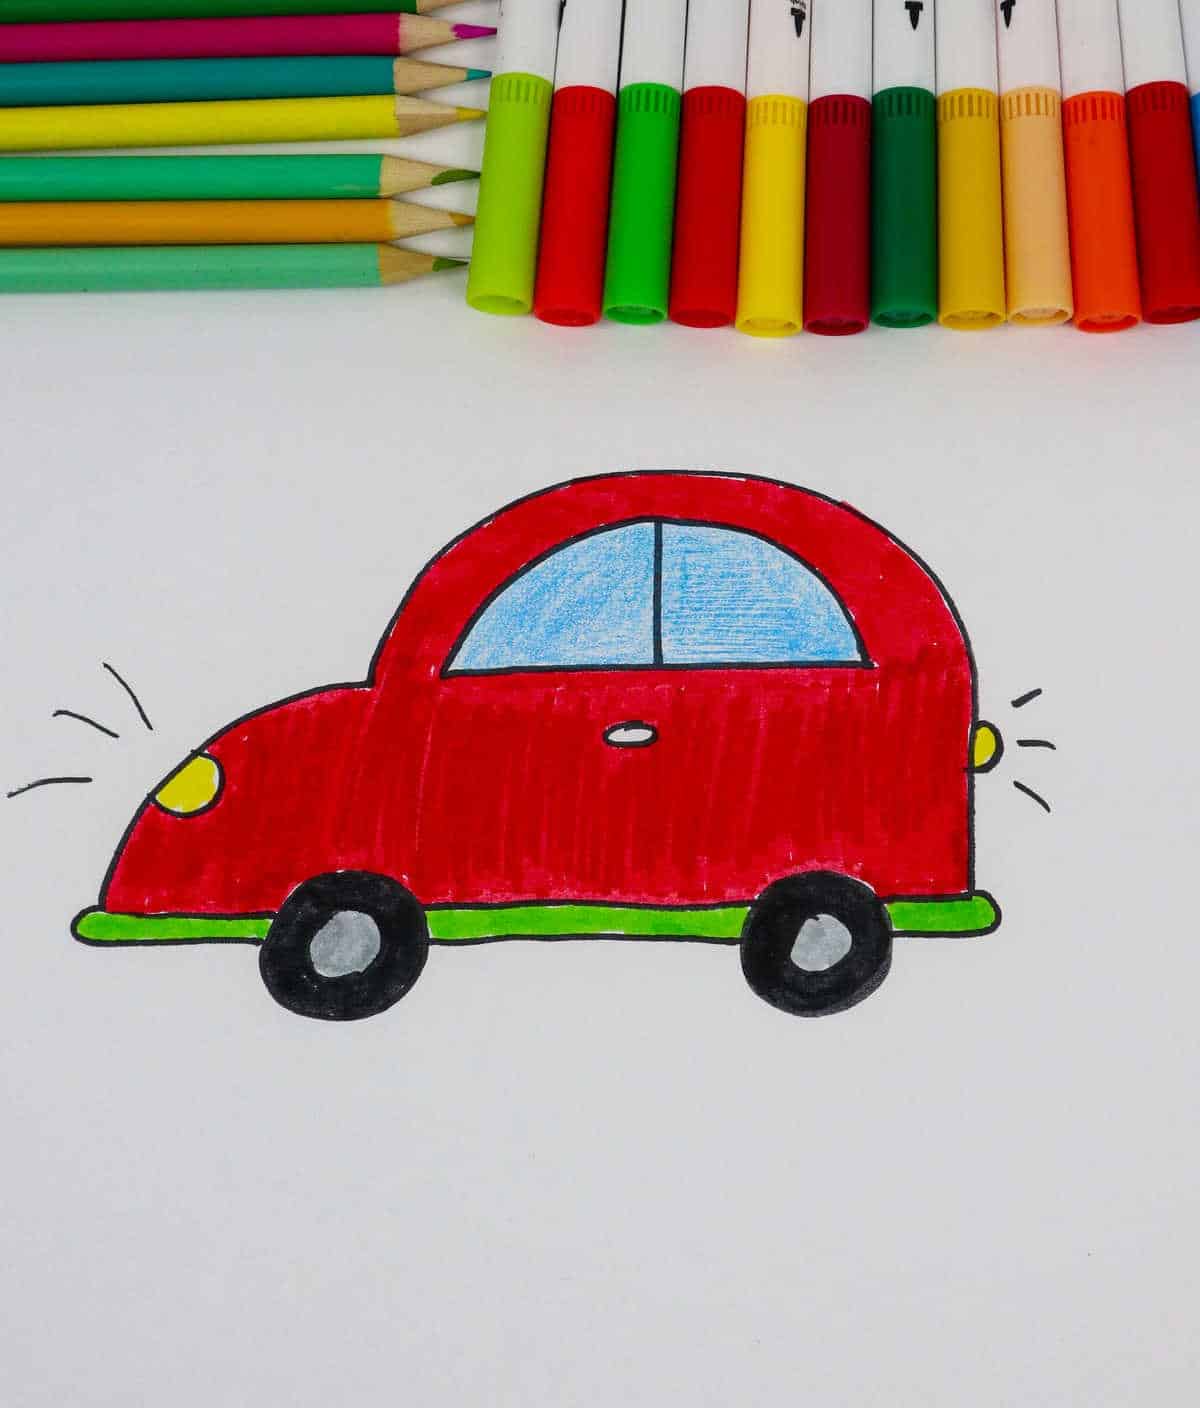
For those seeking a vehicle to match their drawer’s needs, rest assured that I’ve got you covered. While it may seem like an unusual task, finding the perfect ride can be simplified by considering just two key factors: a small, rounded feature and a more substantial, rounded aspect. With these elements in mind, you’ll likely find that most of your requirements are met.
Fish
Create a whimsical centerpiece by crafting a fish-shaped omelette. Begin by forming the egg mixture into a sideways oval, then add vibrant colors and textures to bring your aquatic friend to life. Use sliced veggies or cooked meat to create fins and a tail, adding a playful touch to your breakfast table.
Mushroom
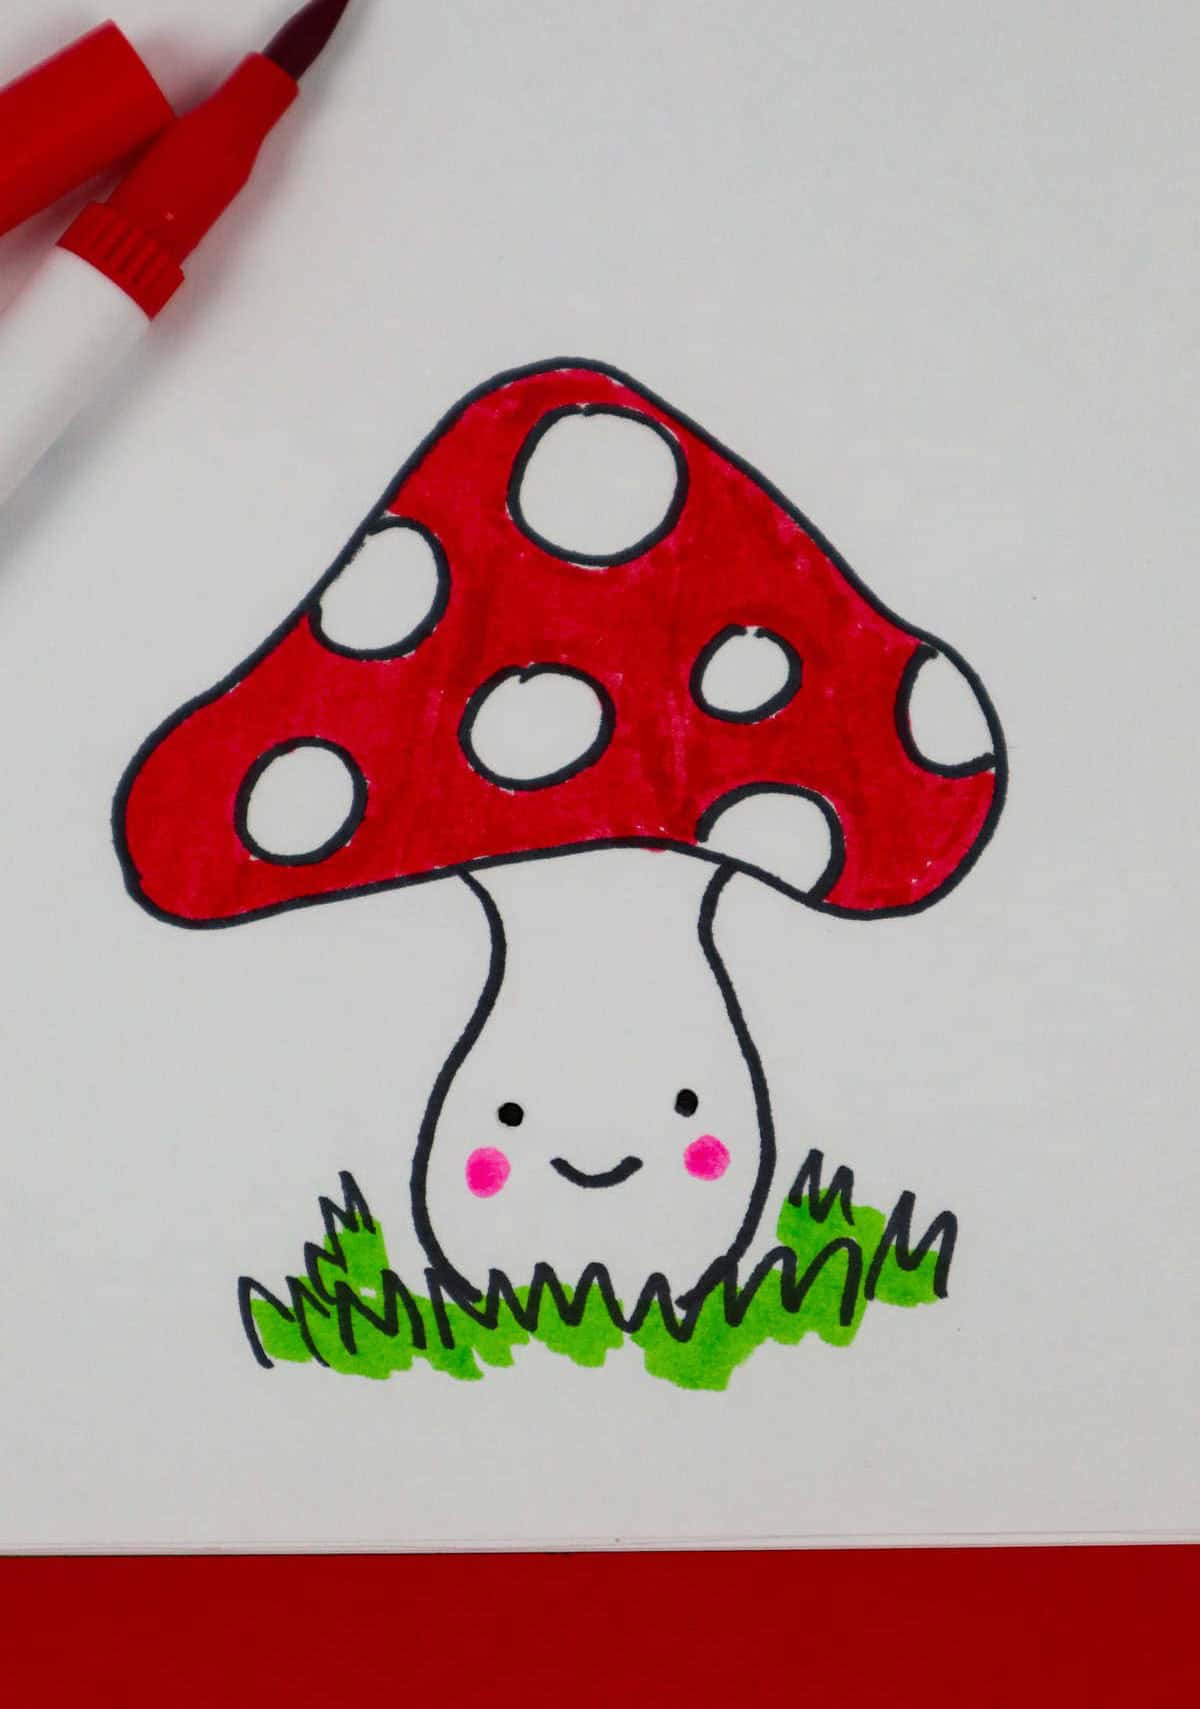
For those who can’t resist the charm of the Mushroom Kingdom, drawing a stylized mushroom is a delightful endeavor. To add some flair to your fungal friend, incorporate wavy lines that evoke the whimsical nature of this iconic Mario element. If you’re hooked on capturing the essence of mushrooms, discover more creative inspiration and ideas here.
Mouse

Add a whimsical touch to your child’s drawing by incorporating Cinderella-inspired elements! For instance, if they’re fans of the iconic princess, encourage them to sneak in a few mice friends. A simple sideways almond shape can become the head of the mouse, while a larger vertical almond will give the body its definition. This adorable addition is sure to bring the entire illustration to life!
Watermelon

As the conclusion draws near, let’s take a creative detour. To create a unique watermelon design, simply shape a rounded triangle with a triangular base and then fill it in to your heart’s desire!