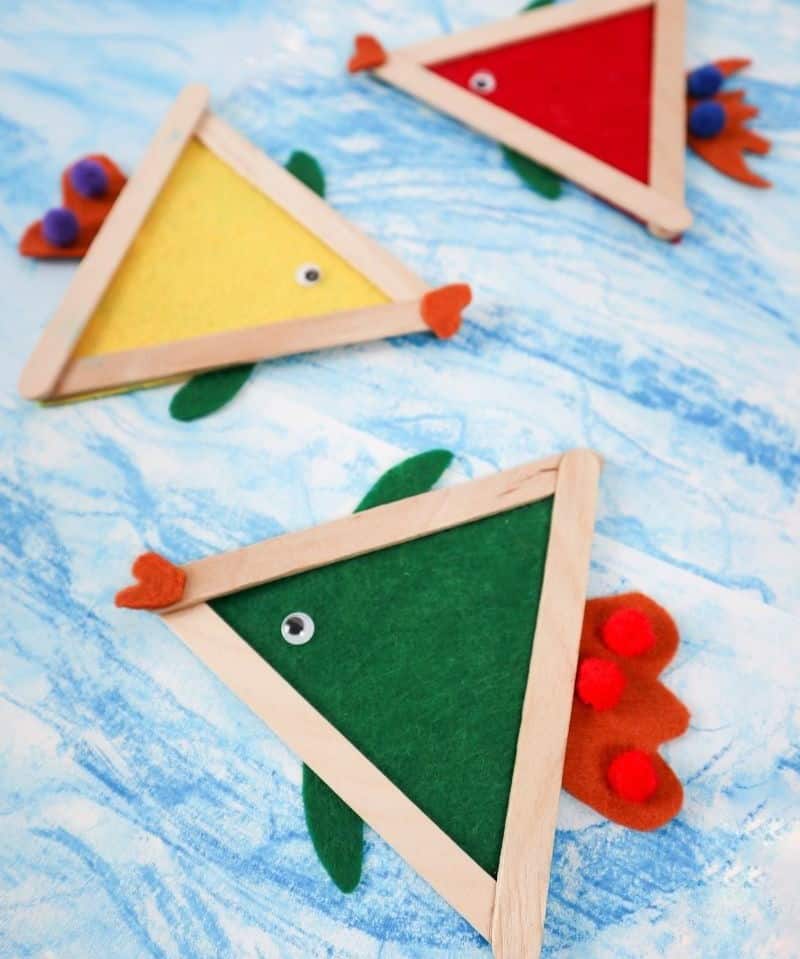
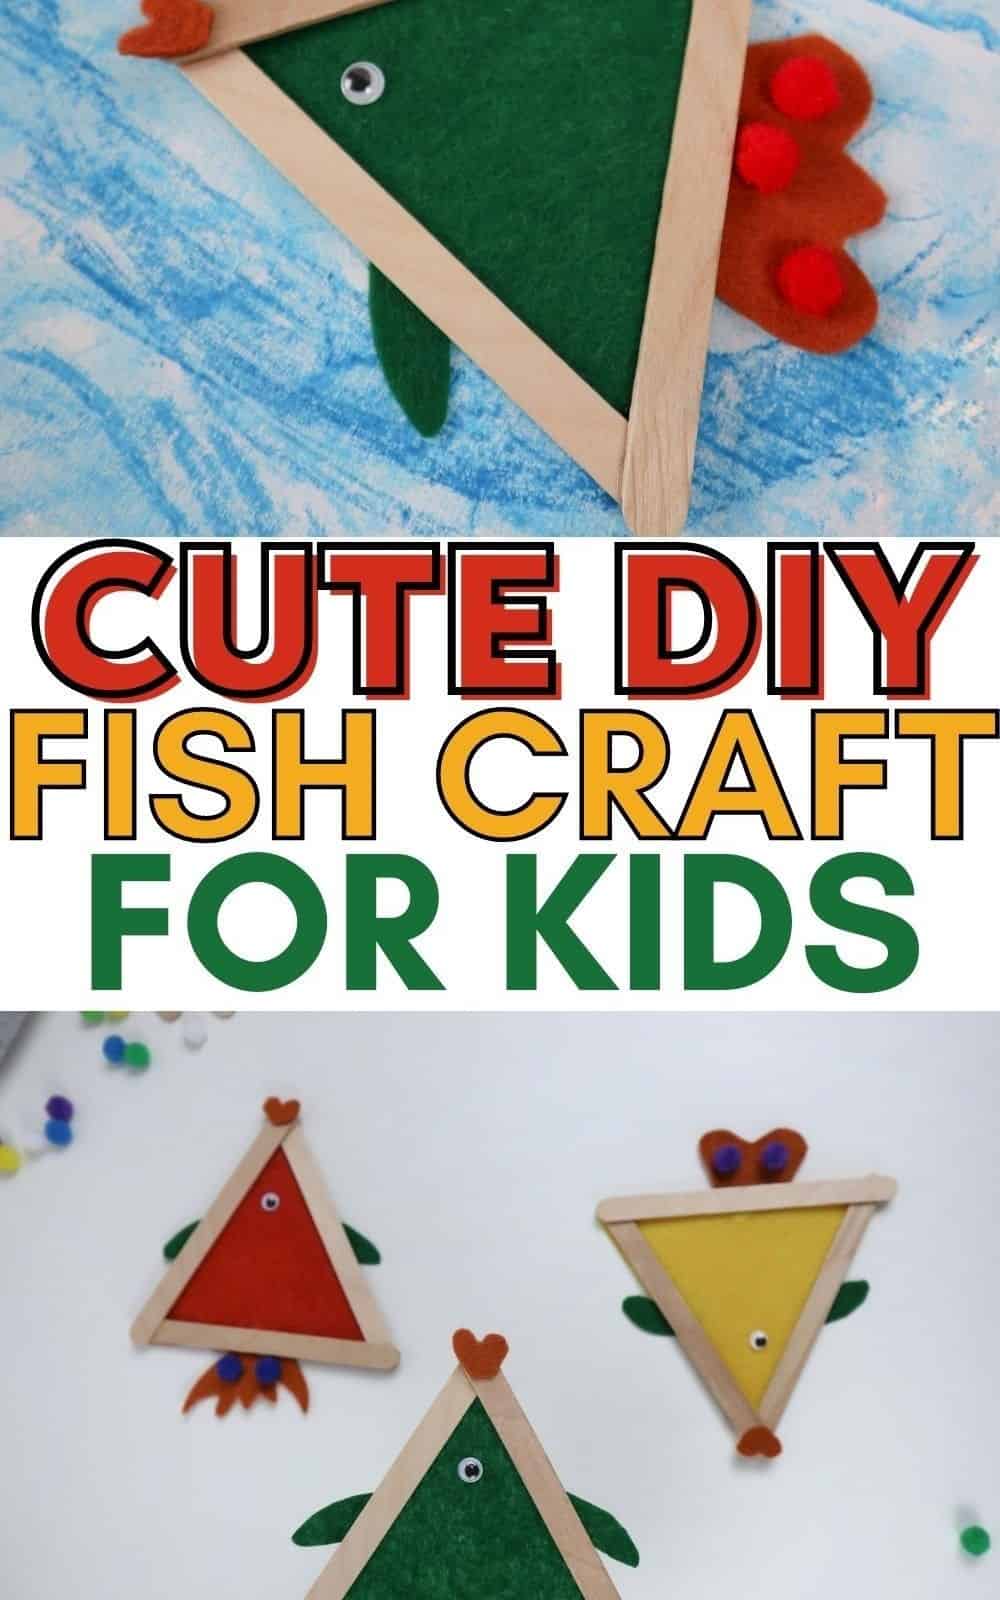
Take your creativity to new depths with these fin-tastic fish crafts! Not only are they easy and fun for kids to make, but they also offer a world of imaginative possibilities. As someone who’s passionate about arts and crafts, I think it’s fantastic how fish-related projects can spark young minds. This particular DIY endeavor is an excellent way to engage children in the creative process while incorporating educational elements. The best part?
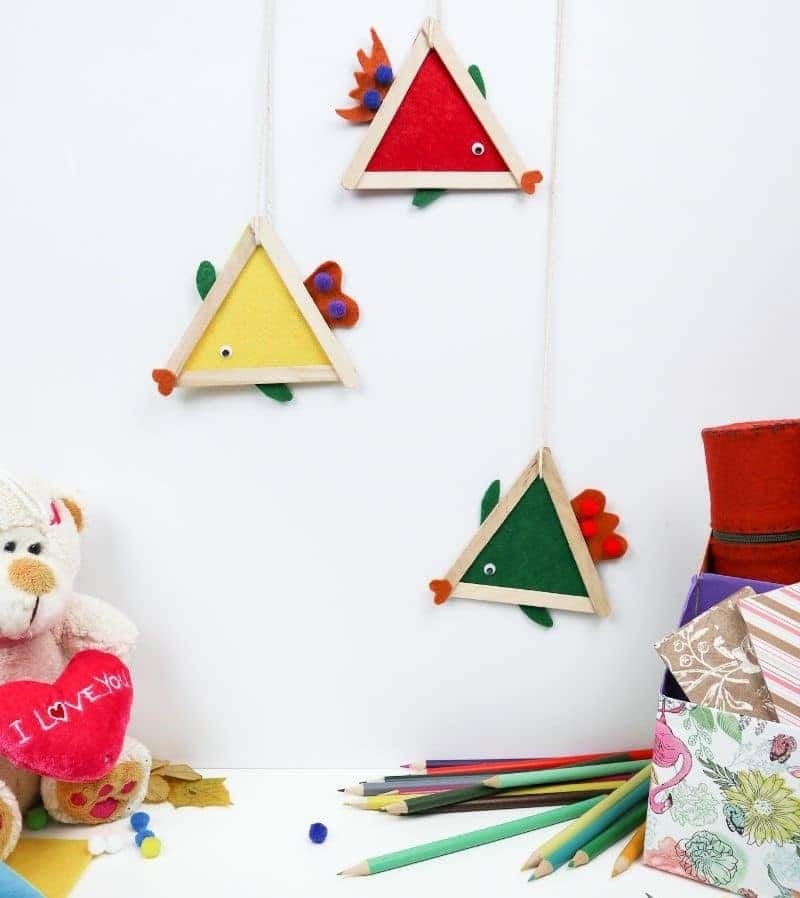
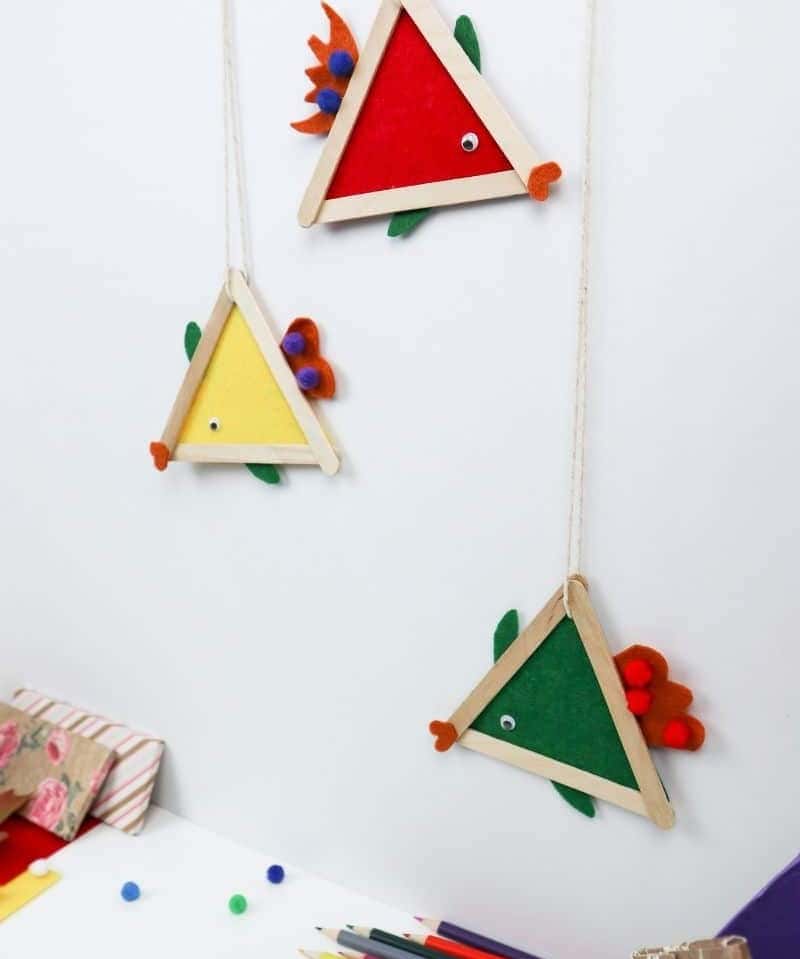
It’s surprisingly affordable and requires minimal materials, including felt, decorations, and popsicle sticks. Imagine using these simple yet effective materials to create a life cycle of fish, a school of hundreds, or even decorating your classroom wall with vibrant fish art! This project is perfect for home or classroom use, guaranteeing hours of entertainment and creativity for kids. So, dive in and get started!
Supplies You’ll Need
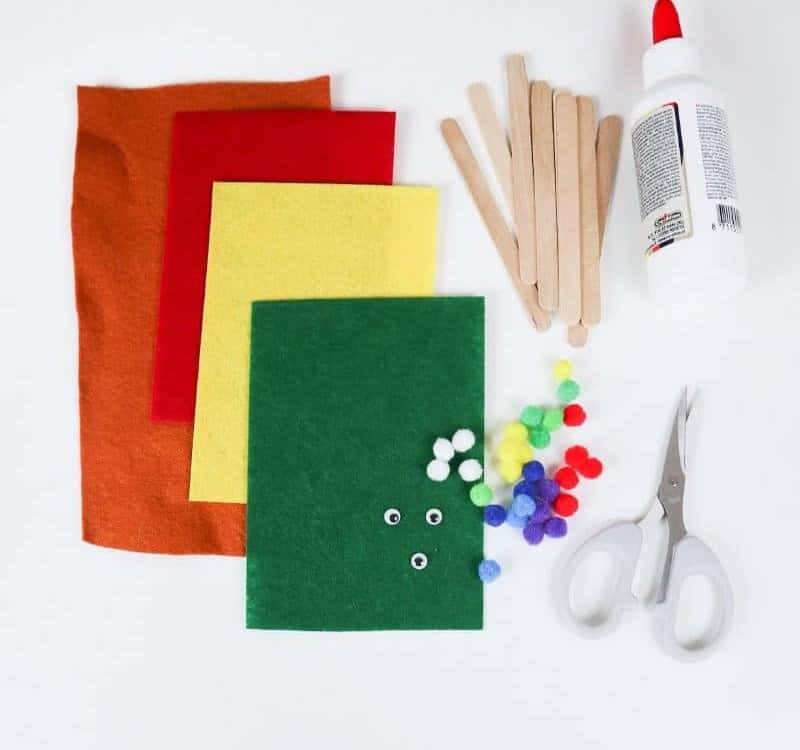
When it comes to crafting with kids, having a variety of creative materials at your disposal can make all the difference. Consider stocking up on colored felt sheets in different hues and textures, as well as sturdy popsicle sticks that can be used for building and creating structures. Don’t forget about the power of personality – add some googly eyes to give your creations a playful touch. For added texture and interest, incorporate fuzzy pom poms into your designs.
And of course, no craft session is complete without a few trusty tools: glue to hold everything together, and scissors to help shape and trim your creations as needed.
How to Make a Fish Craft for Kids
To get started, we’ll provide you with a comprehensive guide on crafting your own DIY fish decorations. Follow along as we walk you through each step of the process.
Step 1
Before diving into the crafting process, take a moment to collect all necessary supplies. In a classroom setting, consider purchasing bulk packs of materials from Amazon to streamline your experience. Next, unfurl an array of decorative options, such as pom poms, glitter, buttons, or beads, and use them to embellish the fish’s tail and fins. For the base material, opt for either felt or foam – whichever one is most convenient for you.
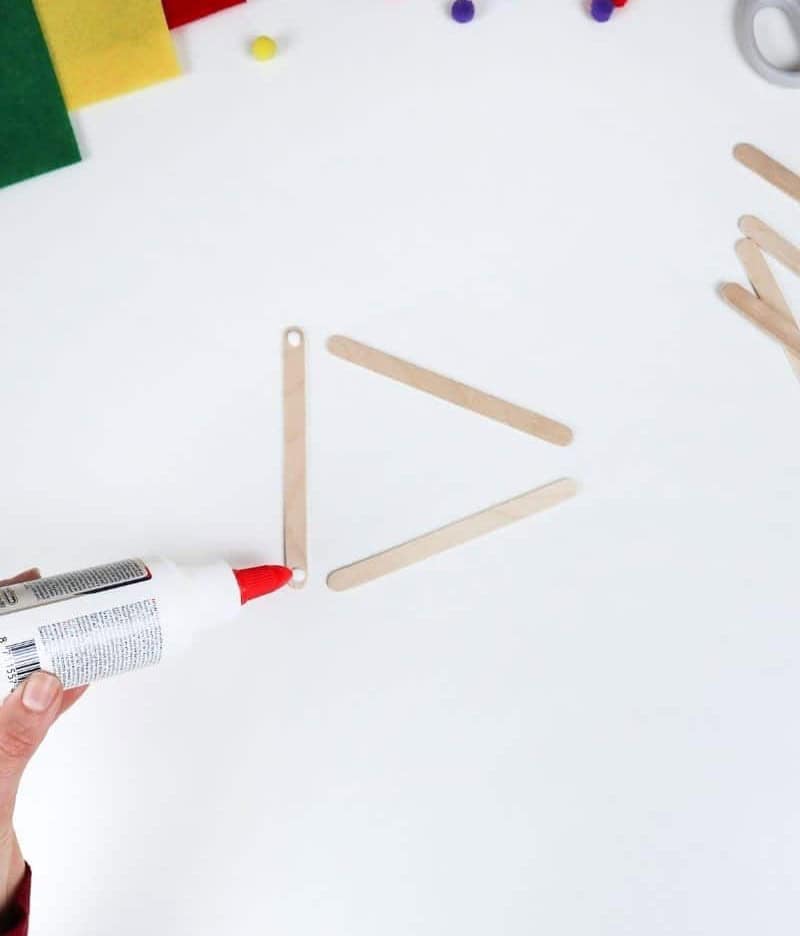
Step 2
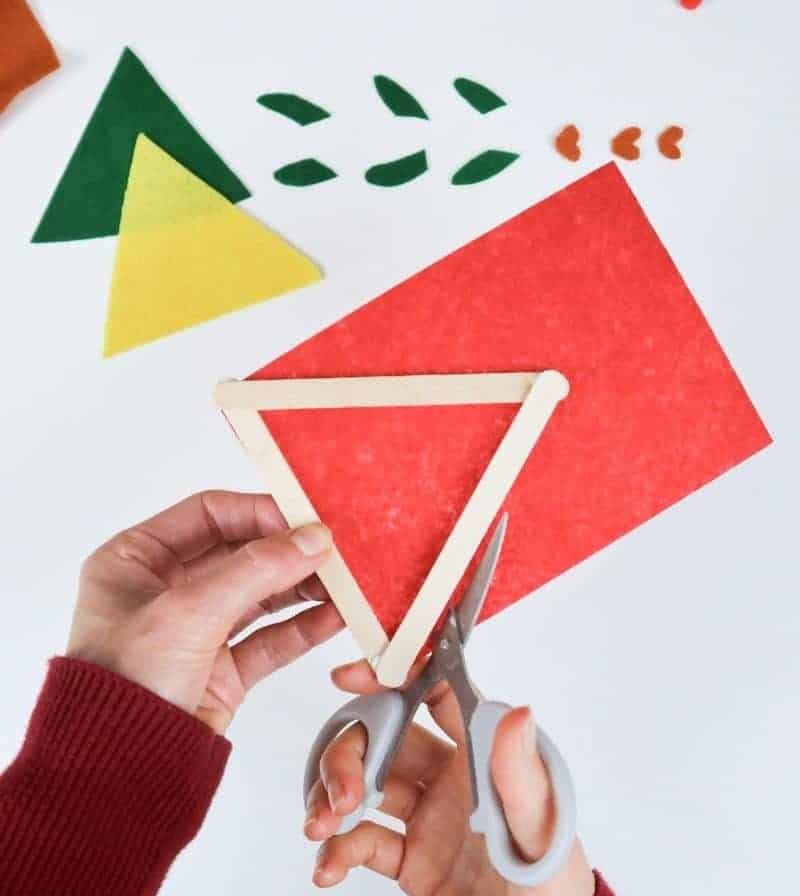
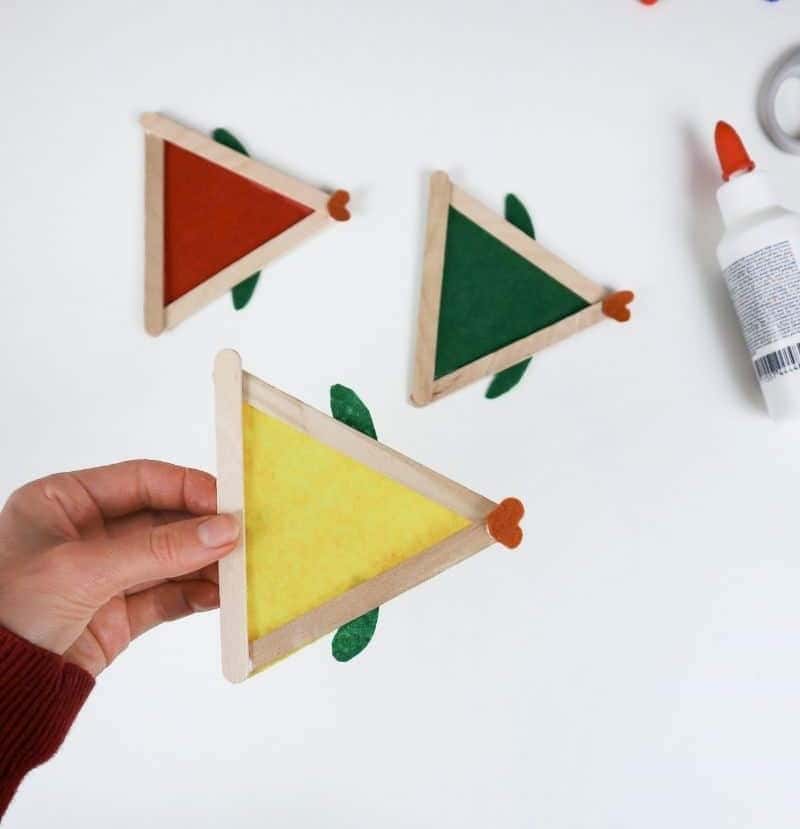
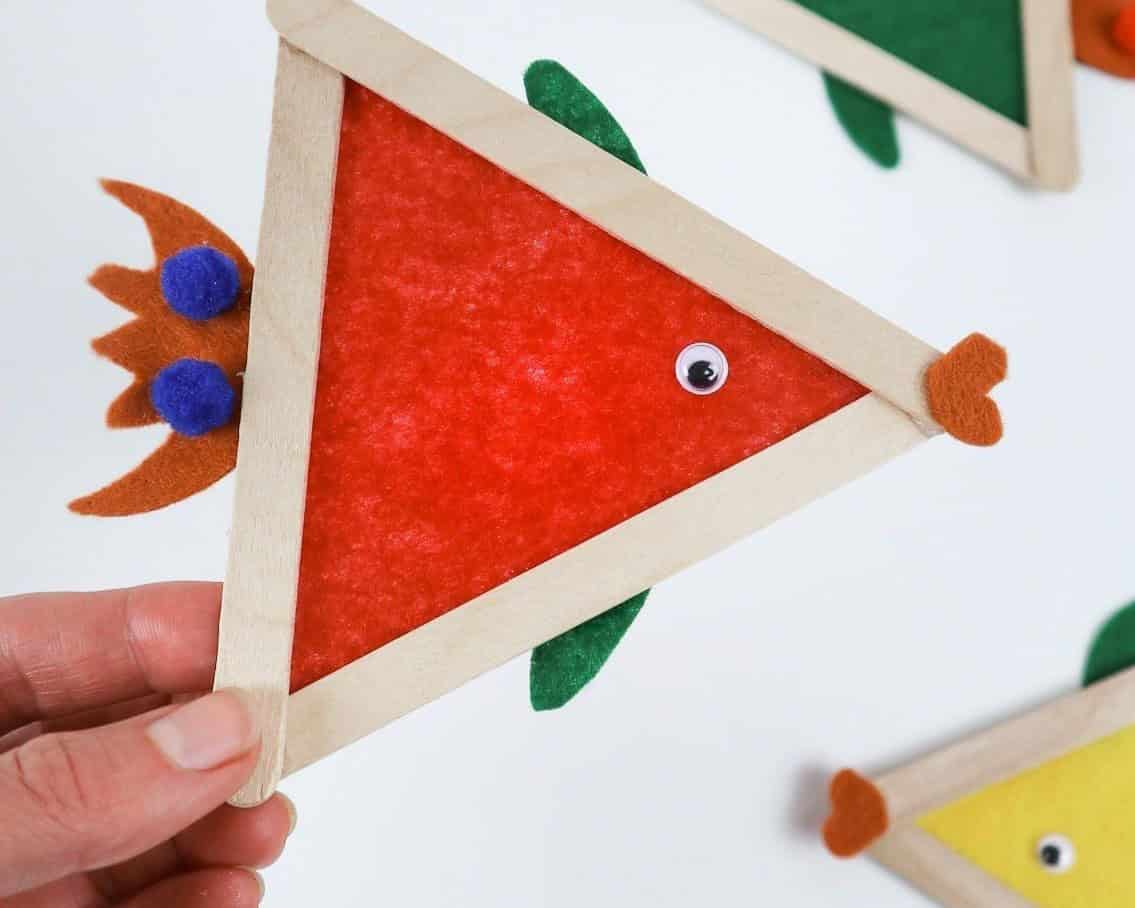
To begin crafting this fish, start by constructing the foundation – a wooden triangle created from popsicle sticks. Simply arrange the three sticks in a triangular shape and secure them at each end with craft glue, allowing it to air dry before moving on to other components. Meanwhile, you can focus on crafting the fins, tails, and fish lips. These pieces will be cut from foam and glued into place, making it easy to experiment without worrying about long-term consequences.
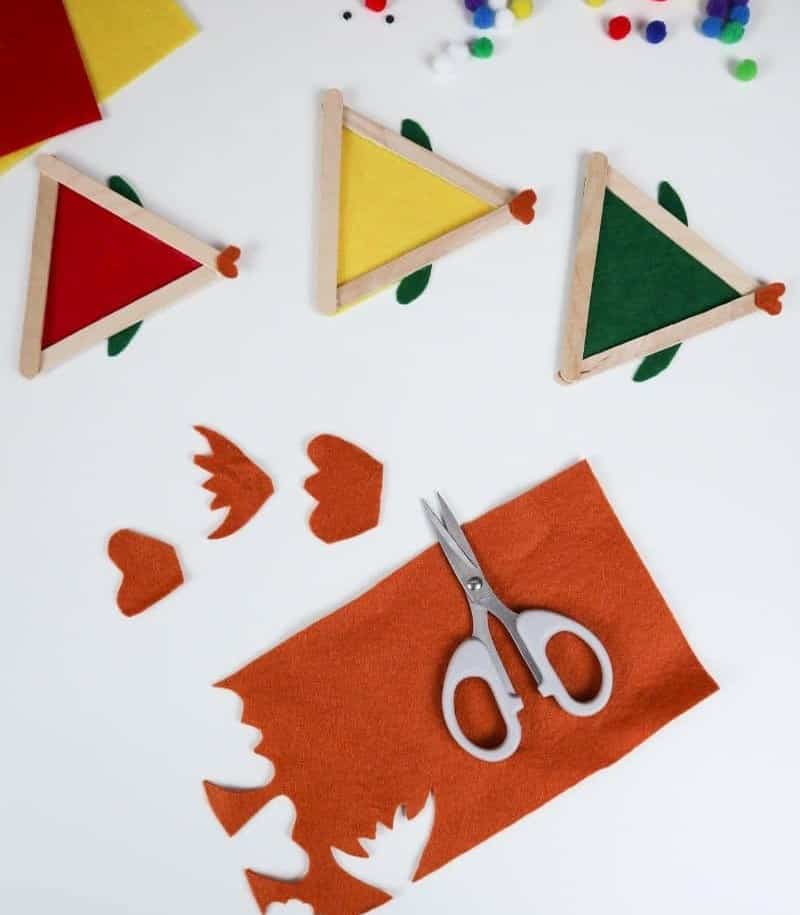
Take this opportunity to let your creativity shine by cutting out these anatomical features in a variety of colors and shapes. Since any mistakes can be easily corrected by selecting the best pieces for your final product, don’t be afraid to try new things and get creative!
Step 3
To add texture and visual interest to our skeleton, let’s cover it with a layer of scales. Measure out a triangle of your chosen felt color using the dried triangle as a guide. This piece will sit behind the popsicle sticks, so be mindful not to cut it too large, ensuring that it doesn’t extend beyond the sticks’ boundaries.
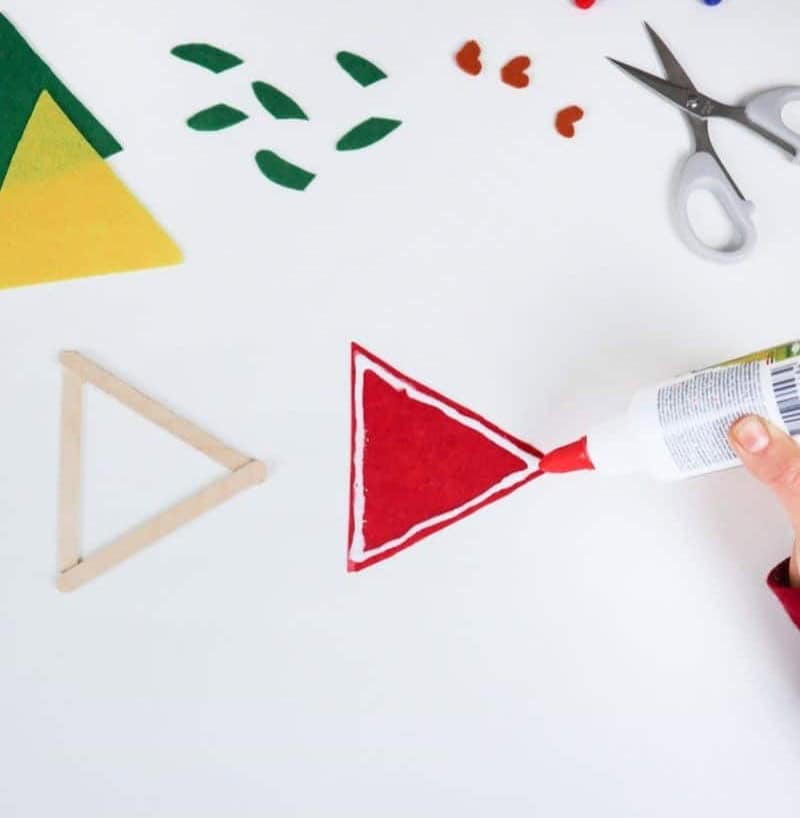
Step 4
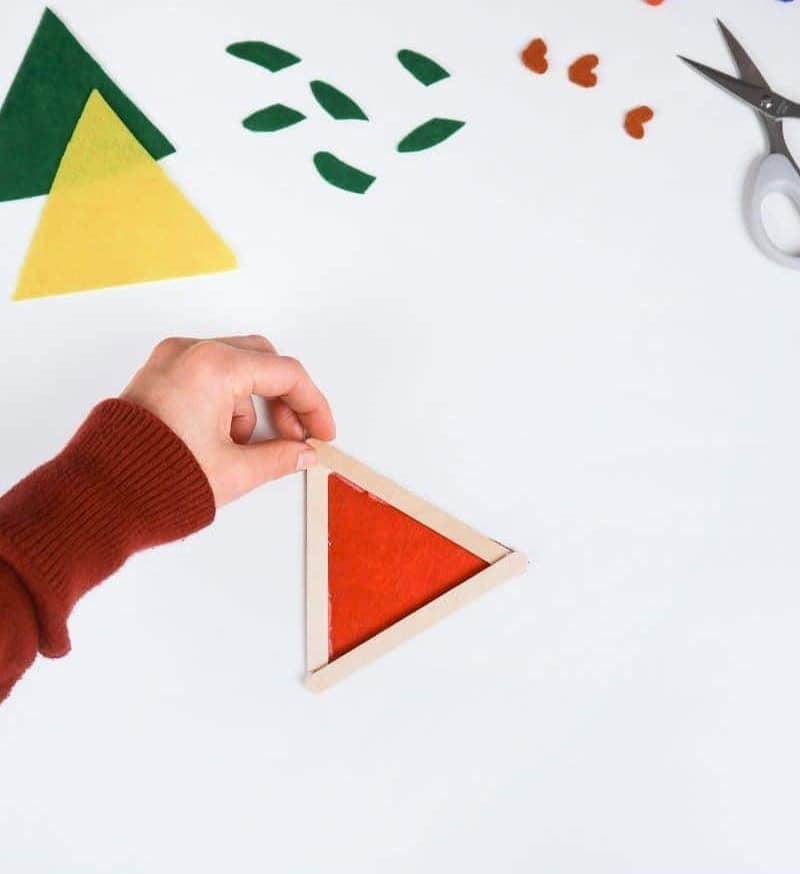
To complete the fish’s body, attach the piece of felt to the frame using craft glue. This versatile adhesive provides a strong bond and is suitable for use in a classroom setting. If you only have hot glue available, it can also be used with equal effectiveness. Following this step, you should have a basic fish shape that marks the halfway point in your creative project.
Step 5
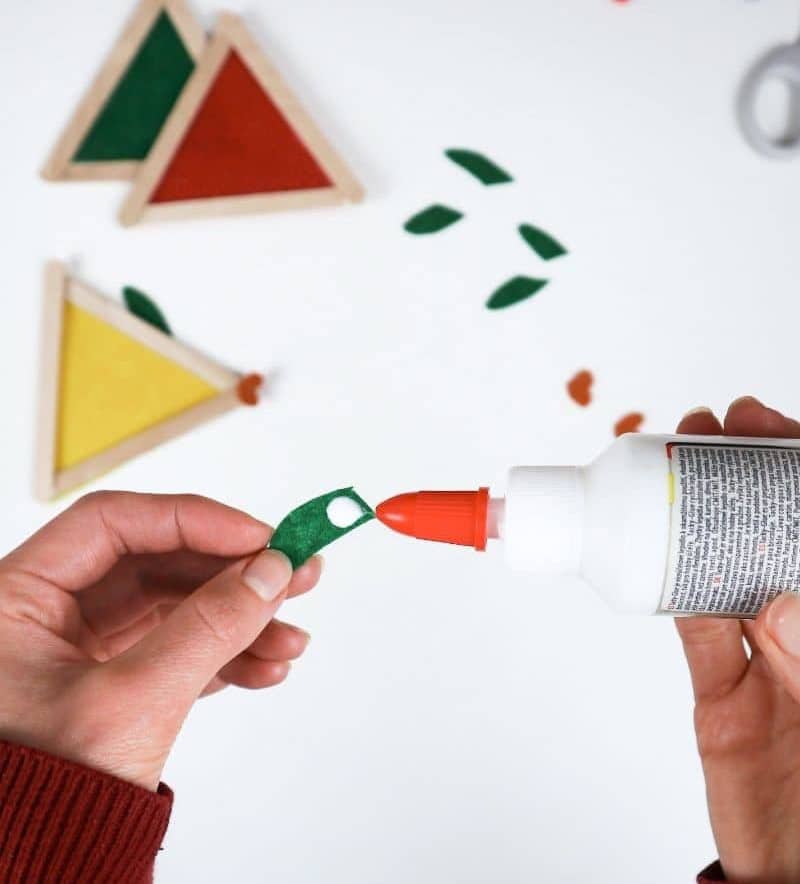
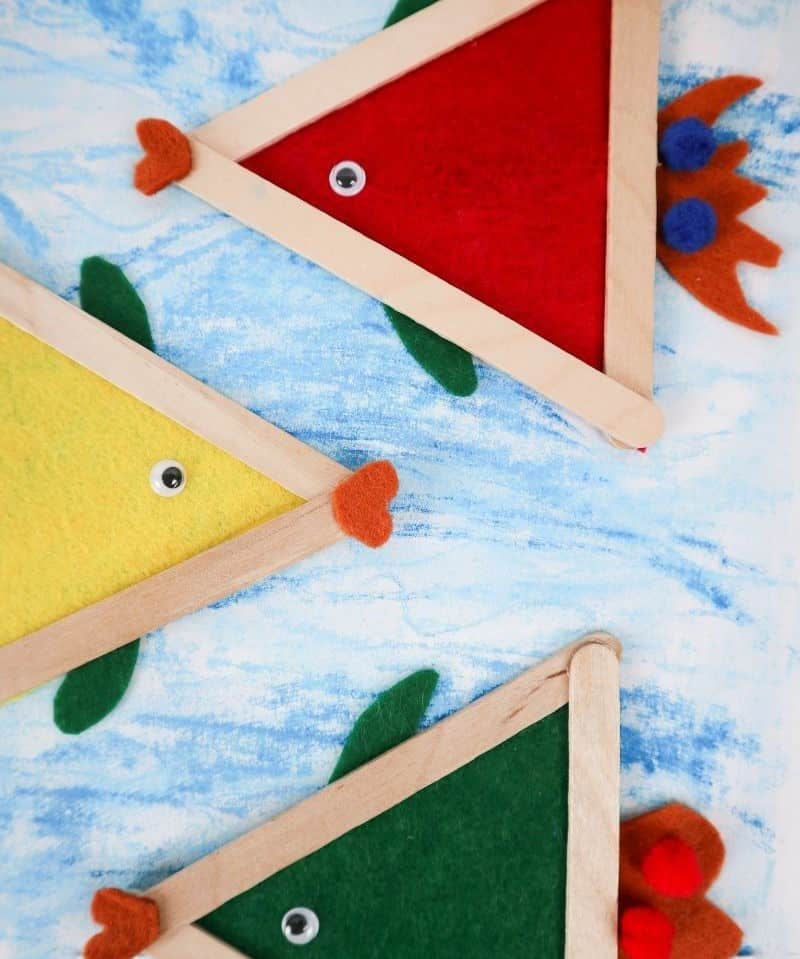
To add some visual interest to our fish creation, let’s give it a pair of recognizable fins. Start by applying two pairs of fins to its body – one at the top and another at the bottom. Make sure they’re positioned behind the sticks for stability. Finally, bring the whole design together by adding fish lips to the front. These details will help our DIY fish come alive!
Step 6

As you prepare to adorn your aquatic friends, consider exploring a variety of tail shapes that will bring excitement and uniqueness to their underwater existence. From spiky styles with sharp angles to rounded curves reminiscent of a gentle wave, the possibilities are endless. For added flair, consider cutting out tails from felt in the same color as your fish’s lips or opting for a contrasting hue to create a striking visual effect.
Step 7
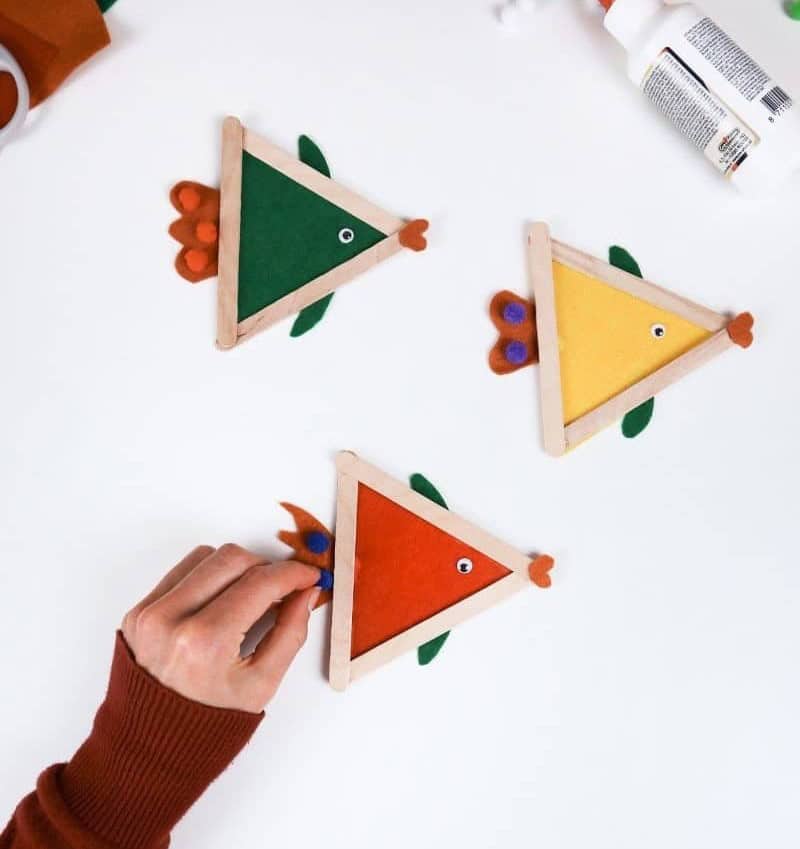
To complete your delightful aquatic creation, secure the tail to the popsicle sticks behind the fins, positioning it at the rear of the ‘fish’. As you do this, consider explaining to students how real-life fish are able to swim. Once the tail is in place, it’s time to add some personality to your fish with the decorative supplies you’ve gathered. Googly eyes are particularly recommended as they can bring a lively touch to your finished fish.
What Can You Use Instead of Felt?
While traditional materials like felt are a great starting point, there’s no reason to limit yourself to just those options. In fact, many other types of colored material can be used to create unique and imaginative crafts. For instance, you might consider using thick fabric-like cotton or muslin, painted cardboard from cereal boxes (perfect for upcycling!), or even wood if you’re creating something for the outdoors.
The possibilities are endless, so don’t be afraid to think outside the box and get creative with your resources.
How Much Does this Fish Craft Cost?
When it comes to creating little fish for a classroom art project, the cost per unit can be surprisingly low. If you’re making them at home, each one will likely set you back just a couple of dollars. However, if you opt for bulk purchases, this cost is easily cut in half. This is because buying in bulk eliminates the retailer’s mark-up, which can be a significant savings. If you’re looking to make this craft even more budget-friendly, there are several strategies you can employ.
One option is to ask students to bring in old clothes from home (with their parents’ approval, of course). You could also use recycled cardboard boxes as the skeleton instead of traditional popsicle sticks. Additionally, gathering sticks from outside and using them as a frame is another great way to save money while also getting kids outdoors.
By incorporating these cost-saving measures into your project, you’ll not only be able to create adorable fish but also enjoy the warm, fuzzy feeling that comes with knowing you’ve saved resources and reduced waste. And let’s be honest – there’s nothing quite like walking into a classroom filled with creative expression and smiling at the joy it brings.
Other Crafts You’ll Like
Get creative with these 20 fun and easy DIY projects that are perfect for teens, kids, and crafty enthusiasts alike. From adorable sock plushies to upcycled treasures, we’ve got you covered. Create unique picture frames, wallets, or even turn scrap fabric into something new. If you’re looking for more inspiration, try one of our many dollar store crafts, scrap fabric projects, sewing projects, or upcycling ideas.
And if you’re feeling adventurous, why not try painting rocks or creating some DIY crafts just for fun? Whatever your style, there’s a project on this list that’s sure to spark your creativity.
Fish Craft for Kids
This delightful fish craft is a perfect representation of the joys of crafting with children. The simplicity of the steps and the vibrant, colorful outcome make it an ideal activity for kids. Moreover, this project serves as an excellent opportunity to teach little ones about aquatic creatures. With only 20 minutes of active time and an additional 5 minutes for preparation, this craft is a quick and engaging way to spend quality time with your young ones.
Equipment
To keep your devices awake and prevent unnecessary sleep, there are a few simple steps you can take. Firstly, it’s essential to adjust your device settings to ensure that the screens don’t go dark after a short period of inactivity. This can be done by going into the display settings on your phone or computer and adjusting the timeout duration. By doing so, you’ll prevent your screen from switching off unexpectedly, allowing you to focus on your work without interruptions.
Materials
The crafting essentials for a fun and creative project include vibrant colored felt sheets, sturdy popsicle sticks, playful googly eyes, and soft fuzzy pom poms. These humble materials can be transformed into an array of imaginative creations, from whimsical characters to intricate designs.
Instructions
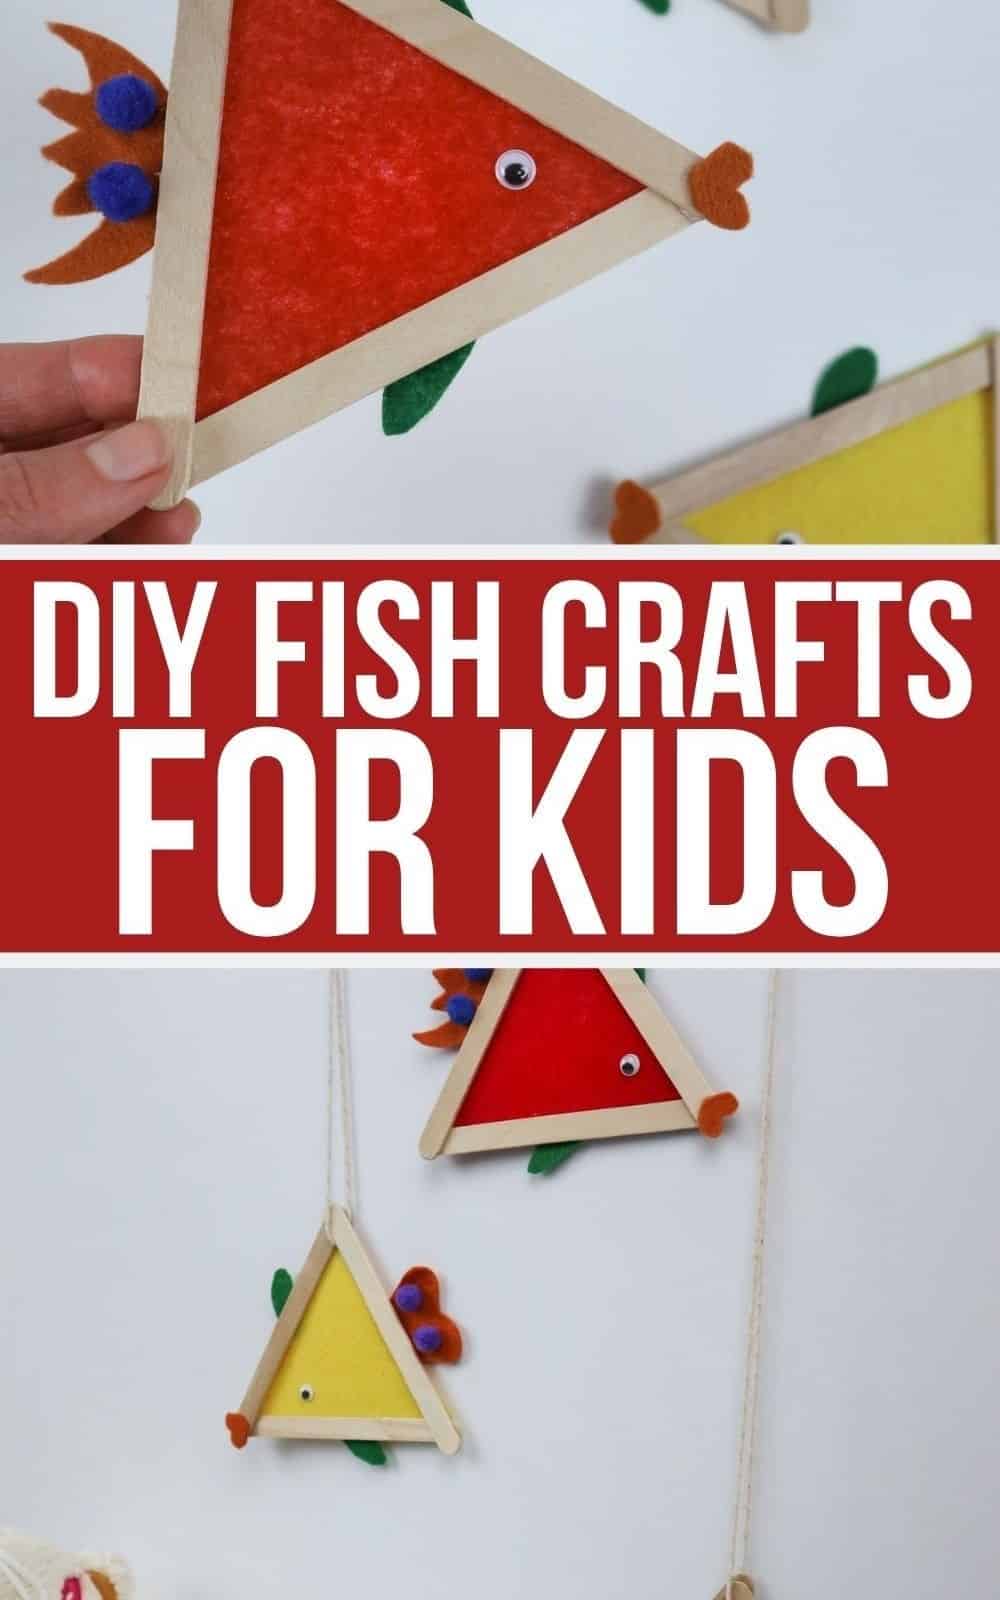
Get creative with your art supplies and let the crafting begin! While felt or foam is ideal, you can use any textured material to bring your project to life. The more decorations you incorporate, the more unique and fascinating the outcome will be. To start, form a triangle using three popsicle sticks and secure them together with craft glue. Allow the glue to dry before moving on to the next step. While the triangle dries, cut out the fish’s tail, fins, and lips from contrasting colored felt.
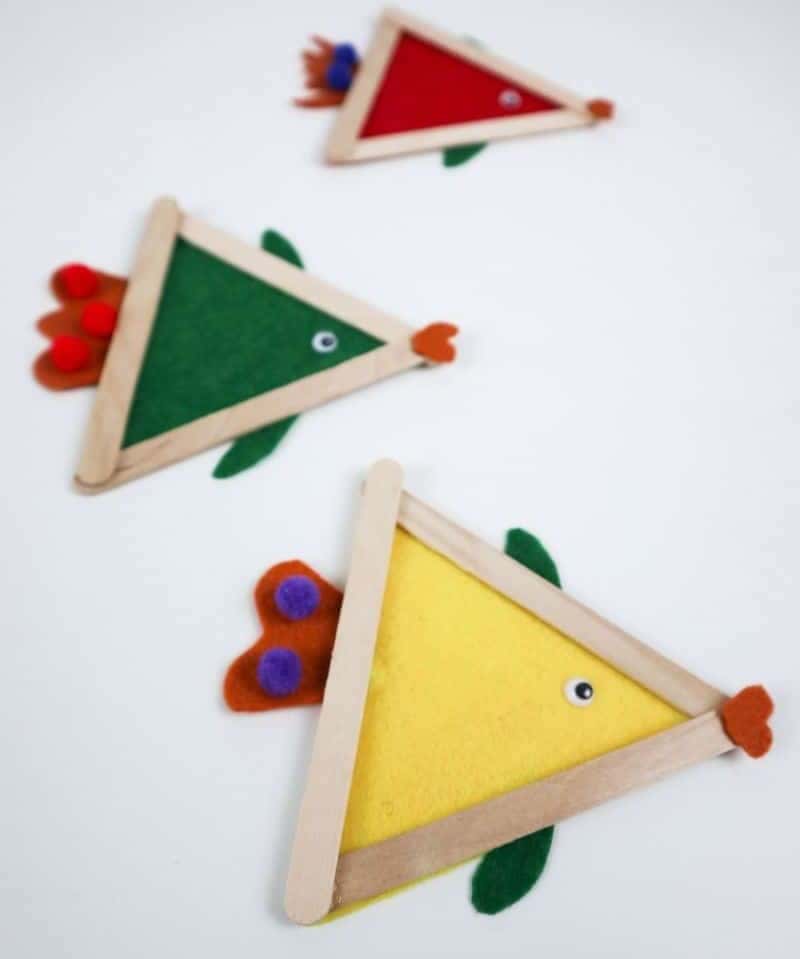
Once the triangle is ready, use it as a template to cut out the scales from a piece of felt. Attach the scales to the wooden ‘skeleton’ using glue and let it dry completely. Next, add the lips, tail, and fins to complete the fish’s anatomy. The possibilities are endless! Embellish your creation with sequins for scales, googly eyes for added personality, or even pom-poms for a playful touch.
Let your students unleash their creativity and craft an entire array of little fish – or as I like to say, ‘a school’ – and they’ll have an absolute blast!