
Paper mache – a nostalgic and creative activity for kids! Who doesn’t fondly remember the tactile experience of crafting with this all-natural medium? I, myself, cherish memories of afternoons spent alongside my mother, hands covered in lumpy paper mixture, as we brought our imagination to life. The process was just as enjoyable as the final product – a multitude of creative possibilities unfolded before us.
From trinket bowls and ornaments to intricate paper mache alphabets, the scope for artistic expression is endless.
Watch Full Tutorial: How to Make Paper Mache

Supplies and Tools You’ll Need for Paper Mache
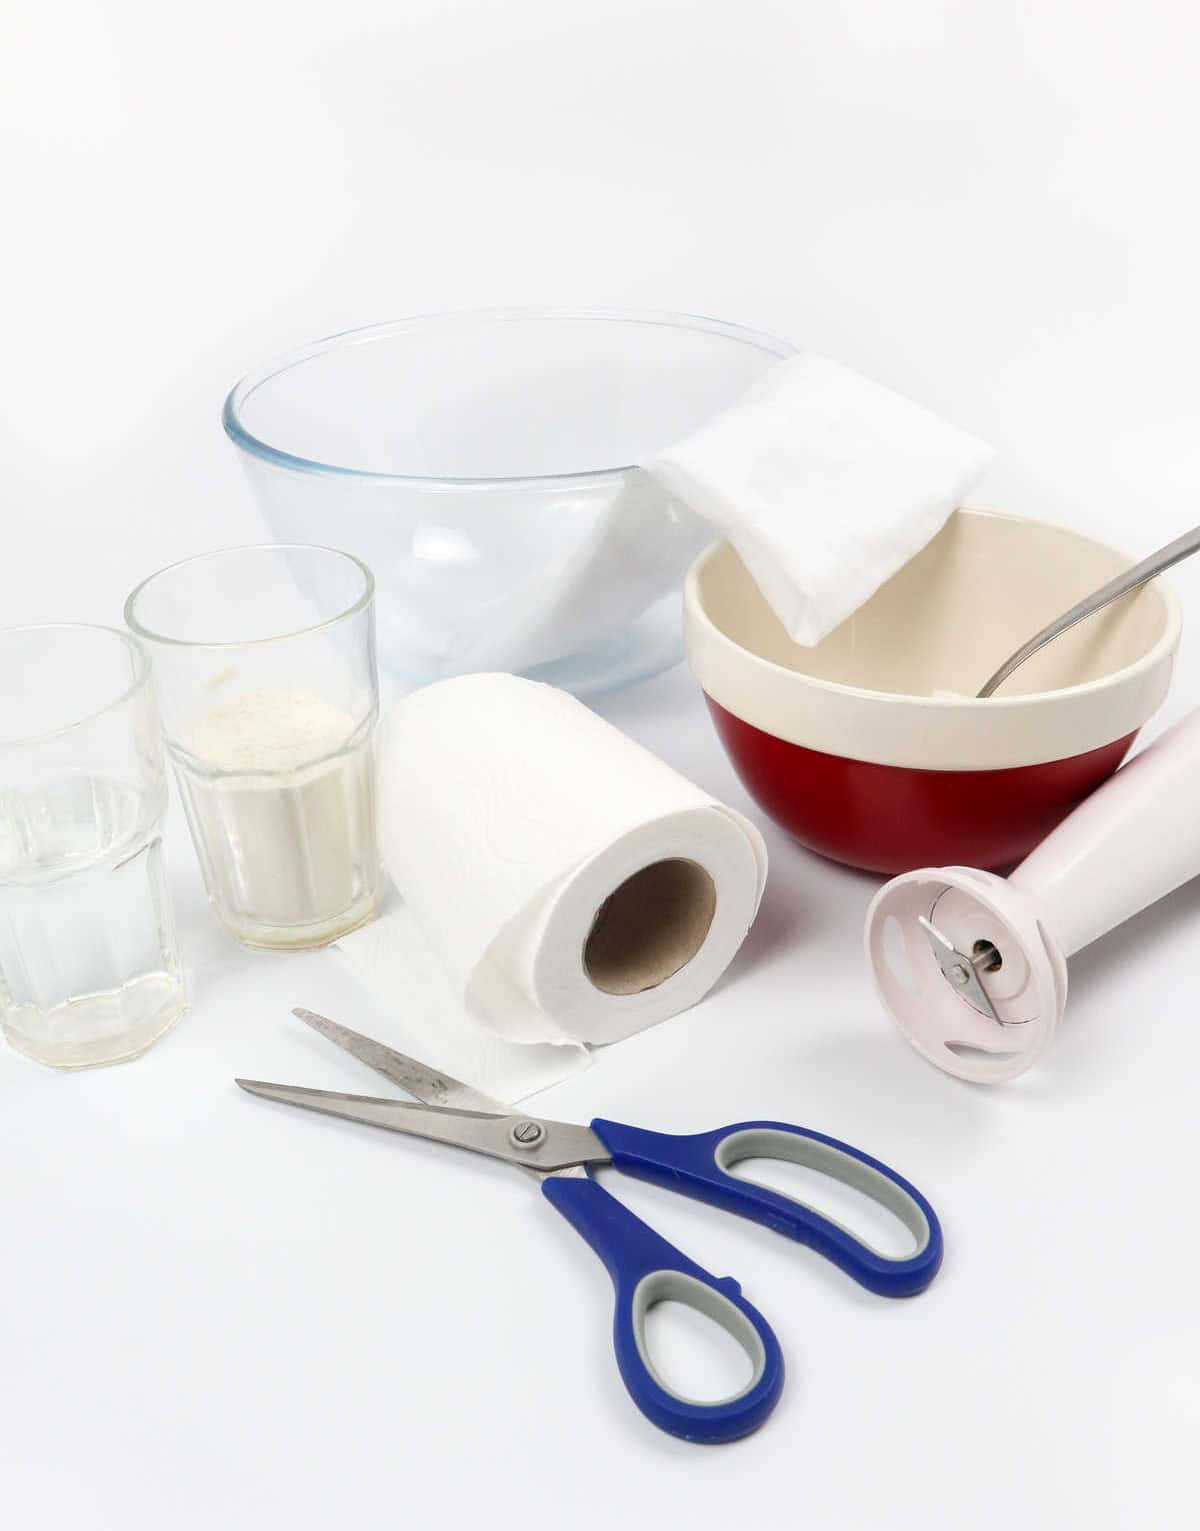
To create your paper mache dough, you’ll need a few basic supplies and tools. First, gather the following items: a 1/2 toilet paper roll, some cheesecloth, two small bowls, a blender, a spoon, and a mixture of equal parts water and wheat flour that’s about half a glass full. With these materials at your disposal, you’ll be well on your way to crafting a unique paper mache paste perfect for your next creative project.
How to Make Paper Mache
When tackling this DIY project, it’s crucial to prepare for a potentially messy situation by having ample supplies of paper towels or newspapers within arm’s reach. The process is likely to become chaotic from the outset, so having a reliable clean-up system in place will help minimize stress and make the experience more enjoyable.
Step 1
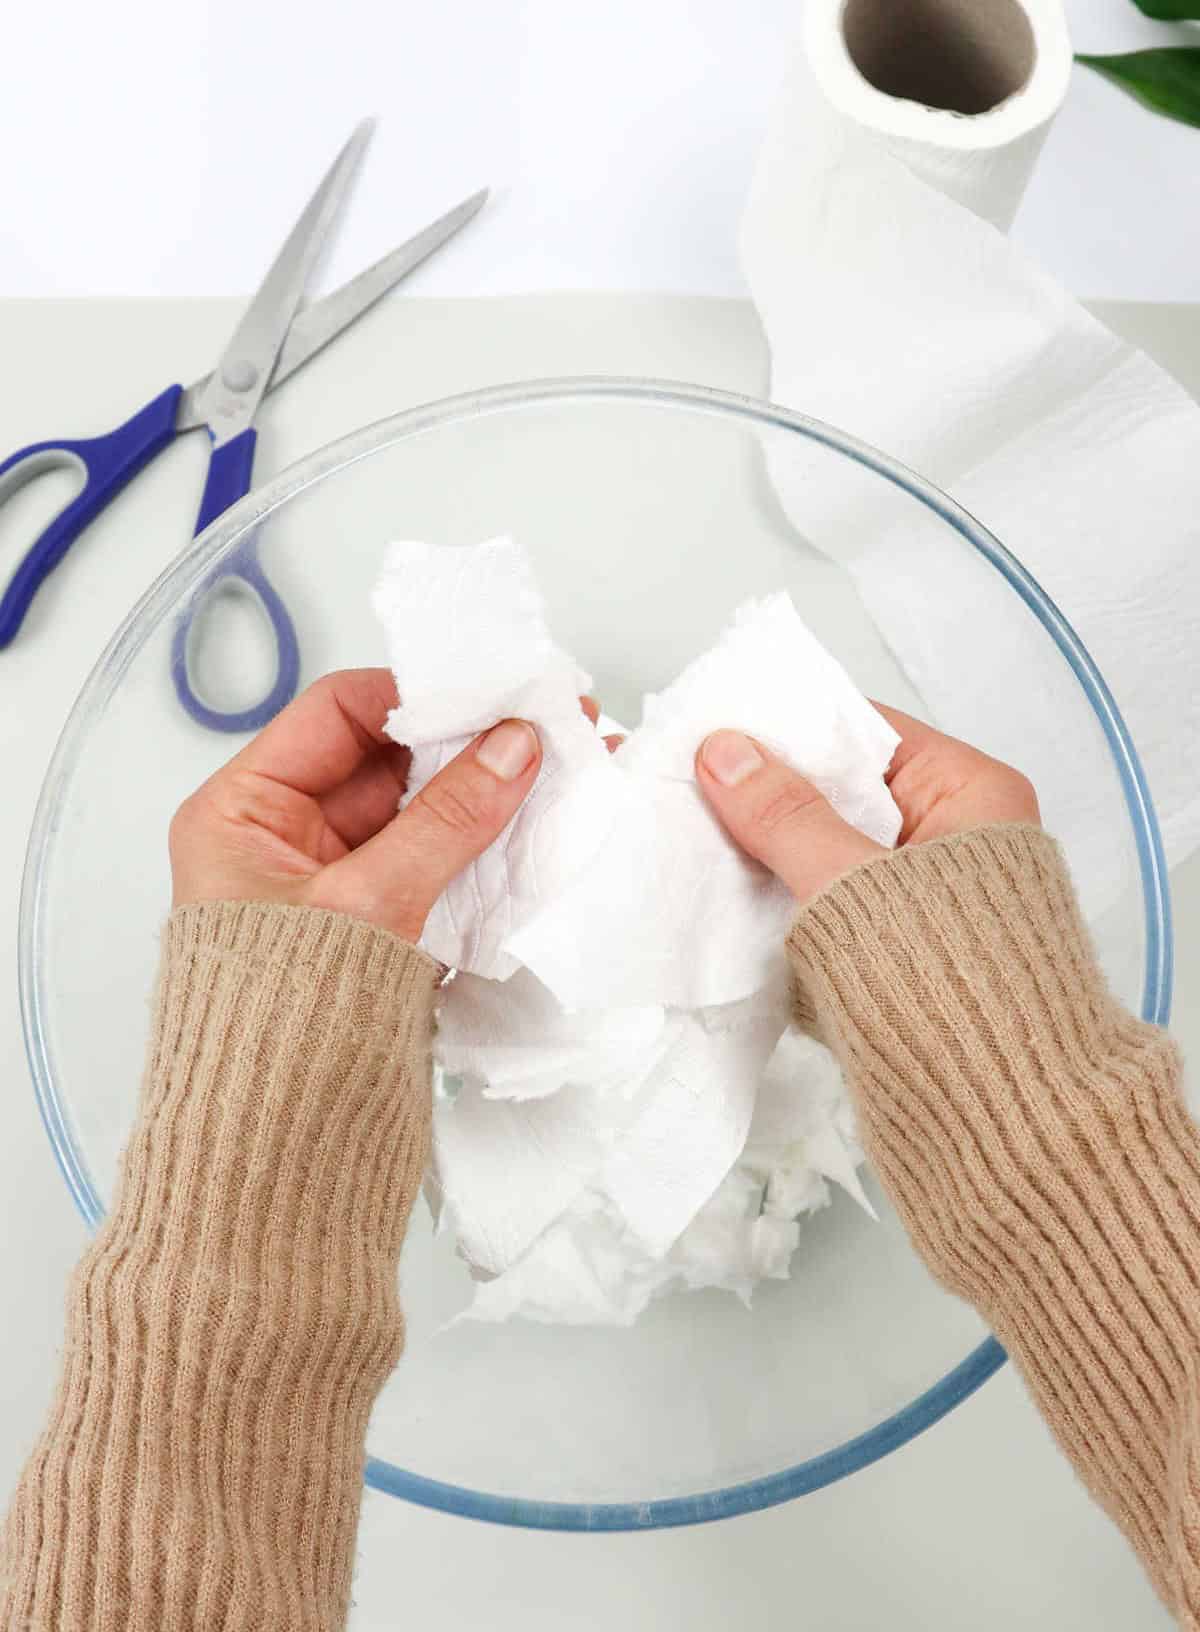
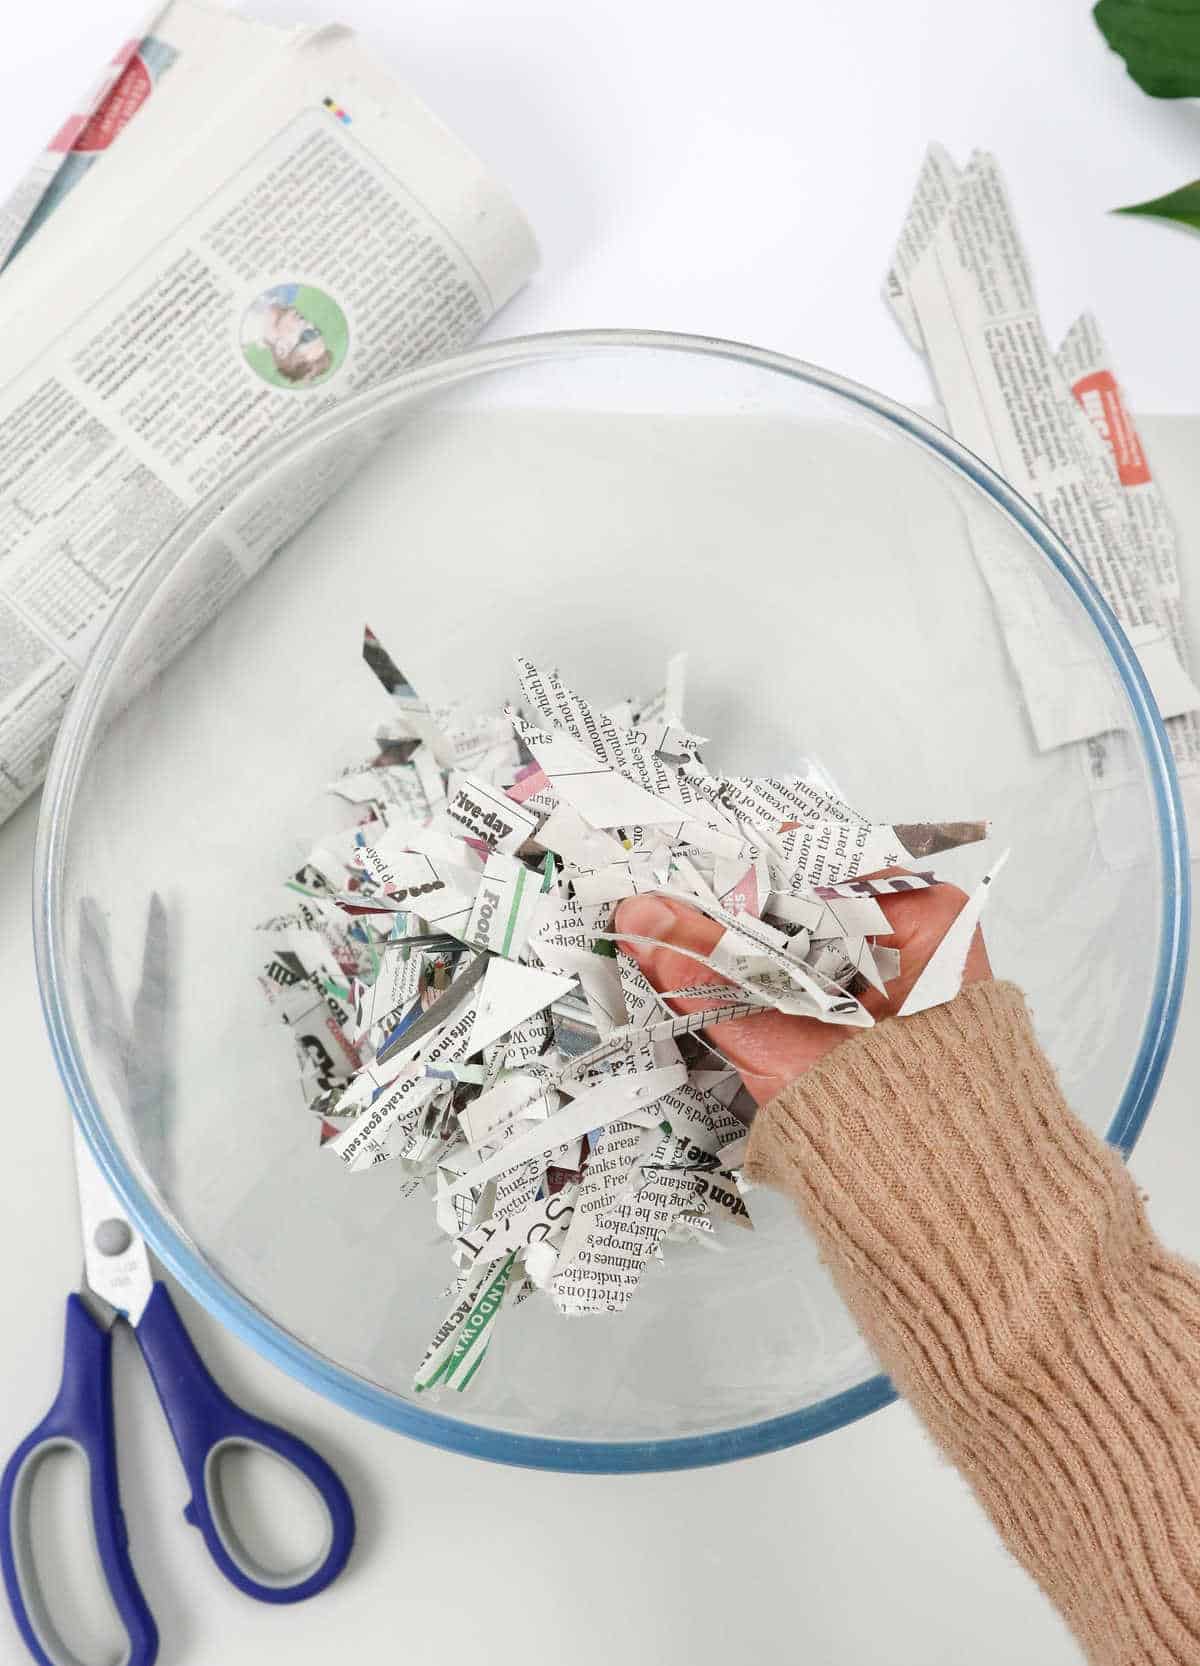
As you set up your workspace with layers of newspaper, the excitement builds, and it’s time to dive into the satisfying process of shredding paper! Begin by ripping the newspaper into smaller and smaller pieces, taking care to create a uniform texture. Then, collect your shredded paper in a bowl, ready to be incorporated into the dough.
Step 2
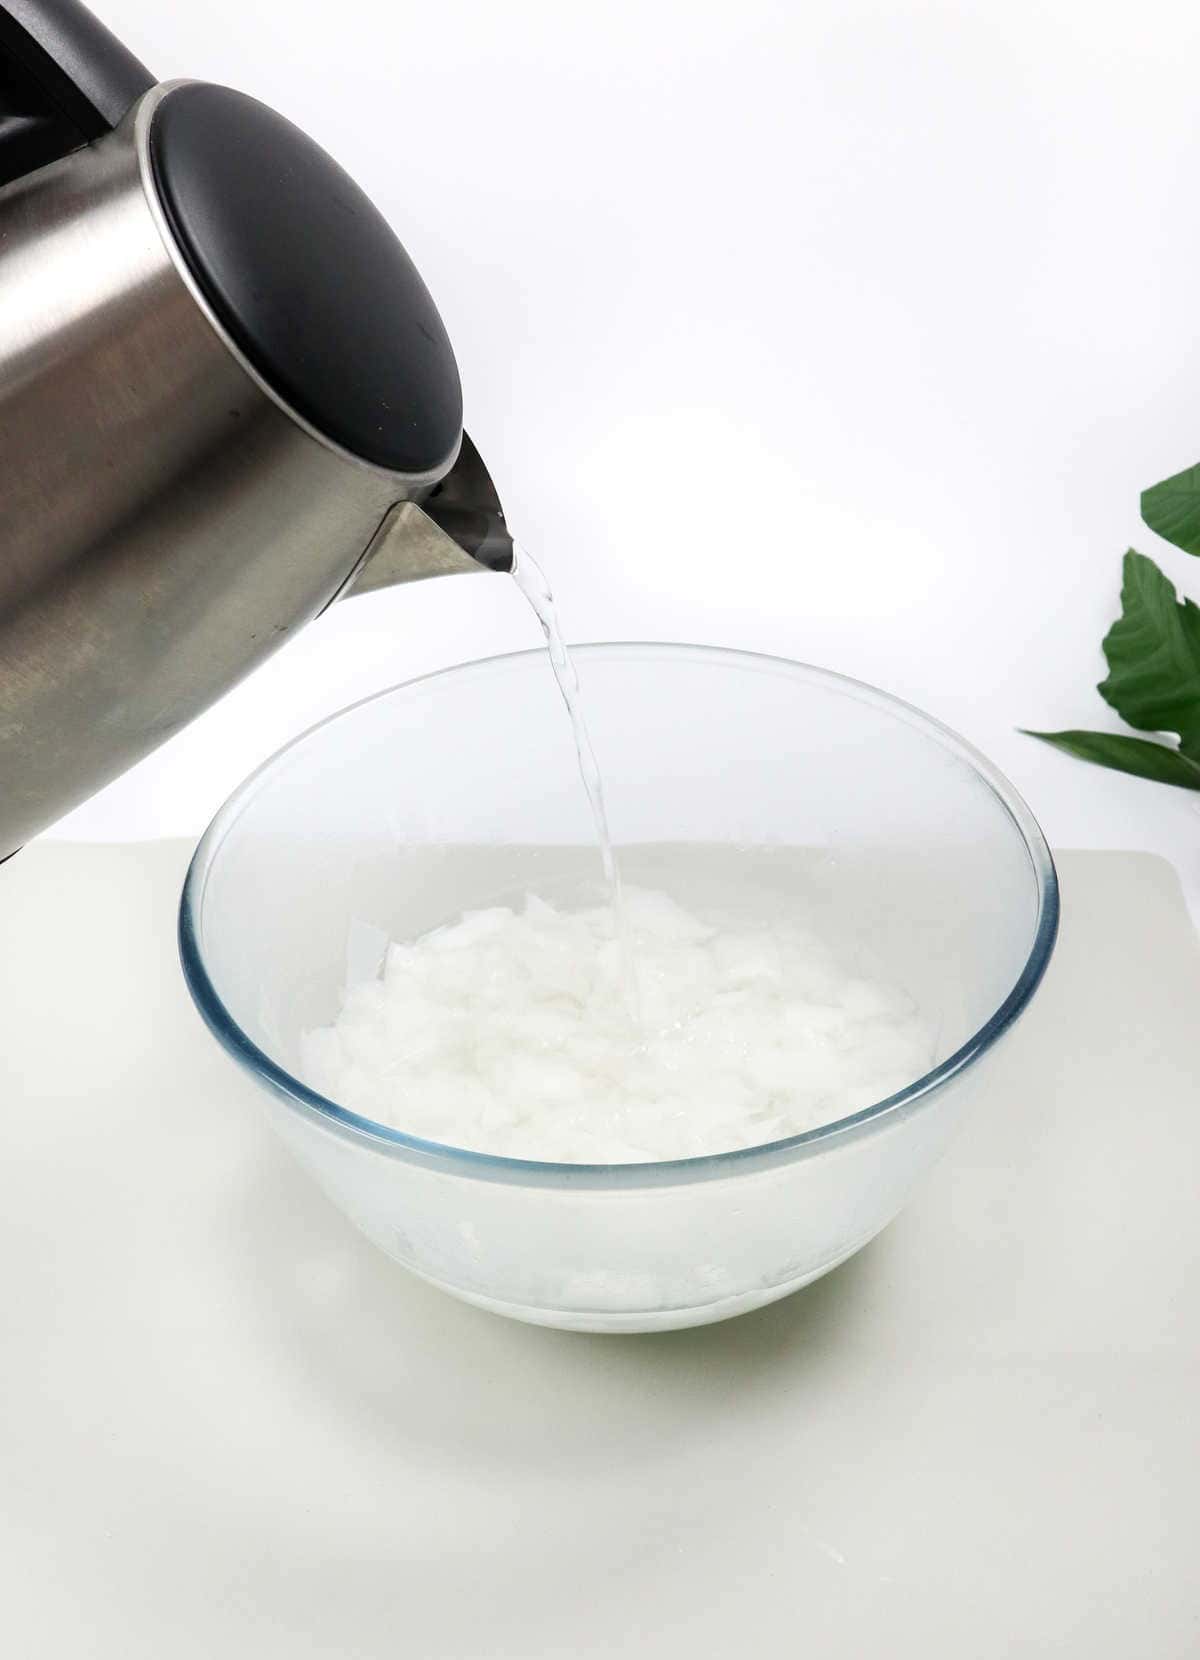

As you tear apart the paper, take a moment to boil some water. The primary purpose is to brew a soothing cup of tea, but it also serves a crucial role in the paper recycling process. Allow the boiling water to thoroughly soak your shredded paper for a couple of hours. This step is vital, as the hot water helps to break down the cellulose within the fibers, rendering them soft and pliable.
If you’re working with newspaper, which tends to be thicker and more dense than regular paper, it’s best to let it sit in the boiling water overnight to ensure proper breakdown.
Step 3
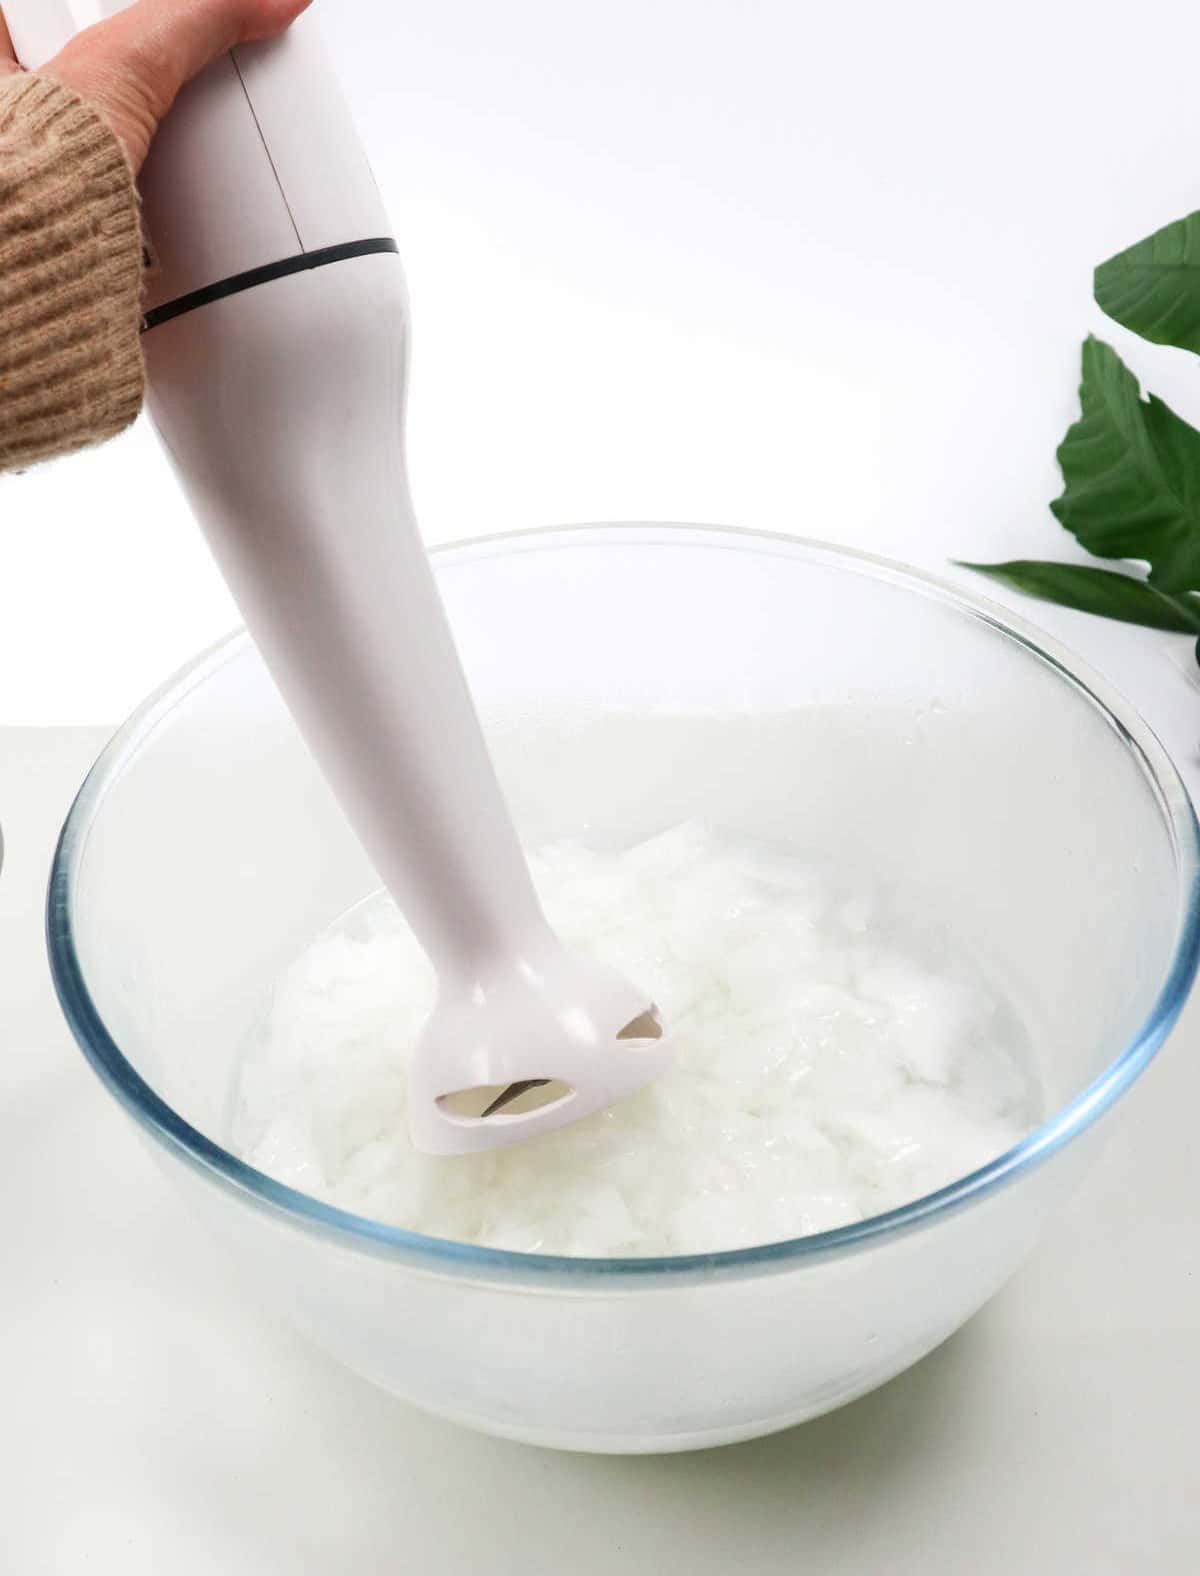
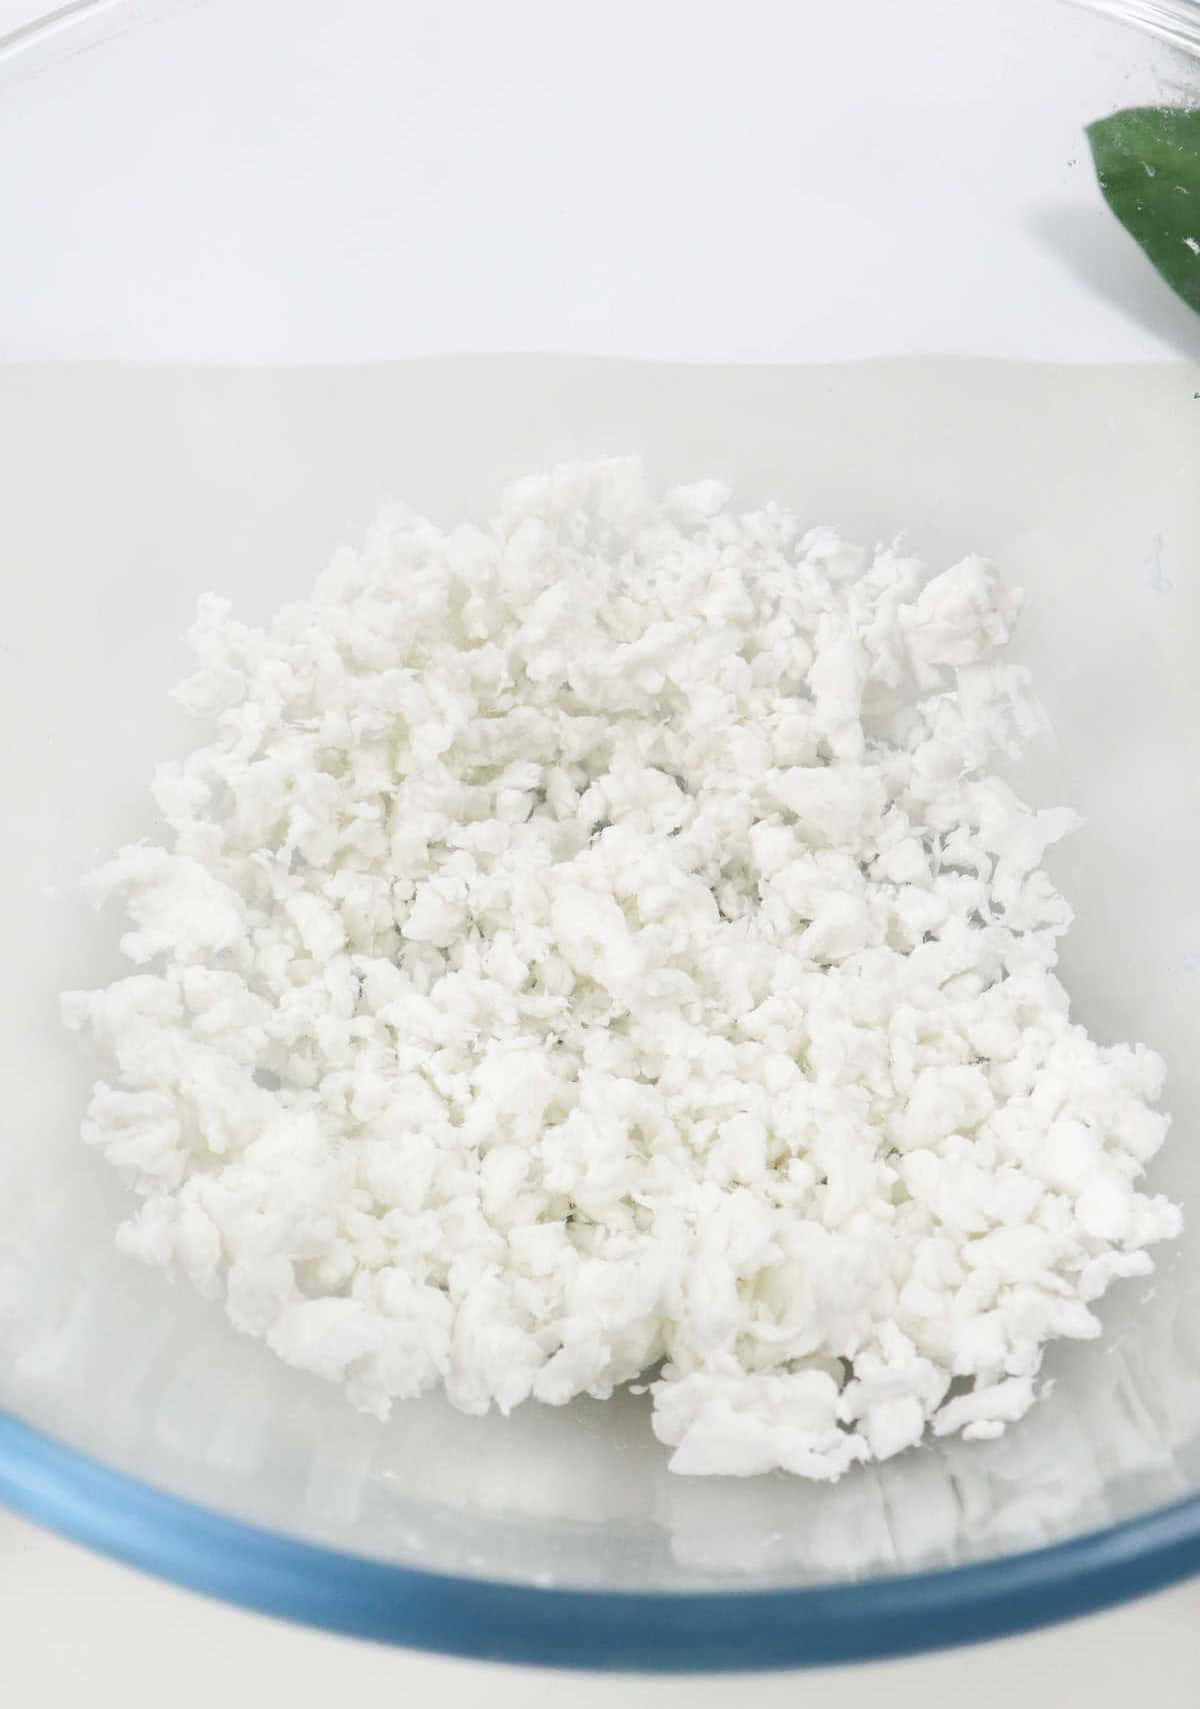
The process of transforming your paper into pulp is where things can get really enjoyable. Grab a hand blender and immerse yourself in the squelching sounds as you break down the fibers into a consistent texture. It’s a sensory experience that some people find quite satisfying! As you continue to blend, aim for a consistency similar to wet confetti or a loose paste. You know you’ve reached the right point when your paper has been fully pulverized and resembles the example below.
Step 4

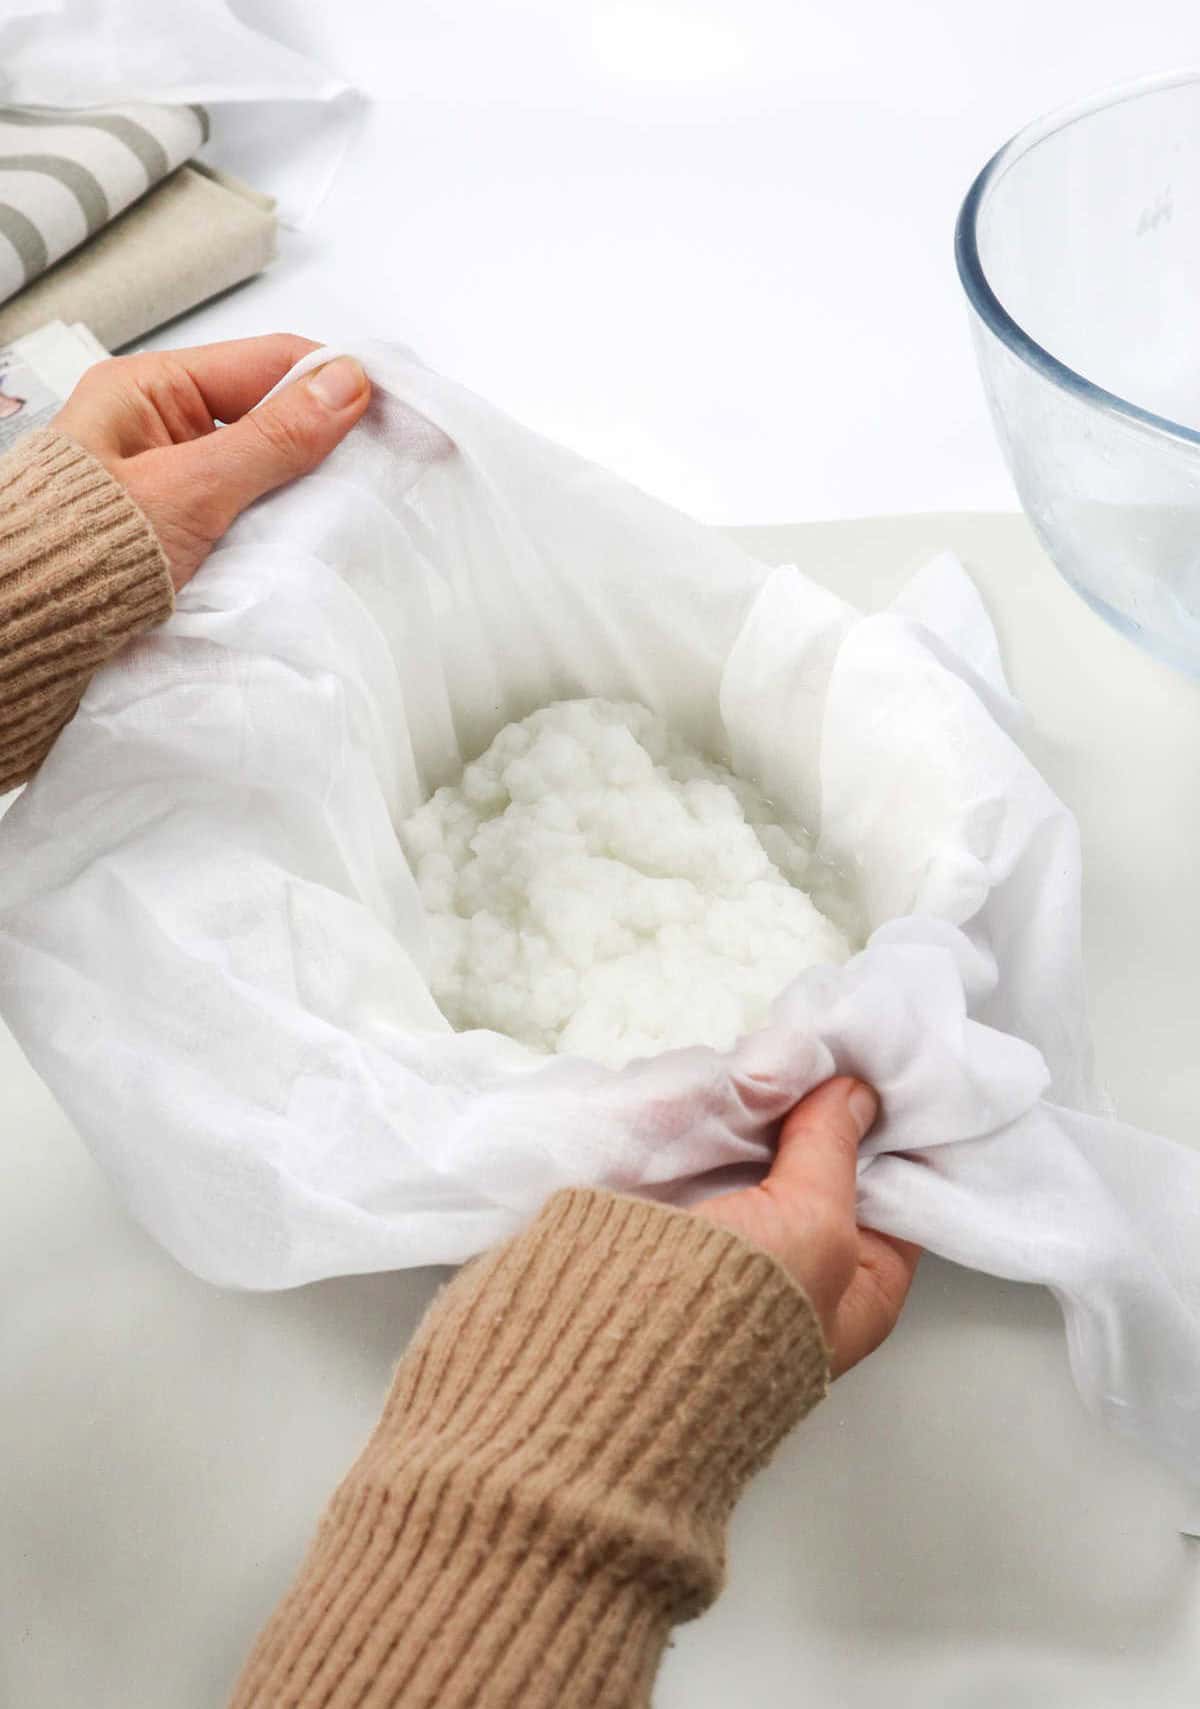
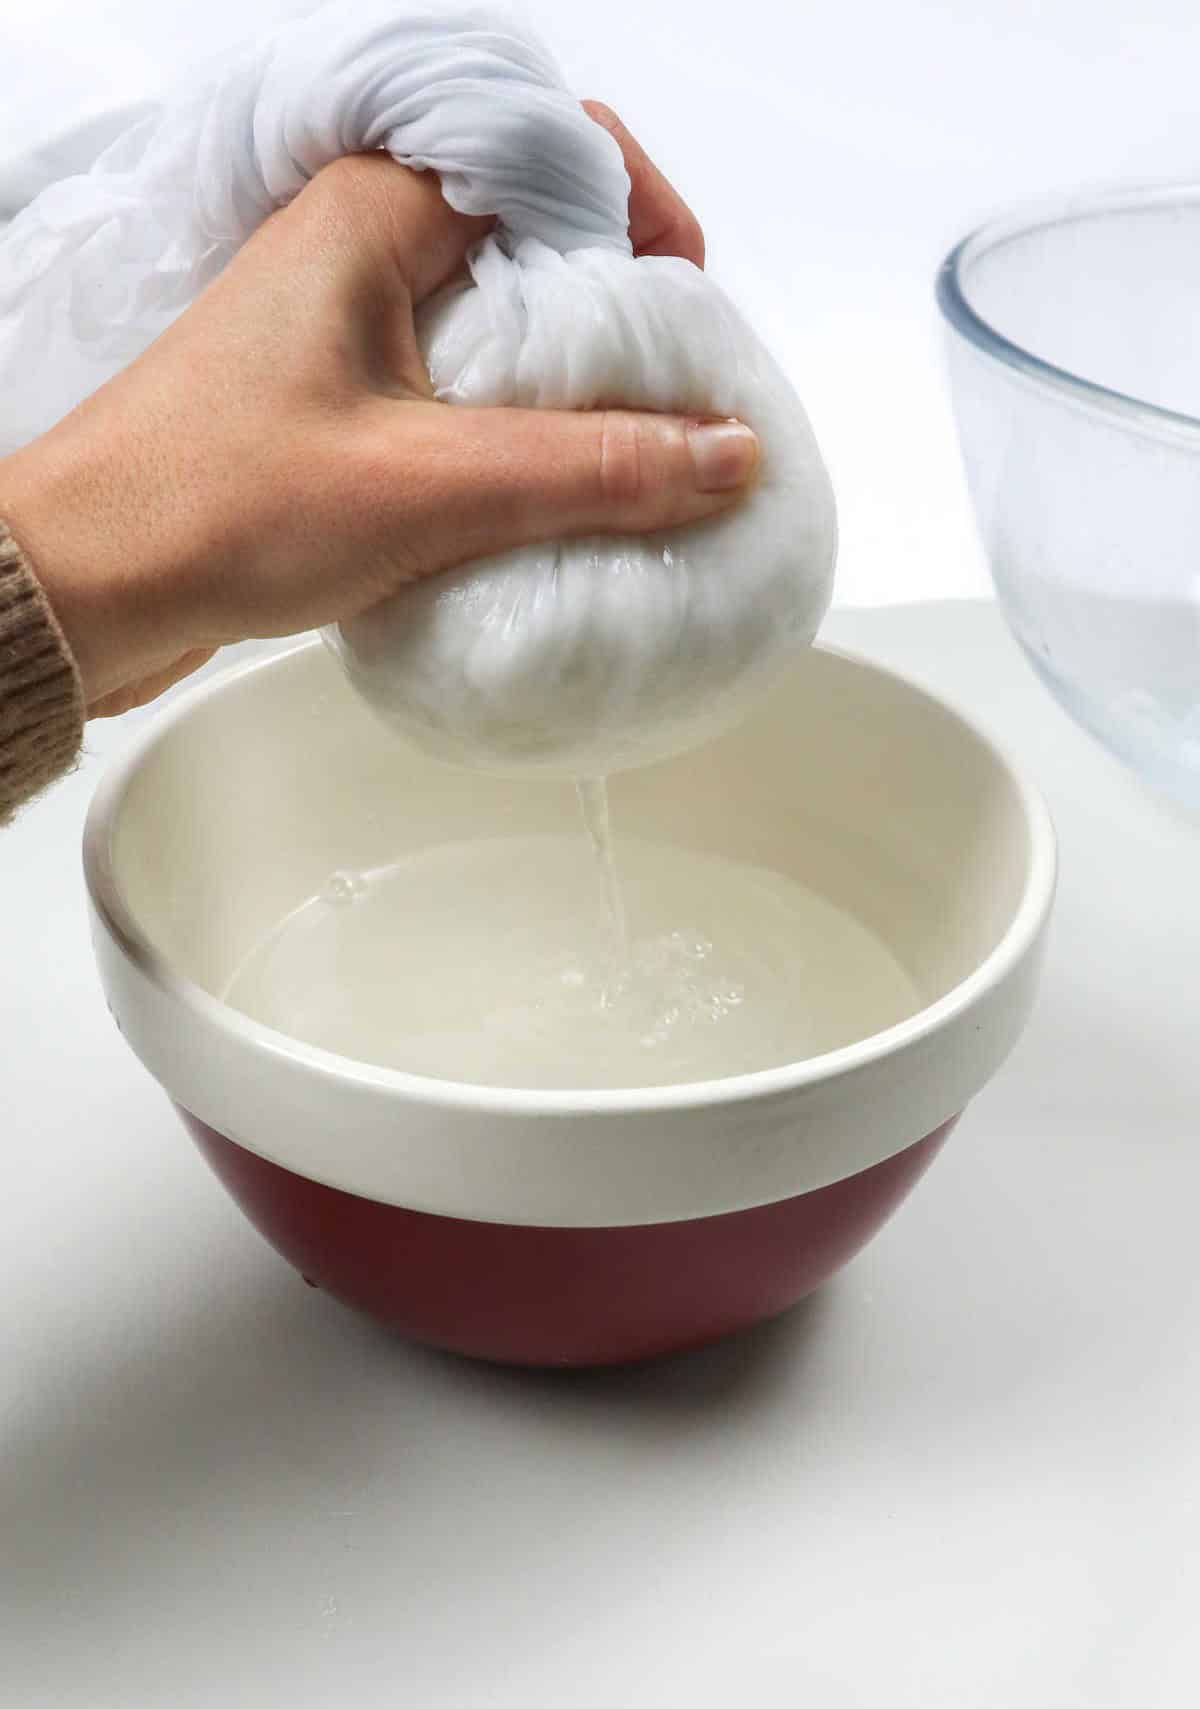
As the final step in preparing your paper pulp for crafting, it’s essential to remove any excess liquid. To achieve this, place a cheesecloth over a large bowl and carefully pour the pulp mixture into the cloth. Next, gather the edges of the cheesecloth together and apply gentle pressure to squeeze out as much water as possible from the pulp into the bowl below. For added assurance, repeat this process until you’re satisfied that all excess moisture has been removed.
Step 5

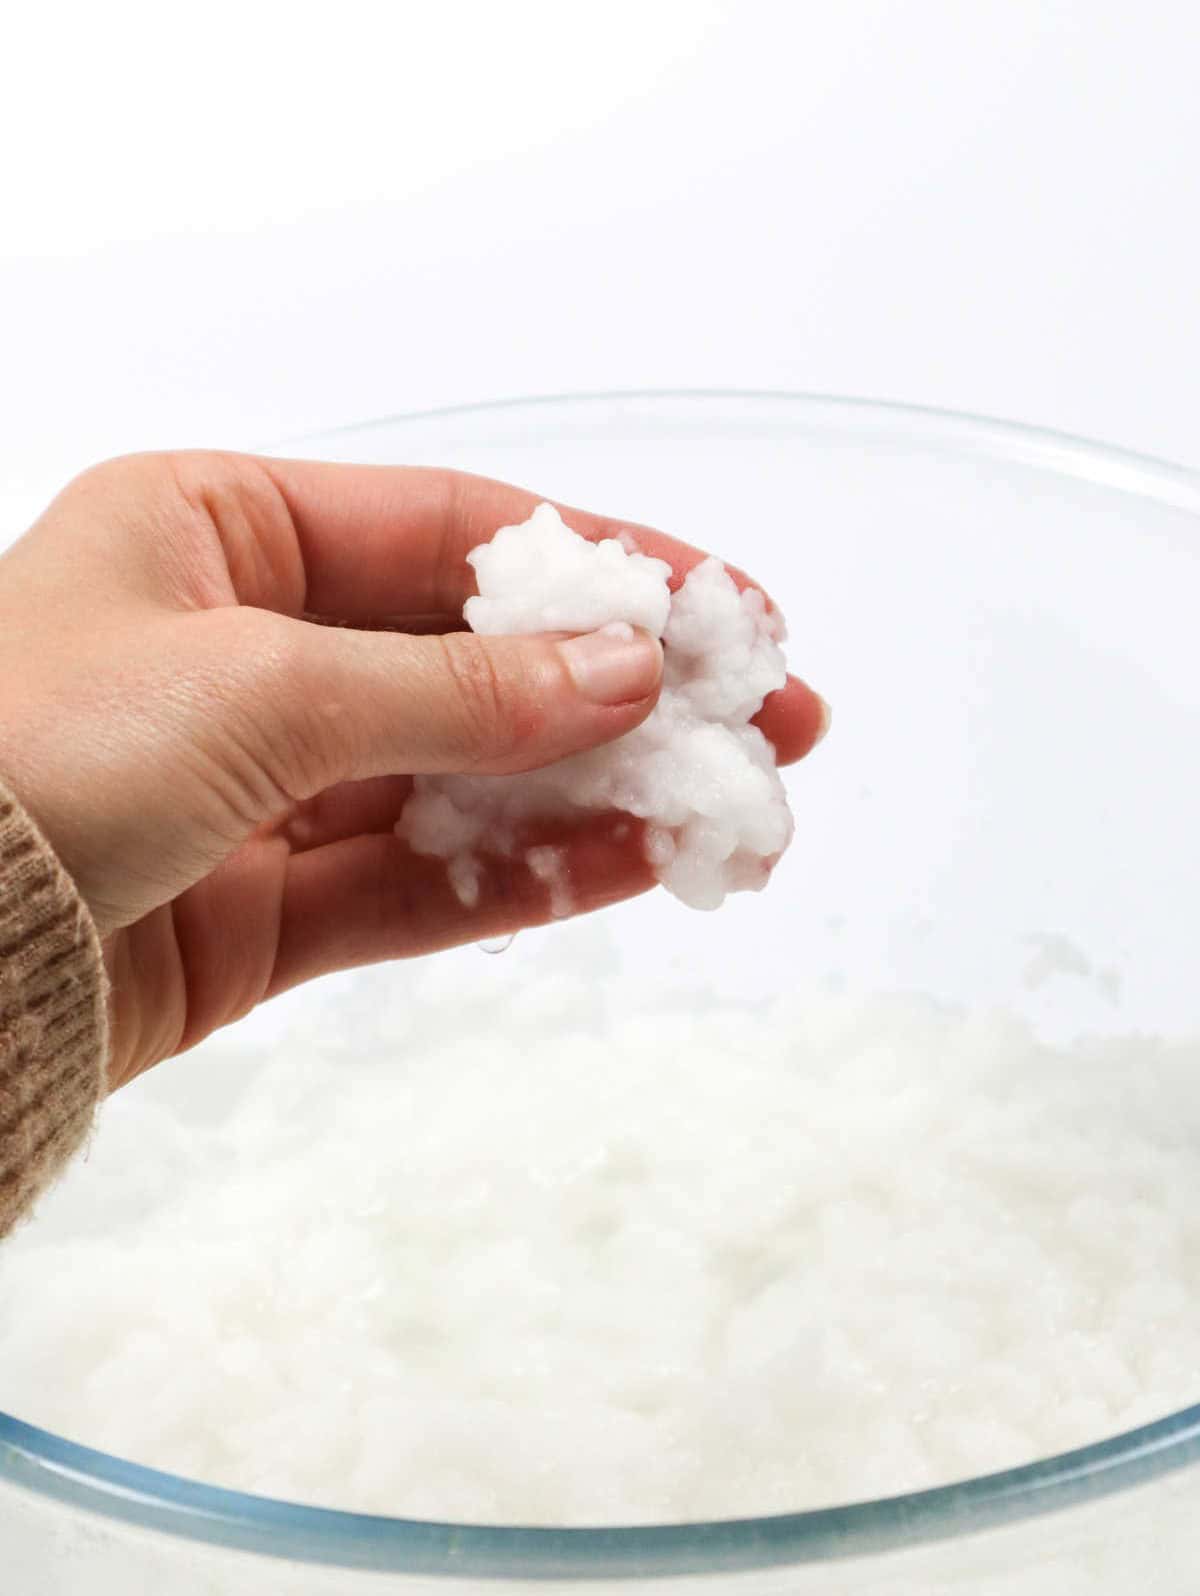
As you remove the pulp from the cheesecloth, you’ll notice it resembles a creamy texture akin to ricotta or cottage cheese. To proceed, gently break down the pulp into smaller pieces and transfer them to a bowl.
Step 6

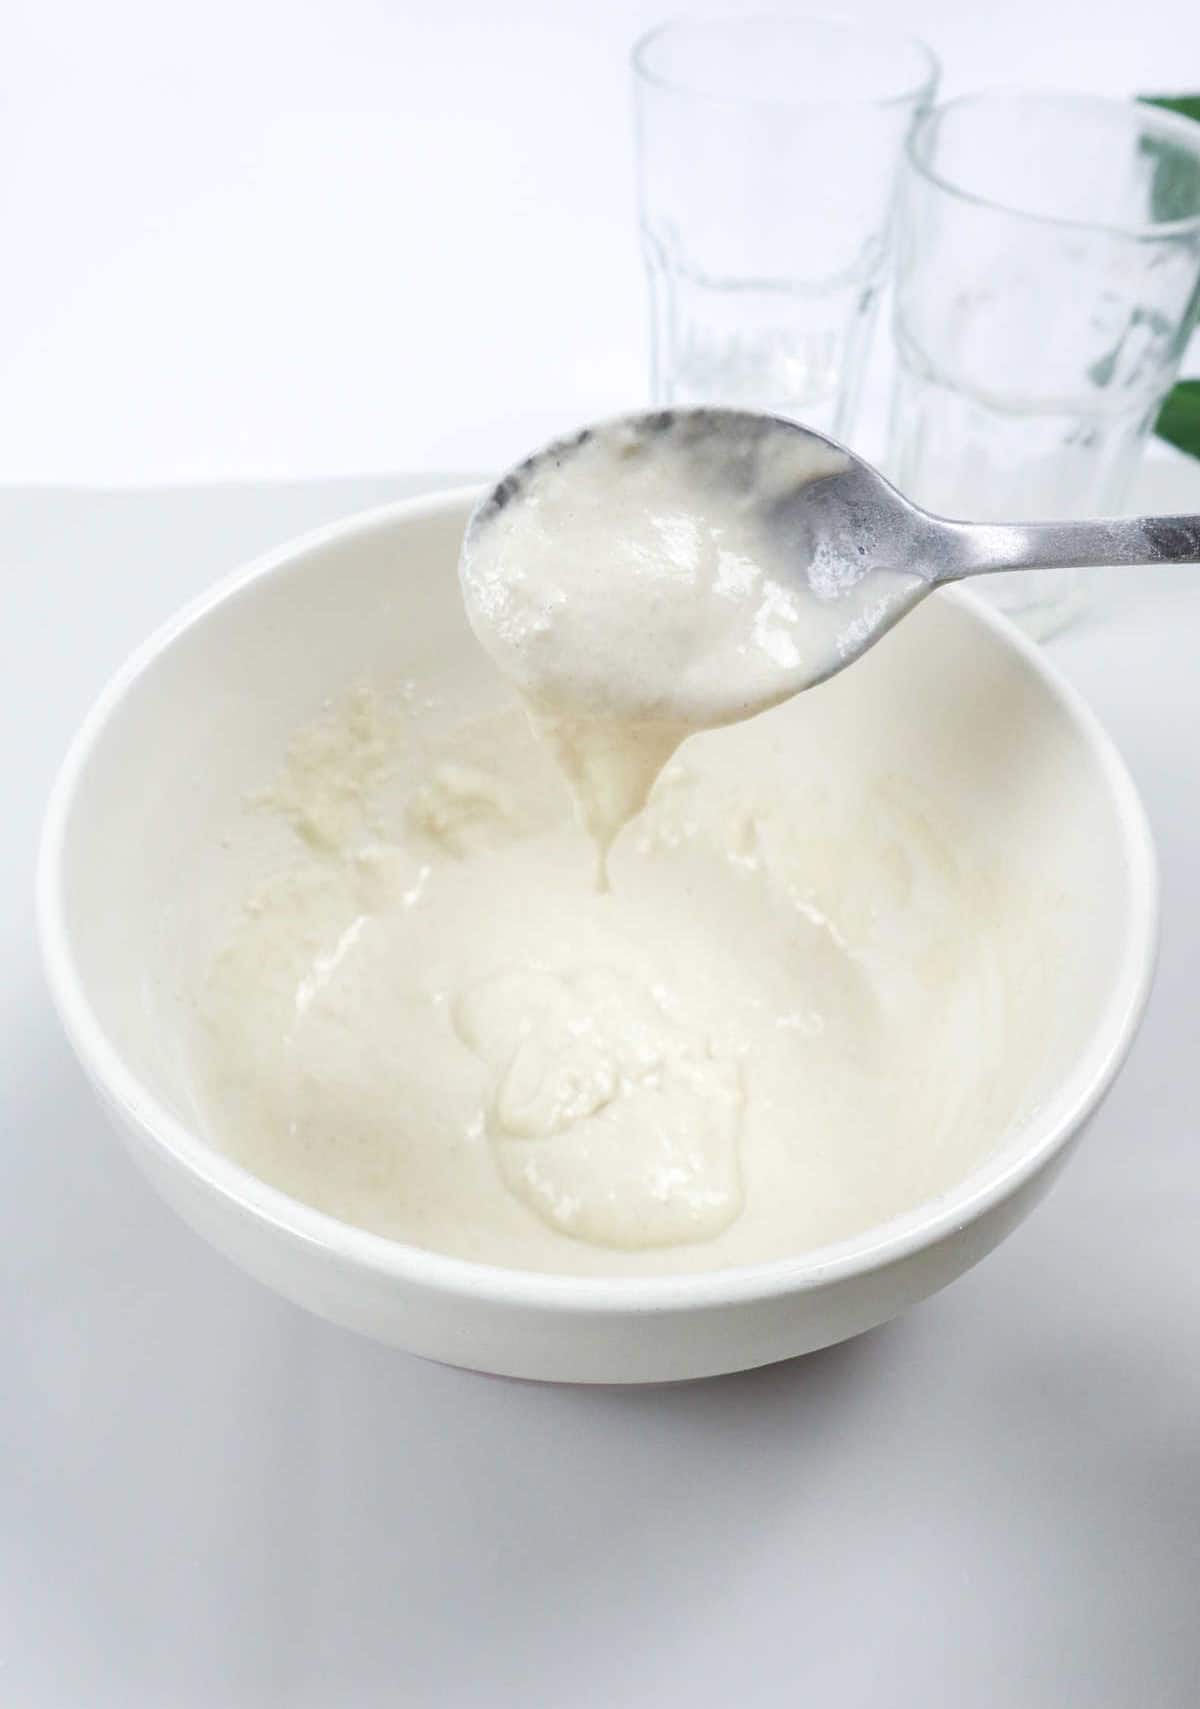

To create your binding paste, start by combining white flour or cornstarch with water in a separate bowl. To avoid lumps, add the water gradually while stirring the mixture. Your goal is to achieve a smooth, sticky consistency that’s not too runny. Once you’ve achieved this, heat the mixture over low heat in a saucepan for about five minutes, or until the water evaporates and leaves behind a thick, creamy paste. Keep the paste stirred constantly to prevent burning.
As an alternative, you can also use a microwave to heat the mixture. Simply cook it for 15-20 seconds, stir vigorously, and then repeat this process several times until the desired thickness is reached.
Step 7
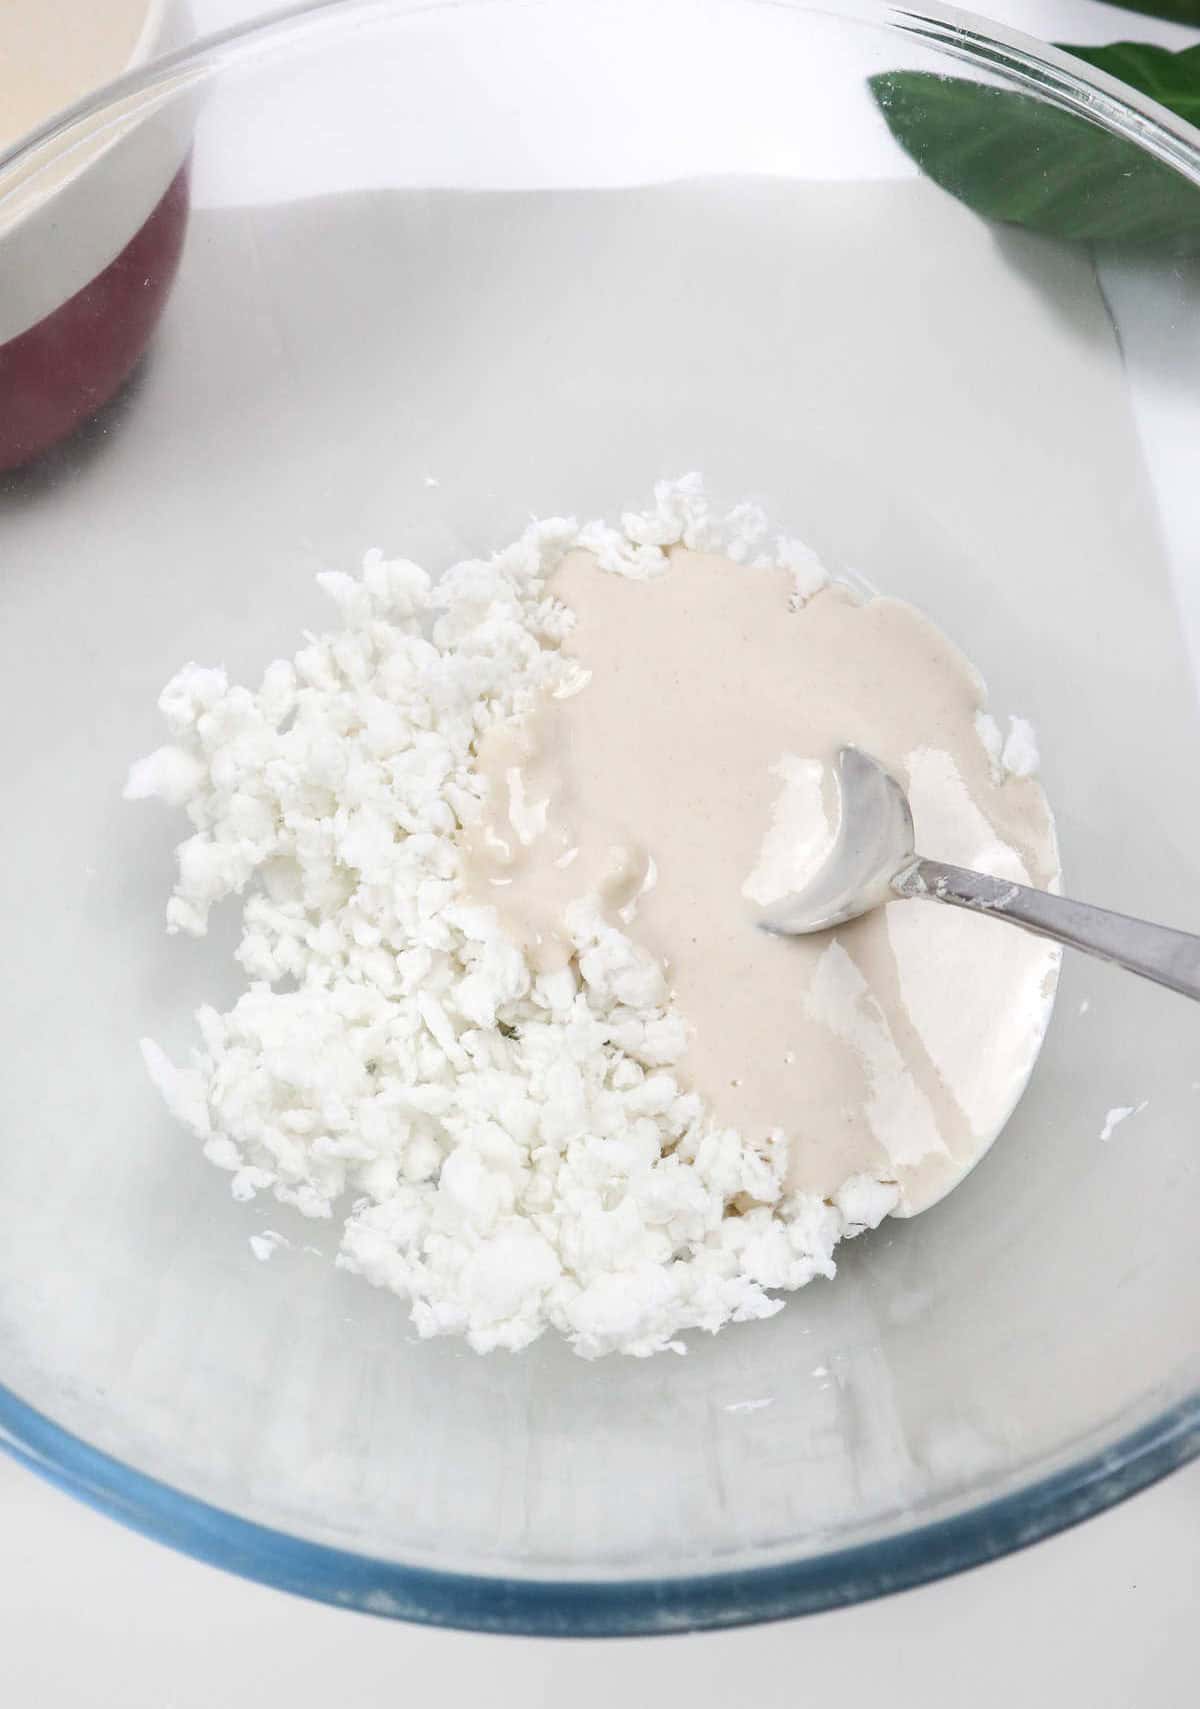
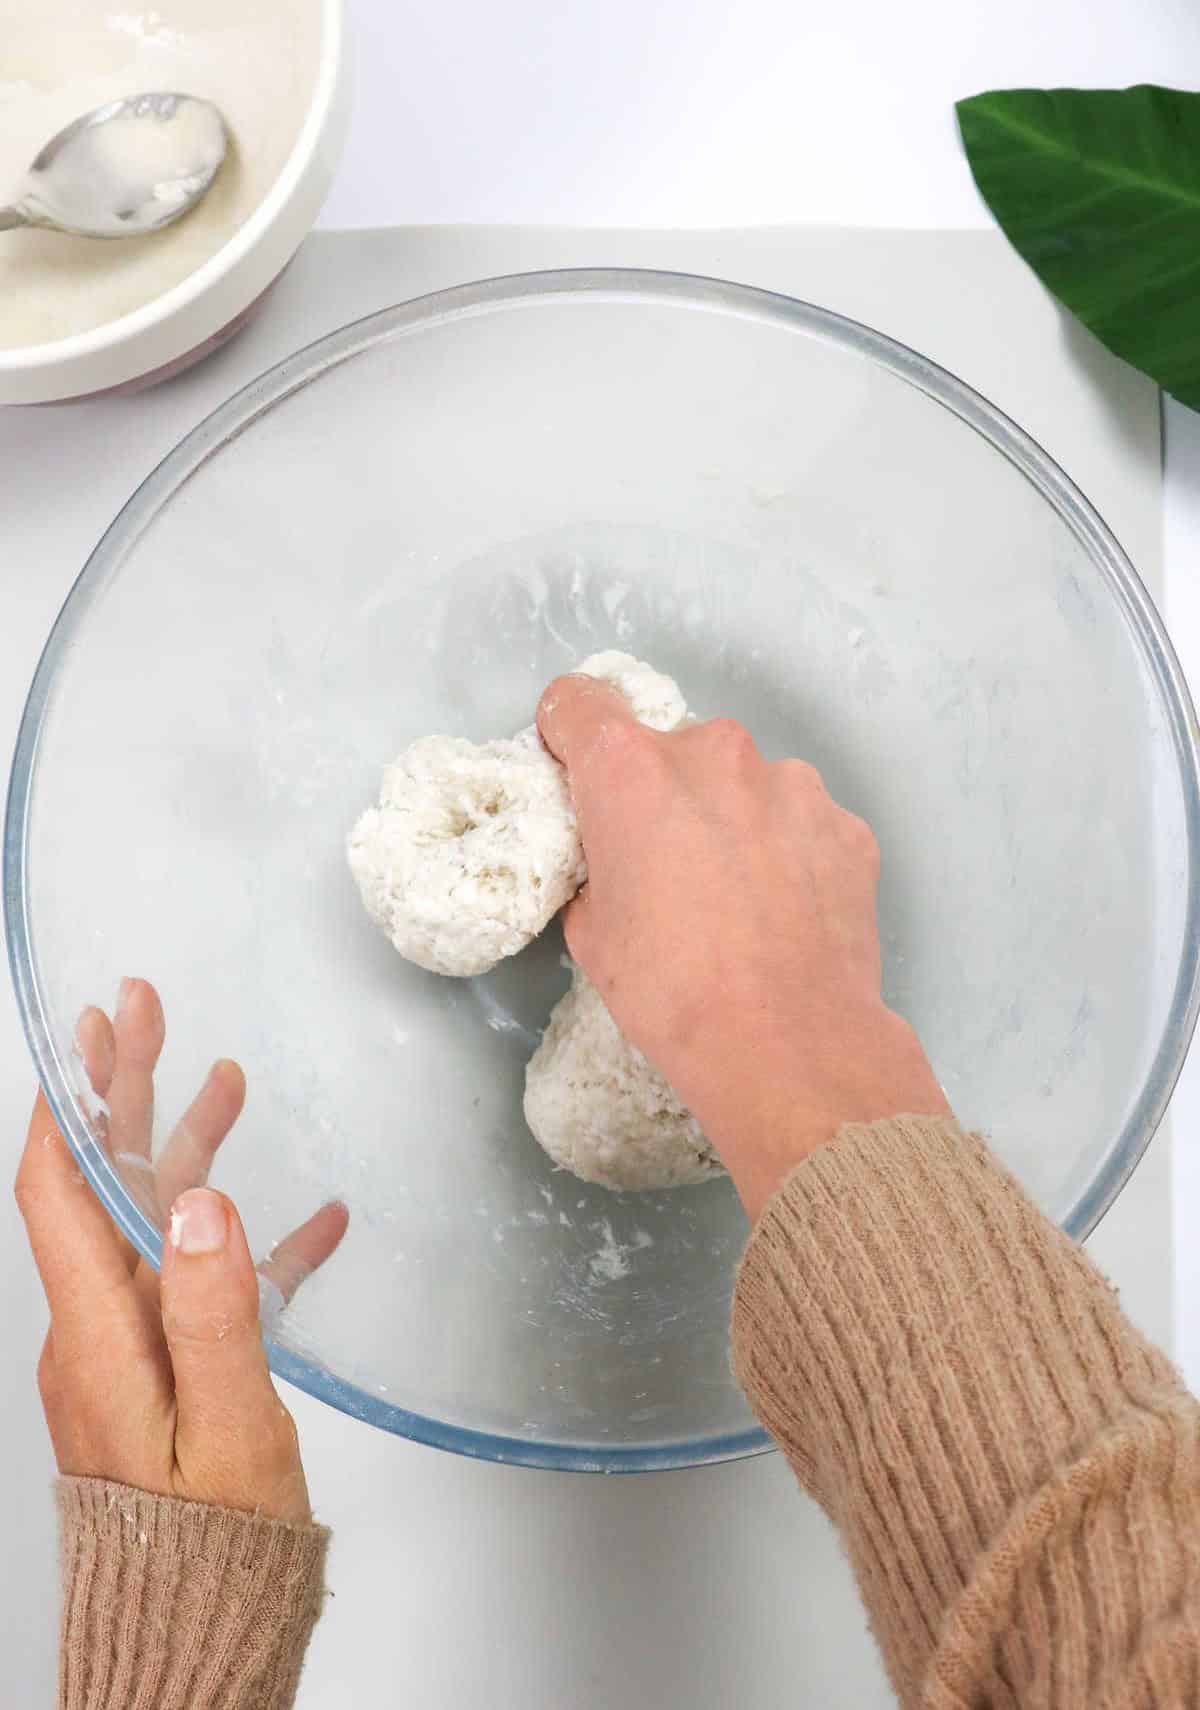
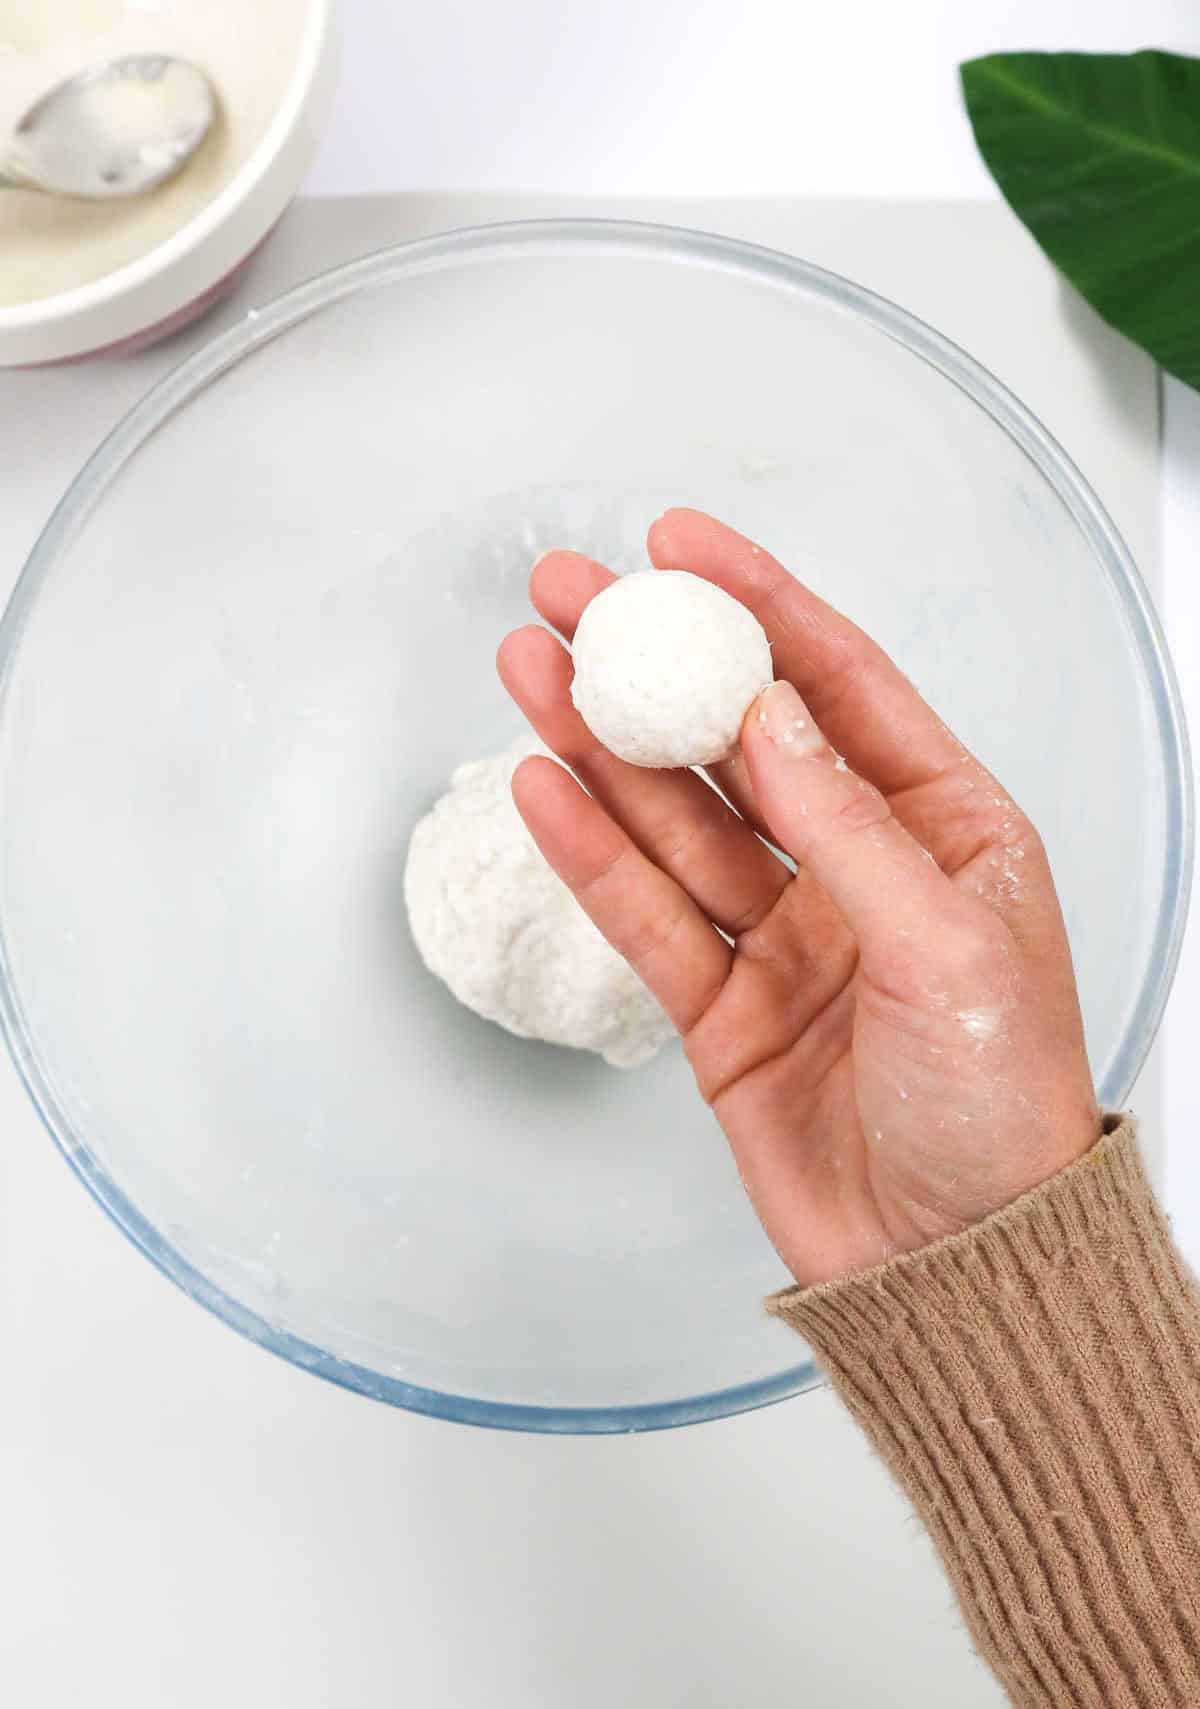
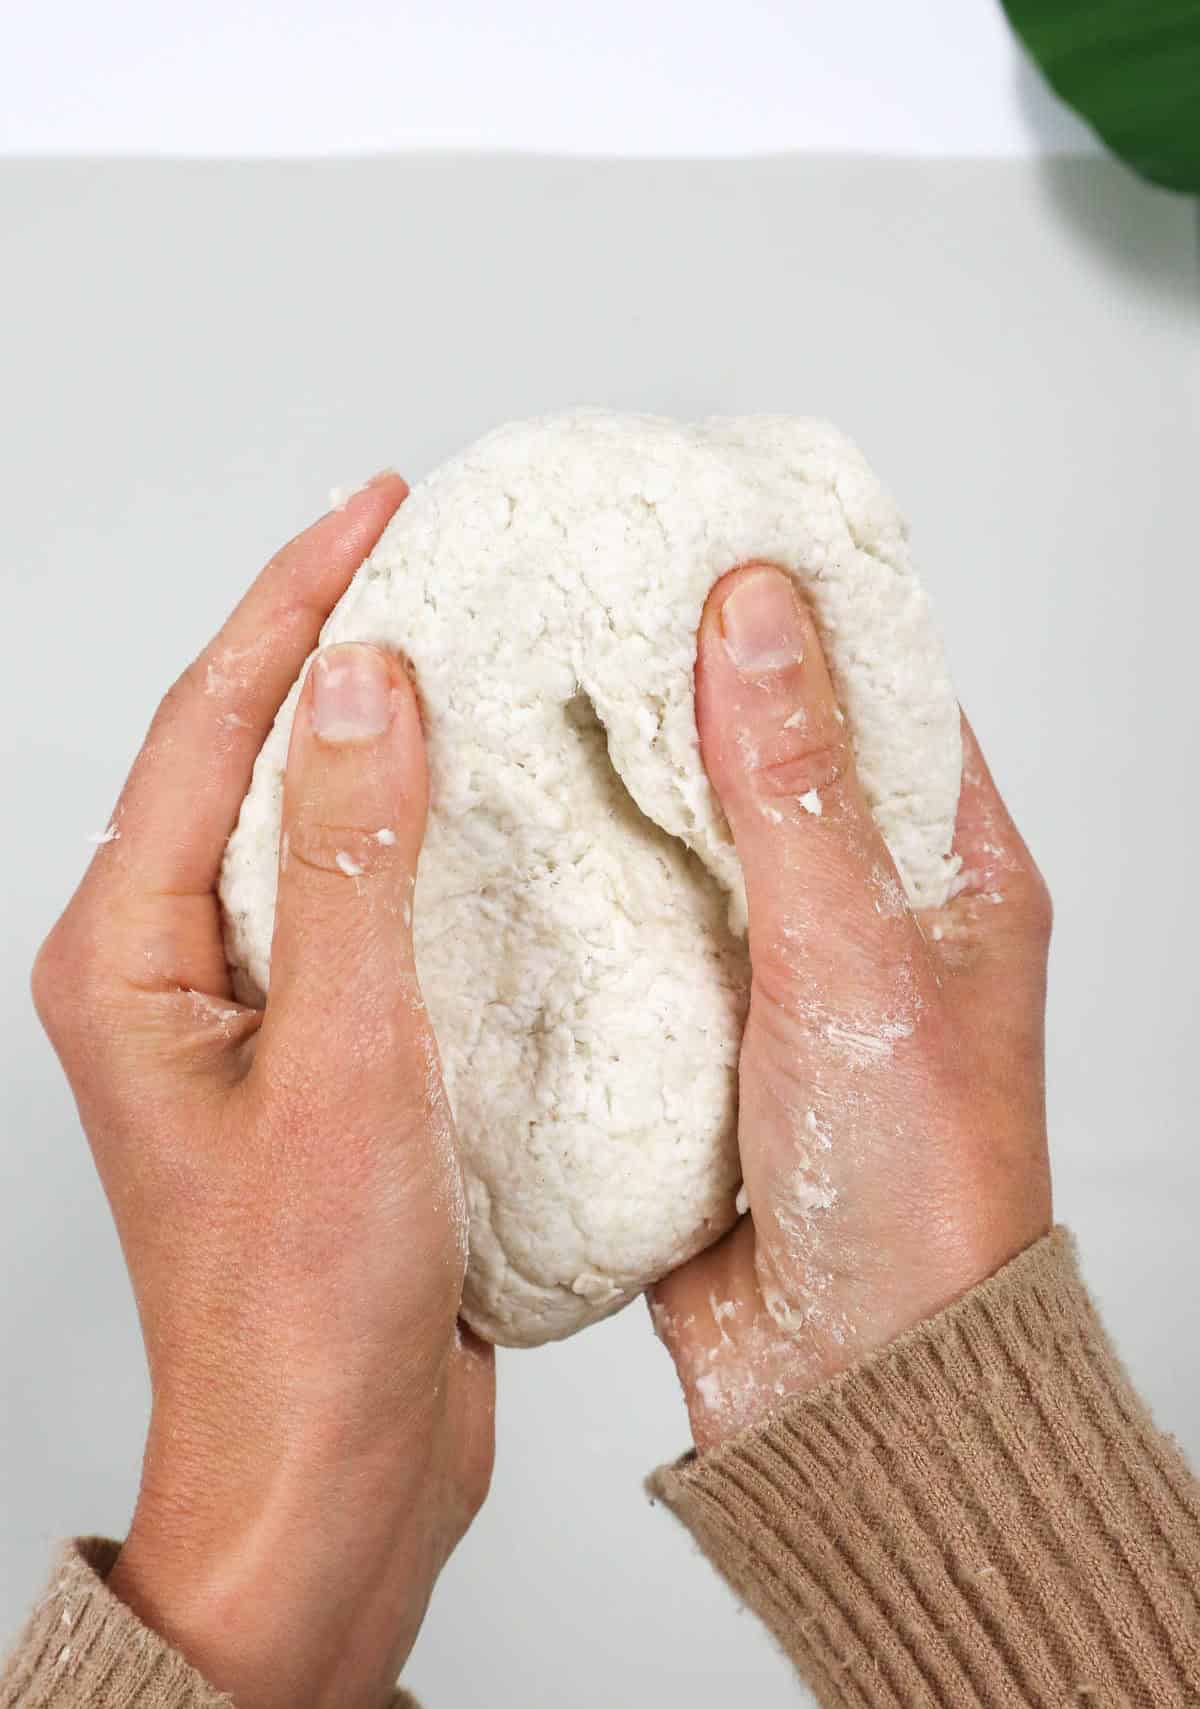
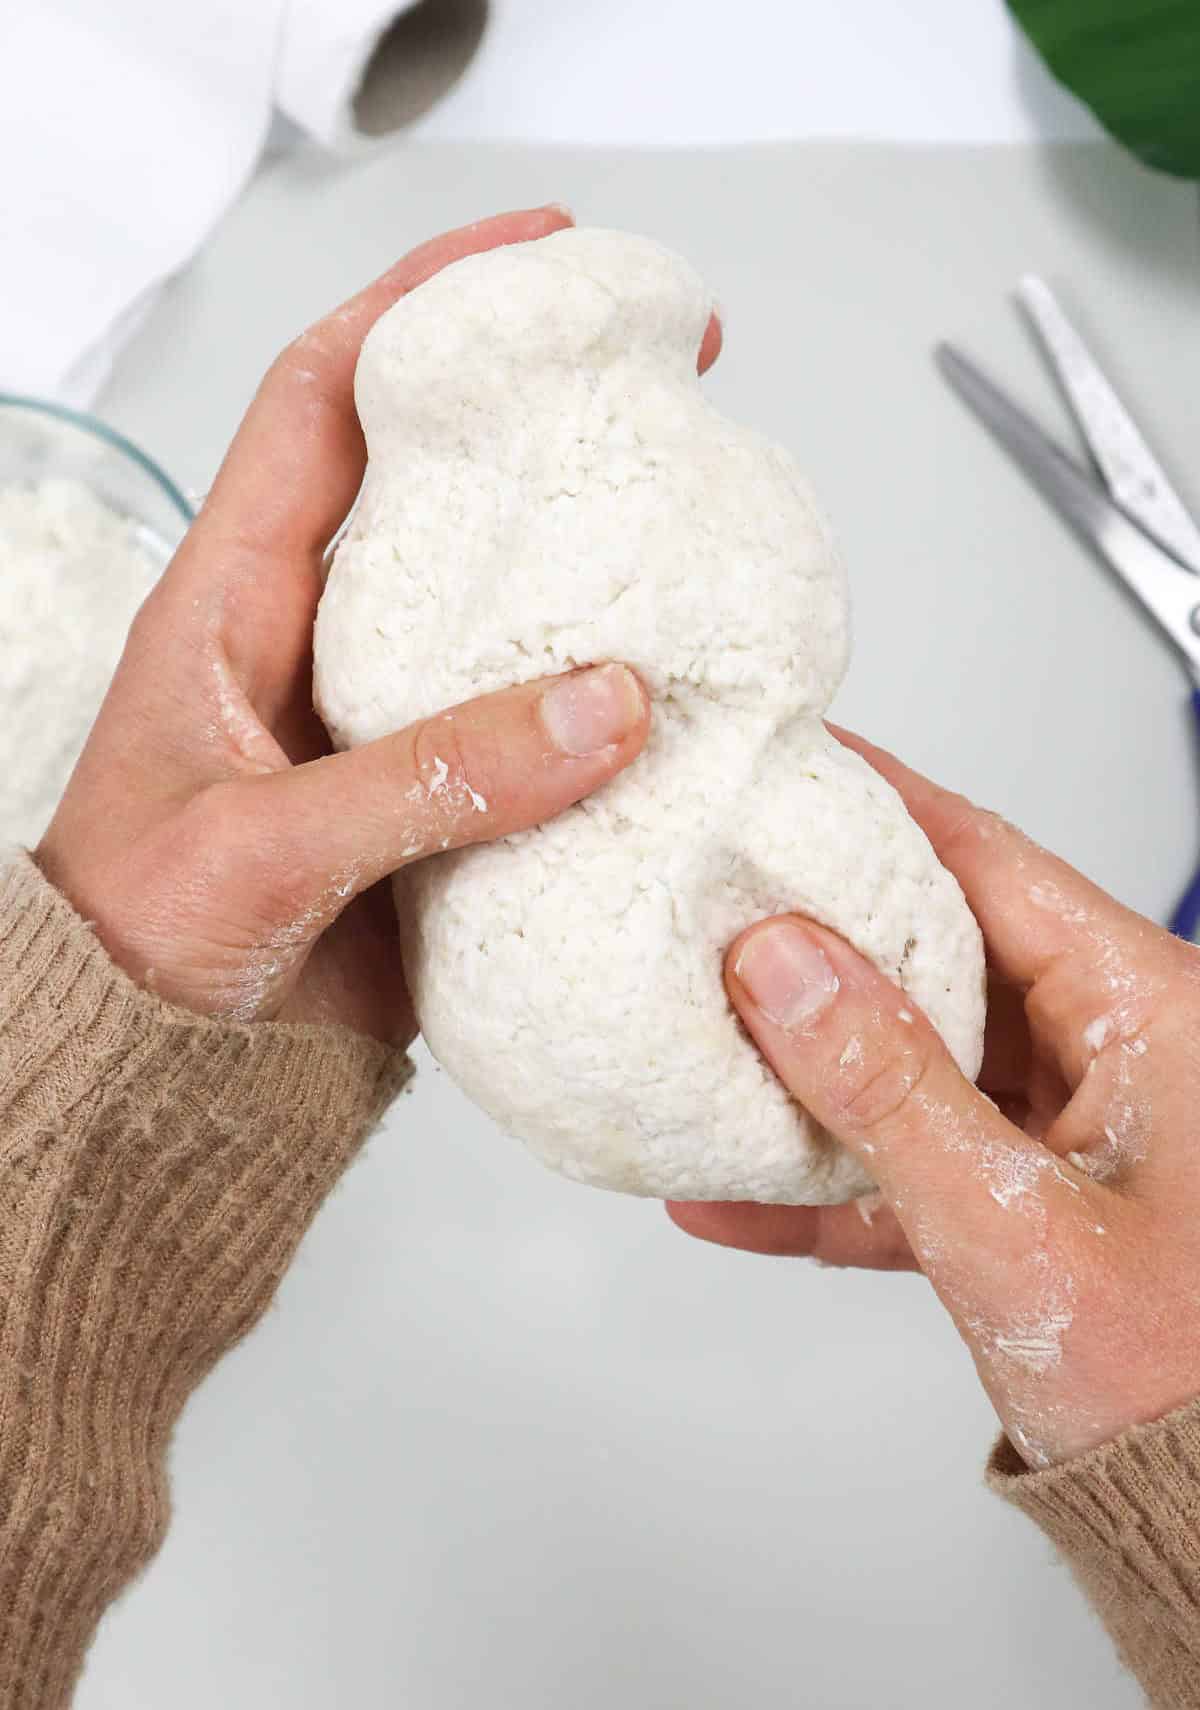
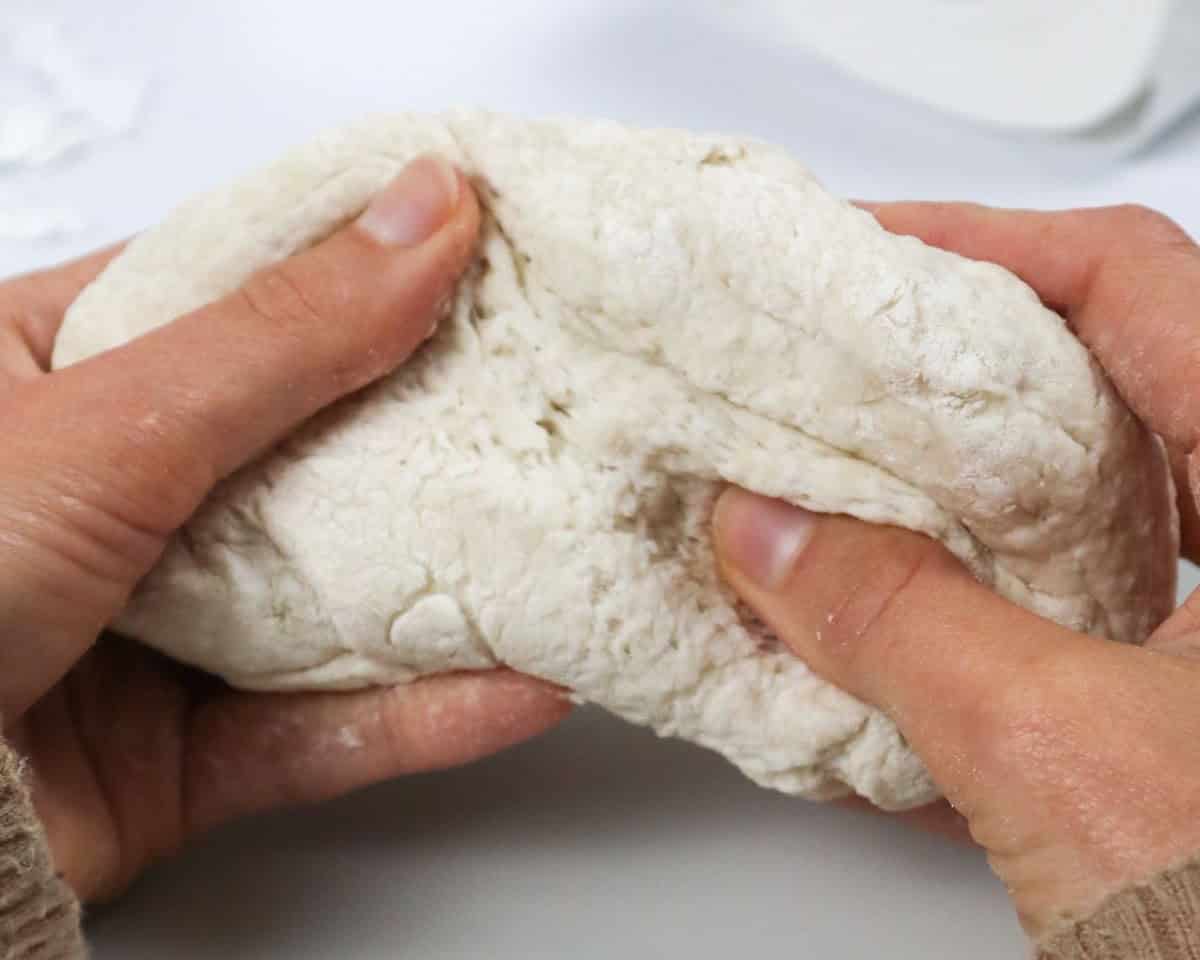
As you prepare the pulp mixture for your paper mache project, a crucial step is applying it evenly onto the surface. To do this, simply spoon the pulp paste onto the area you wish to cover. However, the real excitement begins when you get to roll and knead the dough! Just be prepared to get a little messy, as this part of the process can be quite hands-on. If your mixture becomes too wet or dry, don’t worry – just add a small amount of flour to fix any issues.
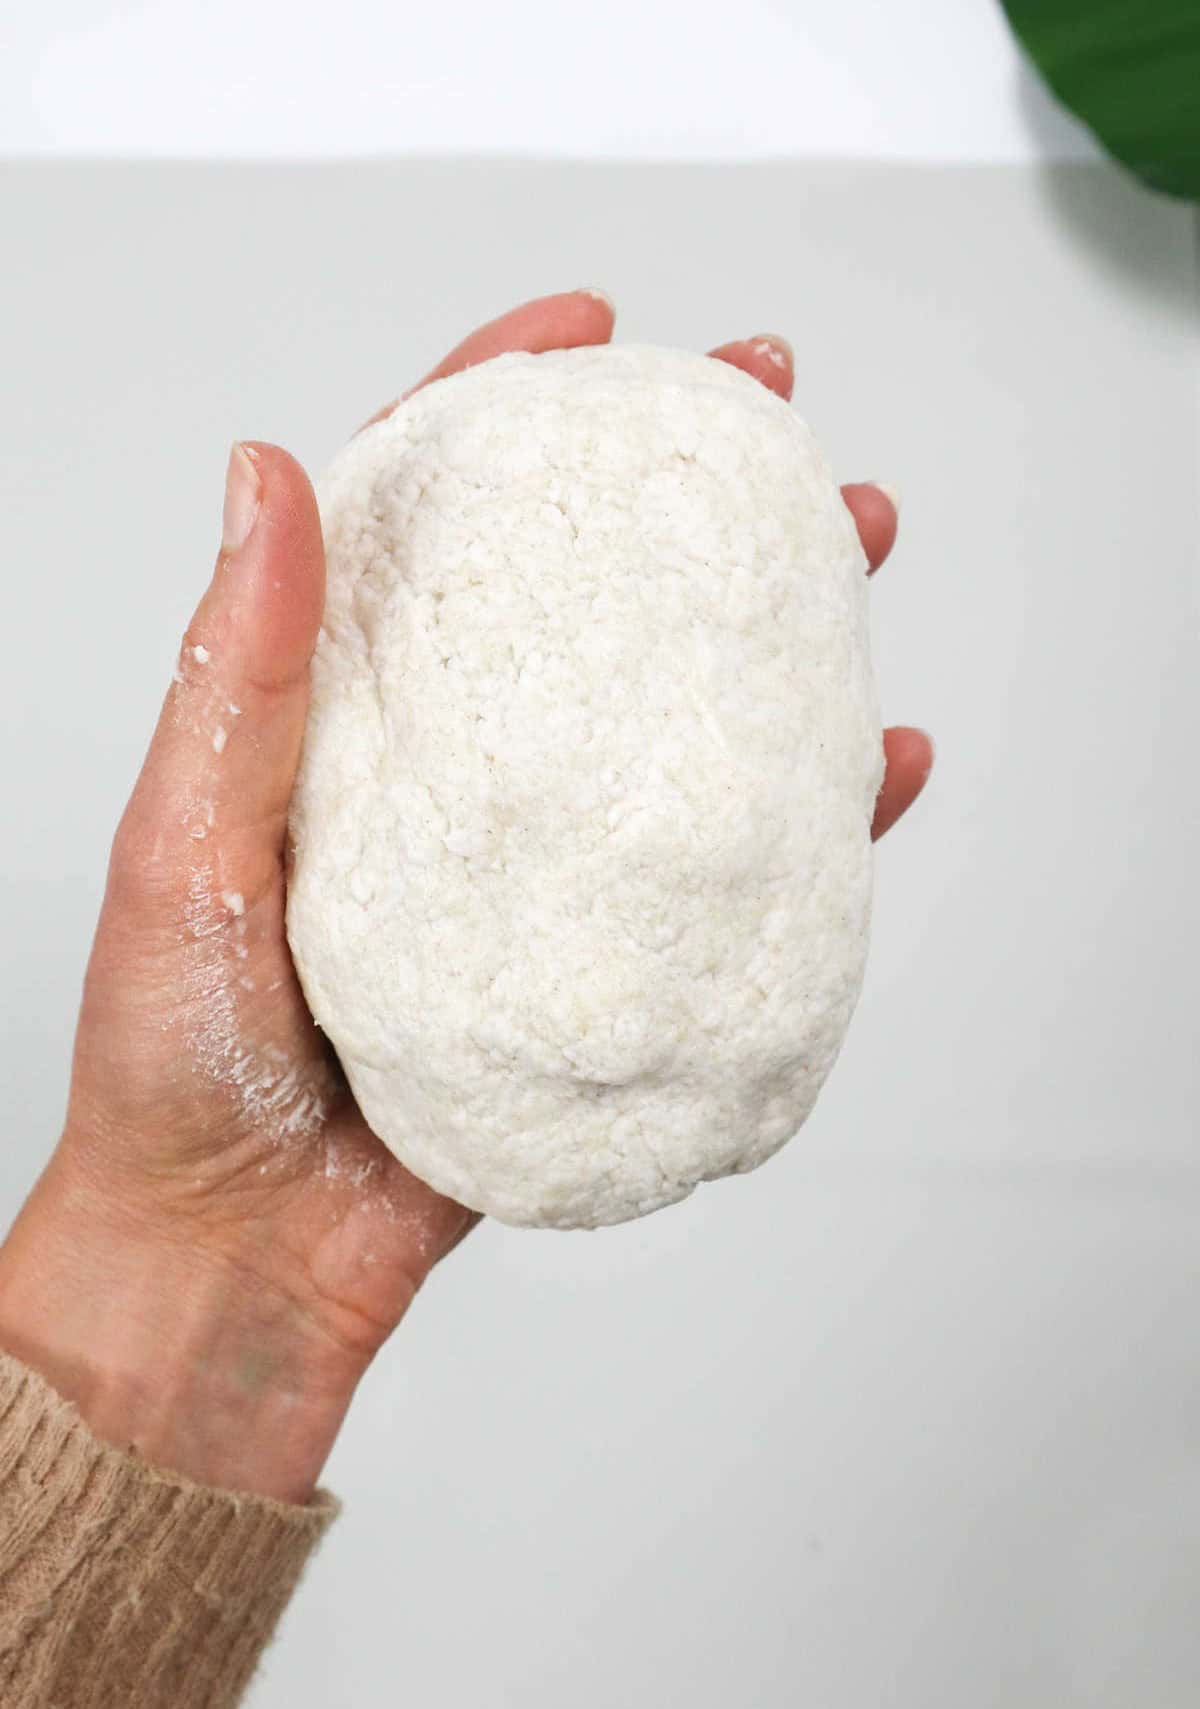
This step is not only fun but also accessible for kids to join in on the creative process. Once you’ve mastered the rolling and kneading technique, you’ll be left with a smooth, consistent paper mache dough that’s ready to be shaped into your desired craft item.
What Can I Make from Paper Mache?
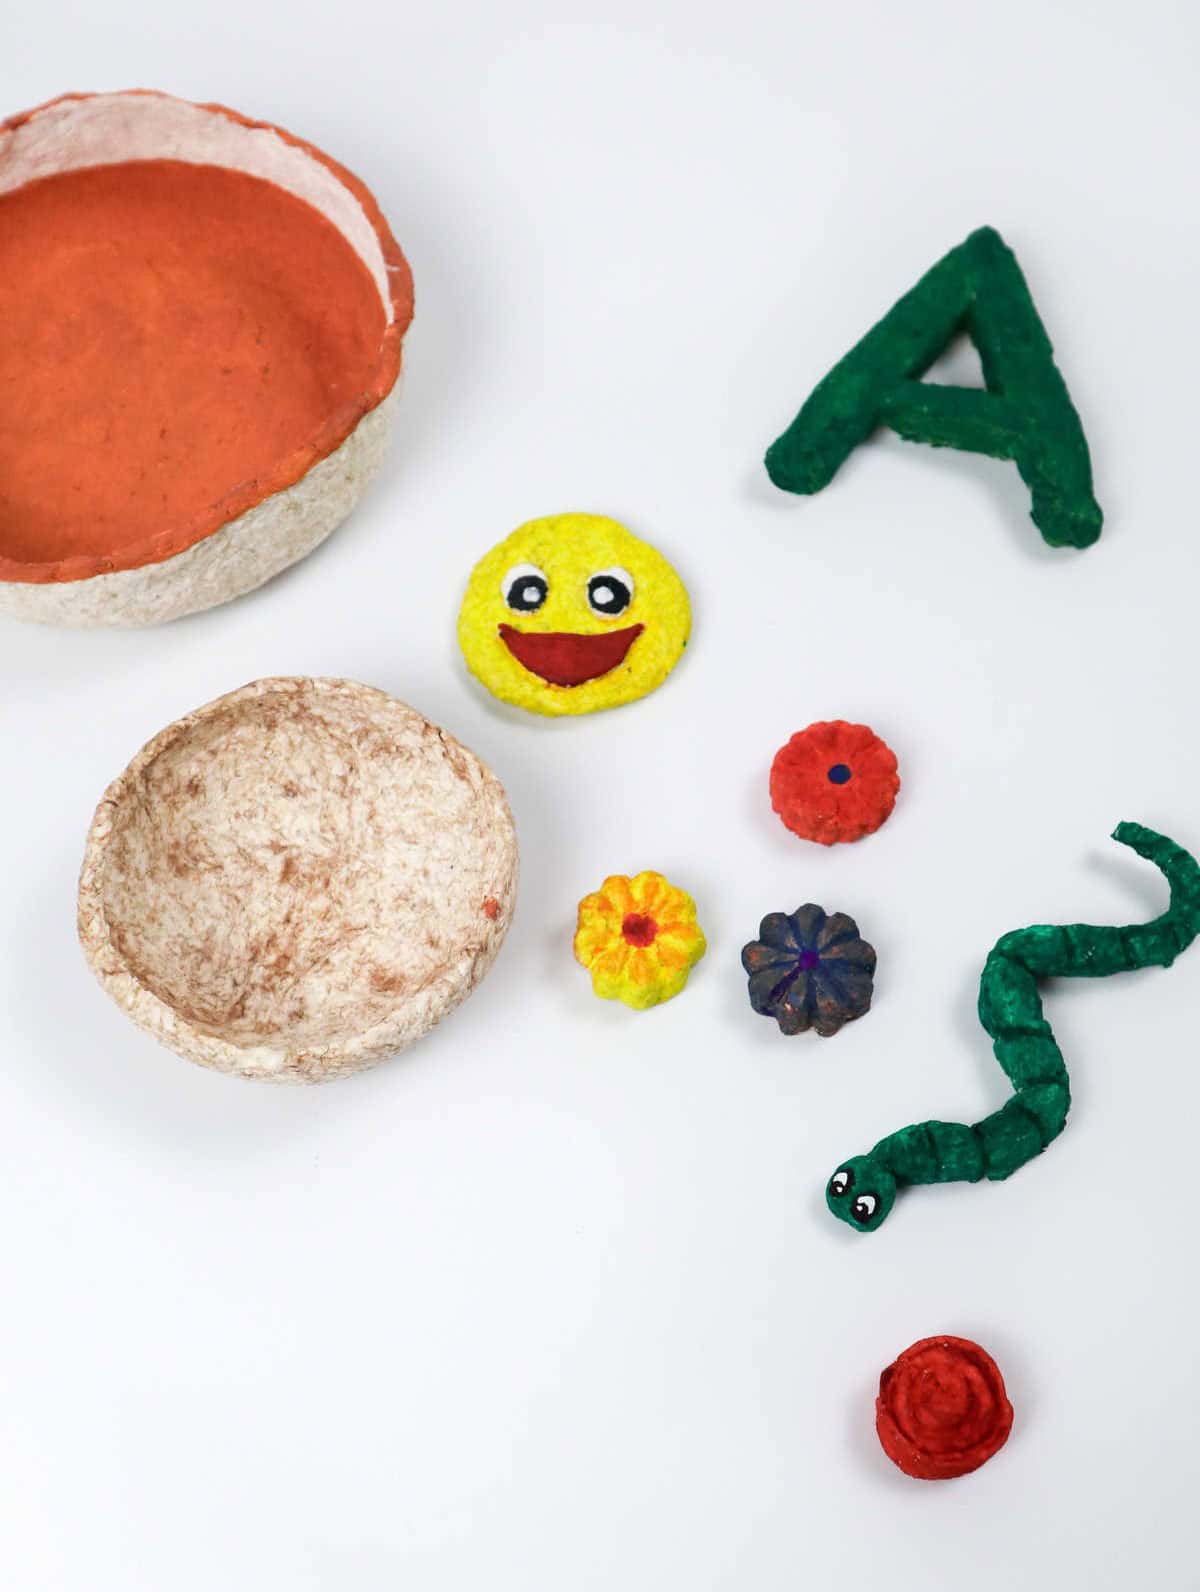
Paper mache is an incredibly versatile medium that offers endless possibilities for creative expression. Once you’ve mastered the process of making the dough, the applications are virtually limitless. For instance, simply shaping the dough into a desired form can be a fun and engaging activity in itself. But when you have the dough ready, the options become truly boundless.
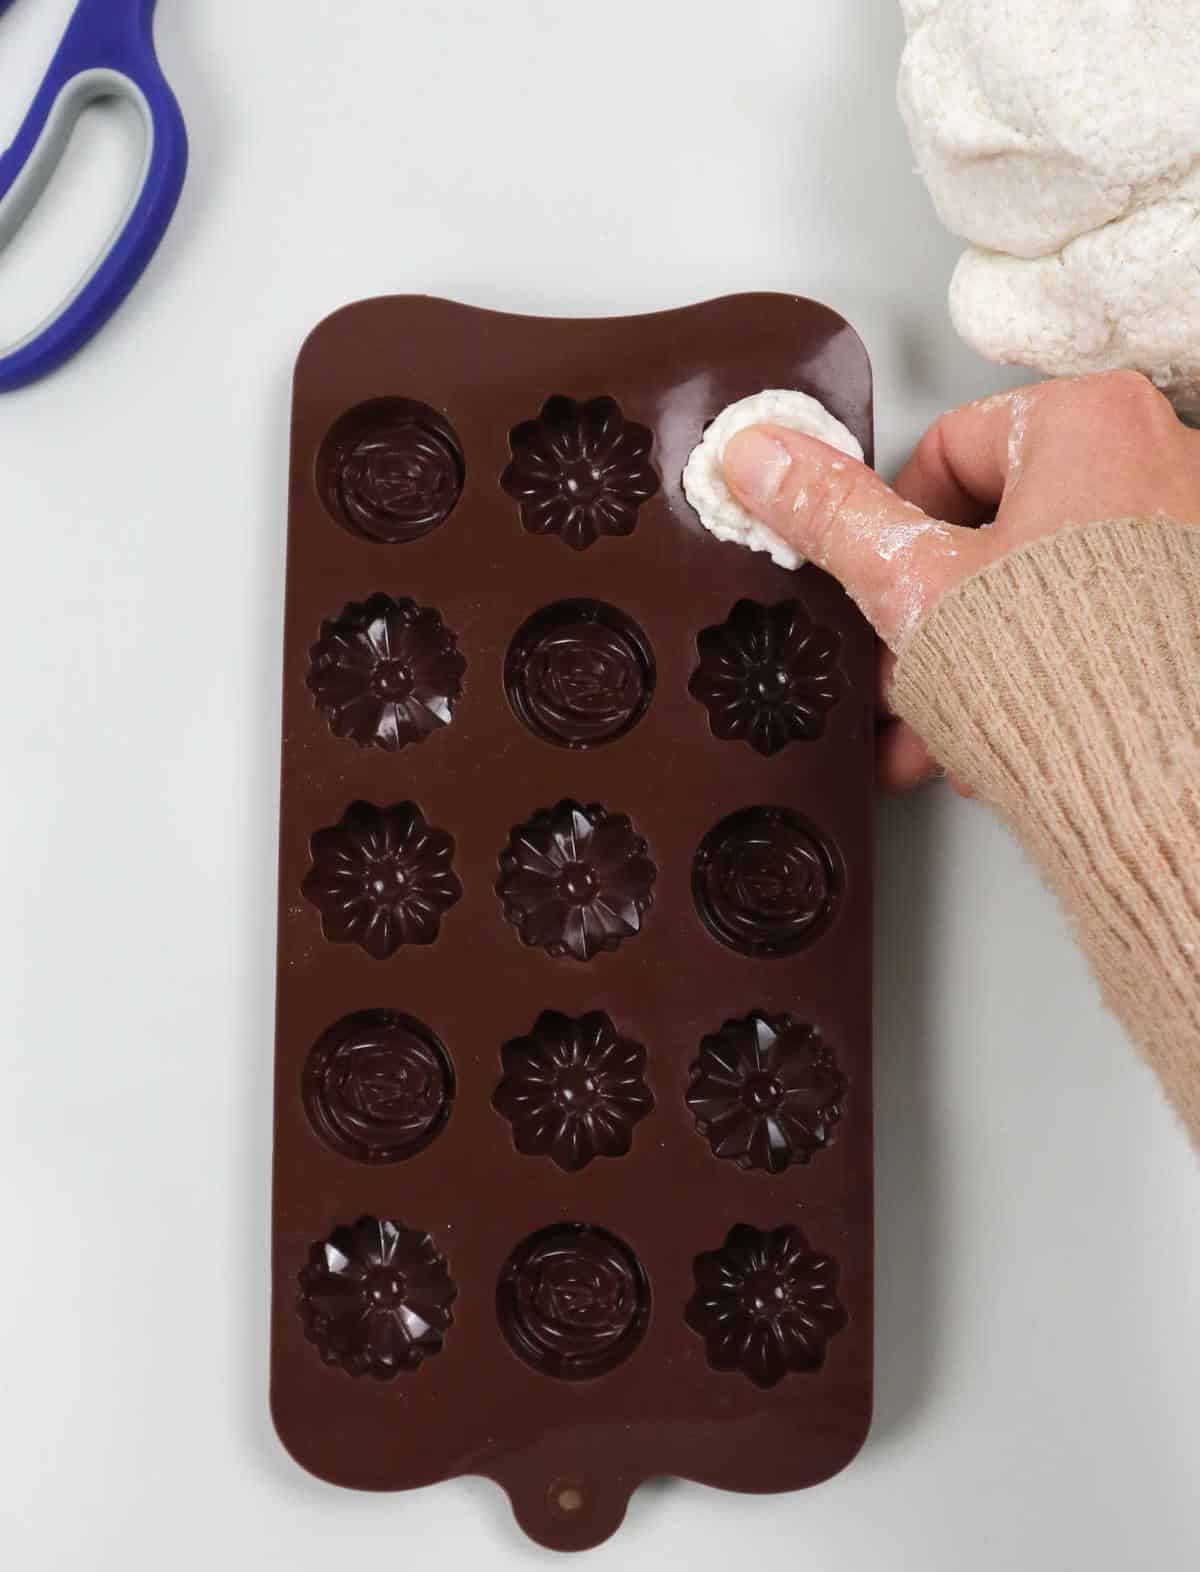
One such possibility is transforming chocolate or candy molds into ornaments and decorations.
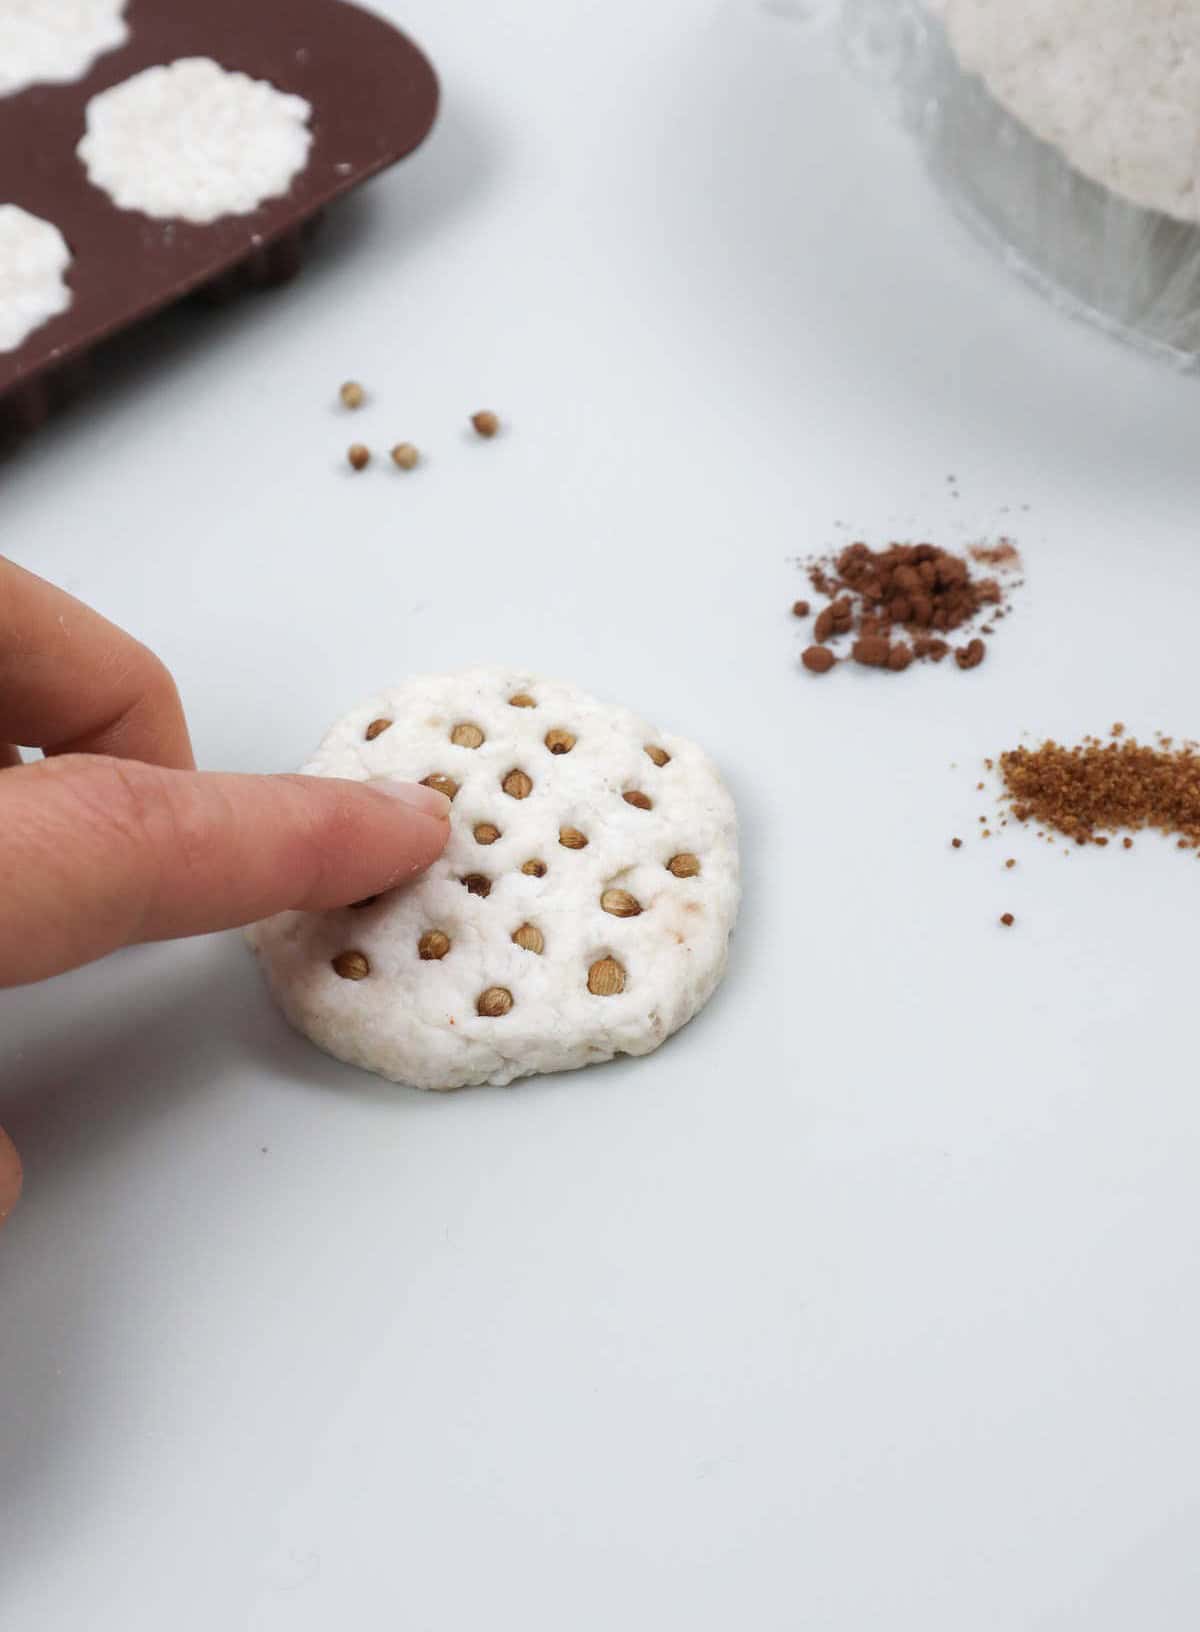
Simply press the paper mache dough into the mold, flatten it out, and let it dry. Once it’s hardened, you can paint it and use it as a unique piece of decorative art. This is just one example of how paper mache can be used to create beautiful and functional items.
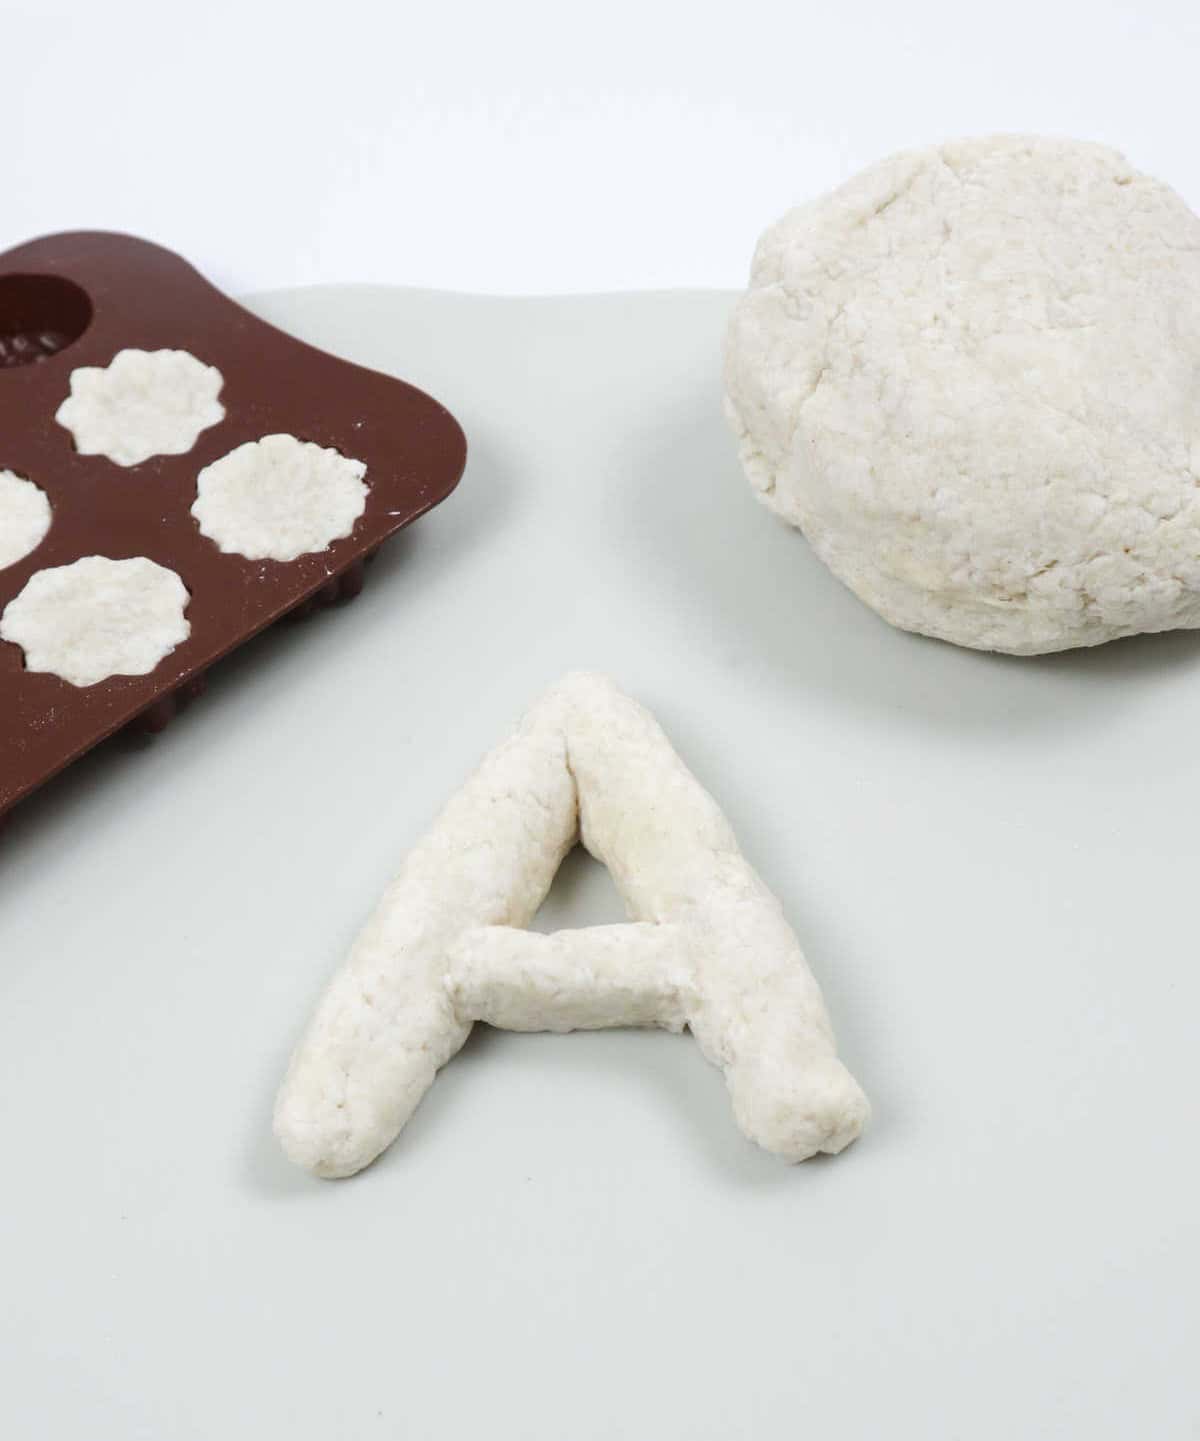
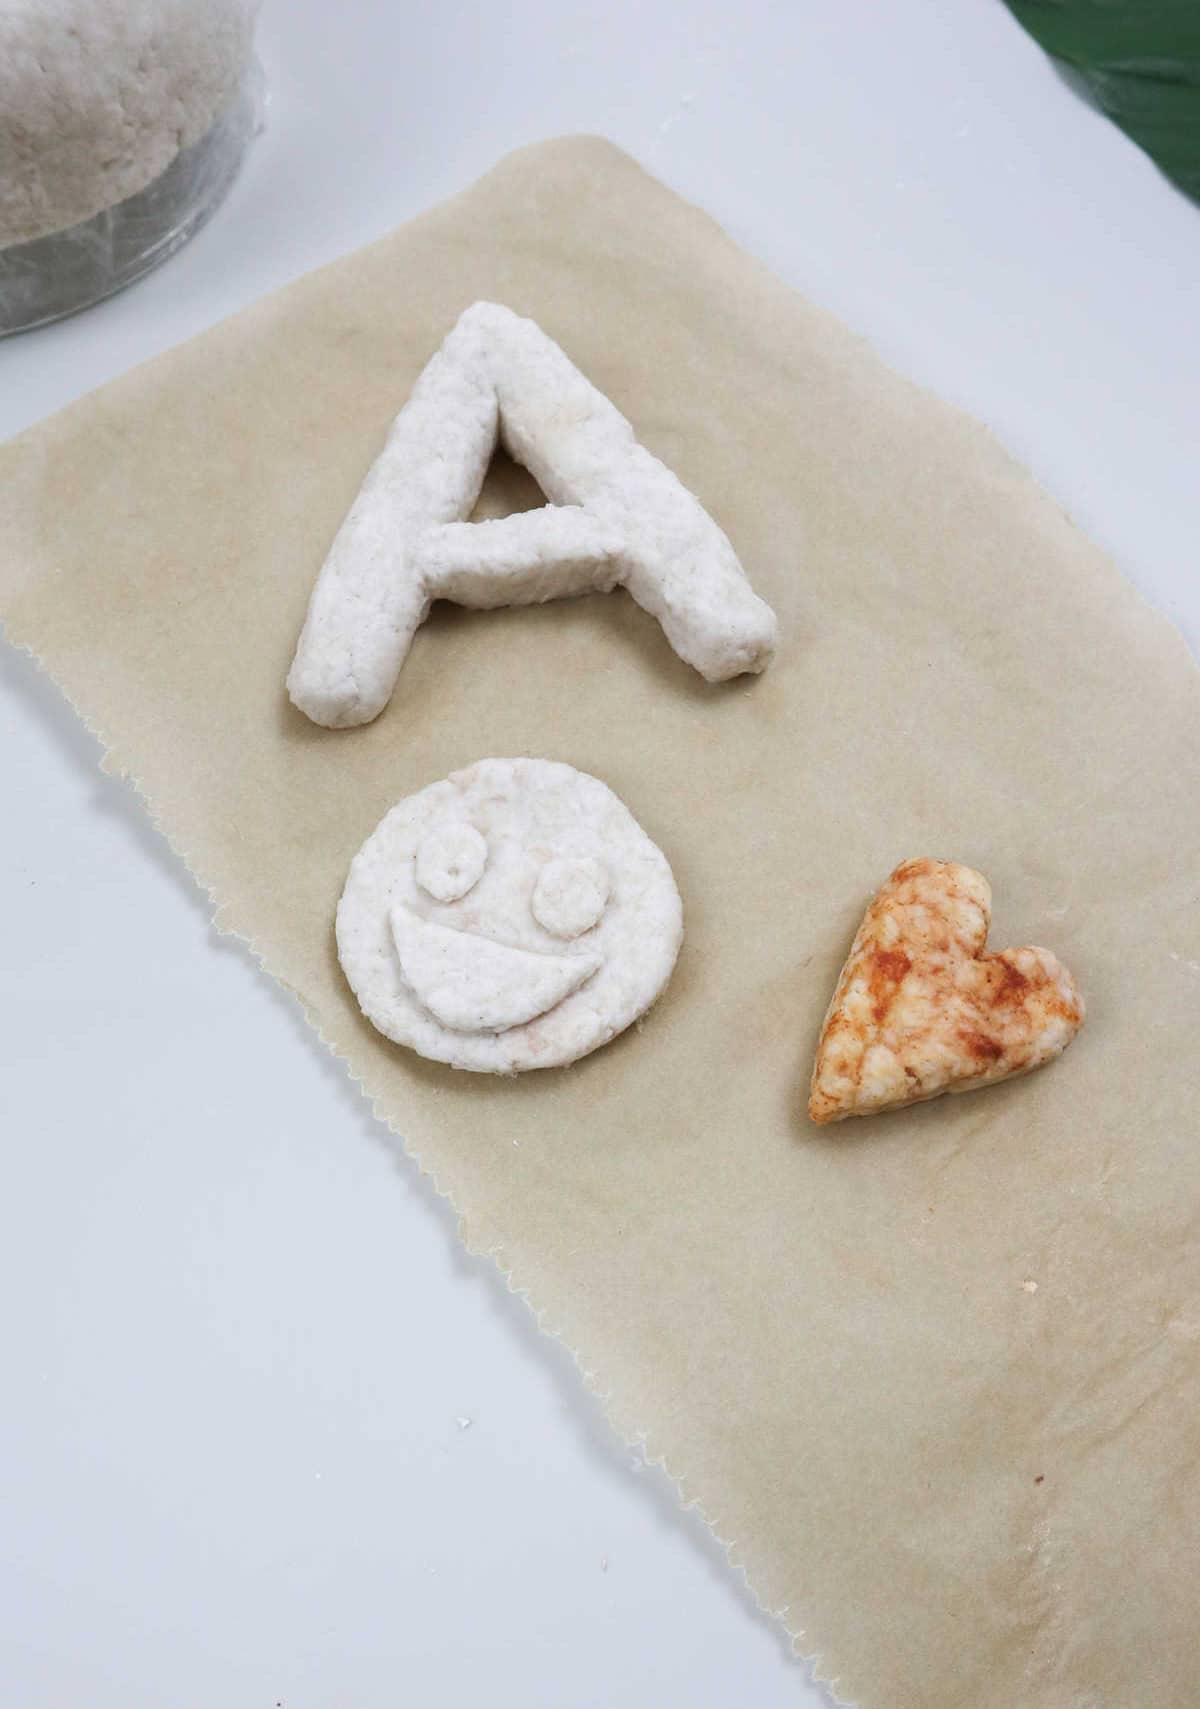
If you’re looking for ways to make learning more fun and interactive for young children, consider creating a set of paper mache alphabet letters.
These can be used to teach toddlers the basics of their ABCs in a hands-on and engaging way.
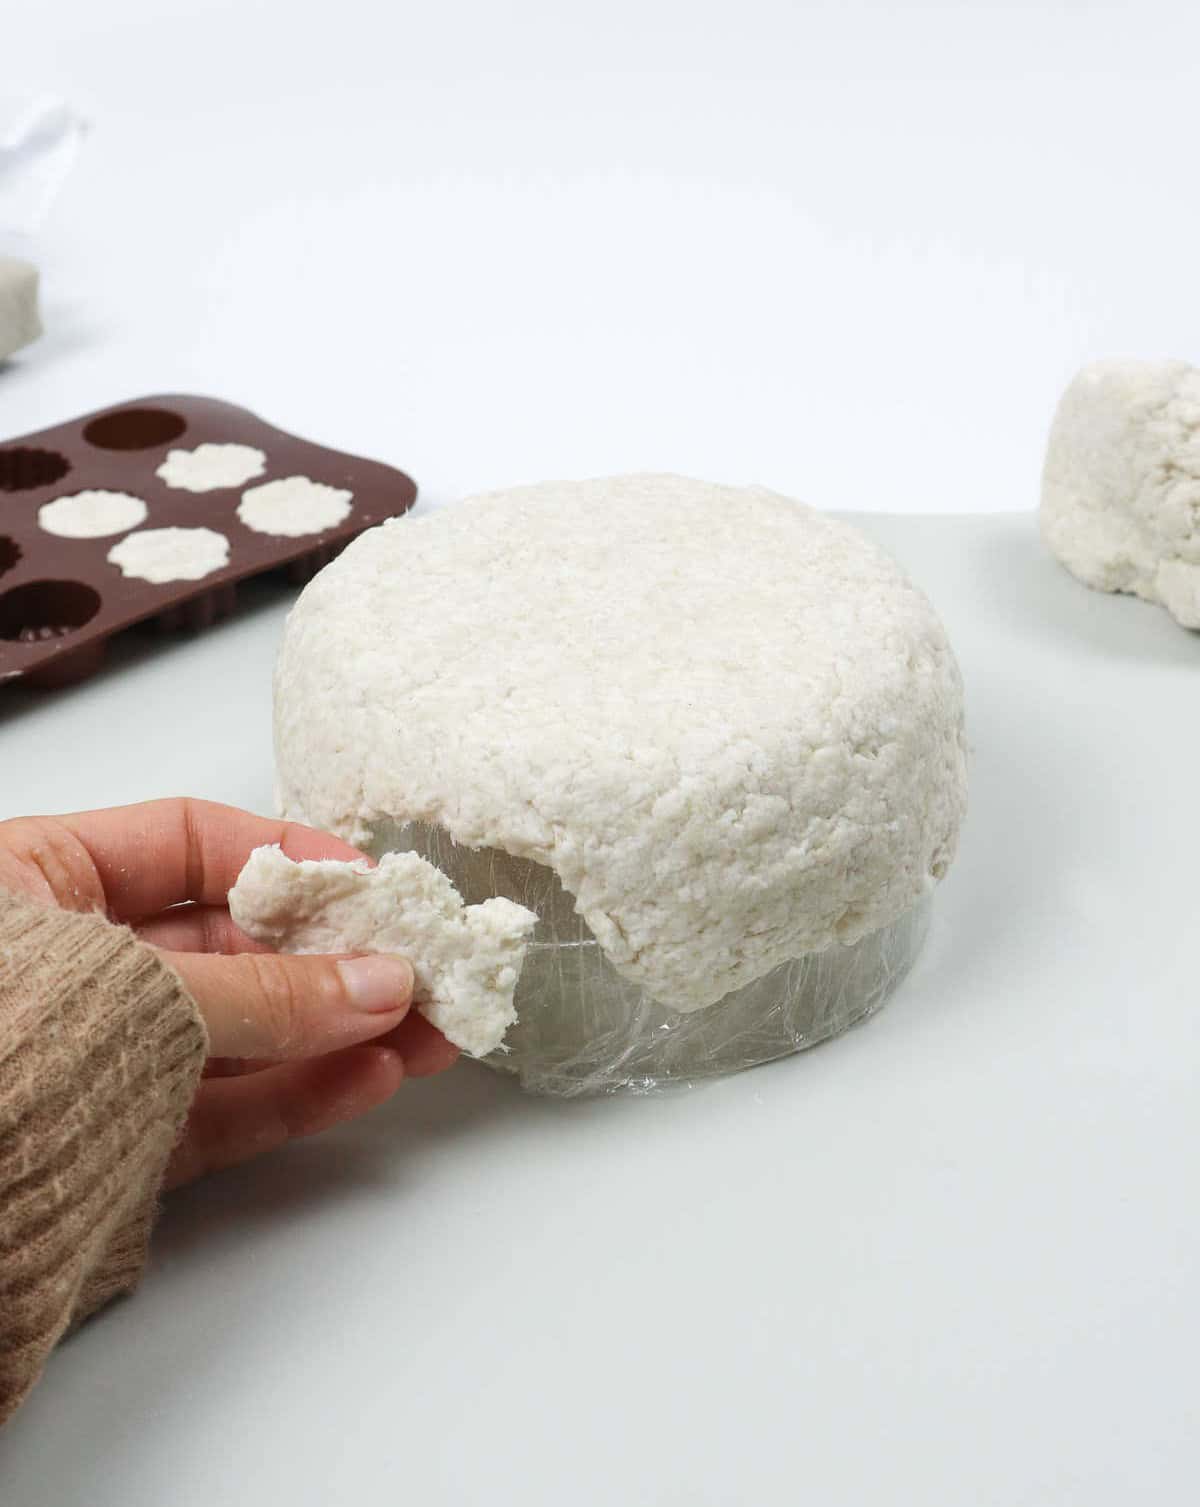
Paper mache can also be used to create functional items like trinket trays, bowls, and small dishes. To make one, simply cover the outside of a plastic or glass bowl with clear wrap or cling film, apply a small amount of oil around the edges, turn the bowl over, and stick the paper mache dough around it. This creates a seamless and durable surface that’s perfect for storing small items.
Can You Use Hairdryer to Dry Paper Mache?
While using a hairdryer to dry paper mache is possible, it’s crucial to adjust the heat setting to low to avoid scorching the delicate material. Paper mache is surprisingly flammable, so caution is essential. Furthermore, relying on a hairdryer may not result in even drying, as smaller sections tend to dry faster than larger ones. A more reliable approach is to allow your creations to air dry for at least 2-3 days, or longer if the item is thicker.
Once completely dry, you can proceed with painting. Interestingly, adding a teaspoon of salt to the dough before kneading can significantly extend the lifespan of your paper mache project. Additionally, you can store the dough in the fridge for up to a week, making it a convenient option for crafting enthusiasts.
Other Crafts You Might Want to Make
For creative and crafty individuals, the world of paper crafts is a treasure trove of endless possibilities. With a few simple folds and cuts, you can transform plain cardboard into beautiful flowers, lanterns, and squishies that will brighten up any space. But that’s not all – the art of paper crafting also extends to classroom activities where children can learn while having fun making their own unique creations.
And when summer rolls around, there’s no better way to keep kids engaged than with a batch of paper crafts designed specifically for young minds. Whether you’re looking to create something delicate and intricate or bold and colorful, the world of tissue paper crafts is at your fingertips.
How to Make Paper Mache (Step-by-Step)
For craft enthusiasts, paper mache offers a world of creative possibilities. With just 10 minutes of prep time and 20 minutes of active crafting, you can create a variety of fun projects that showcase the versatility of this unique medium. Over the course of two hours and 30 minutes, you’ll be amazed at what you can accomplish with nothing more than paper strips, glue, and a little imagination.
Materials
To create a simple homemade face mask, you’ll need just a few household items. Start by gathering a half roll of toilet paper, some cheesecloth, and a half cup each of water and wheat flour. You’ll also require a spoon and a blender for mixing the ingredients. Finally, have two bowls at the ready to prepare your mask. With these basic components, you can whip up a soothing and nourishing face treatment that’s perfect for relaxing and rejuvenating your skin.
Instructions
To initiate the process, prepare your workspace by laying out an abundance of paper towels to contain any messes or spills. Next, shred newspaper into fine pieces and place them in a large bowl, using scissors if needed. The thicker texture of newspaper requires smaller tears. Submerge the paper and newspaper mixture with boiling water, allowing it to sit for at least two hours (preferably overnight) to break down cellulose and transform your paper into pliable pulp.
Drain the pulp through cheesecloth, squeezing out excess moisture until you’re confident all liquid has been removed. Remove the pulp from the cloth and fragmentize it before combining everything in a bowl. To create the flour paste, combine flour or cornstarch with water in another bowl, then heat the mixture over low heat while stirring constantly for 4-5 minutes or until excess moisture evaporates, yielding a smooth and sticky consistency.
Alternatively, microwave the paste for 15-20 seconds, stir it, and repeat this process 4-5 times to achieve the desired outcome. Once the paste is ready, combine it with the pulp, kneading them together into a pliable dough that can be stored in the refrigerator for up to a week. Finally, unleash your creativity by crafting numerous paper mache items, allowing them to air dry for two days before displaying your finished products.