Get ready to unleash your creativity with this easy DIY project! With just some basic crafting supplies and a few simple steps, you and the kids can create unique and eclectic paper rings. And don’t worry, it’s not as cheesy as those paper tiaras that come with Happy Meals. The beauty of paper jewelry lies in its versatility – the type of paper you use determines the look and longevity of your finished product.
Sturdy cardstock or good quality craft paper will yield a durable ring that can last for months to come. But why stop there? Let your imagination run wild and add some personal touches with paint, markers, glitter, or any other embellishments that catch your eye. The possibilities are truly endless!
What You’ll Need for These Rings
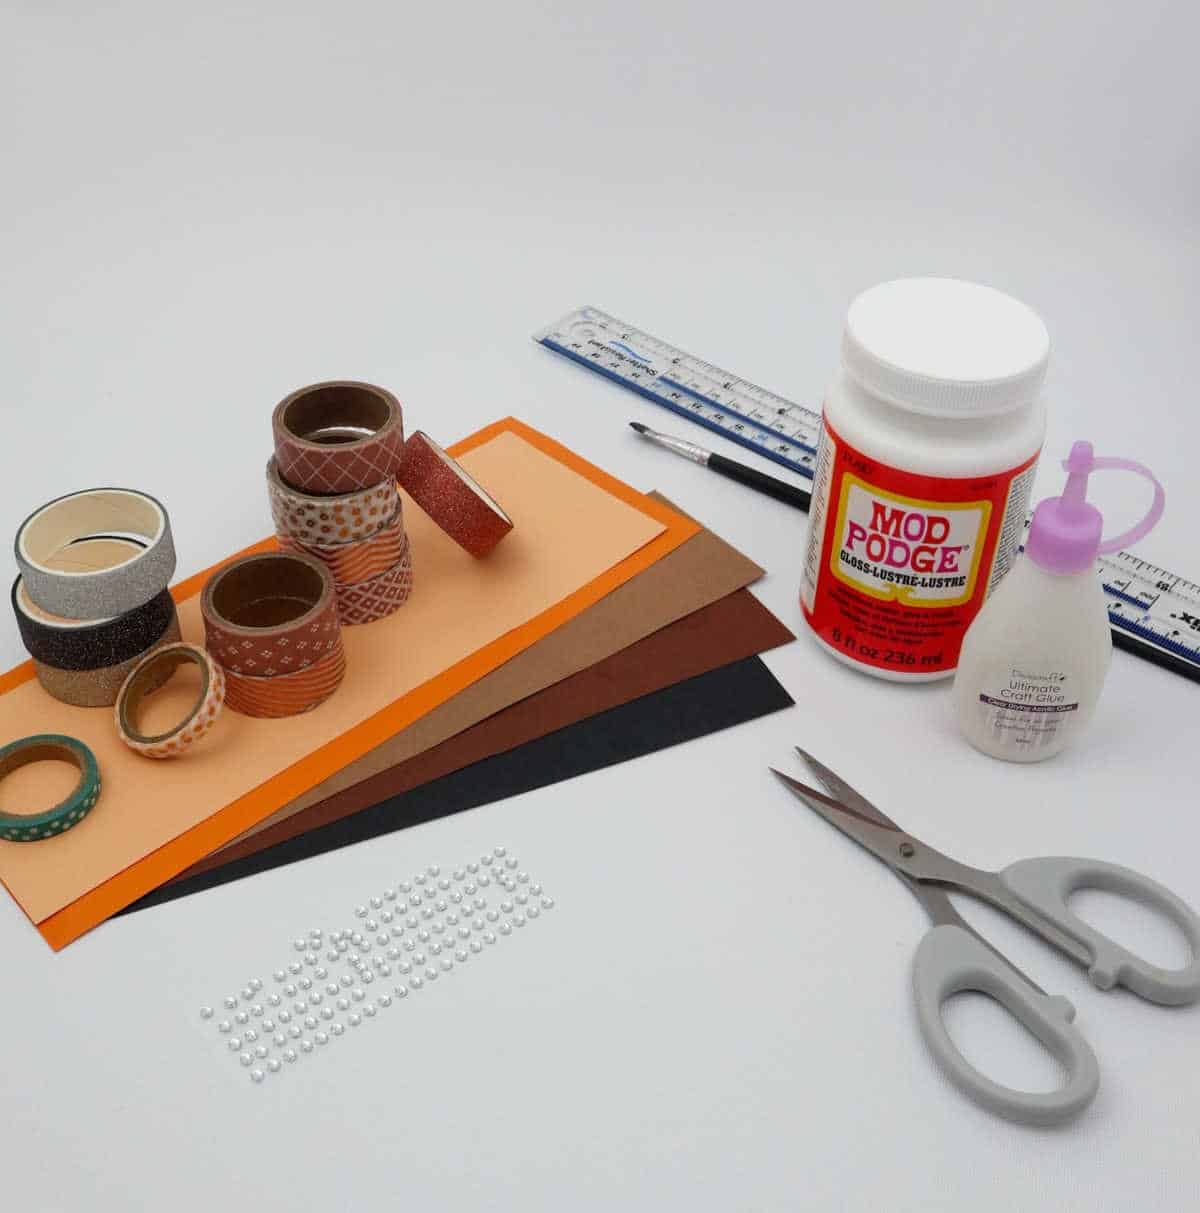
To get started on your DIY paper ring, gather the following materials: a length of craft paper measuring 8 inches, washi tape for added decoration and security, a bottle of craft glue to hold everything together, Mod Podge for an extra layer of protection, a paintbrush for applying the glue and Mod Podge, a ruler to ensure straight cuts, a pair of scissors for trimming your paper to size, and finally, flatback crystals that will add a touch of sparkle to your finished ring.
With these supplies in hand, you’re ready to begin crafting your unique paper ring.
How to Make a Paper Ring
With your materials at the ready, it’s time to begin crafting your paper rings. The process starts with creating the foundation pieces that will eventually form the circular shape.
Step 1
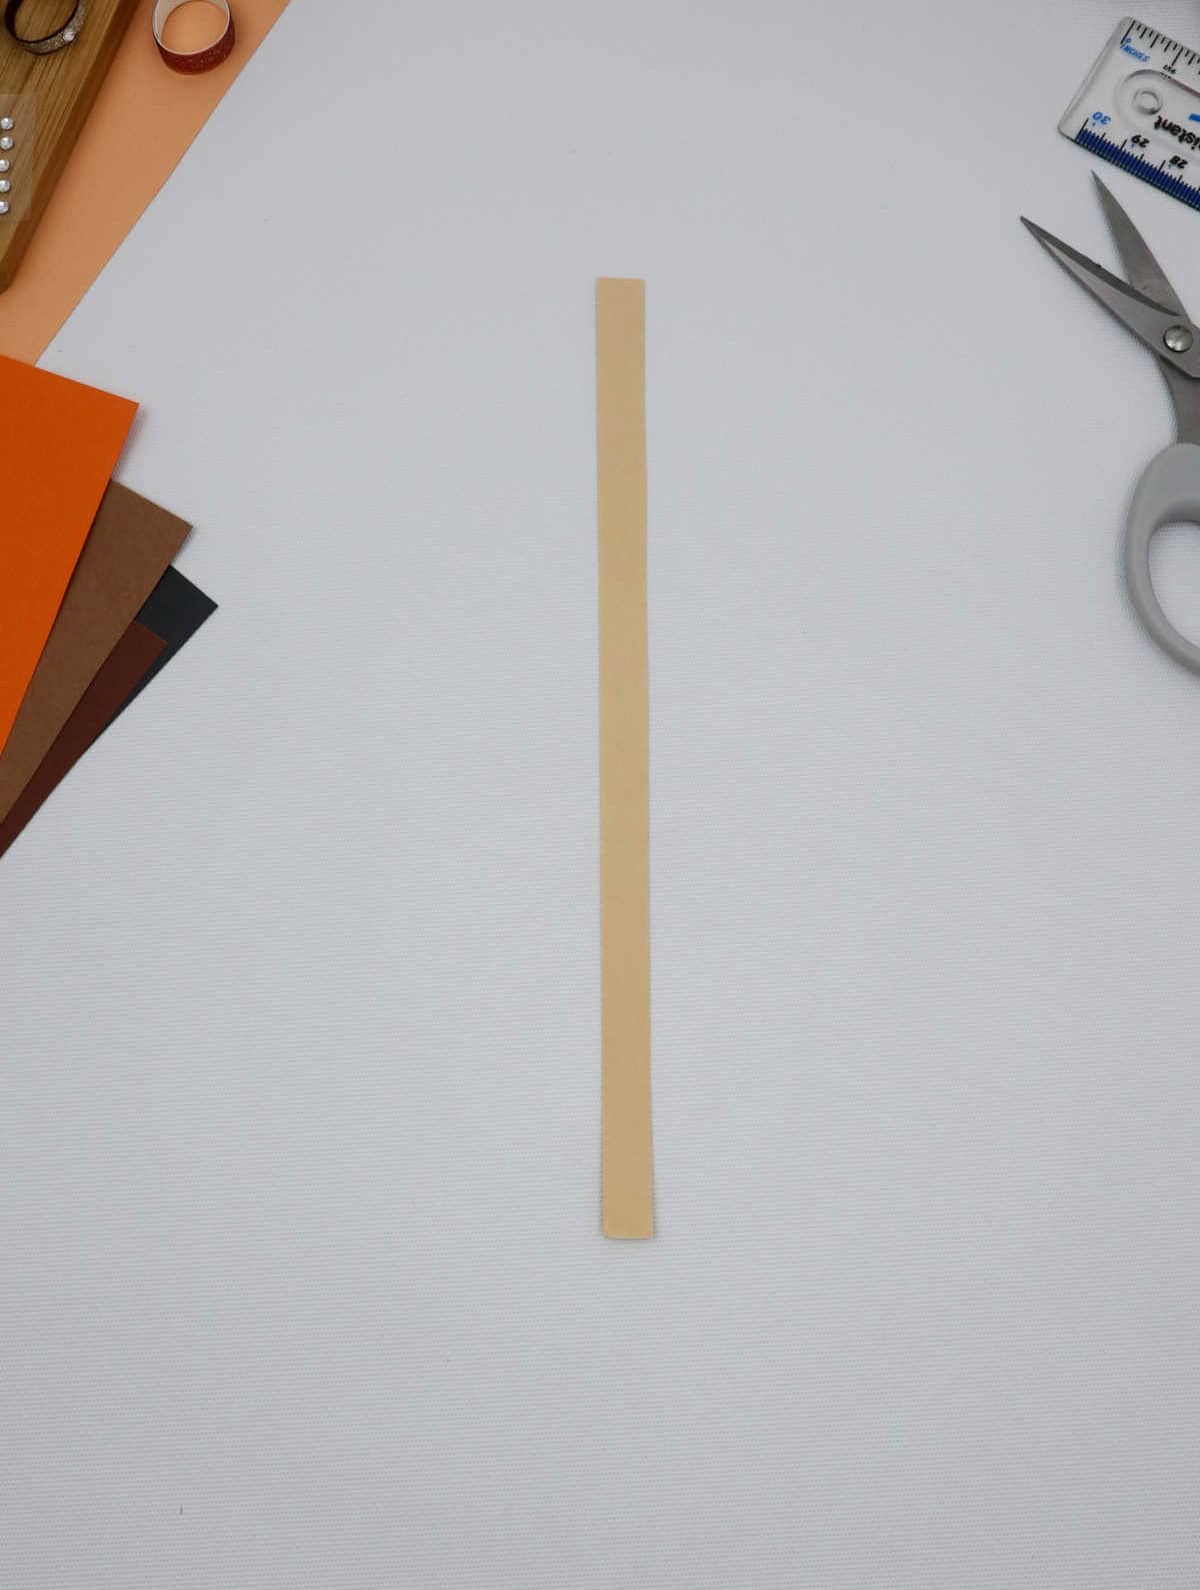
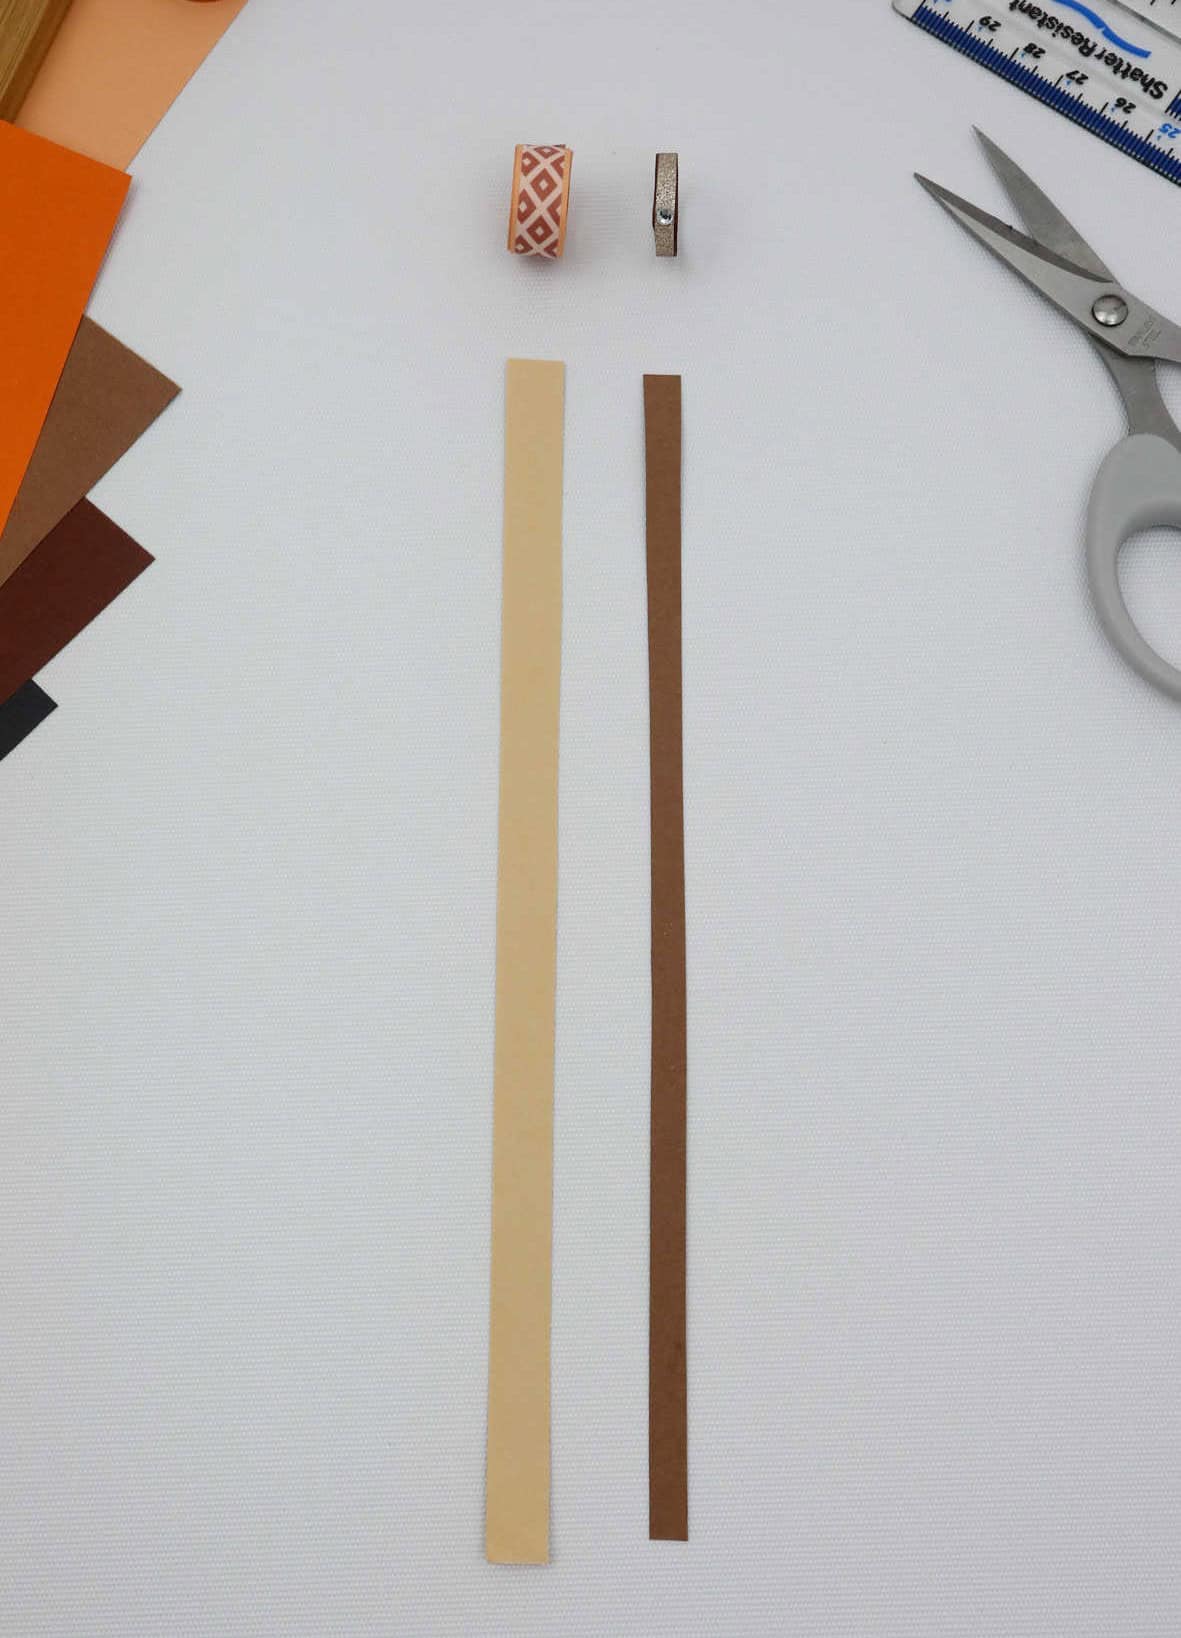
To begin crafting your own ring, start by laying a length of paper on a flat surface. The width of this strip will ultimately dictate the width of your finished ring, so take a moment to consider how wide you’d like it to be before proceeding. Simply place the strip in front of you and envision the final product taking shape.
Step 2
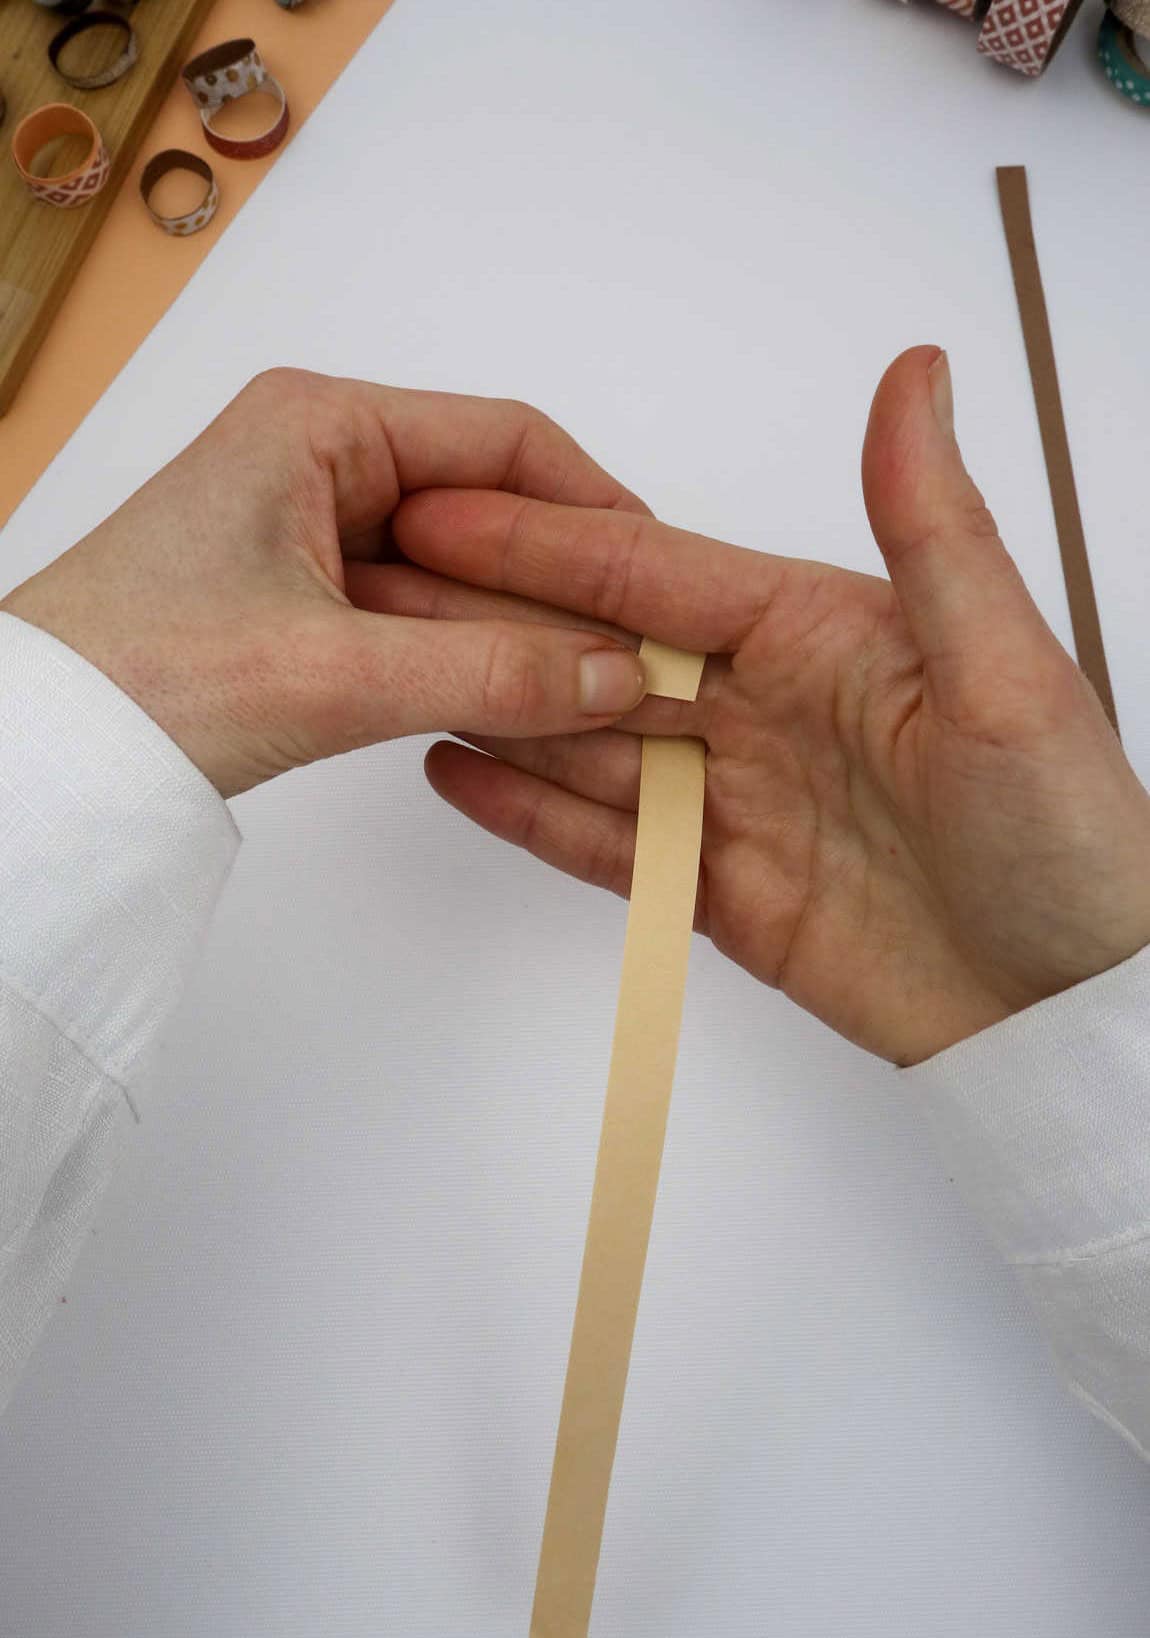
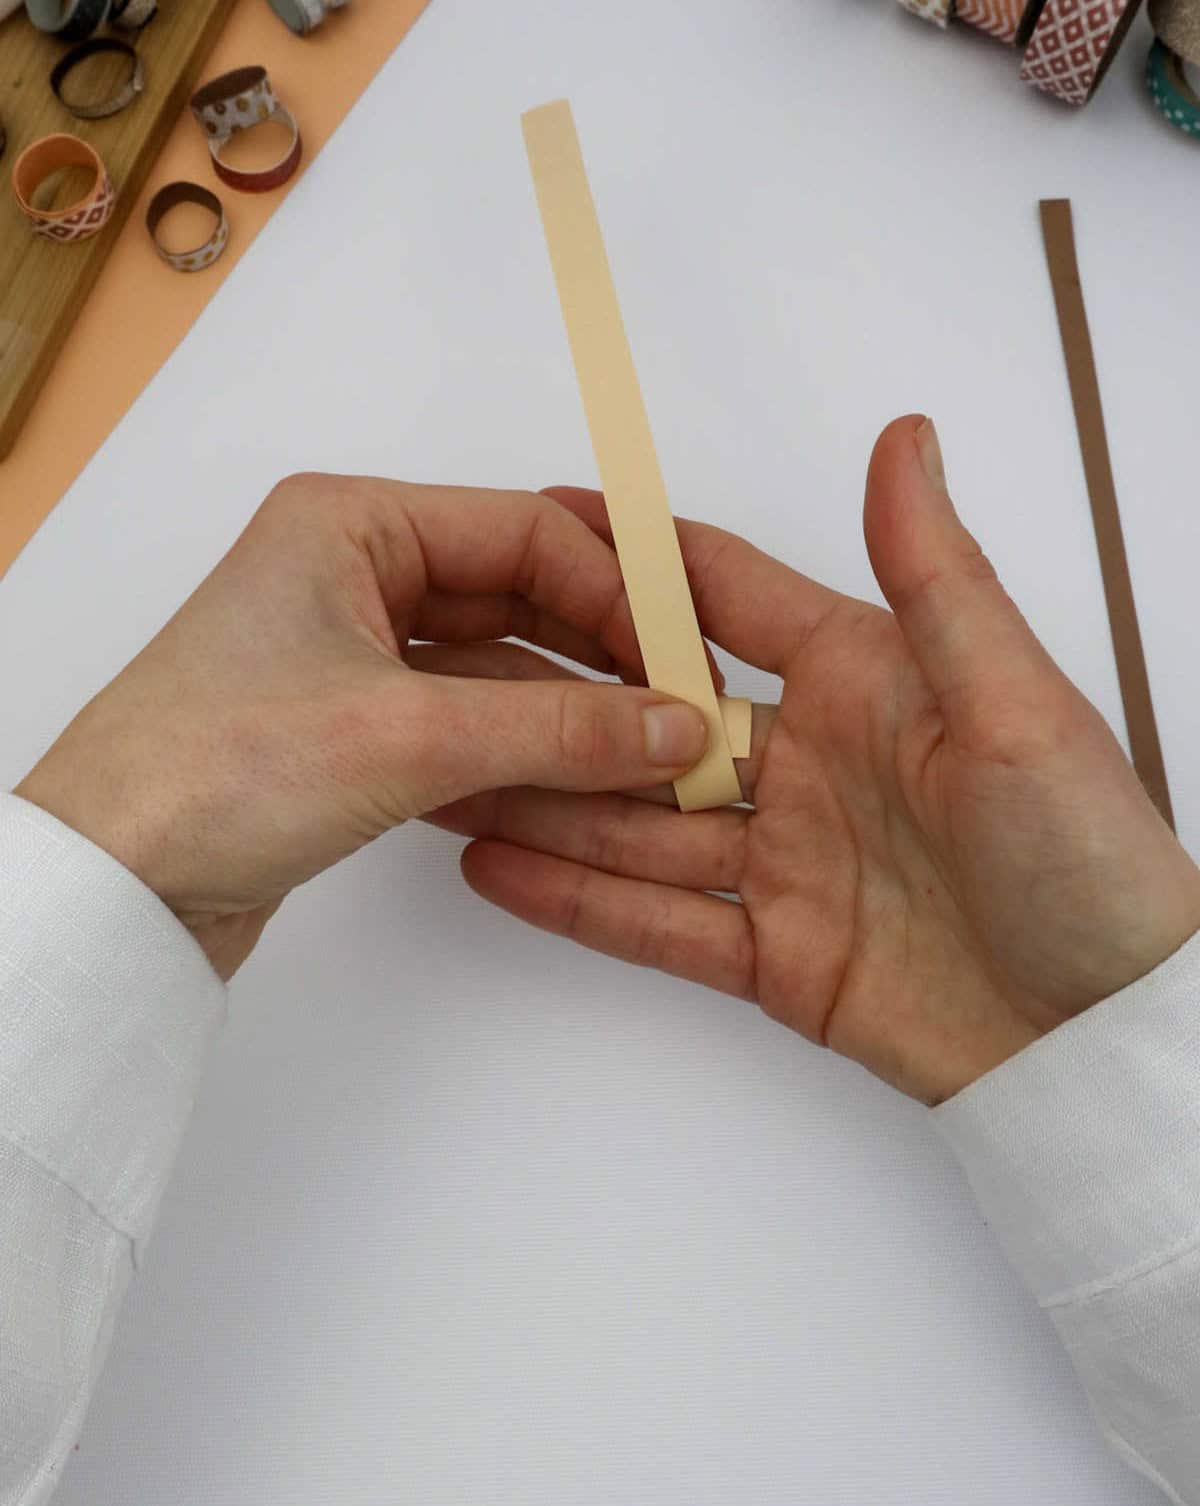
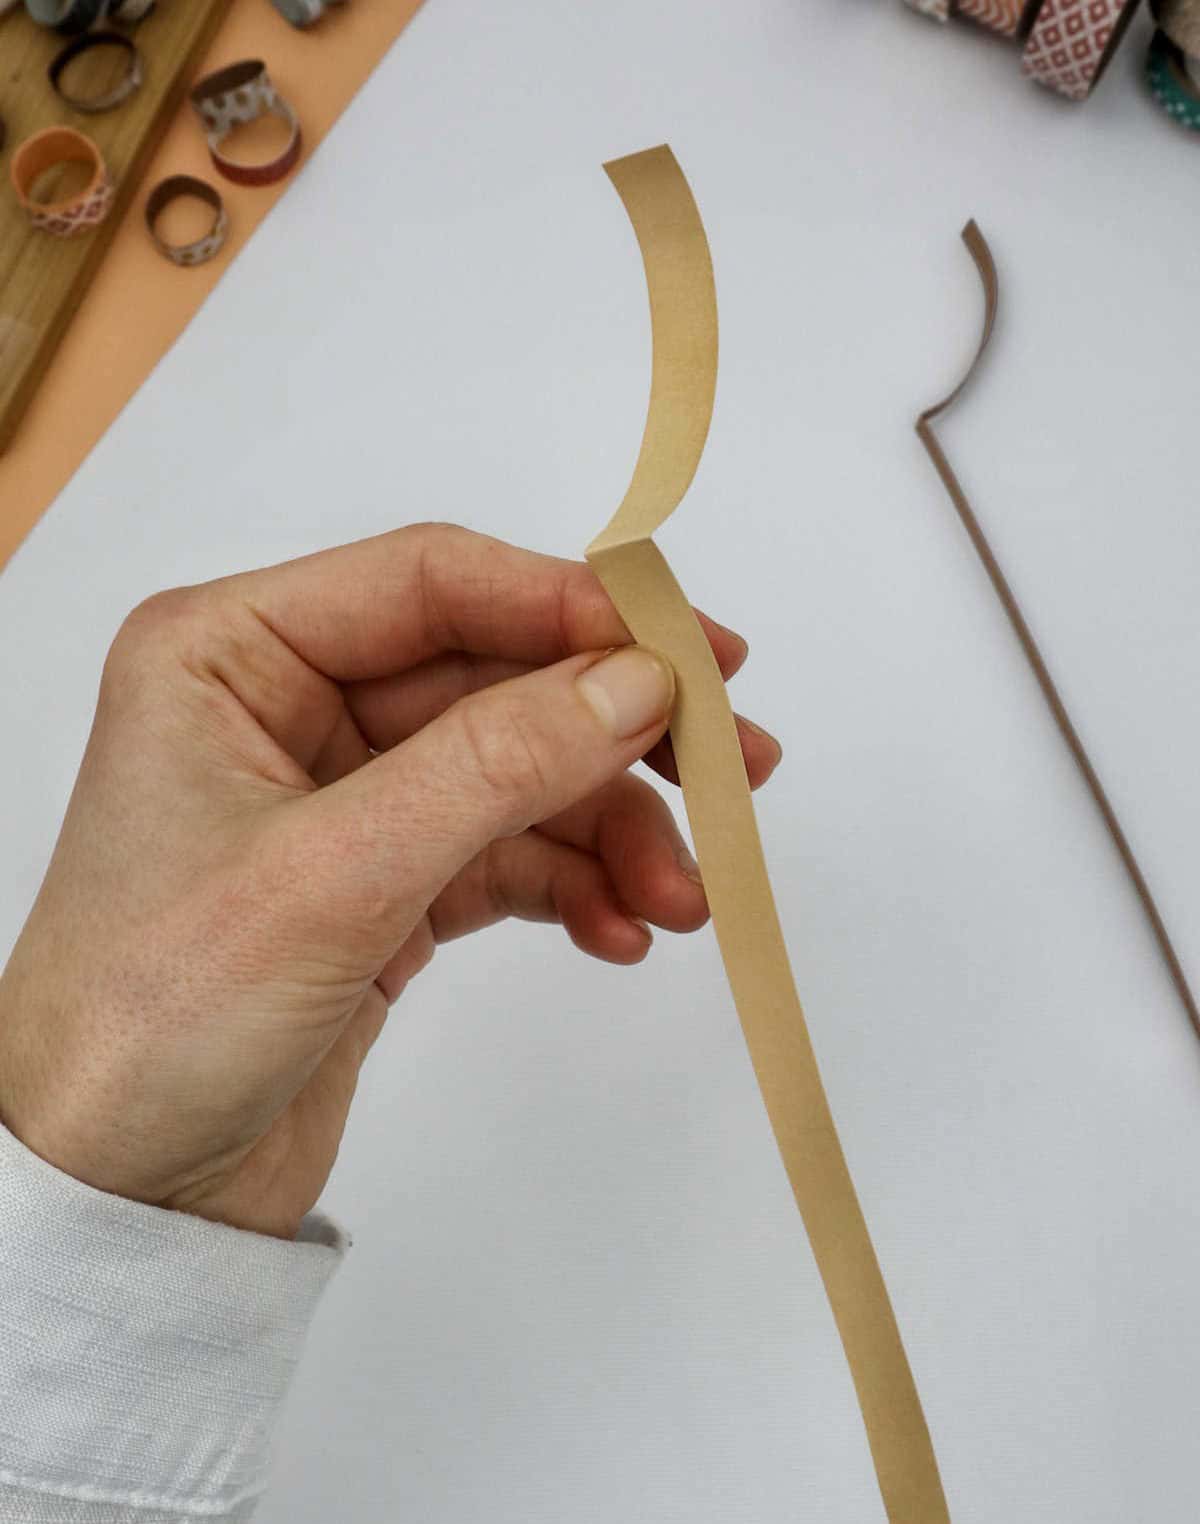
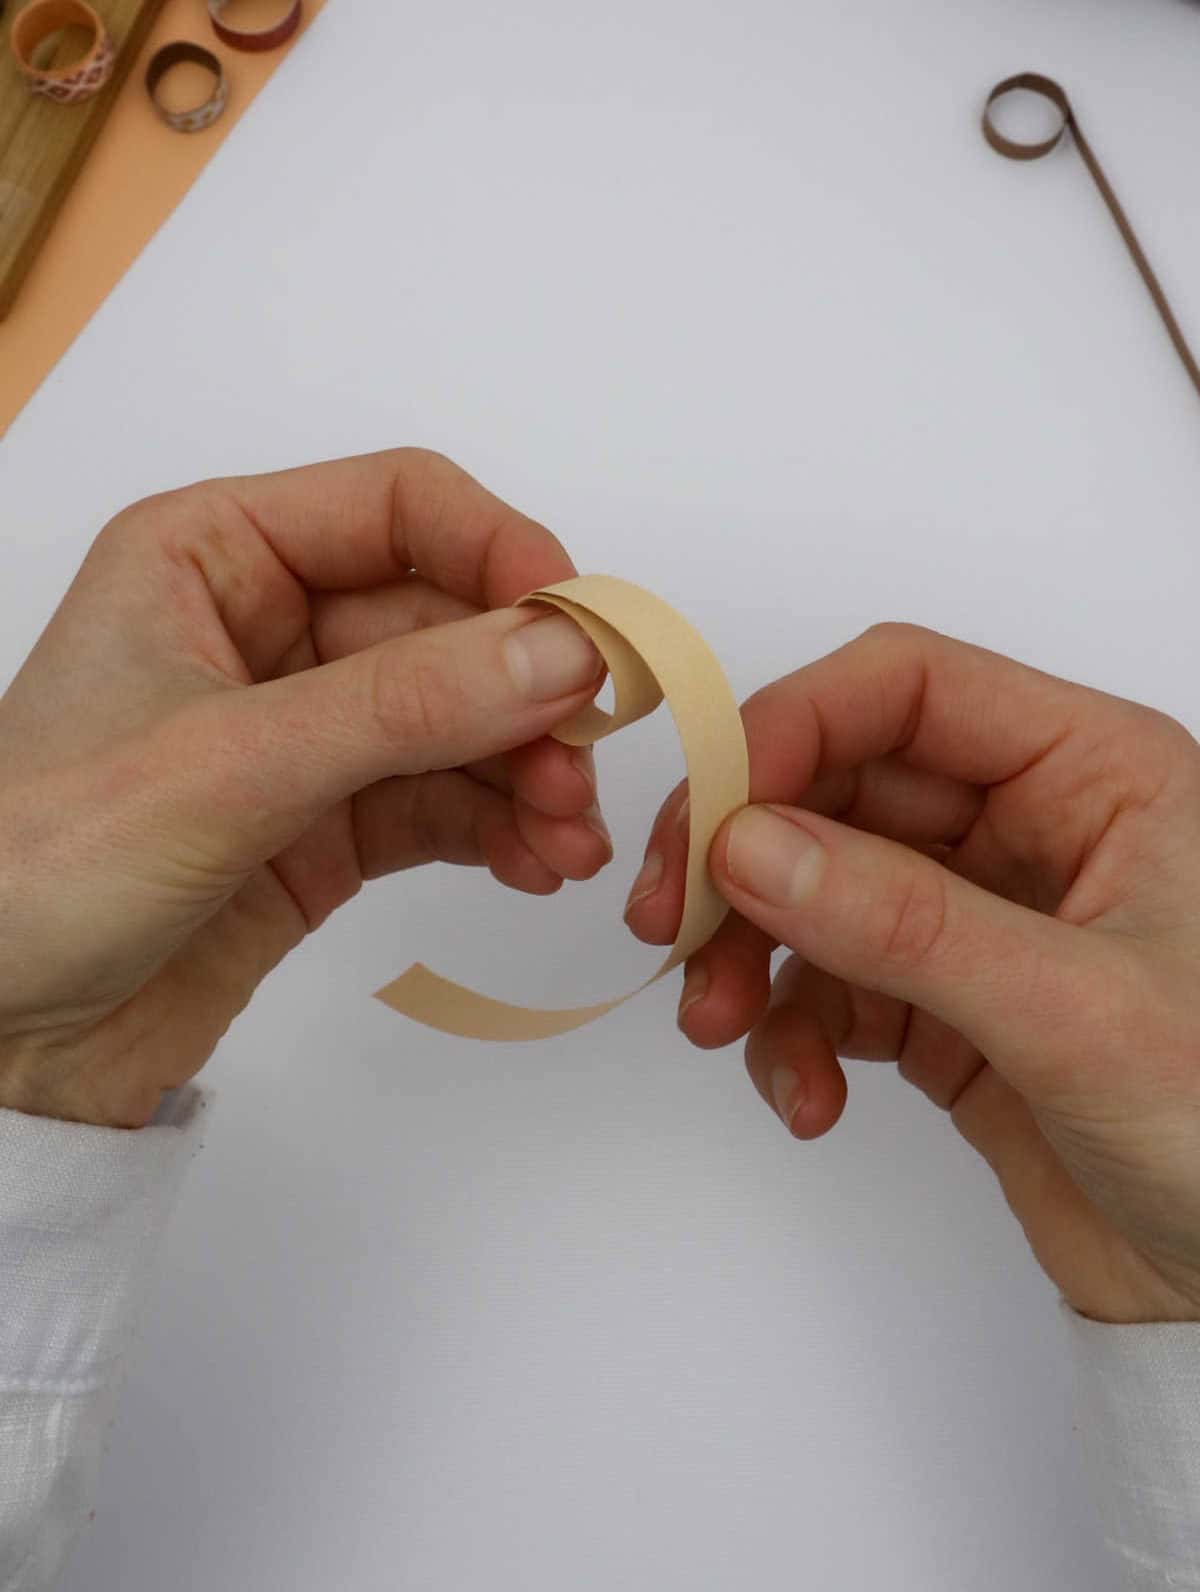
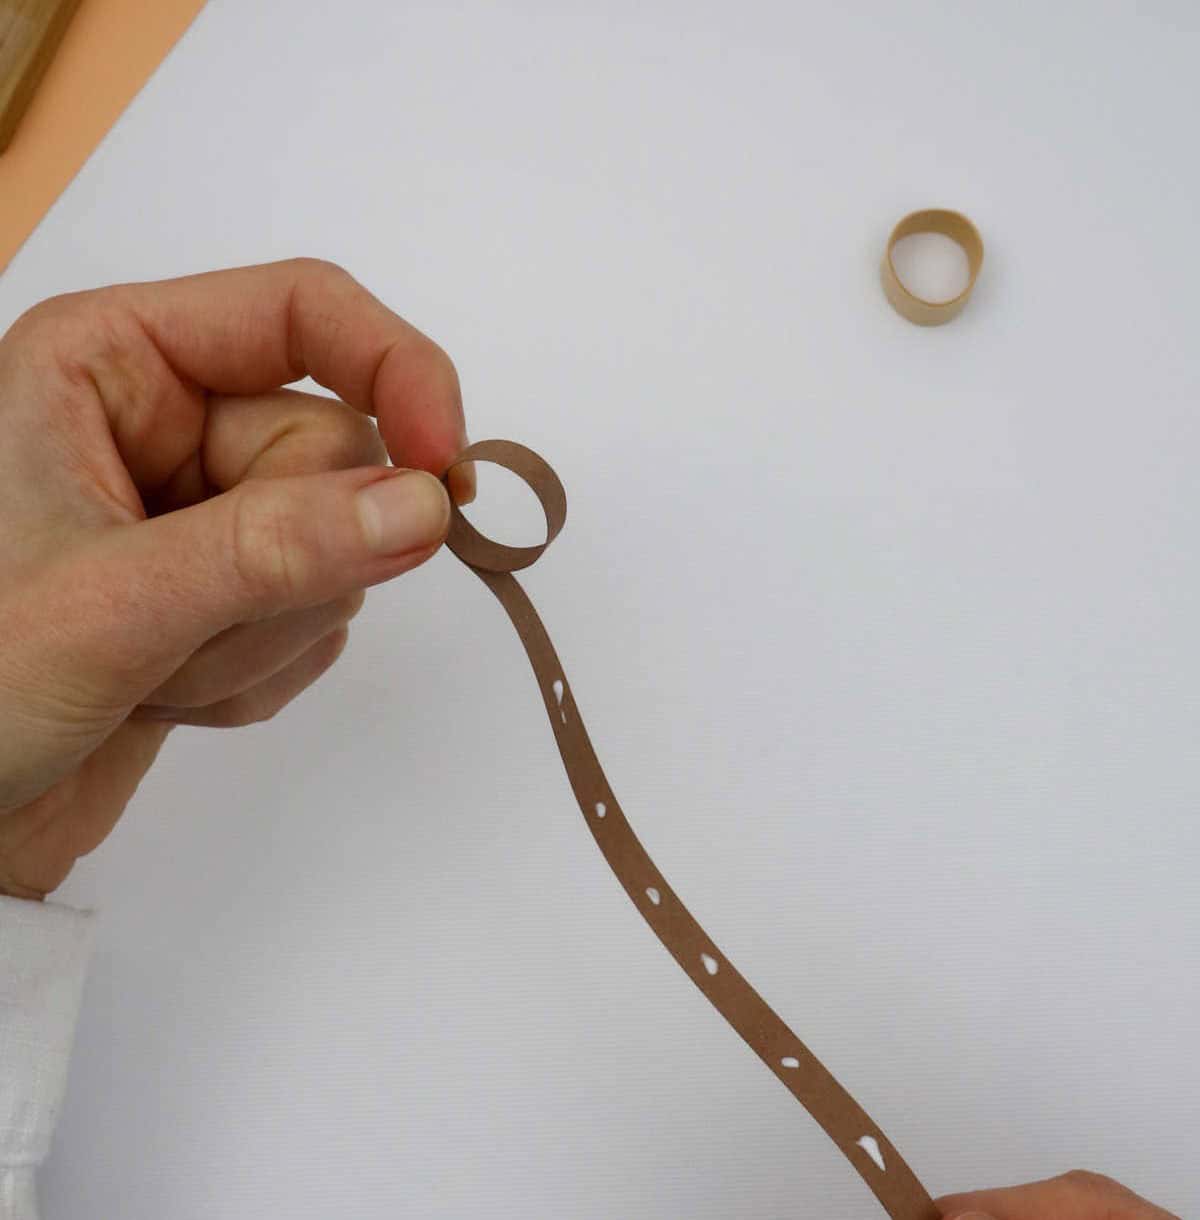
To measure the circumference of your finger, start by holding a strip of paper between your fingers. Slowly rotate the paper around your finger, allowing it to wrap once before it meets its starting edge. As you reach the point where the paper overlaps, gently fold it to create a defined shape. This process will give you an accurate measurement of your finger’s circumference, which will serve as the size for your ring.
Step 3
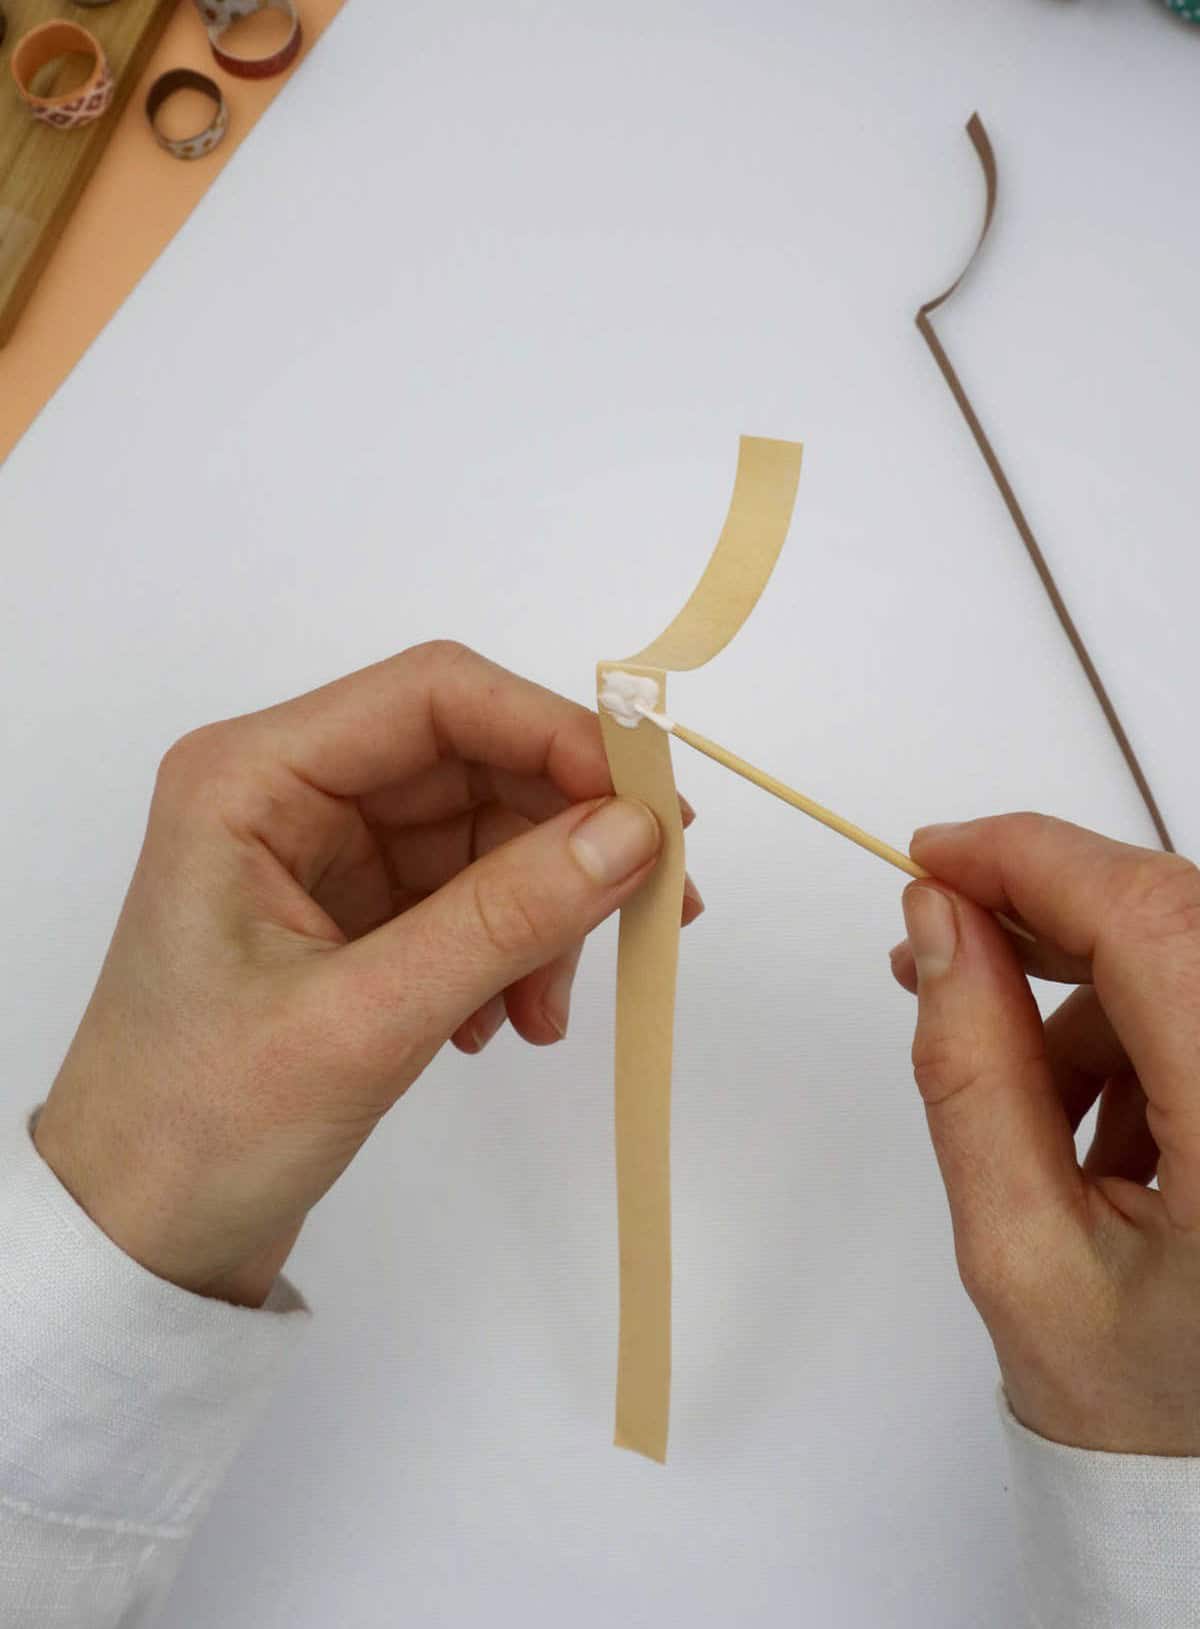
To secure the paper in place, begin by applying a small amount of adhesive to the reverse side, near the edge where it meets the fold. This can be achieved using a toothpick as a makeshift tool to dab a tiny quantity of glue onto the designated area.
Step 4
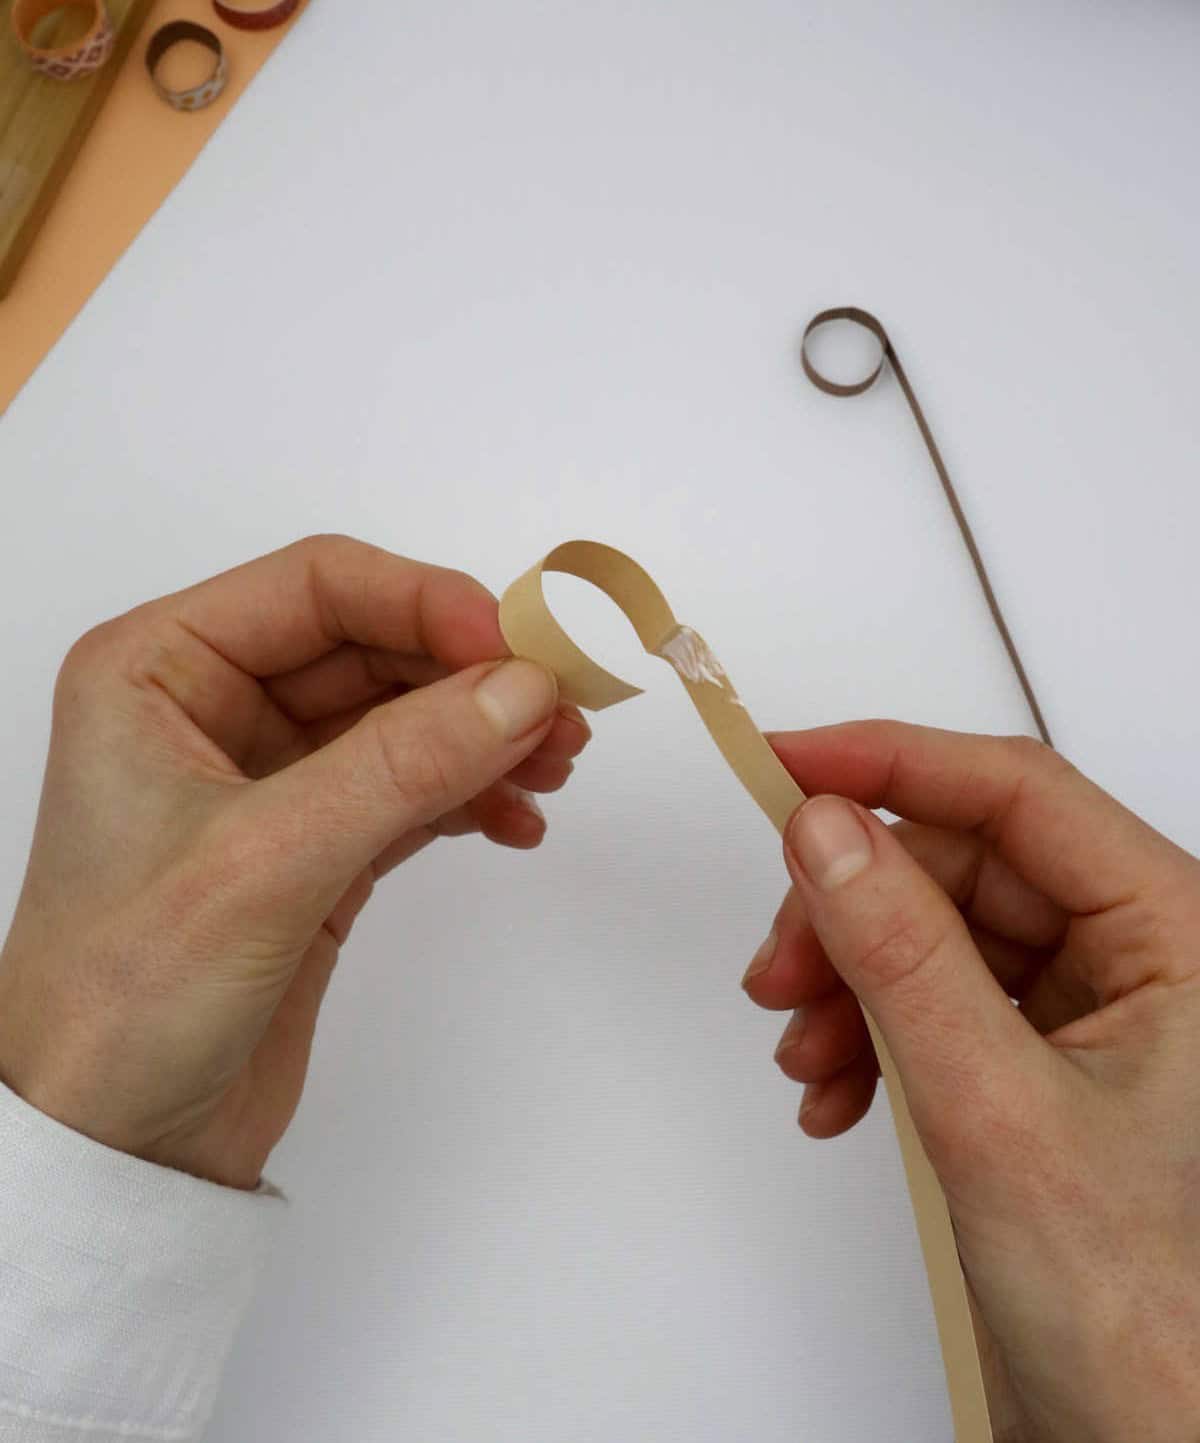
To complete the wrapping process, next take the curved edge of the paper that is now wrapped around your hand and gently draw it towards yourself. Continue to roll the paper tightly over the adhesive-covered surface, gradually working your way along the length of the material, ensuring a smooth and even application.
Step 5
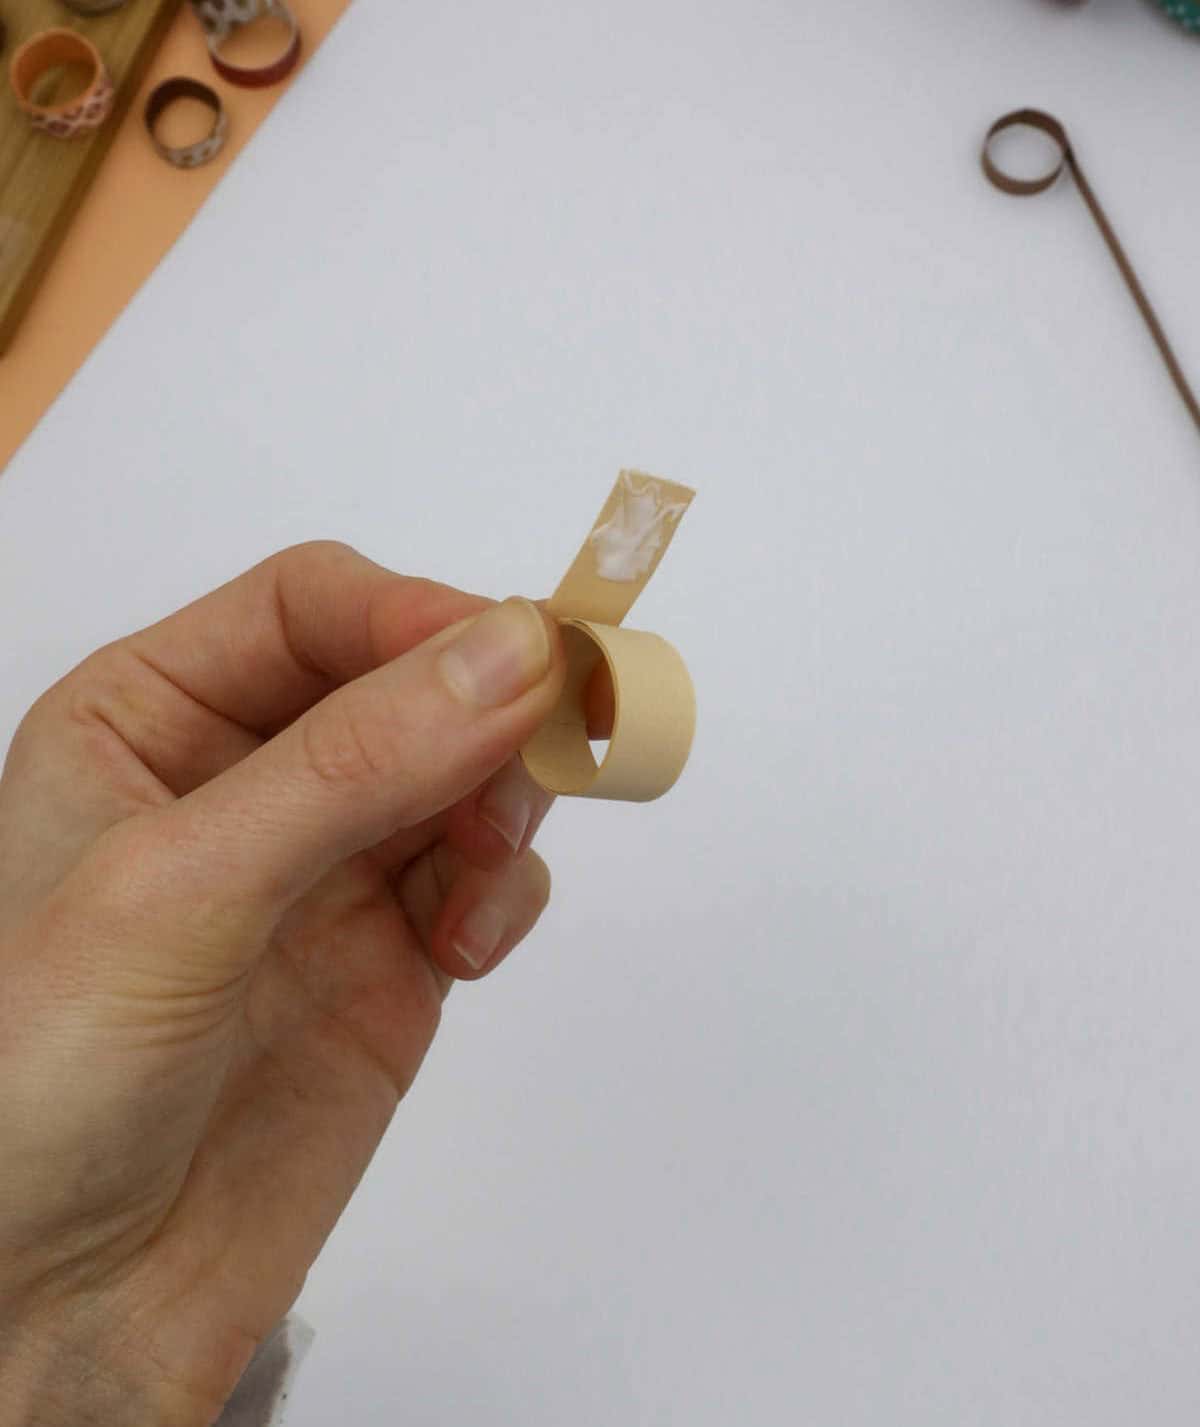
To complete the process, begin by reapplying a small amount of adhesive to the edge of the paper using your trusty toothpick. Next, gently press the glued section onto the rolled paper, ensuring a secure bond between the two. This final step is crucial in keeping your rolled paper structure intact.
Step 6
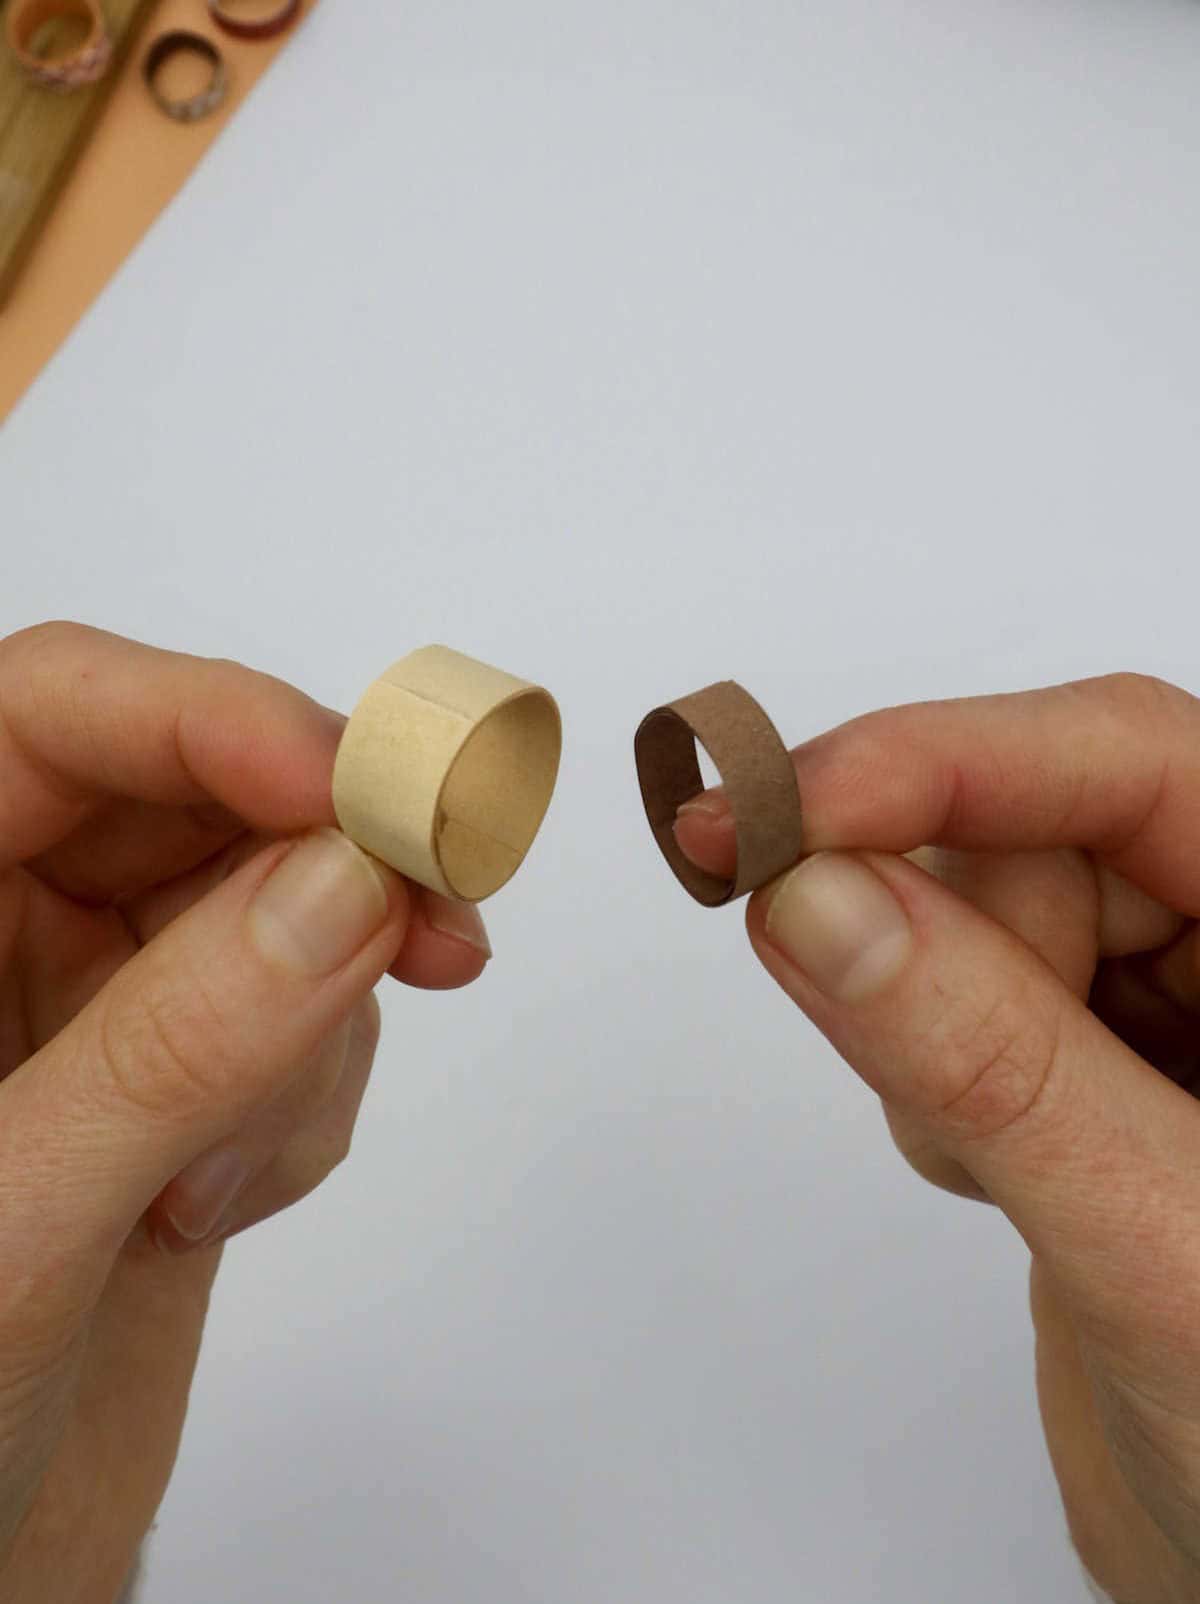
To create an alternative paper ring design, start by laying a strip of paper flat on a work surface and applying small dots of glue along its length with a glue stick. Then, in one continuous motion, roll the paper up until you reach the end, securing it with a final dab of adhesive. With this method, you’ll have a solid foundation for your ring – and that’s just the beginning! The real fun starts when you get to add your own creative flourishes and decorations.
Step 7
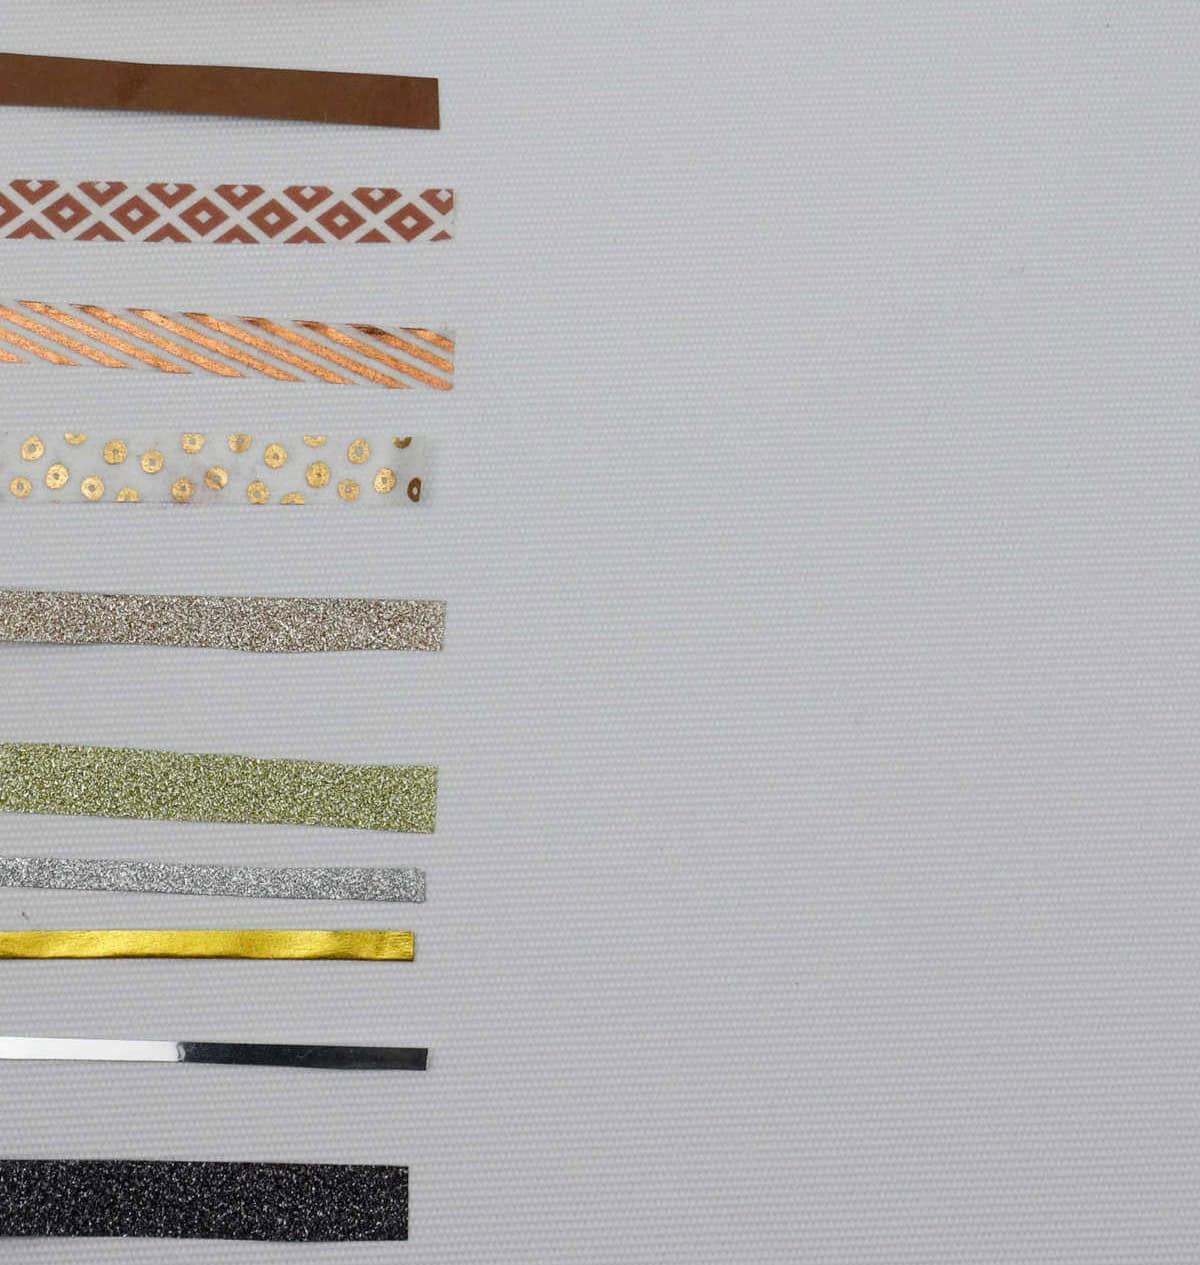
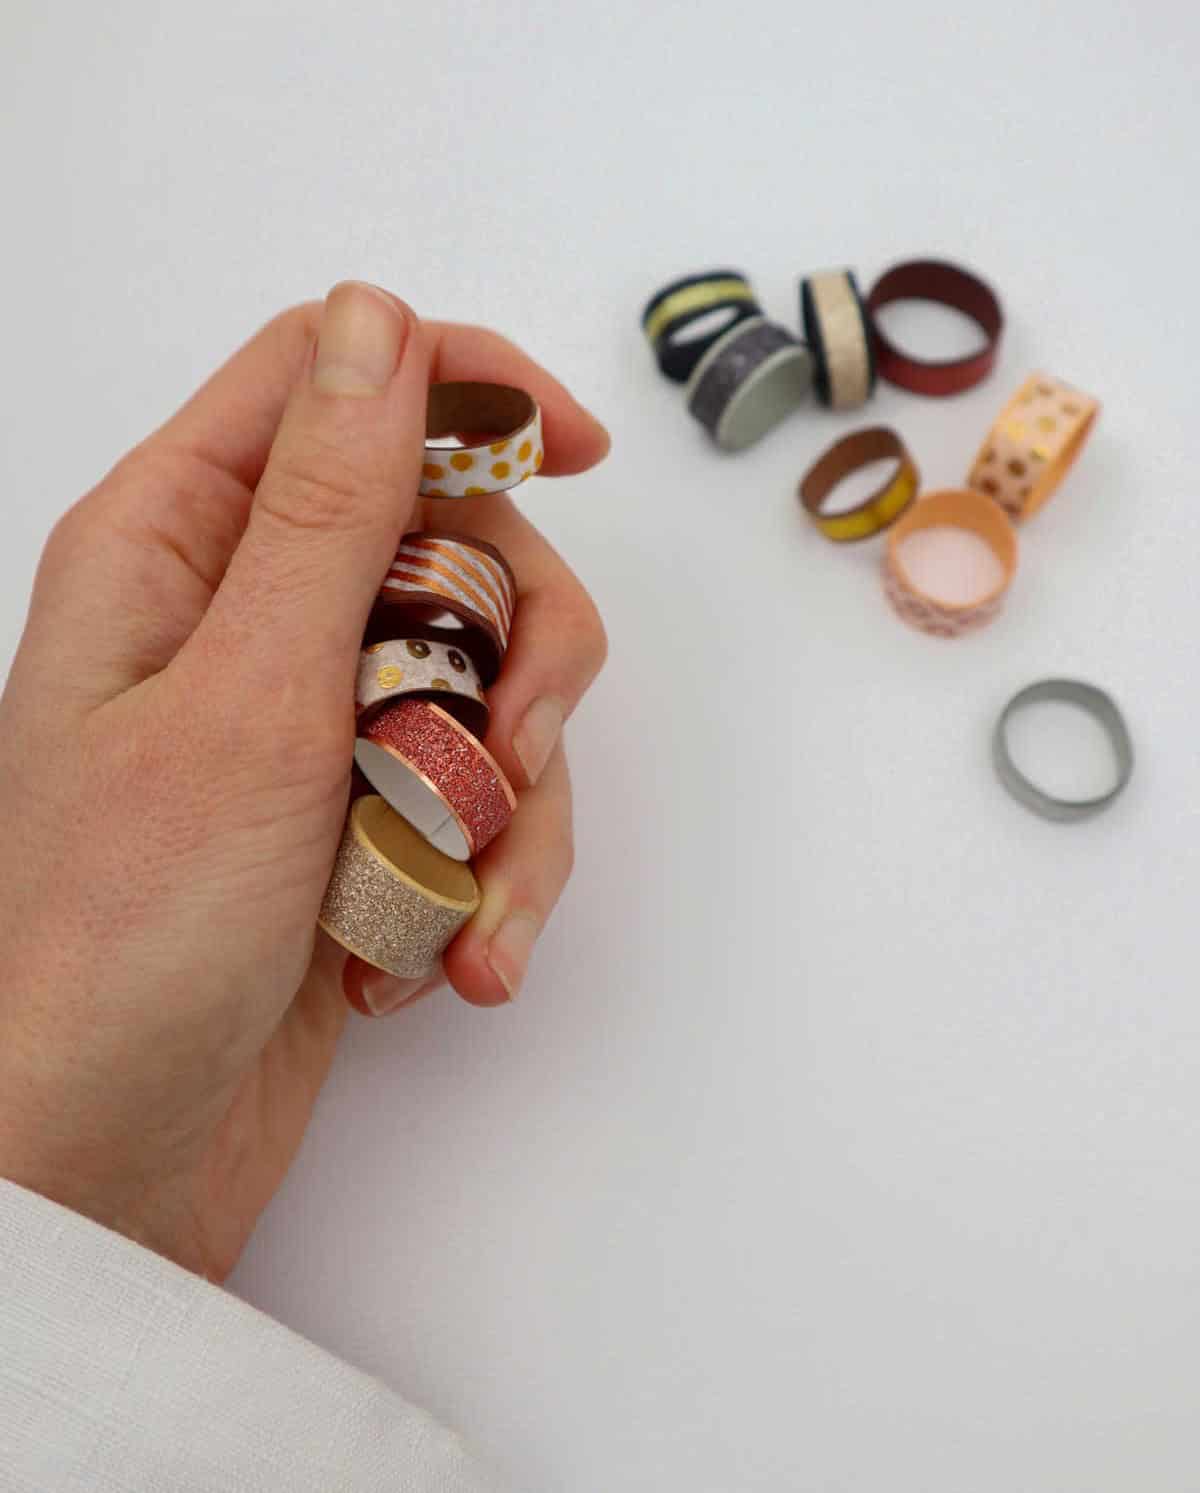
Get creative with your existing supplies! Dive into your collection of colorful papers, washi tapes, and miscellaneous scraps. Select the ones that catch your eye and arrange them on a flat surface for inspiration. When choosing your design elements, consider their widths in relation to the ring’s dimensions. Ensure that each piece fits harmoniously within the ring’s boundaries, allowing you to create a visually appealing combination.
Step 8
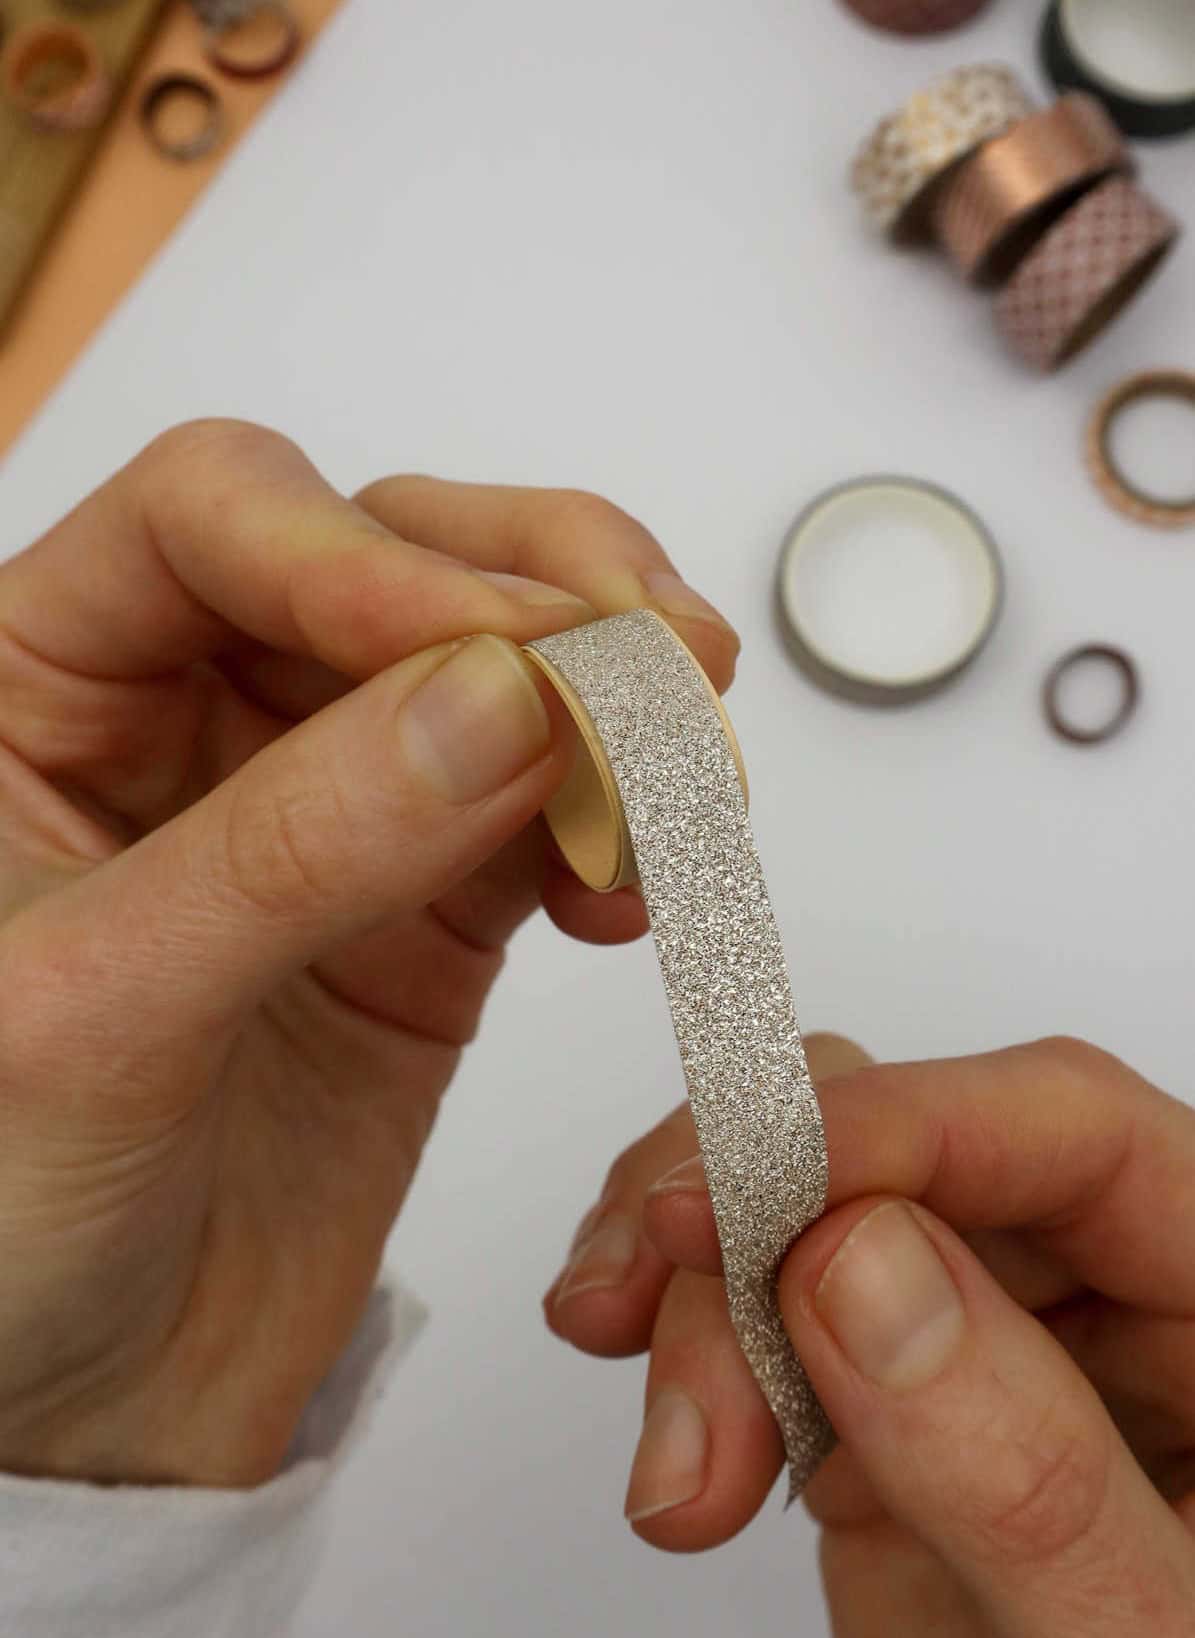

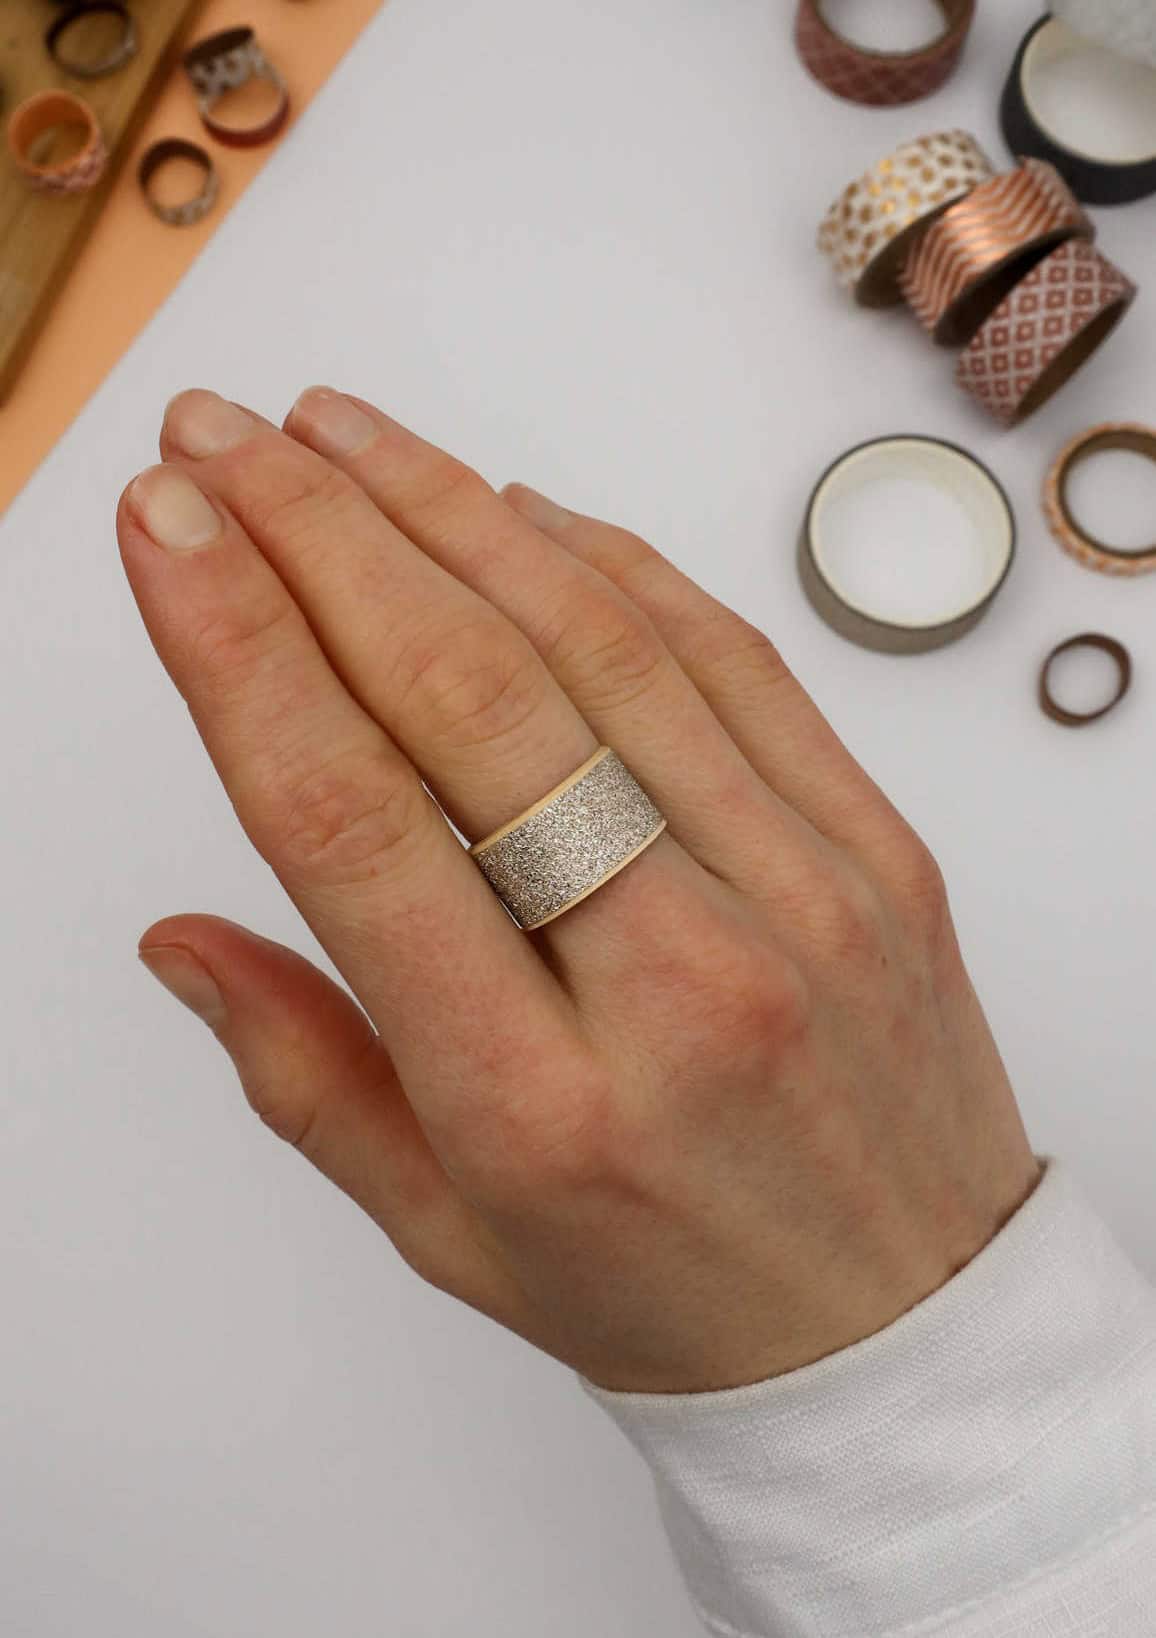
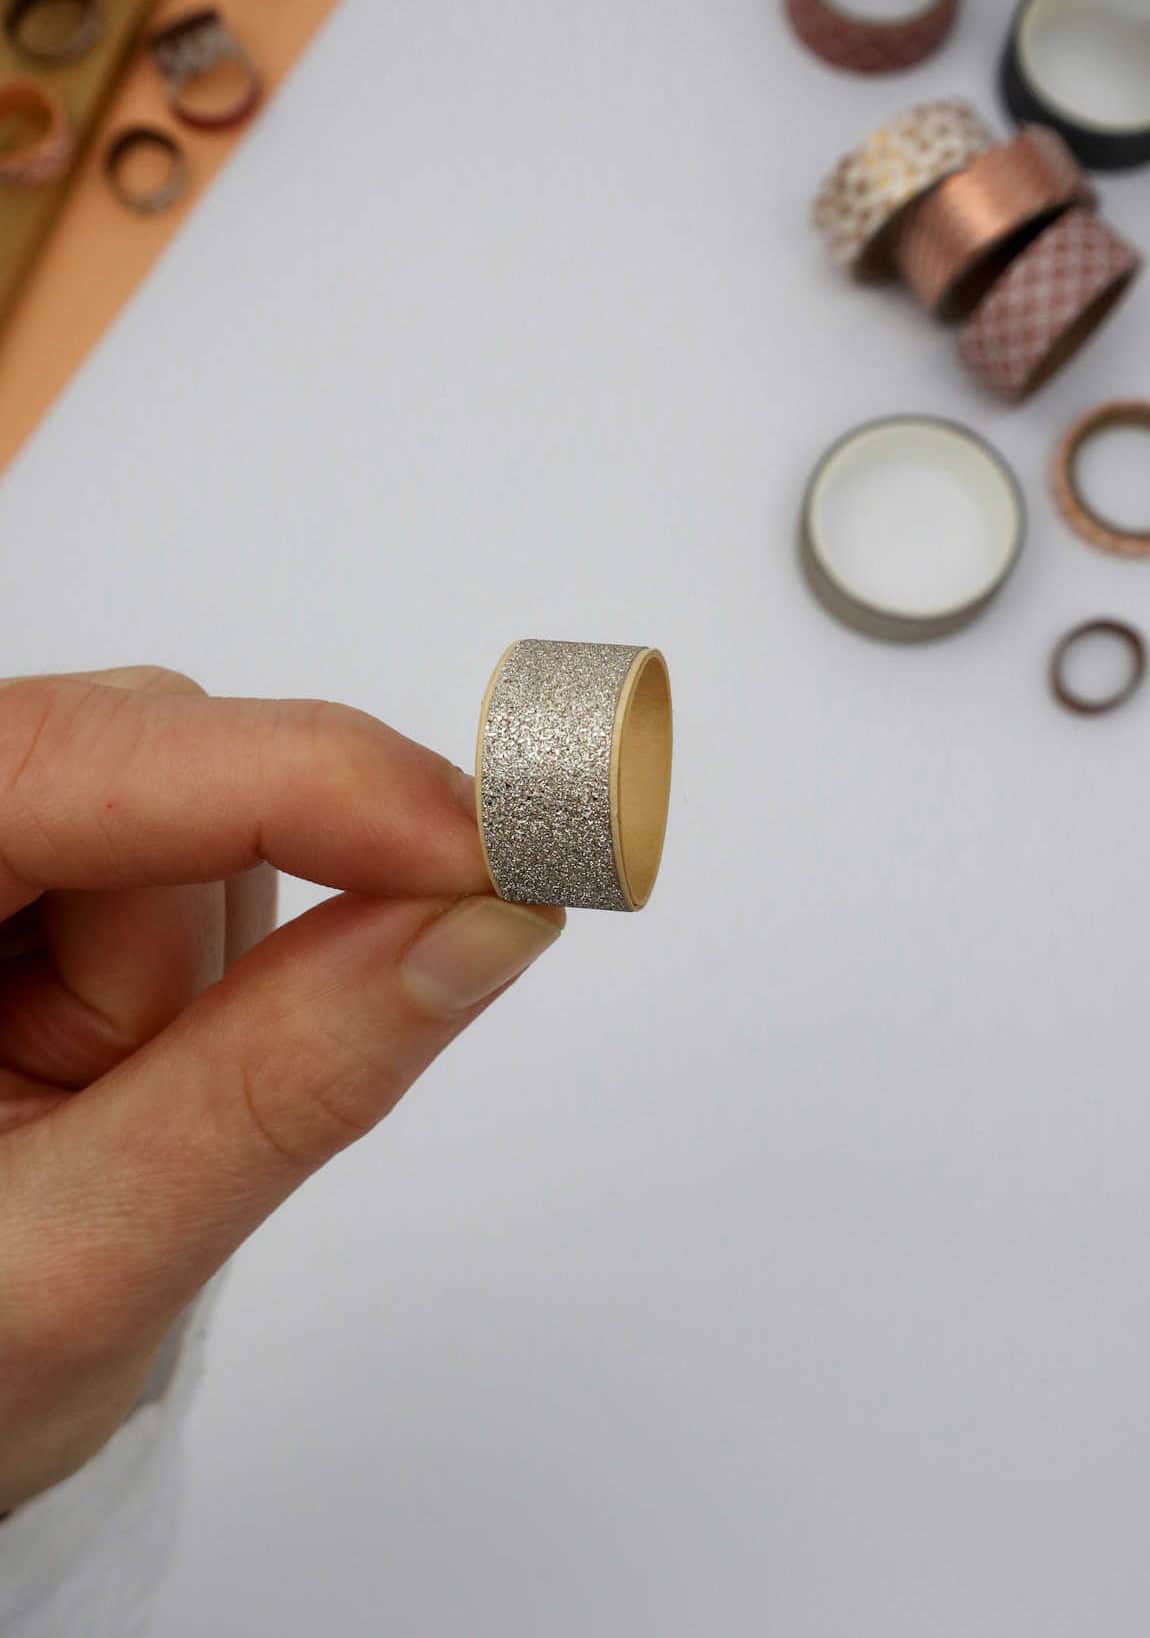

Before applying your chosen paper to your ring, it’s essential to perform a test run. To do this, simply wrap the paper around the ring to ensure the dimensions align seamlessly. This will give you the confidence to secure the paper in place over the base of the ring. The end result is a beautifully understated and elegant design that cleverly conceals its paper origins.
Step 9
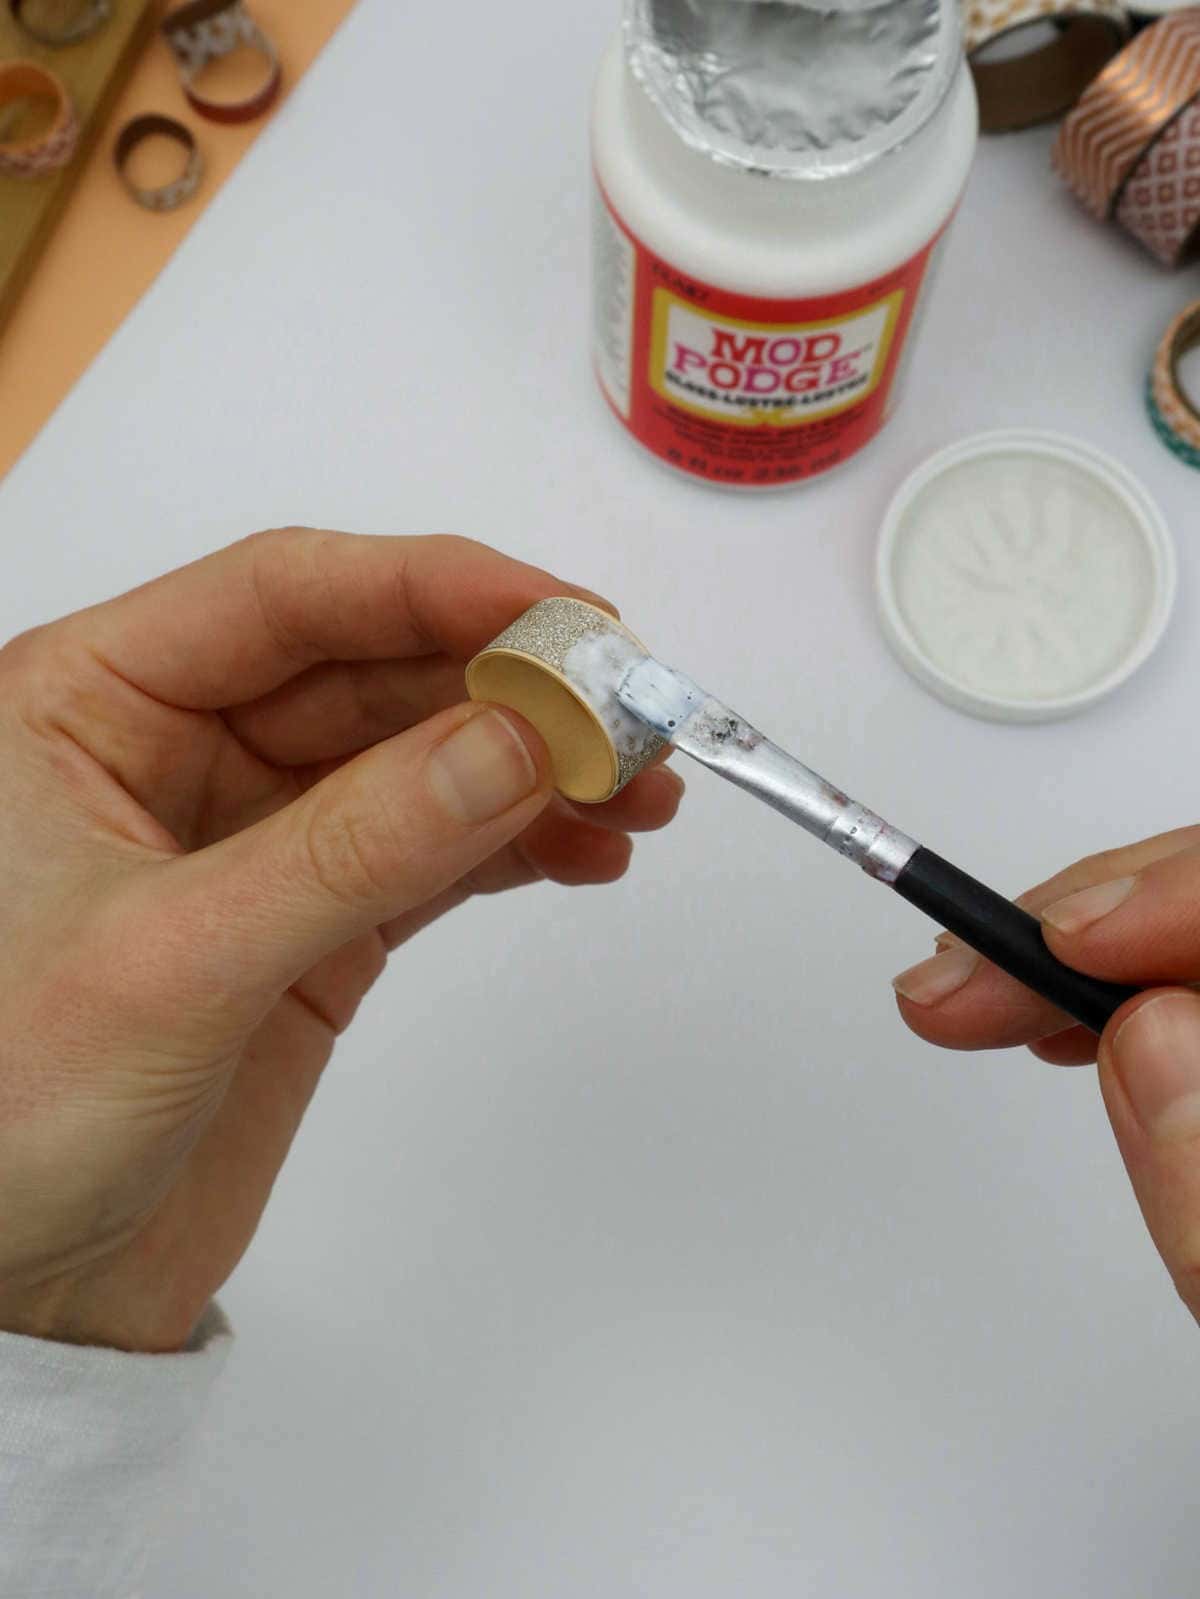
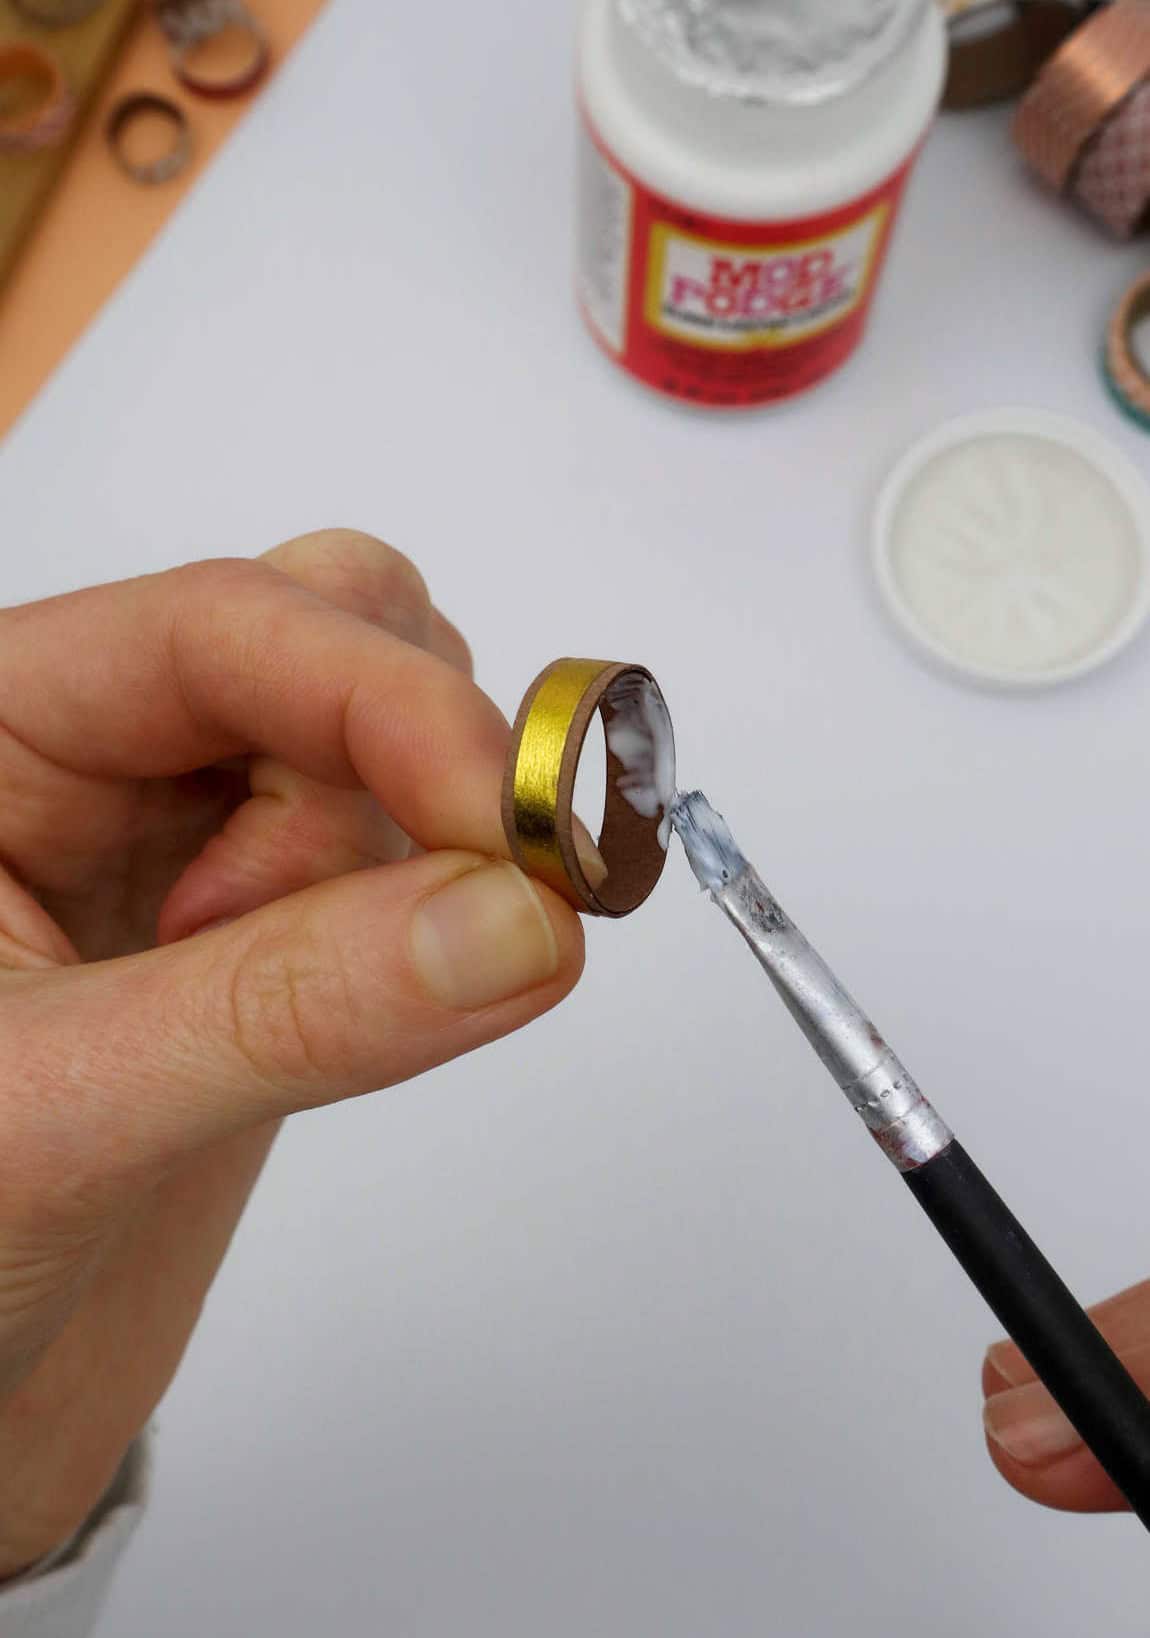
To seal and protect your DIY ring, apply a thin layer of Mod Podge over its surface. This will harden the design and enhance the overall durability of the piece. Additionally, you can extend this process by applying another coat to the interior of the ring, achieving the same level of protection and preservation.
Step 10
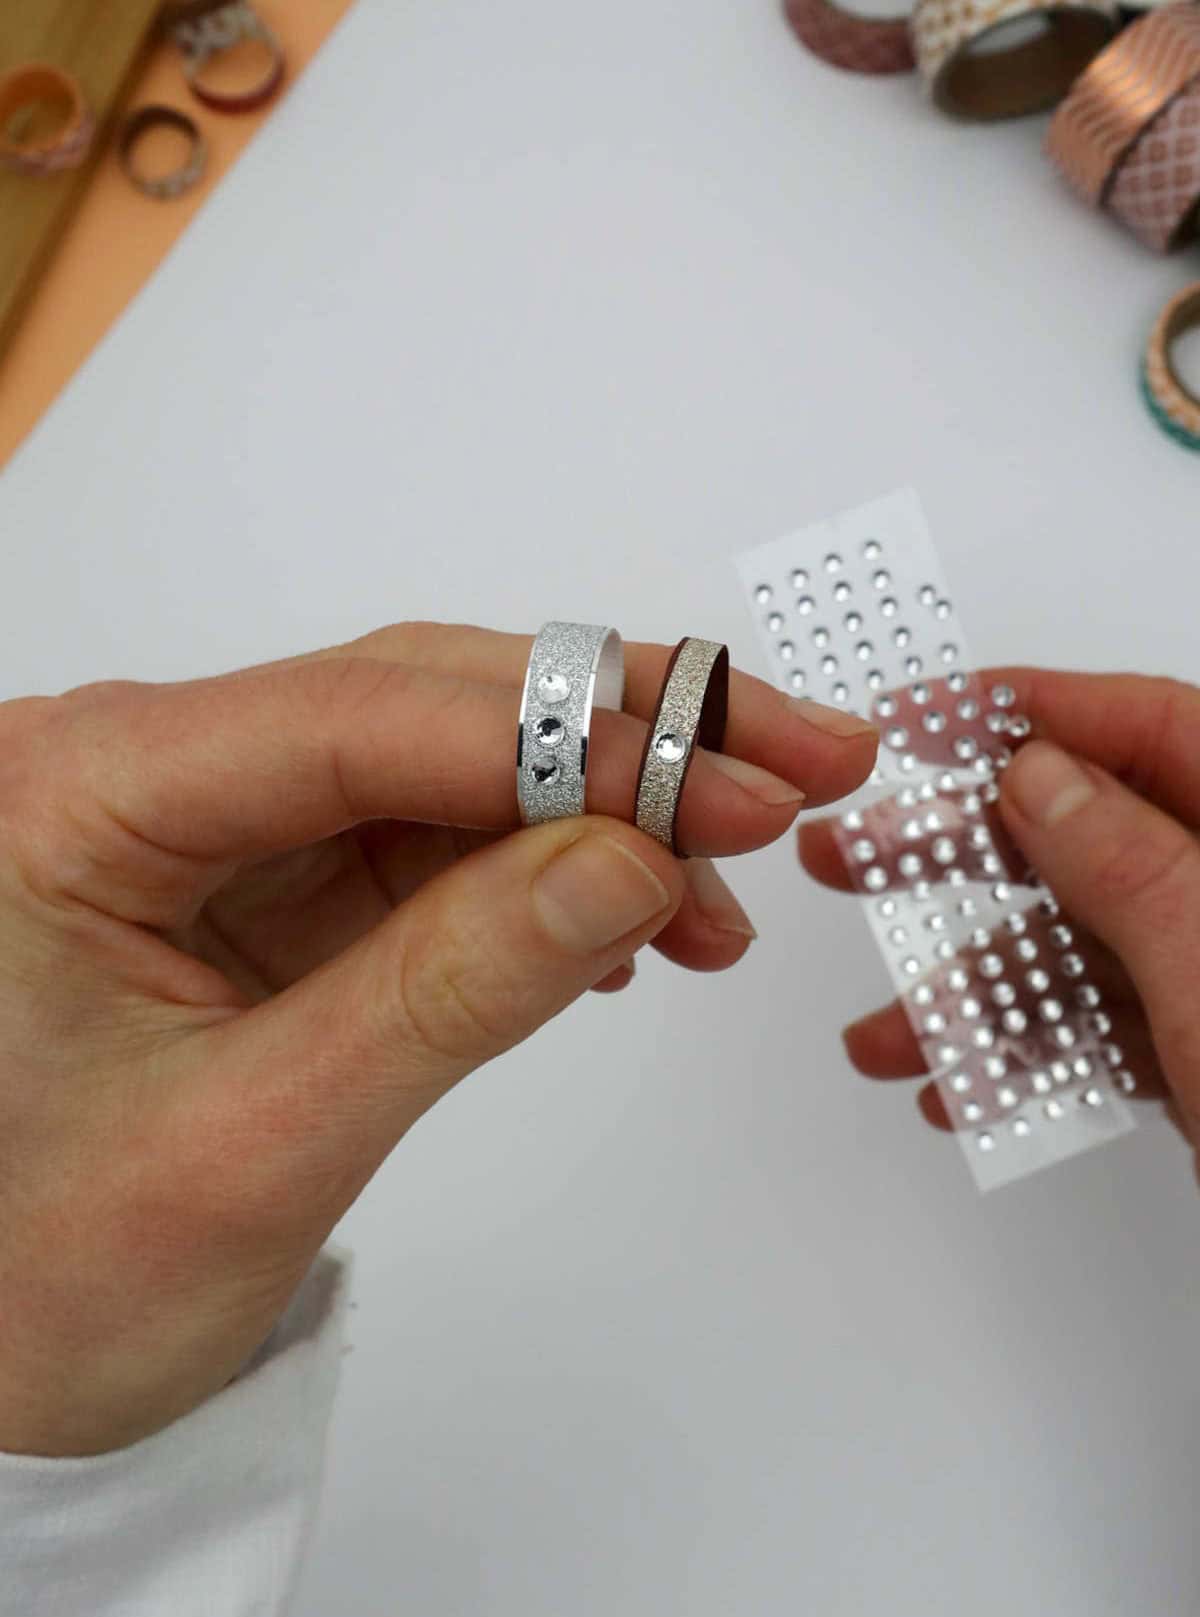
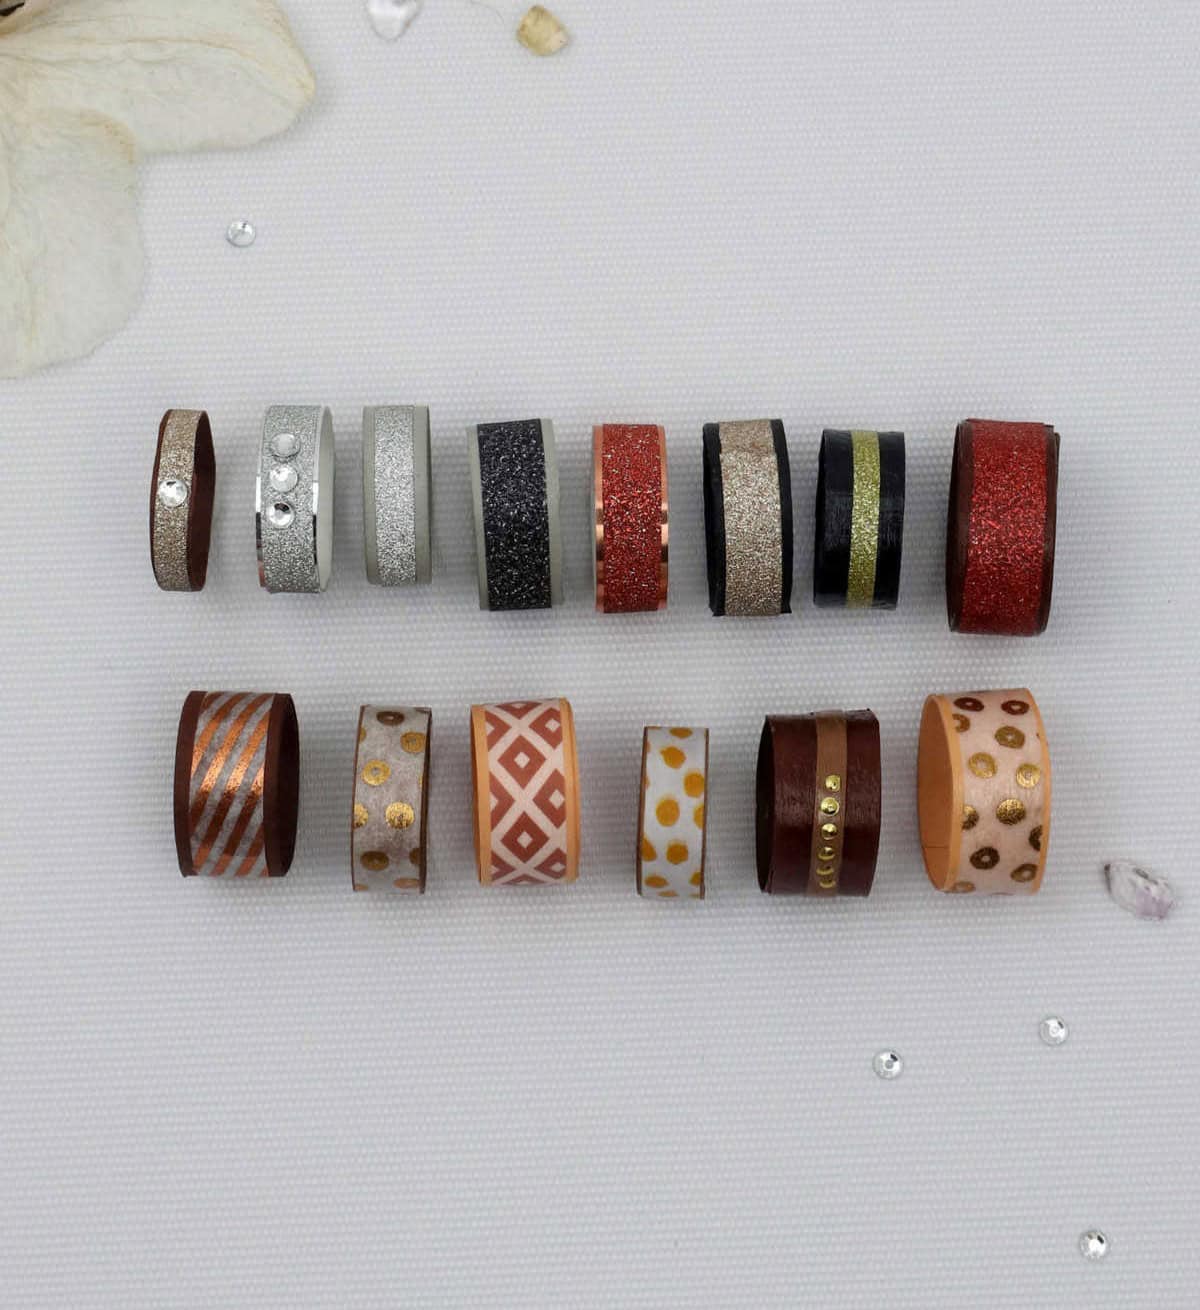
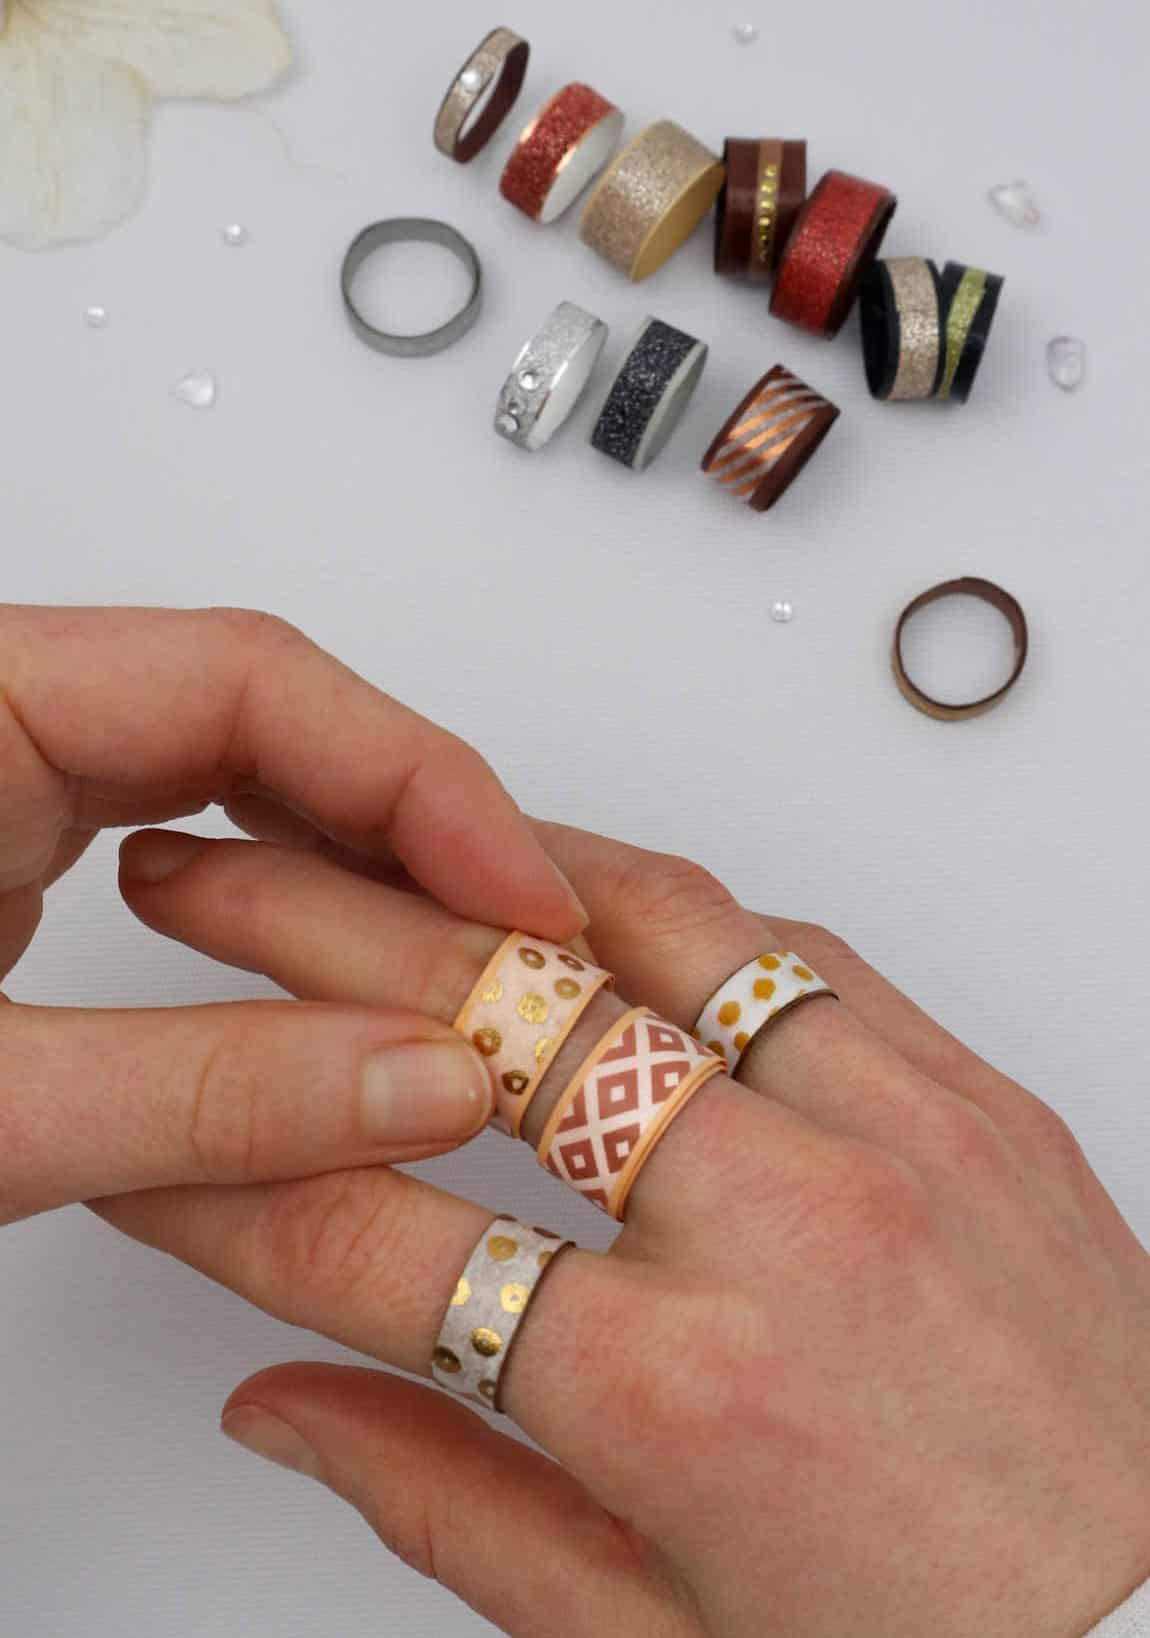
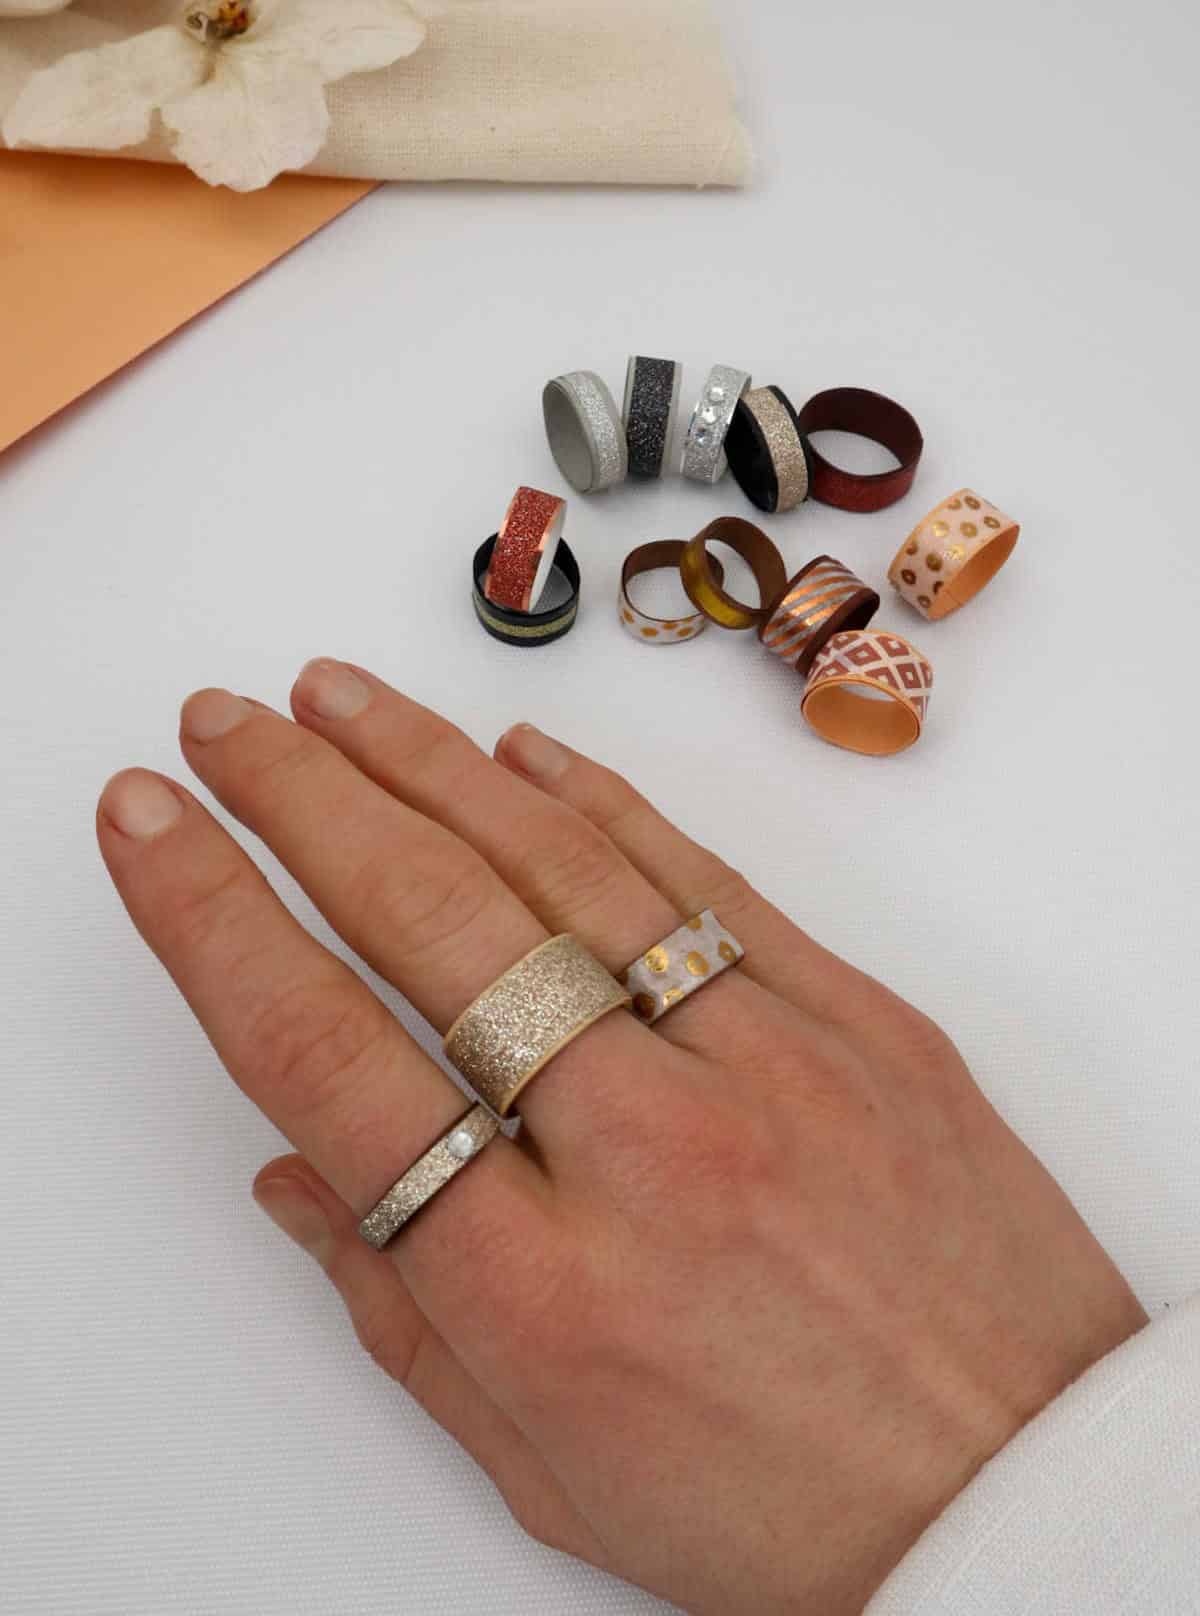
As the creative process unfolds, it’s time to add that extra touch of magic. If you’ve got your hands on some delightful gem embellishments, go ahead and adorn your ring with them. While they may not be the real deal, they’ll still radiate a certain je ne sais quoi, don’t you think? The beauty lies in the simplicity and versatility of this project – once you start creating these rings, it’s surprisingly hard to stop!
You can churn out a whole collection and stash them away for future gift-giving opportunities or as party favors. Who knows, your friends might just be wowed by your DIY prowess!
Other Crafts You Can Make
Imagination knows no bounds when it comes to crafting with paper. From summer-themed projects perfect for kids, to DIY jewelry and accessories that are both functional and fashionable, the world of paper crafts is vast and exciting. Whether you’re looking to create something cute and colorful or practical and useful, there’s a plethora of ideas out there just waiting to be explored. Paper envelopes, picture frames, wallets, and rings are all fair game for creativity and innovation.
And let’s not forget about the fun and simple tissue paper crafts that can add a touch of whimsy to any occasion. Whether you’re a seasoned crafter or just looking for something new to do with your little ones, the world of construction paper crafts has got you covered.
How to Make a Paper Ring
Create a unique DIY accessory using paper you already have lying around! In just 20 minutes, anyone from kids to adults can craft their own paper rings. Start by gathering your supplies and get creative!
Equipment
When you’re in the middle of a creative flow, it’s frustrating when your screen goes dark. To avoid this interruption, you can use software like f.lux or Twilight to adjust the color temperature and brightness of your display. This way, you can maintain a comfortable viewing experience without sacrificing sleep quality.
Materials
To create a unique and eye-catching embellishment, gather the following materials: a length of craft paper measuring 8 inches, washi tape for added texture, craft glue to secure your design, Mod Podge for an extra layer of protection, and flatback crystals to add a touch of sparkle. These versatile components can be combined in various ways to produce a one-of-a-kind embellishment that reflects your personal style.
Instructions
To create a DIY paper ring, start by measuring and cutting long strips of paper that will serve as the foundation for your design. The width of the paper will directly impact the width of the finished ring, so keep this in mind as you cut. Wrap the paper around the finger you plan to wear the ring on to determine its size. Fold the paper once to create a ring shape and apply a small amount of adhesive to the back of the fold.
Next, bring the curved end around and secure it over the adhesive spot. Begin rolling the ring, ensuring the edges align as you go, and seal the end with additional adhesive. Alternatively, you can apply glue along the length of the ring and roll it in one motion. Allow the glue to dry before adding decorative paper or washi tape to the base of the ring. To add stability and durability, coat the interior and top surface of the ring with mod podge and let it dry completely.
Finally, embellish your design with sticker gems and other small decorations.