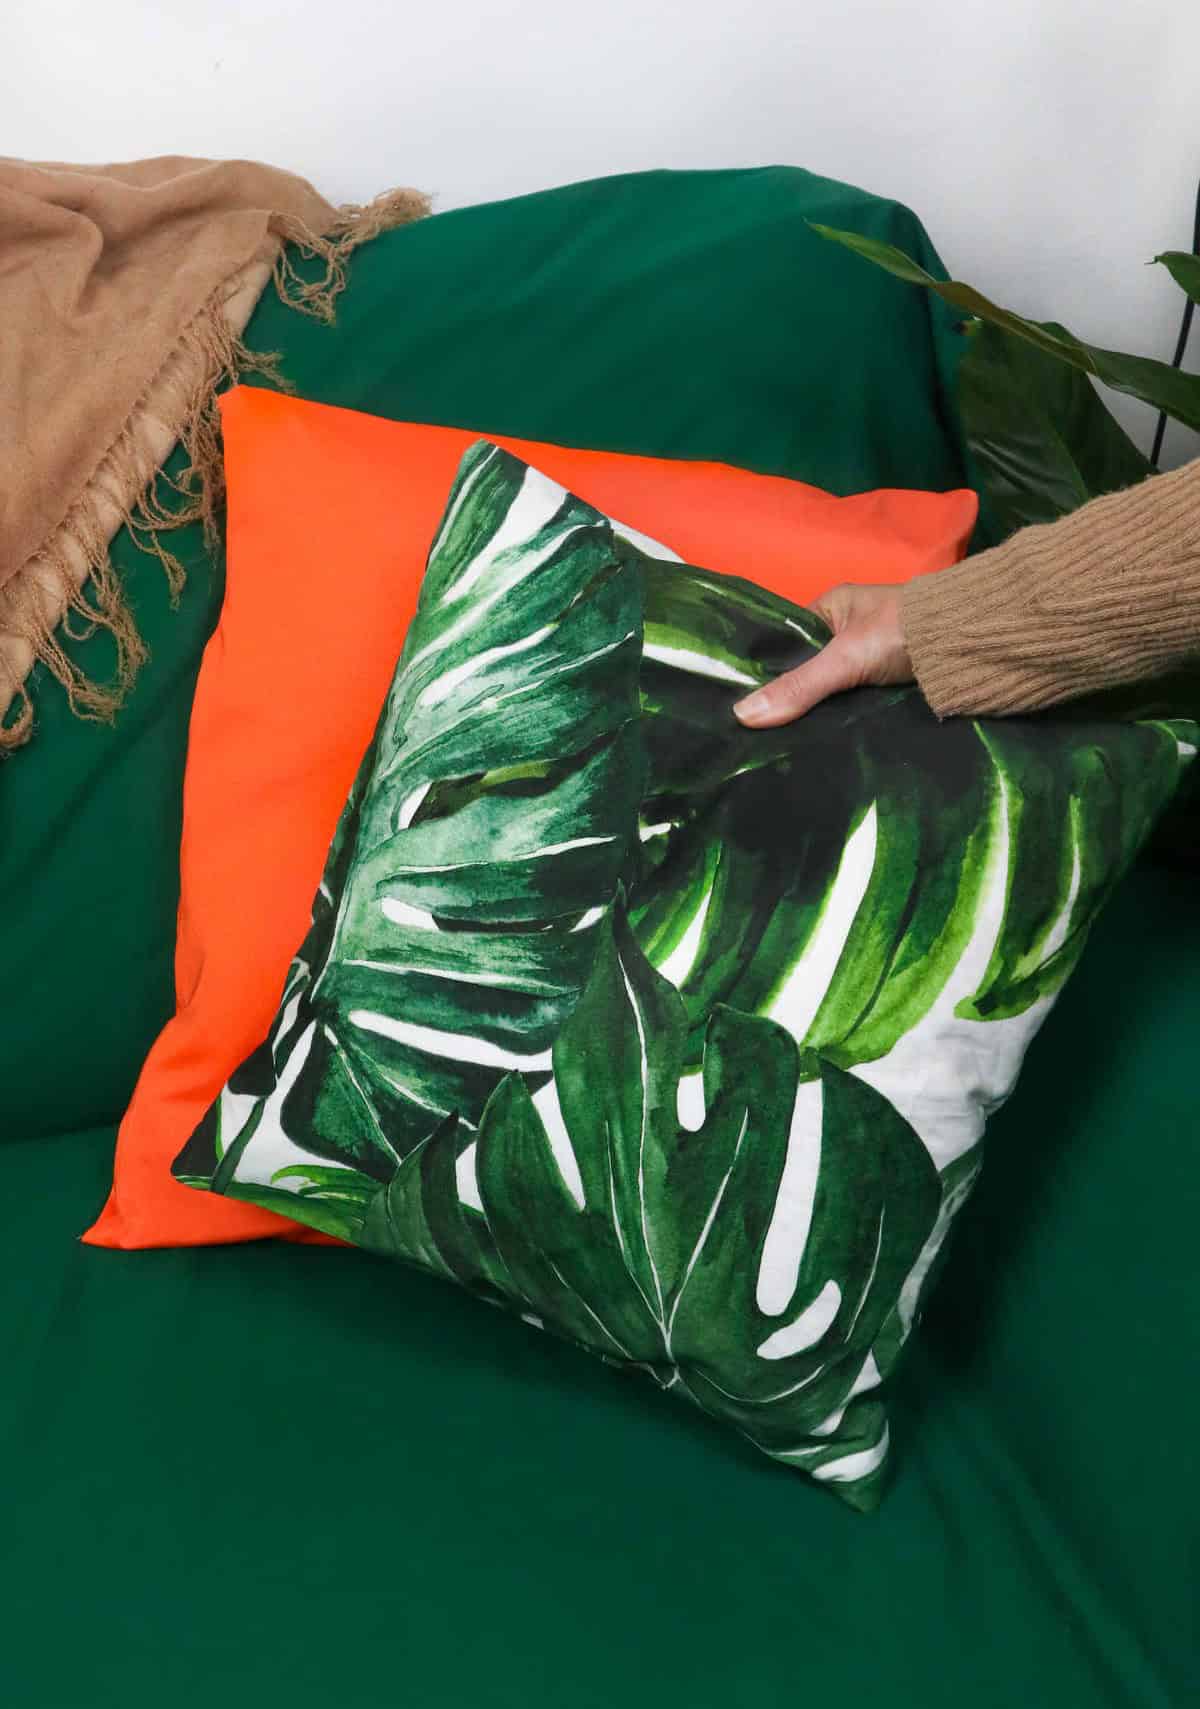
Looking for an exciting and easy sewing project that’s perfect for beginners? Or maybe you’re seeking a creative way to refresh your bedroom or living room decor? Look no further! DIY pillowcases are the ideal solution, offering a fun and accessible crafting experience. You know that feeling when you walk into a space and everything feels stale? It’s time for a change! And what better place to start than with a simple yet impactful update: new pillow covers.
These humble accessories can instantly transform the ambiance of your room, introducing vibrant colors, textures, patterns, or even making a bold statement. To get started, gather the essential supplies and tools outlined below, and let the creative process begin!
Supplies and Tools You’ll Need
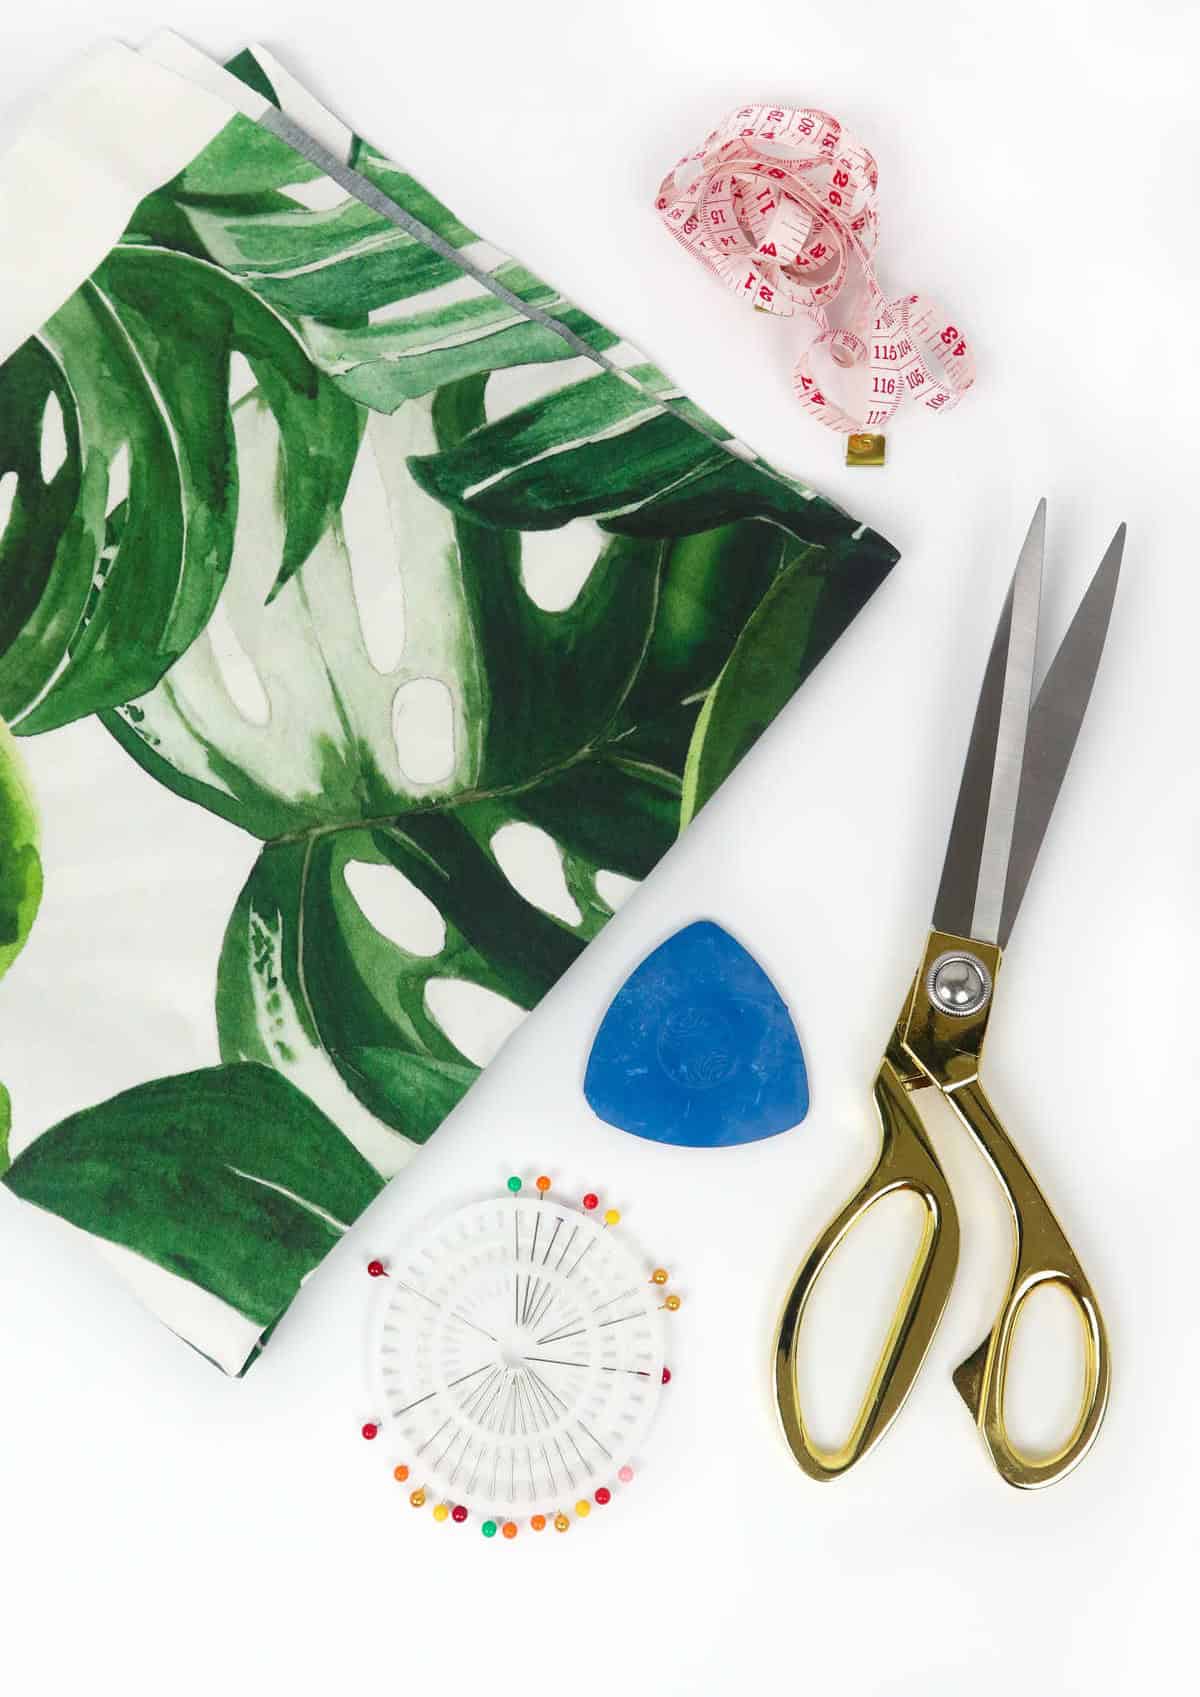
Essential tools for any sewing project include a high-quality cotton fabric, which provides the foundation for your garment or textile. In addition to the fabric, you’ll need a tape measure to ensure accurate measurements and a pair of scissors for cutting through even the most stubborn materials. To keep your fabric in place as you work, you’ll also require sewing pins that can be easily removed without damaging your material.
Finally, having a trusty tailor’s chalk on hand allows you to mark patterns and designs with precision.
How to Make a Pillowcase
To bring your creative vision to life, follow this straightforward guide and learn how to create stunning pillowcases that reflect your personal style. Each step has been carefully outlined below, ensuring a seamless and enjoyable DIY experience.
Step 1
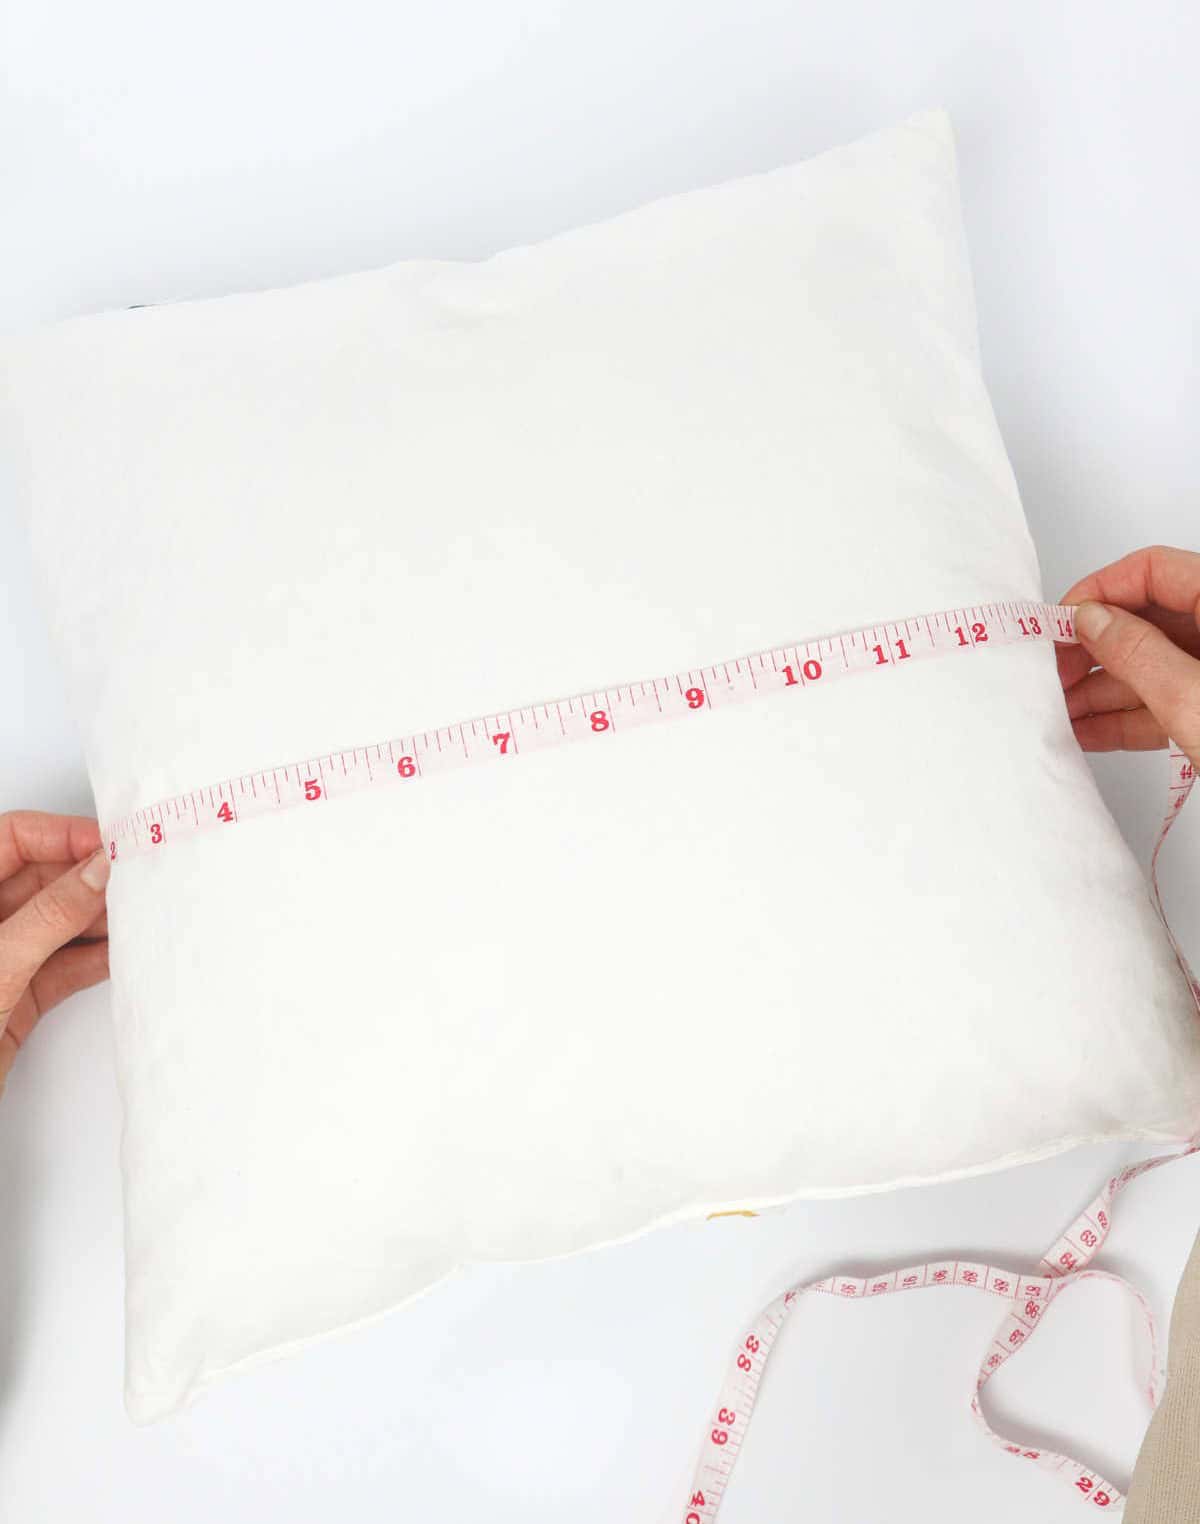
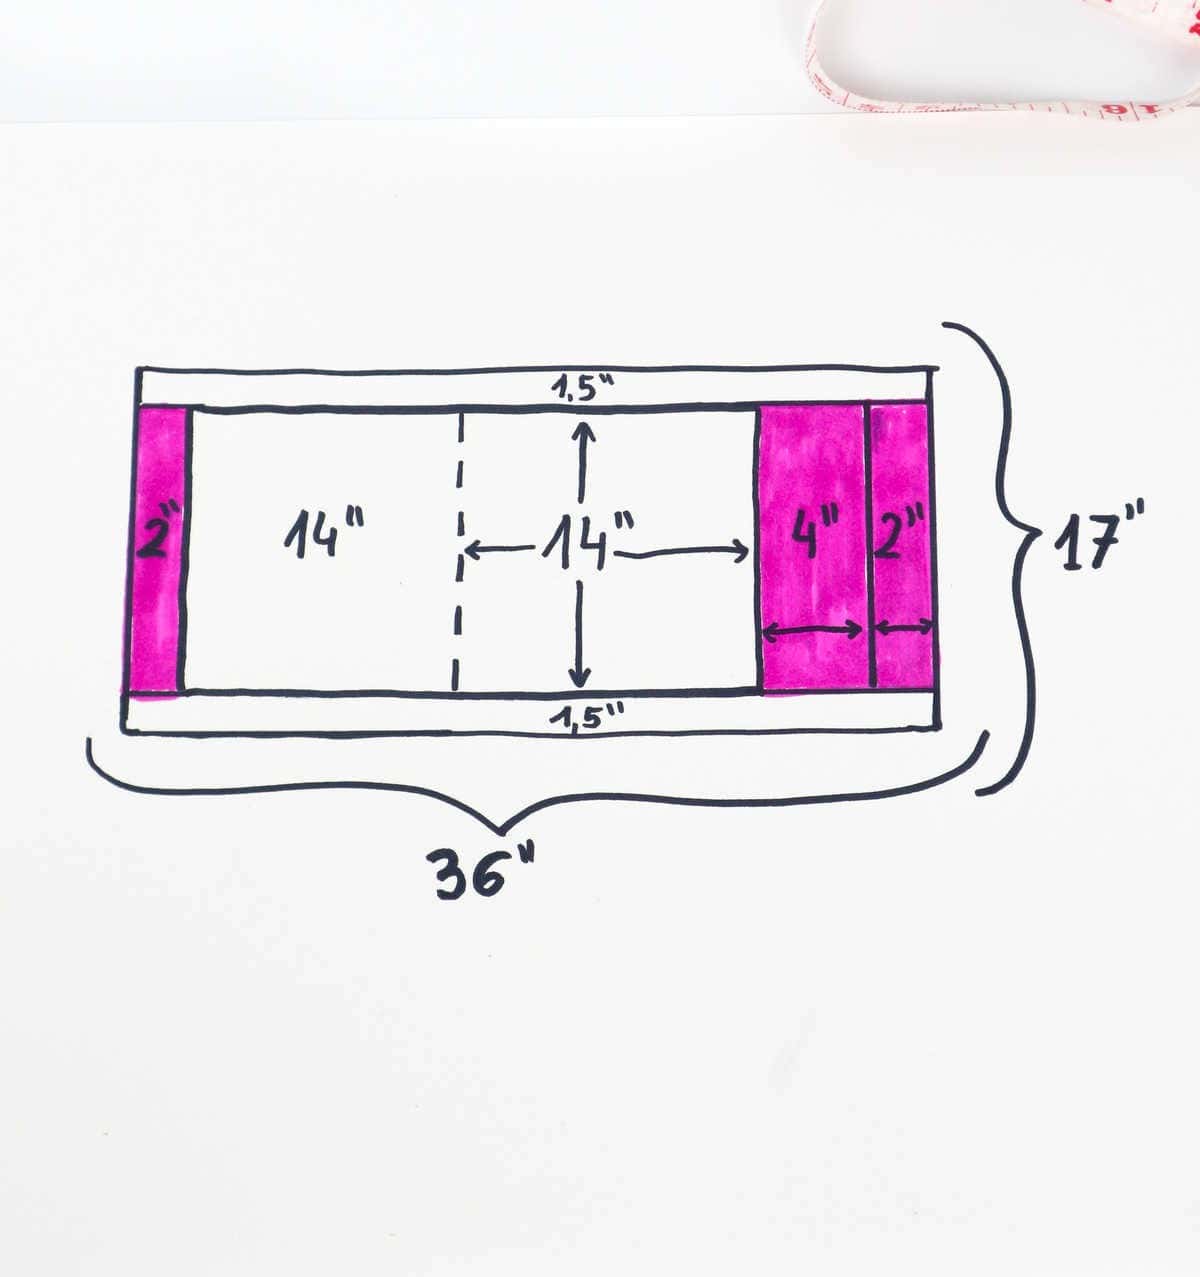
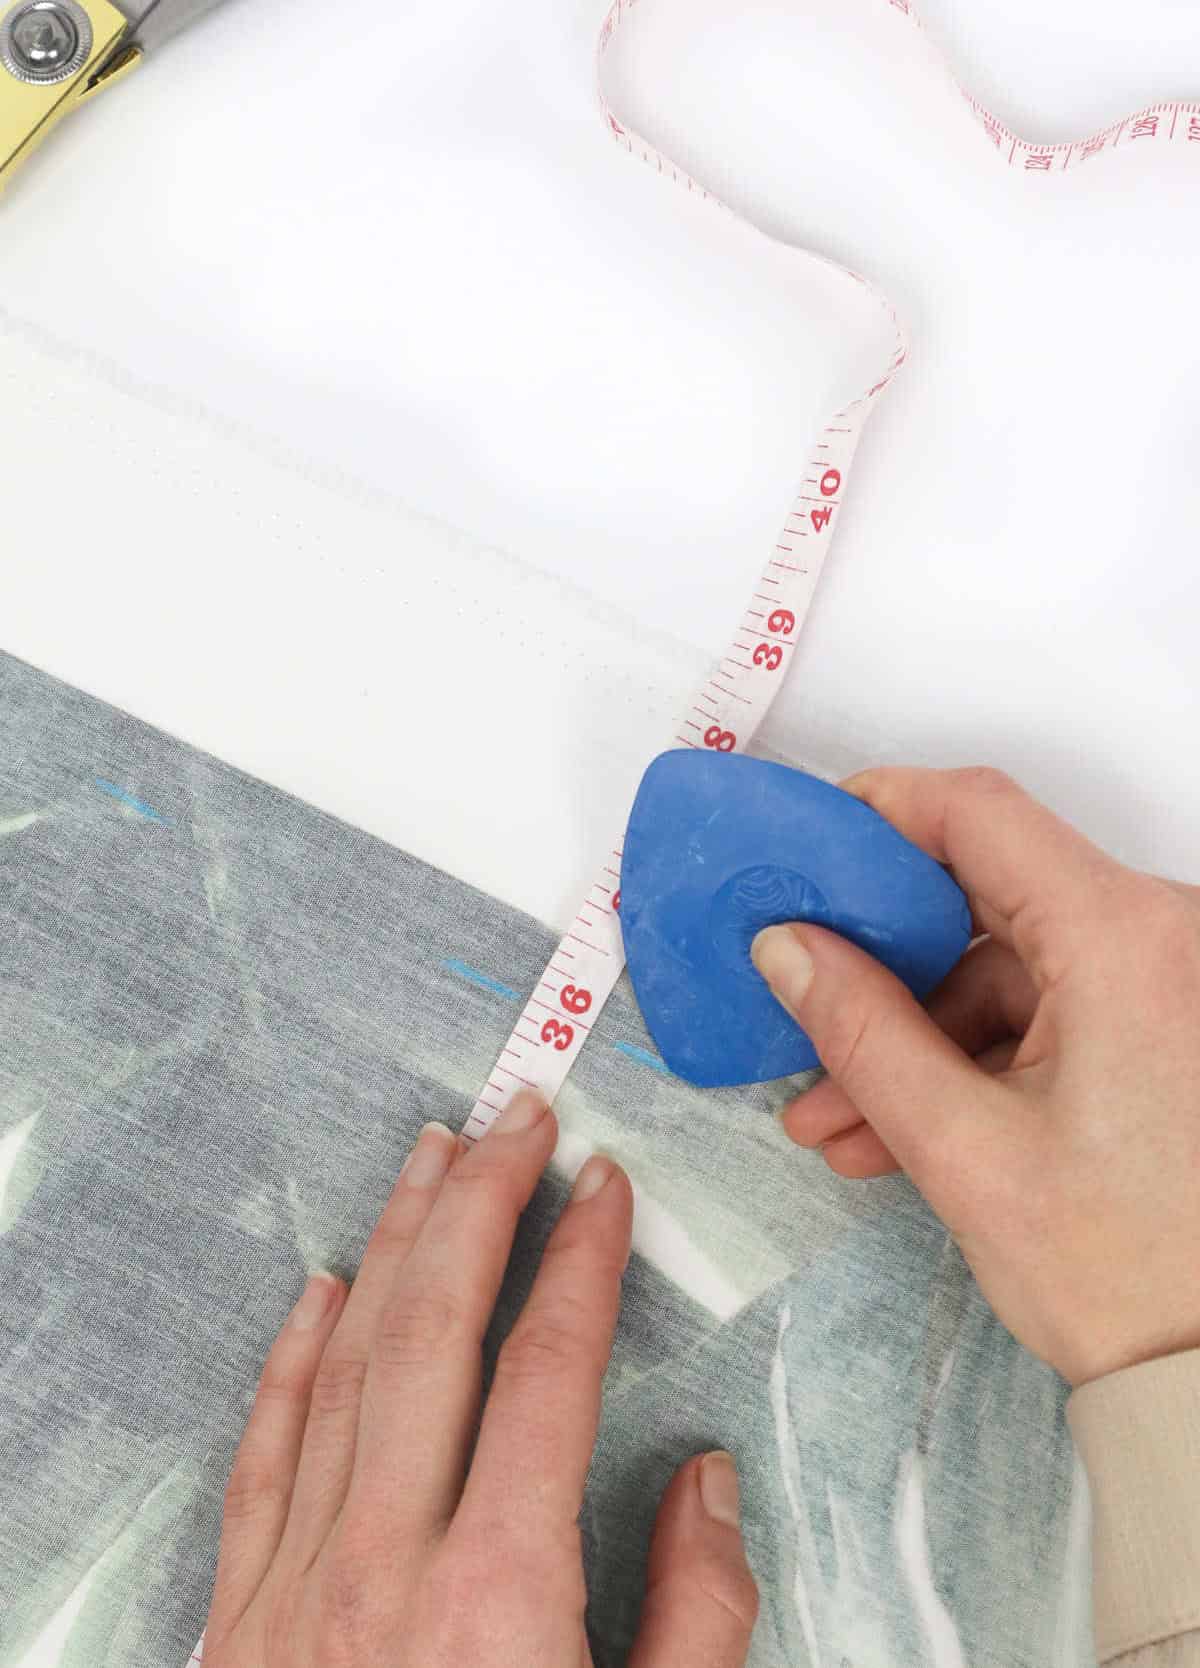
Before starting your pillowcase project, ensure you accurately measure your pillow insert by removing its existing case. Next, utilize a measuring tape to record the dimensions across both sides. For reference, let’s consider a standard pillow insert with a size of 14 inches in each direction. To calculate the necessary fabric, you’ll require two square swatches, each measuring 14 inches long and wide.
This will entail adding 2 inches on one side, followed by 4 inches on the opposite side, and another 2 inches to complete the length. The total length should be approximately 36 inches. Concerning the width, you’ll need two strips that are 1.5 inches wide and 36 inches long for sewing purposes, effectively increasing the overall width or height to around 17 inches.
Step 2
When the arduous task is behind you, it’s time to move on to the next step. To ensure accuracy, take out your tailor’s chalk and create precise markings on the fabric that correspond to the measurements you’ve obtained.
Step 3
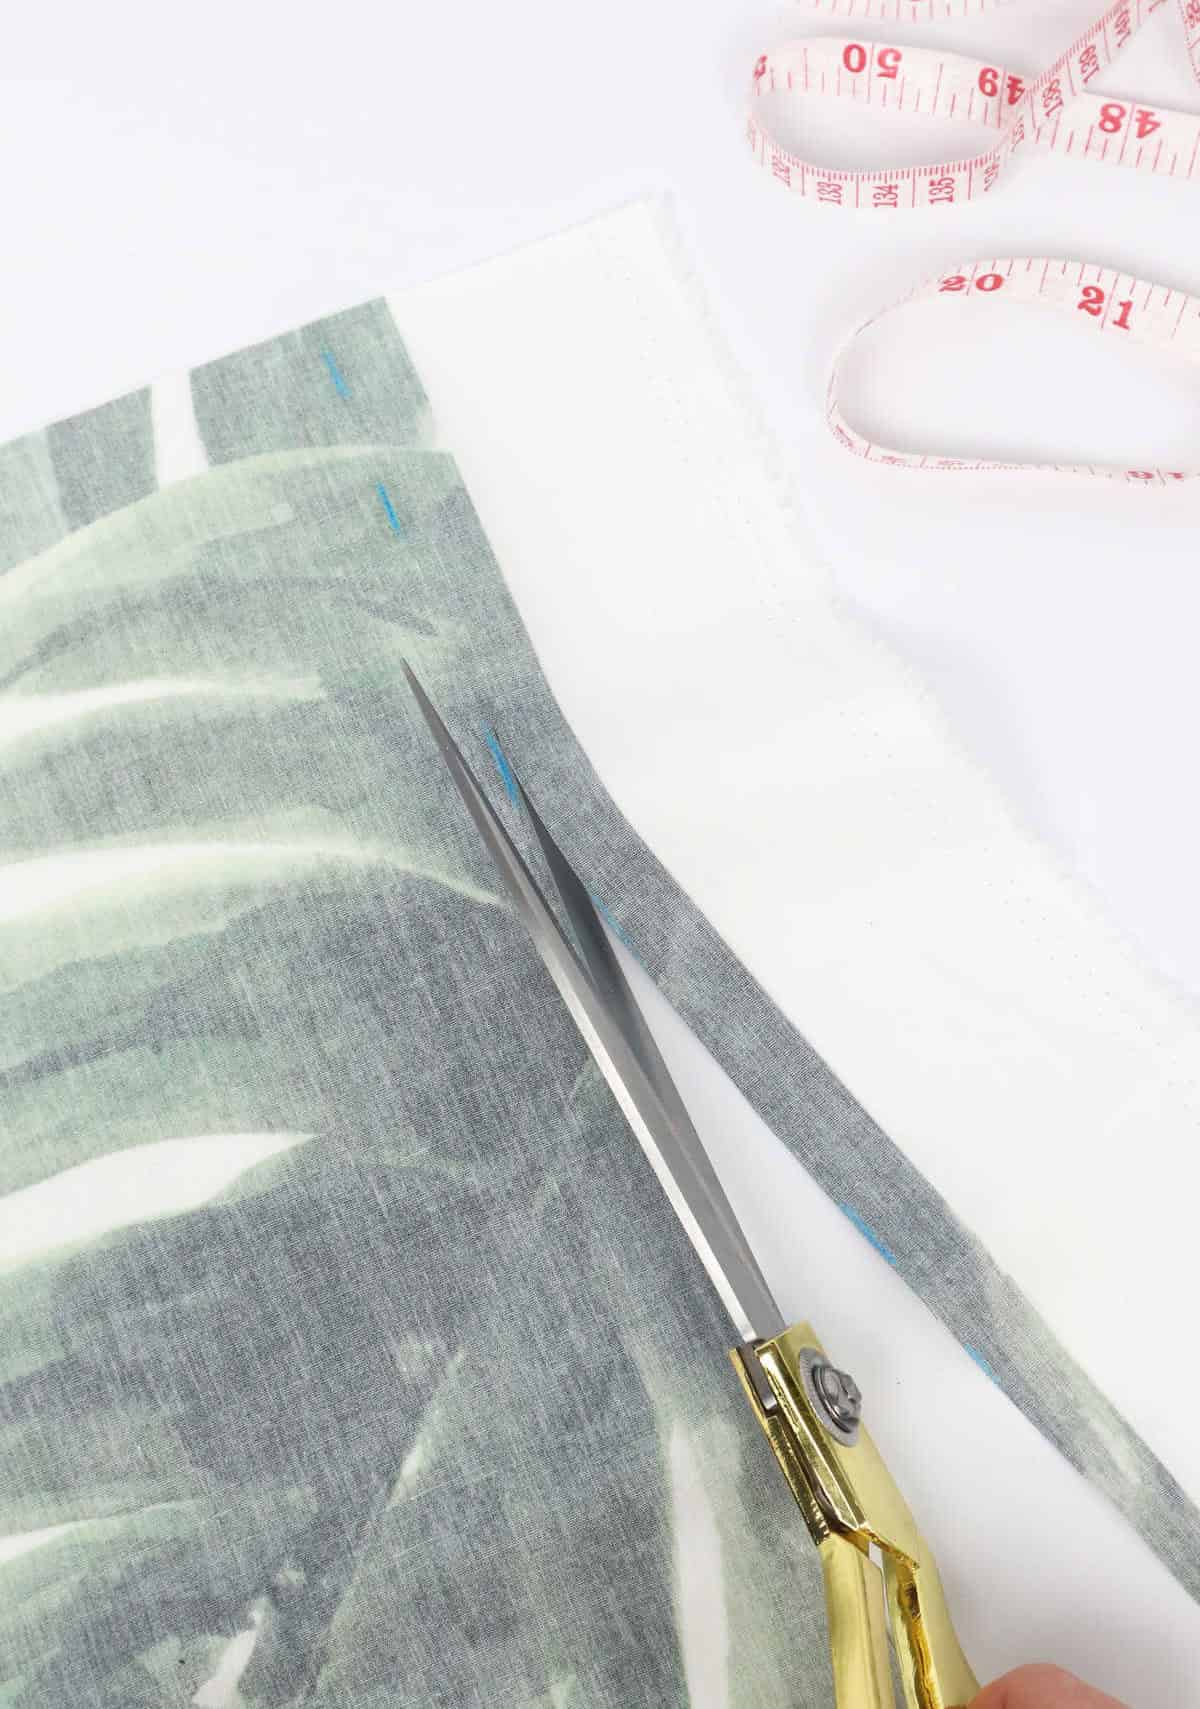
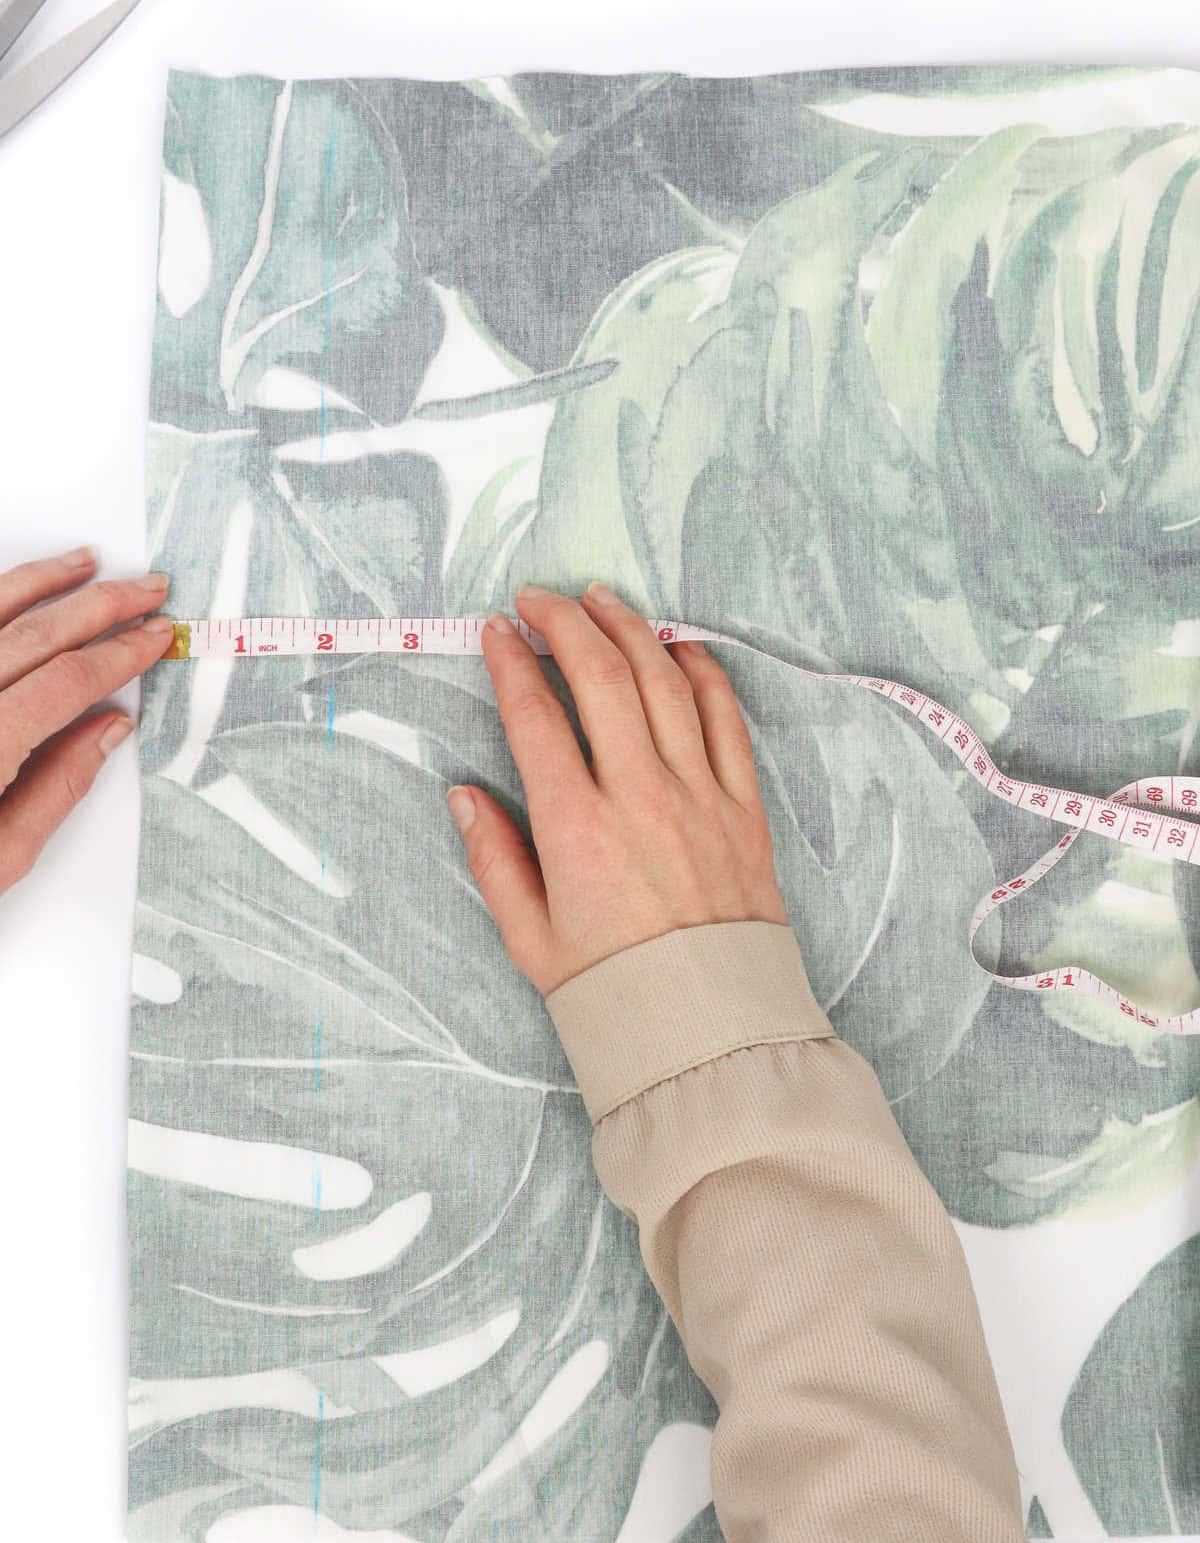
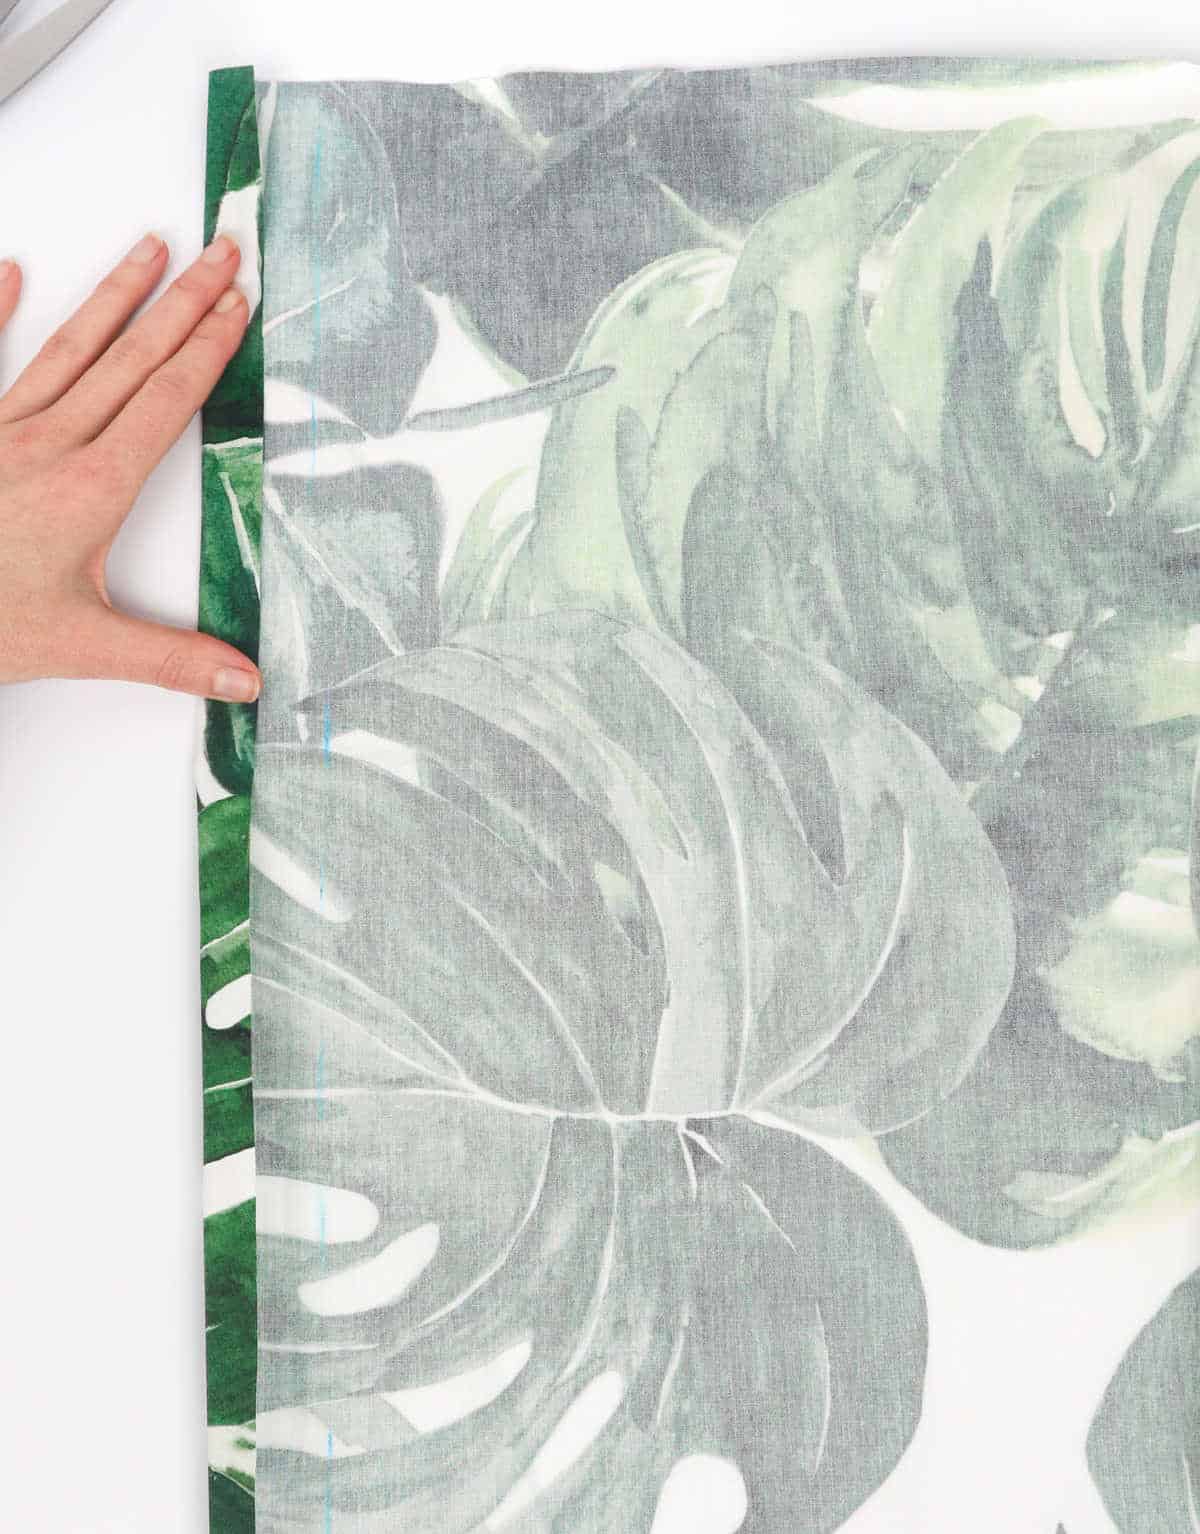


Begin by cutting a single piece of fabric measuring 36 inches long and 17 inches wide. Once you have your cut fabric, fold the top edge down approximately one inch to create an overlap, ensuring the raw edges align. Secure the fold in place using sewing pins, making sure to work on the wrong side of the fabric. This will allow the seam allowance to be sewn inward when constructing the project.
Step 4
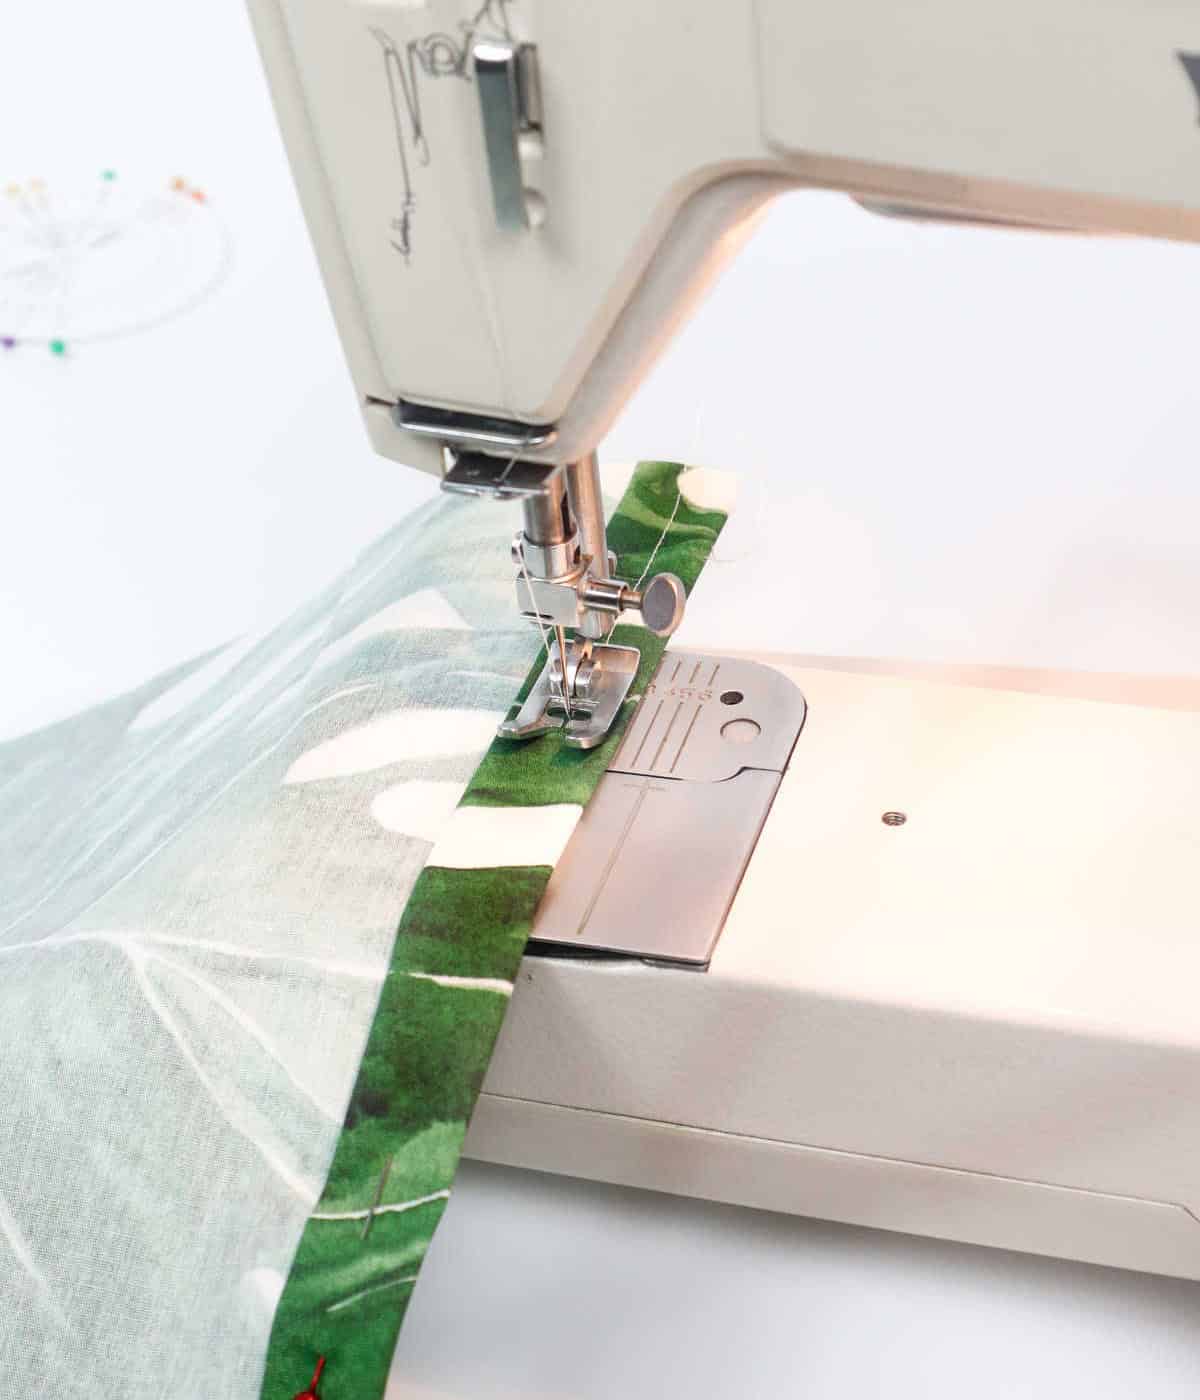
As you’re ready to complete the project, take out your trusty sewing machine and get it prepared for use. Keeping the fabric firmly in place with a steady hand, begin sewing along its entire length, carefully maintaining even stitches throughout the process.
Step 5
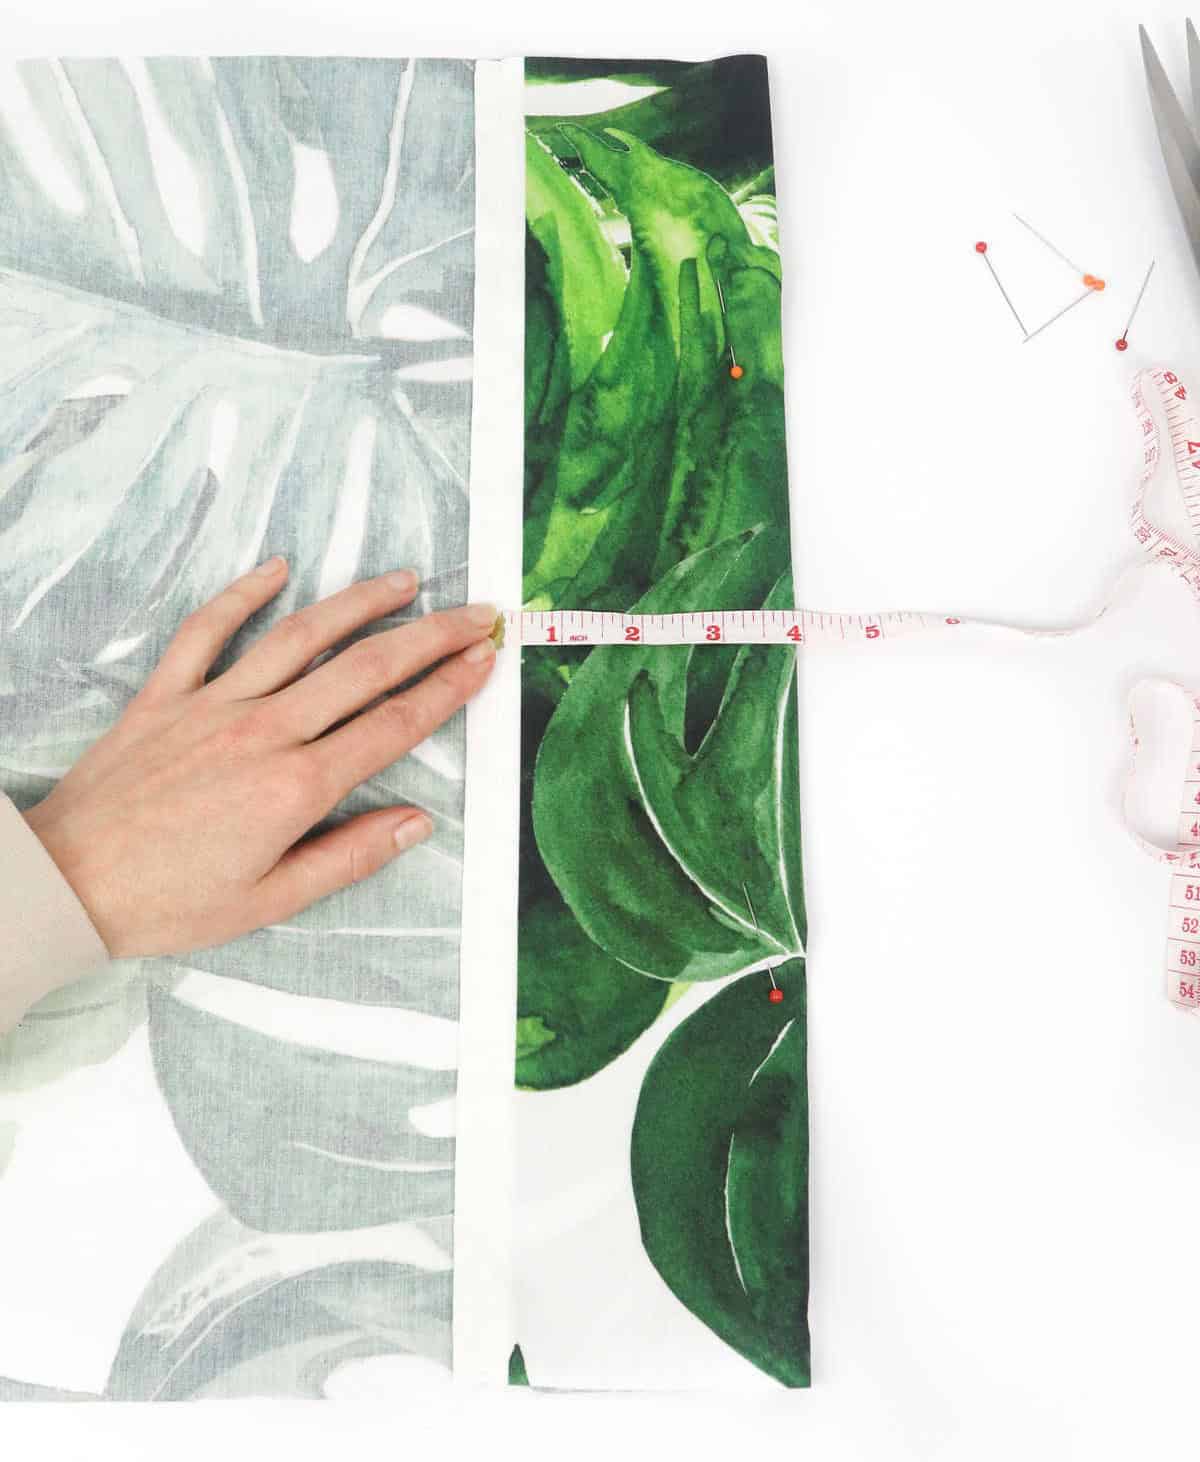
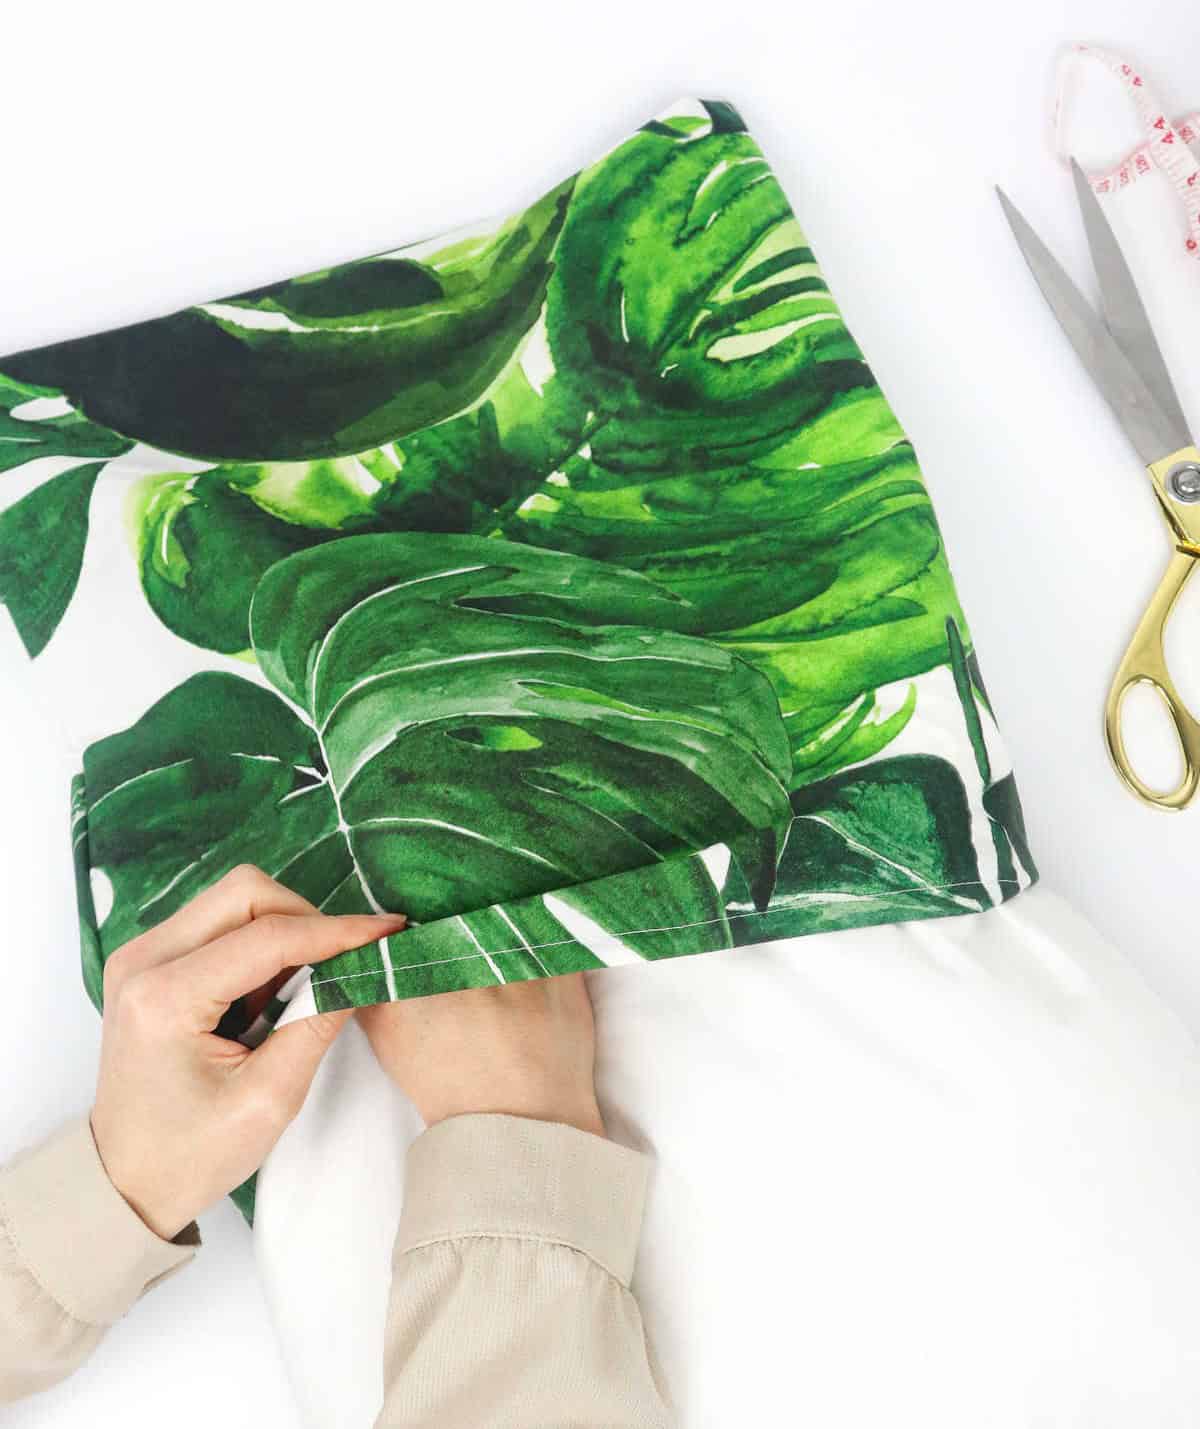
To eliminate any excess fabric, simply take precise measurements and create a 4-inch fold along one edge. Secure this flap with pins to ensure it remains in position.
Step 6
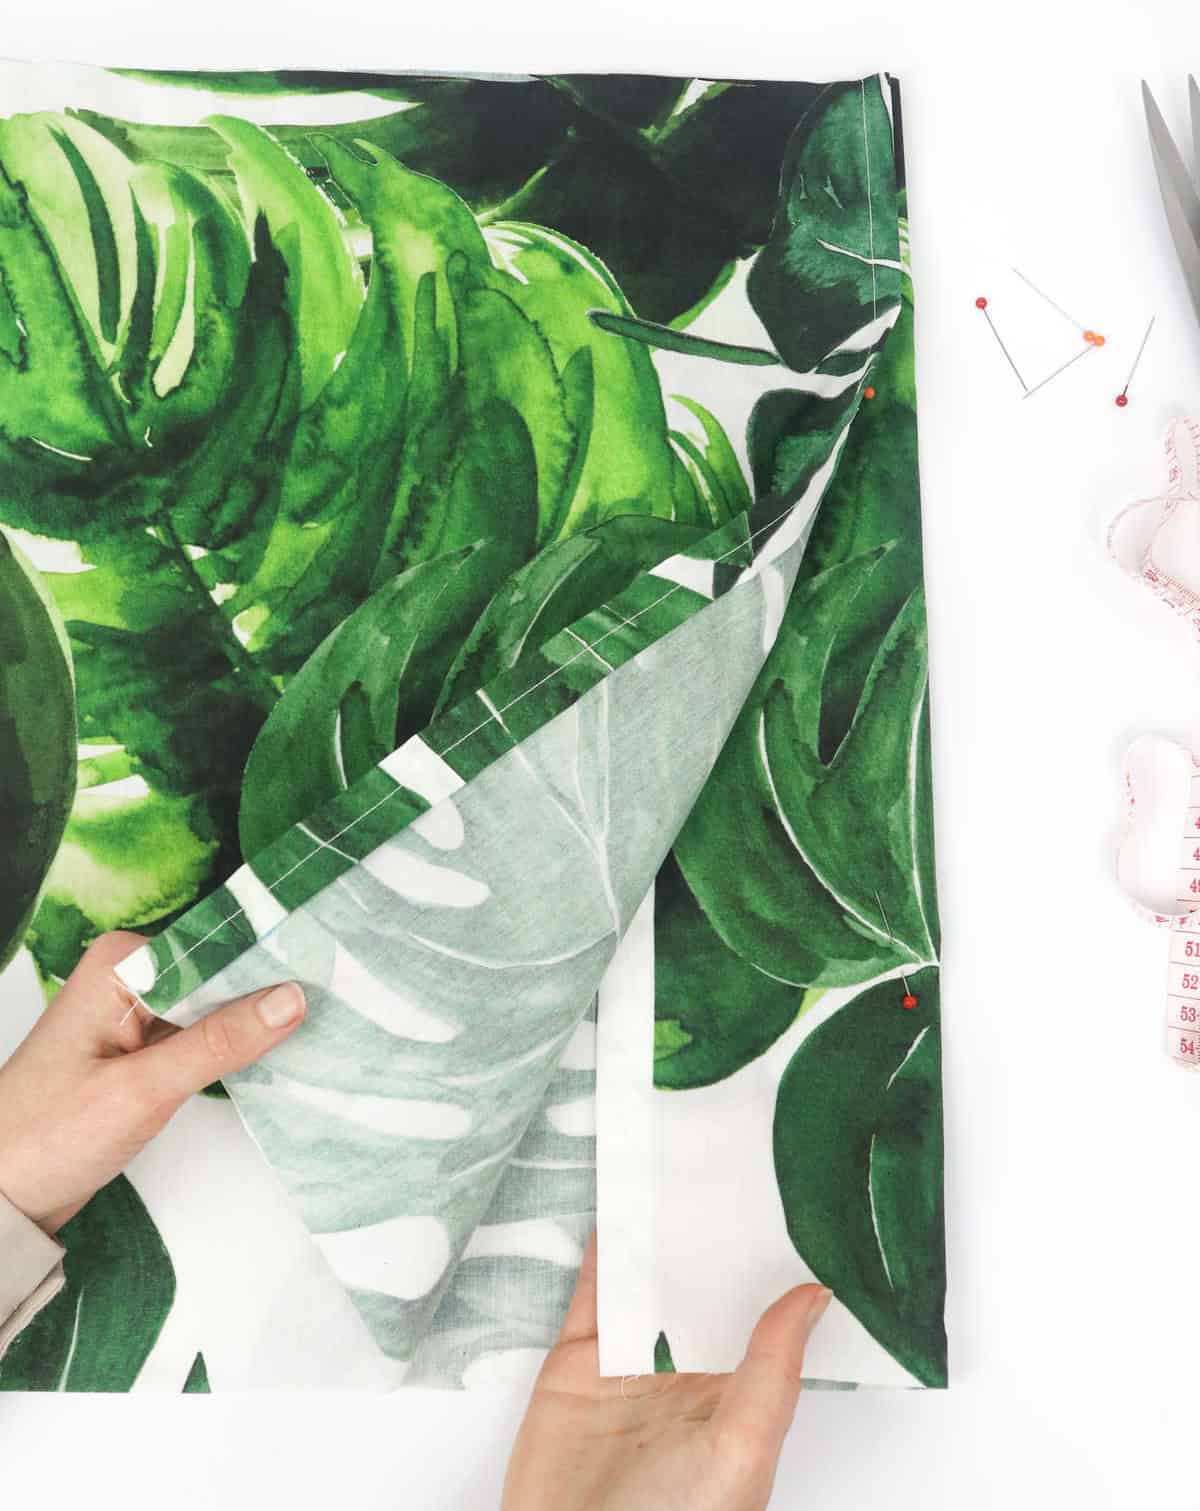
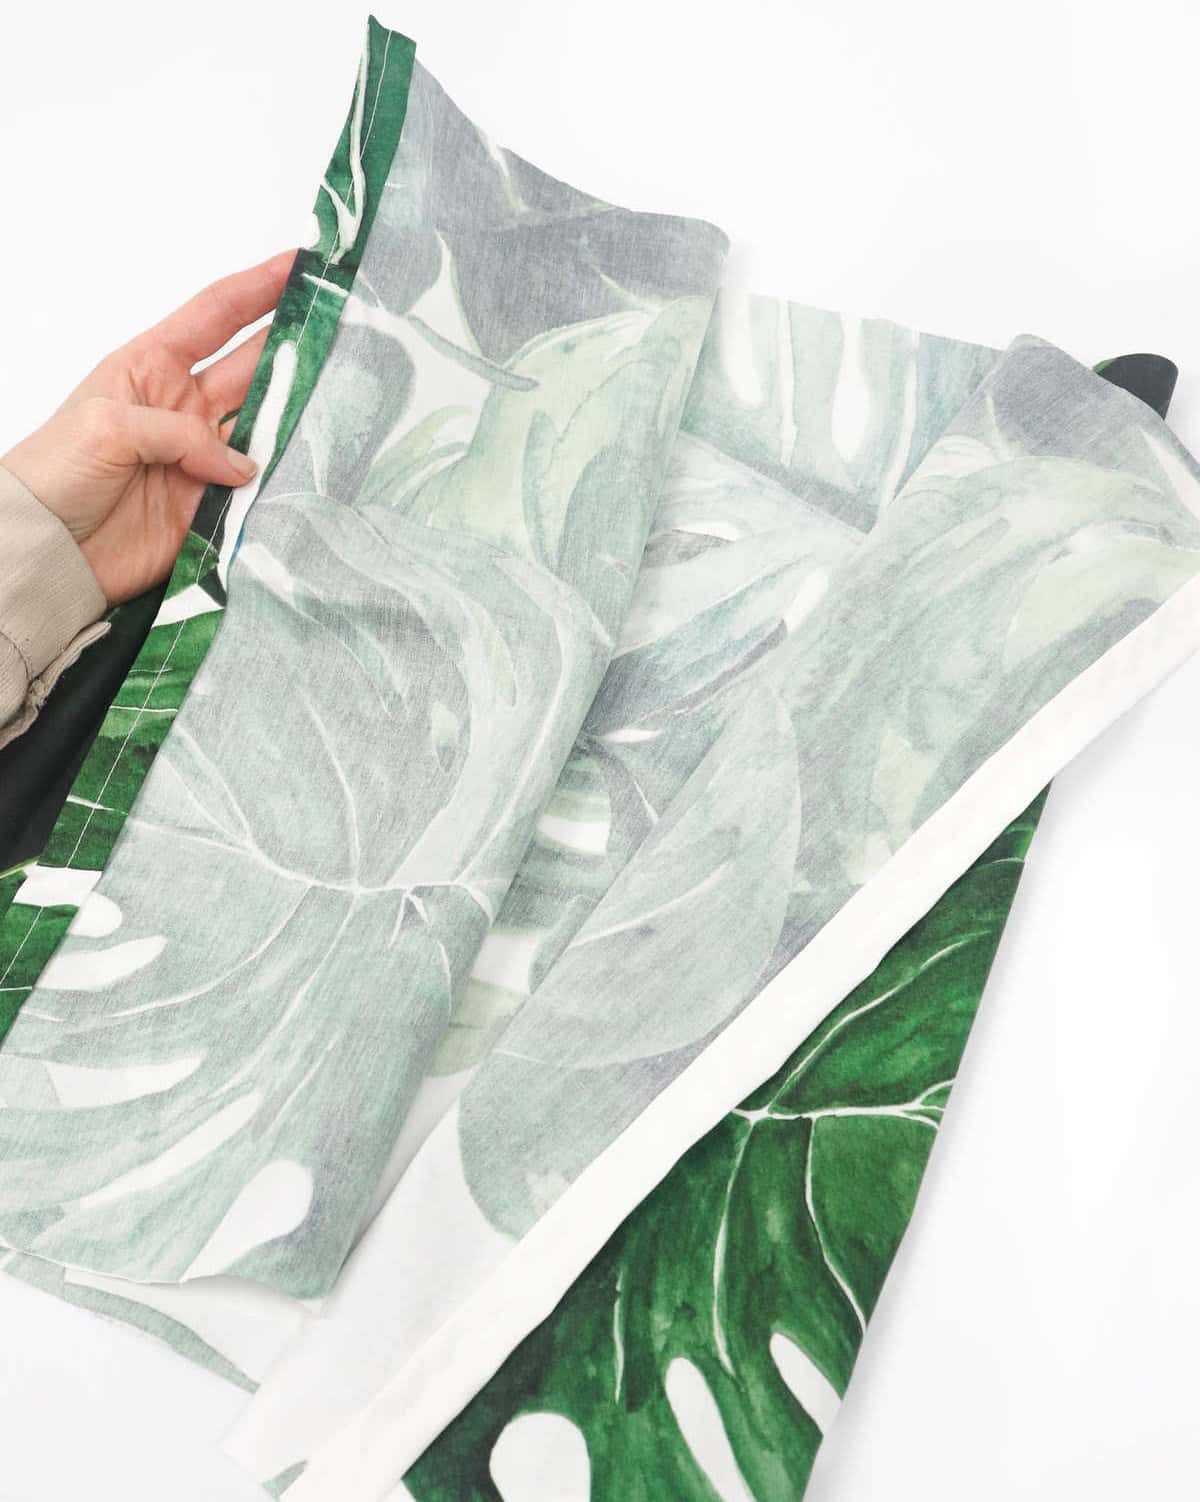
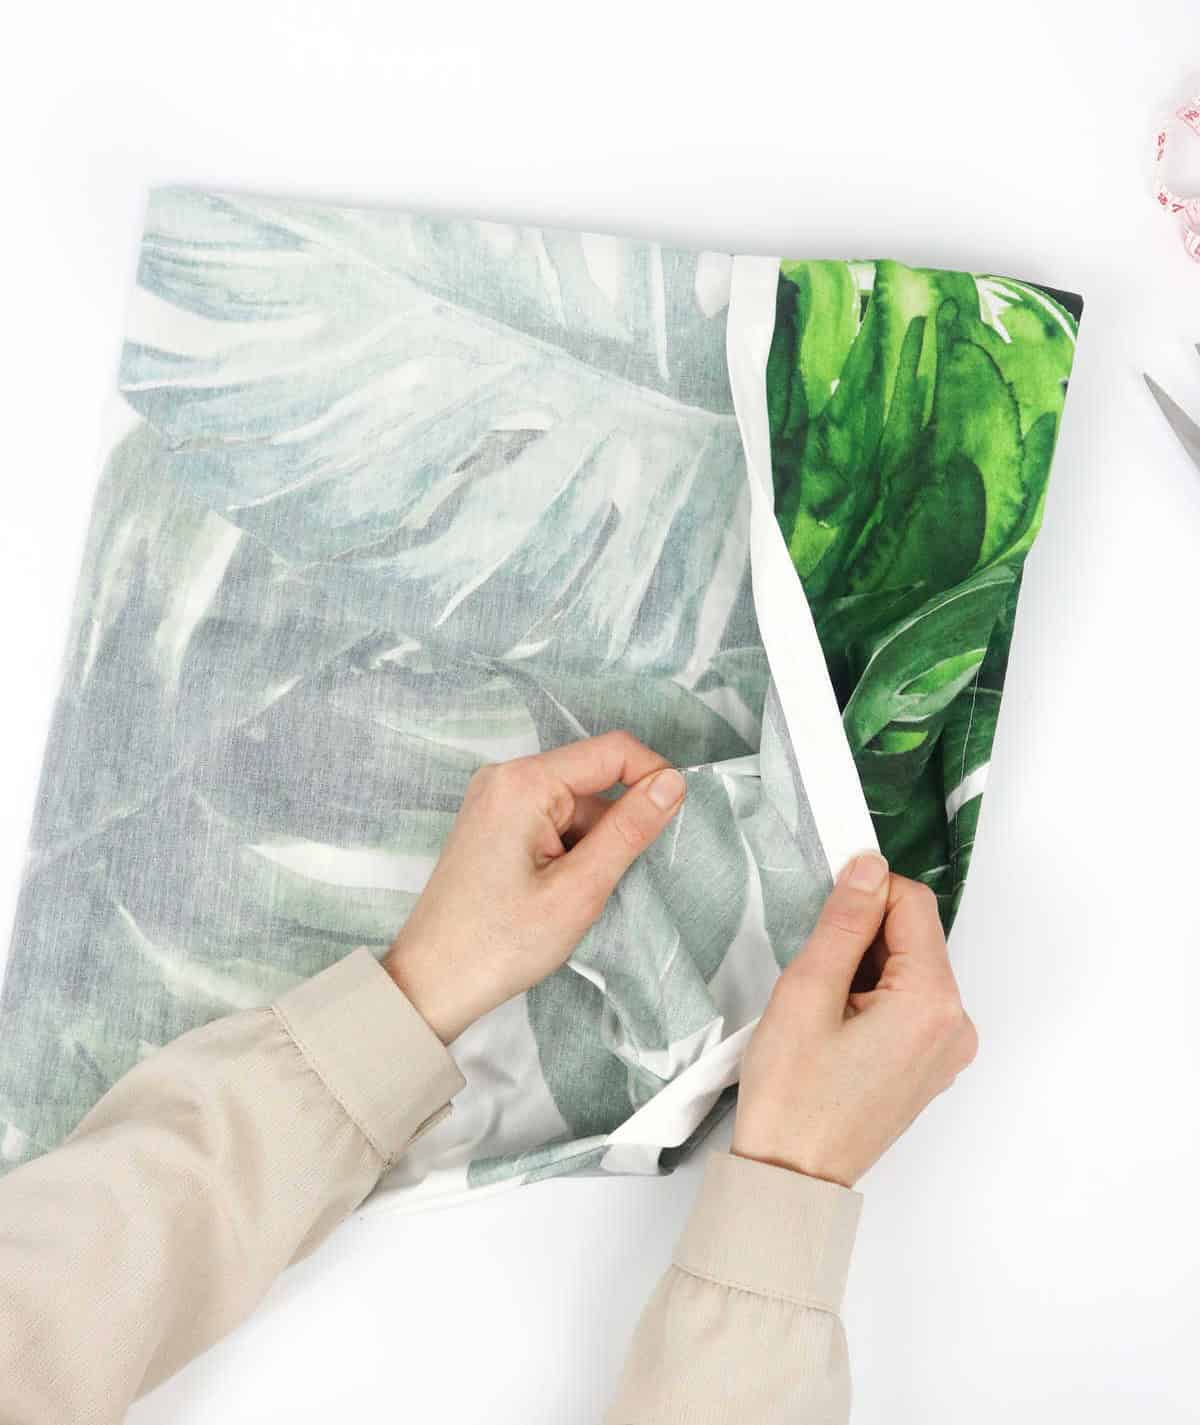
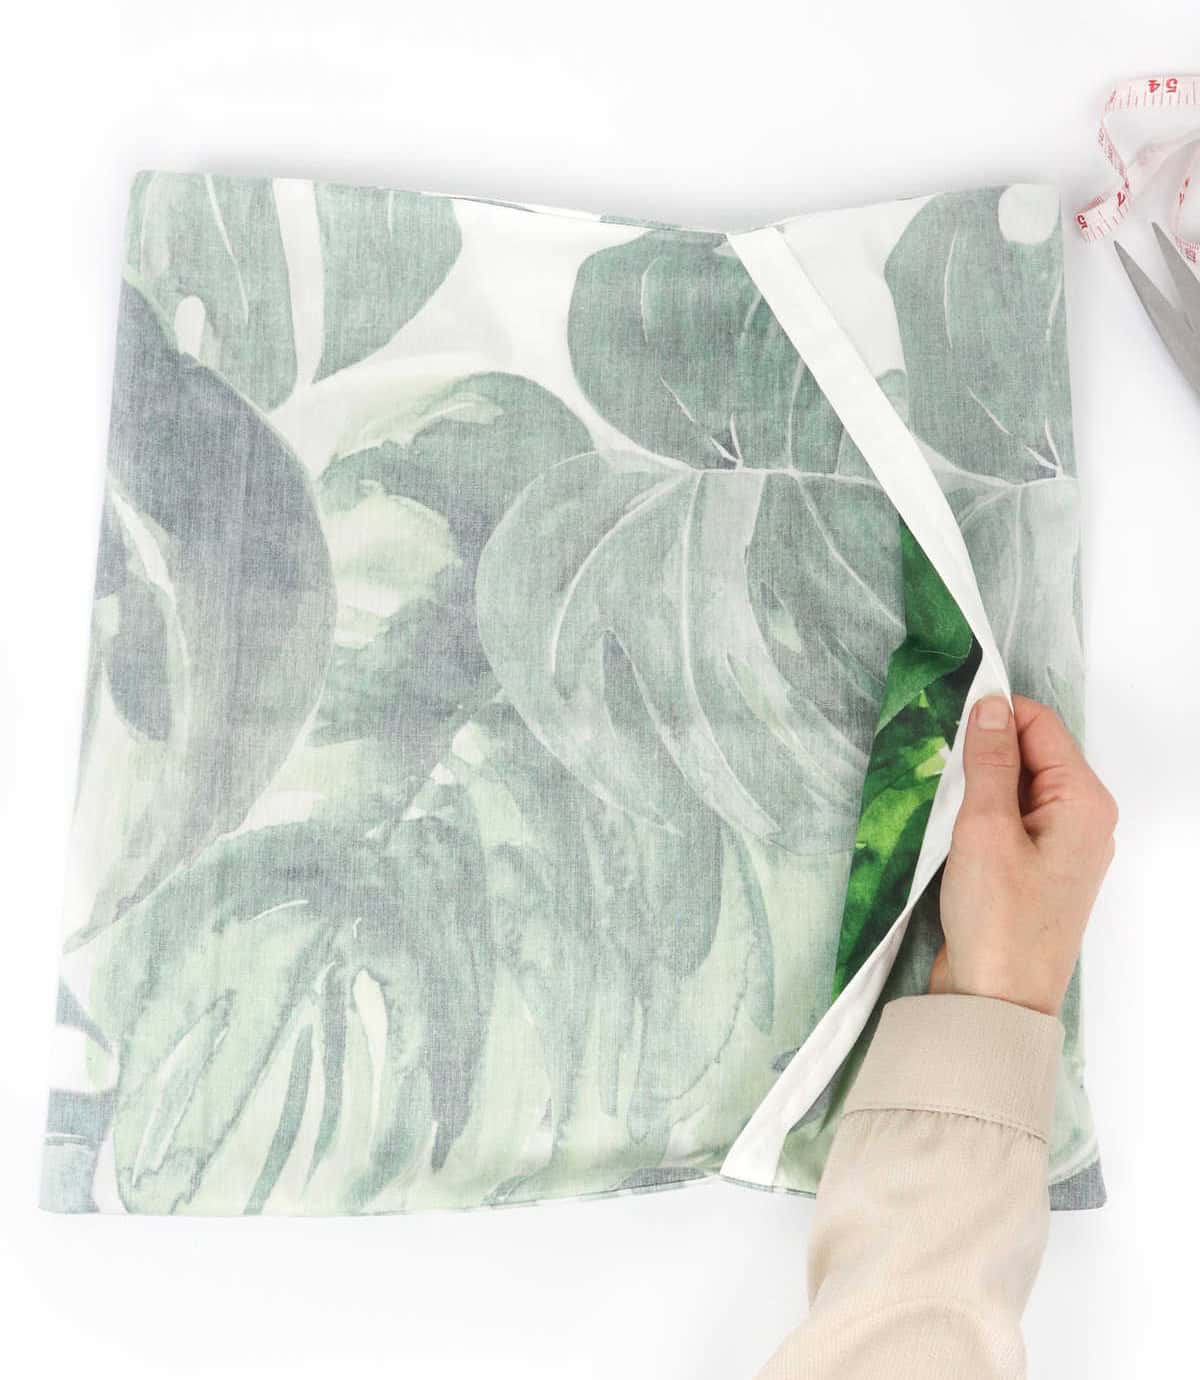
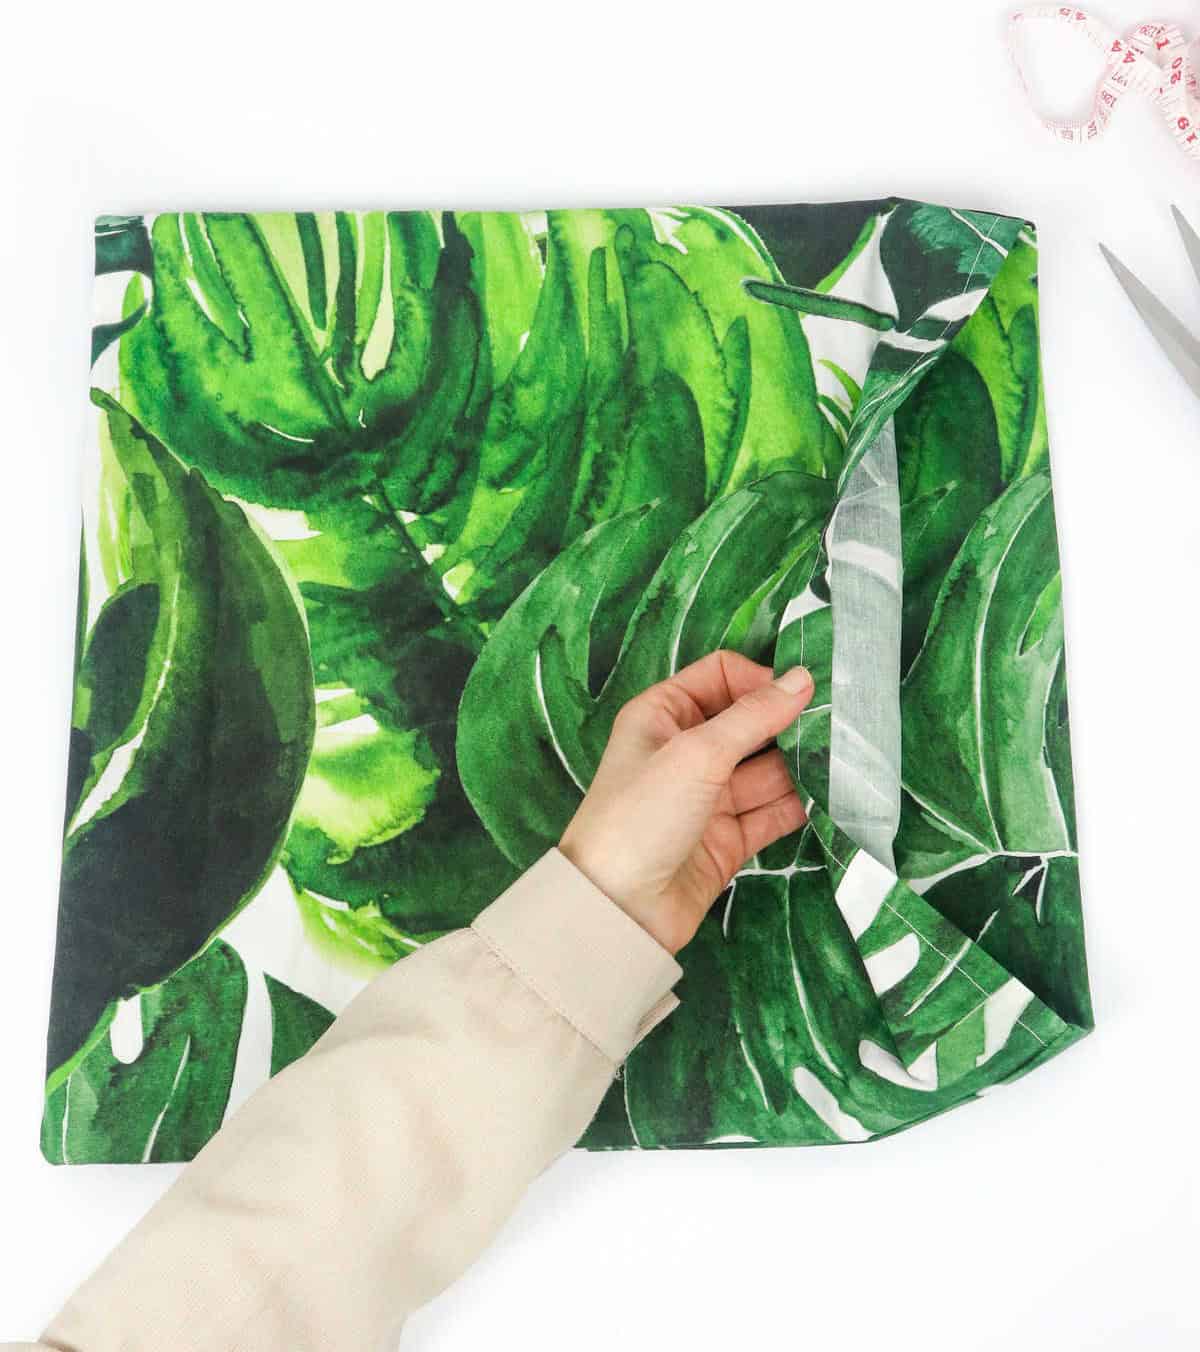
To achieve a crisp fold, bring the fabric together along its midline, ensuring the edges are precisely aligned. A key consideration is the overlap: it’s essential to tuck this under the folded edge and have the printed side of the fabric facing outwards.
Once you’re satisfied with the alignment, secure the fabric in place using a few pins until you’re ready to move forward with the sewing process.
As you should now have a defined pillowcase shape taking form, take this opportunity to double-check that the edges are aligned to your liking before proceeding.
Step 7
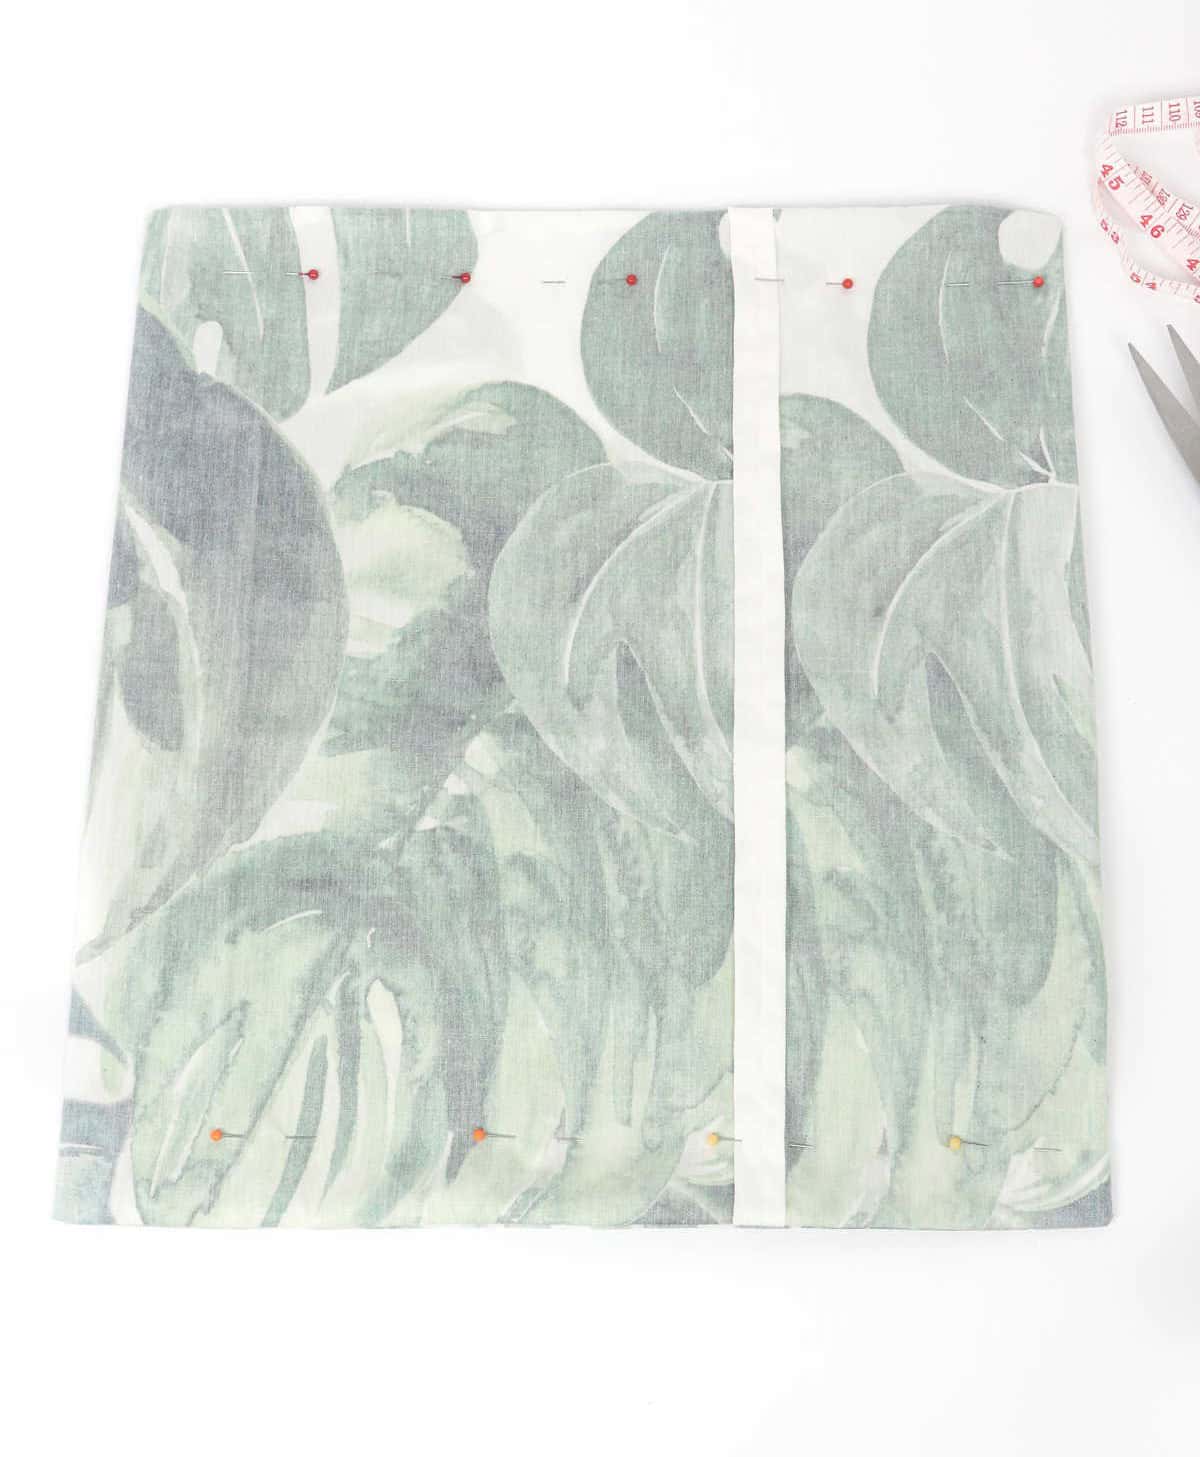
To begin reworking the pillowcase, carefully turn the outer layer inside out, ensuring the printed side is now hidden and the wrong side is visible. Similarly, flip the flap inward, making sure the right side is now facing towards the interior. As you do this, don’t forget to allocate an additional inch for seam allowance.
Step 8

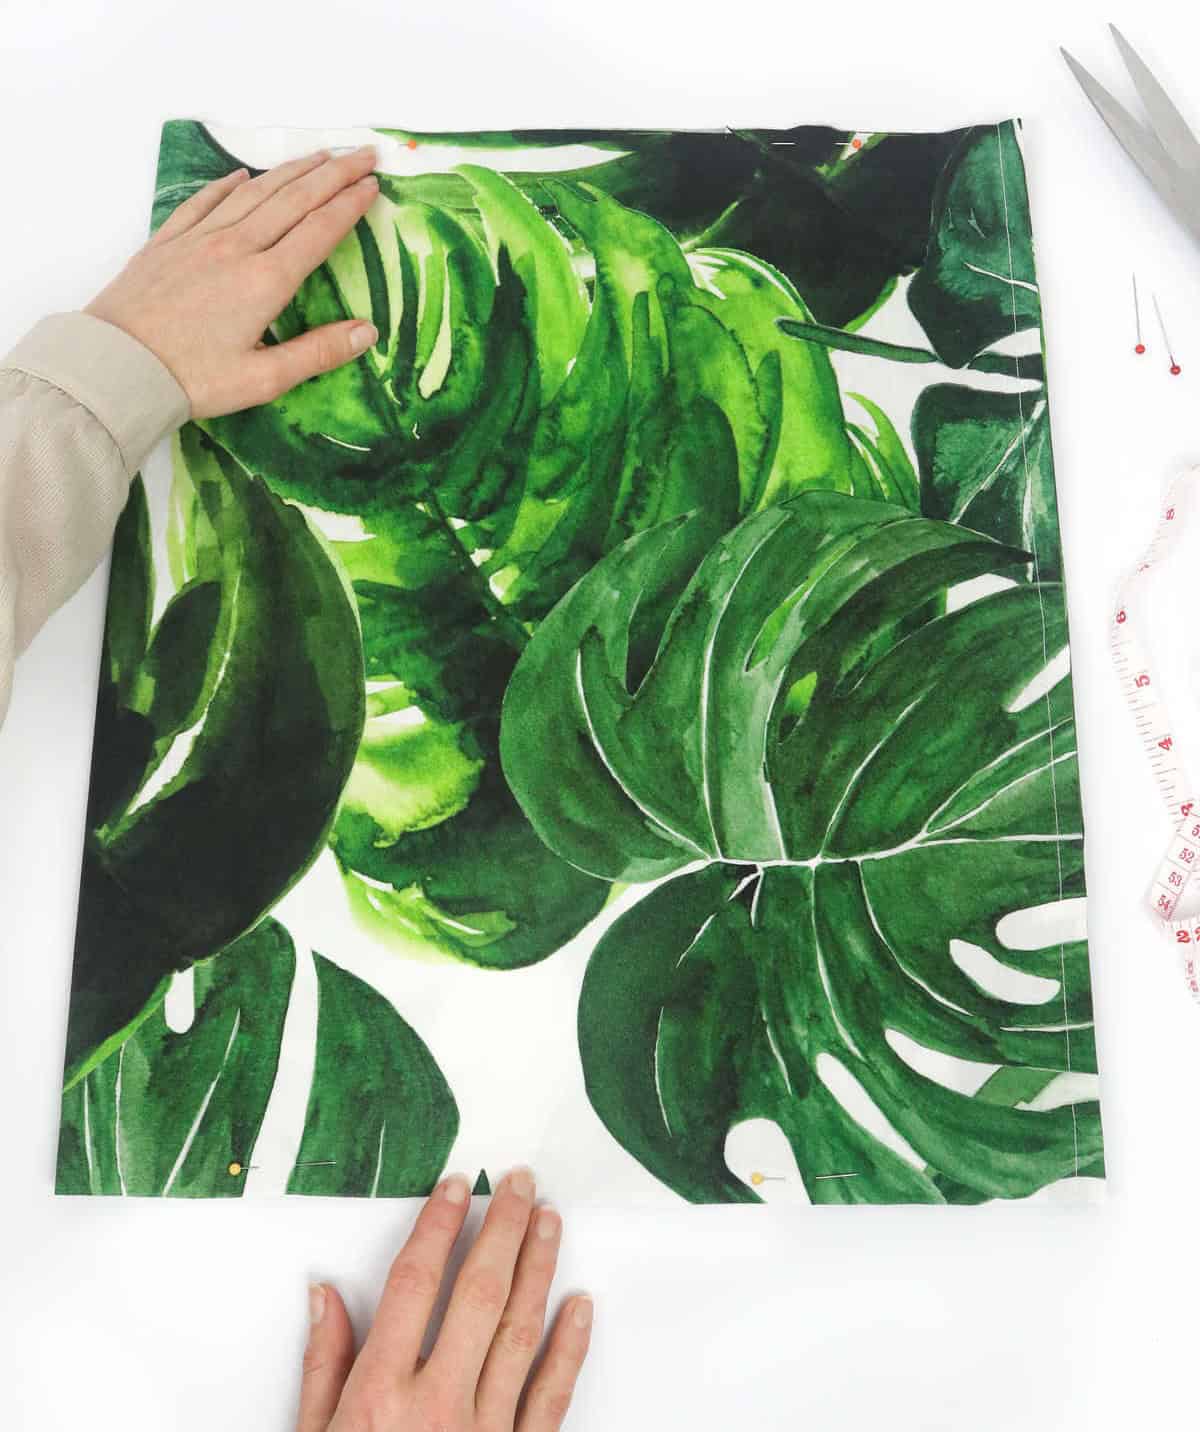
As you complete the final stages of sewing around the perimeter, your fabric will now be fully enclosed. To achieve a sturdy and long-lasting construction, it’s essential to prioritize the initial attachment of the top and bottom seams. This is particularly crucial since these areas are subject to added stress. Additionally, make sure to employ back stitches to reinforce the stitches and prevent any potential unraveling or fraying.
Step 9
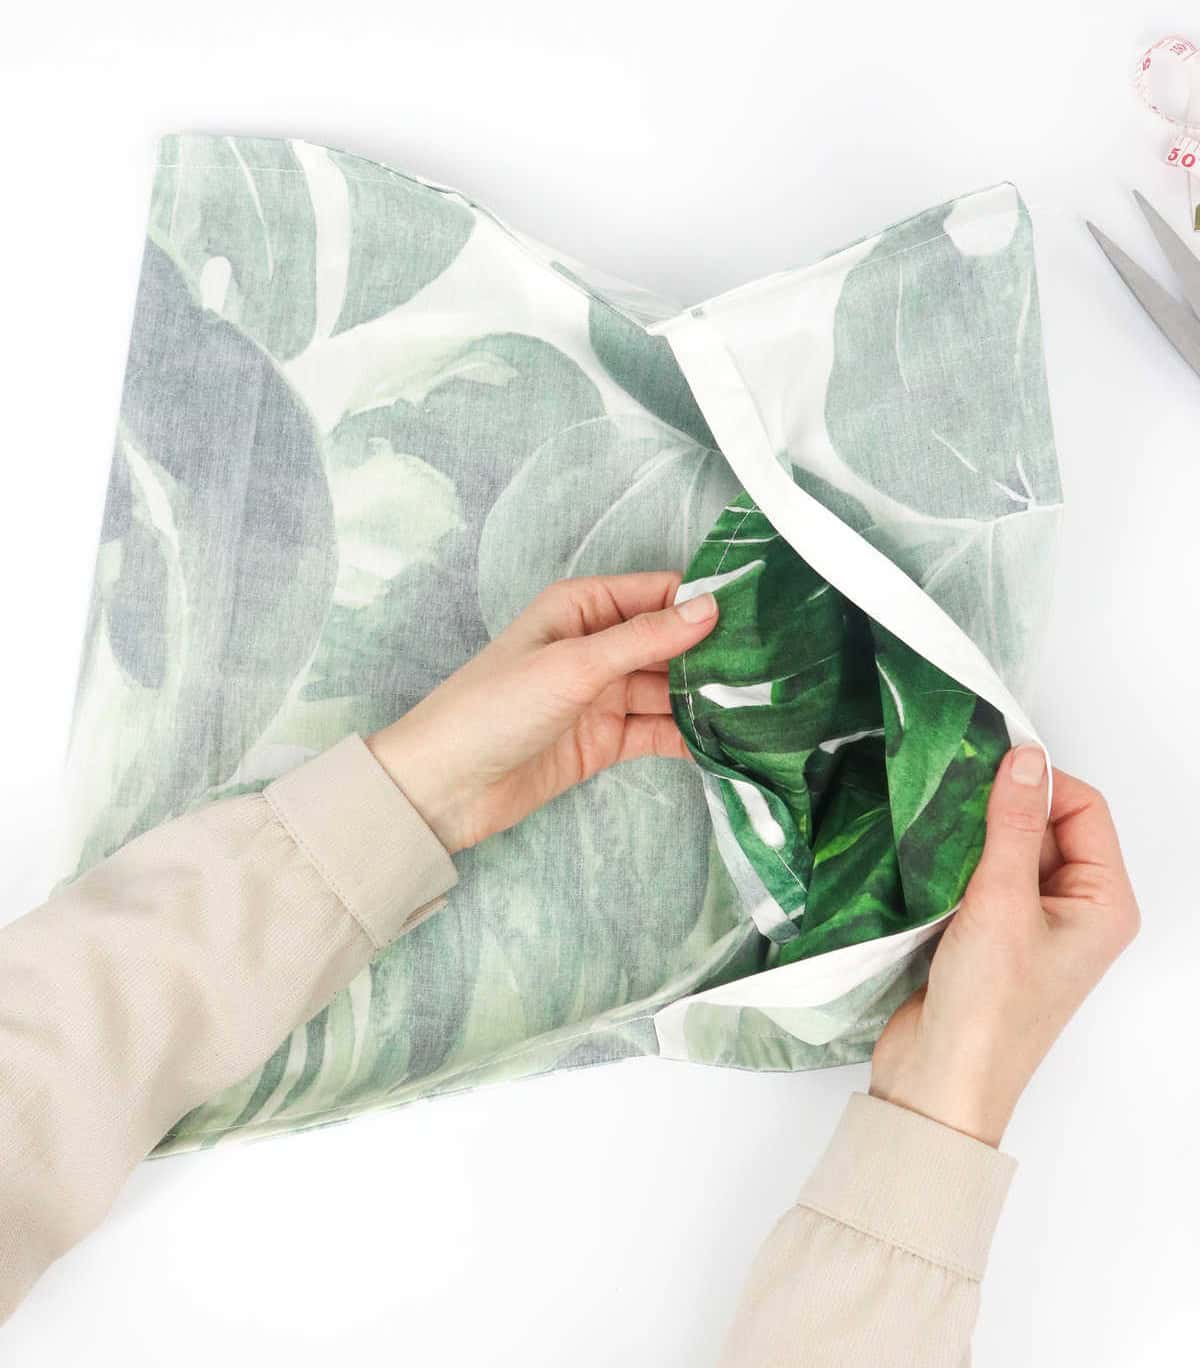
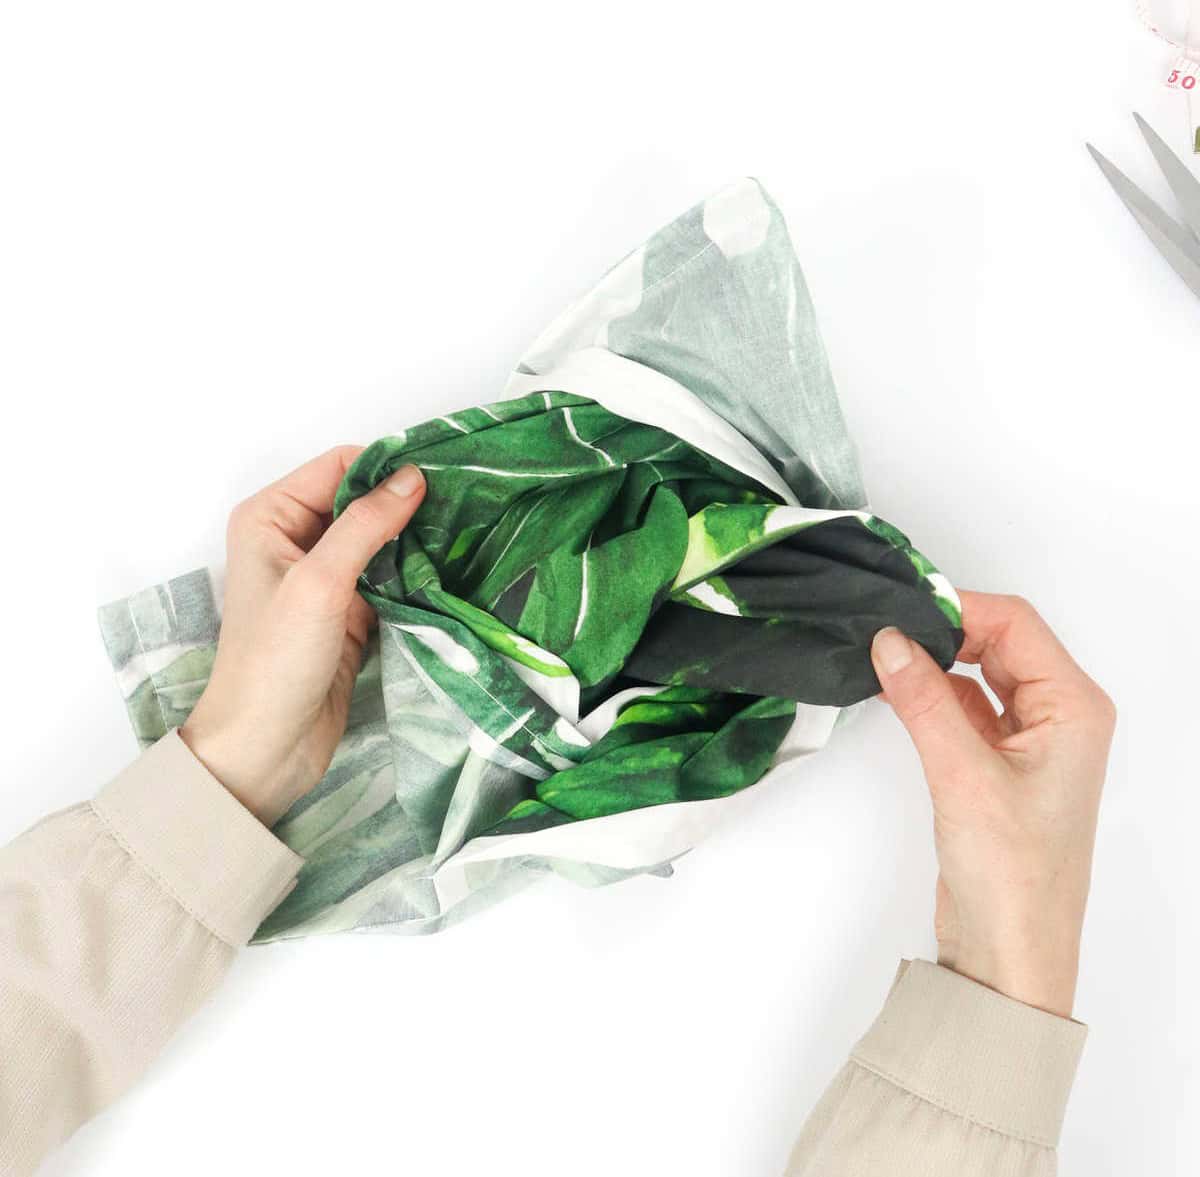
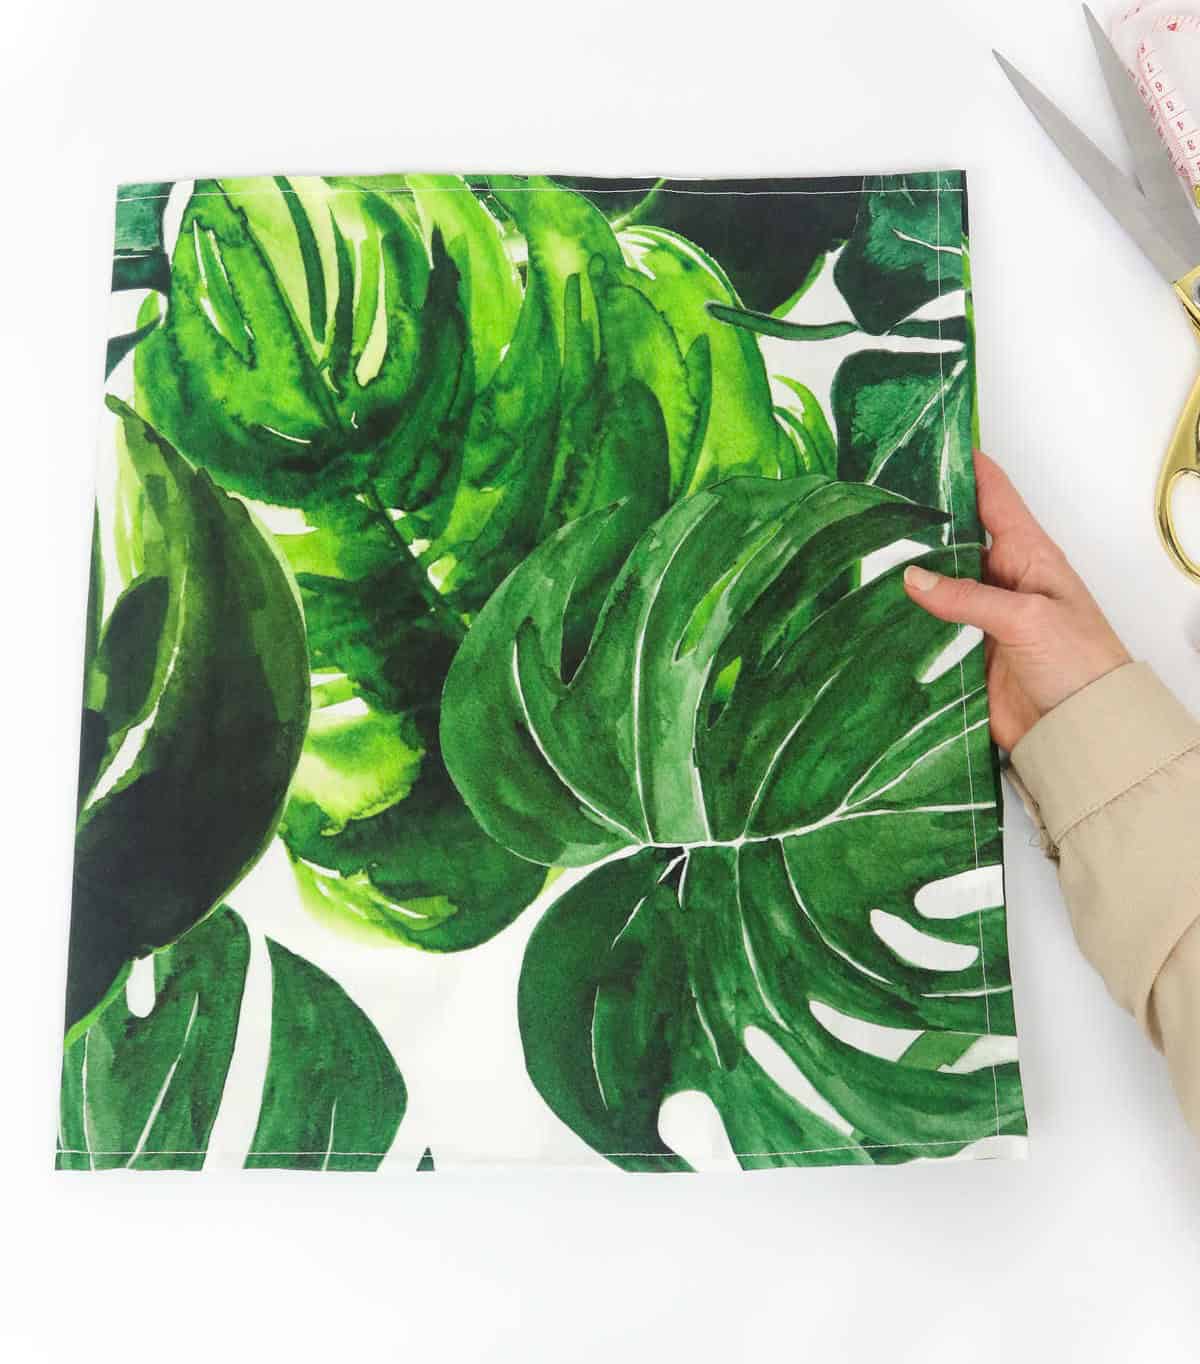
As you prepare to give your pillowcase a fresh new look, take a moment to flip it over to its reverse side. Gently grasp the fabric and invert it, taking care to smooth out each corner with the pads of your fingers until they’re perfectly aligned.
Step 10
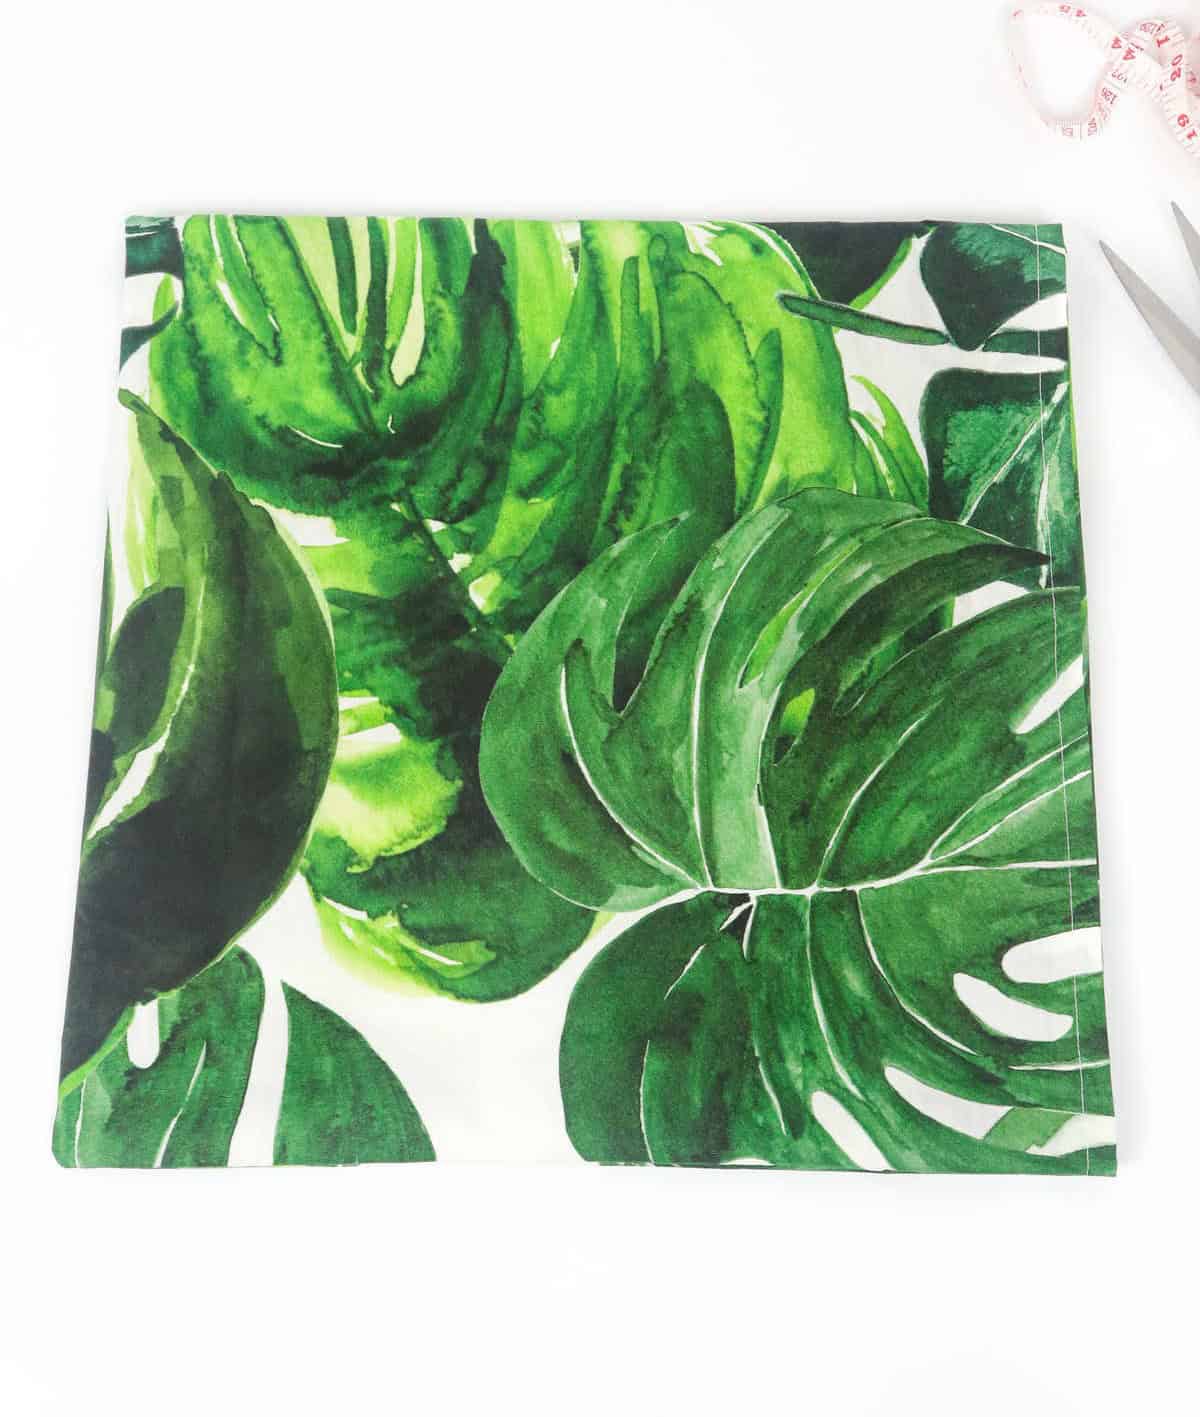
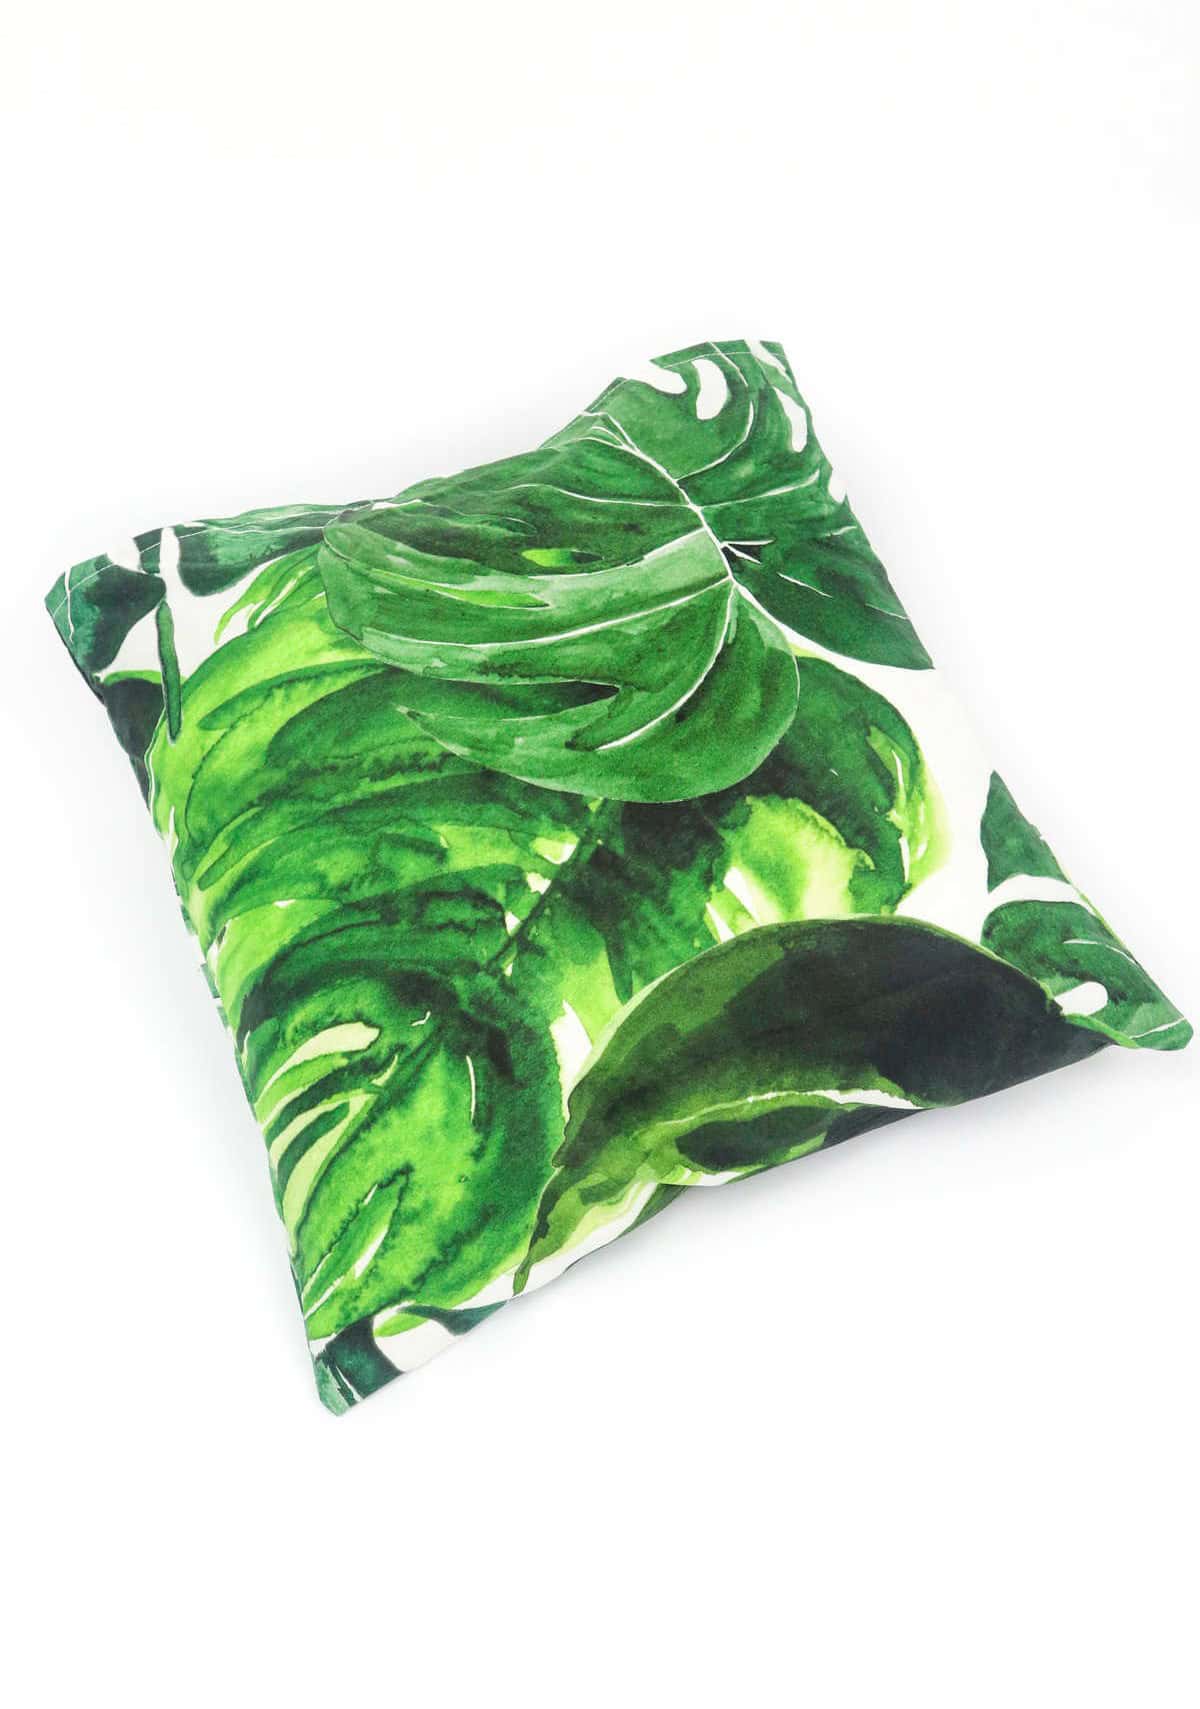
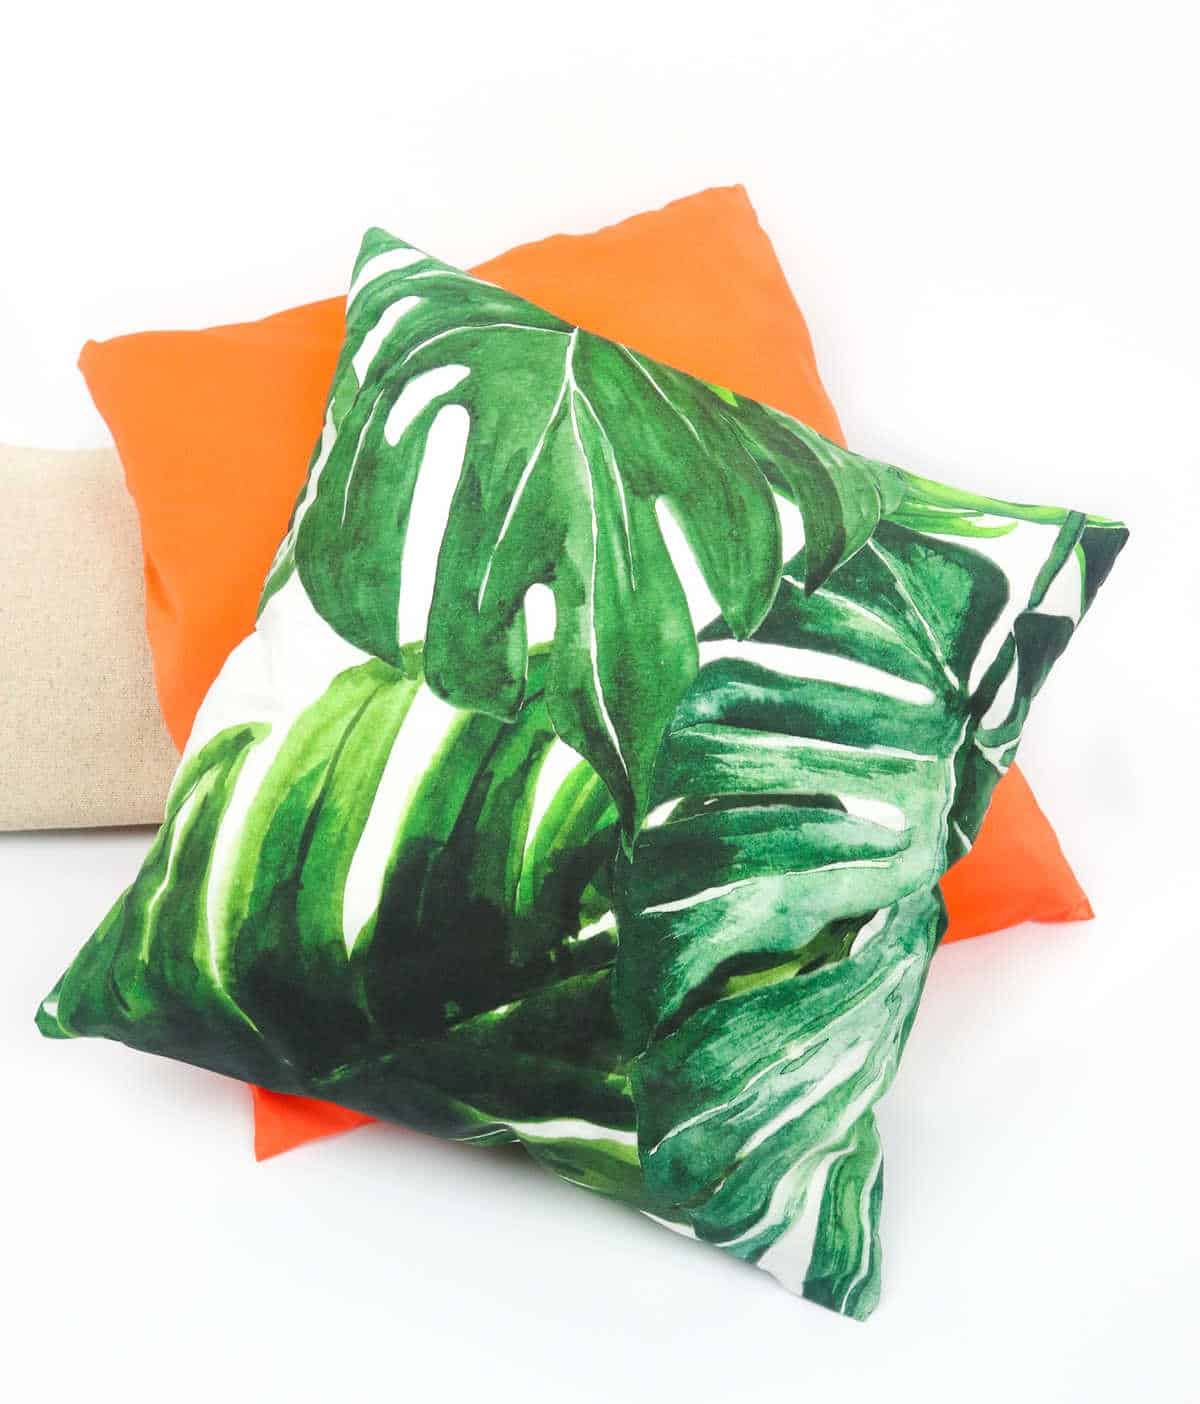
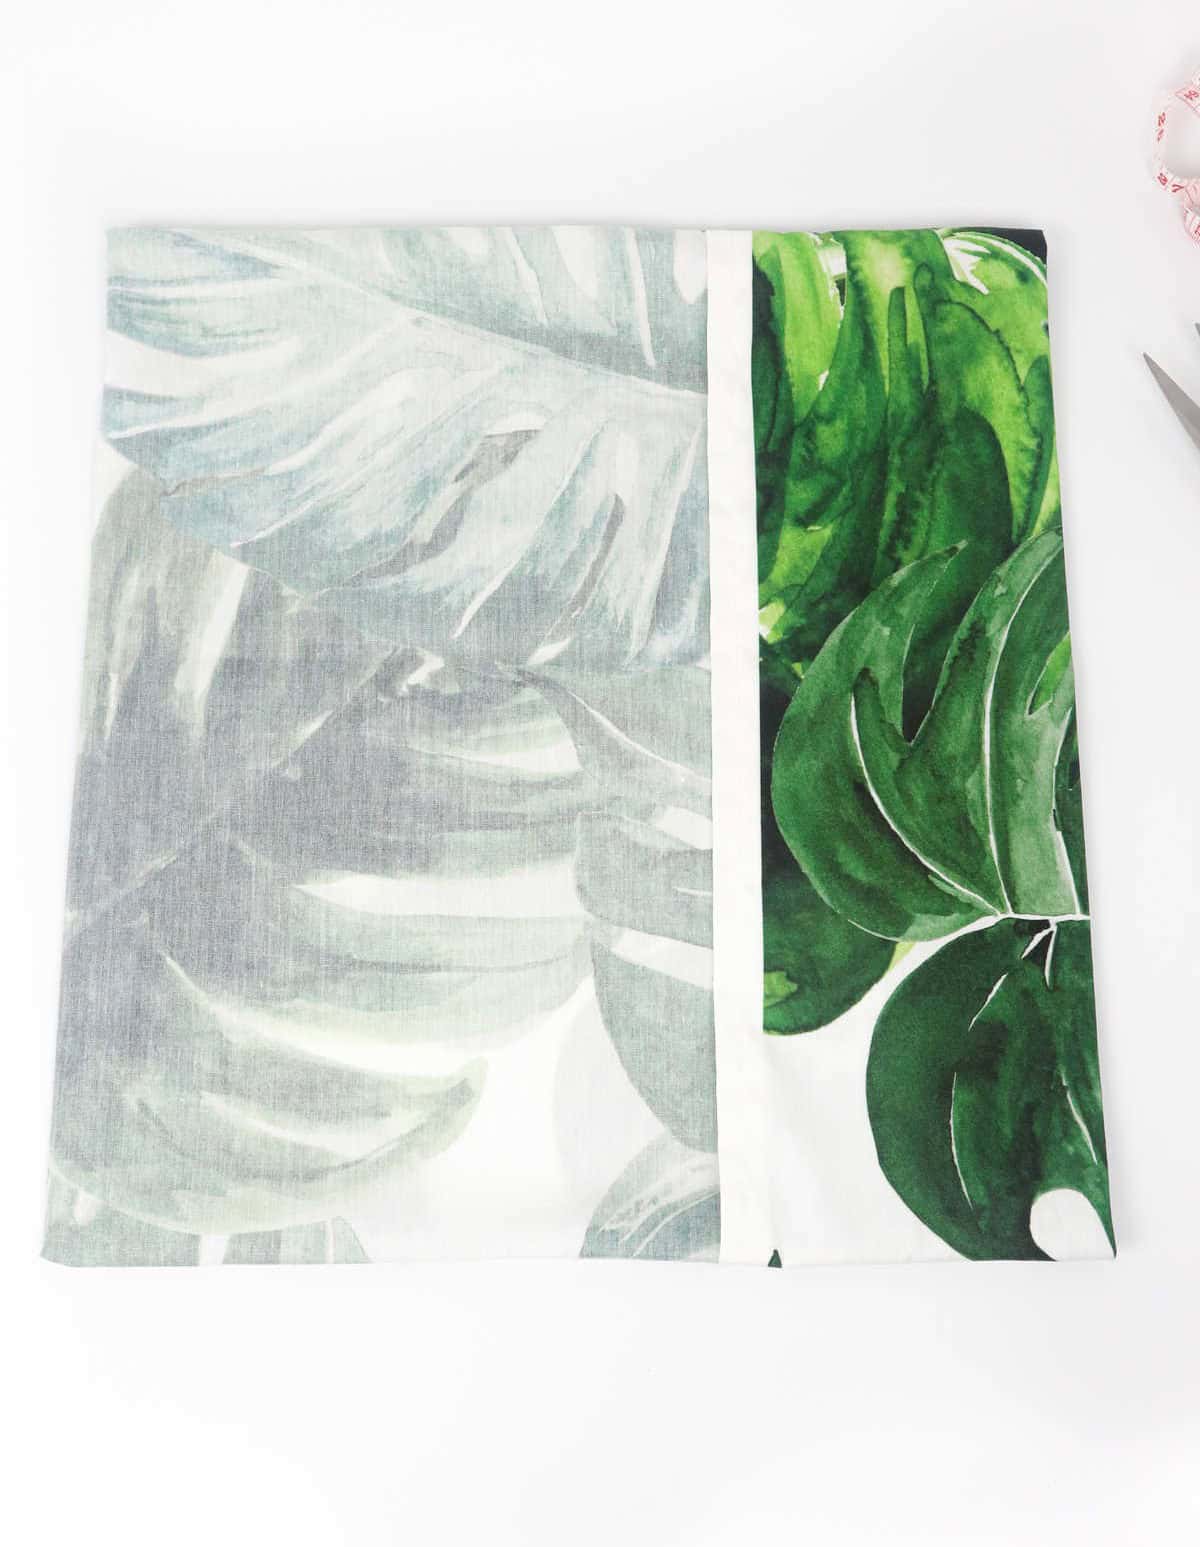
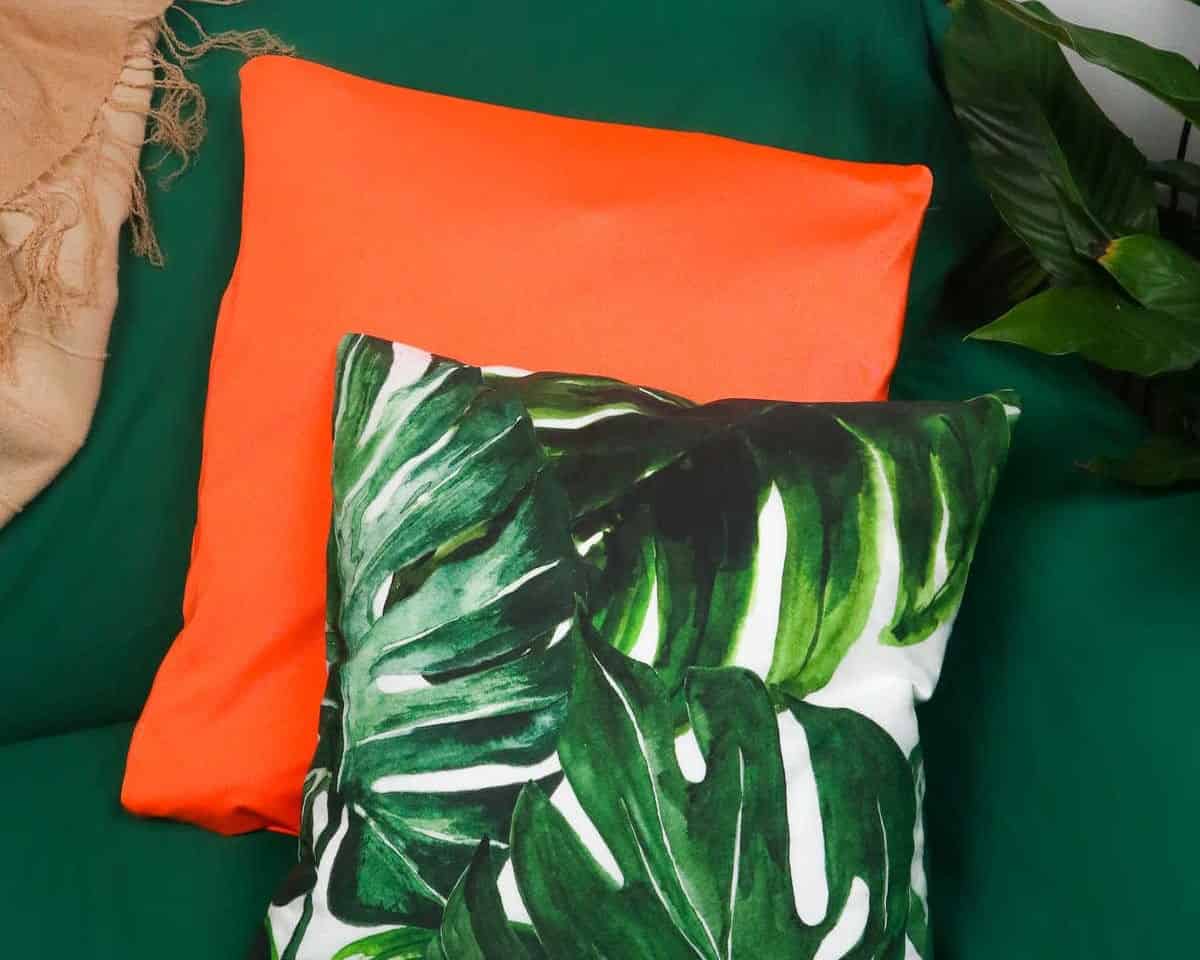
By now, your pillowcase should have taken shape. The final result looks fabulous, doesn’t it? To complete the look, simply slide the pillow insert into the flap, smoothing out any wrinkles with your hands or fingers until it’s snugly in place. With this envelope-style sewing technique, you’ll appreciate the easy access to the pillow inside. This design makes it effortless to swap out your pillowcases whenever you want to refresh your decor or clean and wash your pillows.
Just fluff it up and set it back into position to enjoy the fruits of your labor!
Other Projects You Might Like
When it comes to finding the perfect sewing gift or DIY project, there are countless options to choose from. If you’re looking for a quick and easy solution, consider whipping up 47 simple yet thoughtful sewing gifts. Alternatively, try your hand at one of the many DIY sewing projects that can be completed in no time. For instance, create a stylish scrunchie with our step-by-step guide or make a practical zipper pouch to keep all your essentials organized.
If you’re feeling more adventurous, why not take on an apron project or design a tote bag that’s both functional and fashionable? And for those looking to turn their crafting skills into a business venture, we’ve got 37 brilliant crafts to make and sell – just be sure to check out our extensive guide to get started!
How to Make a Pillowcase (Step-by-Step)
Embarking on your sewing adventure or seeking a stunning home decor accent? Master the art of crafting a pillowcase with ease! This project requires just 5 minutes of prep time, followed by 45 minutes of active sewing. In total, you’ll spend around 50 minutes creating your very own unique piece. Get started and make it happen!
Equipment
When it comes to tackling DIY projects, having the right tools at your disposal can make all the difference. Take, for instance, a tape measure, scissors, and sewing pins – these are just a few of the essential items that can help you stay focused and avoid those pesky sleep-inducing moments. But what about when the screen on your device decides to go dark? In this era of constant connectivity, it’s easy to find yourself struggling to prevent your screen from going dark mid-task. But fear not!
With a few simple tricks up your sleeve, you can ensure that your screen stays bright and your productivity remains unaffected.
Materials
Instructions
To begin making a pillowcase, start by gathering all necessary materials and tools. Measure the dimensions of your pillow using a measuring tape and mark them on your fabric, leaving room for overlaps and seam allowance. Use tailor’s chalk to make the markings and then cut out the fabric accordingly with cloth scissors. Create an inch-wide hem by folding the cloth twice and securing it in place with sewing pins. If desired, iron the folds to create neater seams.
Sew the hem on both sides of the fabric. Repeat this process for the overlap flap, folding a 4-inch wide strip of cloth and securing it with sewing pins. Fold the fabric in half, aligning the ends, and secure them with sewing pins before sewing along the top and bottom edges. Use backstitching to reinforce your stitches, especially around corners. Next, turn the fabric inside out, with the wrong side facing up and the flap on the outside.
Secure the seam allowance with sewing pins and then sew the remaining two sides. Turn the fabric right side out, poke out the corners with your fingers, and insert the pillow into the case. Finally, tuck the edge under the flap to complete your pillowcase.