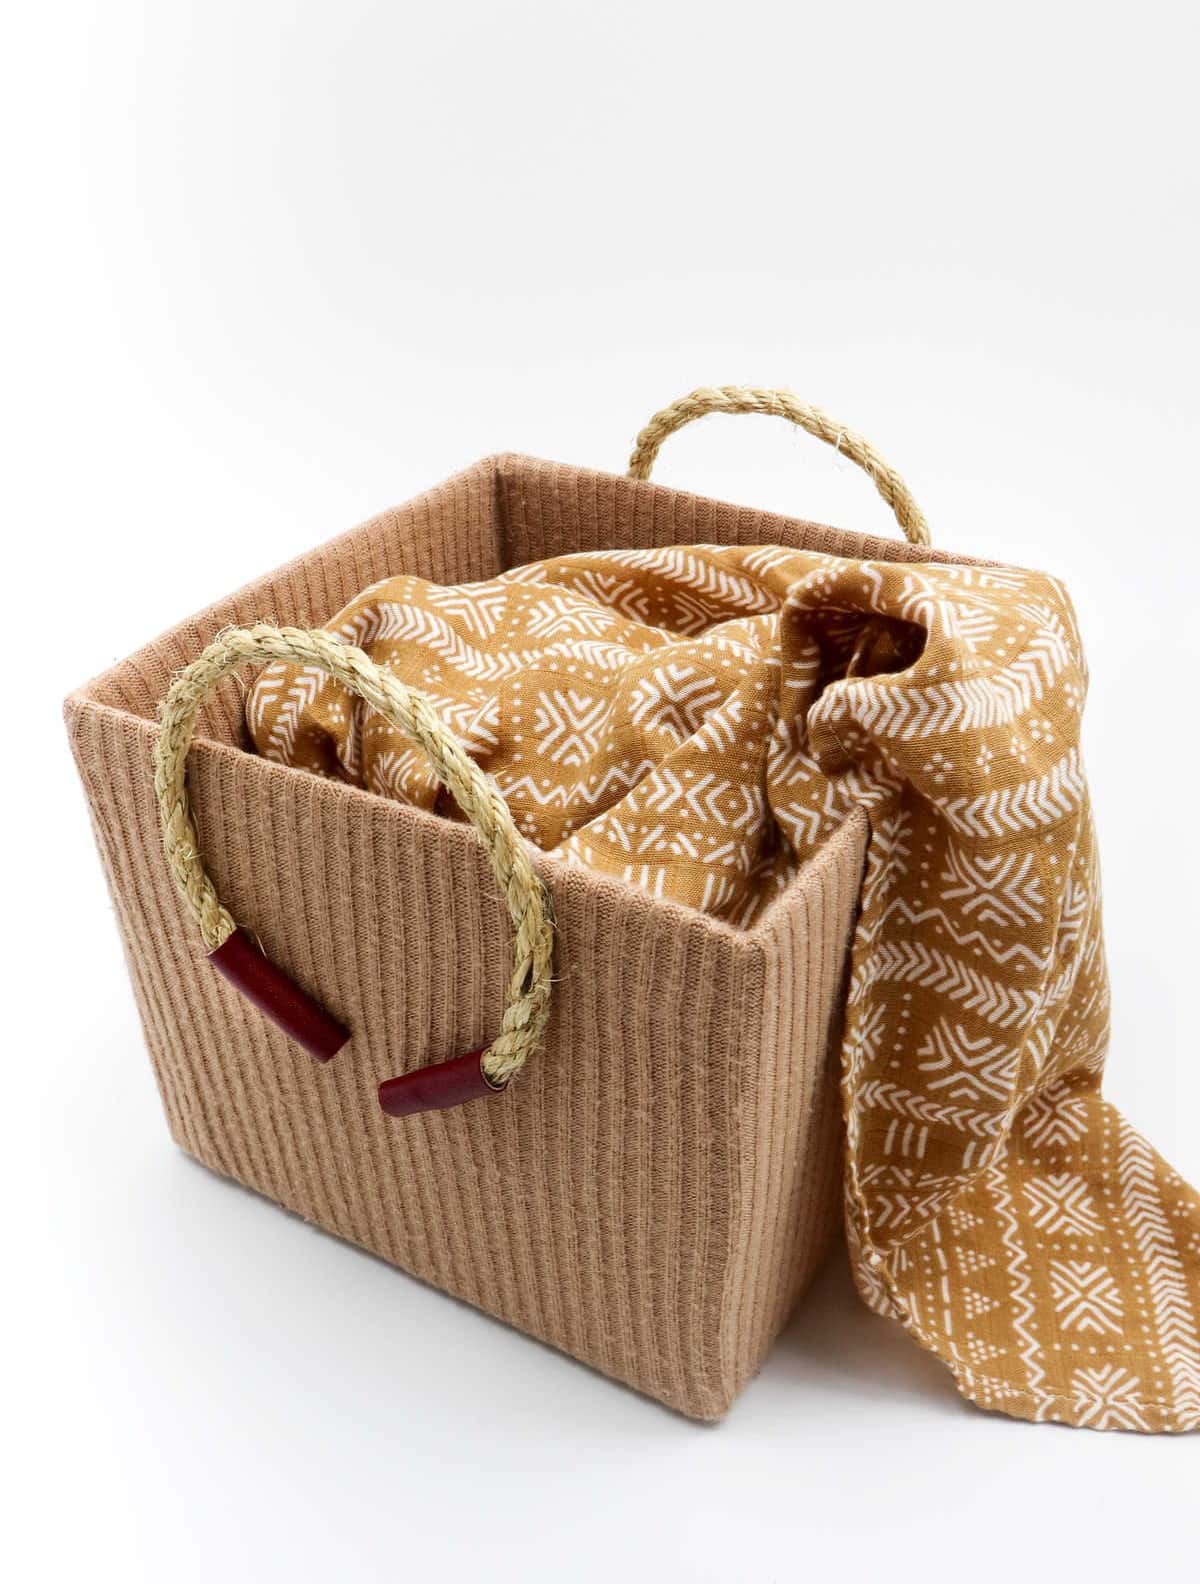
Make your home more organized and stylish by transforming an old sweater and cardboard box into a unique storage solution. This DIY project is perfect for those who are tired of cluttered spaces and want to declutter their homes without breaking the bank. You’ll find that these handmade storage boxes not only provide extra storage space, but also add a touch of personality to your home décor. We often underestimate the value of storage boxes in our daily lives.
From stashing away sweaters and yarn to storing craft supplies, there’s always another item that needs to be boxed up and stored. But buying fancy storage boxes can quickly become expensive. That’s why making your own storage boxes out of old cardboard is a great solution. Not only will you save money, but you’ll also reduce waste and create something truly unique.
Supplies and Tools You’ll Need
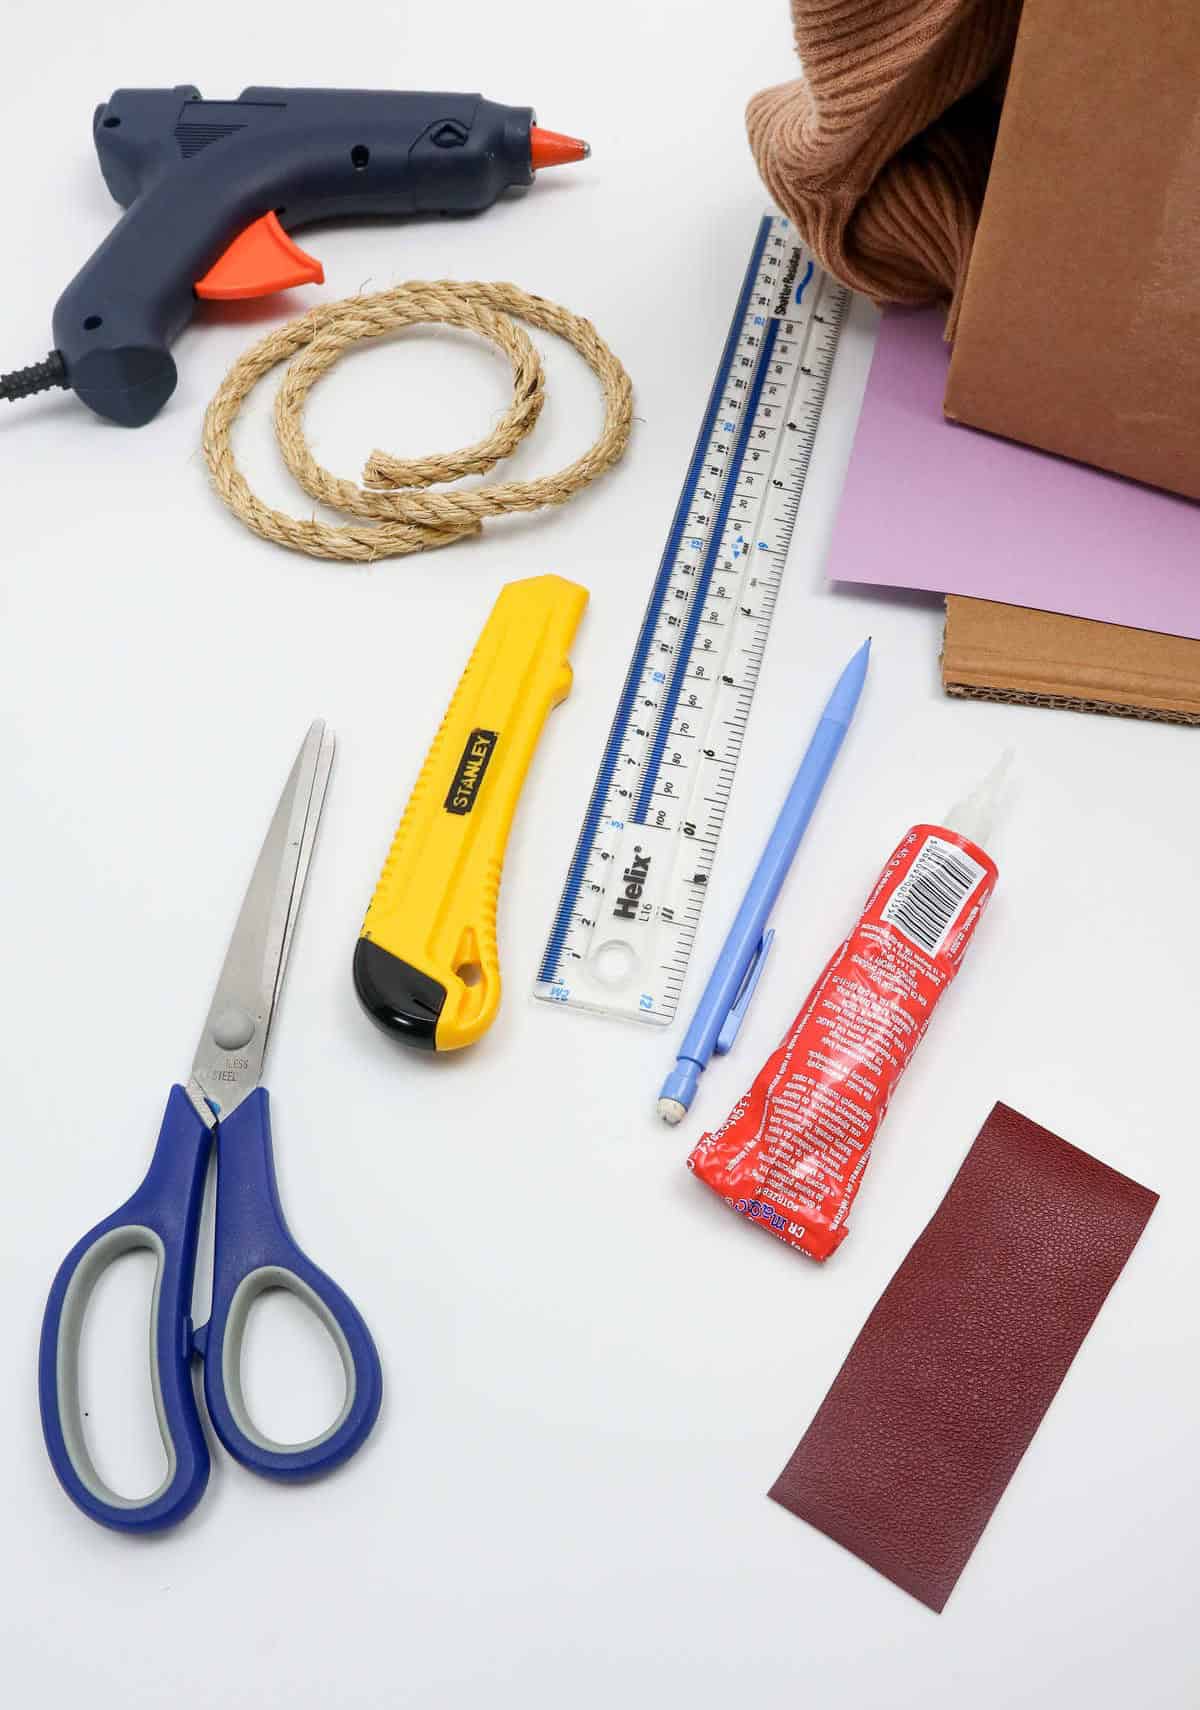
To get started on your creative project, you’ll need the following supplies: a sturdy cardboard box, an old sweater that’s no longer needed, a hot glue gun for bonding materials together, scissors for cutting and trimming, decorative paper to add some visual flair, a spare cardboard sheet for backing or layering, 24 inches of 1/5 inch rope, standard glue for general use, a ruler for measuring and straightening, a retractable knife for precision cuts, and a trusty pencil for sketching out your design.
If you’re feeling extra adventurous, consider adding some leather fabric (measuring in at 1 by 6 inches) to give your project an added touch of sophistication.
How to Make a Storage Box
As part of this creative endeavour, you’ll not only be breathing new life into discarded cardboard boxes but also giving a second chance to an old sweater that’s been relegated to the depths of your closet. I’m willing to bet that among the garments gathering dust, there’s at least one that’s seen better days due to its scratchy texture. For this project, aim for a stretchy and elastic sweater that still has some life left in it.
Step 1
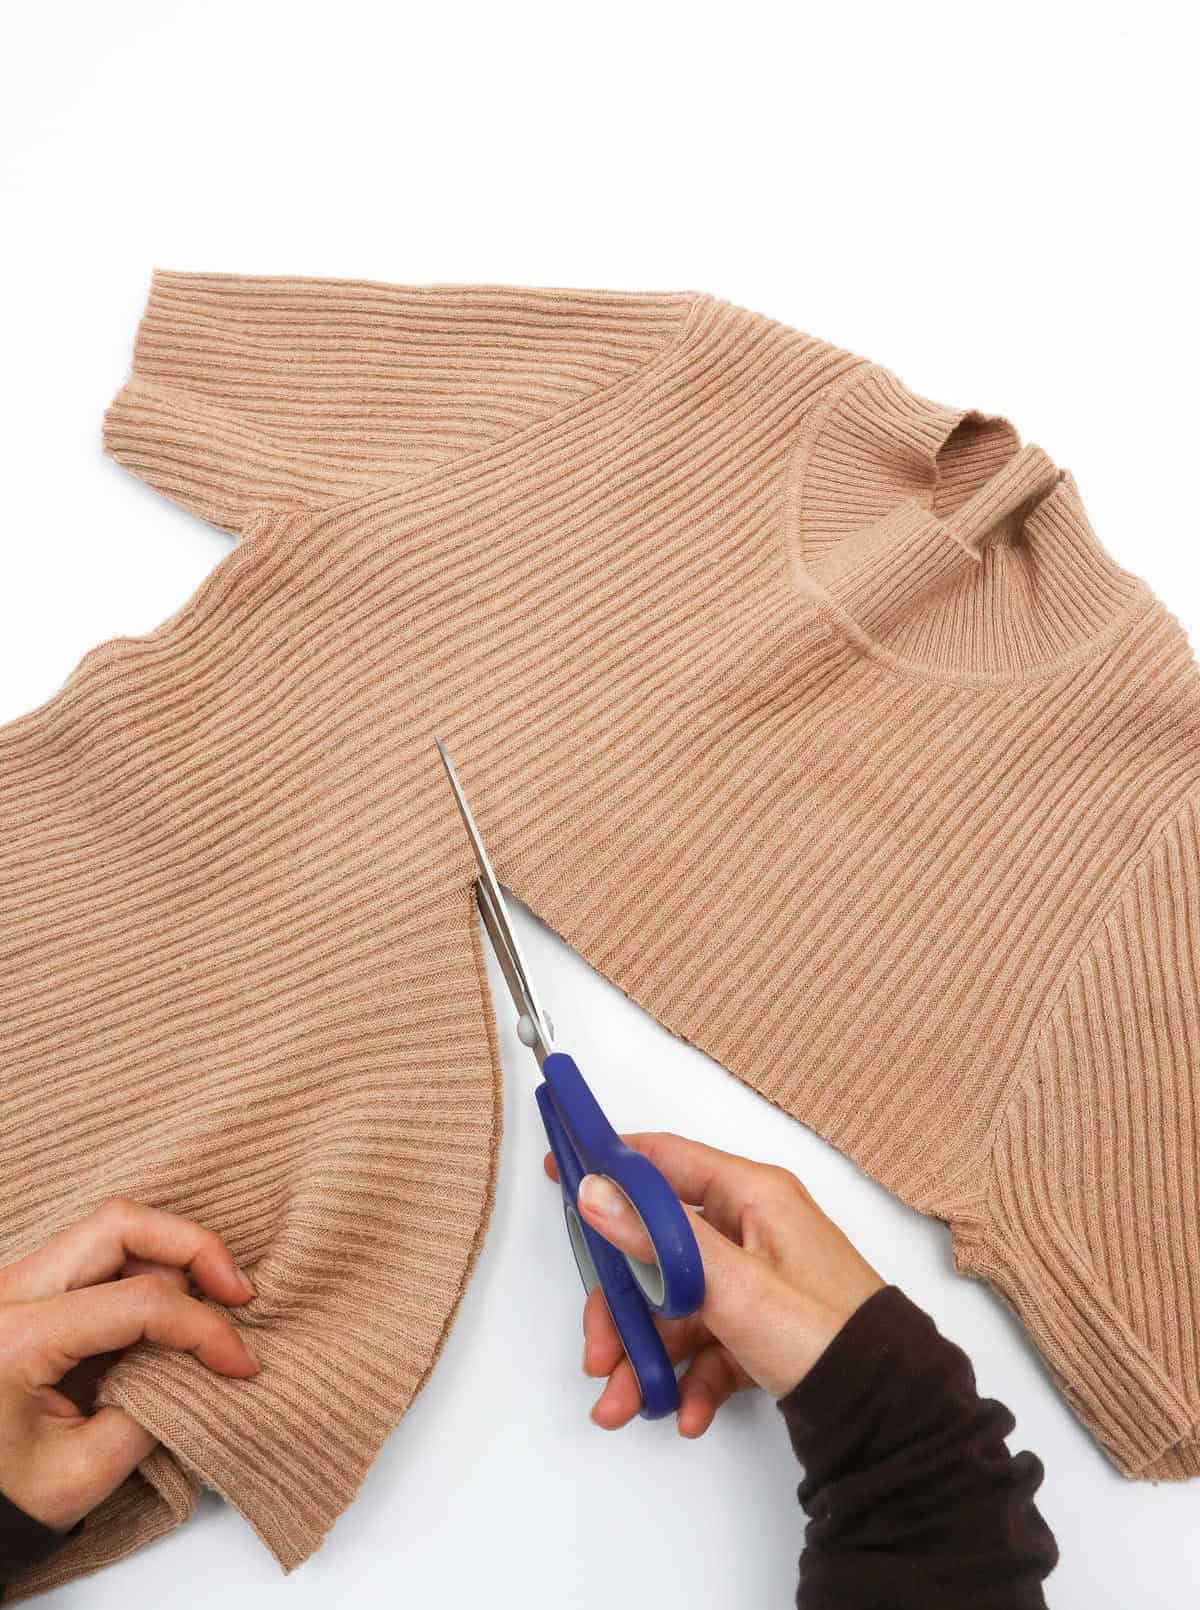
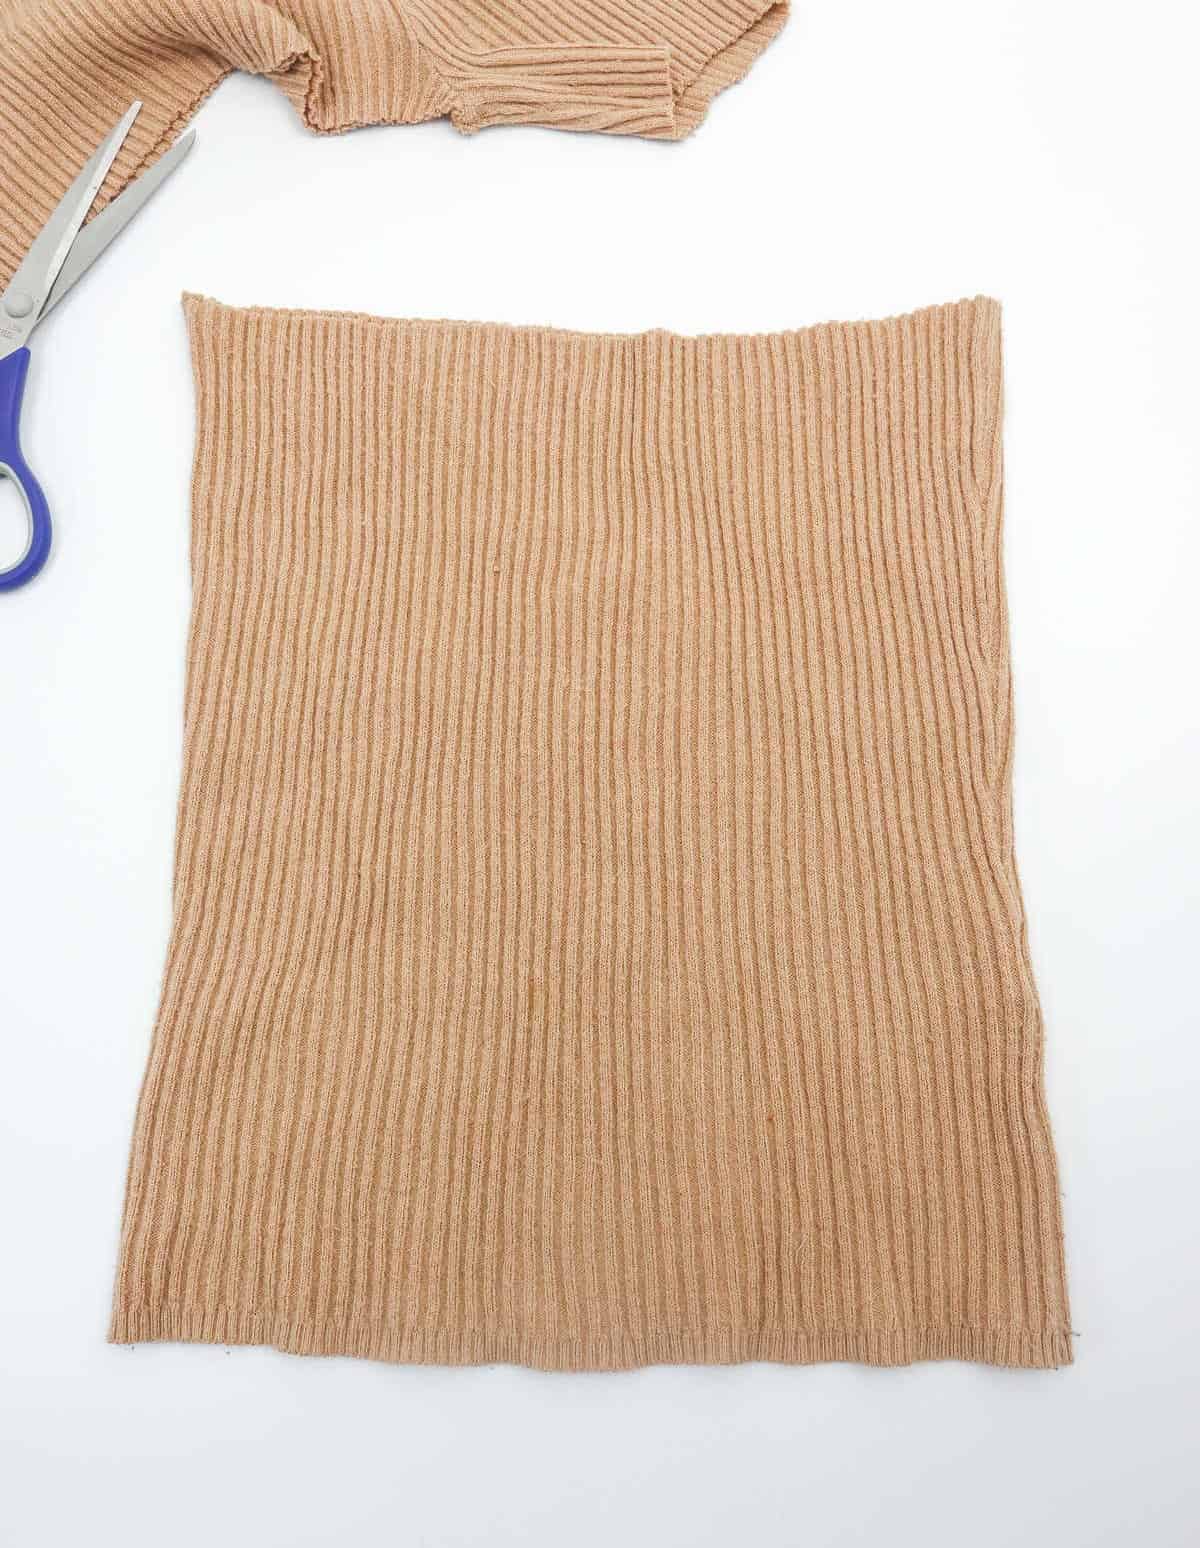
To transform your old sweater into a trendy cropped cardigan, begin by carefully cutting it just below the armpits using a pair of scissors. Ensure you cut as near to the armhole as feasible to maximize the amount of usable fabric and achieve the desired length.
Step 2
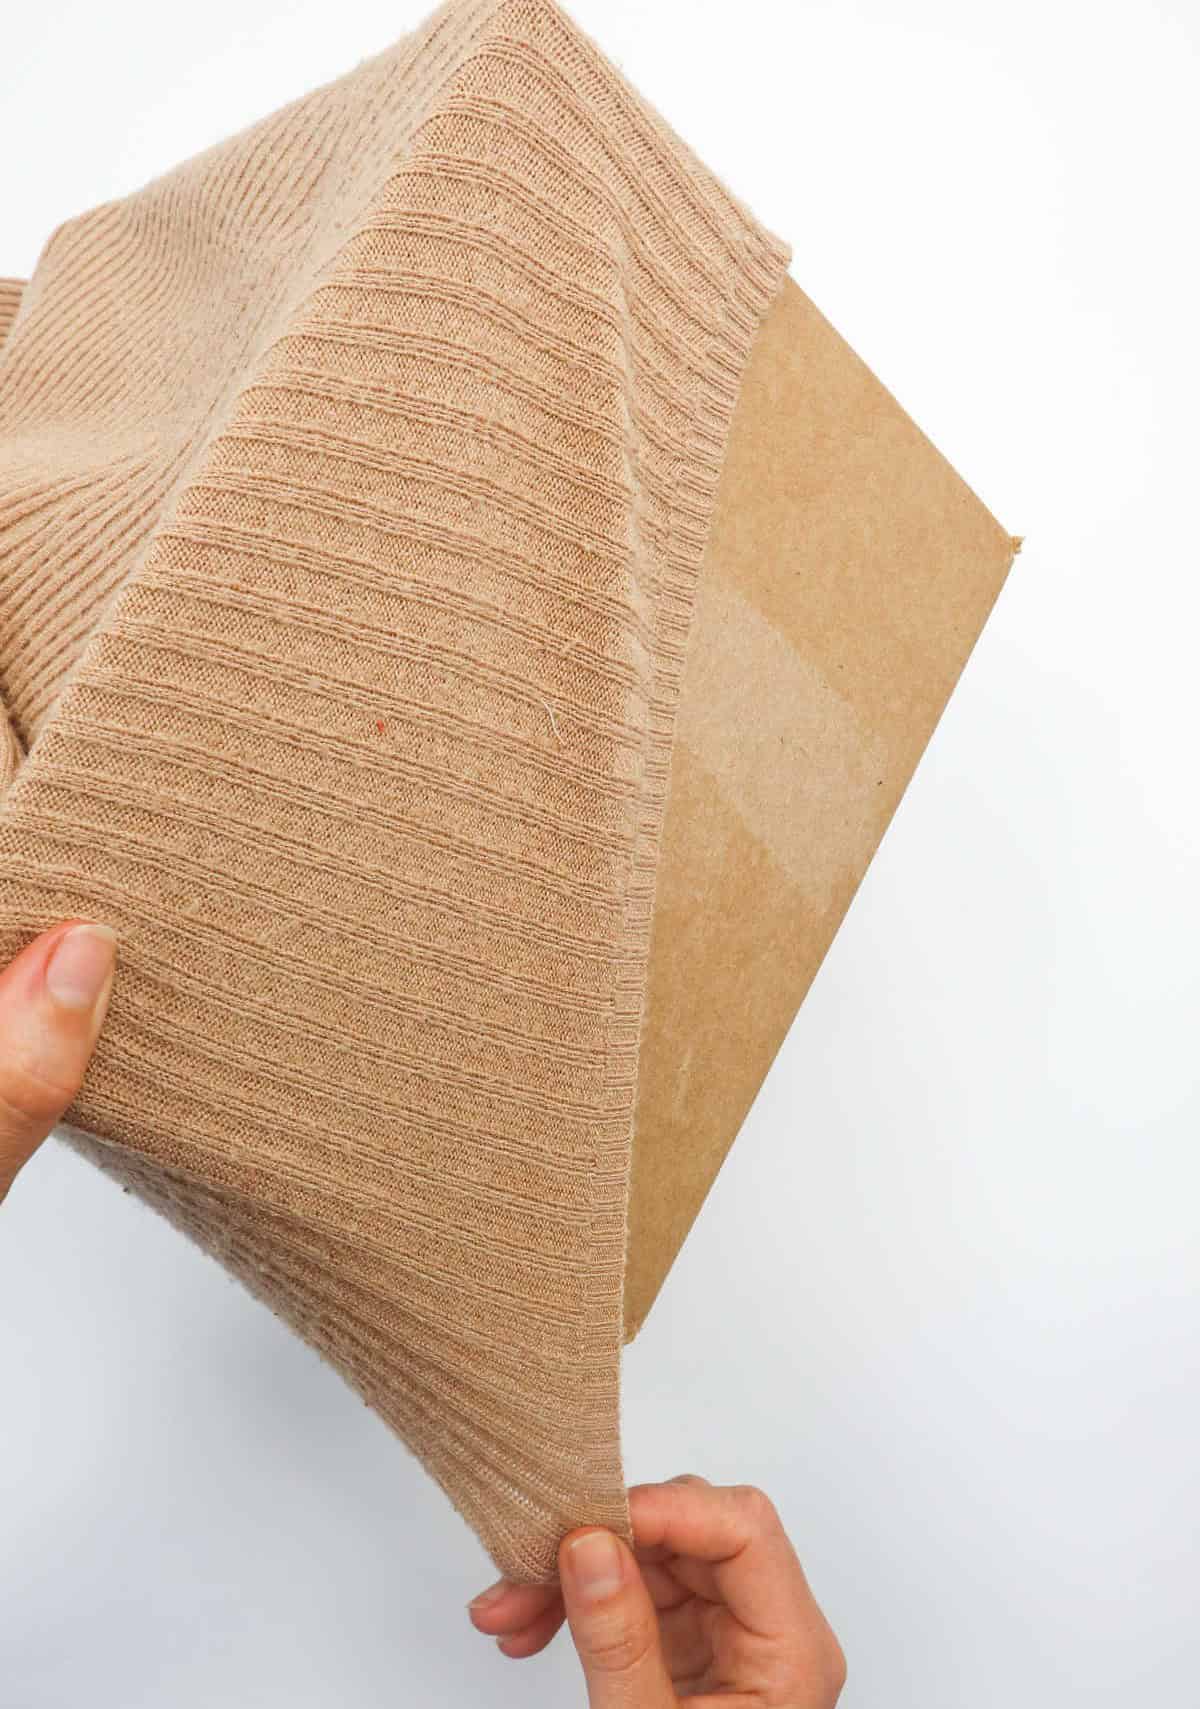
Envision wrapping a sturdy cardboard box with a soft, stretchy sweater. The sweater’s elasticity will be put to the test as you carefully pull it over the box, making sure to cover all sides evenly. Aim for the edges of the sweater to reach the base of the box’s interior, much like a snugly fitting lid.
Step 3
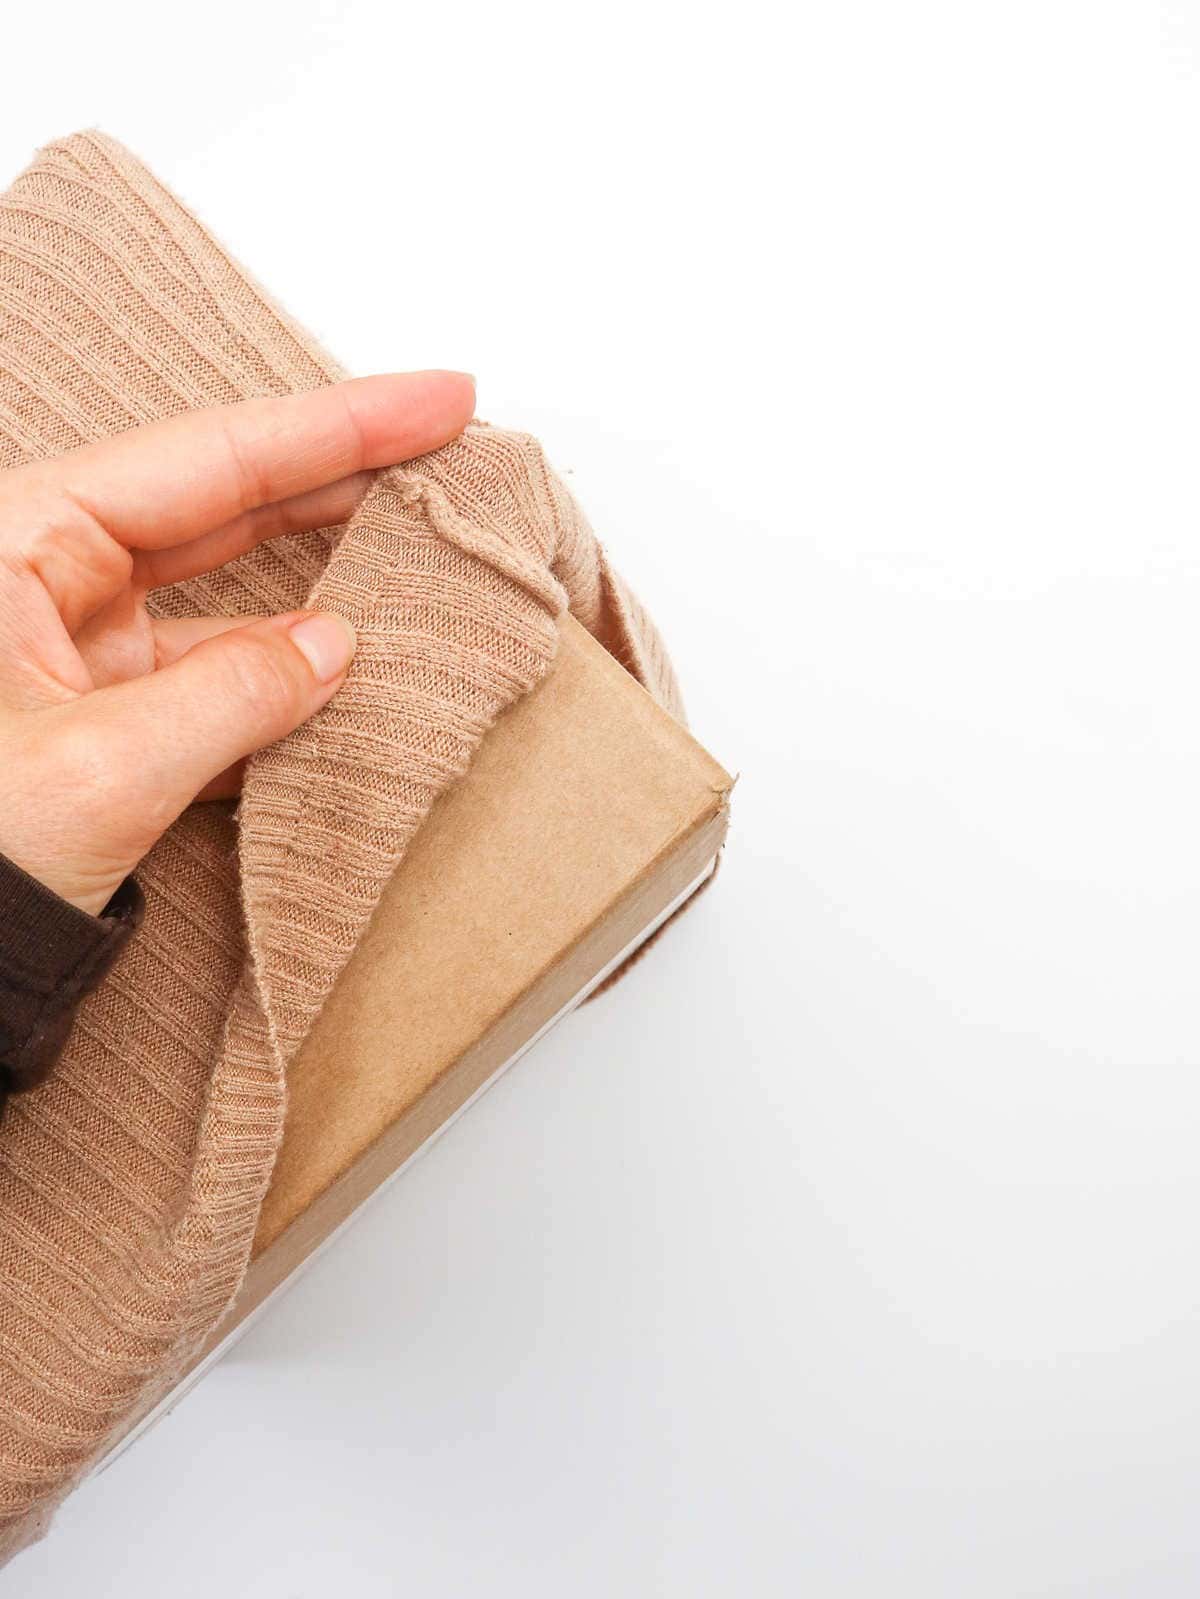
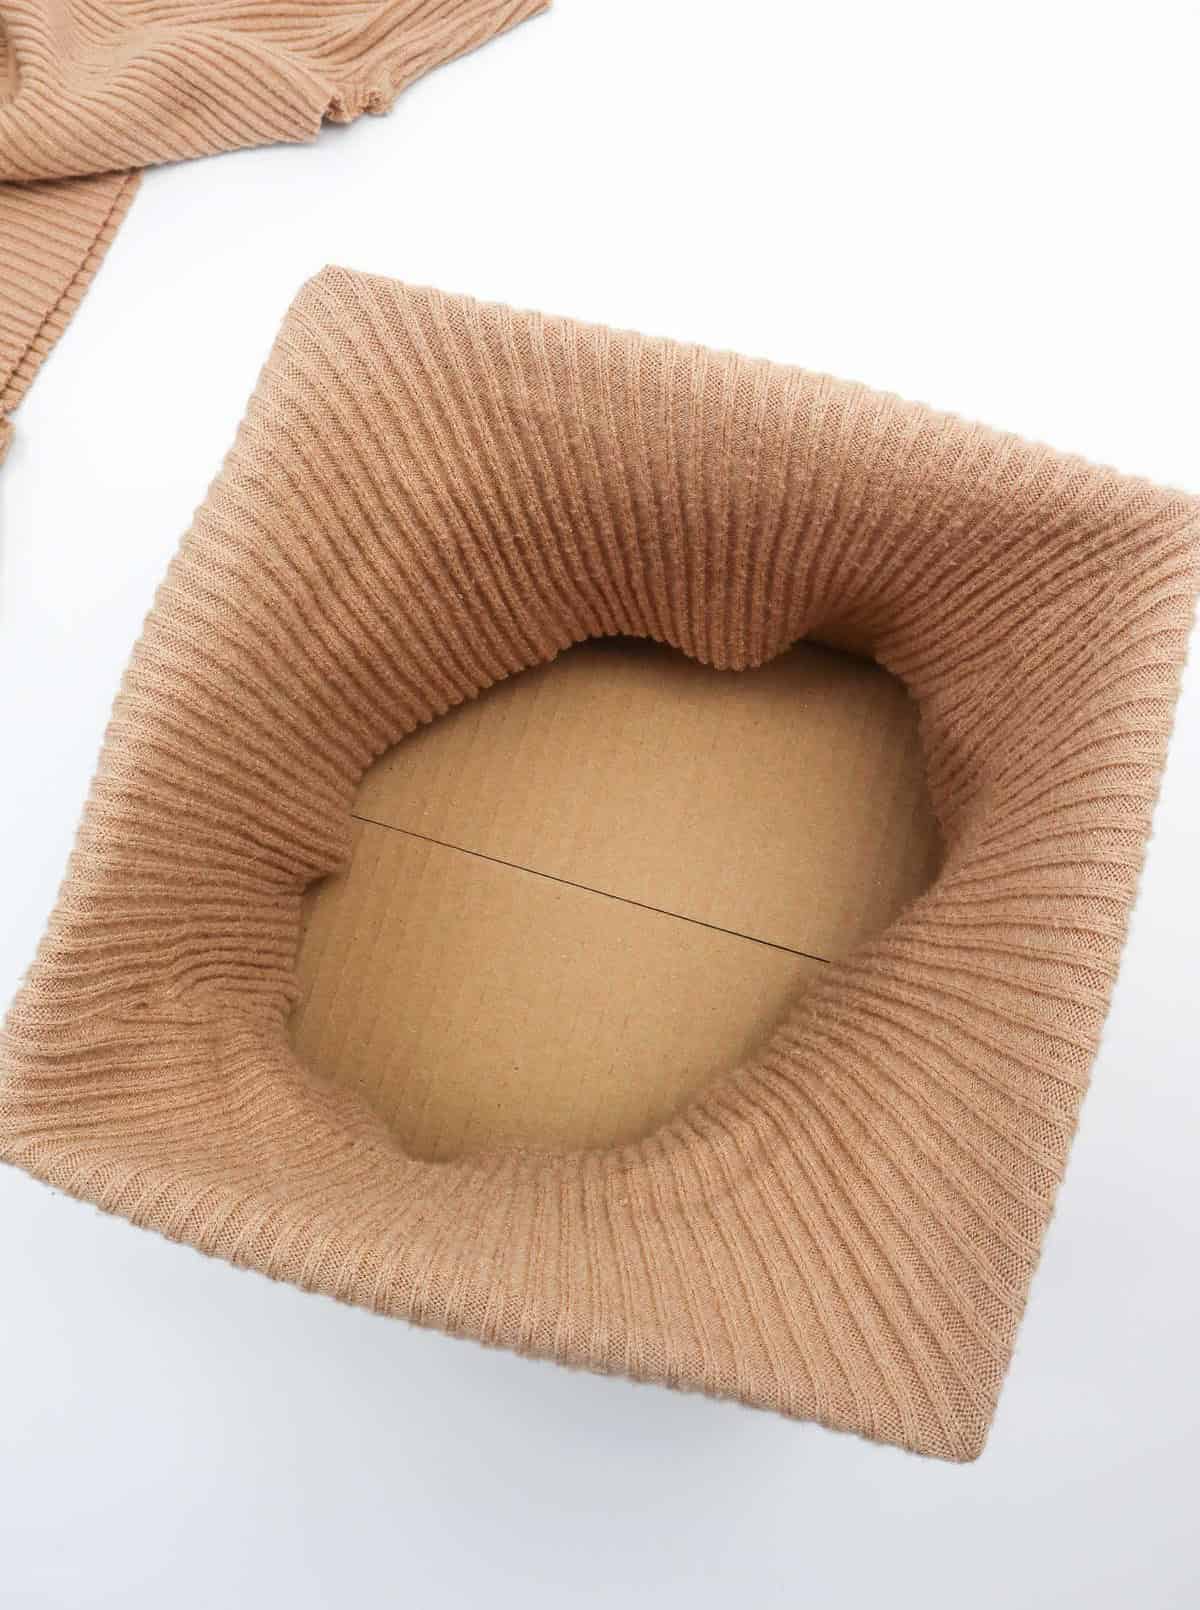
Turn the cardboard box upside down and examine its base. Ensure that at least an inch-wide strip of the sweater remains exposed, allowing for a clean hot glue application along the edges. With meticulous care, aim to align the sweater neatly around the box’s base as you secure it with adhesive.
Step 4
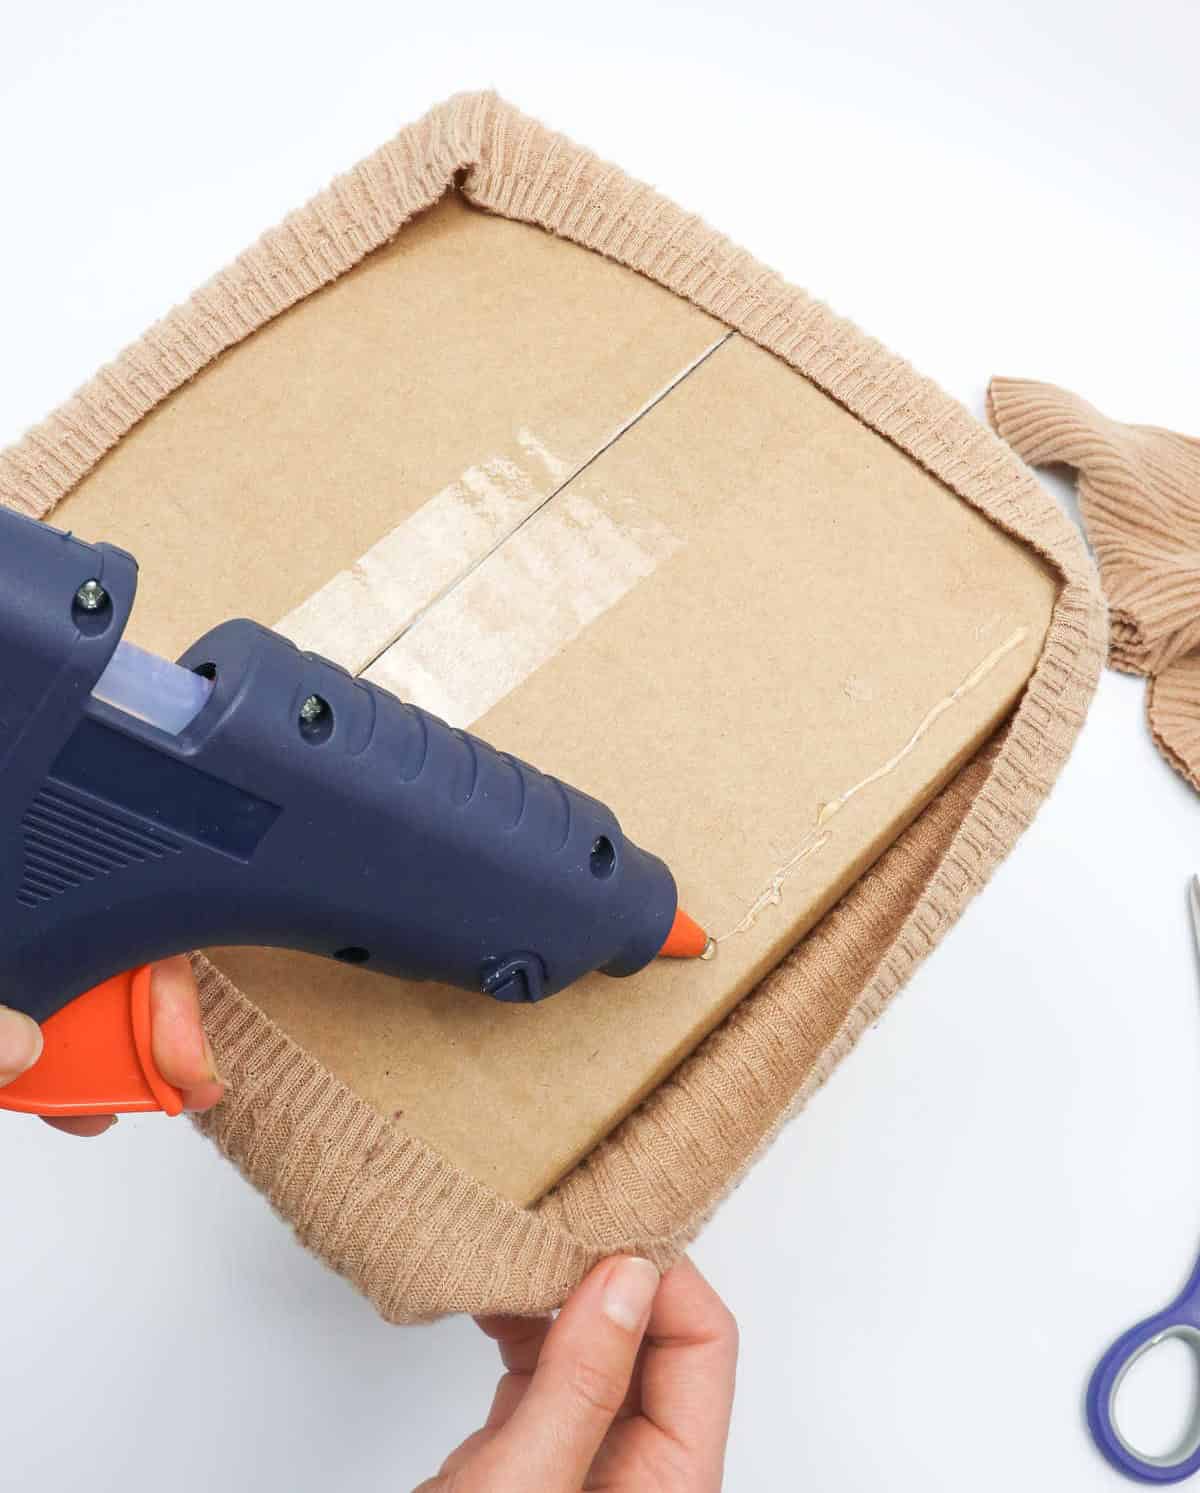
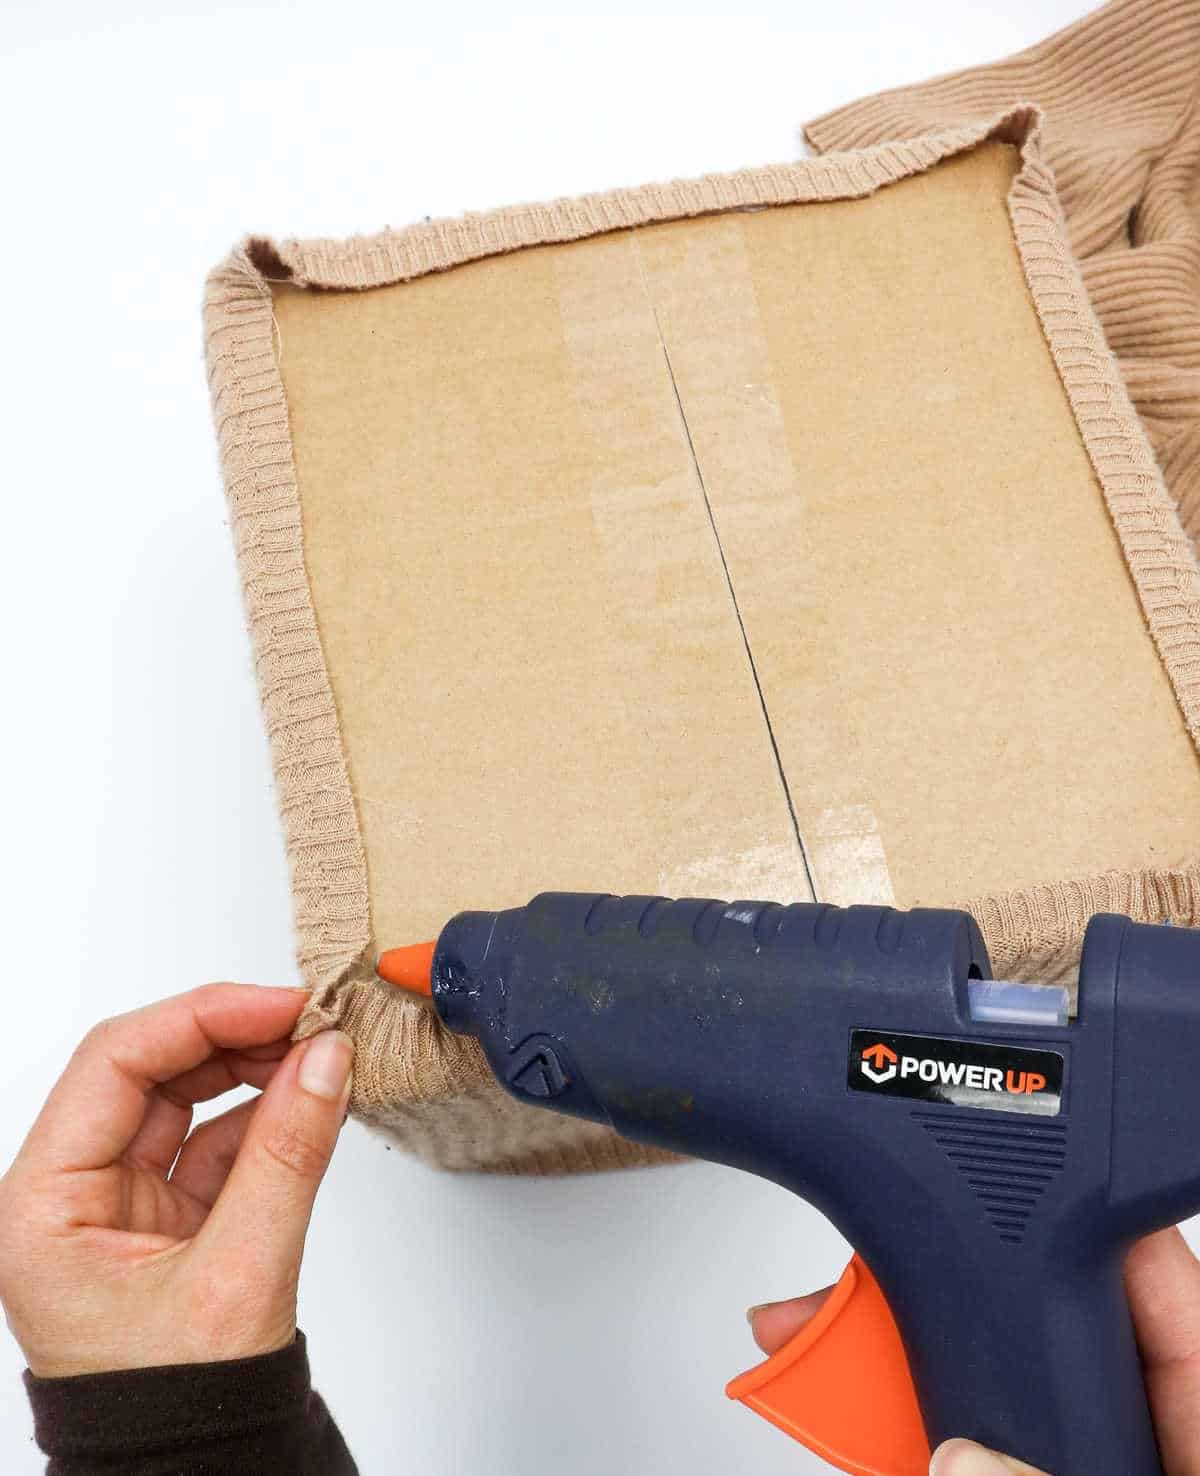
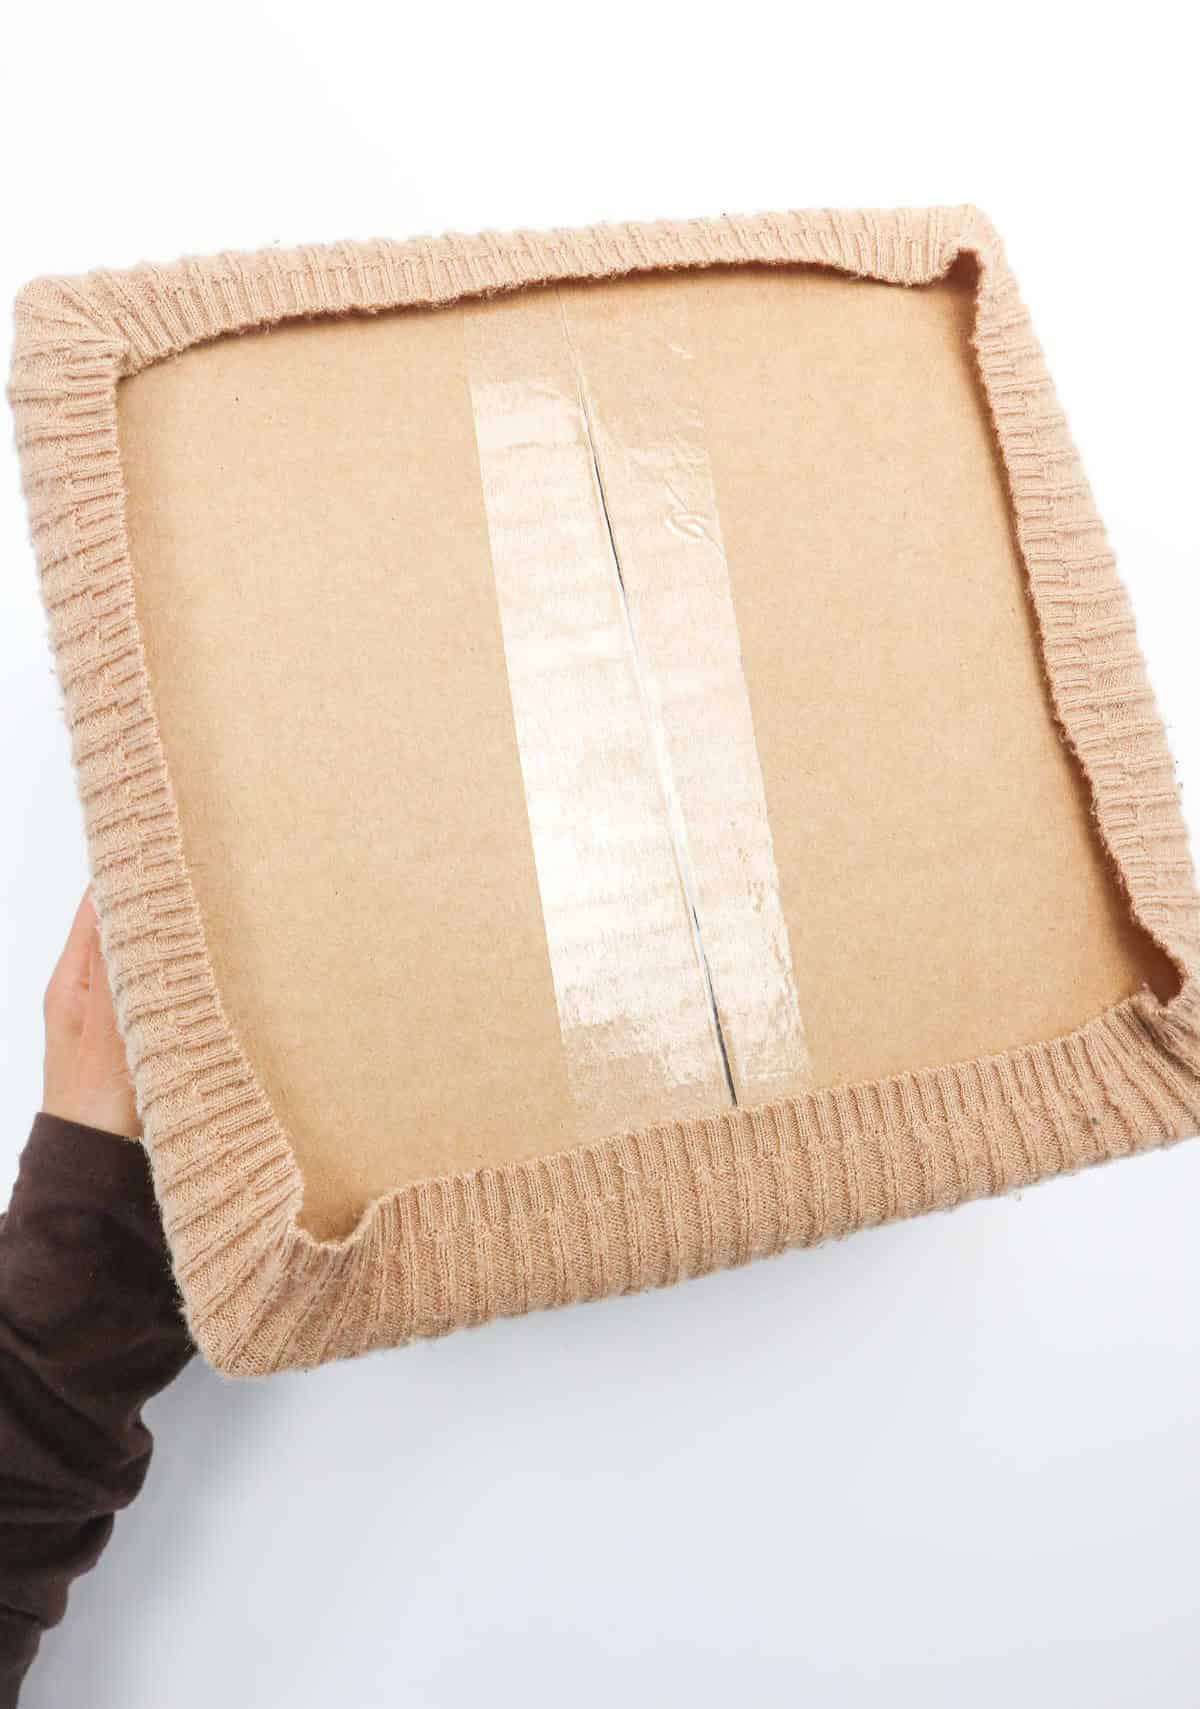
To secure the sweater permanently to the box, start by preparing your hot glue gun. Next, carefully lift the edge of the sweater away from the box’s base and apply a thin layer of hot glue along all four sides. Then, fold and press the sweater onto the box, ensuring it adheres evenly. For added stability, pinch each corner and secure it with hot glue, flattening them to prevent any potential bunching or lumps that could disrupt the box’s balance.
Step 5
Before flipping the box over, make sure the hot glue at the base has dried completely. Once it’s ready, take a moment to carefully crease the sweater along the seams of the box by running your finger along them, ensuring a neat and precise fold.
Step 6
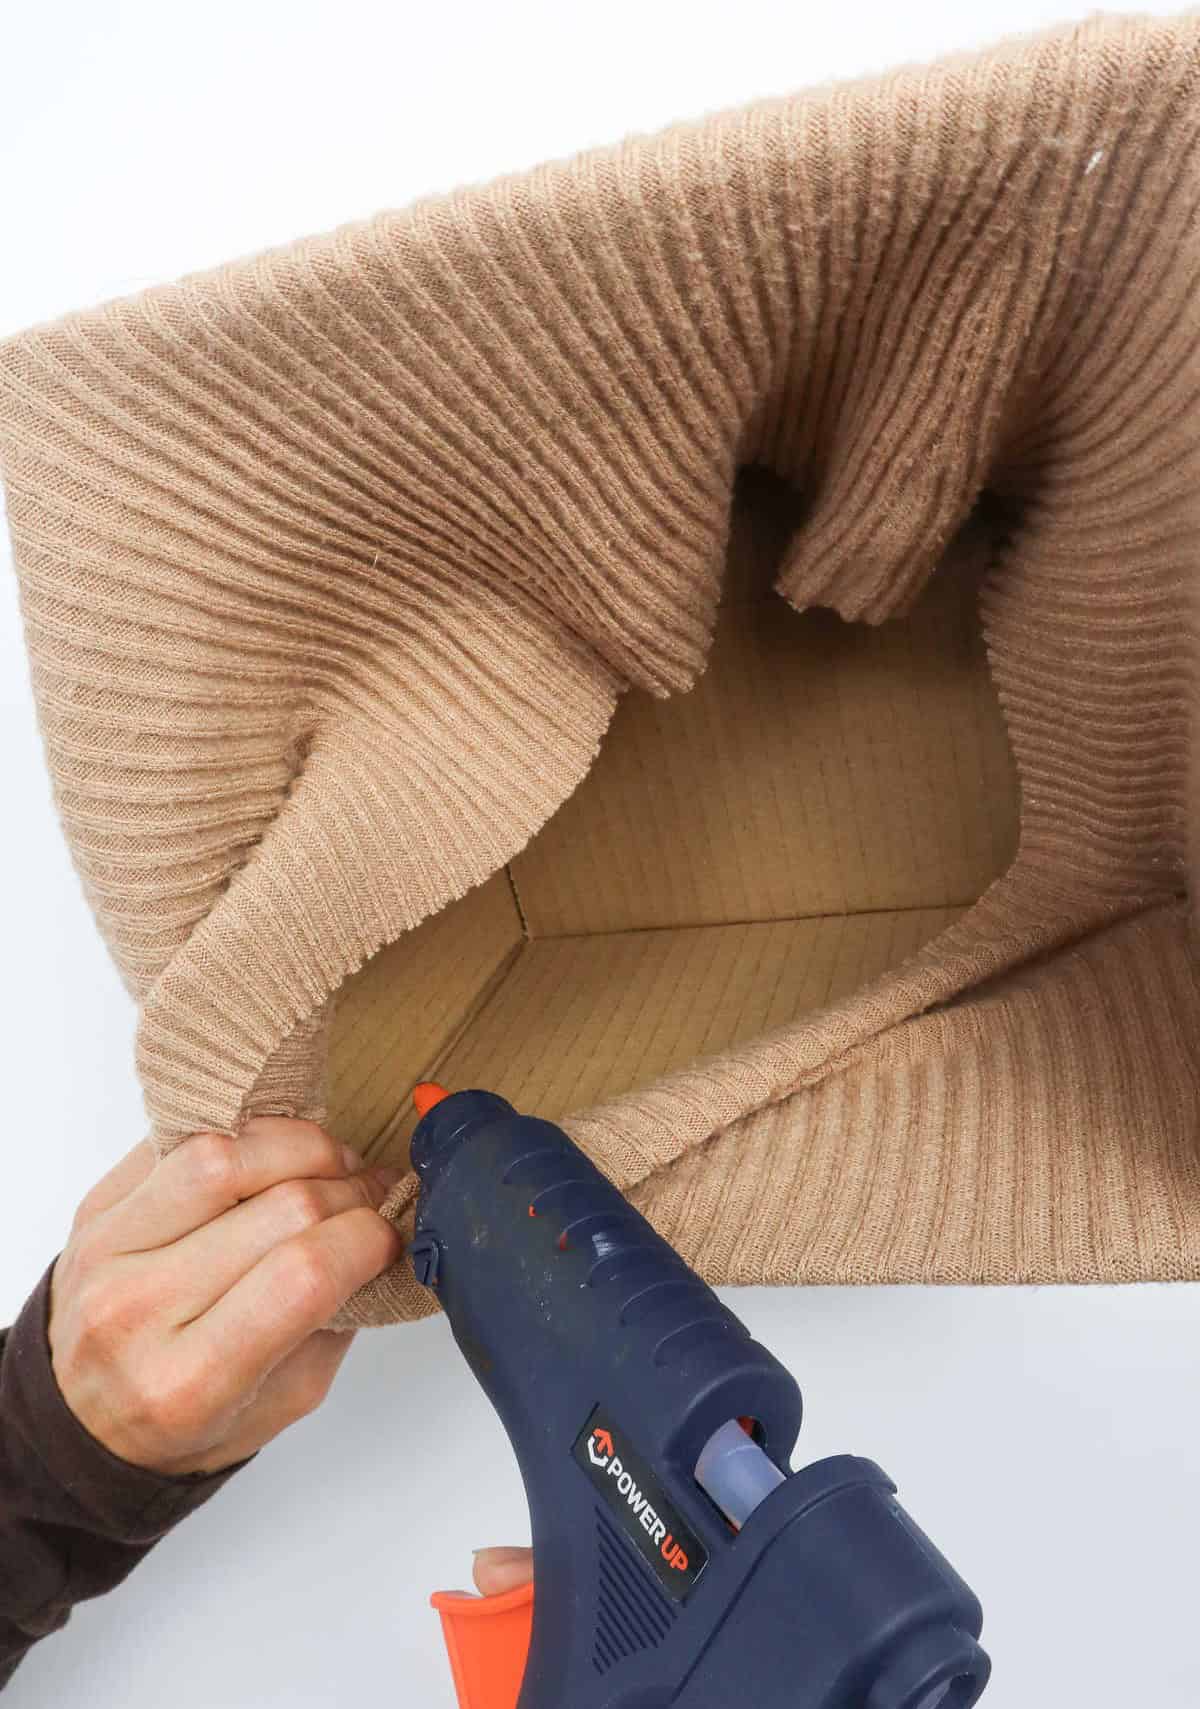
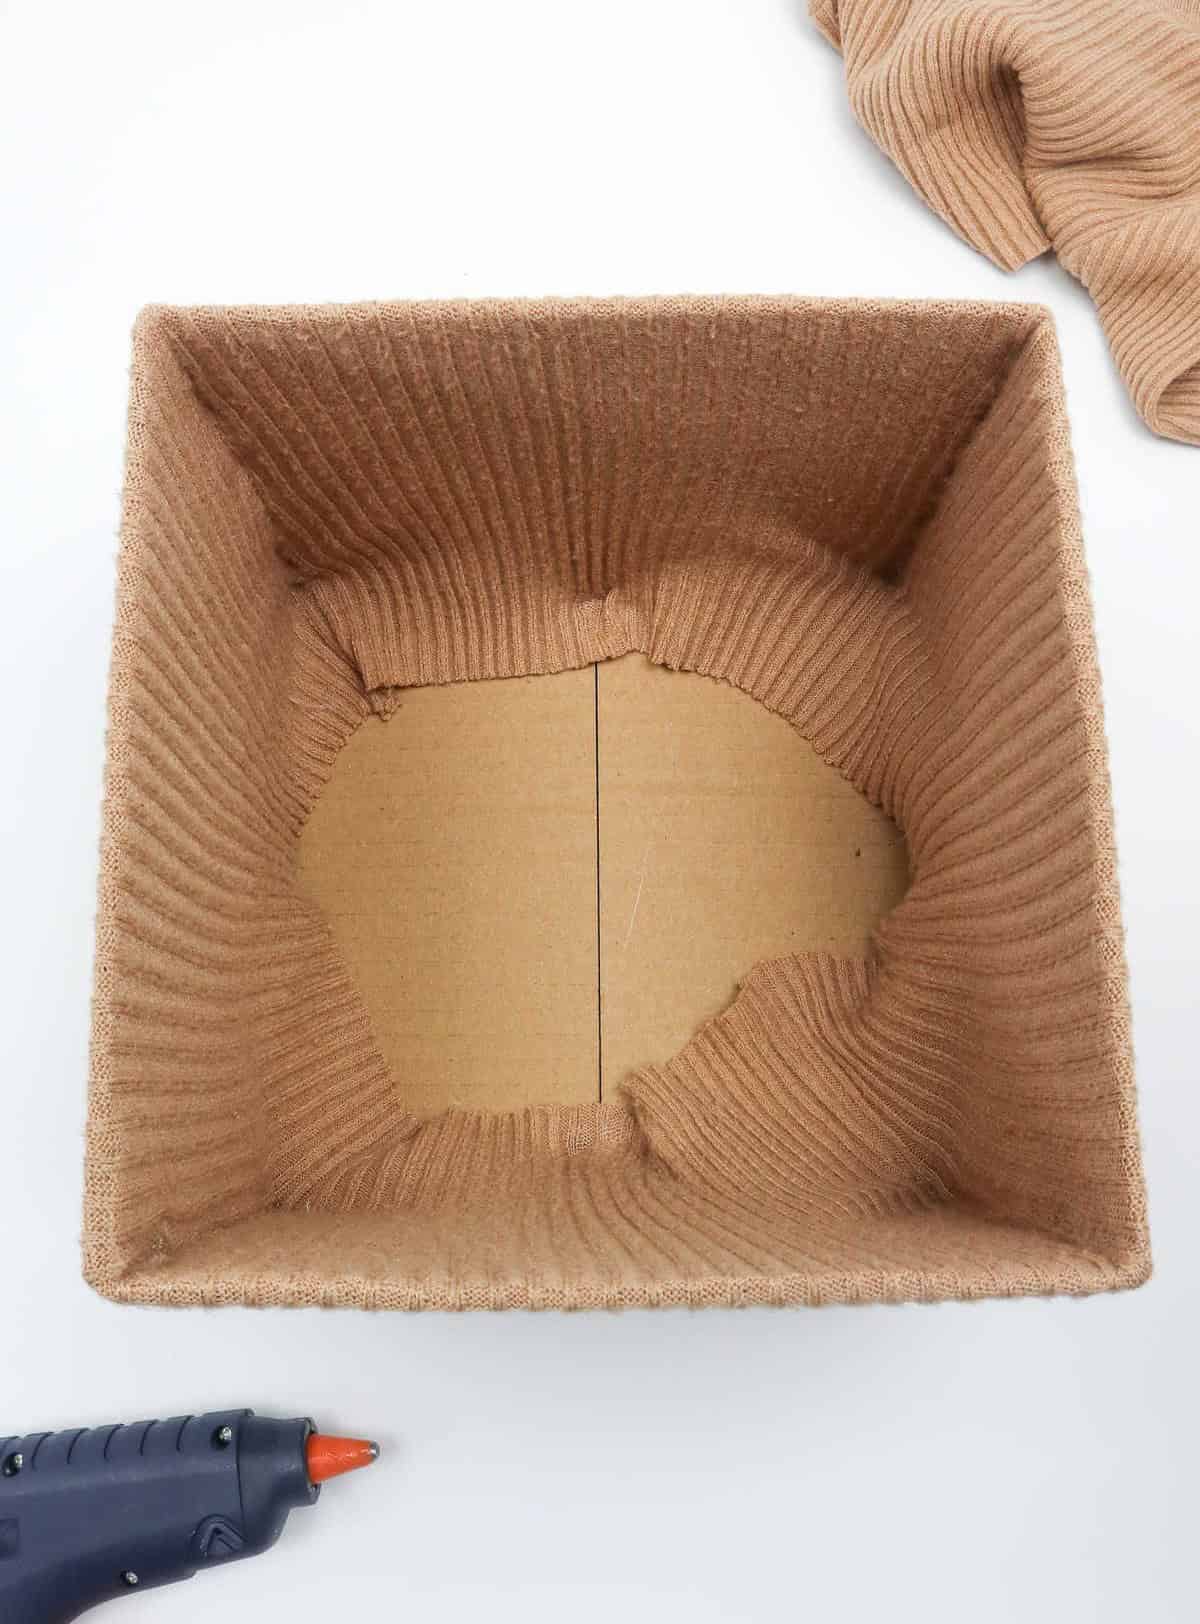
Reattach the sweater to the box by applying a thin layer of hot glue along the inside corners. Hold the sweater in place, ensuring it’s smooth and wrinkle-free, as you press it firmly onto the box. Verify that the fabric is taut and evenly distributed over the box’s interior surfaces.
Step 7
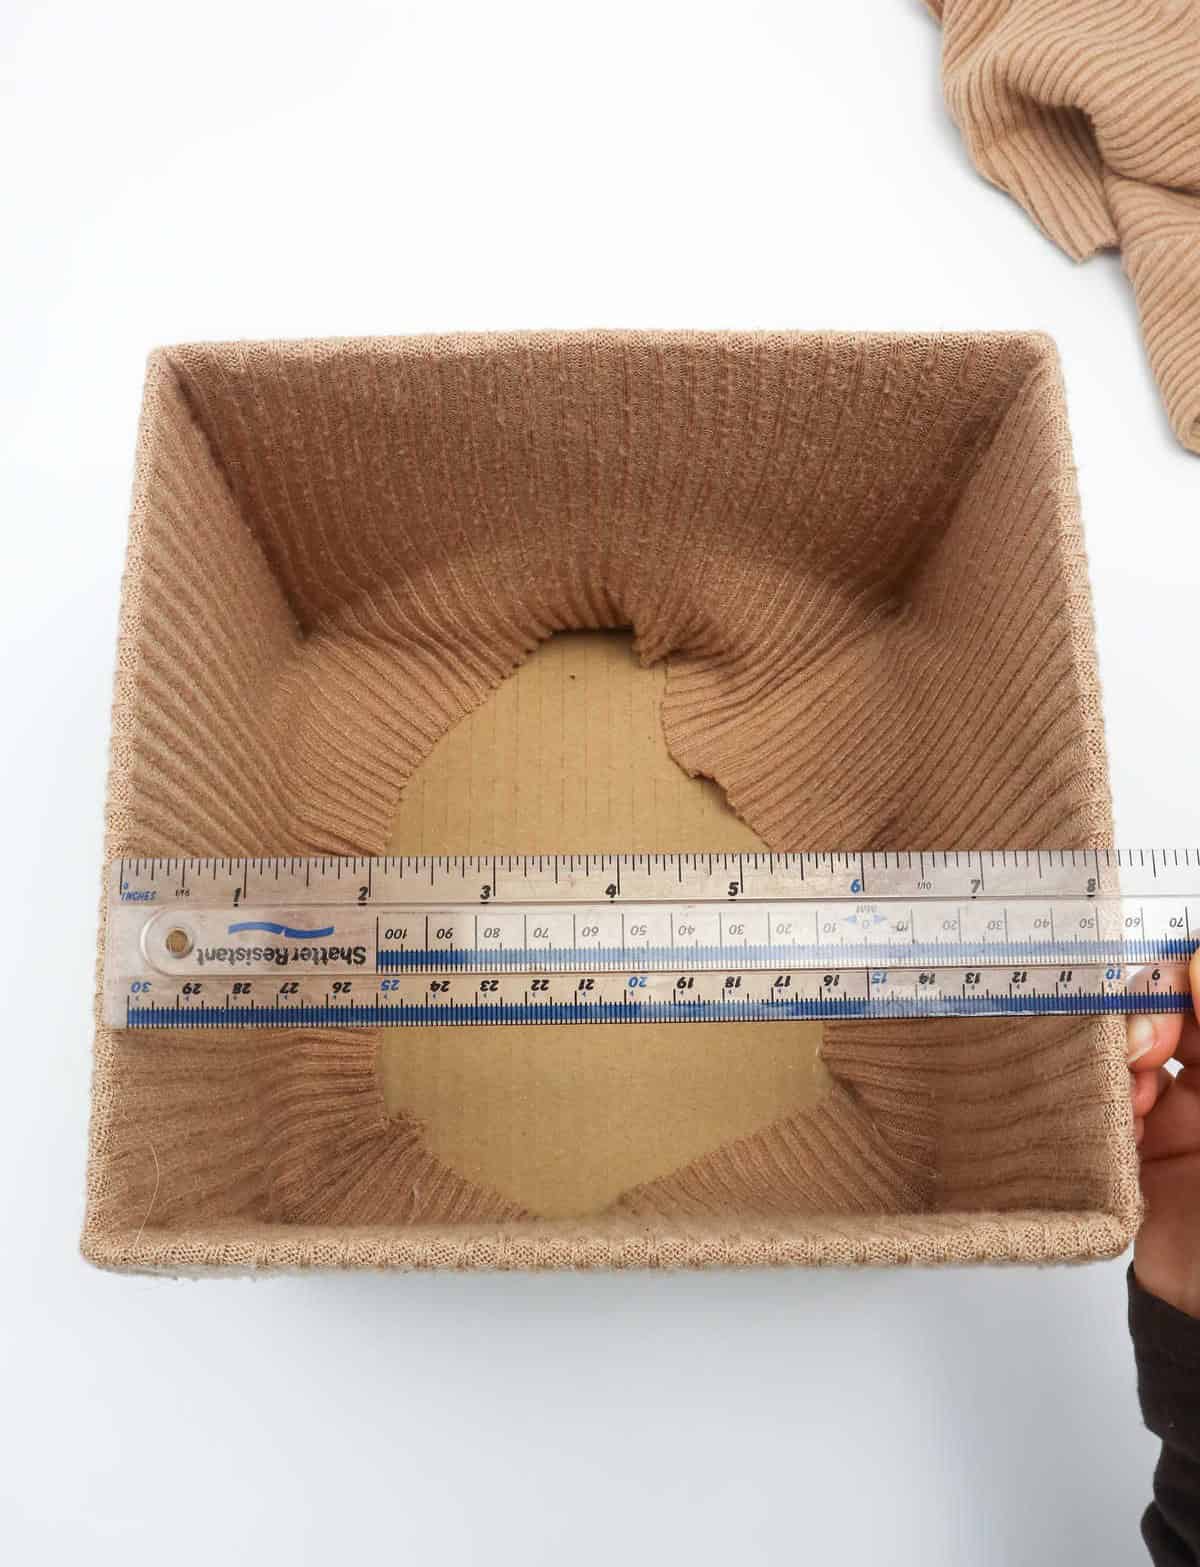
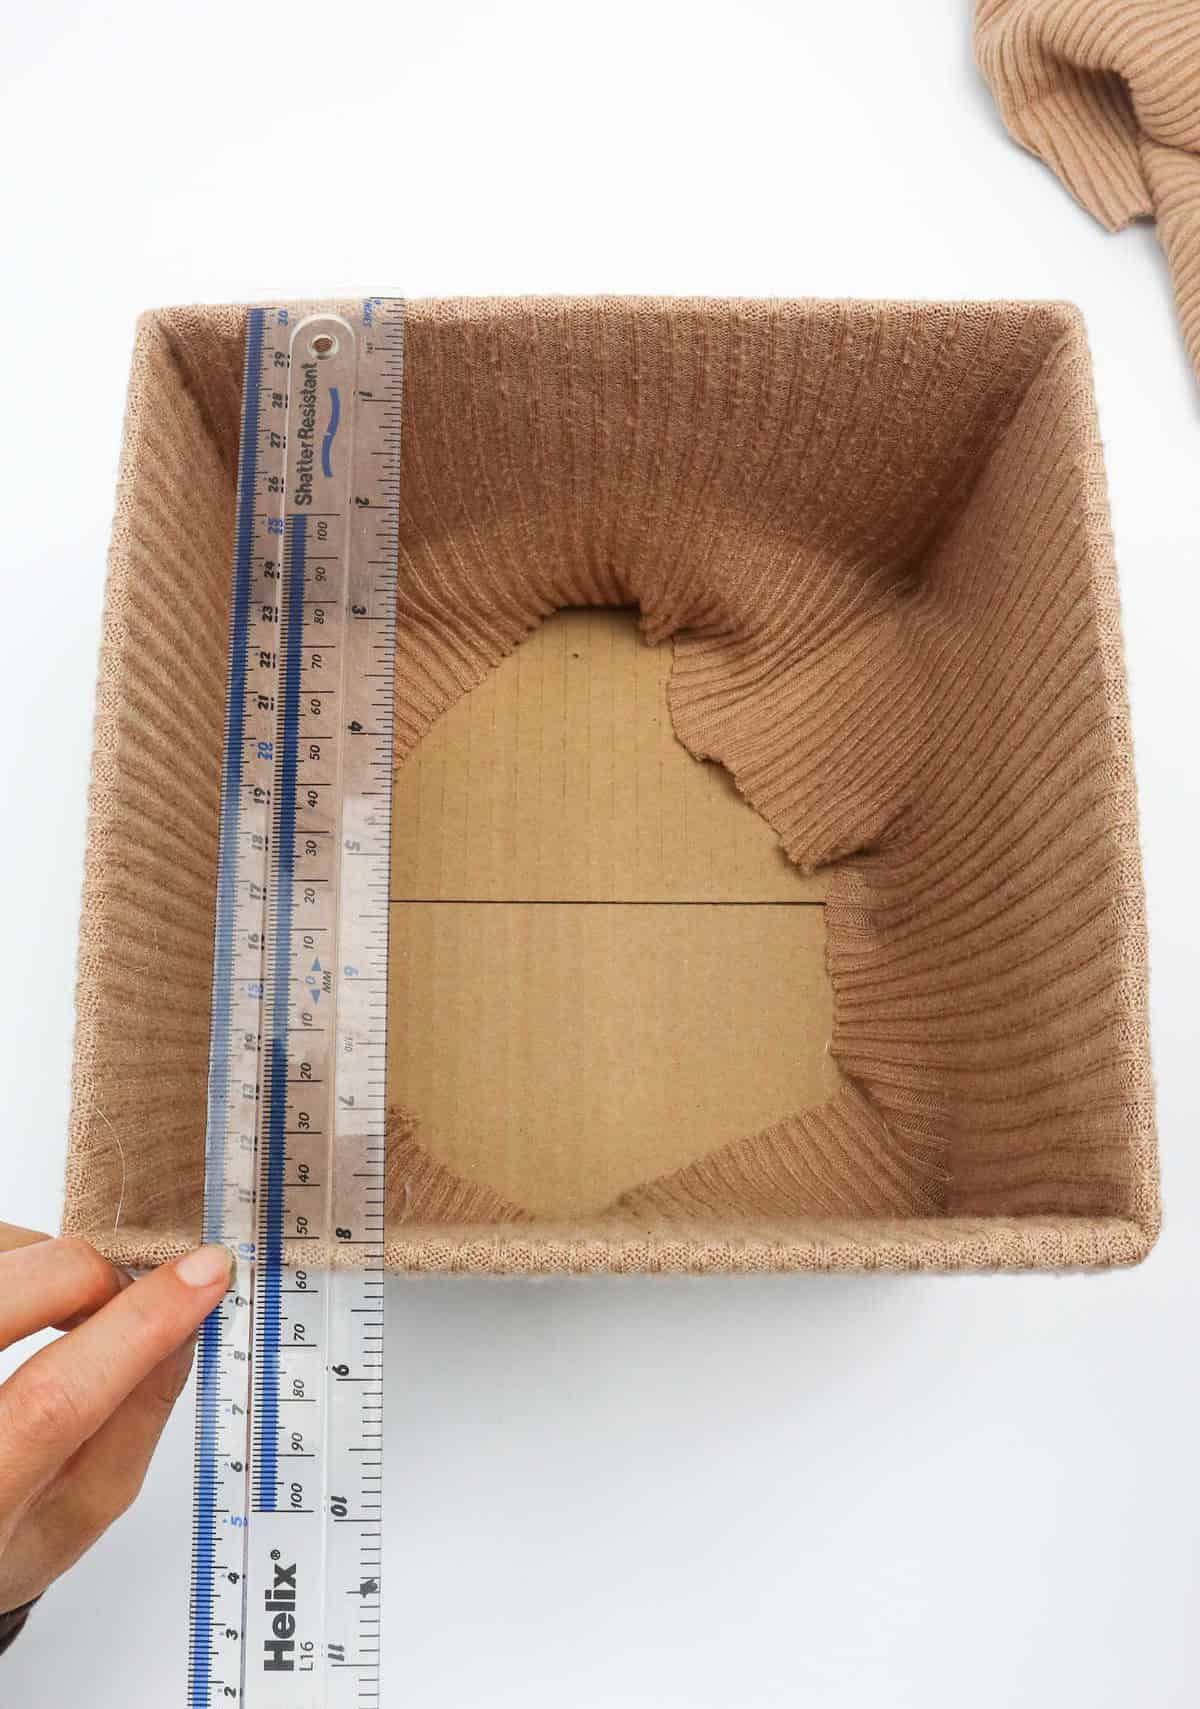
To transform the cardboard box into a wearable sweater display, it’s essential to start with a sturdy base. Begin by measuring the dimensions of the box to create a precise foundation. Grab a ruler and measure across the center of the box, where the mouth would be, as depicted here. Additionally, take note of the opposite side of the box to obtain accurate measurements for width, height, and breadth.
Step 8
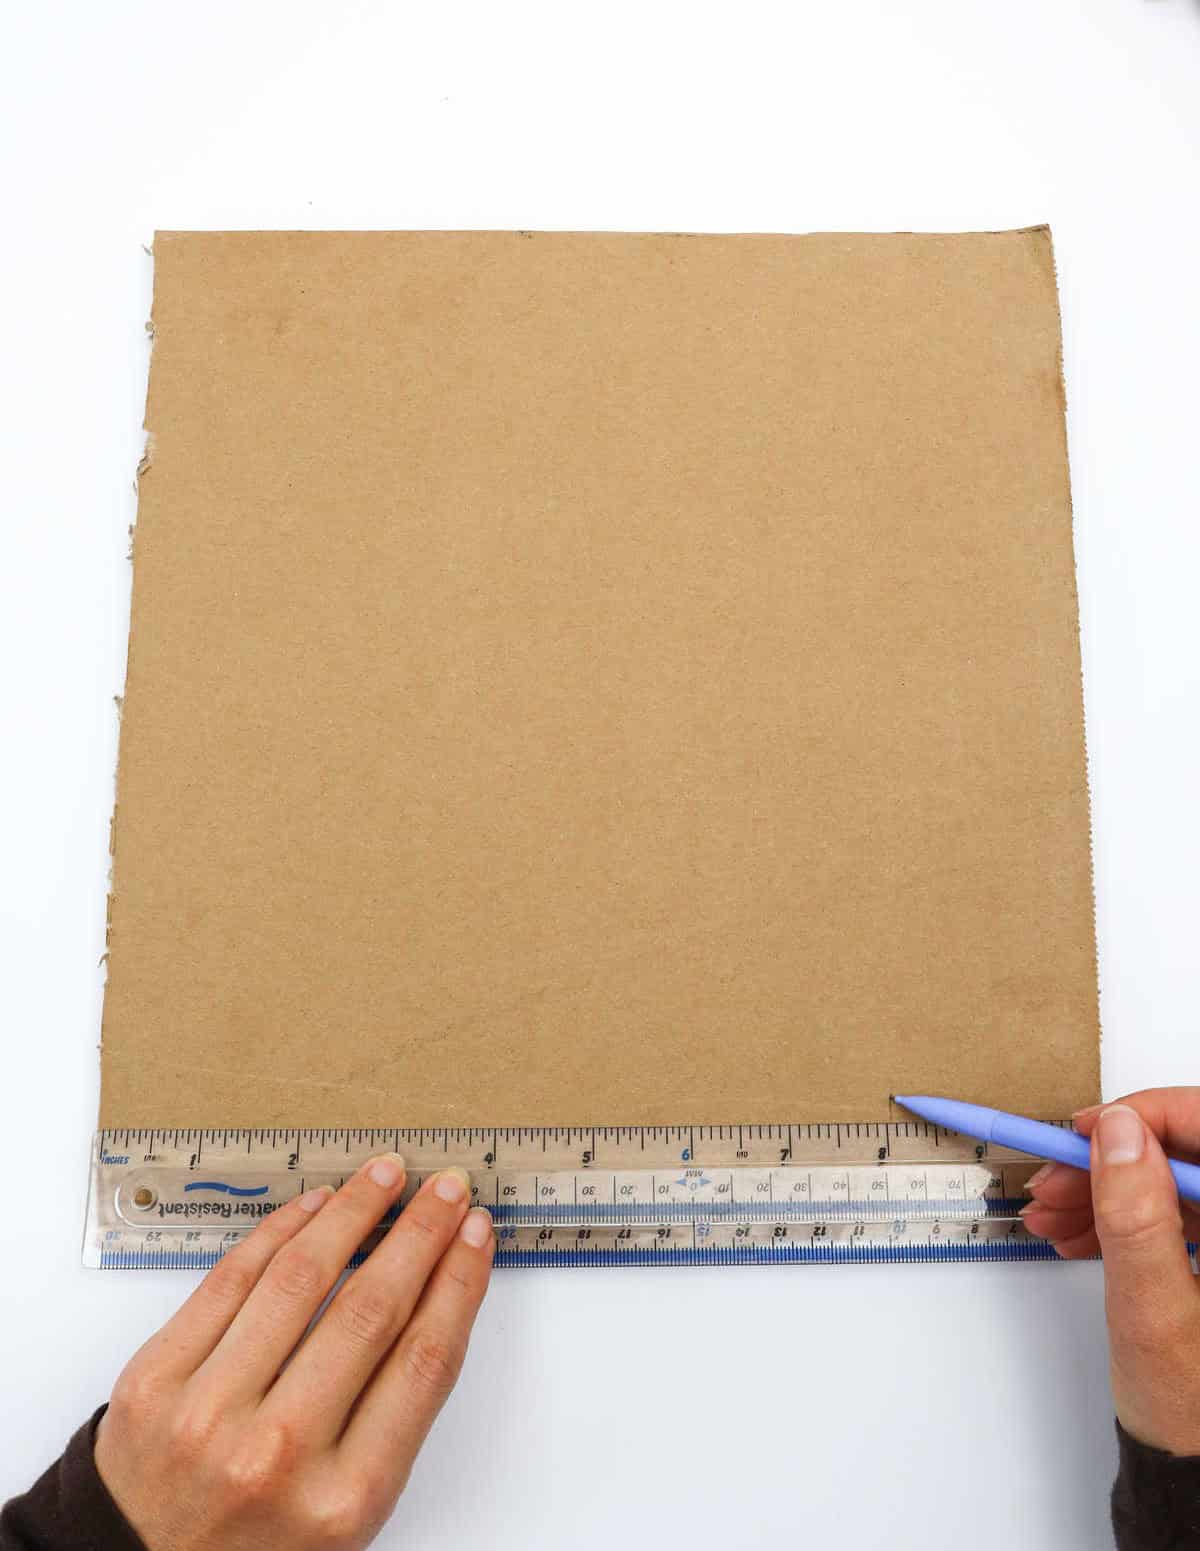
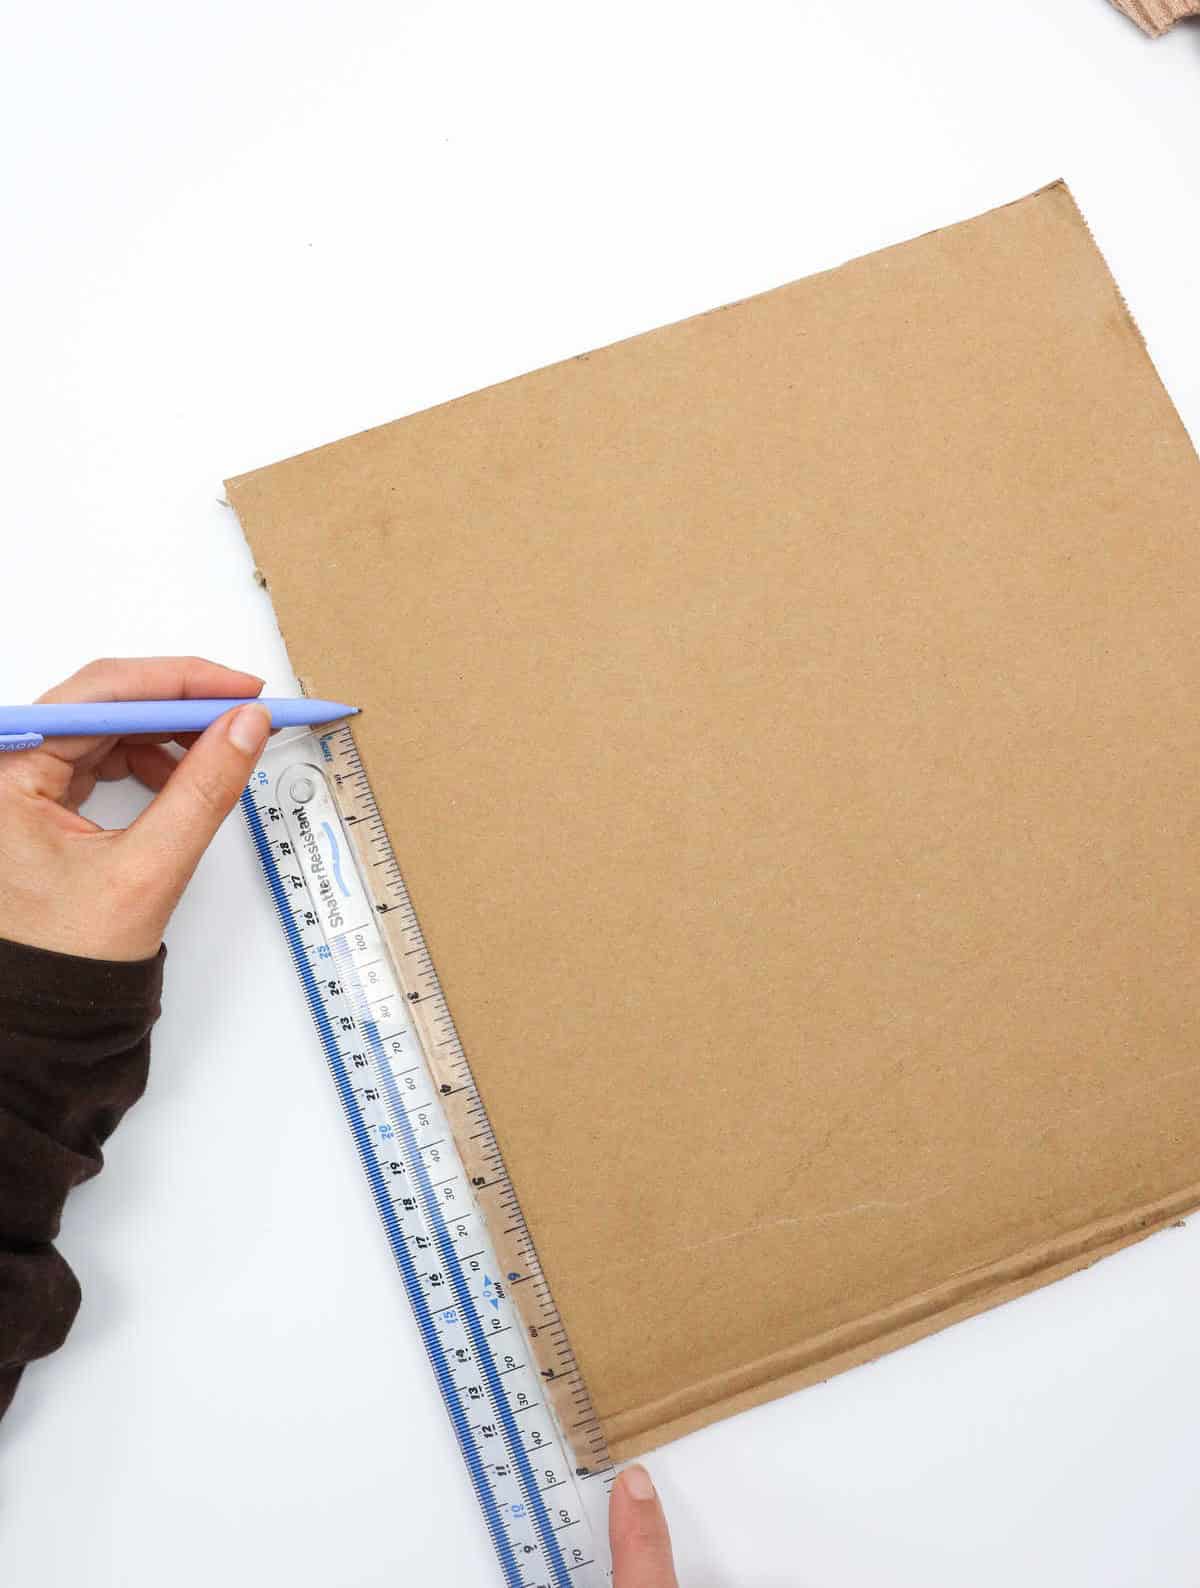
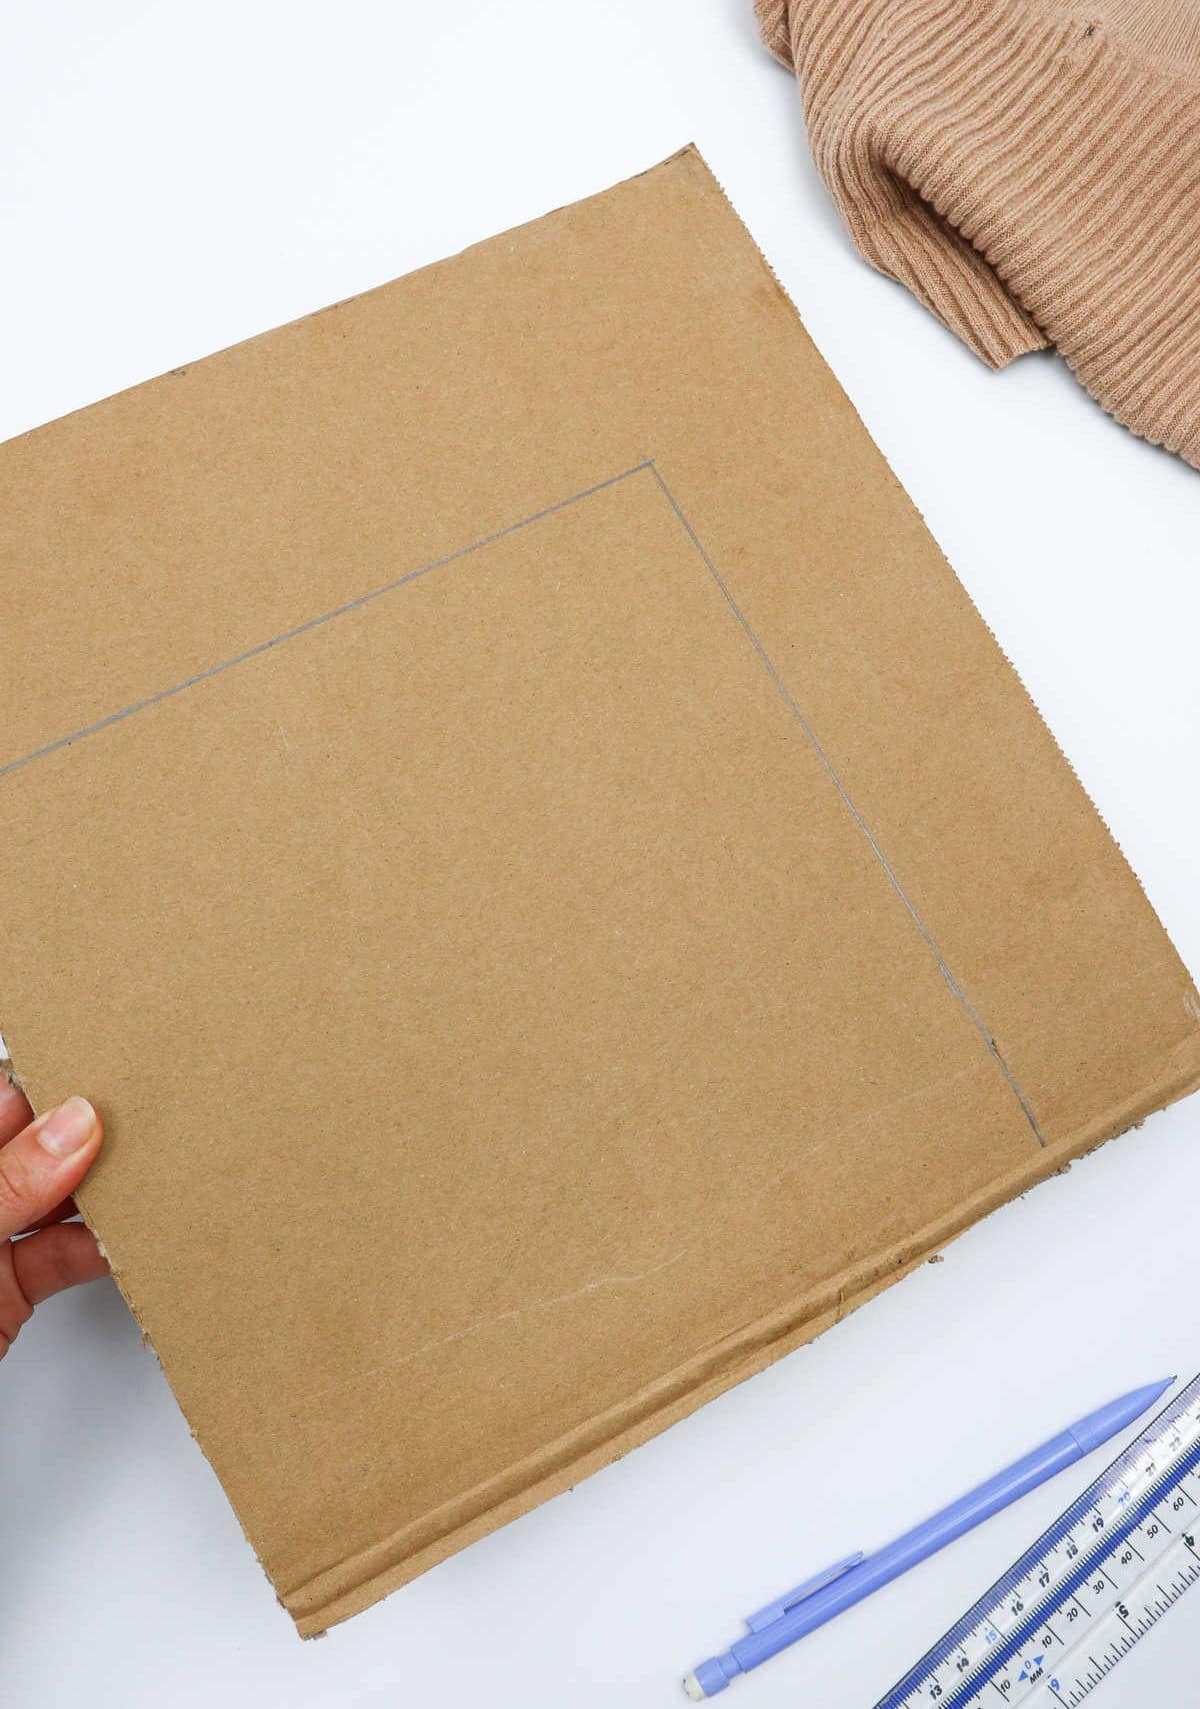
To create an accurate template for your cardboard box, start by transferring the measurements from the first piece of cardboard onto another sheet. Use a ruler and pencil to draw two lines that connect the markings you made earlier, effectively replicating the same measurement as the base of your cardboard box.
Step 9
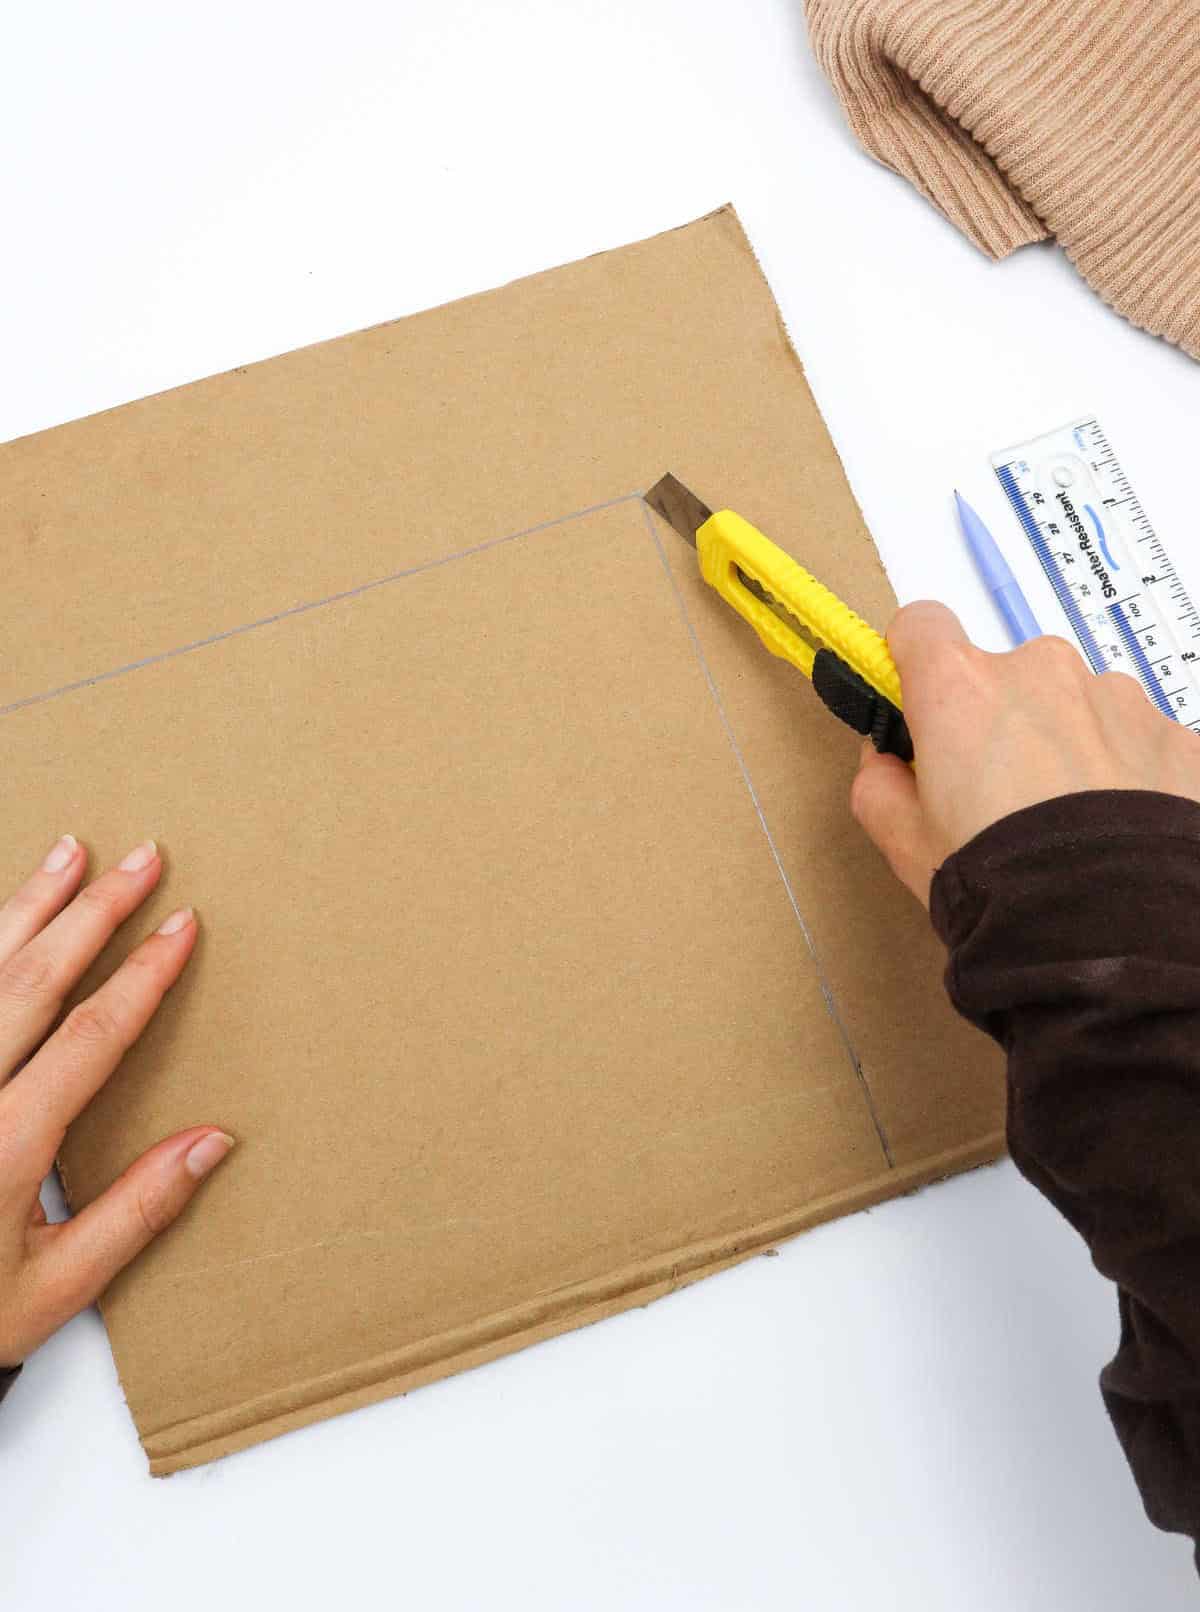
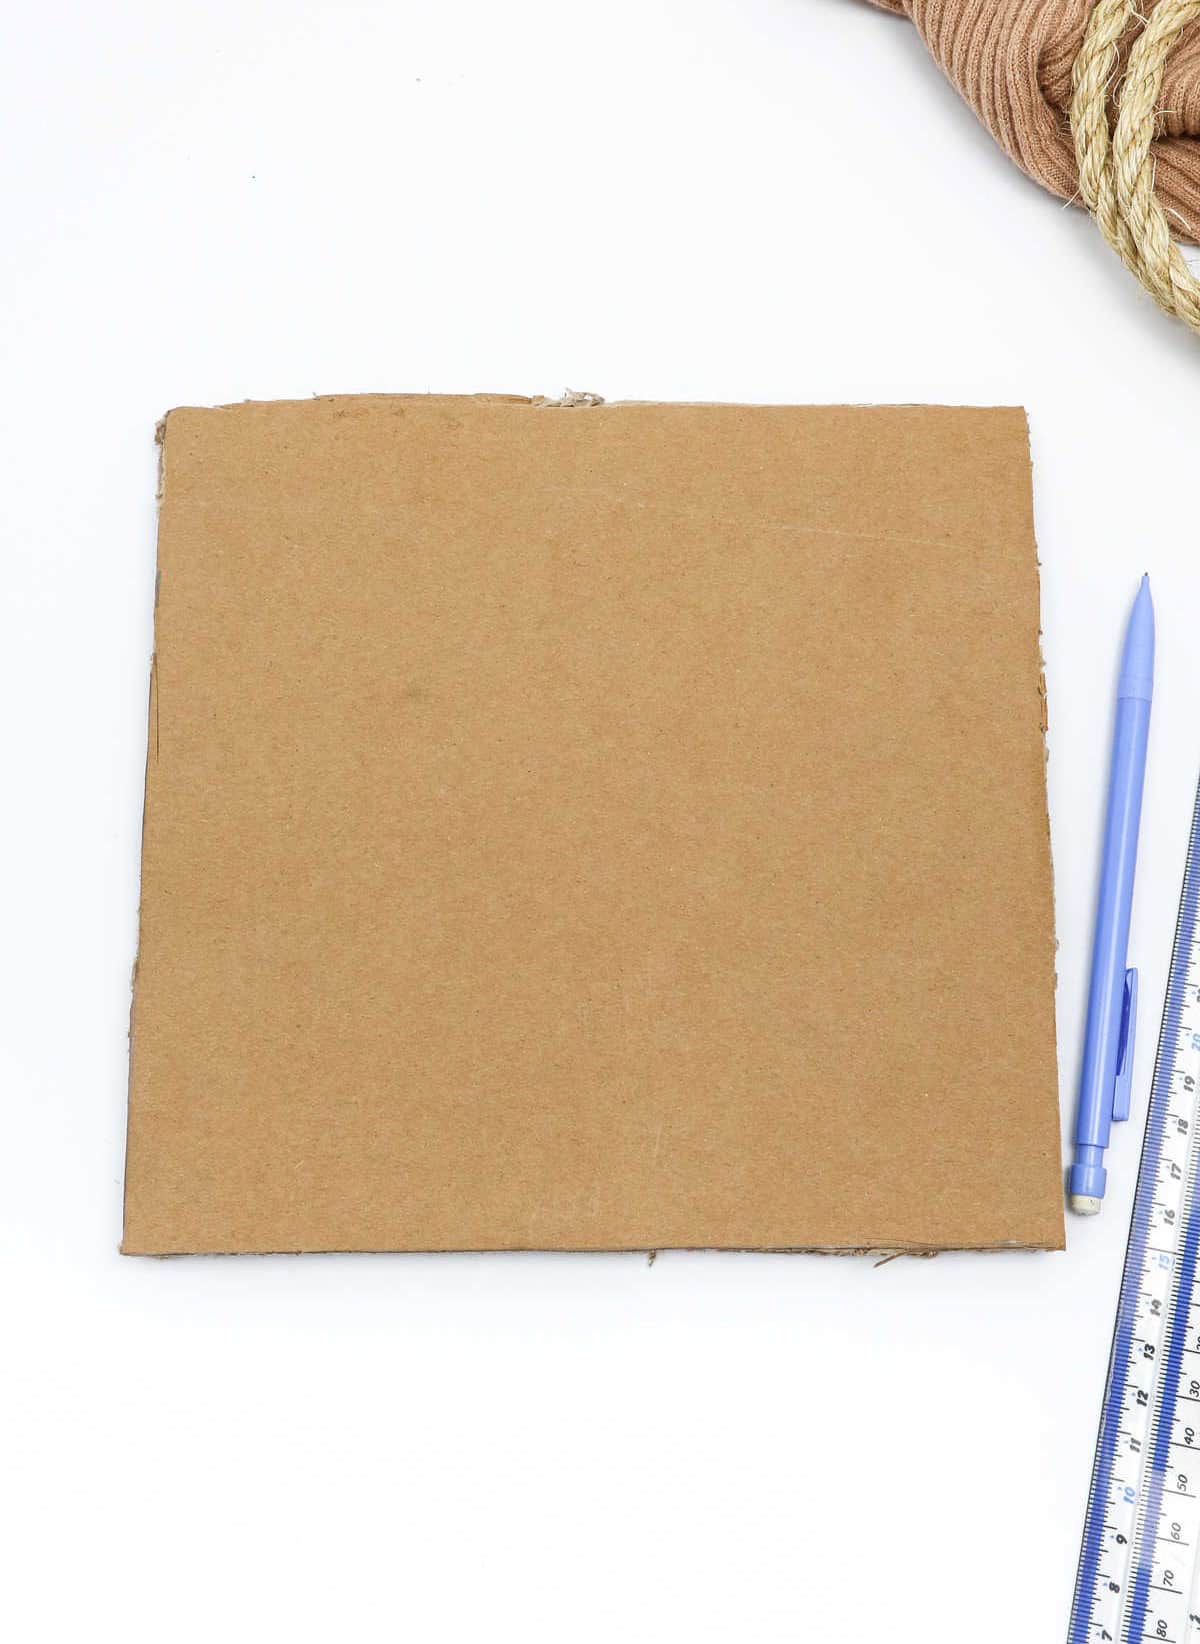
To take the next step in your DIY project, it’s time to get creative with scissors. Grab a pair of box cutters and carefully trim the edges of the cardboard base, removing any excess material that might interfere with the overall design or functionality.
Step 10
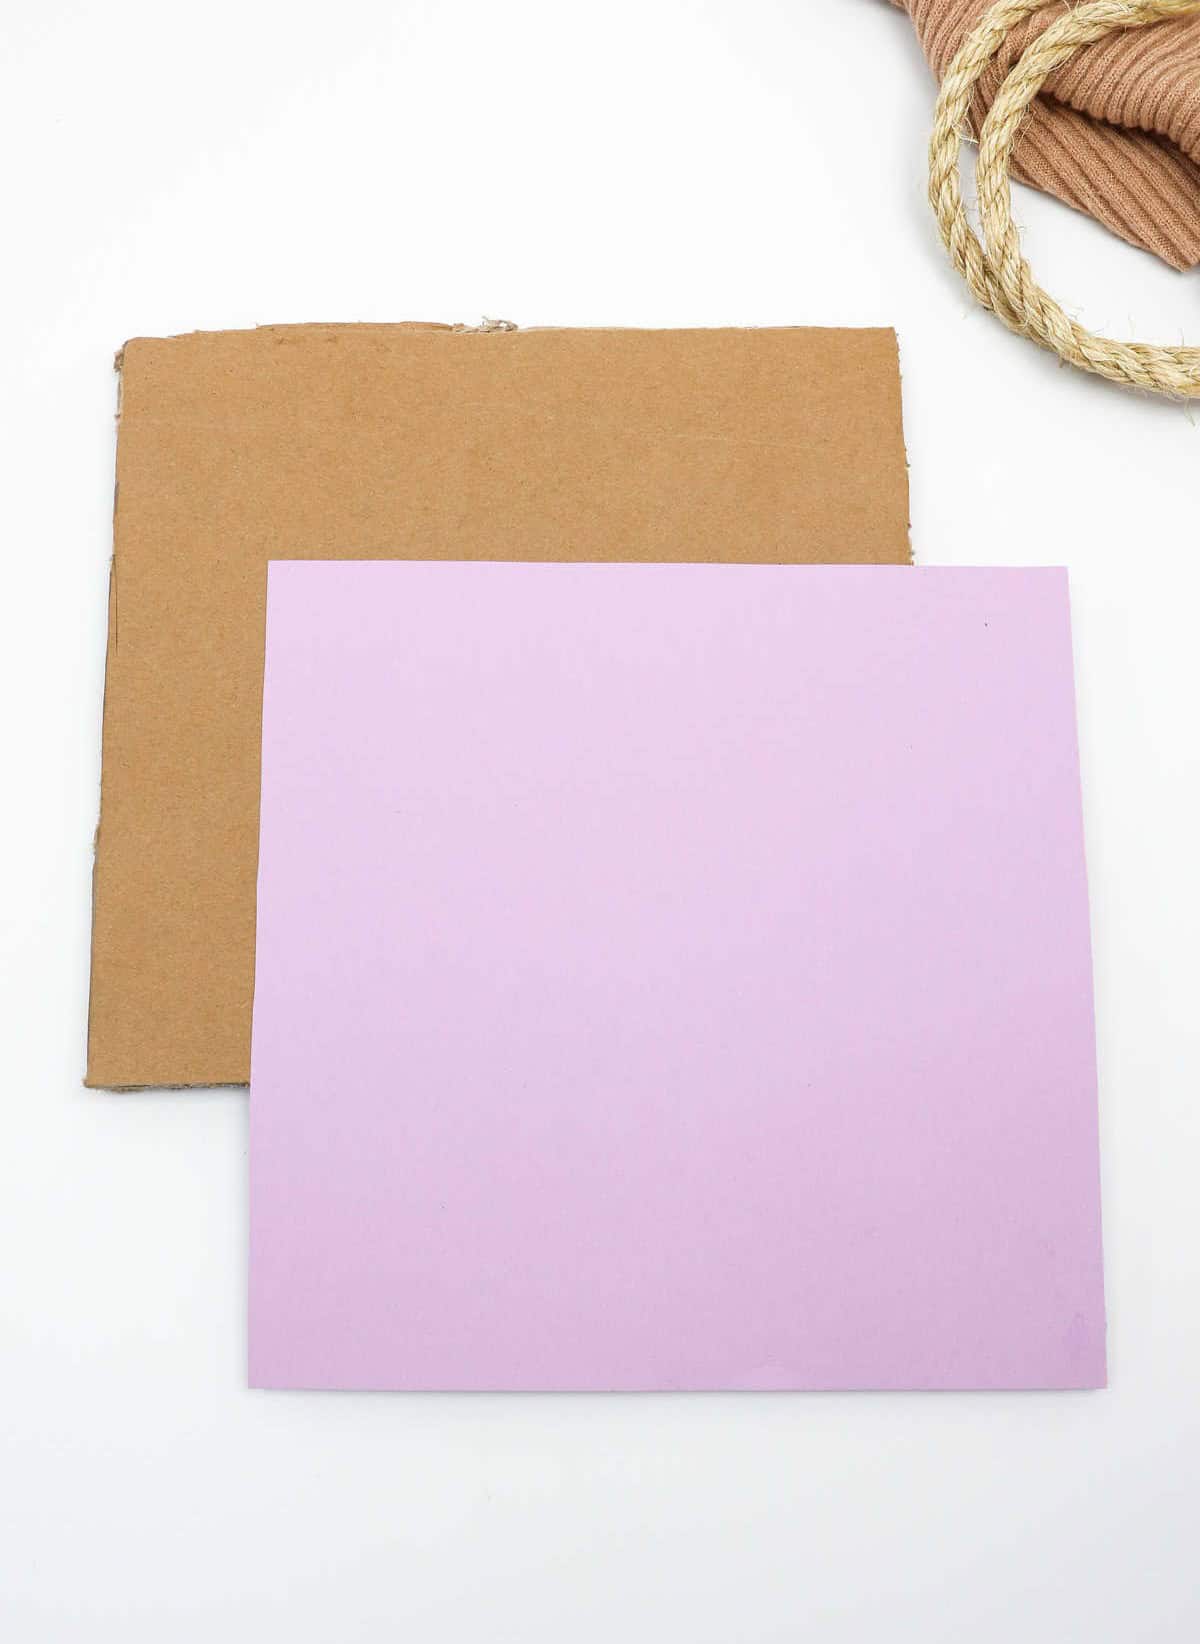
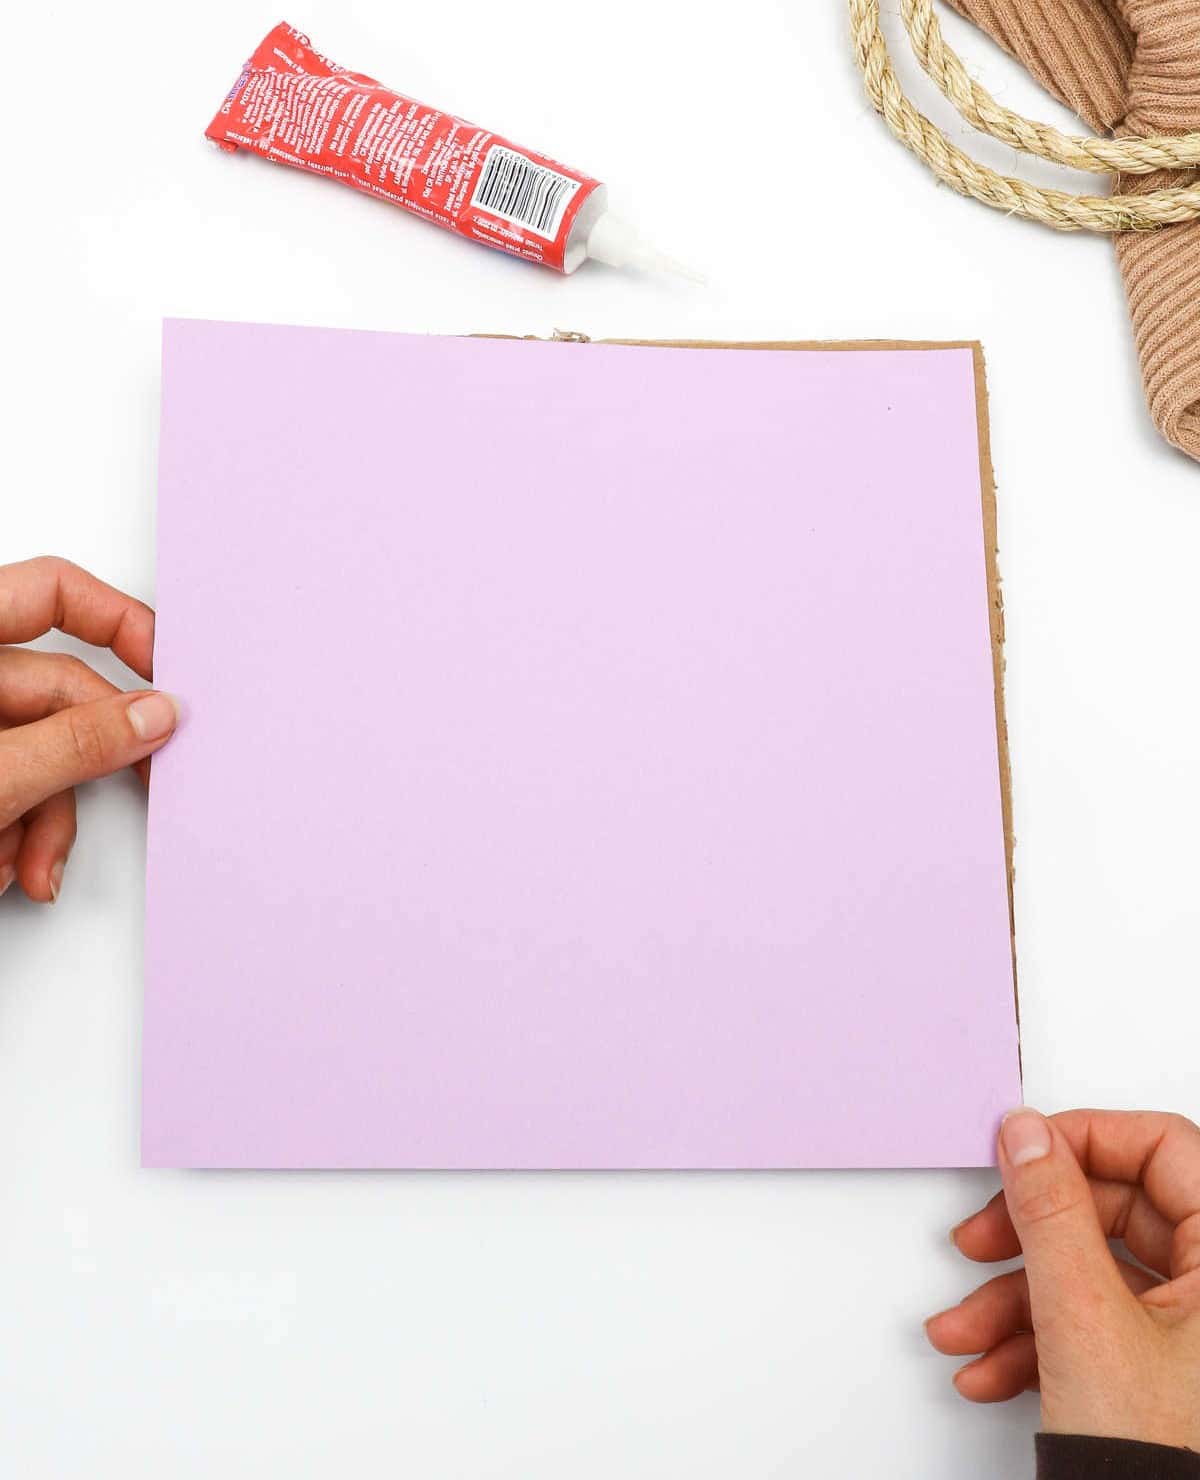
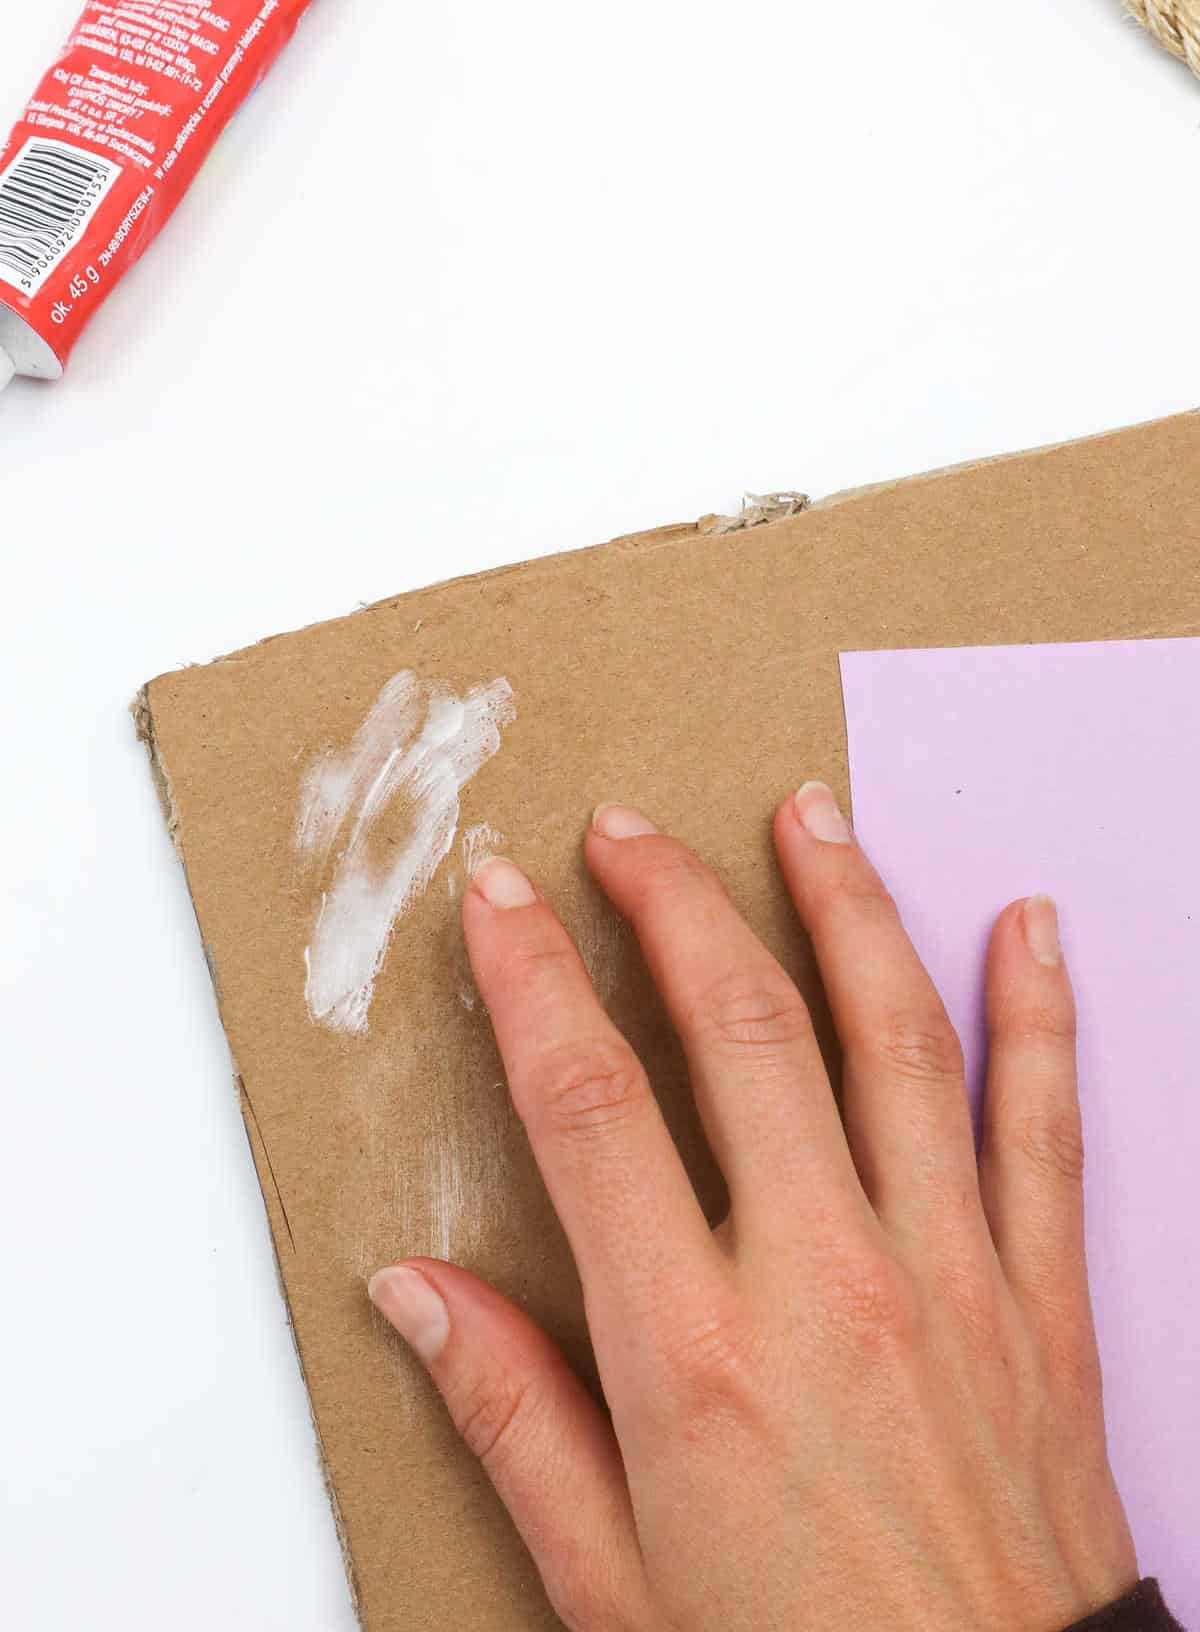
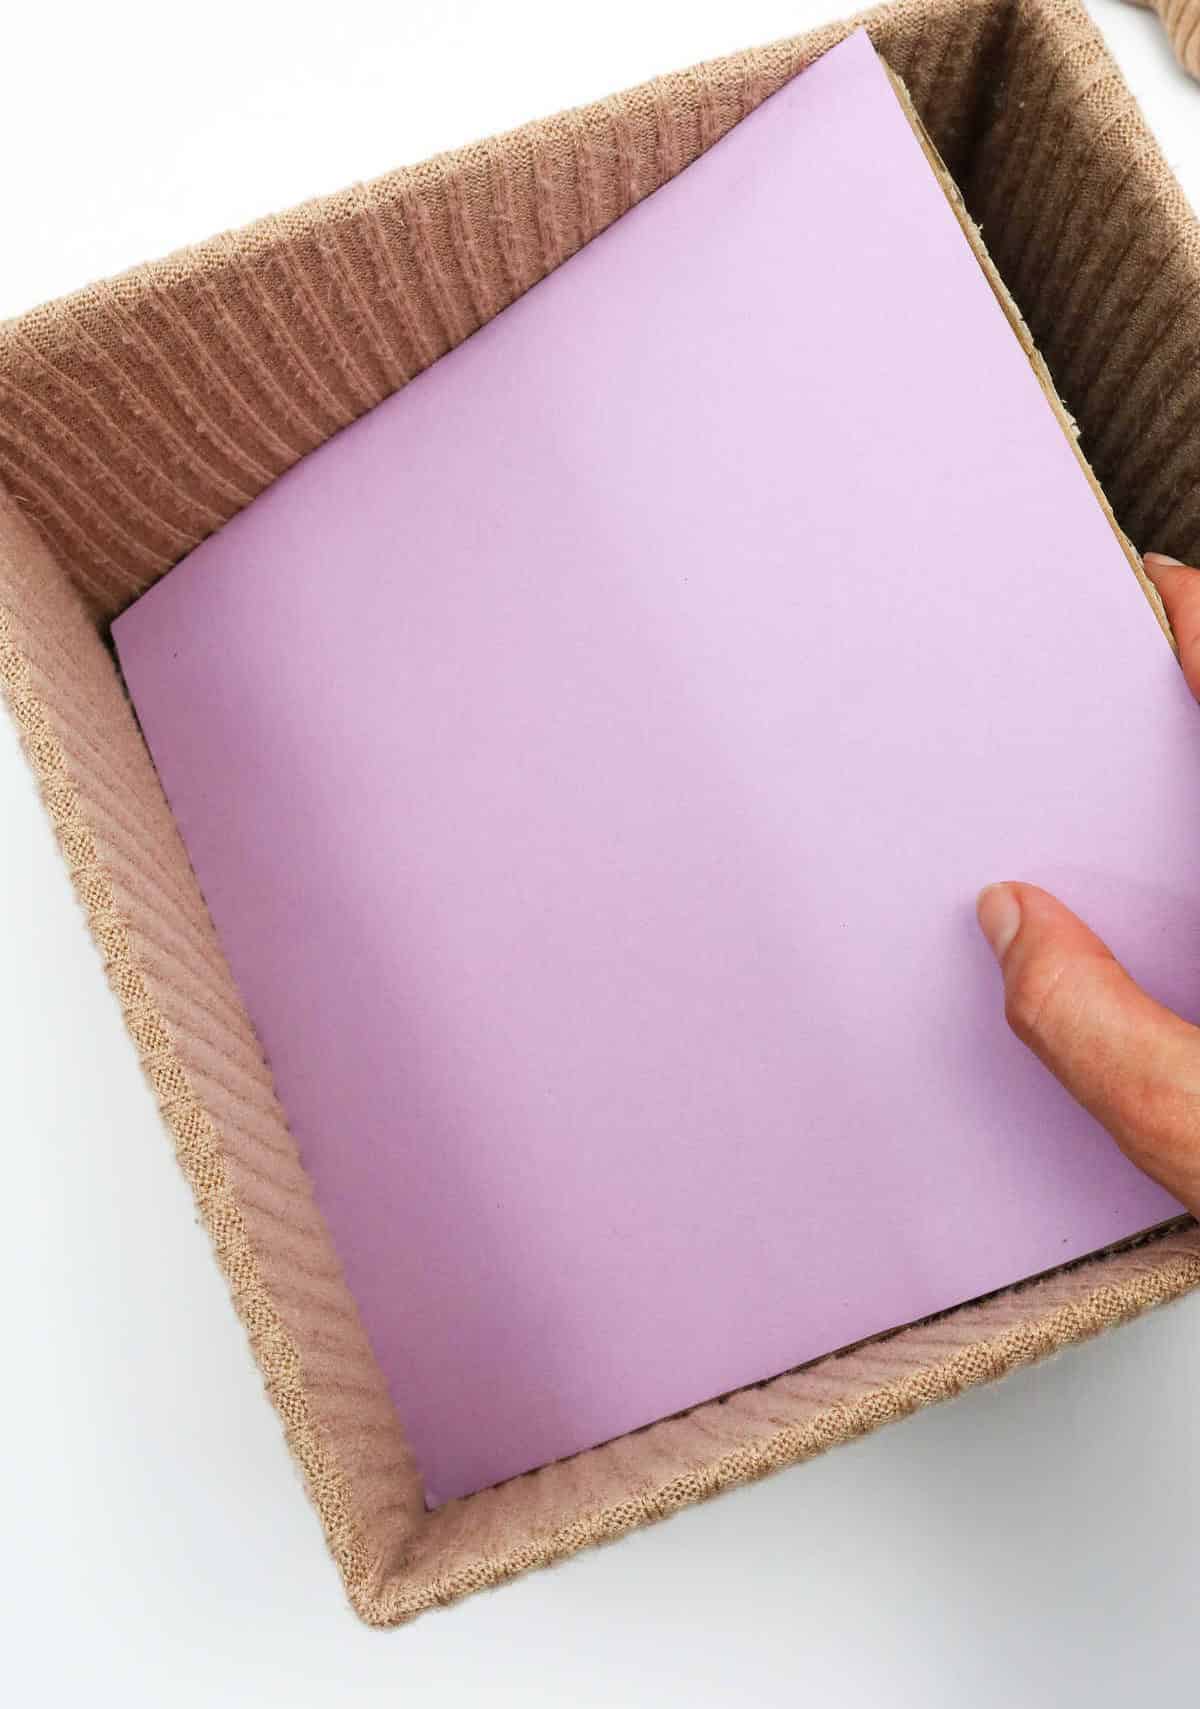
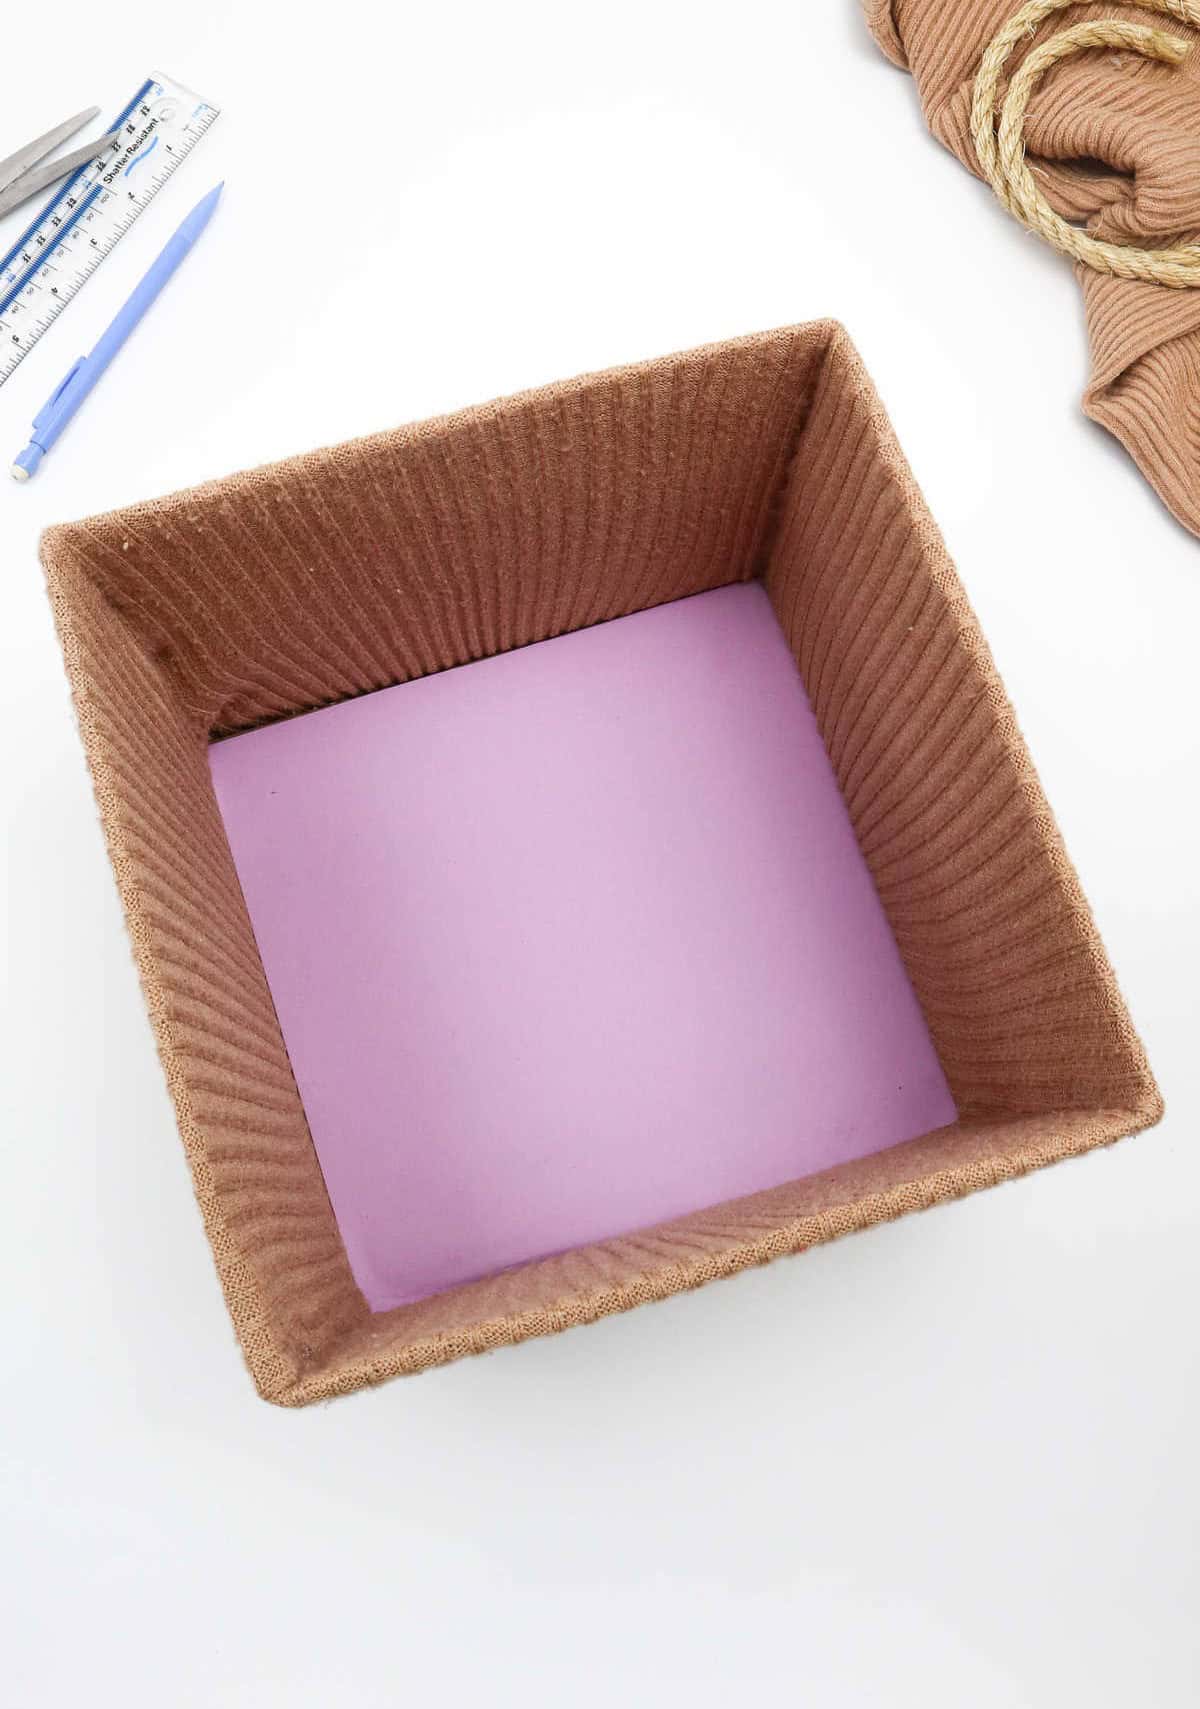
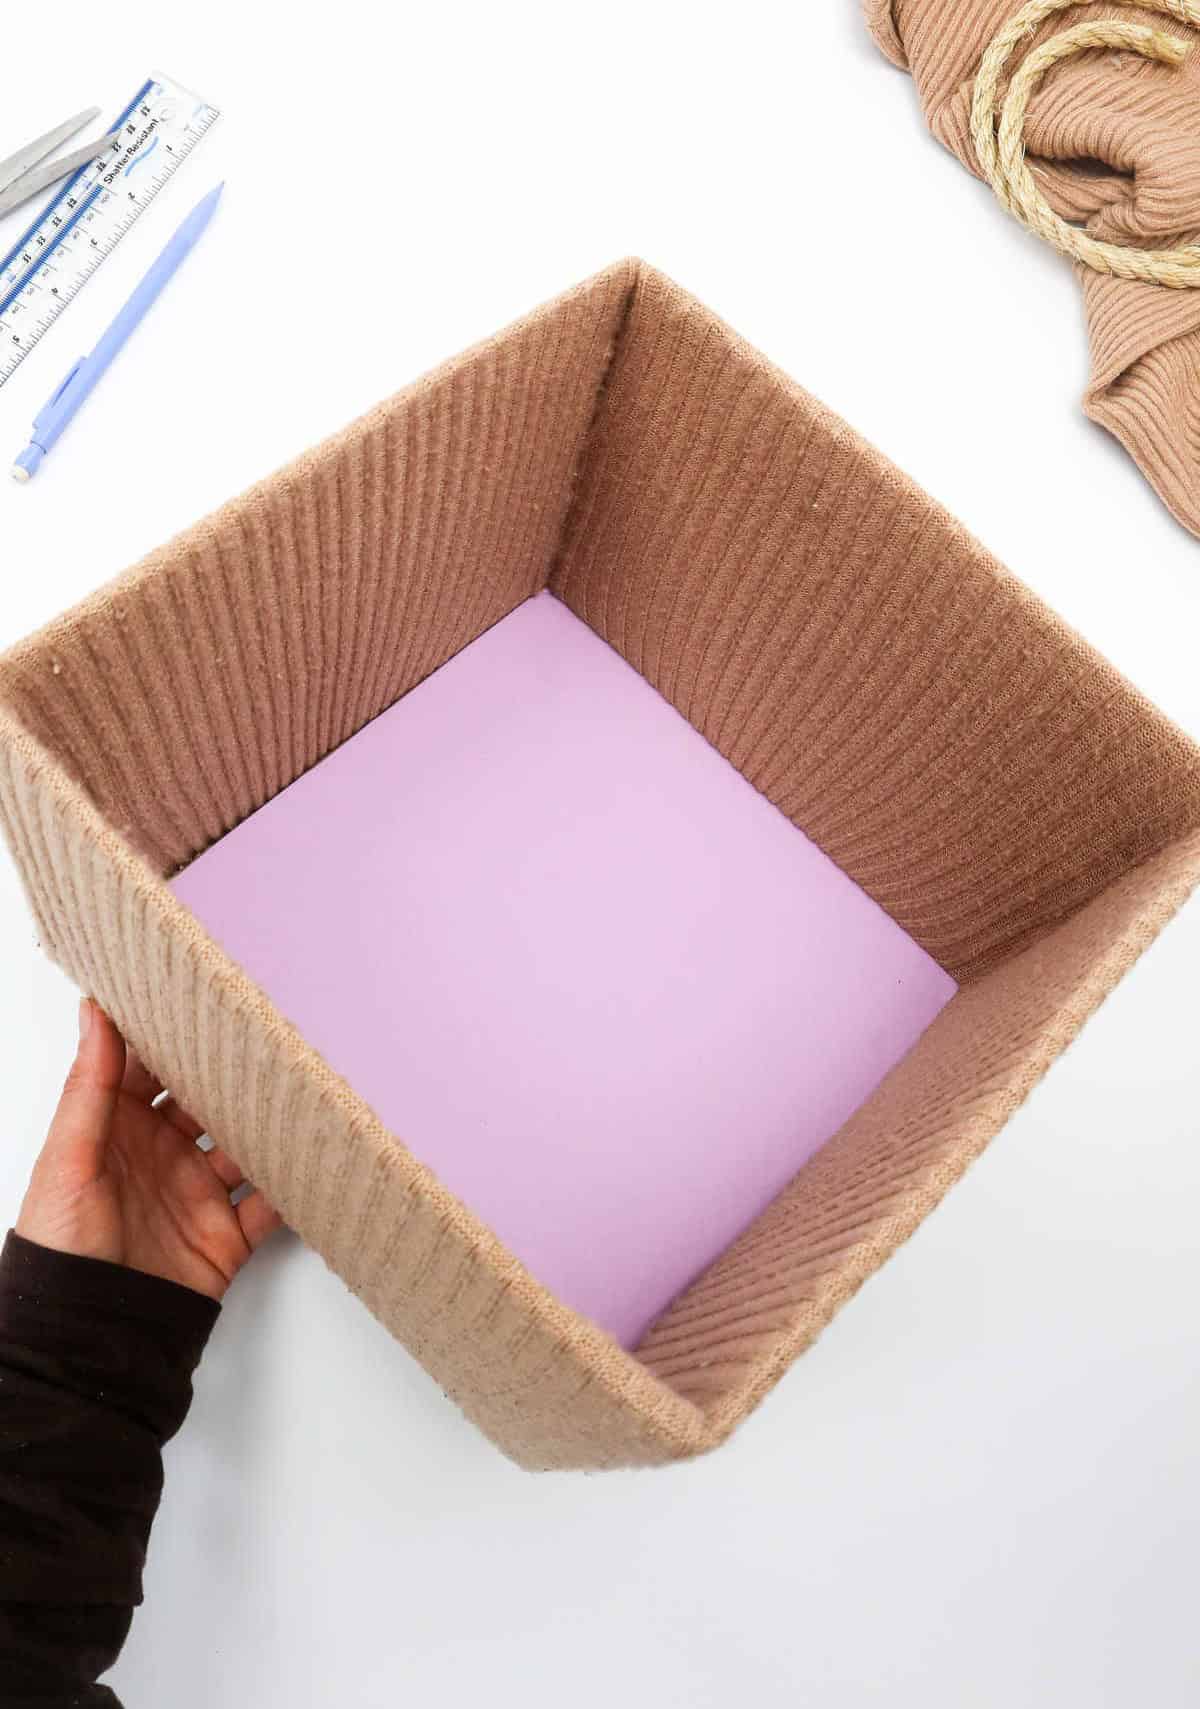
If you’d like to add a pop of color to your project, you can cut craft paper to match the dimensions of the cardboard base. Simply apply adhesive to the paper and attach it to the cardboard, ensuring it’s smooth and even before moving on. Once the adhesive is fully dry, place the base into the box, gently pressing it down to settle at the bottom. This will effectively conceal any uneven folds in the sweater, resulting in a polished finish.
Step 11
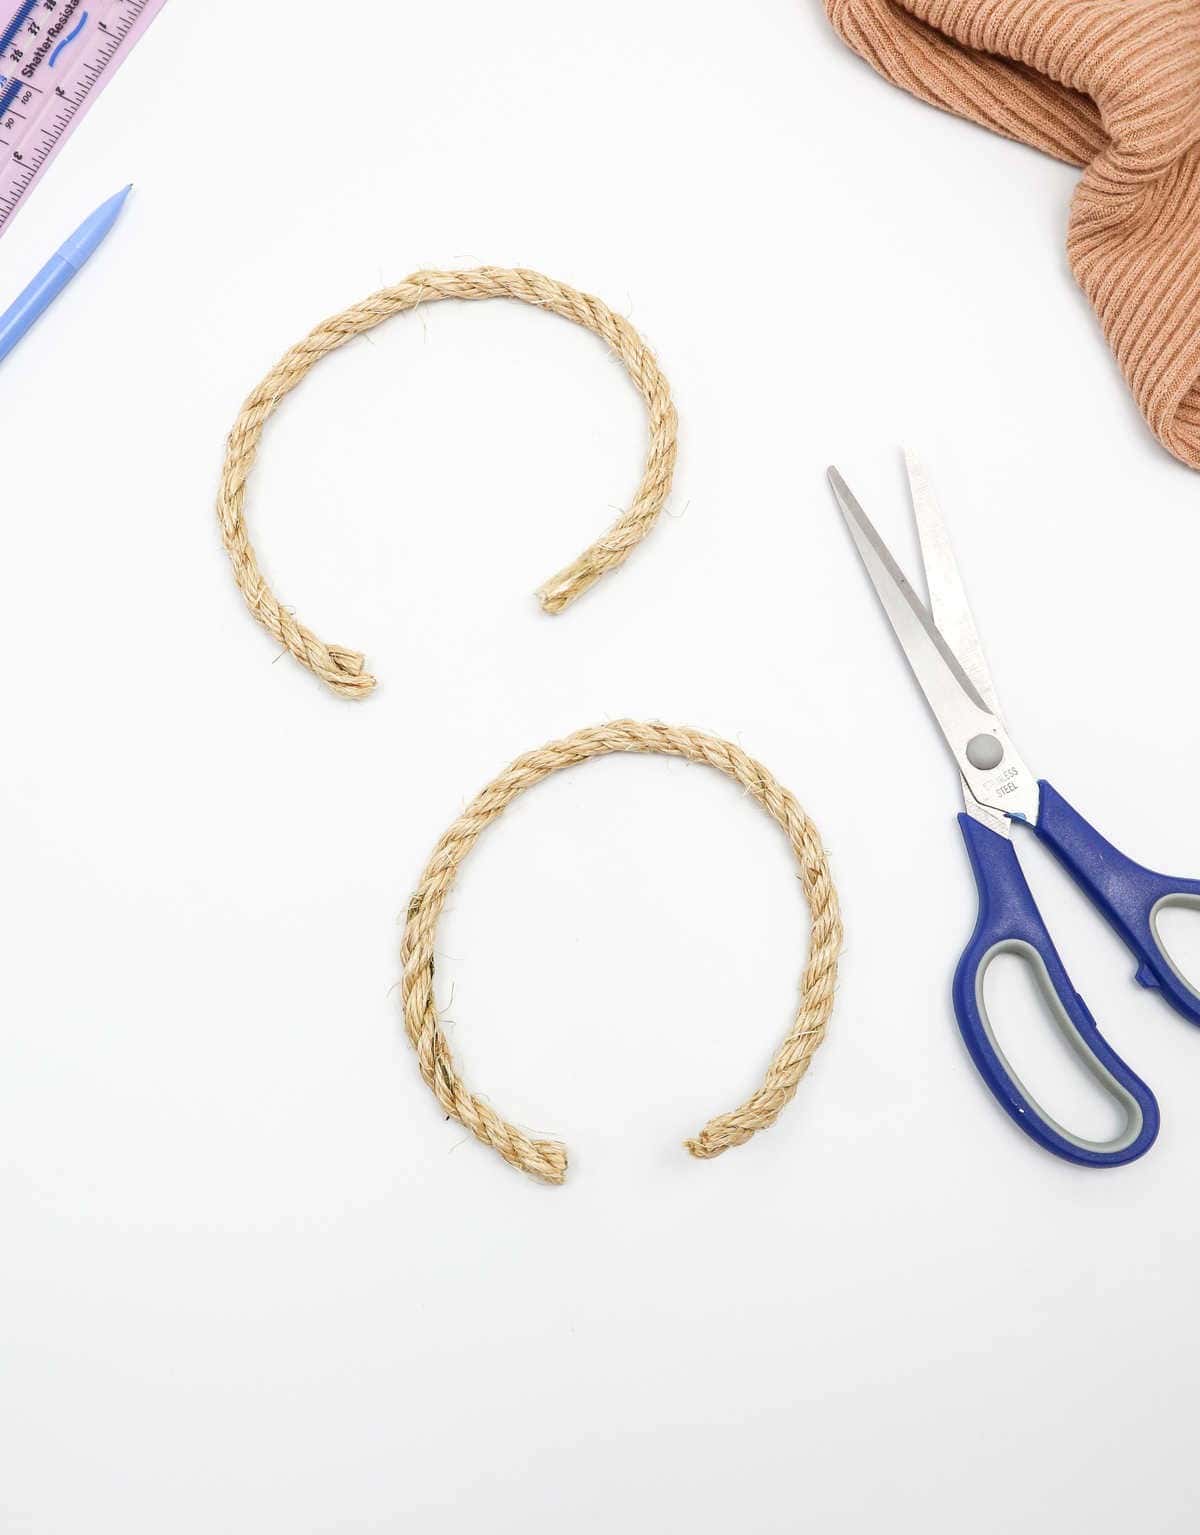
Once you’ve finished crafting the wooden box, it’s time to add the finishing touches in the form of durable and eco-friendly handles. For this purpose, strips of jute or hemp rope can be effectively utilized. Simply cut two identical strips using a pair of scissors, ensuring they’re long enough to accommodate your desired handle length.
Step 12
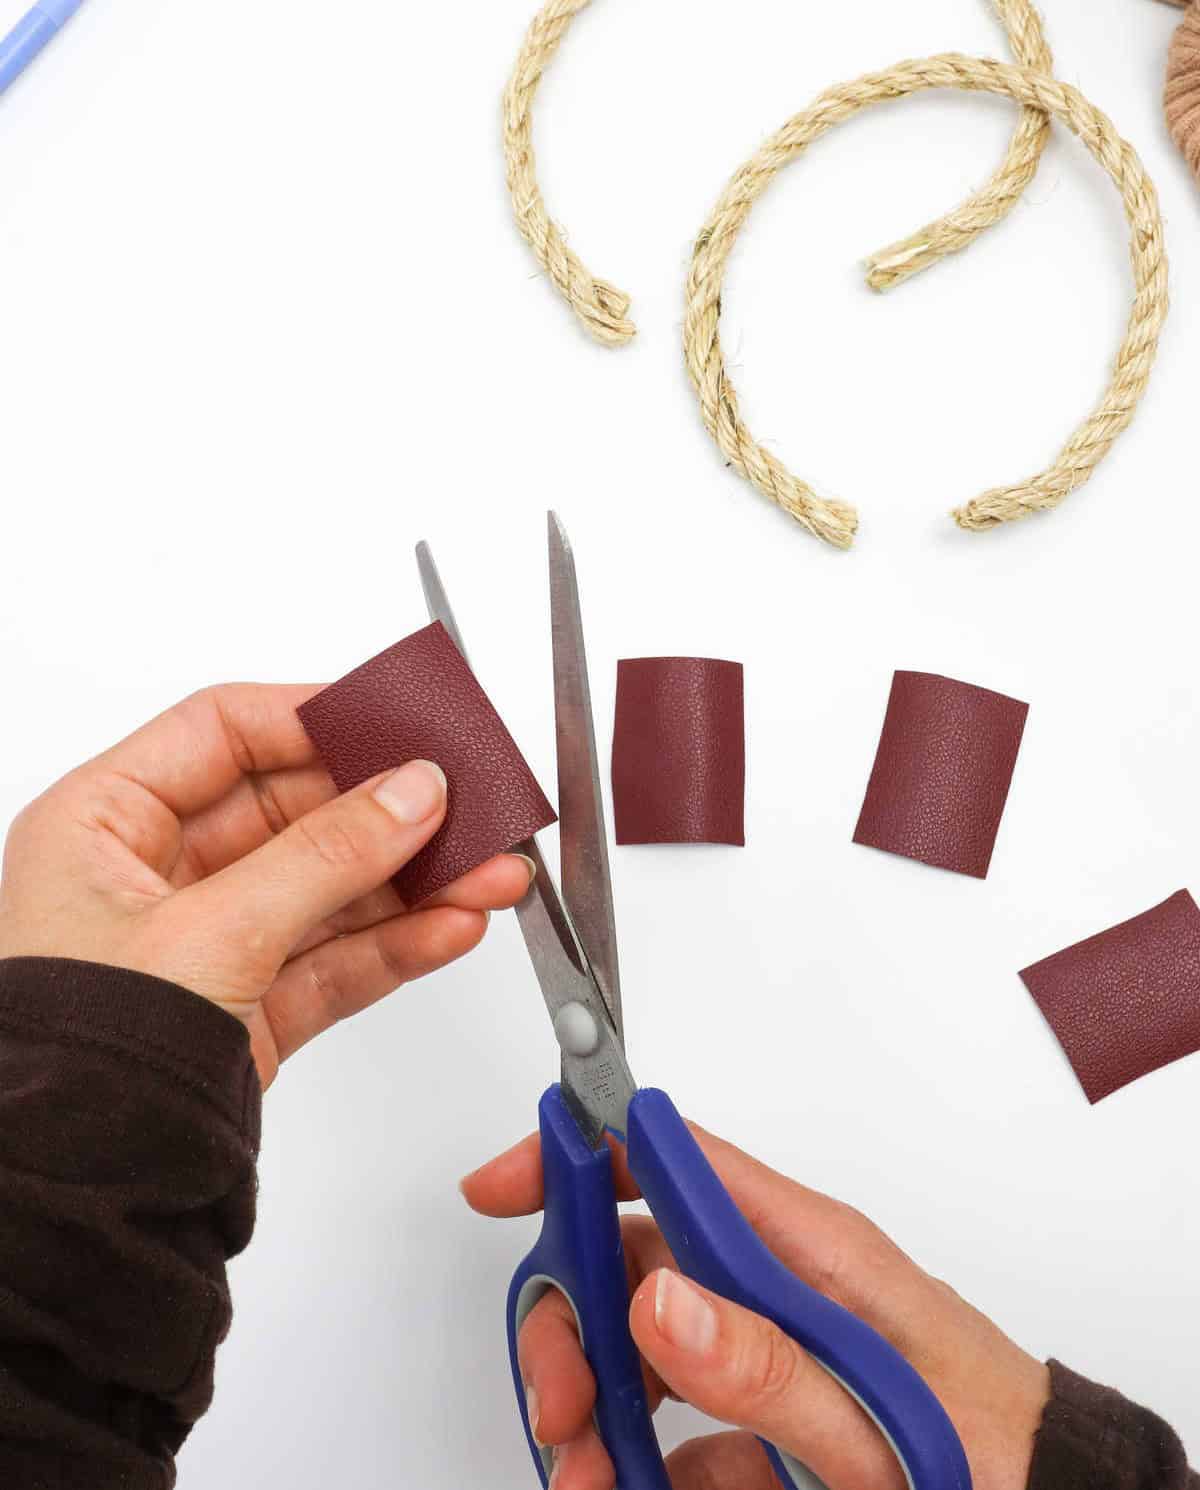
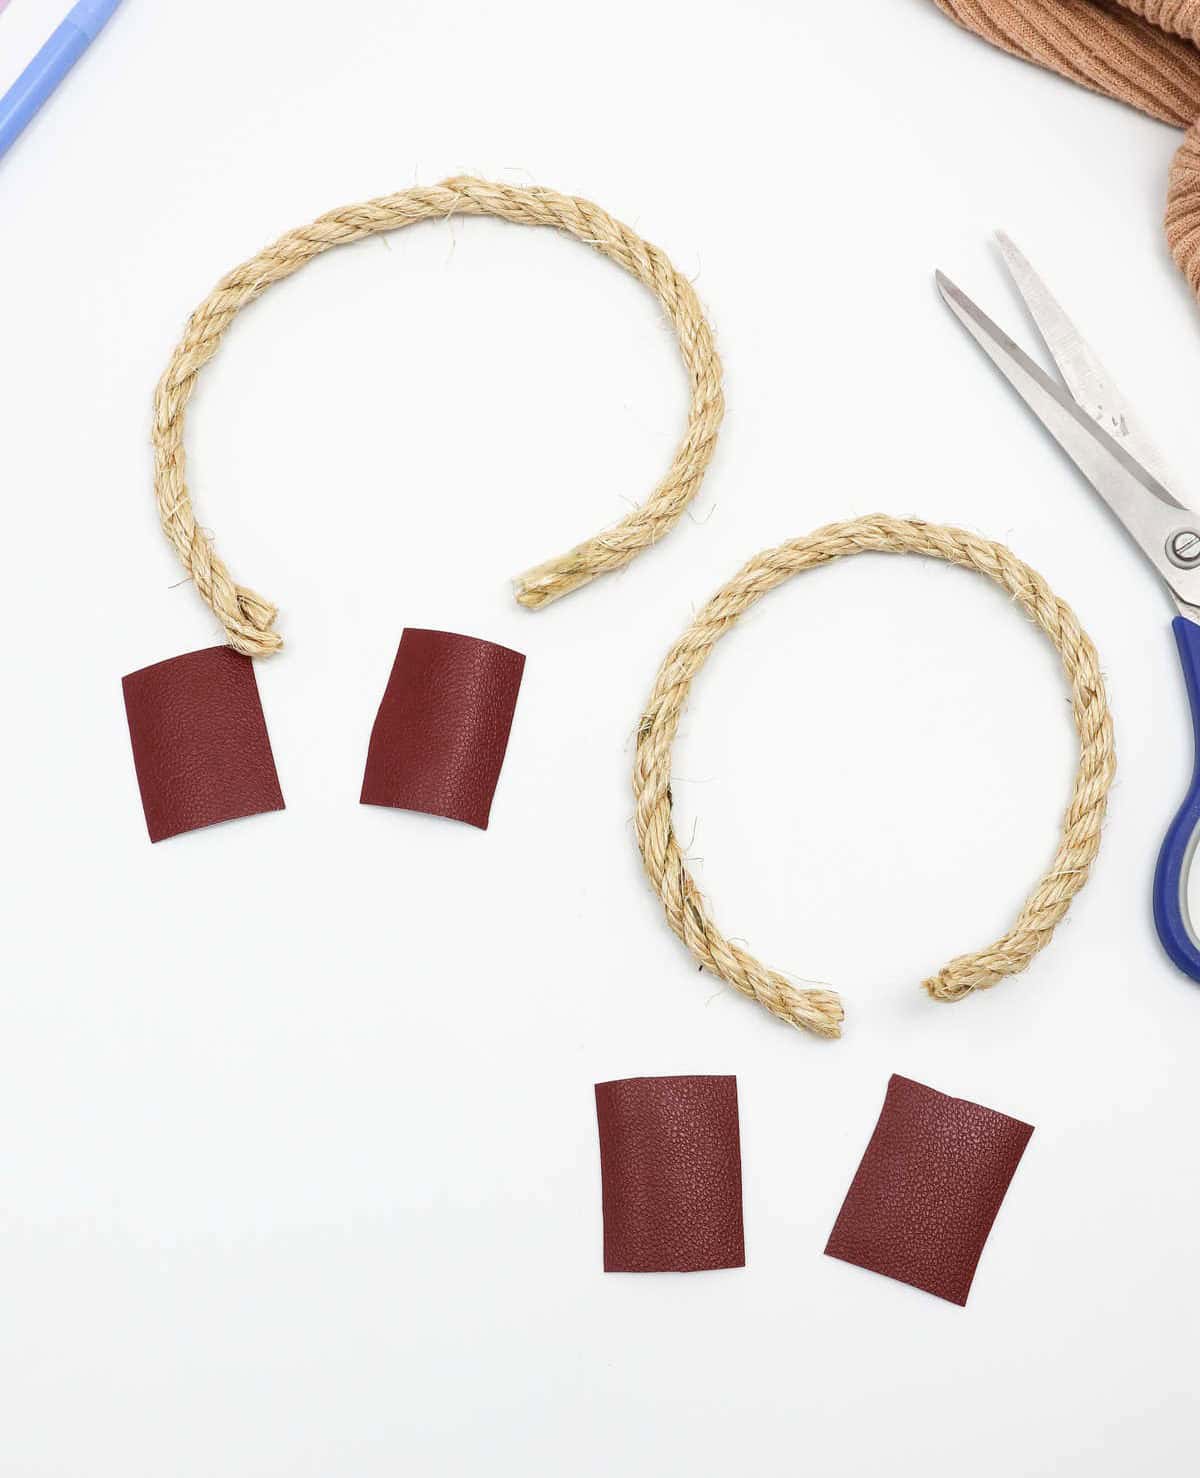
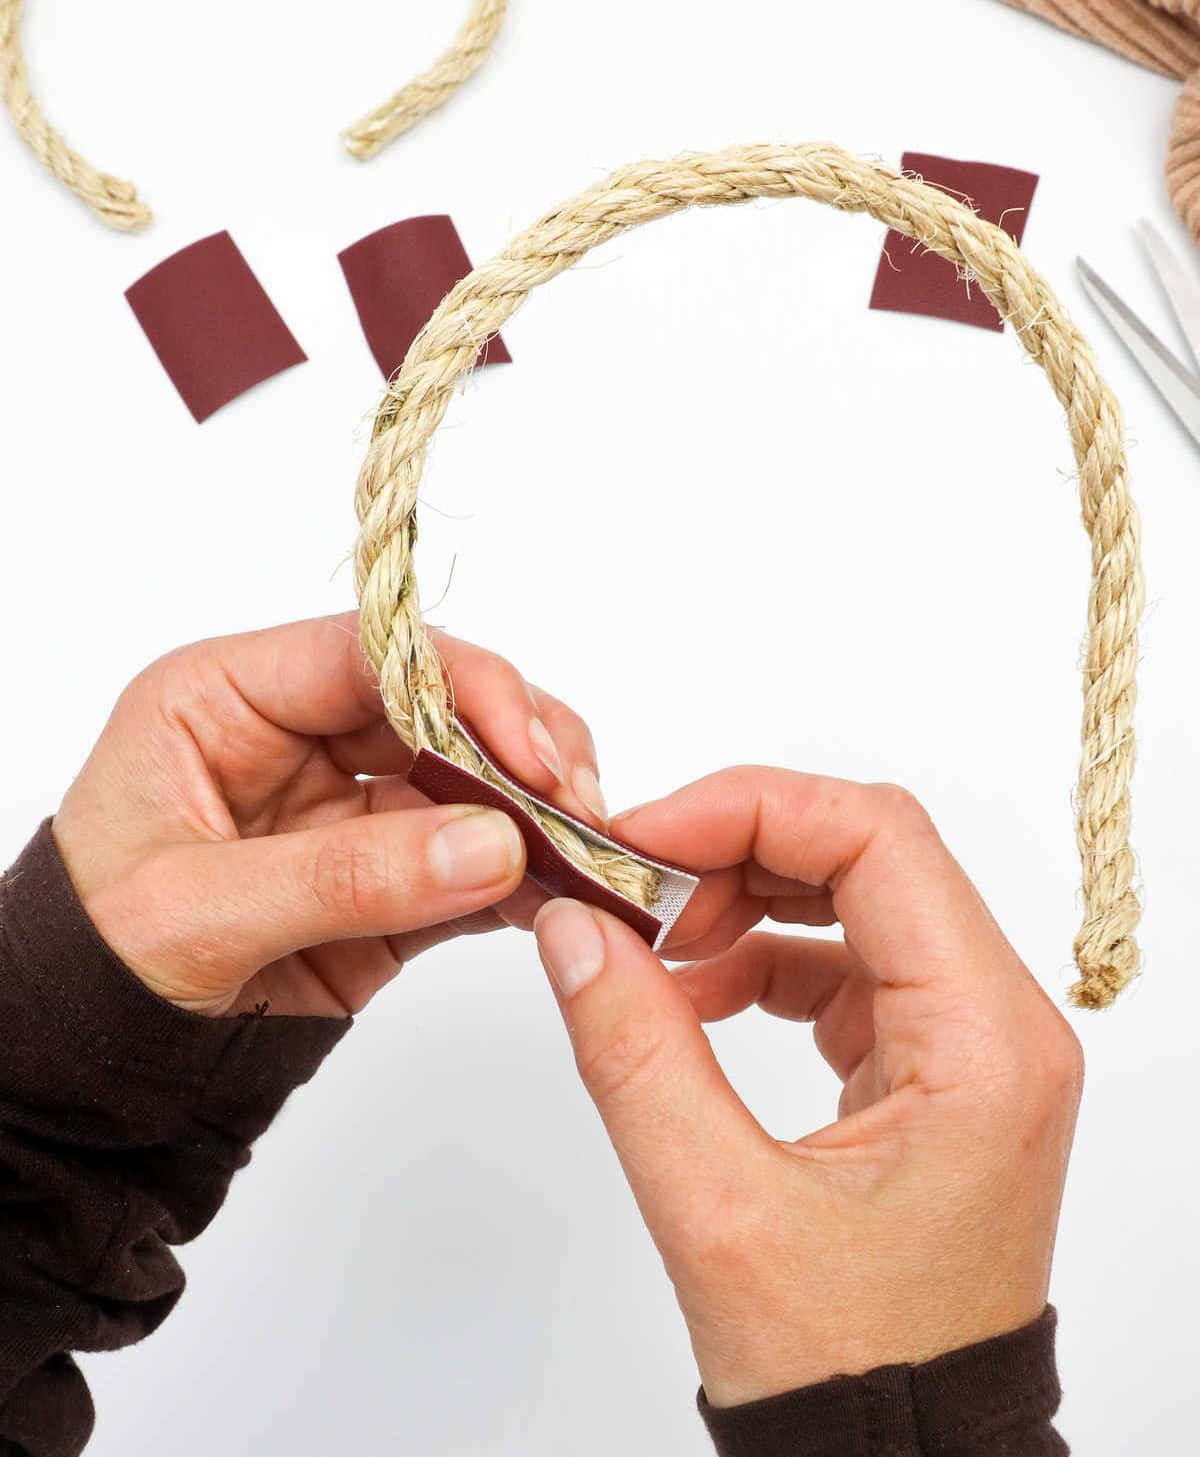
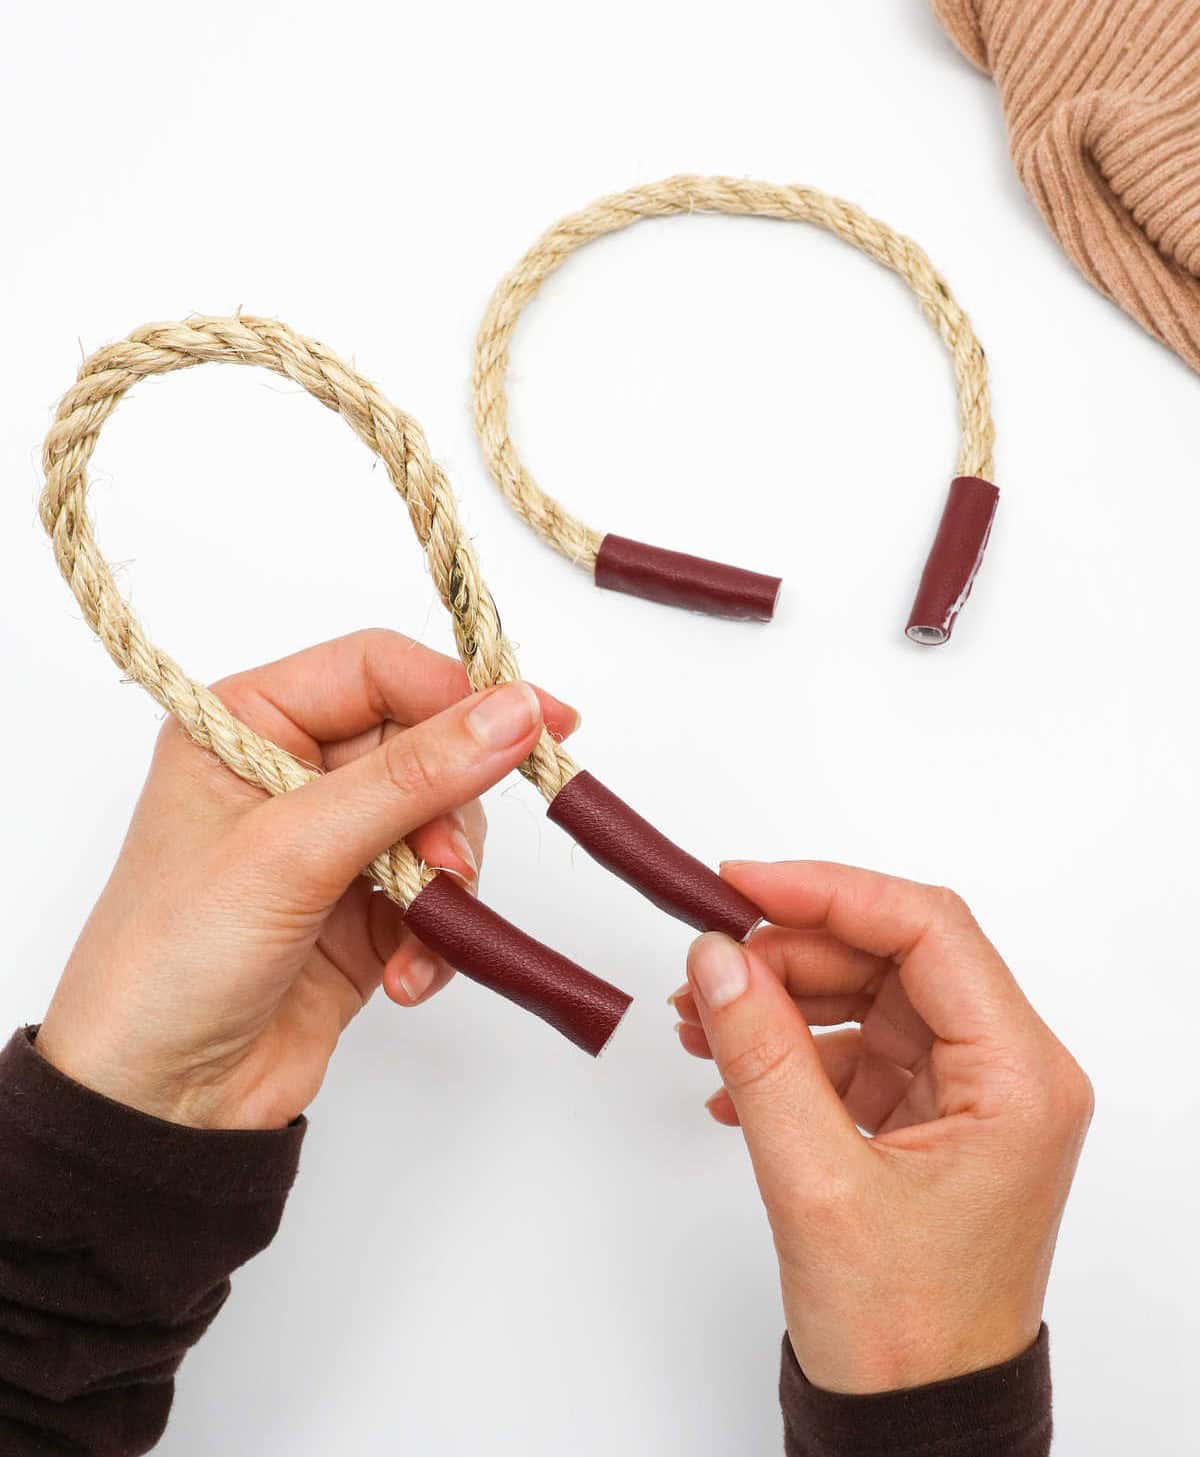
If you’re satisfied with the natural beauty of the rope, you can leave it as is and attach it to the box without any additional embellishments. However, if you’d like to add some extra flair, you can wrap the base of the rope with colored or textured paper for a pop of color and added protection. This covering will also prevent fraying at the ends, should they ever become loose. To achieve this look, cut four pieces of paper to match the number of rope ends.
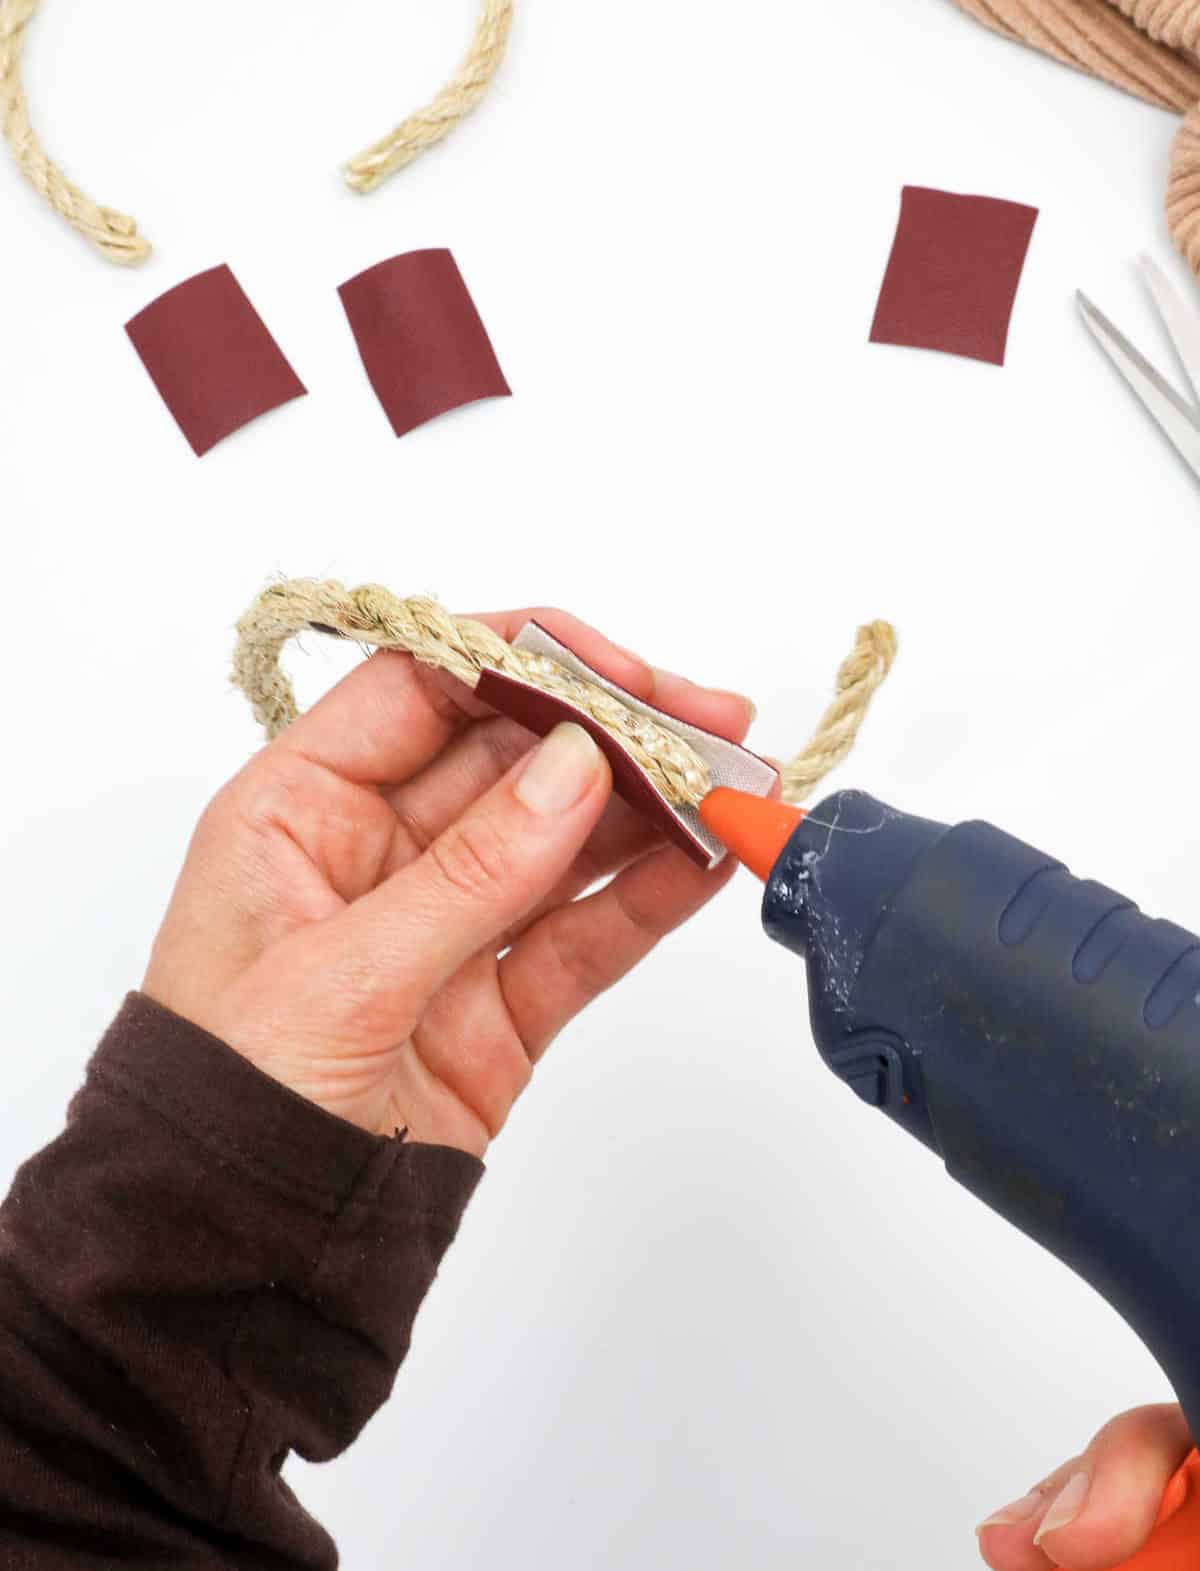
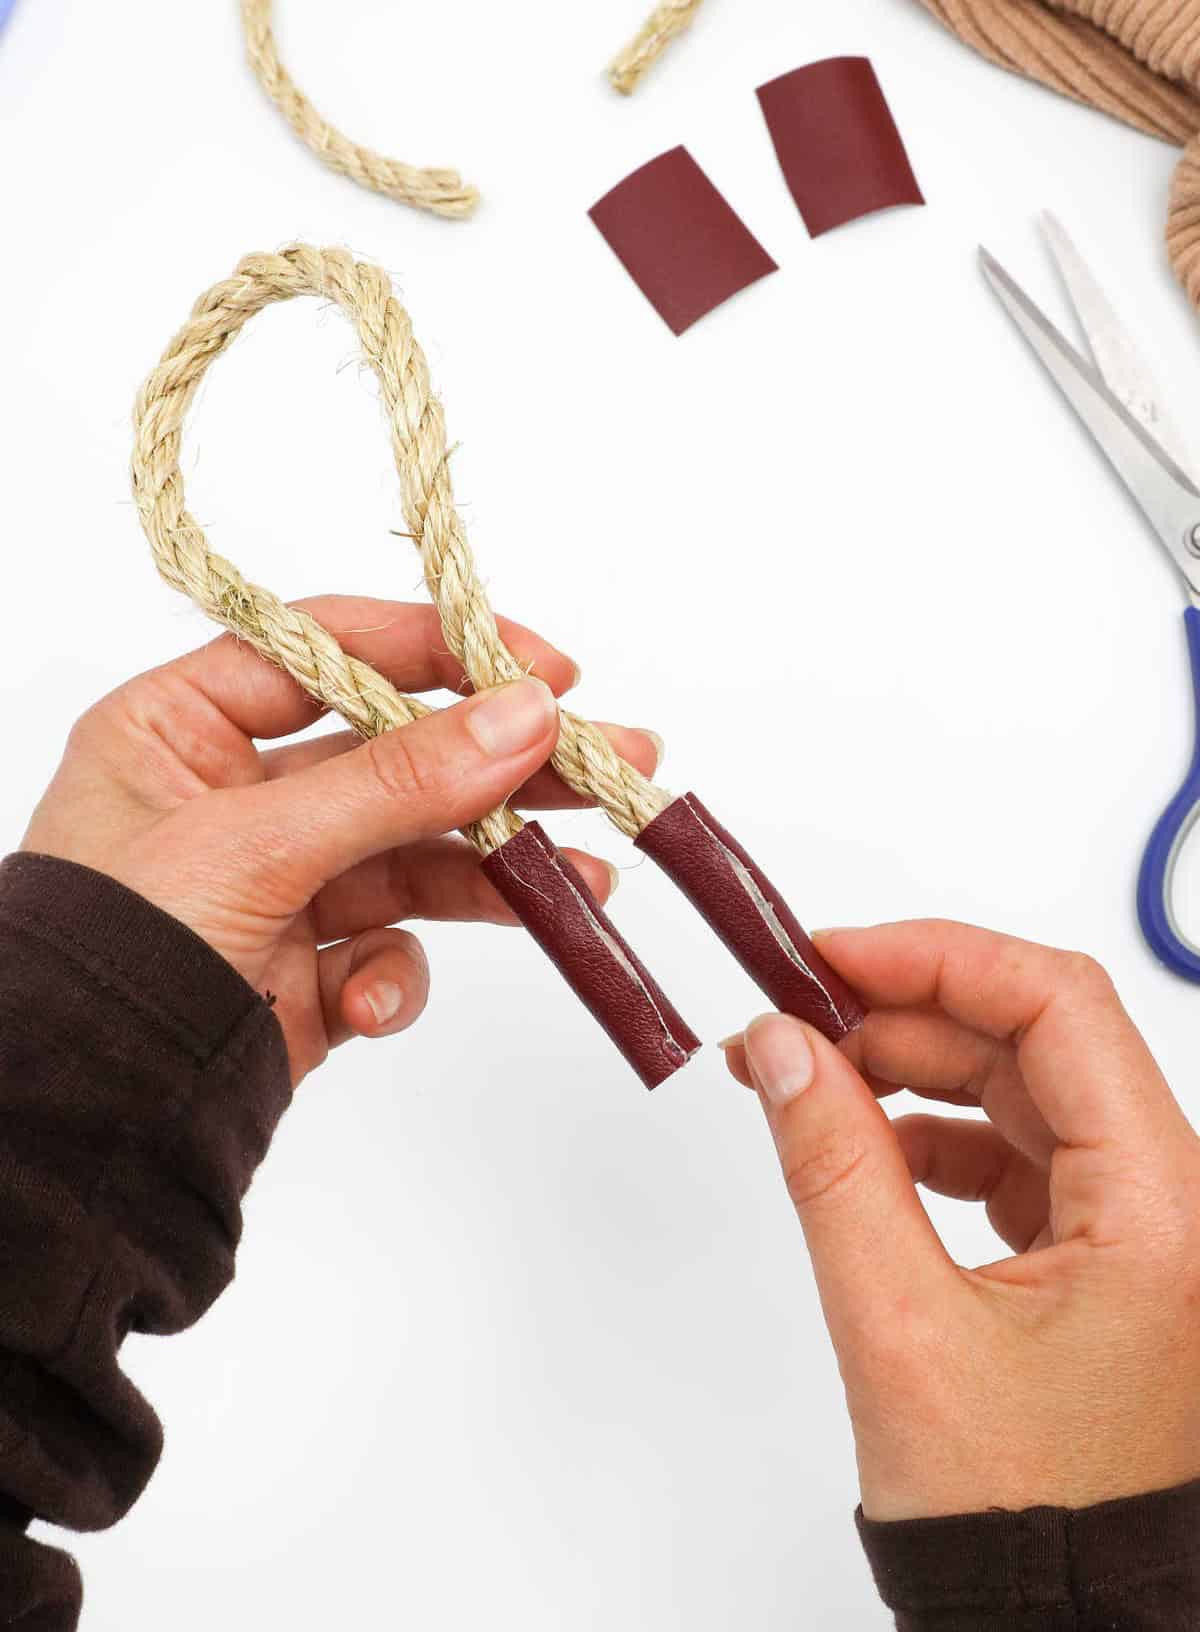
Wrap each piece around the base of its corresponding rope, securing it in place while you grab your hot glue gun. Apply a thin layer of glue along the rope and press the paper into position, ensuring a sturdy hold. Repeat this process for all four ends to create a cohesive and eye-catching finish.
Step 13

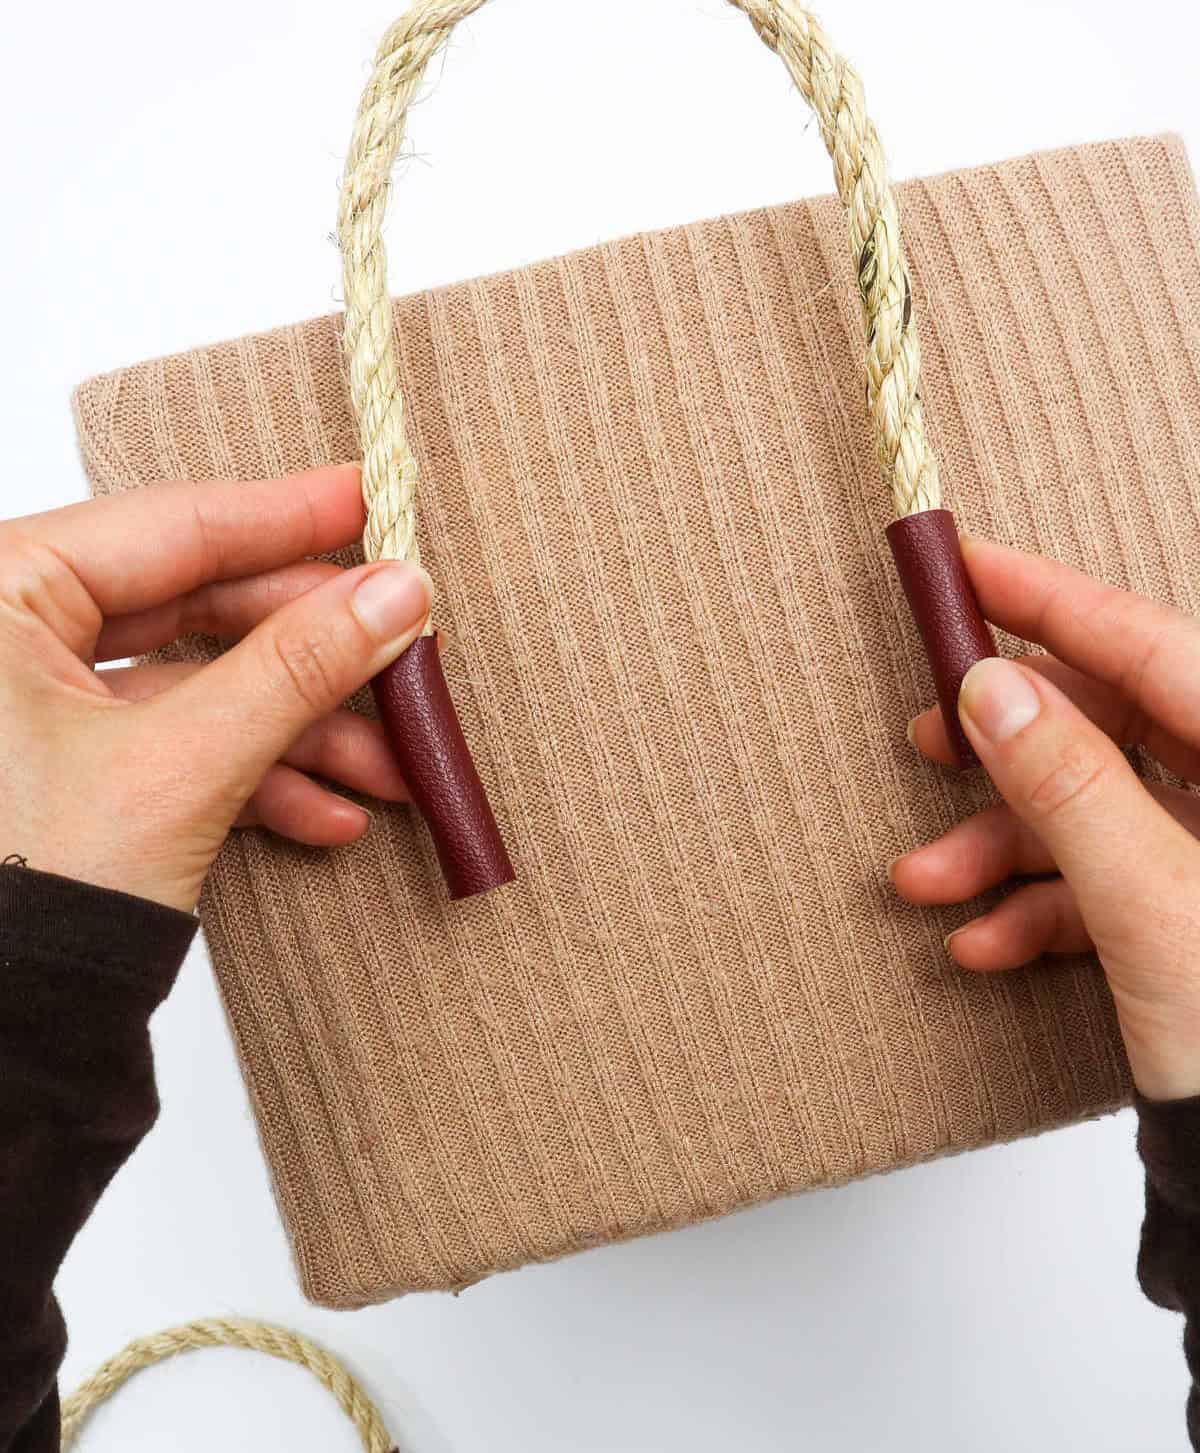

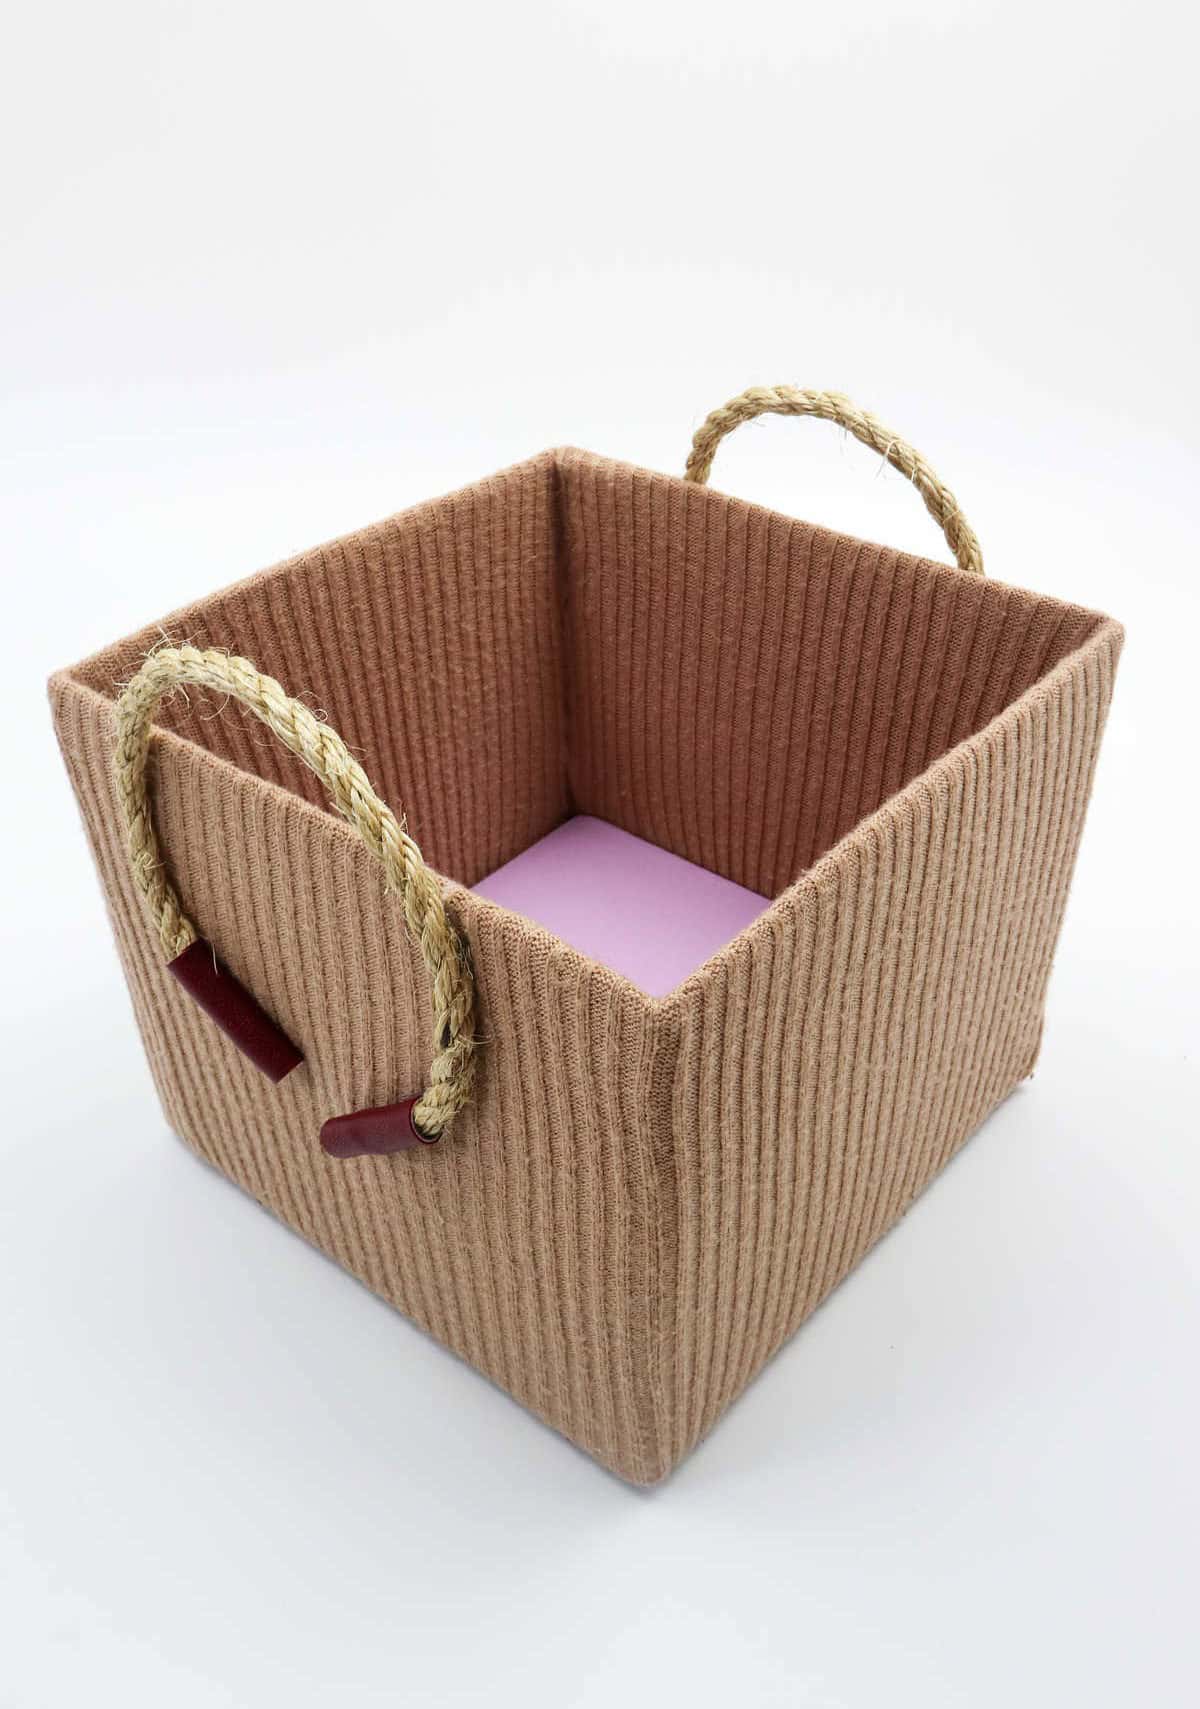
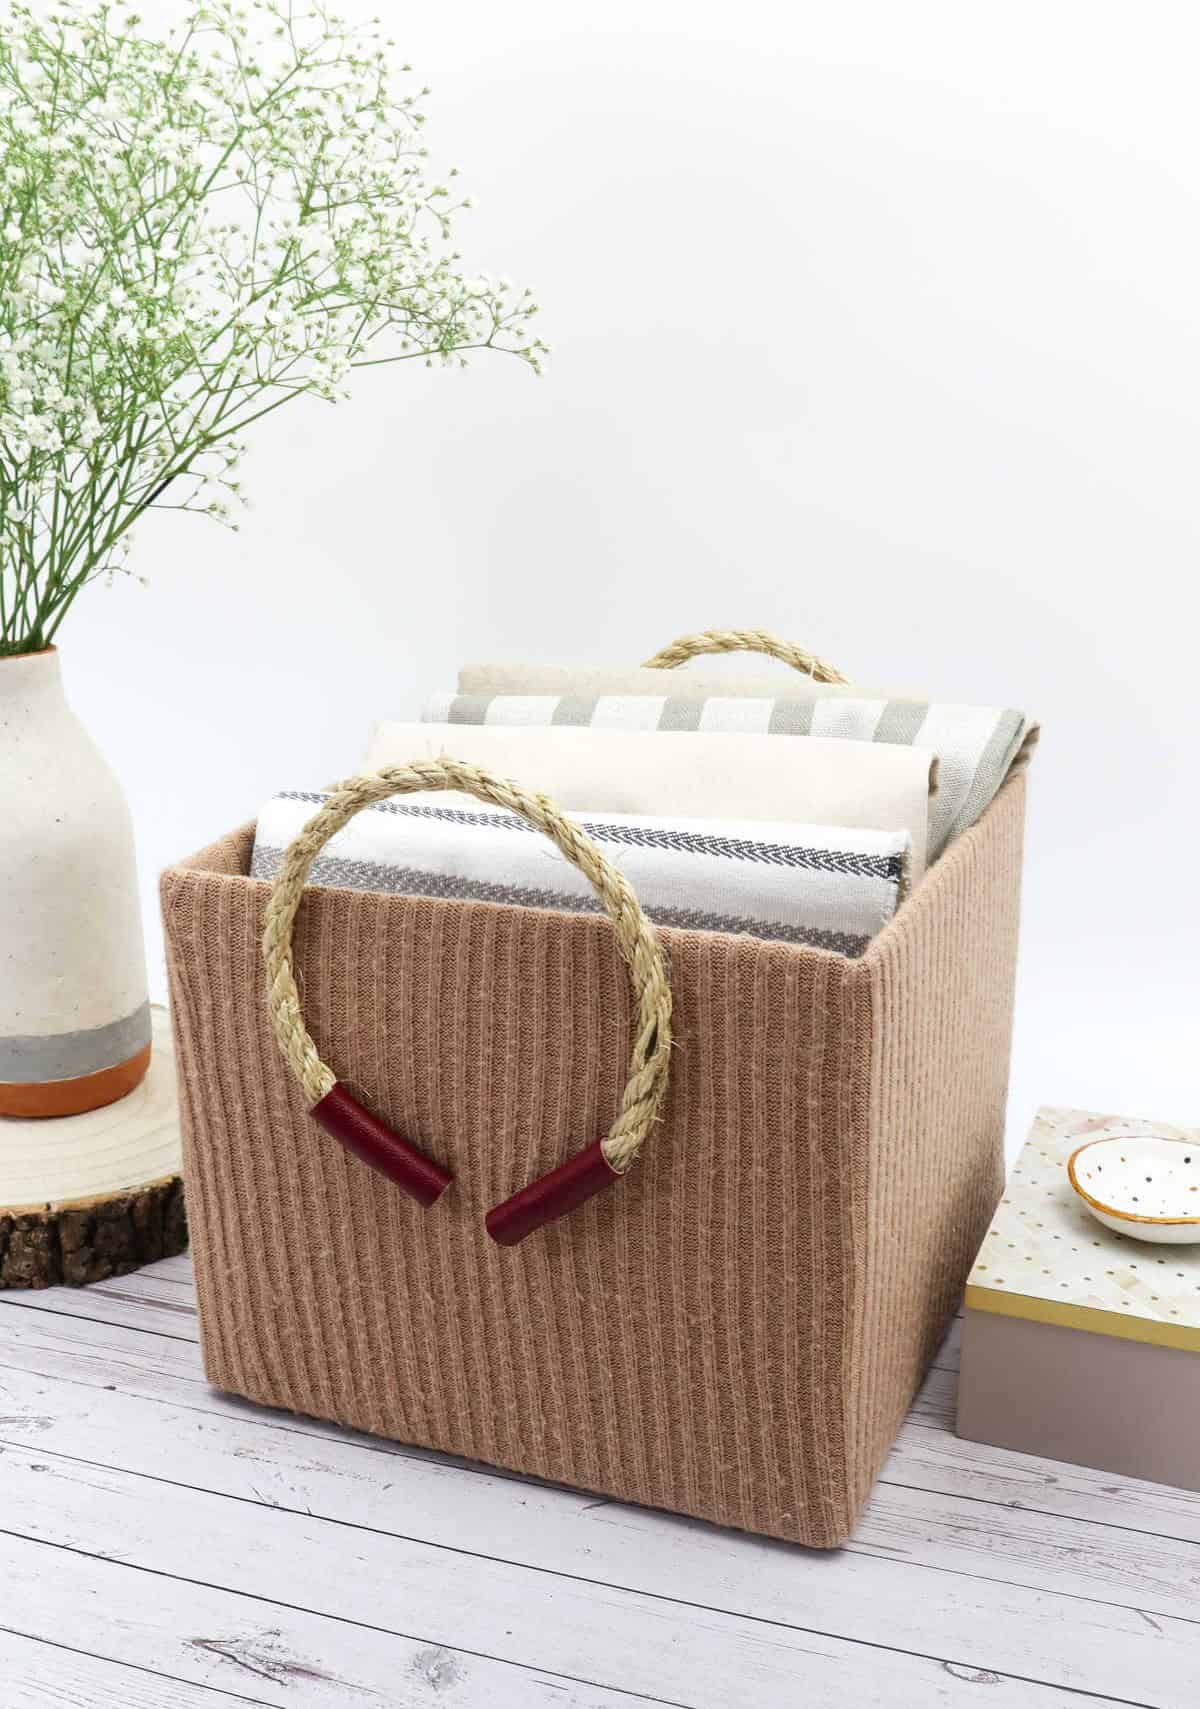
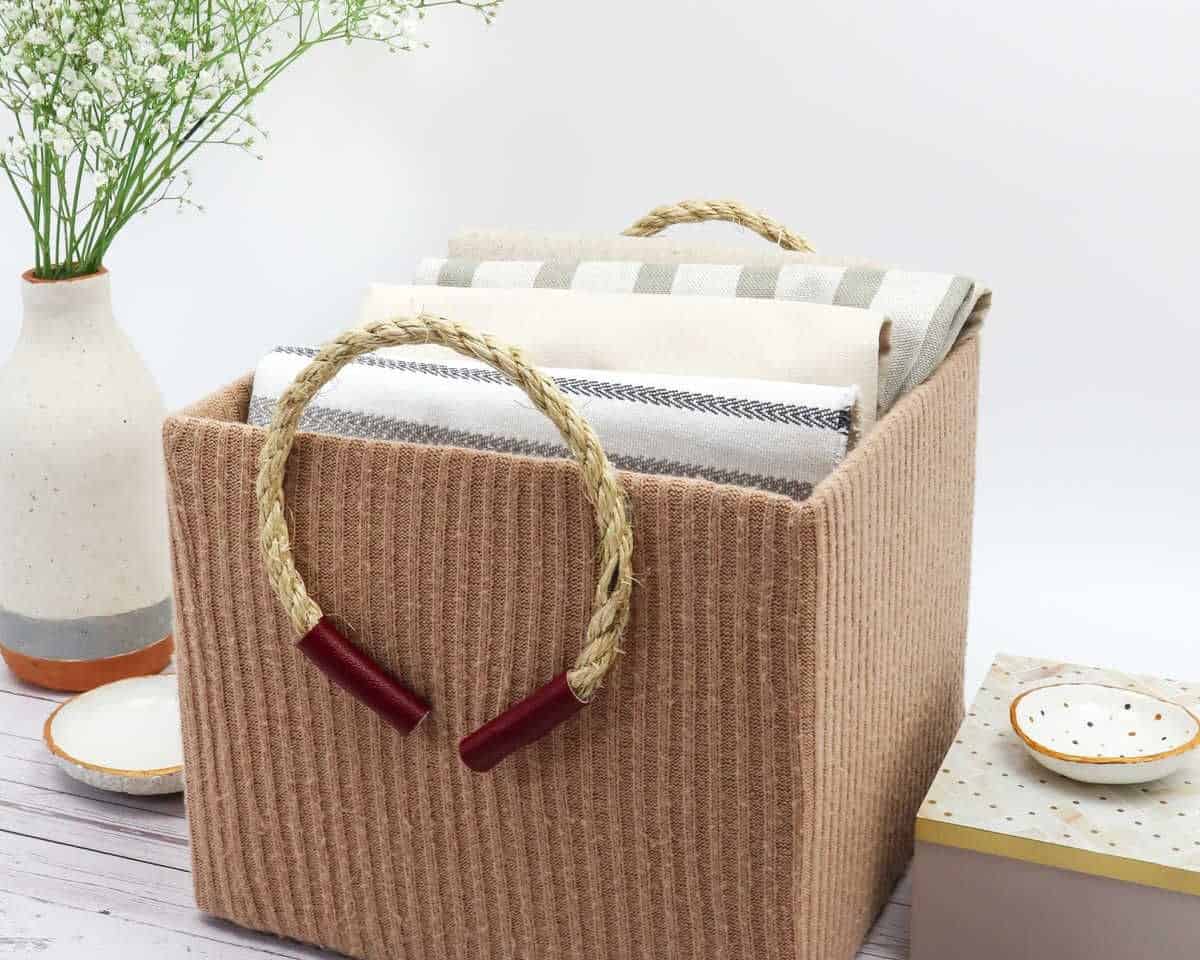
Securely fasten the rope to the box, then retrieve your trusty glue gun and apply a small amount of adhesive to the area where you’d like the handles to be situated. Next, press the ends of the handle down firmly onto the glue, holding it in place until it adheres properly to the cardboard. With these steps complete, your upcycled storage box is now ready for use!
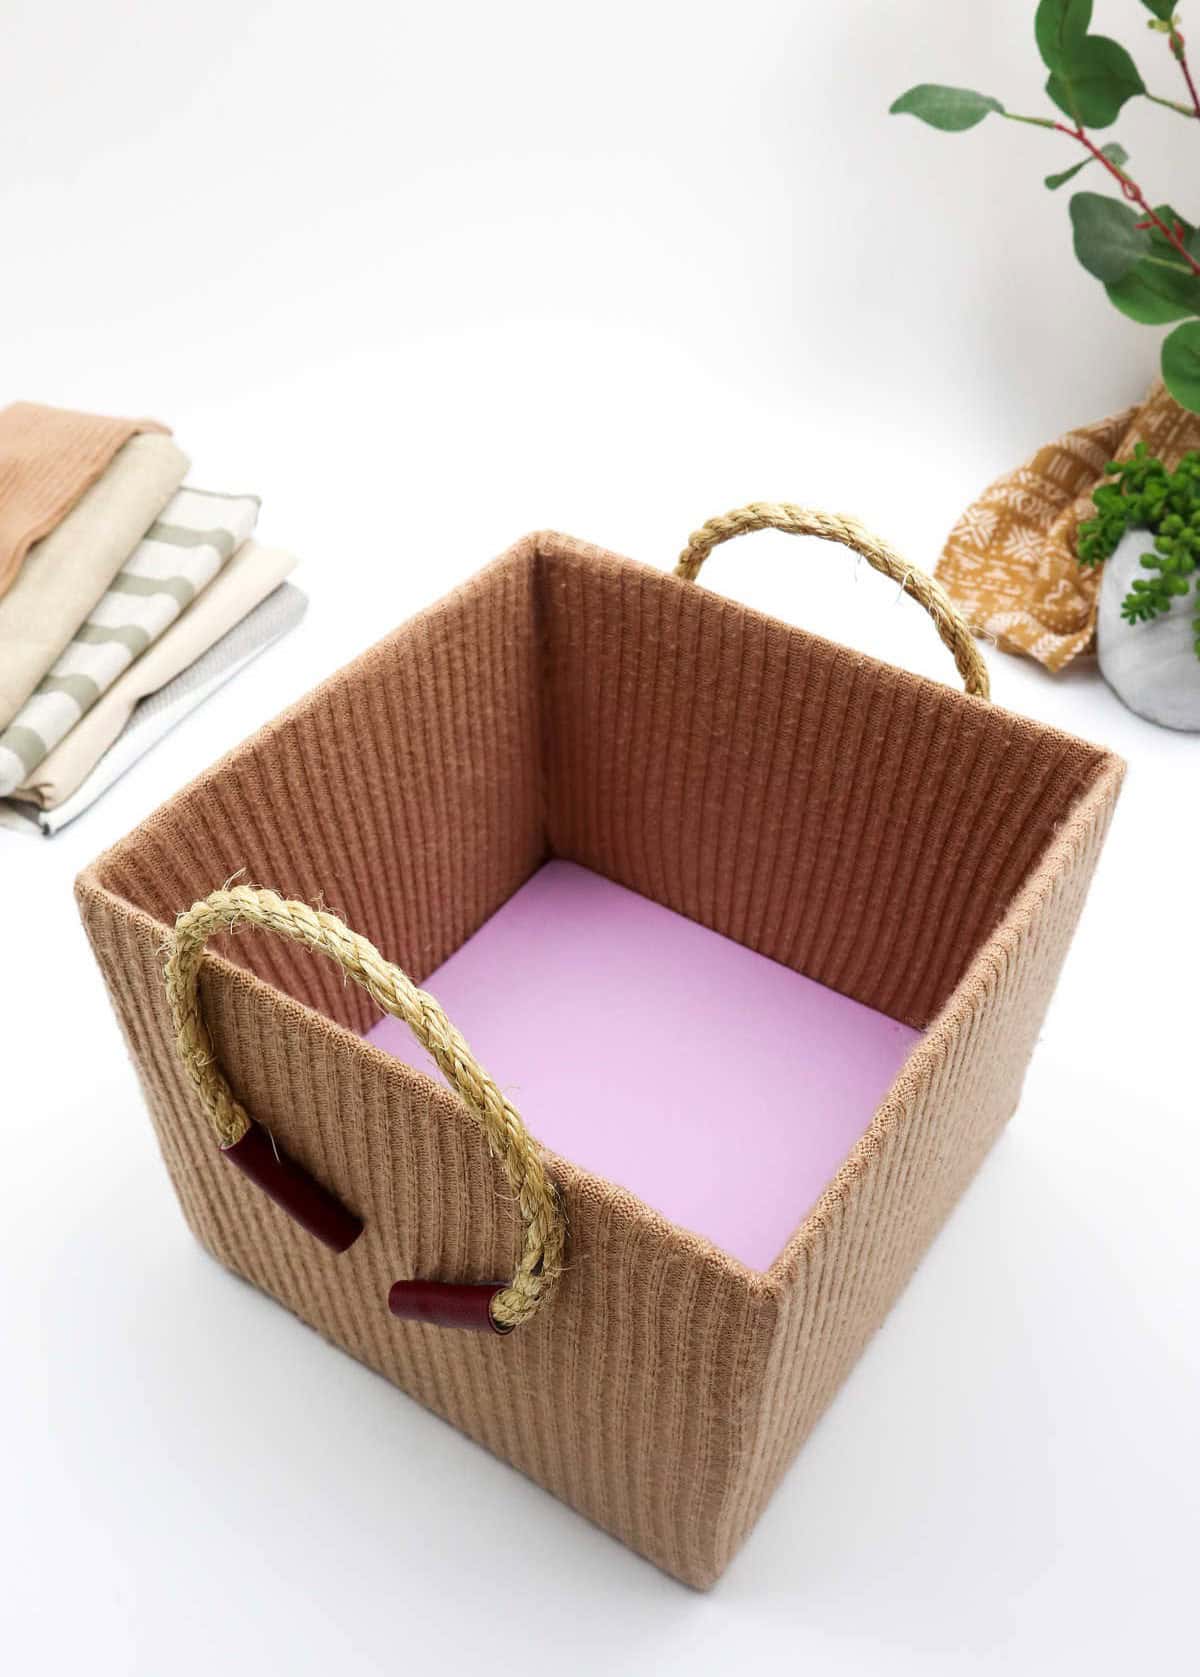
What Can You Store In This Storage Box?

These versatile storage containers aren’t just useful for decluttering, they also keep your belongings organized. The possibilities are endless! From everyday essentials to specialized items, you can store a wide range of goods in these boxes. Here’s a comprehensive list of what you can keep inside:Clothing: Undergarments, socks, sweaters, shirts, towels, and other apparel. Accessories: Handbags, wallets, scarves, beanies, gloves, and similar personal items.
Crafting supplies: Yarn, sewing materials, and other creative essentials. Office materials: Folders, files, documents, papers, and other workspace necessities. Tools and outdoor equipment: Hammers, wrenches, camping gear, and more. Household items: Cleaning products, detergents, paper towels, and other household staples. Food storage: Jars, spice bottles, cereal boxes, utensils, and other pantry essentials. Electronics: Wires, chargers, USBs, earphones, headphones, and other electronic accessories.
Other Organization Ideas for You
For those looking to streamline their daily lives, organization is key. A well-organized space can boost productivity and reduce stress. Among the many creative ways to get organized are DIY projects that transform everyday items into functional storage solutions. This article highlights 10 innovative ideas for organizing various aspects of your life, including mail, jewelry, tools, towels, office supplies, bedrooms, and even small spaces and children’s toys.
Storage Box Out of an Old Sweater
Transform an old sweater into a functional and quirky organizer for your home. This DIY project requires minimal effort and only takes about 35 minutes to complete. Begin by gathering the following materials: an old sweater, a cardboard box, scissors, glue, and any additional decorative items you’d like to include. Start by cutting out the front panel of the sweater, just above the hemline. Then, place the panel on top of the cardboard box, aligning it with the edges of the box.
Use glue to secure the panel in place. Next, cut out small squares from the remaining sweater fabric and attach them to the sides of the box using glue or tape. This will create a unique and textured surface for your organizer. Finally, add any additional decorative elements you like, such as buttons or ribbons, to give your organizer some personality.
With these simple steps, you can breathe new life into an old sweater and create a one-of-a-kind storage solution that’s sure to spark conversations in your home.
Equipment
To avoid the annoyance of a suddenly darkened screen, it’s essential to take control. A hot glue gun, scissors, glue, ruler, and retractable knife may seem like an unusual arsenal, but they can help you stay awake by preventing your screen from dimming out. With these tools at hand, you’ll be able to keep your display lit up without sacrificing comfort or productivity.
Materials 1x2x3x
Instructions
To begin, gather all necessary supplies. When selecting a sweater for this project, choose one that is stretchy and elastic. Next, cut the sweater just under the arms using scissors. Place the sweater over the box, allowing one end to reach the base of the inside and the other end to extend to the bottom of the outside. Flip the box so the base faces upwards and align the sweater with the edges, creating a one-inch wide strip that encases all sides.
Apply hot glue along the four sides, pressing the ends of the sweater down to adhere it to the box’s base. Pinch and flatten the corners before gluing them in place. Once the glue dries, flip the box back to its original position and work on the sweater inside. Run a finger along the edges to create a crease that extends all the way to the base. Pull the sweater back and apply hot glue along the edges, pressing it down to adhere it to the box’s walls.
Smooth out the sweater across the cardboard box, ensuring all four sides are firmly attached to the box, including the base. To prevent bunching at the base, create a new base by measuring both sides of the box over the mouth and across the opening using a ruler and pencil. Draw two lines on a sheet of cardboard to mark the dimensions, then cut out a square that matches the box’s base. Place this cardboard cutout into the box, pushing it to the bottom to cover the sweater.
Cut two strips of rope for handles, which can be attached as-is or covered with paper. To prevent fraying at the ends, glue four strips of paper around both rope strips. Finally, attach the handles to the box’s sides where desired, and your storage box is ready.