Transforming leftover food packaging into a functional desk organizer is an innovative way to declutter your office space. The tedious task of rummaging through drawers for office supplies and stationery can be frustratingly inefficient. Whether you opt for categorizing items in designated slots or keeping everything out on your desktop, clutter seems inevitable. It’s time to break free from this cycle by establishing a system that keeps your workspace organized.
And the good news is, upcycling food boxes into a DIY desk organizer can be a great starting point.
Supplies and Tools You’ll Need
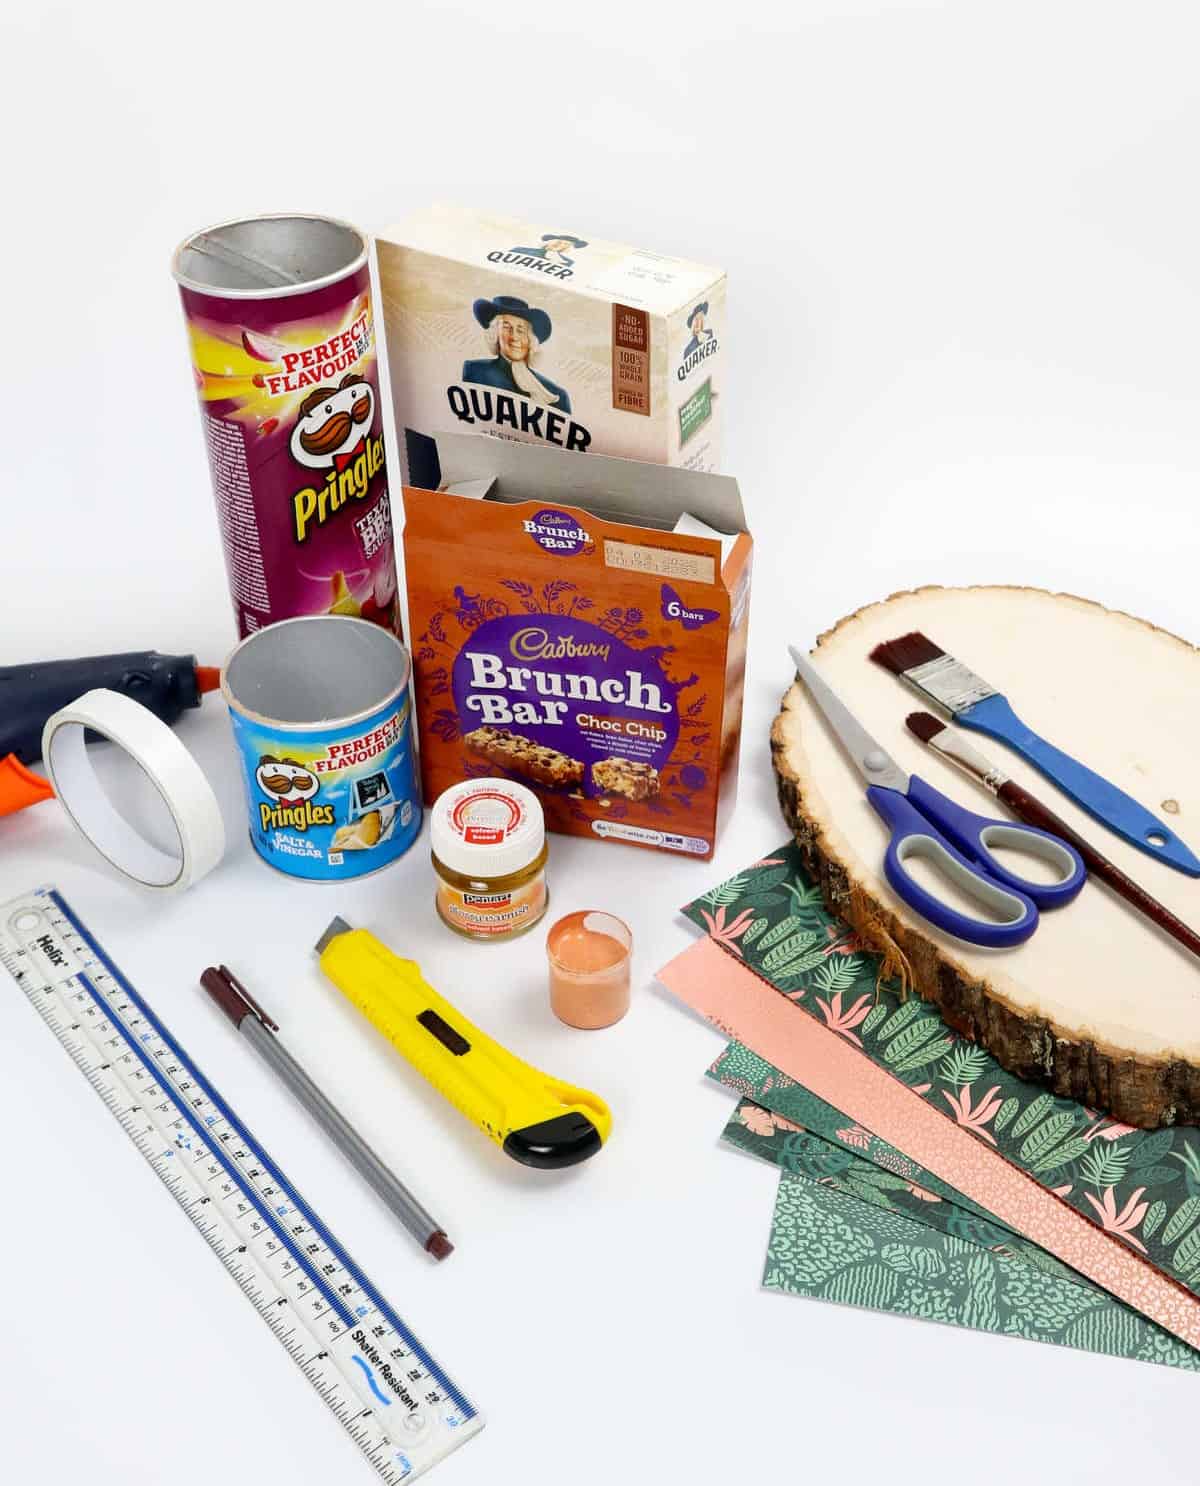
To get started, you’ll need the following materials: a 13-inch wide wooden board, empty food containers, sheets of craft paper, double-sided tape, and a few basic crafting tools. These include a retractable knife, marker, ruler, scissors, and paintbrushes. For the finishing touches, you’ll also require acrylic paint, glossy varnish, and a hot glue gun.
How to Make a Desk Organizer
When you gaze upon that wooden board on your desk, you might be pondering its purpose. However, its significance extends beyond just having desk organizers in place. To truly optimize your workspace, it’s crucial to maintain organized desk organizers themselves. This wooden board serves as a sturdy base, allowing you to neatly arrange the various components, keeping everything tidy and within reach.
Step 1
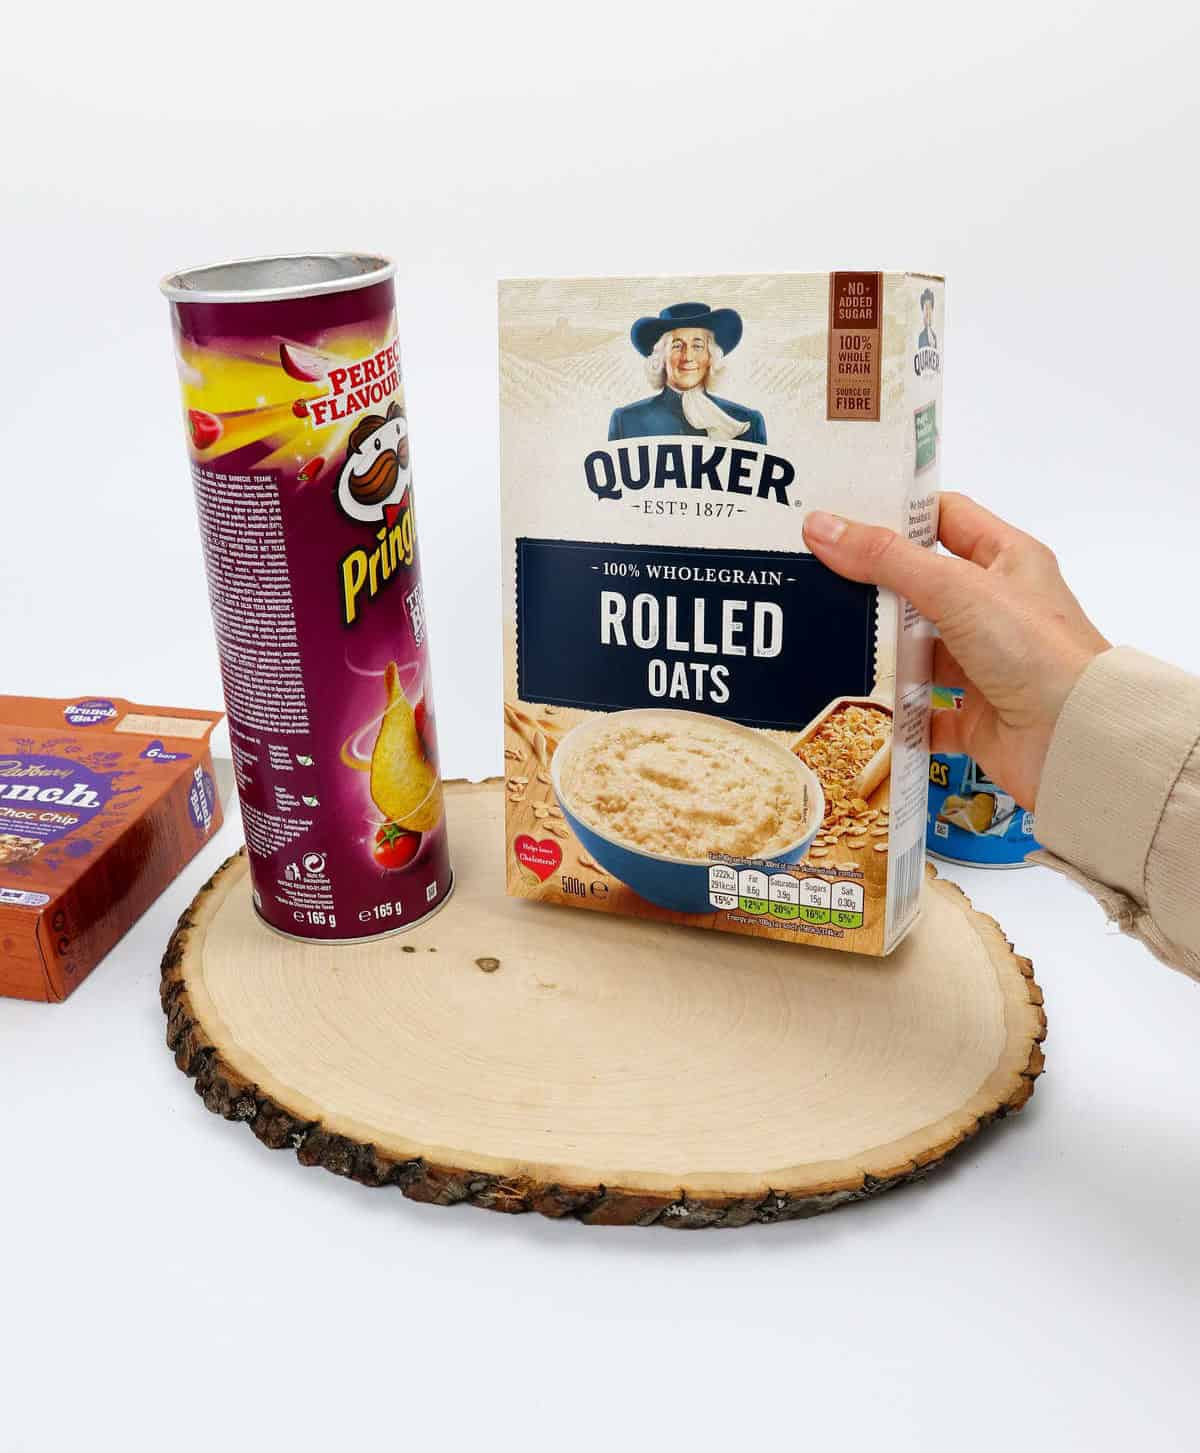
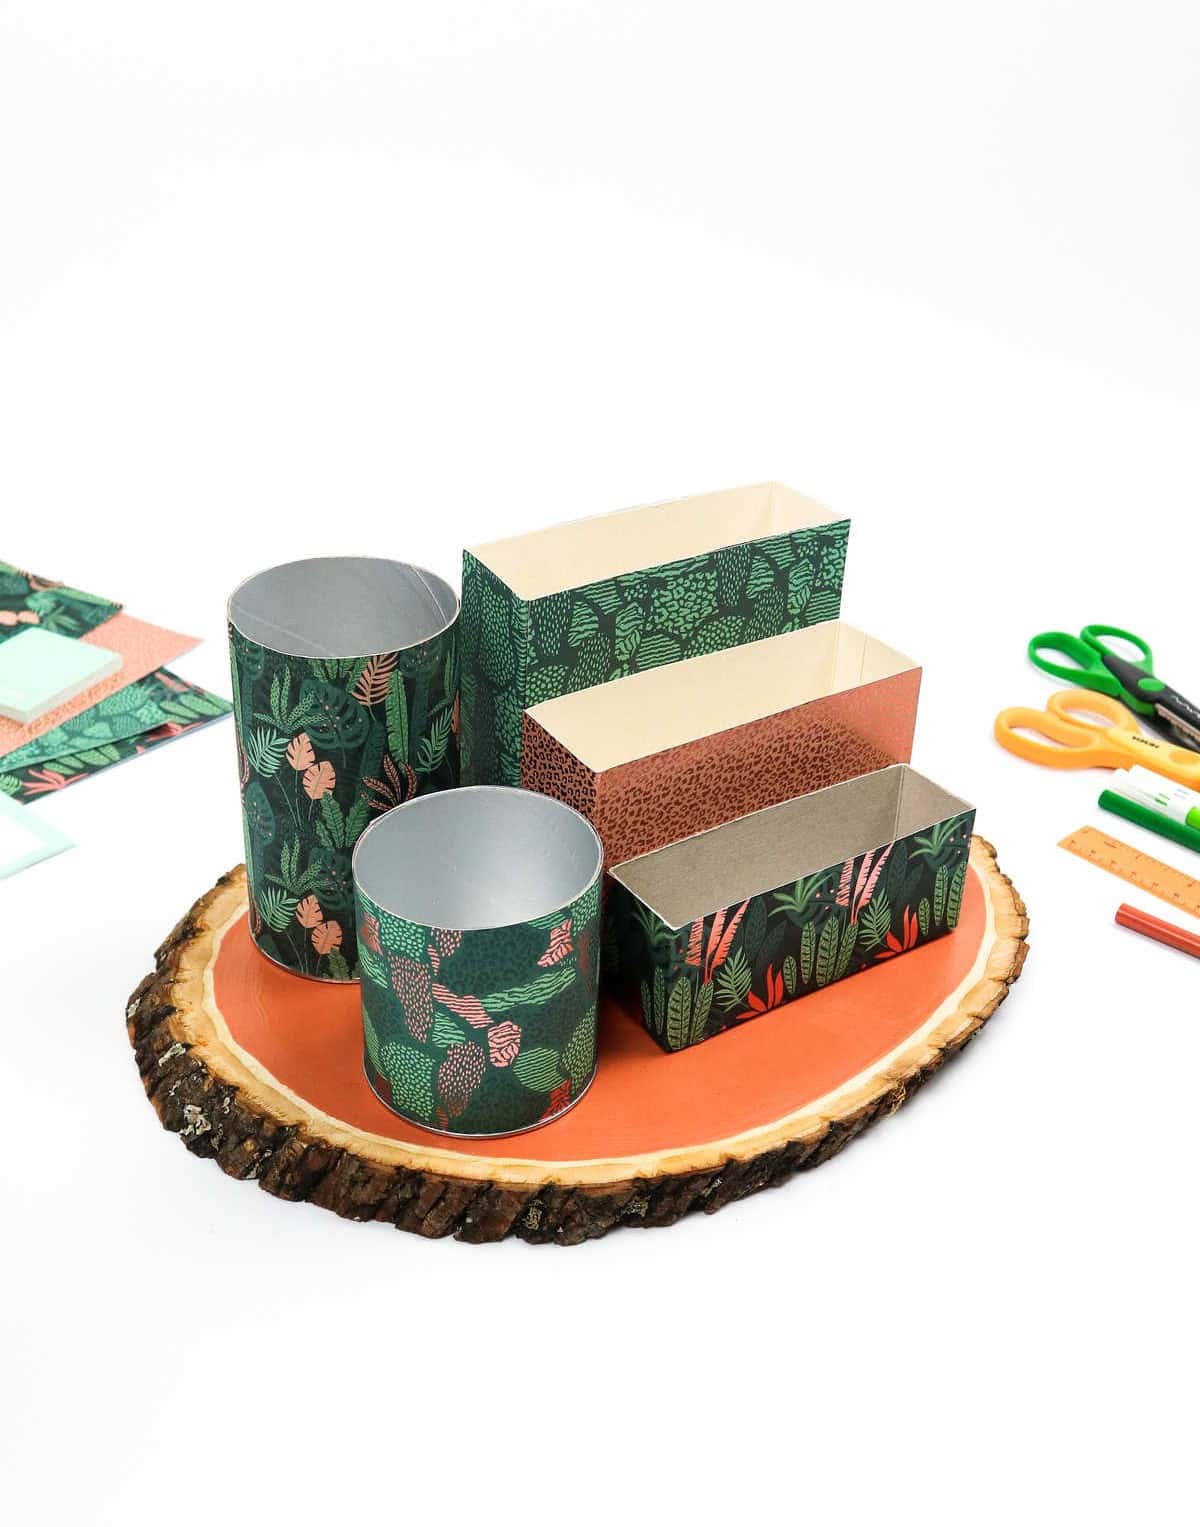
Before starting the project, take a moment to gather all the necessary boxes and place them on the wooden board. This will allow you to visualize the layout and ensure everything fits together seamlessly. As you arrange each piece, mentally plan out where they’ll be placed and make any necessary adjustments to guarantee a cohesive look. With a solid foundation in place, you’re ready to start transforming those containers into stunning displays.
Step 2
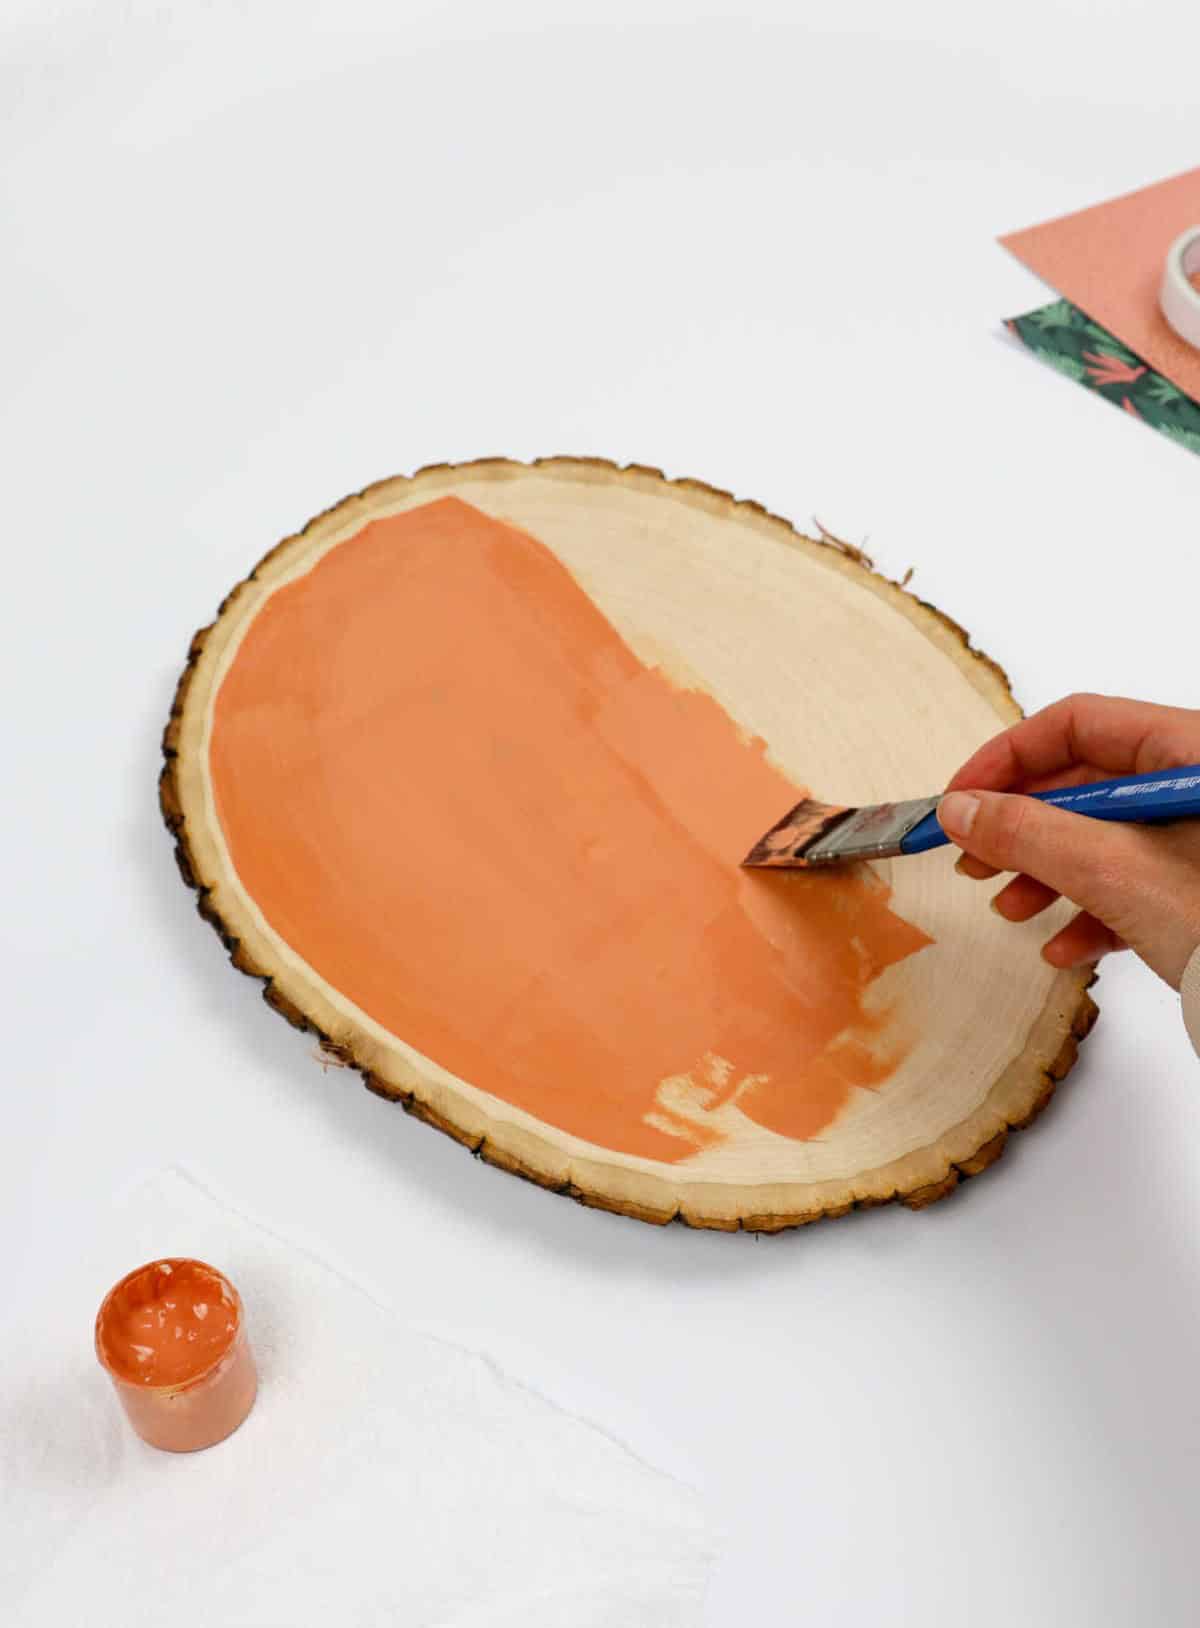
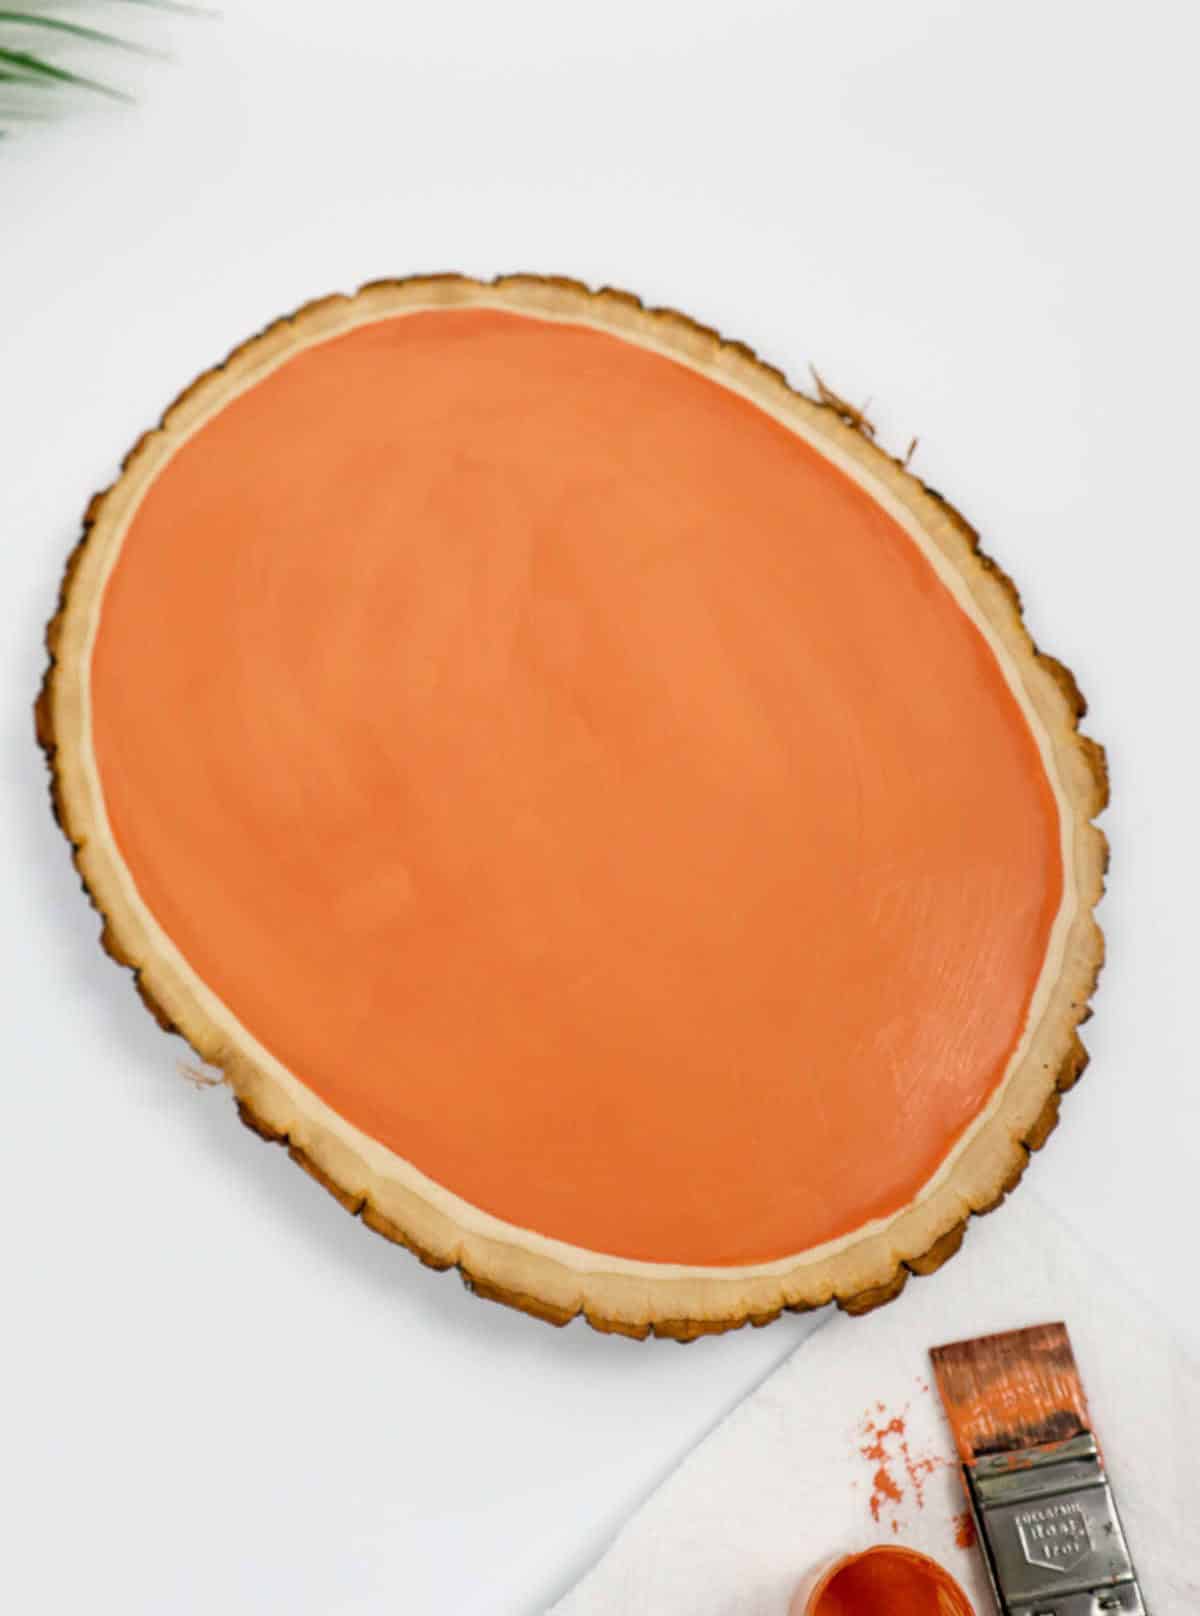
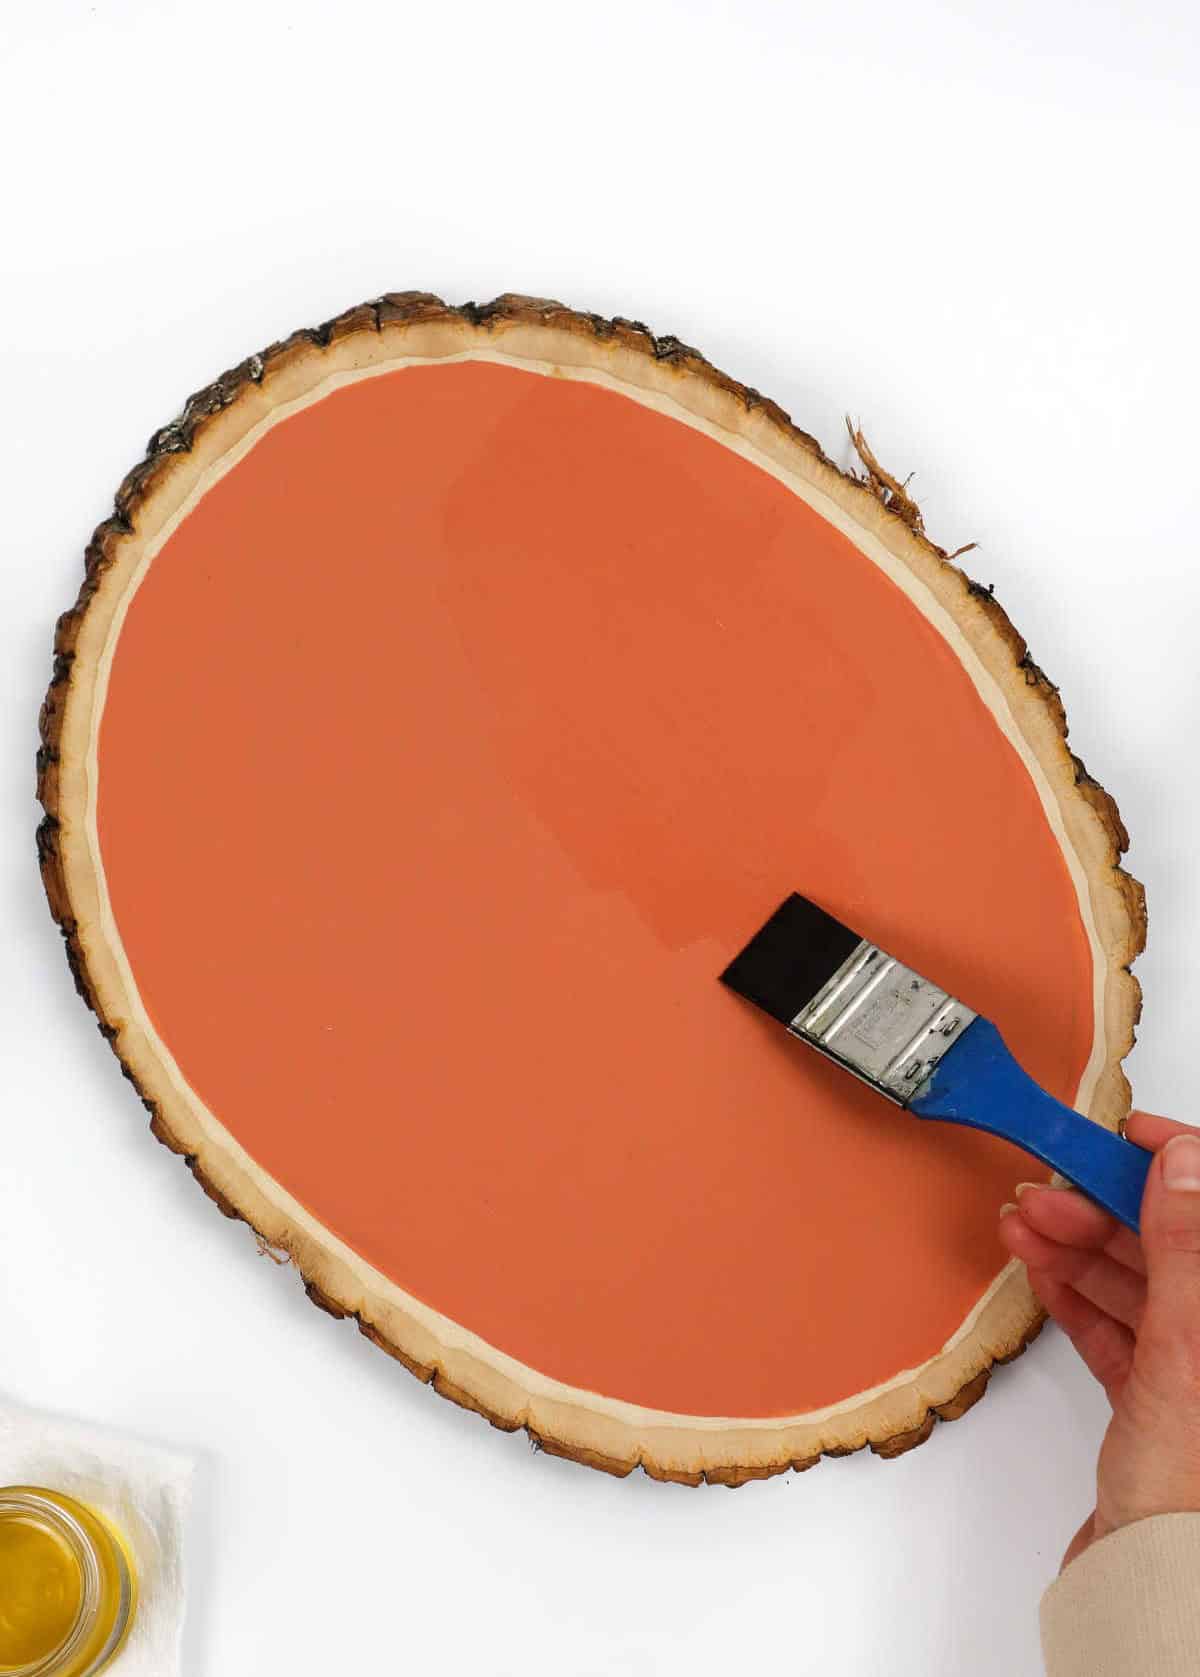
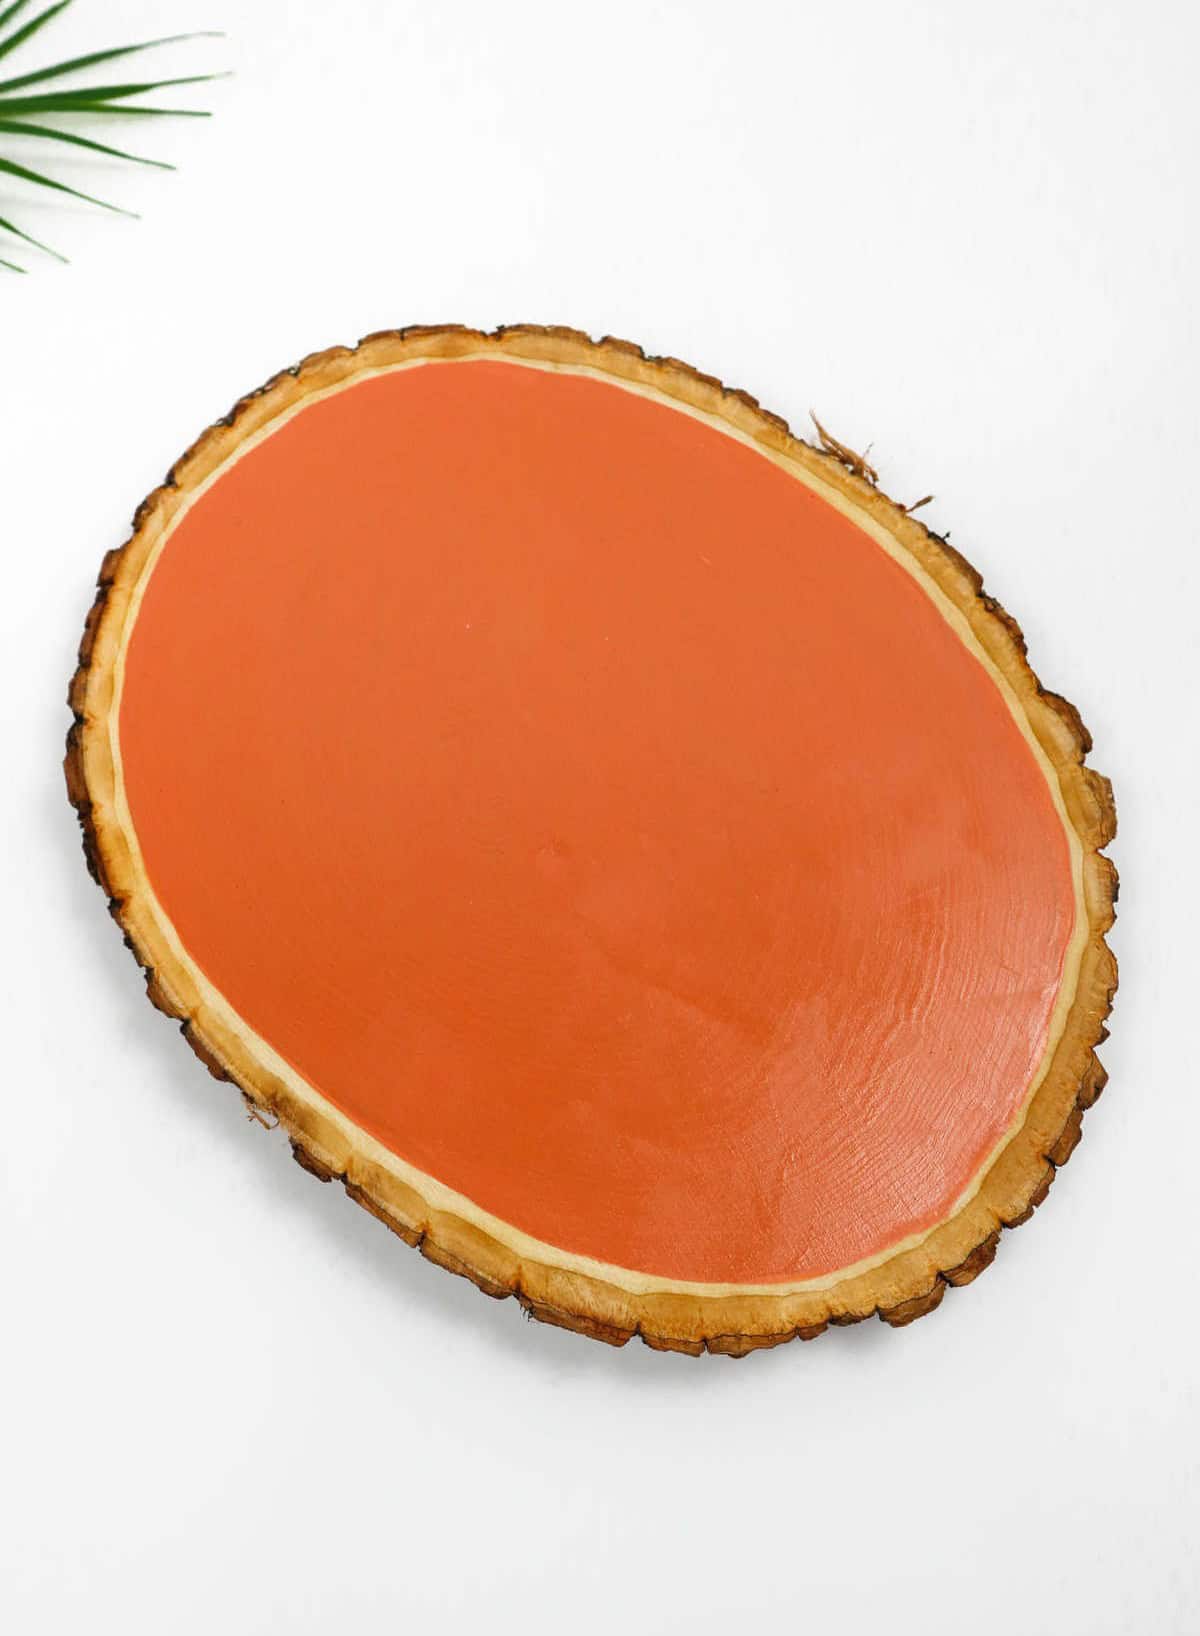
Unleash your creativity by selecting a bottle of acrylic paint in your preferred hue. Next, grab a flathead brush, which will serve as the perfect tool for bringing your artistic vision to life on the wooden board. Aim for two to three coats of paint for an even finish.
Step 3
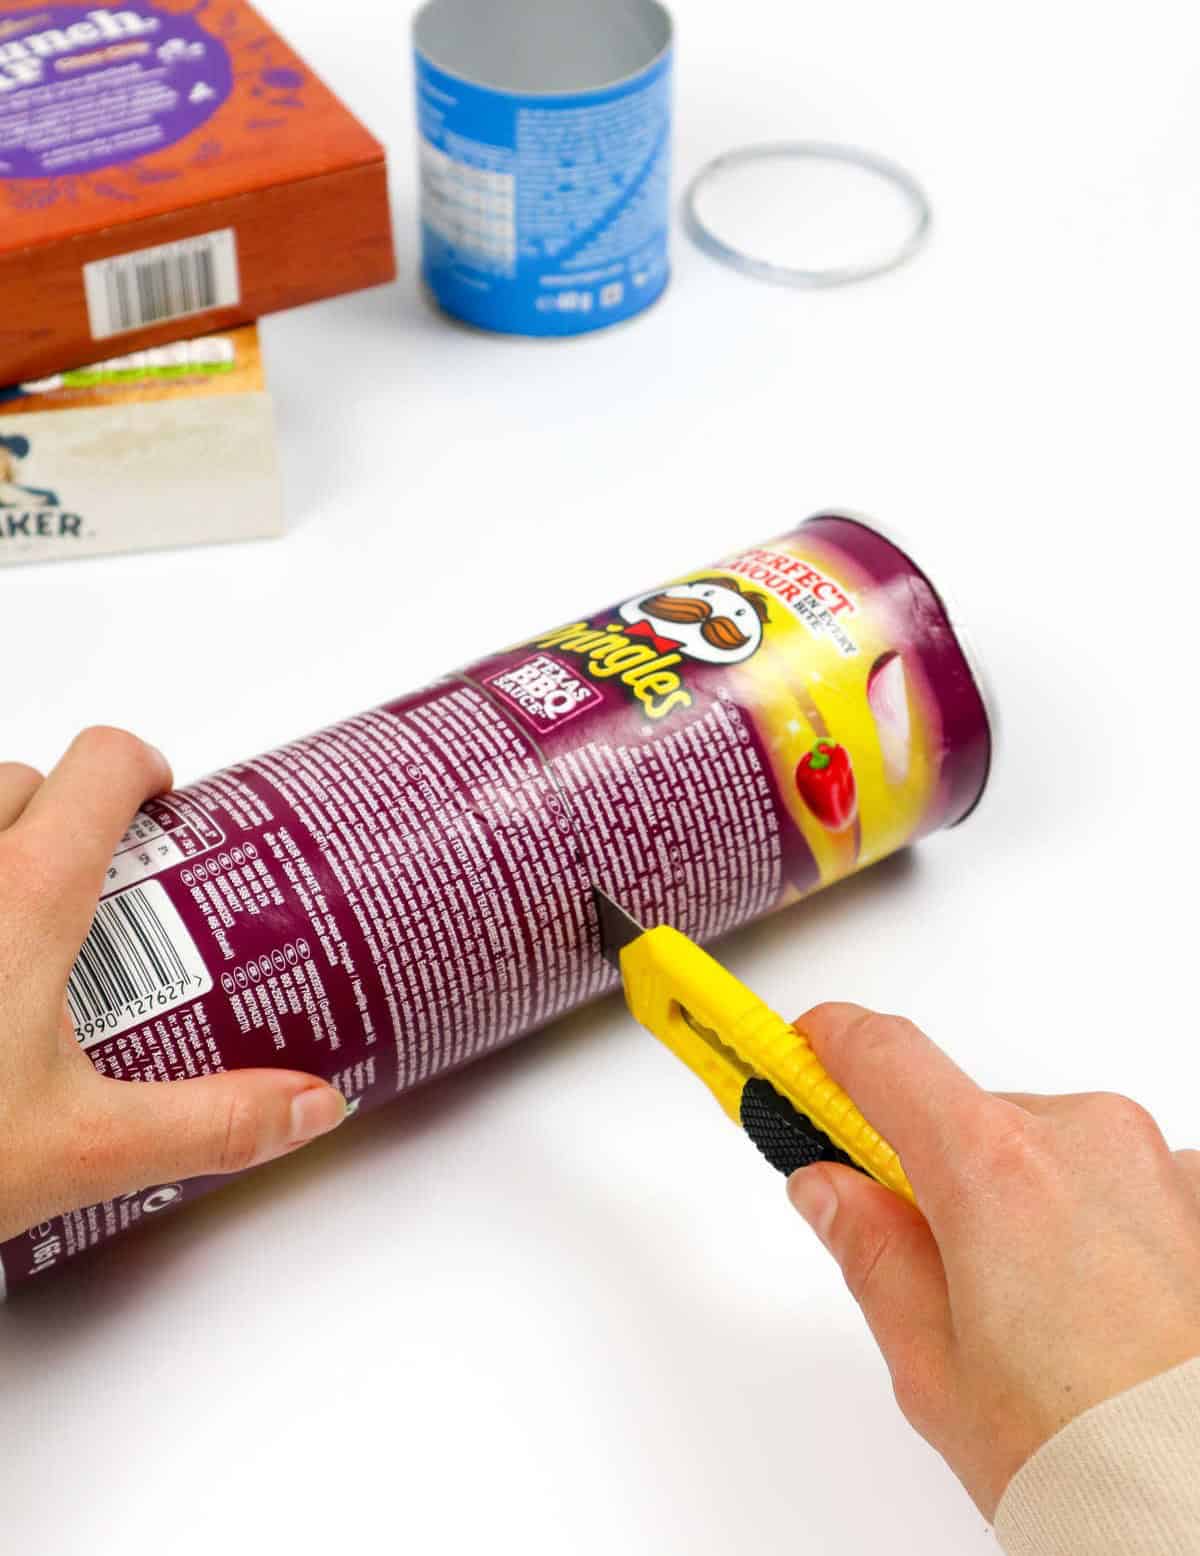
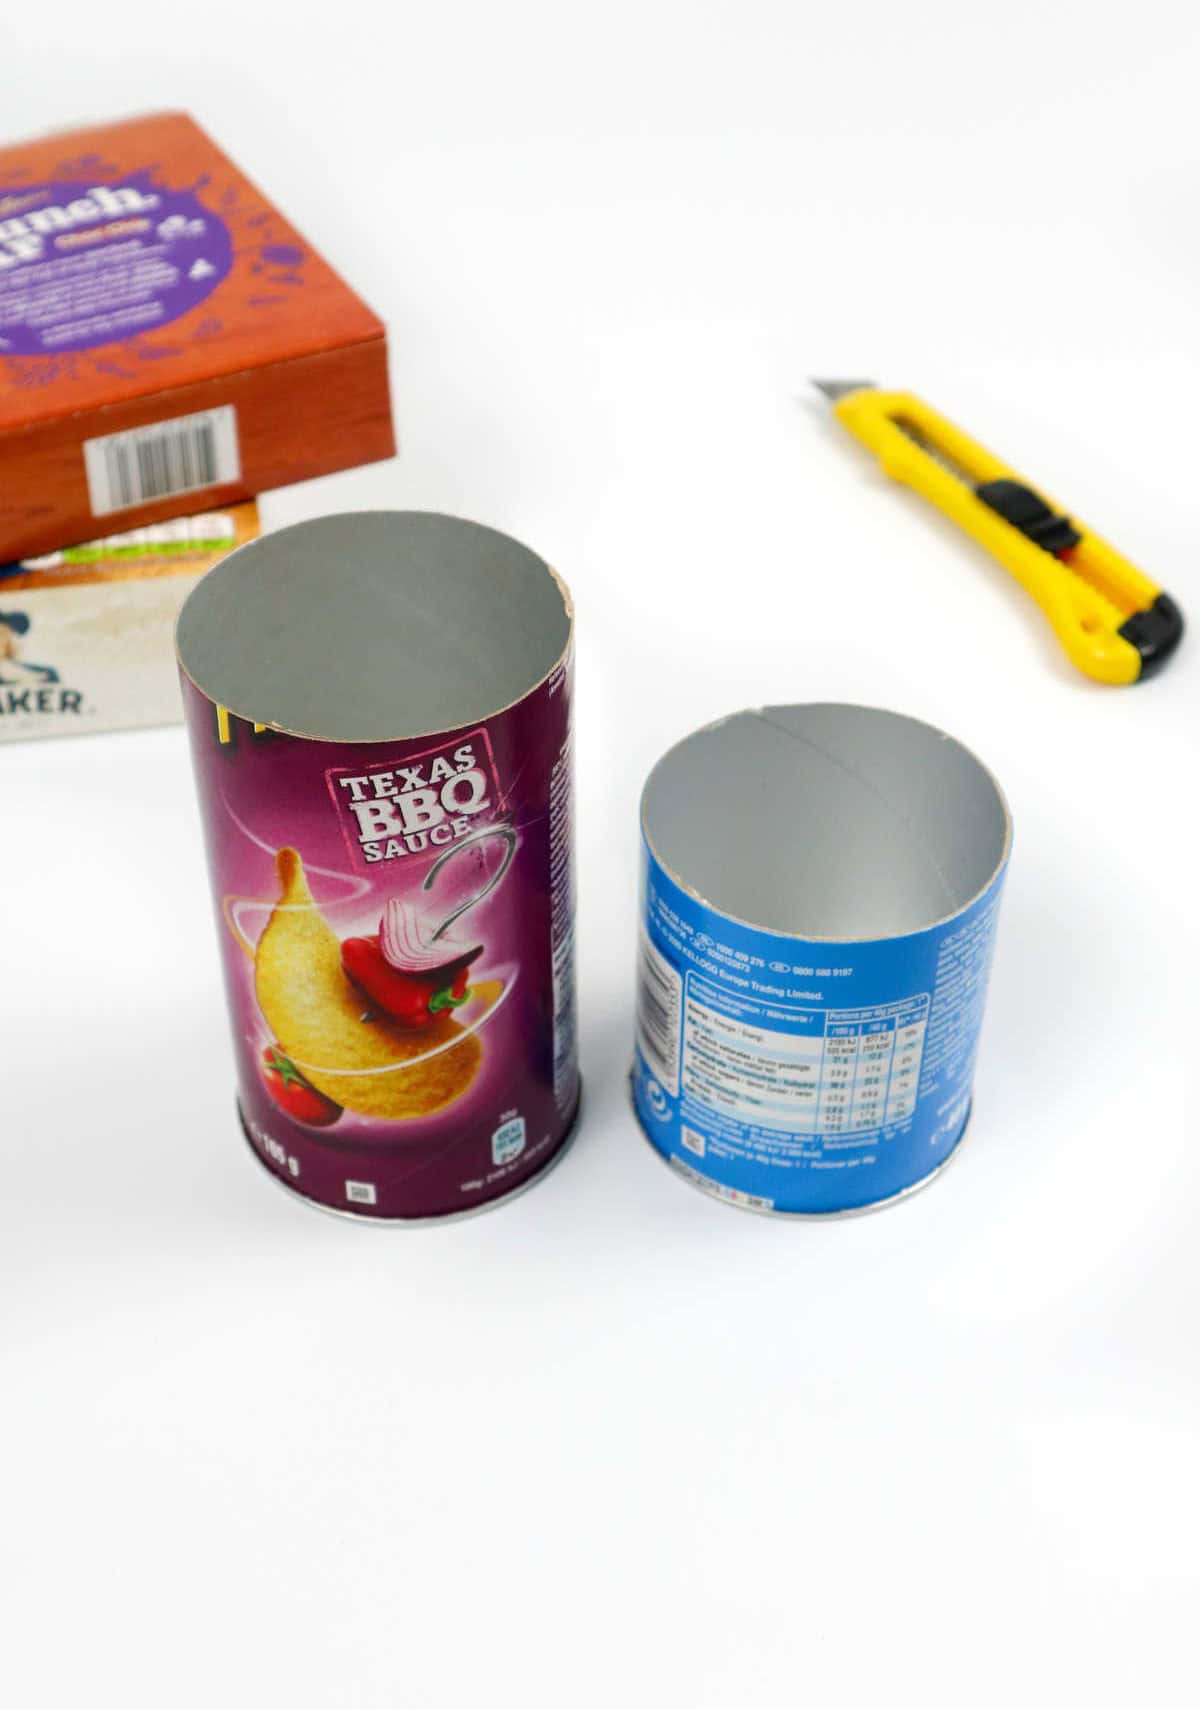

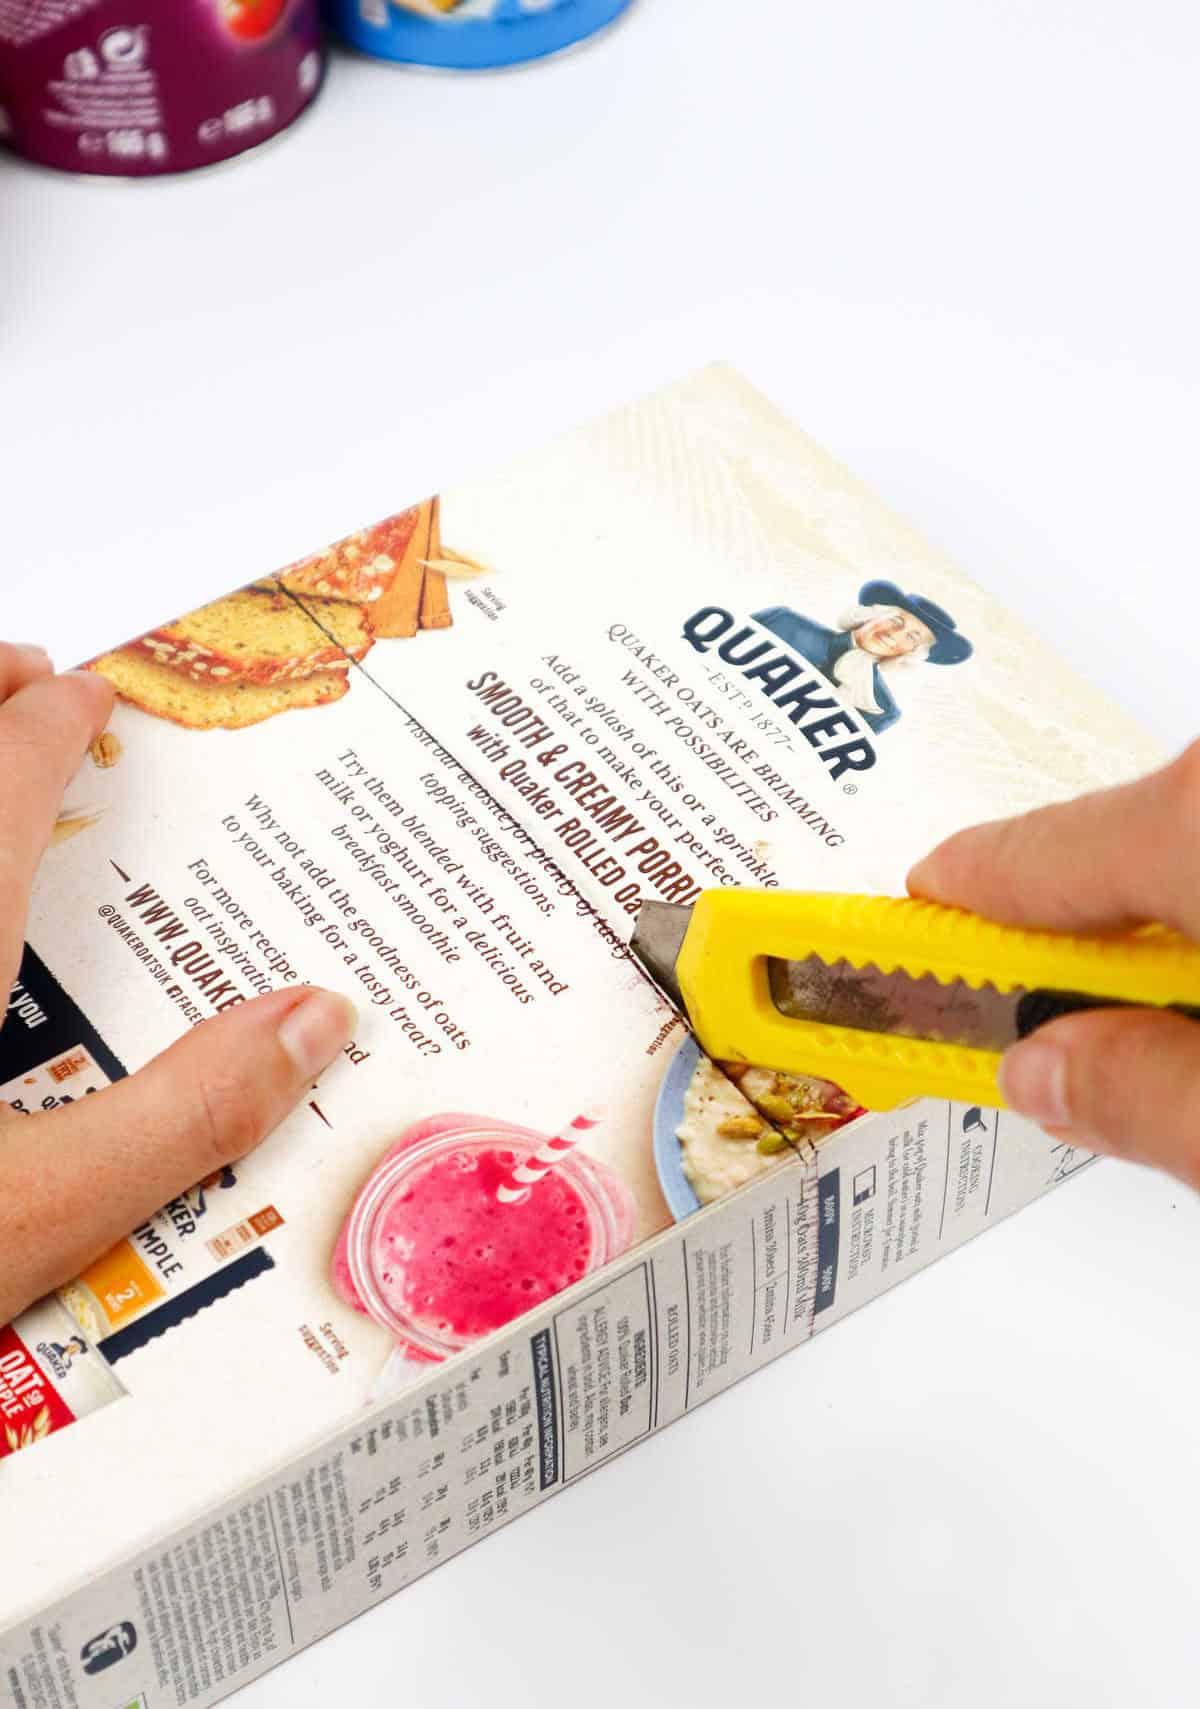
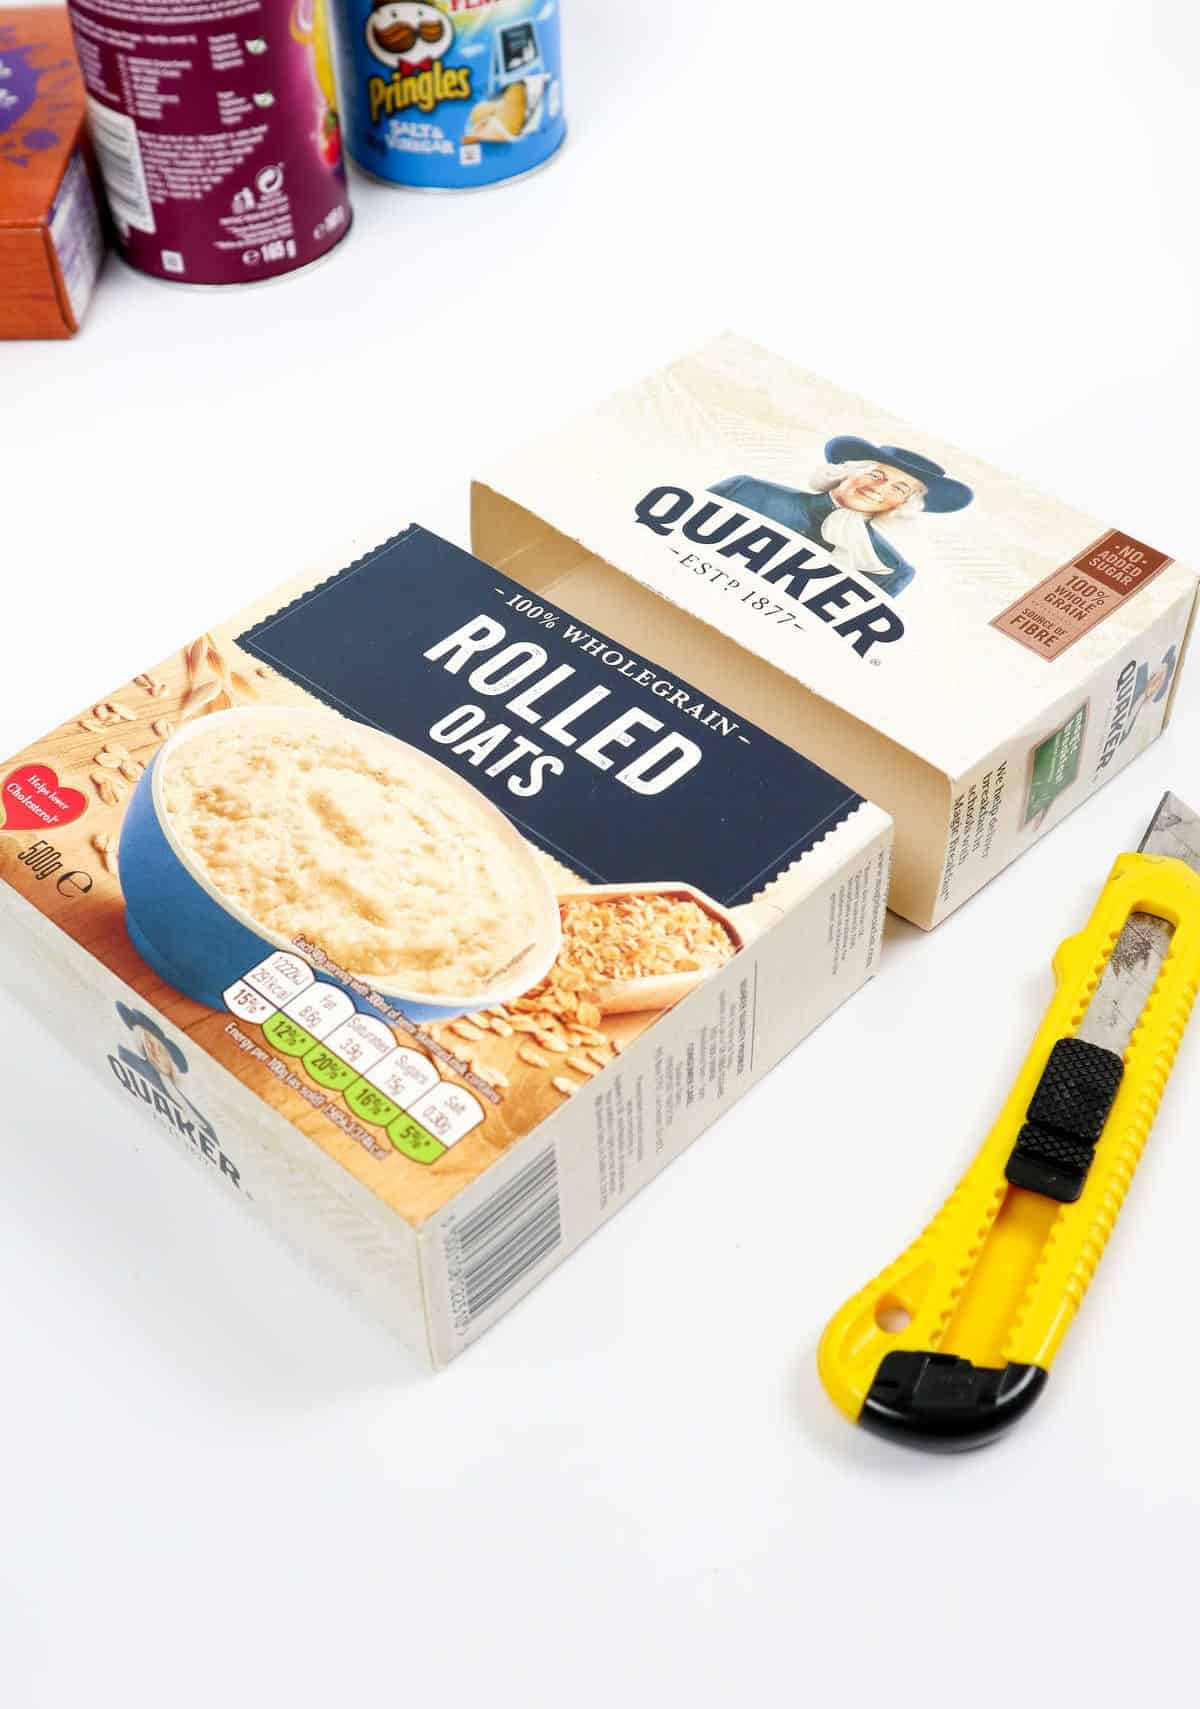
As you prepare to repurpose your cereal boxes, take out your retractable knife and begin cutting the cardboard into the desired shape. Ensure each box is cut to the same height by using a ruler as a guide, if needed. To achieve clean edges, it’s beneficial to mark the areas where you plan to cut with a pencil beforehand.
When cutting the boxes, don’t discard the top portion – it will be put to good use!
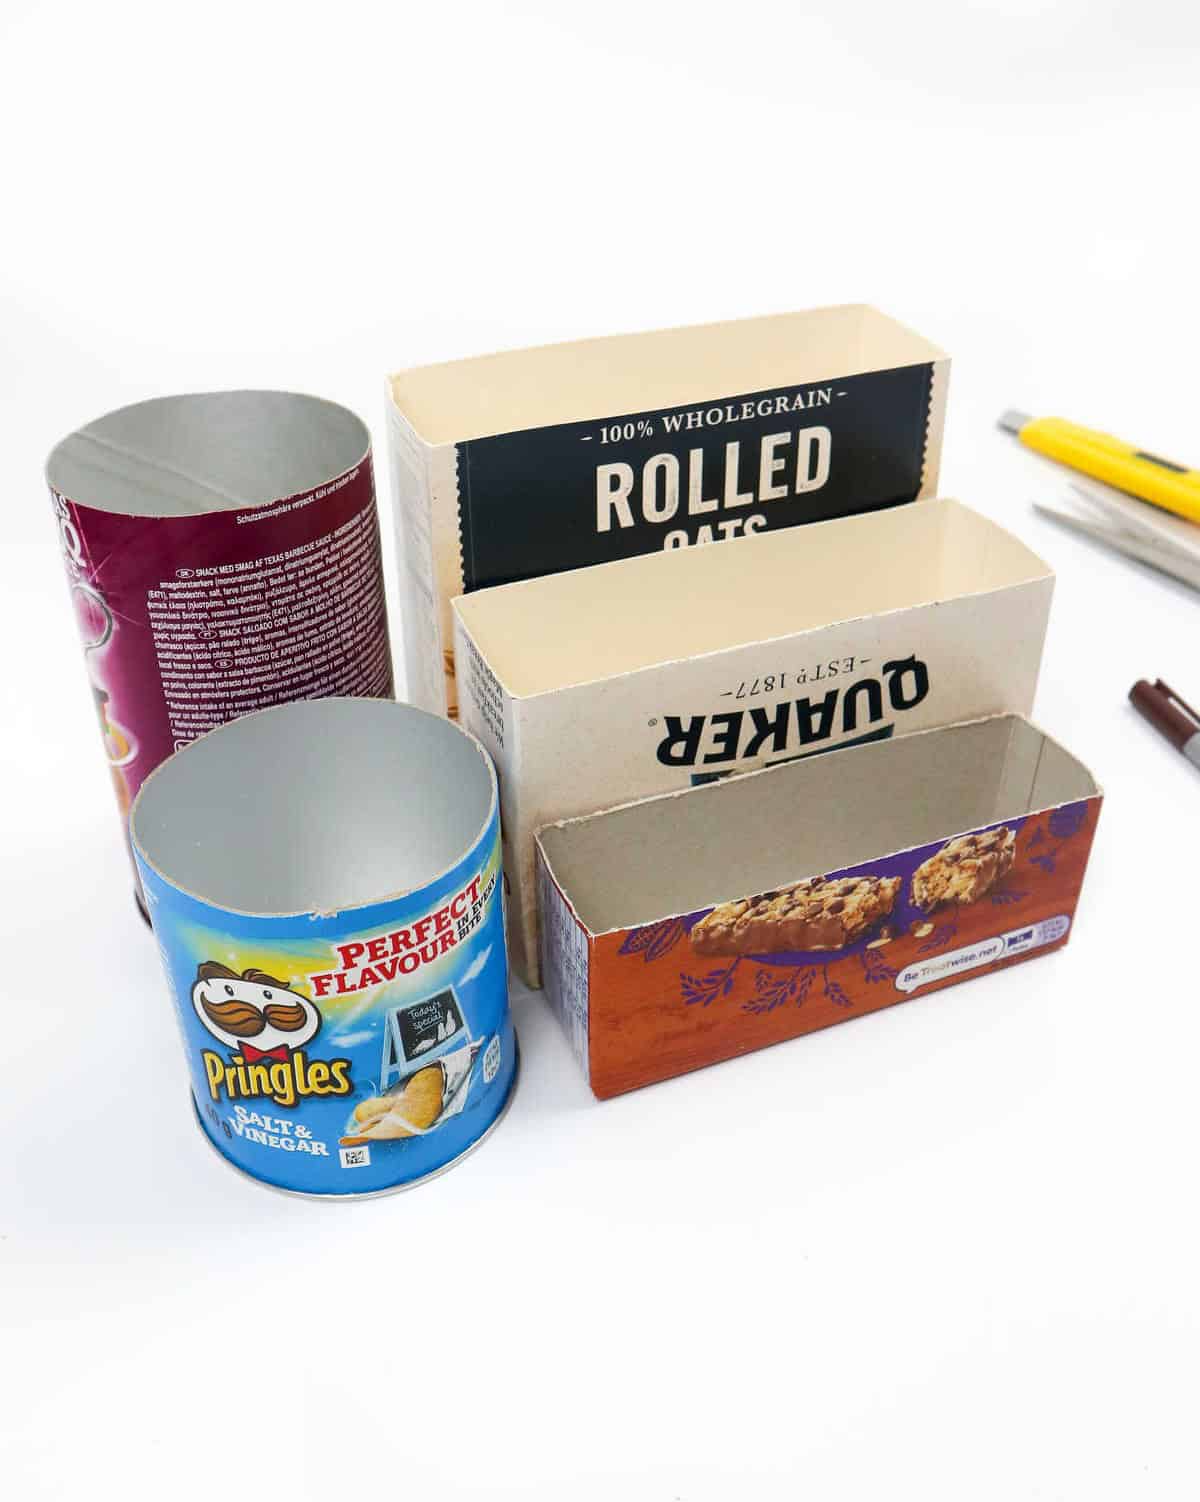
Organizing your cardboard creations in decreasing order of height will make storage and retrieval a seamless process for all your belongings.
Step 4
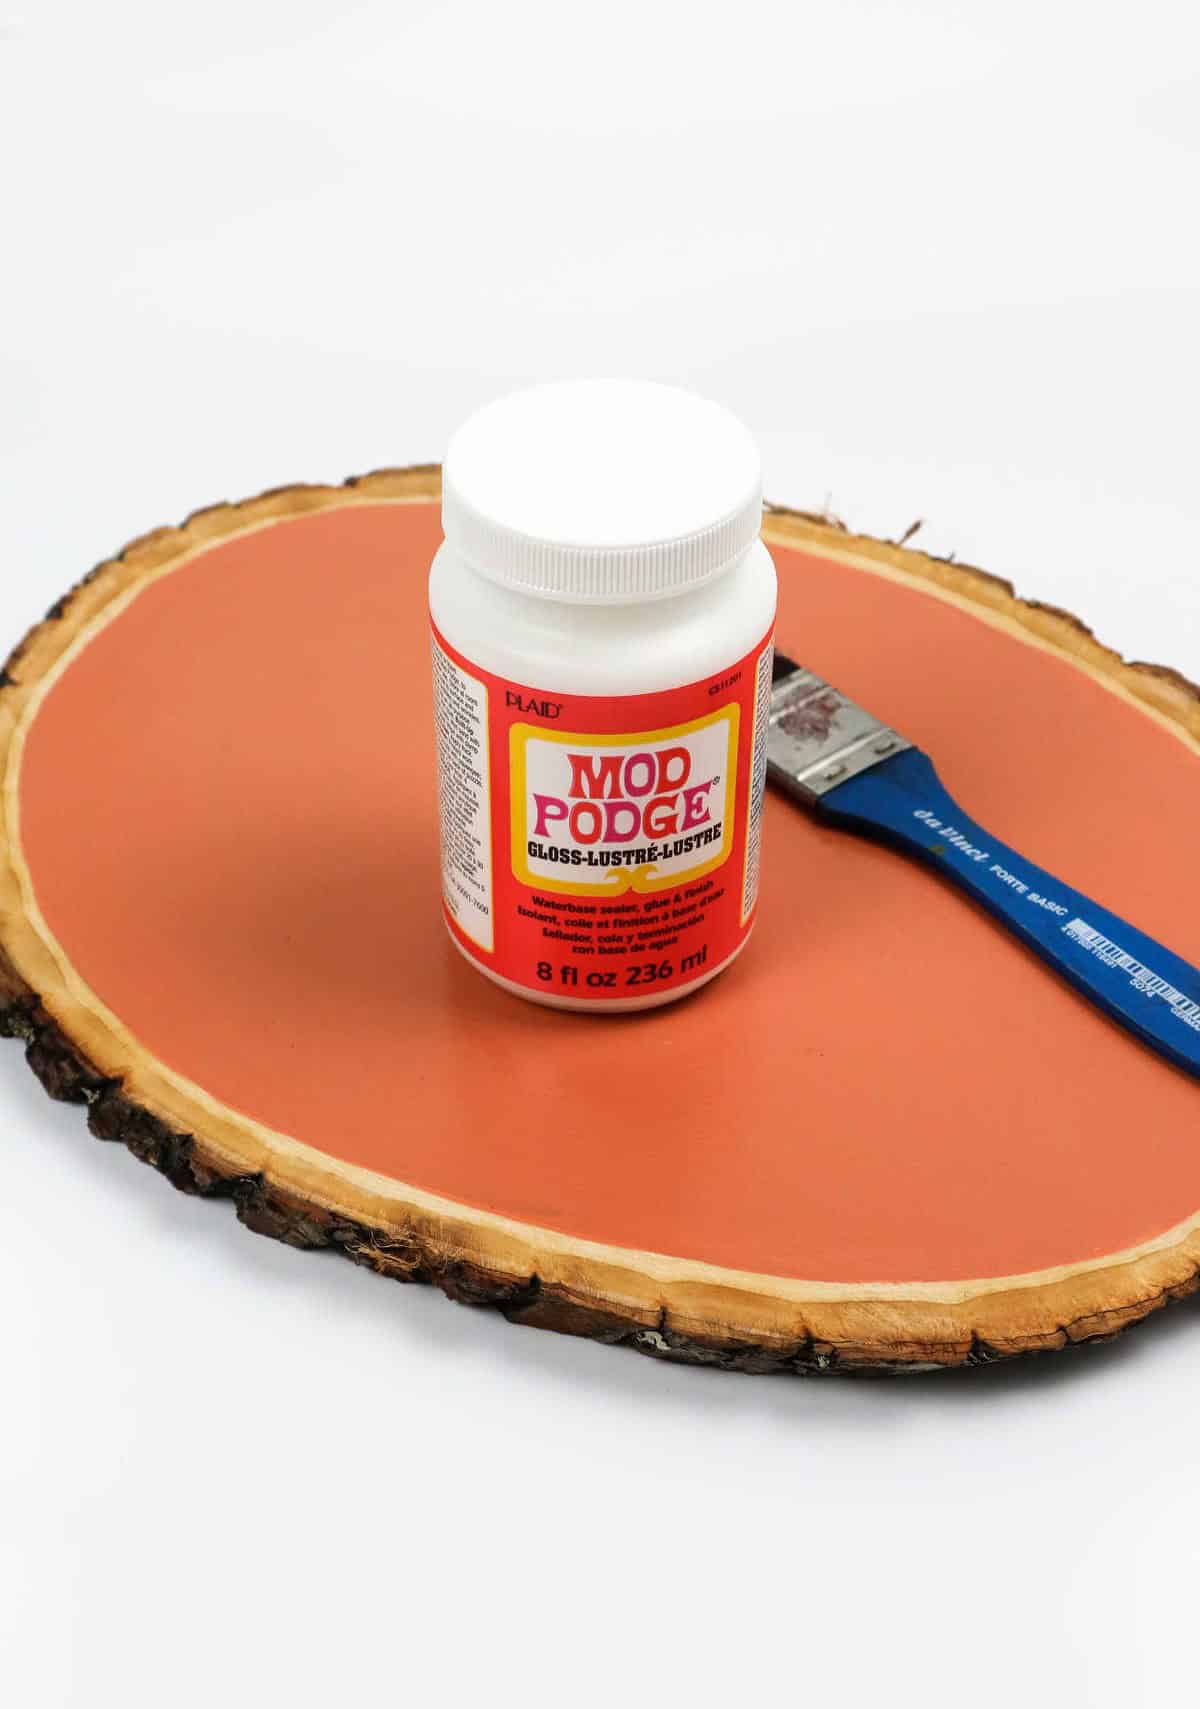
To complete the finish, grab your bottle or can of varnish and spritz it evenly onto the painted wooden board. You have the option to opt for a subtle matte finish or a radiant glossy finish, depending on your desired aesthetic.
As an alternative, you can choose to apply a coat of mod podge using a paintbrush, allowing for a more controlled and precise application.
Step 5
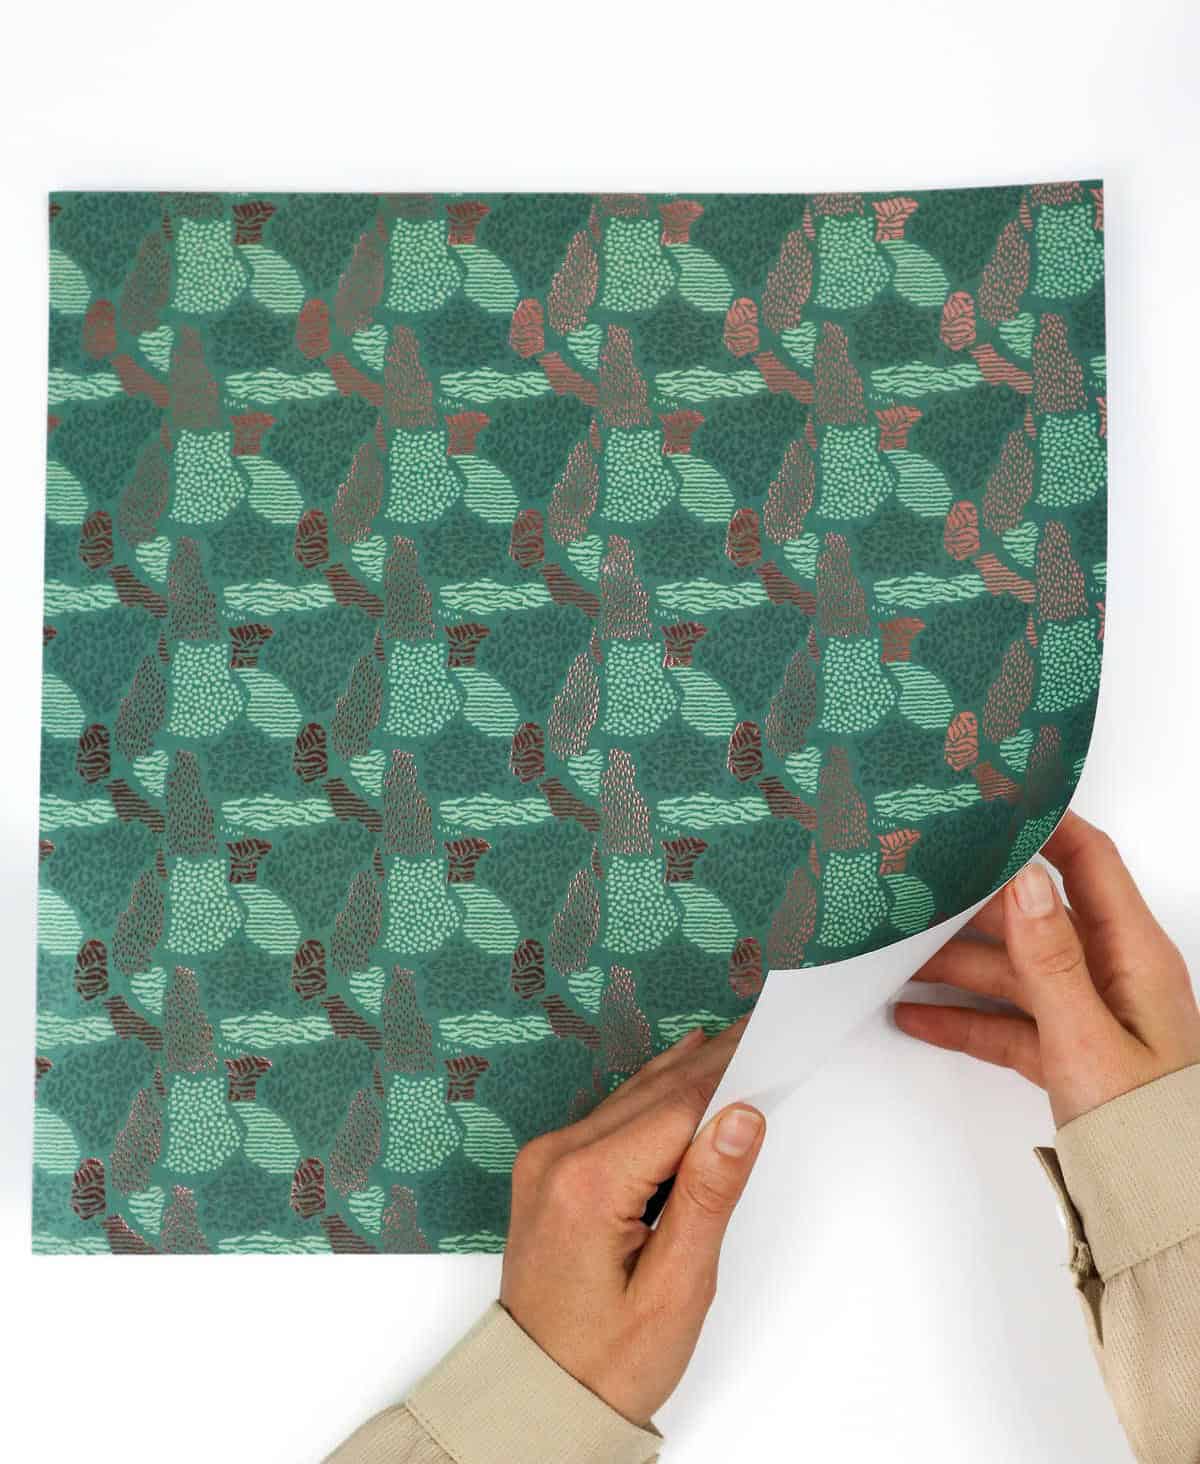

The excitement builds as you prepare to wrap up your organizer boxes! Selecting vibrant, textured, and patterned papers to adorn them with is a delightful experience. As you make your choices, keep in mind one important consideration: opt for paper that’s substantial enough to conceal any underlying packaging, like the cereal box. Avoid thin or transparent sheets that might compromise the aesthetic integrity of your creations.
Instead, prefer thicker, more durable options that will withstand the rigors of daily use and maintain their visual appeal.
Step 6
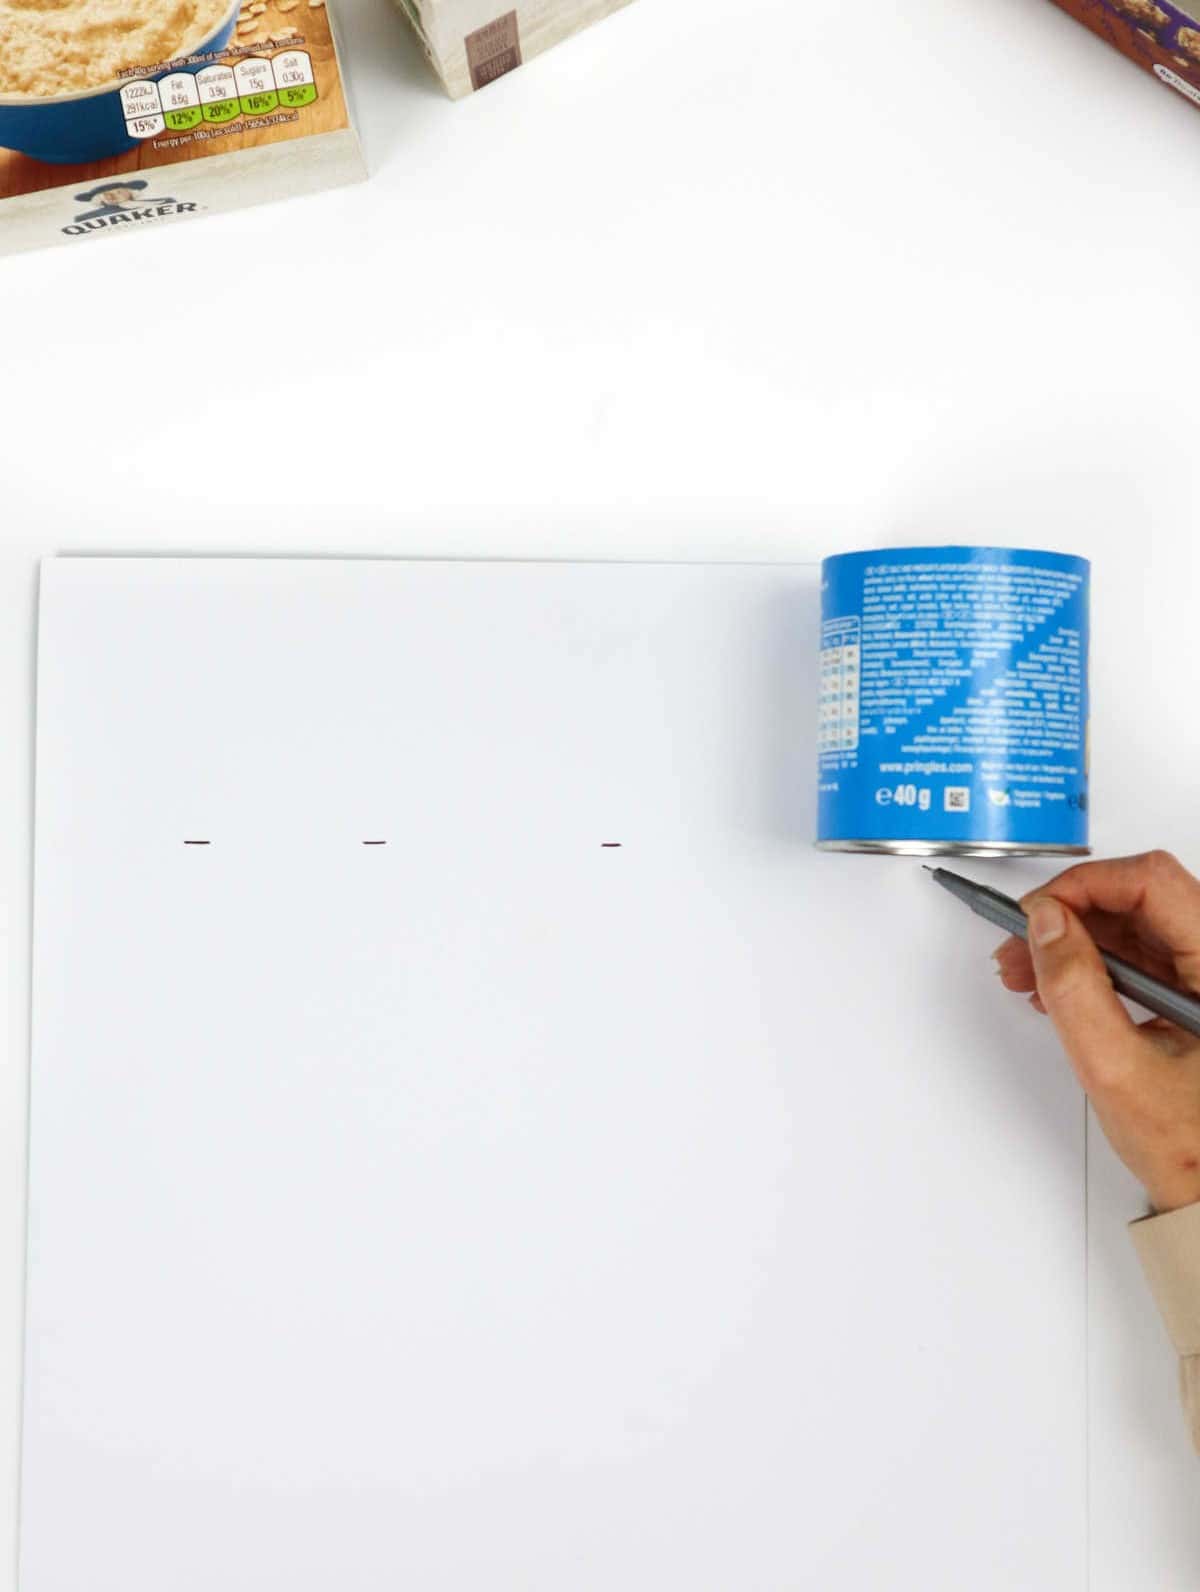
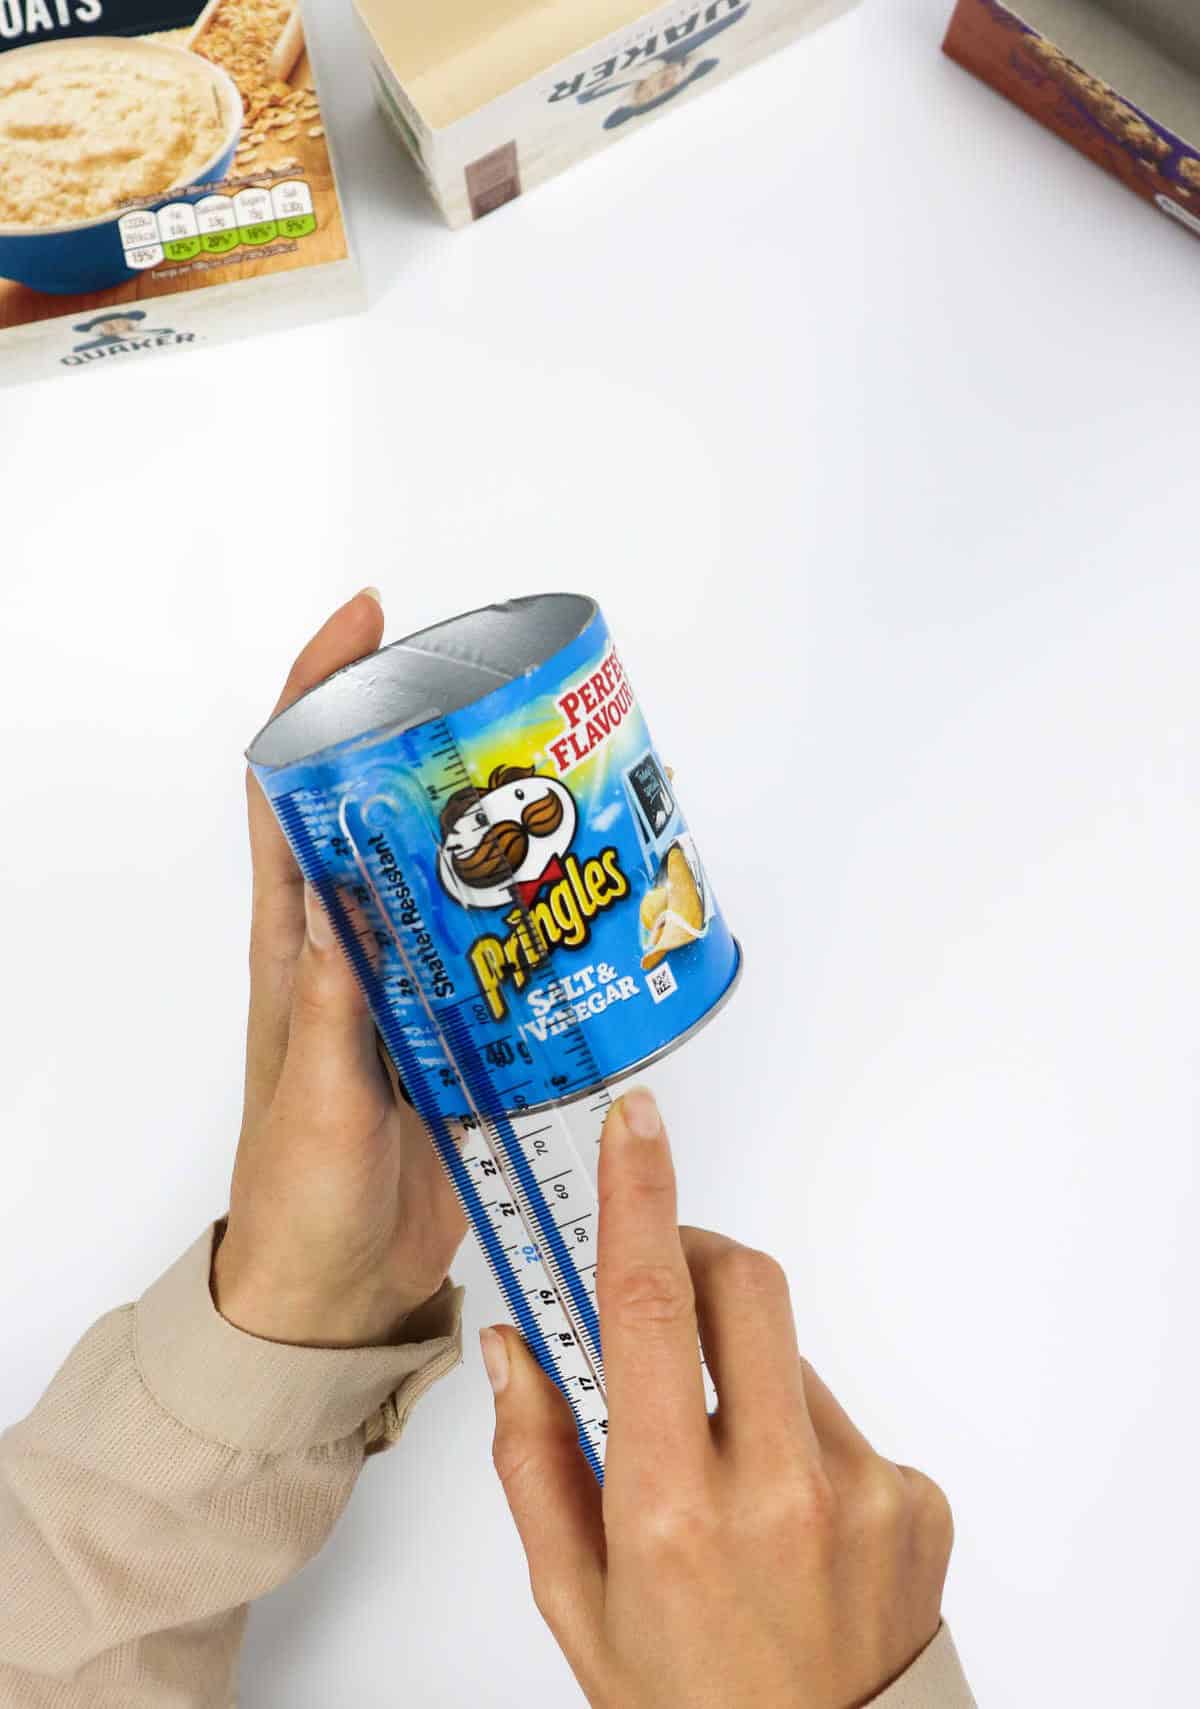
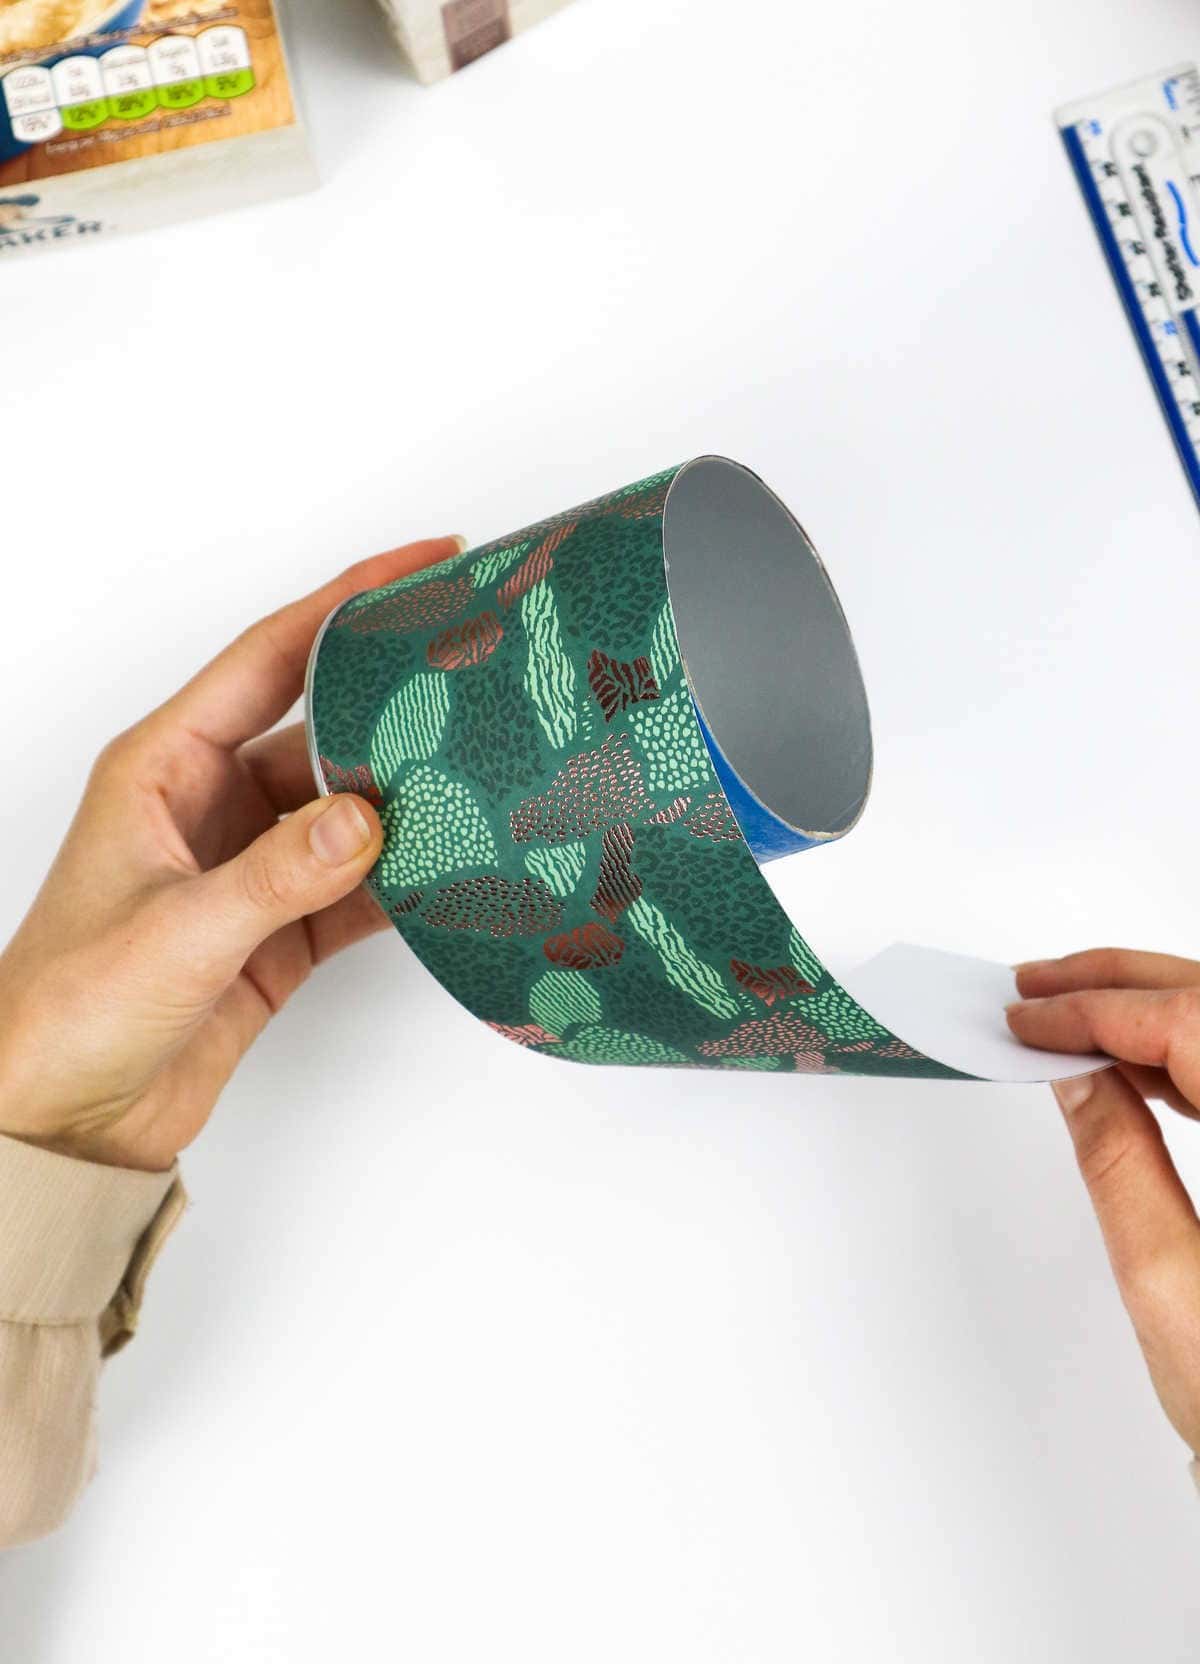
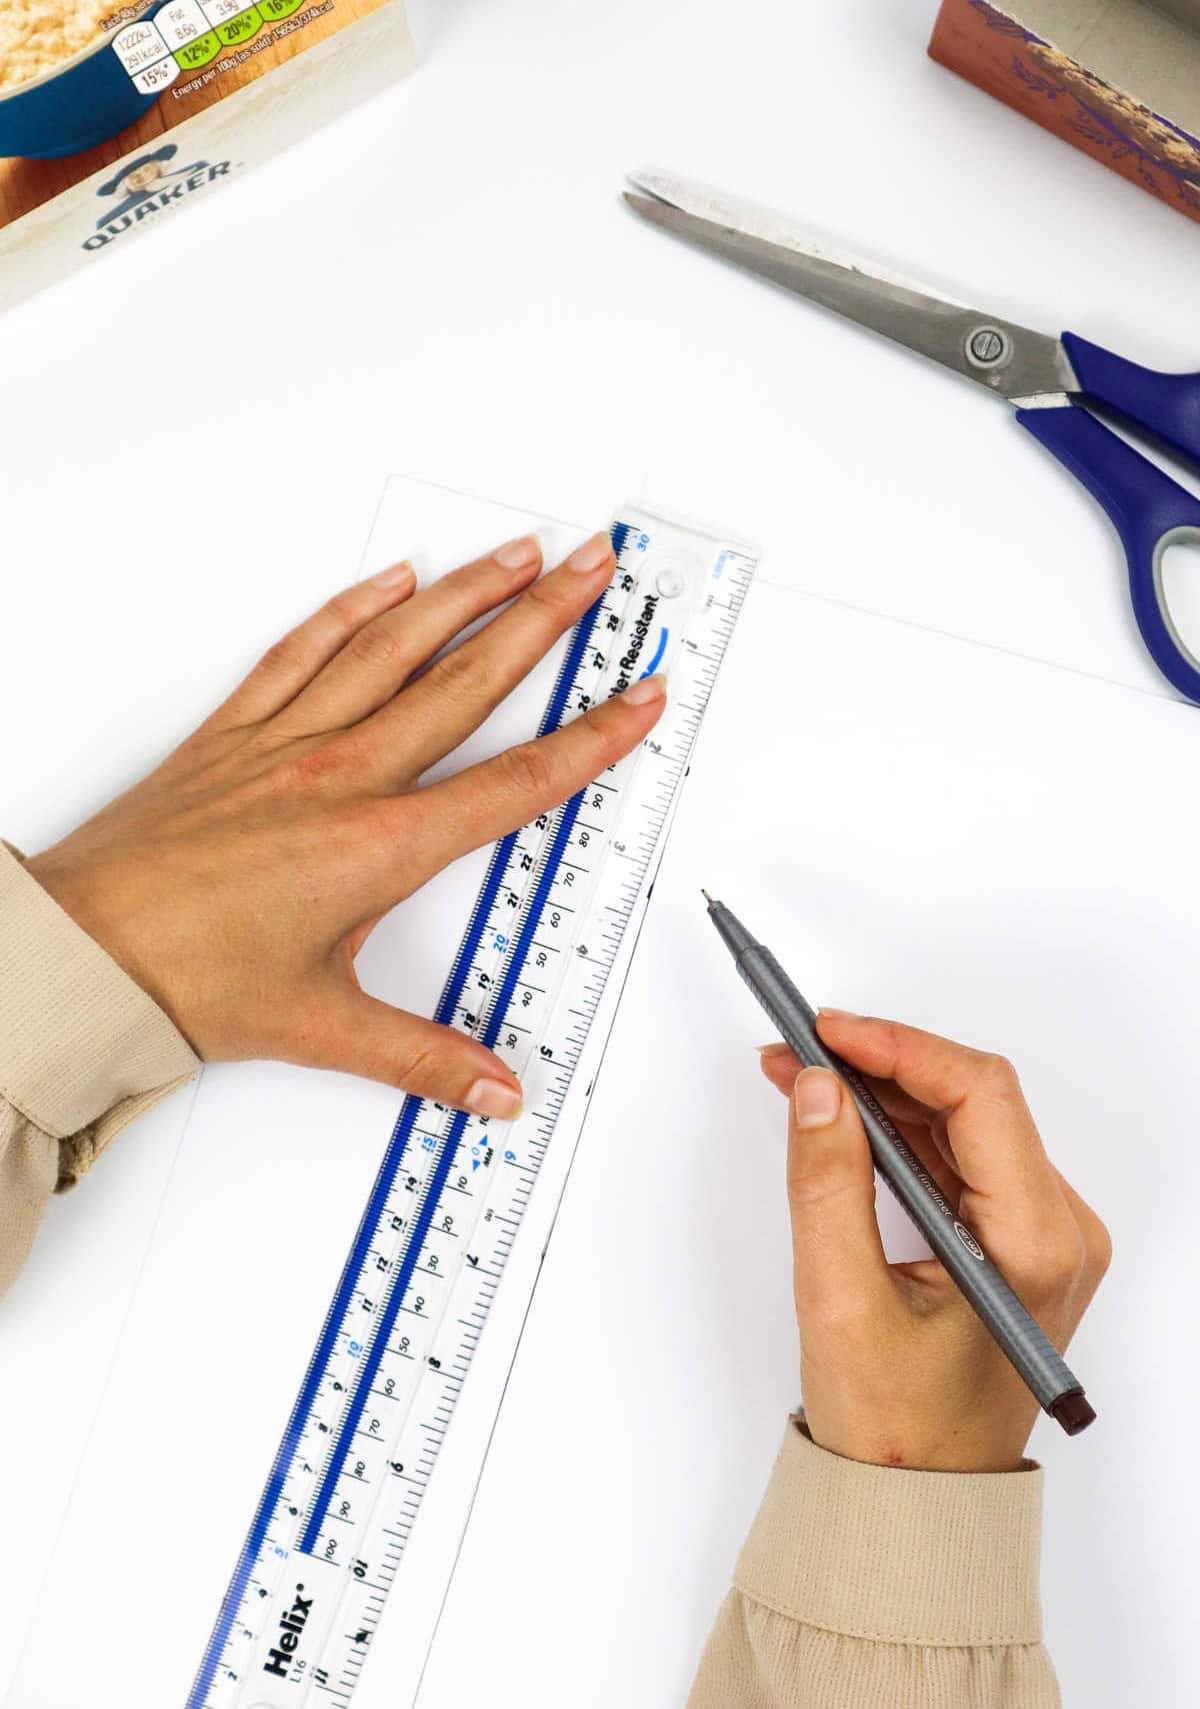
Before wrapping containers, measure and mark their dimensions to ensure precise coverage. For square boxes, this process is relatively straightforward. However, cylindrical containers require more attention to detail. Start by placing the wrapping paper on your work surface with the wrong side facing up. Position one end of the container along the edge of the paper and begin rolling it across the sheet until you’ve completed a full turn. Take note of the exact point where this occurs.
Additionally, mark the height of the container to account for any variances in its shape. Once these markings are made, draw a line connecting them on the wrapping paper.
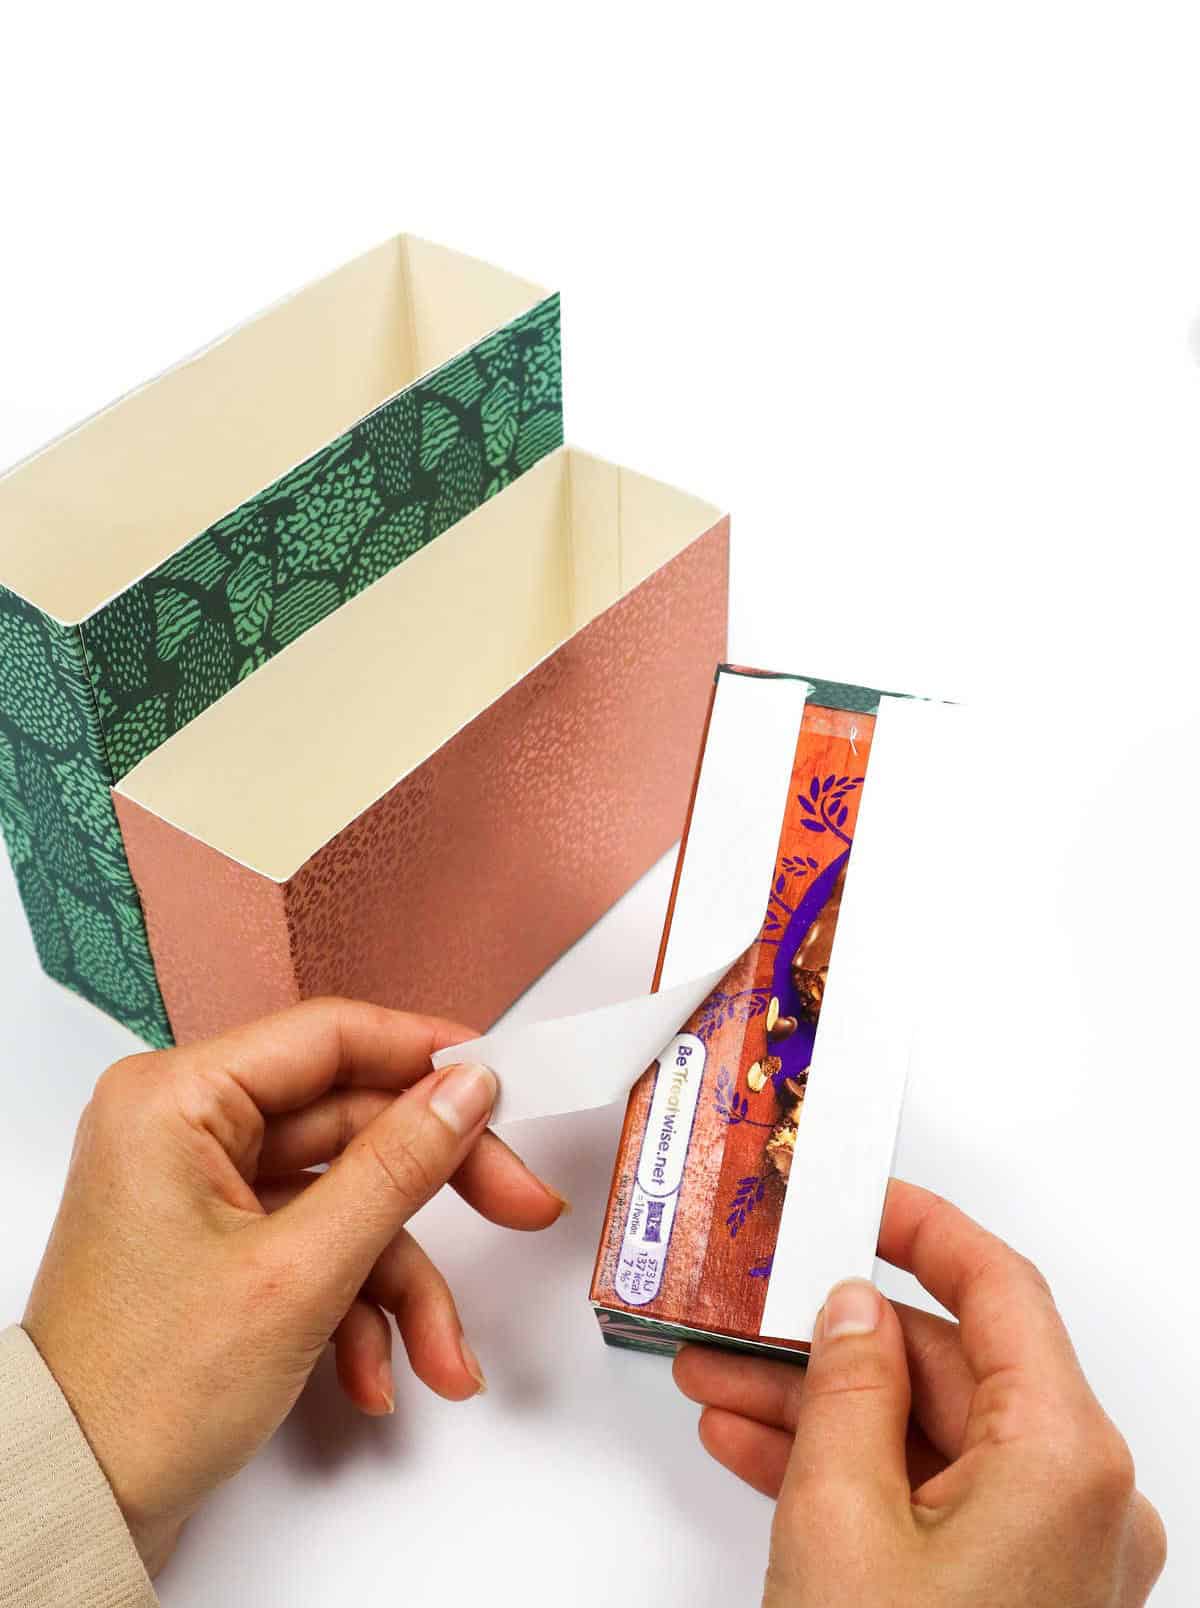
Step 7

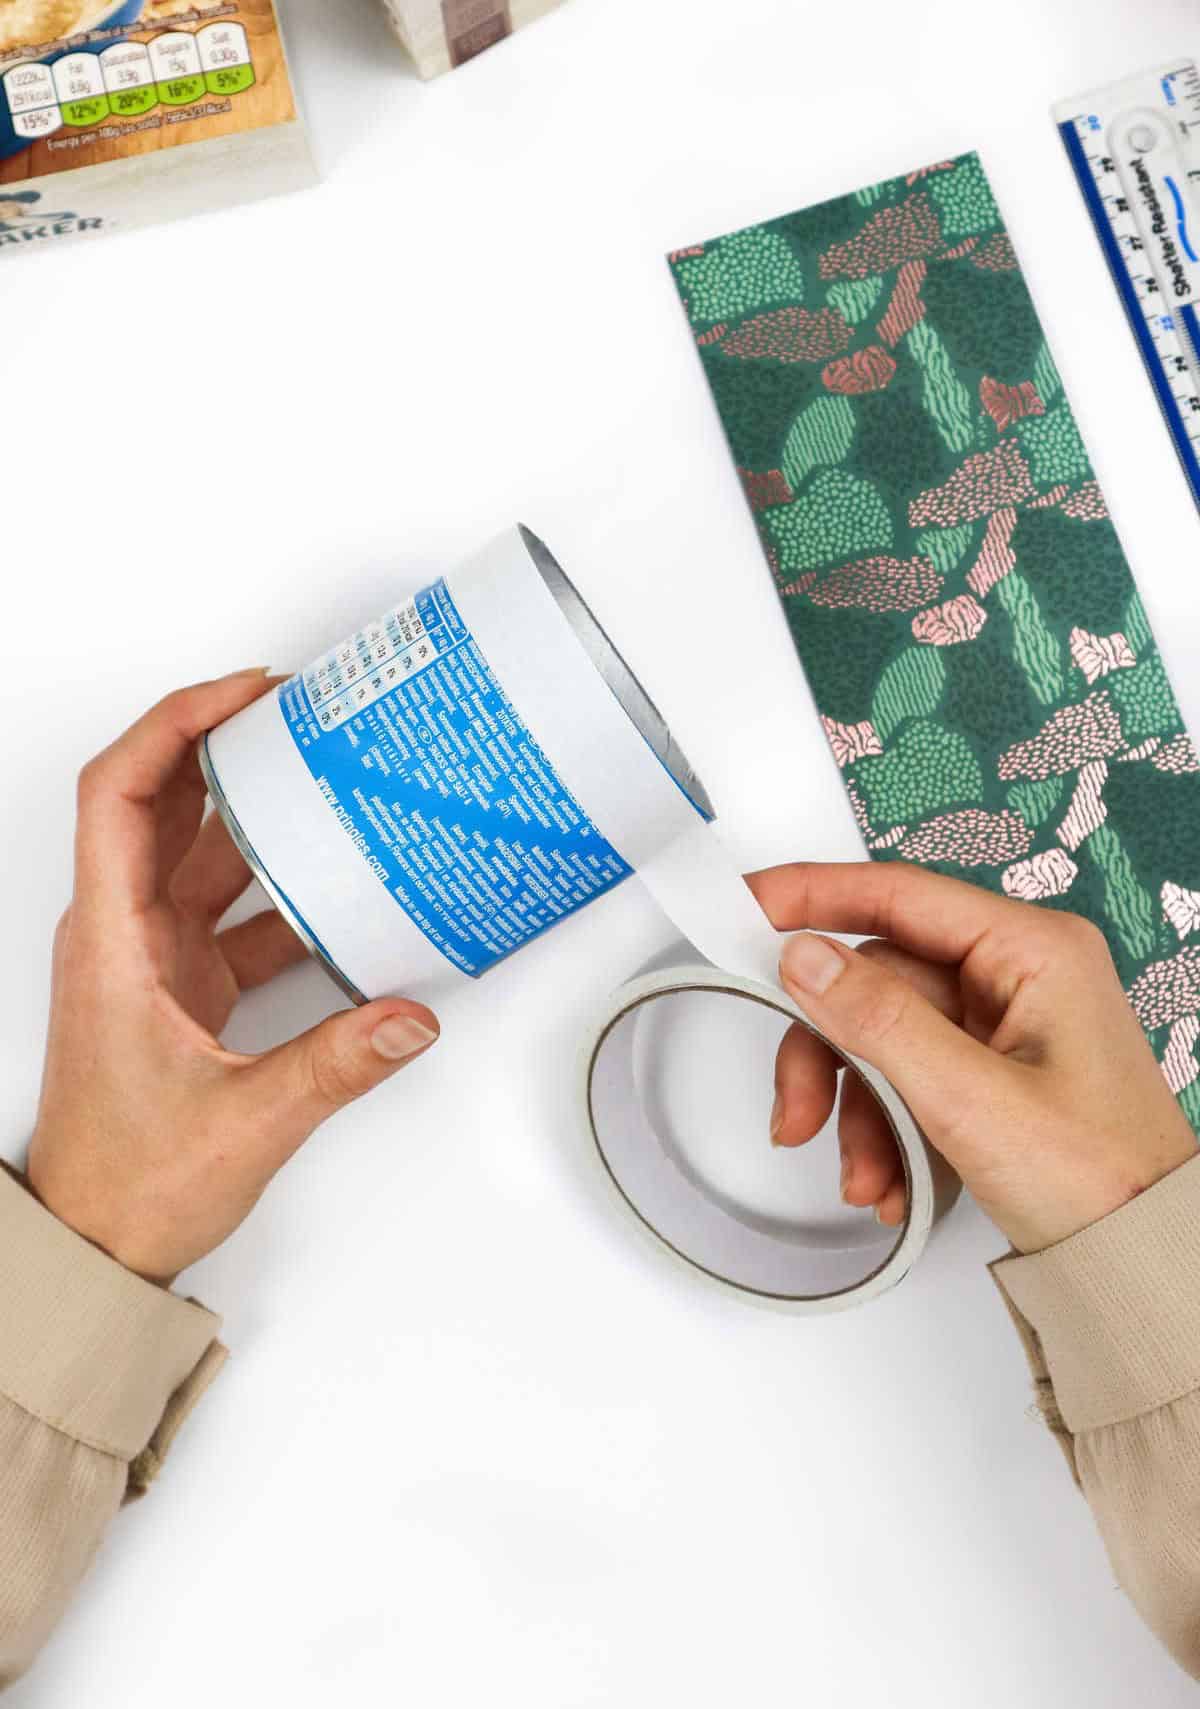
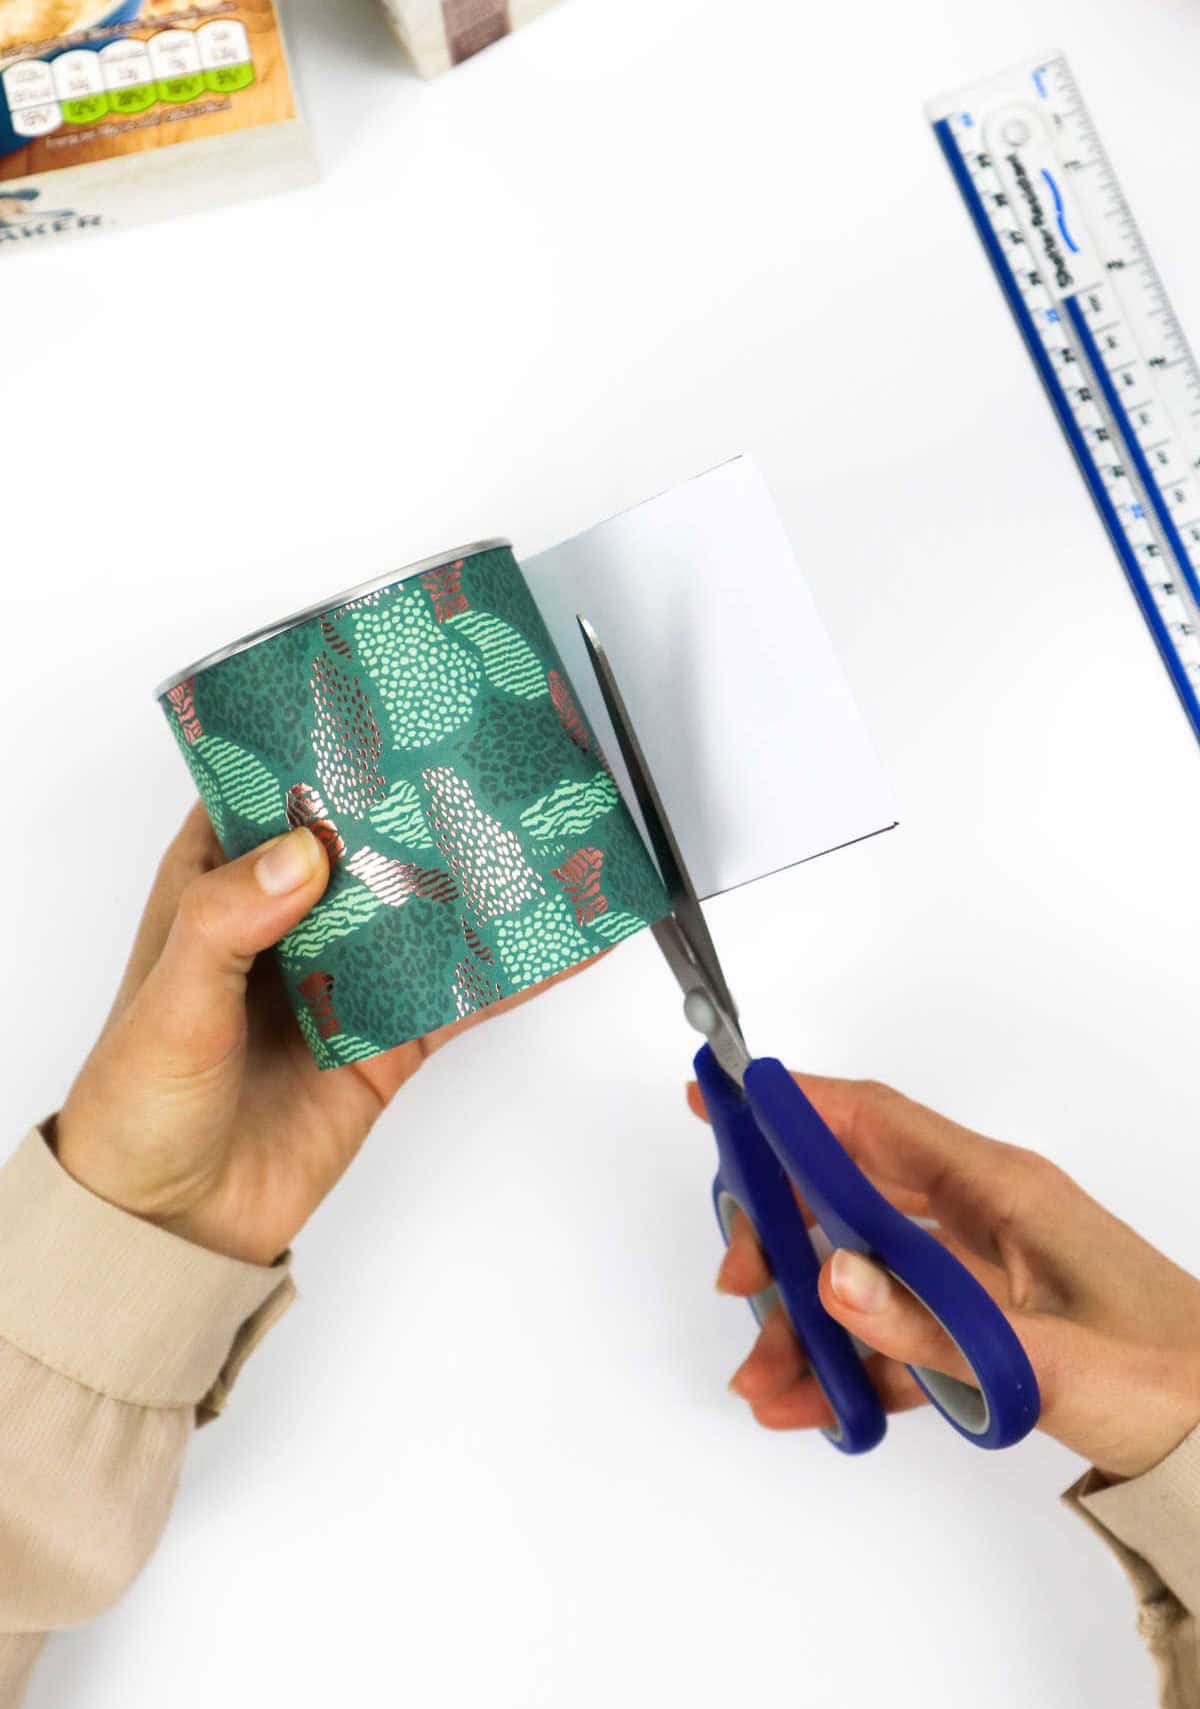
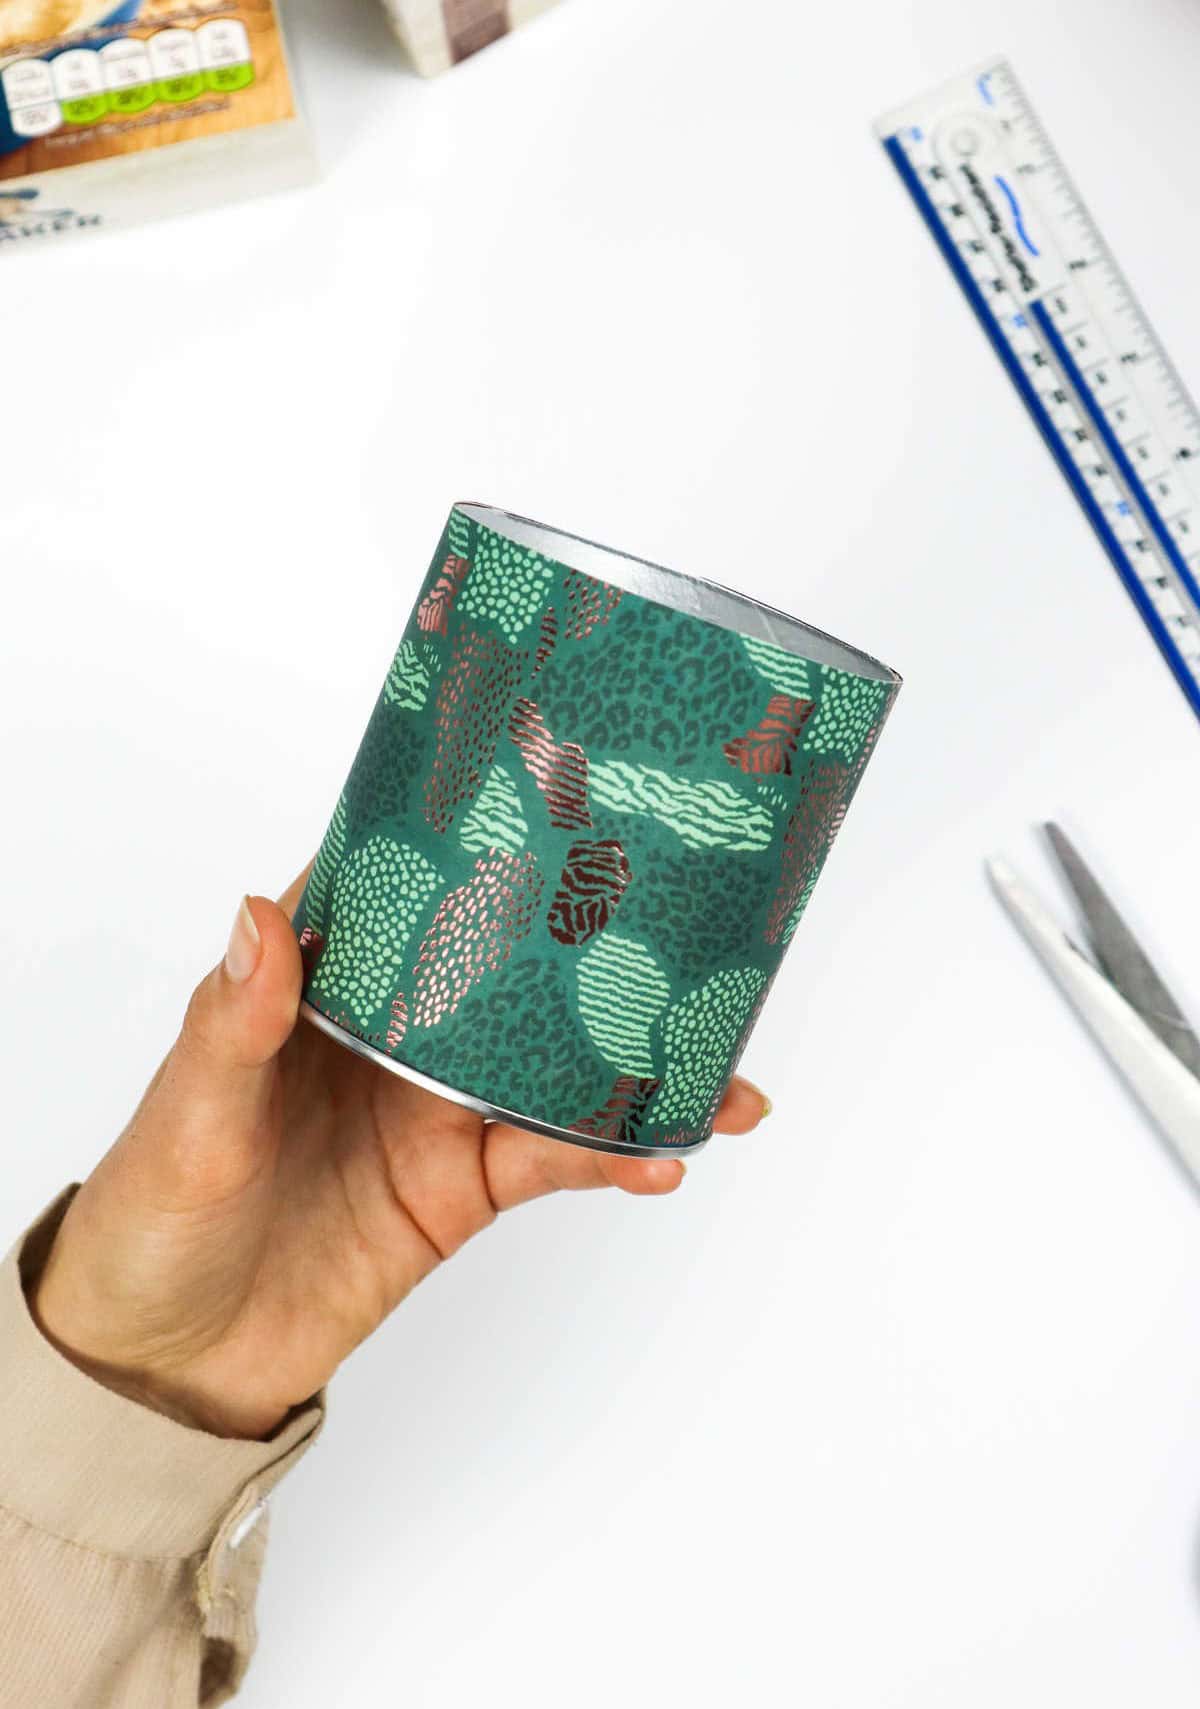
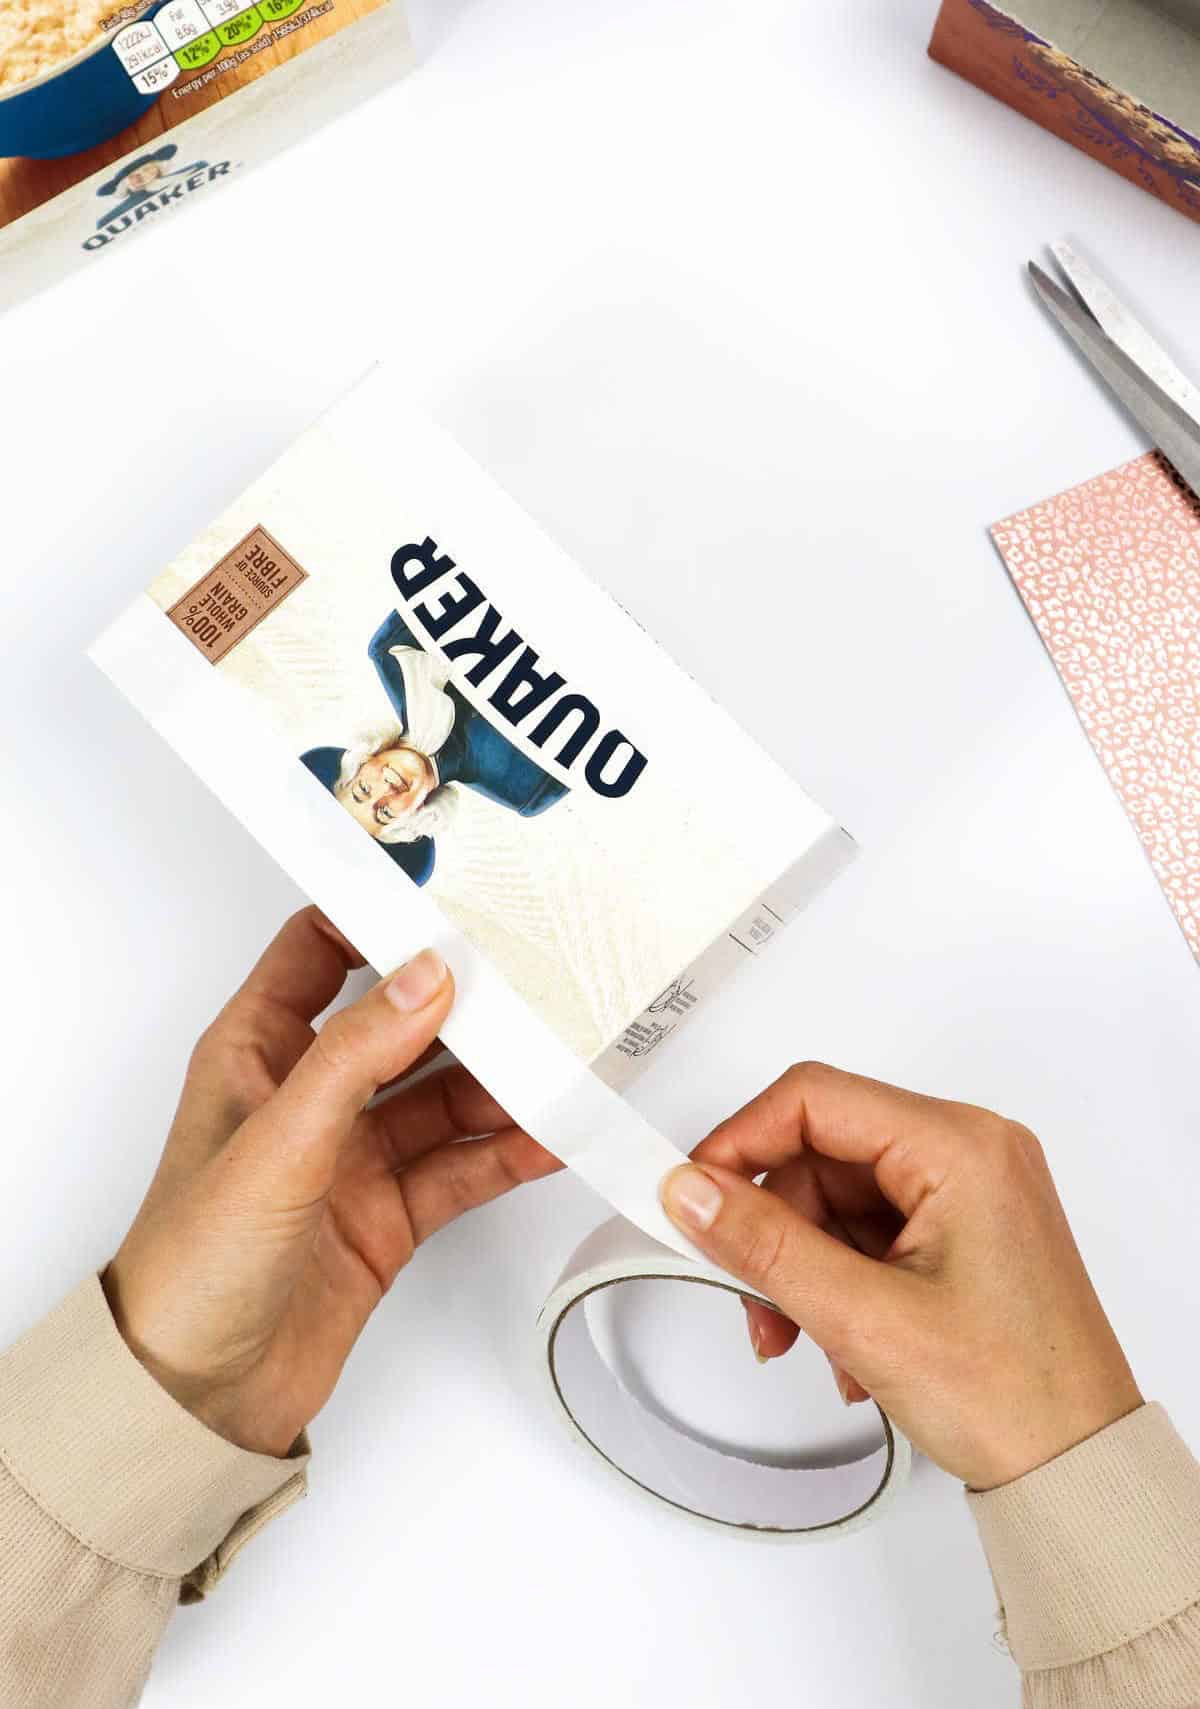
Take a pair of scissors and carefully cut along the drawn line. This will create a precise edge for wrapping your paper around the container. Next, apply a thin layer of double-sided tape to both the top and bottom of the container’s rim. This subtle step will significantly simplify the process of attaching the paper to the container. With the tape in place, simply align the paper with the container and gently roll it into a neat package.
As you press the paper firmly onto the container, take care to smooth out any wrinkles that may form.
Step 8

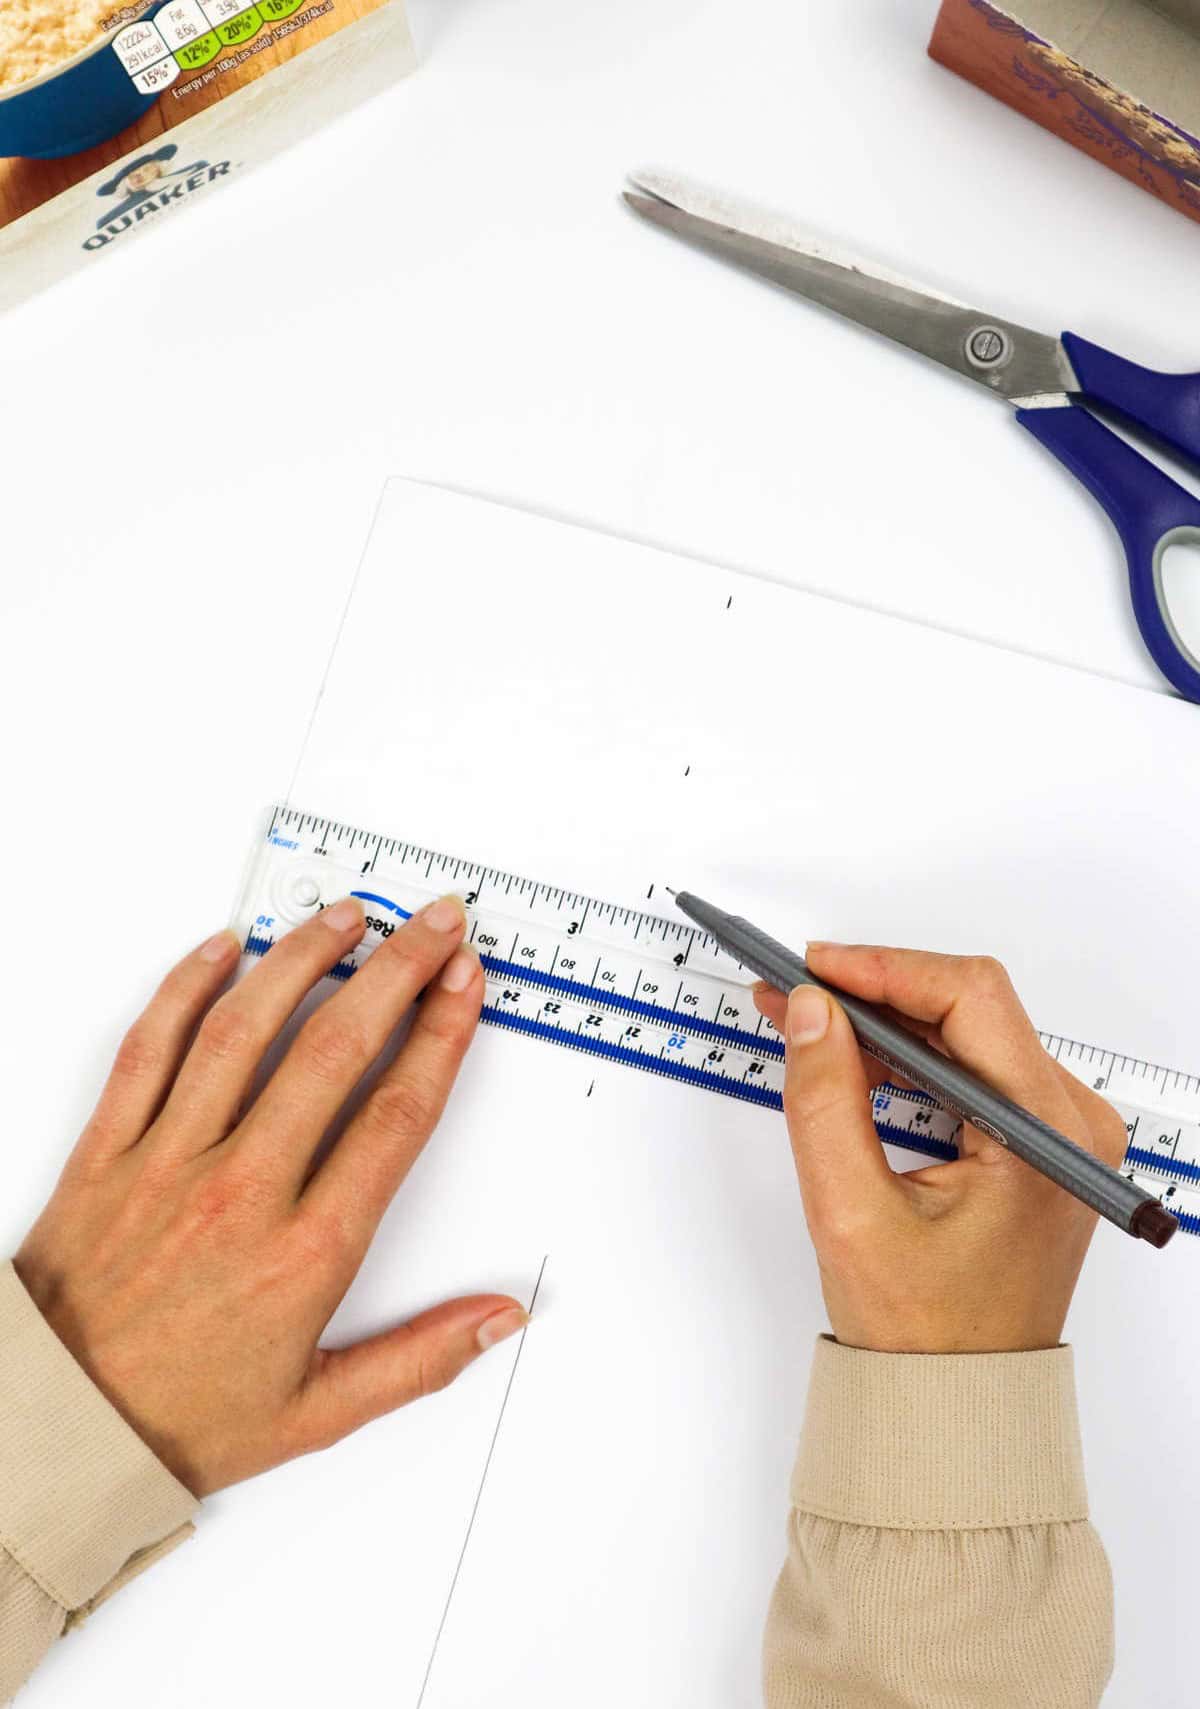
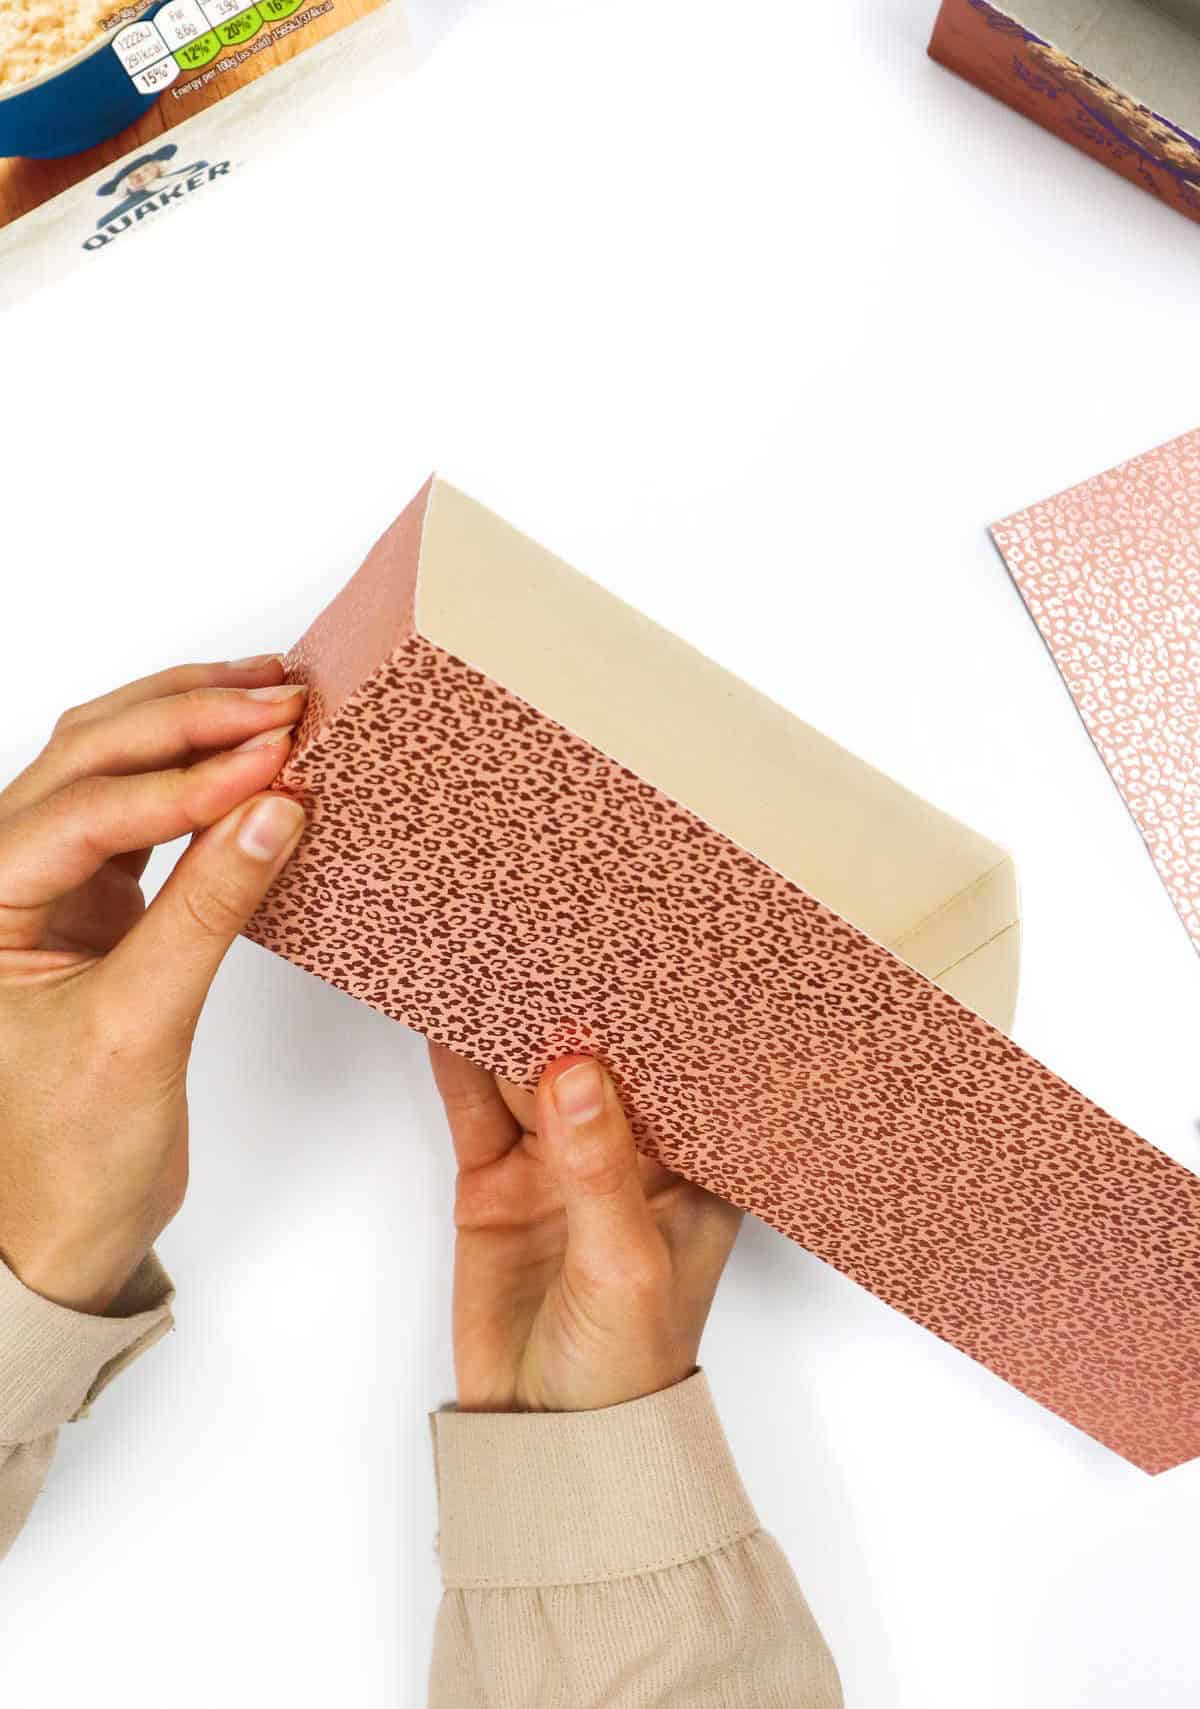
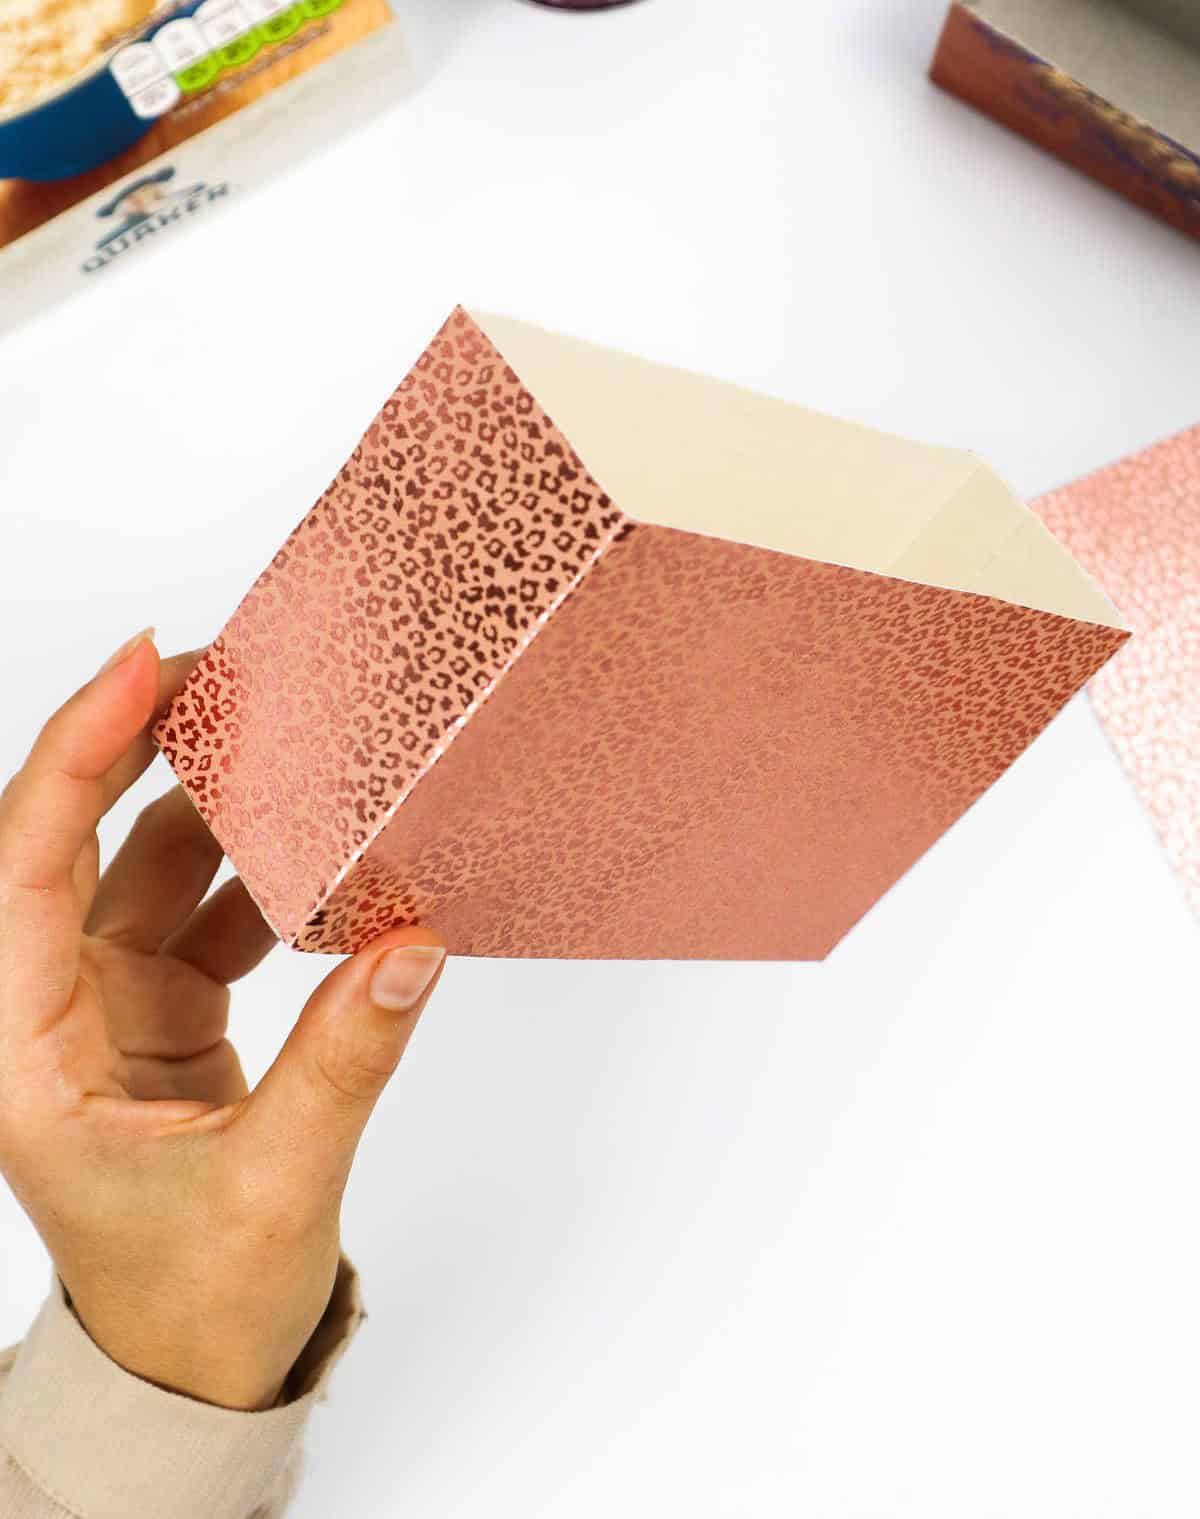
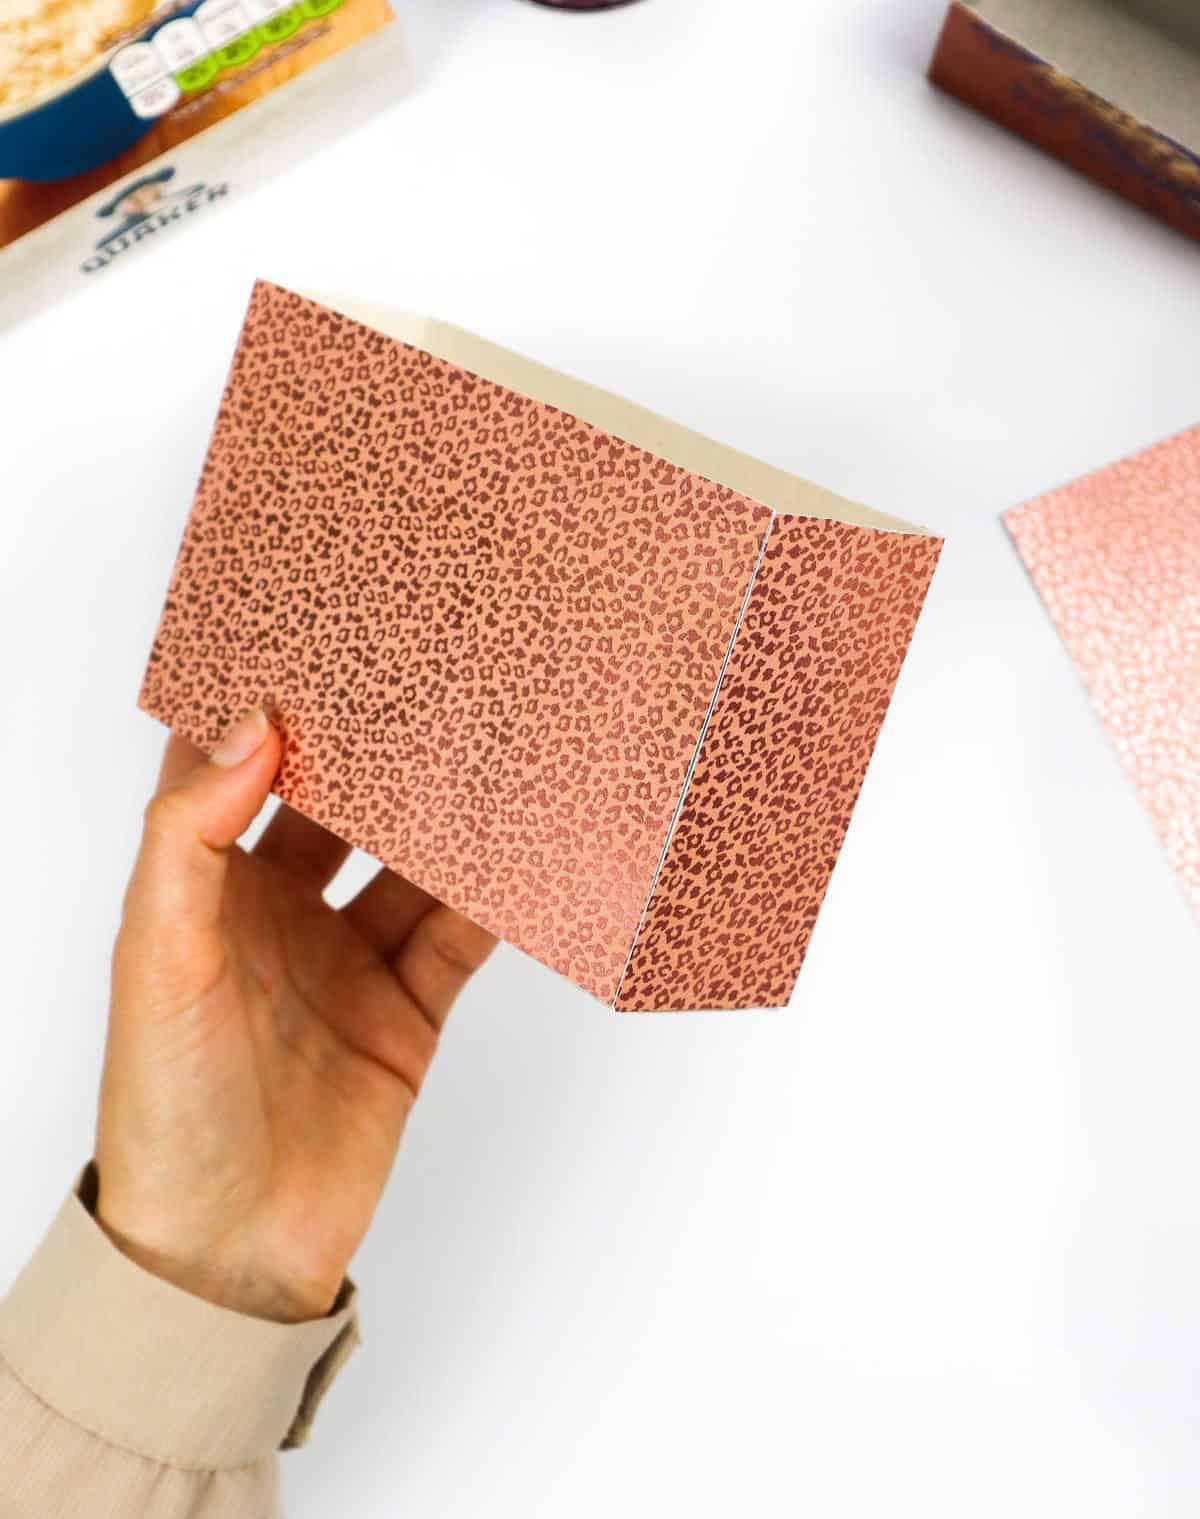
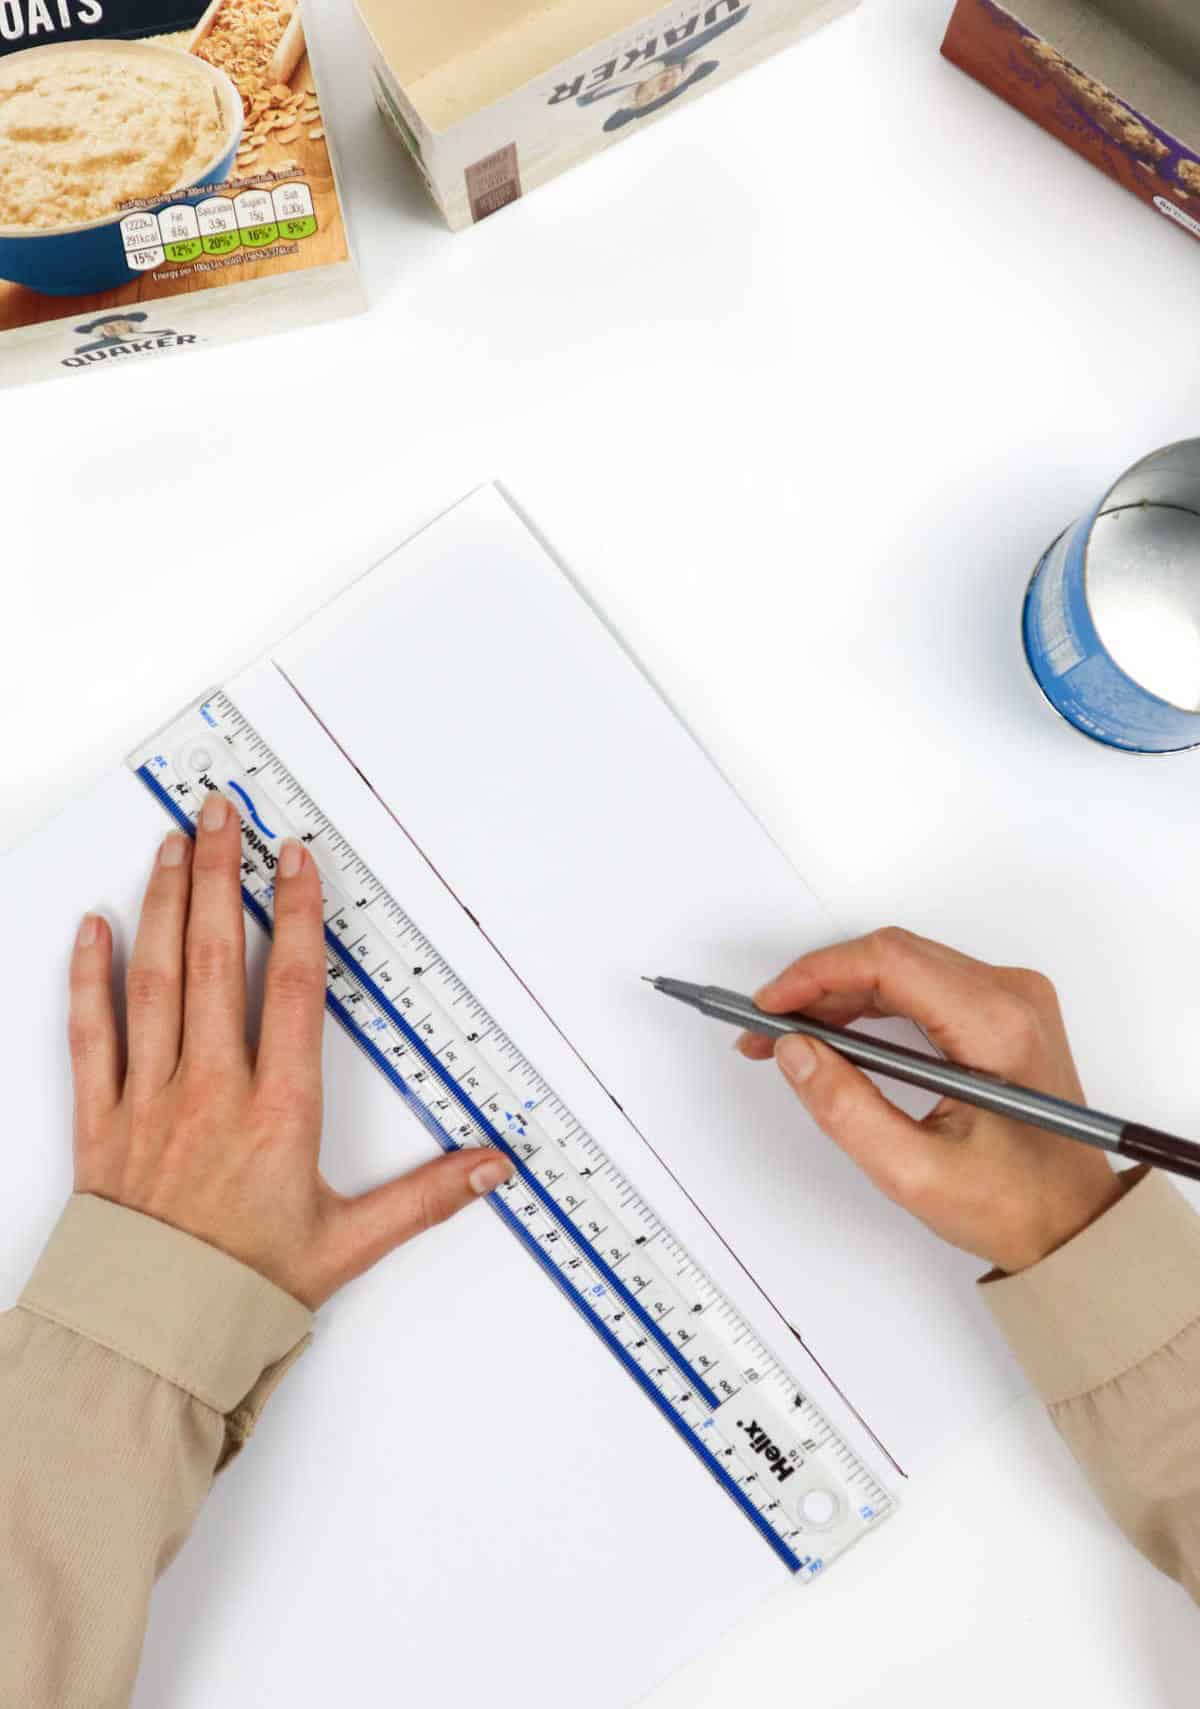
As you prepare to finish wrapping the box, take a moment to measure its dimensions with a ruler, ensuring accuracy. Next, apply double-sided tape along the edges of the paper, carefully lining them up. With the container in hand, begin wrapping it, taking care to press down on the corners as you go. To achieve a sharp crease, fold the paper tightly over these corners, allowing for a snug fit.
Step 9
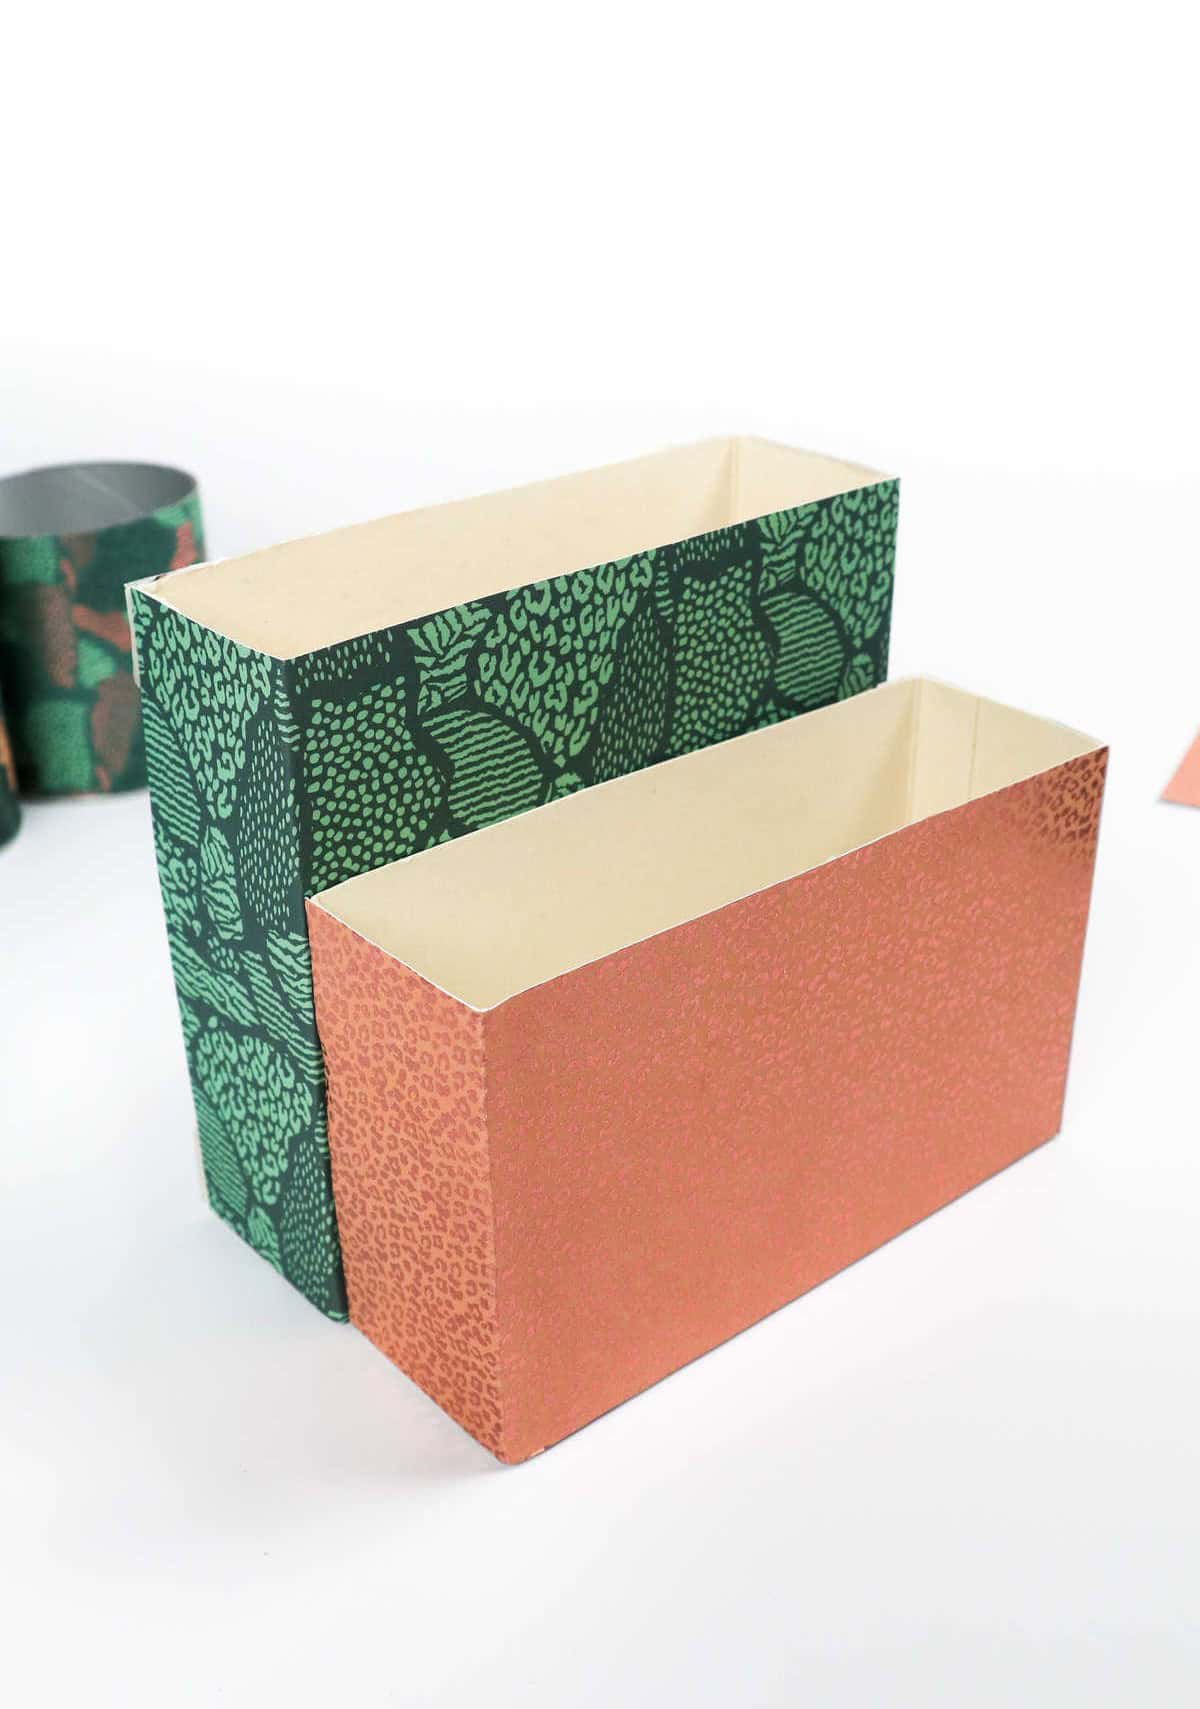
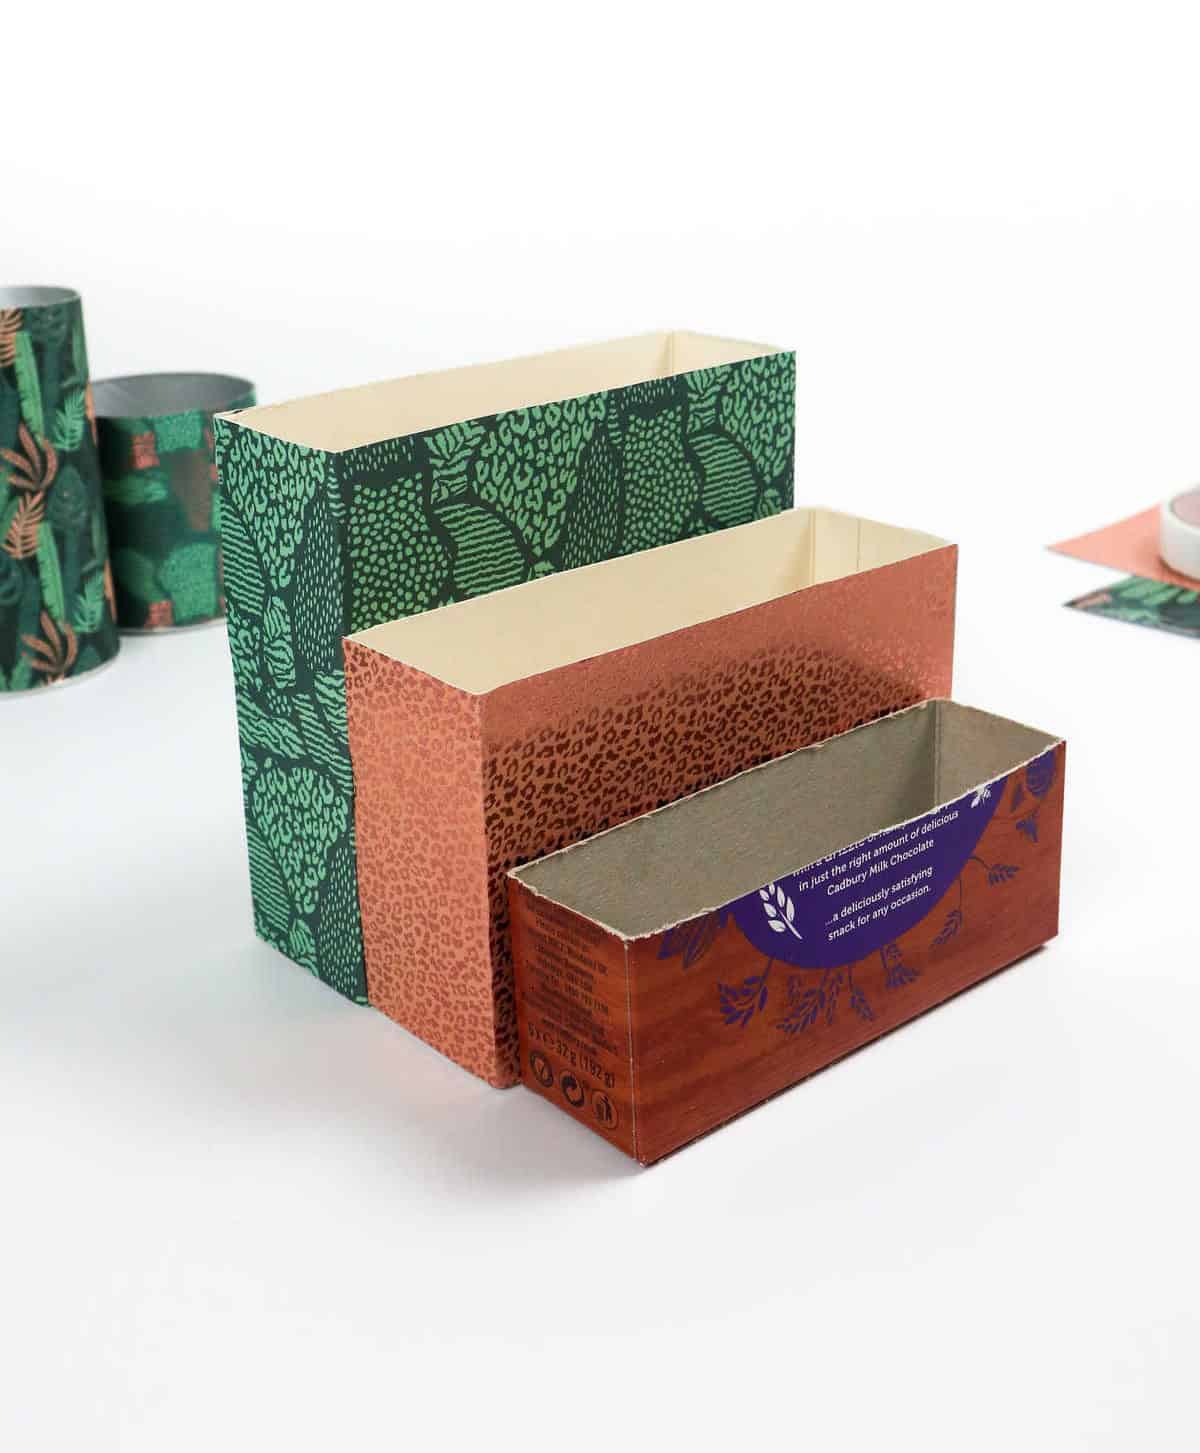
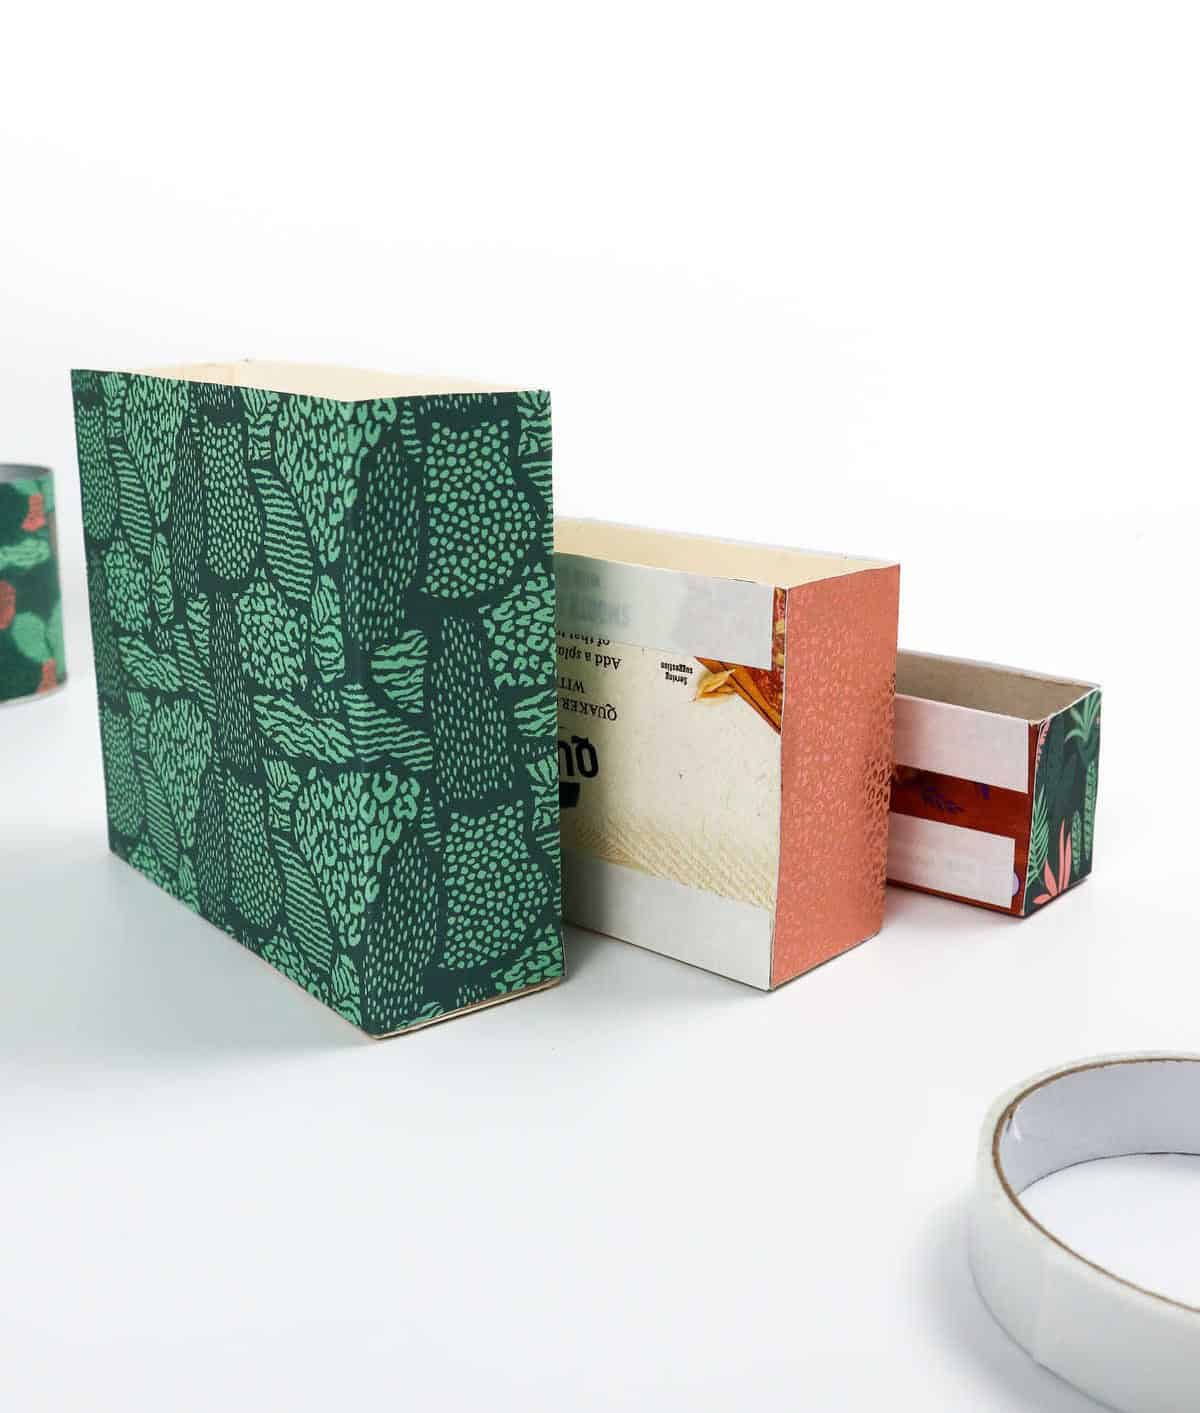

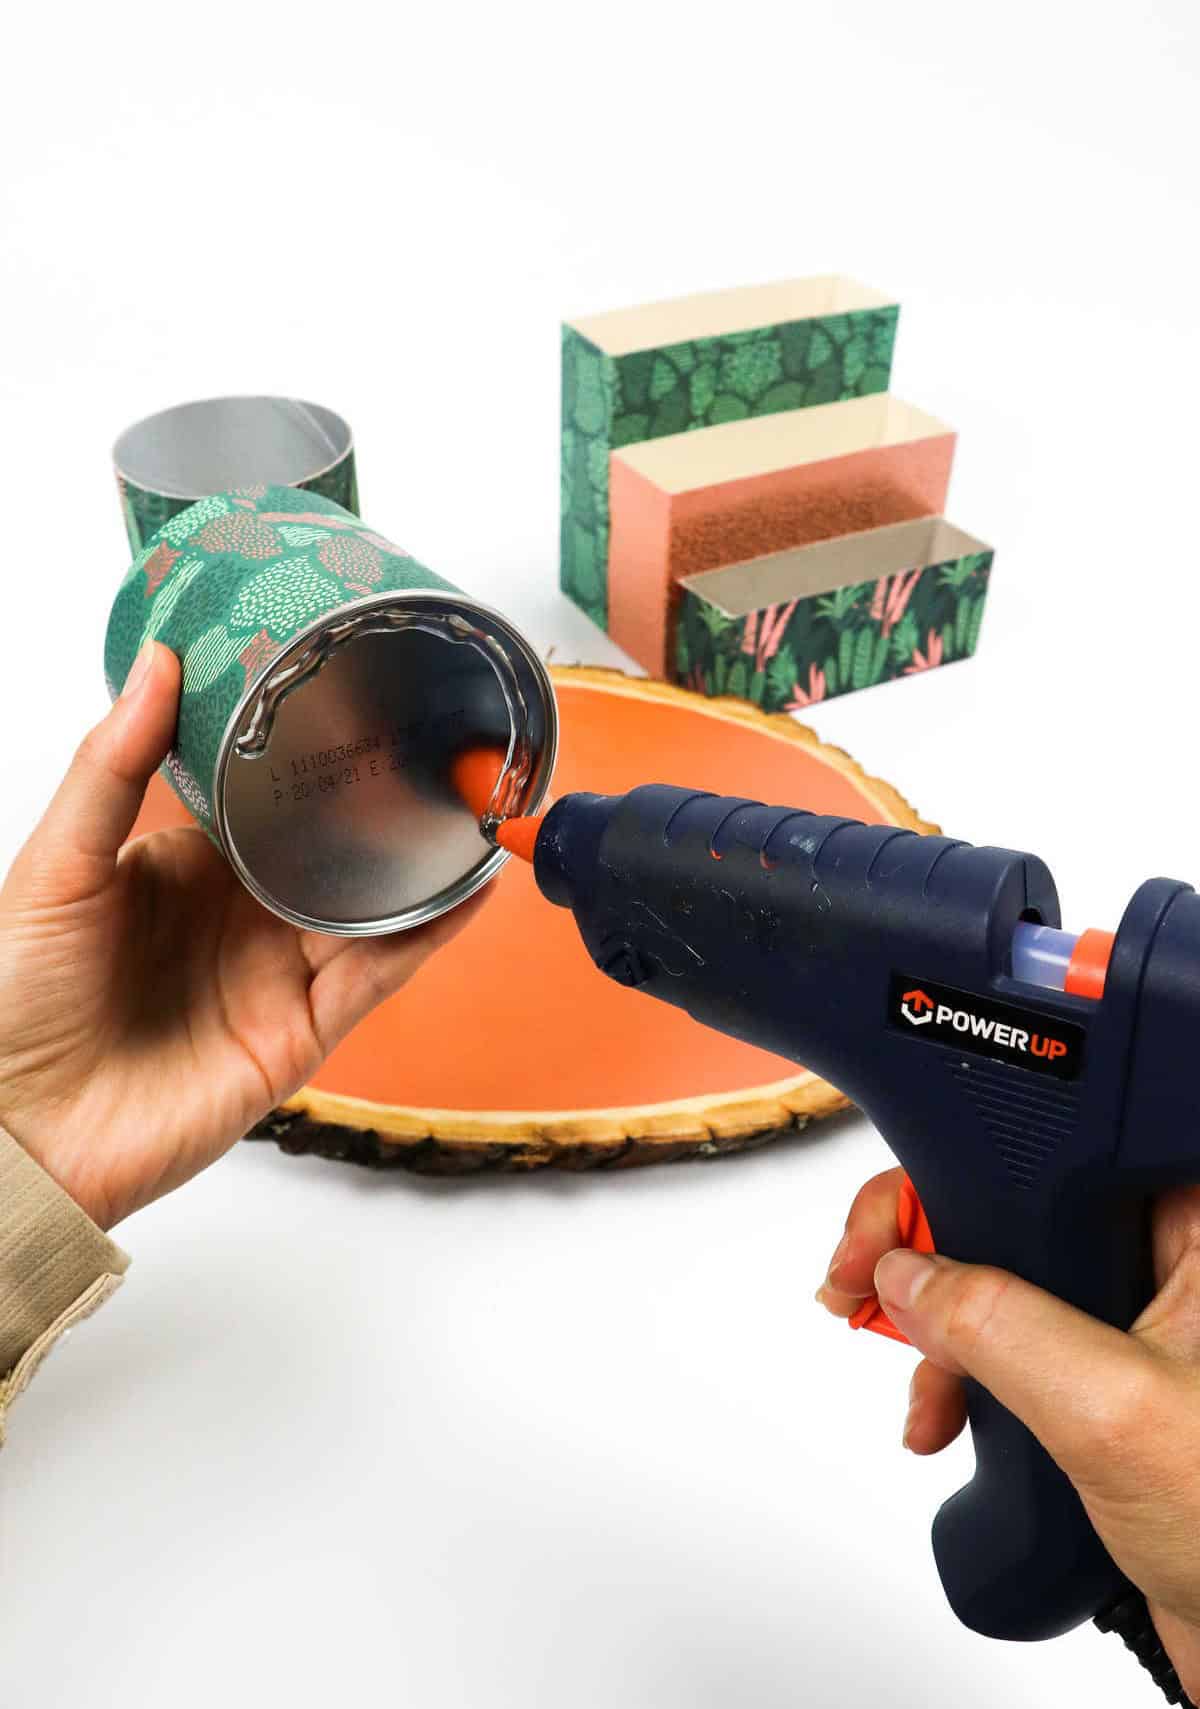
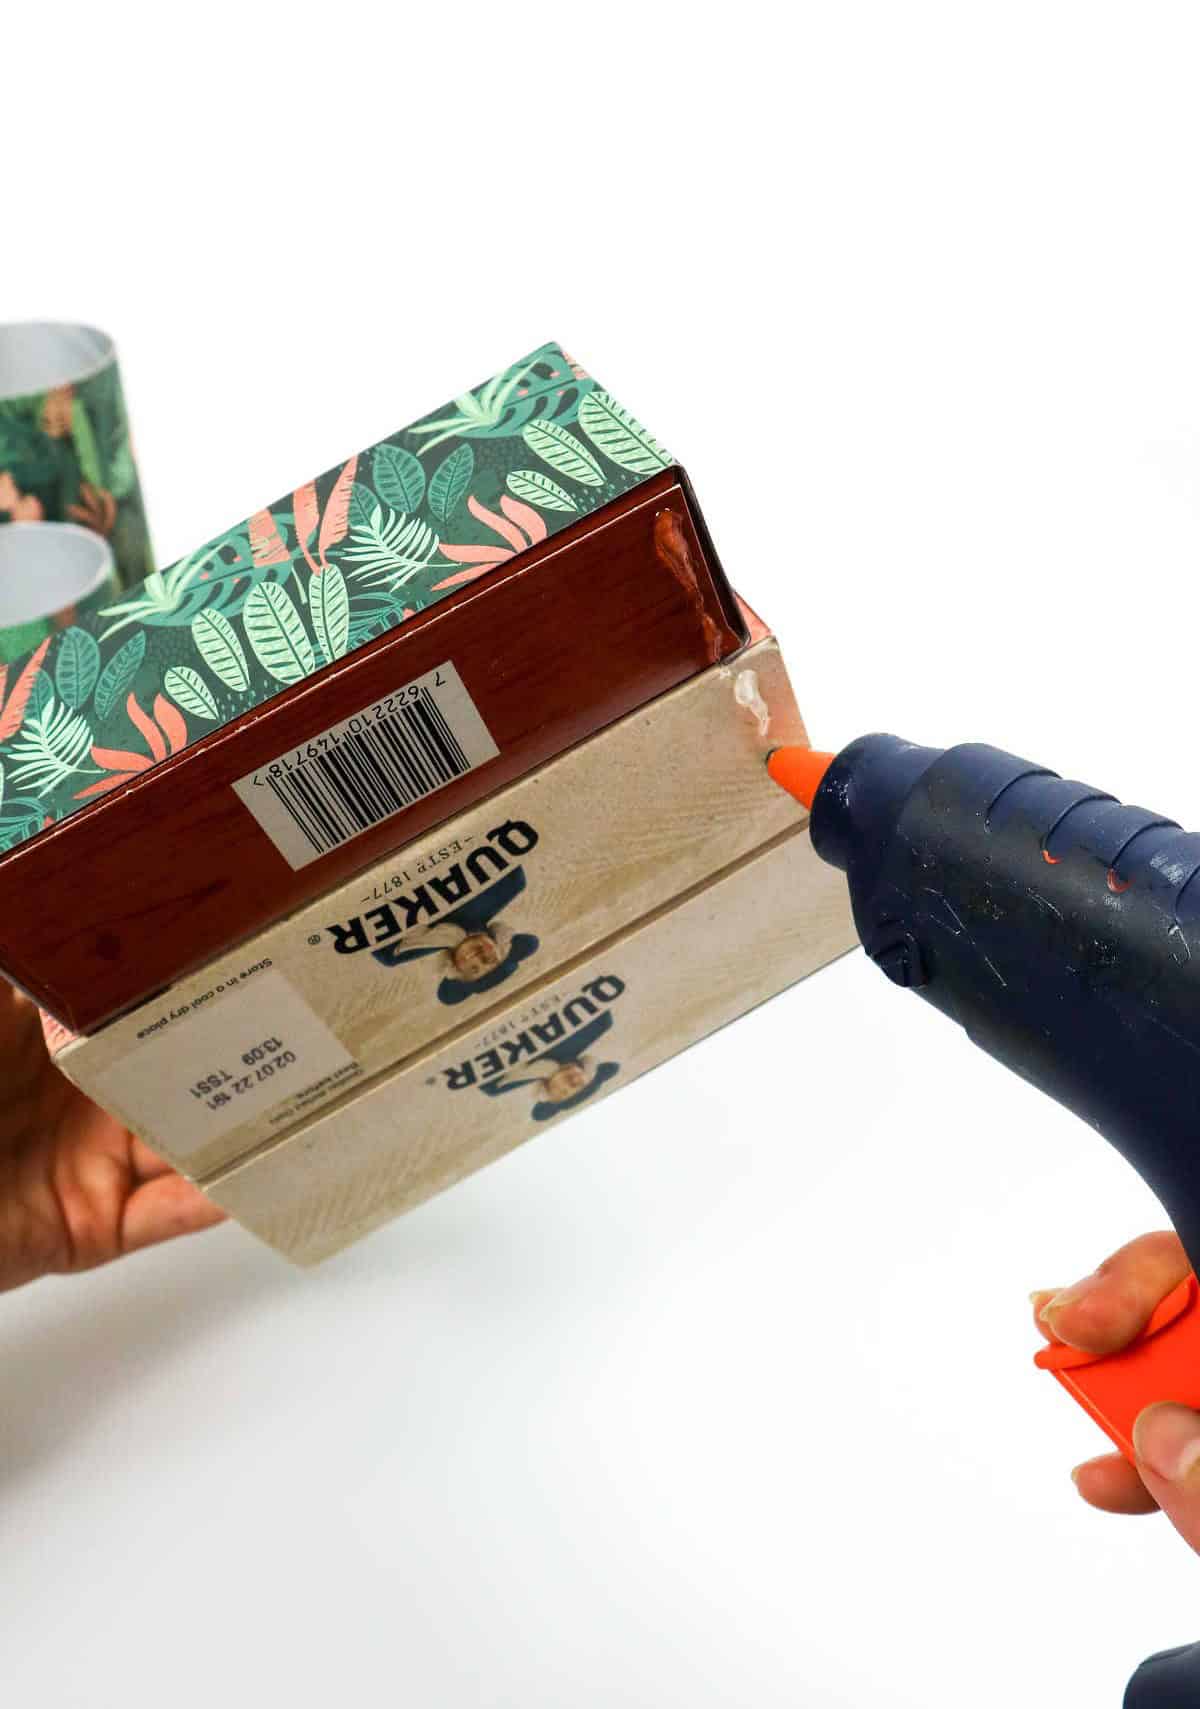
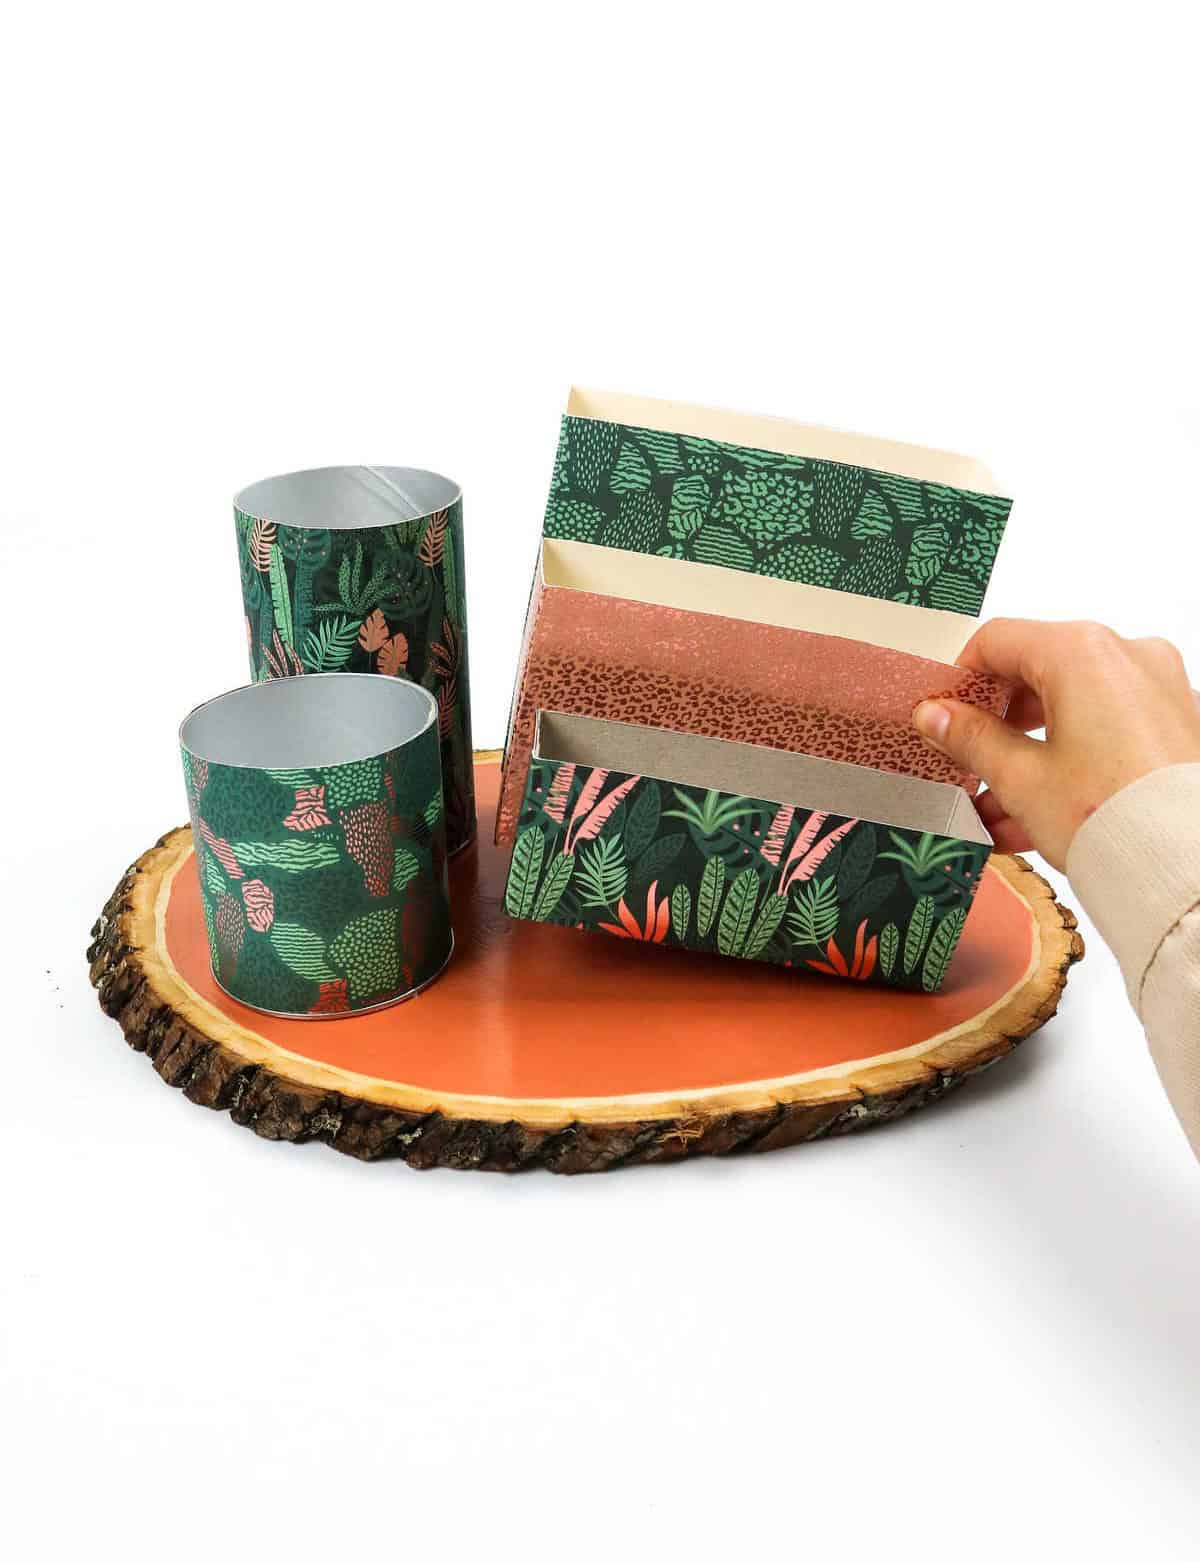
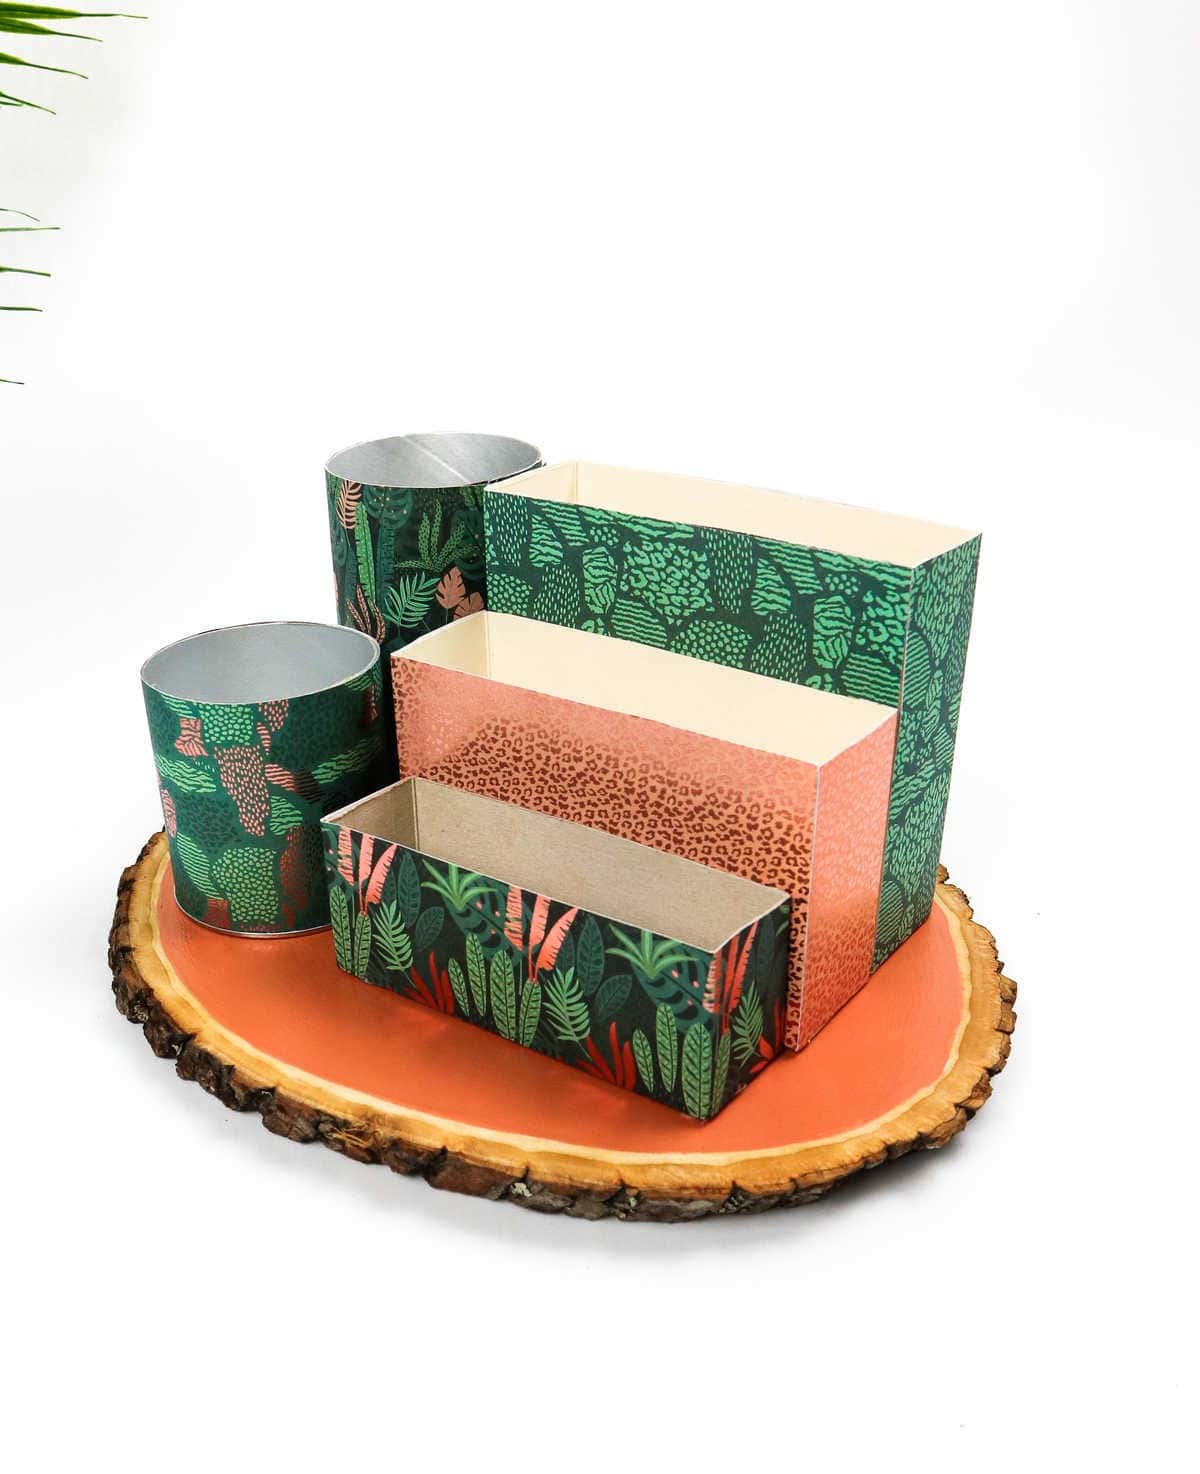
To assemble the box containers, start by lining them up in descending order of size. You can secure them together using tape or glue, whichever method suits your preference. Applying double-sided tape provides a sleeker finish. Begin by attaching the back of the first two boxes (the smallest and middle-sized ones) to the front of the subsequent boxes. For the cylindrical containers, a glue gun is the more effective choice.
Heat the glue gun and apply a ring of hot glue to the base of each container. Hold them in place until they adhere to the wooden board. Repeat this process for the wrapped cereal boxes, securing them to the wooden board as well. Once the glue has dried completely, your DIY desk organizer will be ready for use.
What Can You Store In This Organizer?
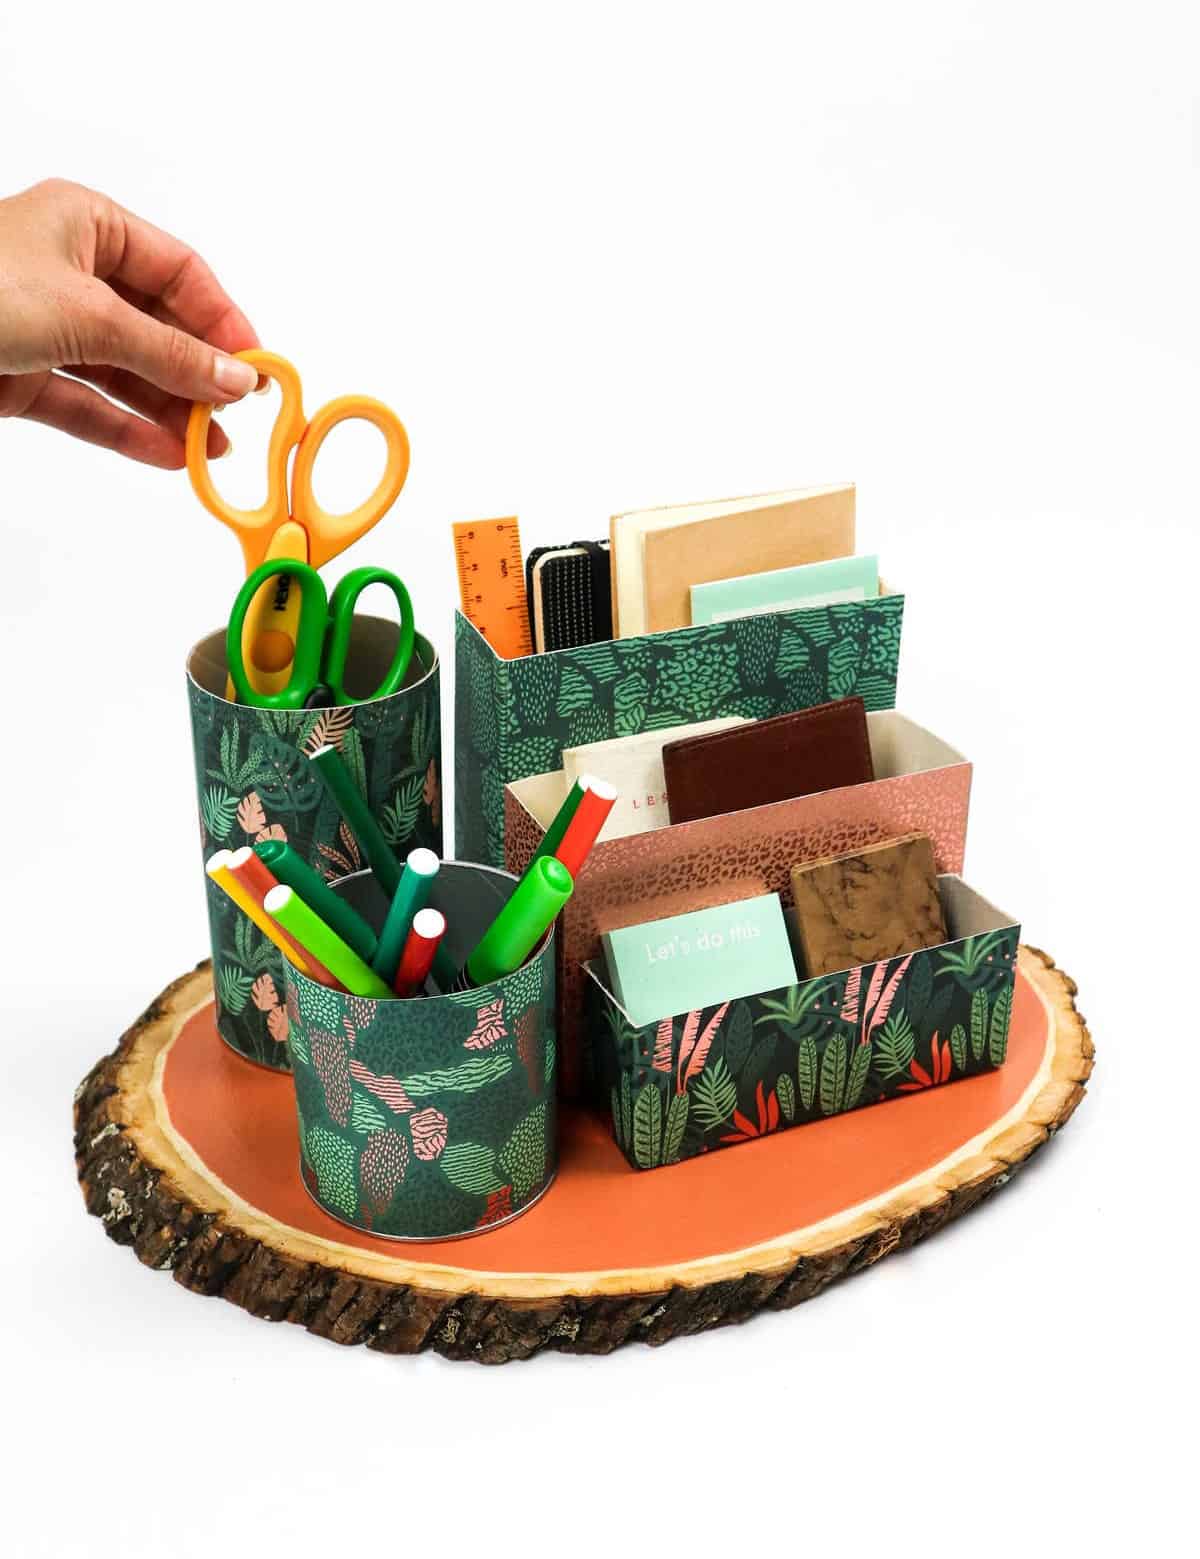
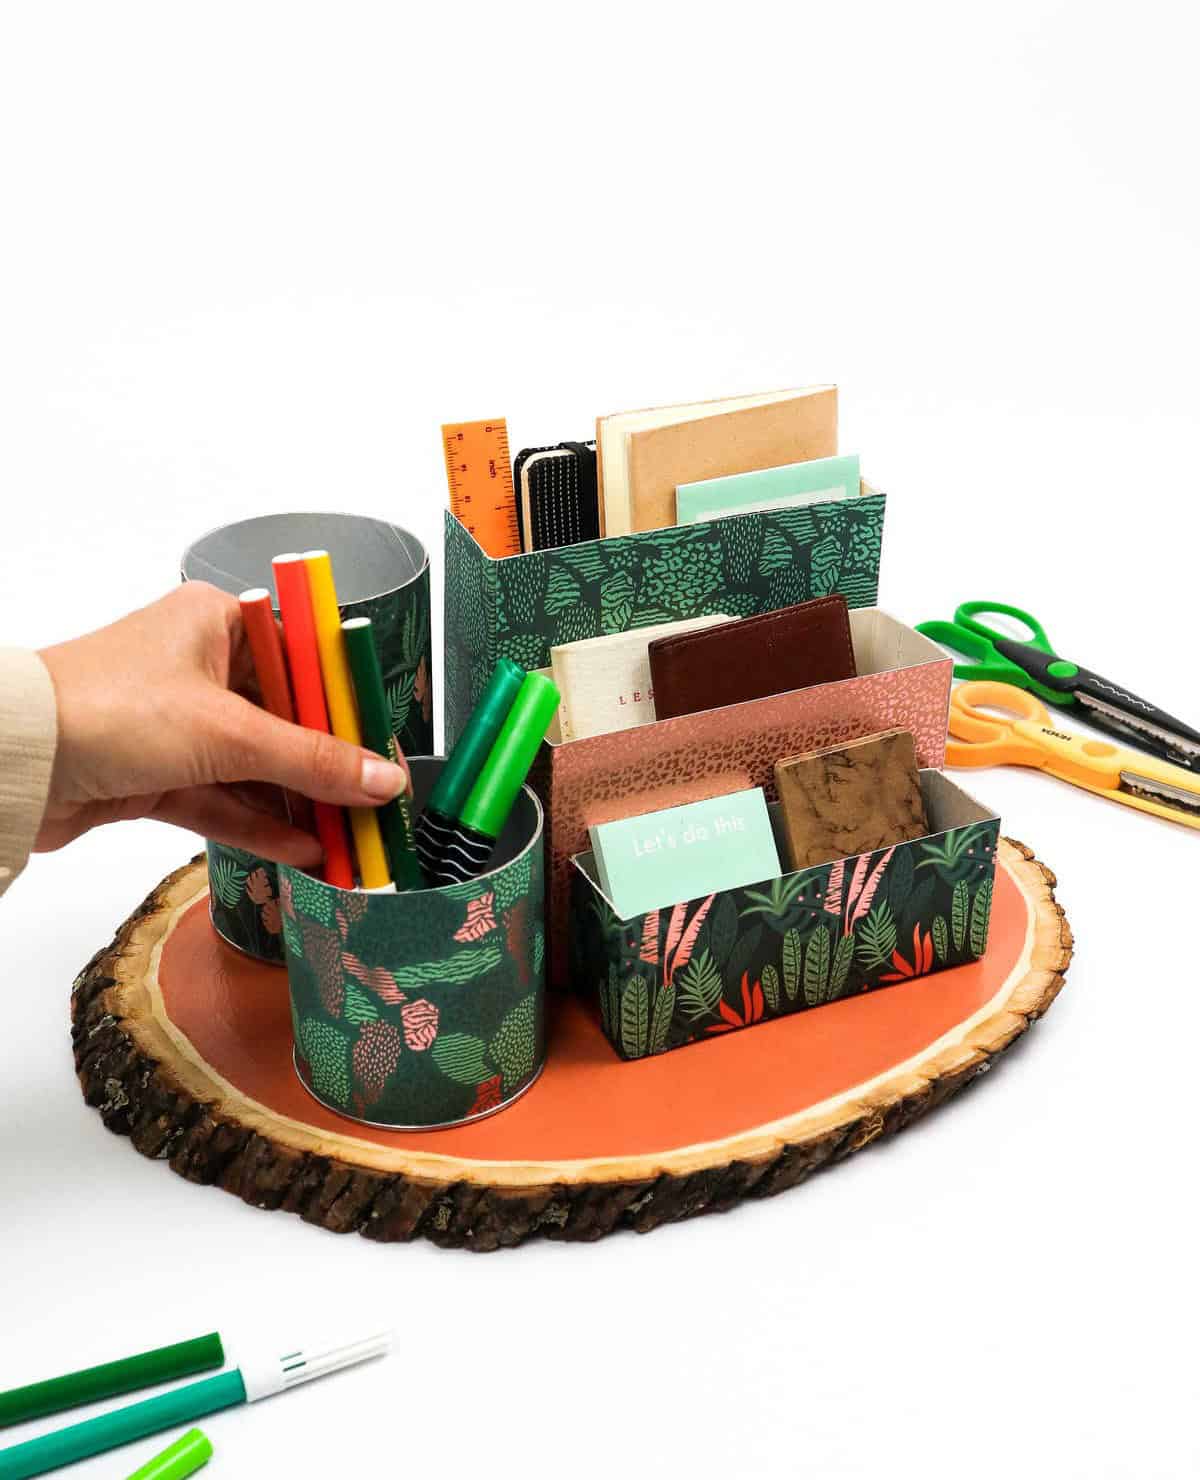
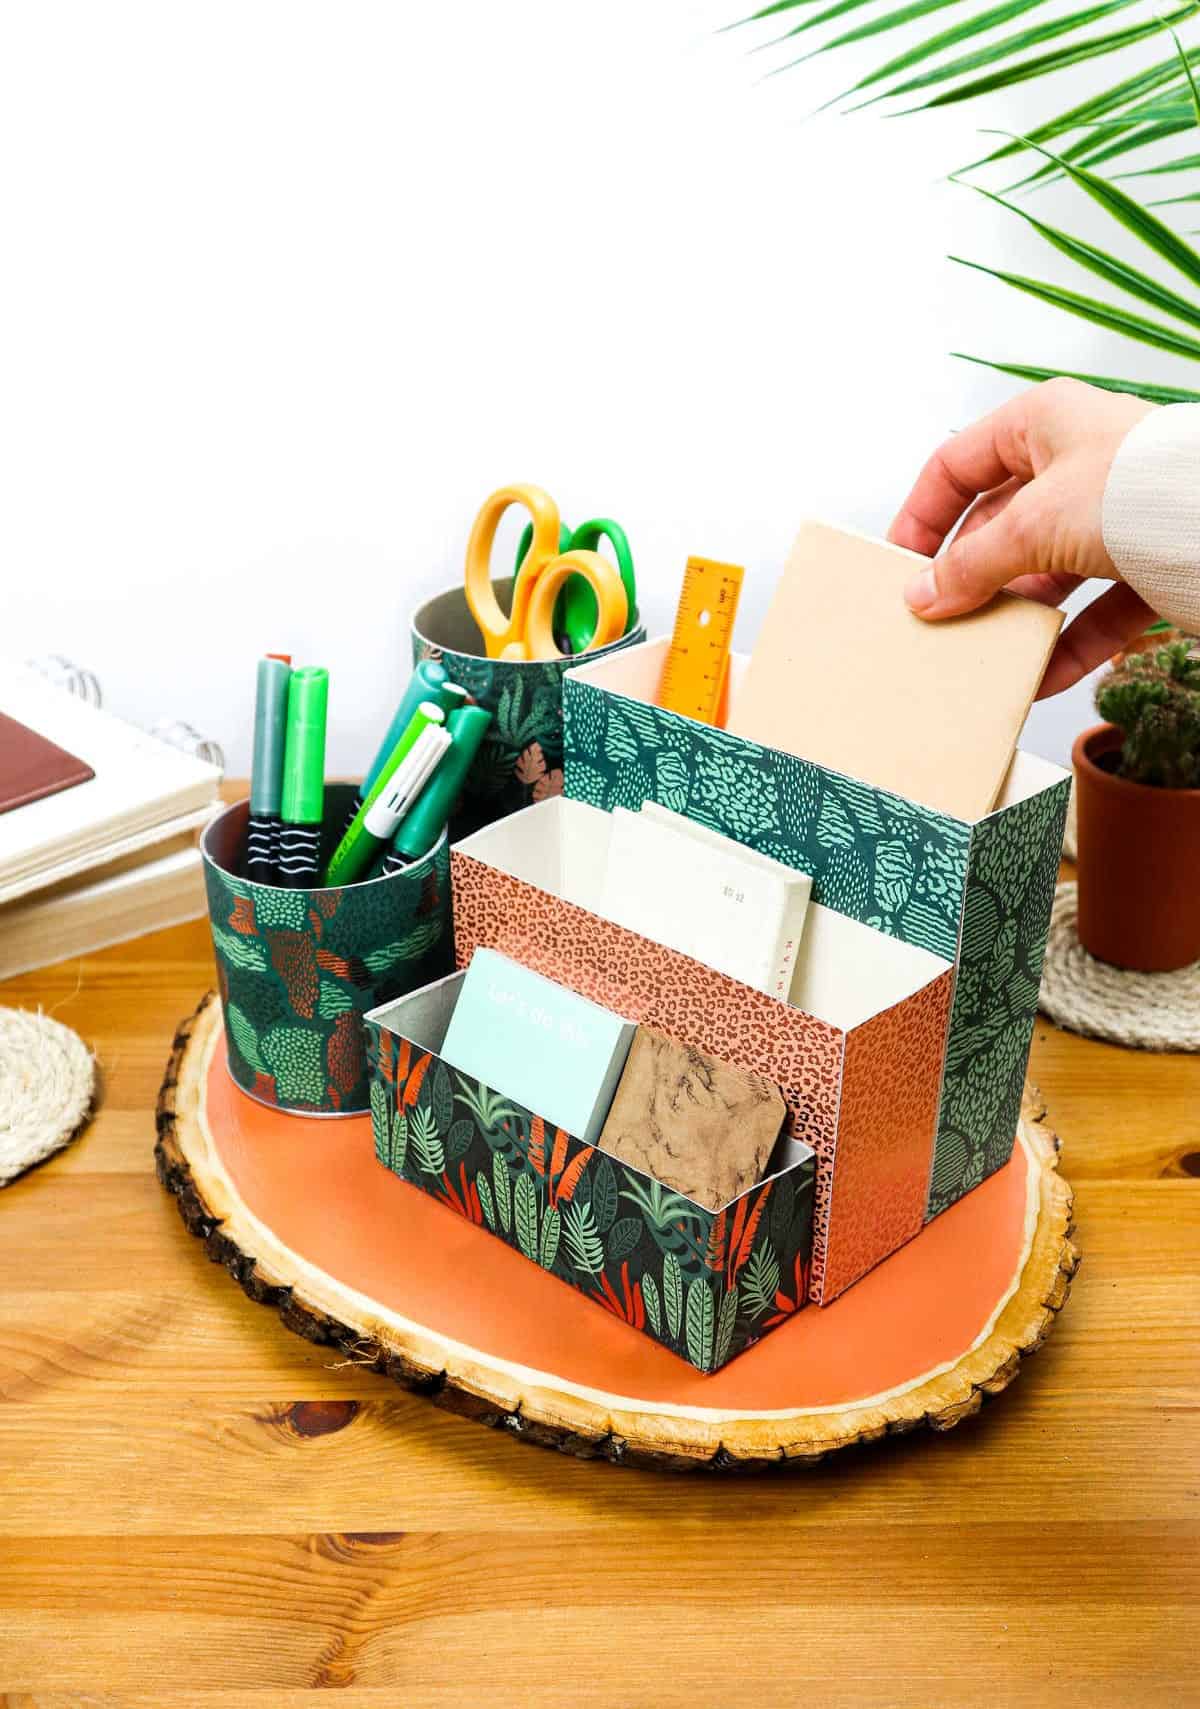
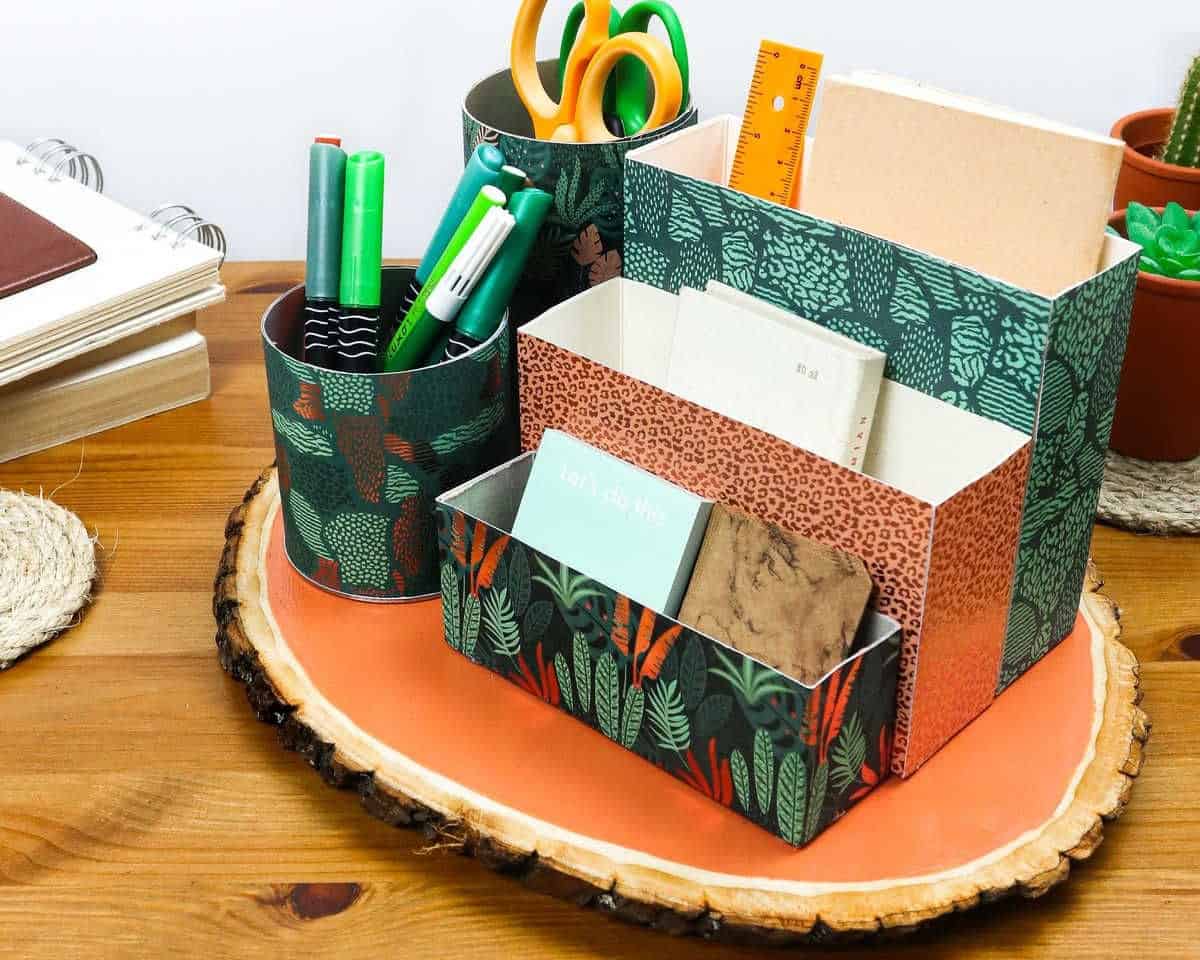
This versatile organizer is designed to streamline your workflow, making it an ideal addition to any study table, work desk, or craft station. Its ample storage space can accommodate a wide range of items, including office supplies like scissors, cutters, and tools, as well as writing utensils such as pens, crayons, markers, and pencils.
Additionally, the organizer is perfect for keeping rulers and geometry kits organized, while mini notebooks and planners fit snugly into their designated compartments. For added convenience, sticky notes and memo pads can be stored alongside other essential office supplies. And, if you’re looking to bring some organization to your kitchen routine, simply customize the containers to hold utensils and line up cooking ingredients and spices with ease.
Other Organizing Ideas
For students preparing to move into their college dorm room, the task of organizing and maximizing space can seem daunting. Fortunately, there are many creative solutions that can help make the most of a small room. From repurposing everyday items to clever storage hacks, we’ve compiled 21 inspiring ideas to get you started.
Whether it’s DIY organizers made from frames or cereal boxes, or more innovative solutions like using under-bed storage or over-the-door hooks, there’s something for everyone. In addition to these practical tips, we’ll also explore 41 clever storage ideas for small spaces that can be applied anywhere, not just in college dorms. And if you’re looking for ways to stay organized and focused, we’ve got 25 craft room organizing ideas to help you get creative while staying productive.
DIY Desk Organizer Out of Upcycled Food Packaging
Create a functional and eco-friendly DIY desk organizer from repurposed food packaging. With just 5 minutes of prep time, you can transform empty boxes into a useful storage solution that’s perfect for your workspace. To make this project, allow 30 minutes for active work and an additional 20 minutes to account for any unexpected pauses or creative adjustments. This upcycled organizer serves one desk, making it an ideal addition to your home office or study area.
Equipment
When it comes to creative work, having the right tools at your disposal can make all the difference. In this context, think not just of artistic supplies like retractable knives, markers, rulers, and scissors – but also digital ones, such as paintbrushes used in graphic design or photo editing software. Having these tools readily available ensures that you can work uninterrupted, without worrying about your screen going dark on you.
Materials 1x2x3x
To create a unique and personalized piece, you’ll need the following materials: a wooden board measuring 13 inches in width. In addition to this, you’ll require empty food boxes, craft paper sheets, and double-sided tape for added texture and dimension. For a pop of color, have some acrylic paint on hand, along with a clear gloss varnish to seal your masterpiece. Finally, don’t forget the hot glue gun, which will allow you to securely attach any embellishments or add decorative elements.
Instructions
To embark on this creative project, you’ll need to gather your materials first. Start by applying two to three coats of paint to the wooden board using your favorite color and brush. Allow each coat to dry before moving forward. Next, add a clear matte or gloss-finish varnish to seal the surface. Once you’ve completed these steps, it’s time to prepare your cereal boxes for assembly. Use scissors to cut them into the desired shape and height, taking note of their dimensions.
For the cylinder containers, you’ll need a retractable knife to make precise cuts. Before arranging your containers on the wooden board, take some time to plan their placement. This will ensure a visually appealing and functional organizer in the end. To wrap each container, select patterned, textured, or colored craft paper that’s not too thin or see-through. Measure the height of each cylinder container by rolling it into a full rotation while aligned with the edge of the paper.
Make a note of this measurement and draw a line across to serve as a cutting guide. Cut out the wrapping paper using scissors, then apply double-sided tape to the top and bottom edges. Wrap the paper around each cylinder container, securing it in place. For the boxed containers, measure their dimensions and mark them on the back of your wrapping paper before cutting. Apply double-sided tape to the back of each box and attach them to the front of the box behind, creating a stacked effect.
To assemble the final product, apply hot glue to the bottom of each container and adhere it to the wooden board. Hold each container in place for a moment to ensure it’s securely stuck. With these steps complete, your DIY desk organizer is ready to use.